DSi Color Tint
In this tutorial, I shall be teaching you how to tint the text on a Nintendo DSi.
You will need:
- Nintendo DSI
- Tissues
- Pens (any colour)
Step 1: Find the Area You Want to Tint.
For my area, I used a red pen and coloured in the Nintendo logo. I recommend that you find another place as the back is hard to do.
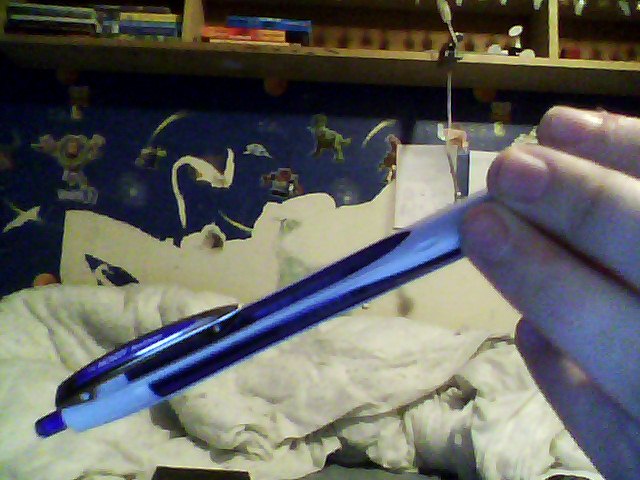
Step 2: Tinting
Start scribbling on the part you want to tint to create the colour effect. The tissue is needed to give it the epic, professional glare.
Step 3: Finishing It Off
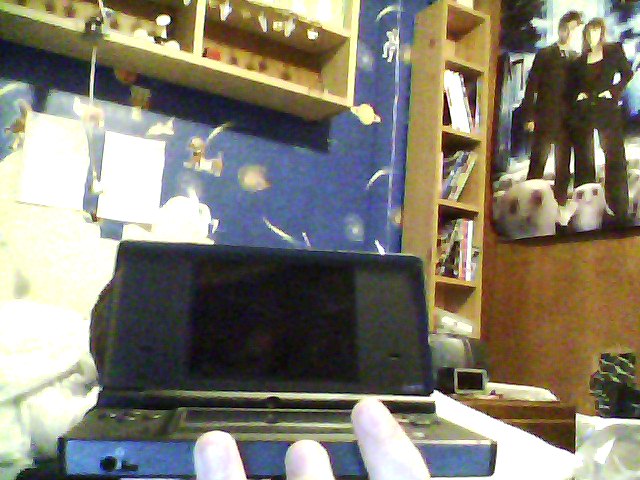
To finish it off, dab and wipe the area you tinted softly with a tissue. If this works, you should have this.