DLP Wood Turning Aid
by Left-field Designs in Workshop > Woodworking
2763 Views, 21 Favorites, 0 Comments
DLP Wood Turning Aid

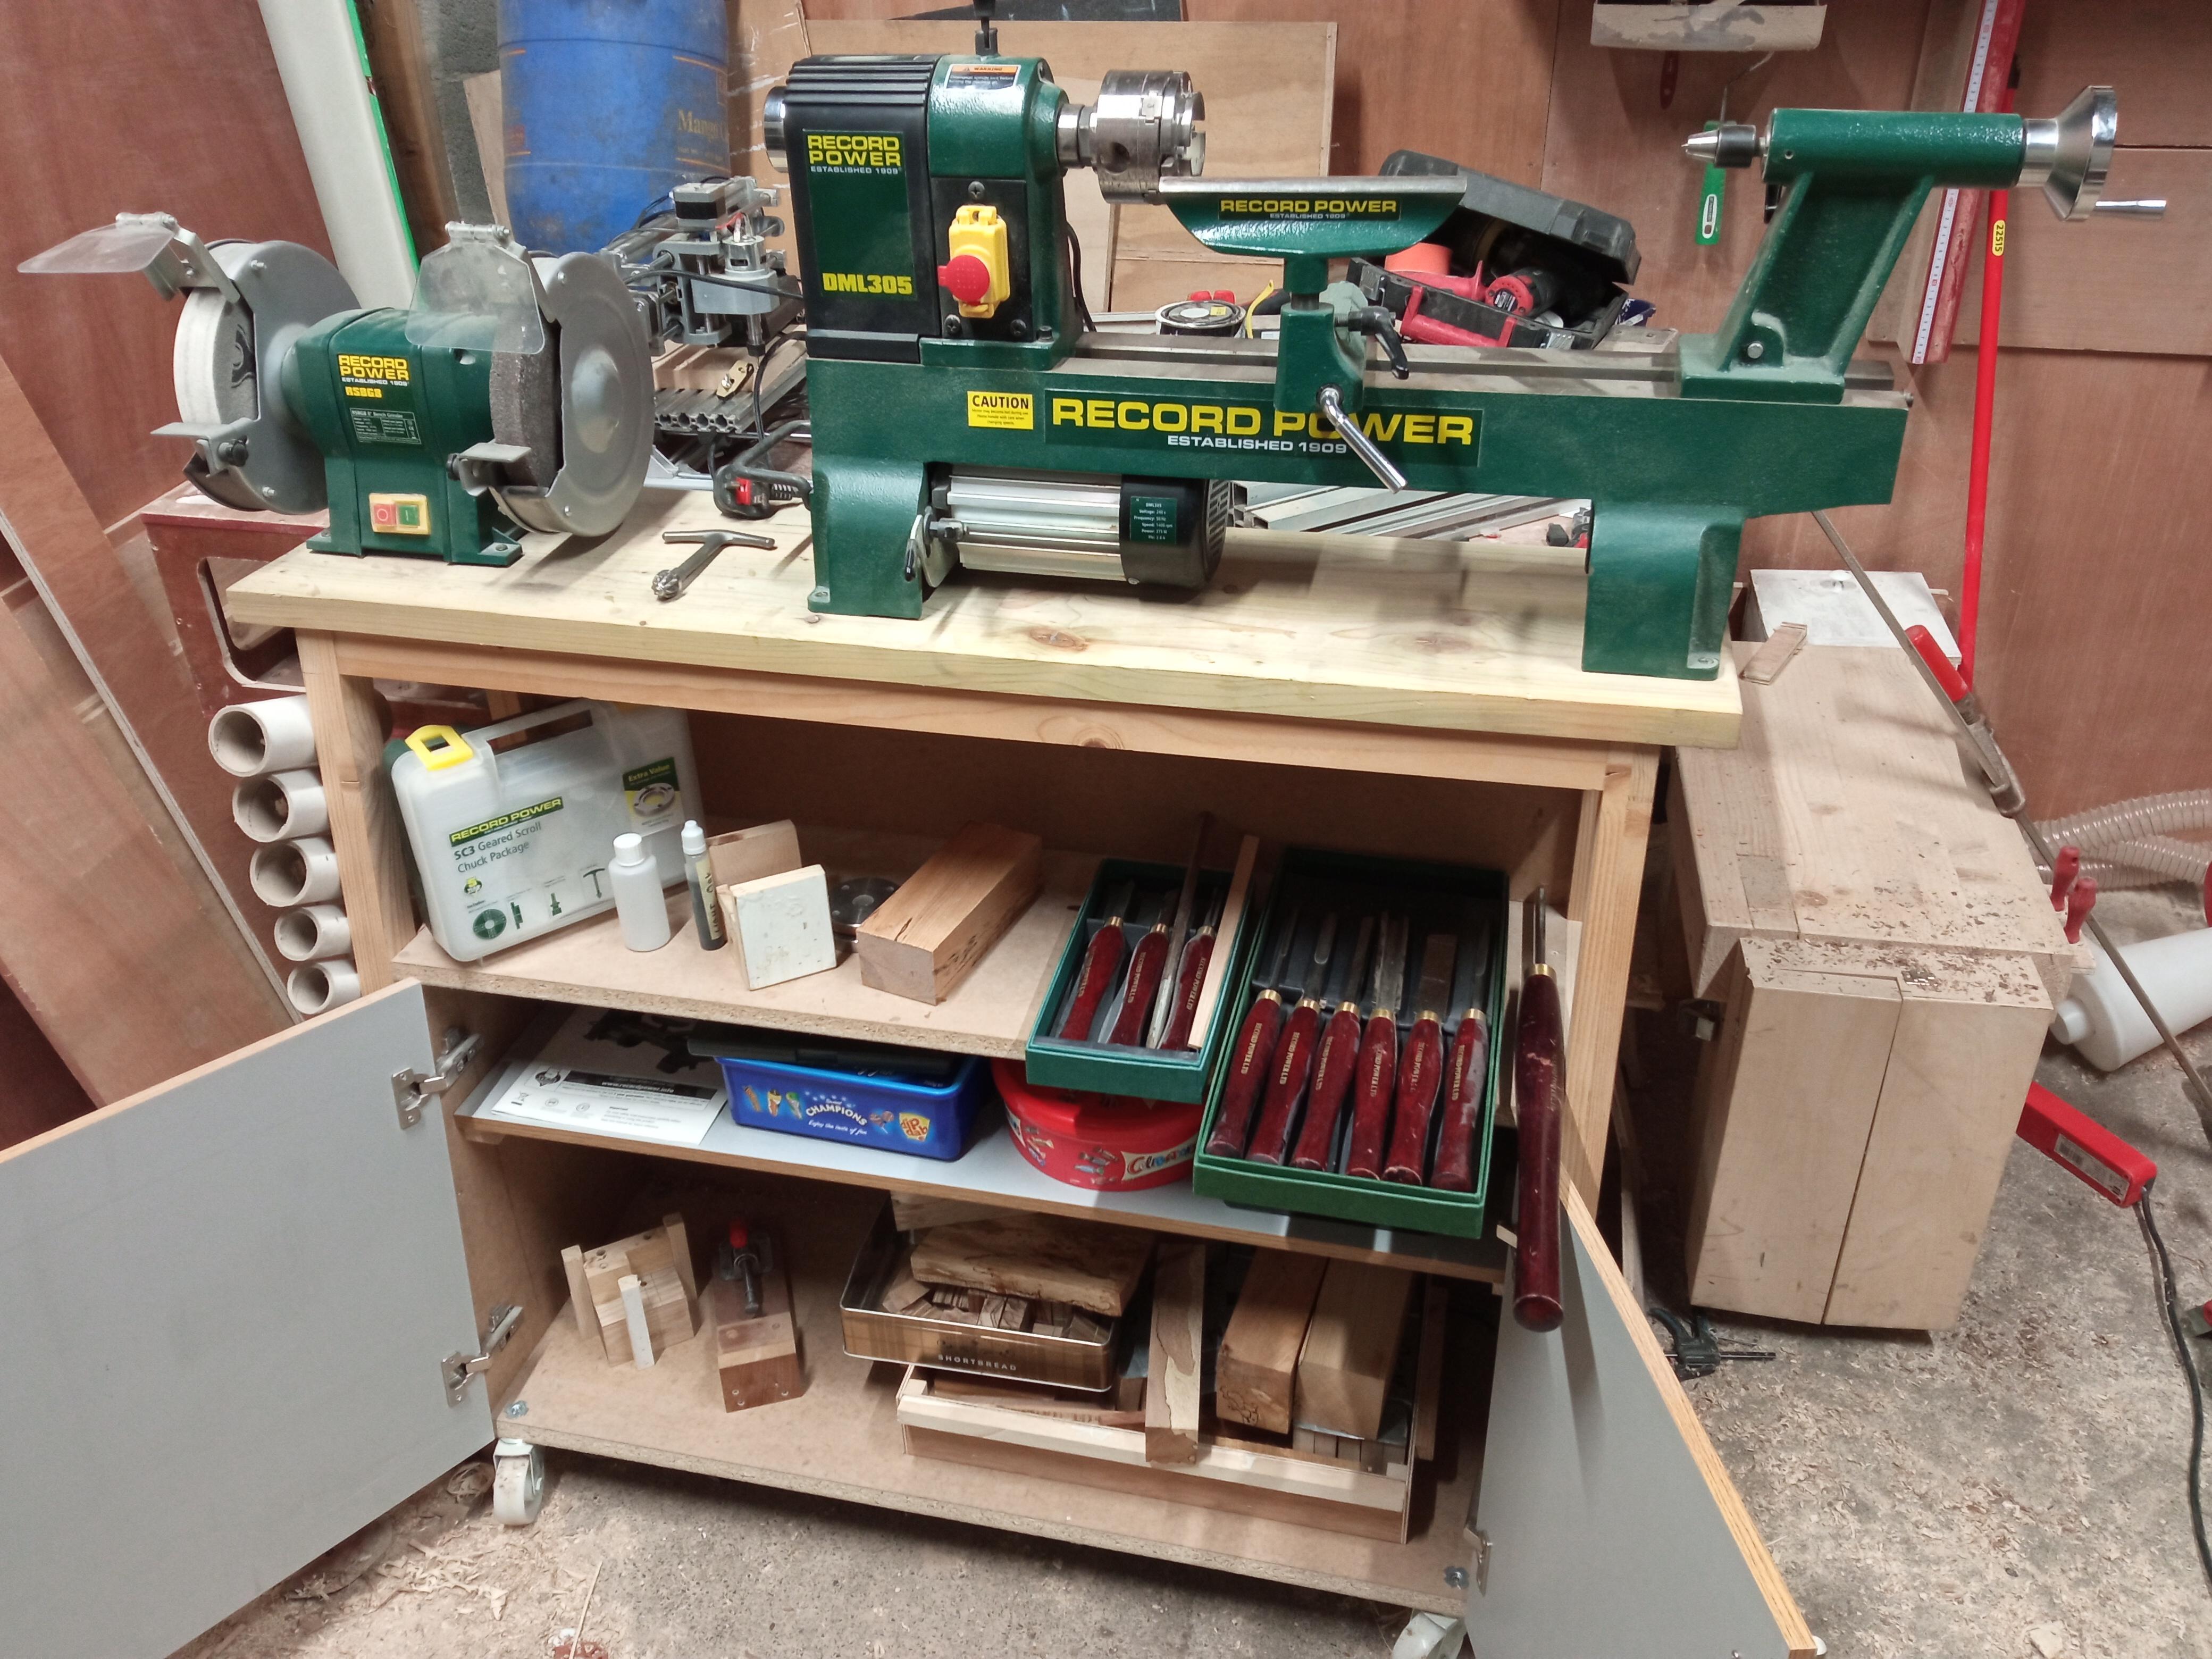

I am a new wood turner, I have a decent setup but my skills haven't caught up.
I was asked to make a chess set and being a woodworker I of course said YES!
I found I had some trouble batching out consistent parts so I got to thinking and came up with the notion that projecting the design onto the stock while I turned would give me a template to follow the whole time.
I jumped onto Wish and picked up a really cheap DLP (digital light projector)
Projector Setup
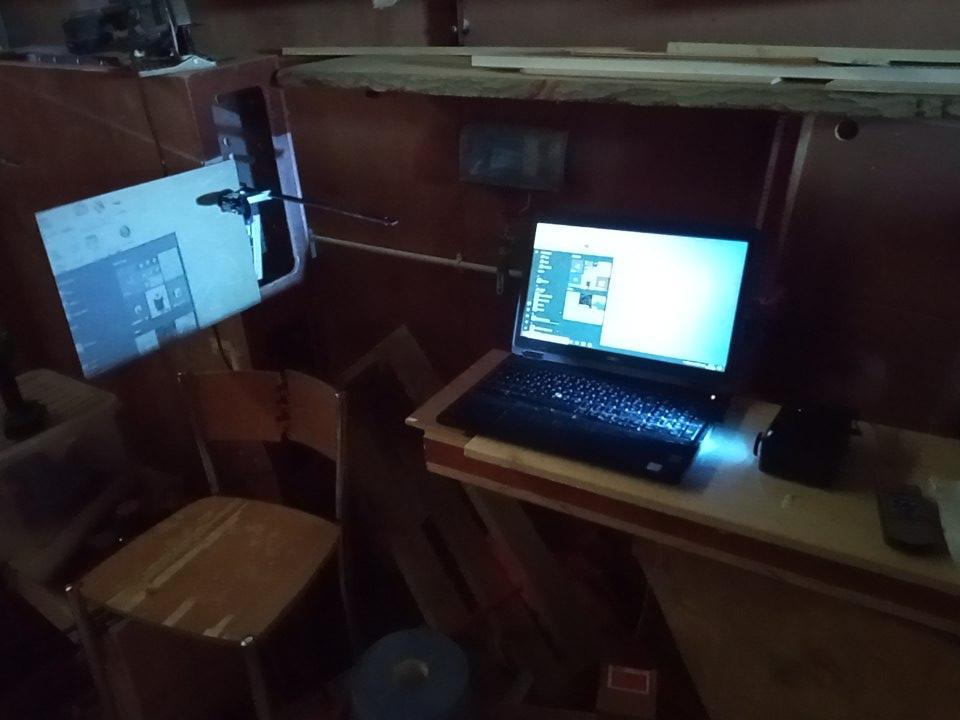
The first job was to find the sweet spot for the minimum focal length of the projector. The one I got is designed to produce a 60" image but that it far larger than needed.
I set up a quick test on the bench, the image quality was terrible but all I wanted was a silhouette. I found that 1200mm or about 4ft was the closest I could get. The reason I wanted to be closer in was that I wanted the light to be more concentrated and that I didn't want the projector mounted very high.
I made some settings adjustments too, I set the contrast and brightness to 100%, I then set the colour and tint to 0% making the image almost monotone, again we are looking for a silhouette.
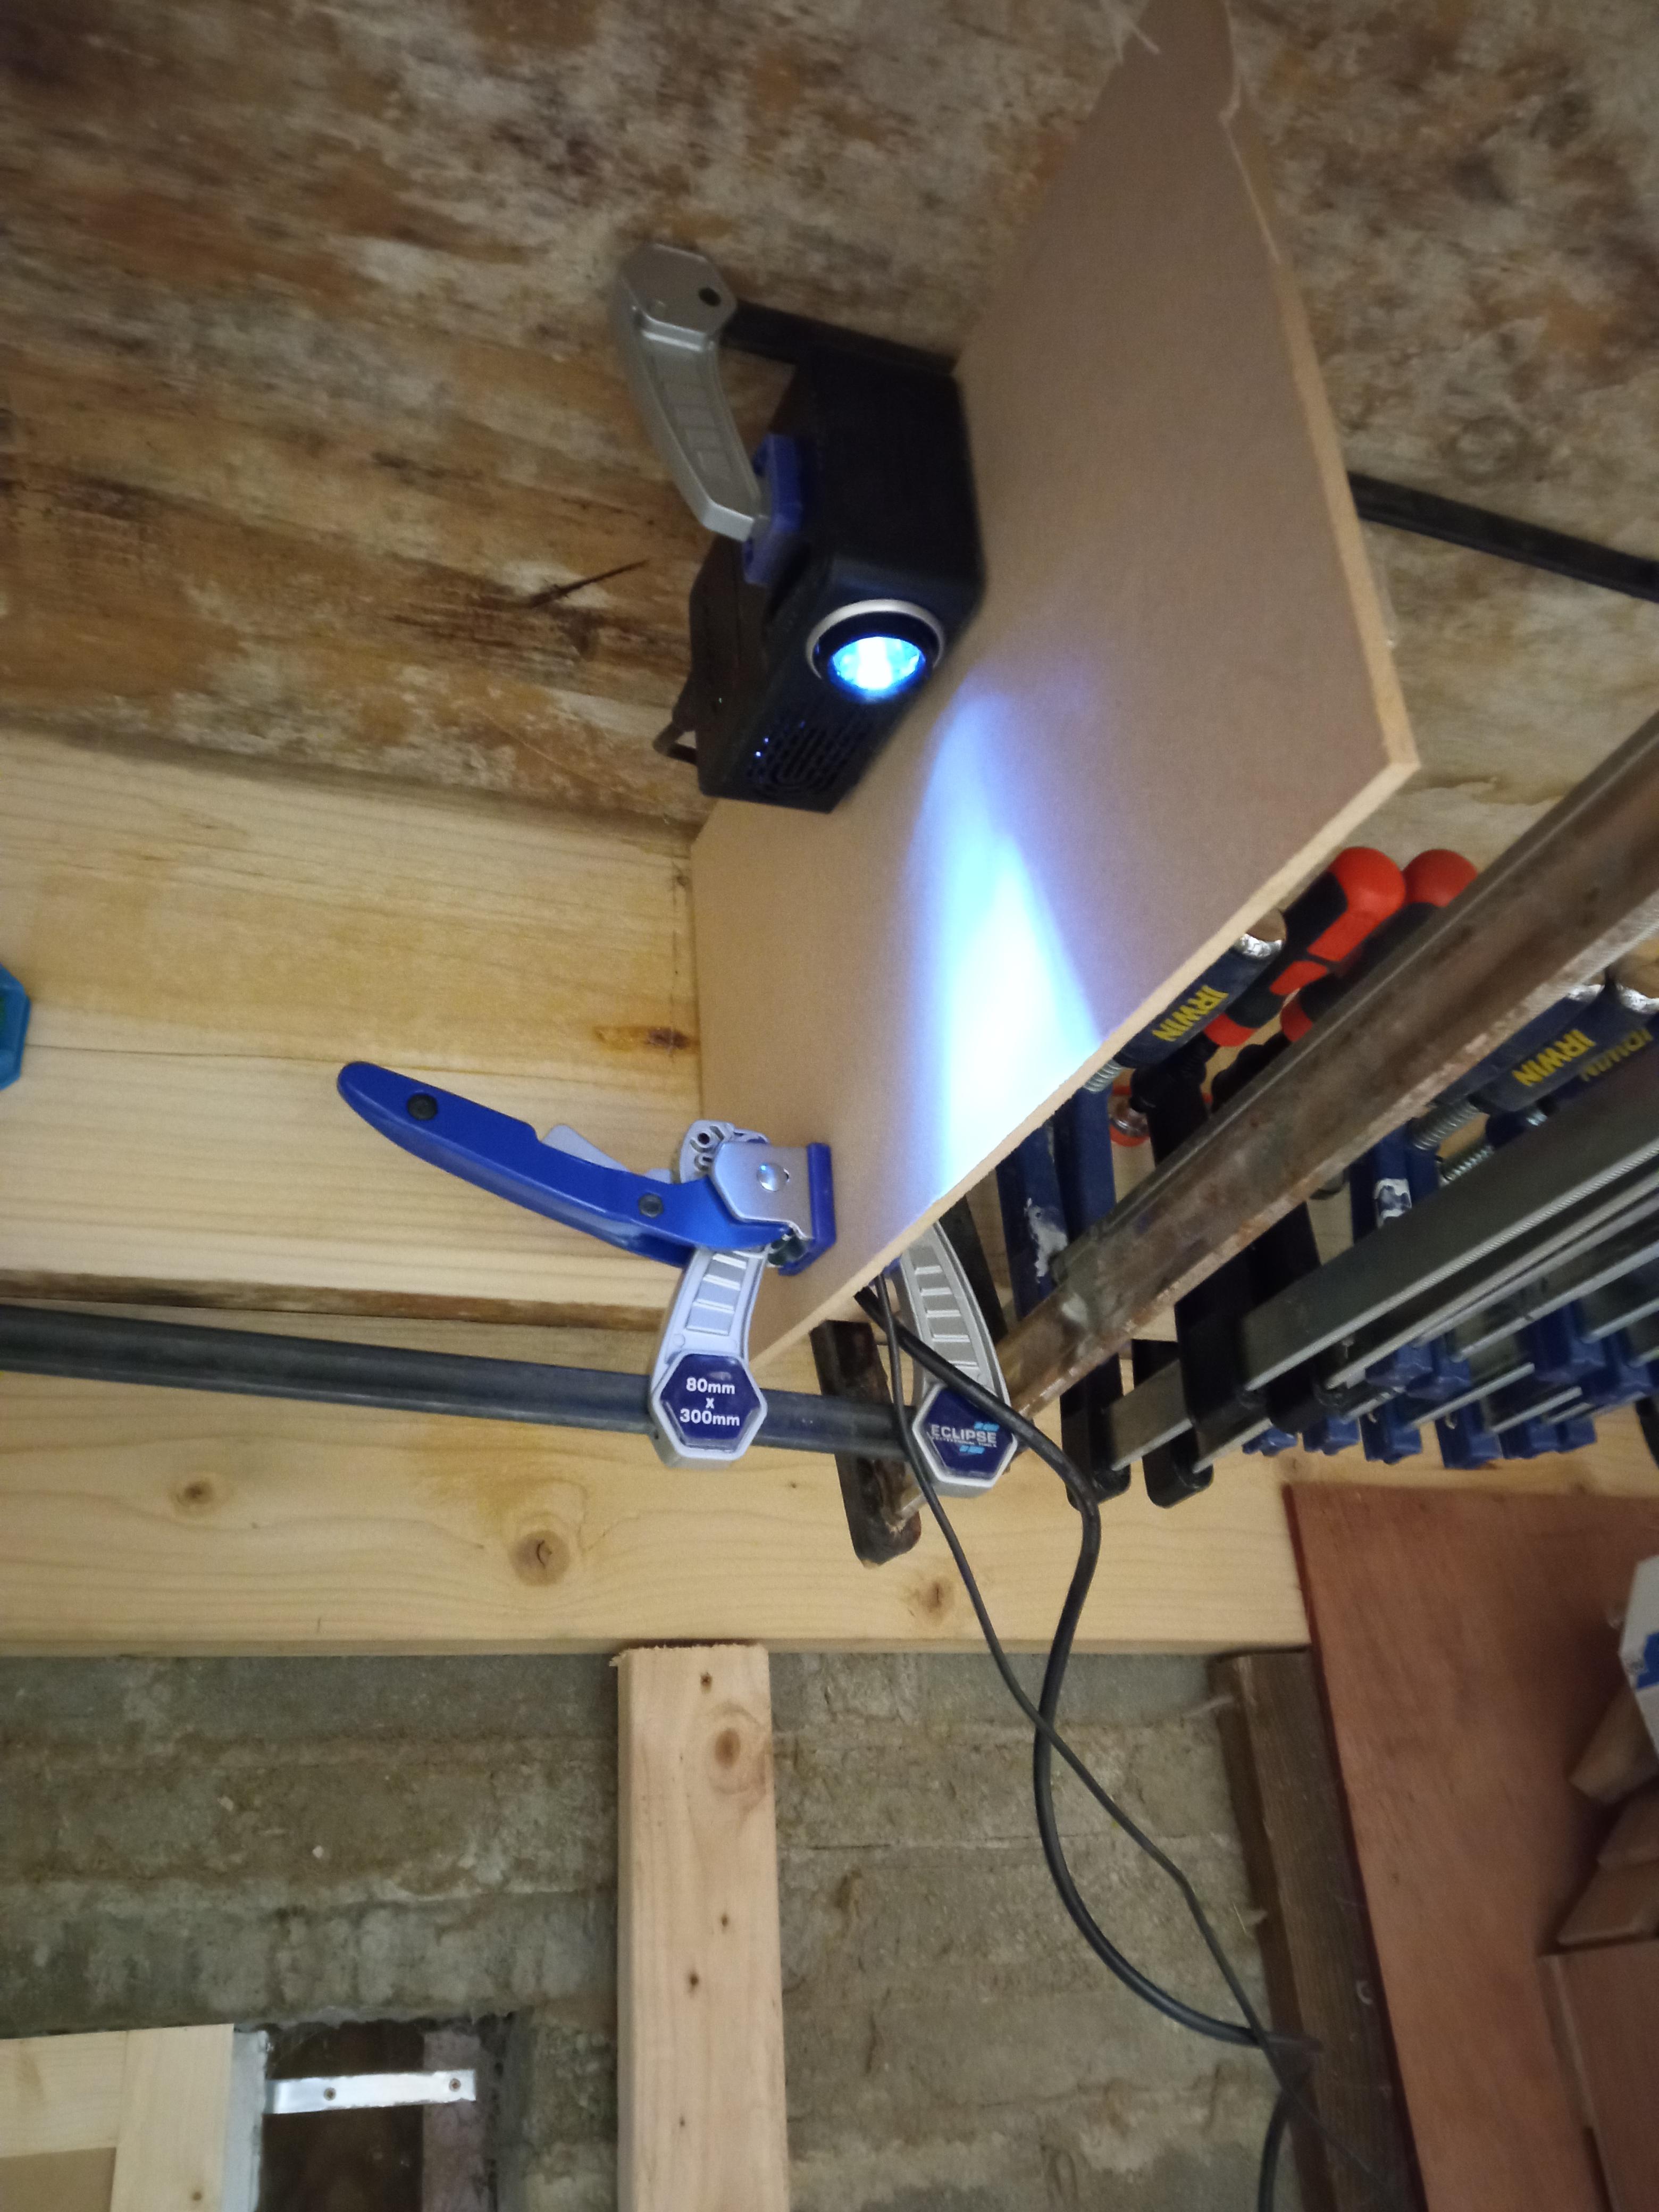
Last, as I didn't want to go to too much effort for a proof of concept, I make a Frankenstein mount from clamps on the rafters over my lathe.
Template
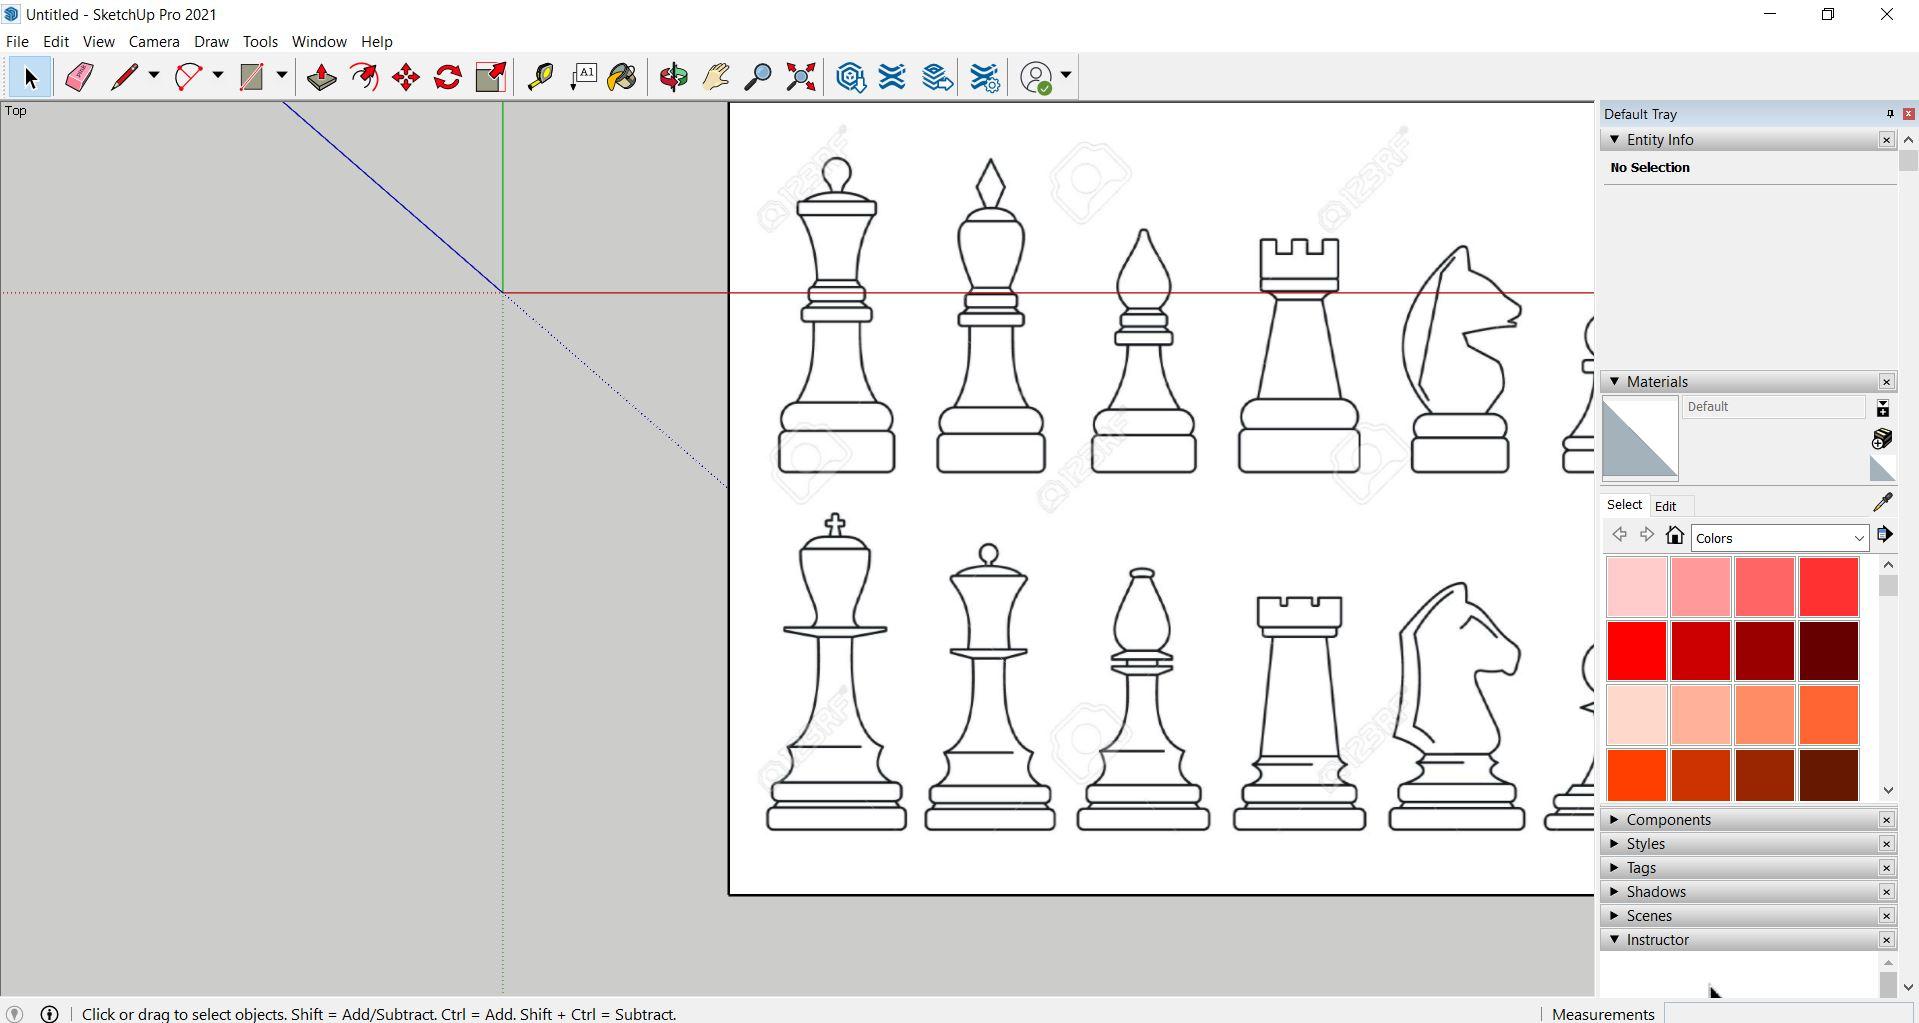
I fount a design I liked on Google images, I then imported it to Sketchup where it was easy to move around, align to an axis and to zoom to size.
I drew a datum line down the centre of my stock to align the image.
I first tried the projection on square stock, the high speed of rotation creates a kind of stroboscopic effect and the image is perfectly projected and there is no distortion.
I then roughed the stock to round and the projection held just as well.
The Technique
I then started to turn as normal with a spindle gouge.
My theory is that I turn to remove the line, I can see the material disappear and the line approach the edge, the line drifts off the piece and onto the tip of the chisel.
There is a small gain of width as the boundary starts to follow the curvature but if you are batching this will apply to all pieces so they will match.
If you are turning dark material like walnut or similar then you may invert the colours and get a while outline.
My Result
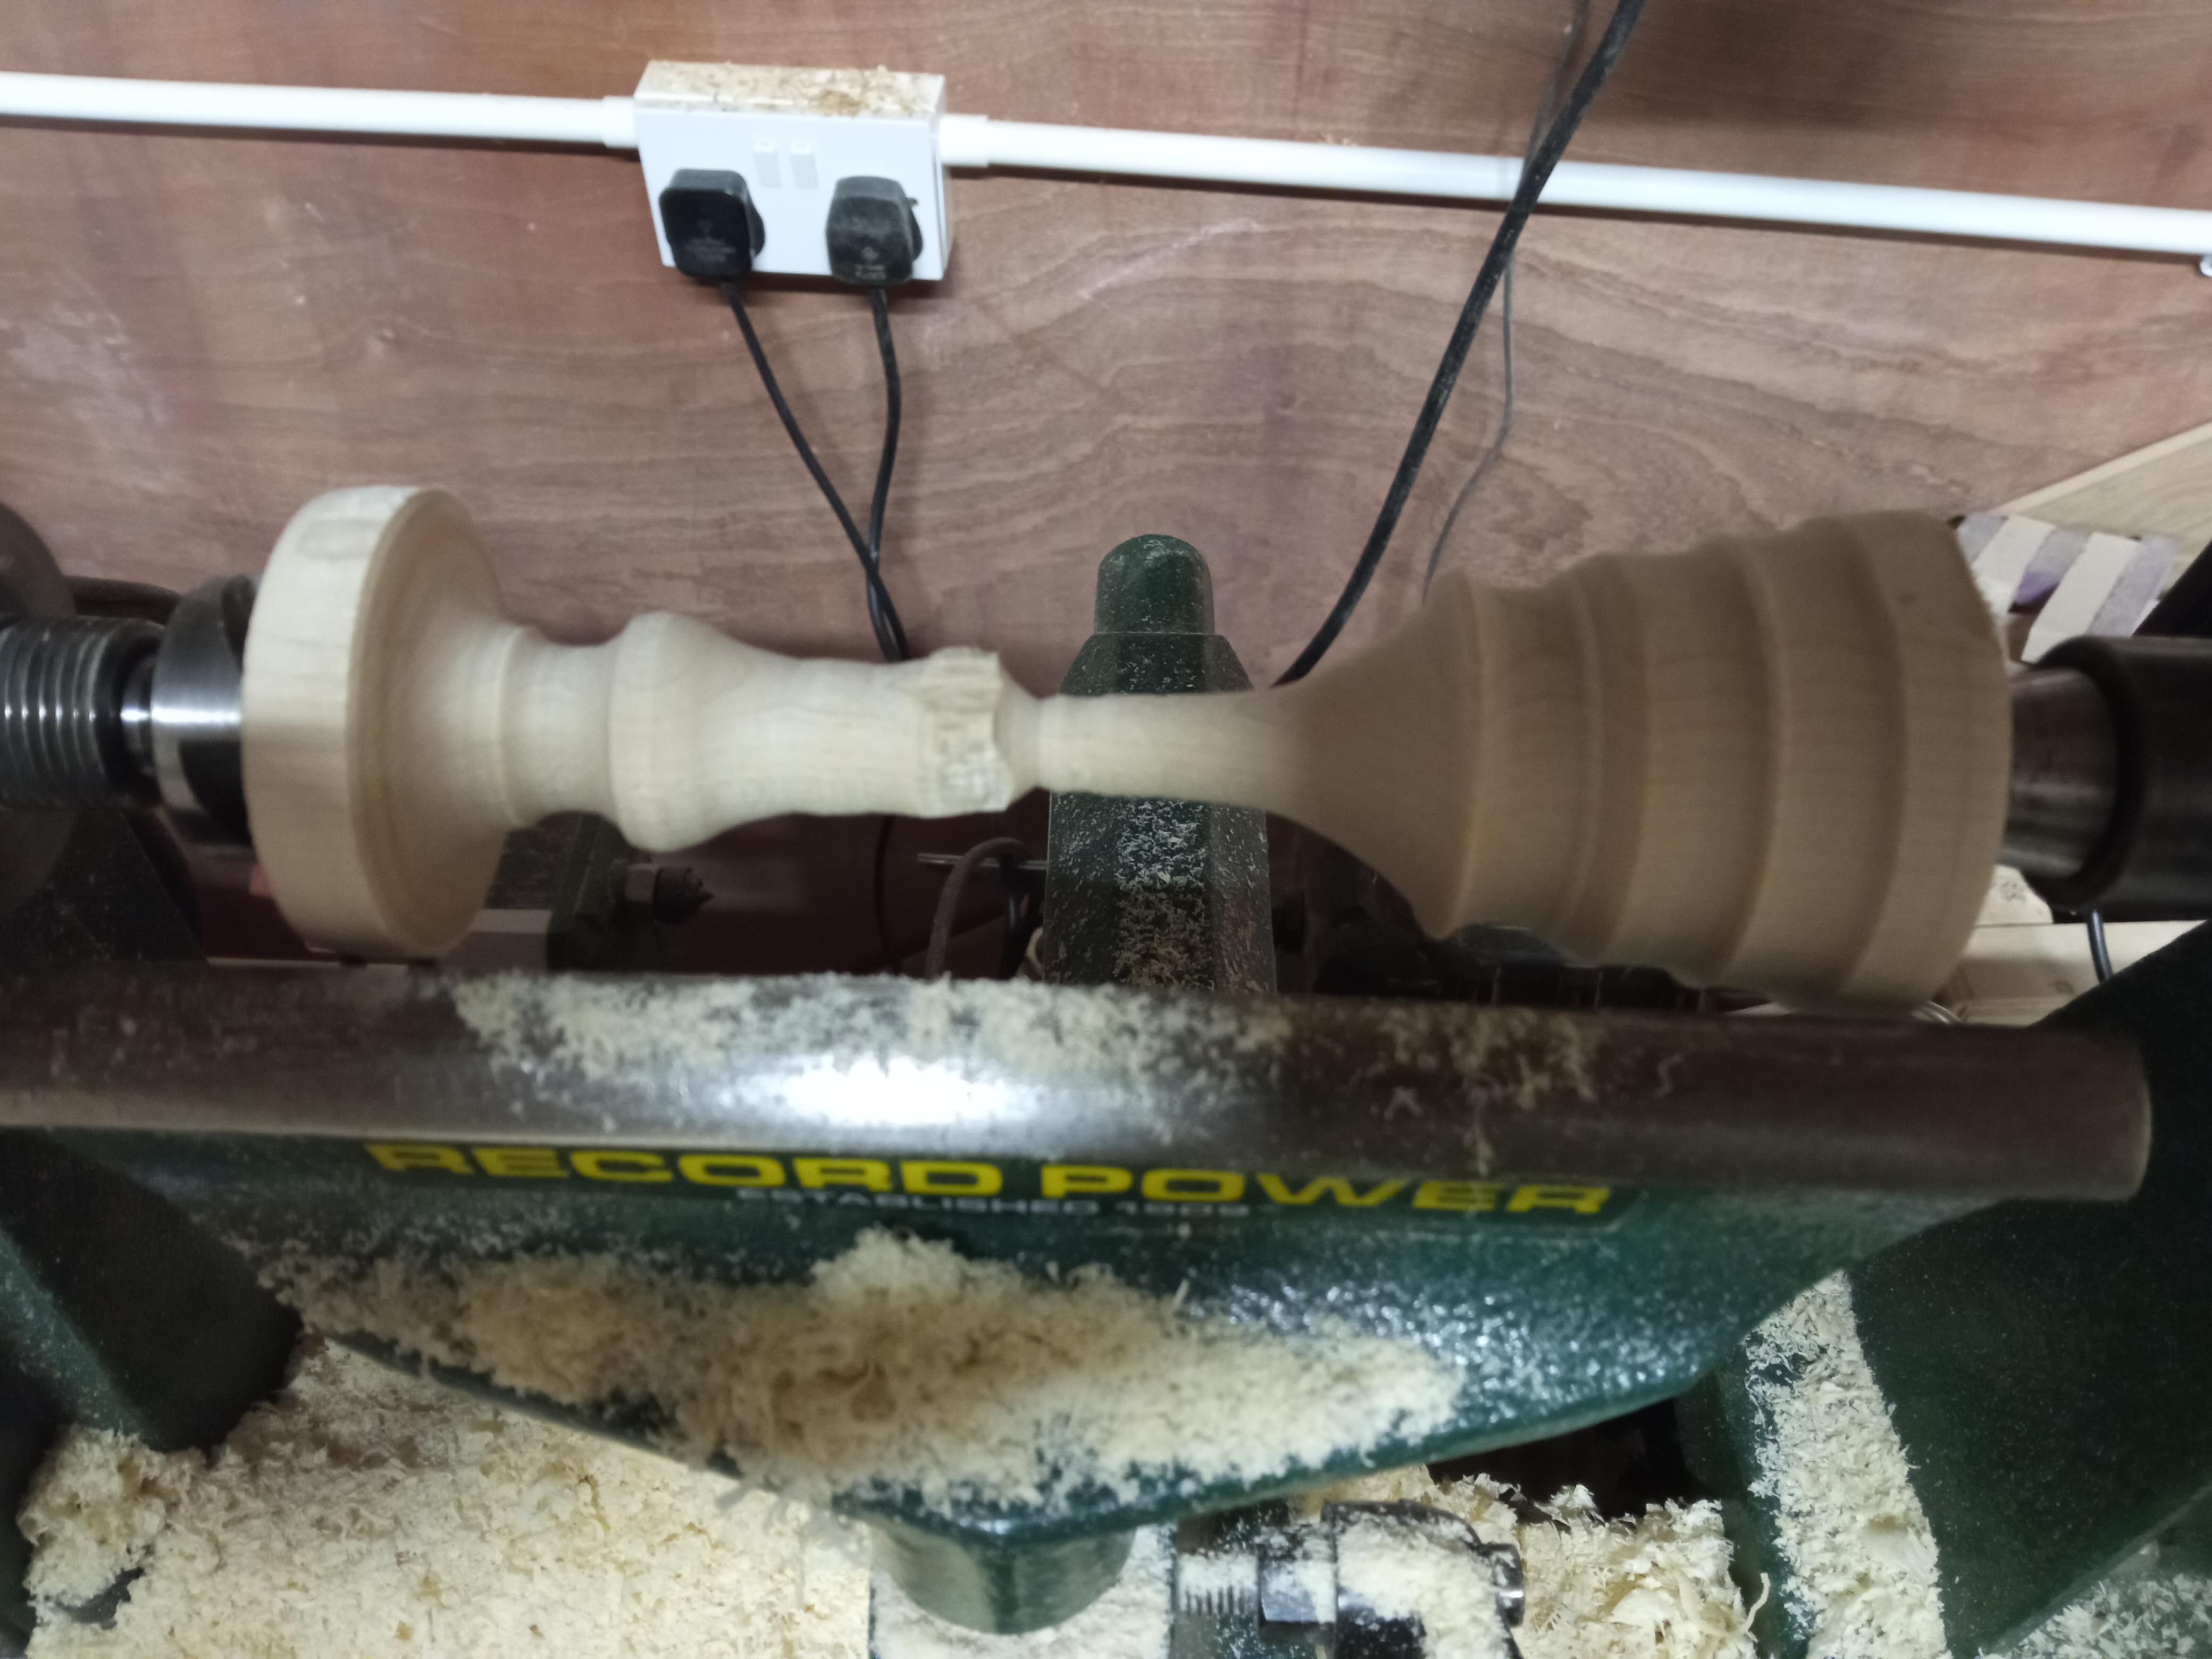
I followed the pattern and I got a shape that really did look like the picture.
I was a bit too aggressive and got a catch right on the thin collar of the piece breaking it off. However, the rest of the piece turned out well and with sanding I believe it would have been acceptable.
Conclusion
After some playing I think I will progress this idea with a proper mounting system.
The permanent nature of the template during the turning is really handy, there is also no marking of the piece other than the datum that gets turned off again in the process.
The use of Sketchup or a similar program means that if you are making muiltiple parts on a single spindle, all you need to do is drag the image along the axis to the next piece.
You can zoom, rotate and reposition with ease and the projector provides some great additional light over the work piece.