DIY- Your Business Cards
by 96chany in Workshop > Laser Cutting
25200 Views, 156 Favorites, 0 Comments
DIY- Your Business Cards
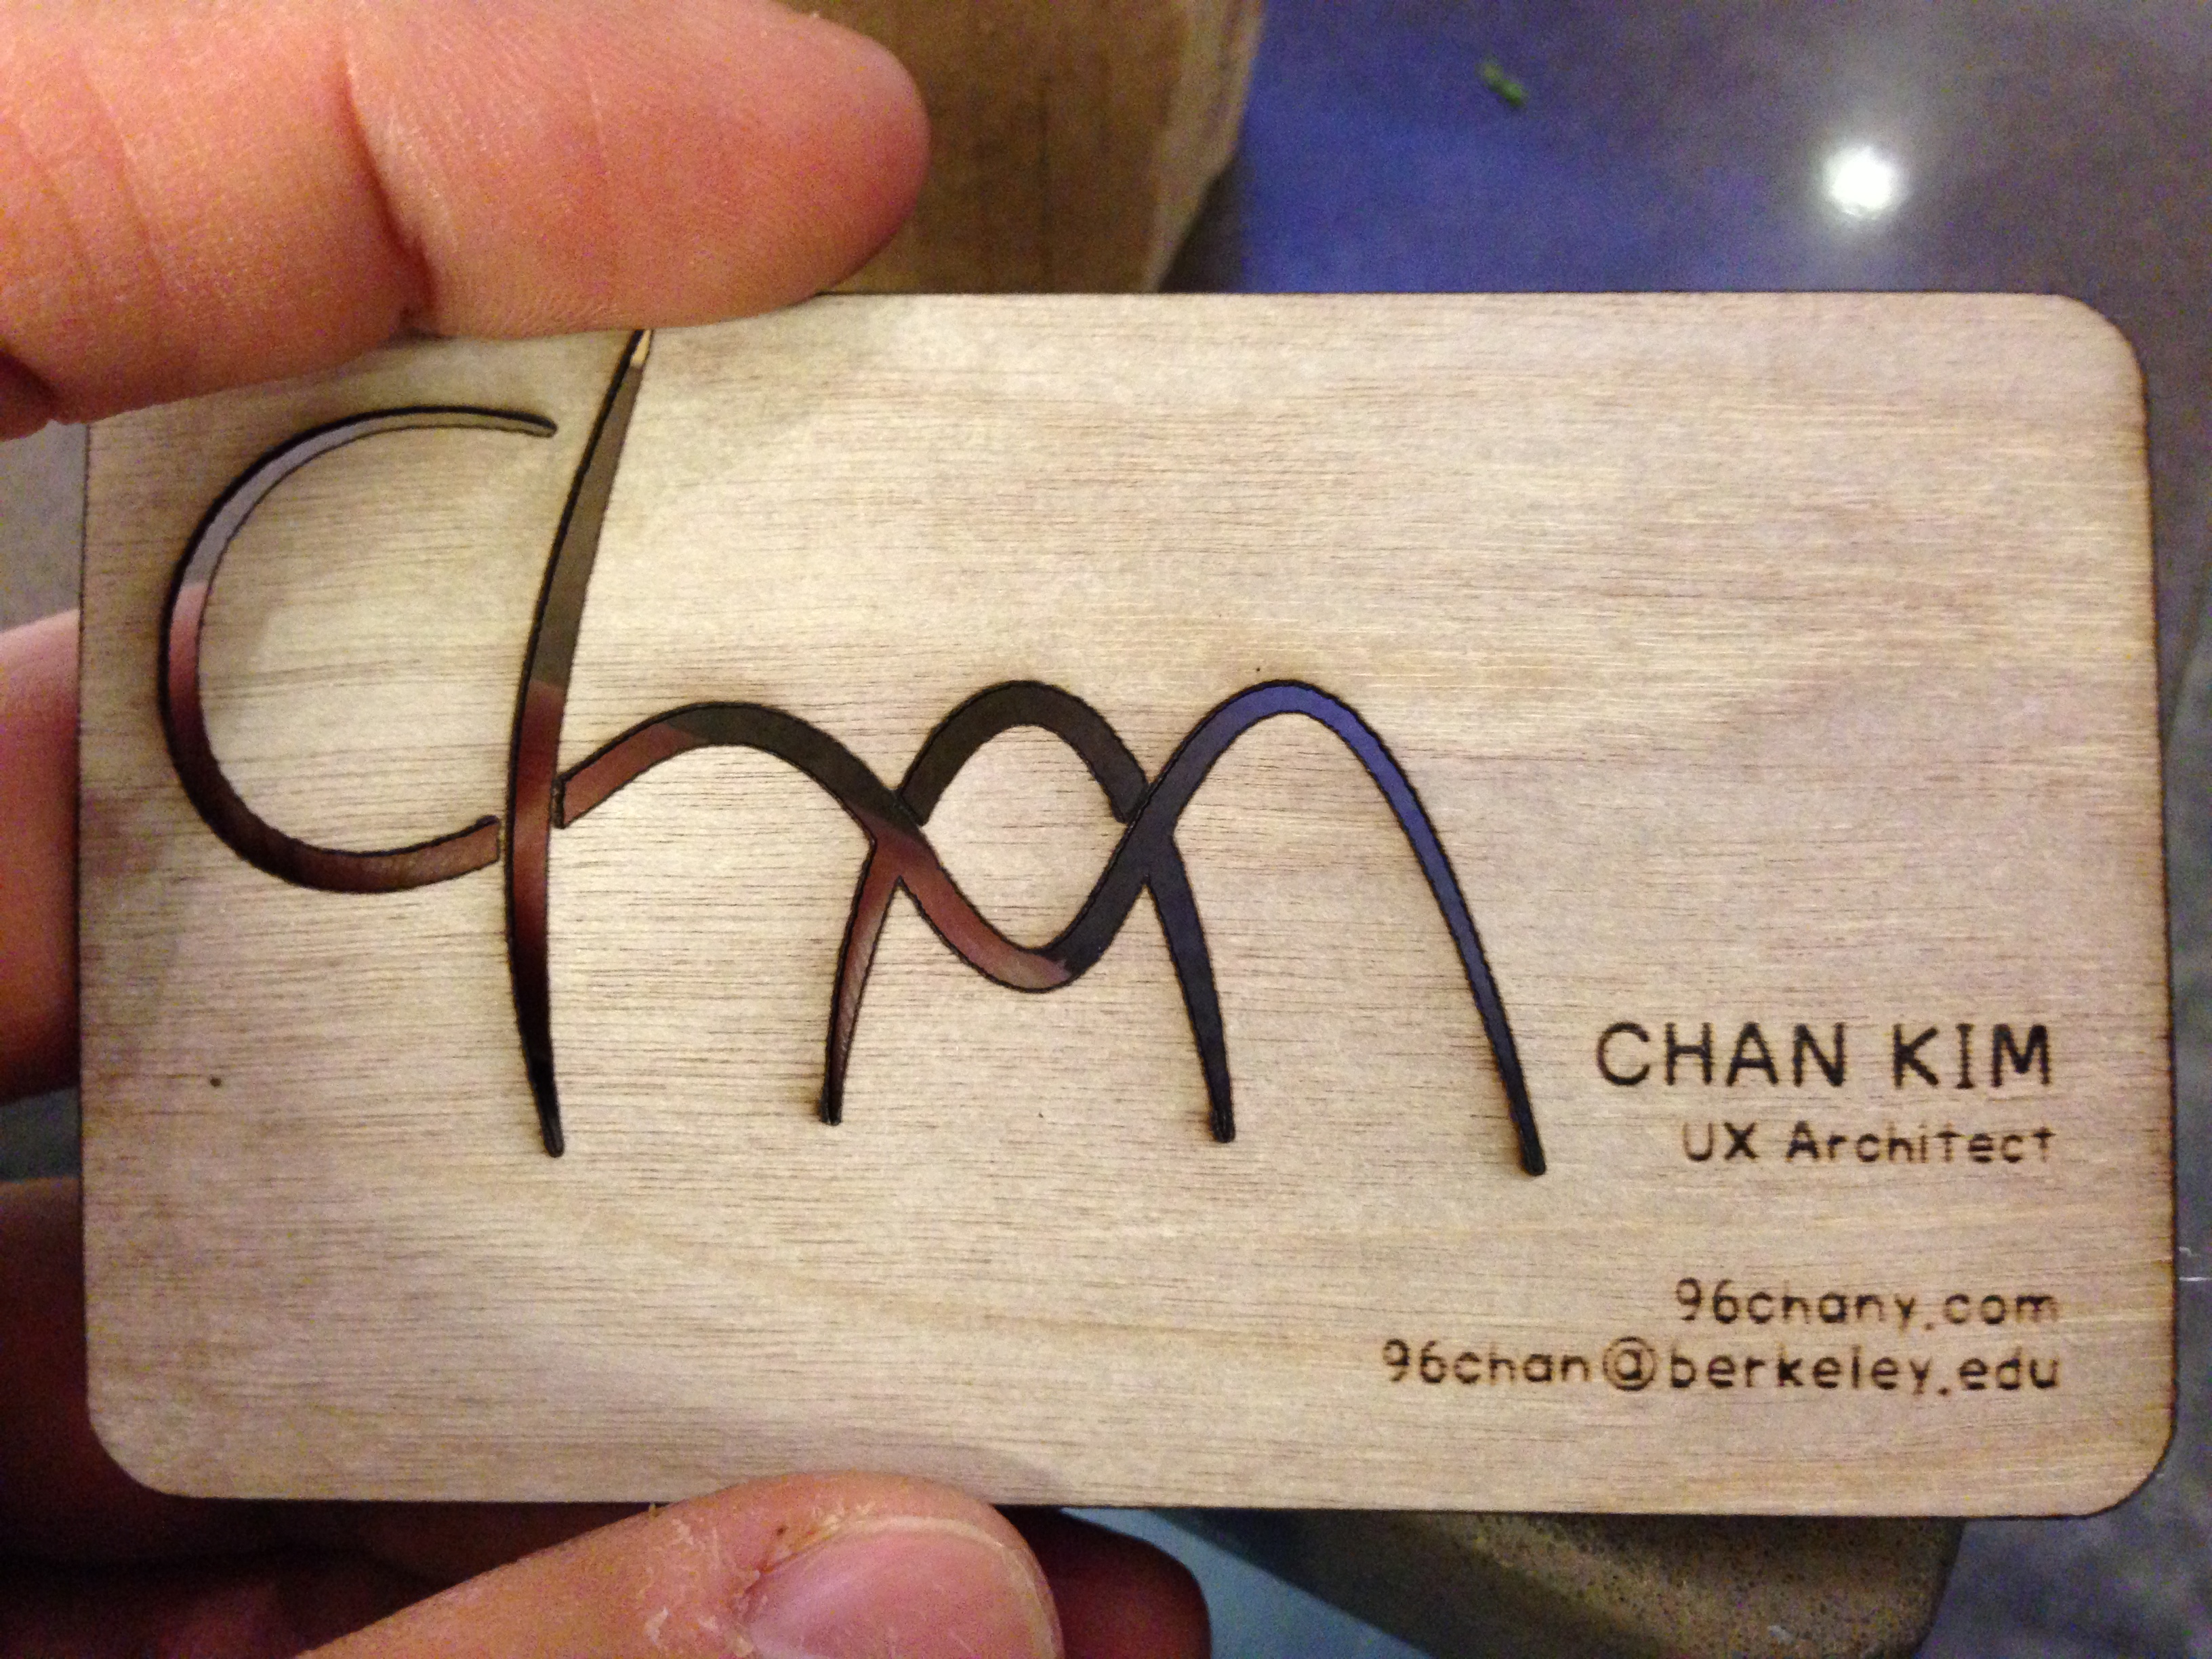
0. Supplies
- Materials you want to print on
- Your design file (either by illustrator or by CoreDraw)
1. Prepare materials
- Choose the right thickenss paper or wood
- I used 140lb(pounds per ream) or 300gsm(grams per square meter) tangerine paper and 1/64 tickness Plywood
- Materials you want to print on
- Your design file (either by illustrator or by CoreDraw)
1. Prepare materials
- Choose the right thickenss paper or wood
- I used 140lb(pounds per ream) or 300gsm(grams per square meter) tangerine paper and 1/64 tickness Plywood
Design Your Biz Cards
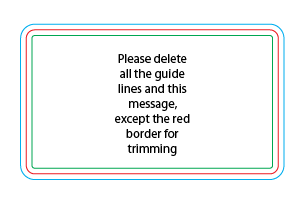
1. Use the Template file on Adobe (http://goo.gl/55sbi or download attached illustrator file)
- For this file, you only need to consider the red outline (blue outline makes your biz cards bigger than usual)
2. Consider which part you want to cut or engrave
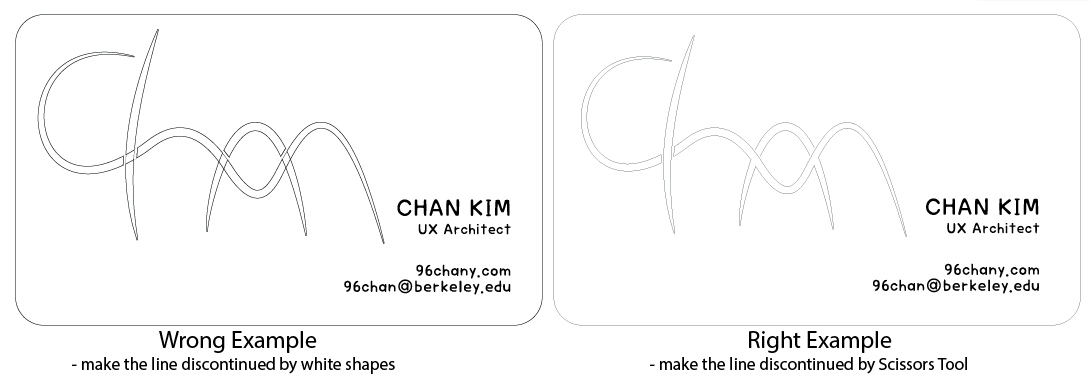
- For cutting, you need to create the outlines of shapes or fonts
- Make the outlines less than 0.001 pt
Tip: Don't make the outline hidden by overlayering empty shapes (see the figure)
- For engraving, you need it to be rastered or its outline thick enough
- It depends on a laser cutting machine you use (typically more than 0.25 pt)
Test Your Design
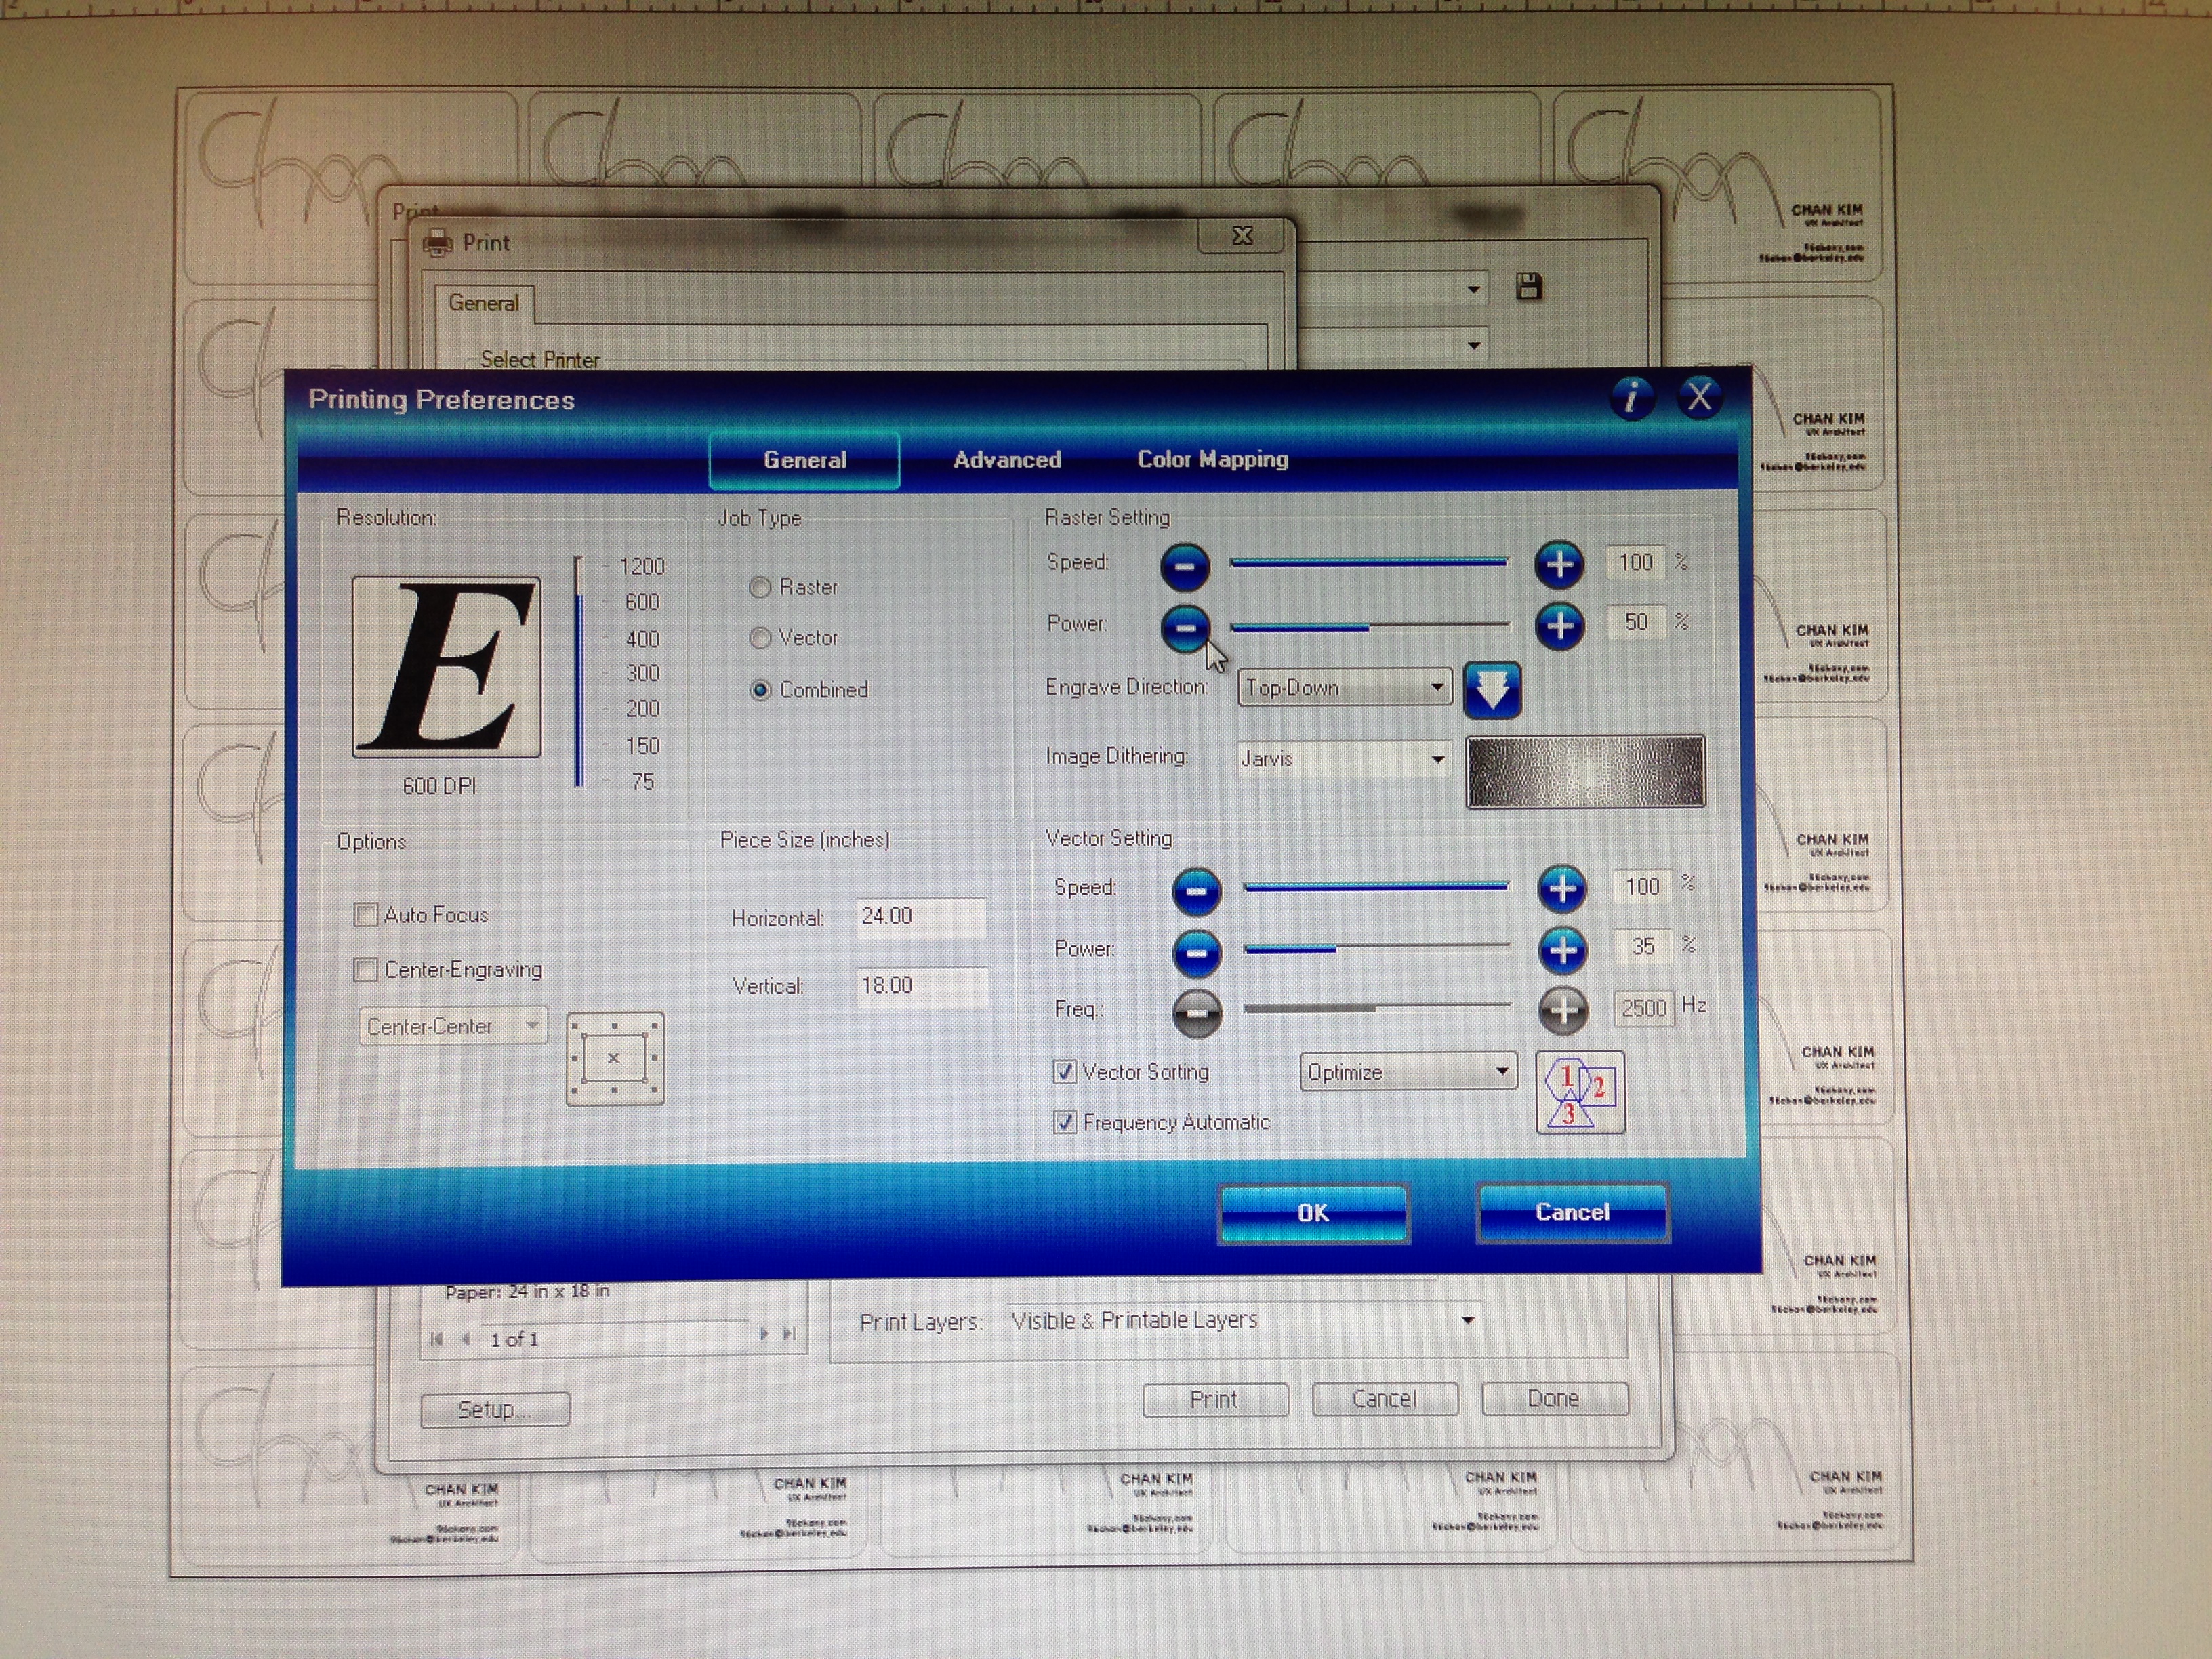
(Laser Printer)
- Adjust focus of the printer
- Put your material on the printer
- Assign the home position
(Computer)
- Adjust your design position (normally to the left-top corner)
- Adjust the setting of the laser printer as a guideline
- Keep printing your design until you find the right power and speed of the printer
Modify Yours and Print It in Bulk
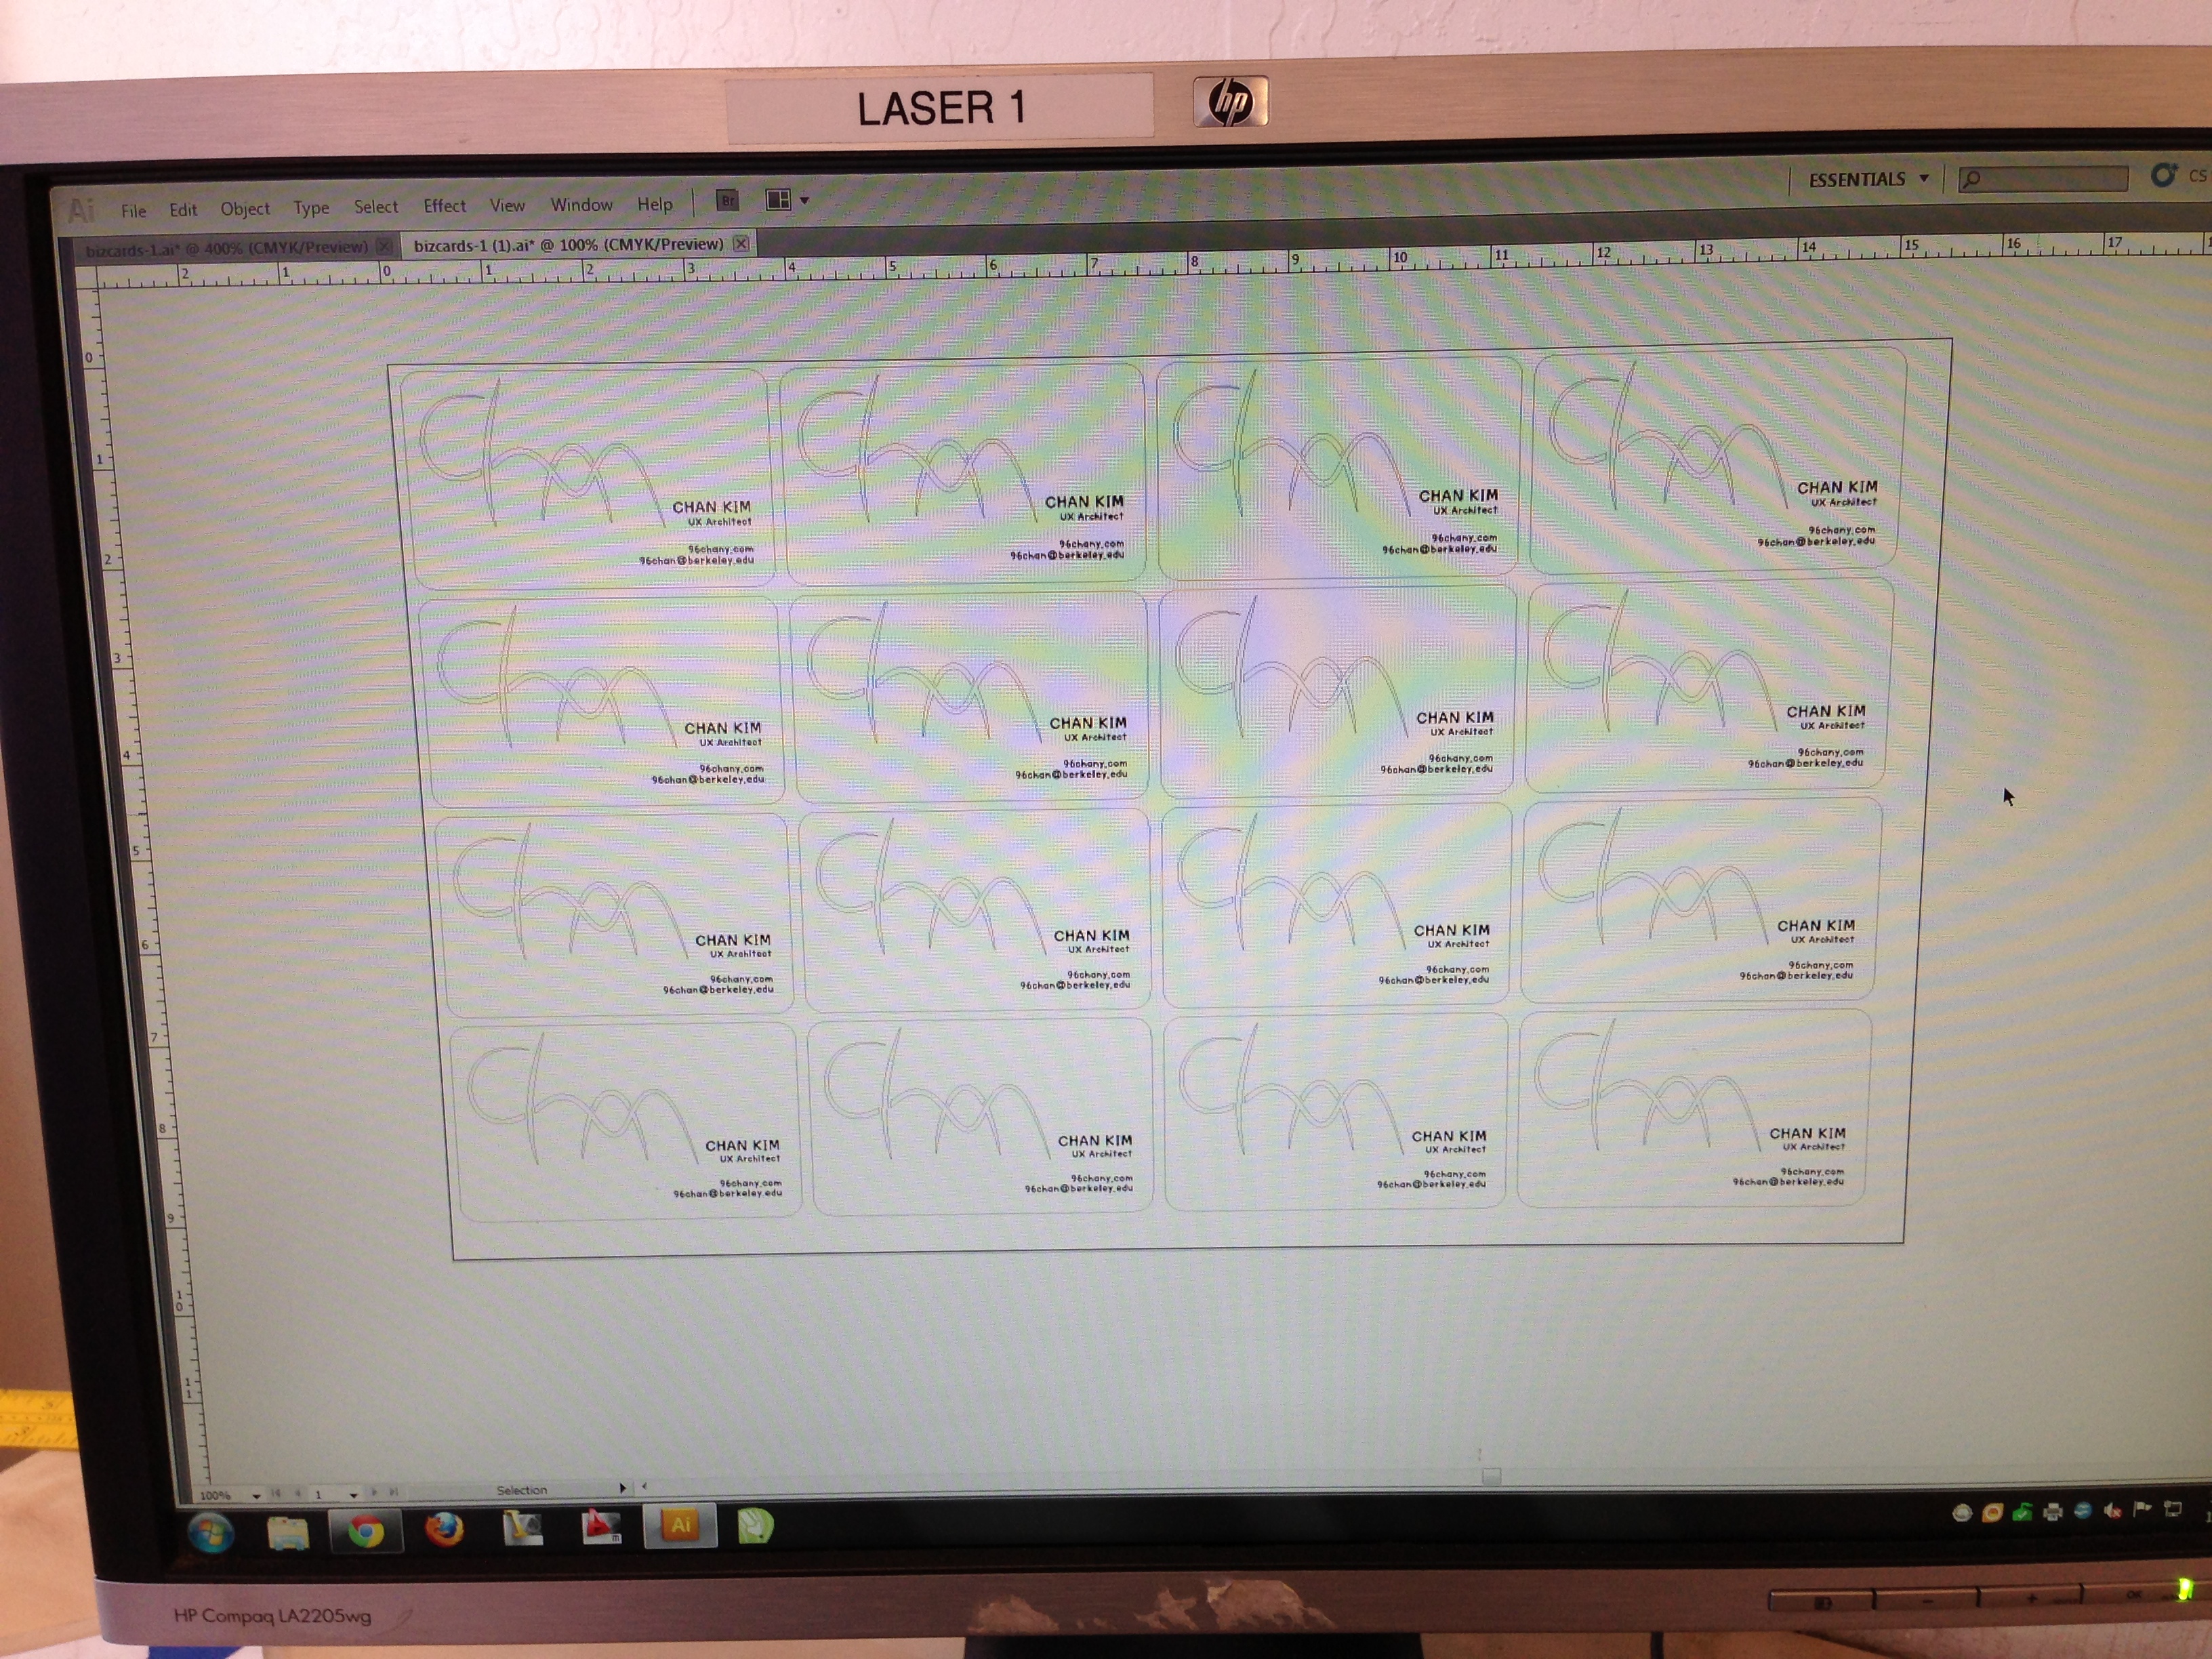
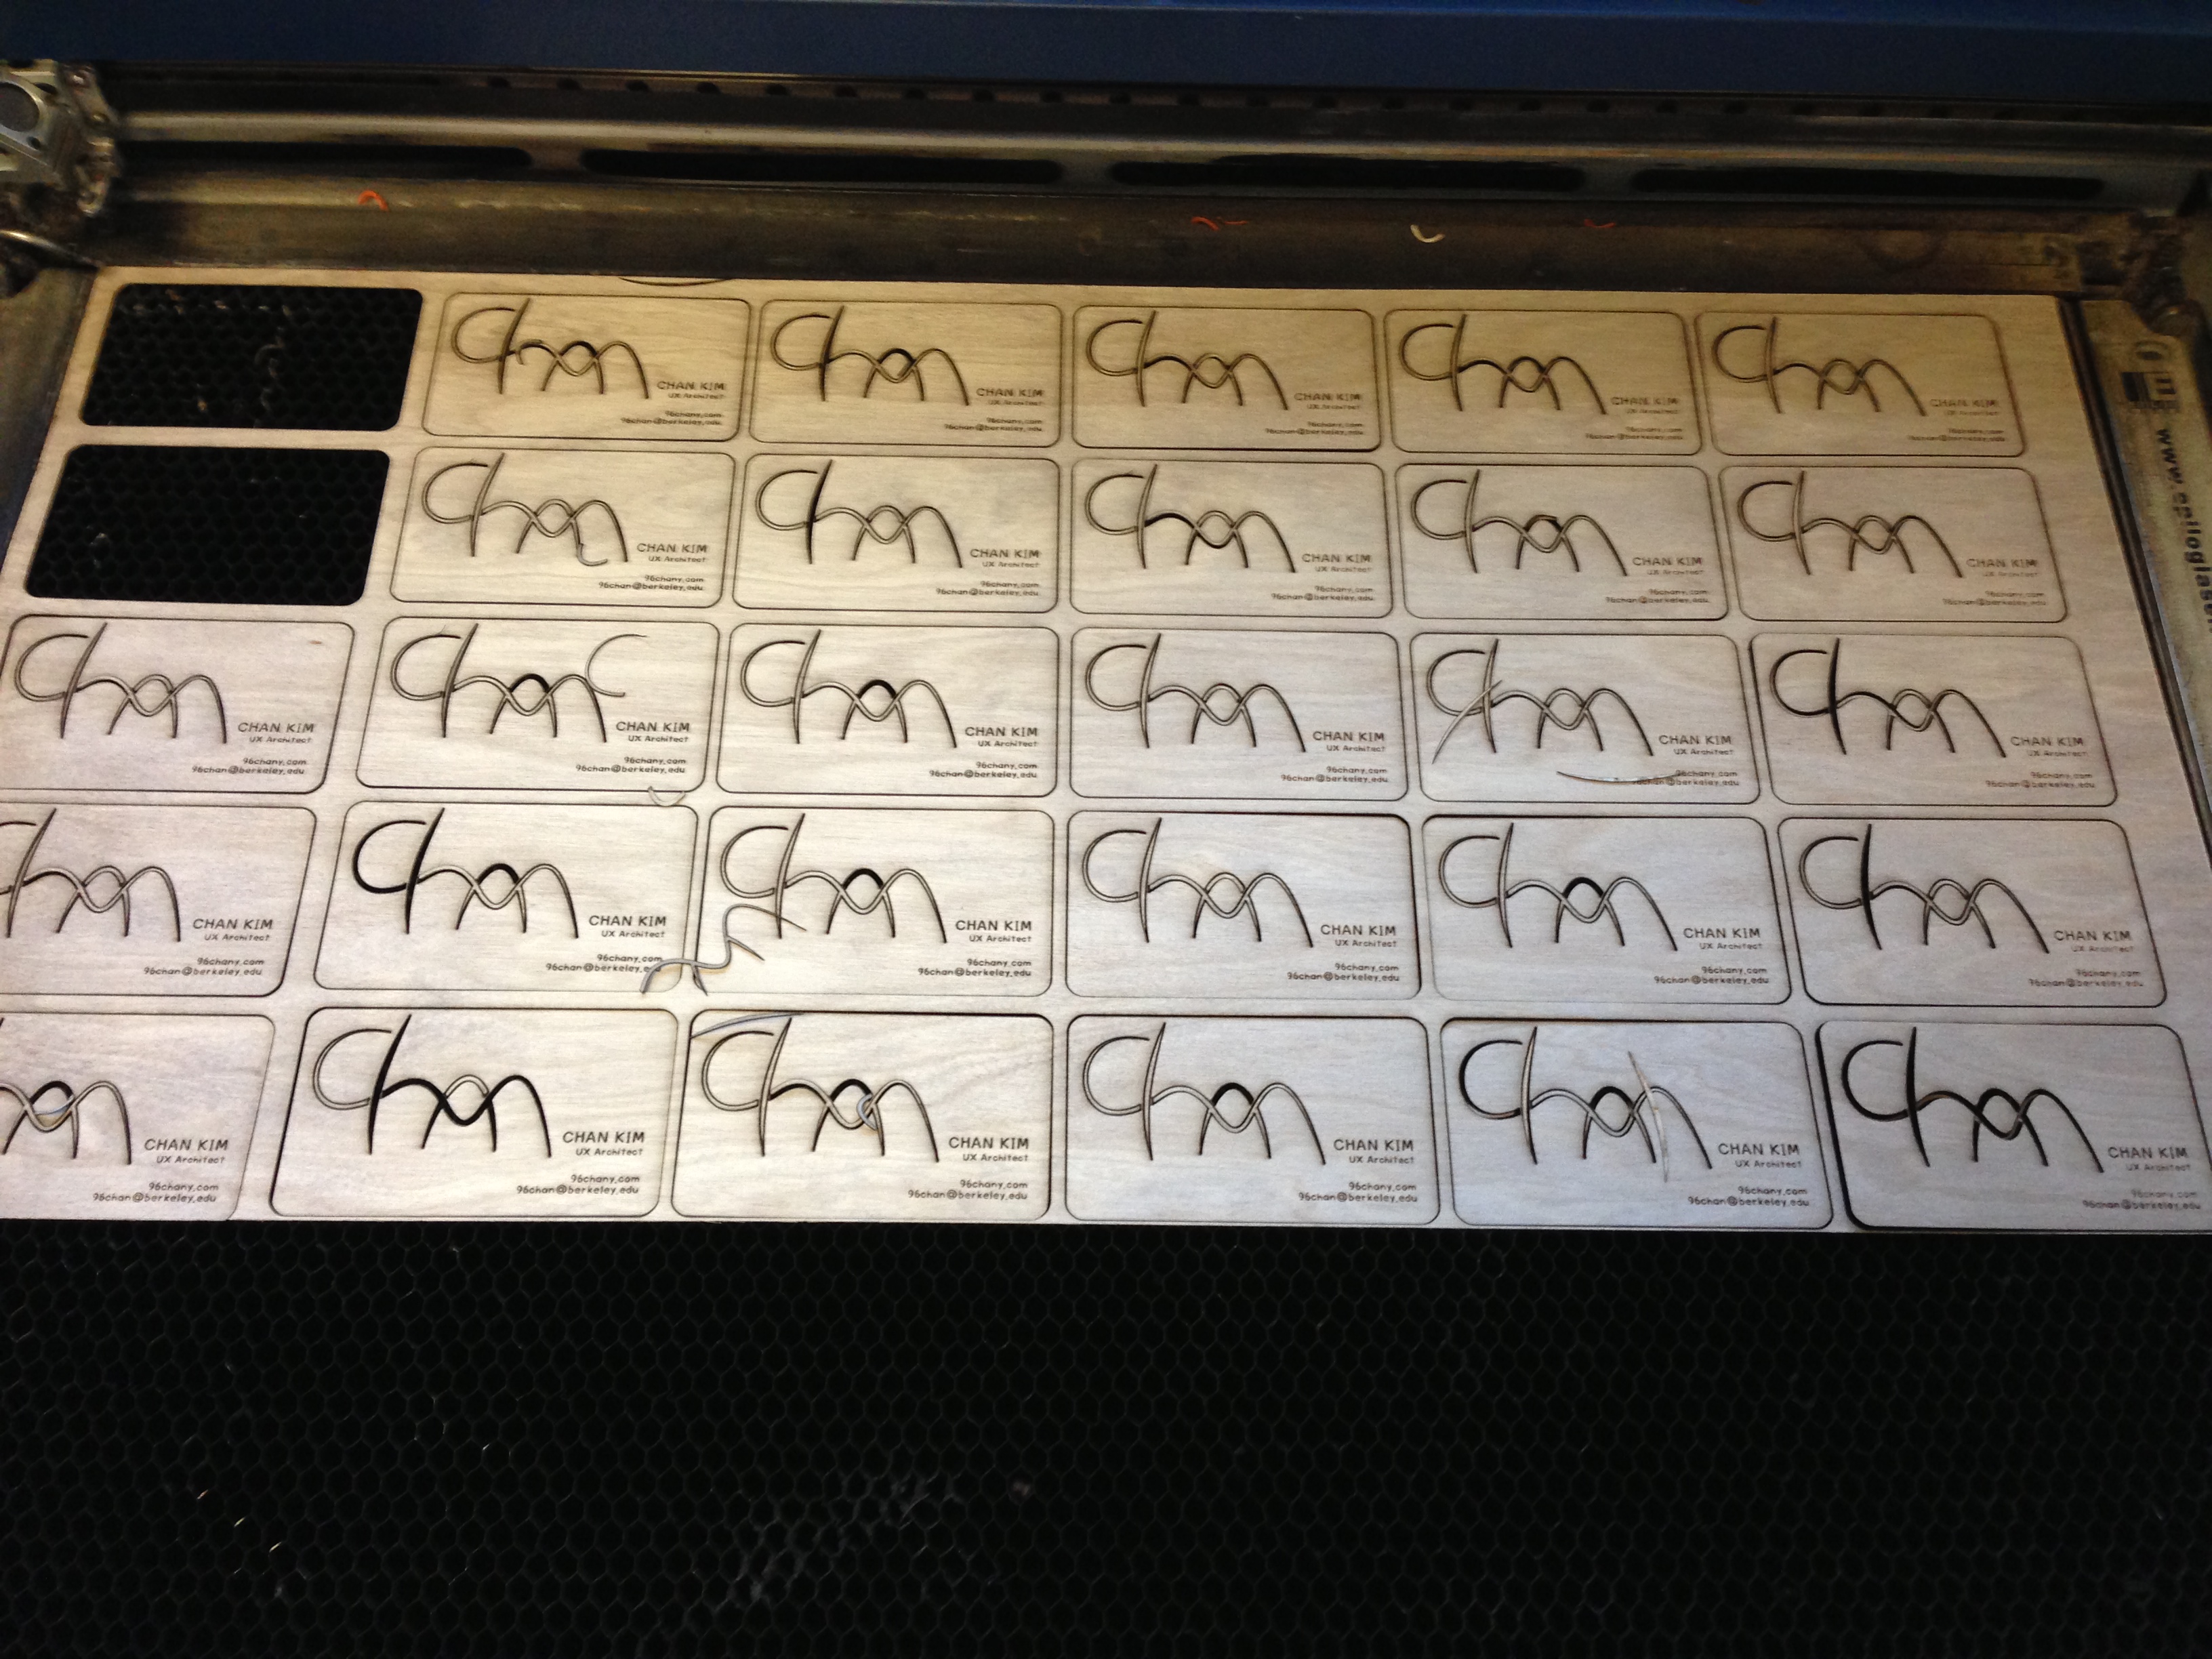
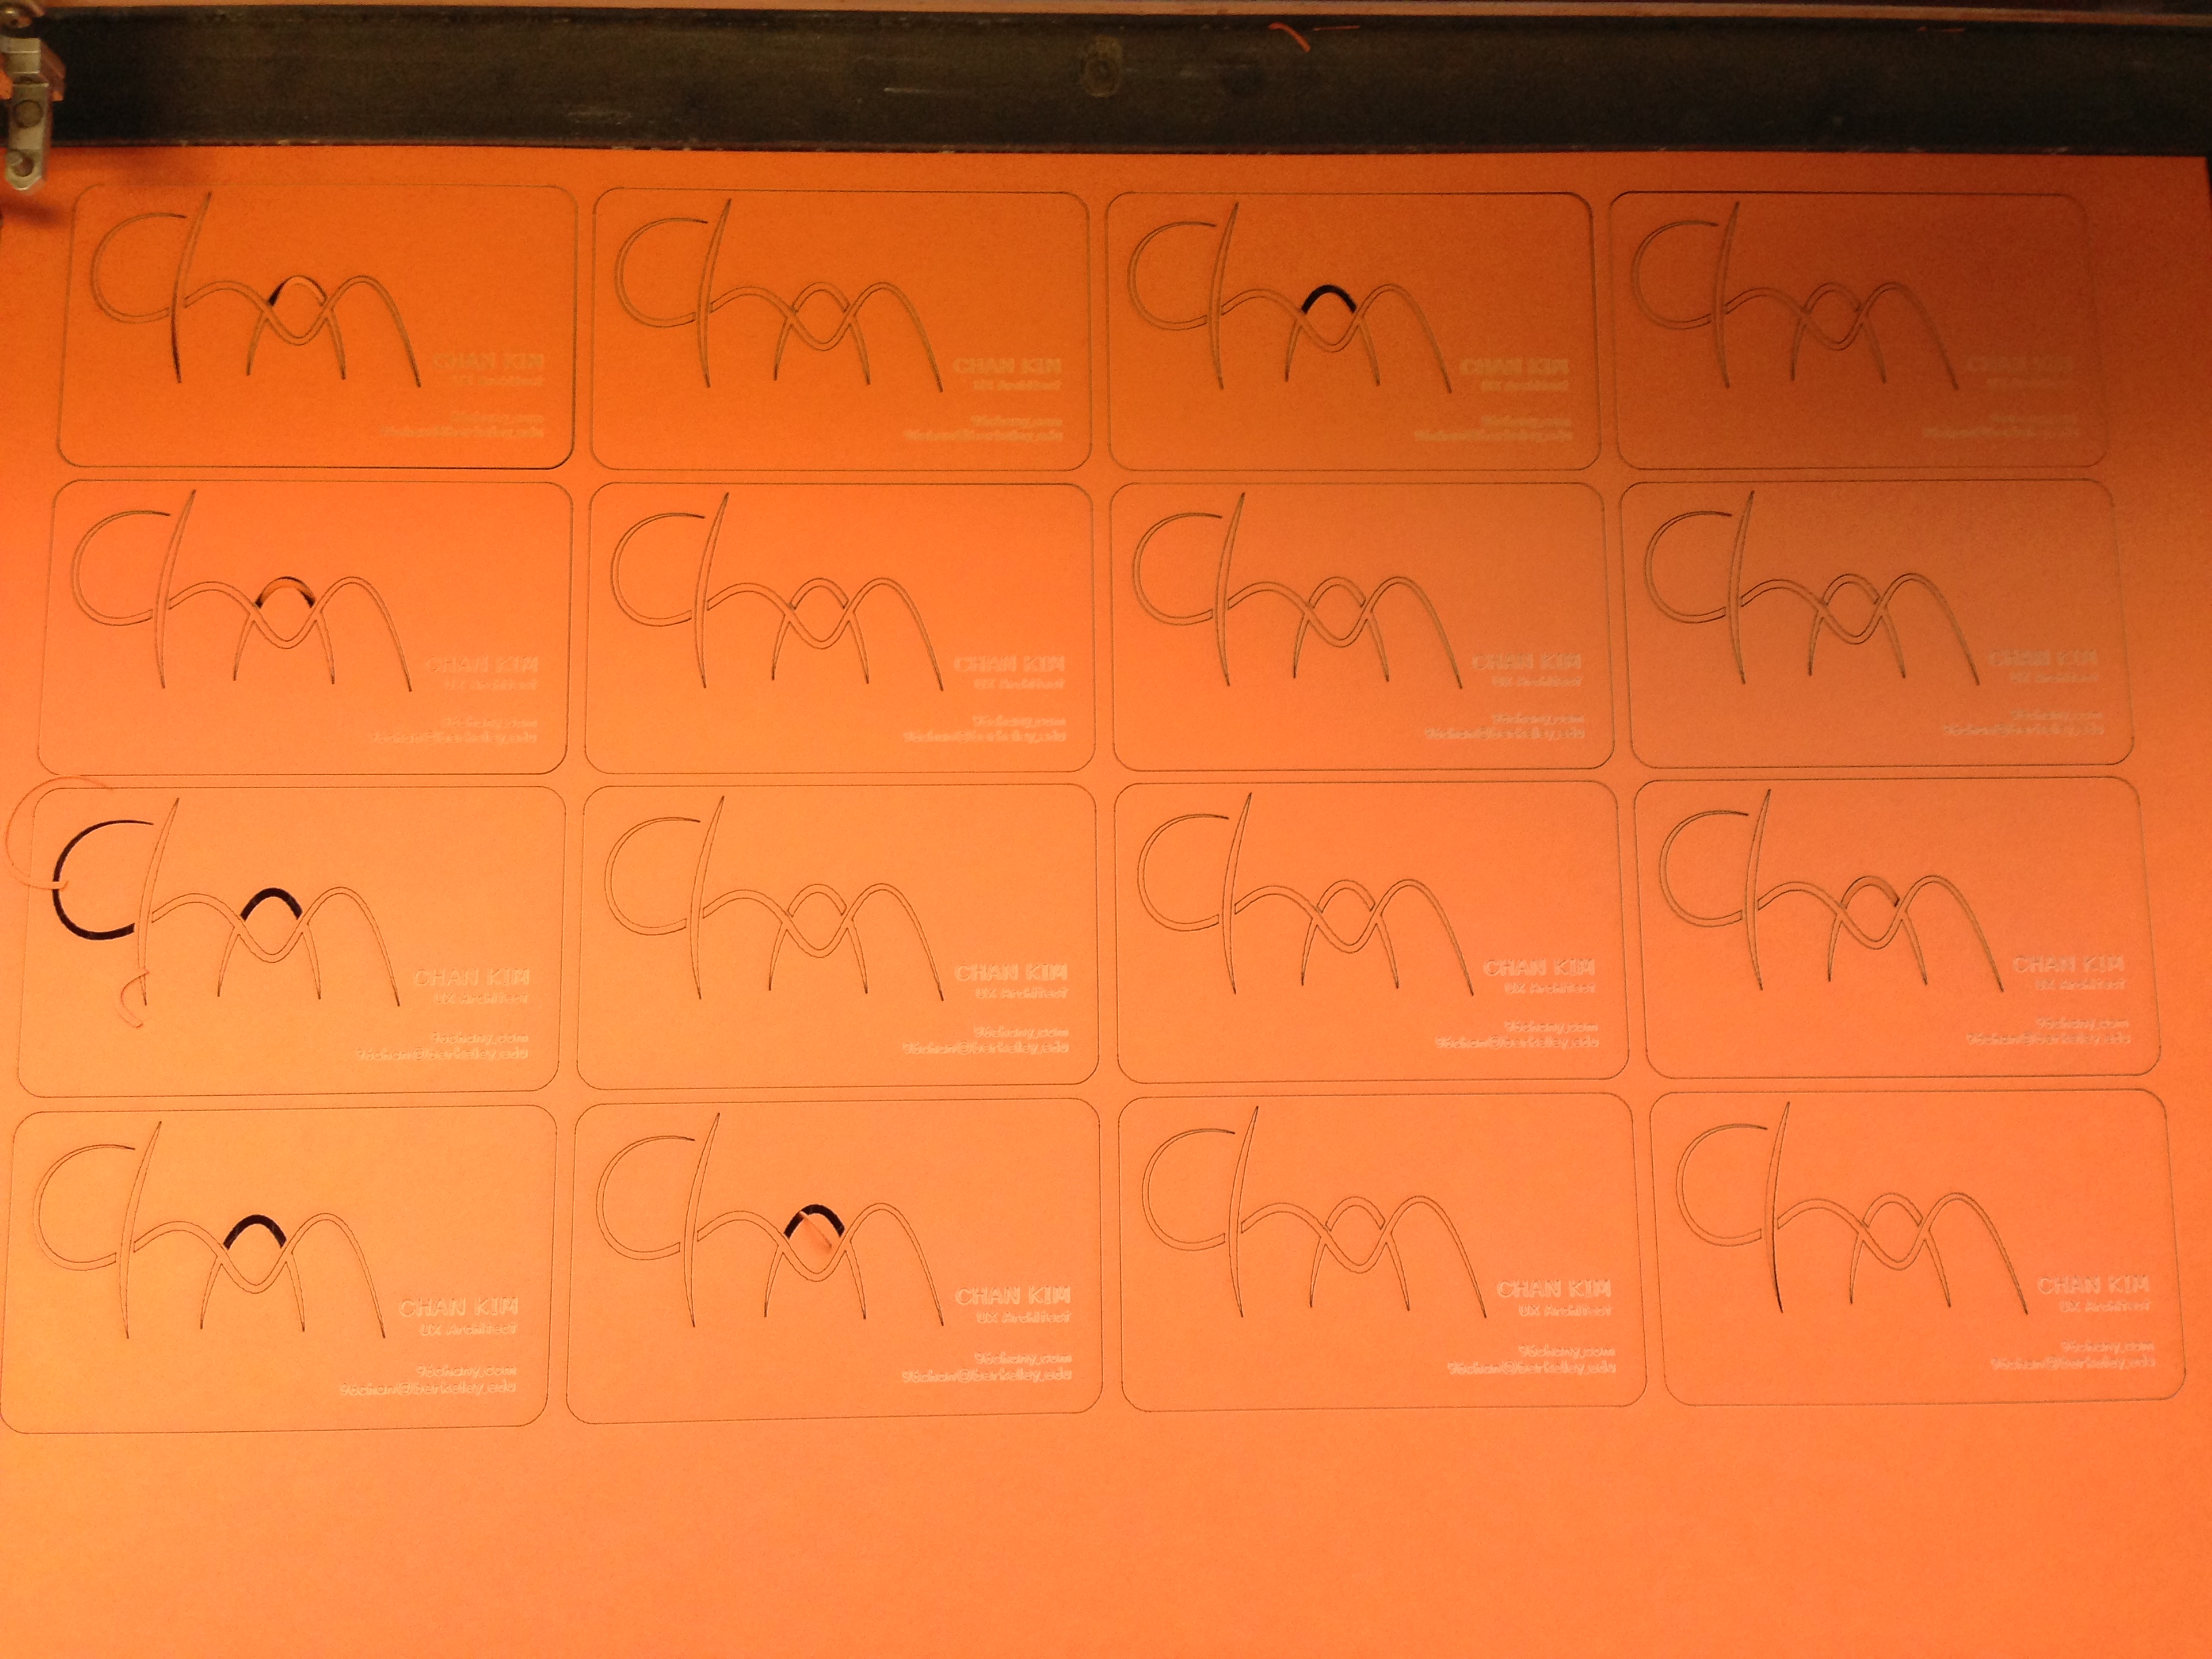
- Make sure you have enough space for cutting between close lines
- Check the depth of engraving by adjusting the speed and power of the printer
- Then, copy and paste multiple designs on the expanded canvas according to your material size
- Print it !
By the way, I made it at TechShop in San Francisco
- Check the depth of engraving by adjusting the speed and power of the printer
- Then, copy and paste multiple designs on the expanded canvas according to your material size
- Print it !
By the way, I made it at TechShop in San Francisco