DIY Multipurpose Notebook
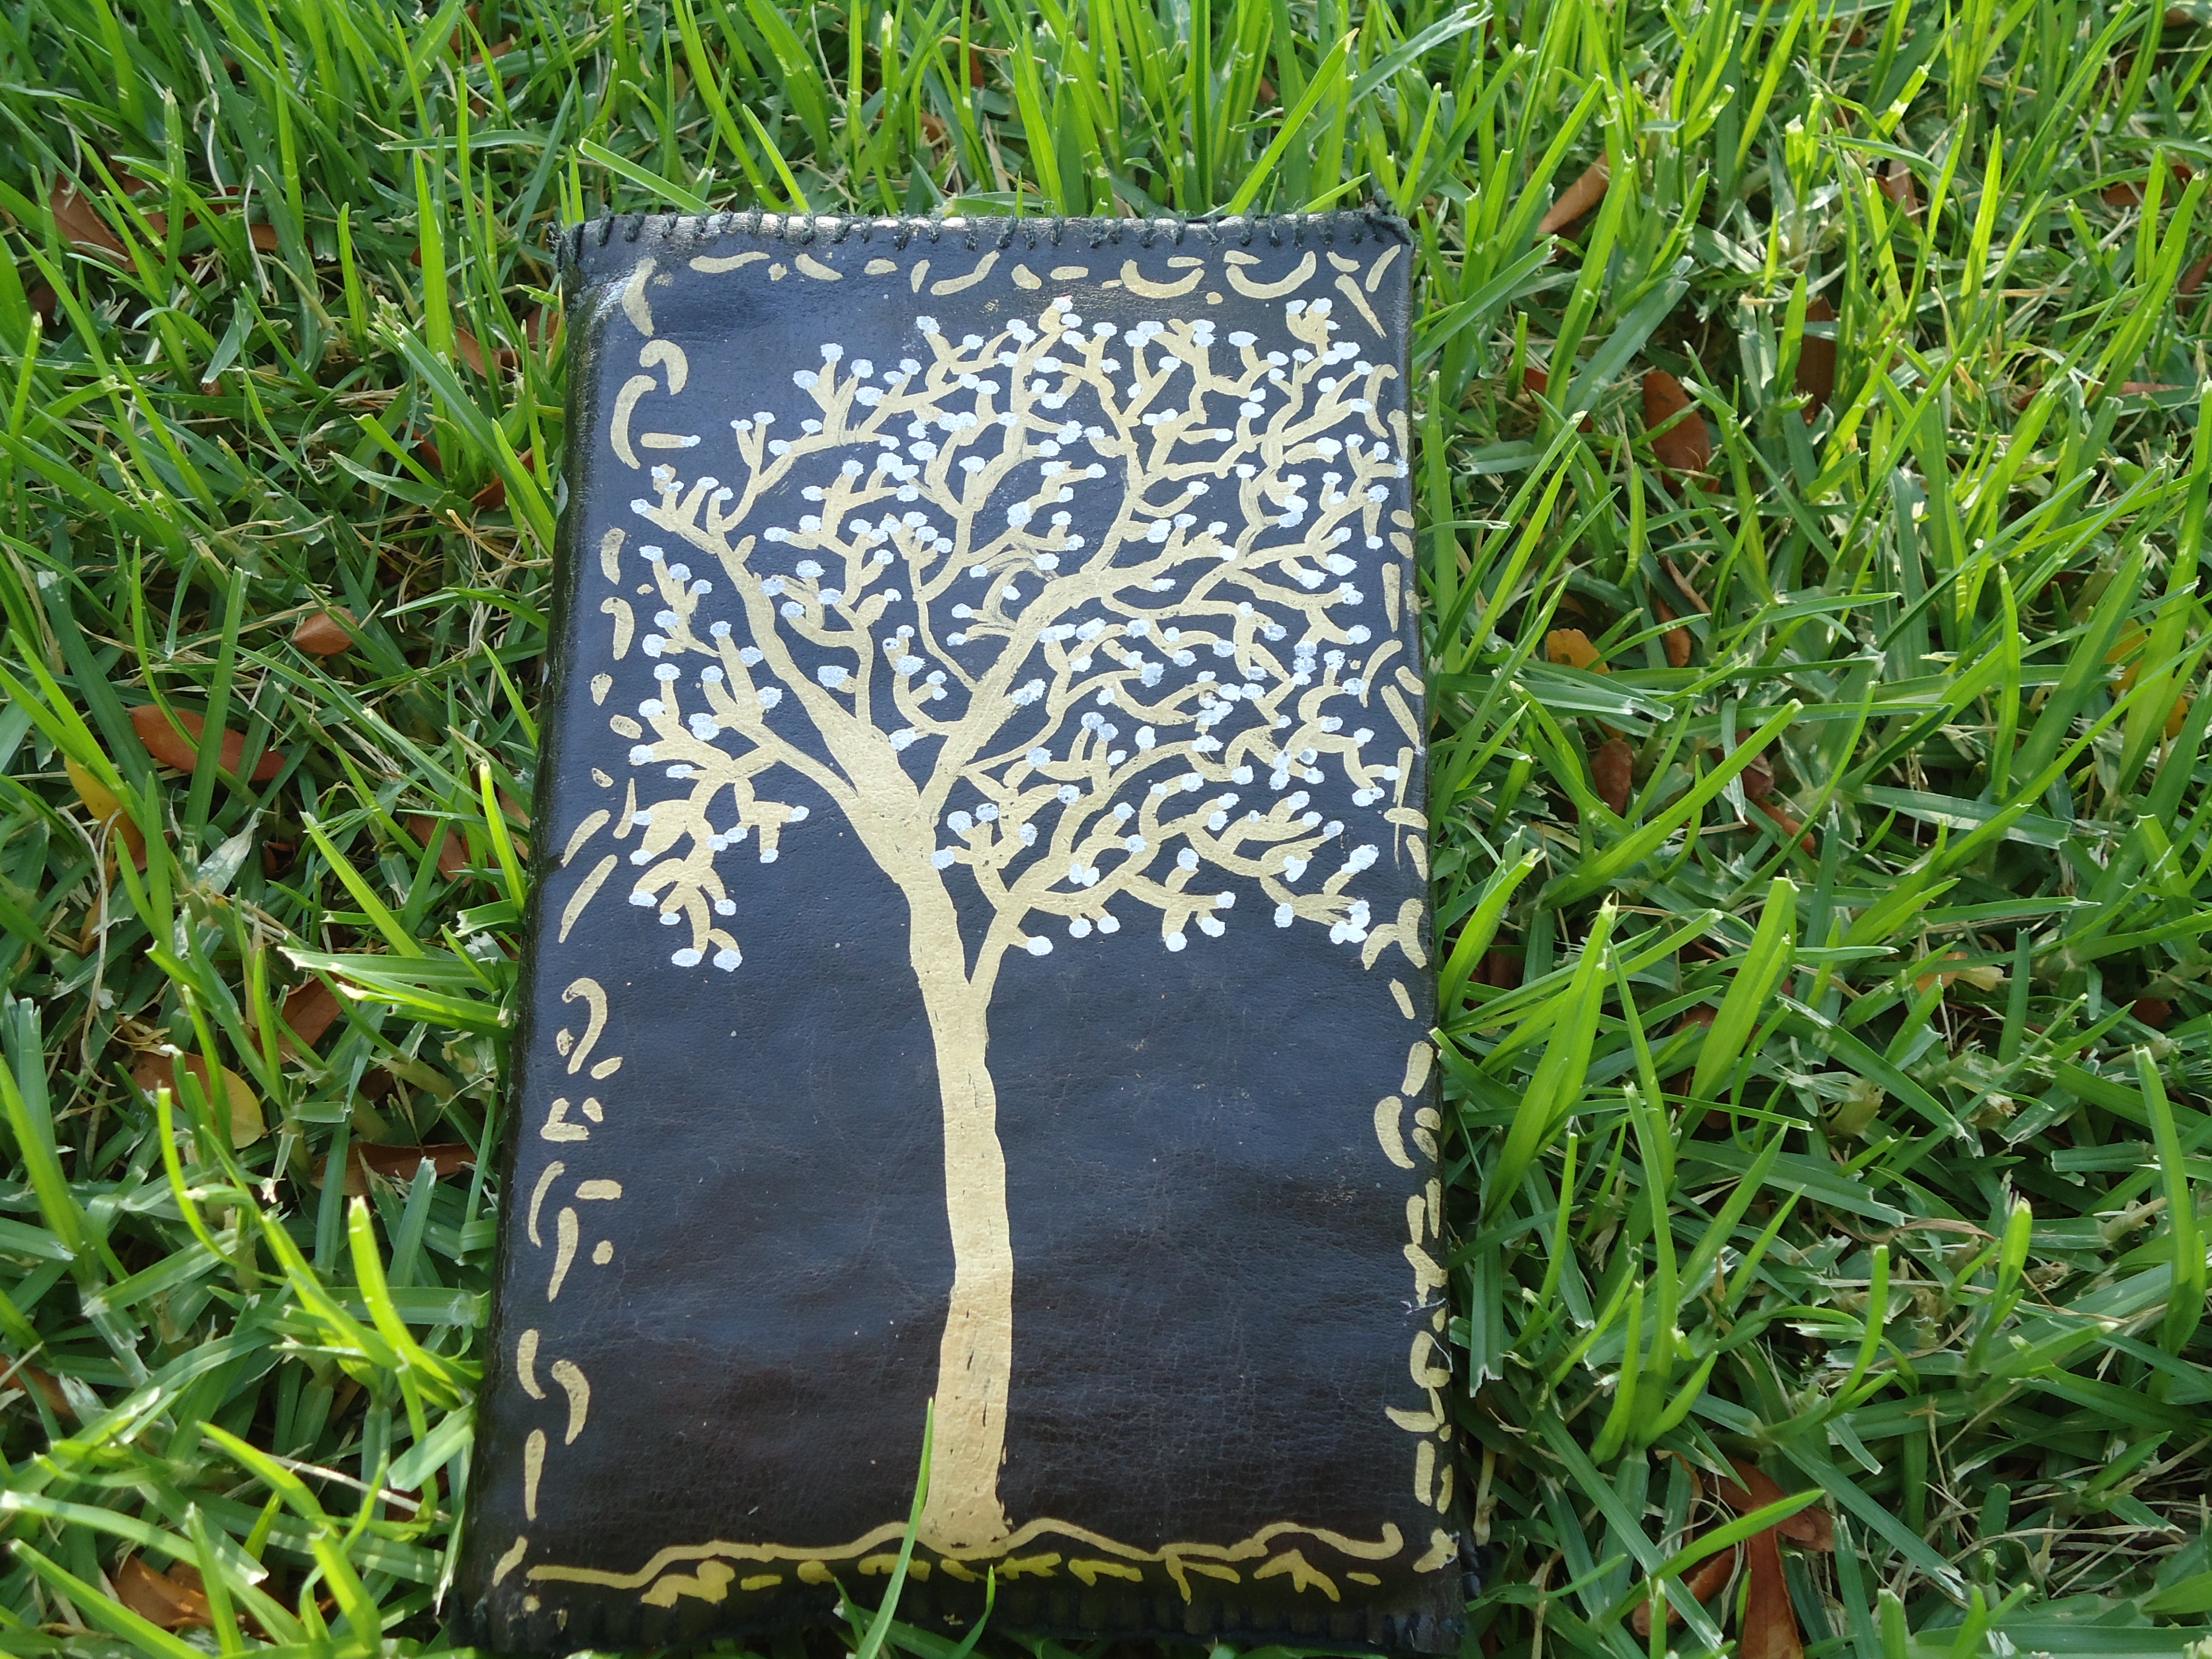
Some time ago I discovered that I was in need of a notebook to organize my life; to write down ideas, poems, to keep quotes at hand or just to sketch a new invention; and none of the notebooks I could find suited my needs.
So I went to work and designed a notebook that can do all of the things listed above, and to be really cool at the same time. (because it's handmade)
Materials and Tools
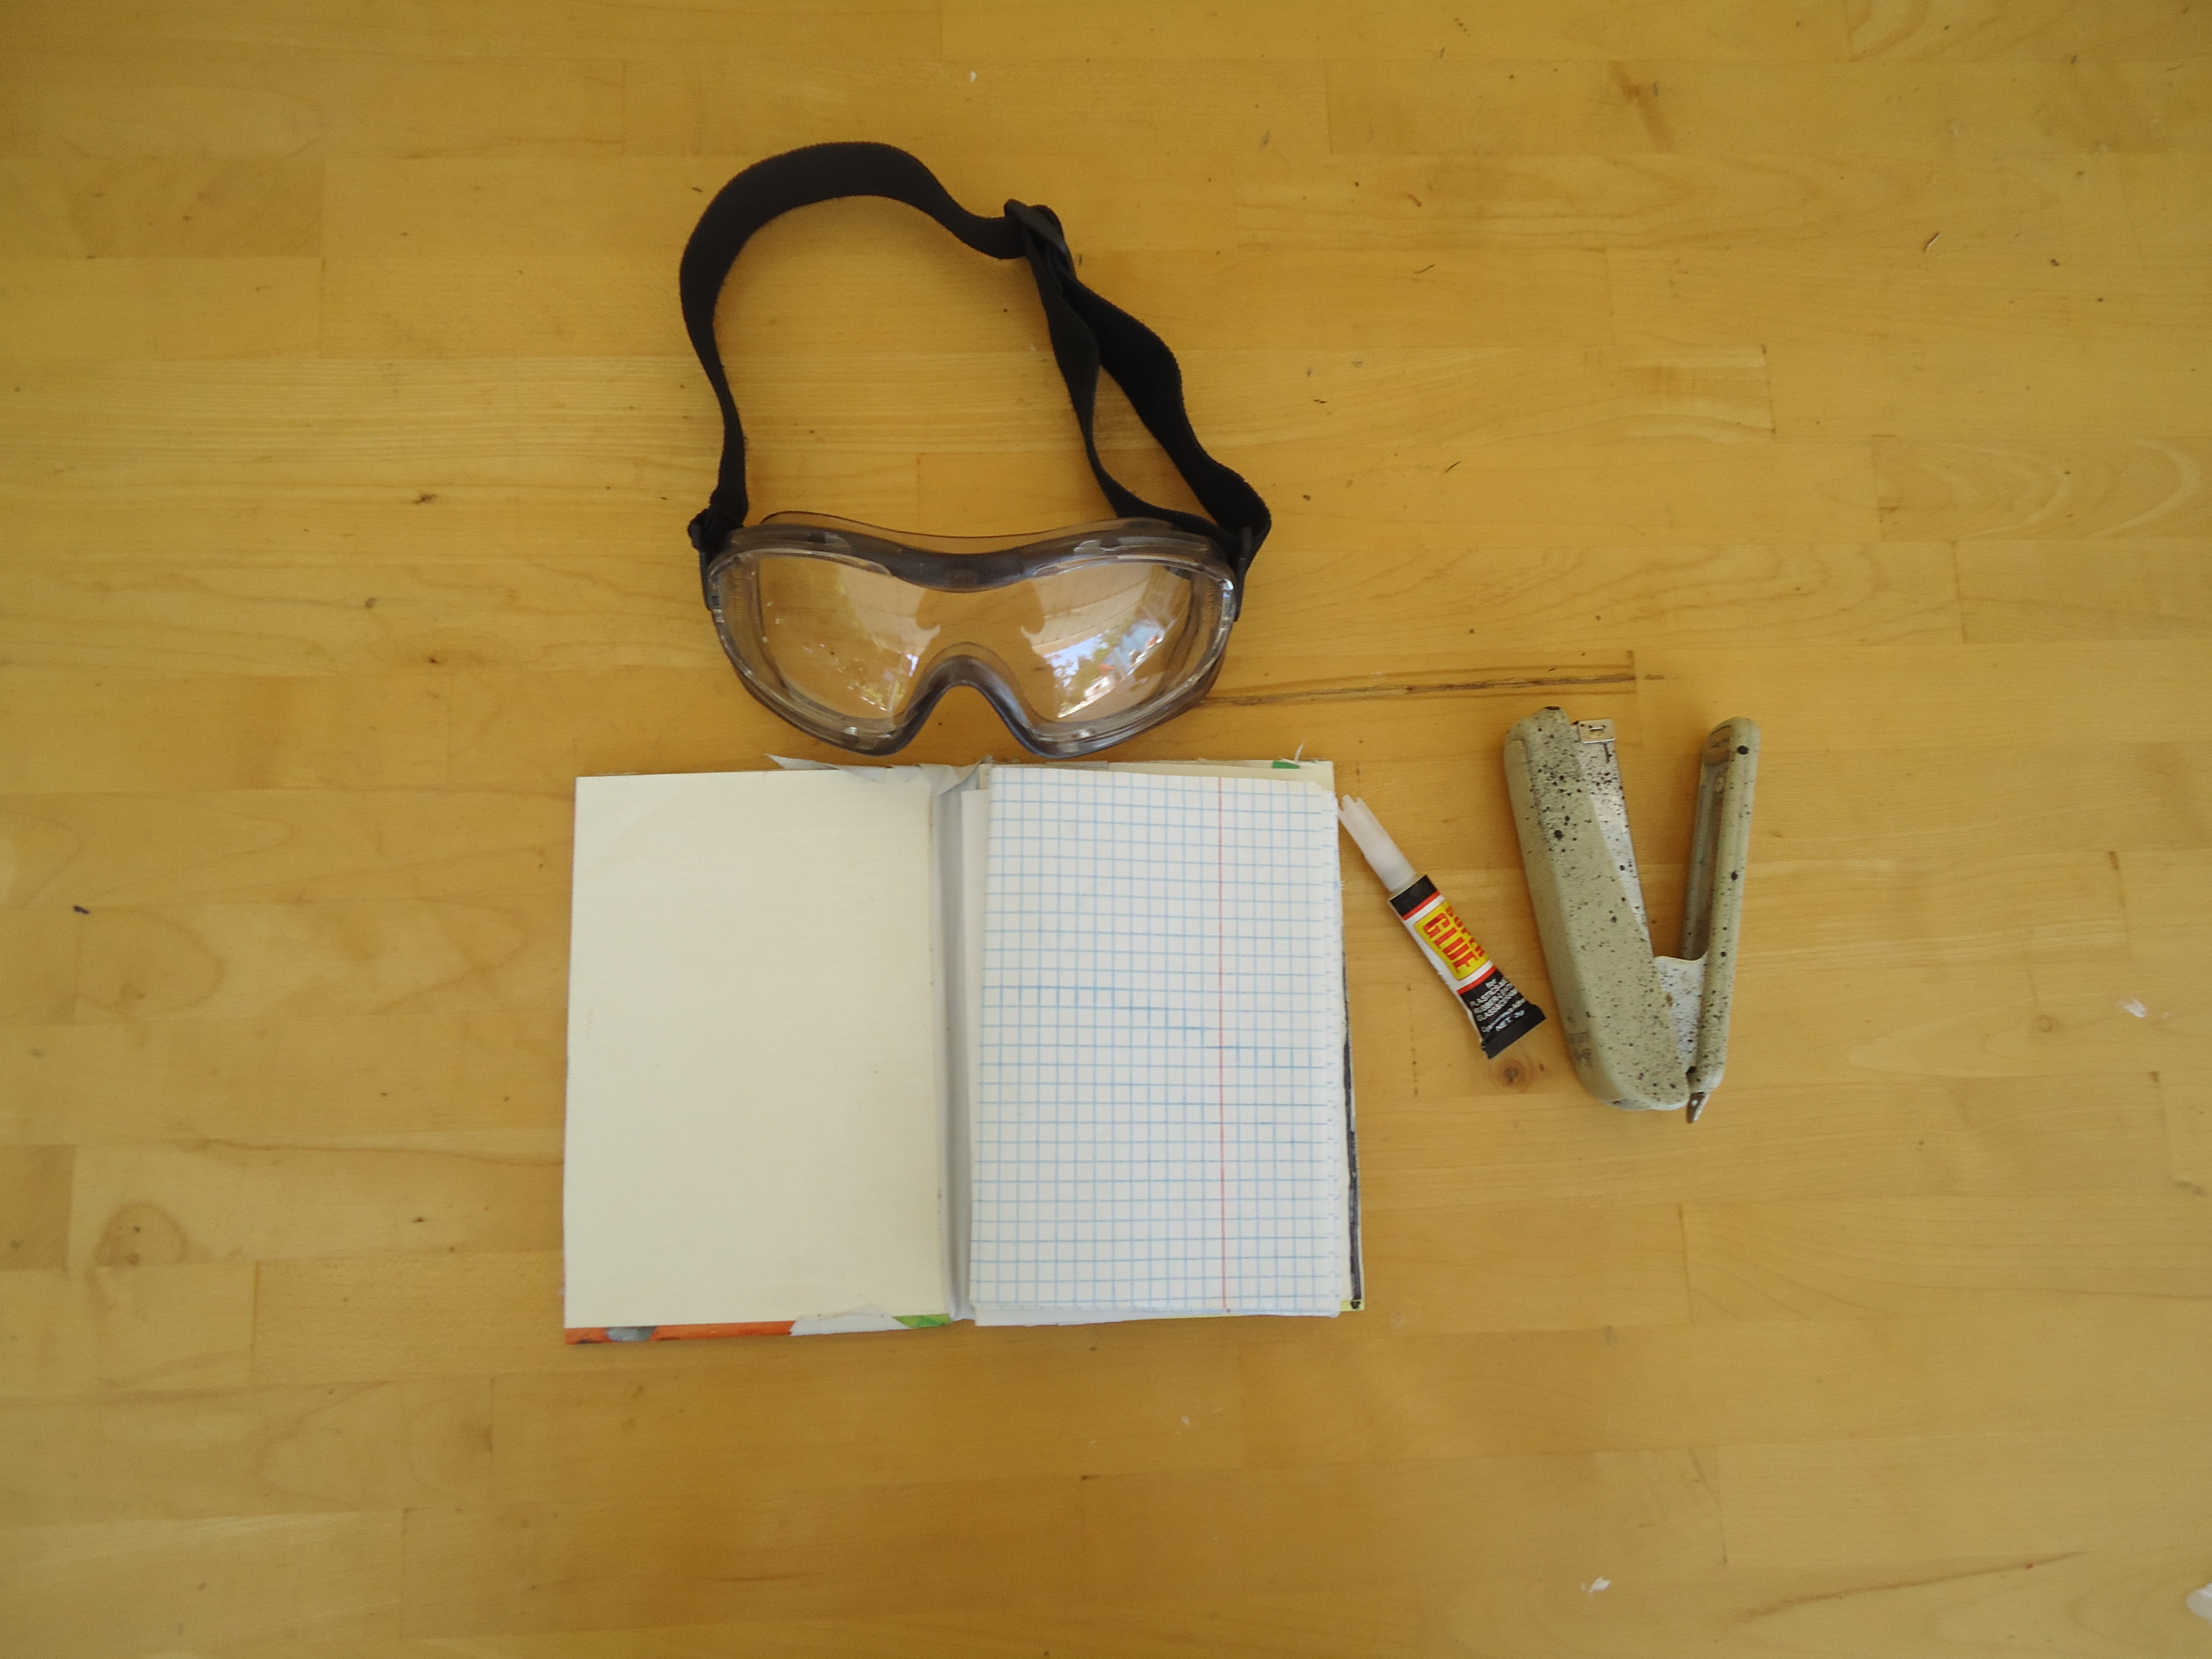
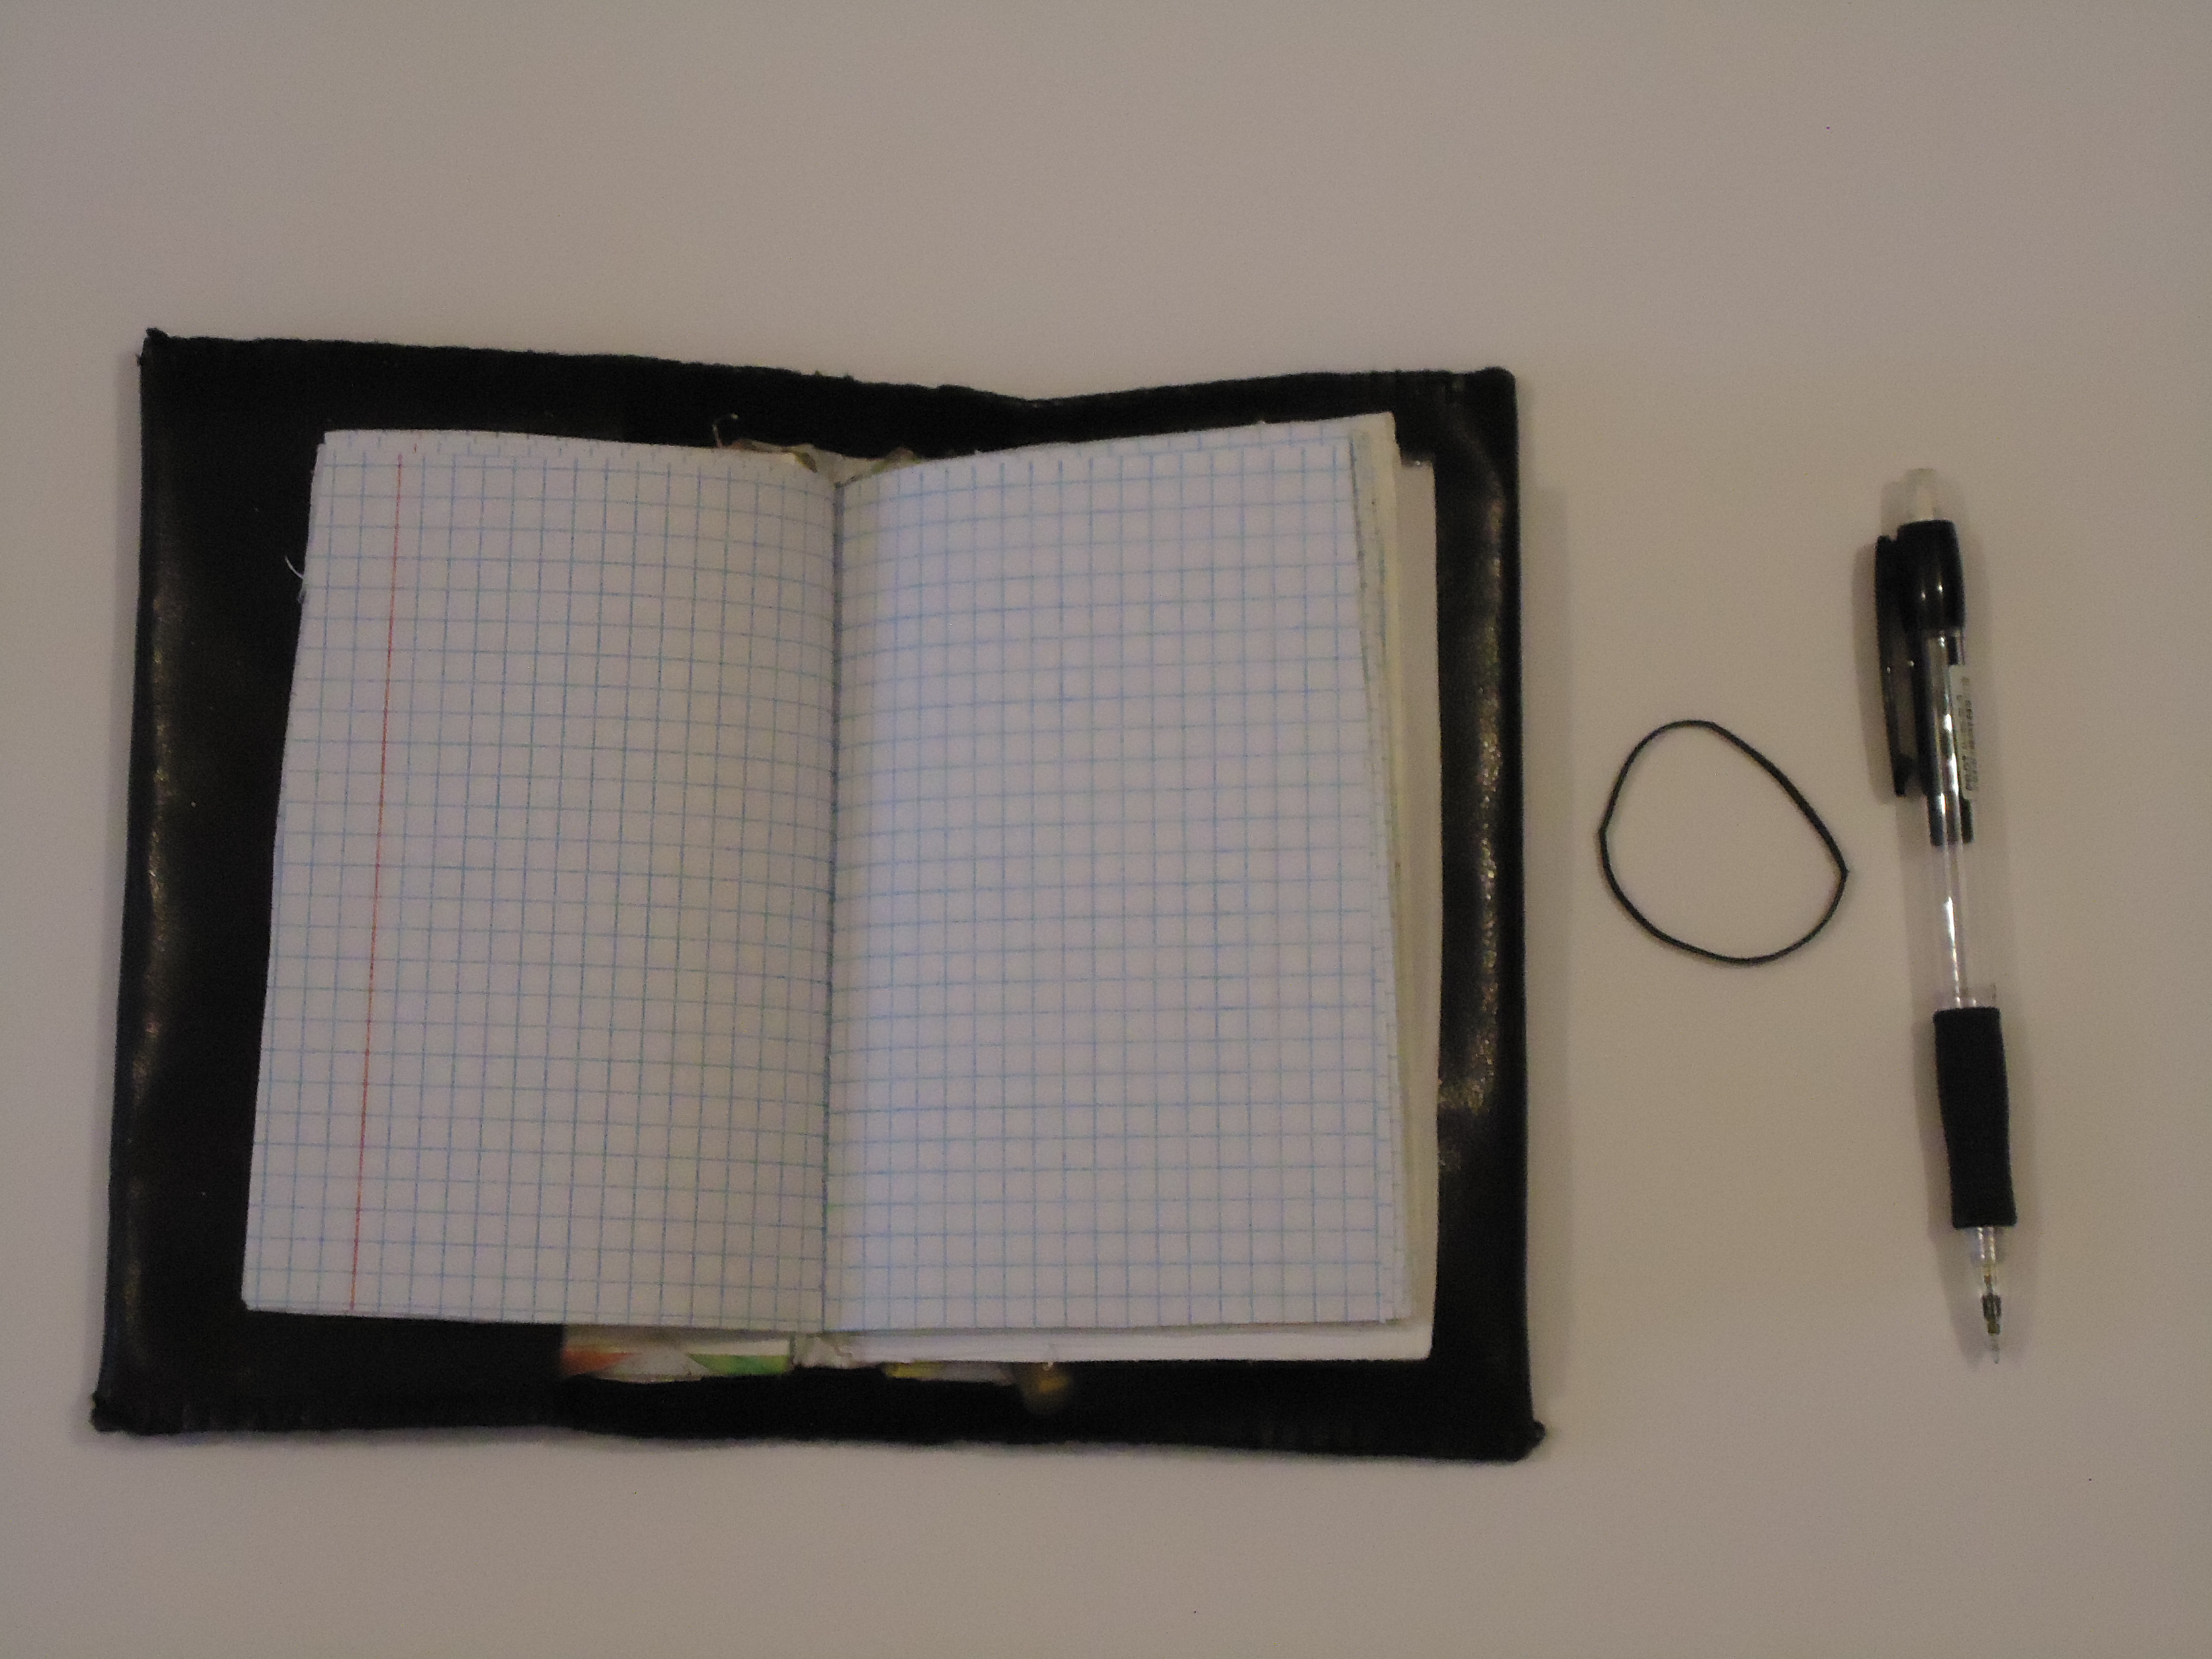
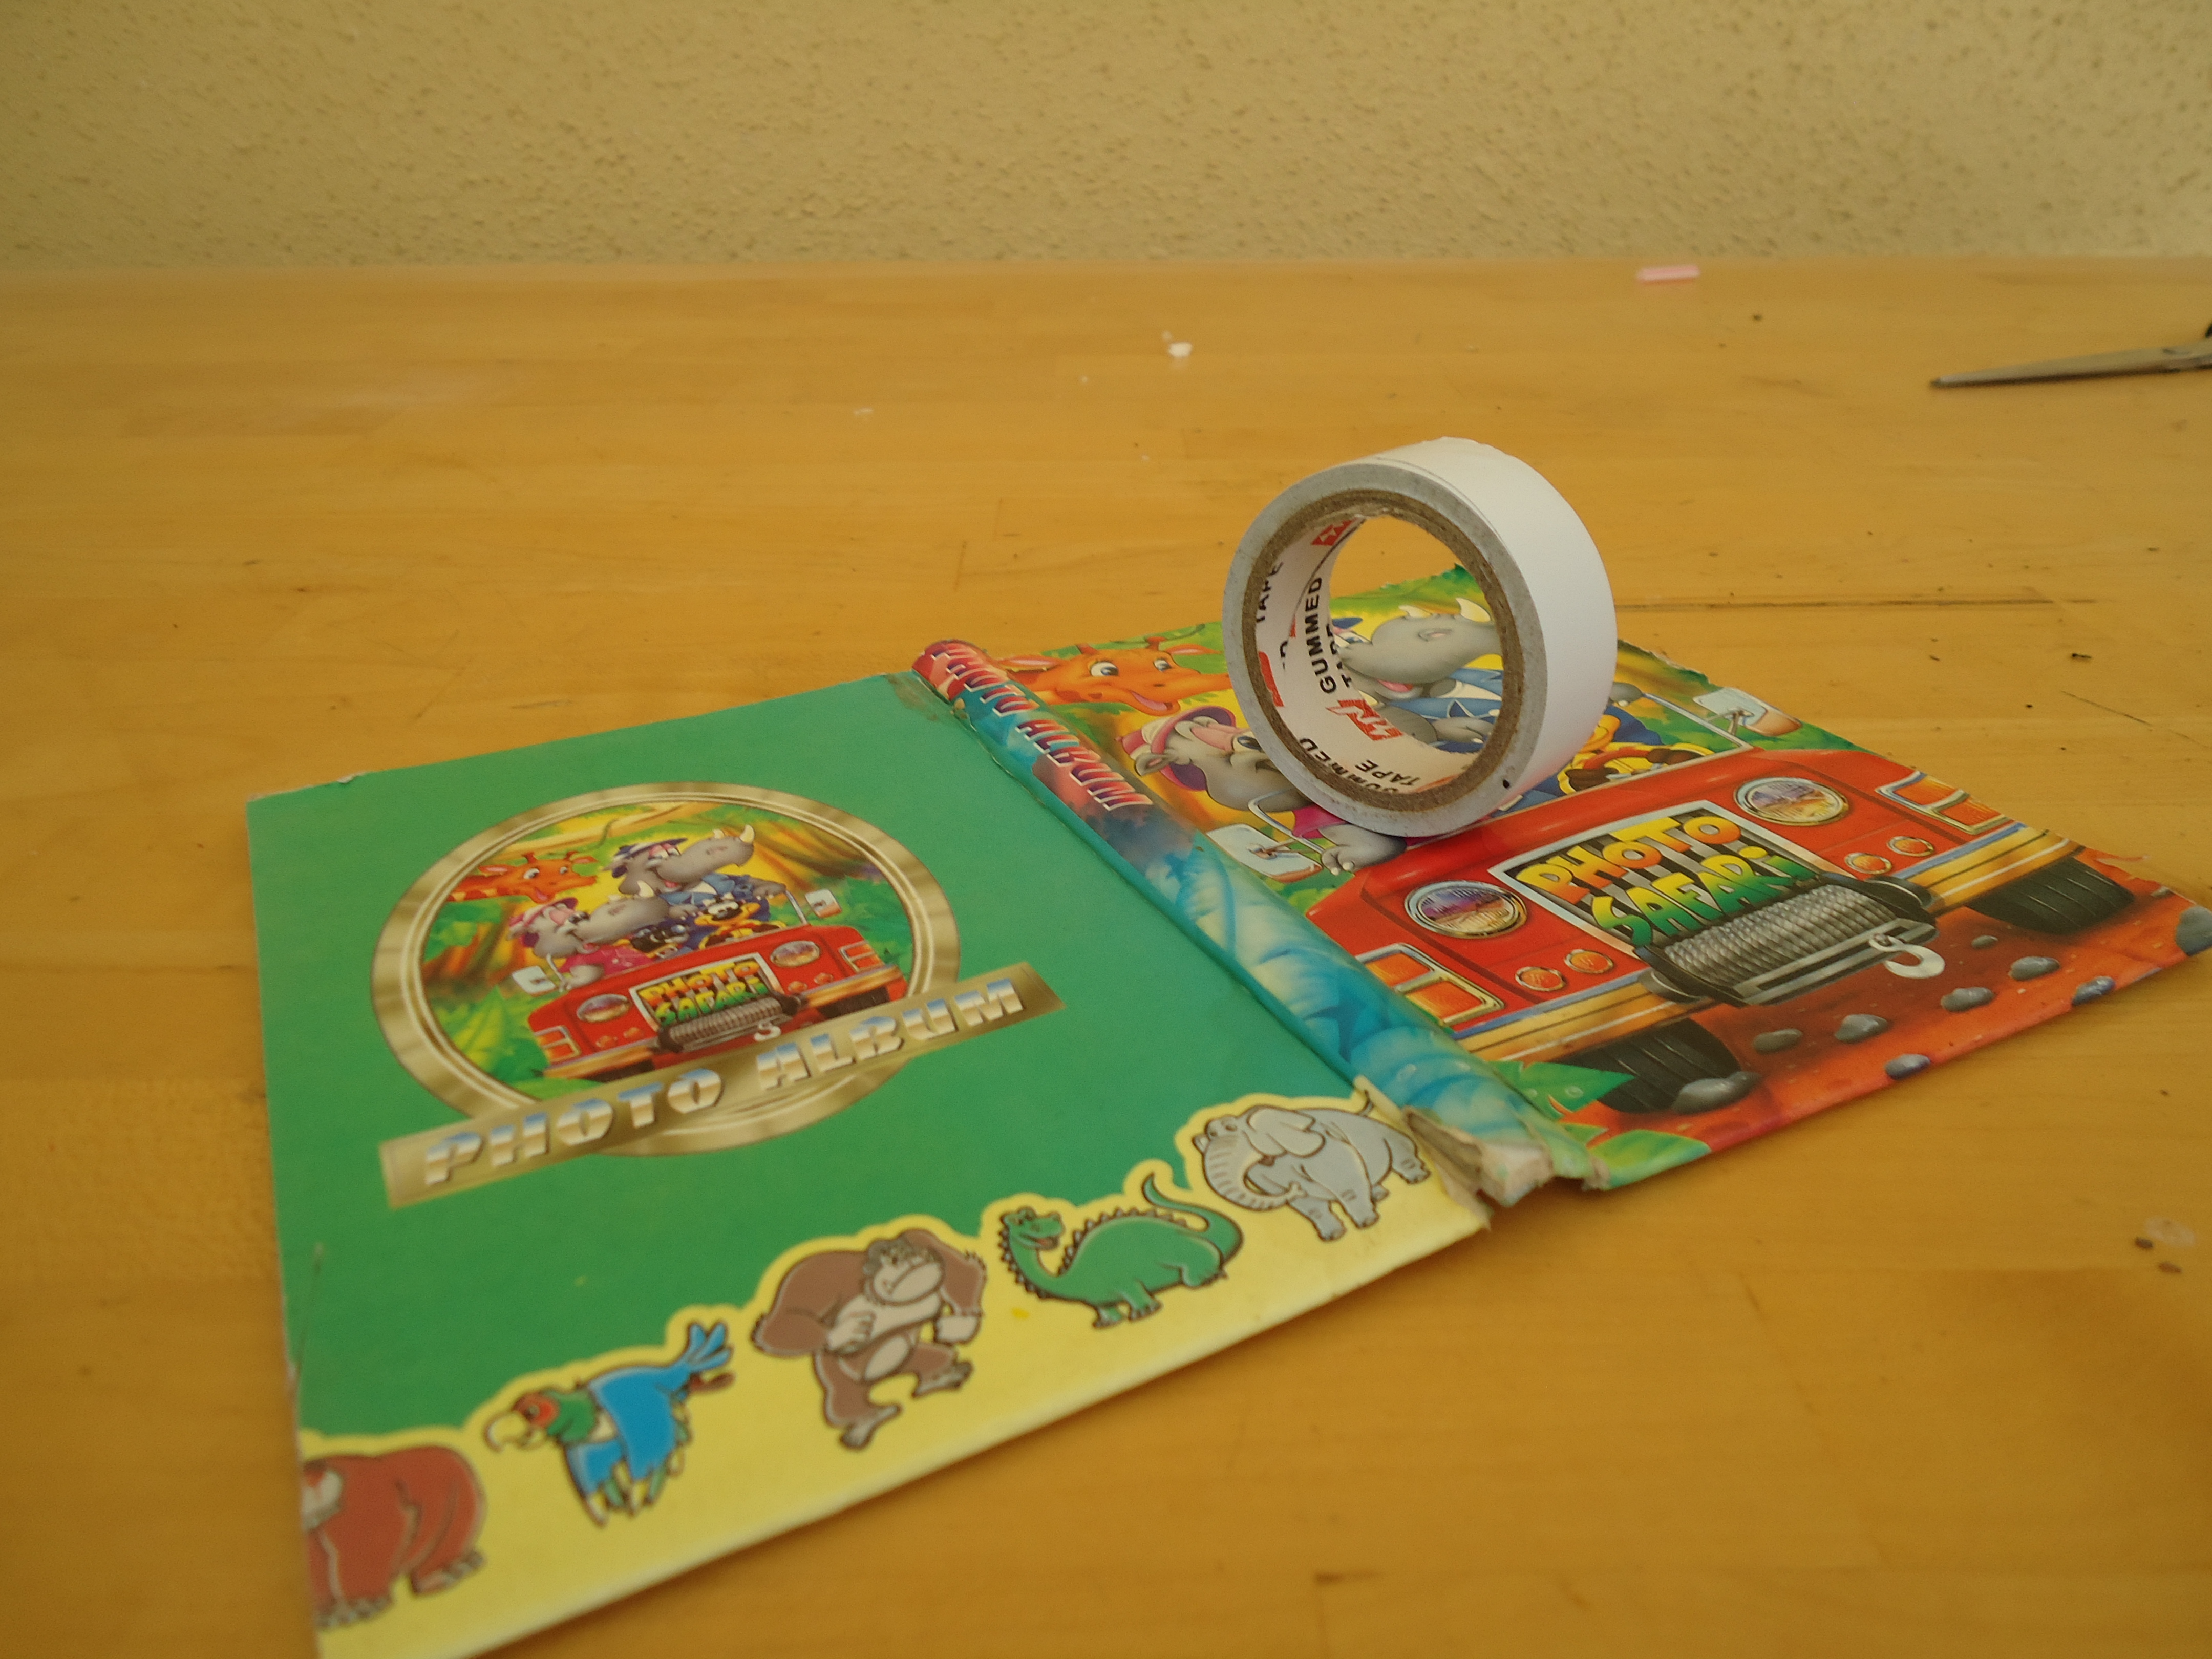
For this project you'll need : a hard book cover, 1 piece of leather about 16' long and 7' wide (that's 40 by 18 in cm) 15 A4 math pages, 15 A4 writing pages, 15 A4 blank pages and 1 A3 transparent page on which you can write with a white-board marker and then erase the writing.
Tools: stapler, glue, needle and thread... and some patience.
Begin!
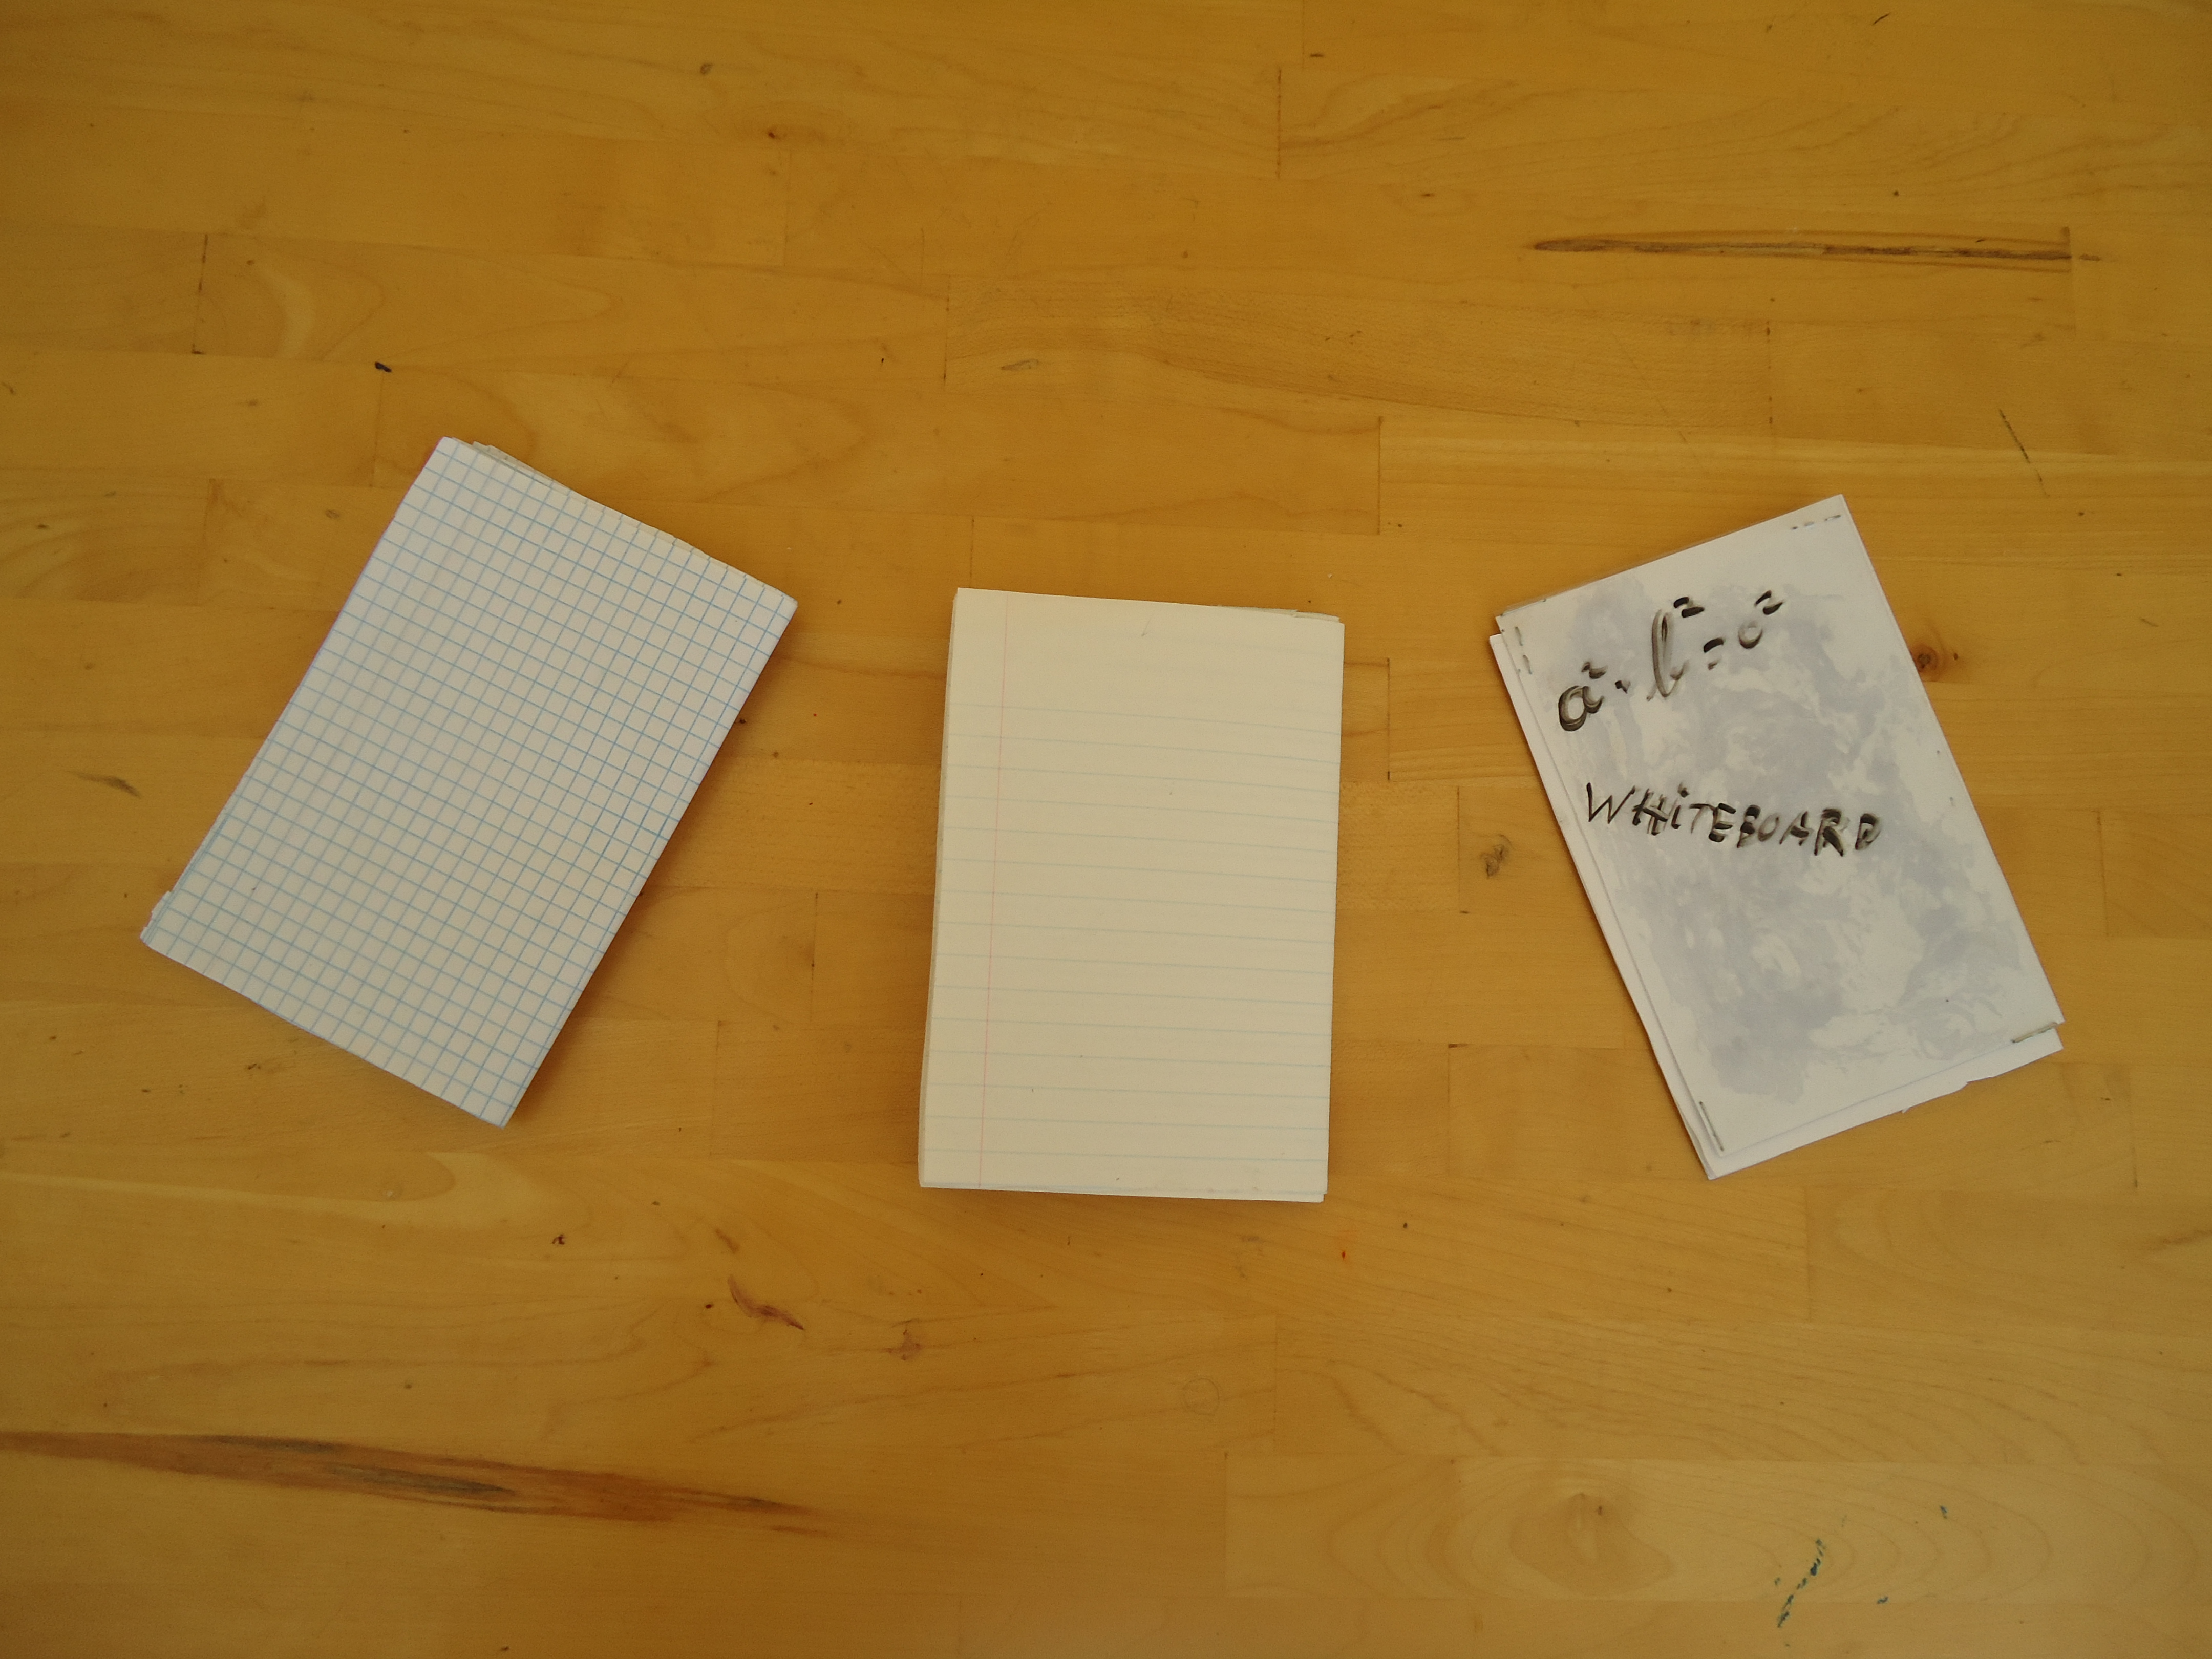
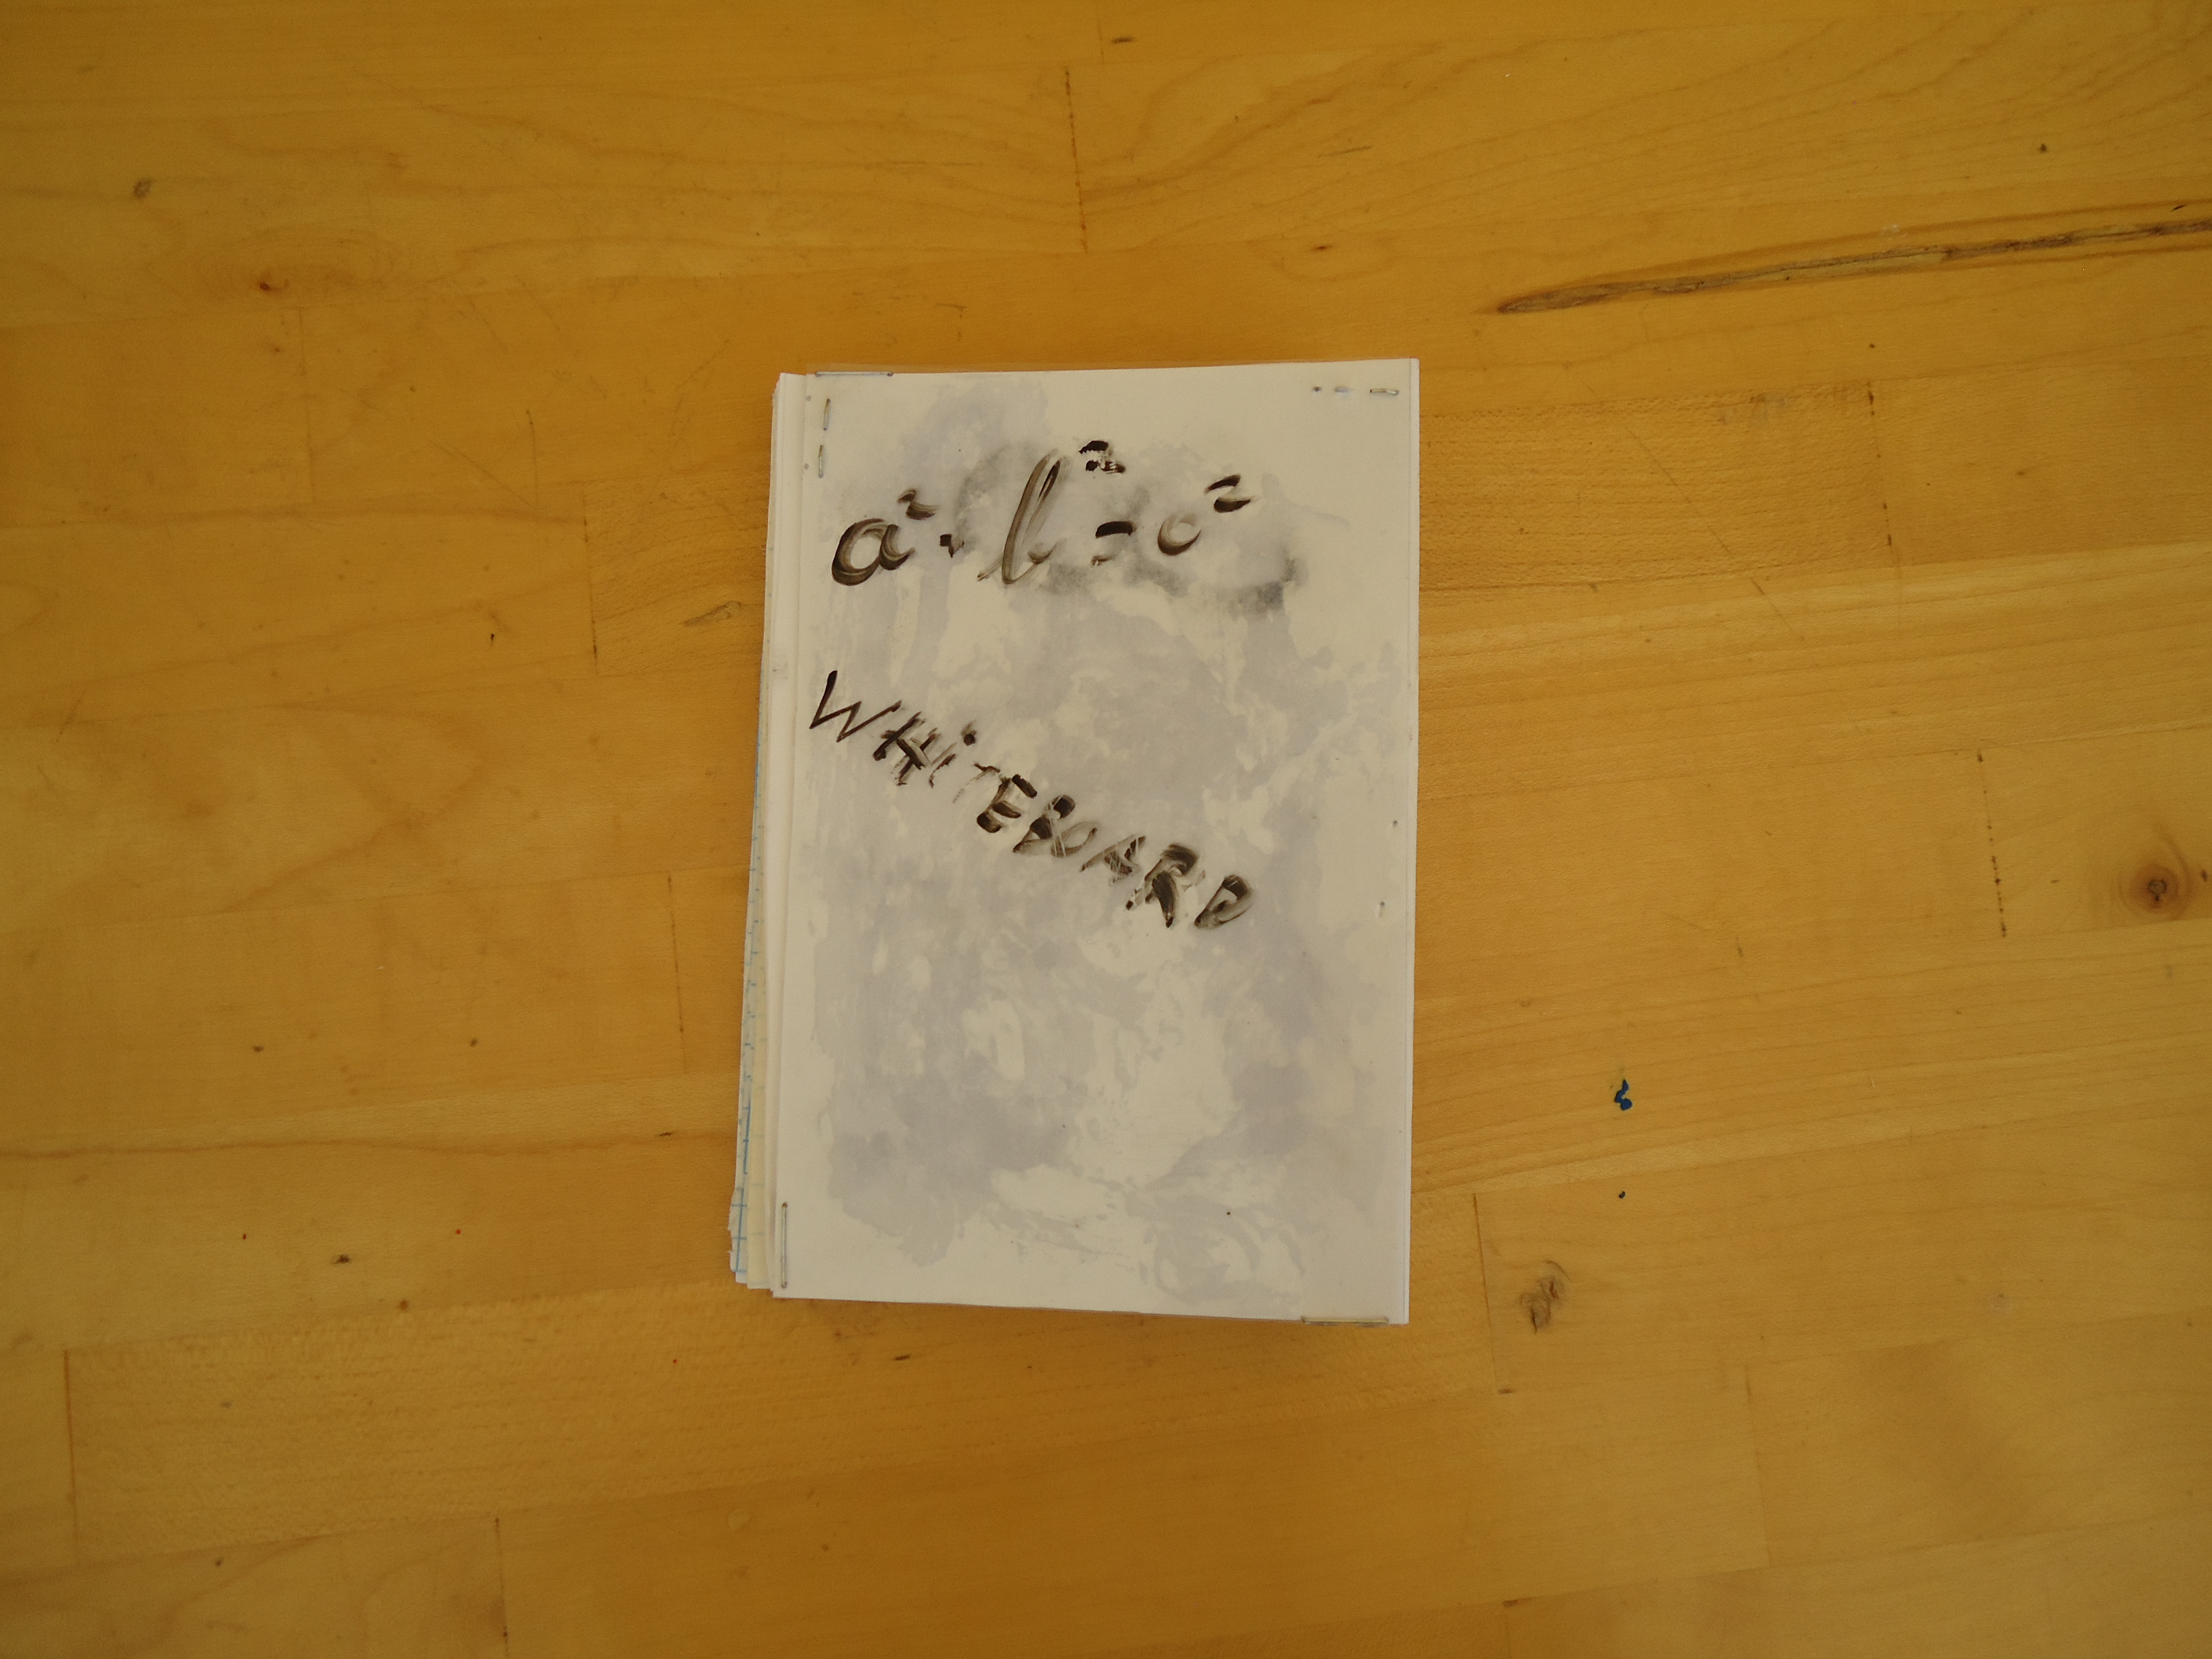
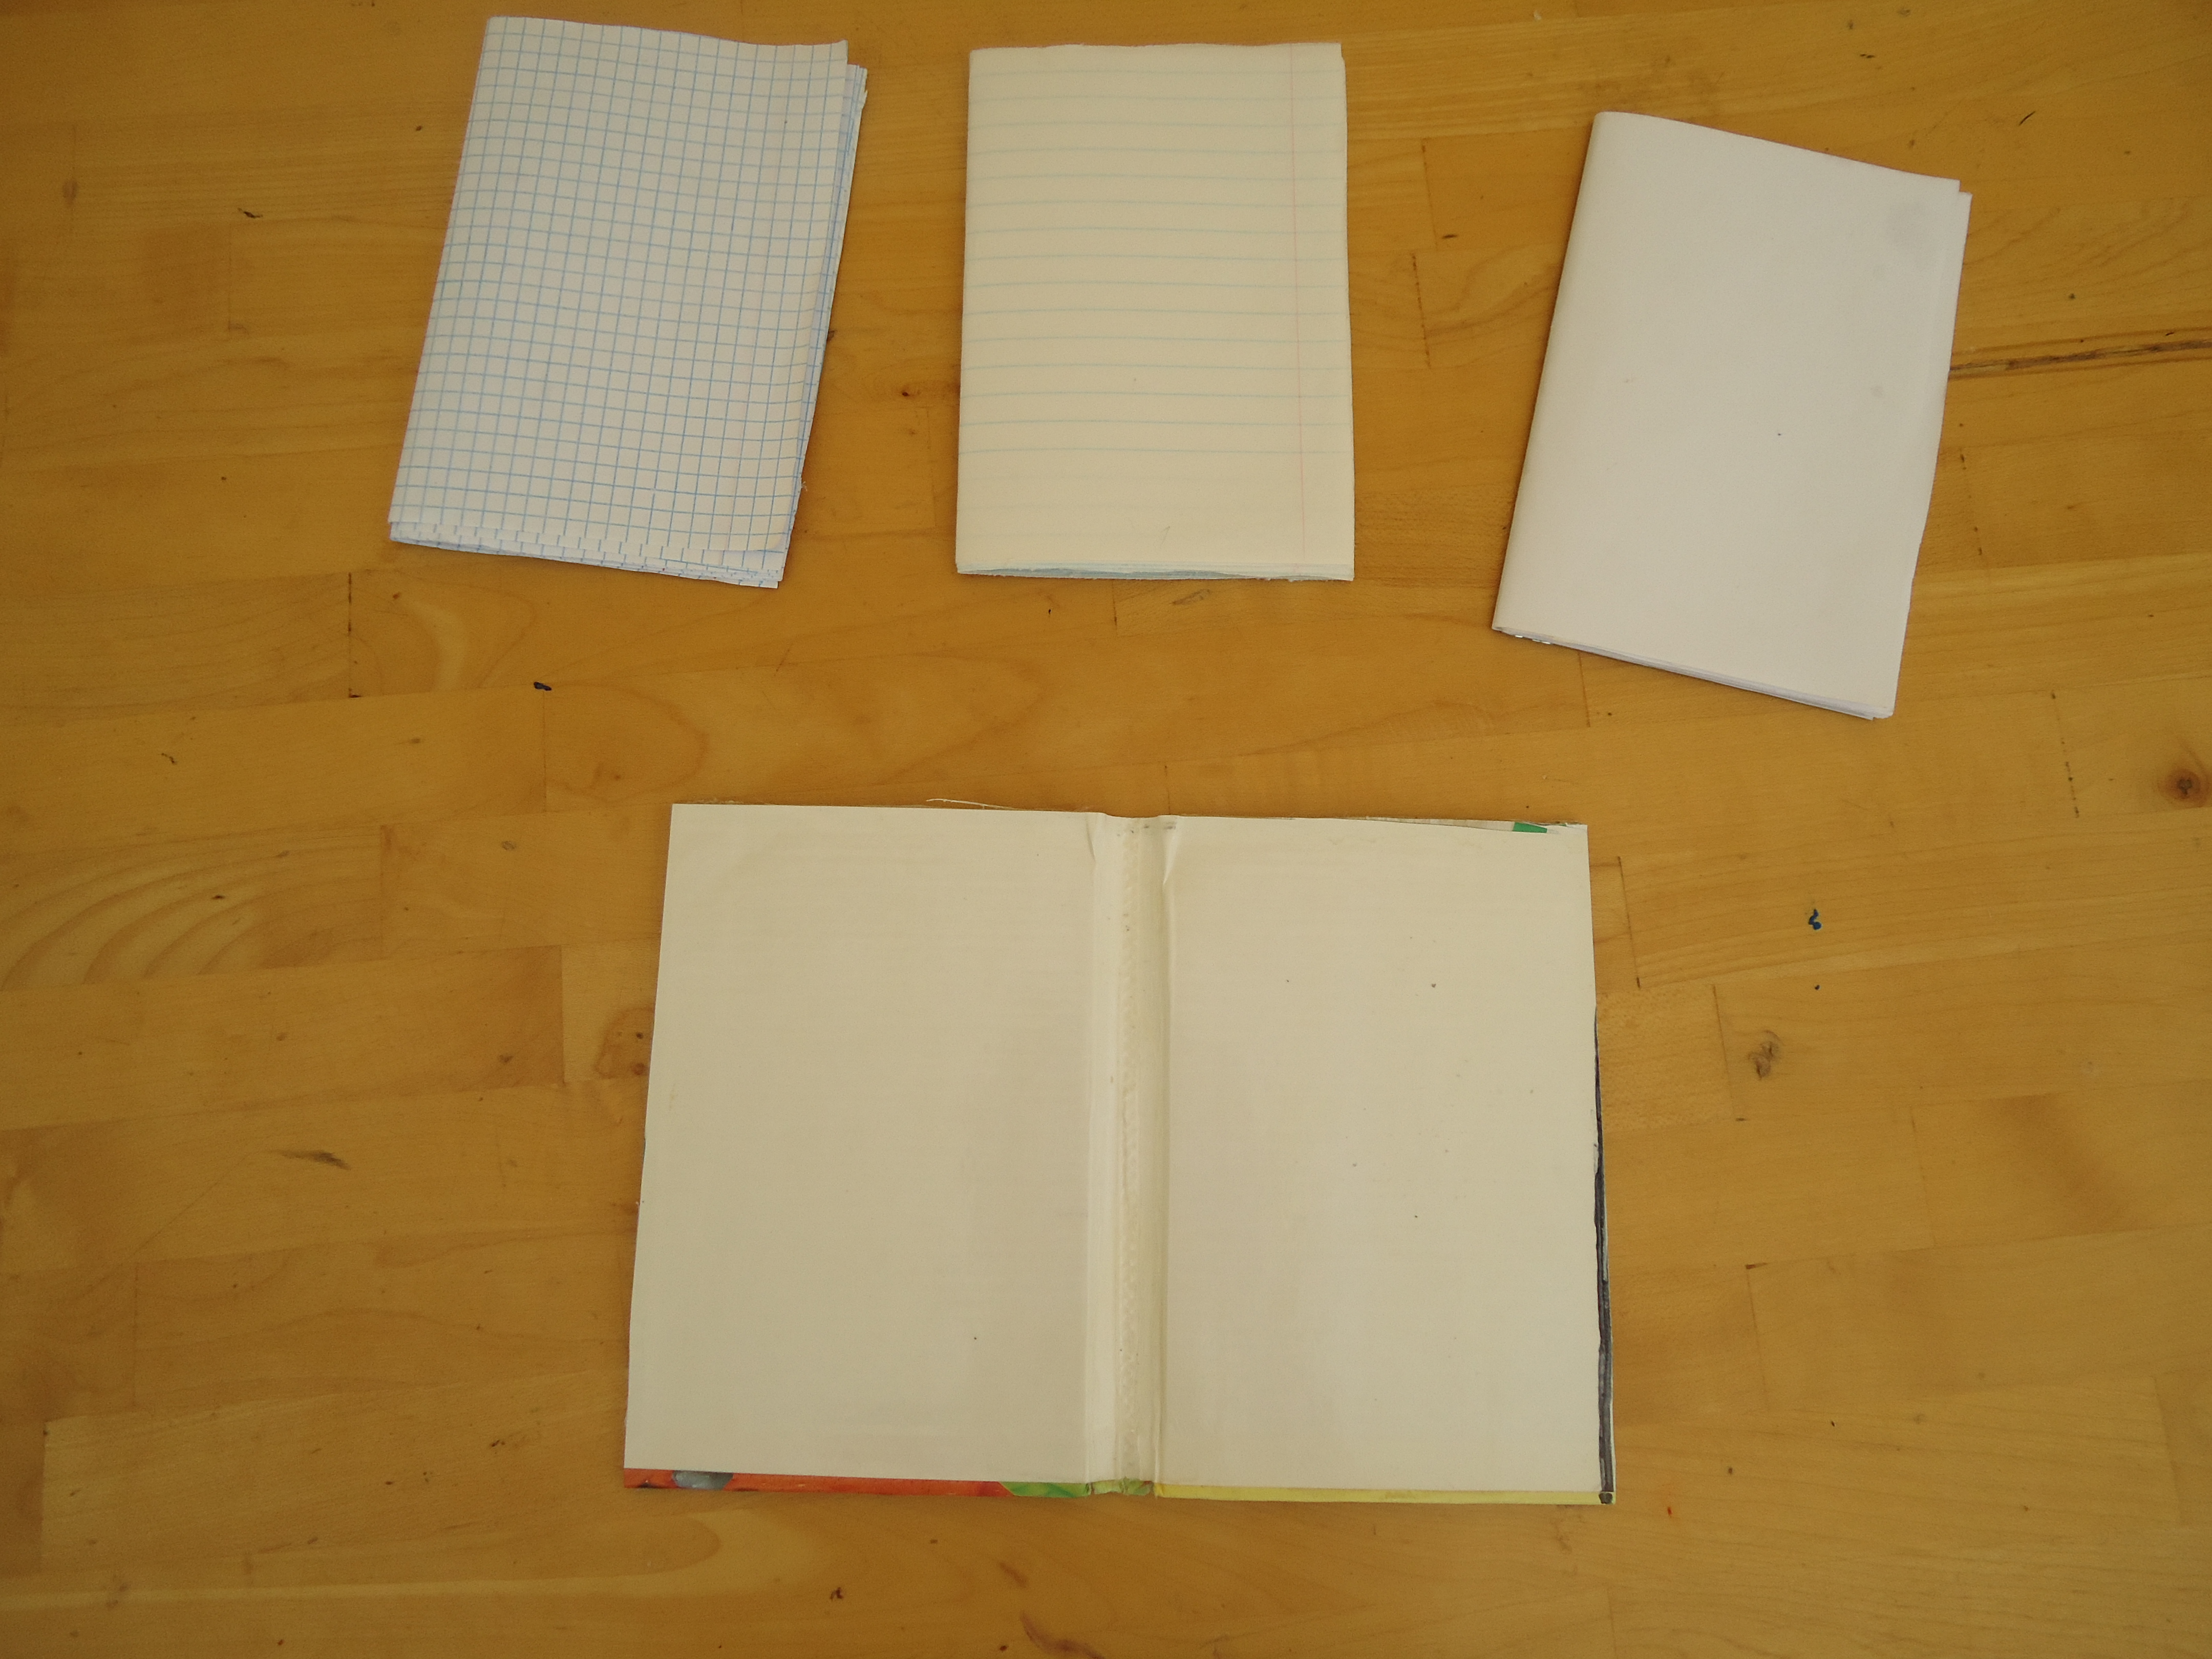
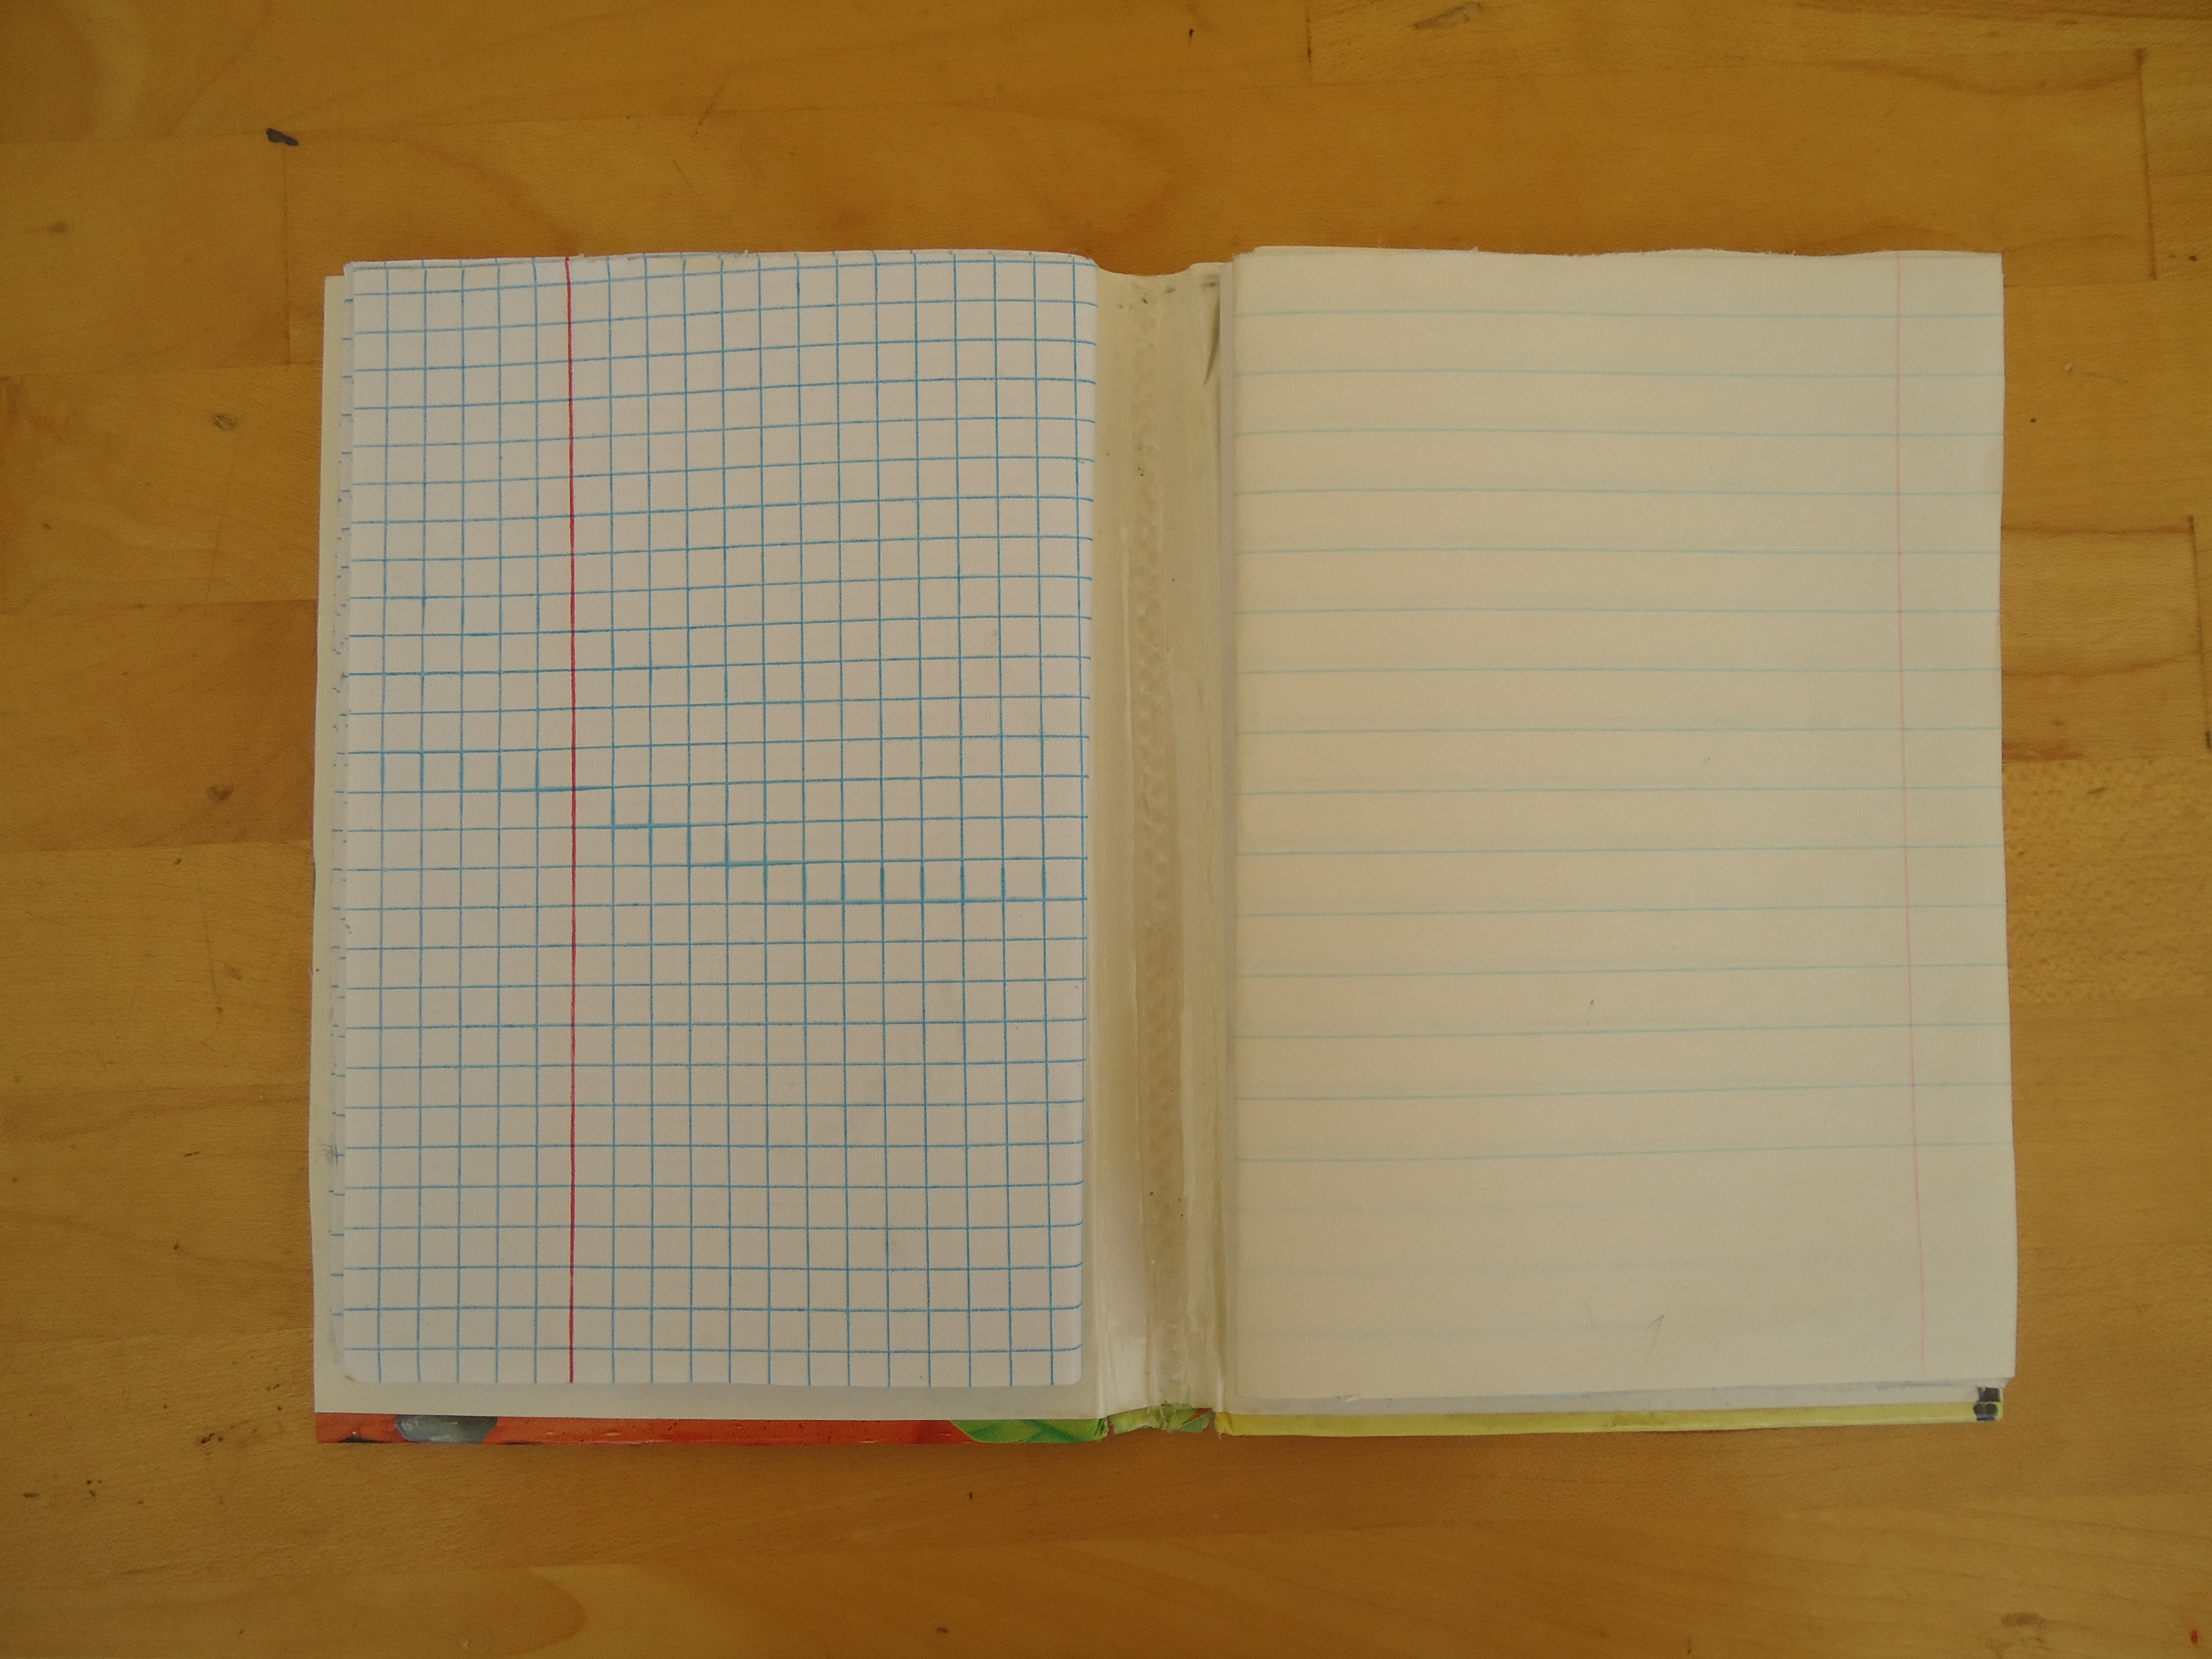

Take the pages, fold them and trim them to size. I chose to arrange my pages in the following order: math pages first, writing second, blank pages third and 2 "white-board'' pages last.
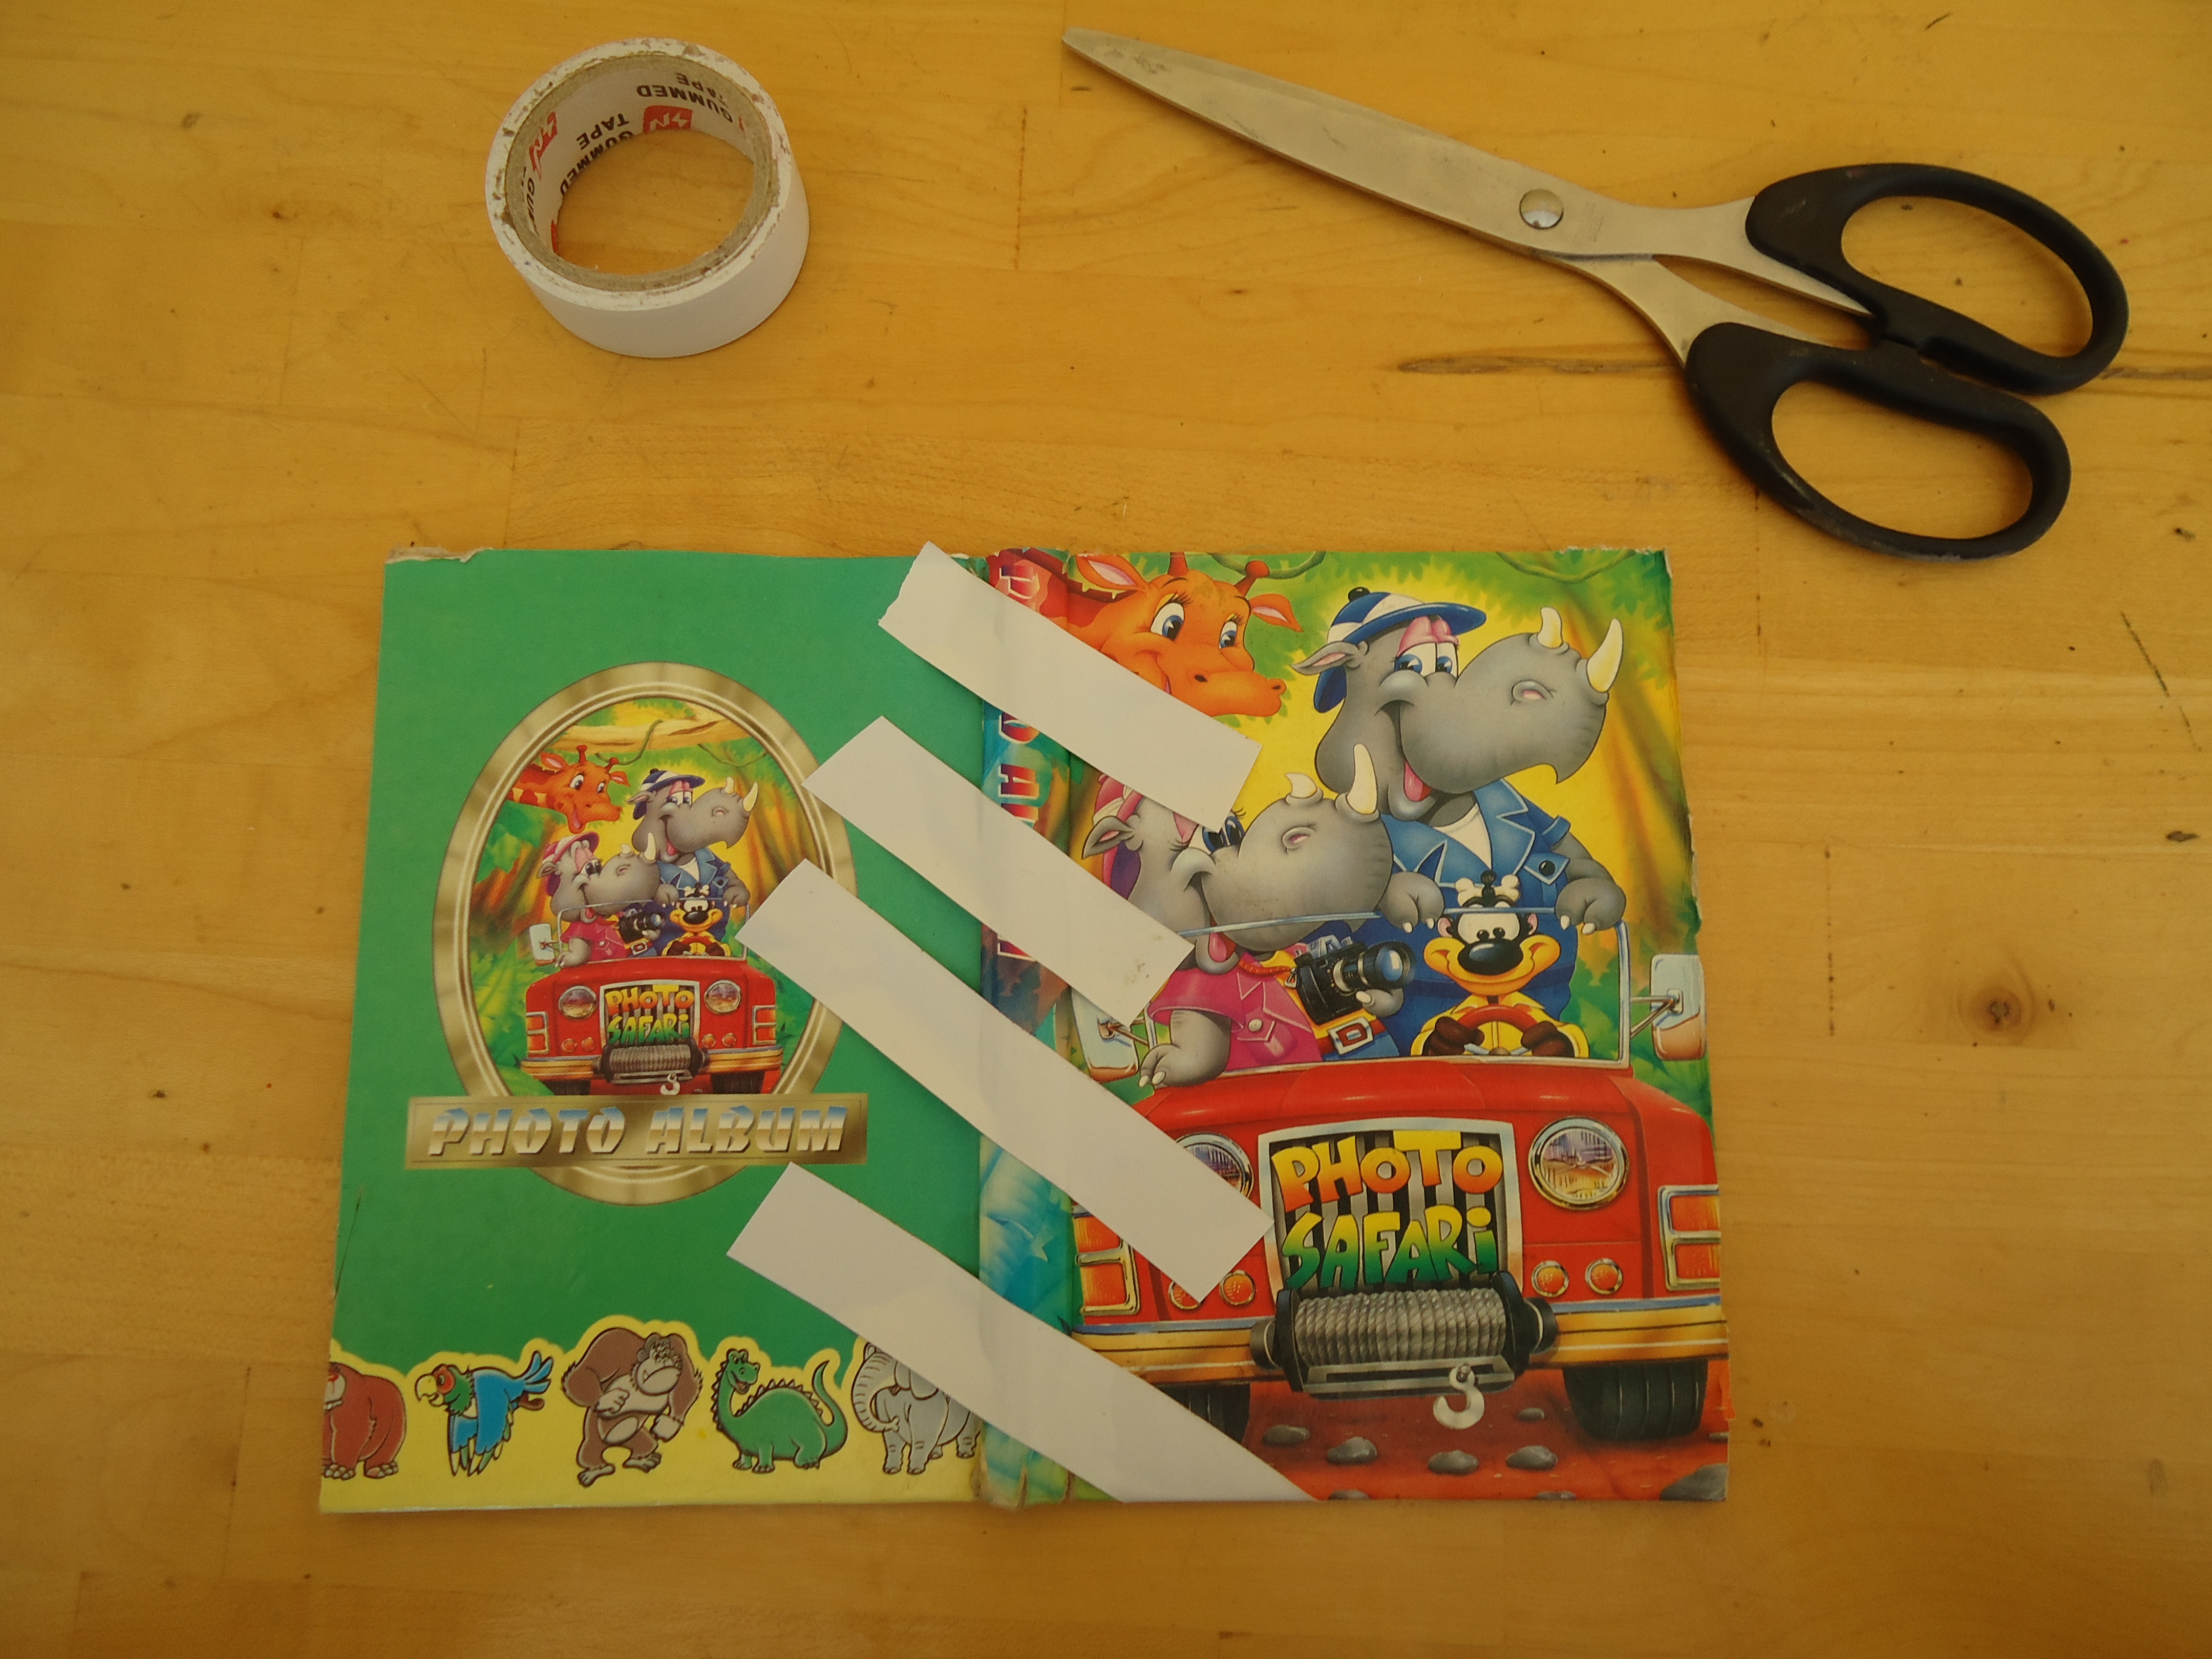
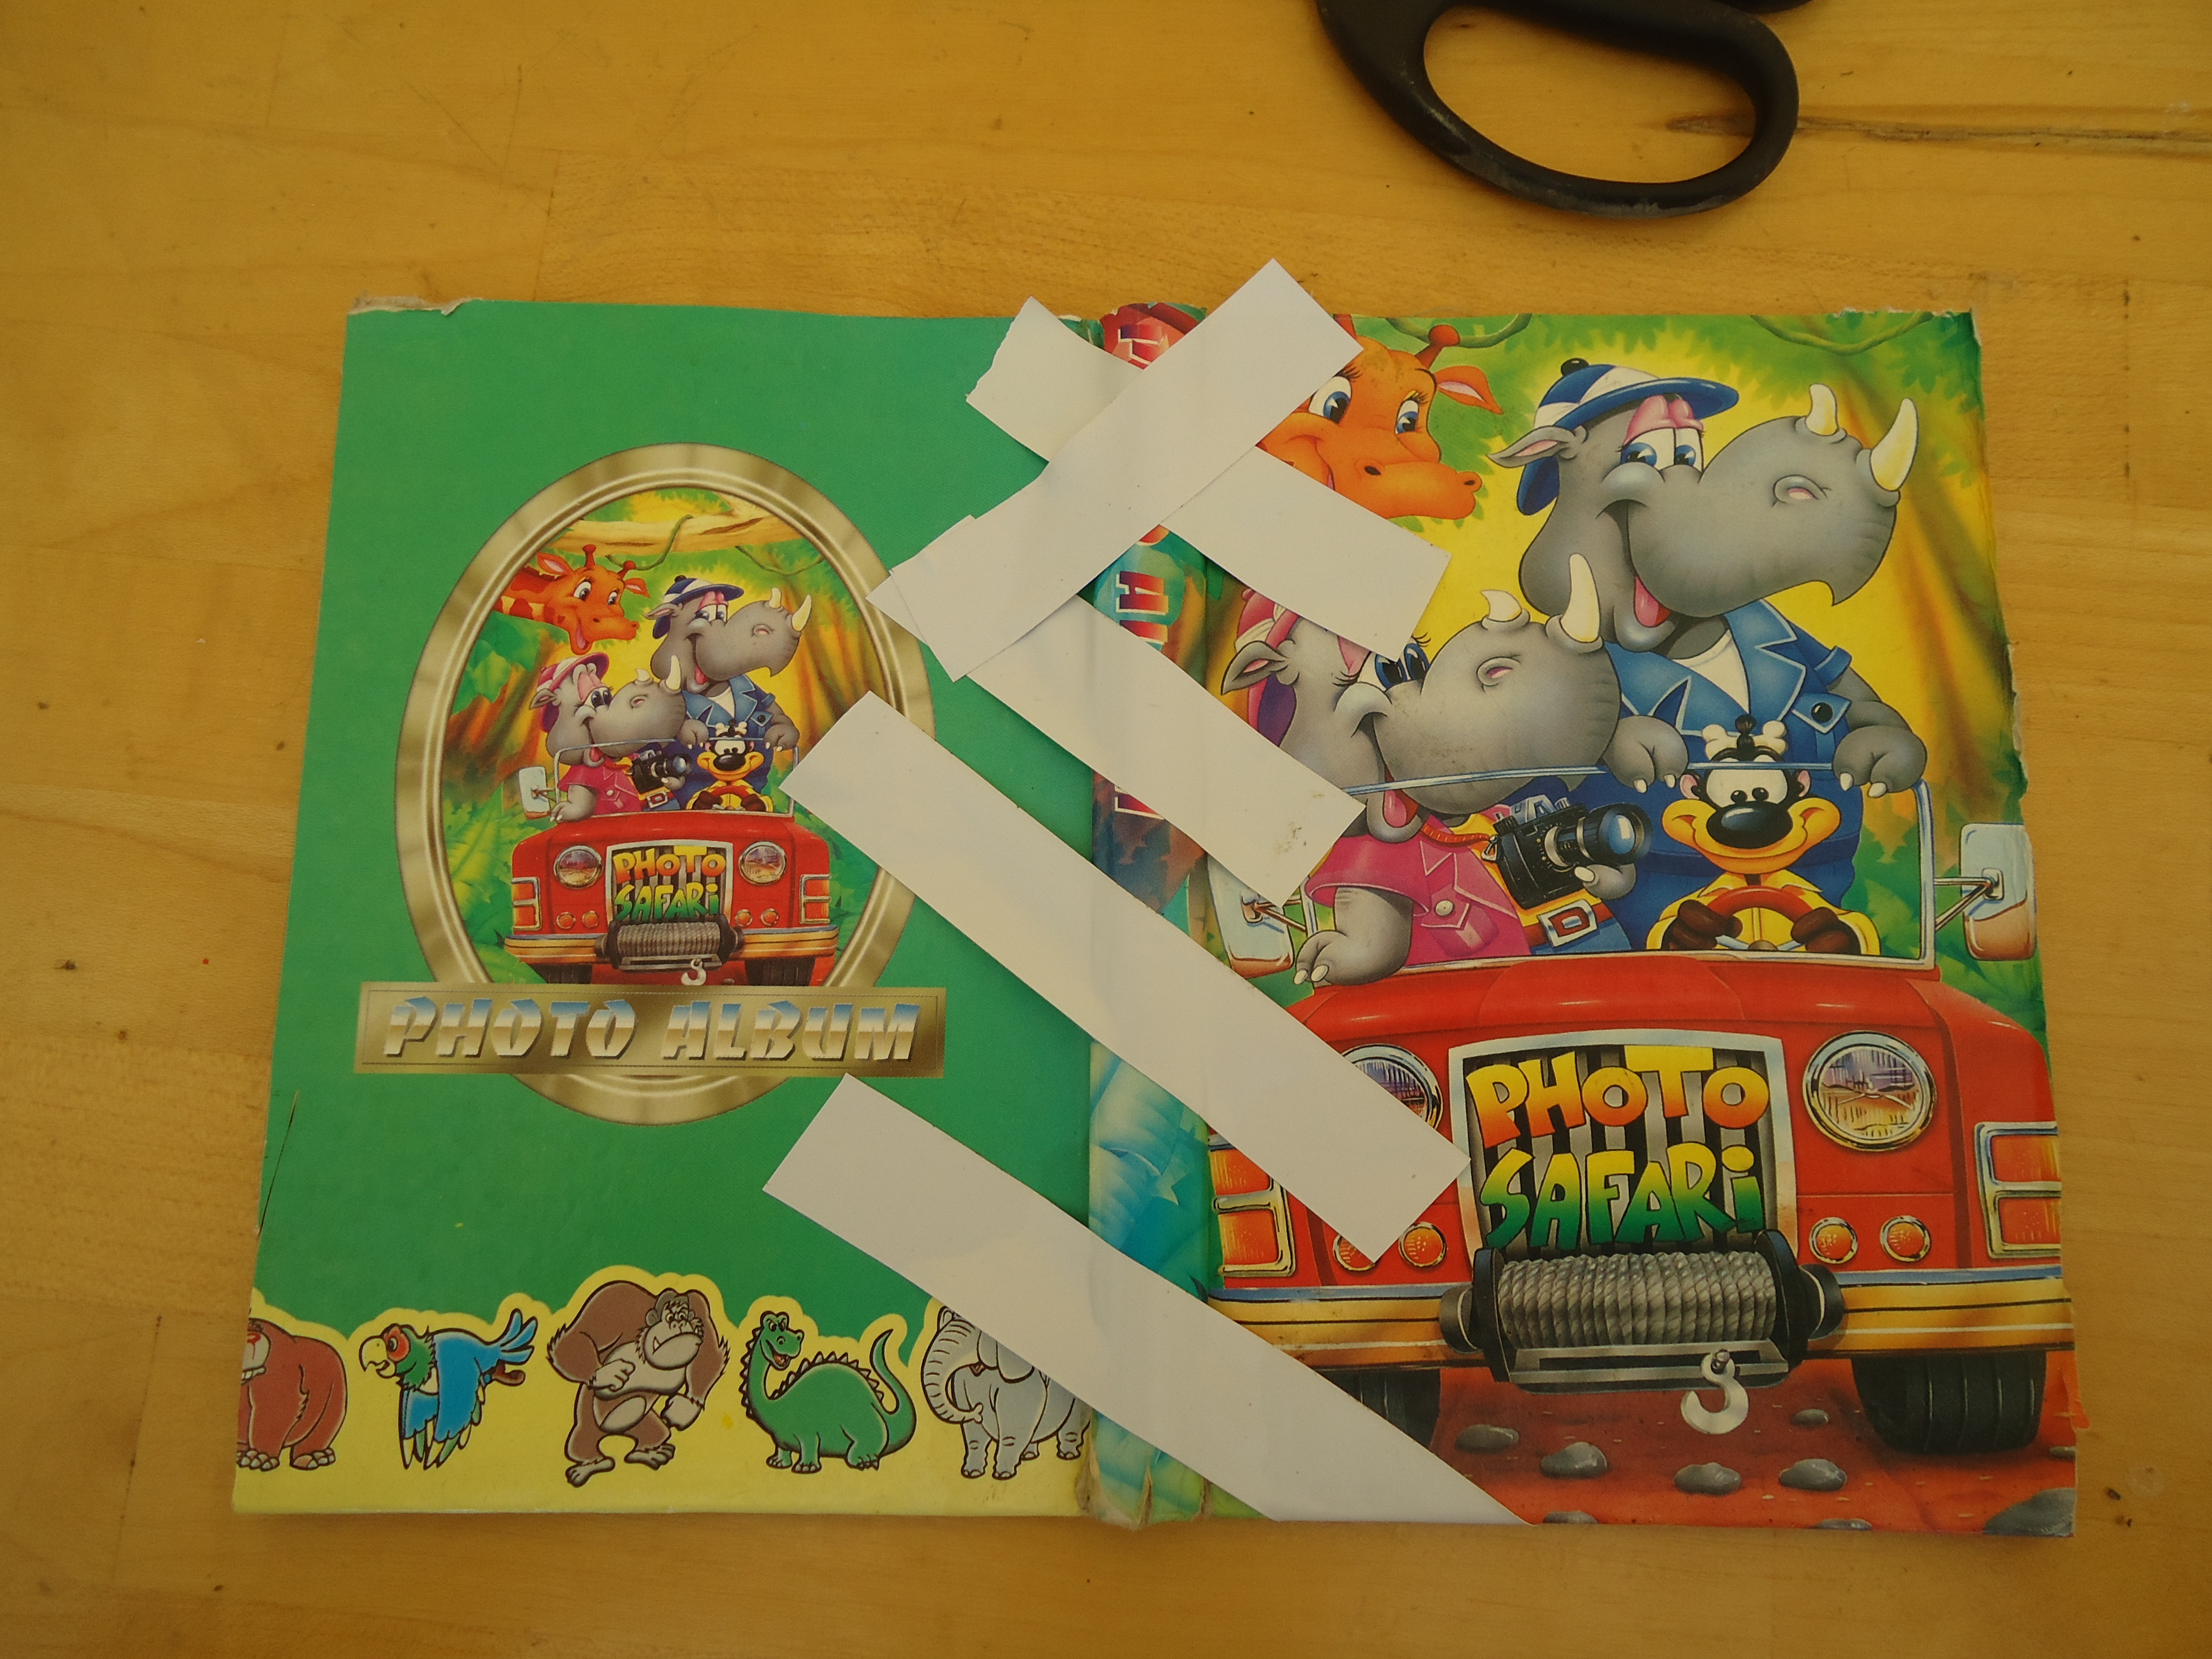
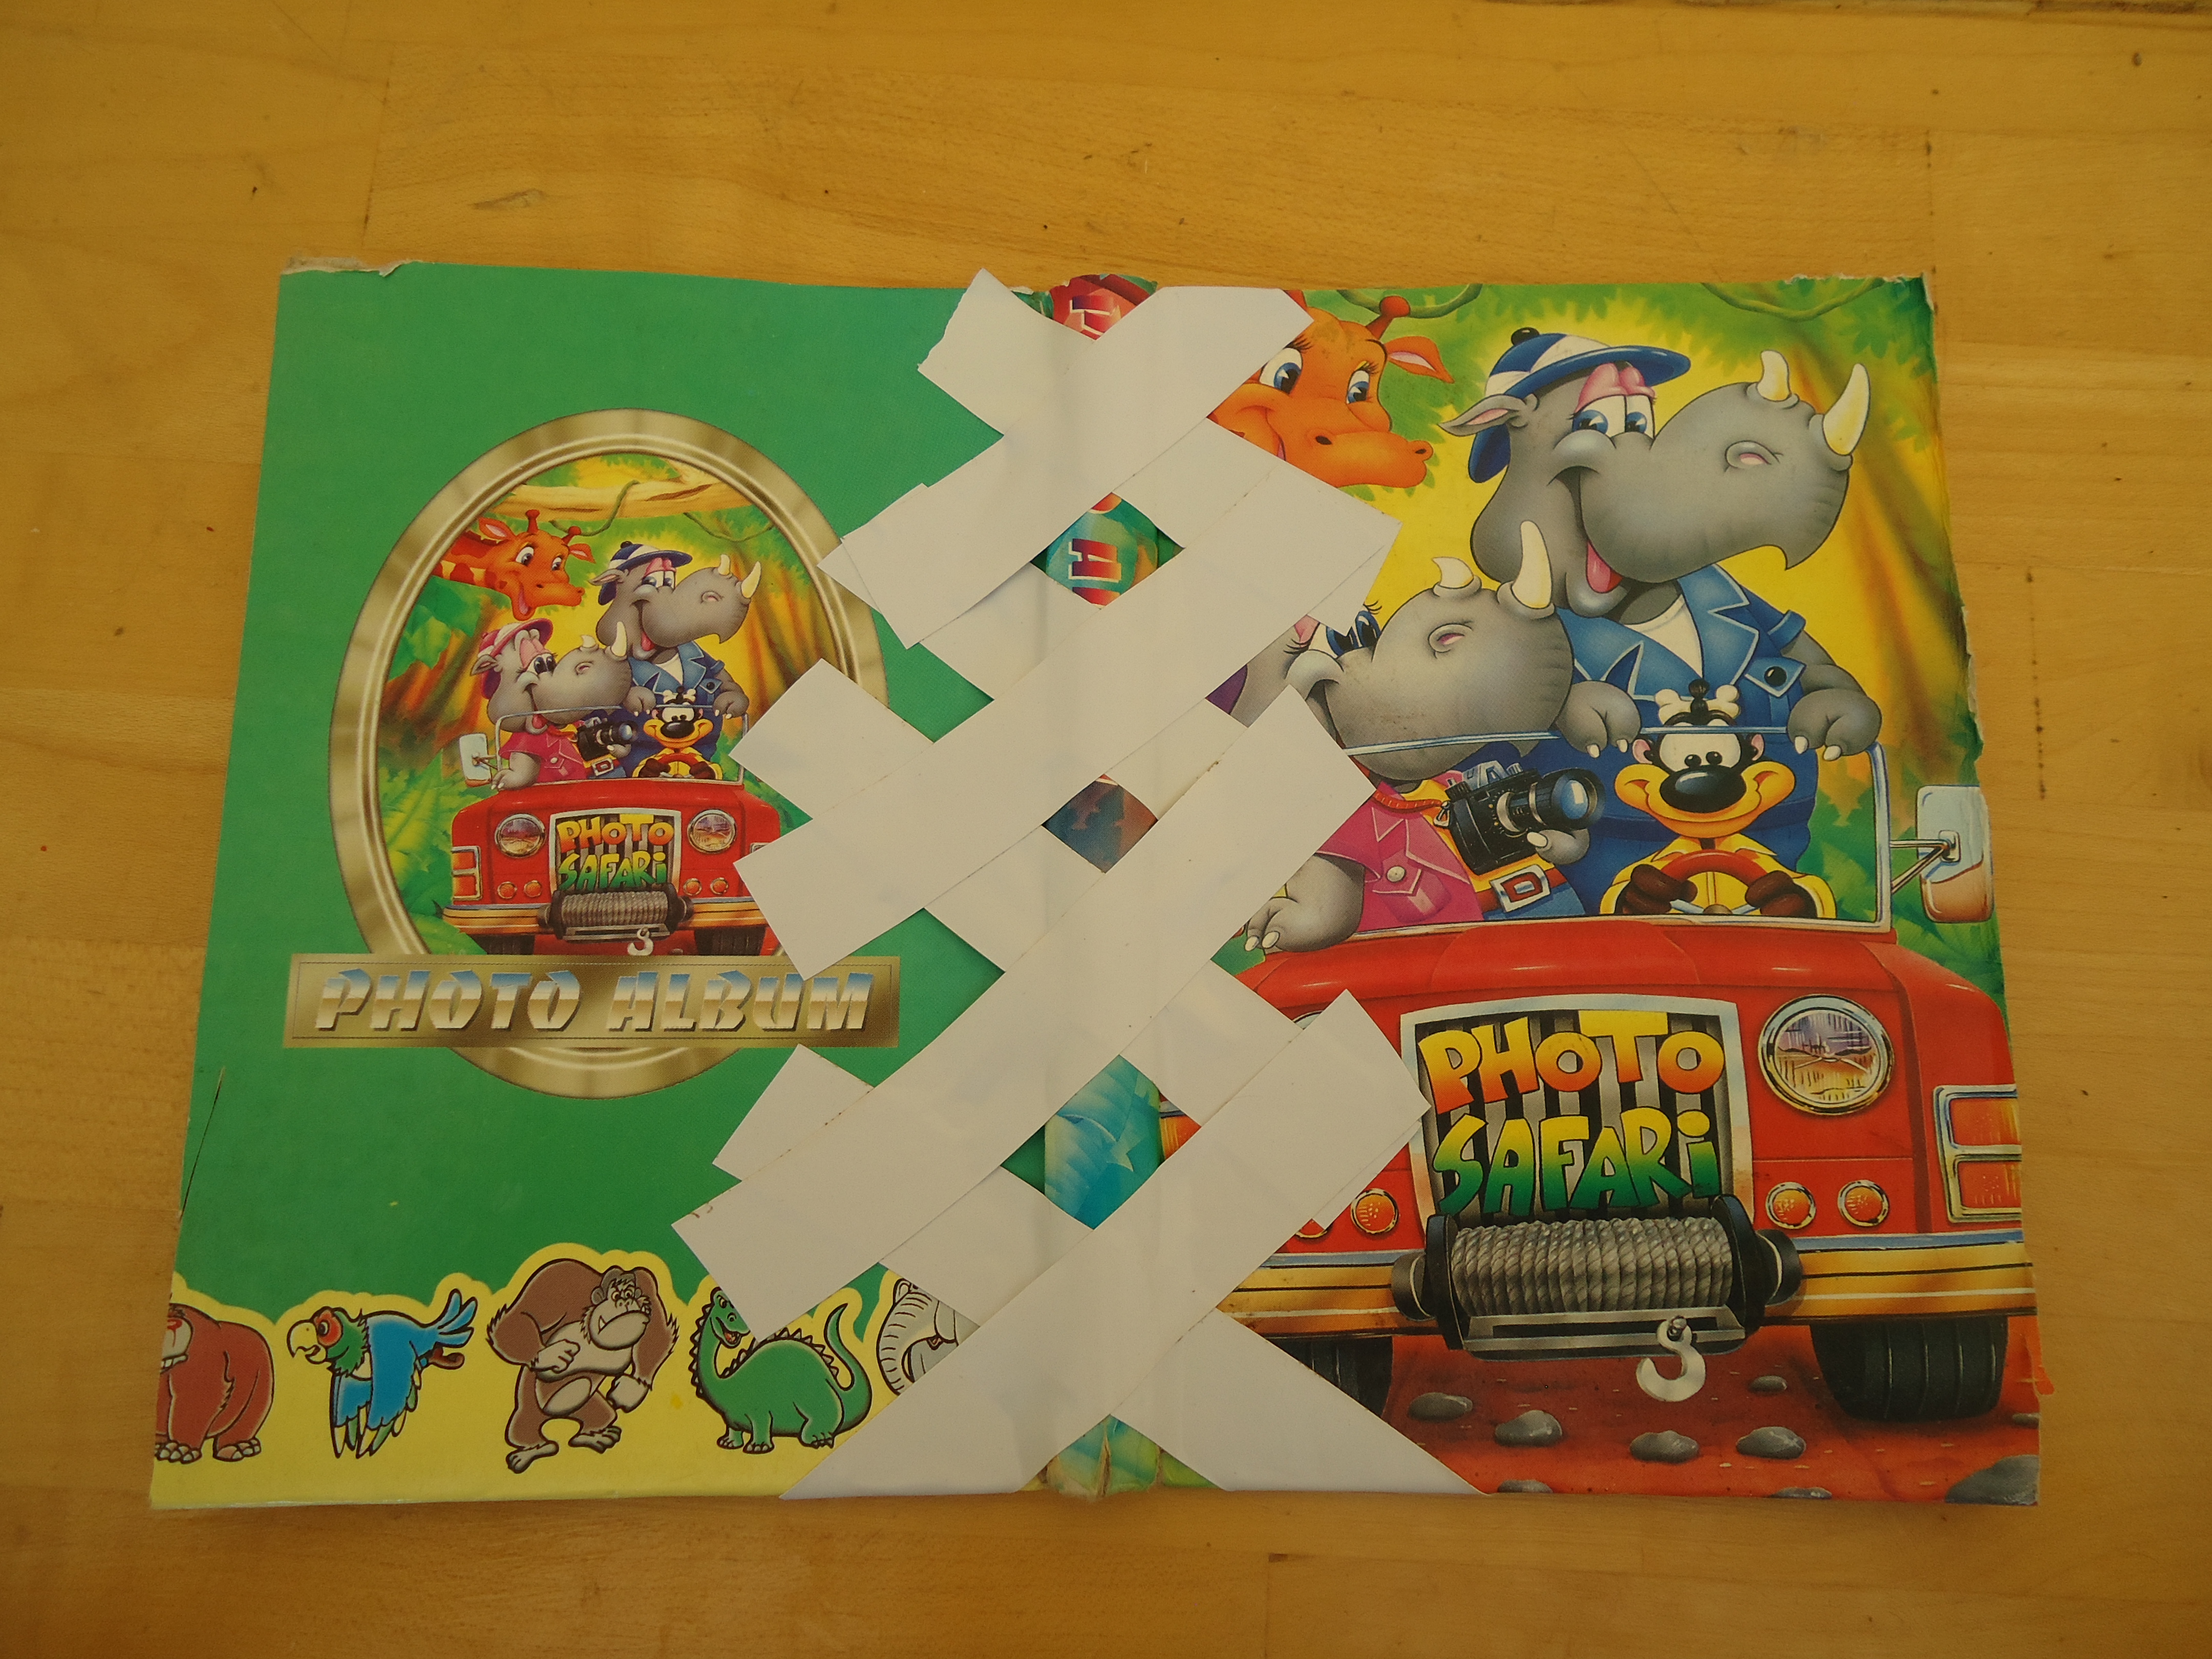
If necessary:Take the book cover and trim it down to size, and then wrap it in tape to strengthen it.
Cover and Binding
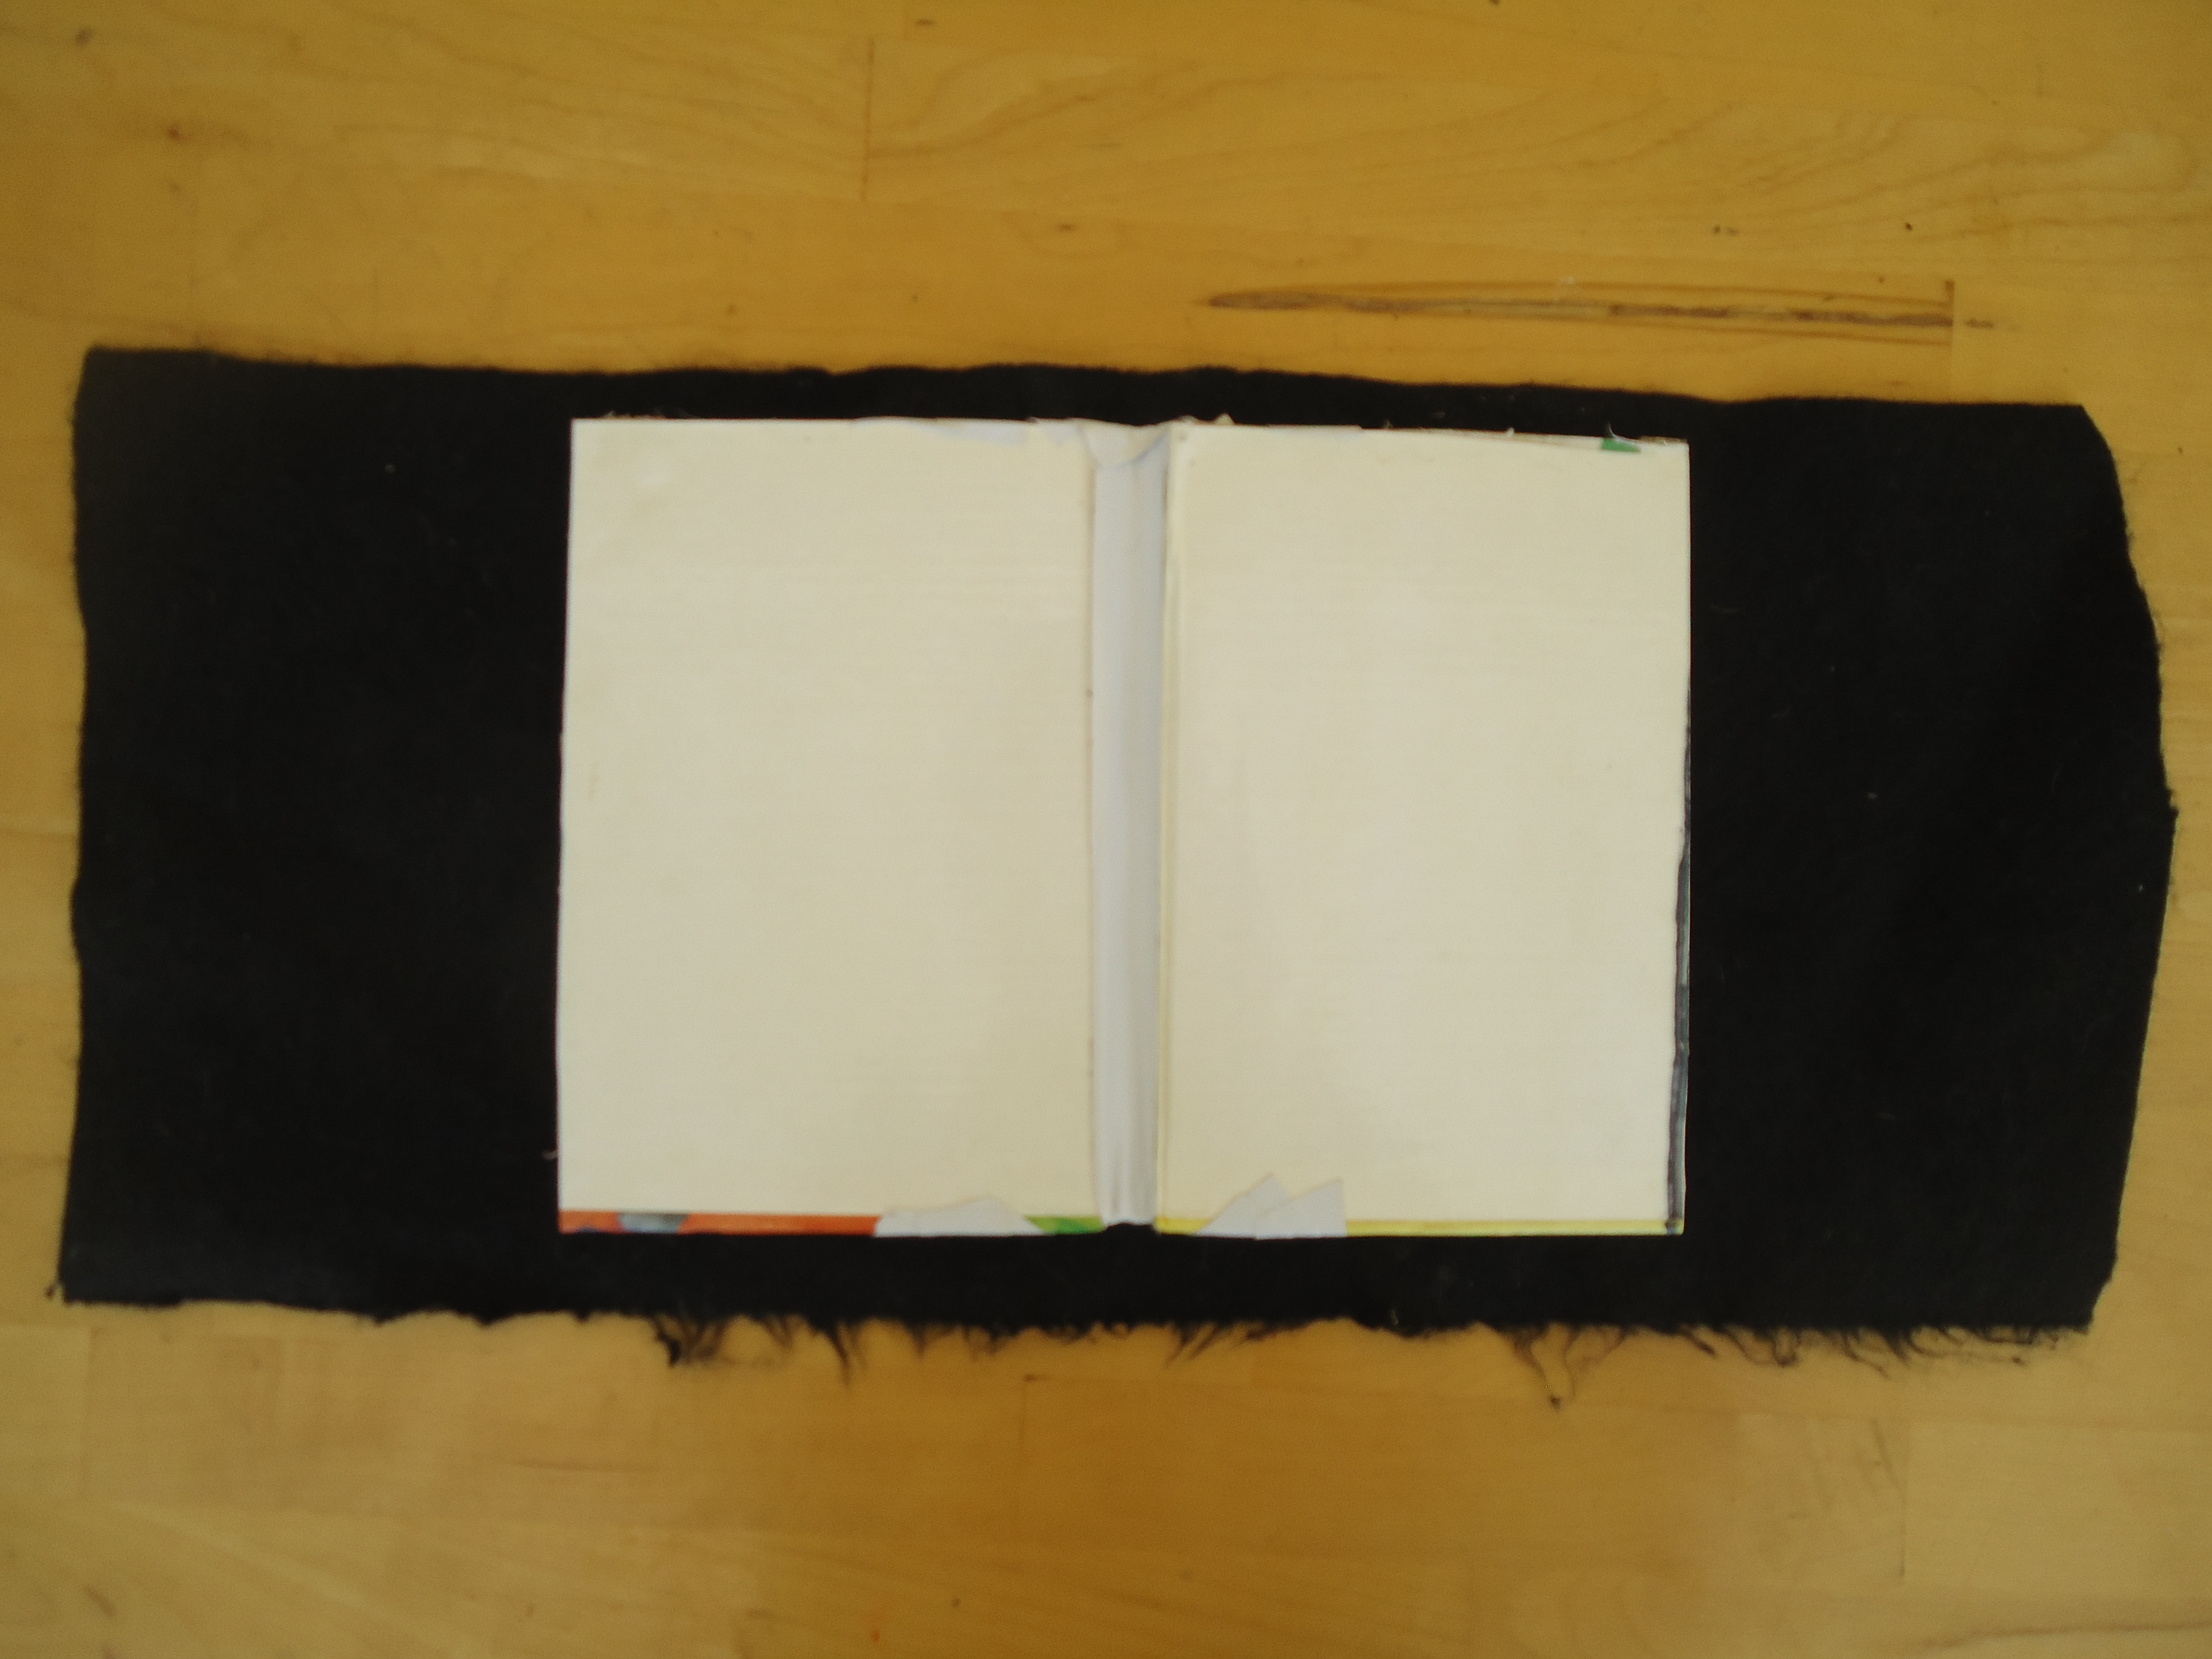
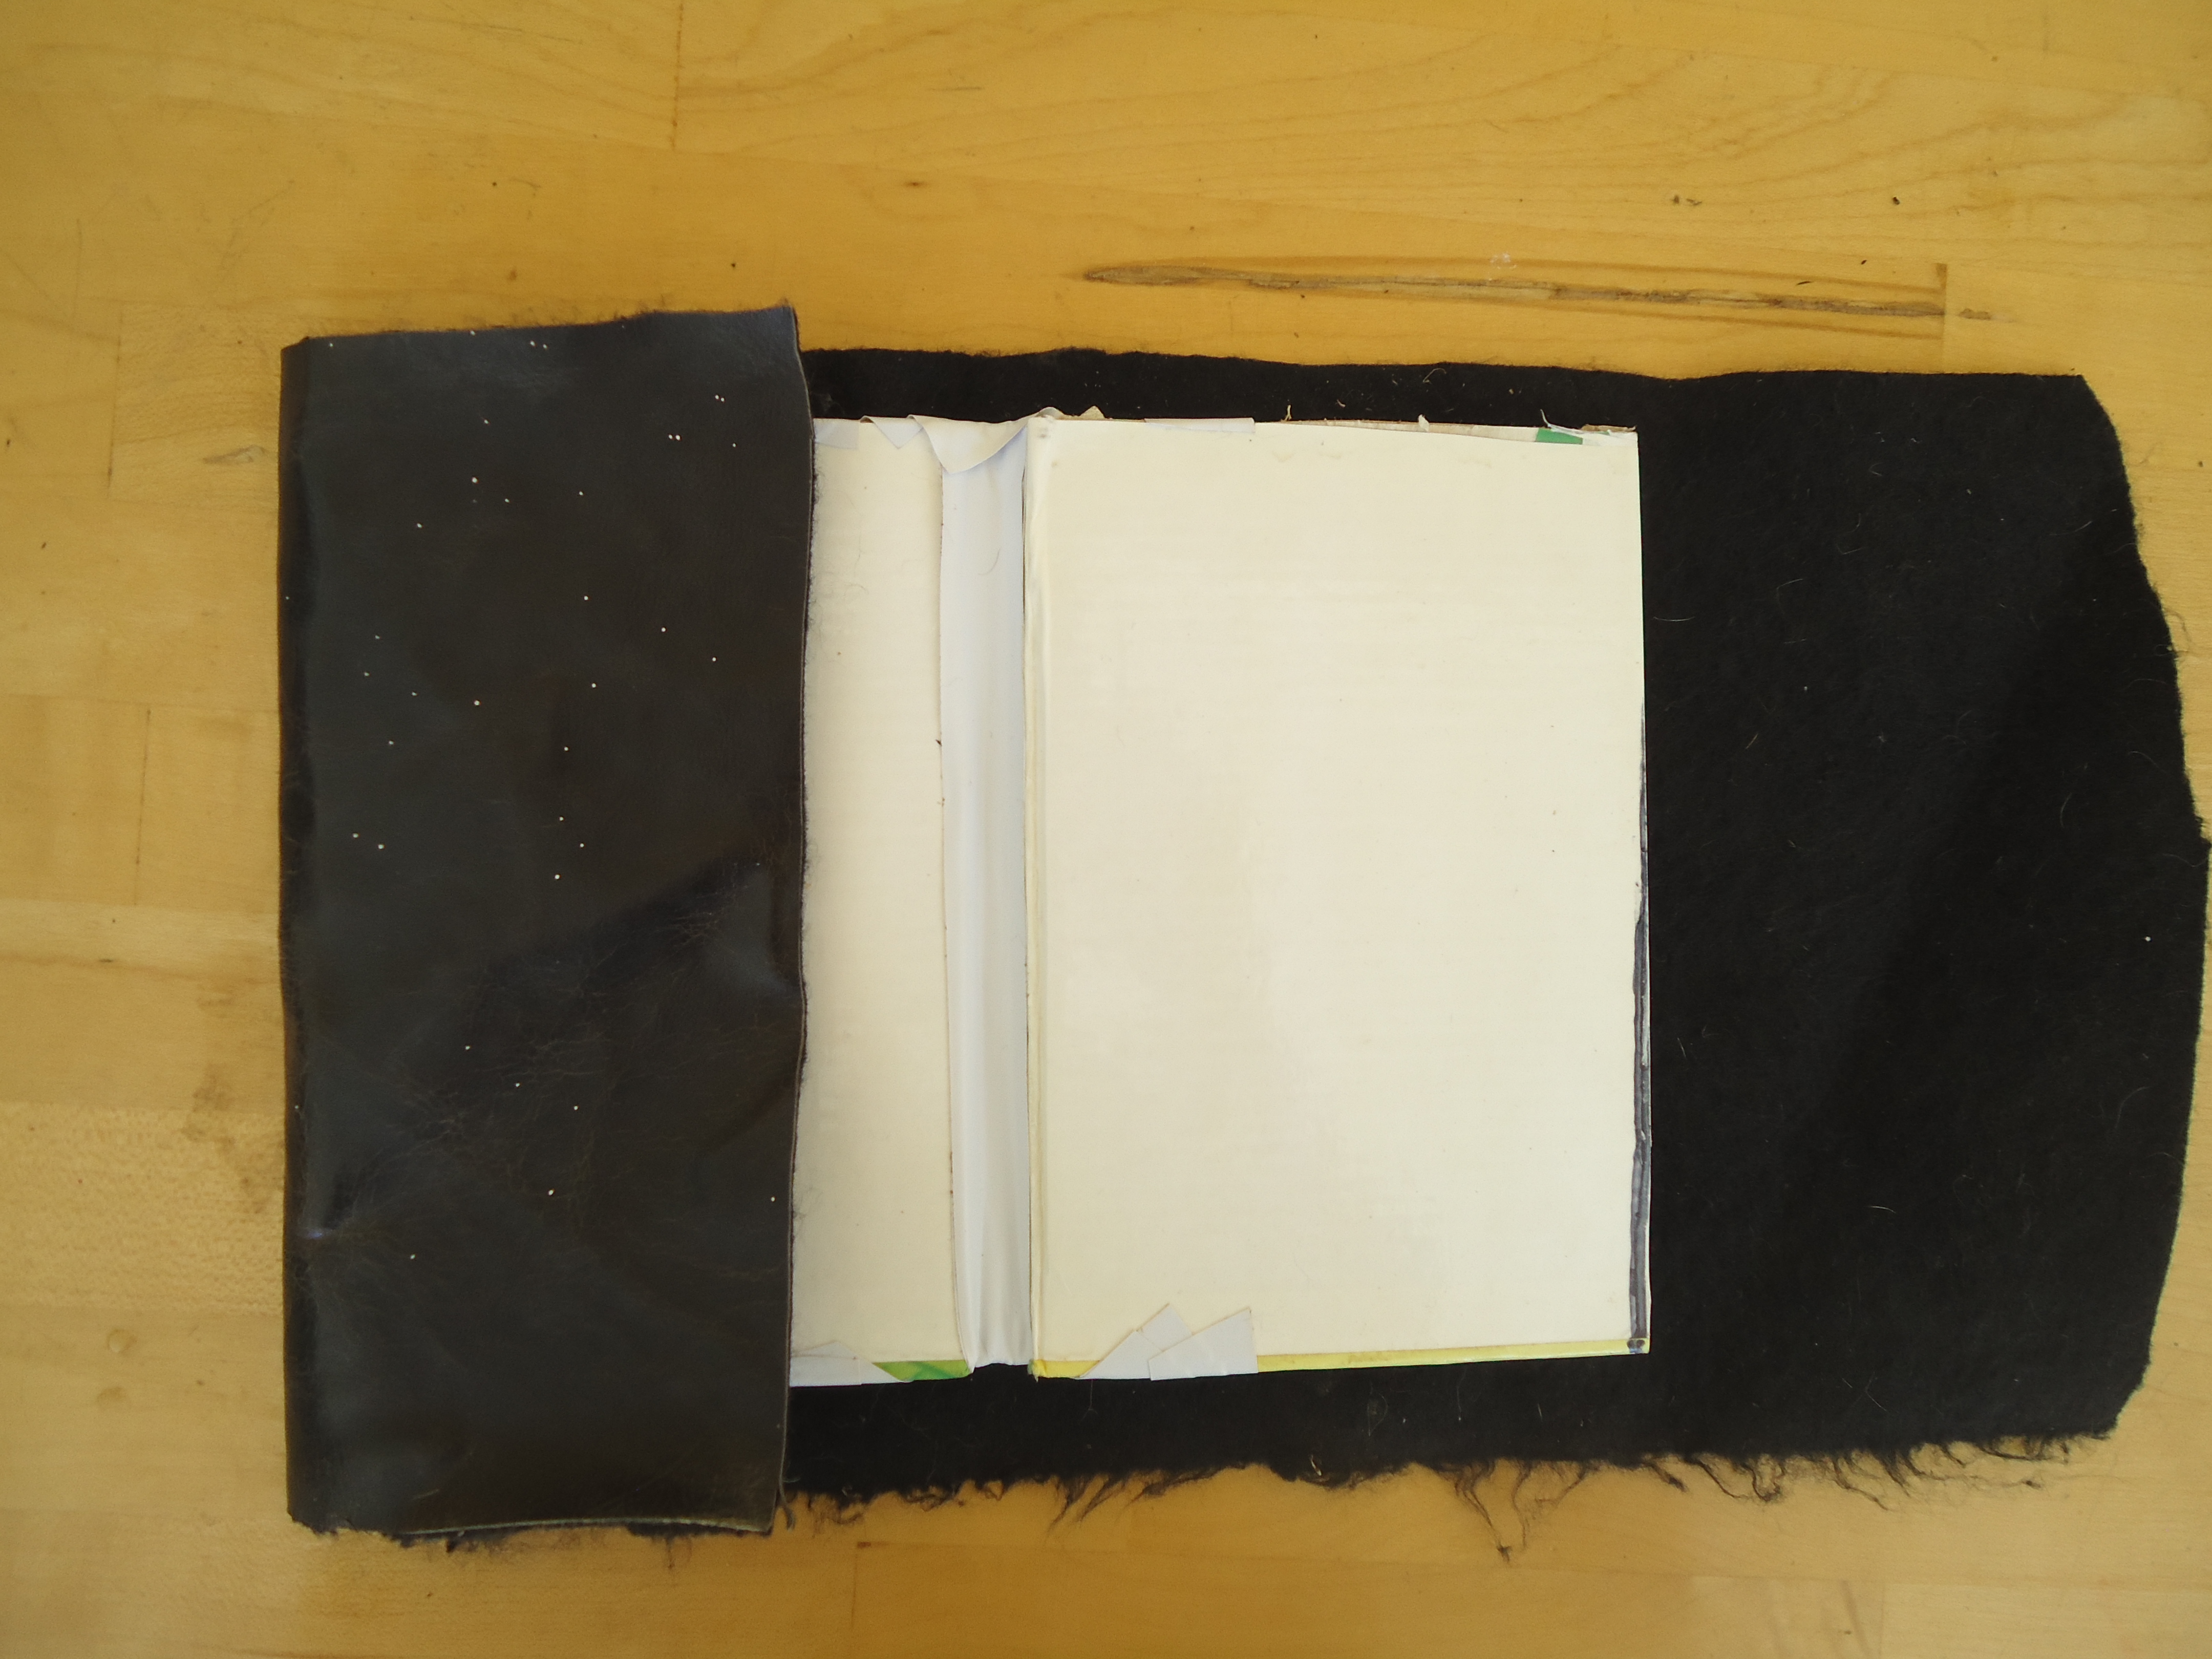
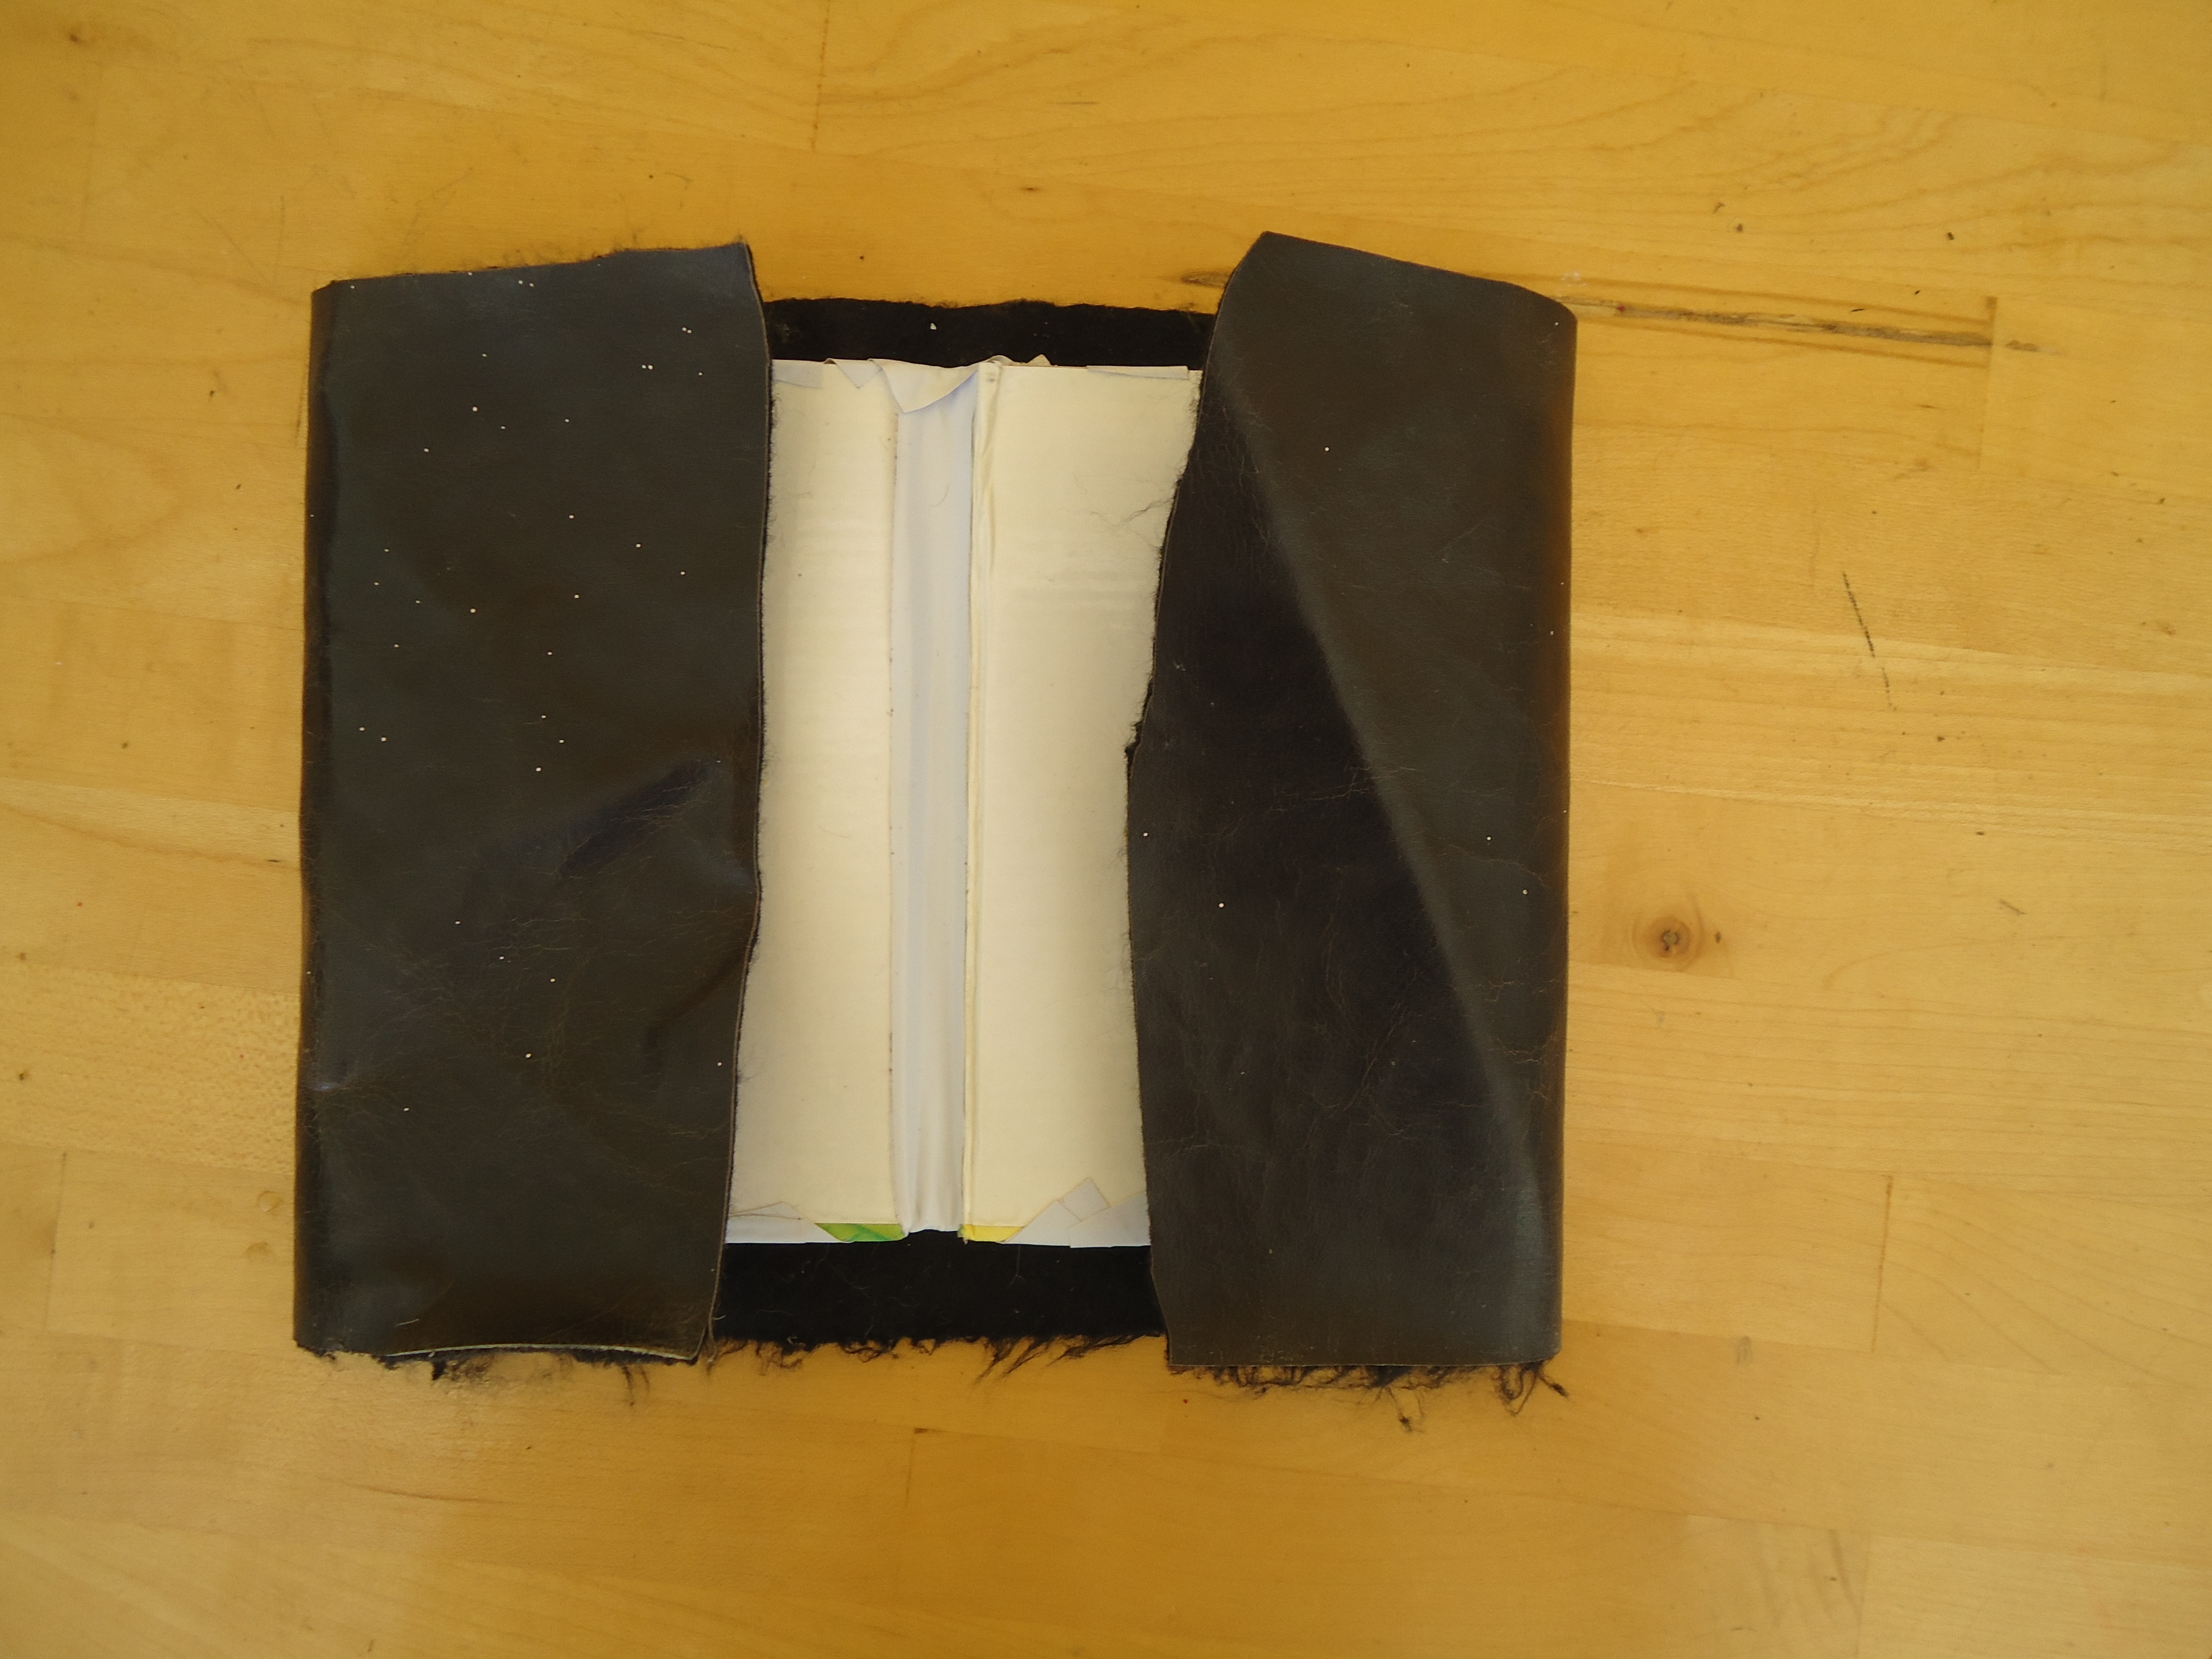
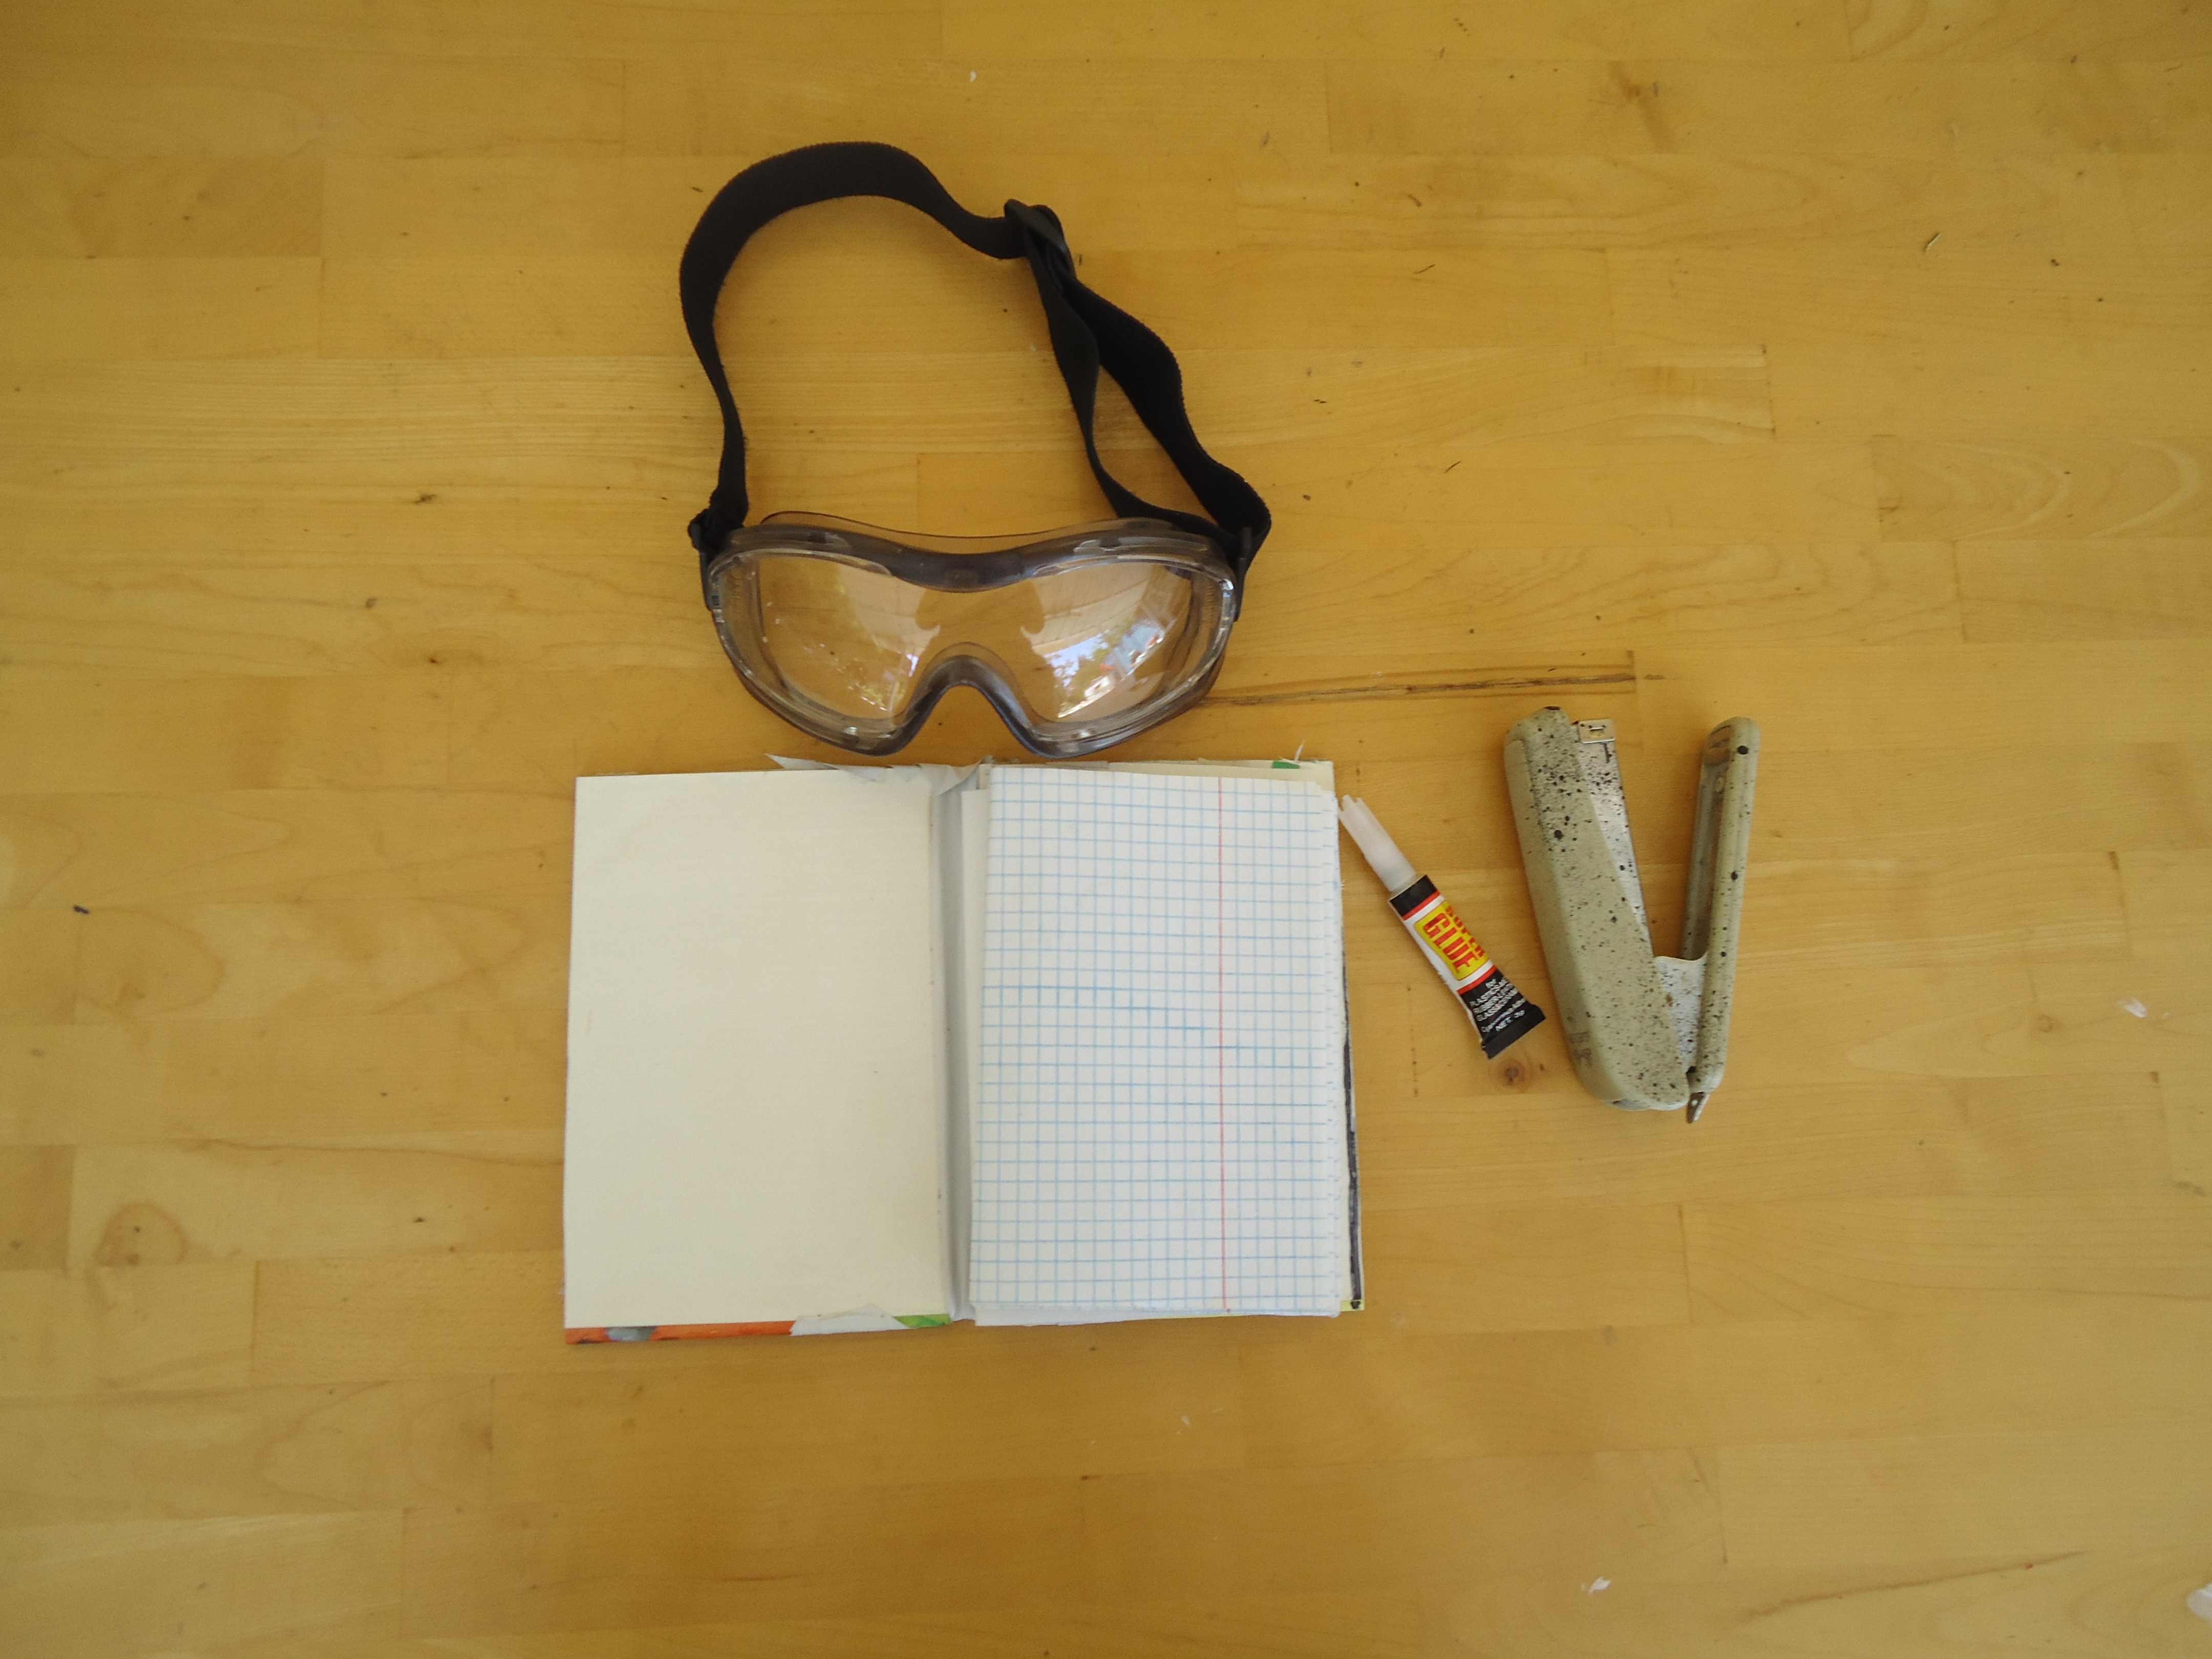
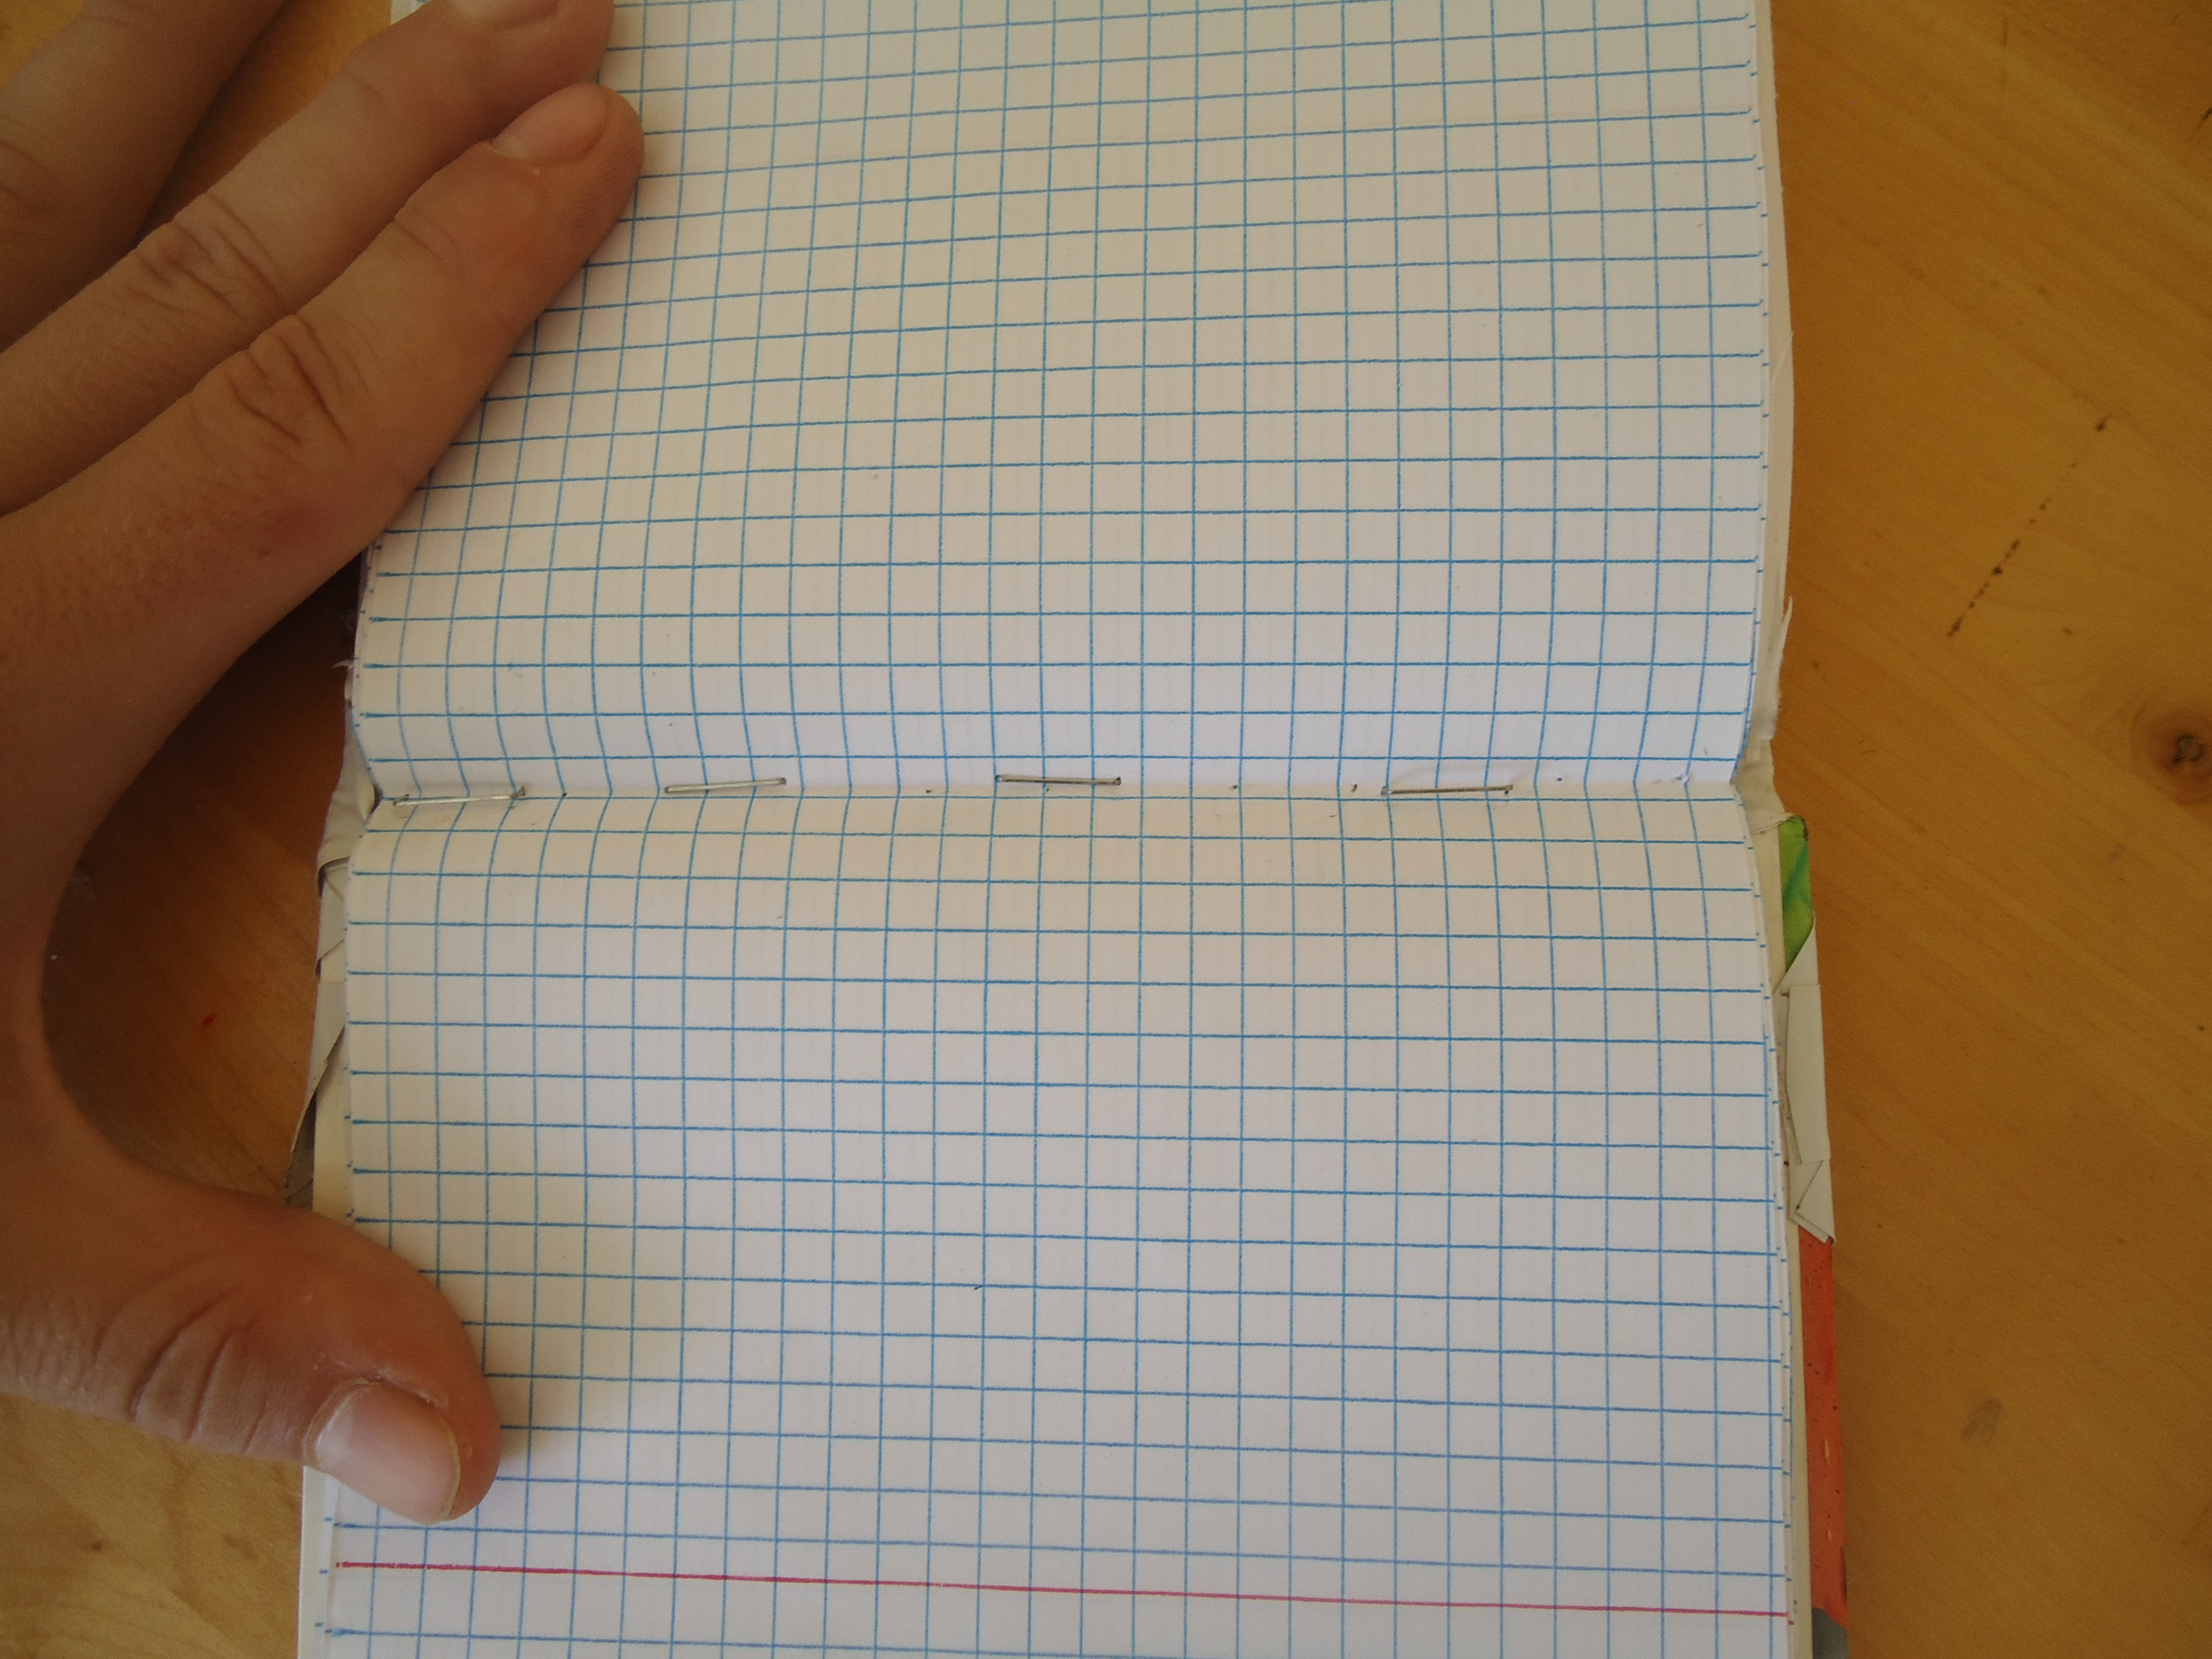
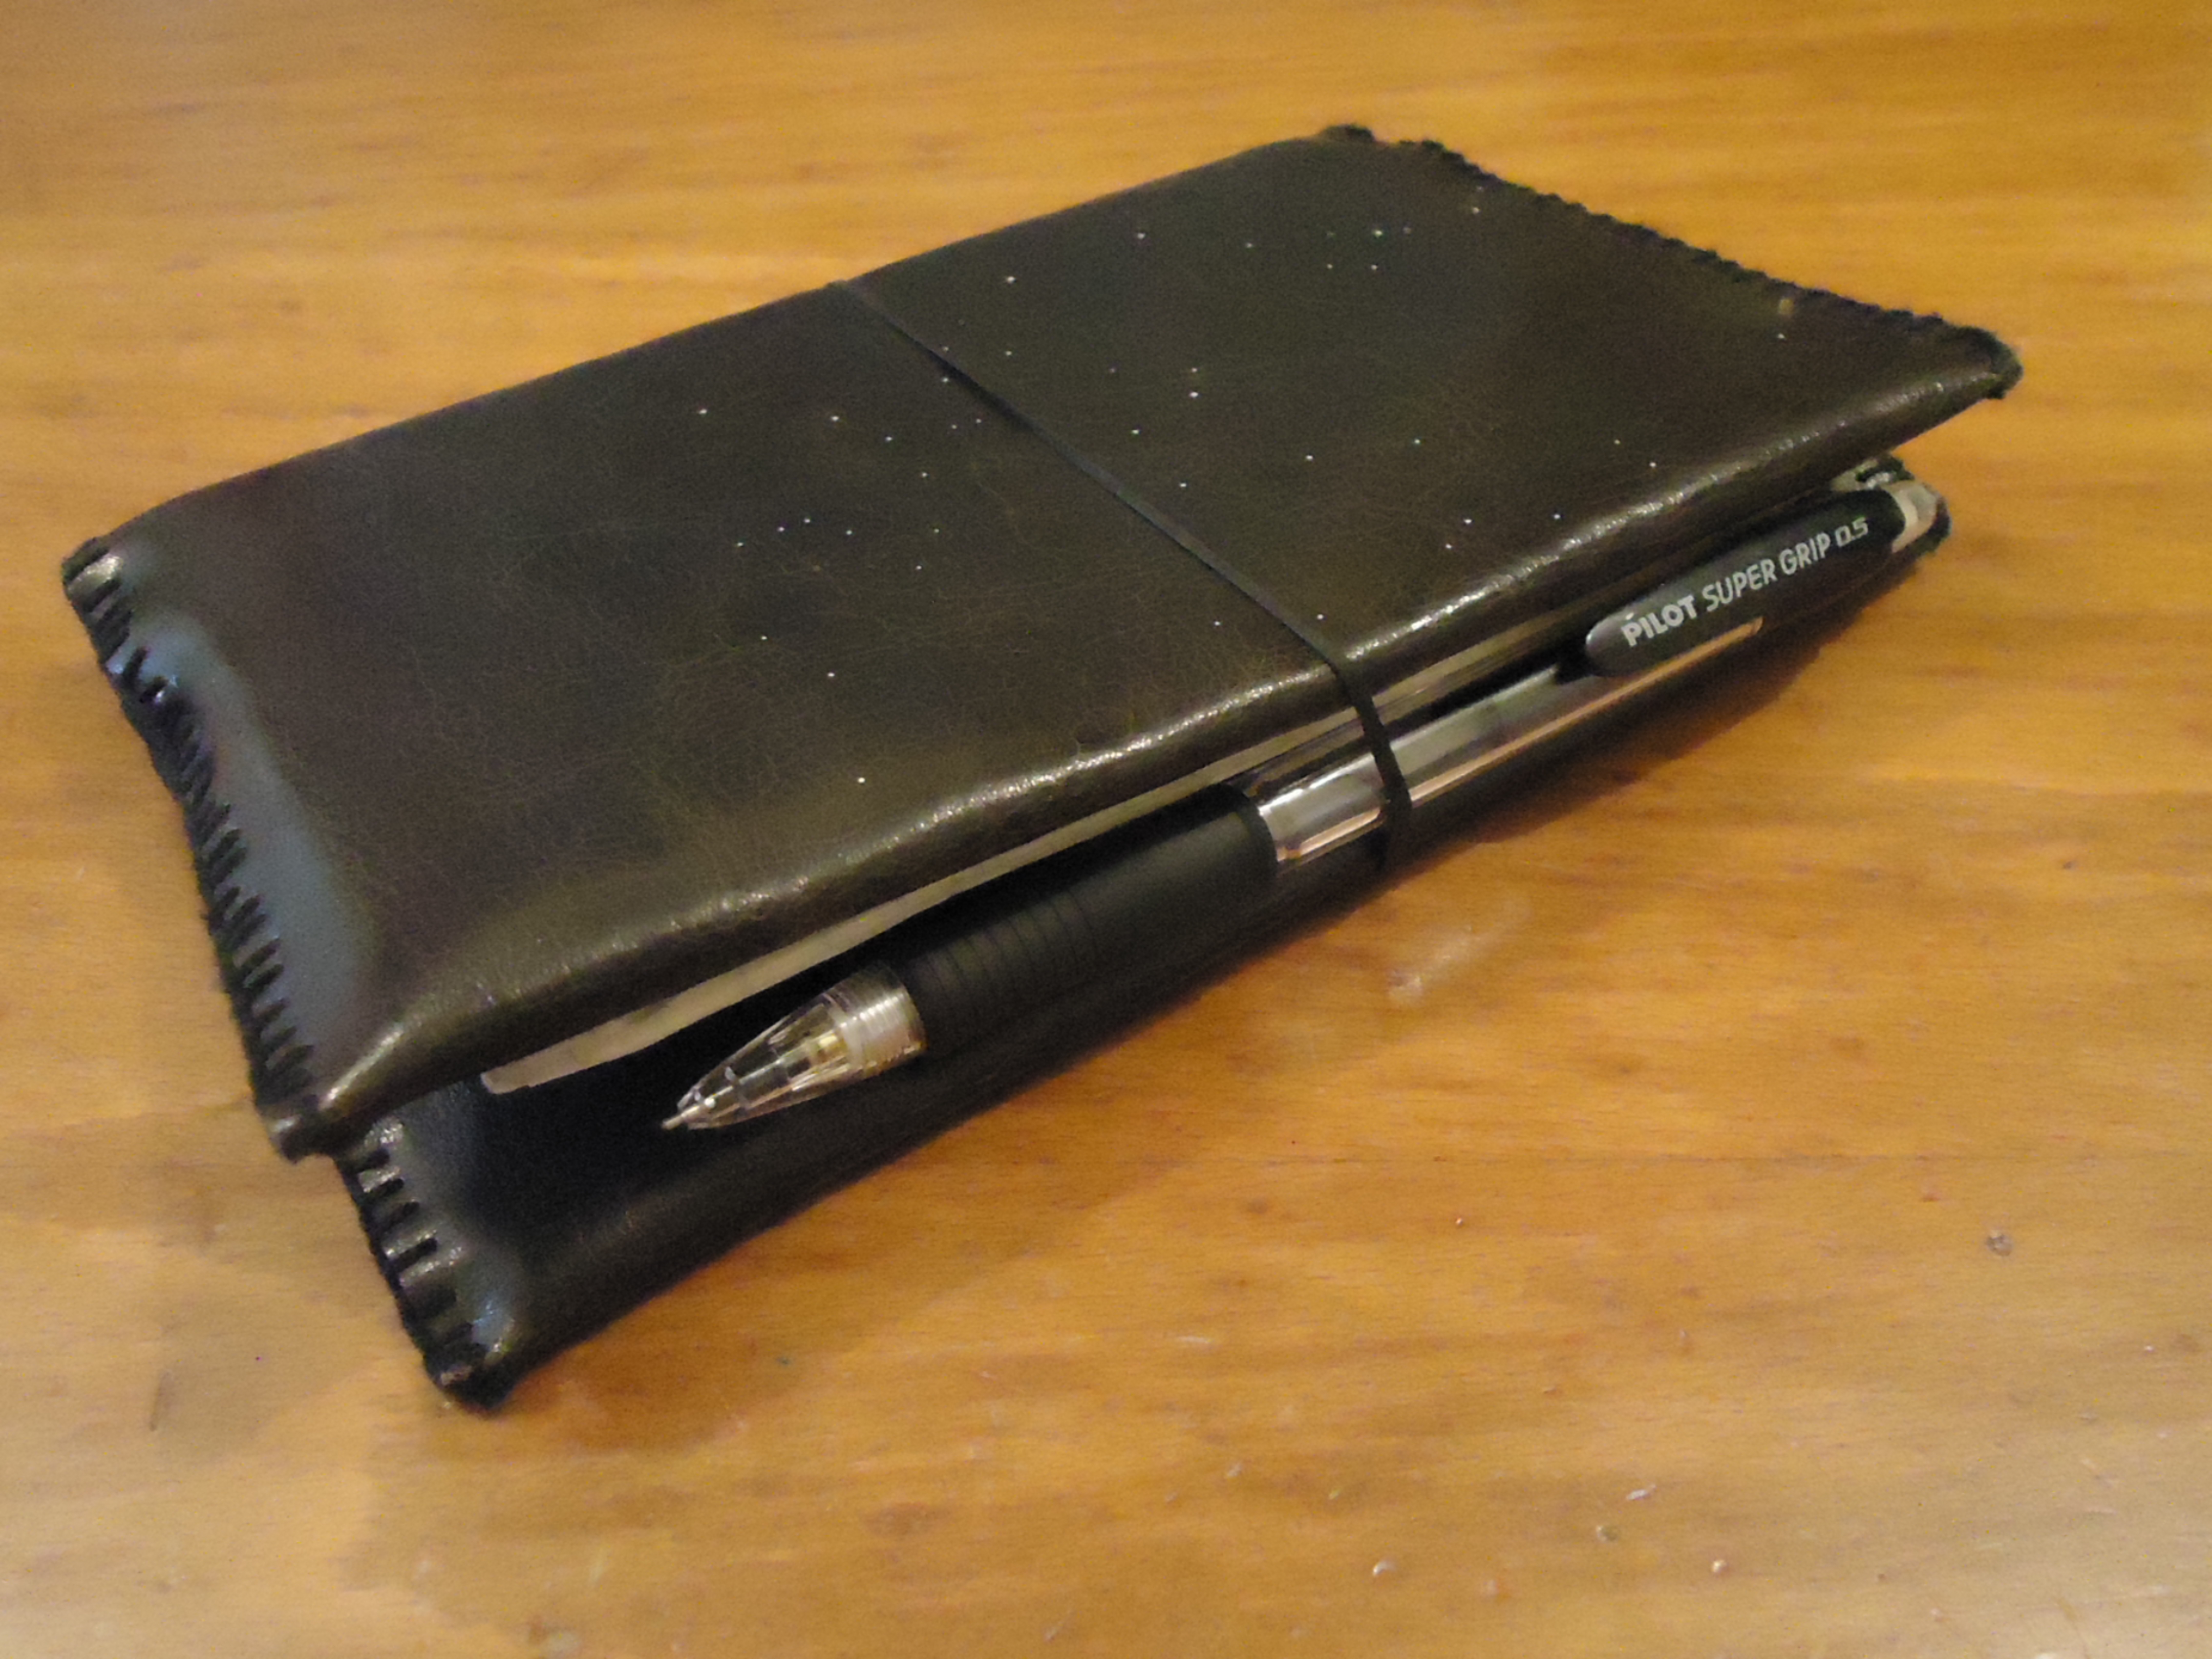
To bind the pages: put on your goggles and grab your super-glue, then glue all the pages to the cover and let the glue dry.
After the glue dries sew the pages together to the hard cover. (I stapled the pages first, removed the staples and then sawed the pages to the hard cover using the holes from the staples)
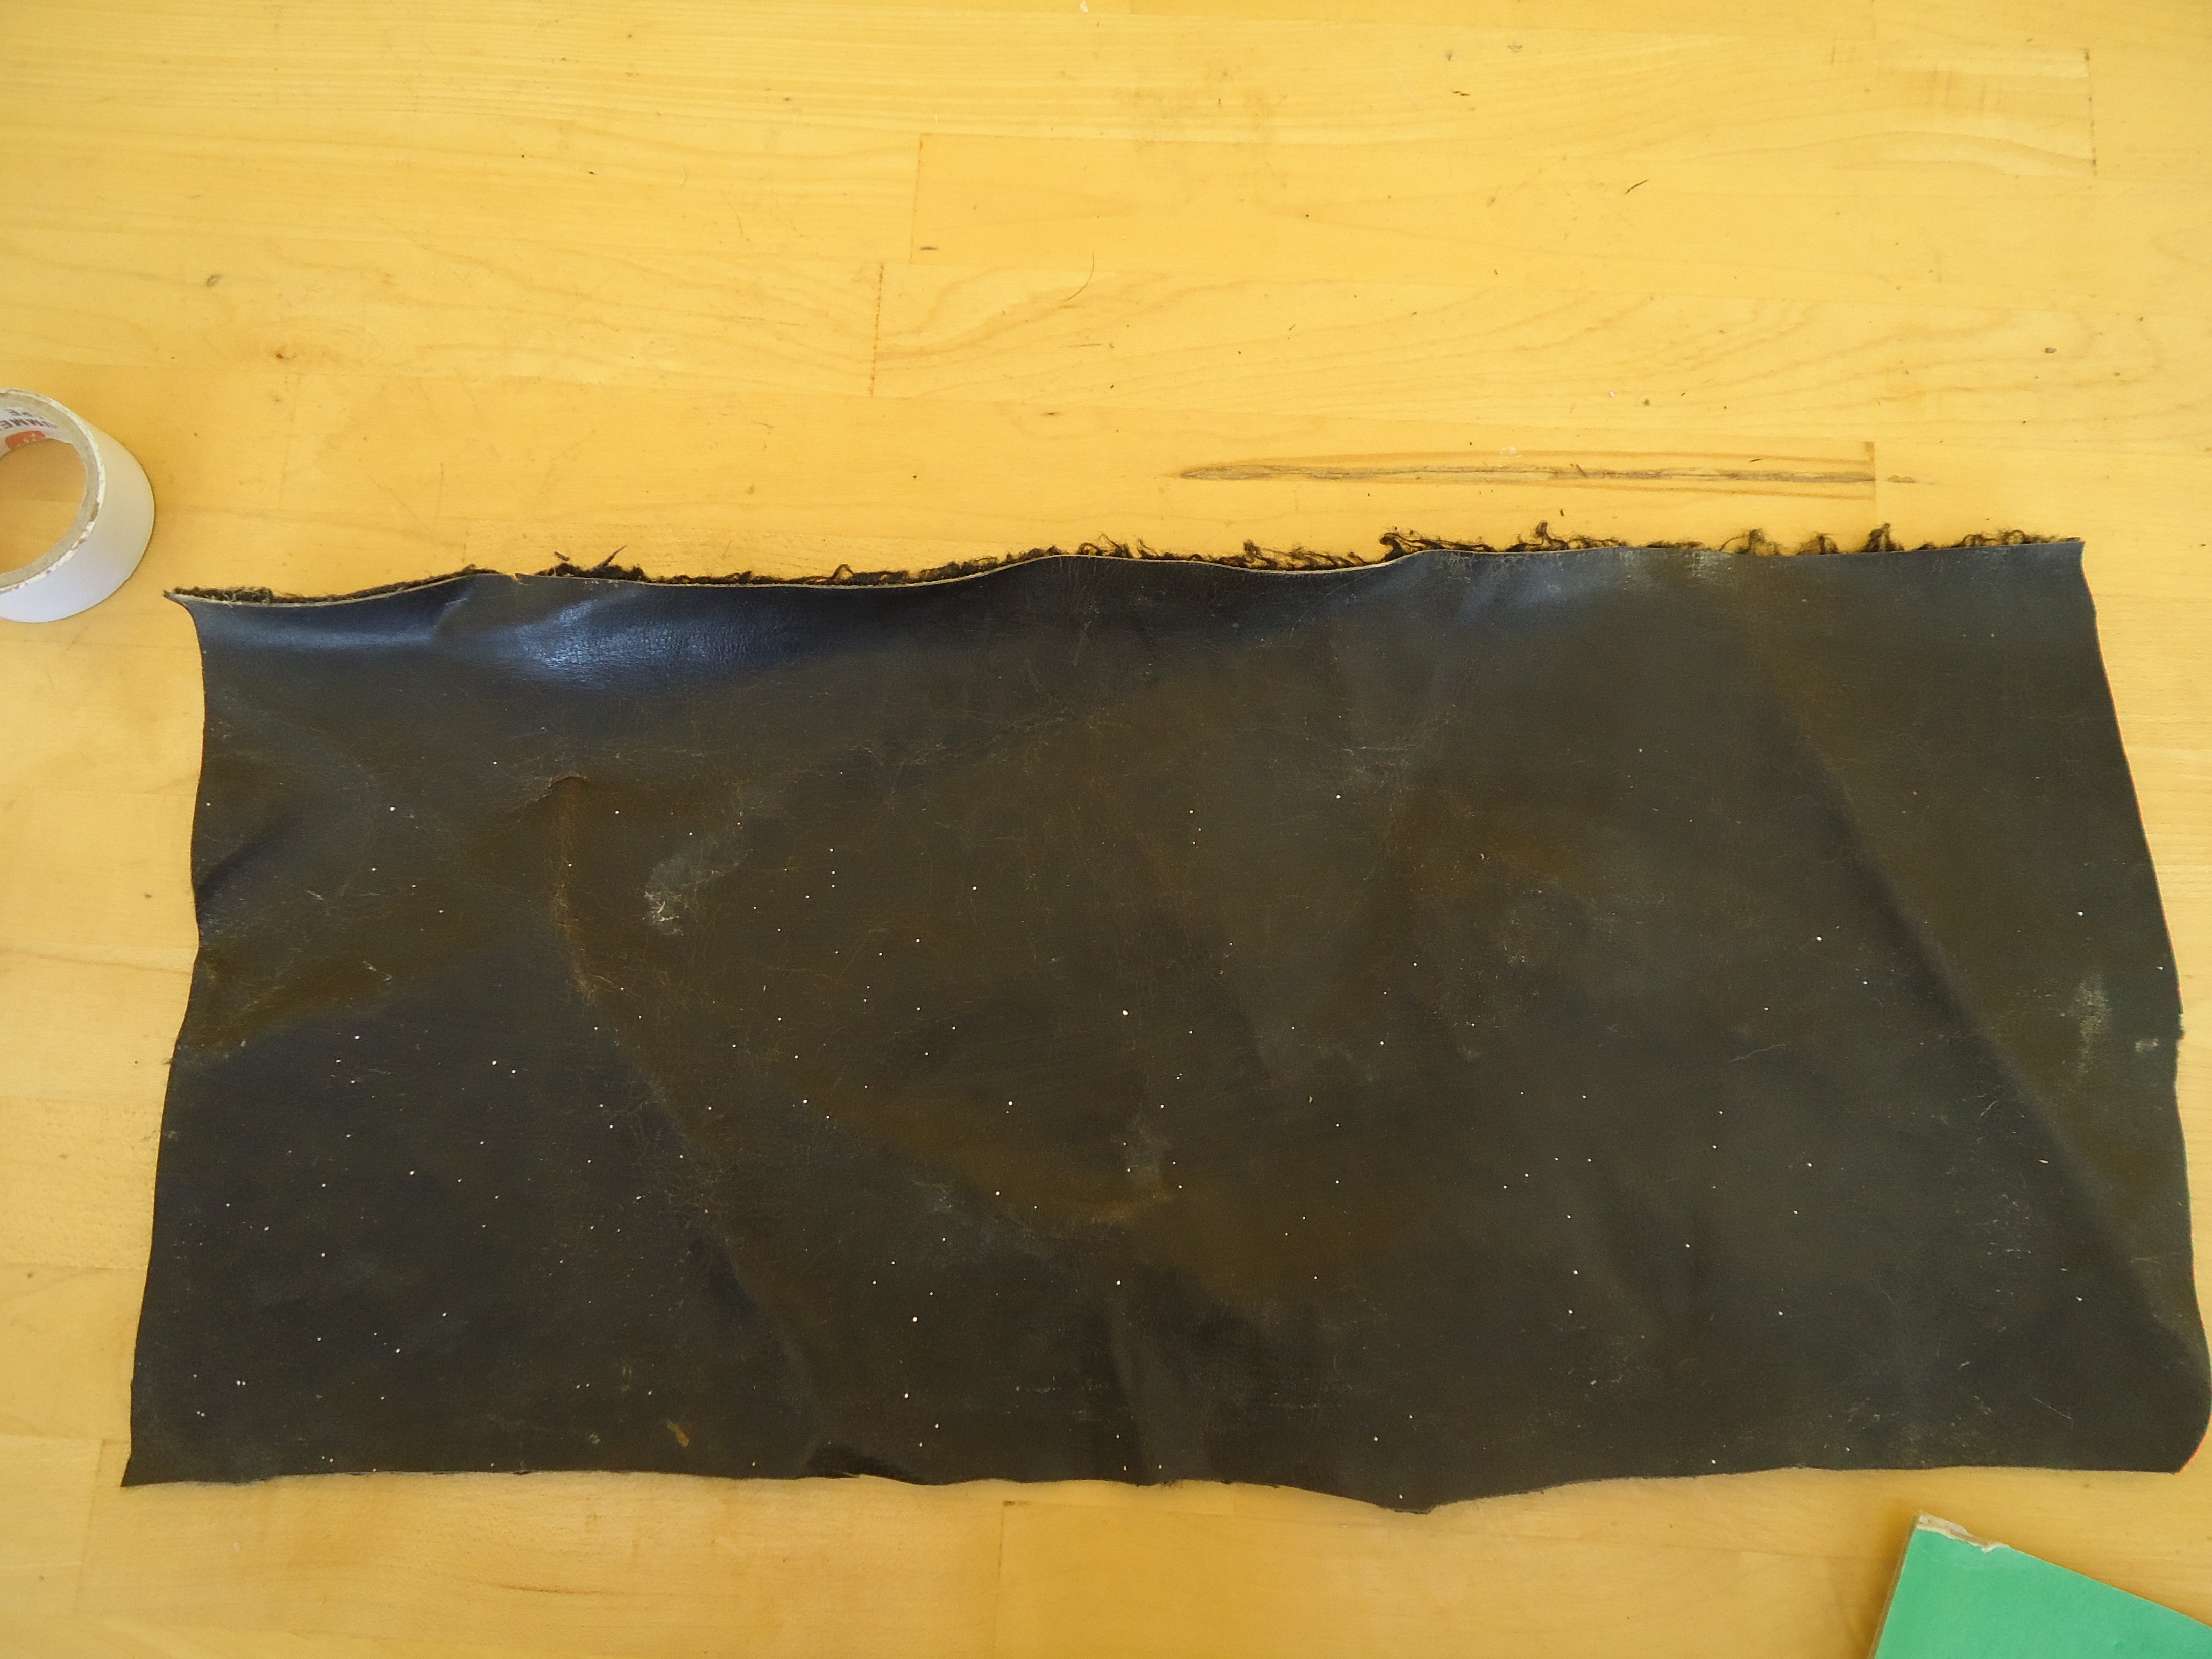
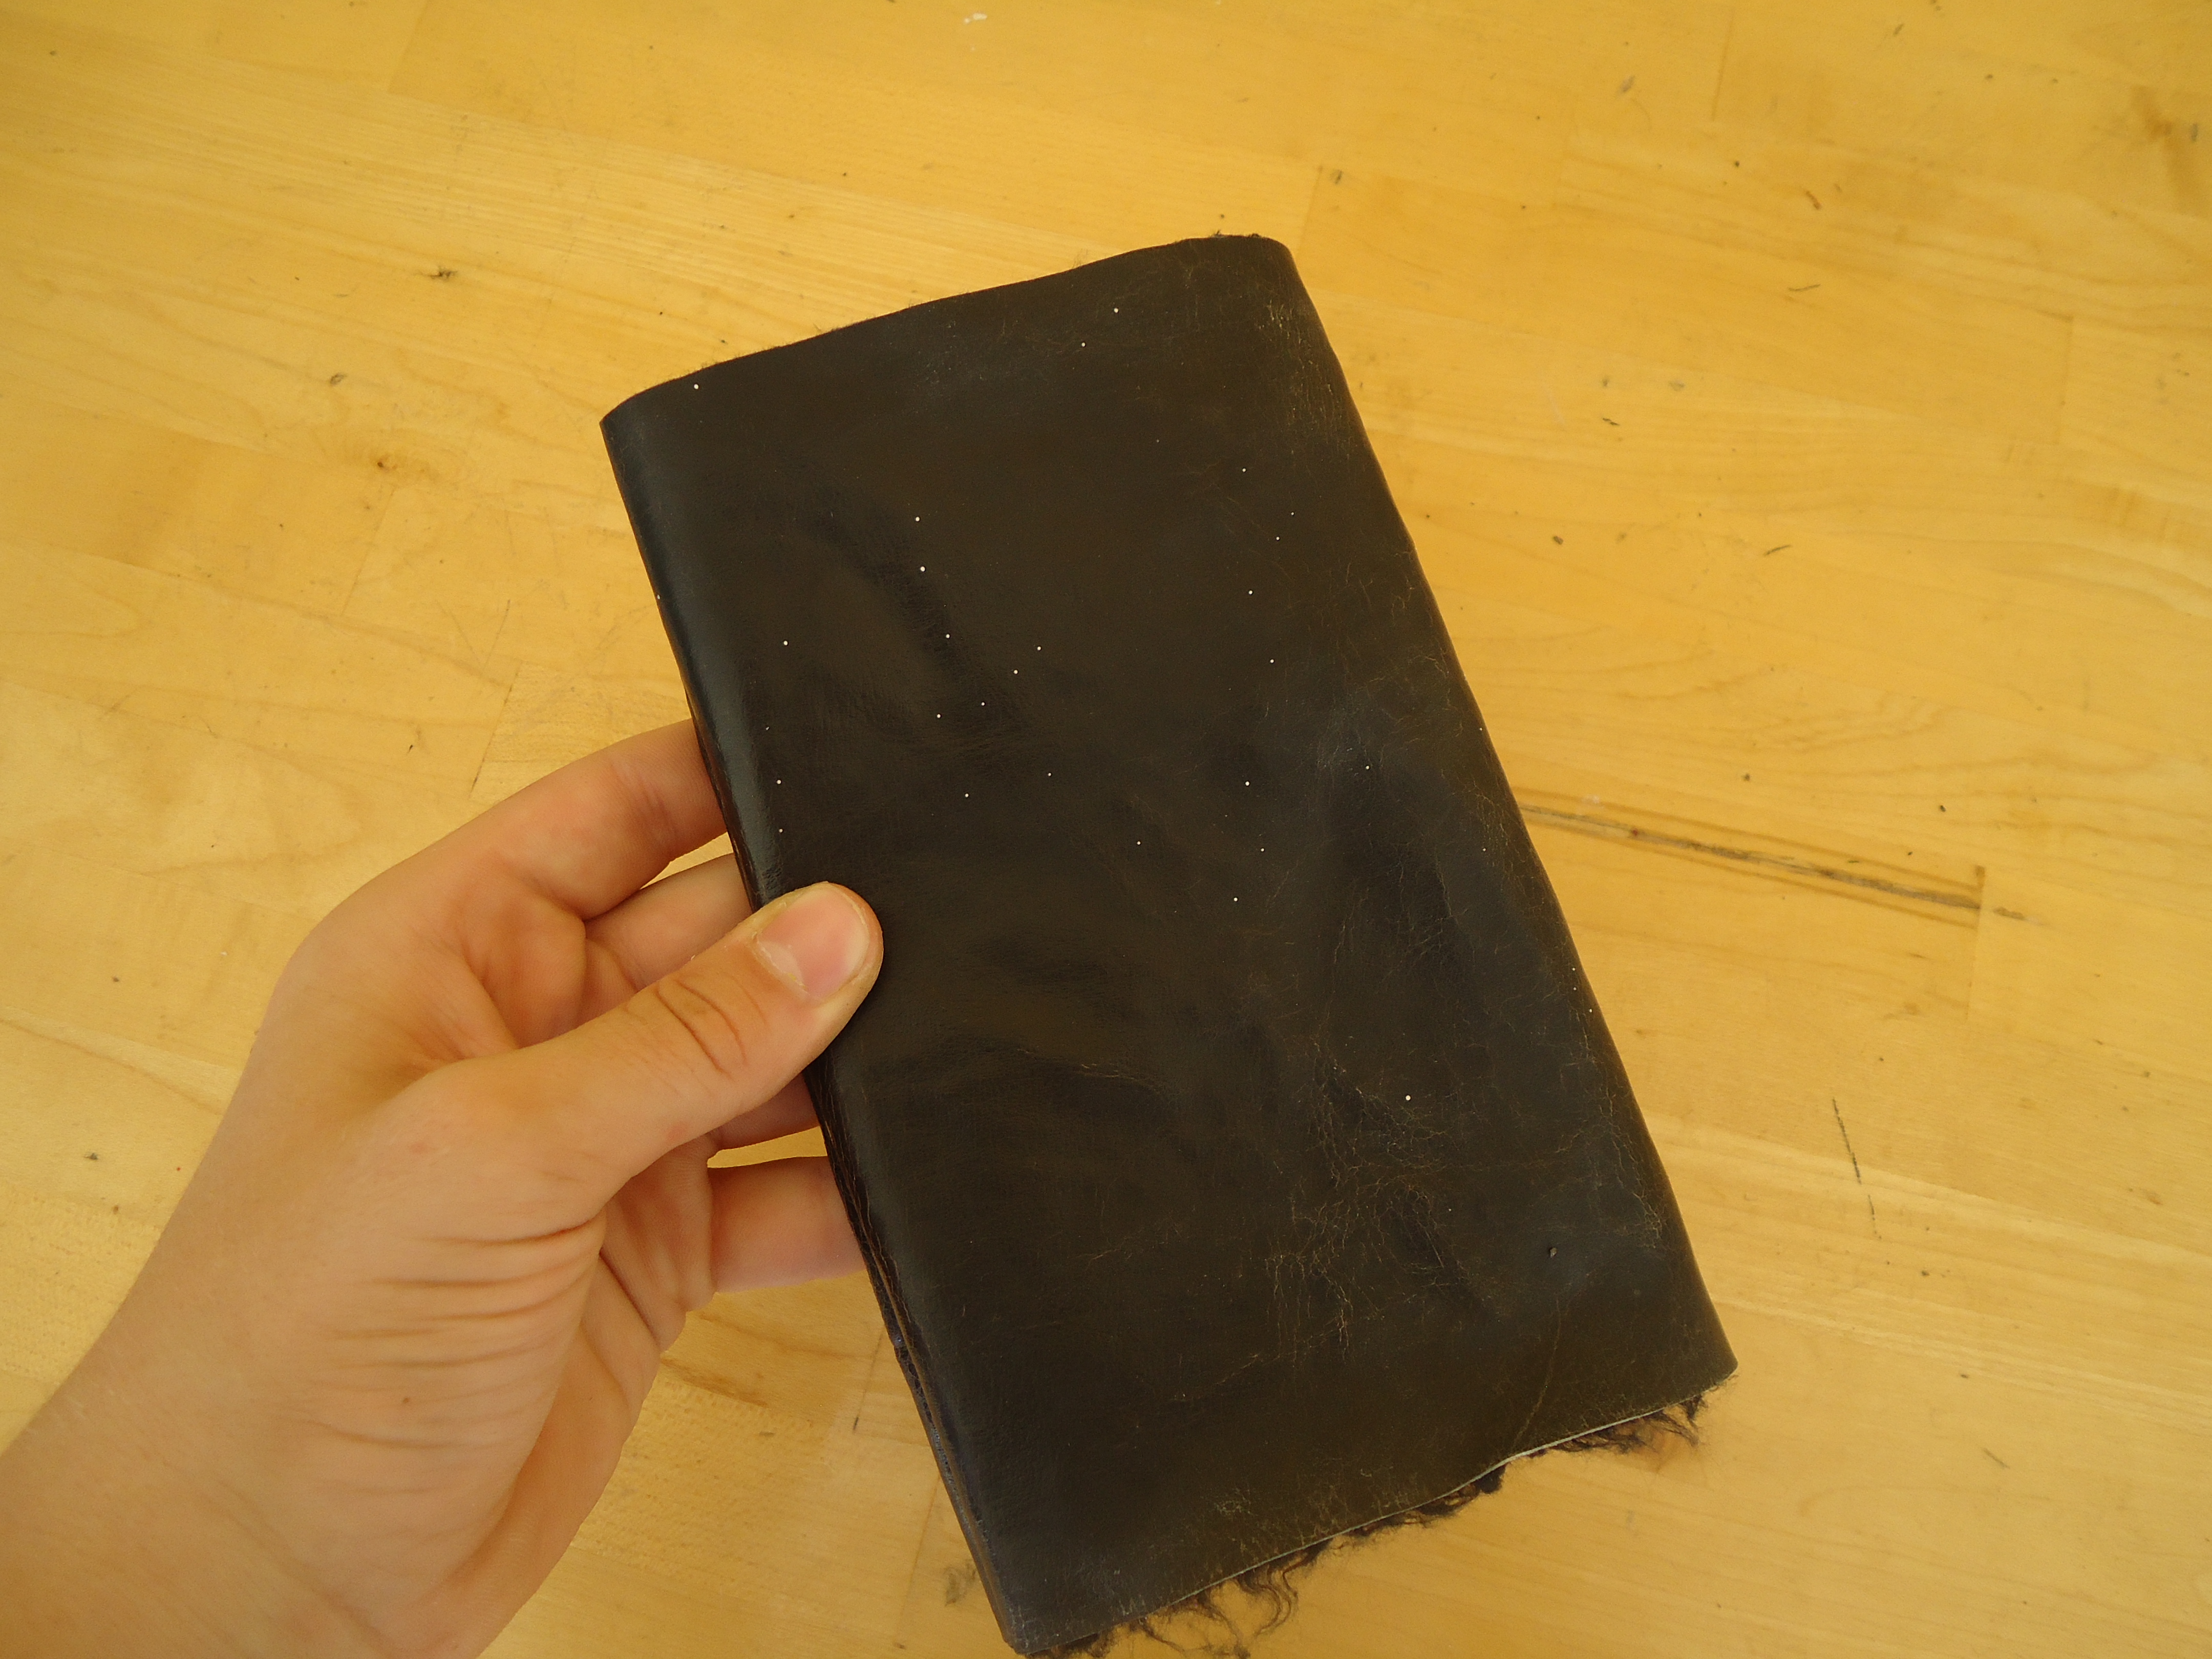
Find a piece of leather (I took mine from an old couch) and cut it to the length of 1 and 1\2 of the cover and cut it a little bit wider than the cover as well .
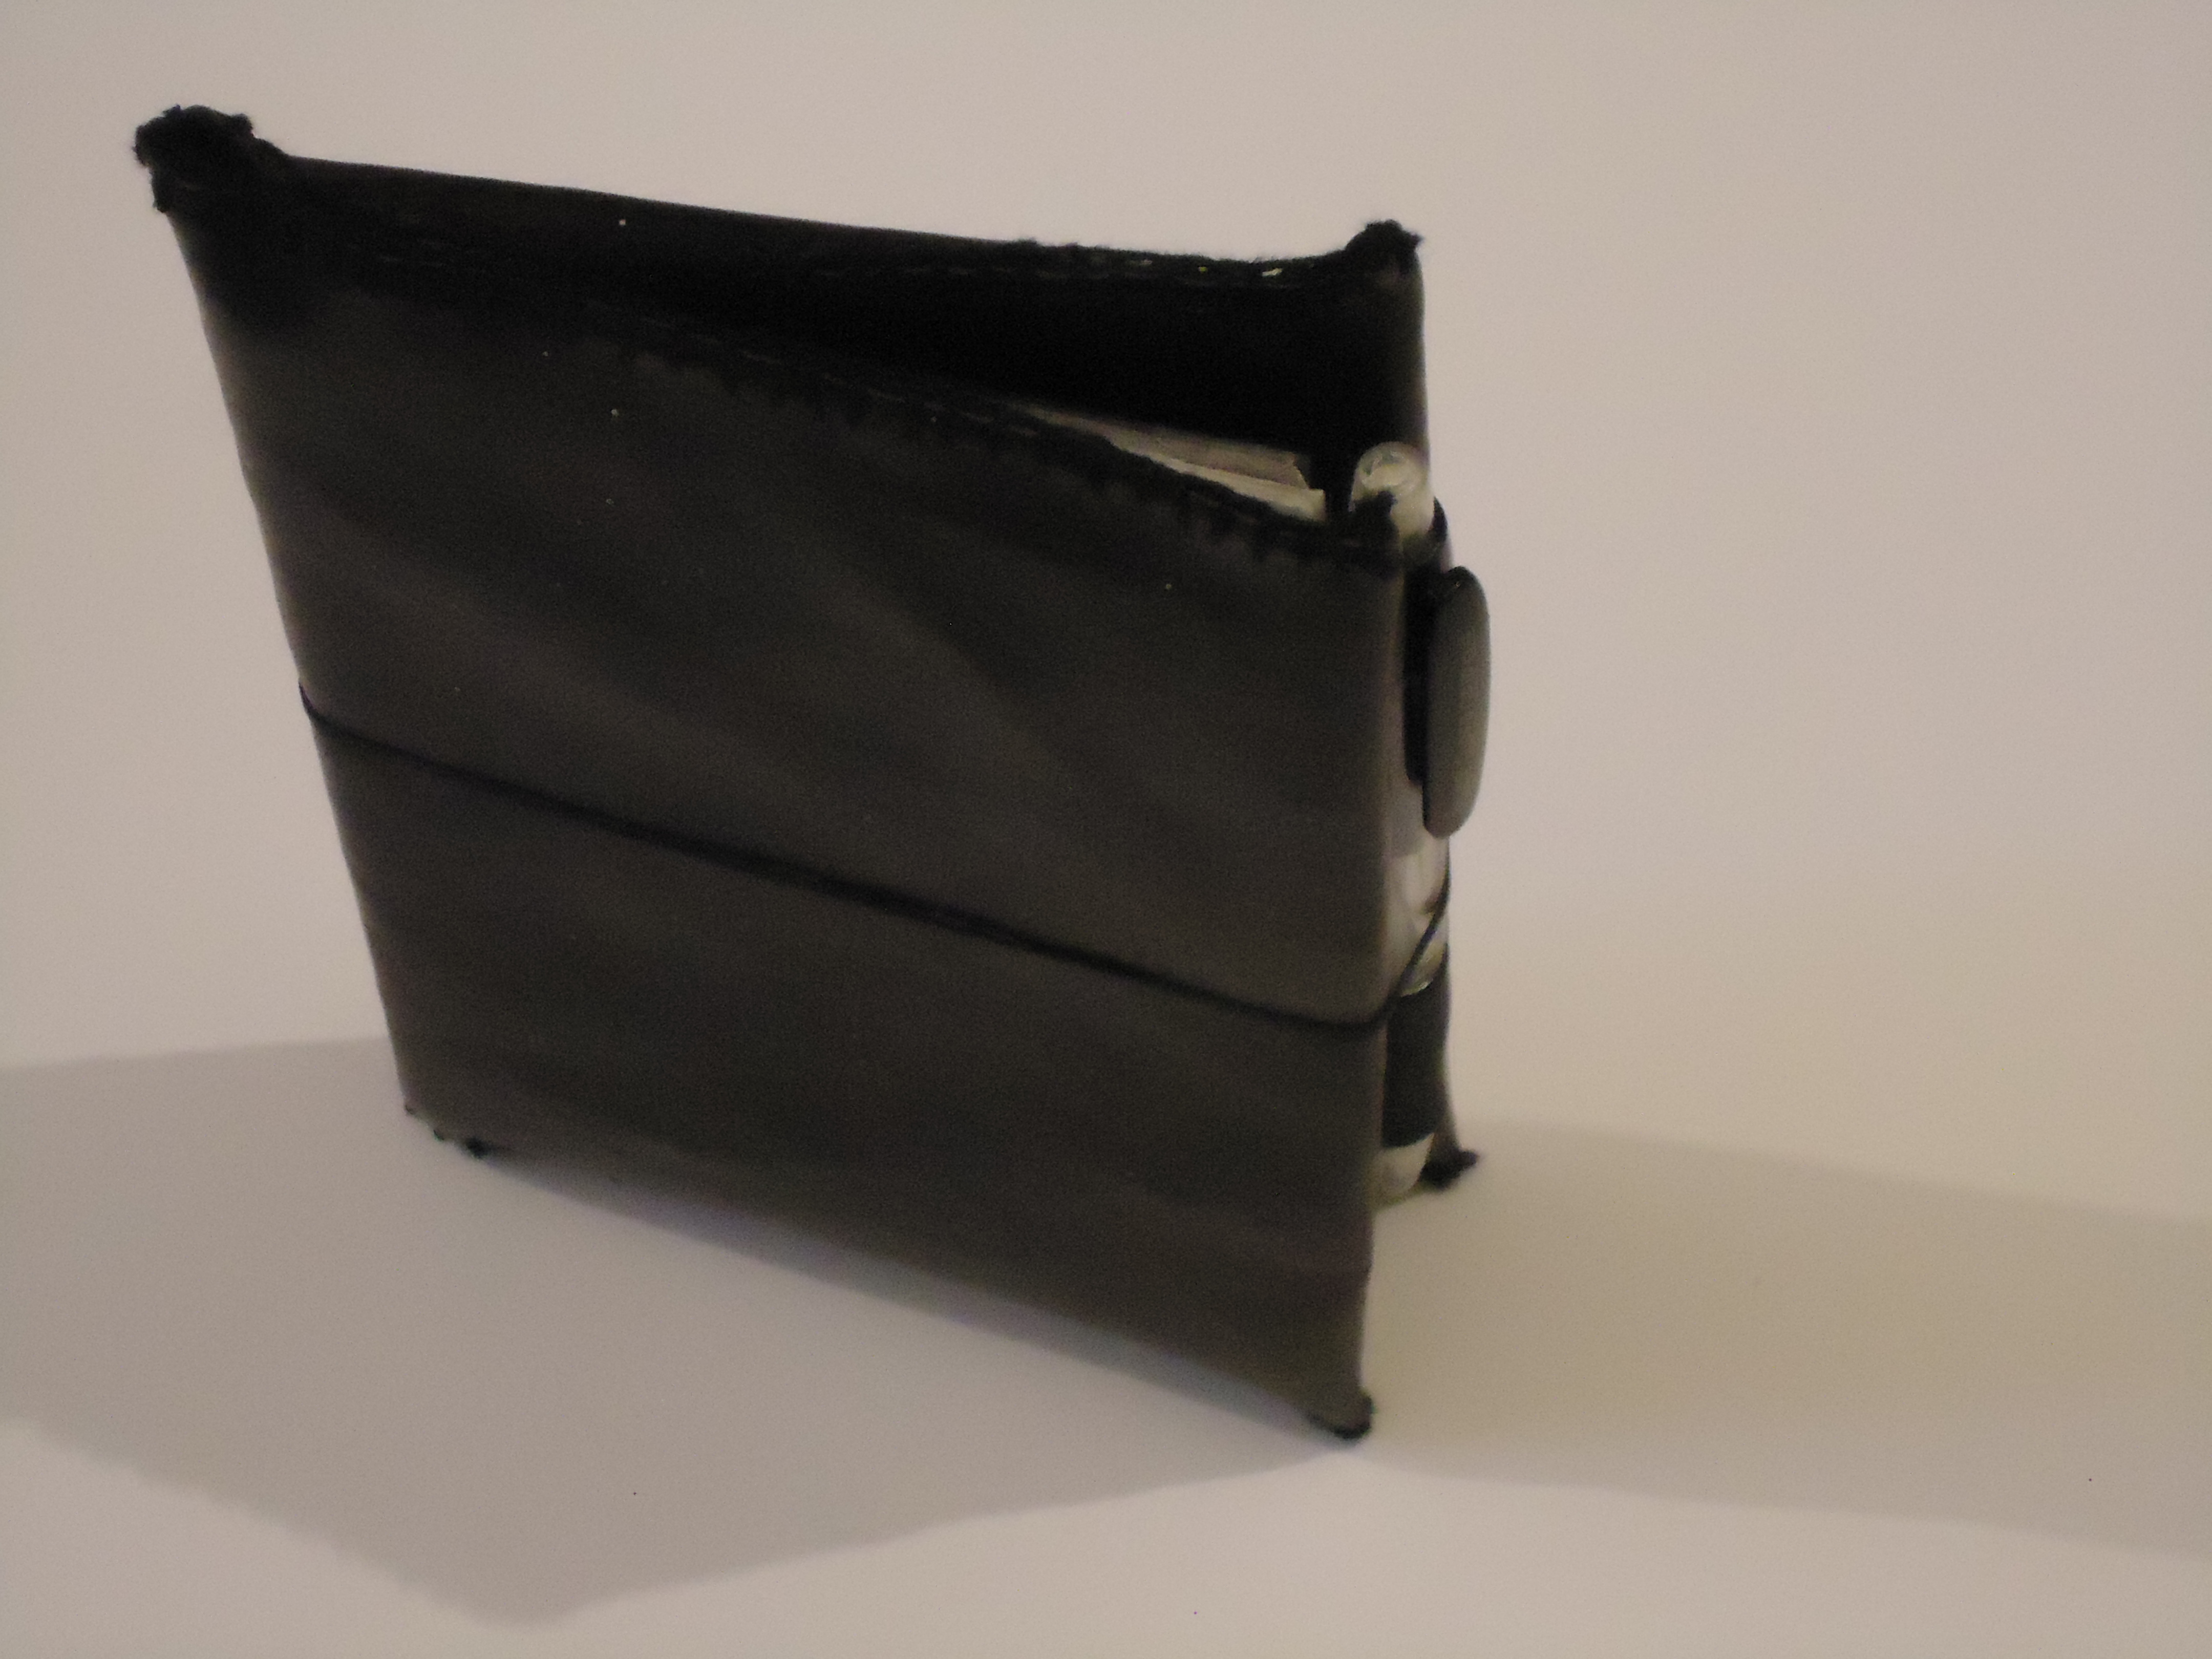
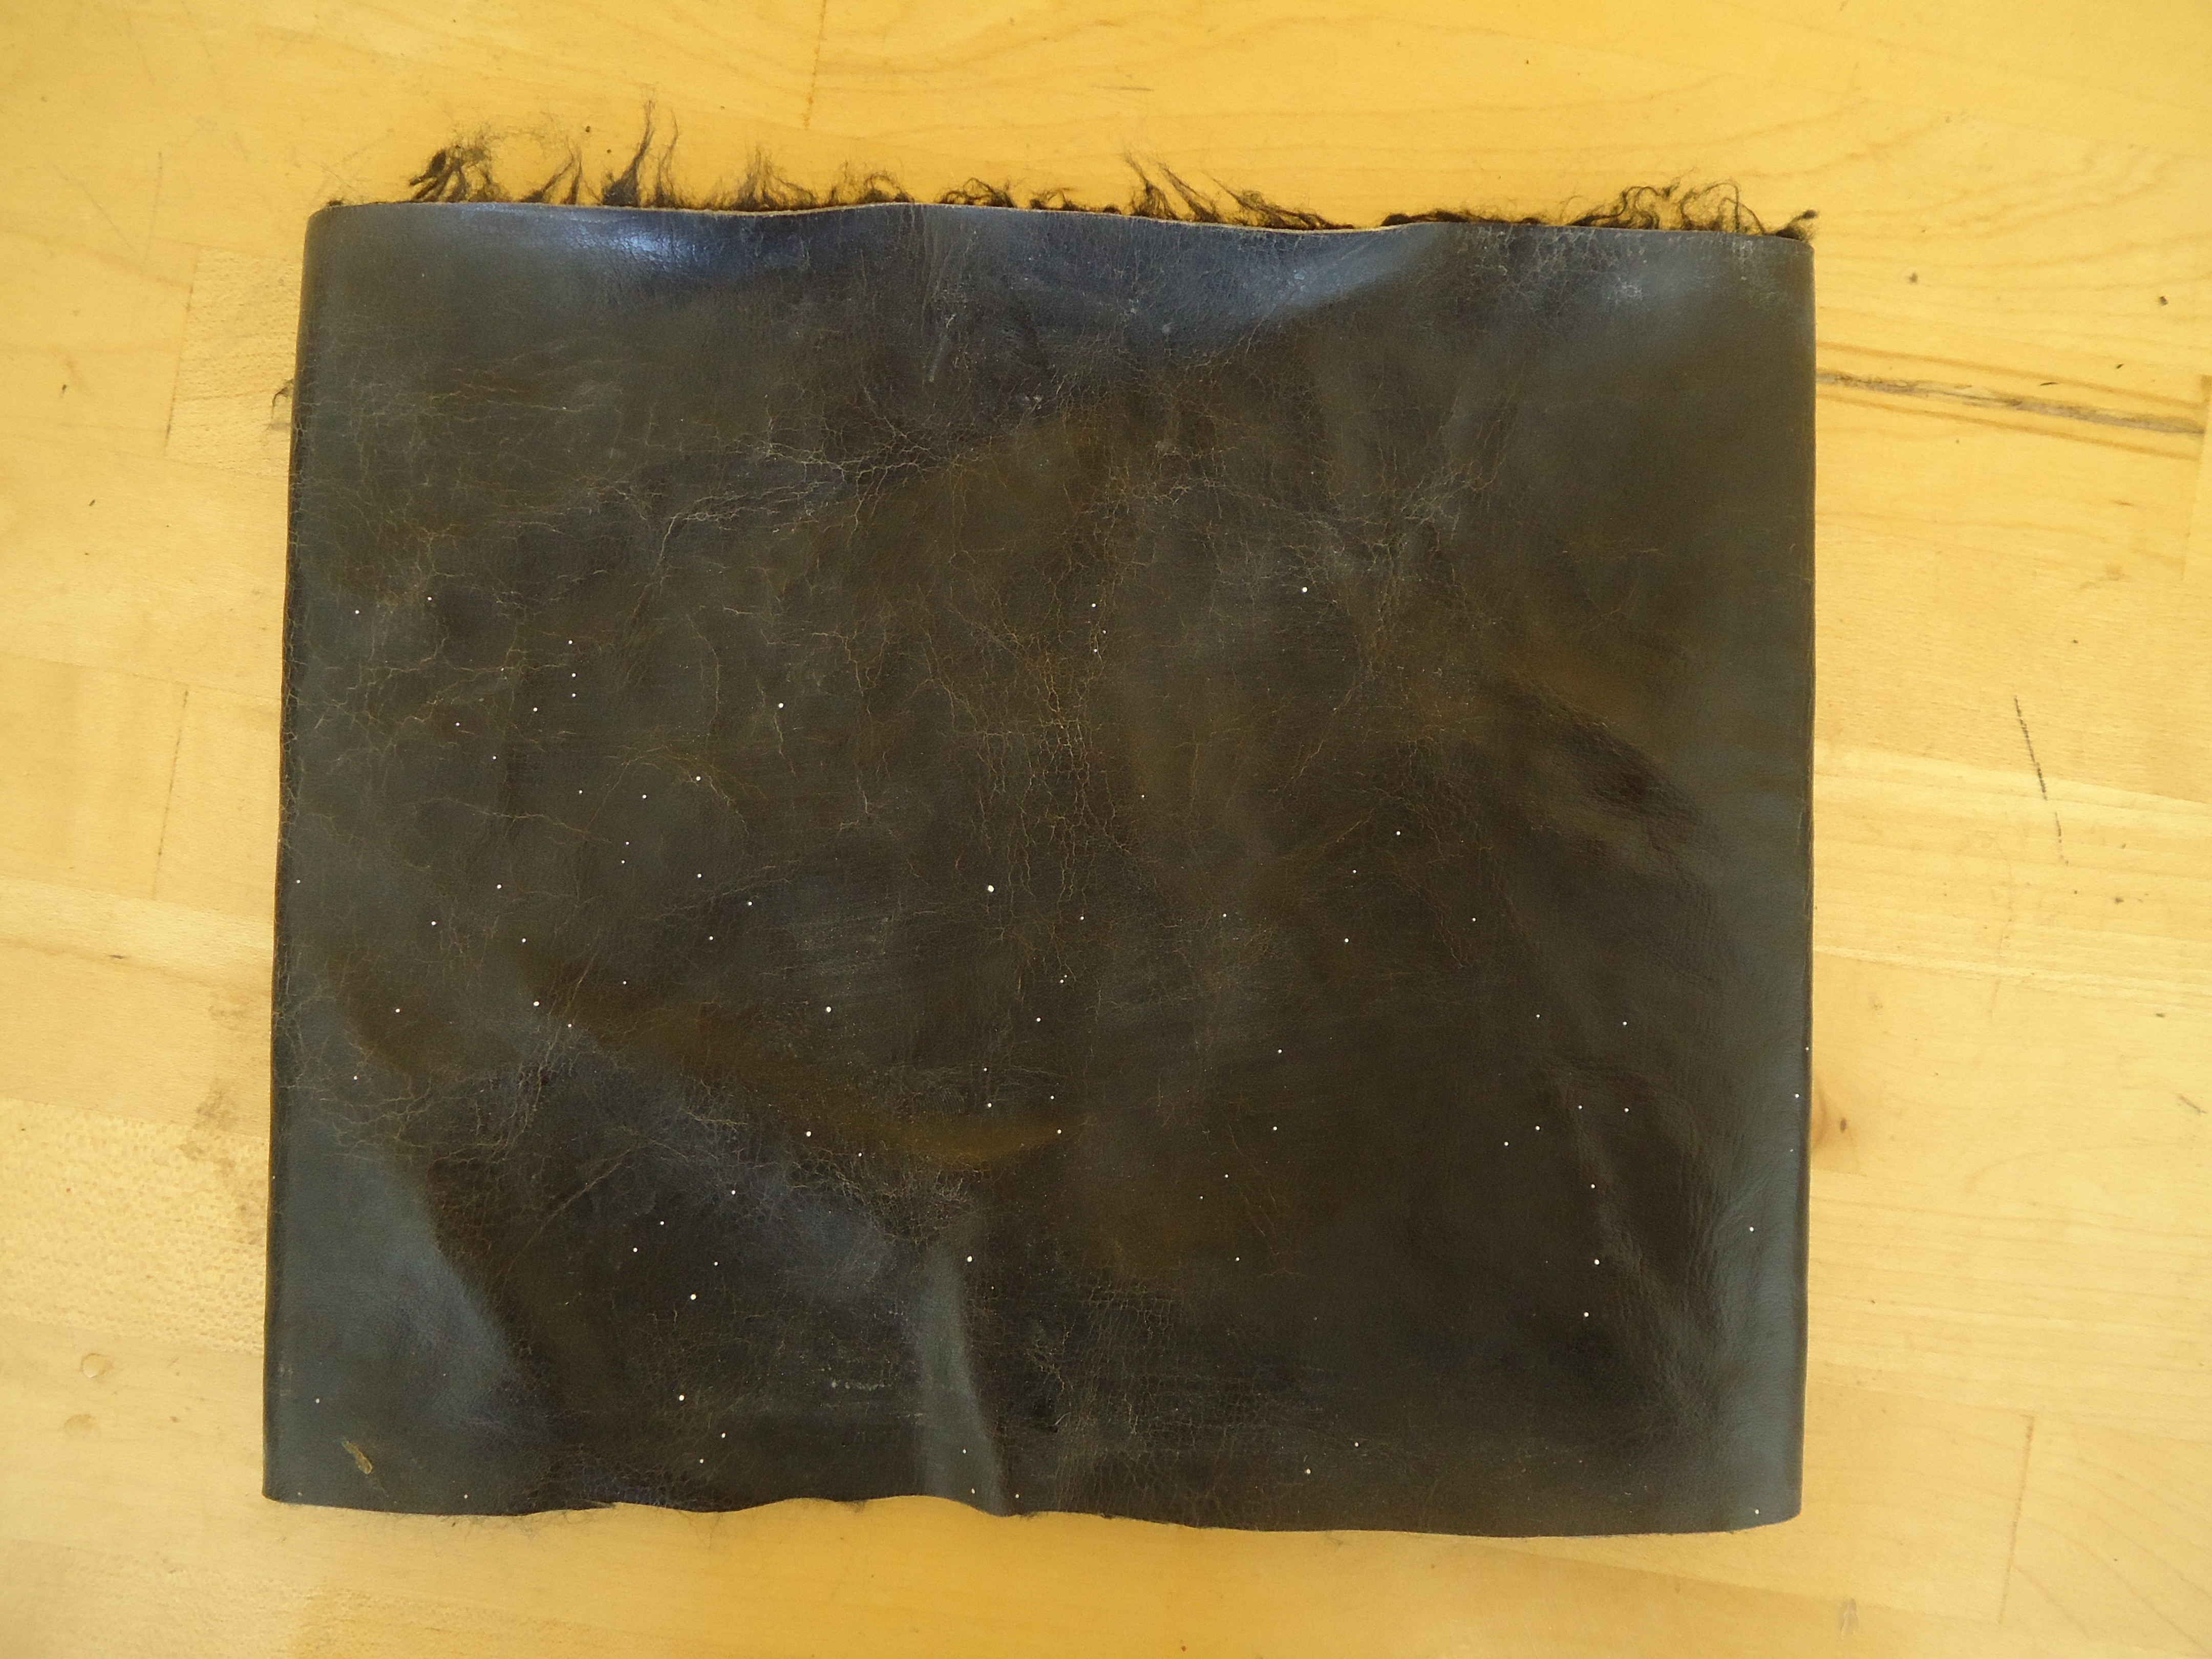
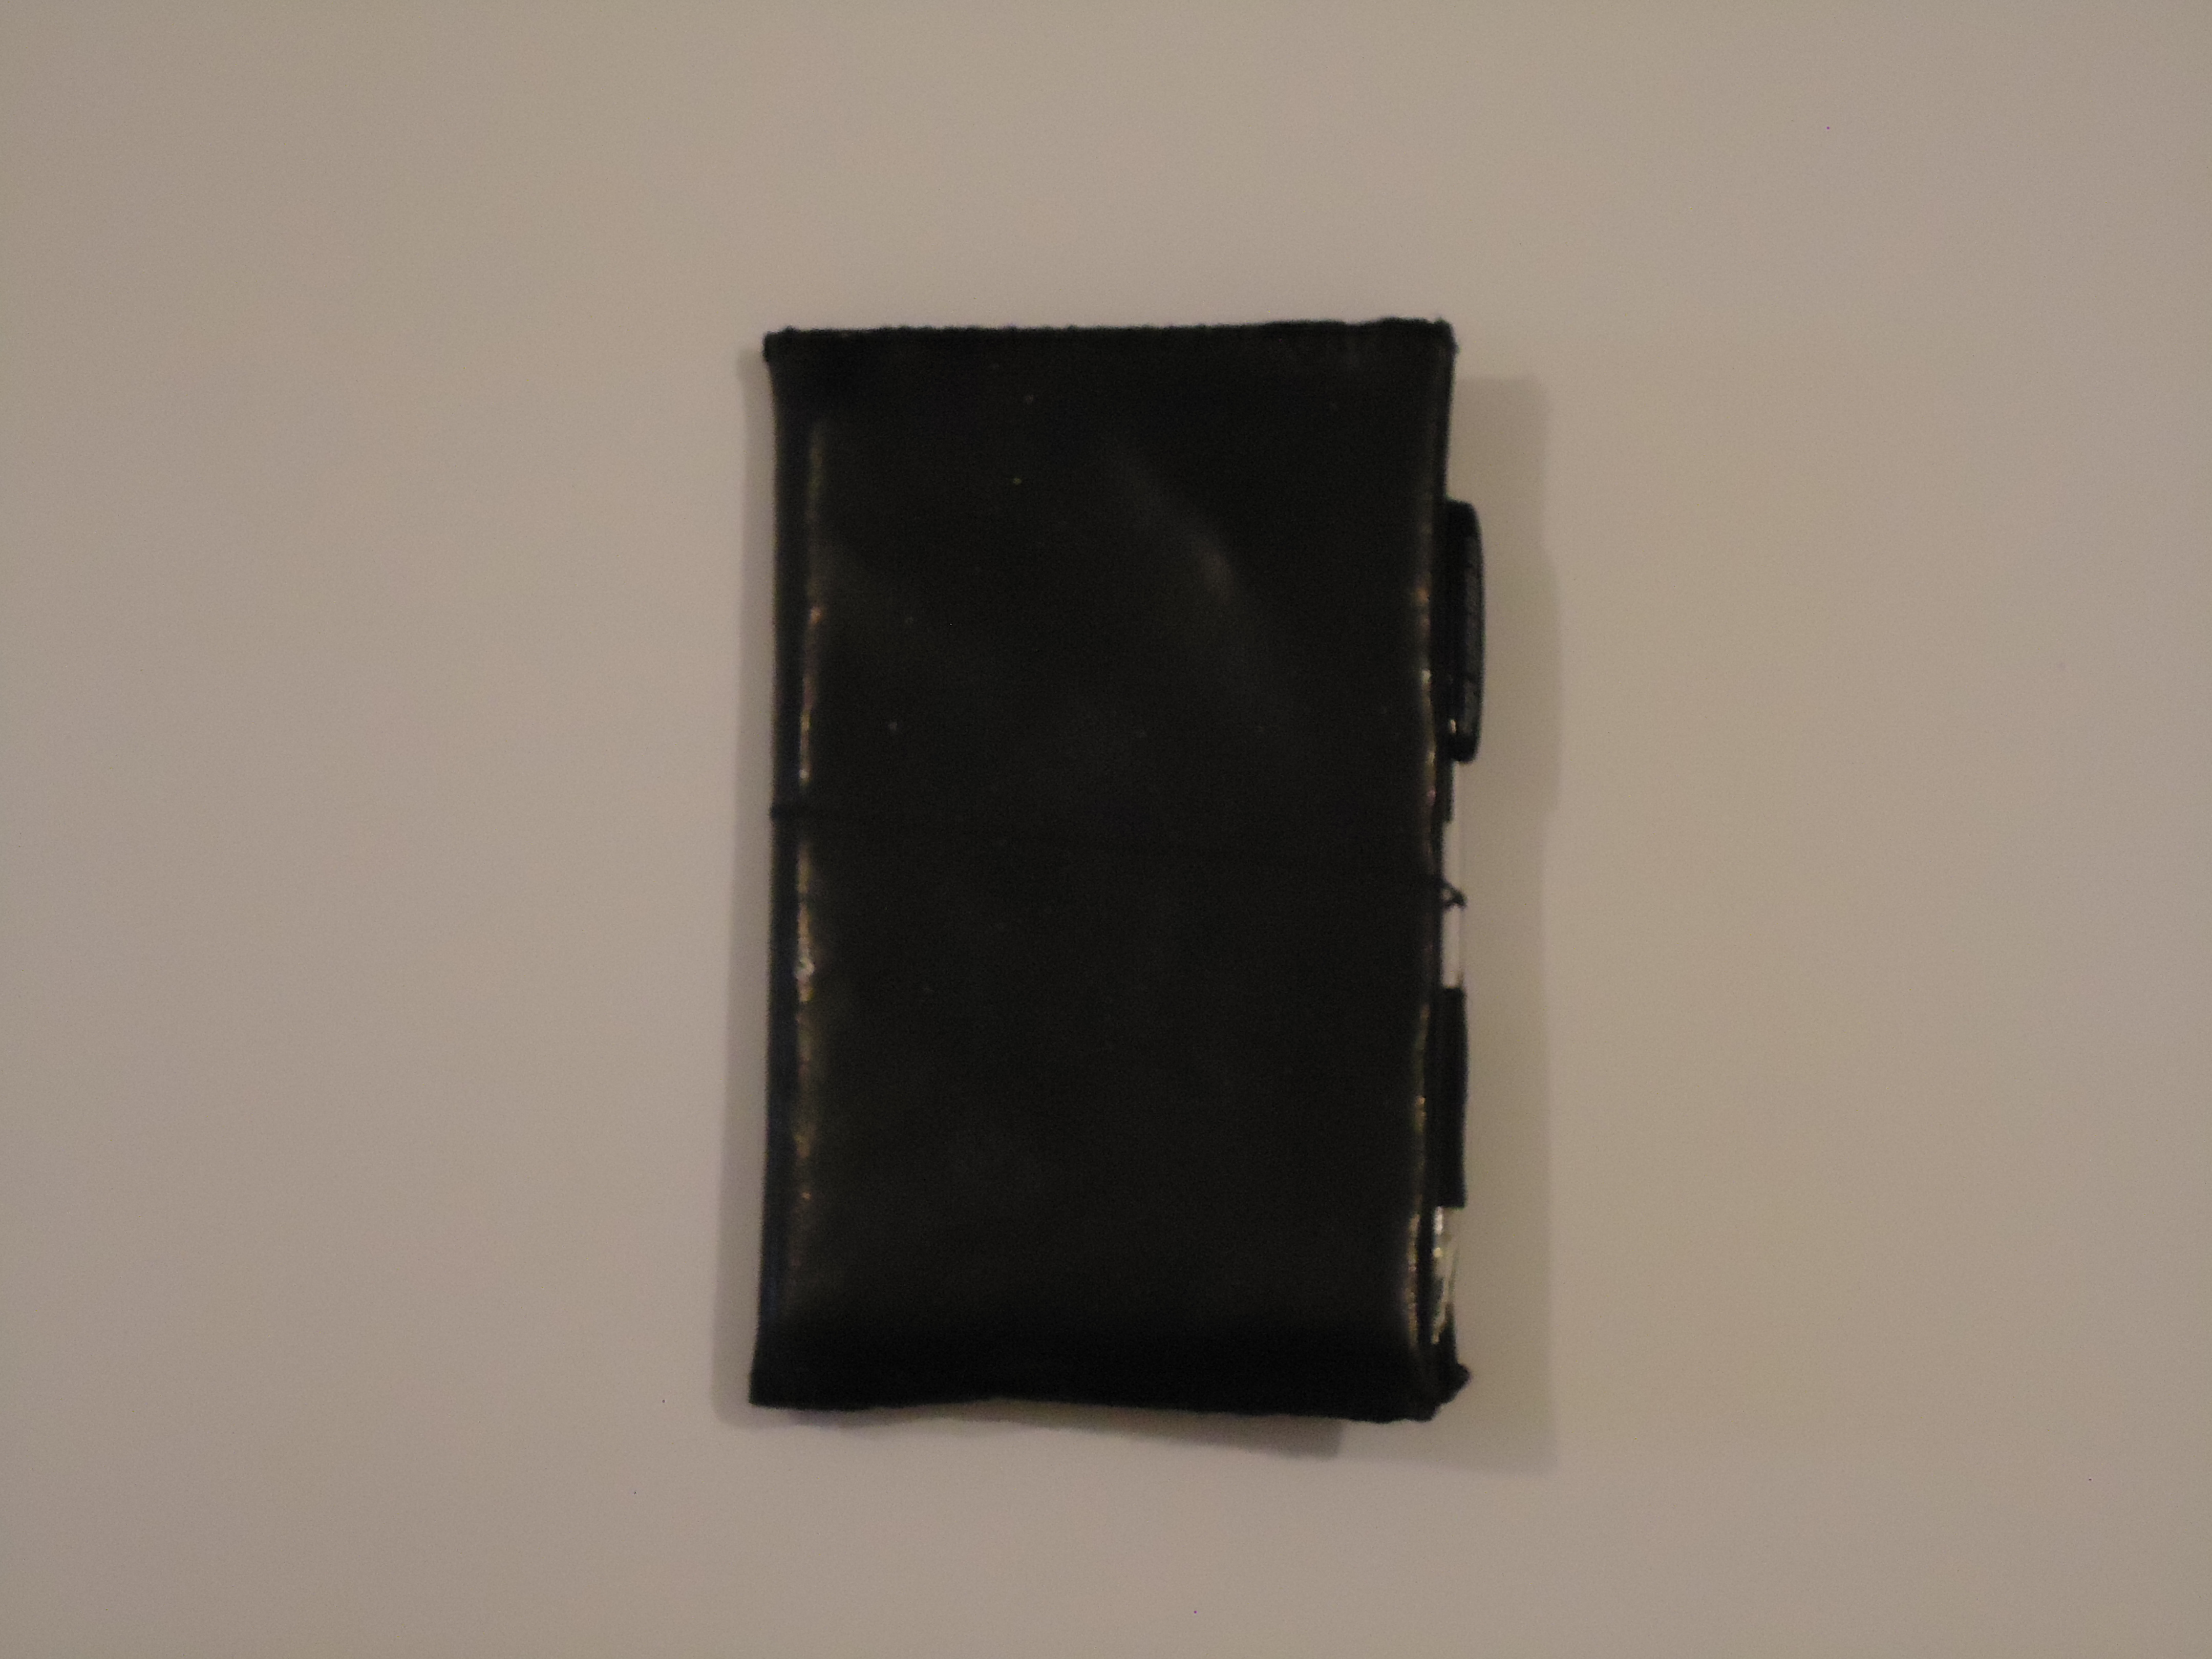
Then sew the piece of leather around the booklet, and you are almost done.
Customize and Enjoy!
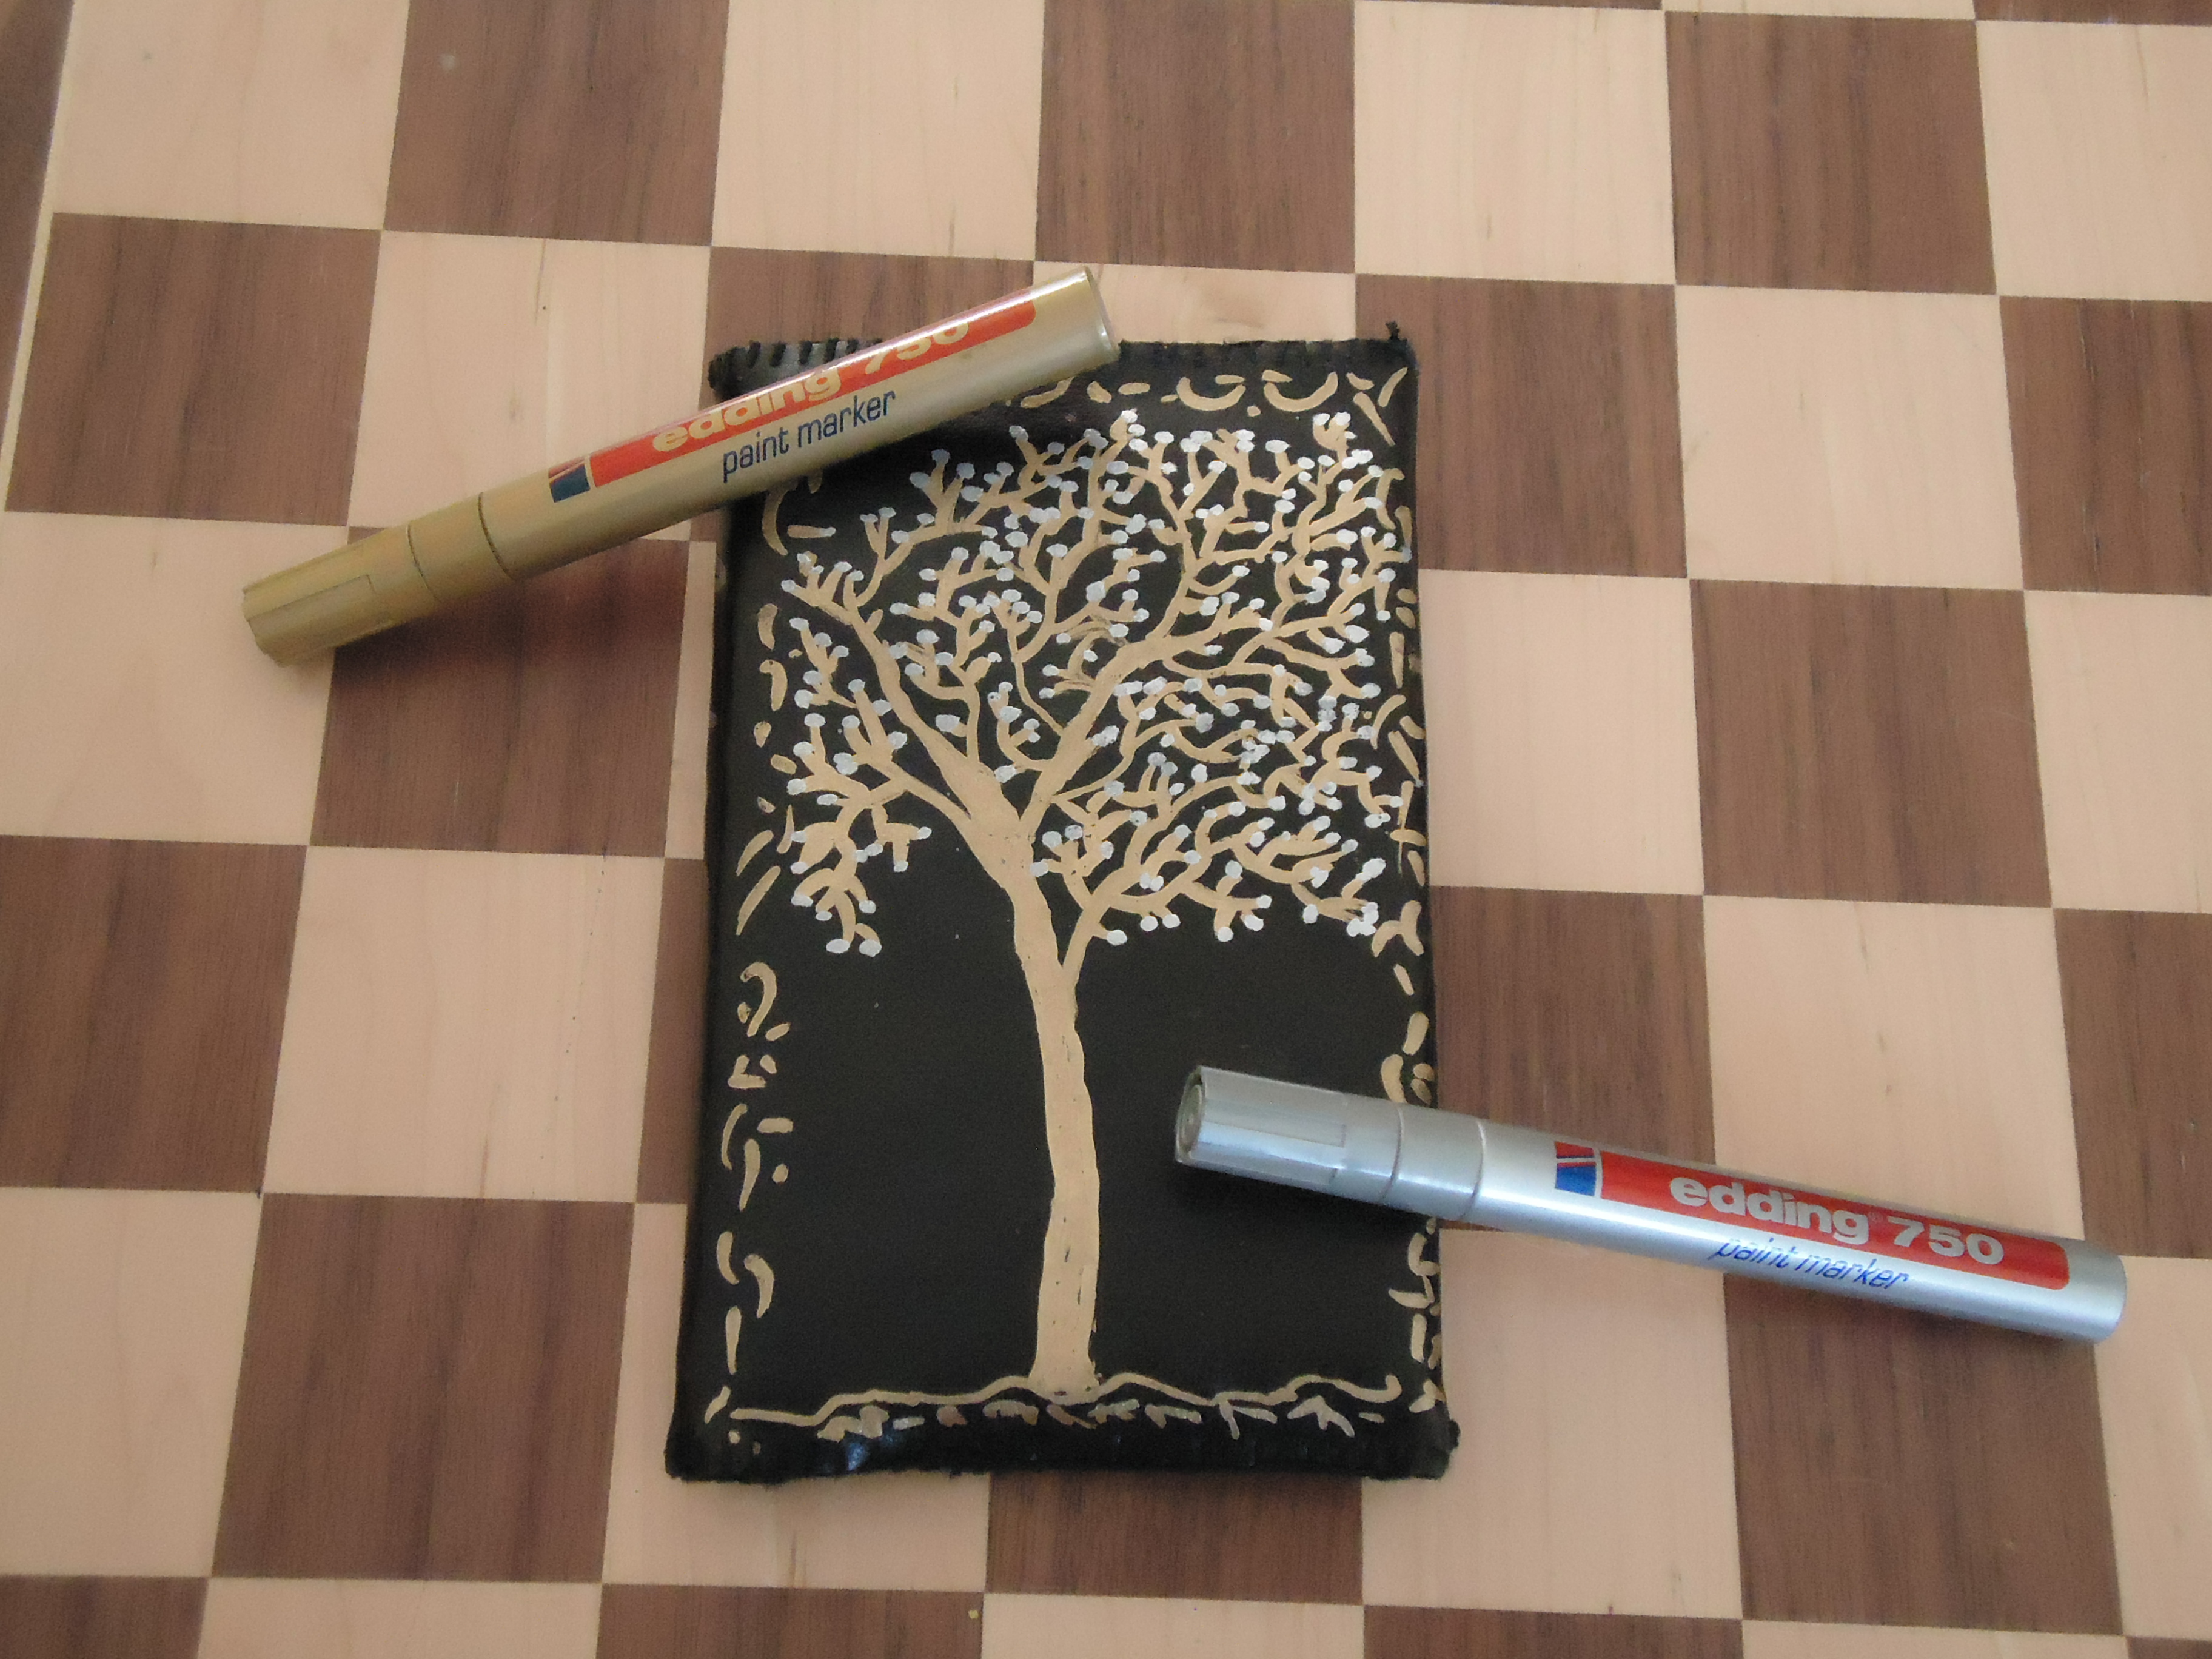

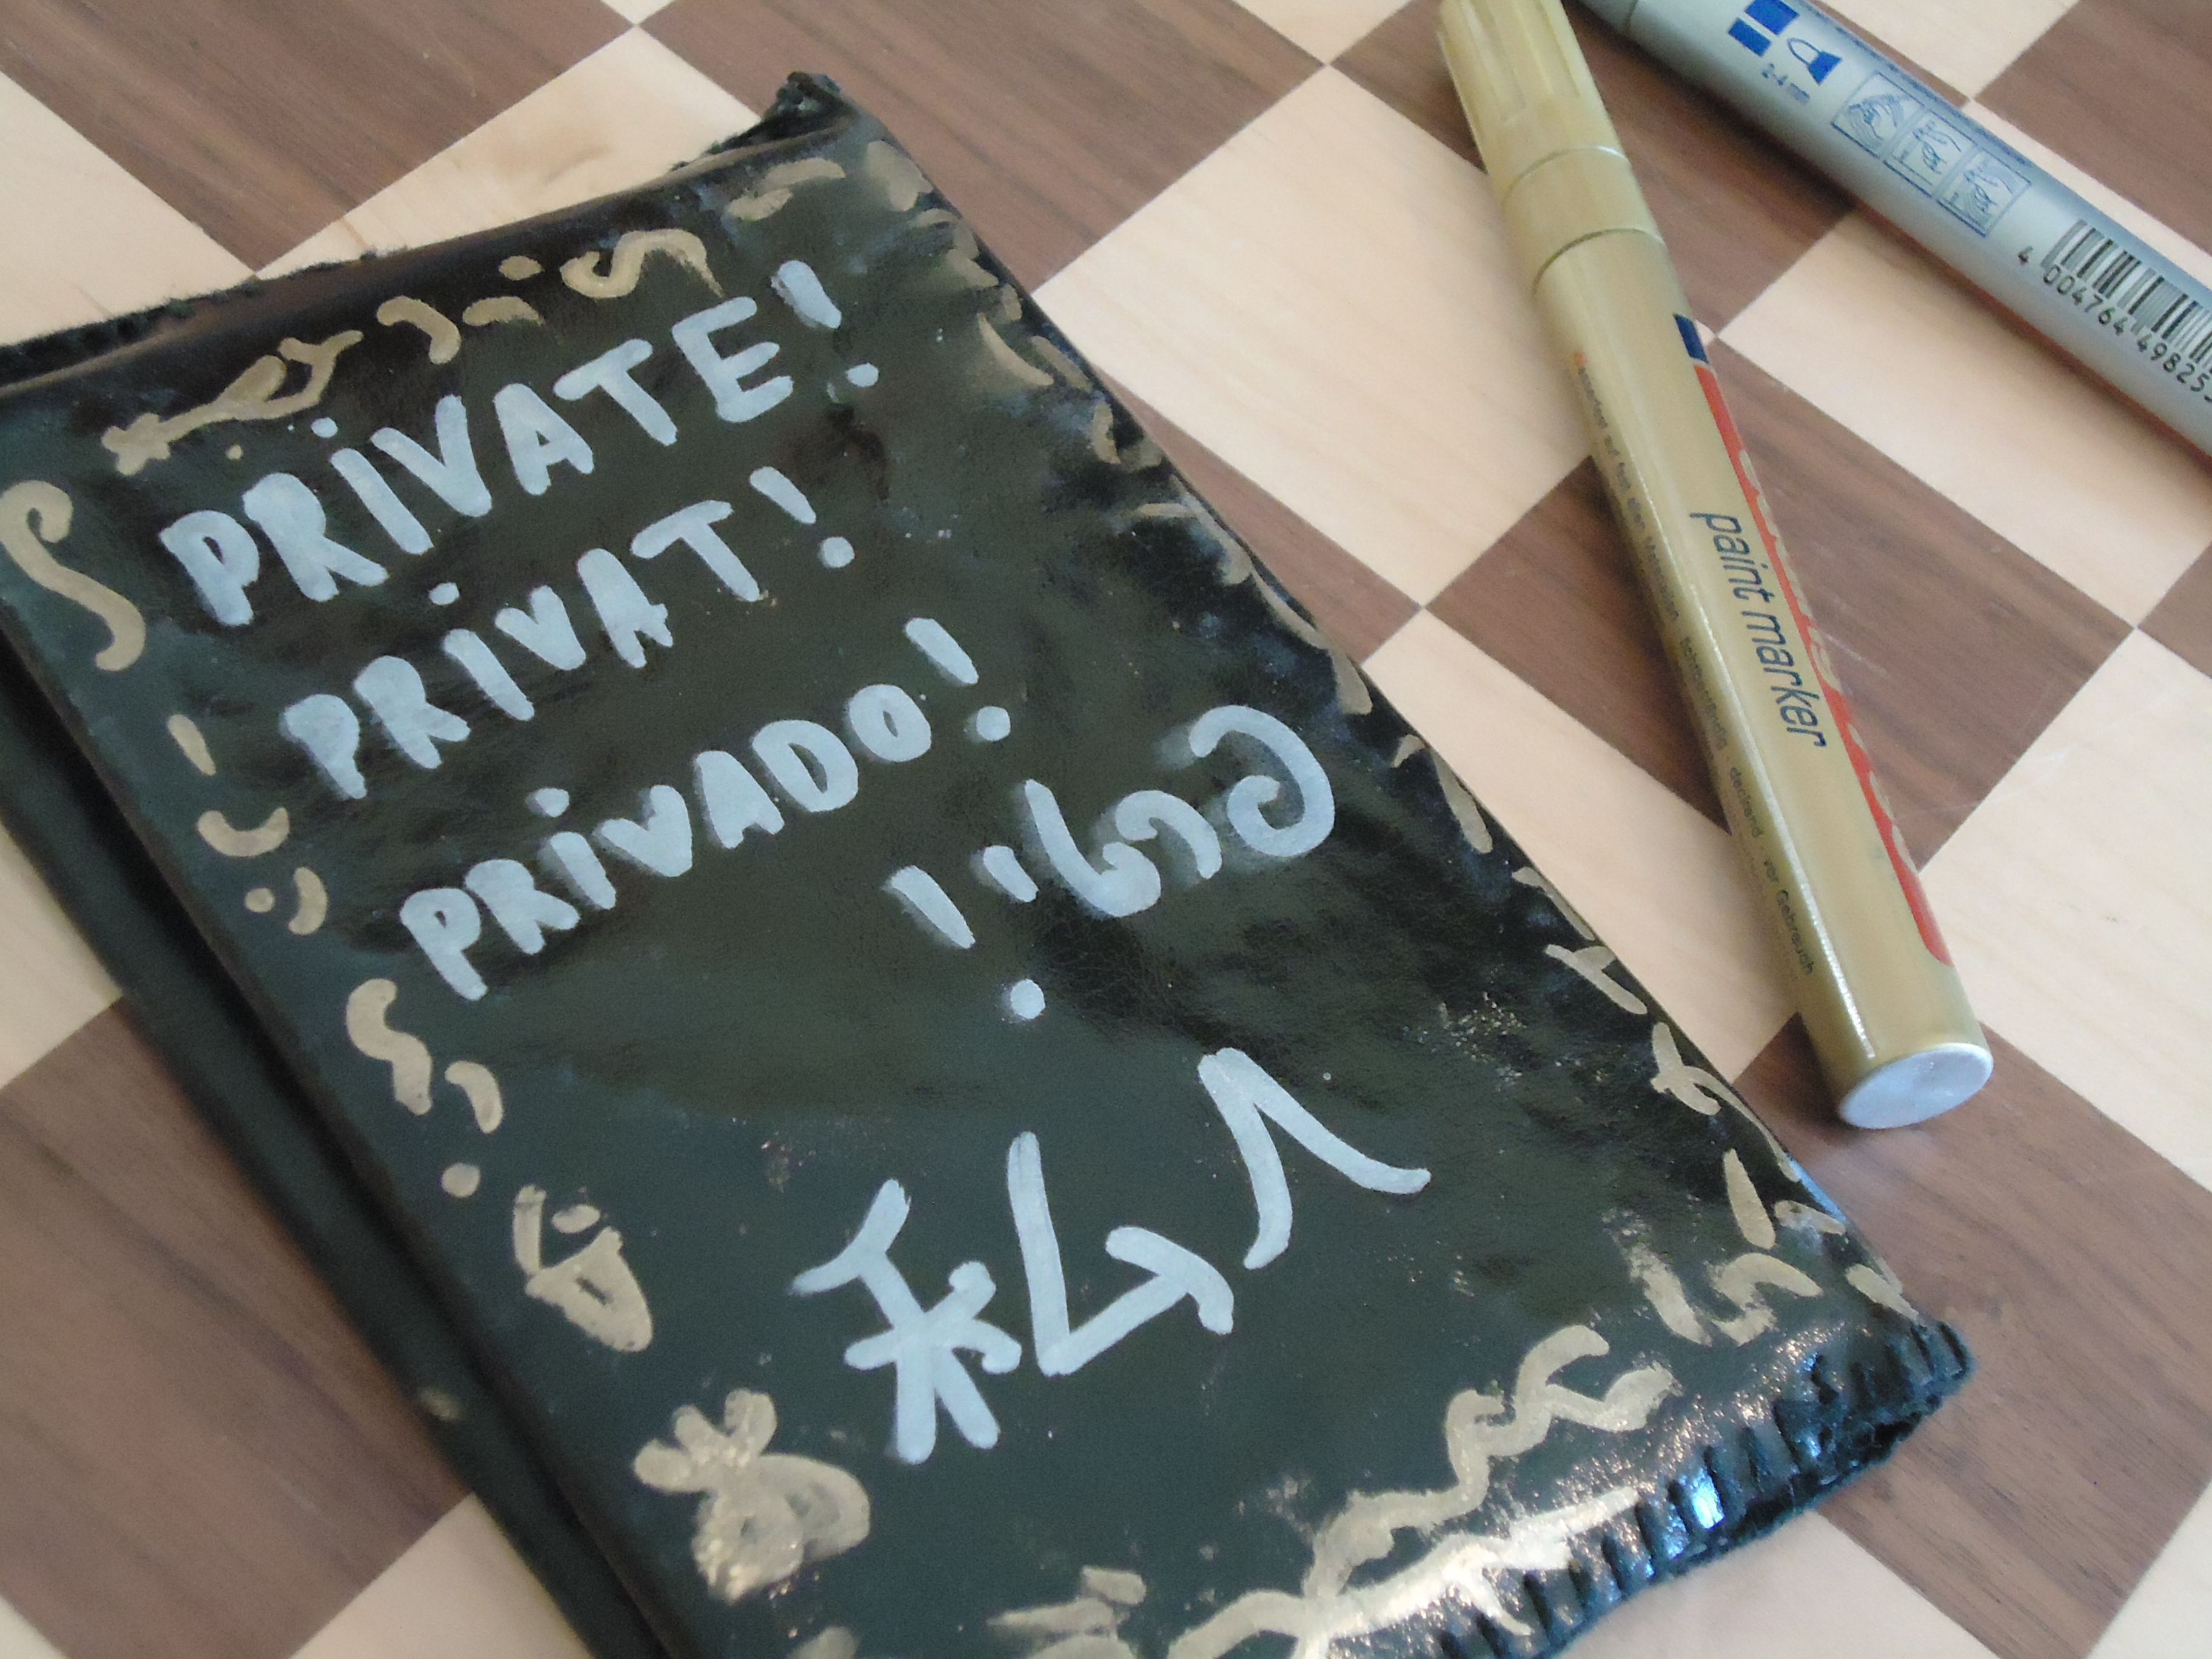
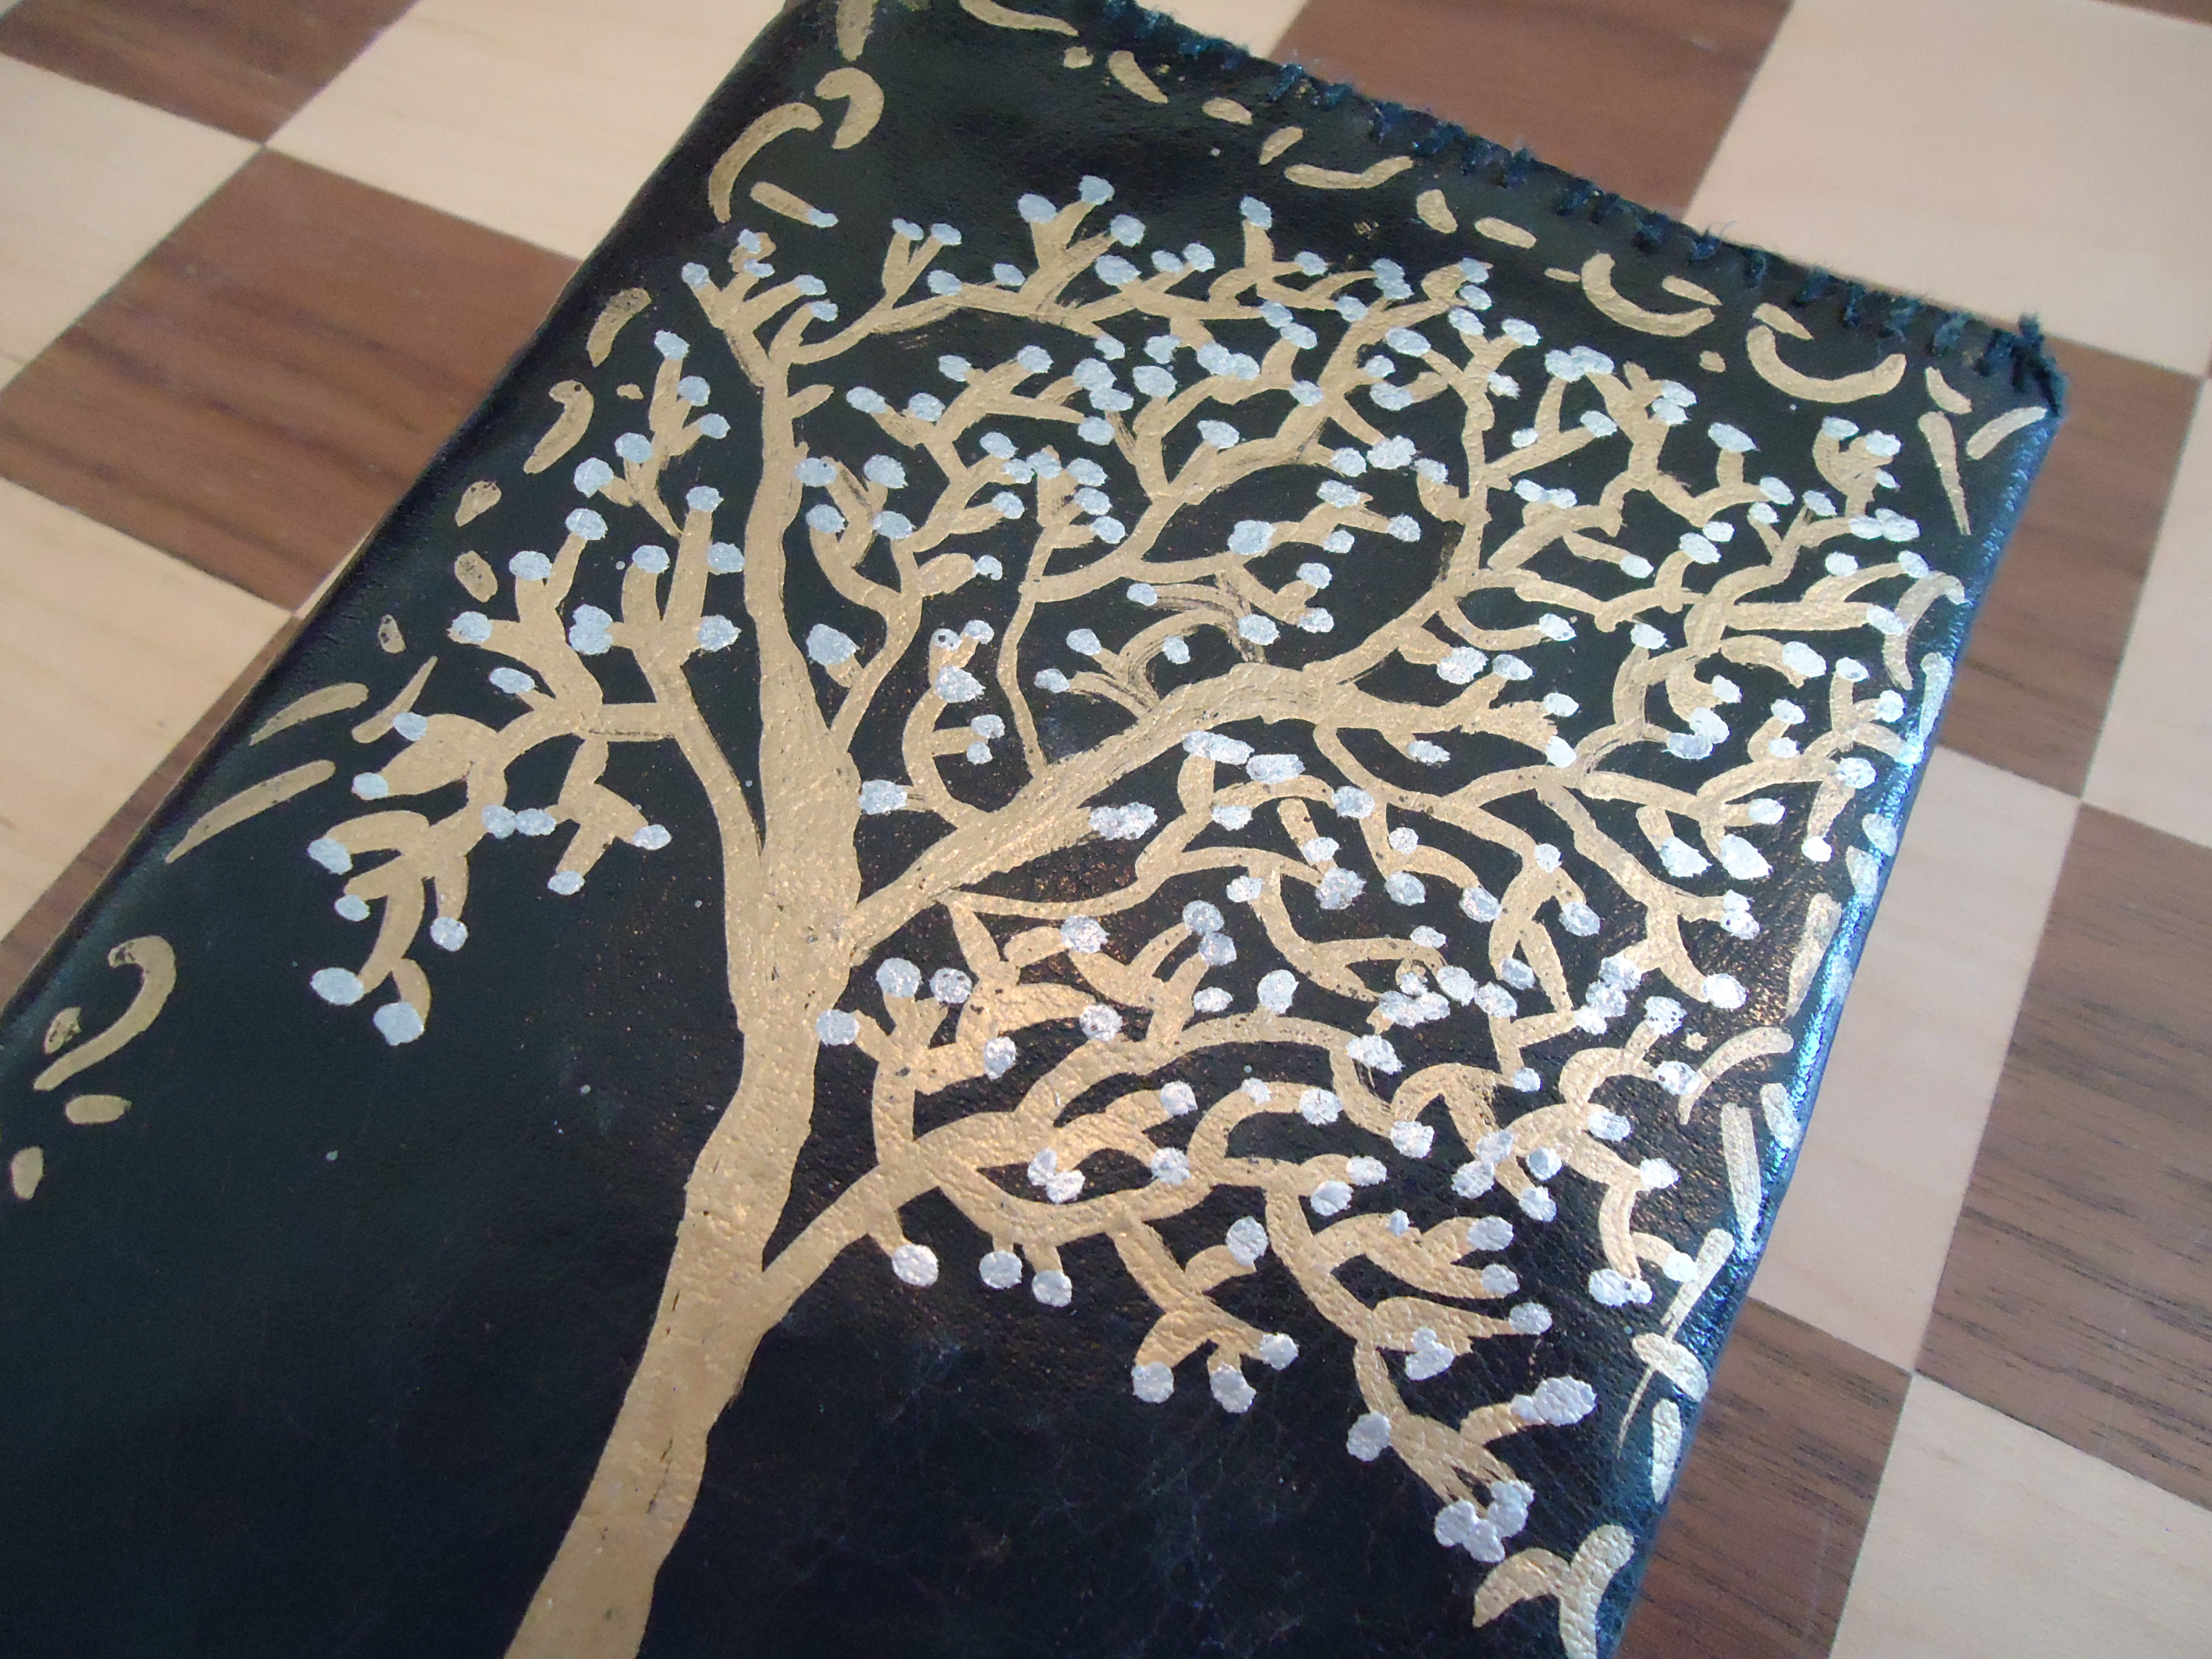
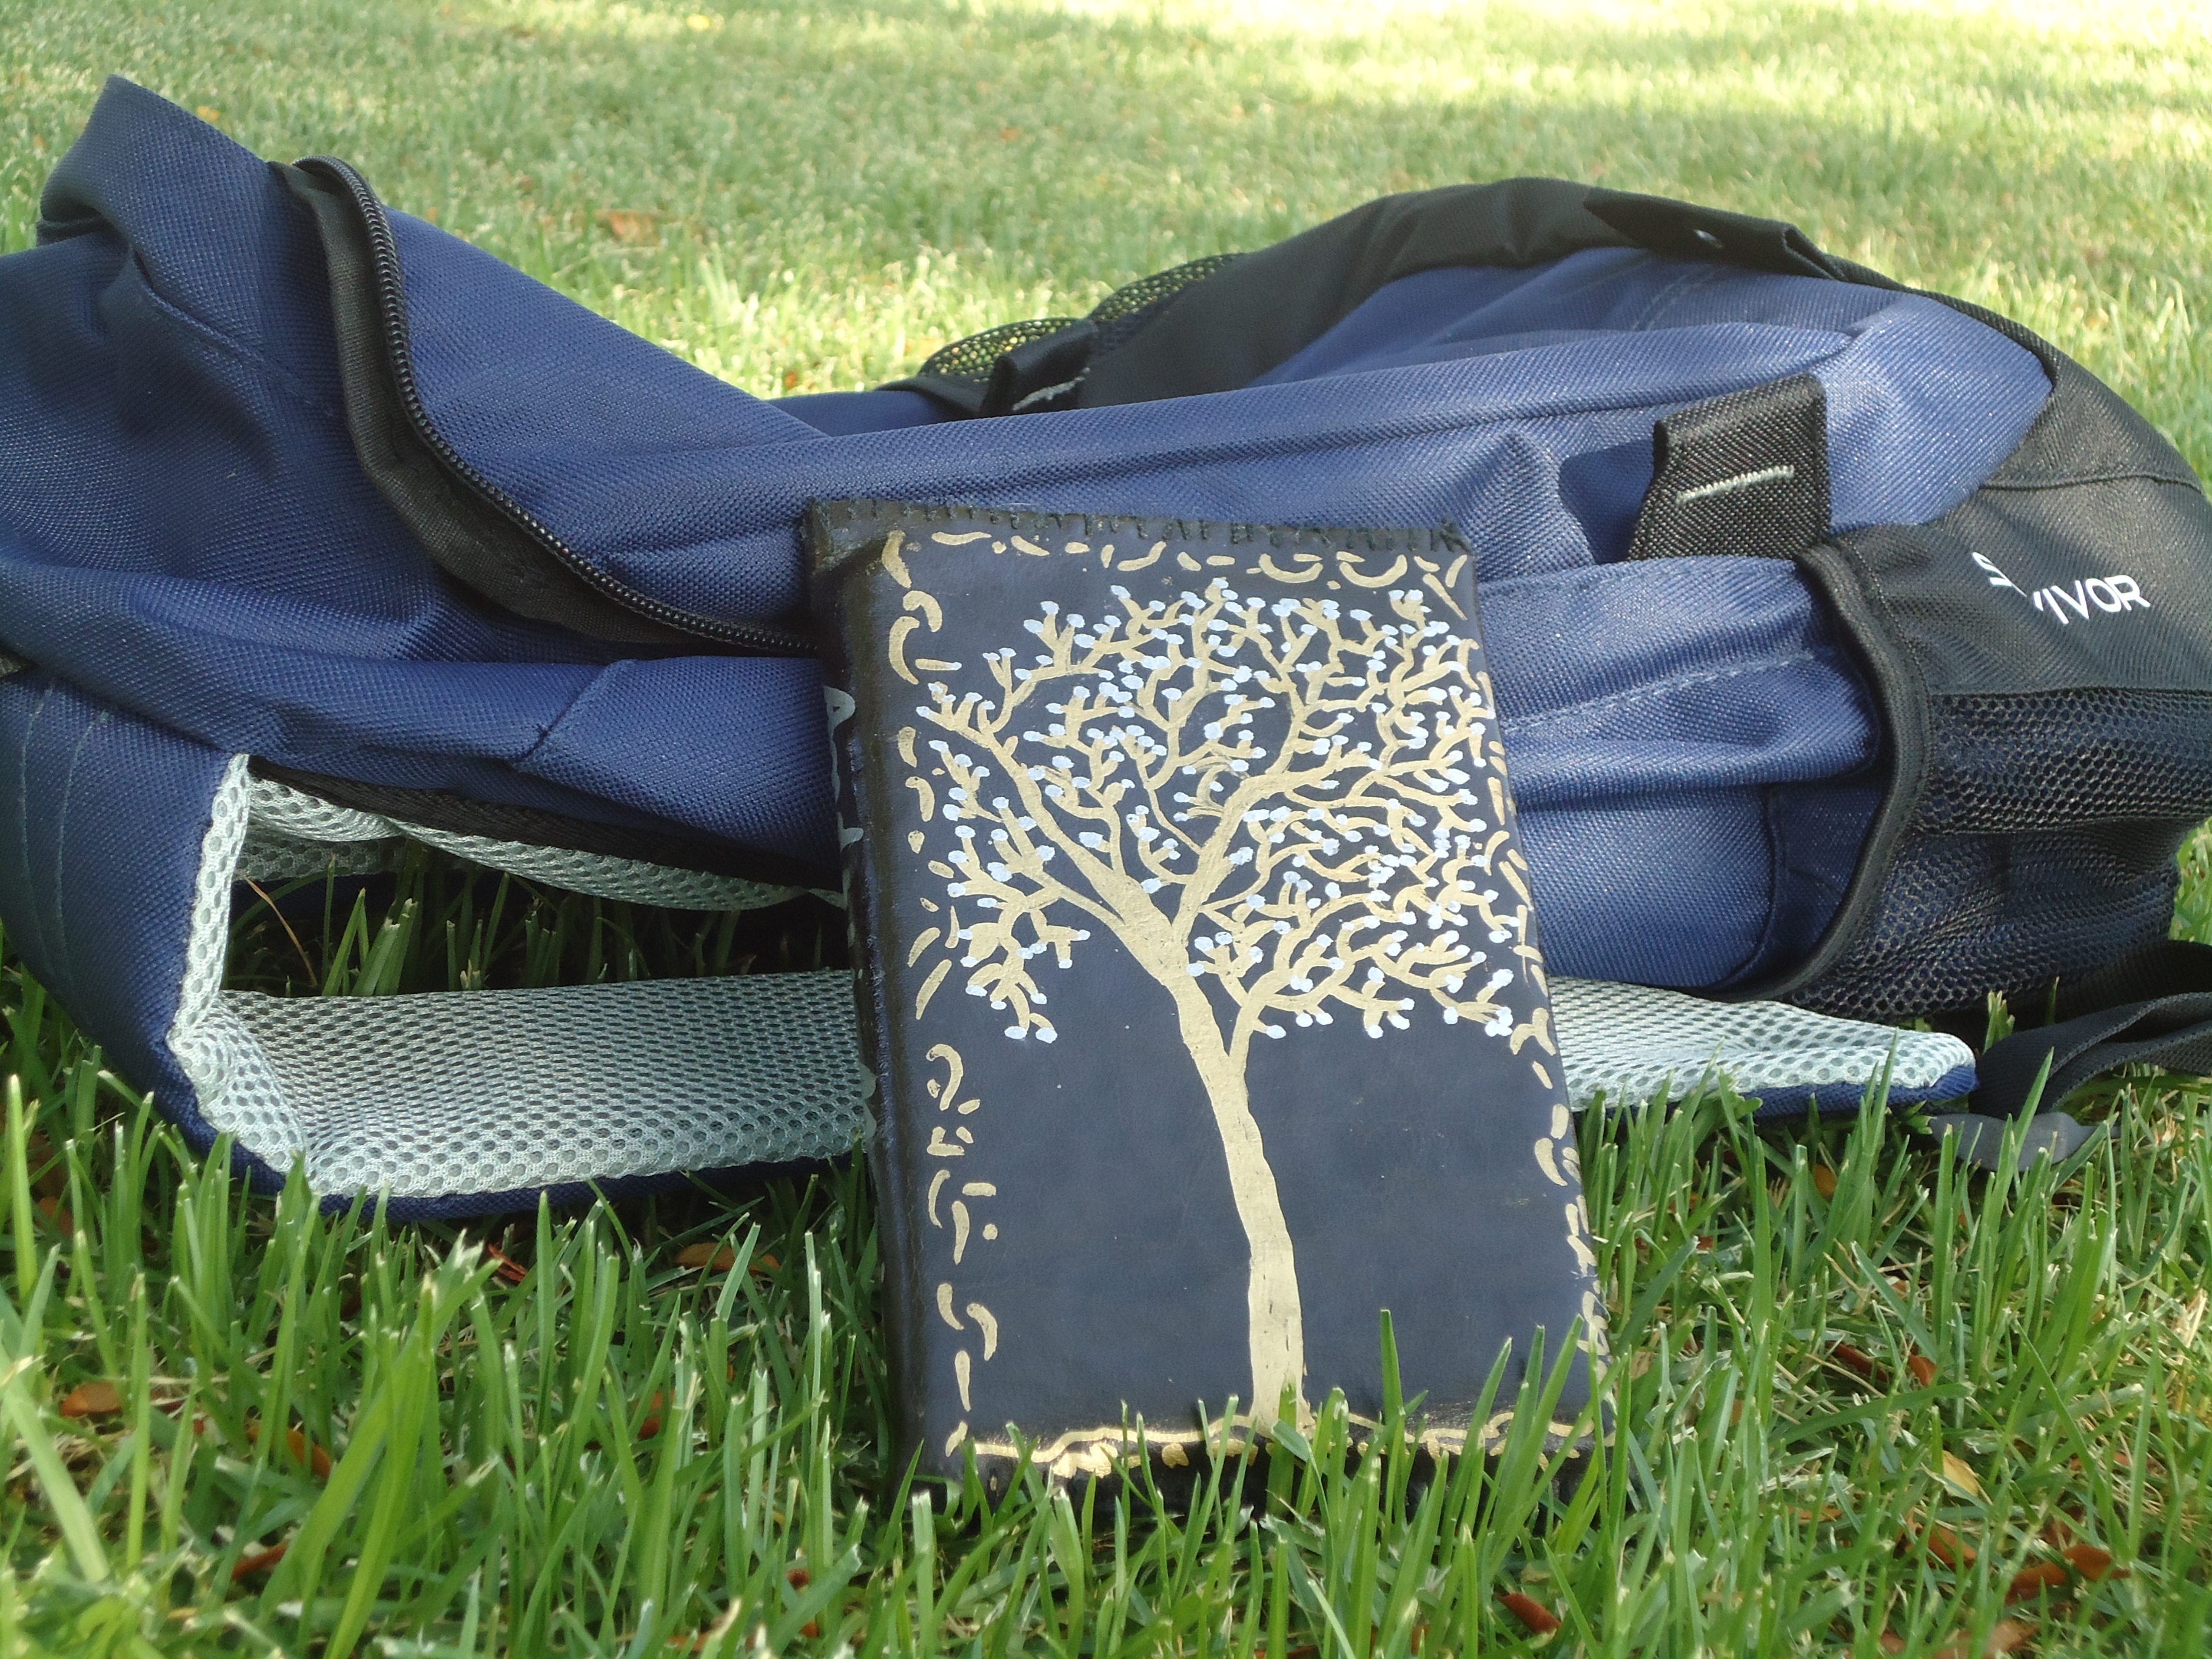
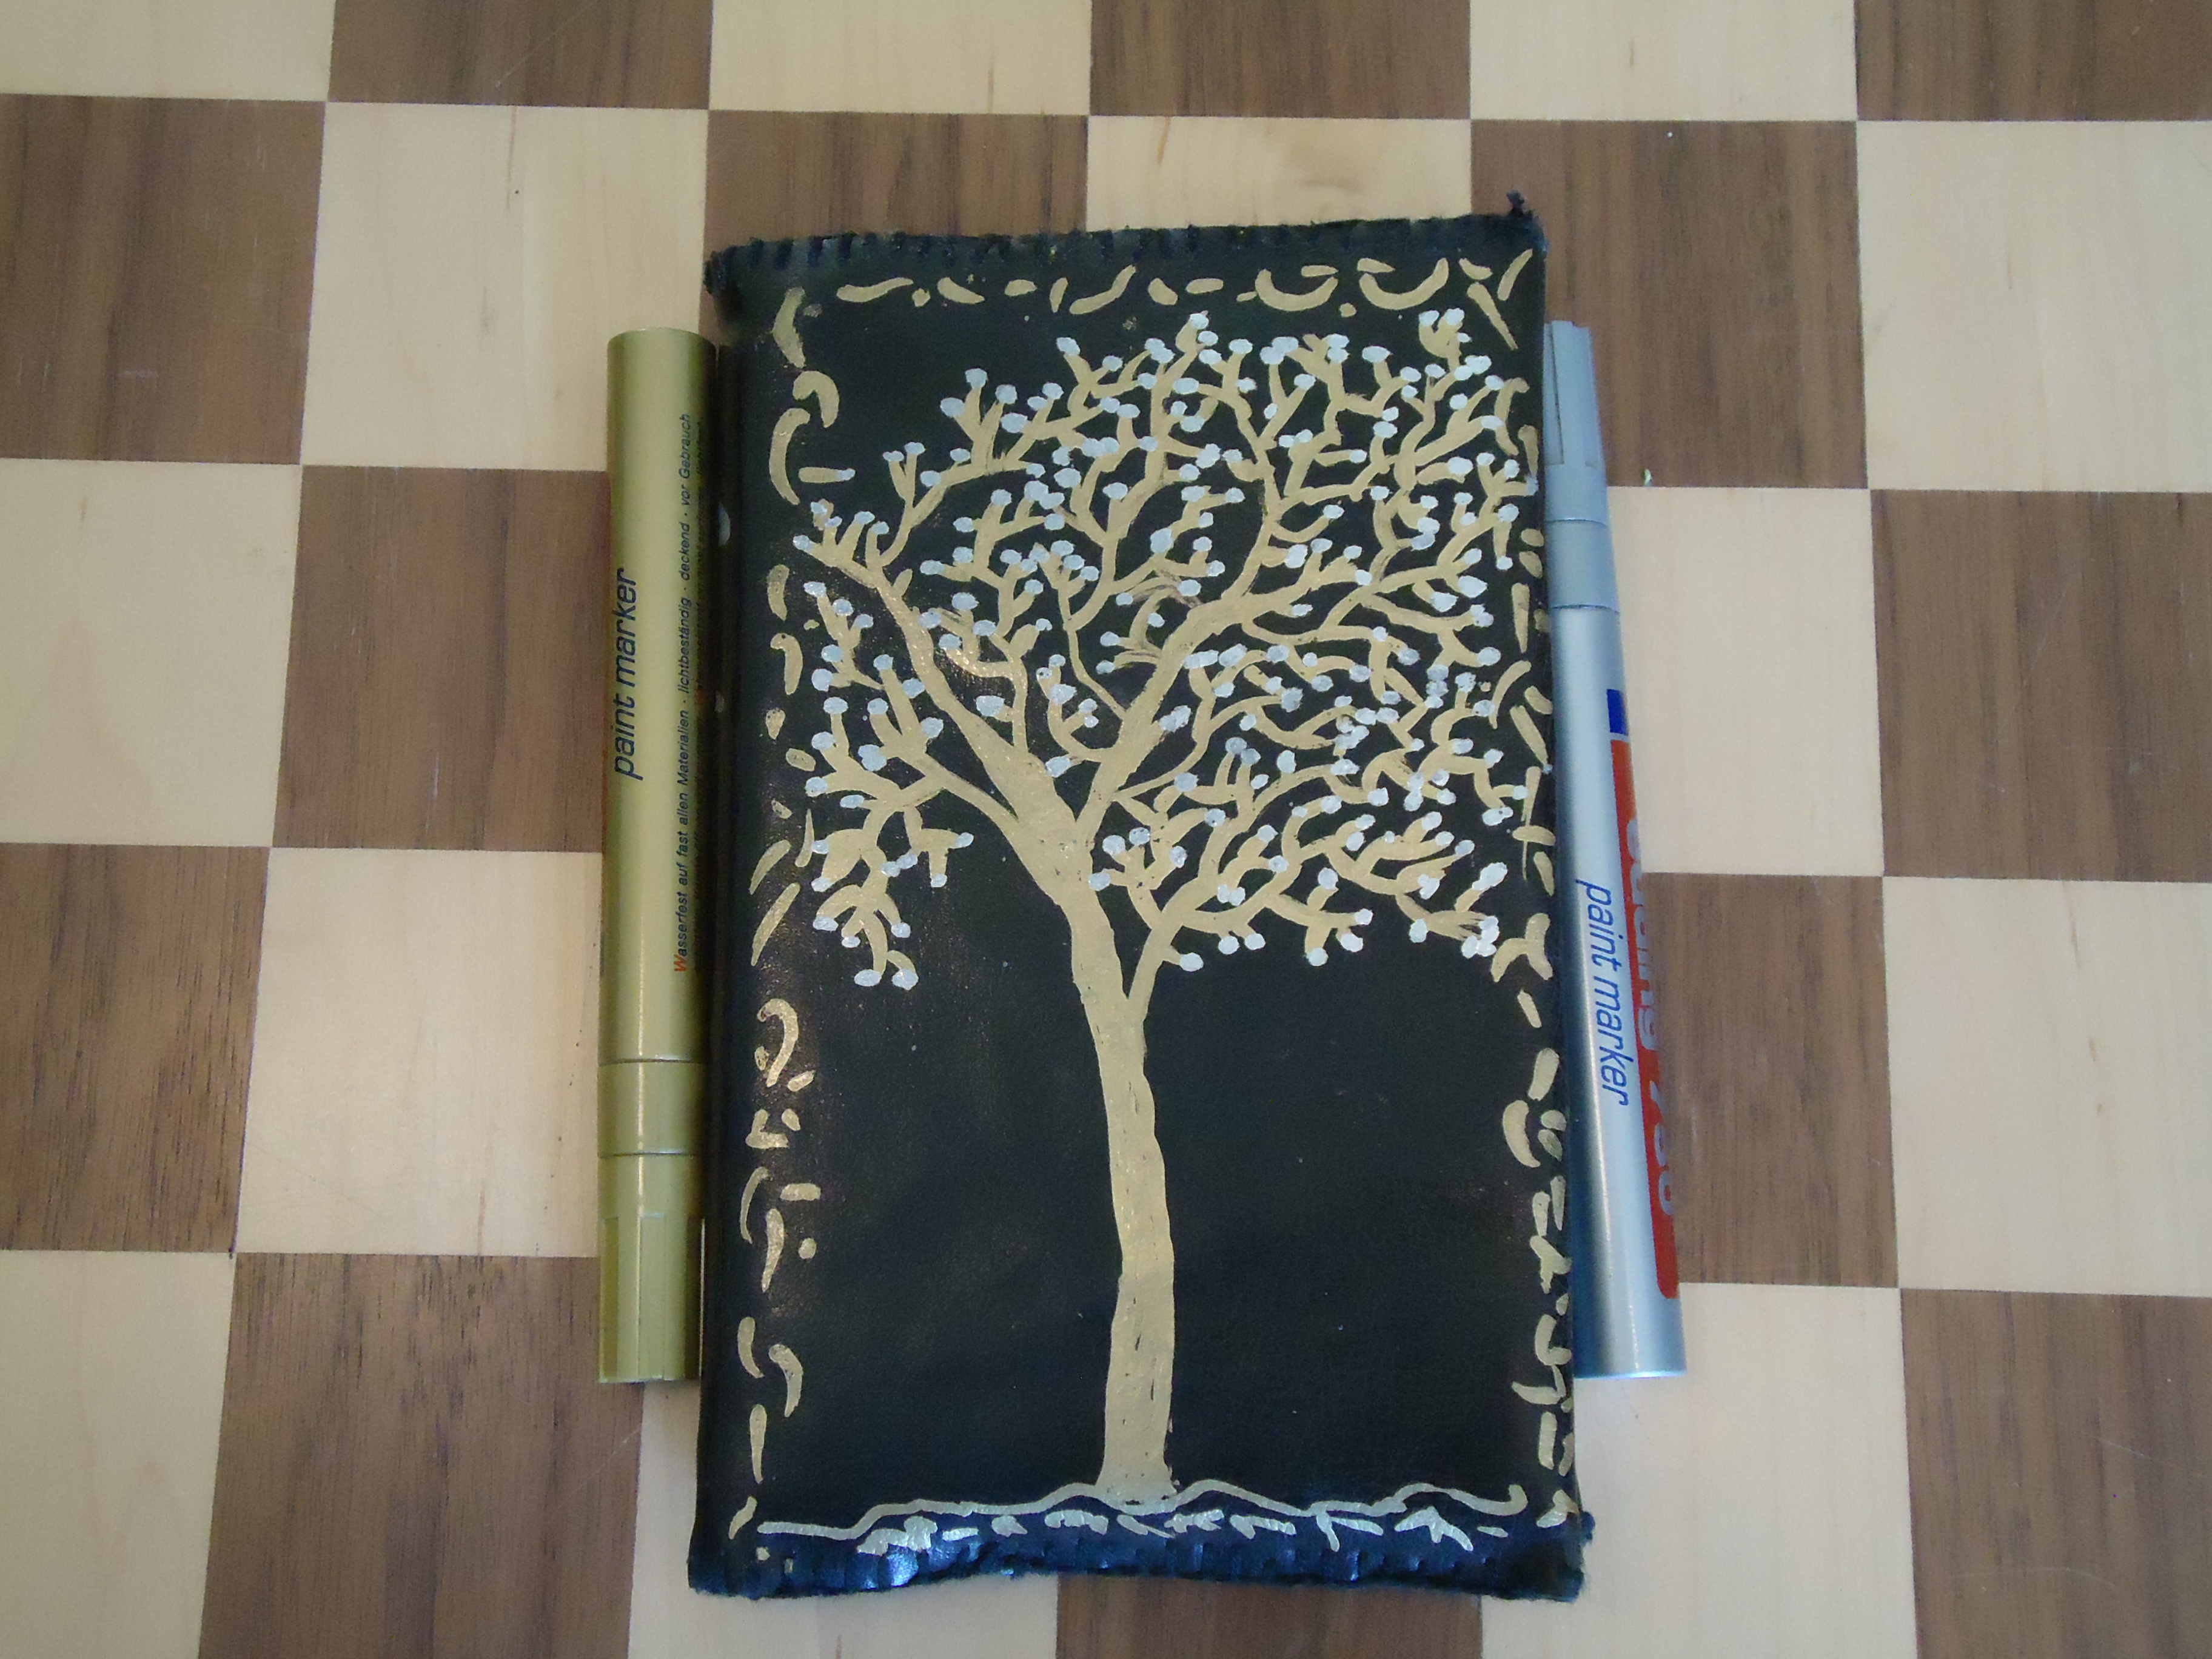
I customized my notebook by drawing on it in gold and silver, and writing 'private' in different languages all over it's back side.
So now that you have seen how I made my own multipurpose notebook, make one yourself and decorate it! (don't forget to share some pictures of your finished product with us)
Happy making!