DIY IPad Brush
Materials + Tools


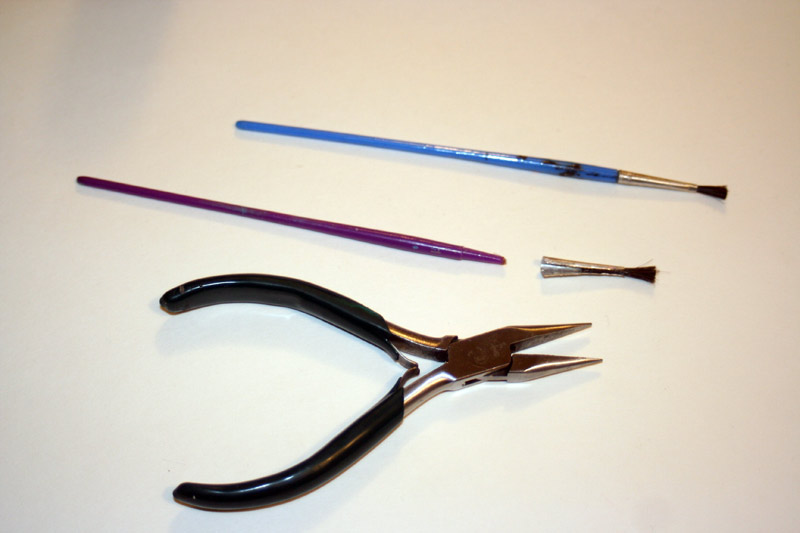
The materials and tools you will need:
- needle nose pliers
- super glue
- scissors
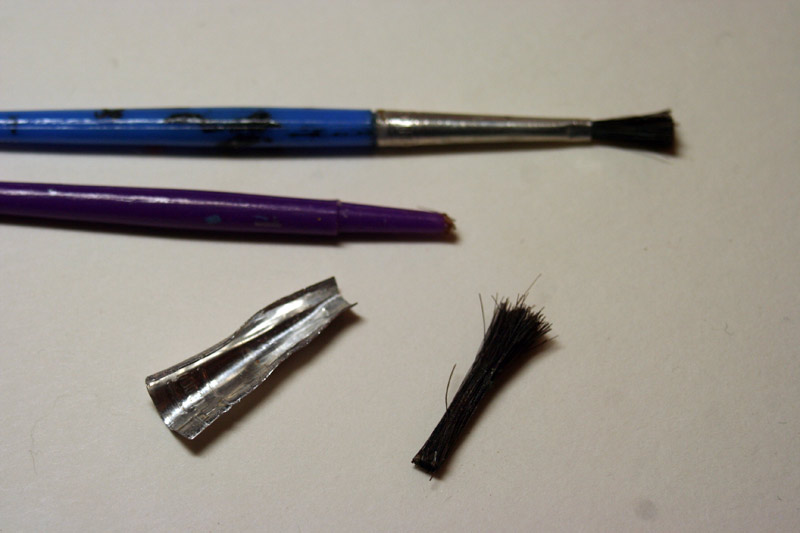
- cheap paintbrush :: make sure that it has a metal bristle handle that has an edge so that you can open it up with the pliers. It needs to be metal because it needs to conduct the electrical charge from your body to the screen thru the conductive thread. The iPad's screen is capacative. You can read more about it different touchscreen technologies here: http://en.wikipedia.org/wiki/Touchscreen
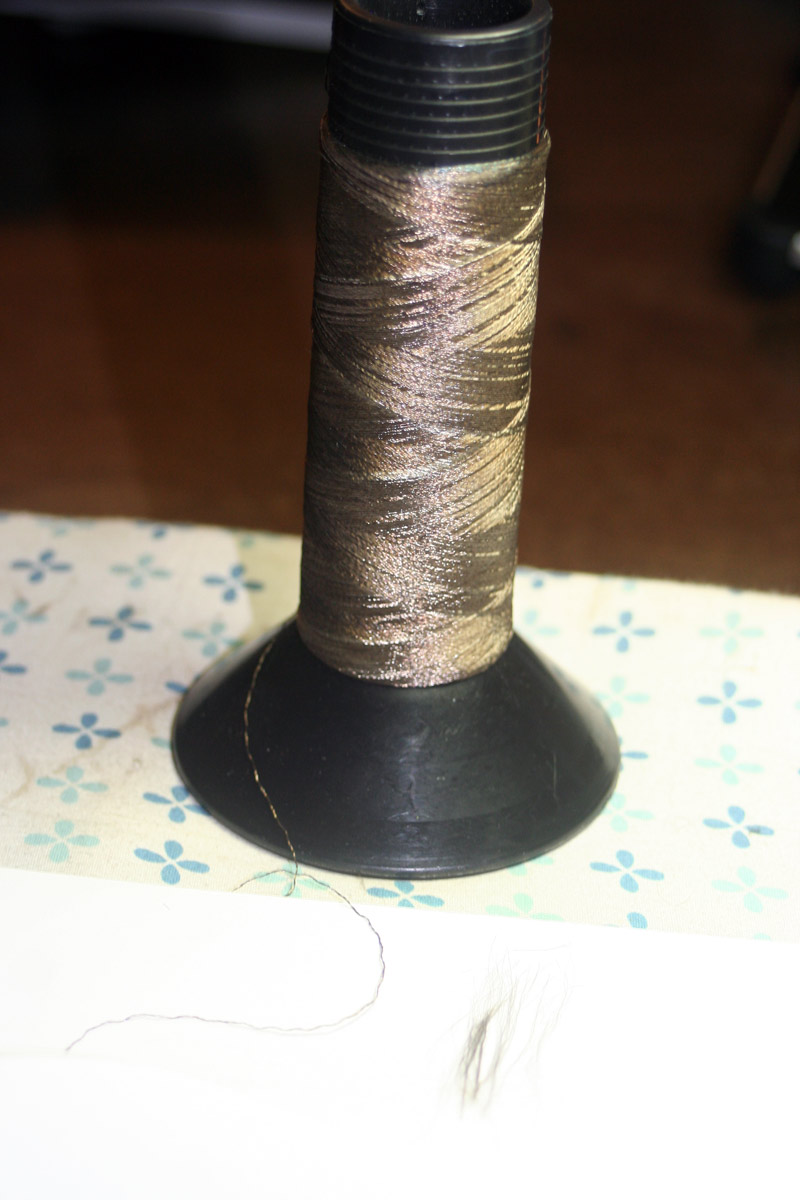
- conductive thread :: I found that Sparkfun's 2 ply ended up having the straightest threads after untwisting / unravelling it.(http://www.sparkfun.com/products/8544)
- patience :: unraveling the thread and putting it back together takes a barrel-load of patience
- iPad with a painting App :: how else are you going to test it and have fun once you are done?
Step 1: Removing Bristles From Cheap Brush


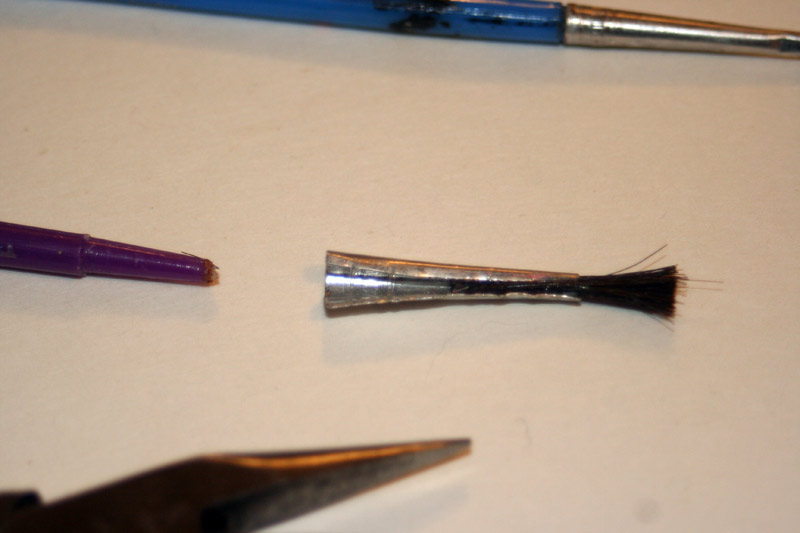
- Do this carefully with the needle nose plier. Gently insert them at the bottom of the barrel and start to straighten out the metal barrel.
- Do this until you can carefully remove the bristles.
- Don't over straighten it, you want to be able to put the bristles and conductive thread back in there and have enough of a curve to be able to squish it back together again to keep all the bristles/thread in.
- It is by far easier to remove the bristles than to put them back in.
Step 2: Make Your Conductive Thread "bristles"


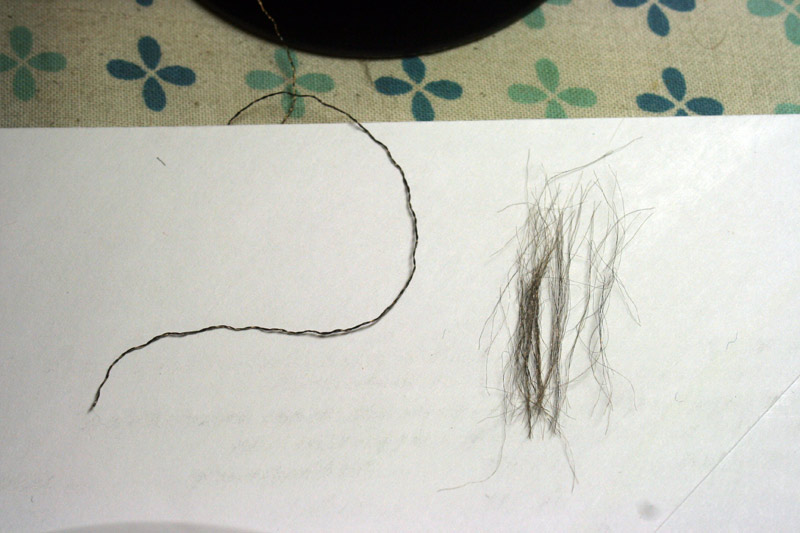
- carefully unravel the thread into individual strands
- at the very minimum you need a little more thread that in the picture below.
This is the first step where your patience will be tested : I had a pot of soothing tea handy and boy did I need it!
Also, keep your cats away from the pile of straight unravelled thread.
Step 3: Mix in the Conductive Thread With the Bristles

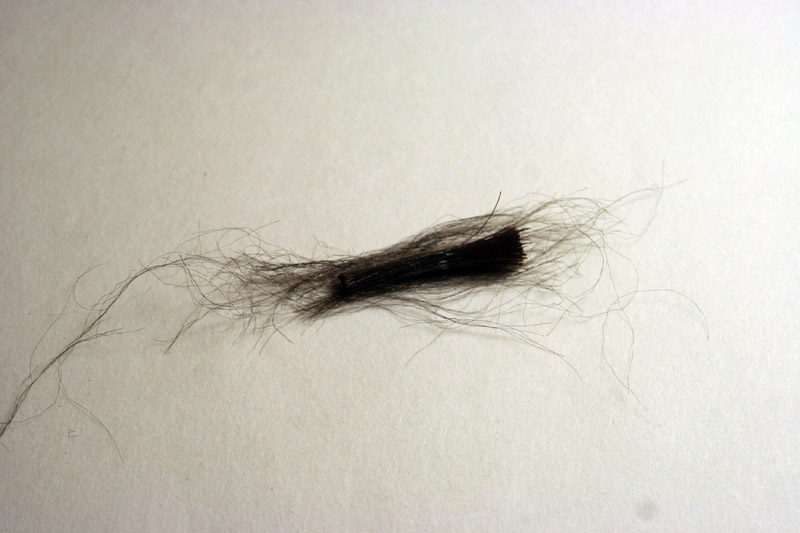
- make sure not to put them all in the center of the bristles but leave the on the exterior, surrounding the original brush bristles.
- the conductive thread needs to make contact with the metal bristle holder in order to work with the capacitive touchscreen on the iPad.
- don't worry about getting everything perfectly aligned, you will trim it once the bristle holder is closed up.
Step 4: Closing the Bristle Holder


- carefully lay the bristle and conductive thread into the bristle holder.
- once you have it in there, you close the barrel/bristle holder back up.
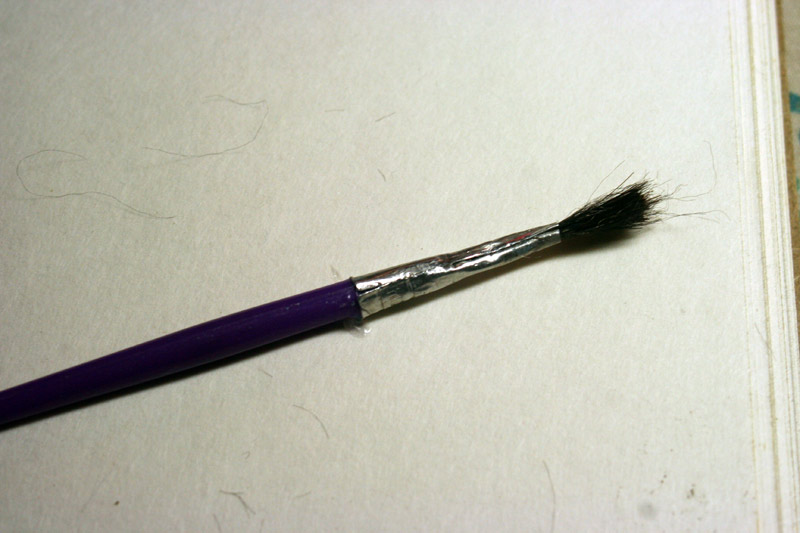
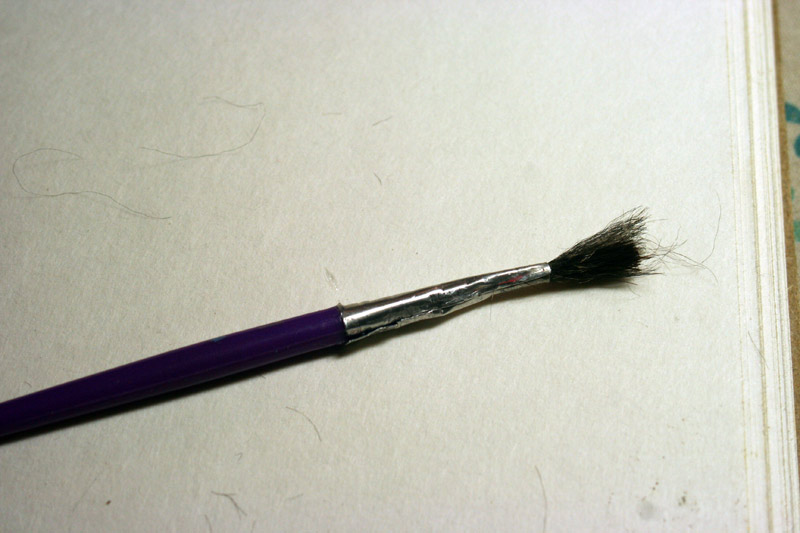
- attach the barrel/bristle holder onto the brush handle once the bristles are secure and carefully shape it with the pliers.
- shape it until it is closed so that no bristles are going to fall off and it fits nicely on the barrel.
- shaping the barrel while on the handle seems to help and aid in not making it too mishapen.
- Once it is shaped, slide it off, put some super glue in the handle and slide it back on. This will prevent it from slipping off while using it.
Step 5: Trim Bristles

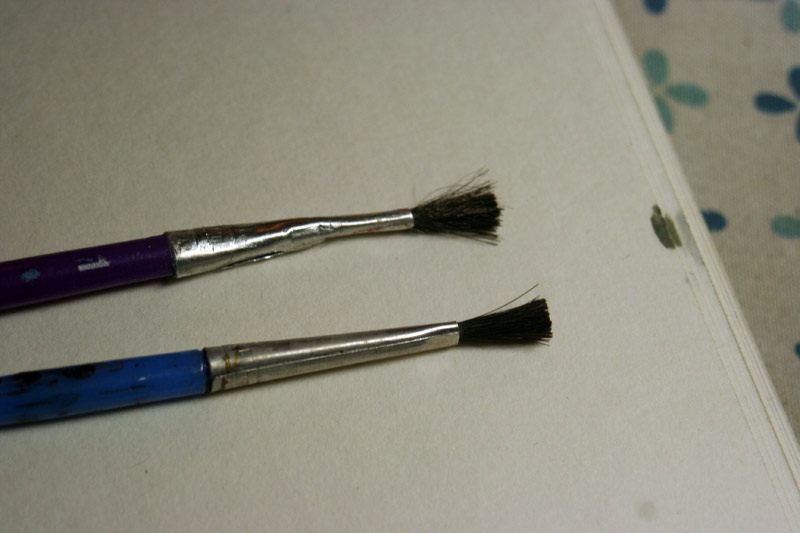
You can see the difference in the brush tips as well as how the opening/closing of the barrel affected the shape.
It is a bit wonky but it is useable.
Step 6: Playtime!


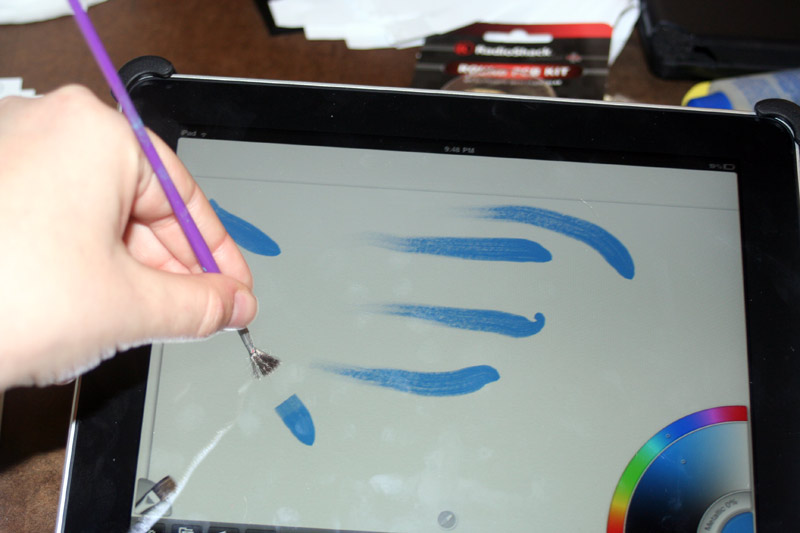
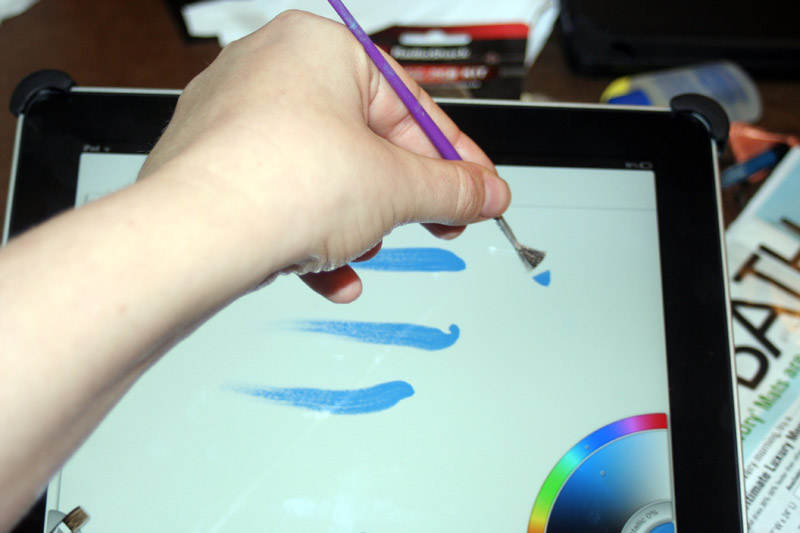
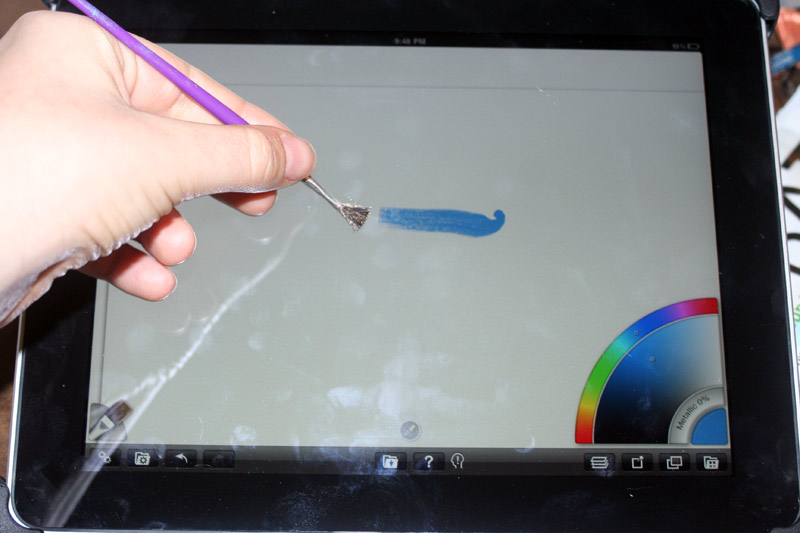
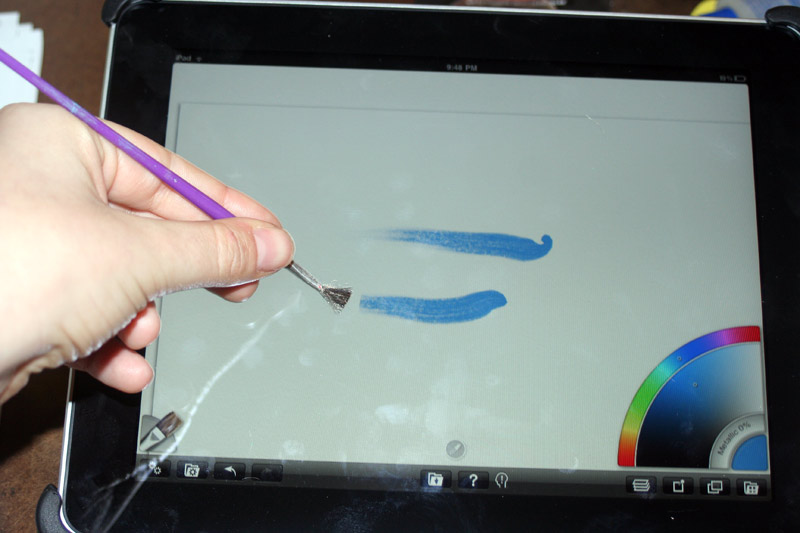
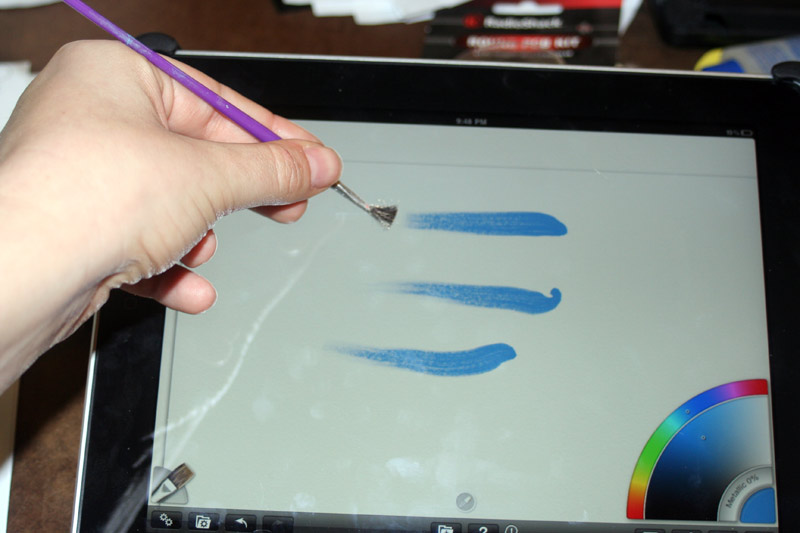
The main tip is that you HAVE to be touching the metal bristle holder part of the brush in order for the brush to work.
As you can see it works well. The software I have installed (and shown in the photo) is ArtRage for the iPad. There is a bit of lag time/delay in some brush strokes but hey, I can't complain. I made it with a couple of bucks of material that I had lying around.
I hope you have fun with making your own brush for your iPad!
If you make any of your own brushes or have tips post photo links in the comments. I'd love to see them!