Winnie the Pooh Desktop Mailbox | Laser Cut, Storage, Gift
by alexphipps696 in Workshop > Home Improvement
110 Views, 0 Favorites, 0 Comments
Winnie the Pooh Desktop Mailbox | Laser Cut, Storage, Gift

Today, I'm excited to share a charming Winnie the Pooh-themed mailbox, perfect for storing letters, small trinkets, or as a delightful gift for fans of the Hundred Acre Wood.
With some paint and simple assembly, you’ll have a functional and adorable mailbox that brings a touch of nostalgia to any space!
Supplies
Materials:
- 3mm thickness plywood *2 (50*50cm)
- Wood glue
- Acrylic paint (yellow, red, black, and brown for Pooh’s theme)
- Sandpaper (optional, for smoothing edges)
Equipment:
- 20W NEJE Laser Cutter
- Software: Lightburn
Laser Cutting

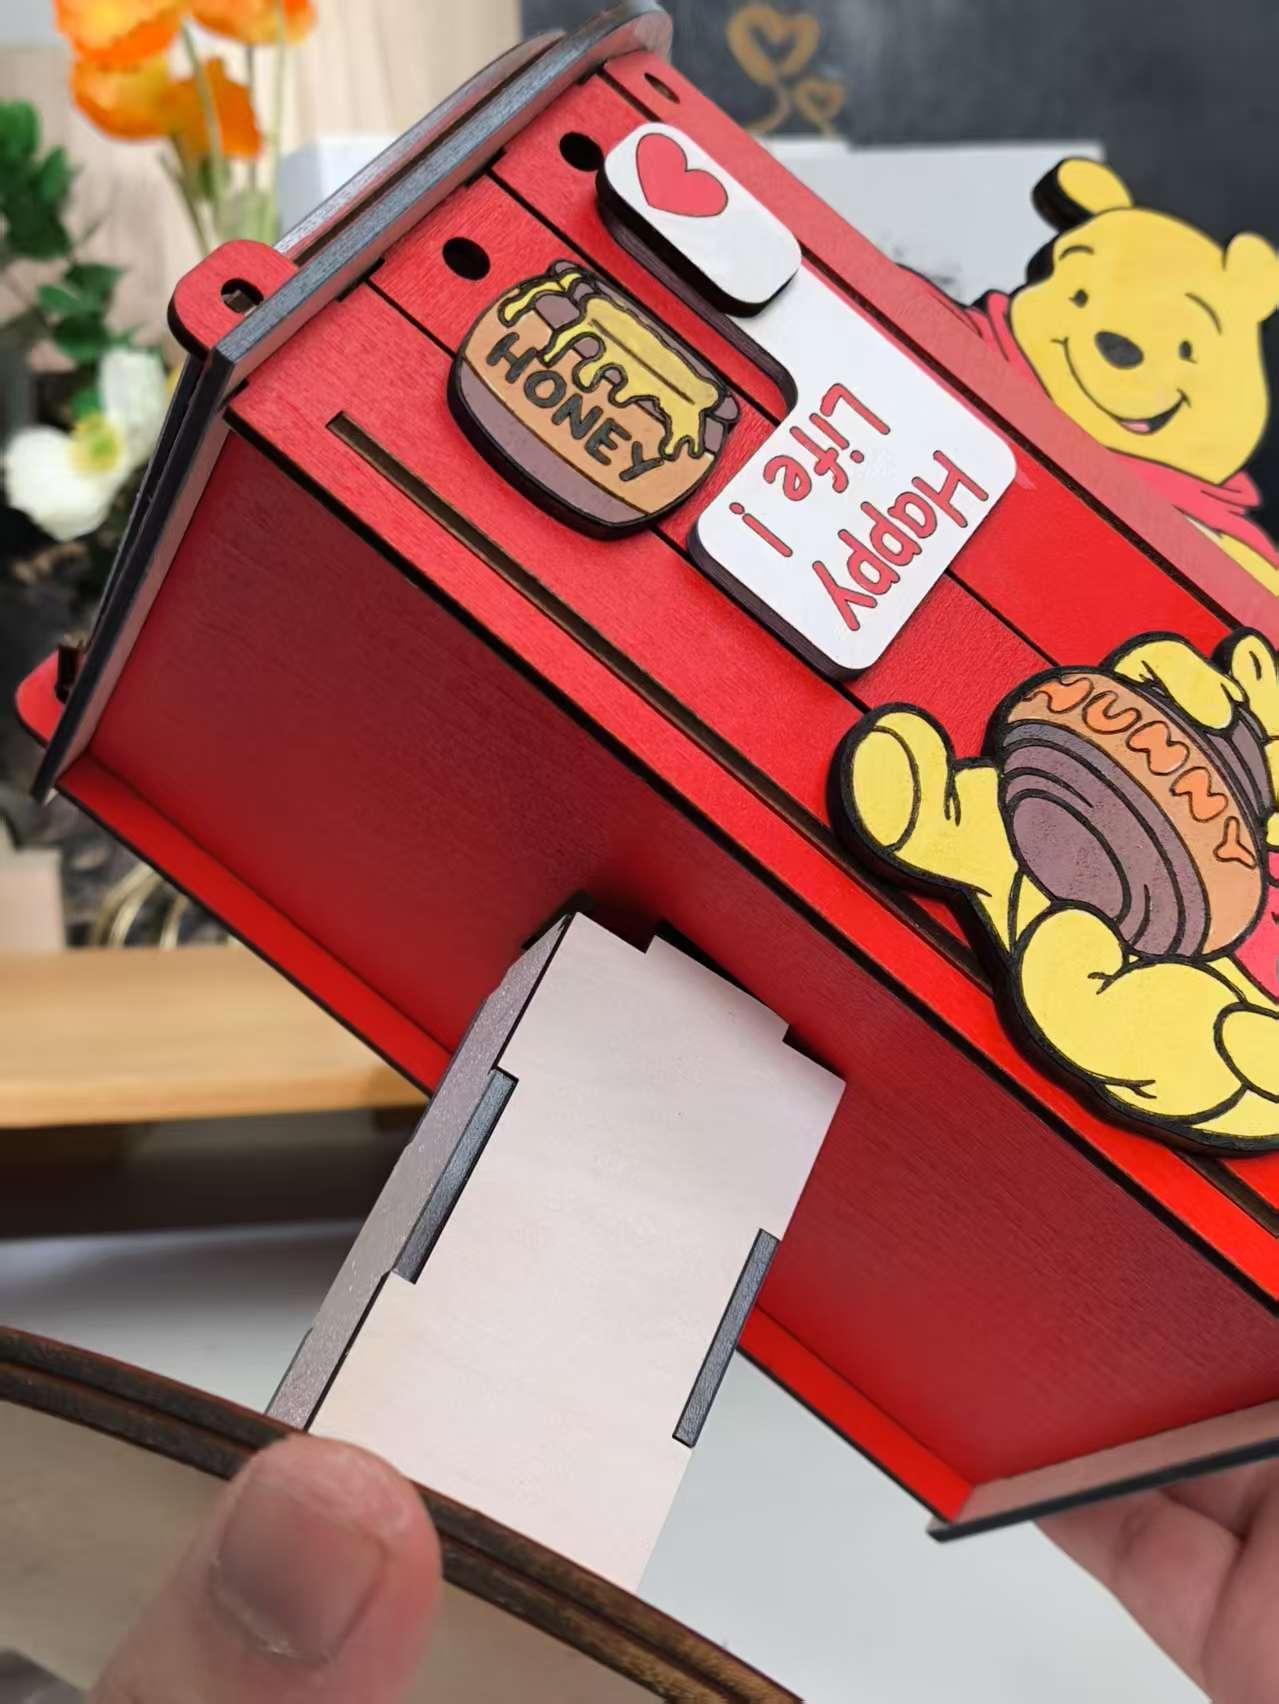
Download a Winnie the Pooh mailbox design file. Open Lightburn and upload the file, ensuring it fits within your laser cutter’s work area to cut. The design includes the mailbox body, front and back panels, supports, and a lid.
Settings for 20w:
Cutting: 500mm/min, 90%power, 1 pass
Engraving(fill): 15000mm/min, 70%power
Engraving(line):5000mm/min, 70%power
Downloads
Coloring

After cutting, lightly sand any rough edges with sandpaper for a polished look. Paint the pieces before assembly: apply a yellow base coat for the honey pot exterior, red for Pooh’s shirt, and brown/black accents for his face and details. Use stencils for clean lines if needed. Allow the paint to dry fully (1-2 hours) to avoid smudging during assembly.
Assembling

.jpg)
.jpg)
.jpg)
Start by gluing the side supports to the mailbox body, forming a stable structure. Attach Pooh’s silhouette to the right side. Apply wood glue sparingly to joints for a tidy finish, and clamp gently while drying for about 30 minutes.
Once assembled, your Winnie the Pooh mailbox is ready to hold things!