DIY Weather Assistant
by Lan_Makerfabs in Circuits > Raspberry Pi
1406 Views, 4 Favorites, 0 Comments
DIY Weather Assistant
Last time I used ESP32 to make a weather broadcast station, which can broadcast the current weather. If you are interested, you can check the previous instructable. Now I want to make an upgraded version, that I will designate a city to check the weather in this city. Not only does it play the weather in one city, it also queries and broadcasts the weather in other cities according to my commands.
Supplies
Hardware:
- Raspberry Pi 3B+ (with SD card)
- Voice Interaction Hat
- PIR Motion Sensor Module
- Micro USB cable
- Dupont Line
How to Do
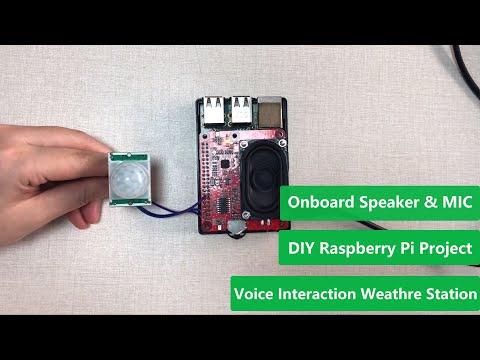
- We plan to implement these functions with Raspberry Pi. But the Raspberry Pi does not have a microphone to receive voice, and there is no device to play sound if the speaker is not plugged in. We made an expansion board for the Raspberry Pi with two microphones input and speaker output, so that the Raspberry Pi can realize the function of voice input, and play audio without connecting to the speaker.
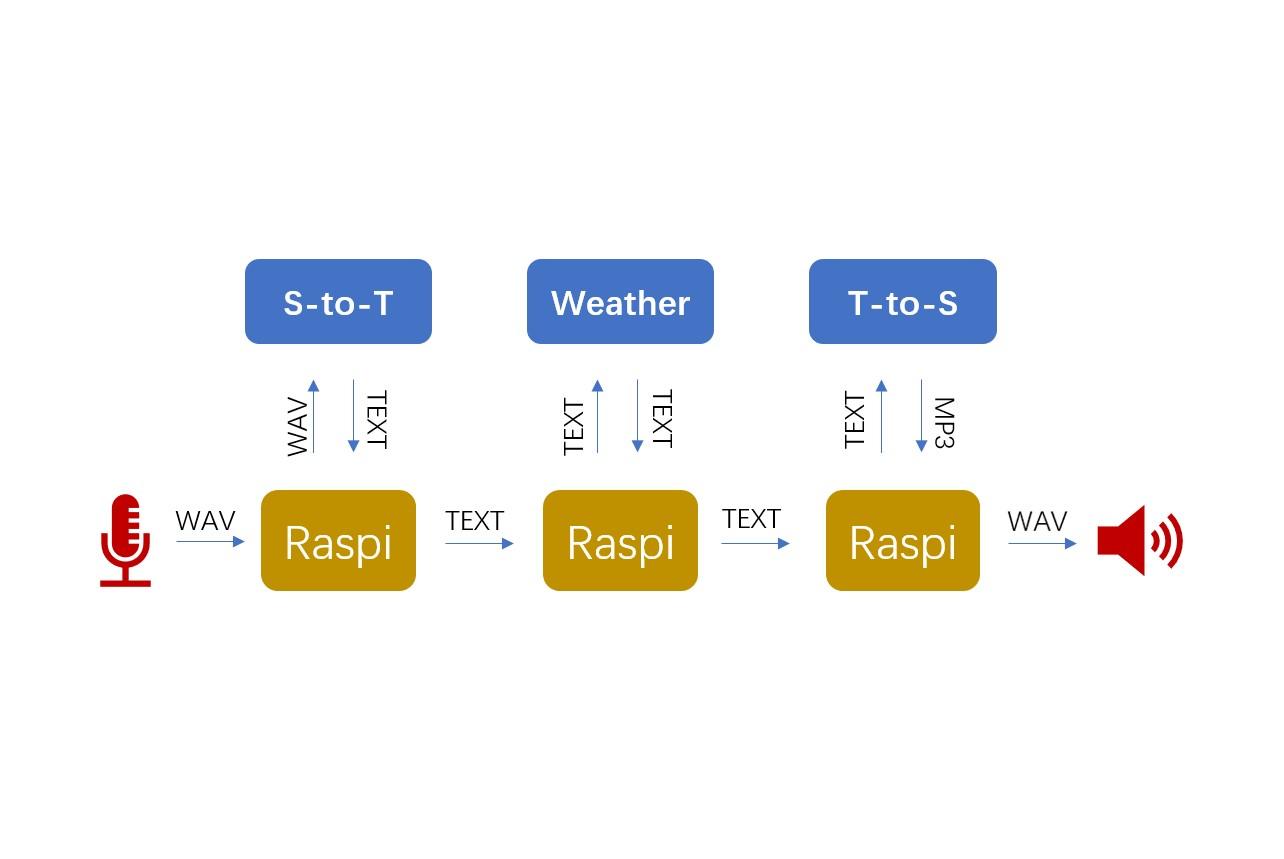
- We need three API, which are speech-to-text, weather, and text-to-speech. Then play the audio.
Speech-to-text: https://cloud.google.com/speech-to-text
Weather: https://rapidapi.com/community/api/open-weather-map/endpoints
Text-to-speech: https://cloud.google.com/text-to-speech
- In addition, we are going to connect a sensor to recognize that RasPi starts to work when someone approaches.
Connection
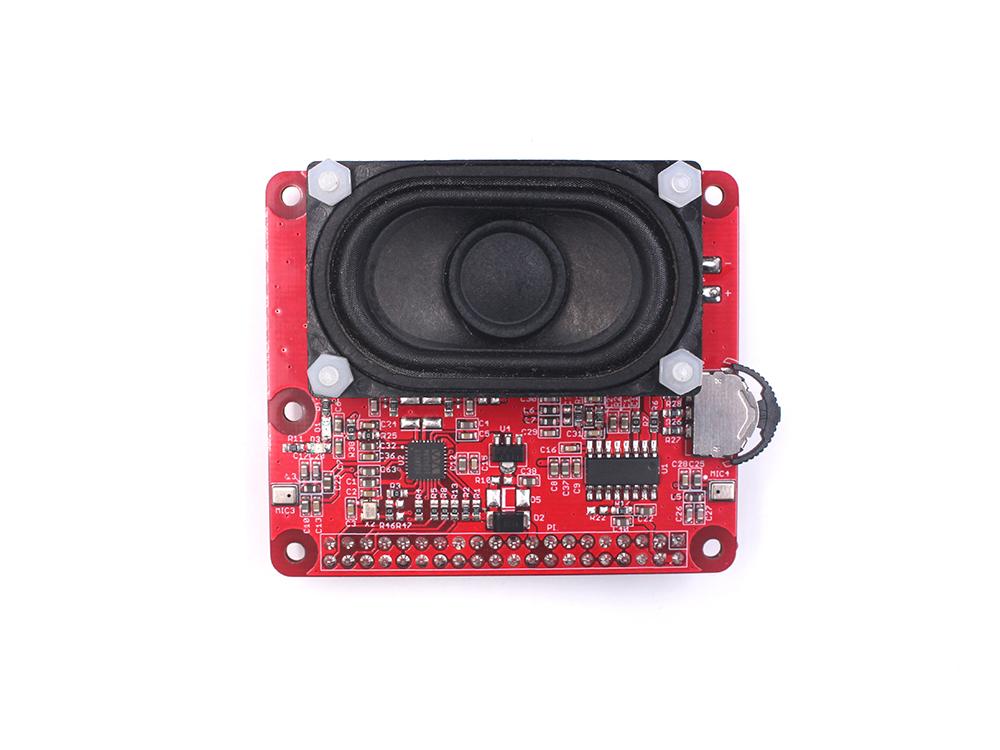

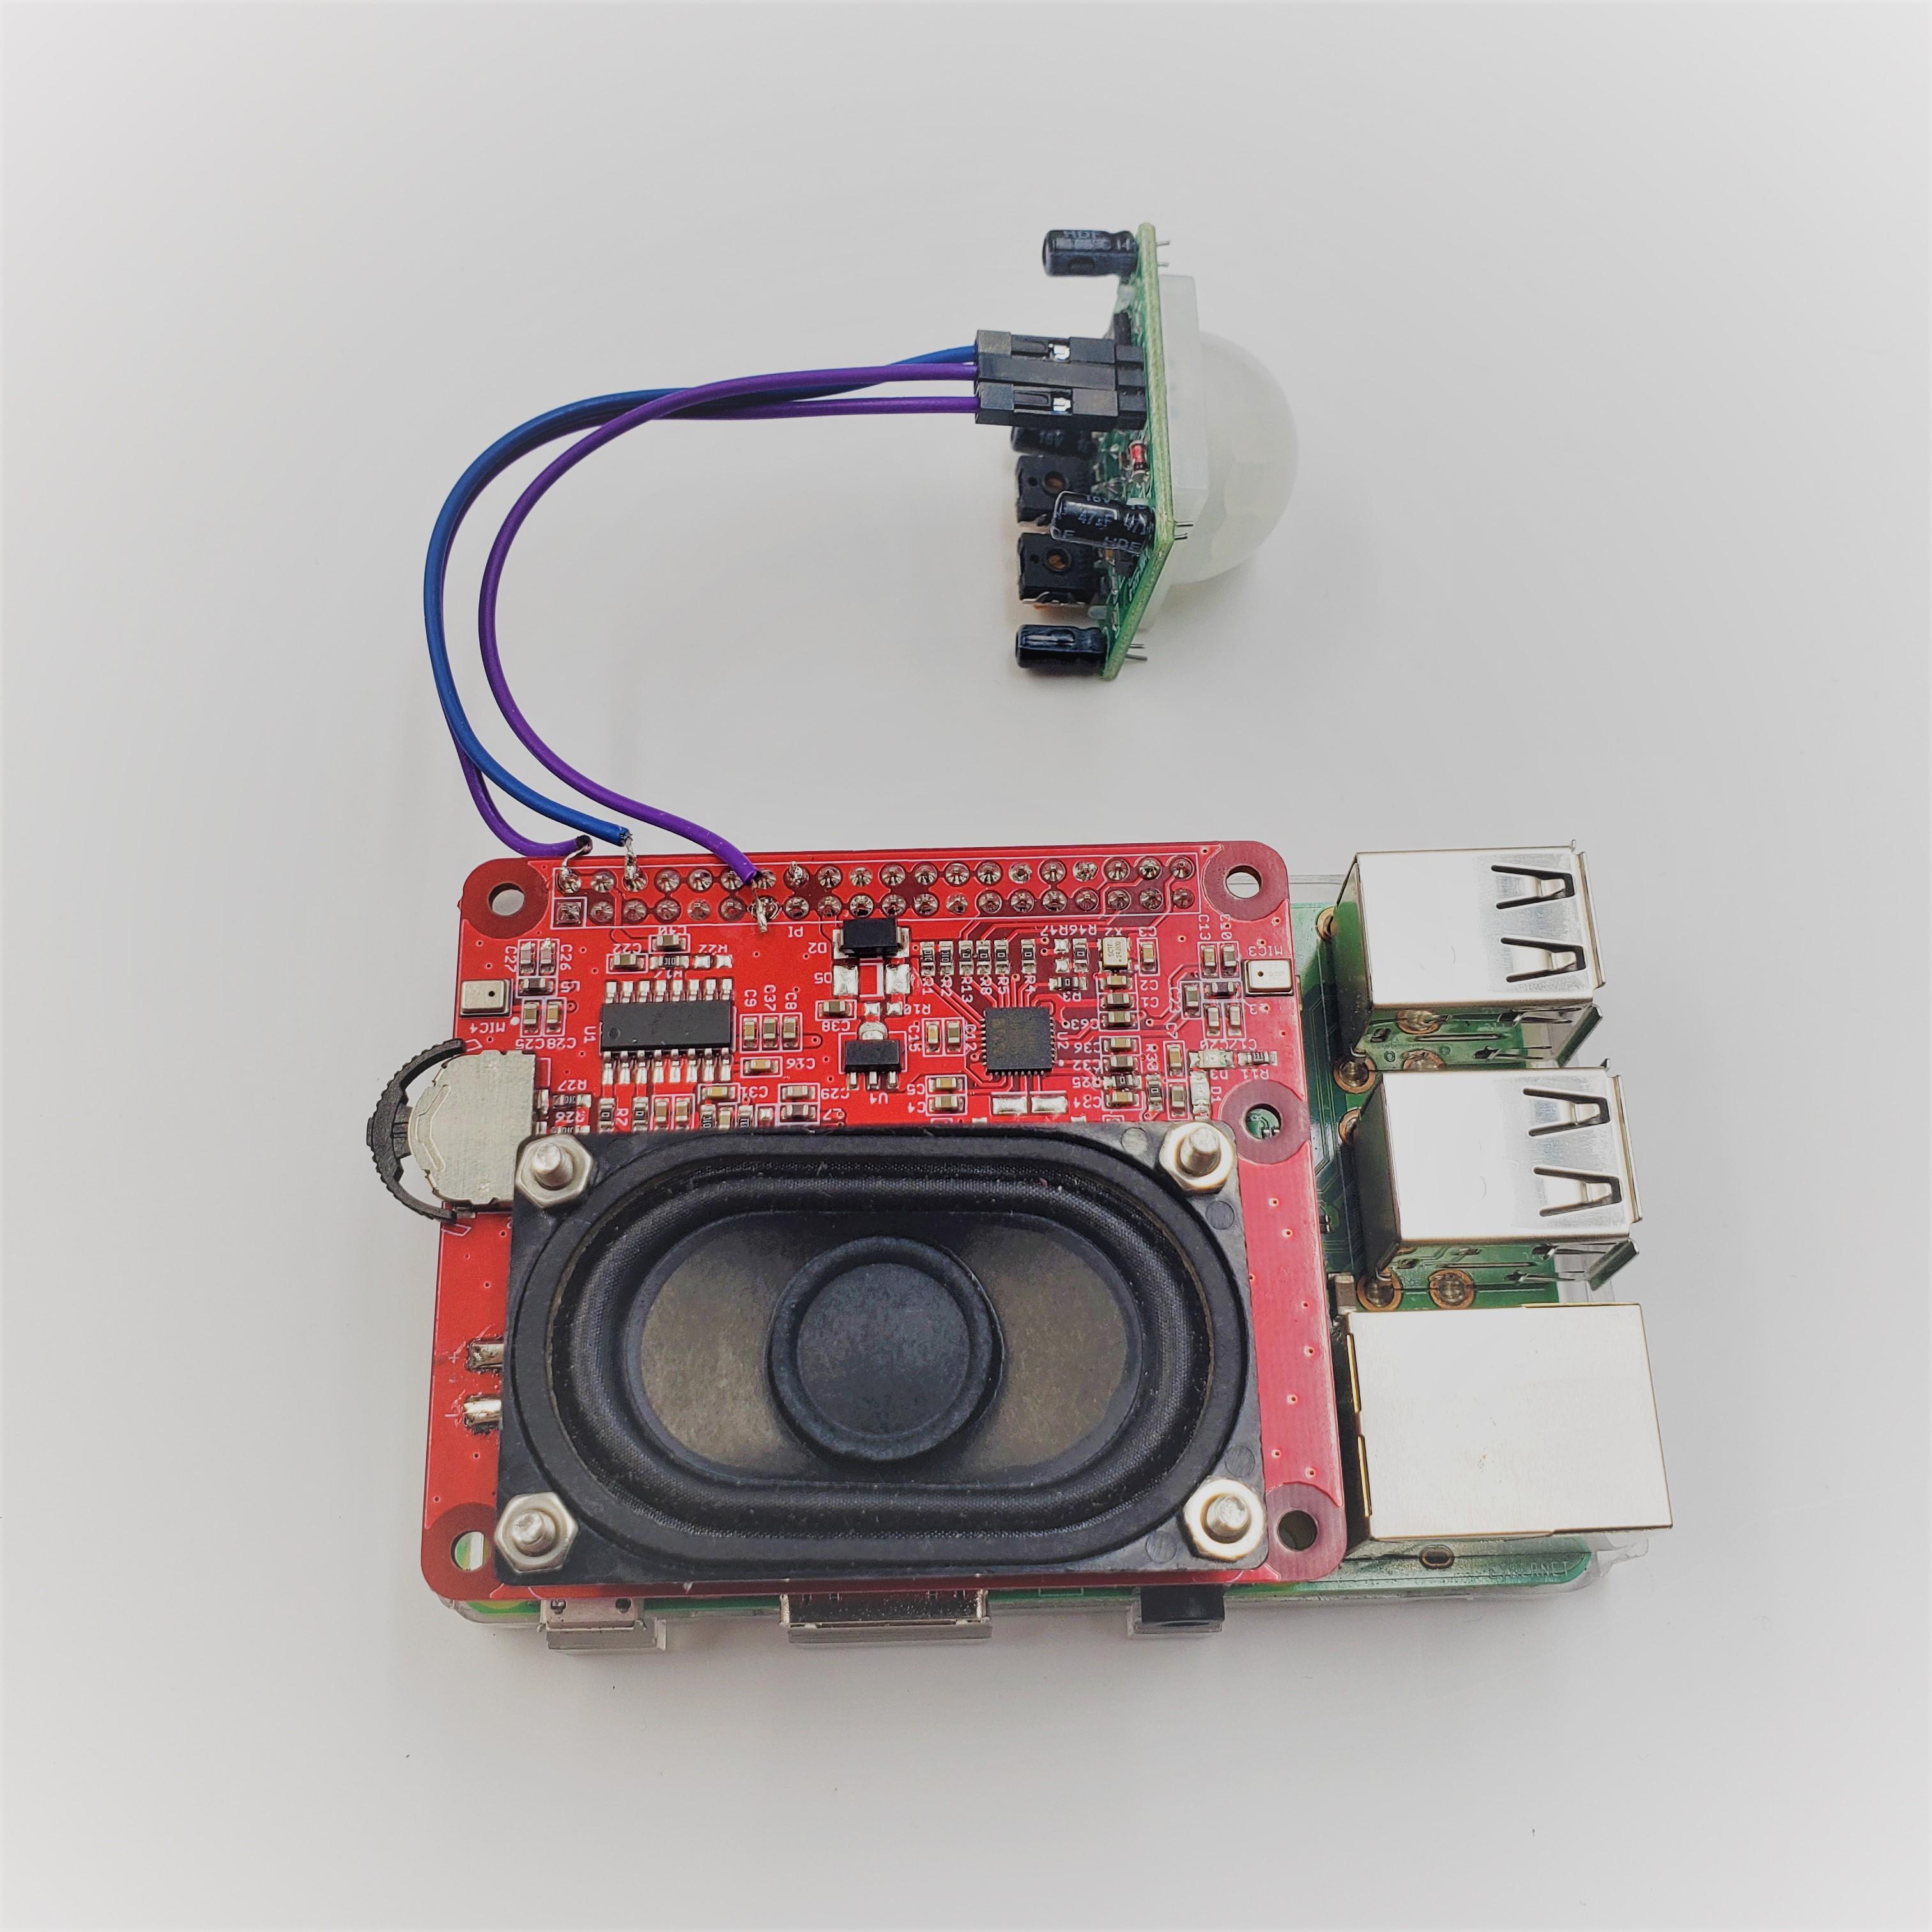
Voice Interaction Hat is a Raspberry Pi expansion board. Just insert the Raspberry Pi according to the pins. We also need to solder several DuPont wires to connect the sensors. The pin connections are as follows:
Voice Interaction Hat ------ PIR
5V ------ VCC
GND ------ GND
GPIO27 ------ OUT
Install the Driver of the Expansion Board
- Since the expansion board is designed with reference to the product of seeed, we can use the driver of seeed to drive it to work.
- Enter the following command in the Raspberry Pi terminal window to install the driver:
git clone https://github.com/respeaker/seeed-voicecard
cd seeed-voicecard
sudo ./install.sh
sudo reboot
- Detailed usage tutorial can go to the page ( https://www.makerfabs.com/wiki/index.php?title=Voice_Interaction_Hat ) to view.
Code
- Github: https://github.com/Makerfabs/Raspi-Voice-Interact...
- After getting the code, you need to replace the API KEY with yours in the asr.py, weather.py, and tts.py.
r = requests.post(
        'https://speech.googleapis.com/v1/speech:recognize?key='+api_key, data=data, headers=headers)
headers = {
    'x-rapidapi-host': "community-open-weather-map.p.rapidapi.com",
    'x-rapidapi-key': "**************************************"
    }
r = requests.post(
        'https://texttospeech.googleapis.com/v1/text:synthesize?key='+api_key, data=data, headers=headers)
- Fill in the name of the place in the weather.py and it will be recognized from this address list. Of course, you can fill in the names of cities across the country and even the world if the weather API can recognize them.
address = ['Beijing','London']
- If you do not use the speakers of the expansion board, but use your own speakers, you need to replace “hw:0,0” in the following code with “hw:1,0” in the test1.py.
os.system("aplay -Dhw:1,0 output1.wav")- Copy all the files in Raspi-Voice-Interaction-Hat/weather_workSpace/ to a working directory of the Raspberry Pi.
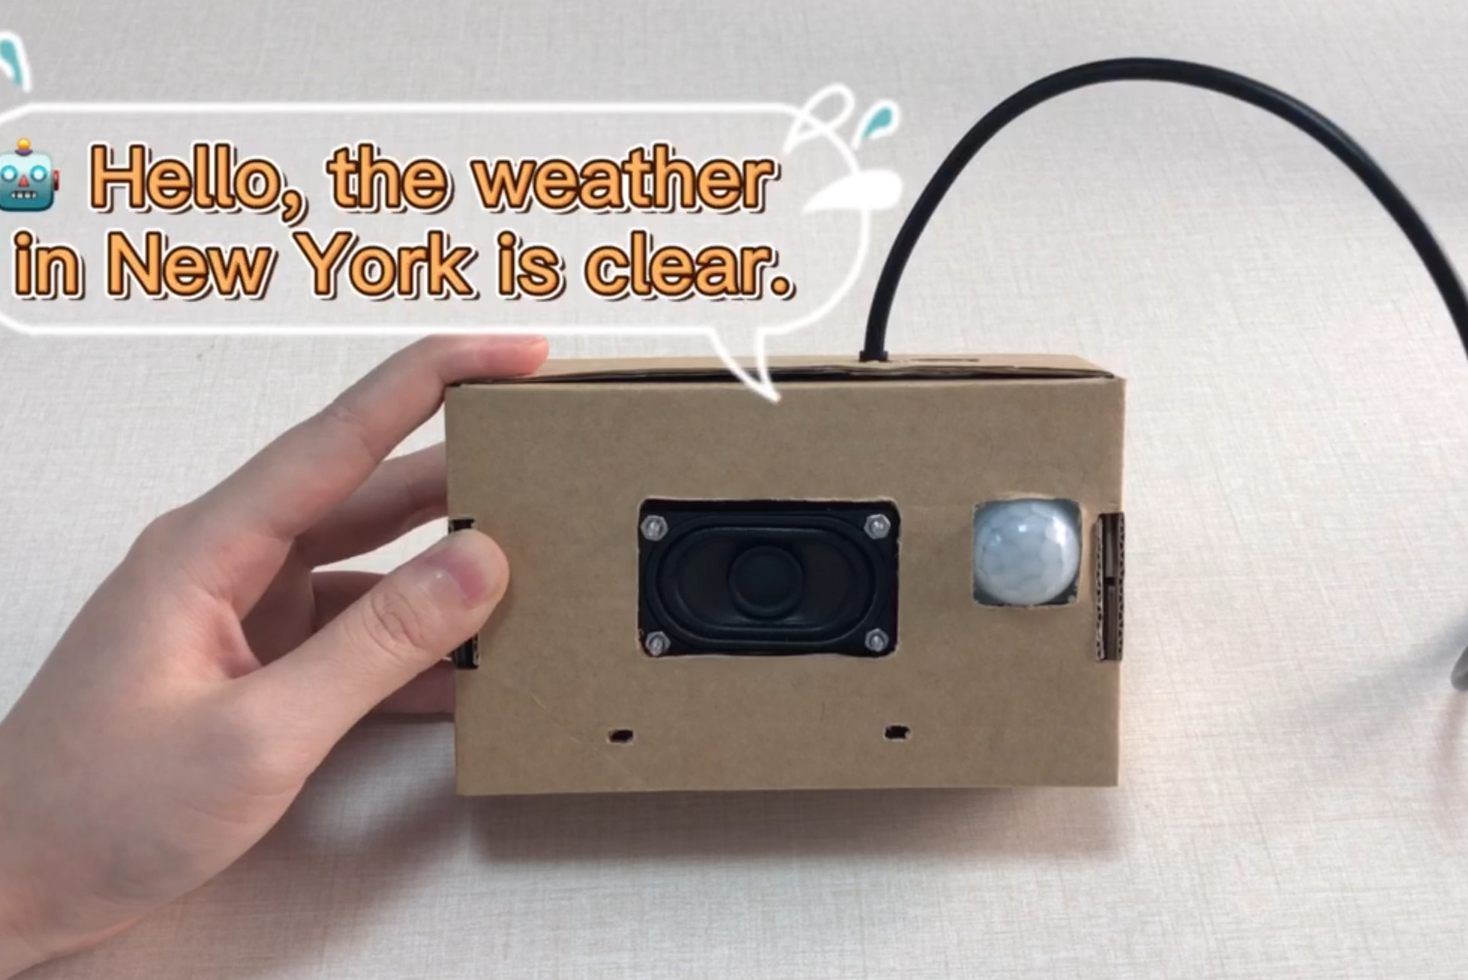
Make a Packaging Box
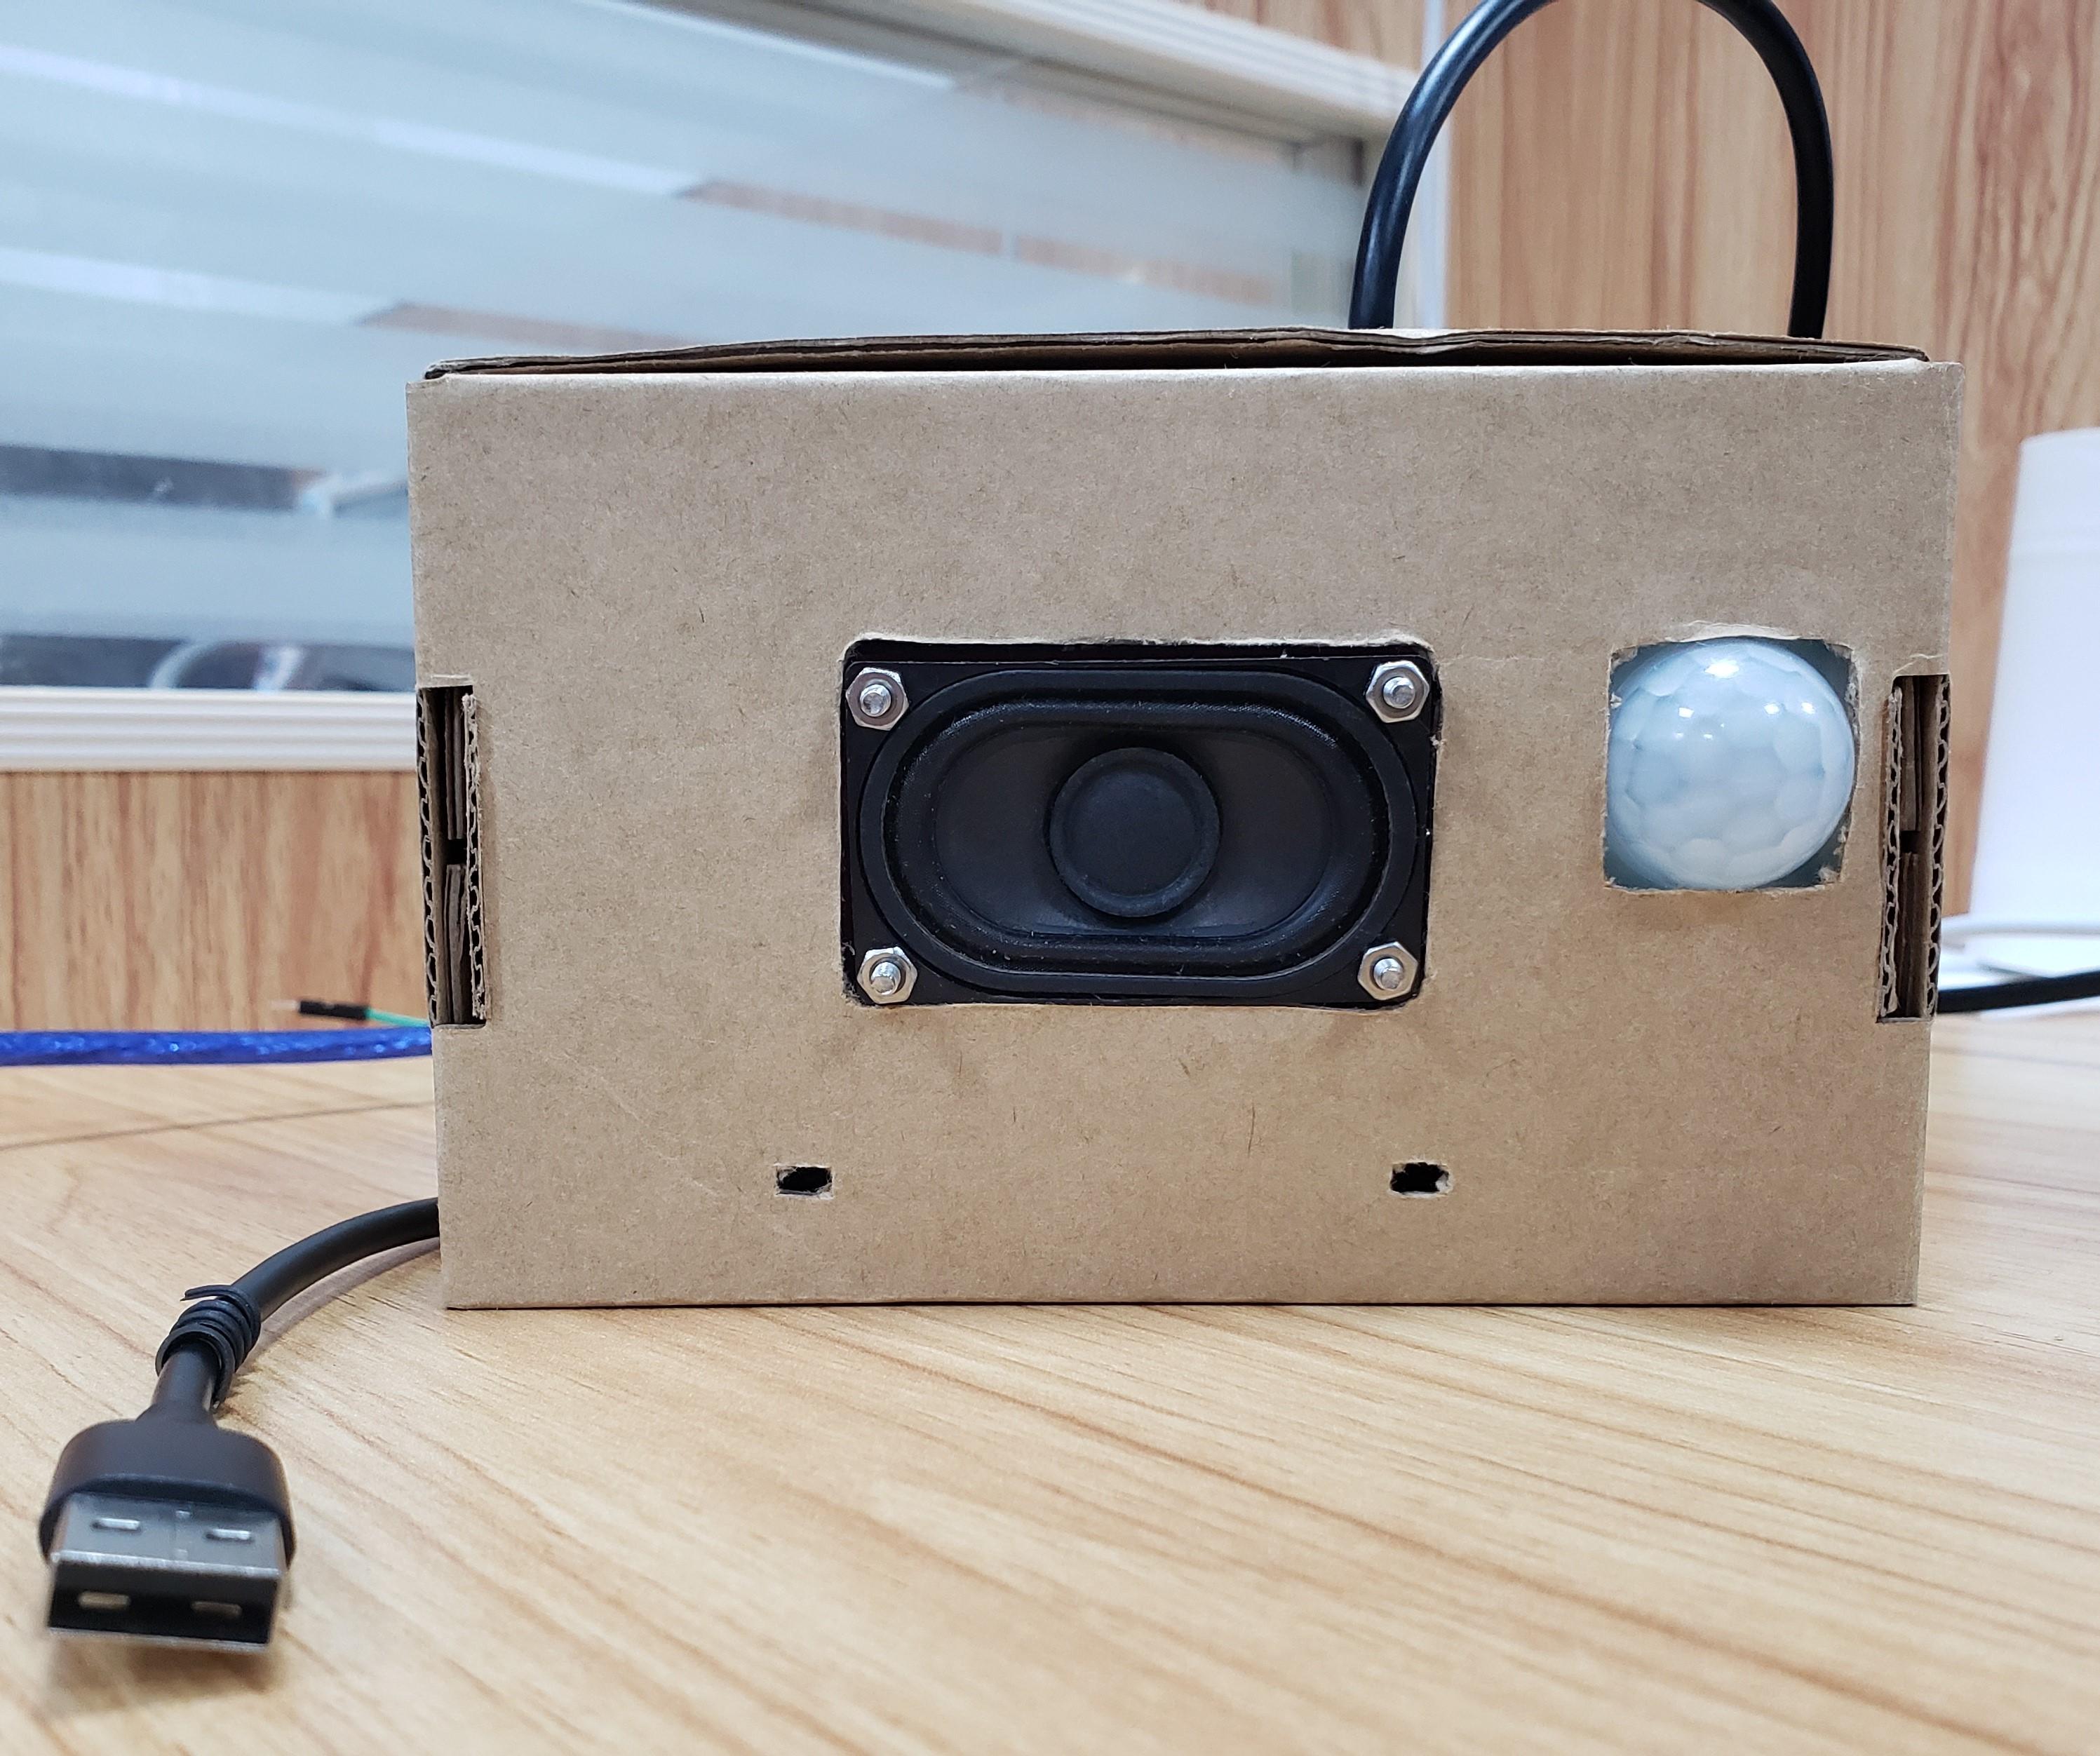
In order to look more beautiful, we packed it in a carton. Cut appropriately to expose the speaker and microphone, and use colored pens to paint on the paper box to decorate it.
How to Use
Use the USB cable to power the Raspberry Pi, control Raspberry Pi to run test1.py, and trigger the sensor. After it broadcasts a sound, we start to talk about a place and then wait for it to broadcast the weather. A weather Assistant is complete.