DIY Visualiser
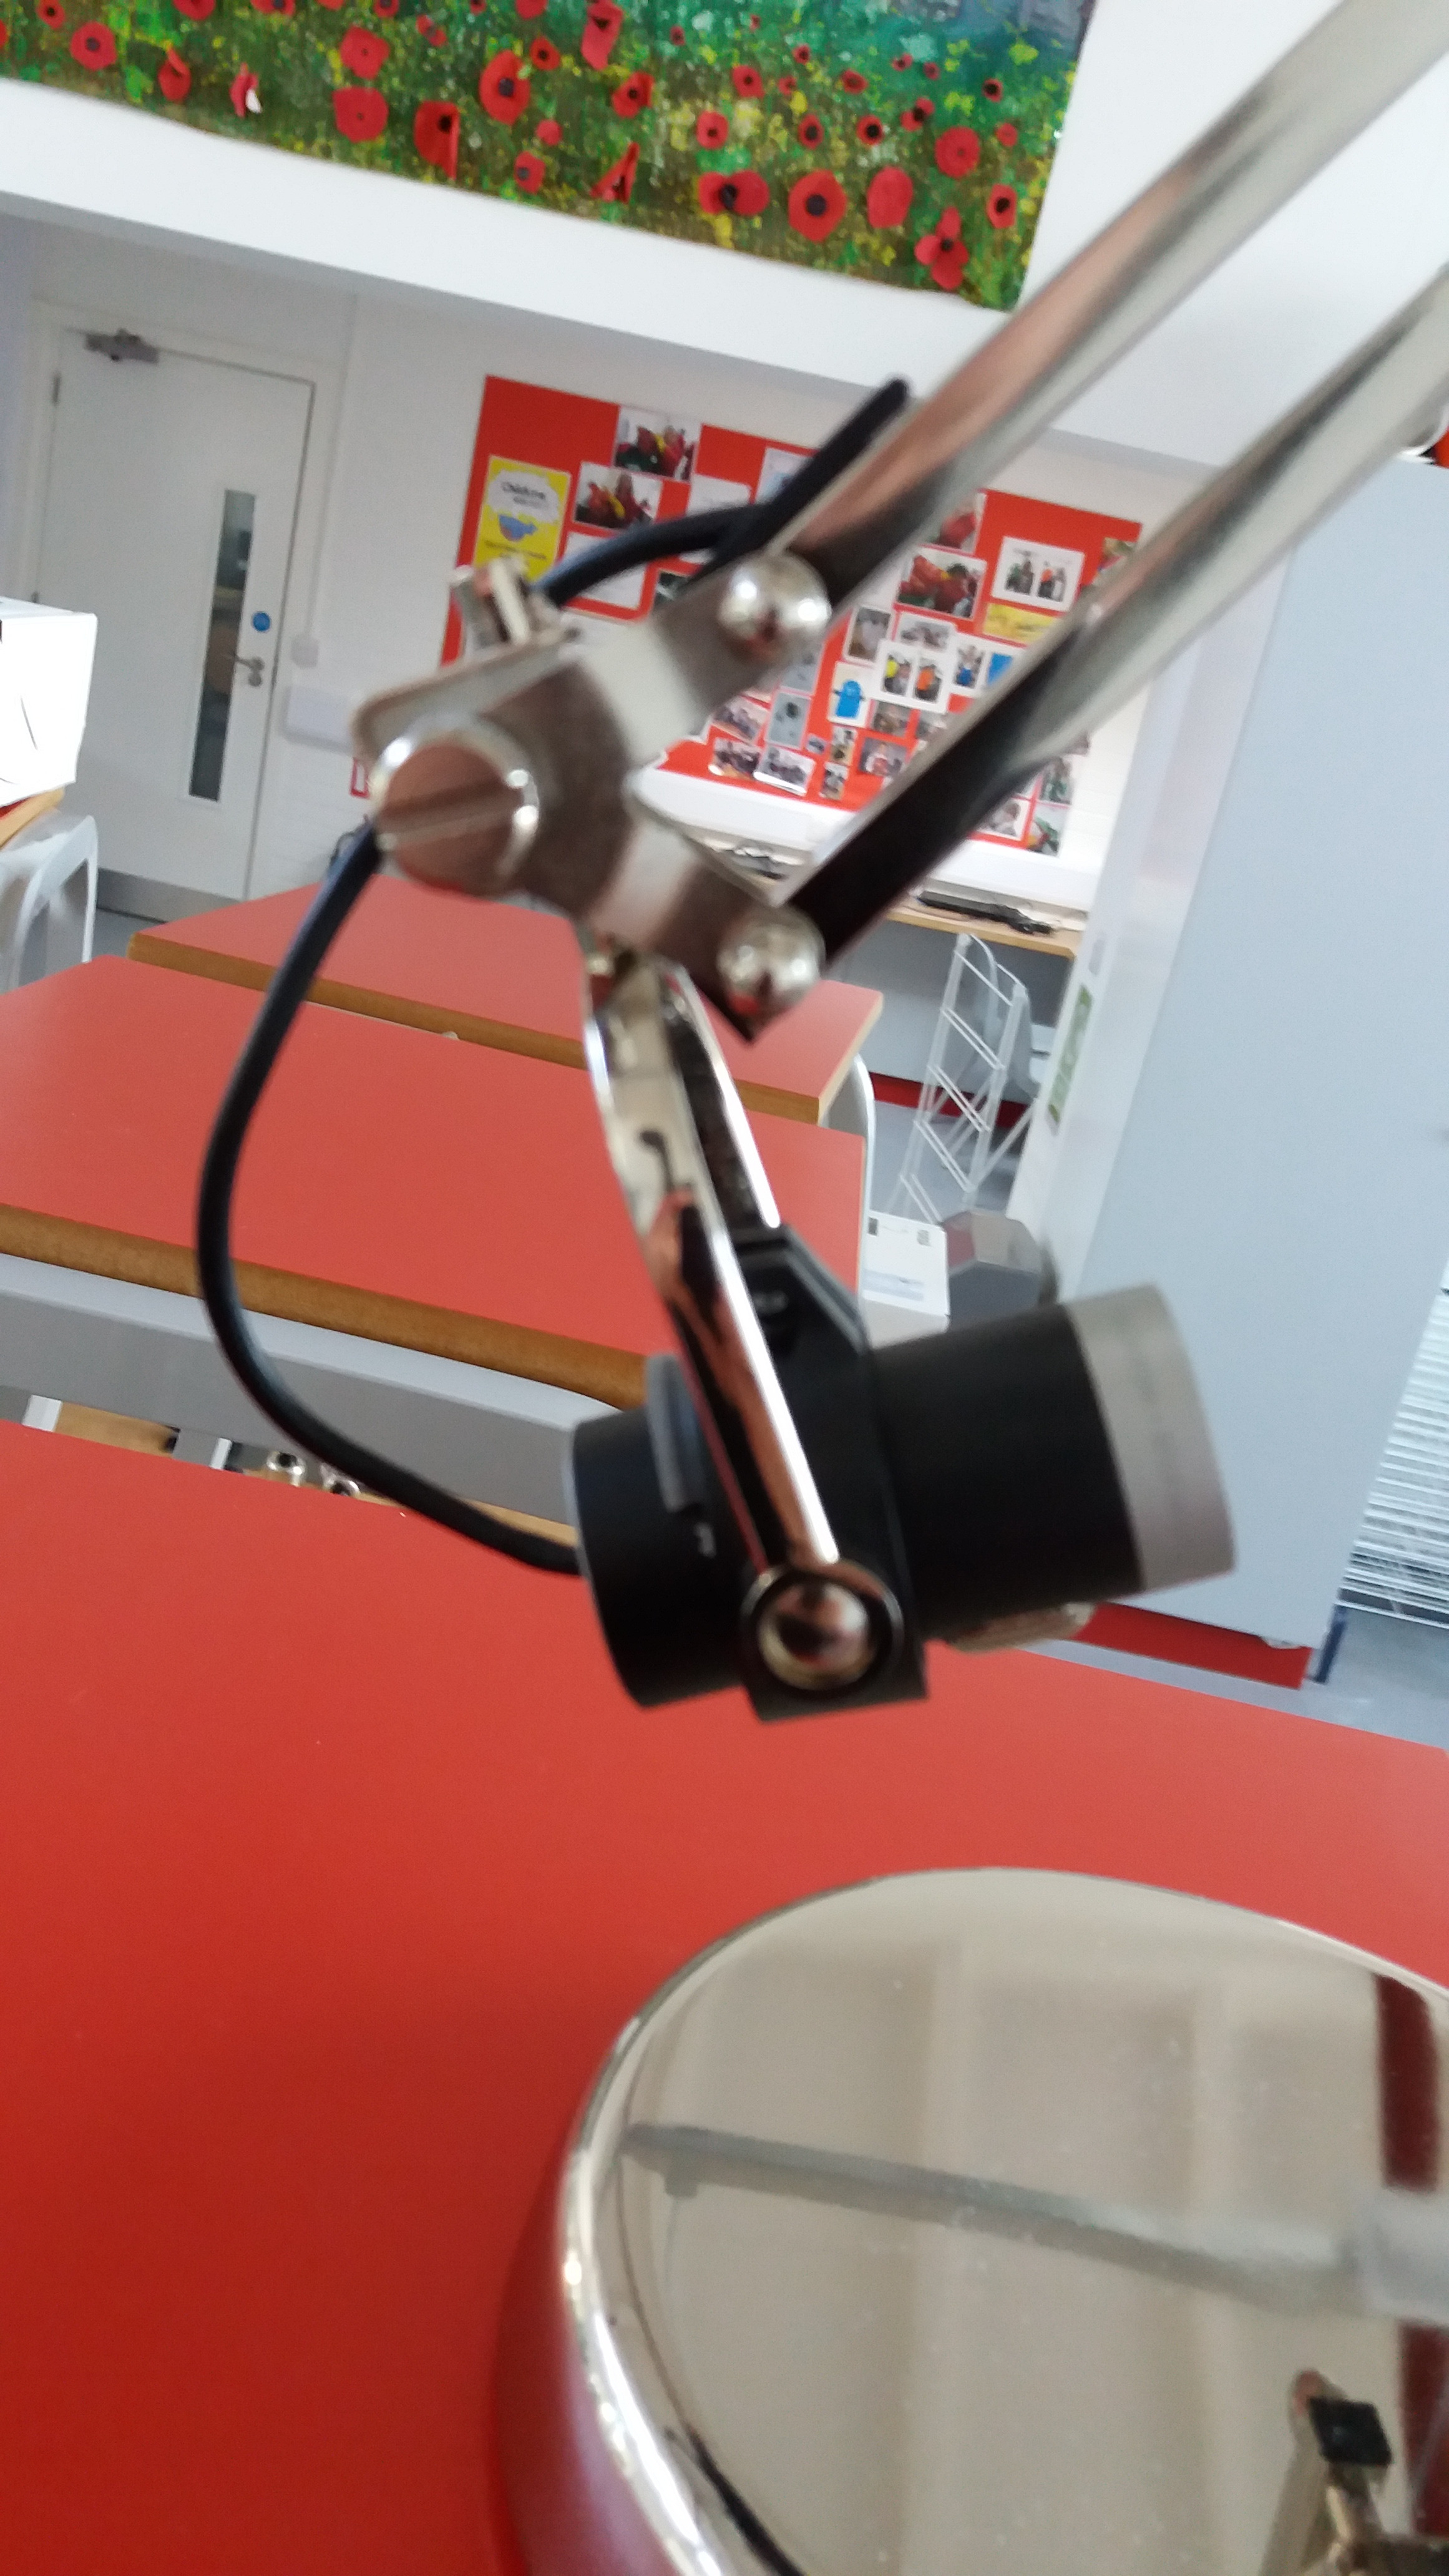
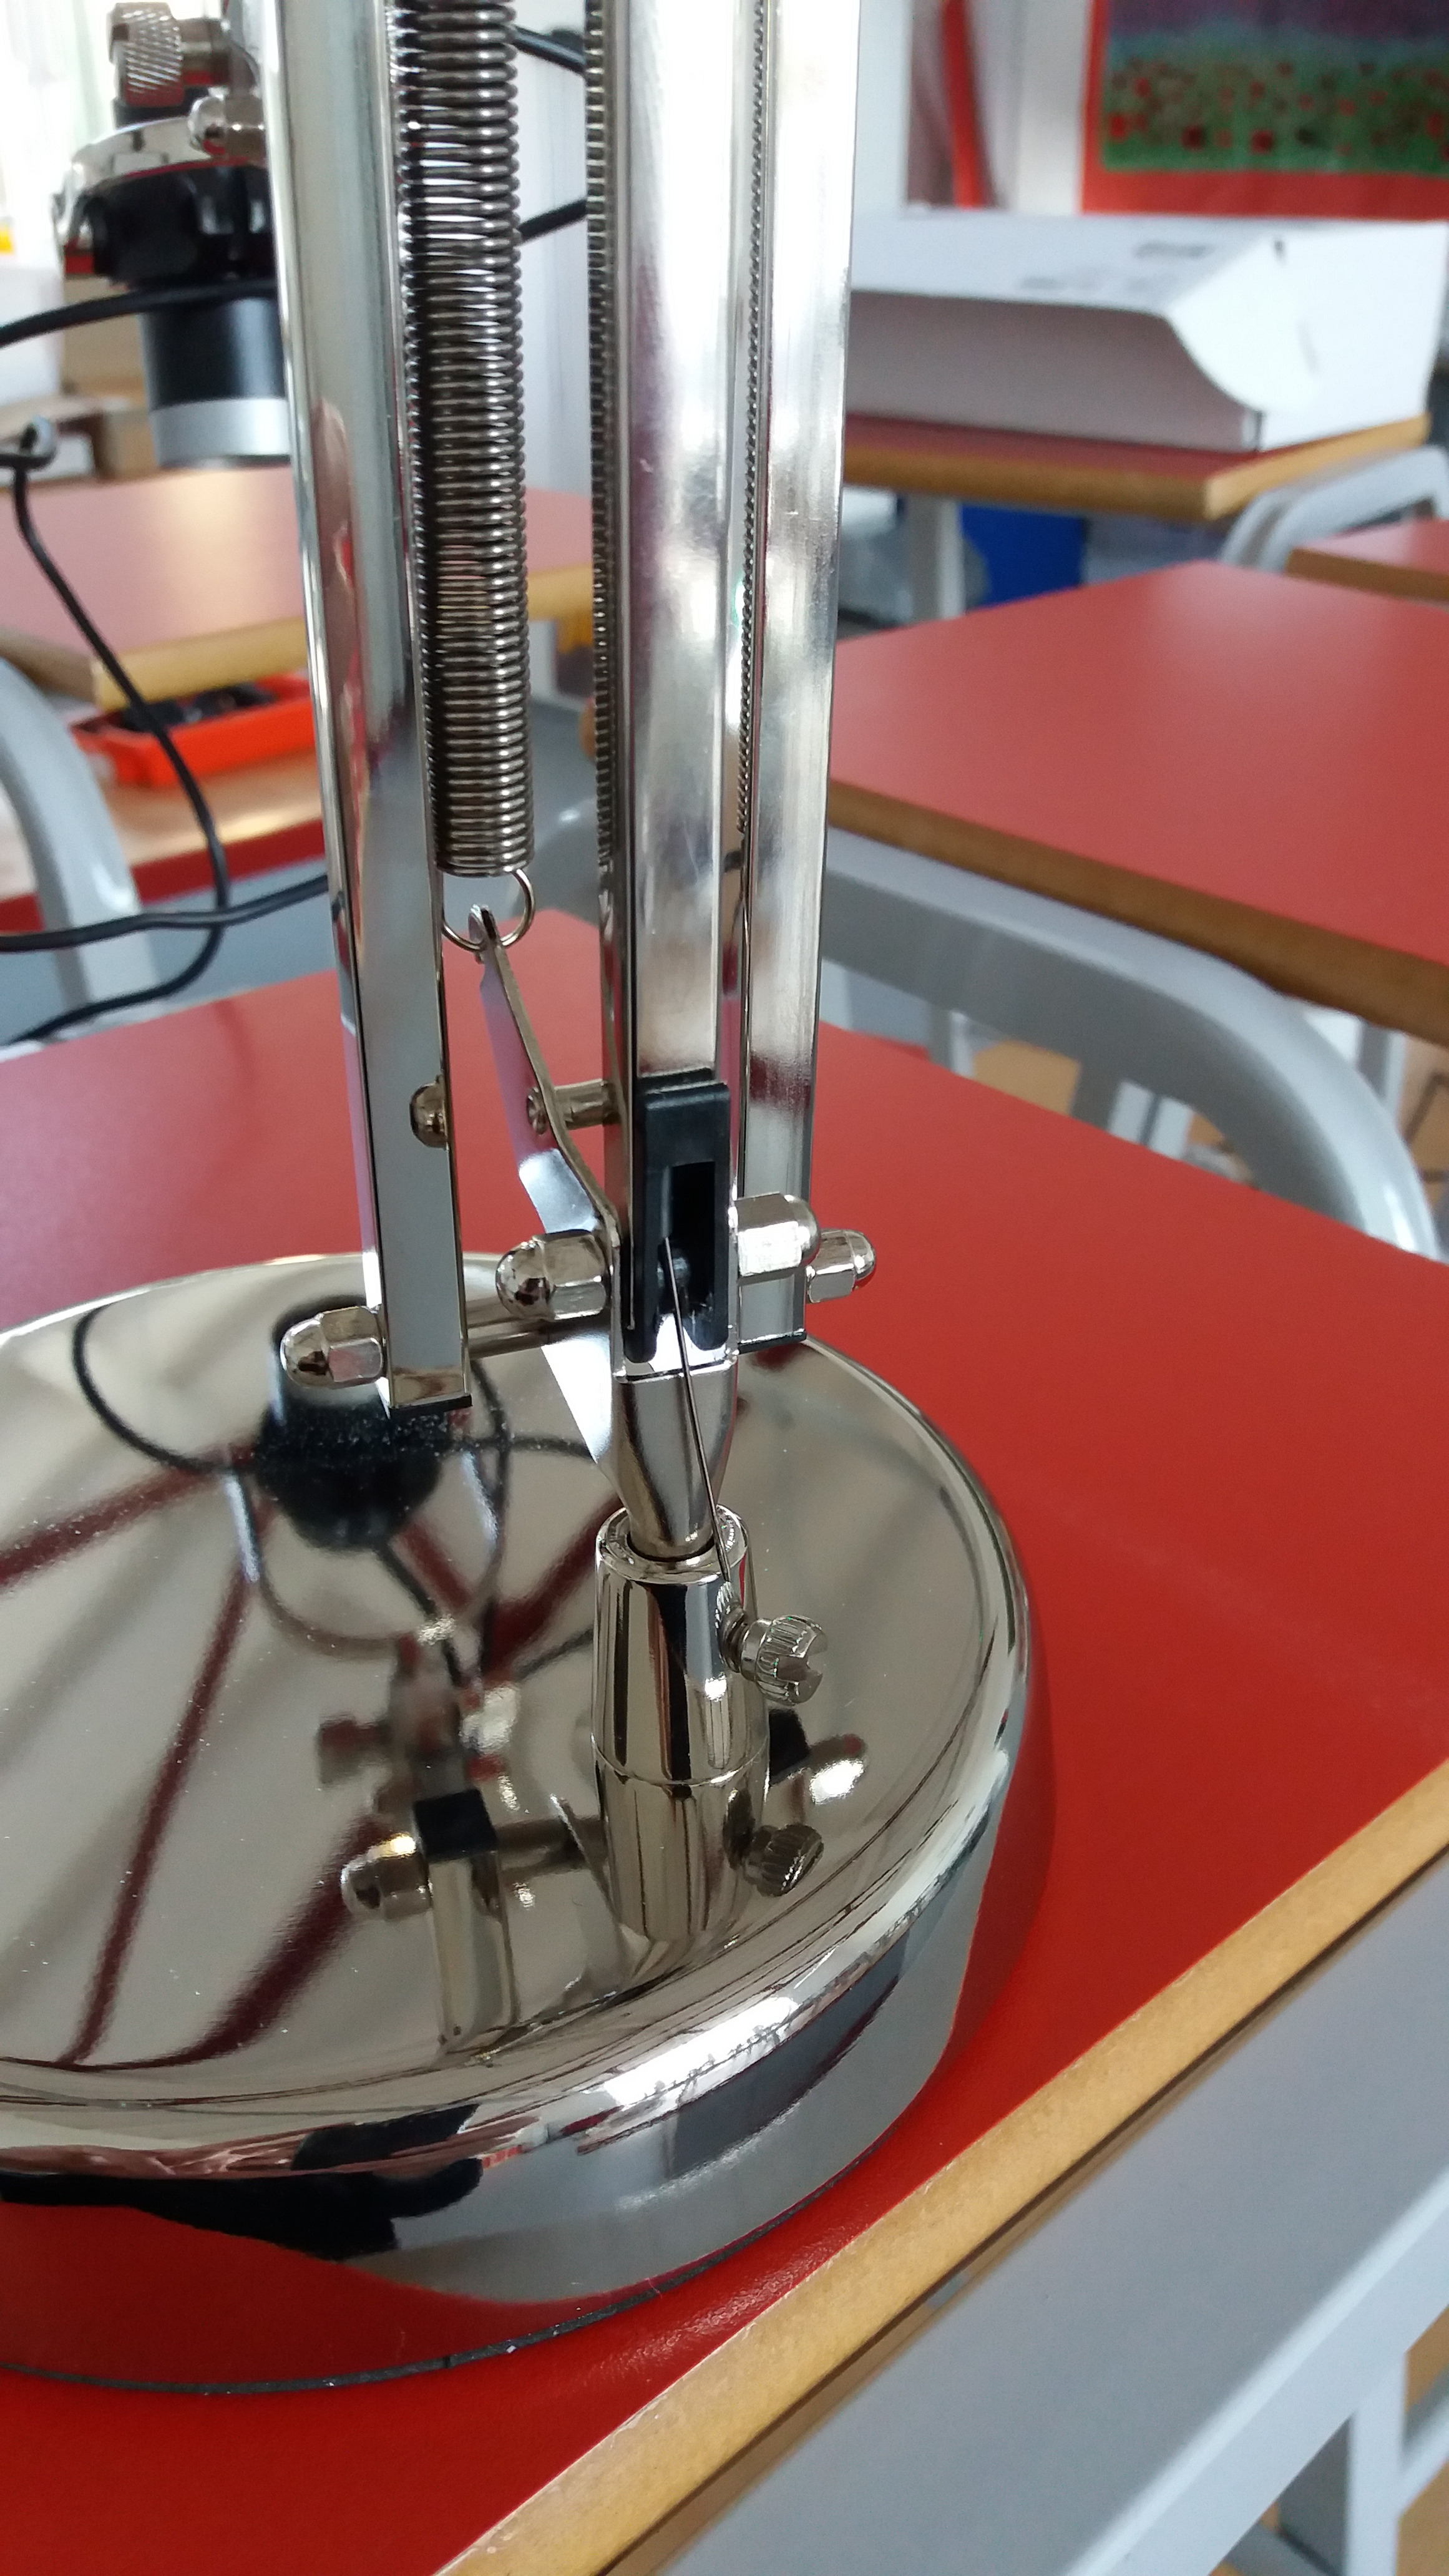
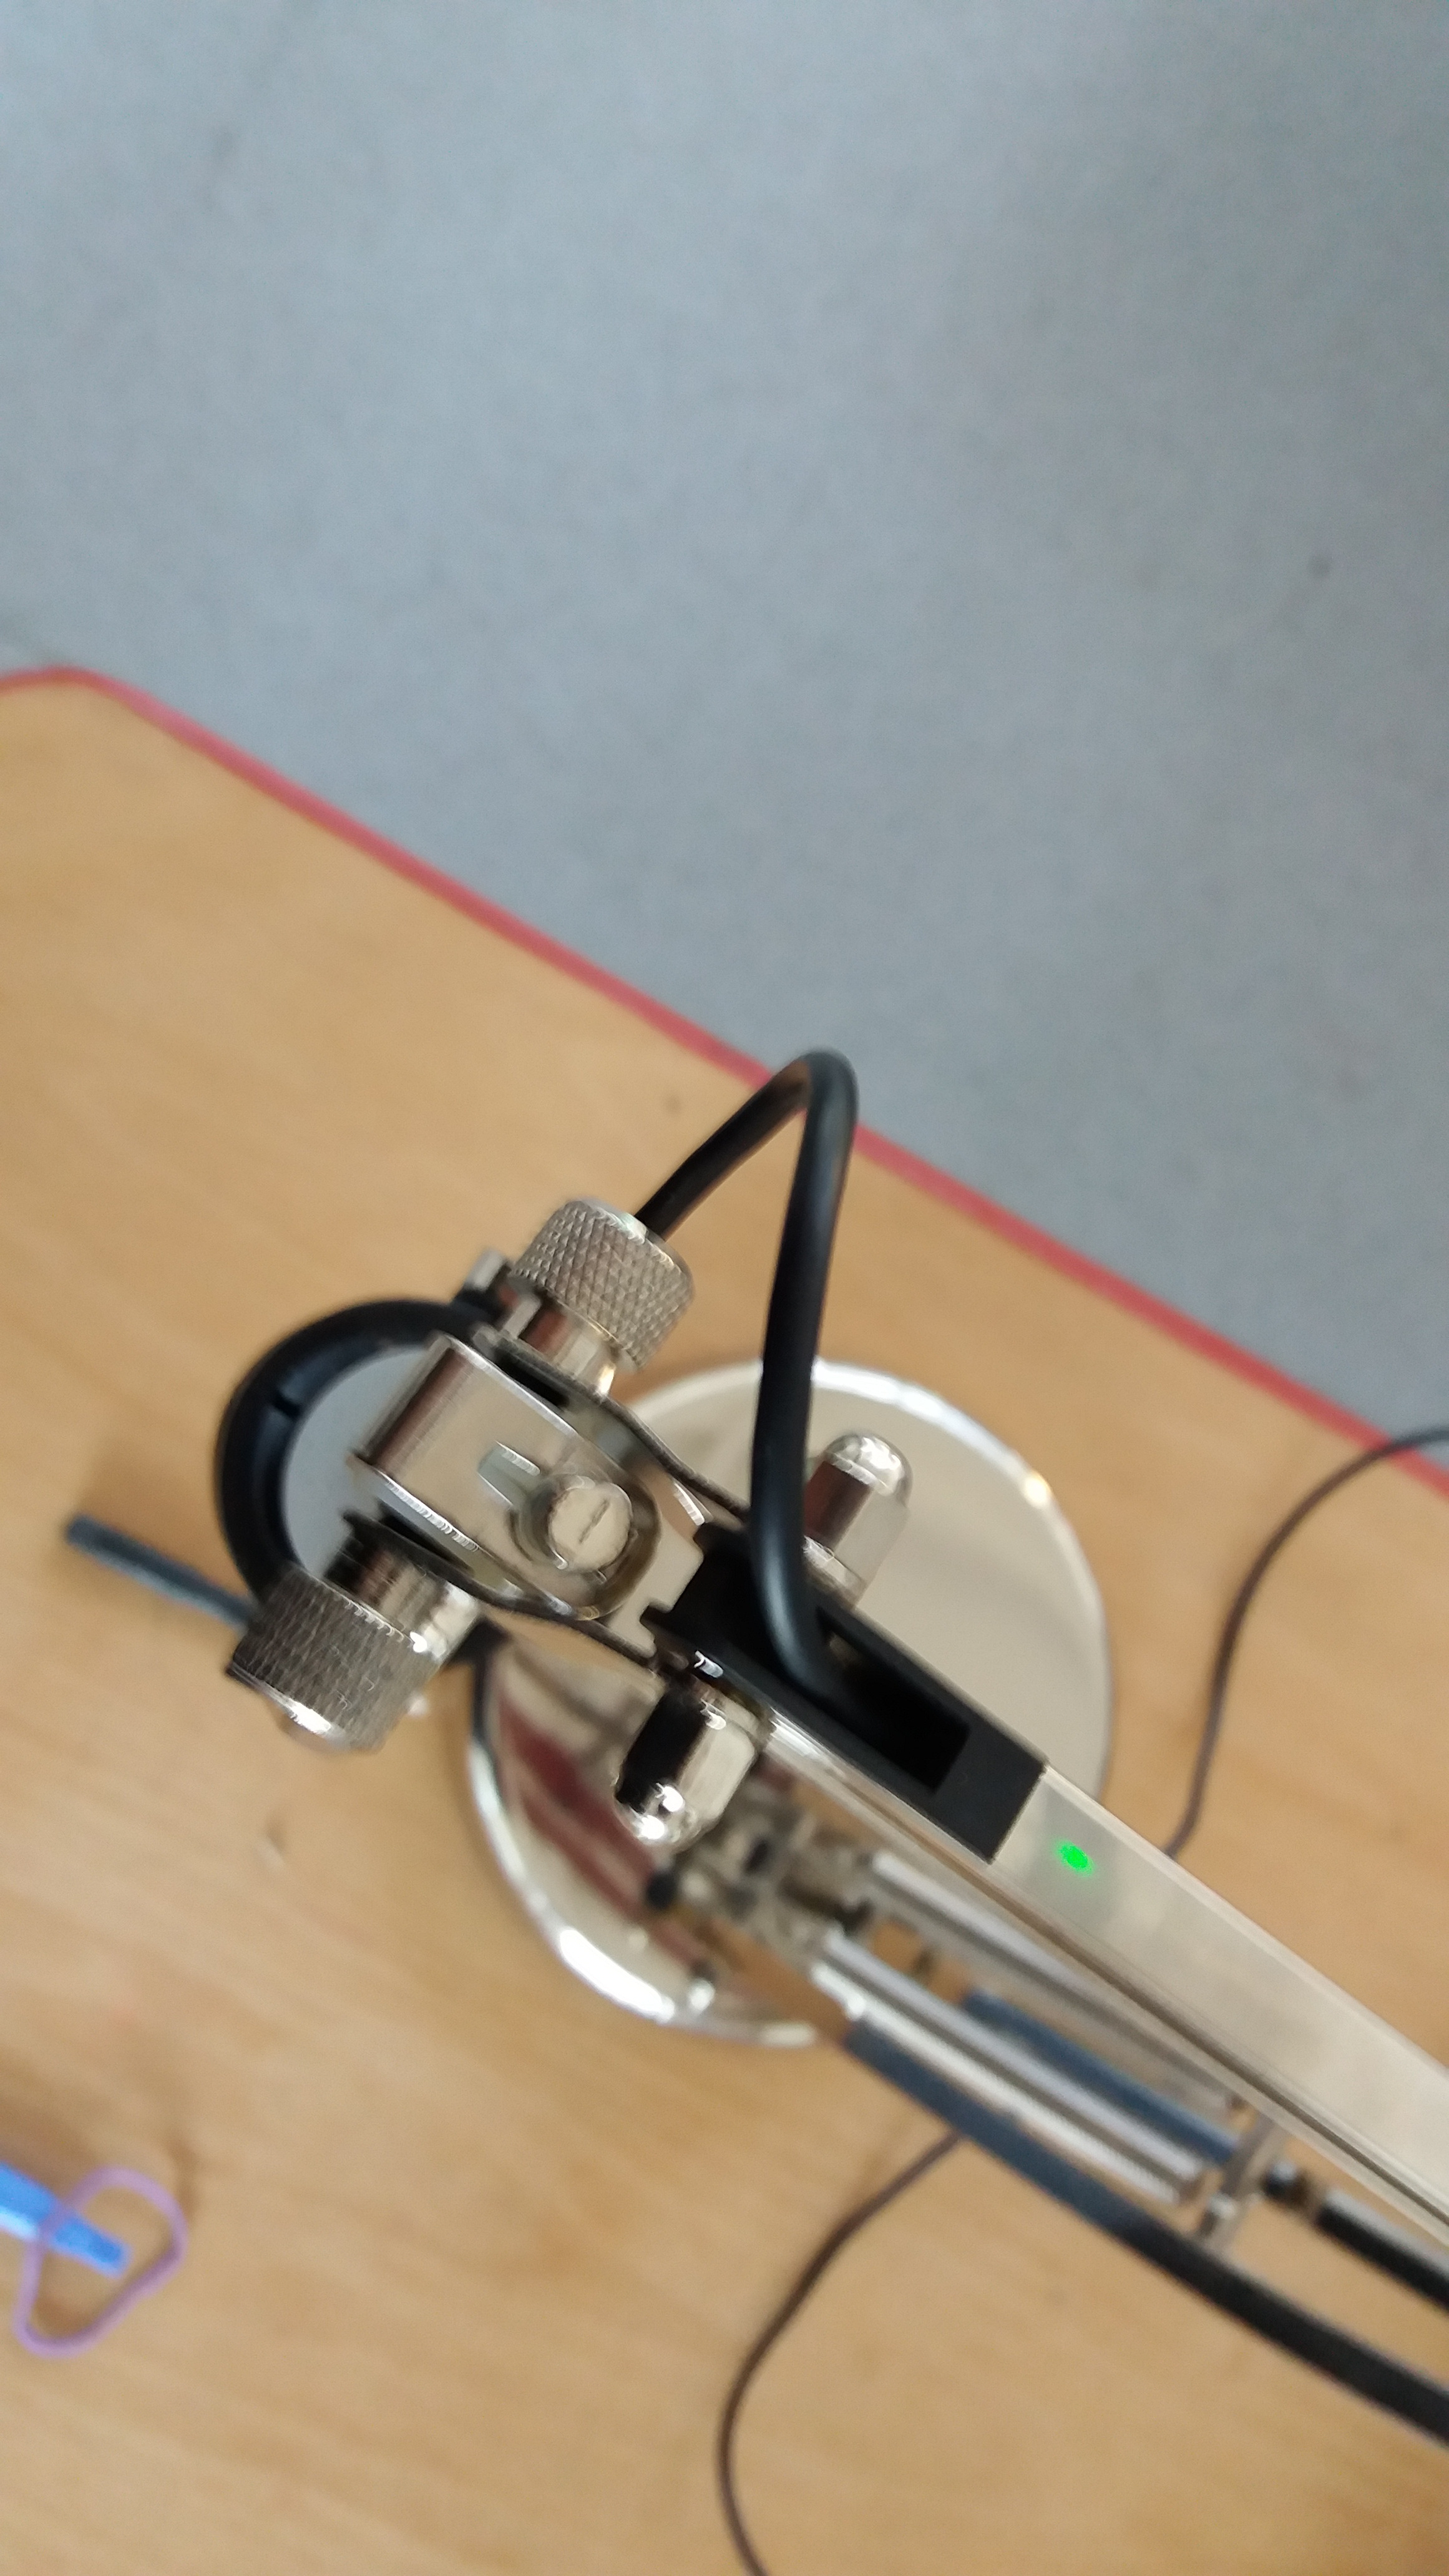
A couple of years ago a new member of staff joined our school and on arrival expressed the need for a visualiser. At the time no one else in the school had used them so we ordered one to try at the time it cost about £150. When it arrived it looked quite well made and a number of other members of staff wanted them. After ordering 5 more a couple of members of staff complained about the frame rate, one of these was the Head of Science who wanted to use it to display live experiments on the whiteboard. I lent him my webcam to try instead which had a fast HD frame rate, plus auto focus.
The issue we then had was how to mount it in a stand and that lead to this project. Our original build used a secondhand desk lamp and a webcam from ebay, a total build price of £15. It is quite possible to do the same for your build. This instructable uses a new Ikea lamp just because I know it fits the dimensions of the 3D printed part.
Items Needed
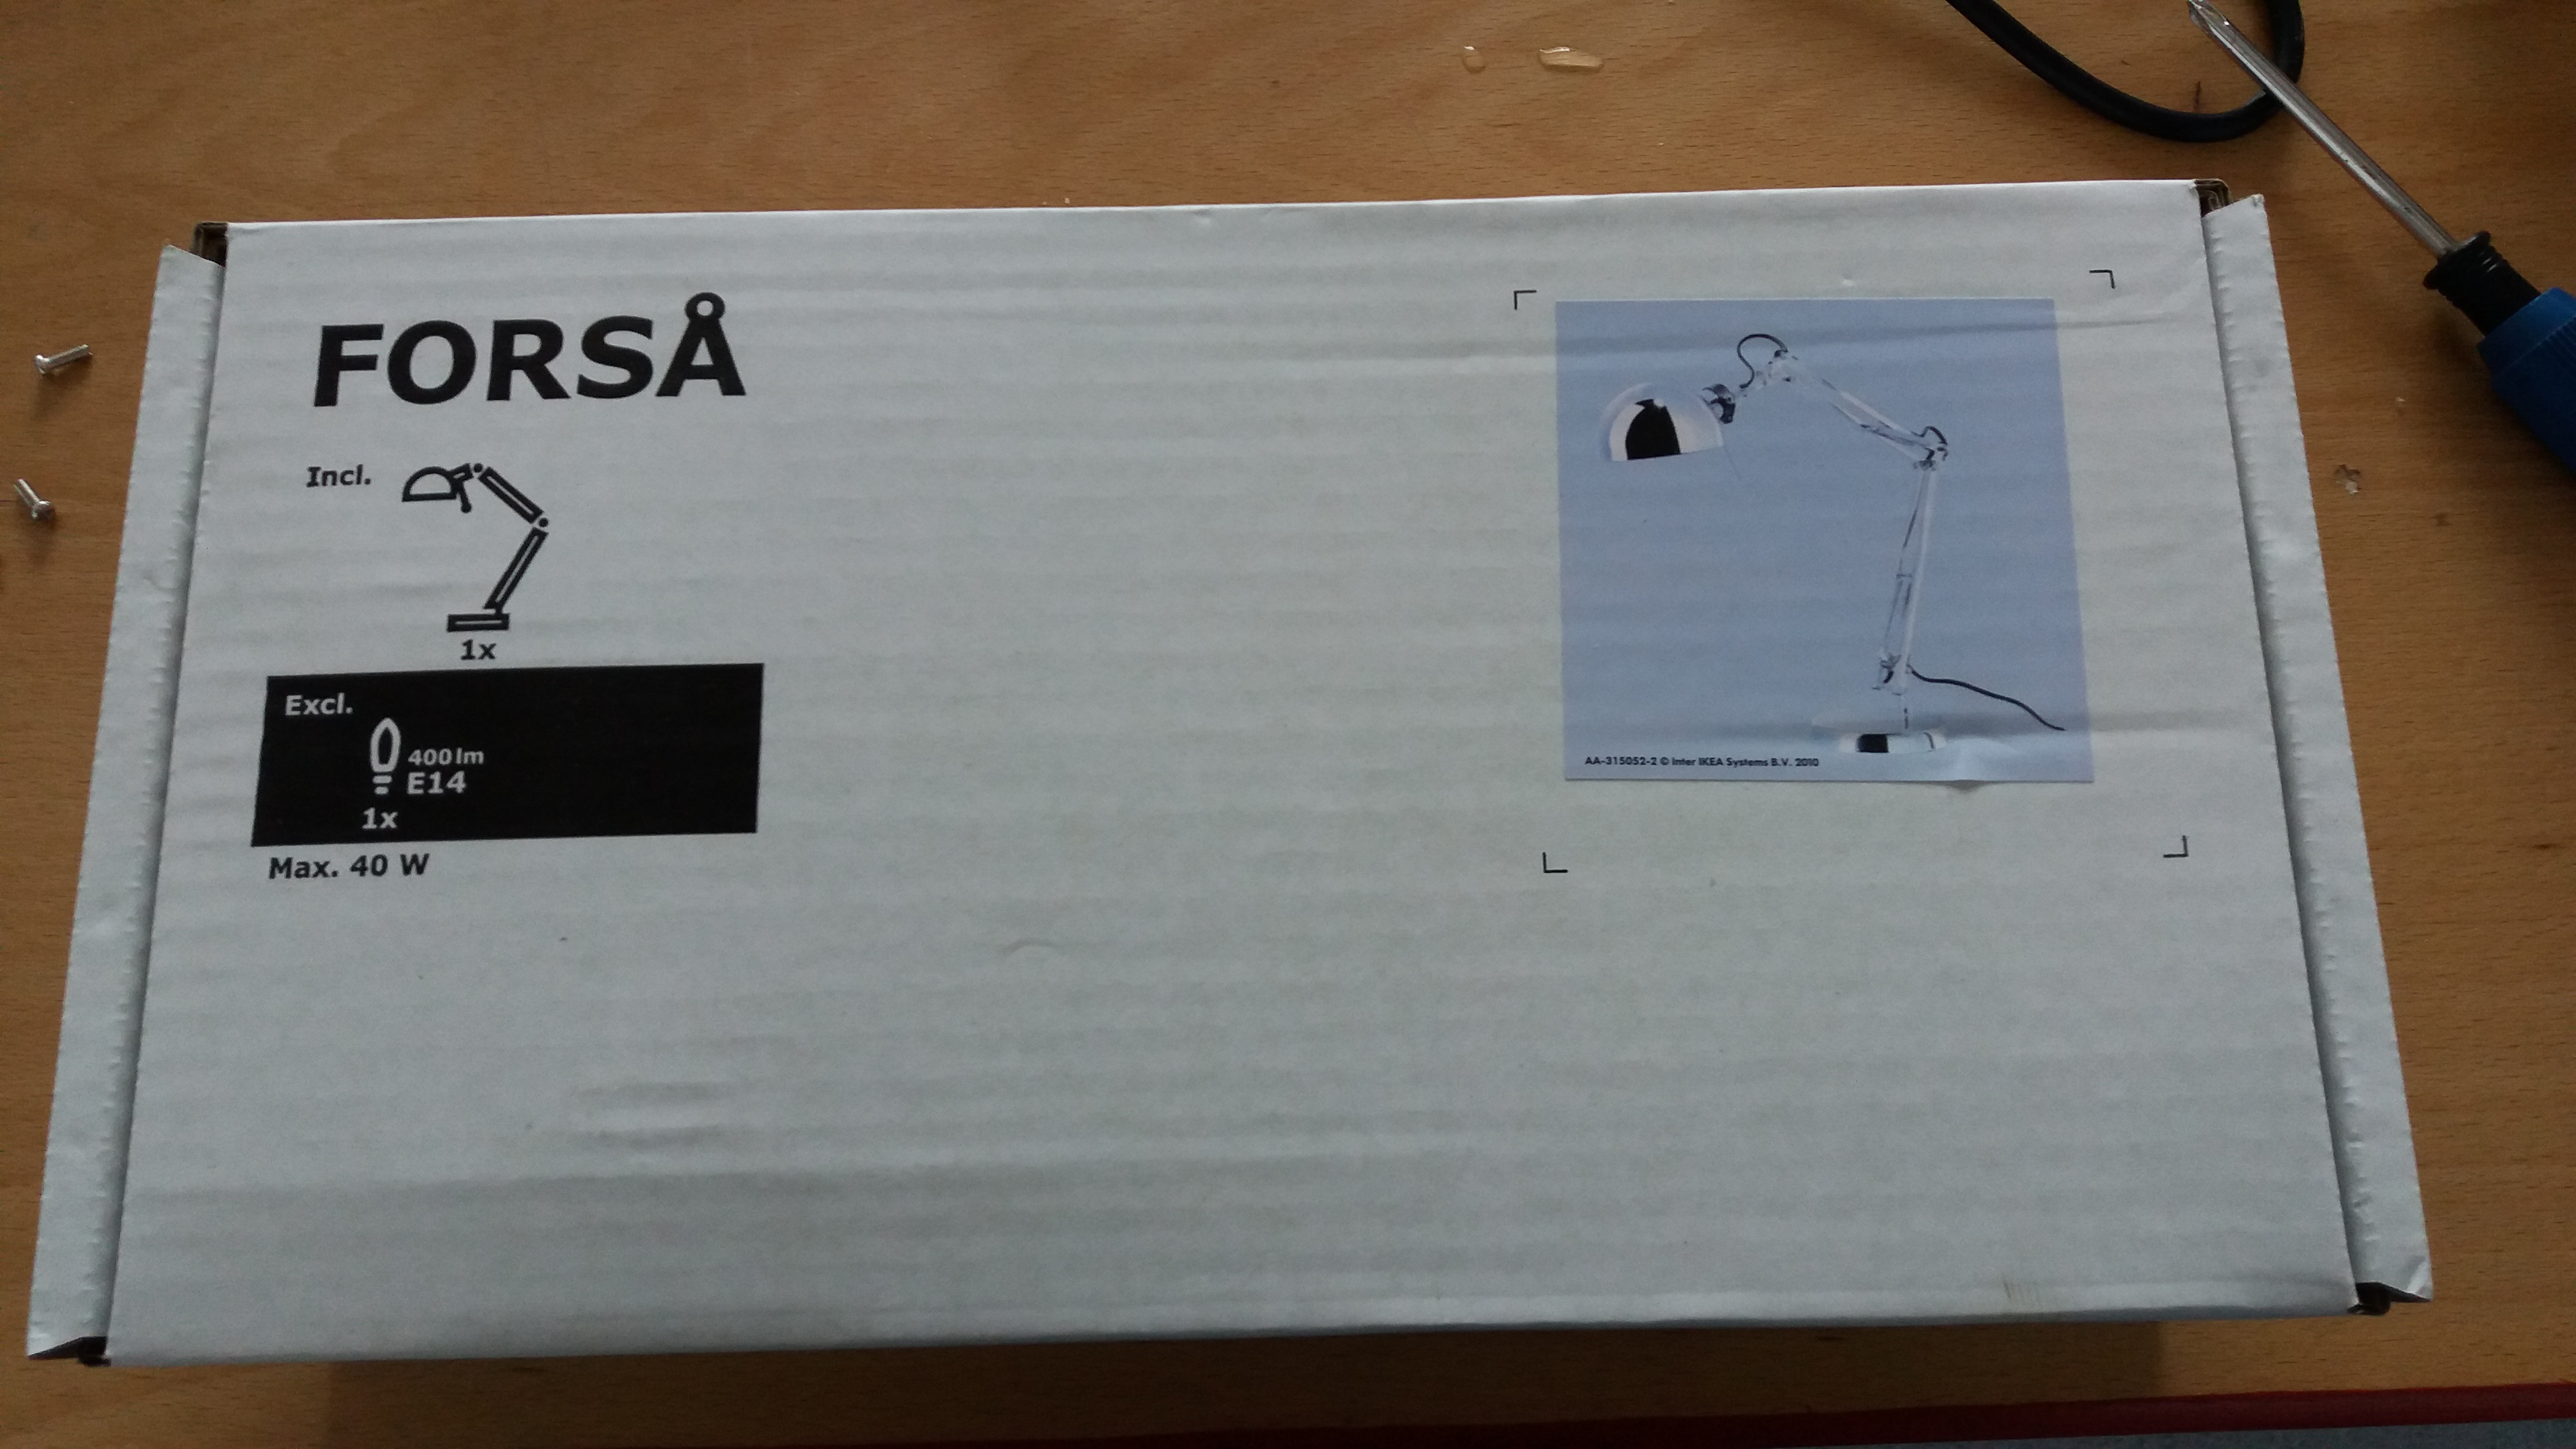
1 x Ikea FORSÅ Worklamp (around £15)
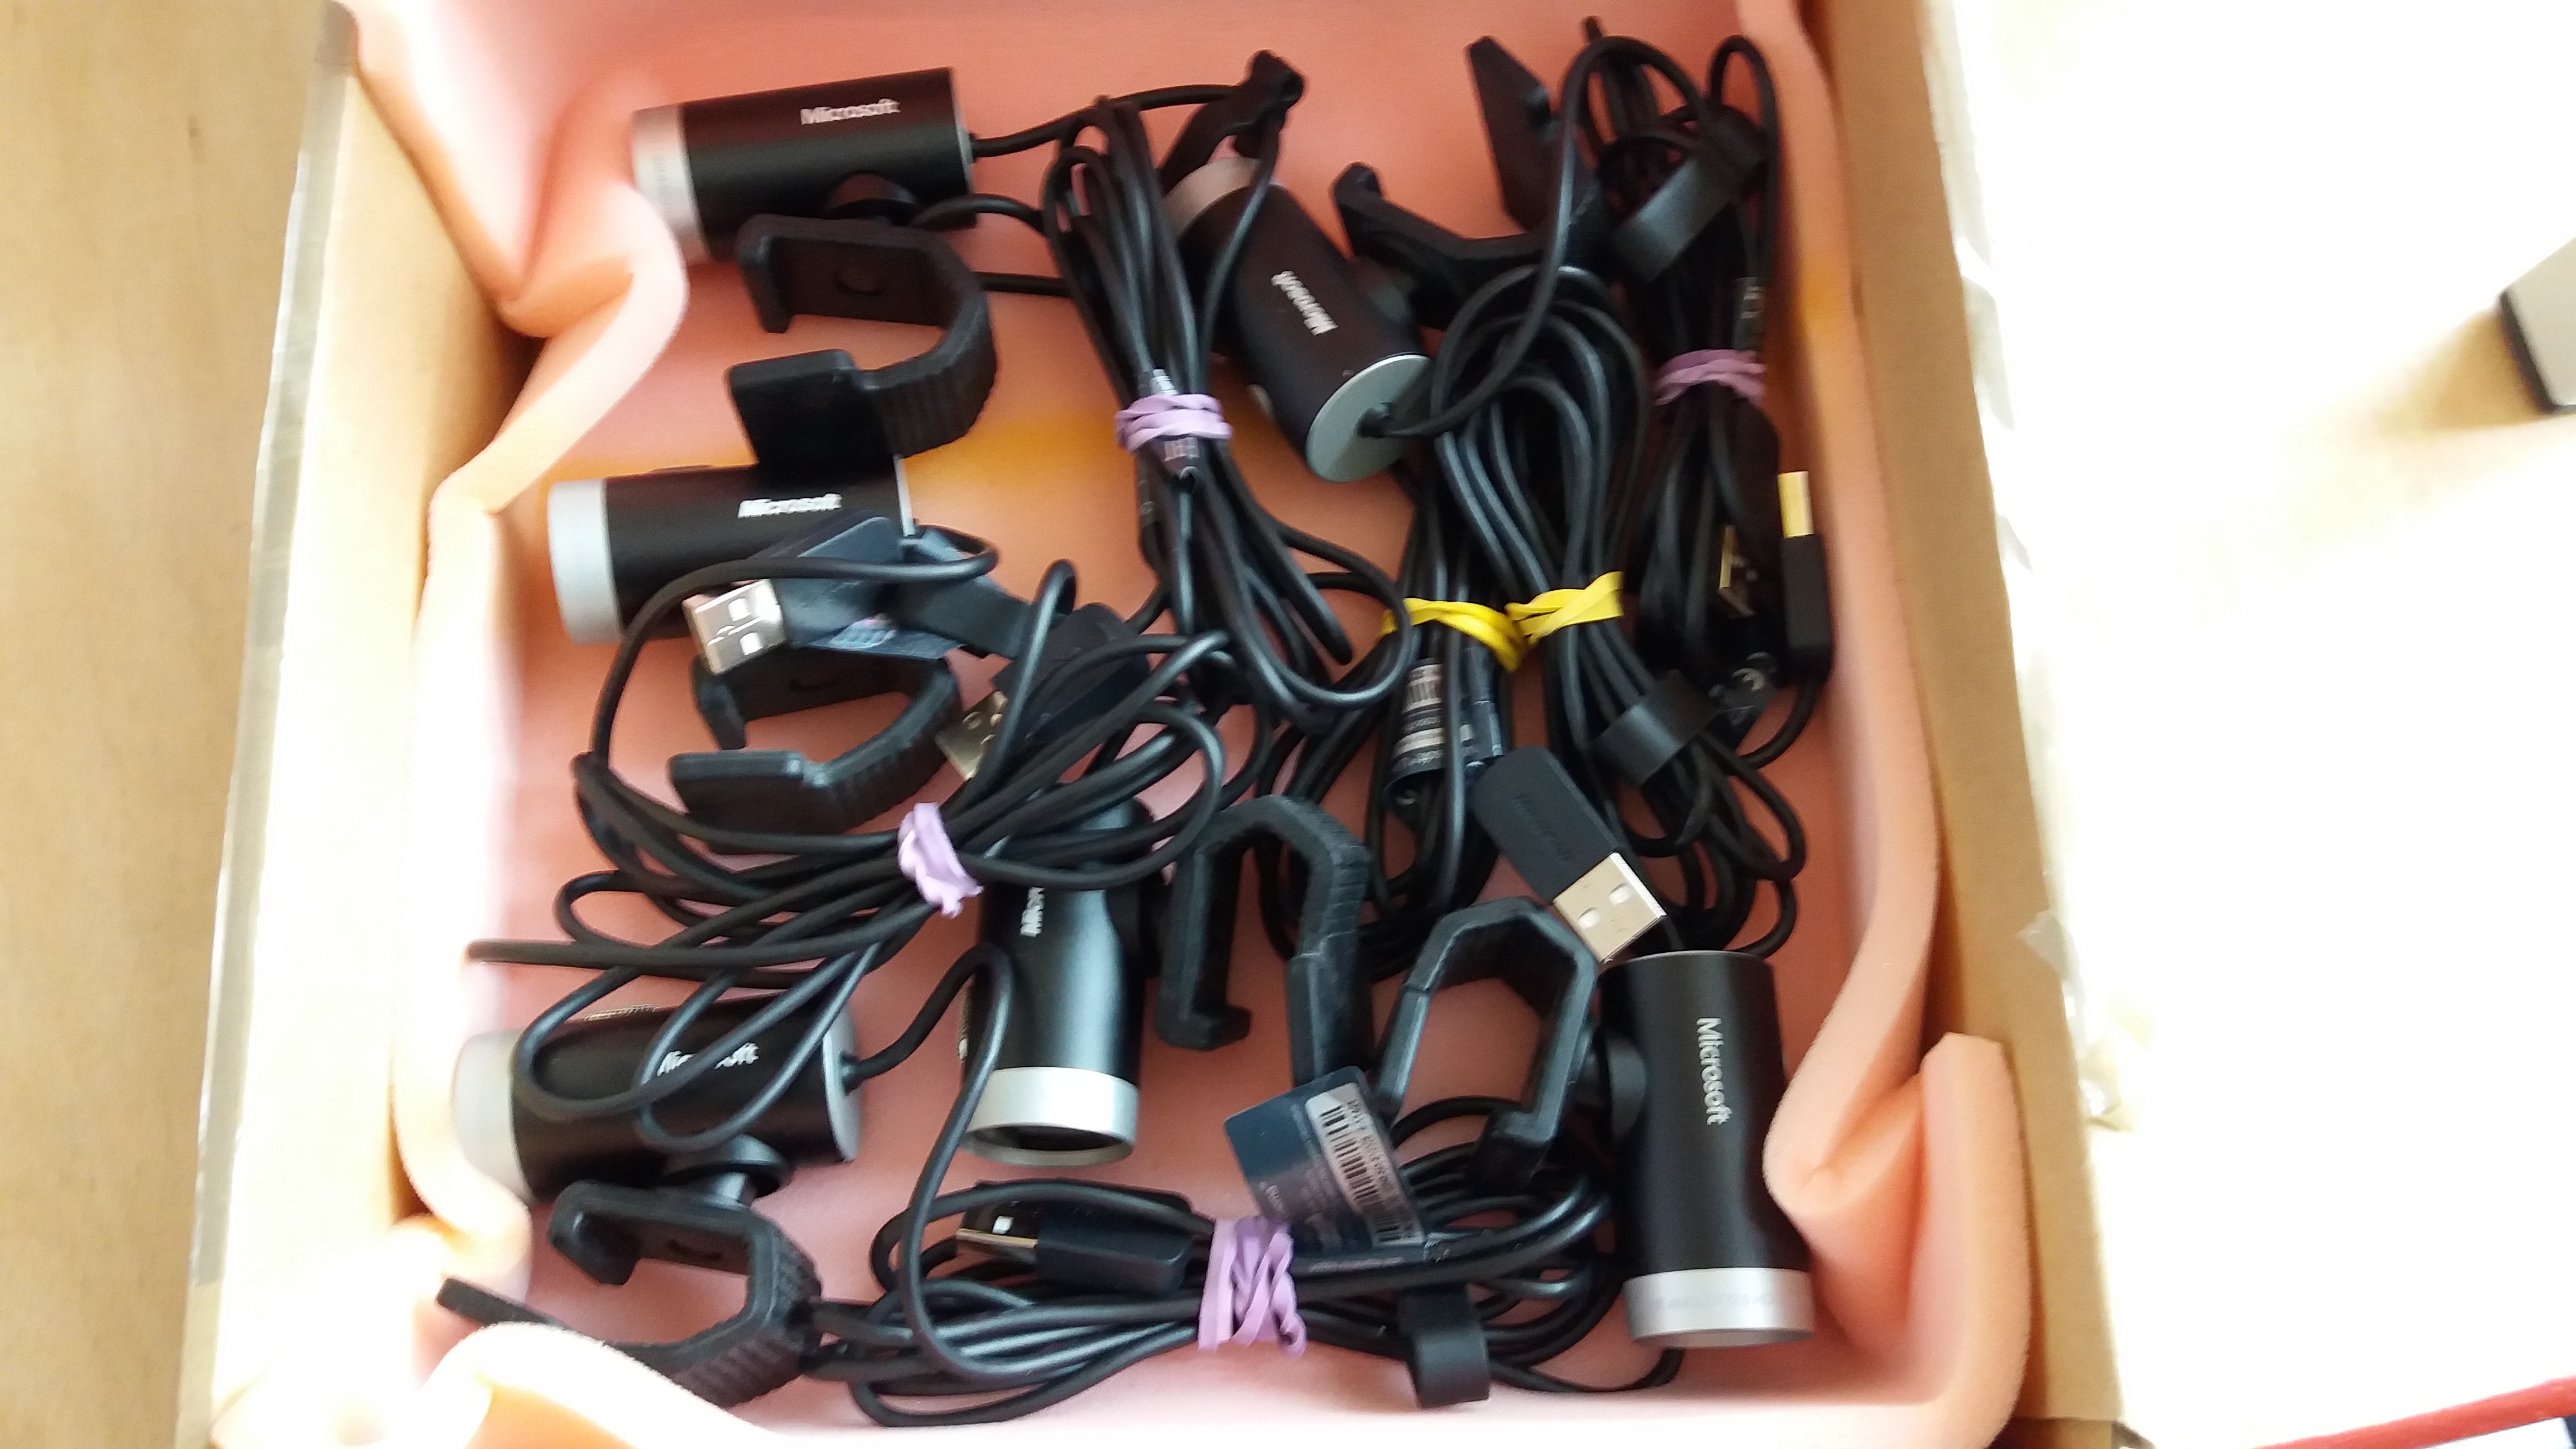
1 x Microsoft Lifecam Cinema (around £10 on eBay)
1 x Micro Philips Screwdriver
1 x Small Philips Screwdriver
1 x Thin Plastic Levering Tool
1 x Junior Hacksaw
(Optional)
3D Printer Access
1 x Soldering Iron
1 x Replacement USB plug (£2.50 for 10 on Amazon)
Solder
Glue
Starting With the Ikea Lamp
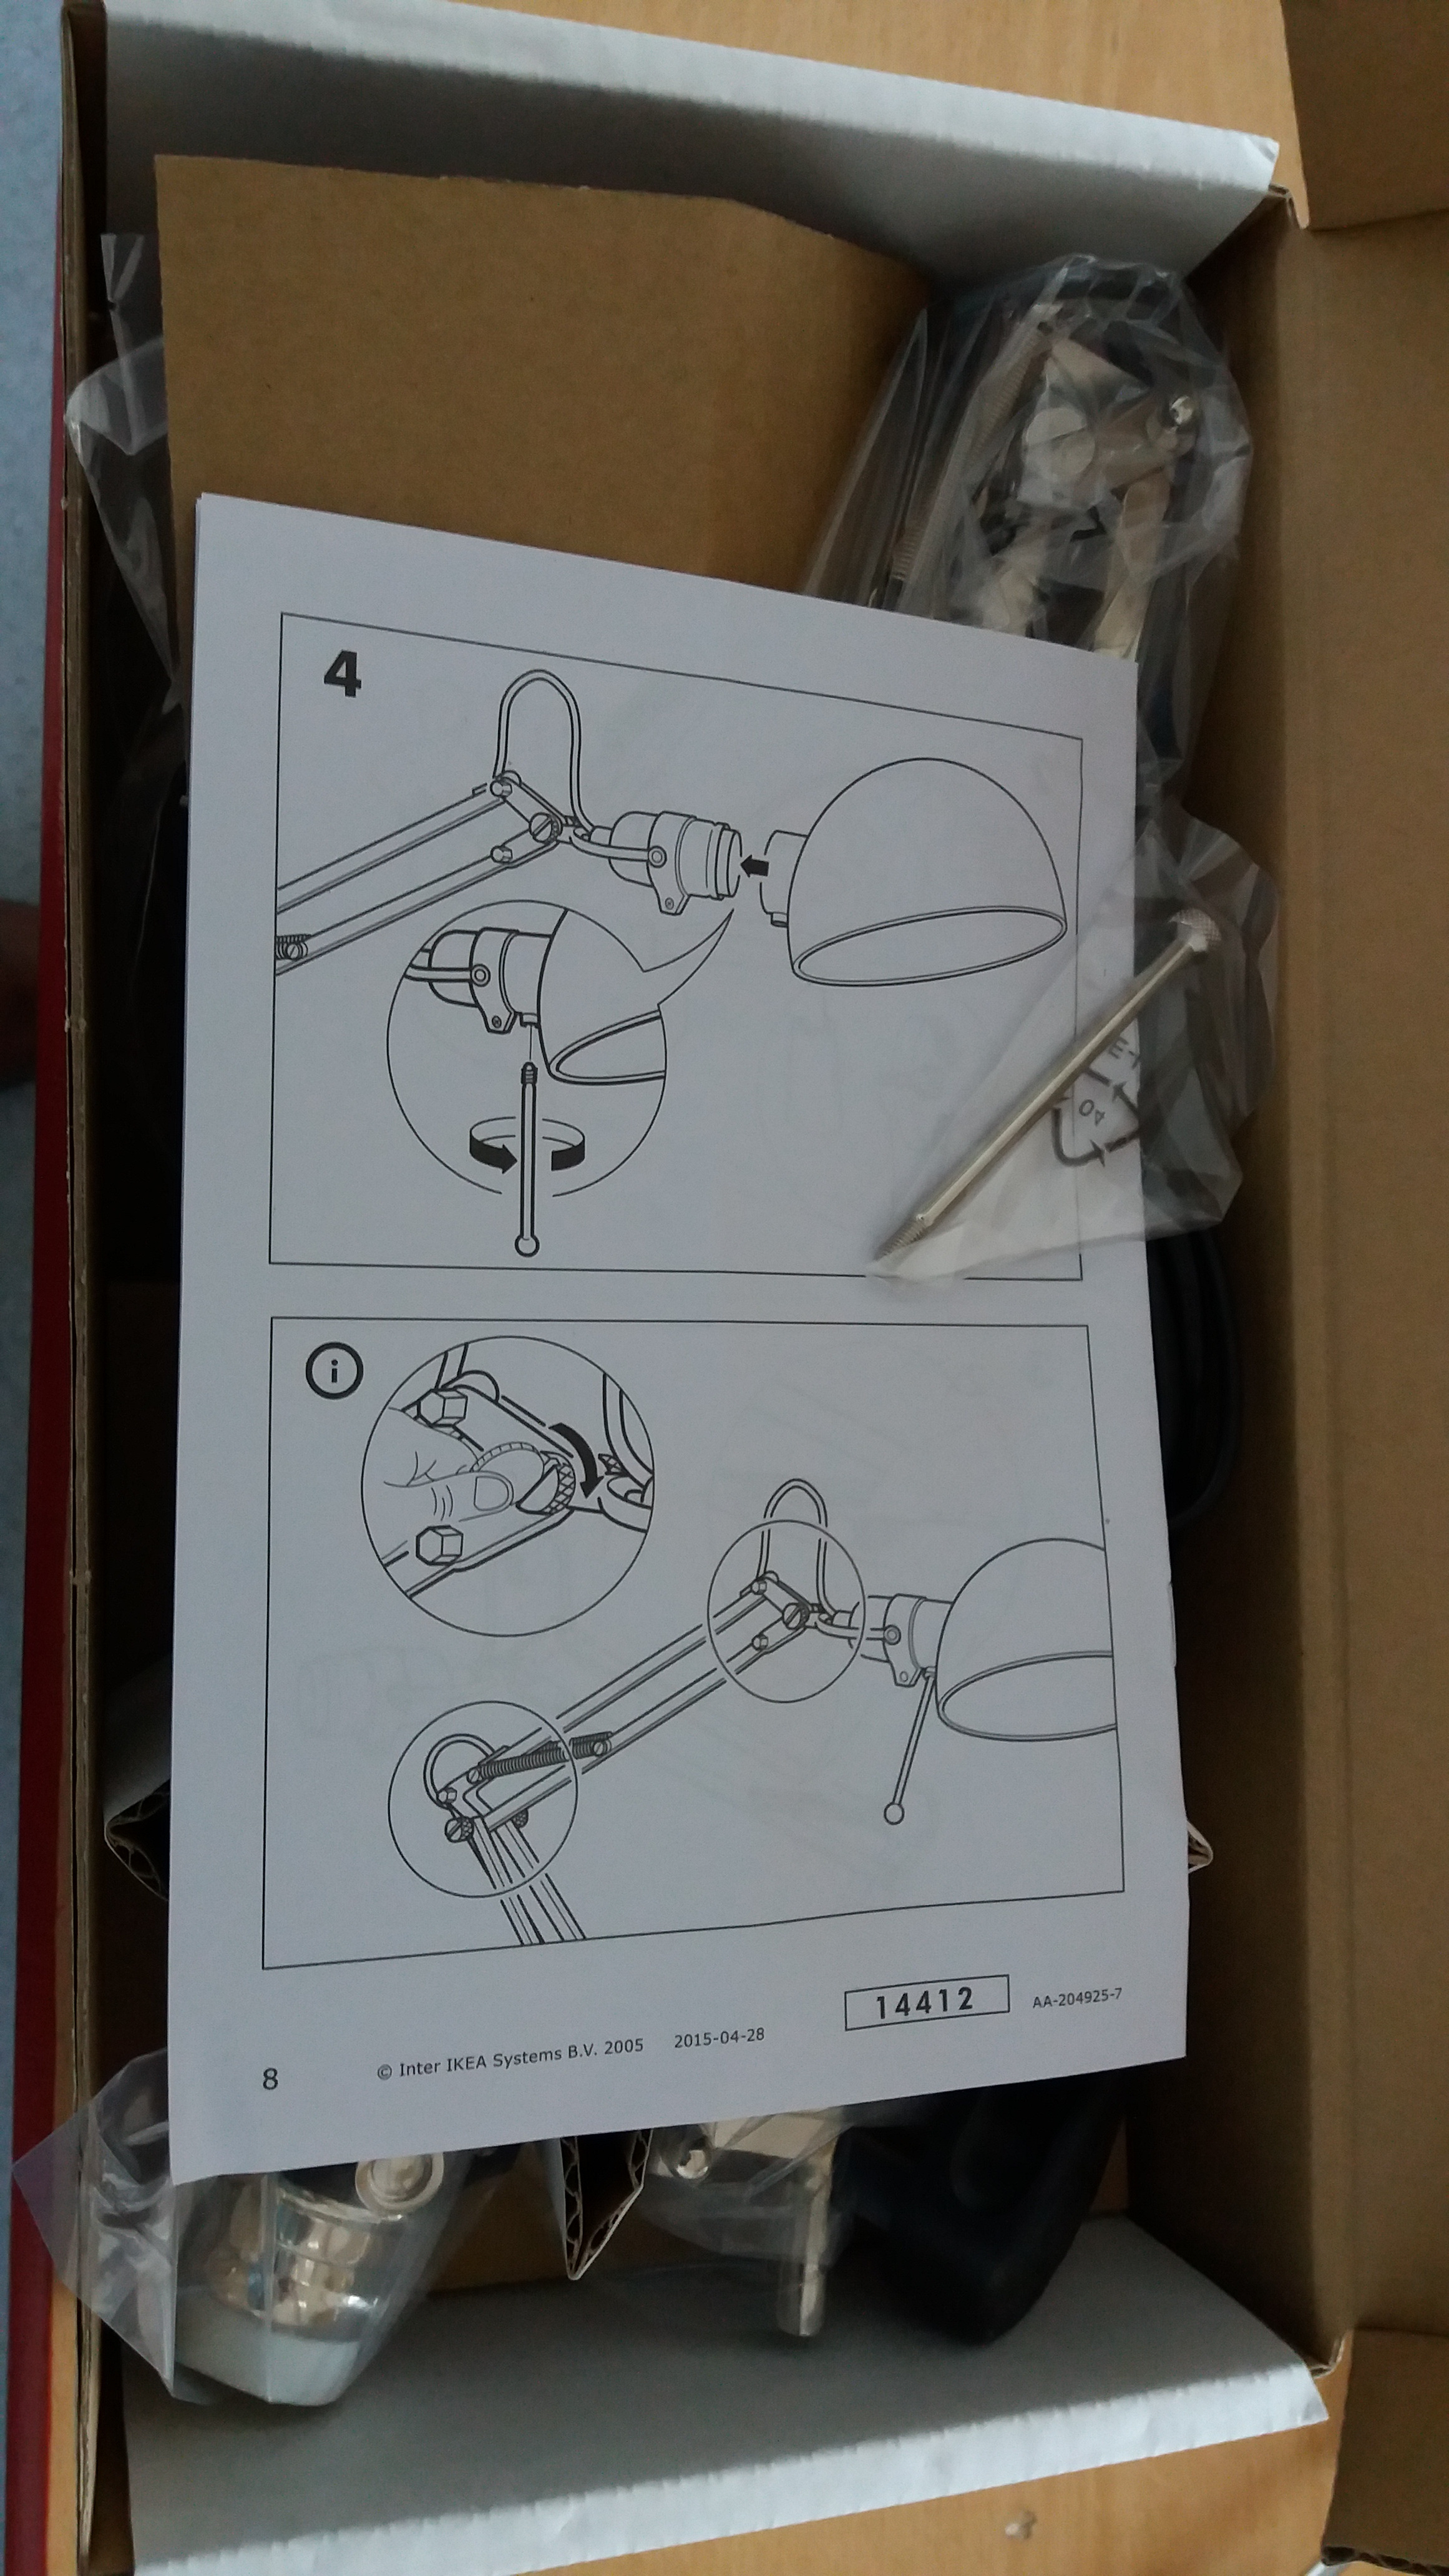
The lamp arrives in a box flat packed
Dispose of Curved Lamp Casing and Movement Bar
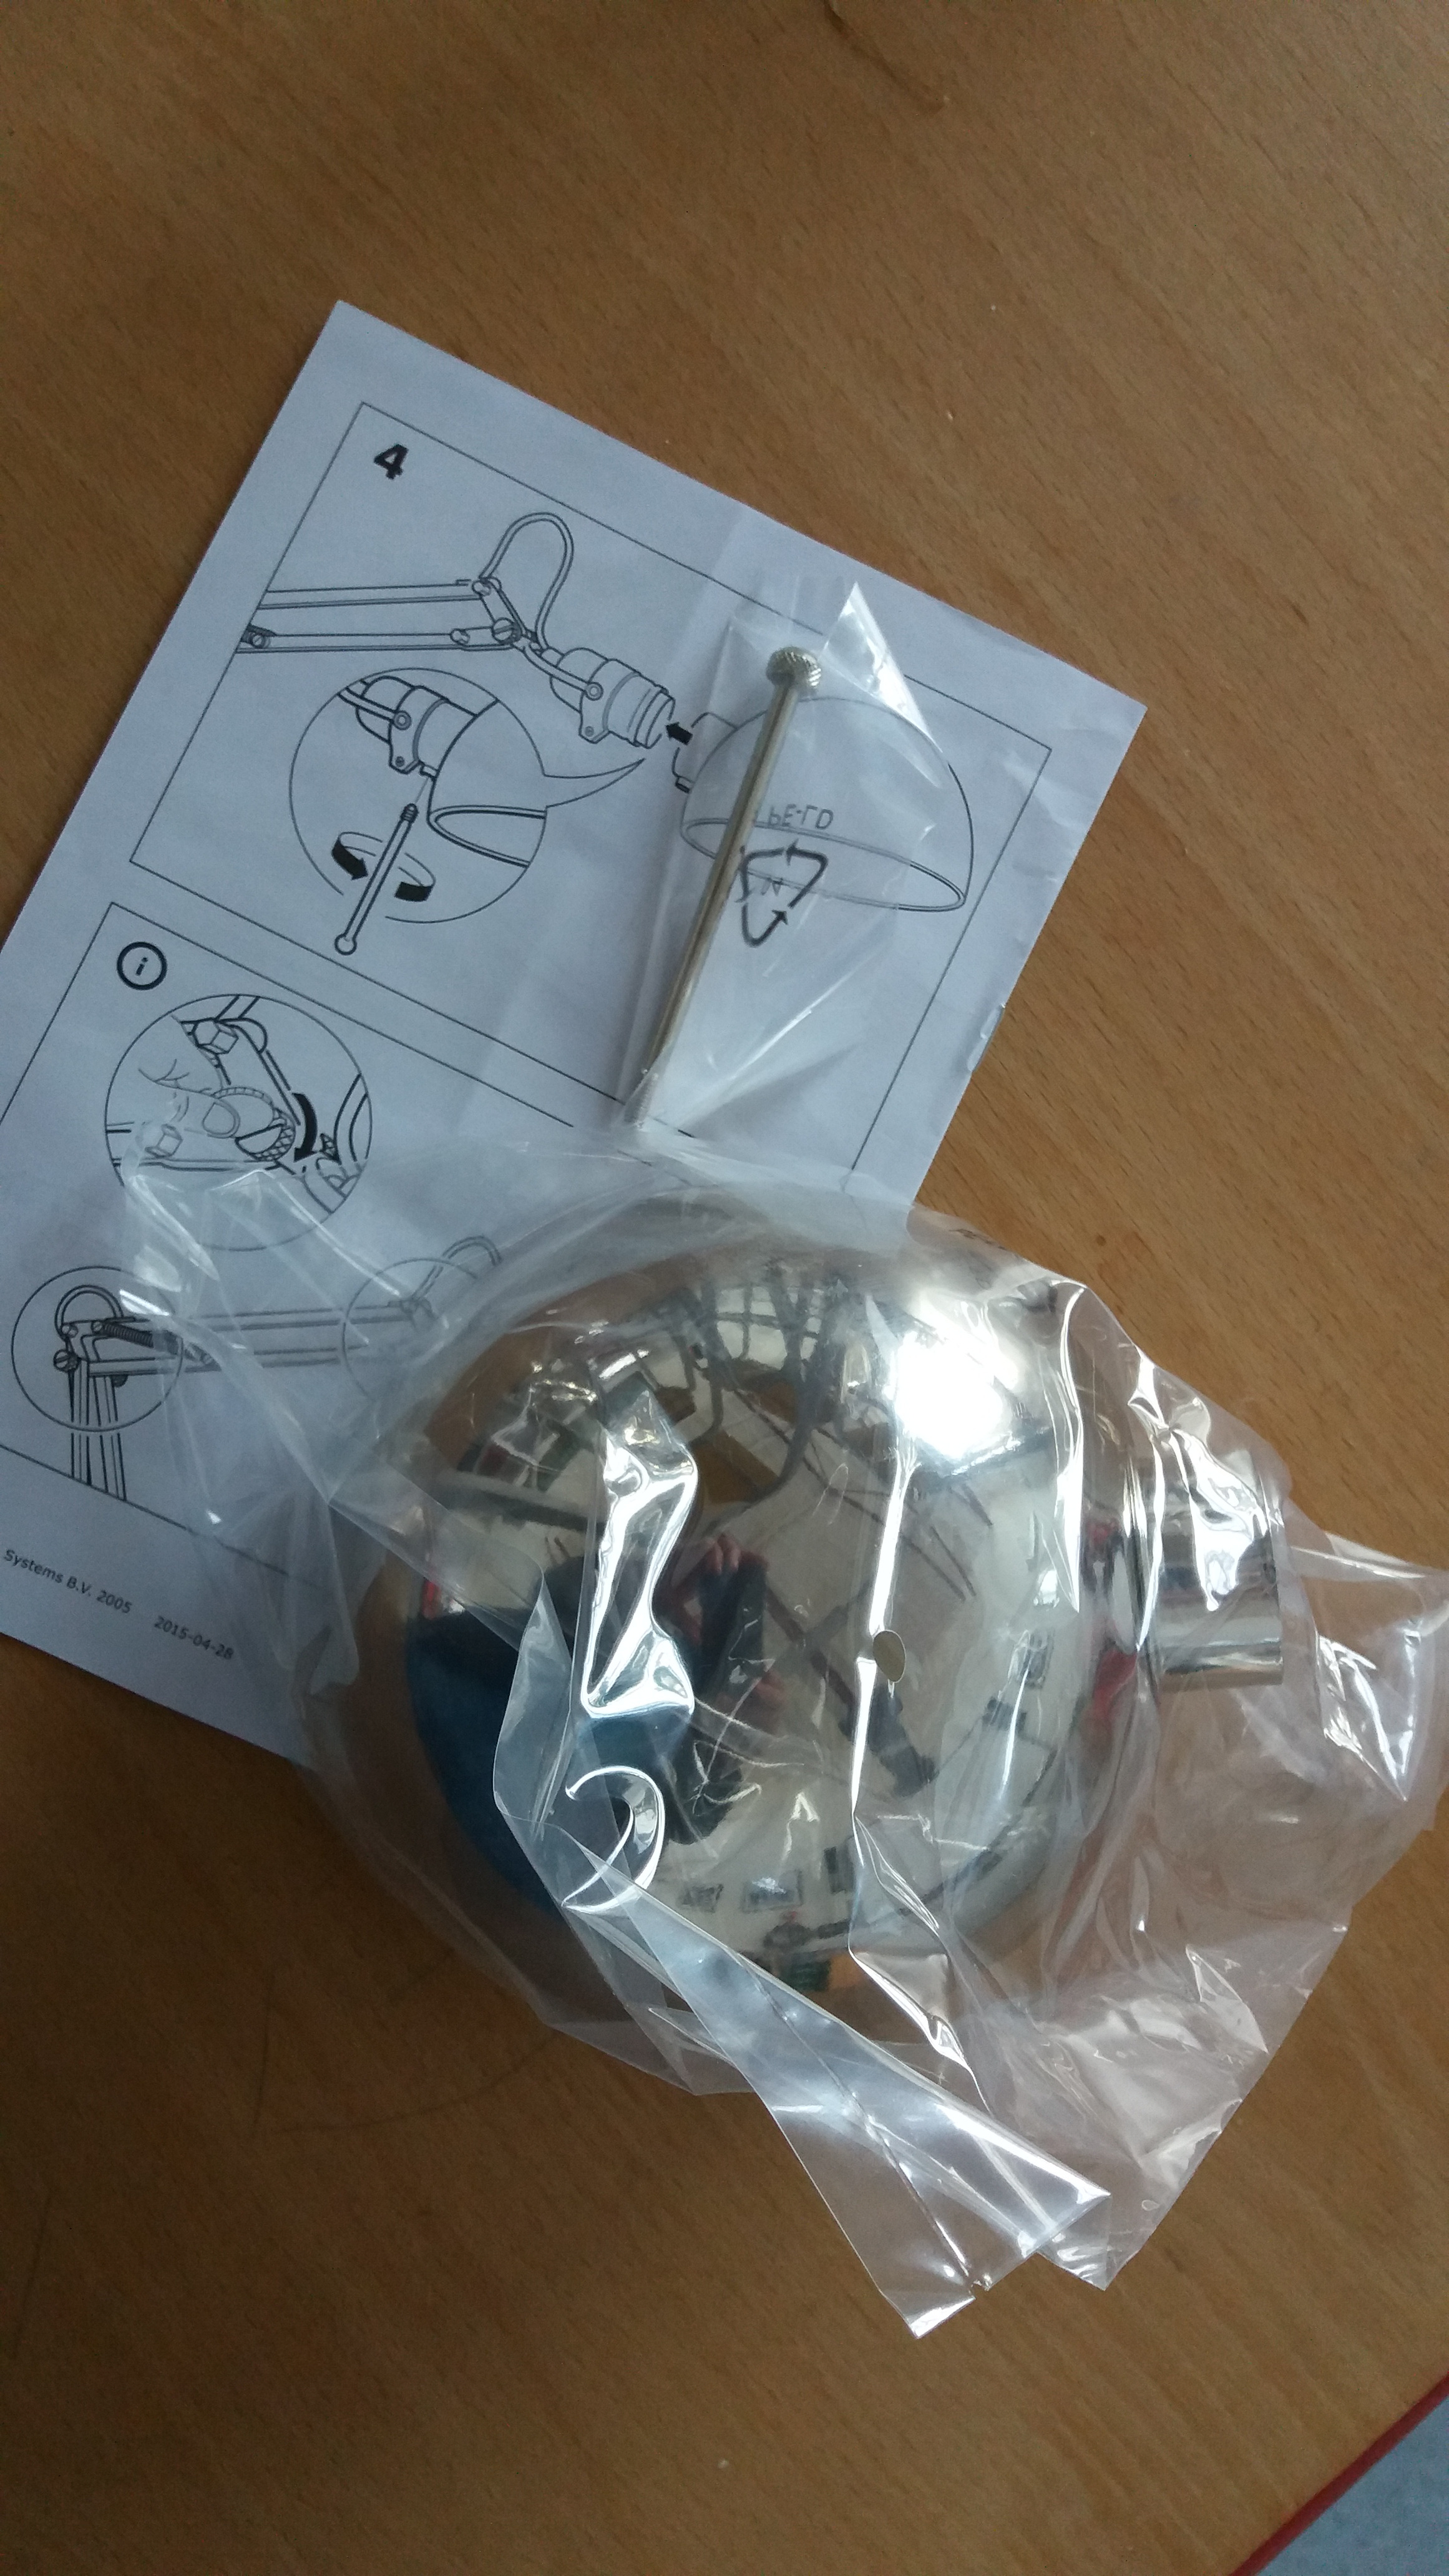
These two parts are not need and can be thrown away or reused in a different project.
Cut Power Cable From the Lamp Holder and Pull It Out of the Metal Framework
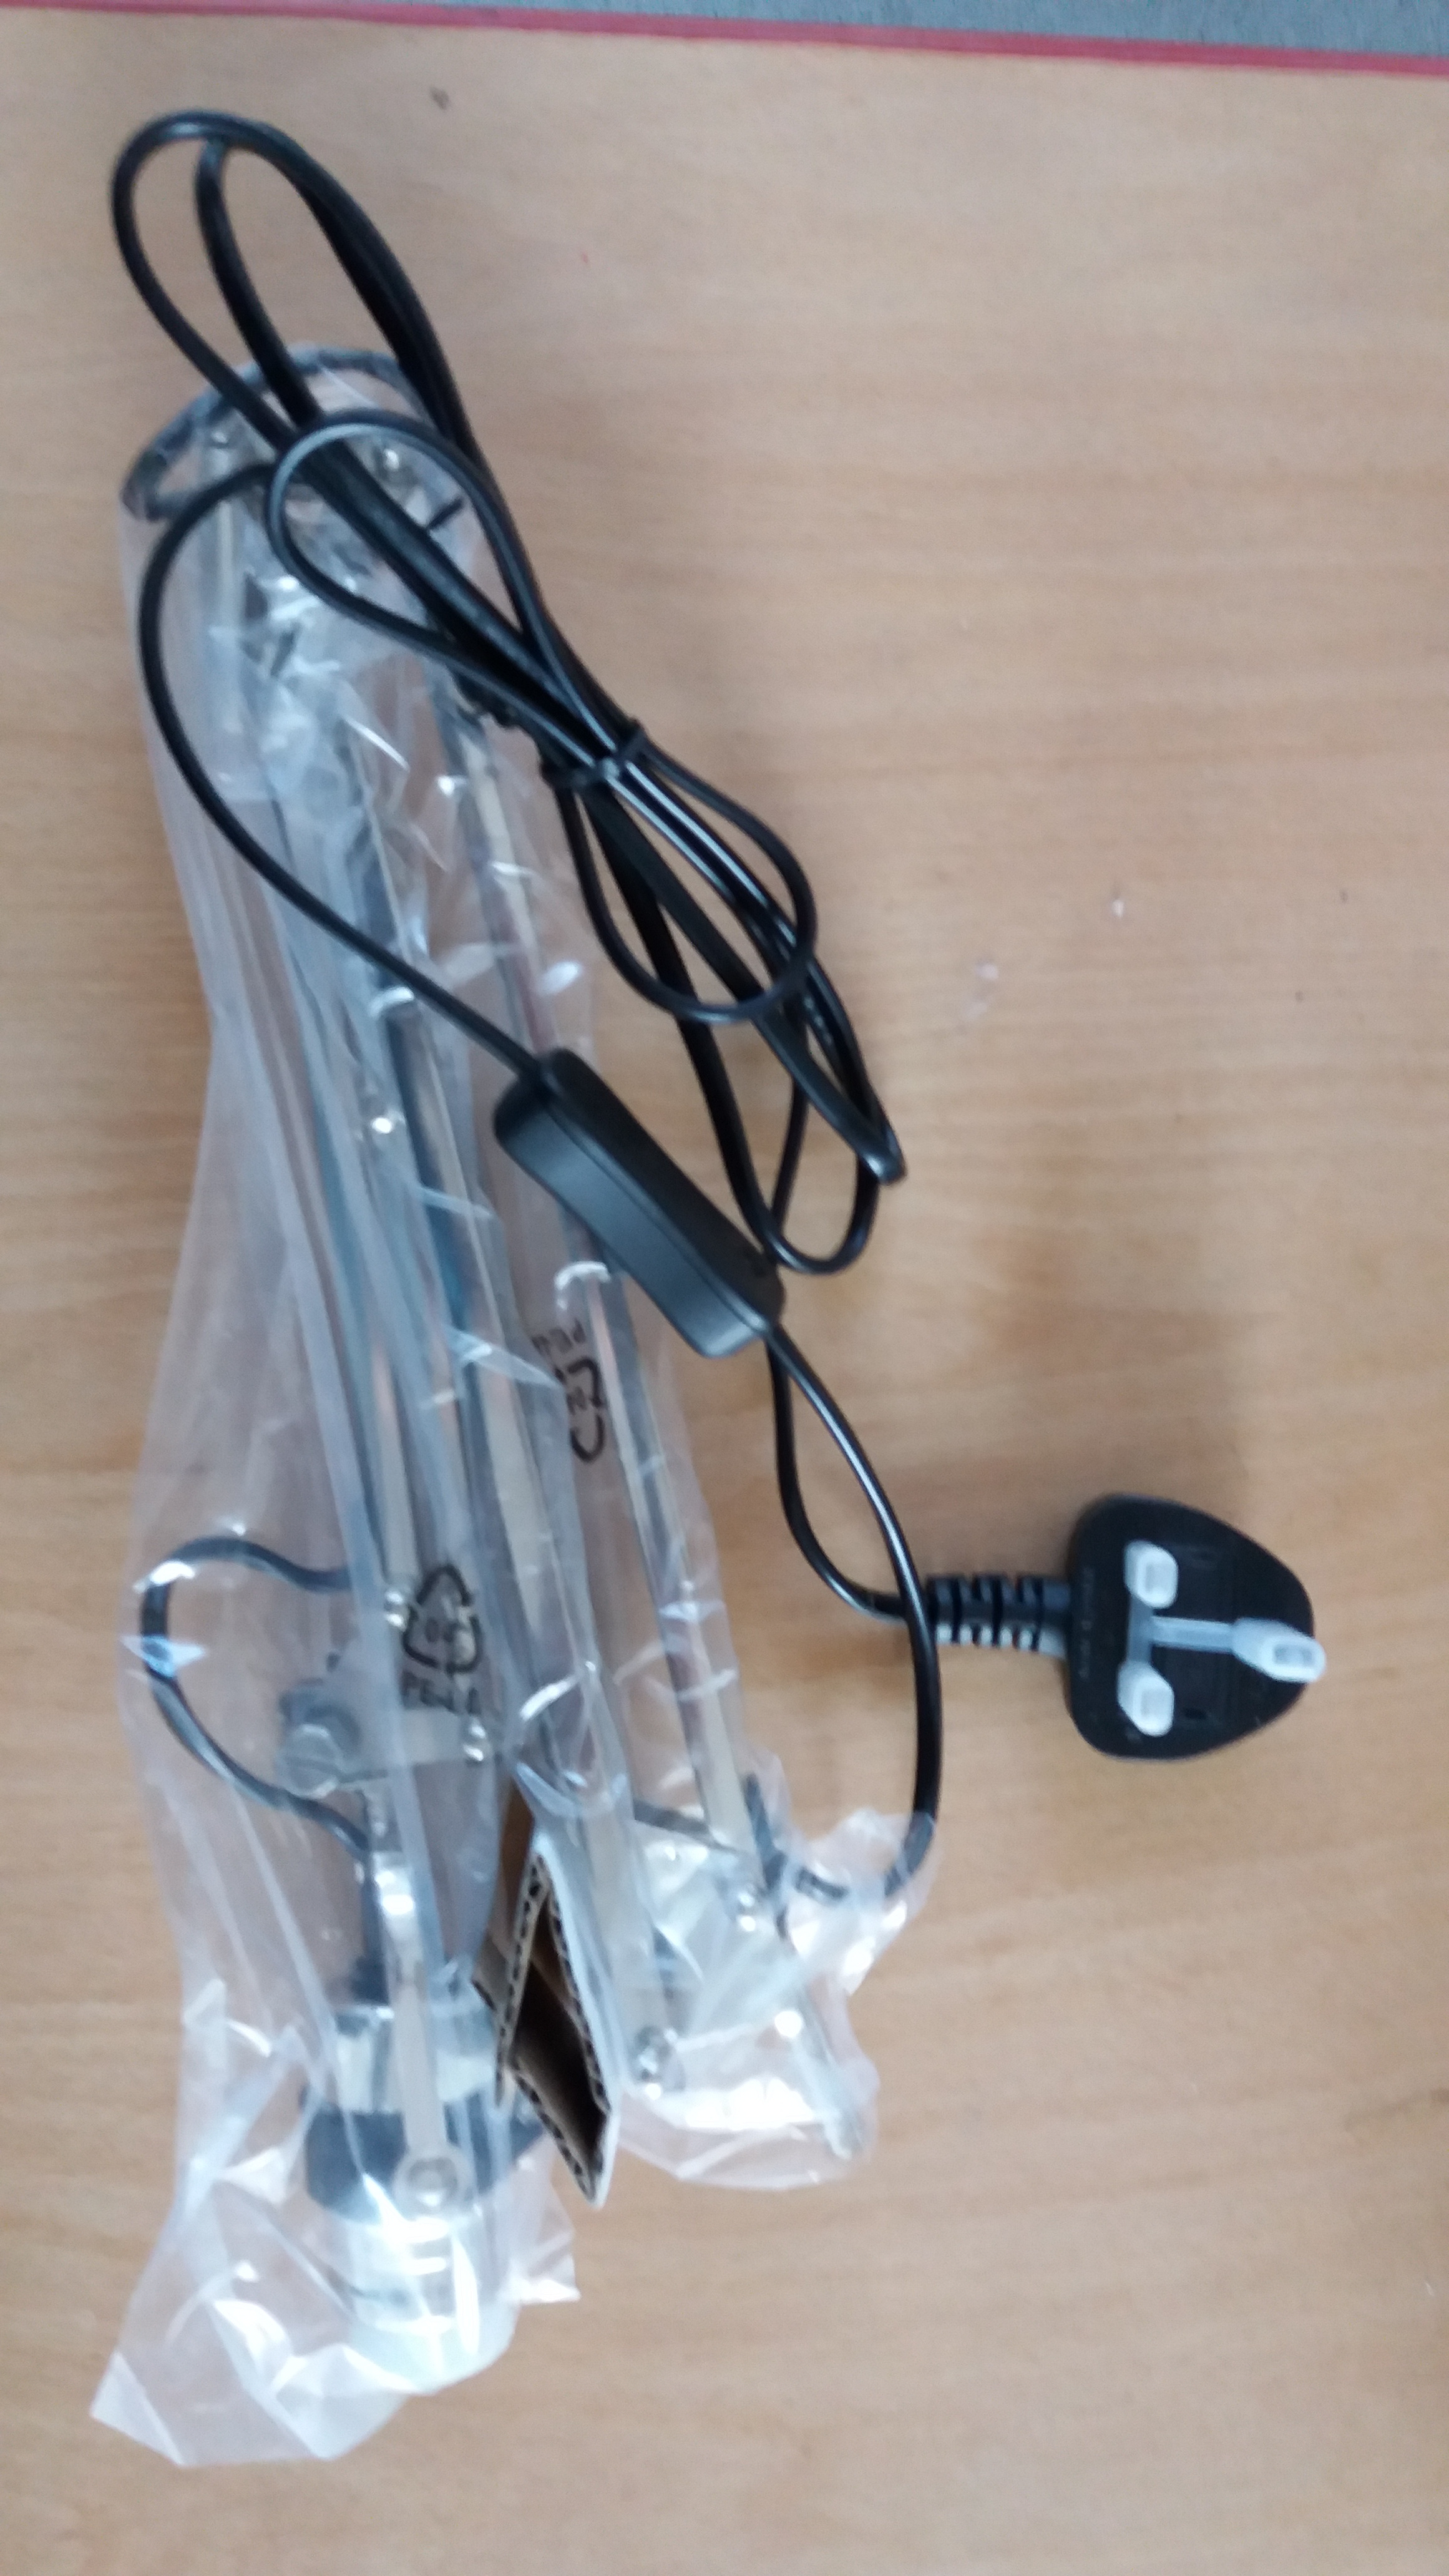
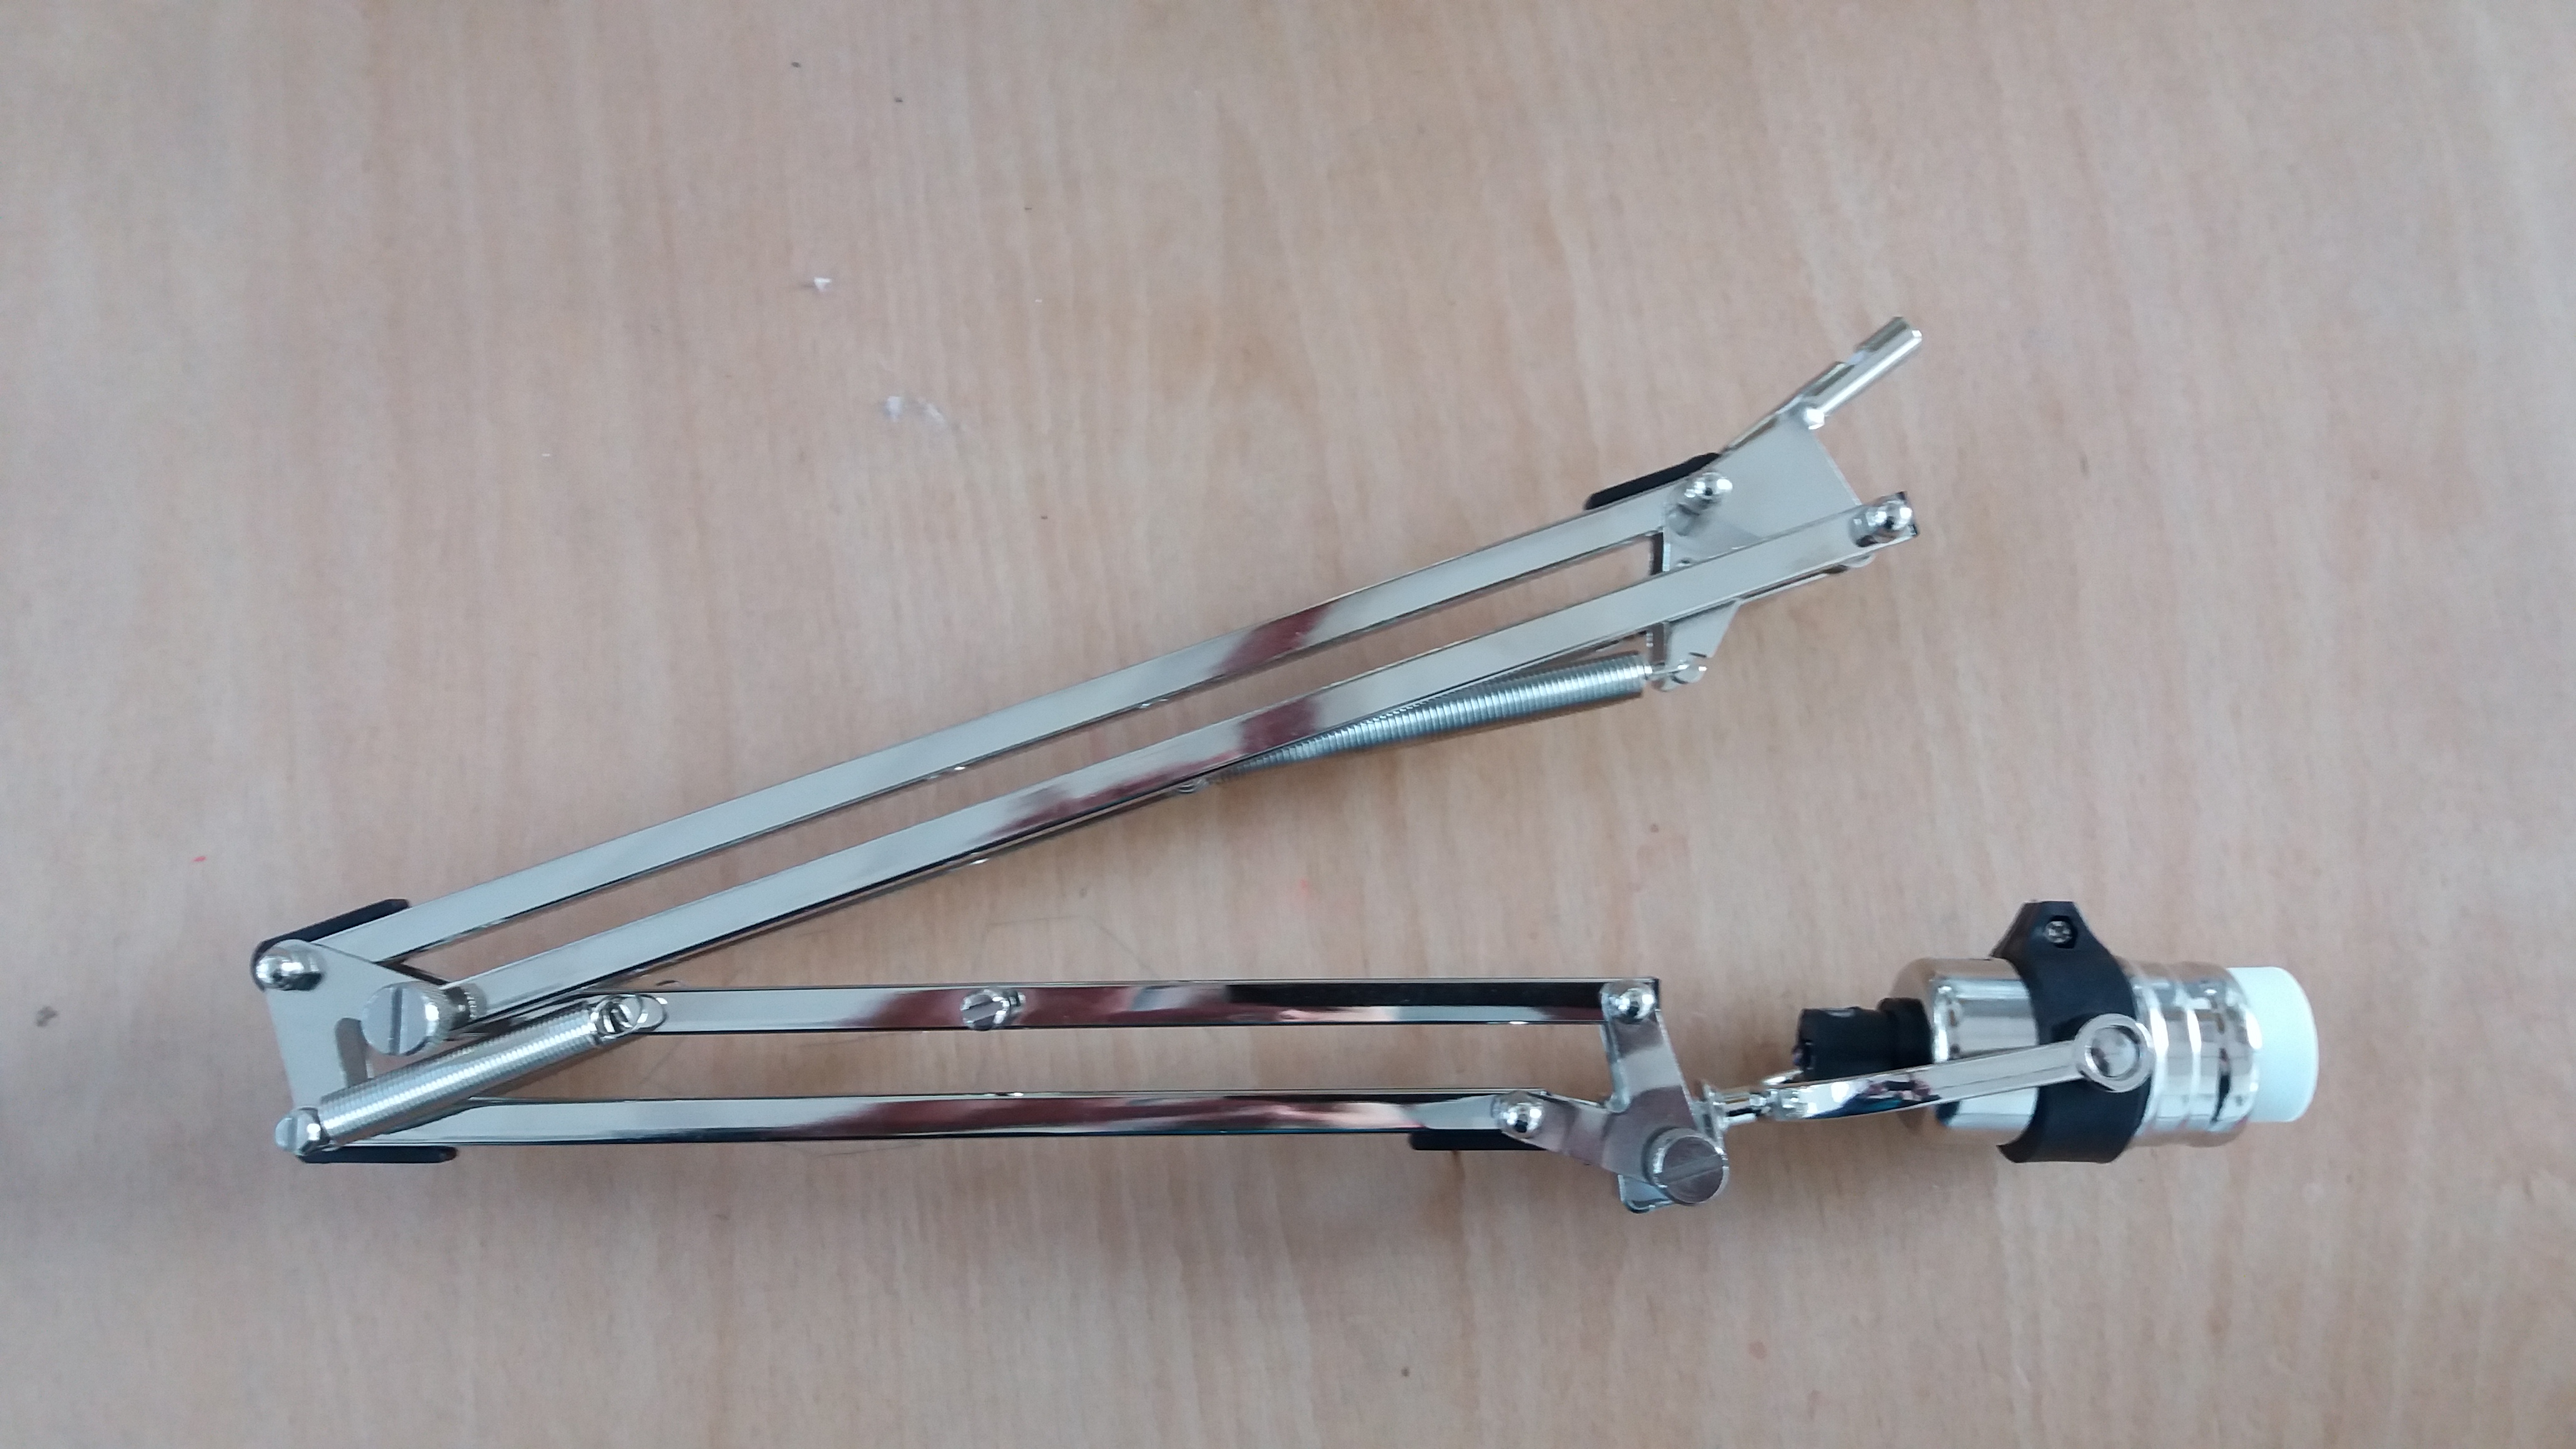
Cut the power cable just behind the lamp holder and pull it back through the upper and lower arms of the framework. The power cable can be thrown away or reused in later projects as it is quite useful with the integrated switch.
NOTE:
As Ttraband mentions in the comments it would be wiser to delay this step and use the cut power cable to pull the camera cord through later if you are going down the soldering route.
Undo Pinch Screw and Remove Lamp Holder
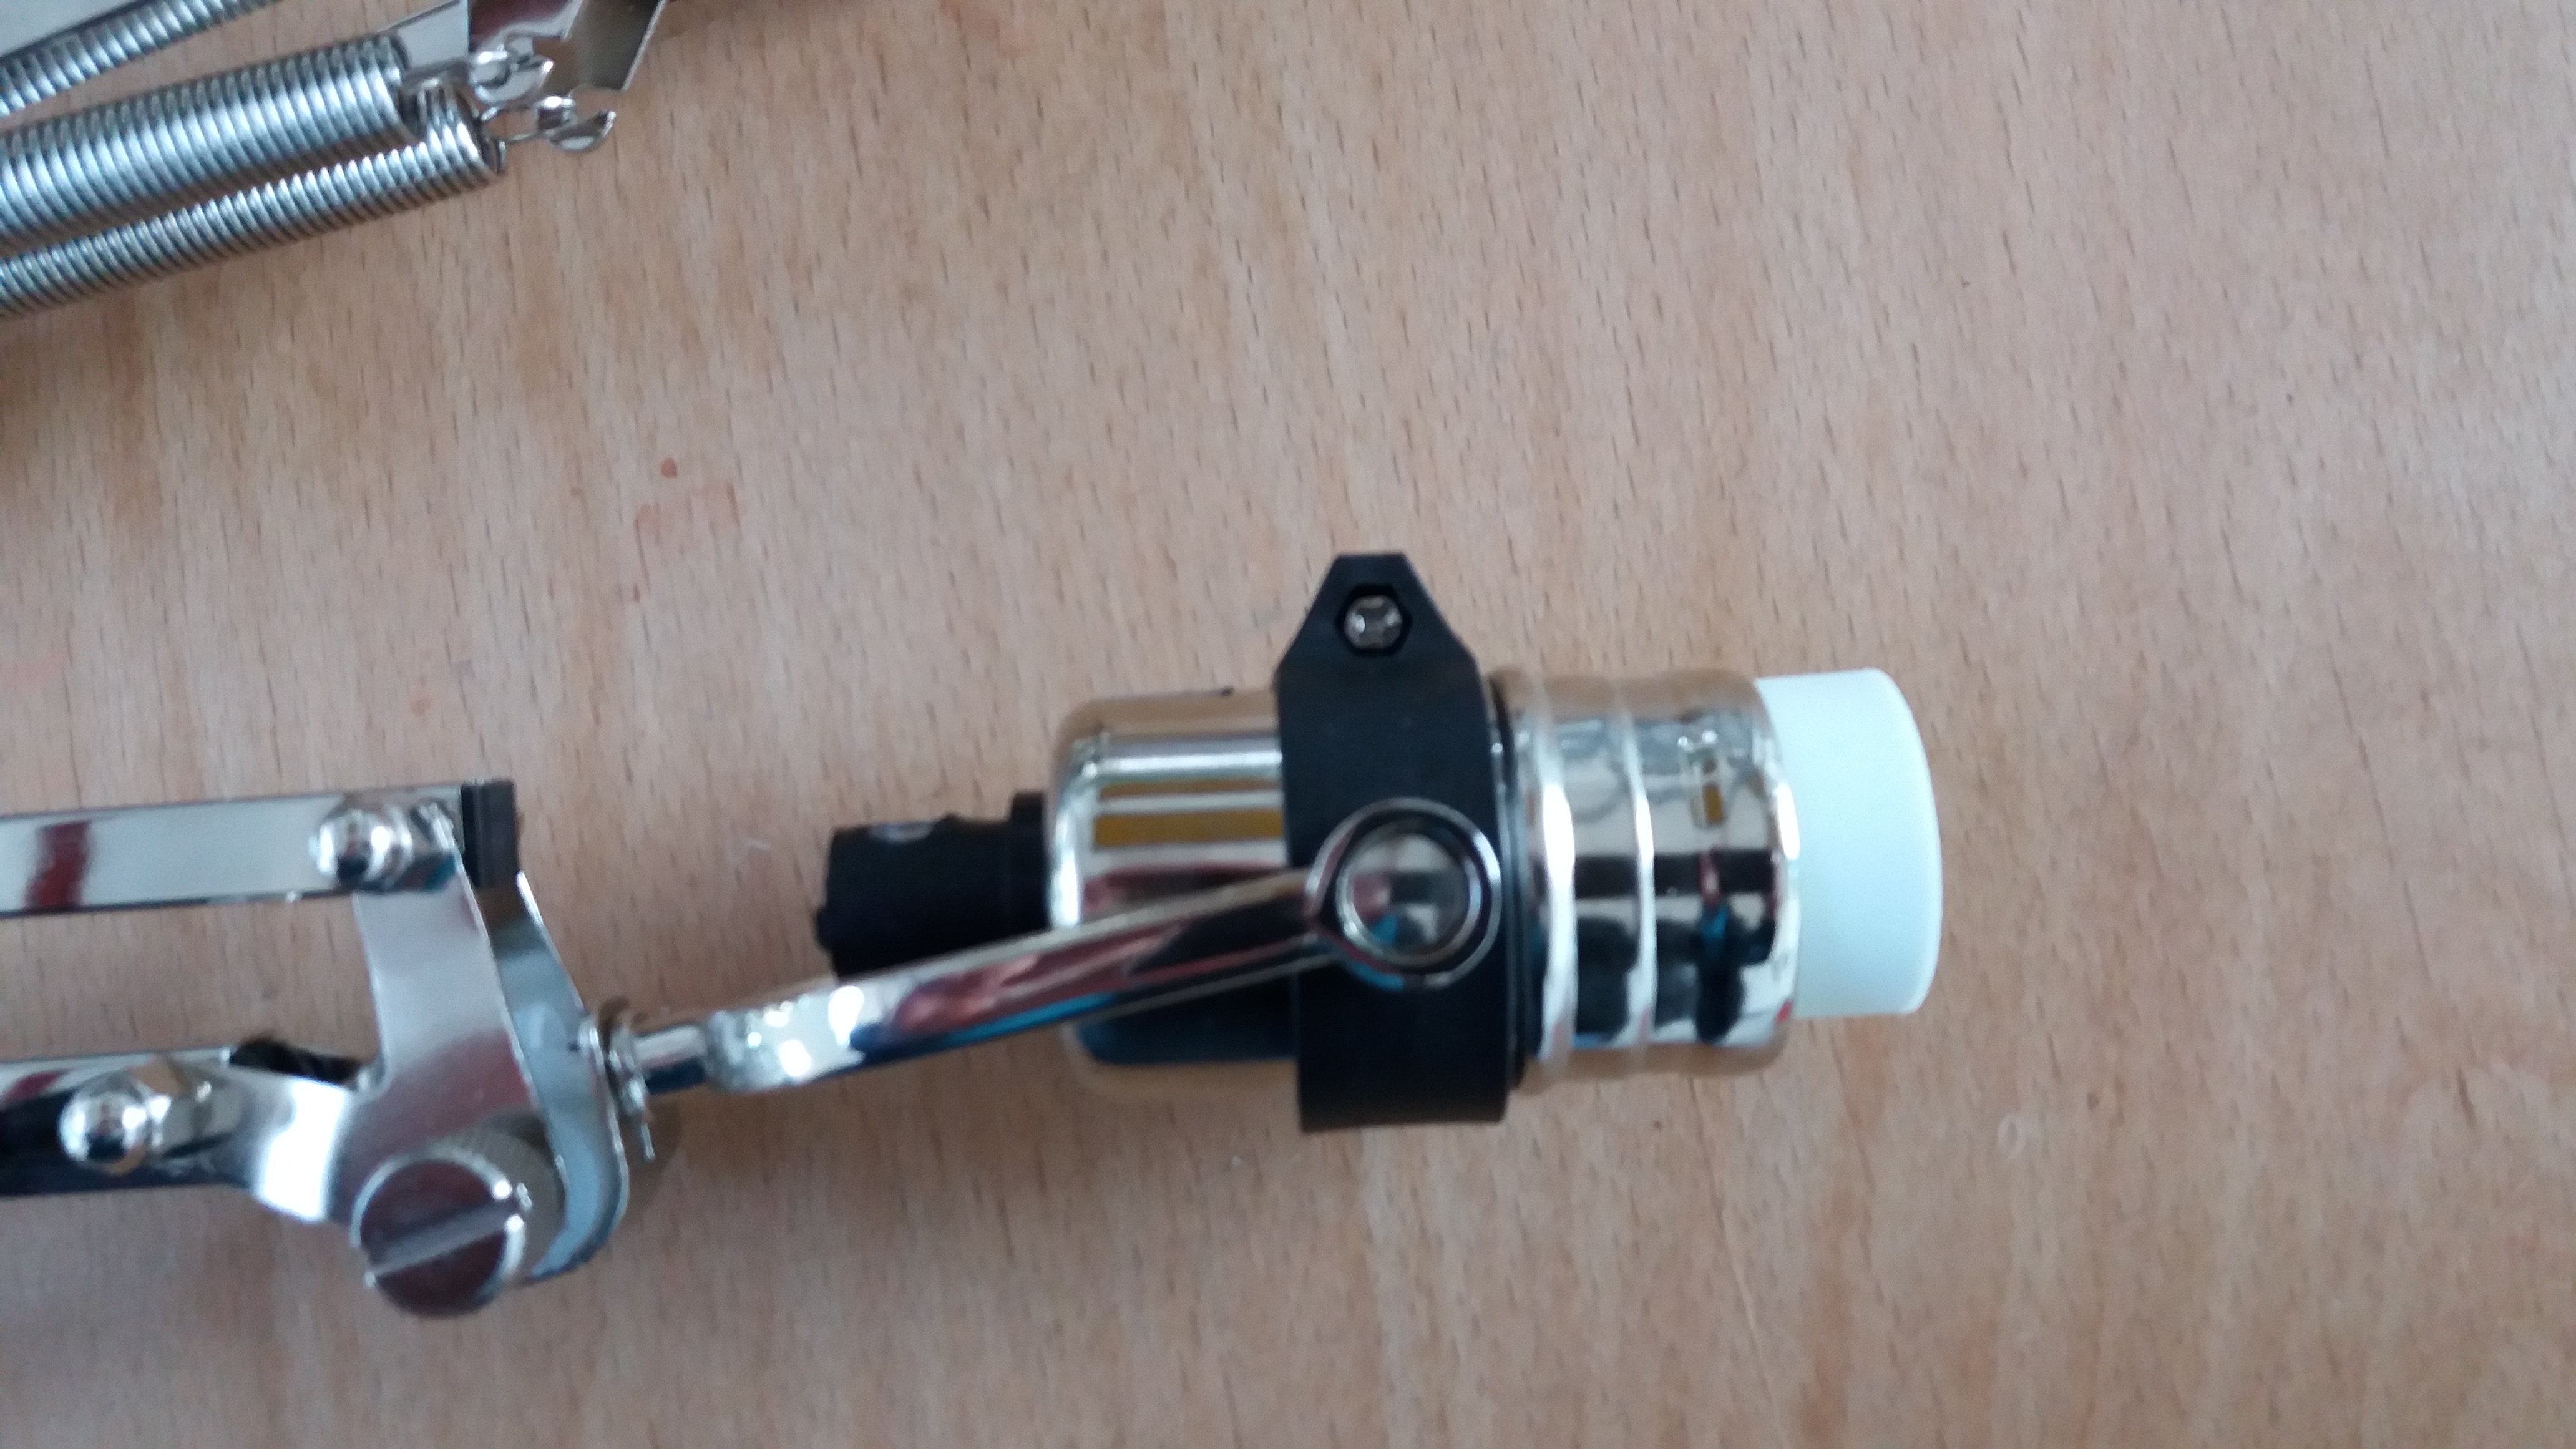
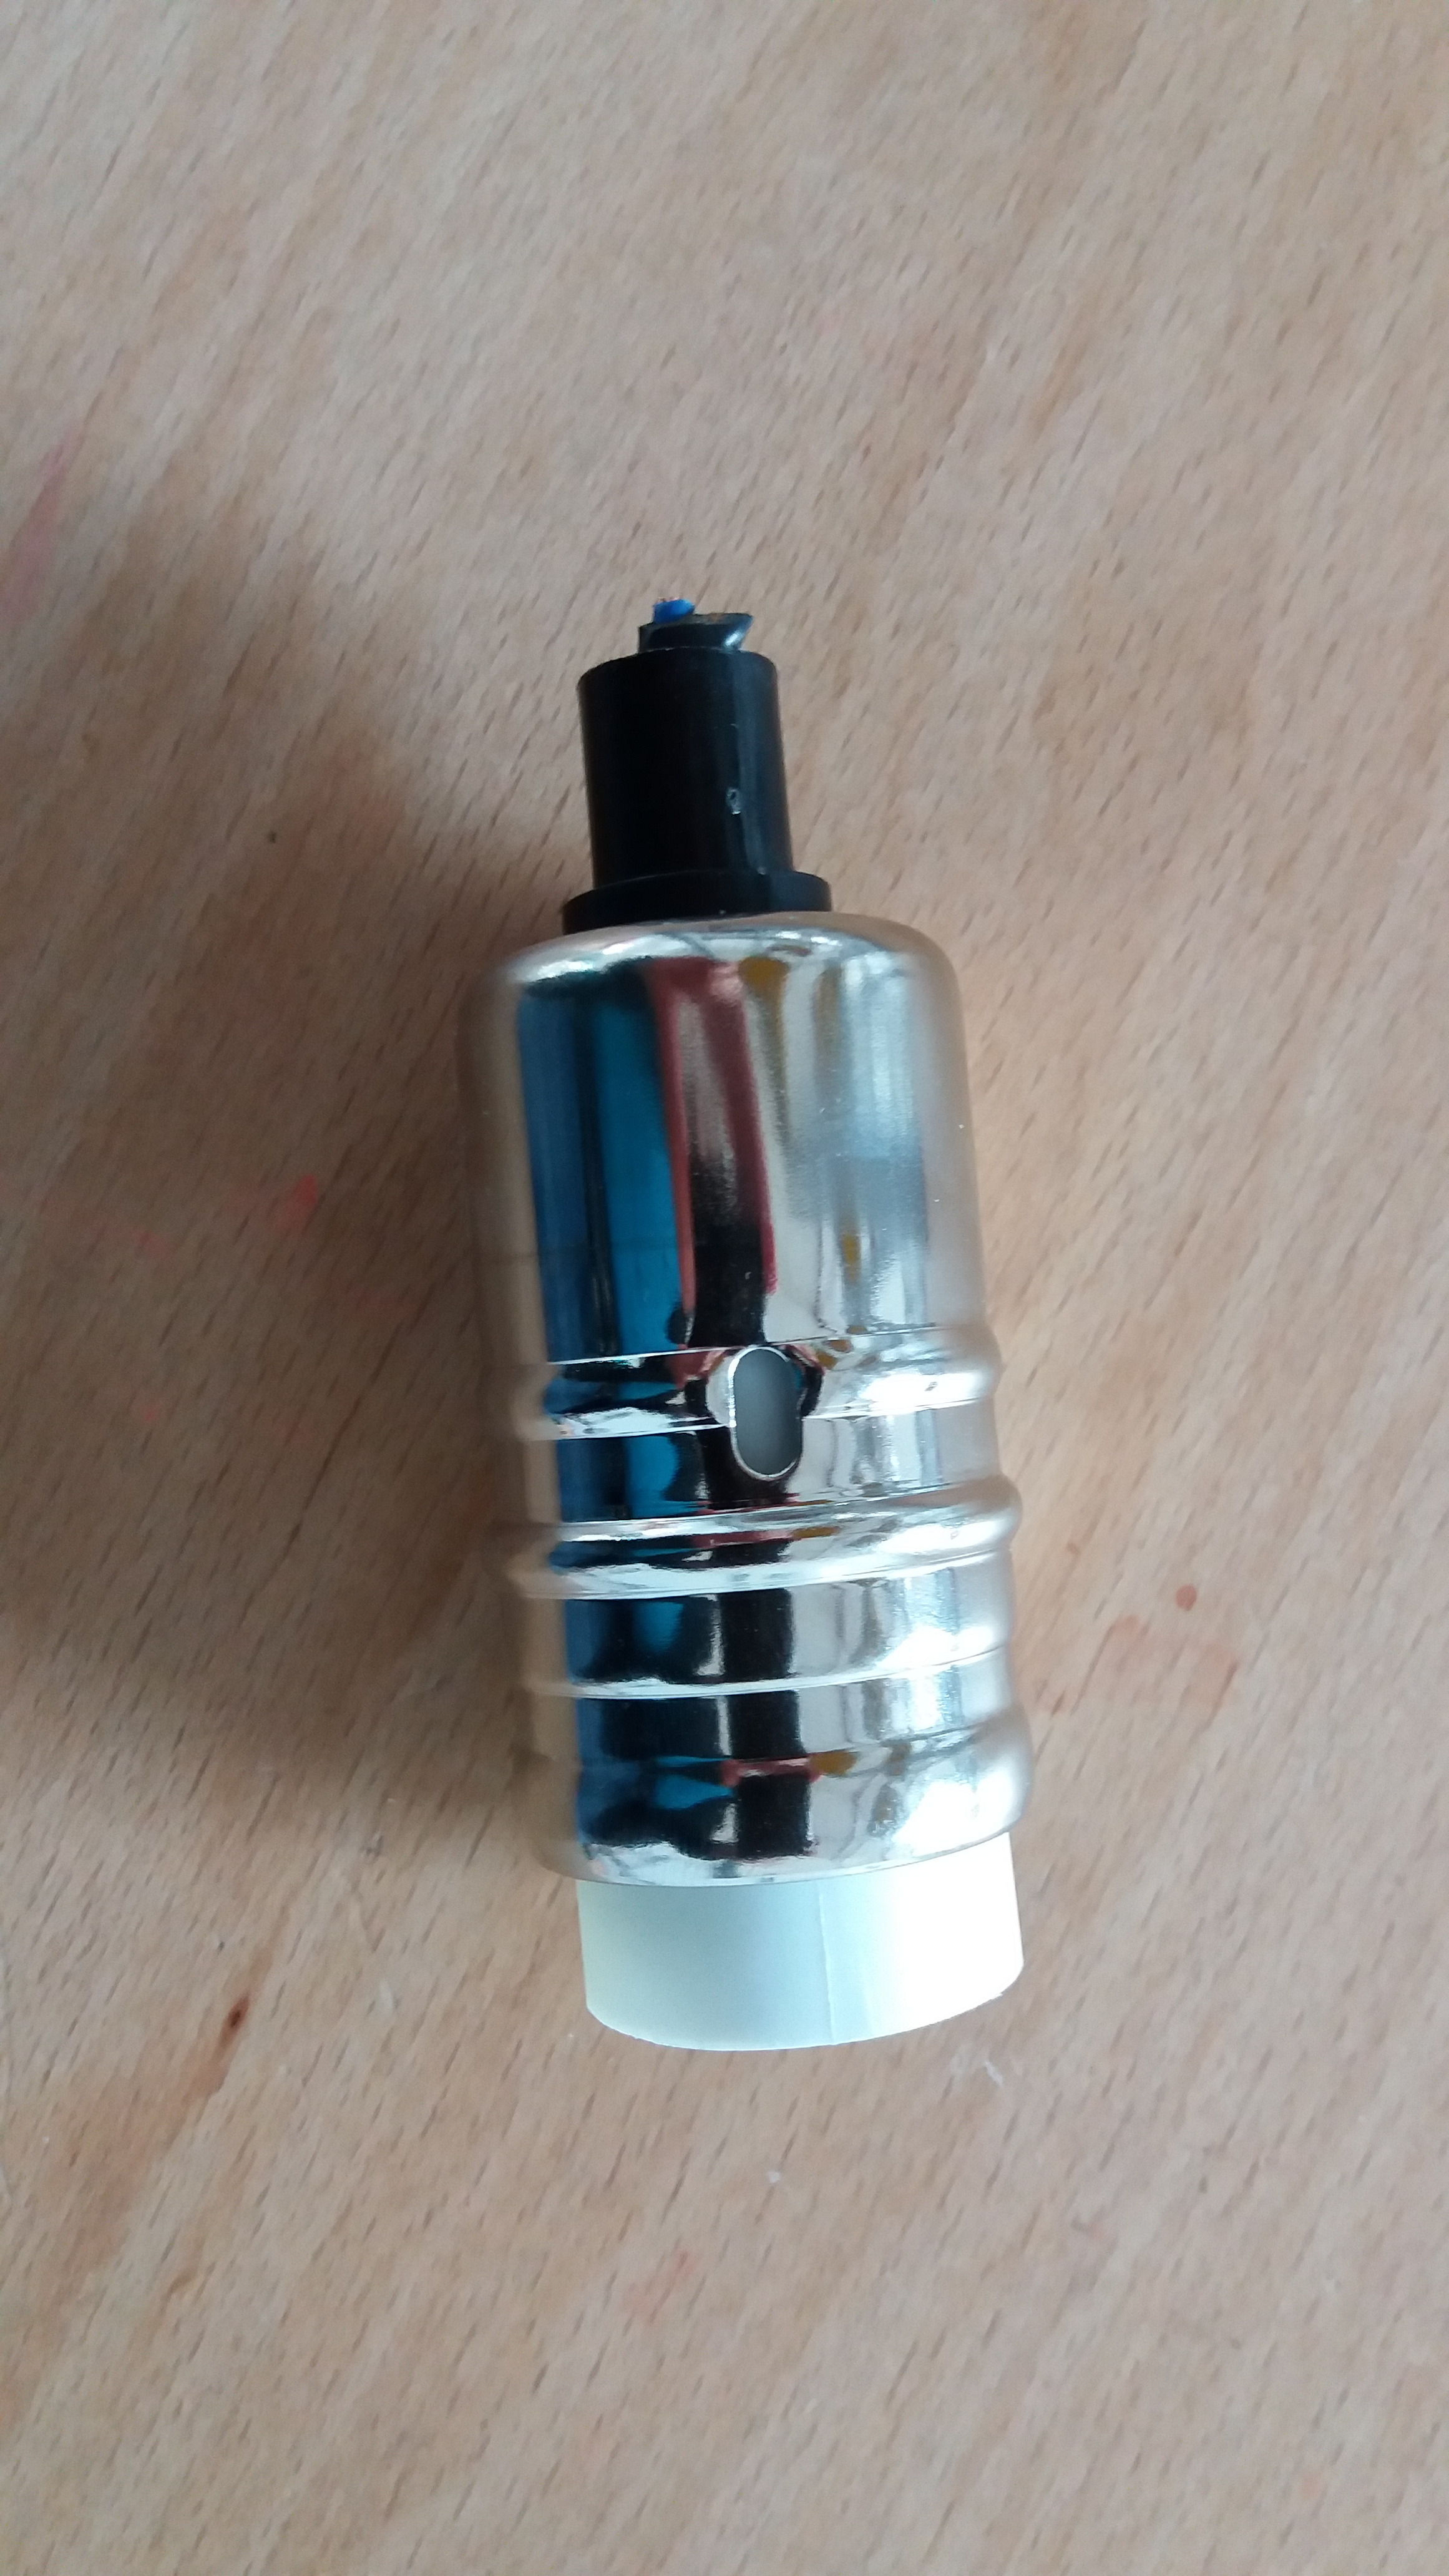
Next unscrew the philips headed screw that pinches the black collar around the lamp holder. Then remove the lamp holder which can be disposed of or kept for other uses.
Now Assemble the Angle Poise Framework Into the Metal Base
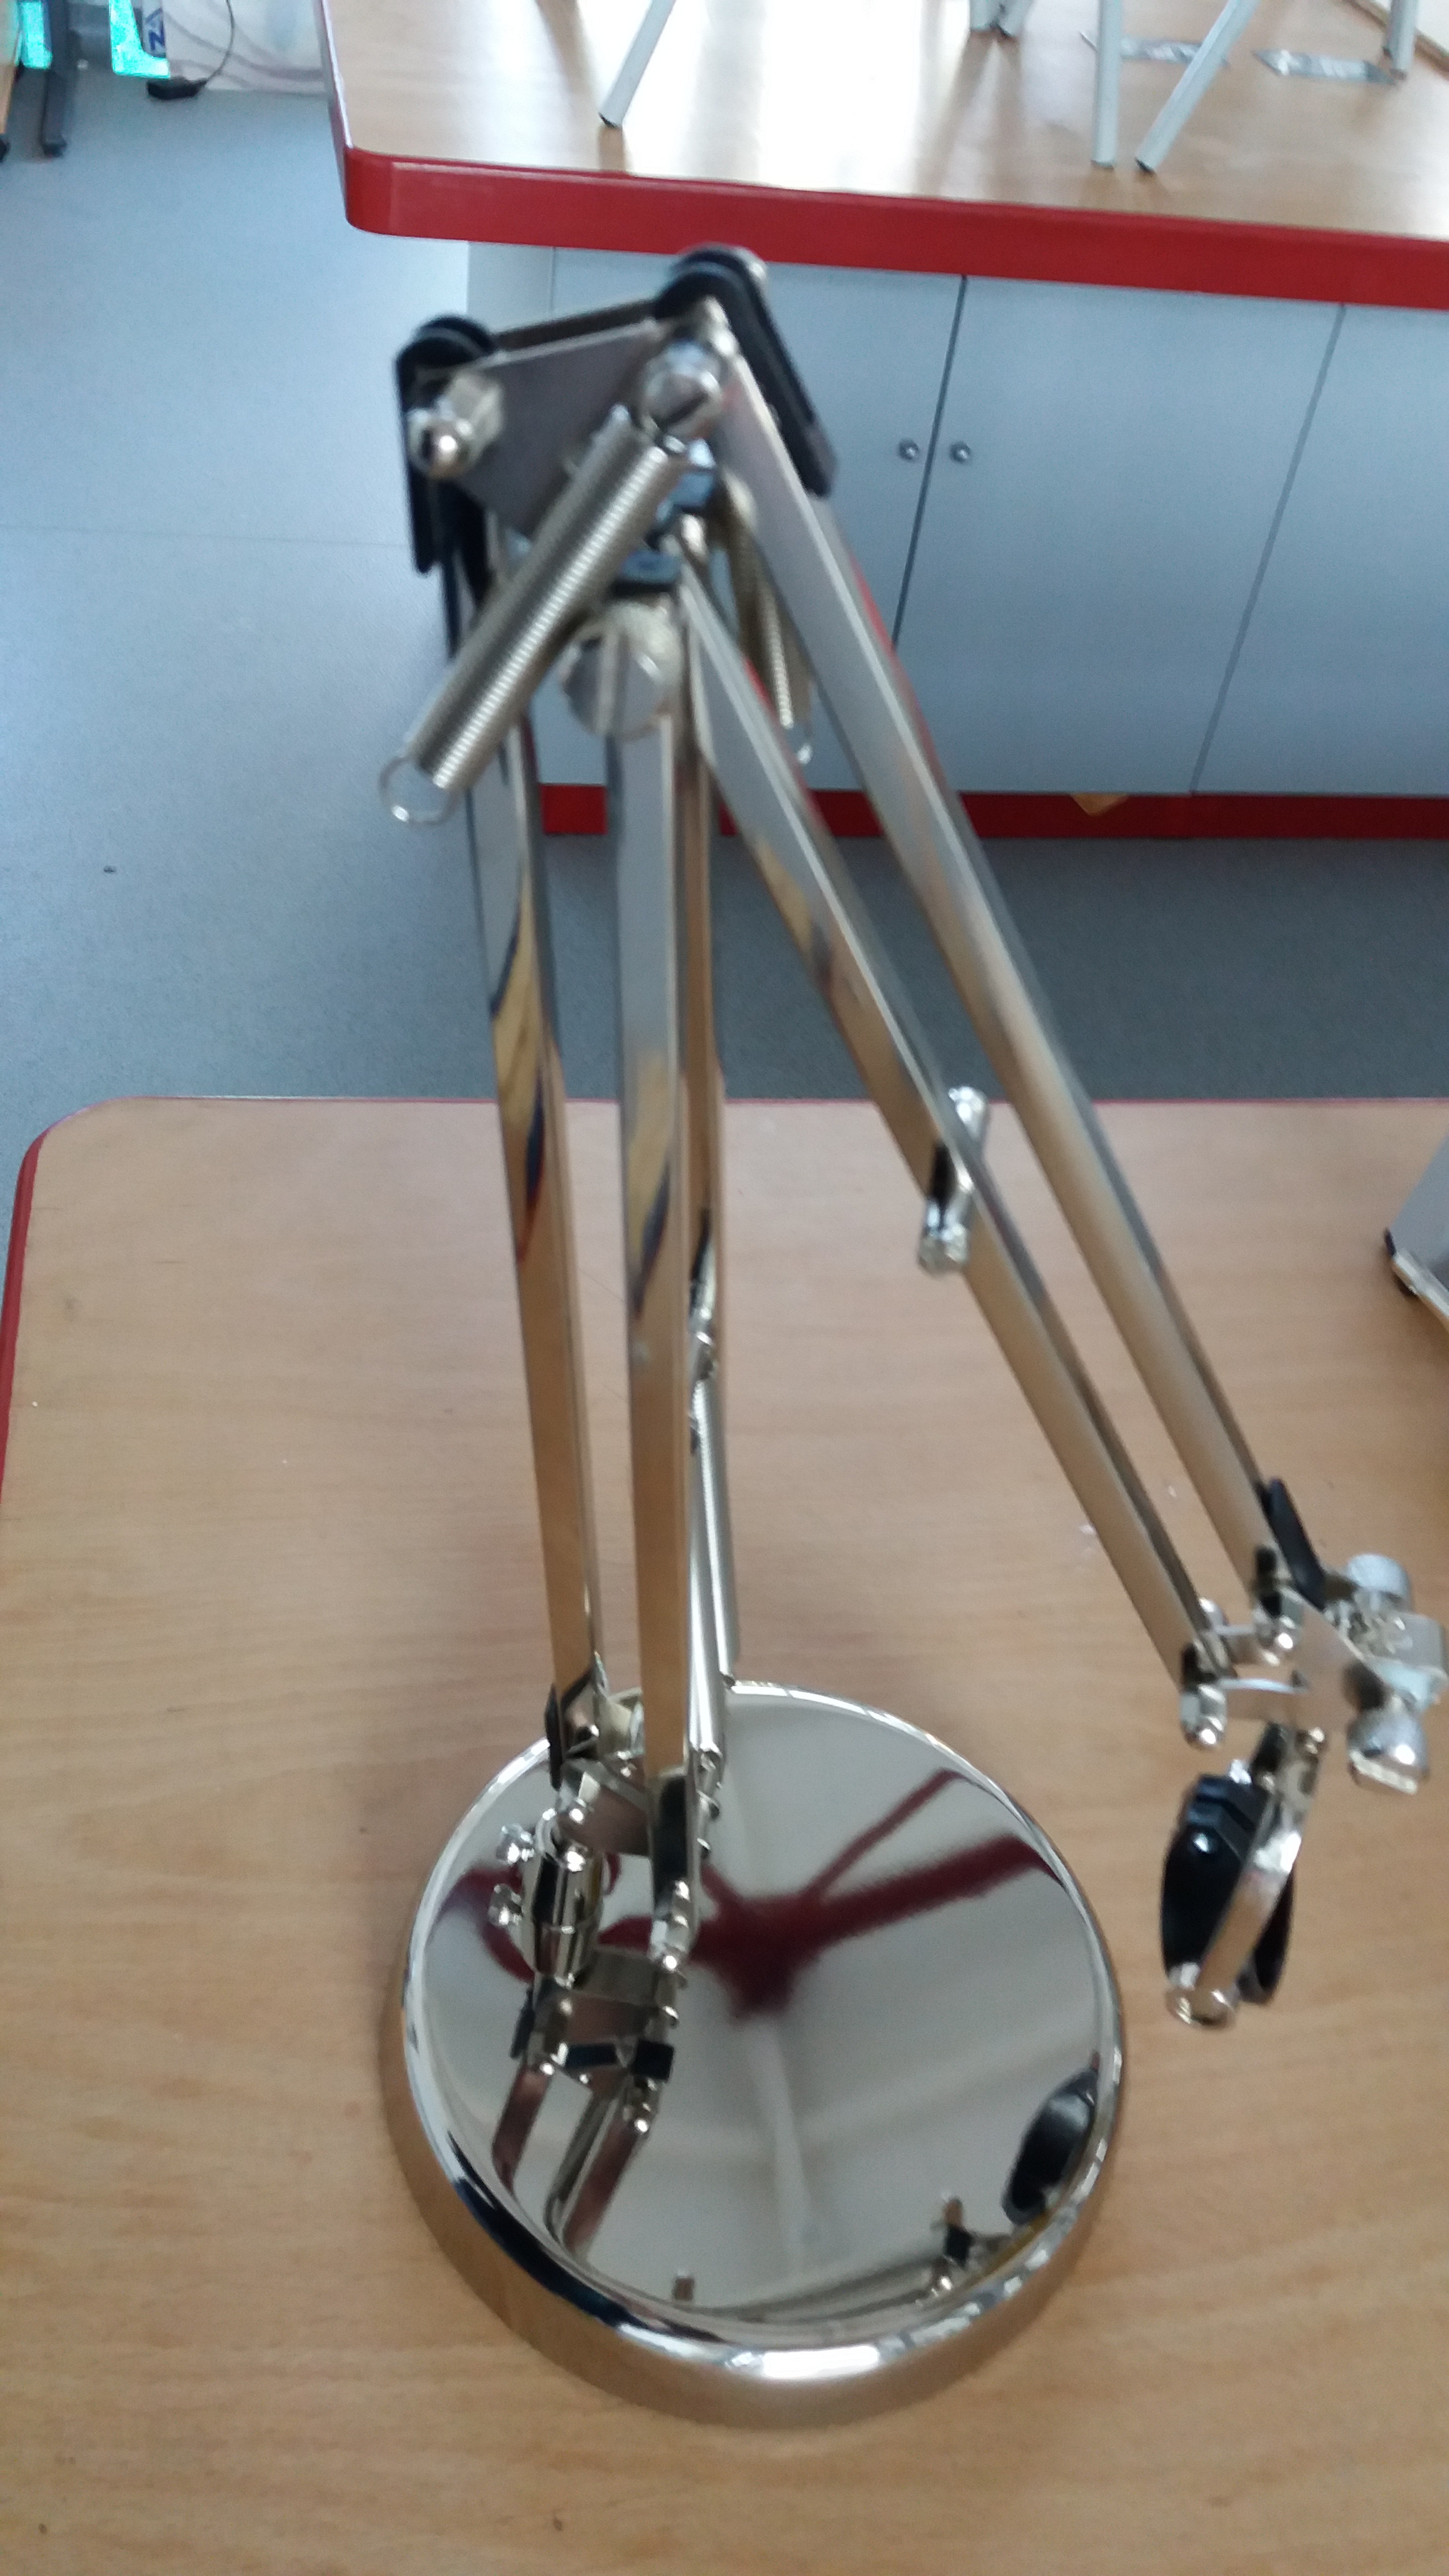
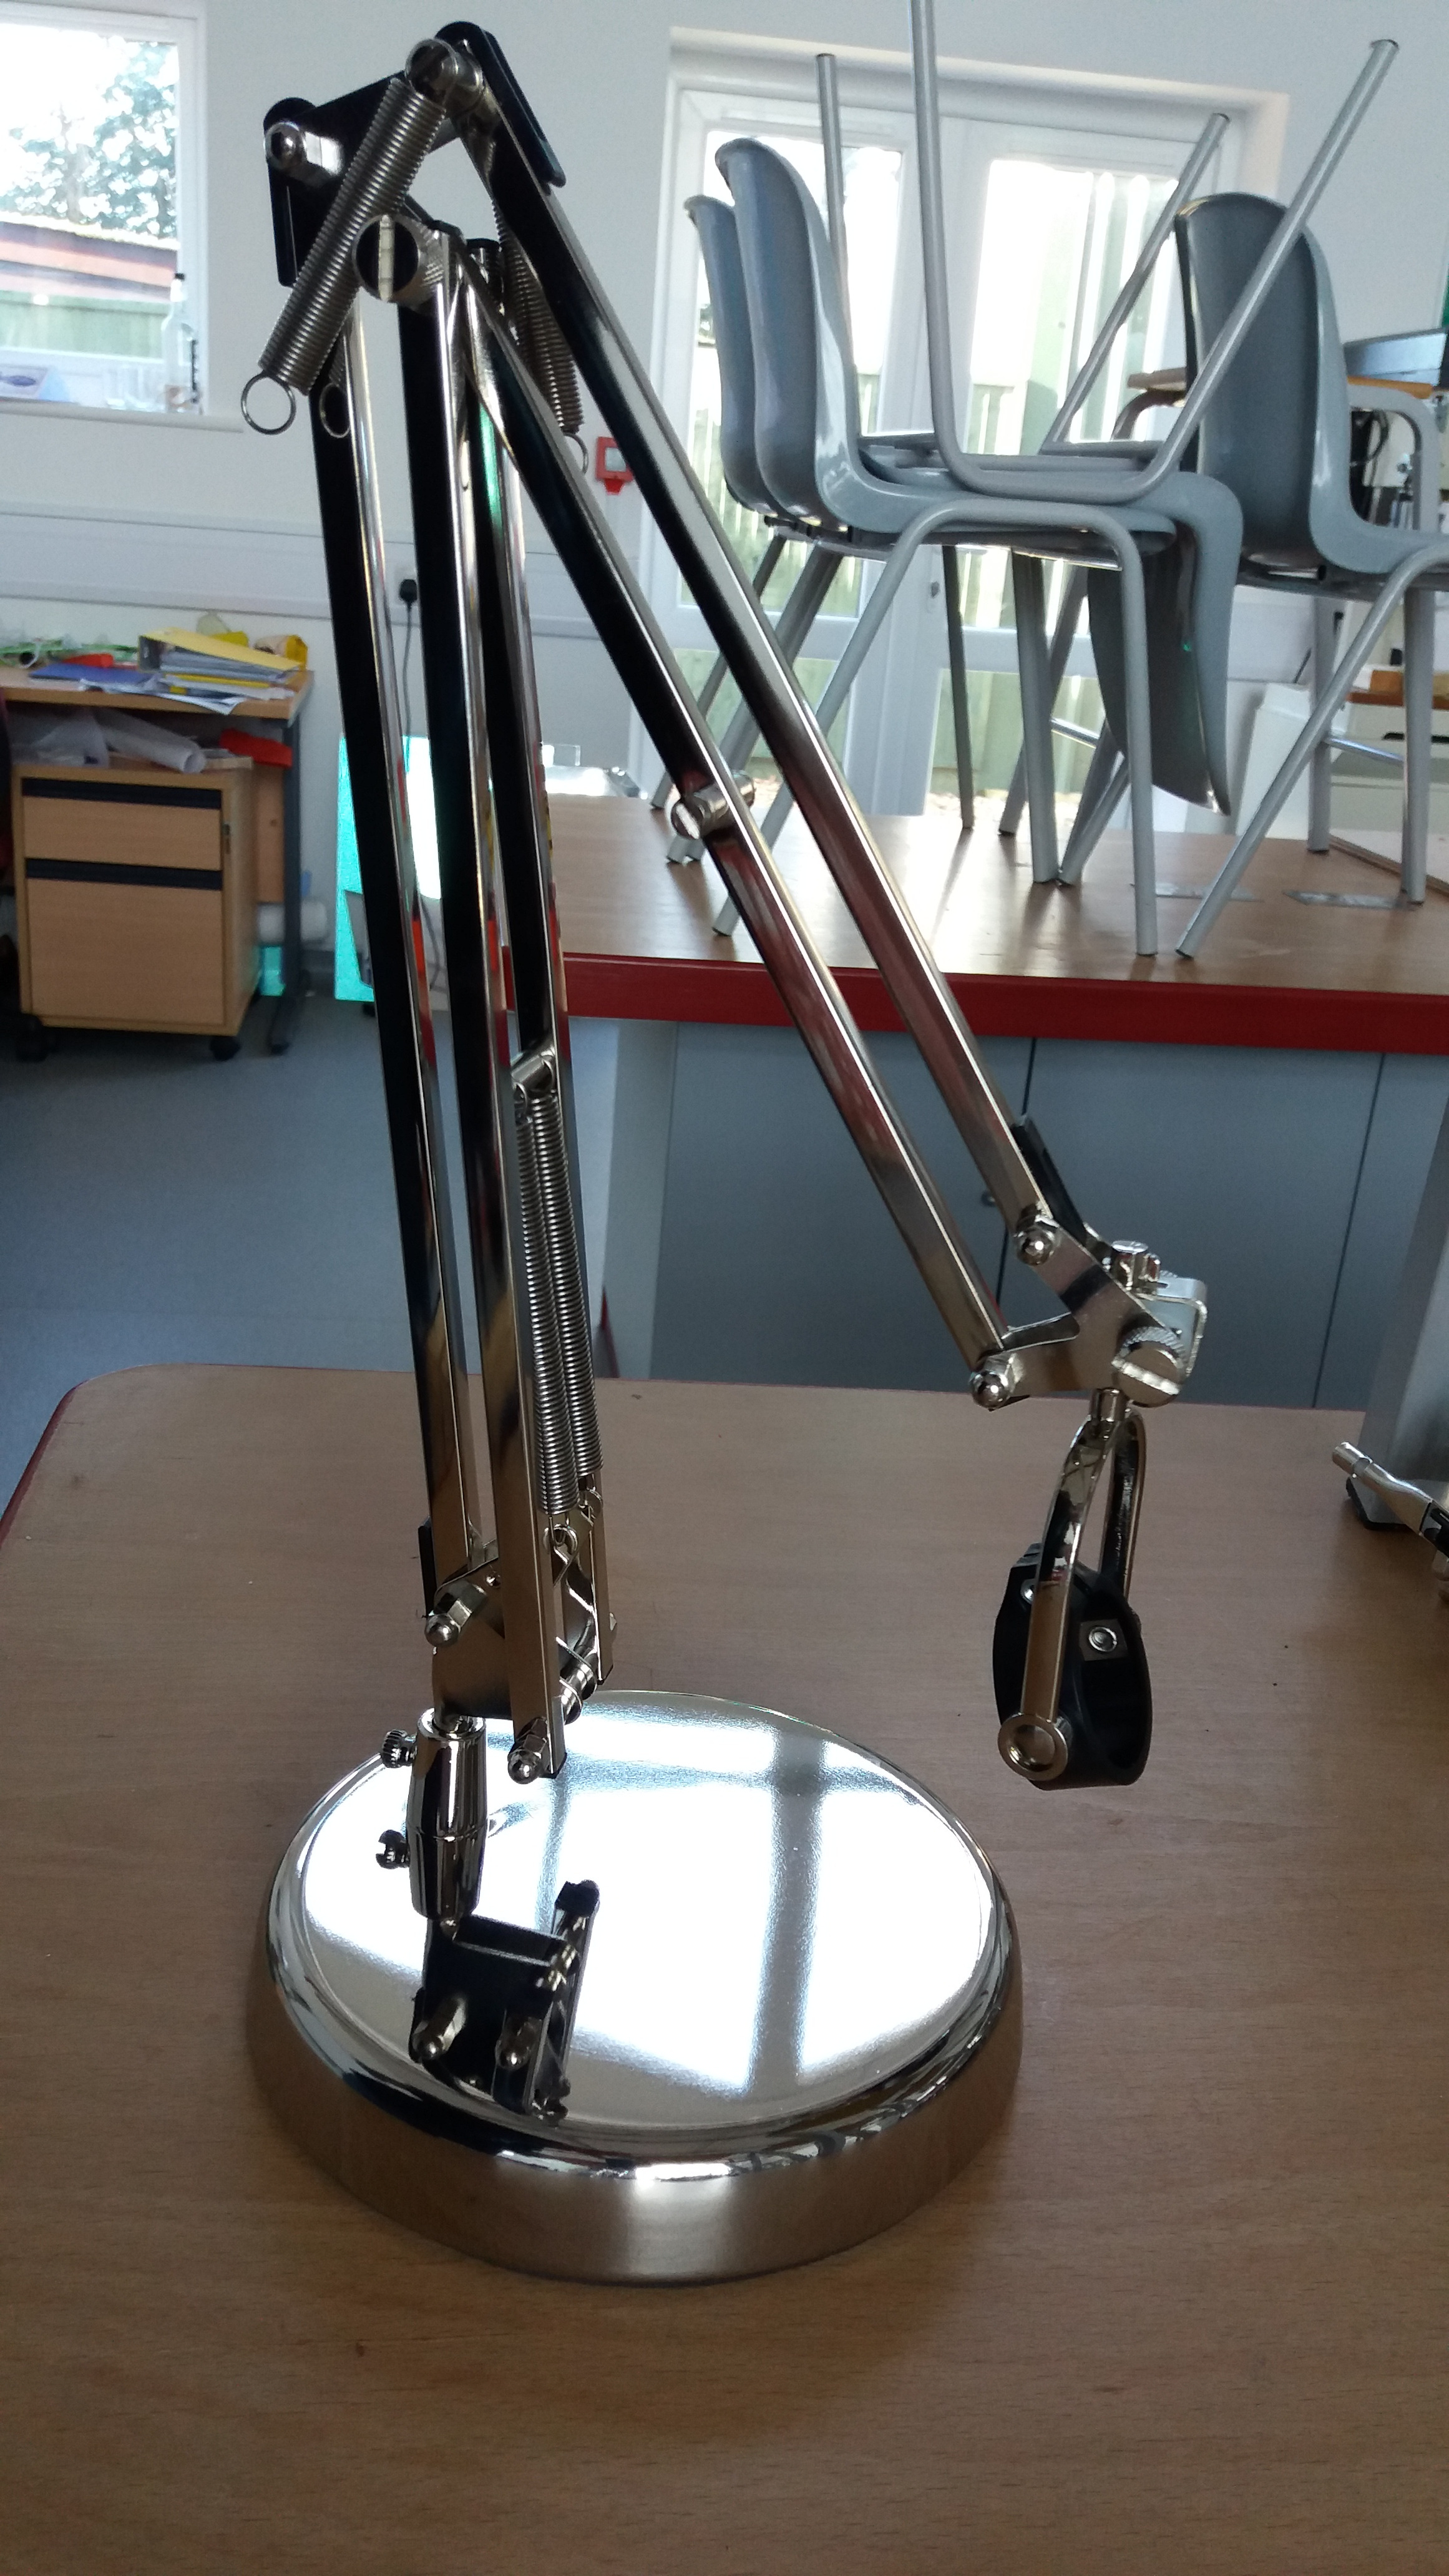
Now put the angle poise frame into the base and tighten the ridged nut in the base to hold it in place.
Cut Away the Ridge That Stops the Lamp Holding Ring From Turning 180 Degrees
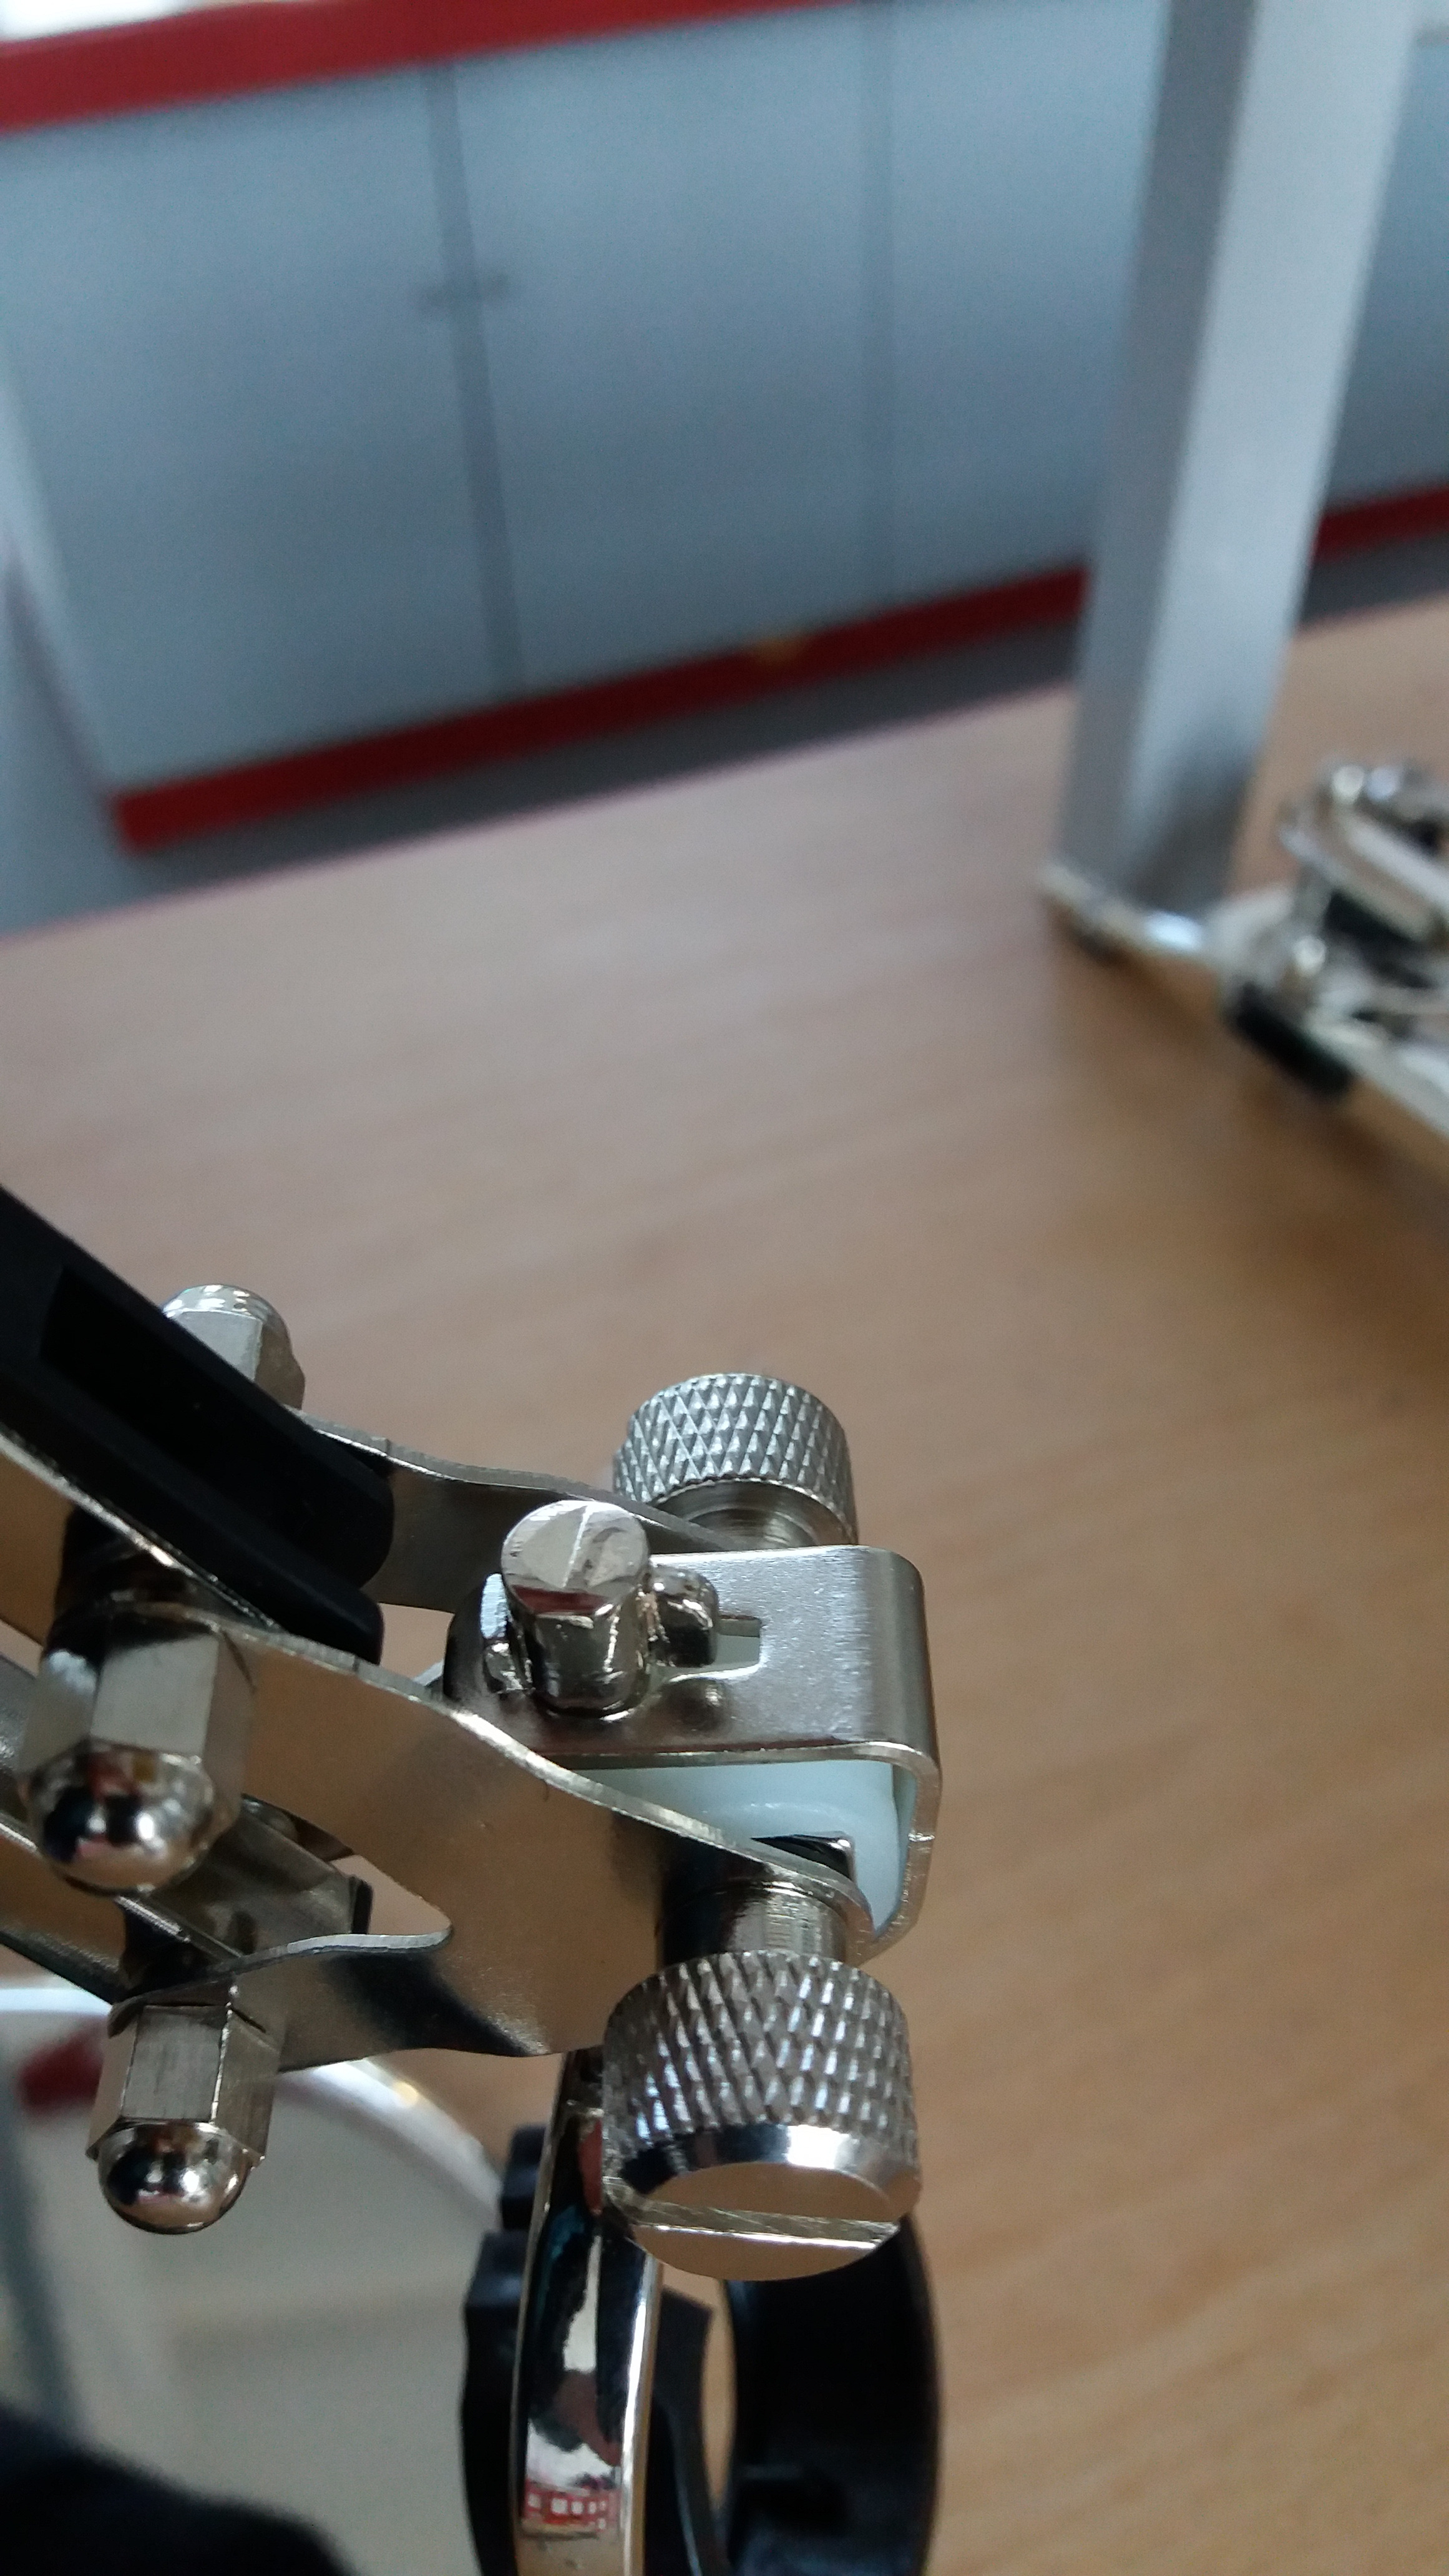
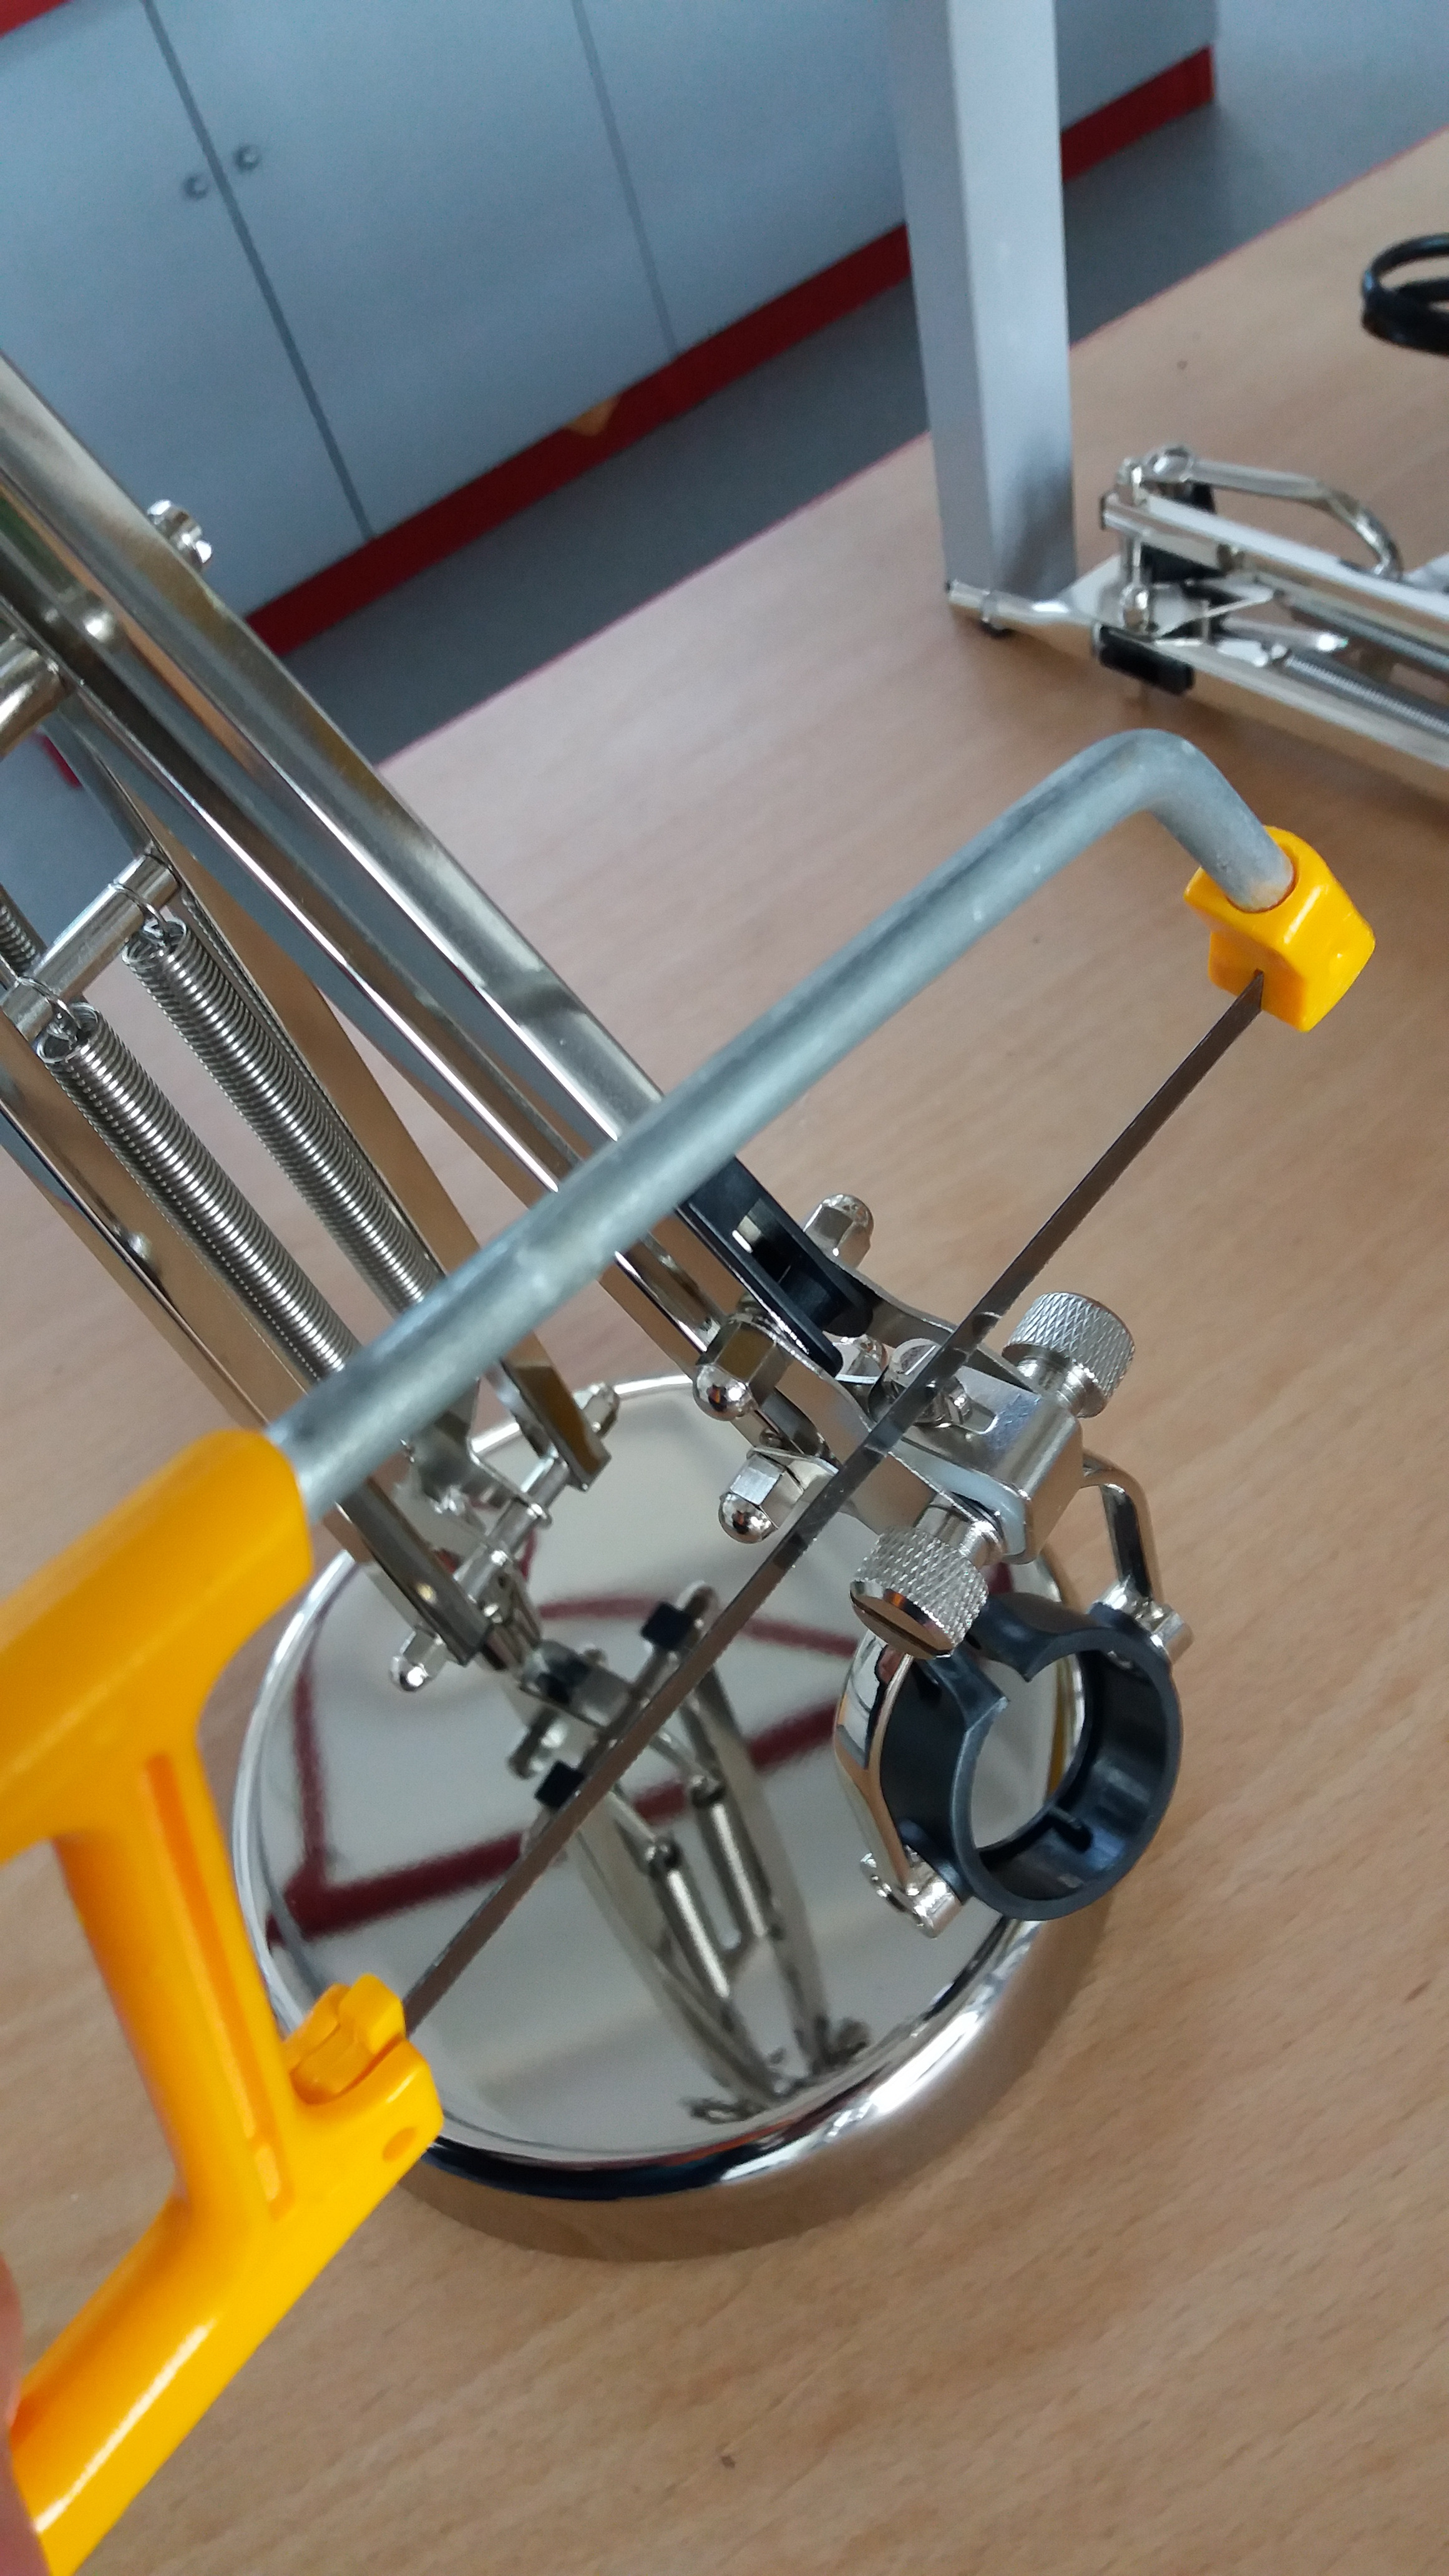
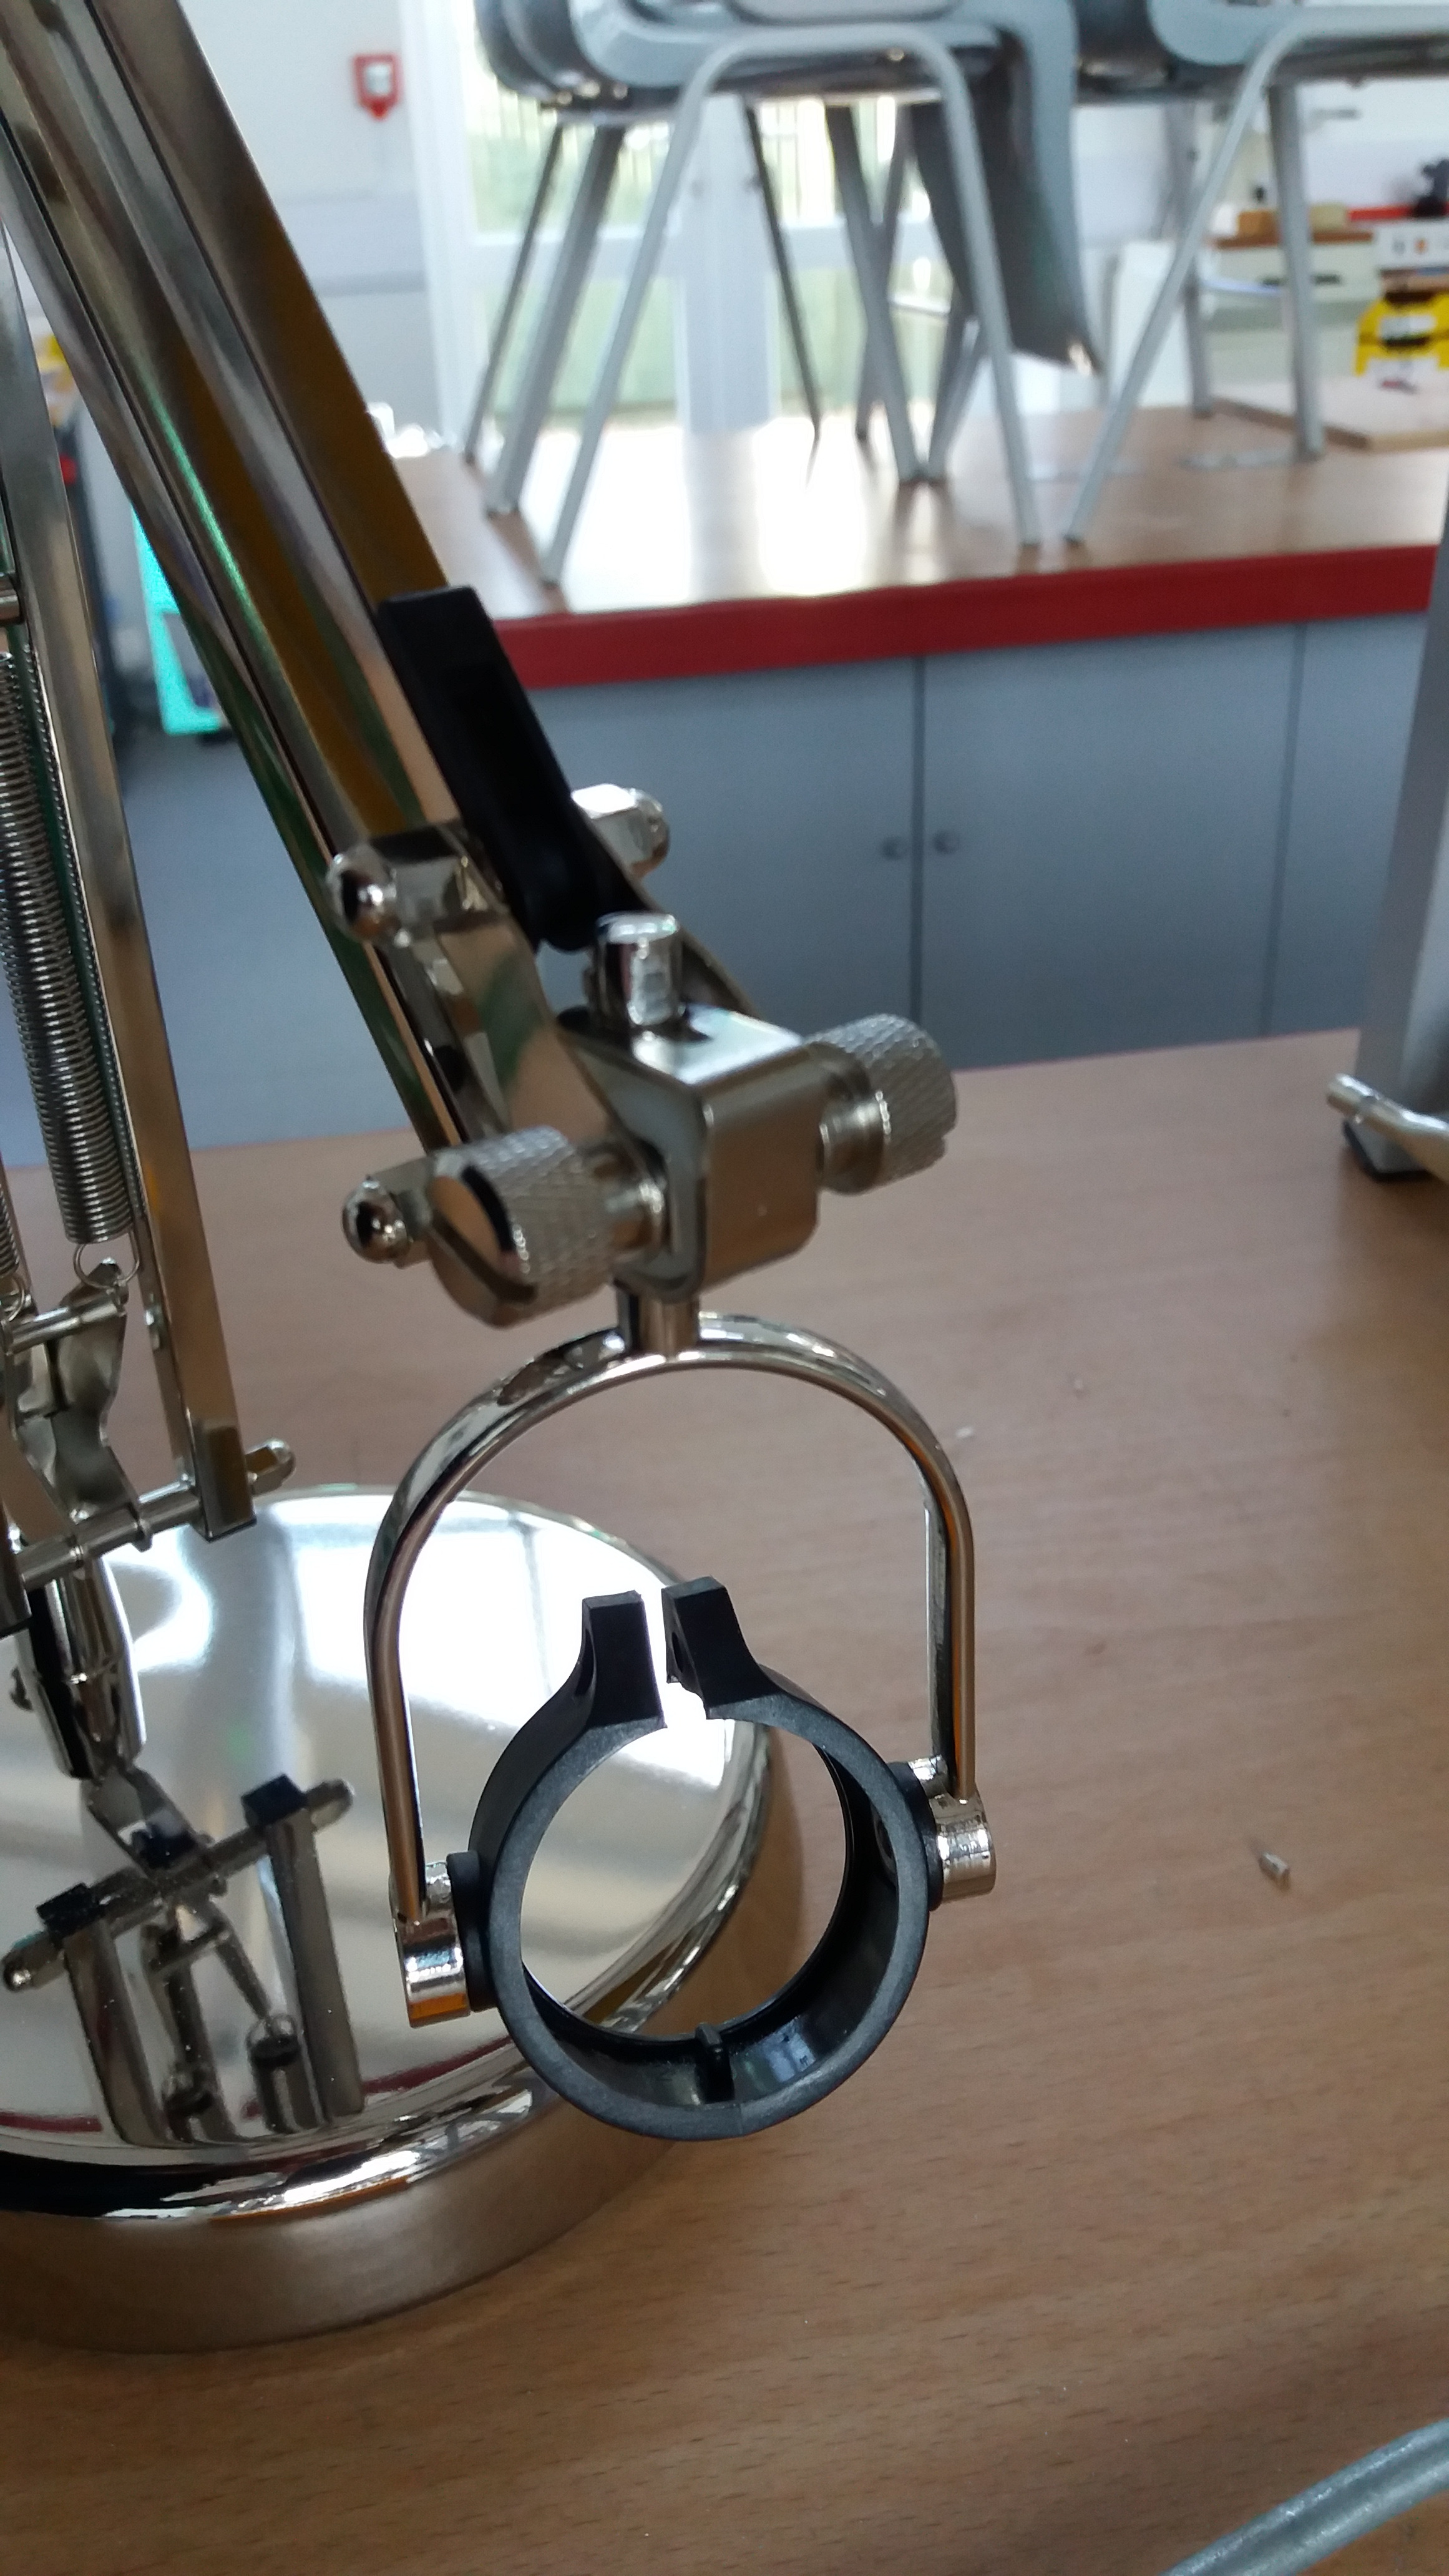
There is a metal ridge that prevents the lamp holder from rotating a full 180 degrees, but this will restrict the use of the visualiser so we need to remove it. It is made of very soft metal and is easy to cut through with a junior hacksaw.
Make the Holder for the Webcam
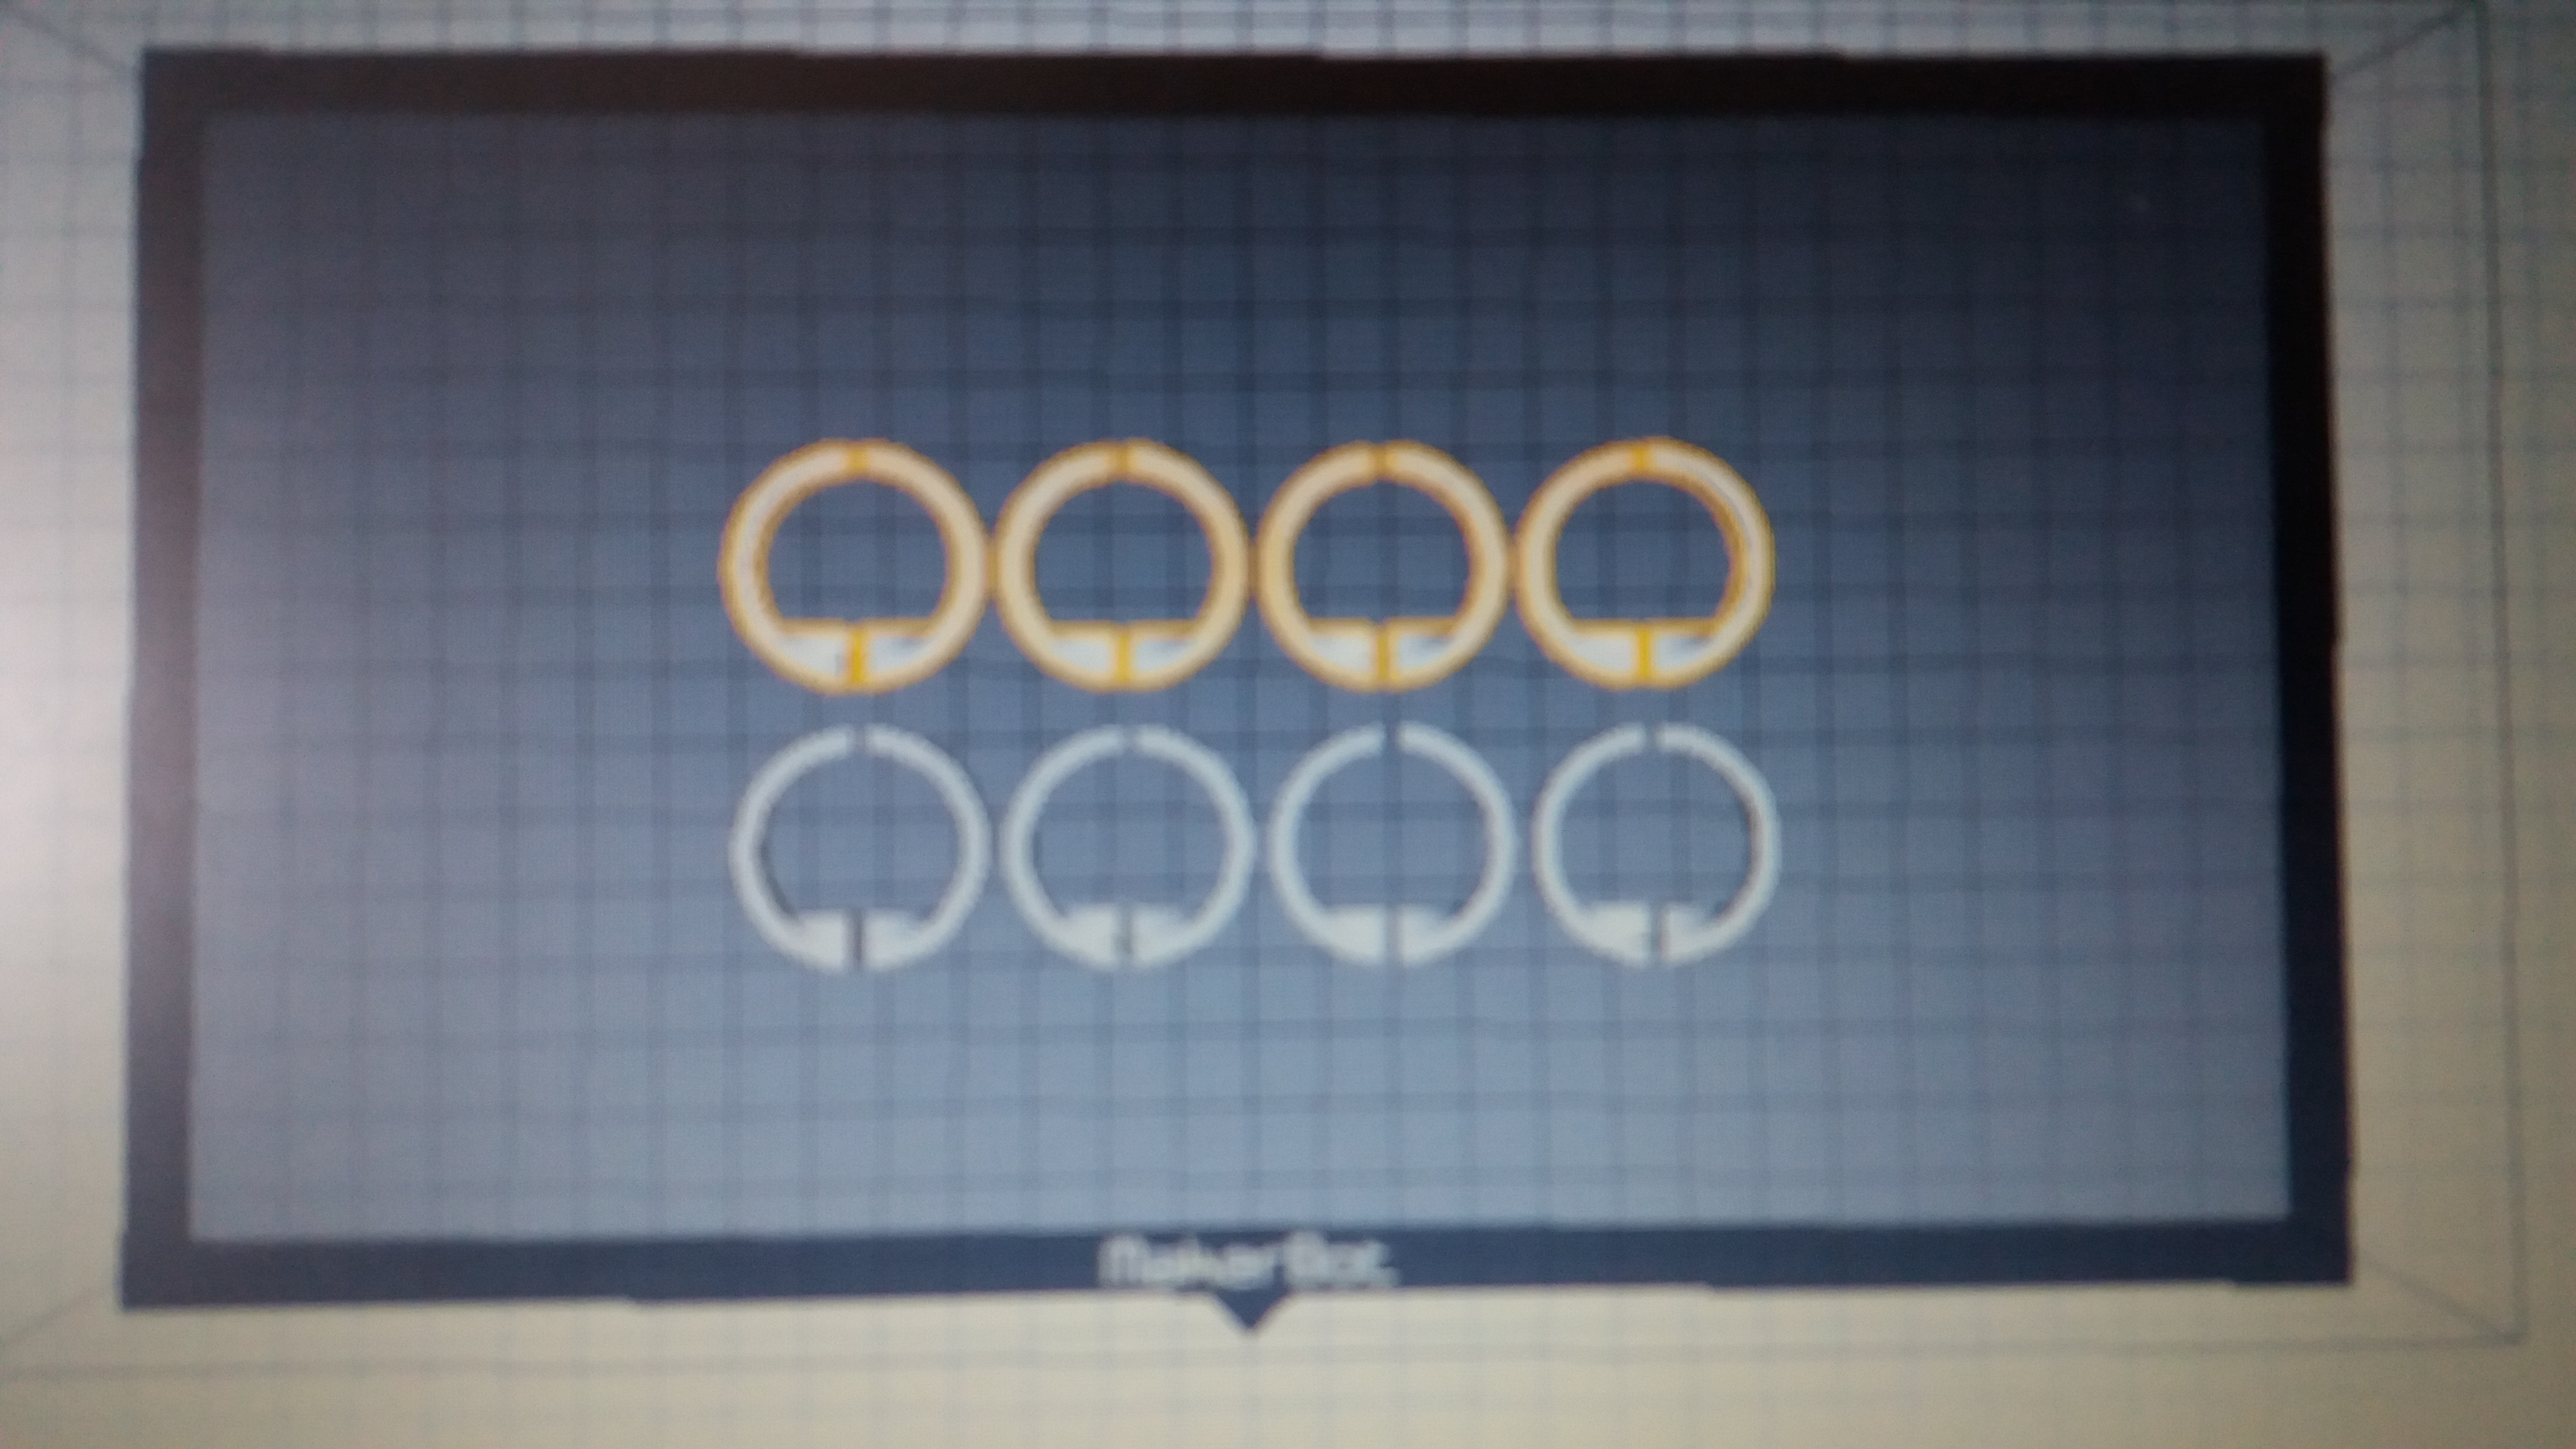
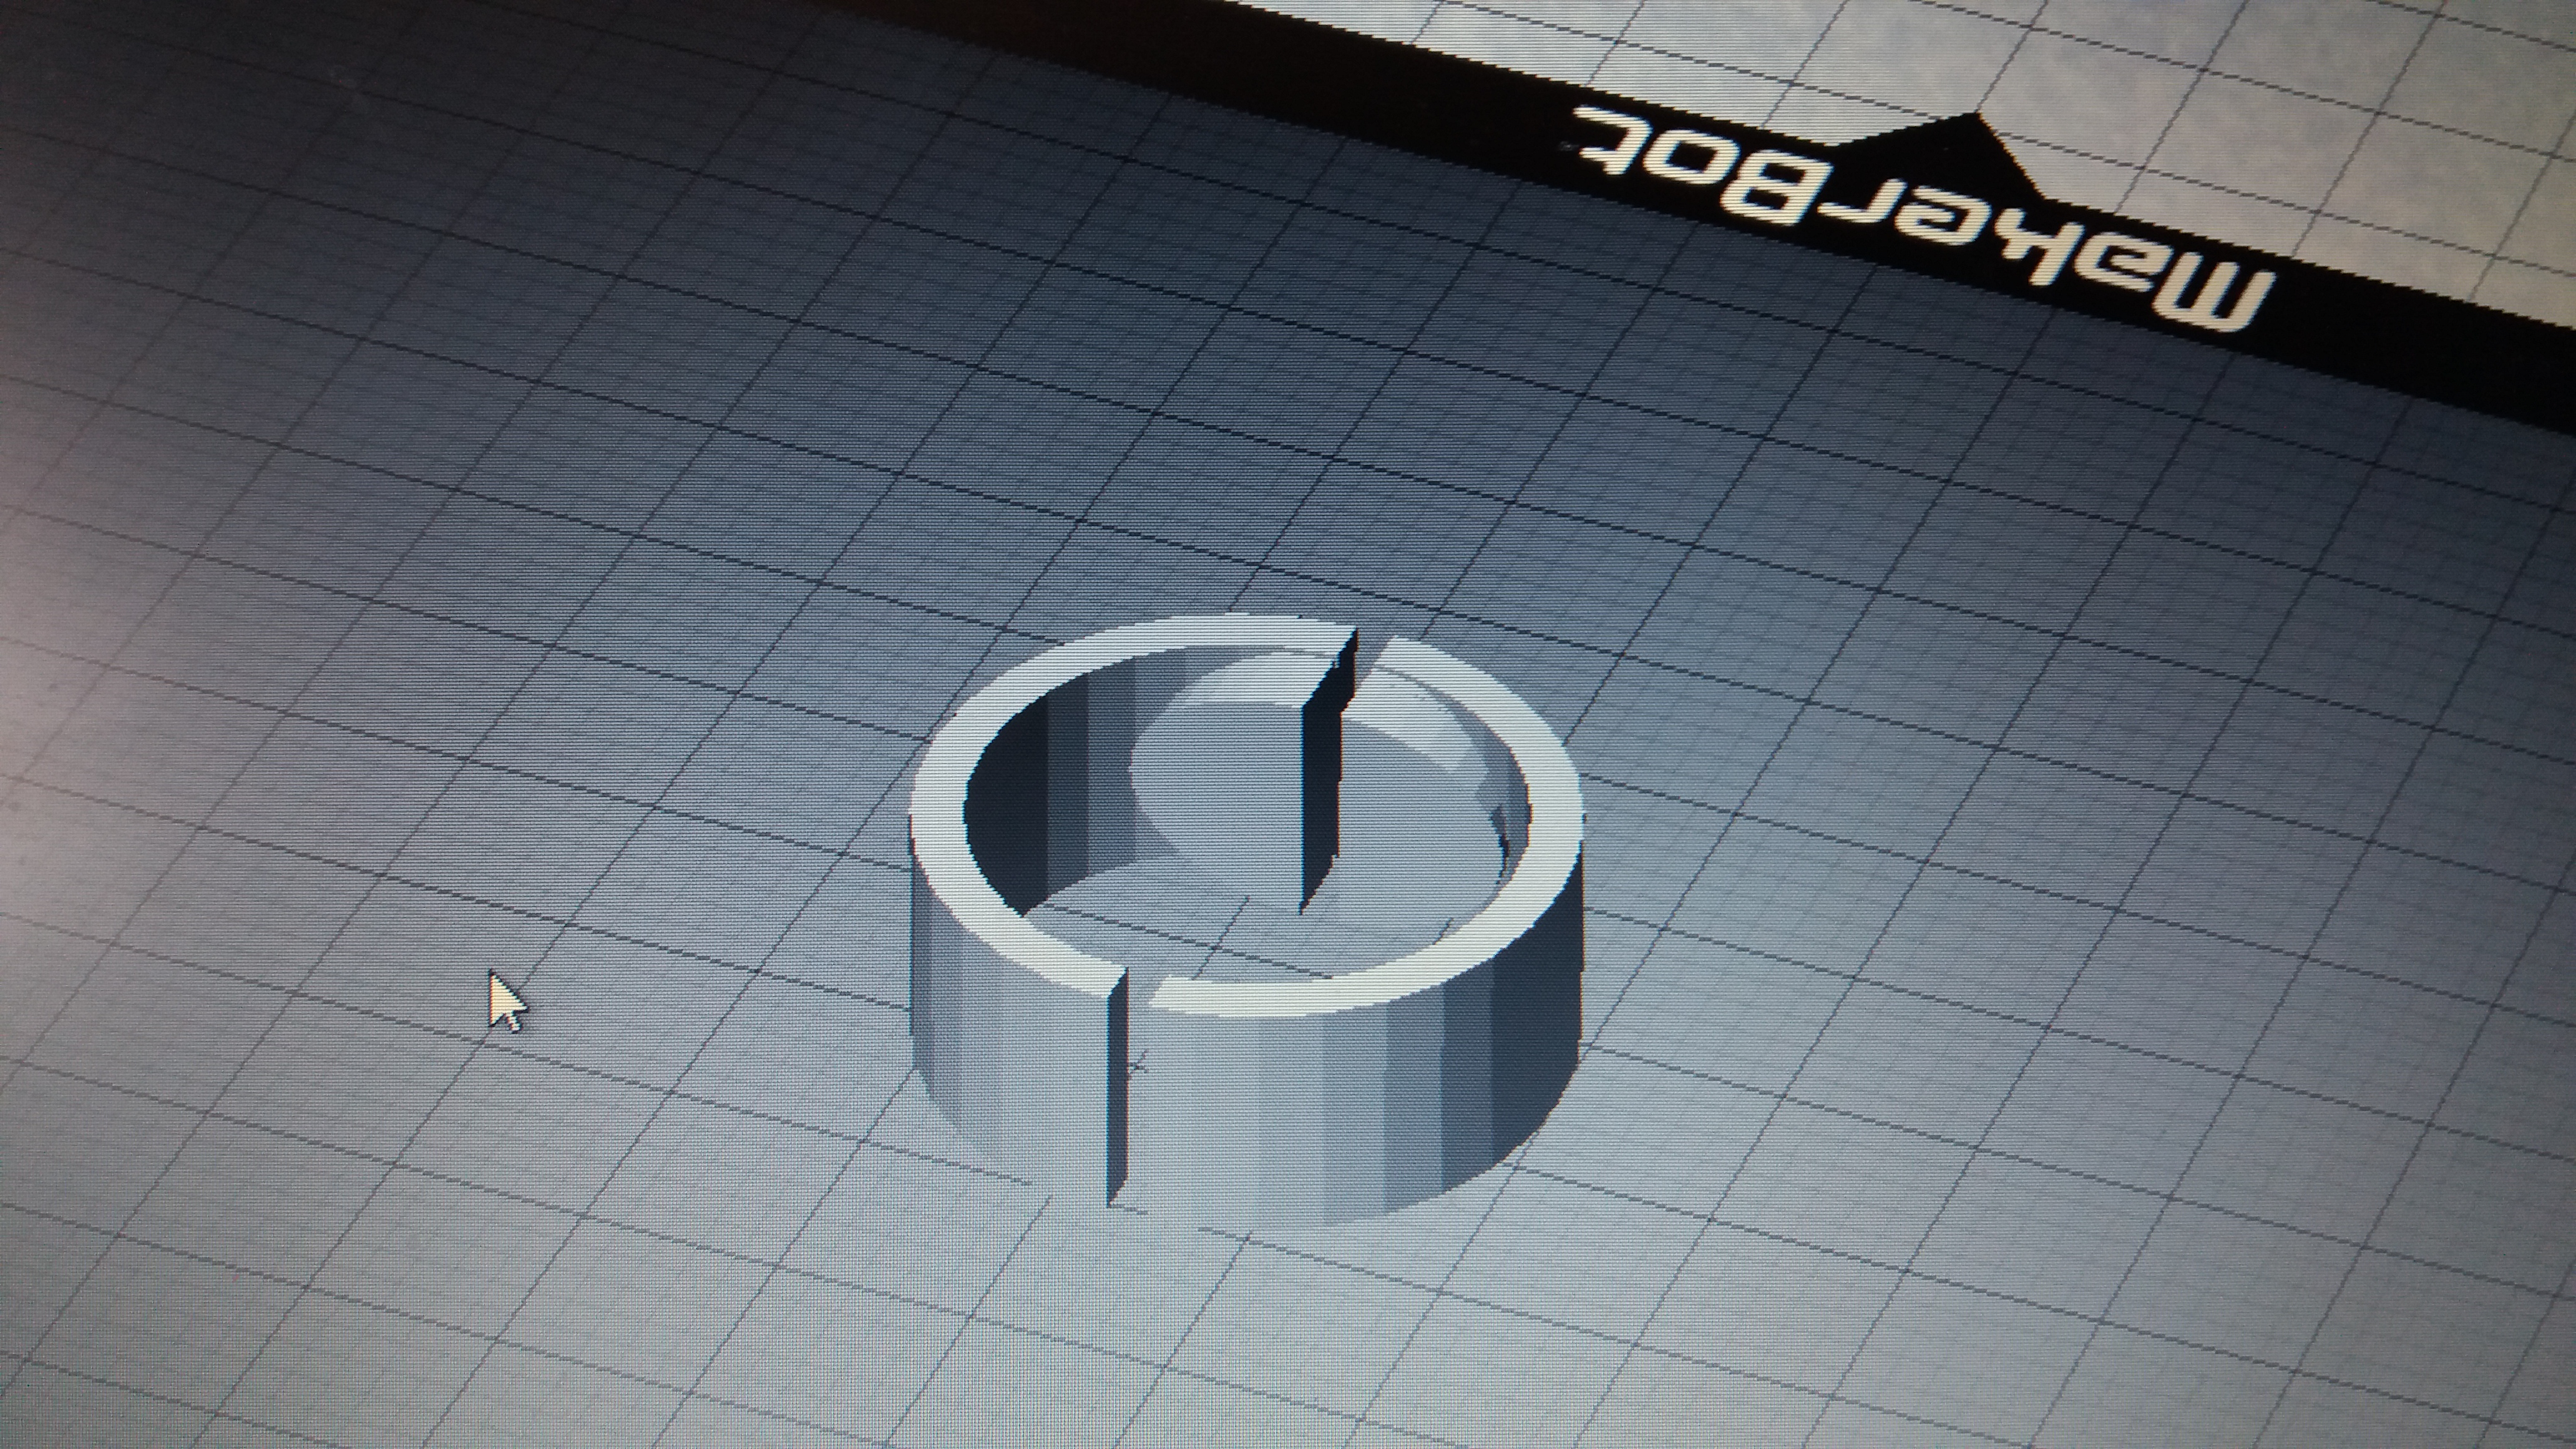
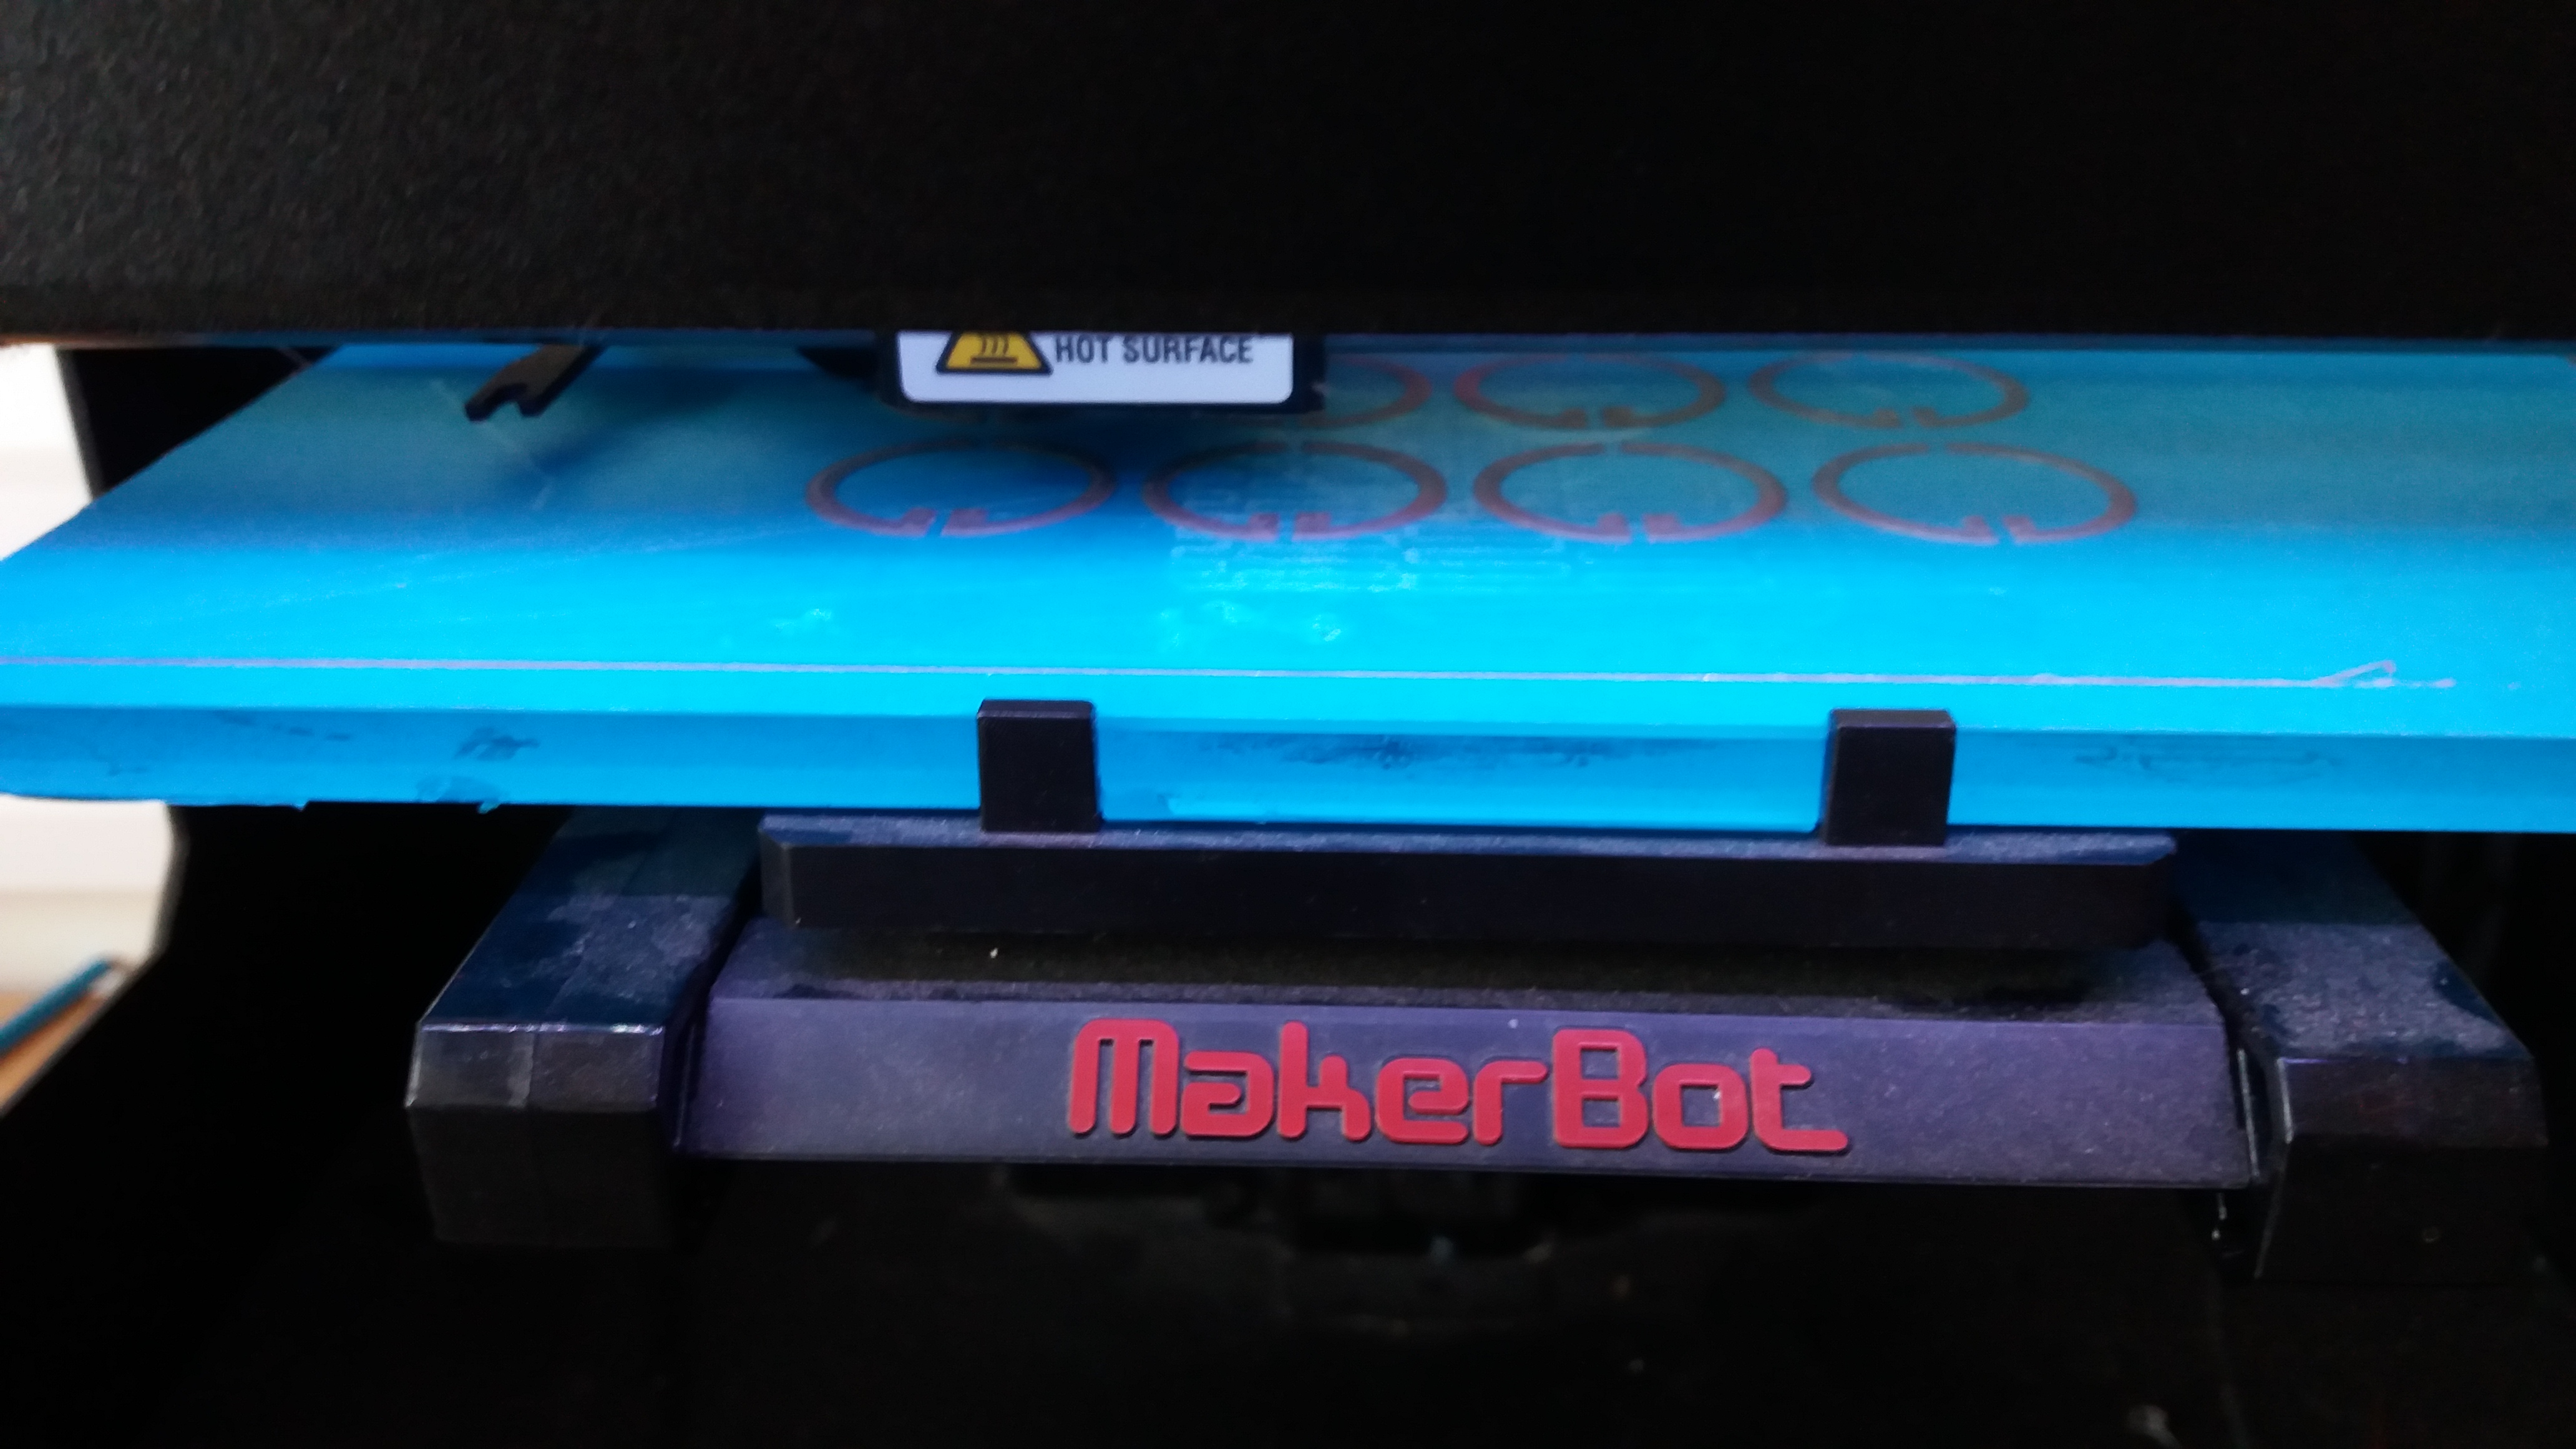
The holder takes about 10 minutes on high quality settings to print, though it is quite hidden away so the settings don't need to be too high. If you don't have access to a 3D printer it would be quite possible to utilise some other form of packing to hold the camera in place. The STL file for the holder is attached. While it is printing it is a good time to dismantle the camera.
Downloads
Prepare to Remove the Camera Mount
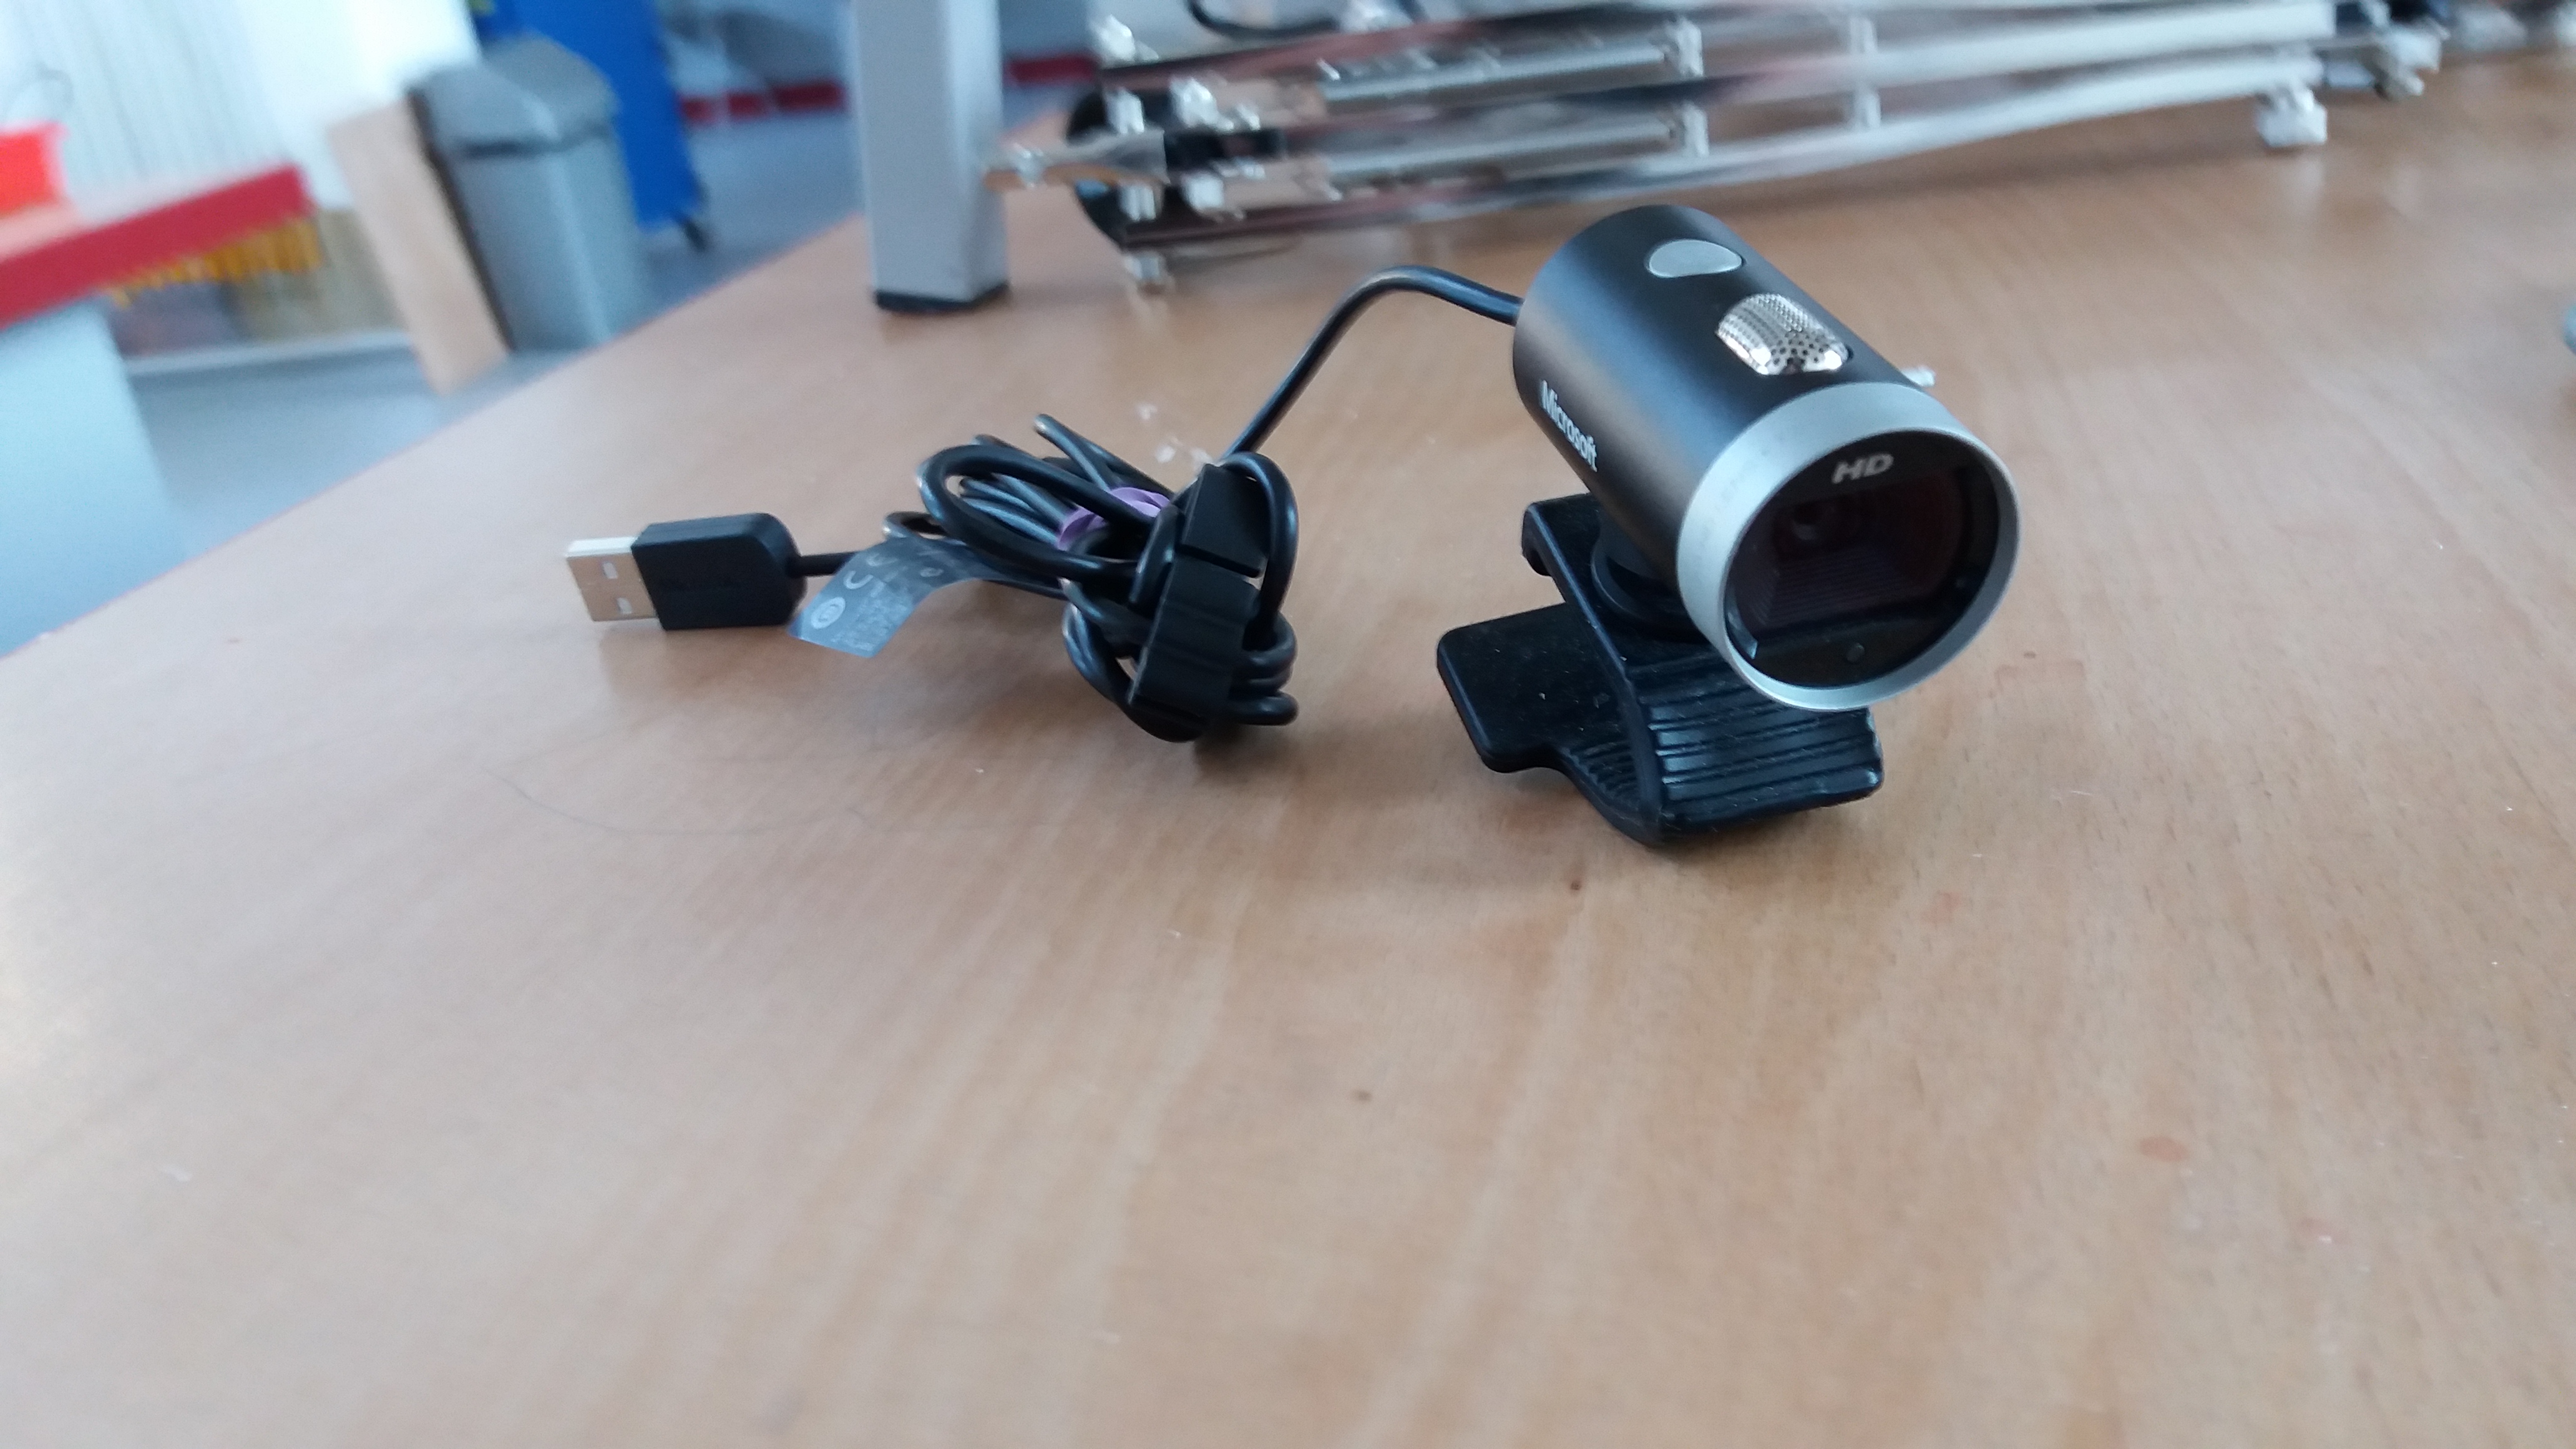
The rotating base for the camera is held in place with two screws, but you need to dismantle the camera a little to get to them.
First Remove the Front Lens Cover
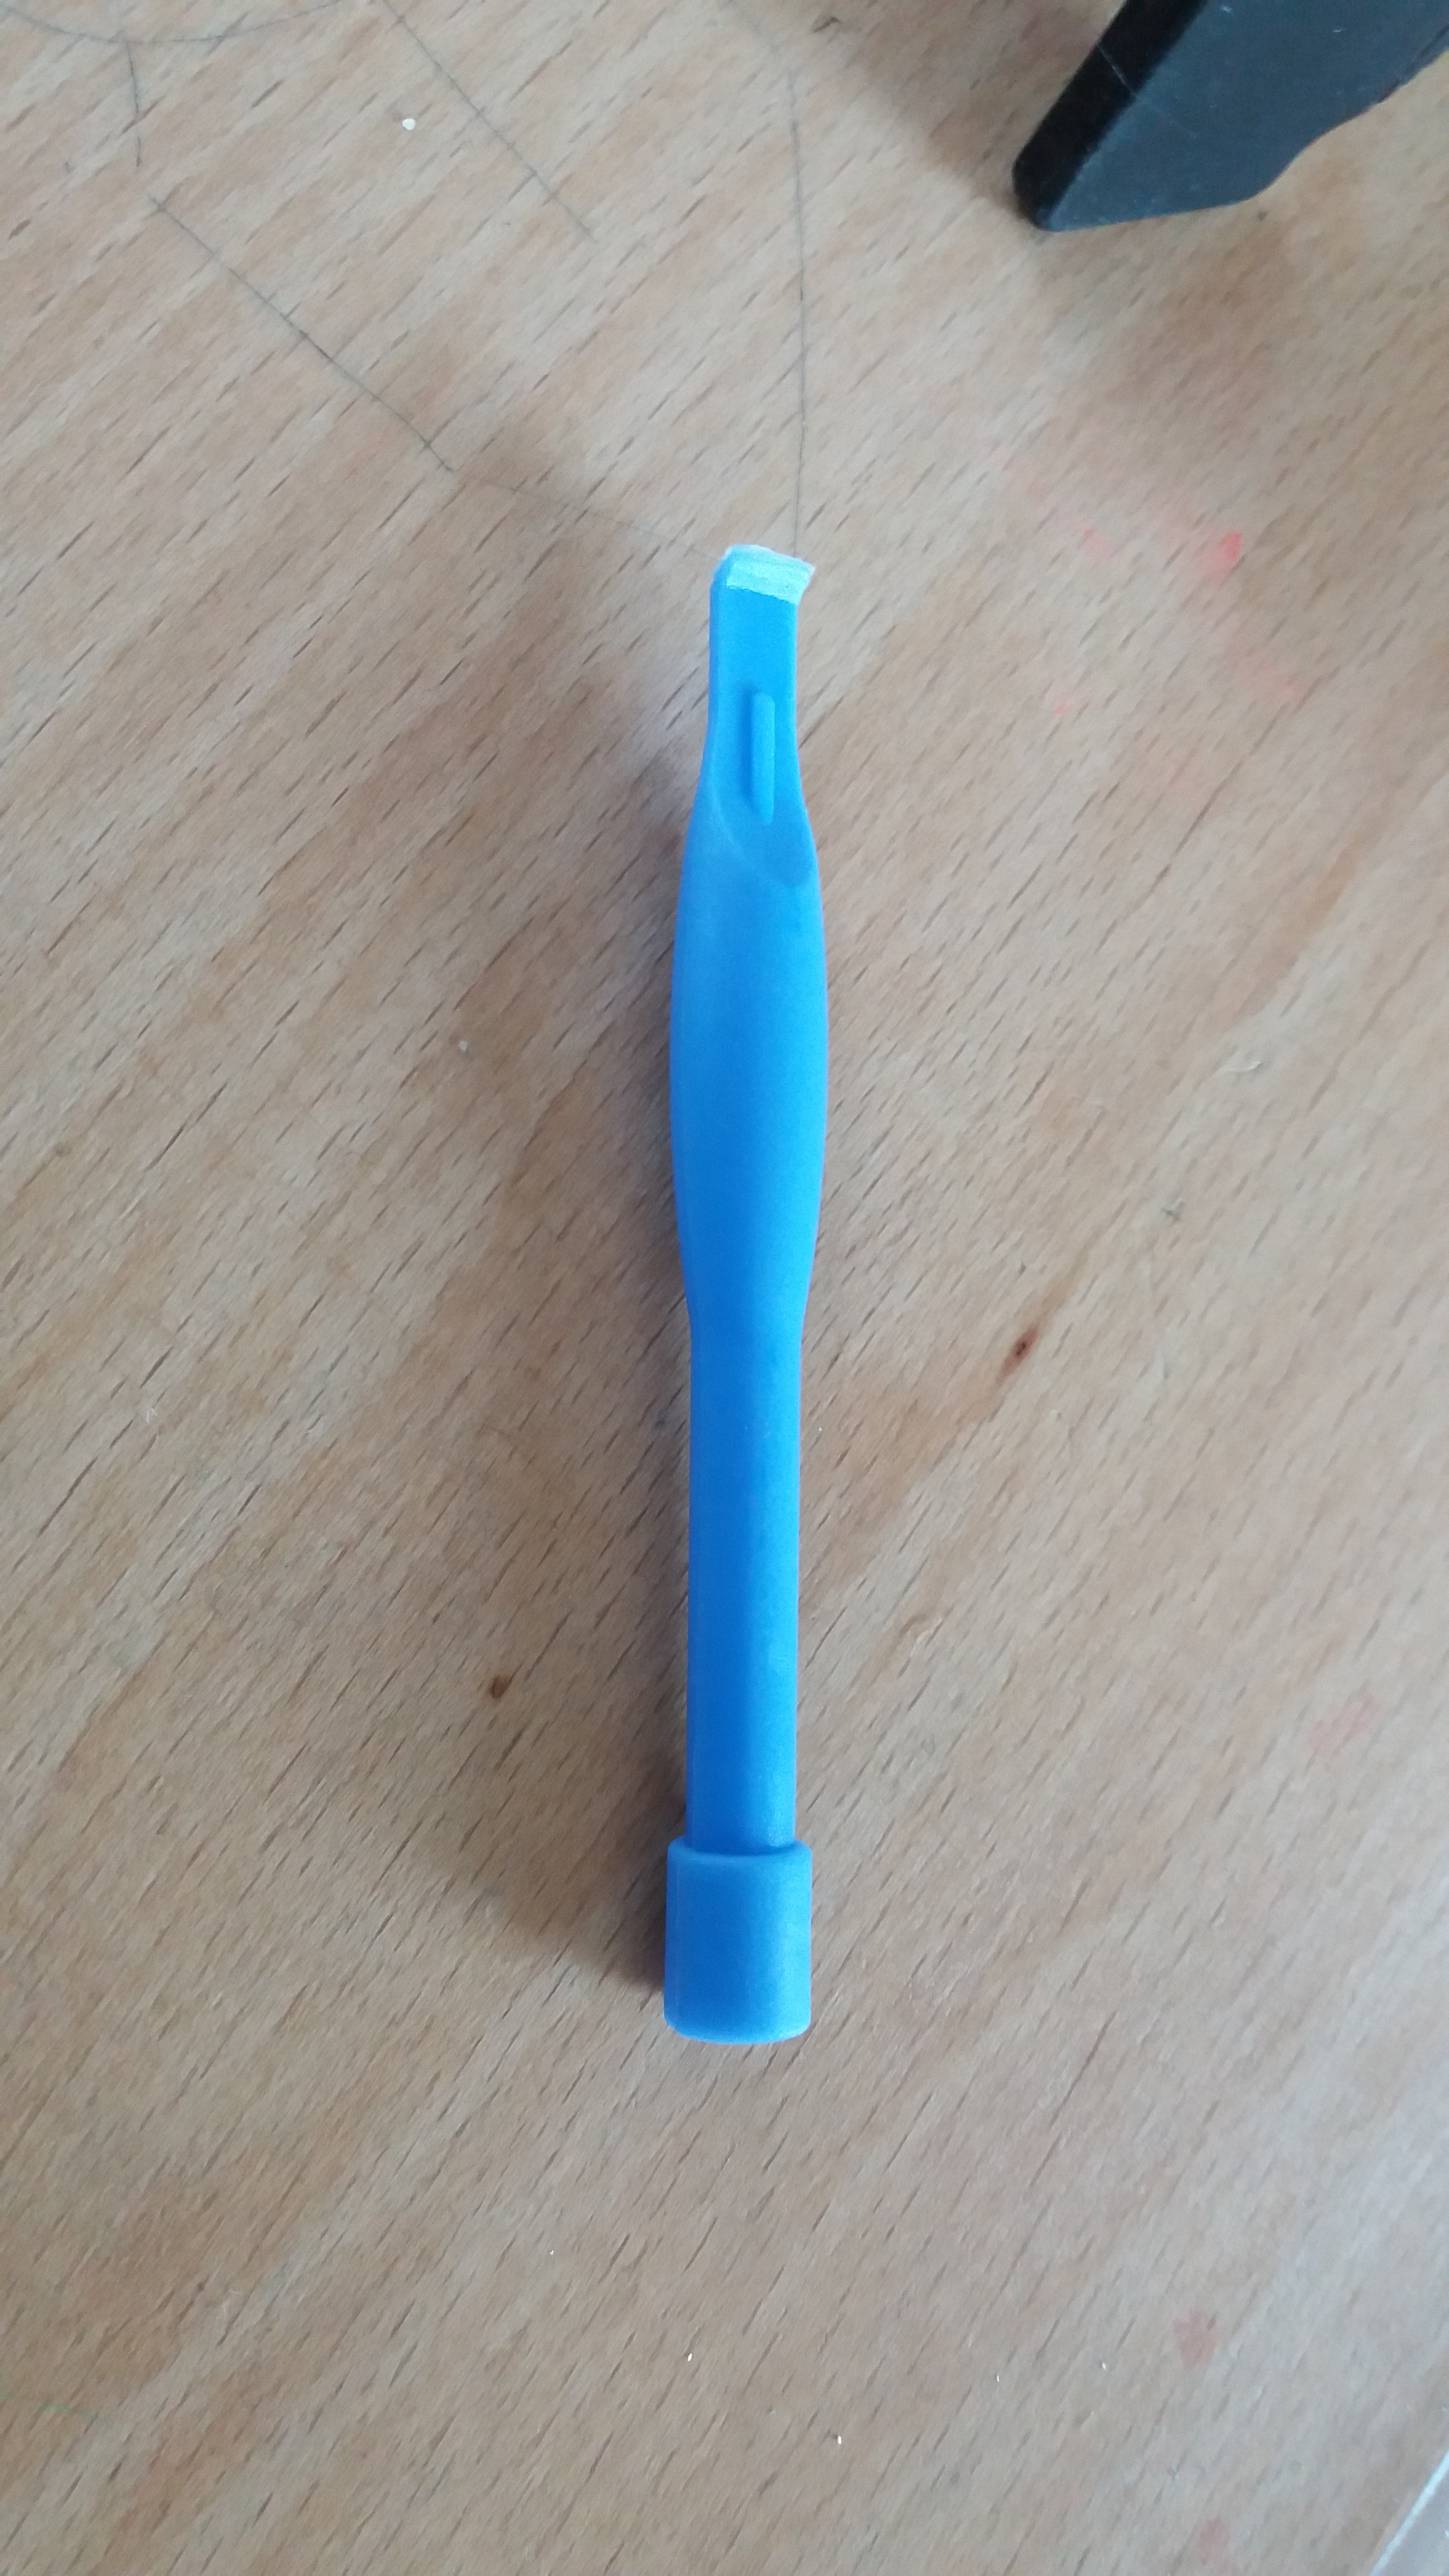
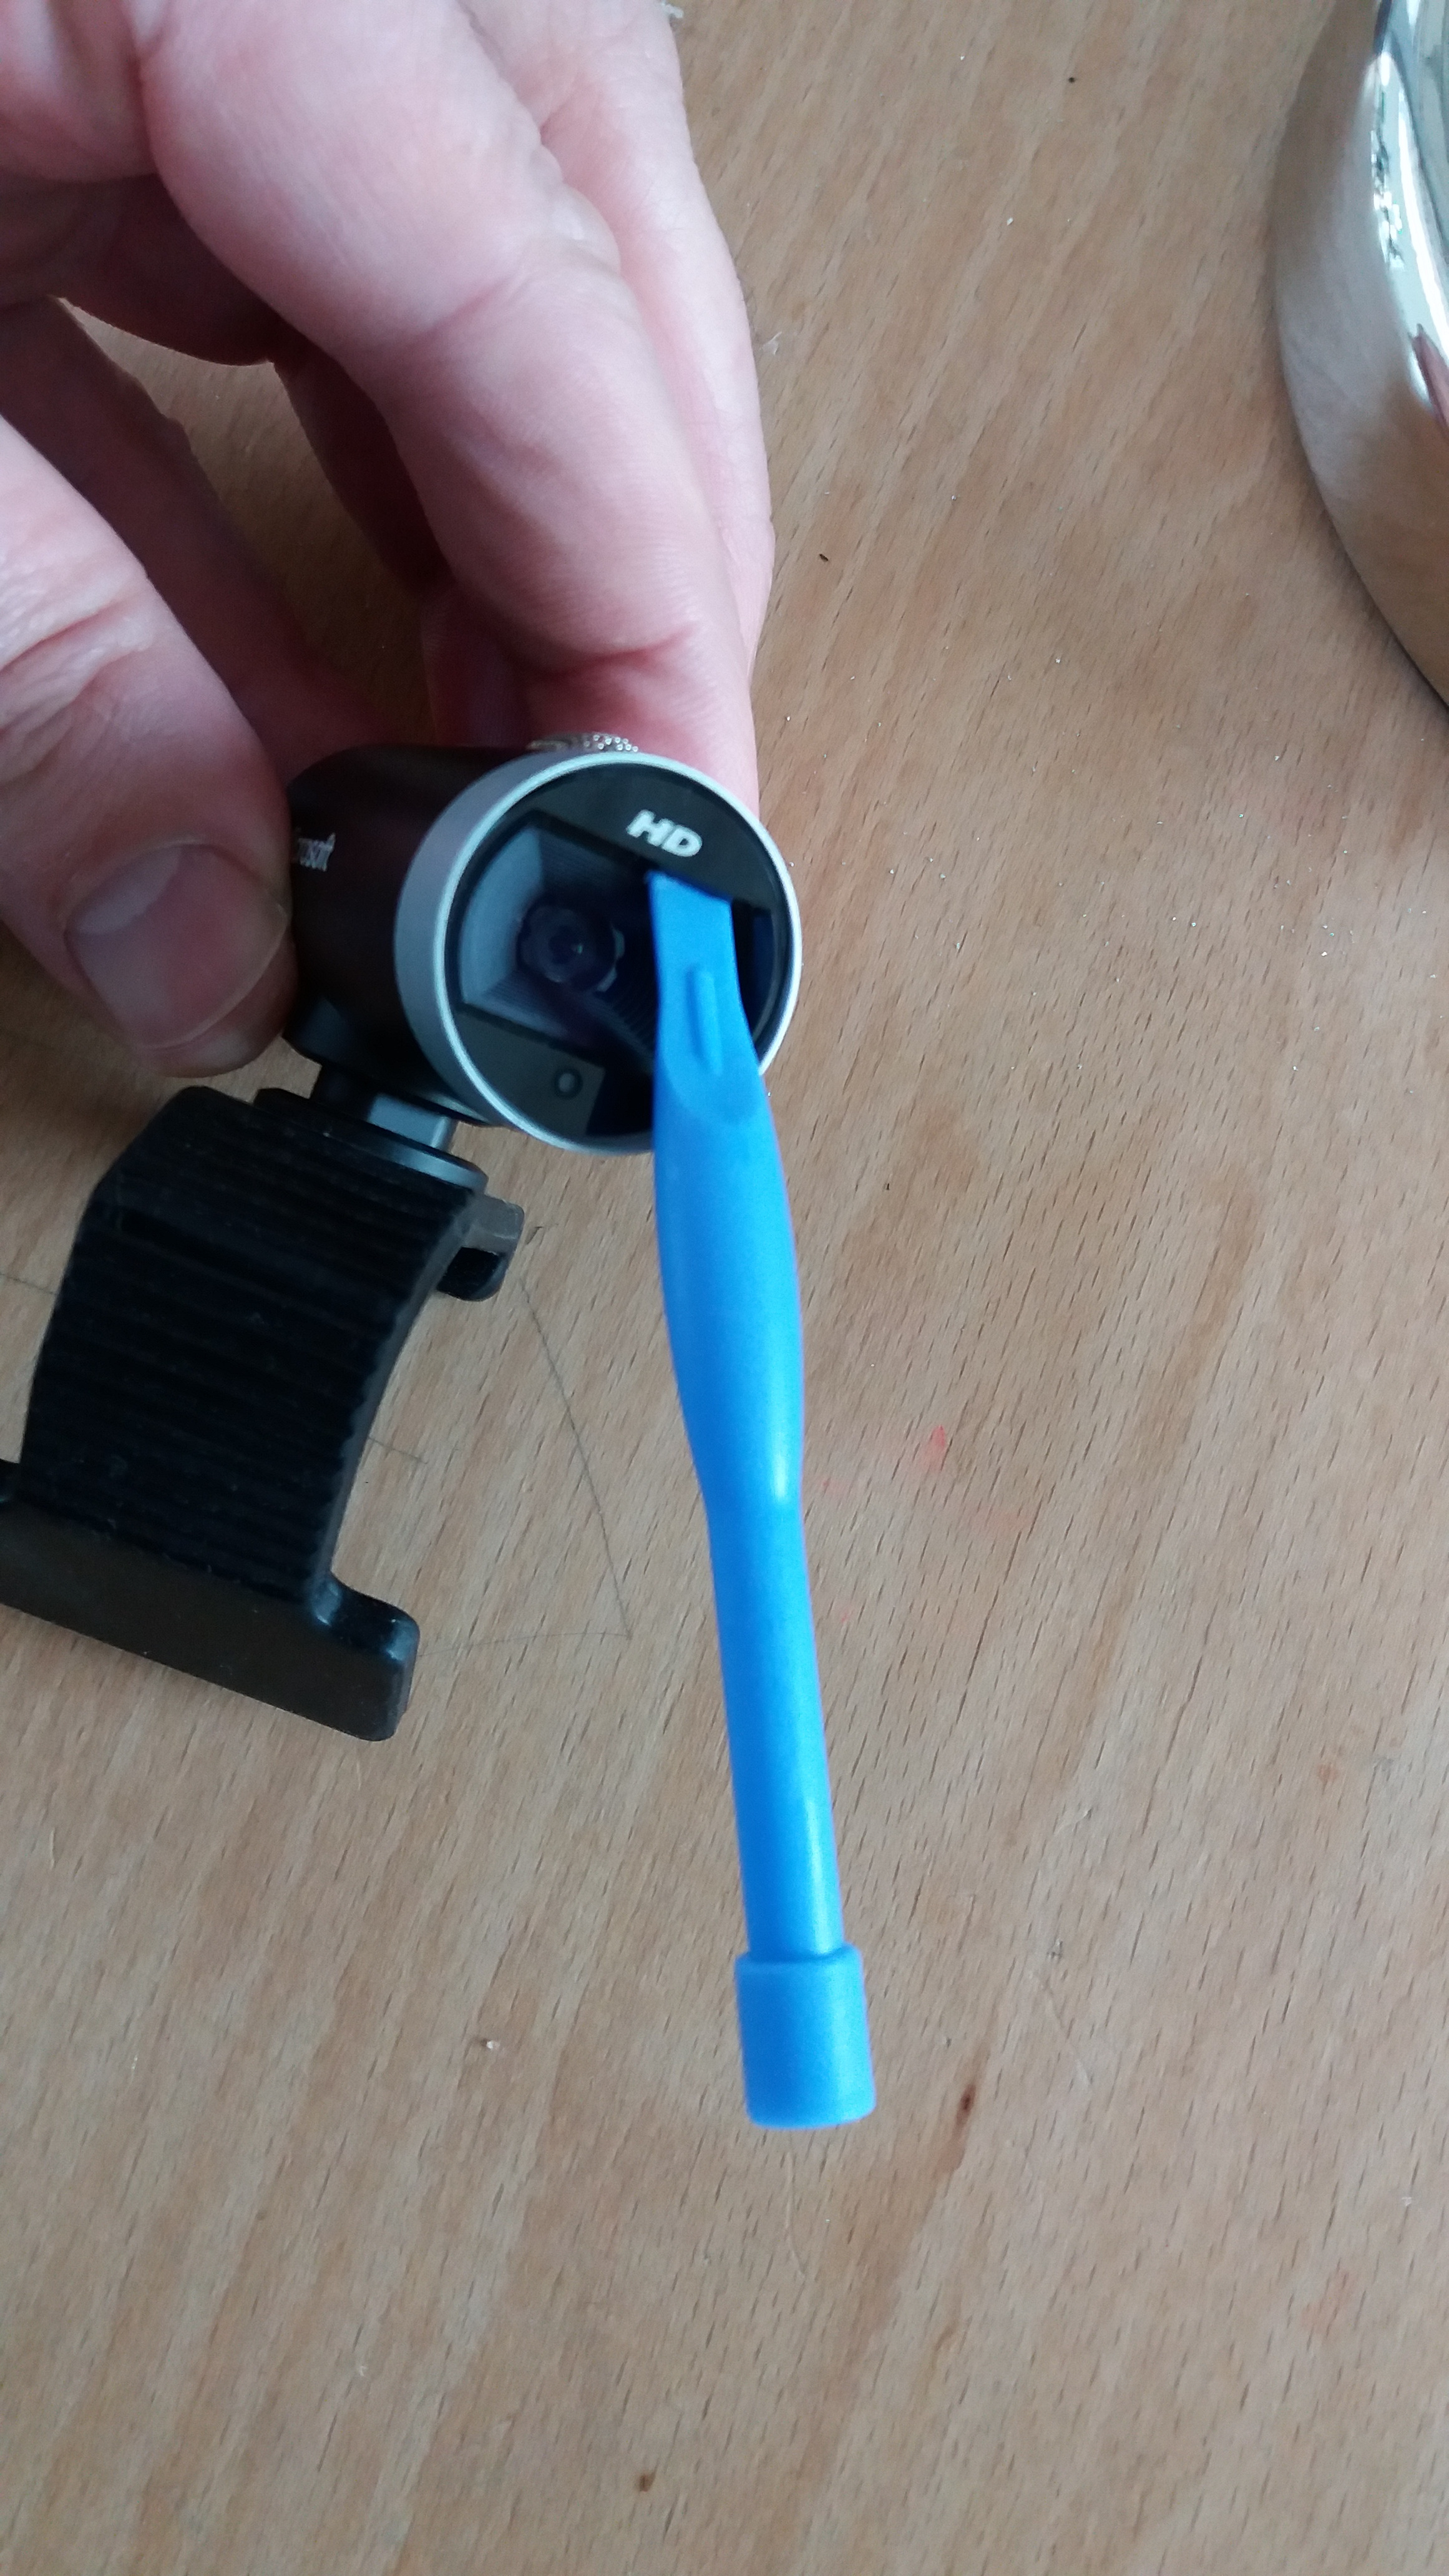
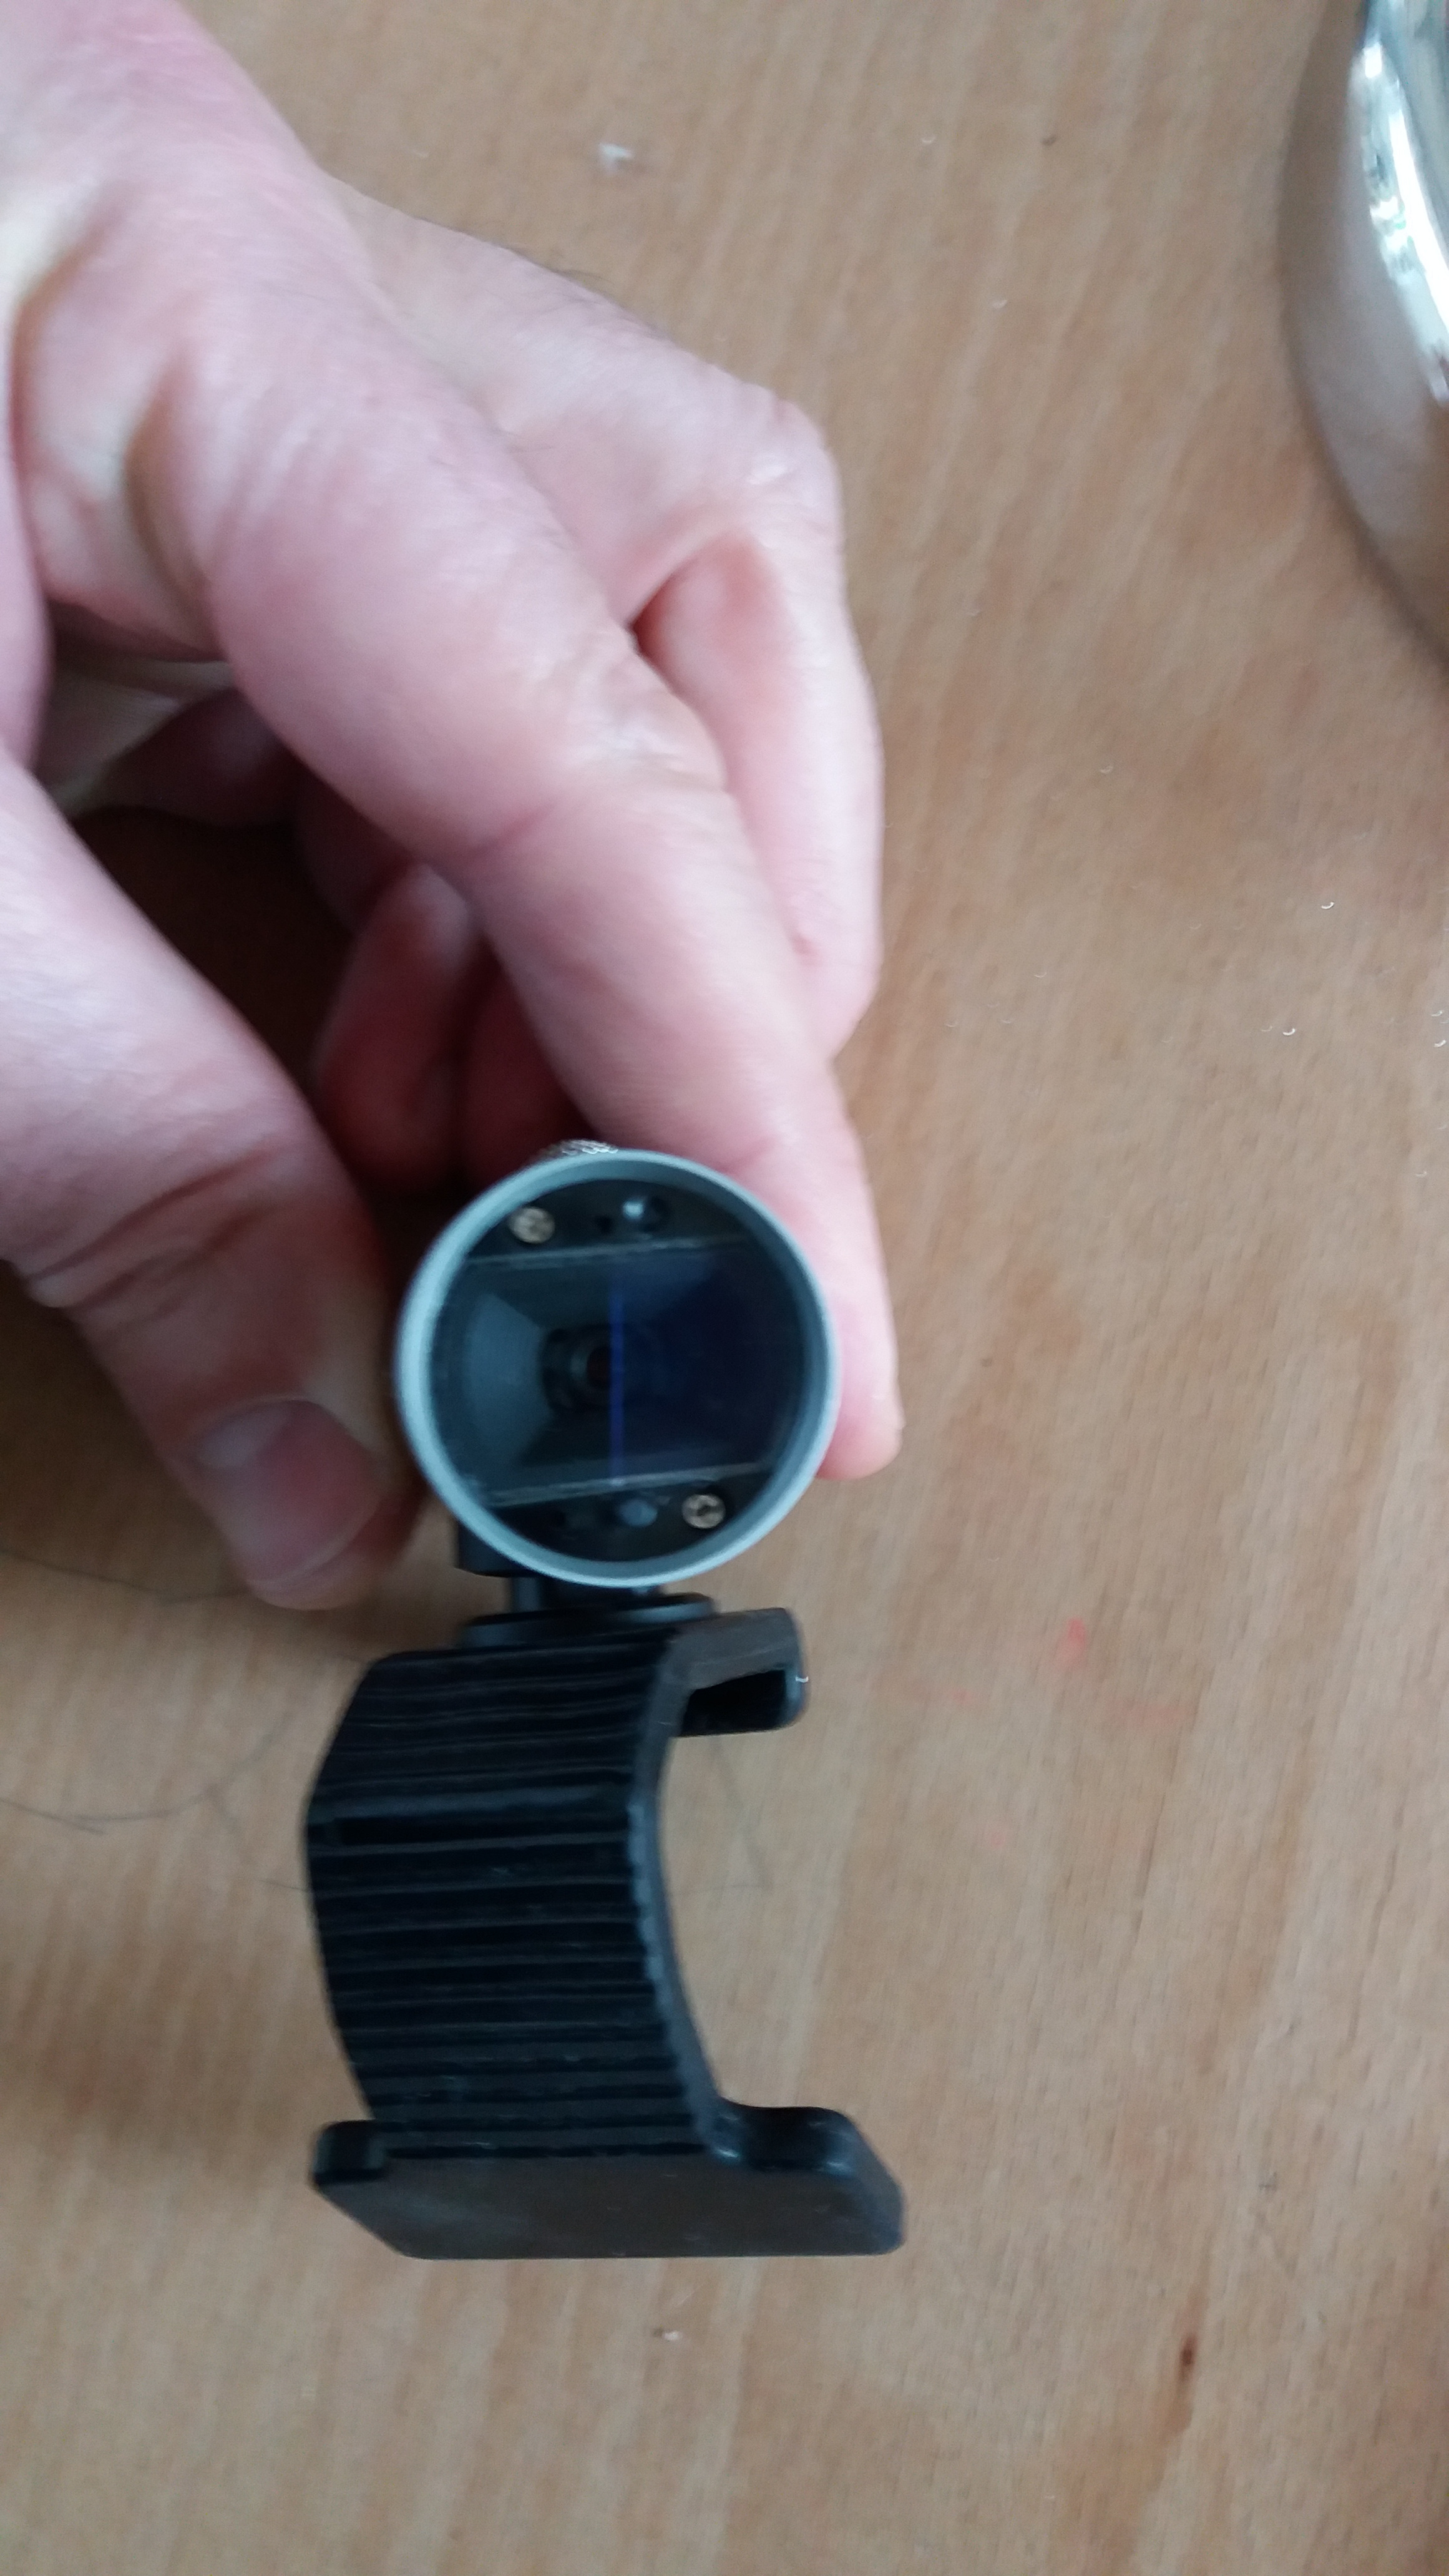
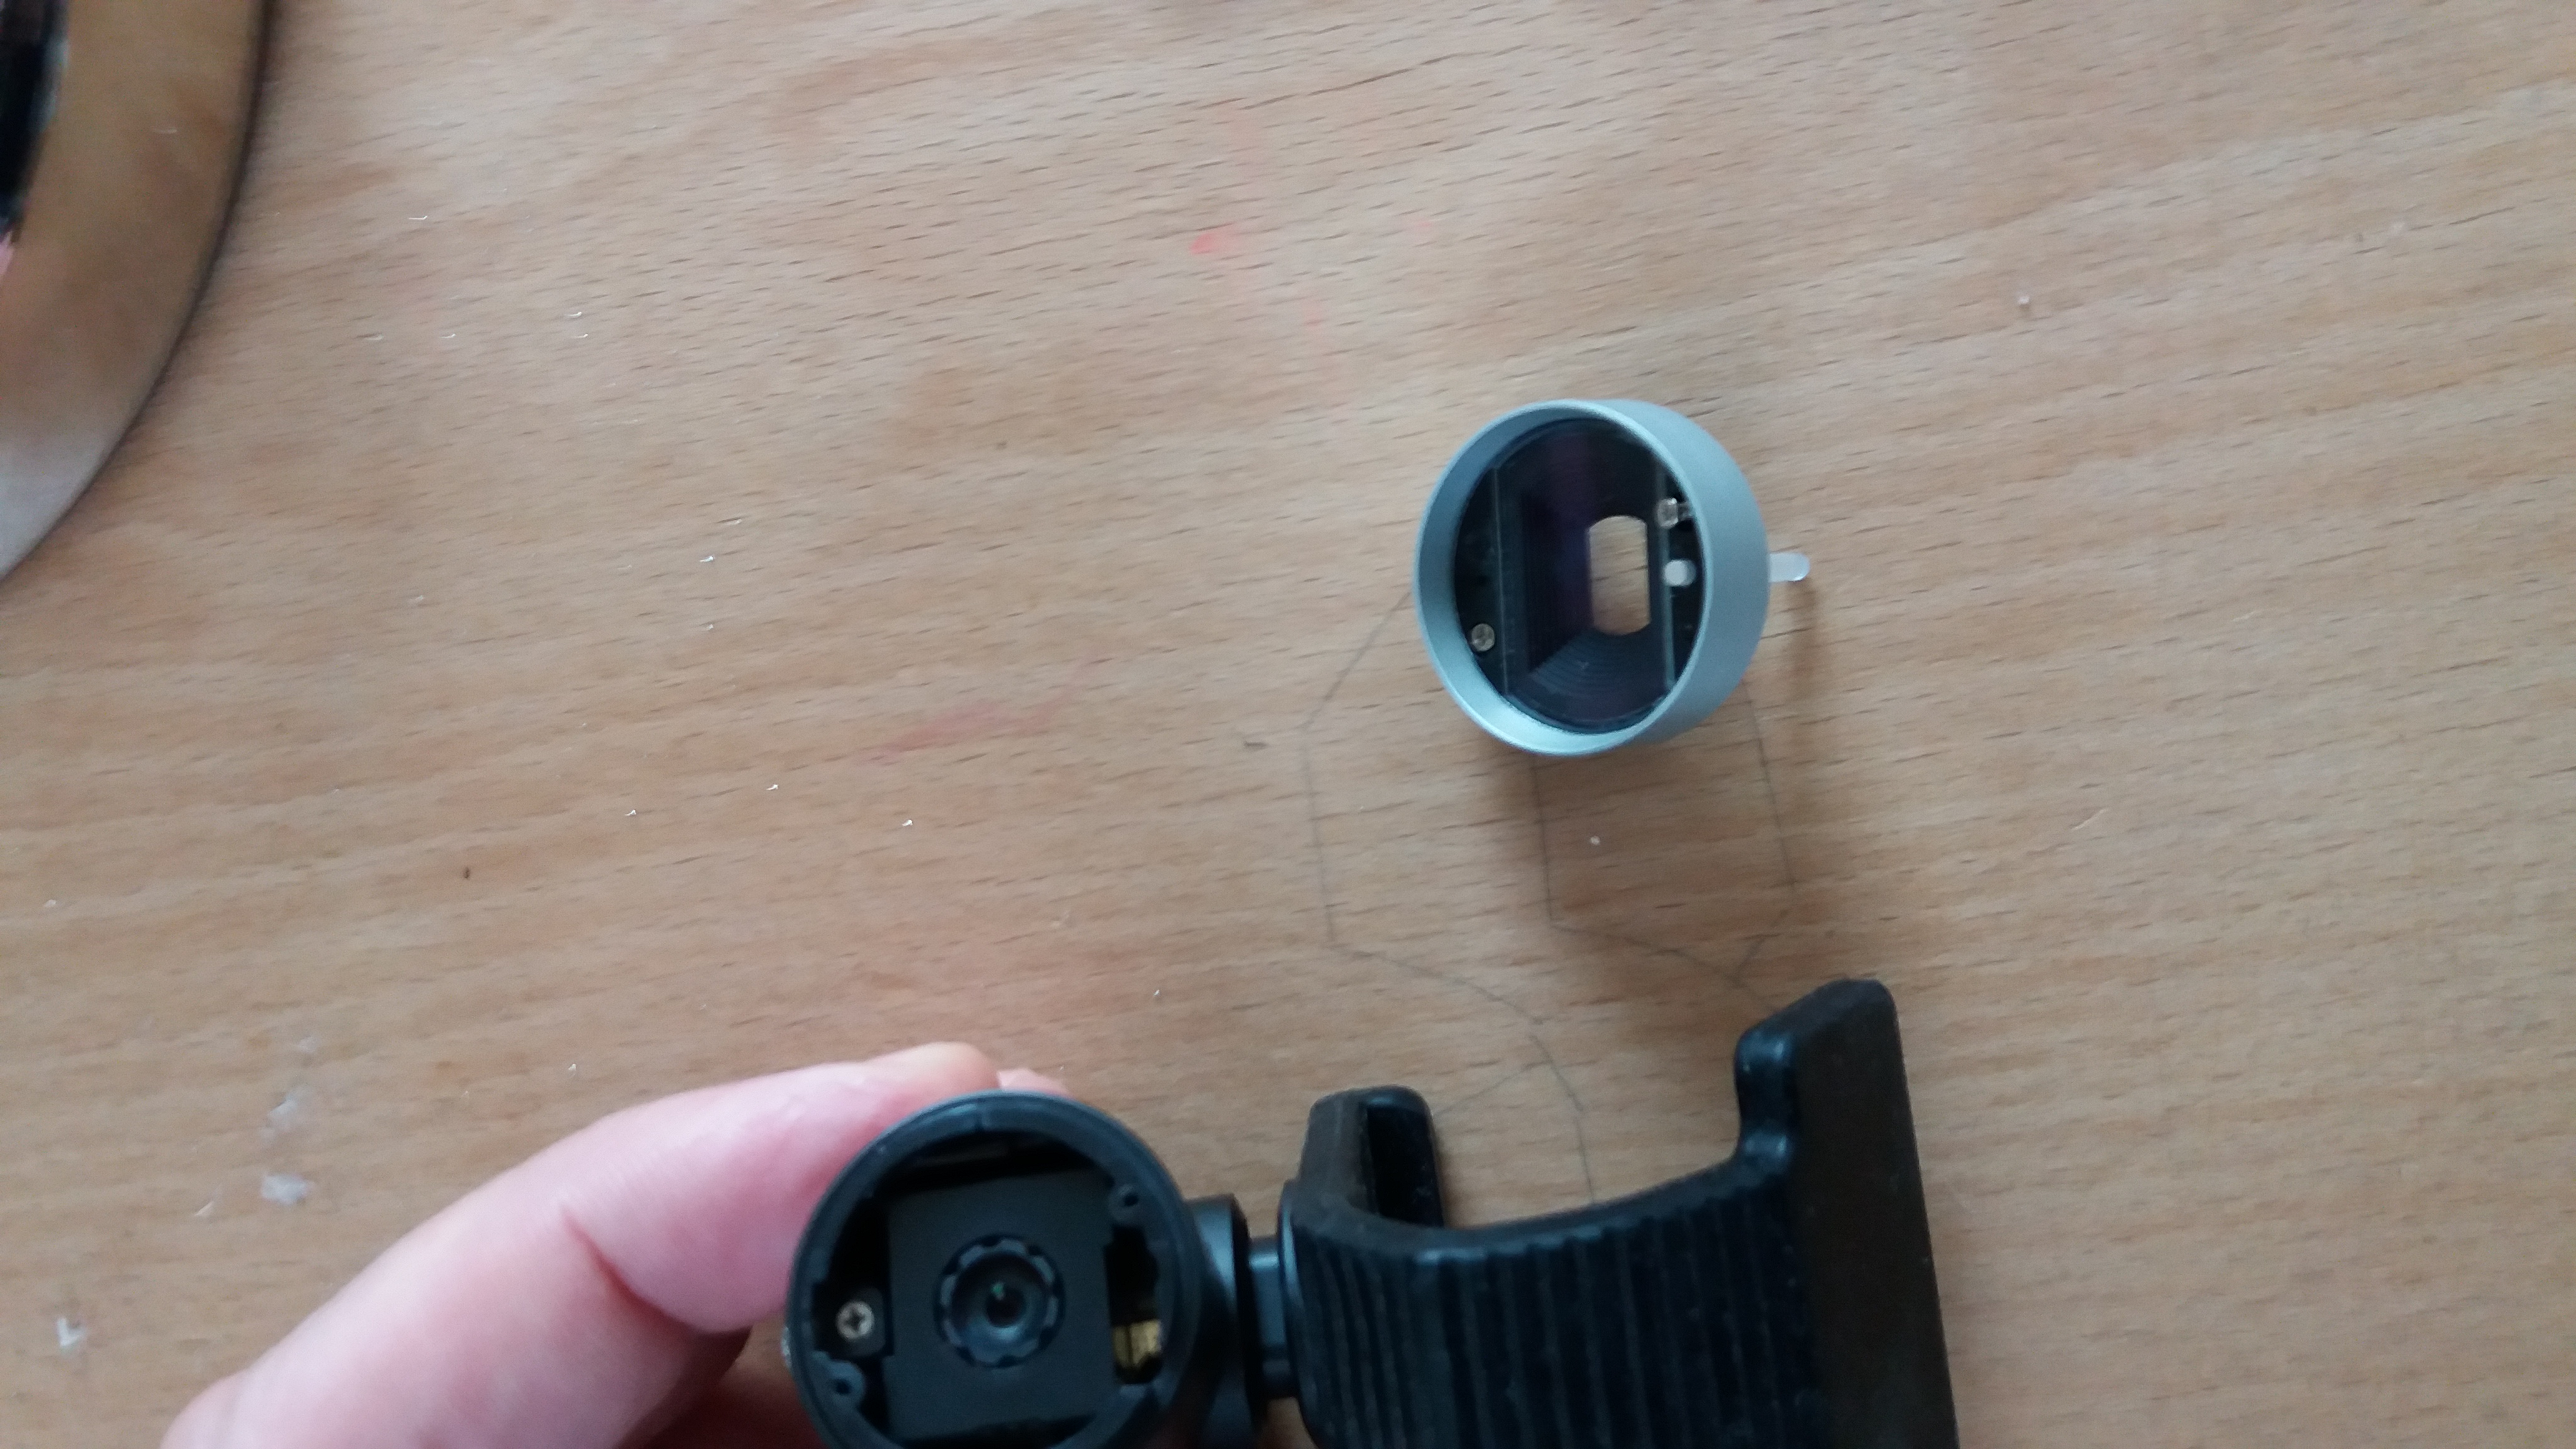
Using a thin soft tool prise the black cover (marked HD) from the front lens. This will reveal two screws that need to be removed before accessing the inside of the camera.
Remove the Screw Holding the Front of the Base
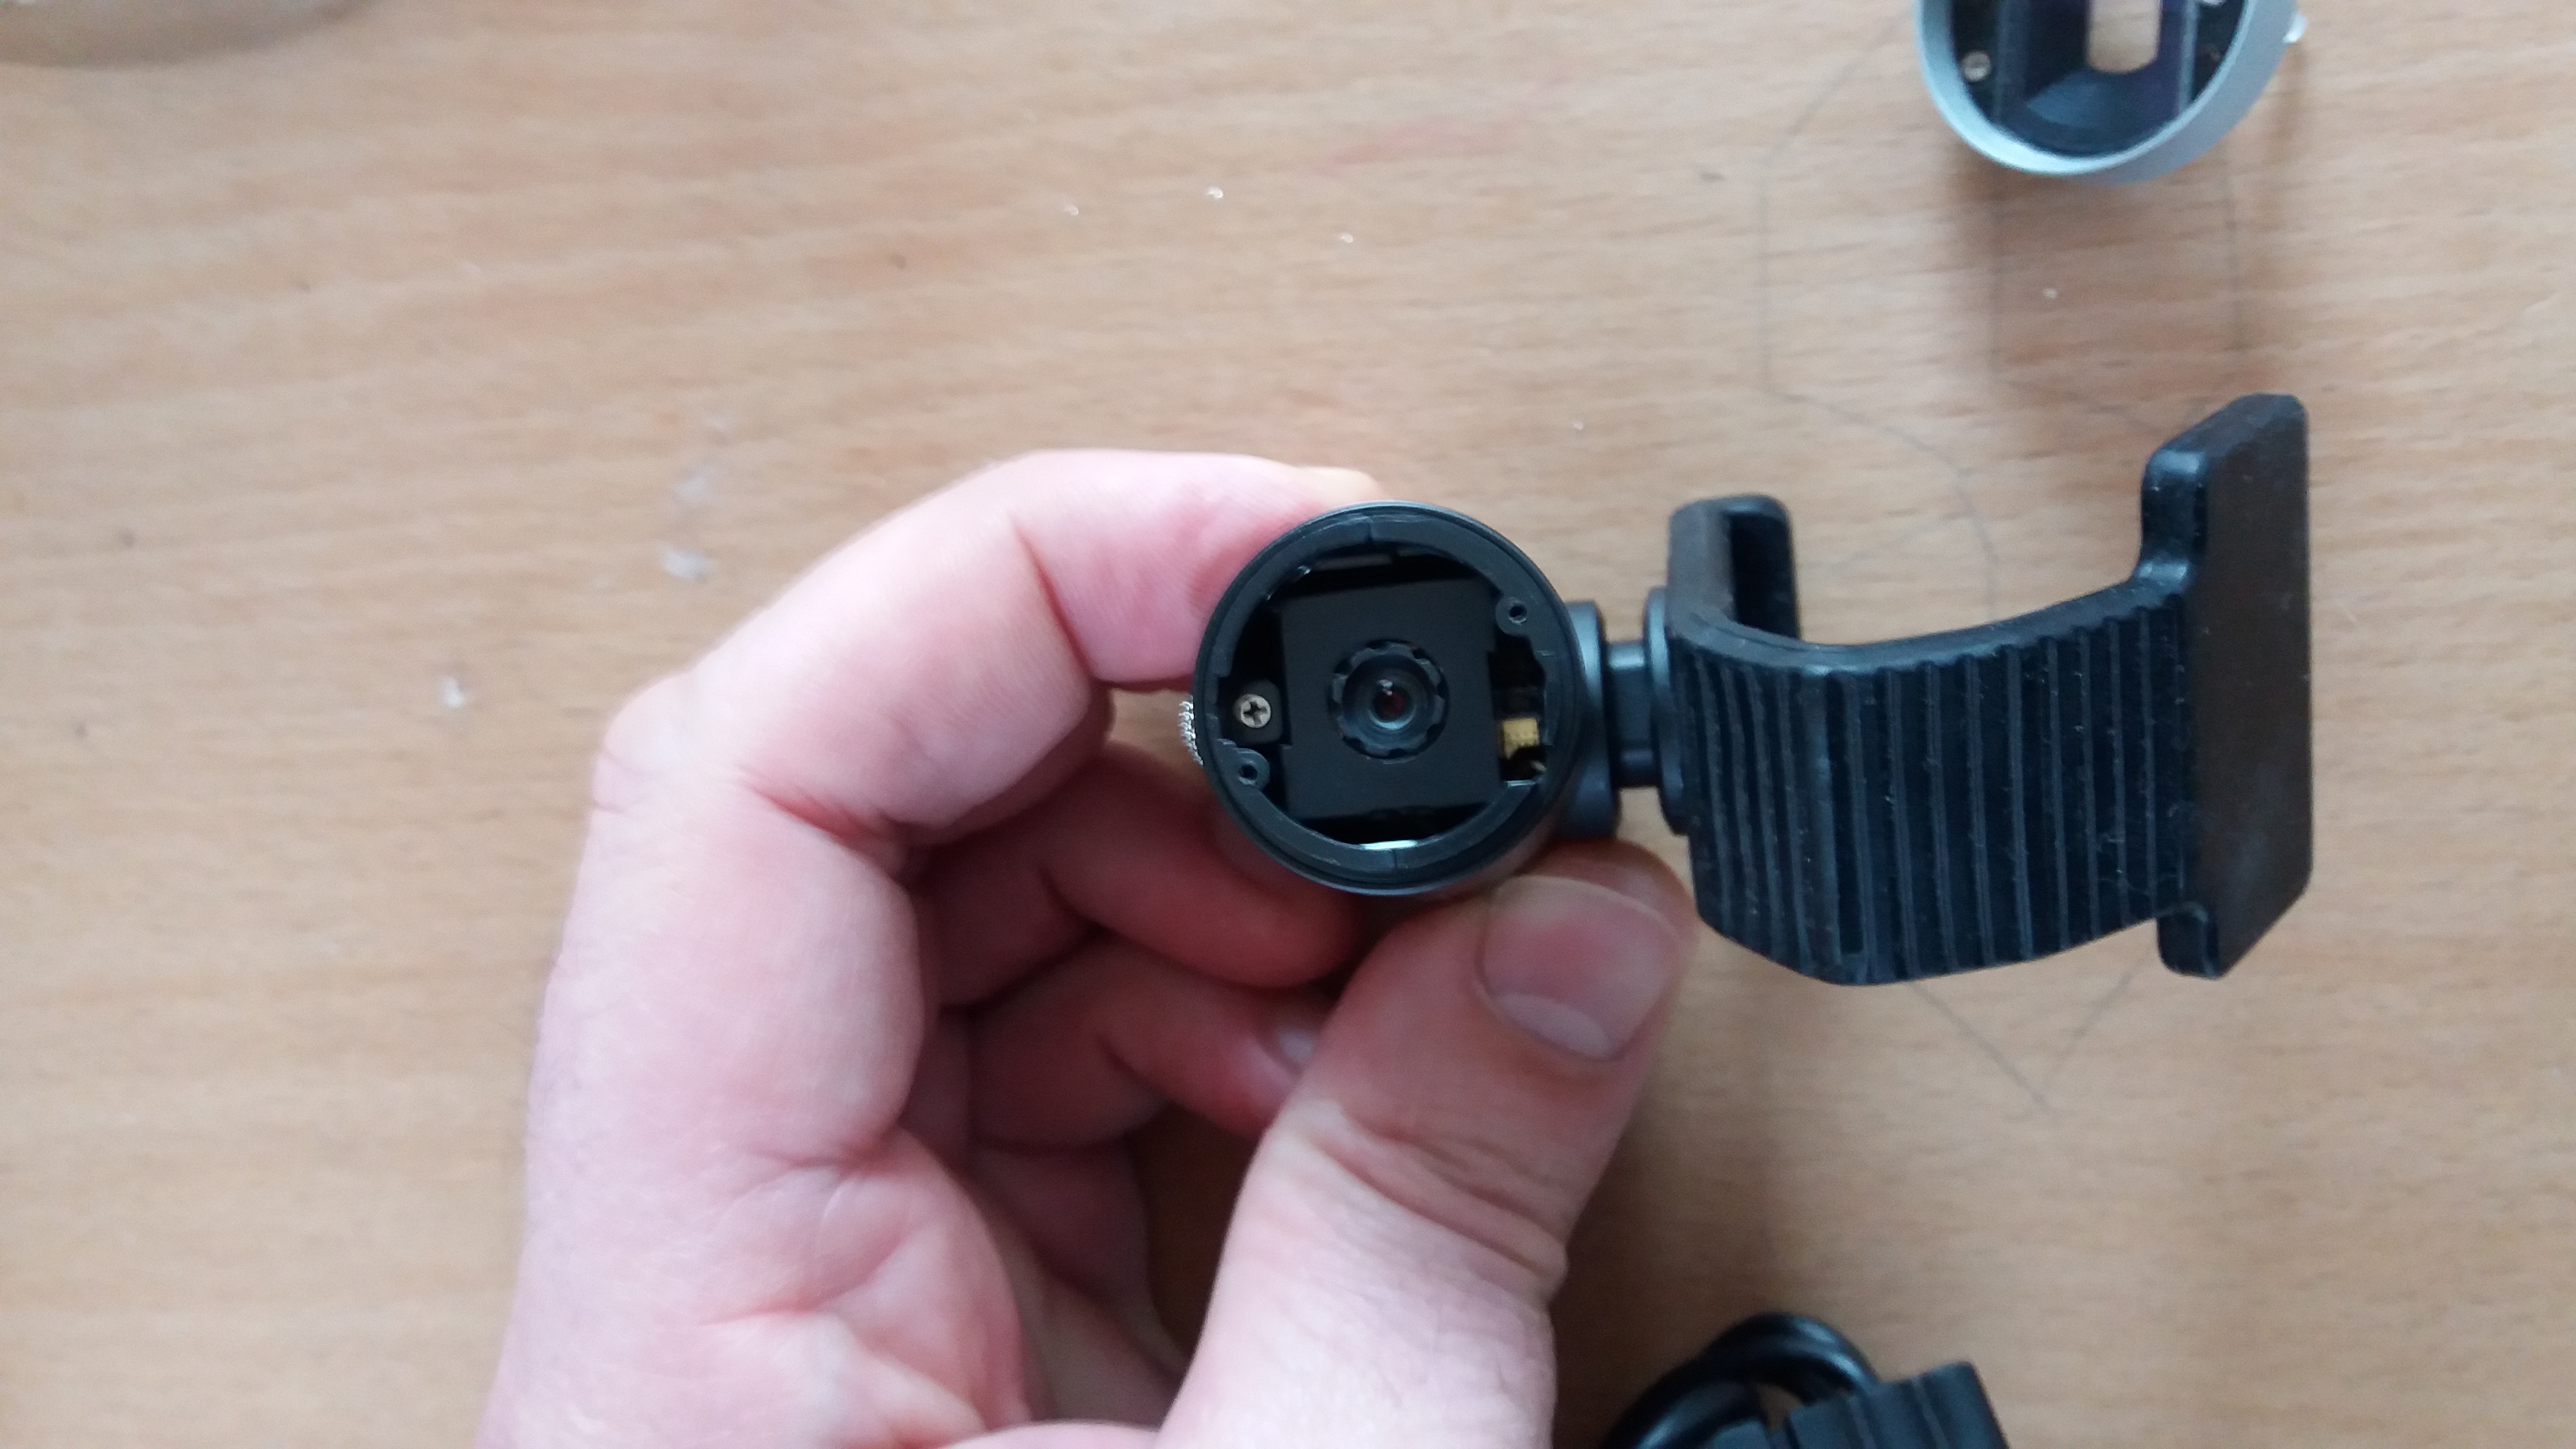
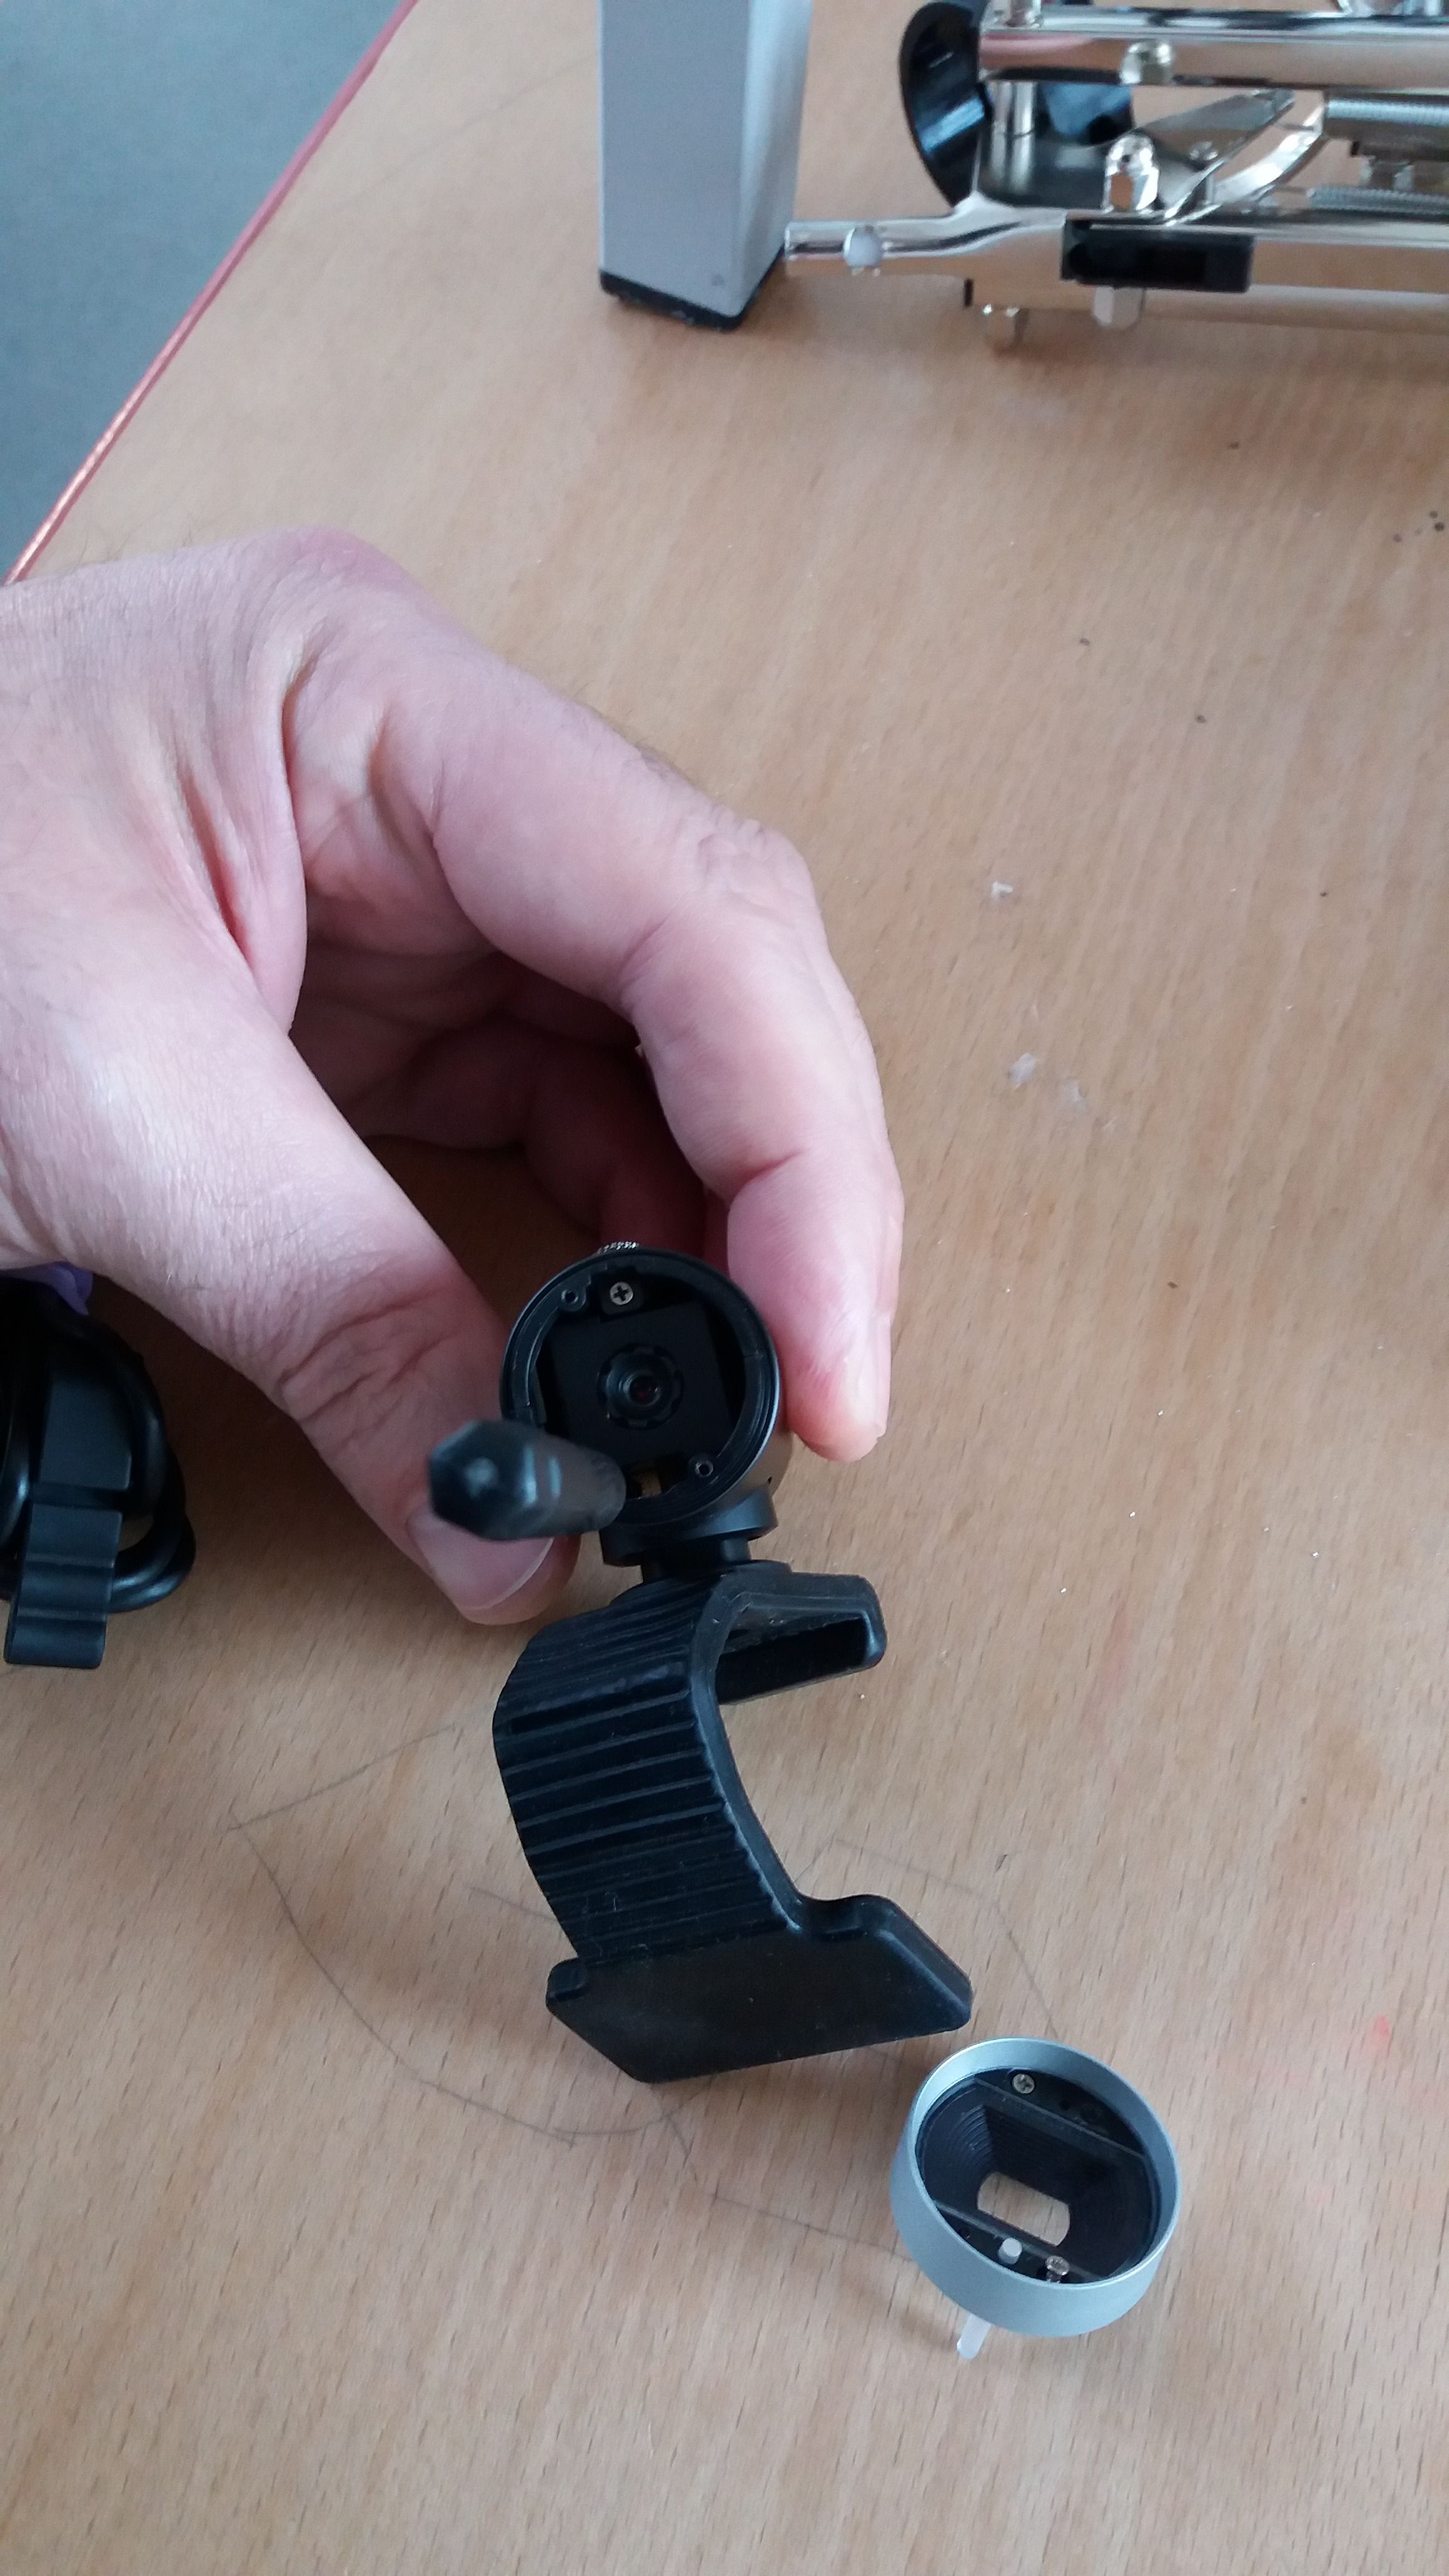
The screw we need to remove is quite far inside the camera nearest the base. It is a slight pain the remove as the lens assembly contains a strong magnet which the screw wants to stick to on the way out. Remove this screw then put the front lens cover back on and screw it in place, next stick the black lens cover surround back in place.
Remove the Rear Base Screw
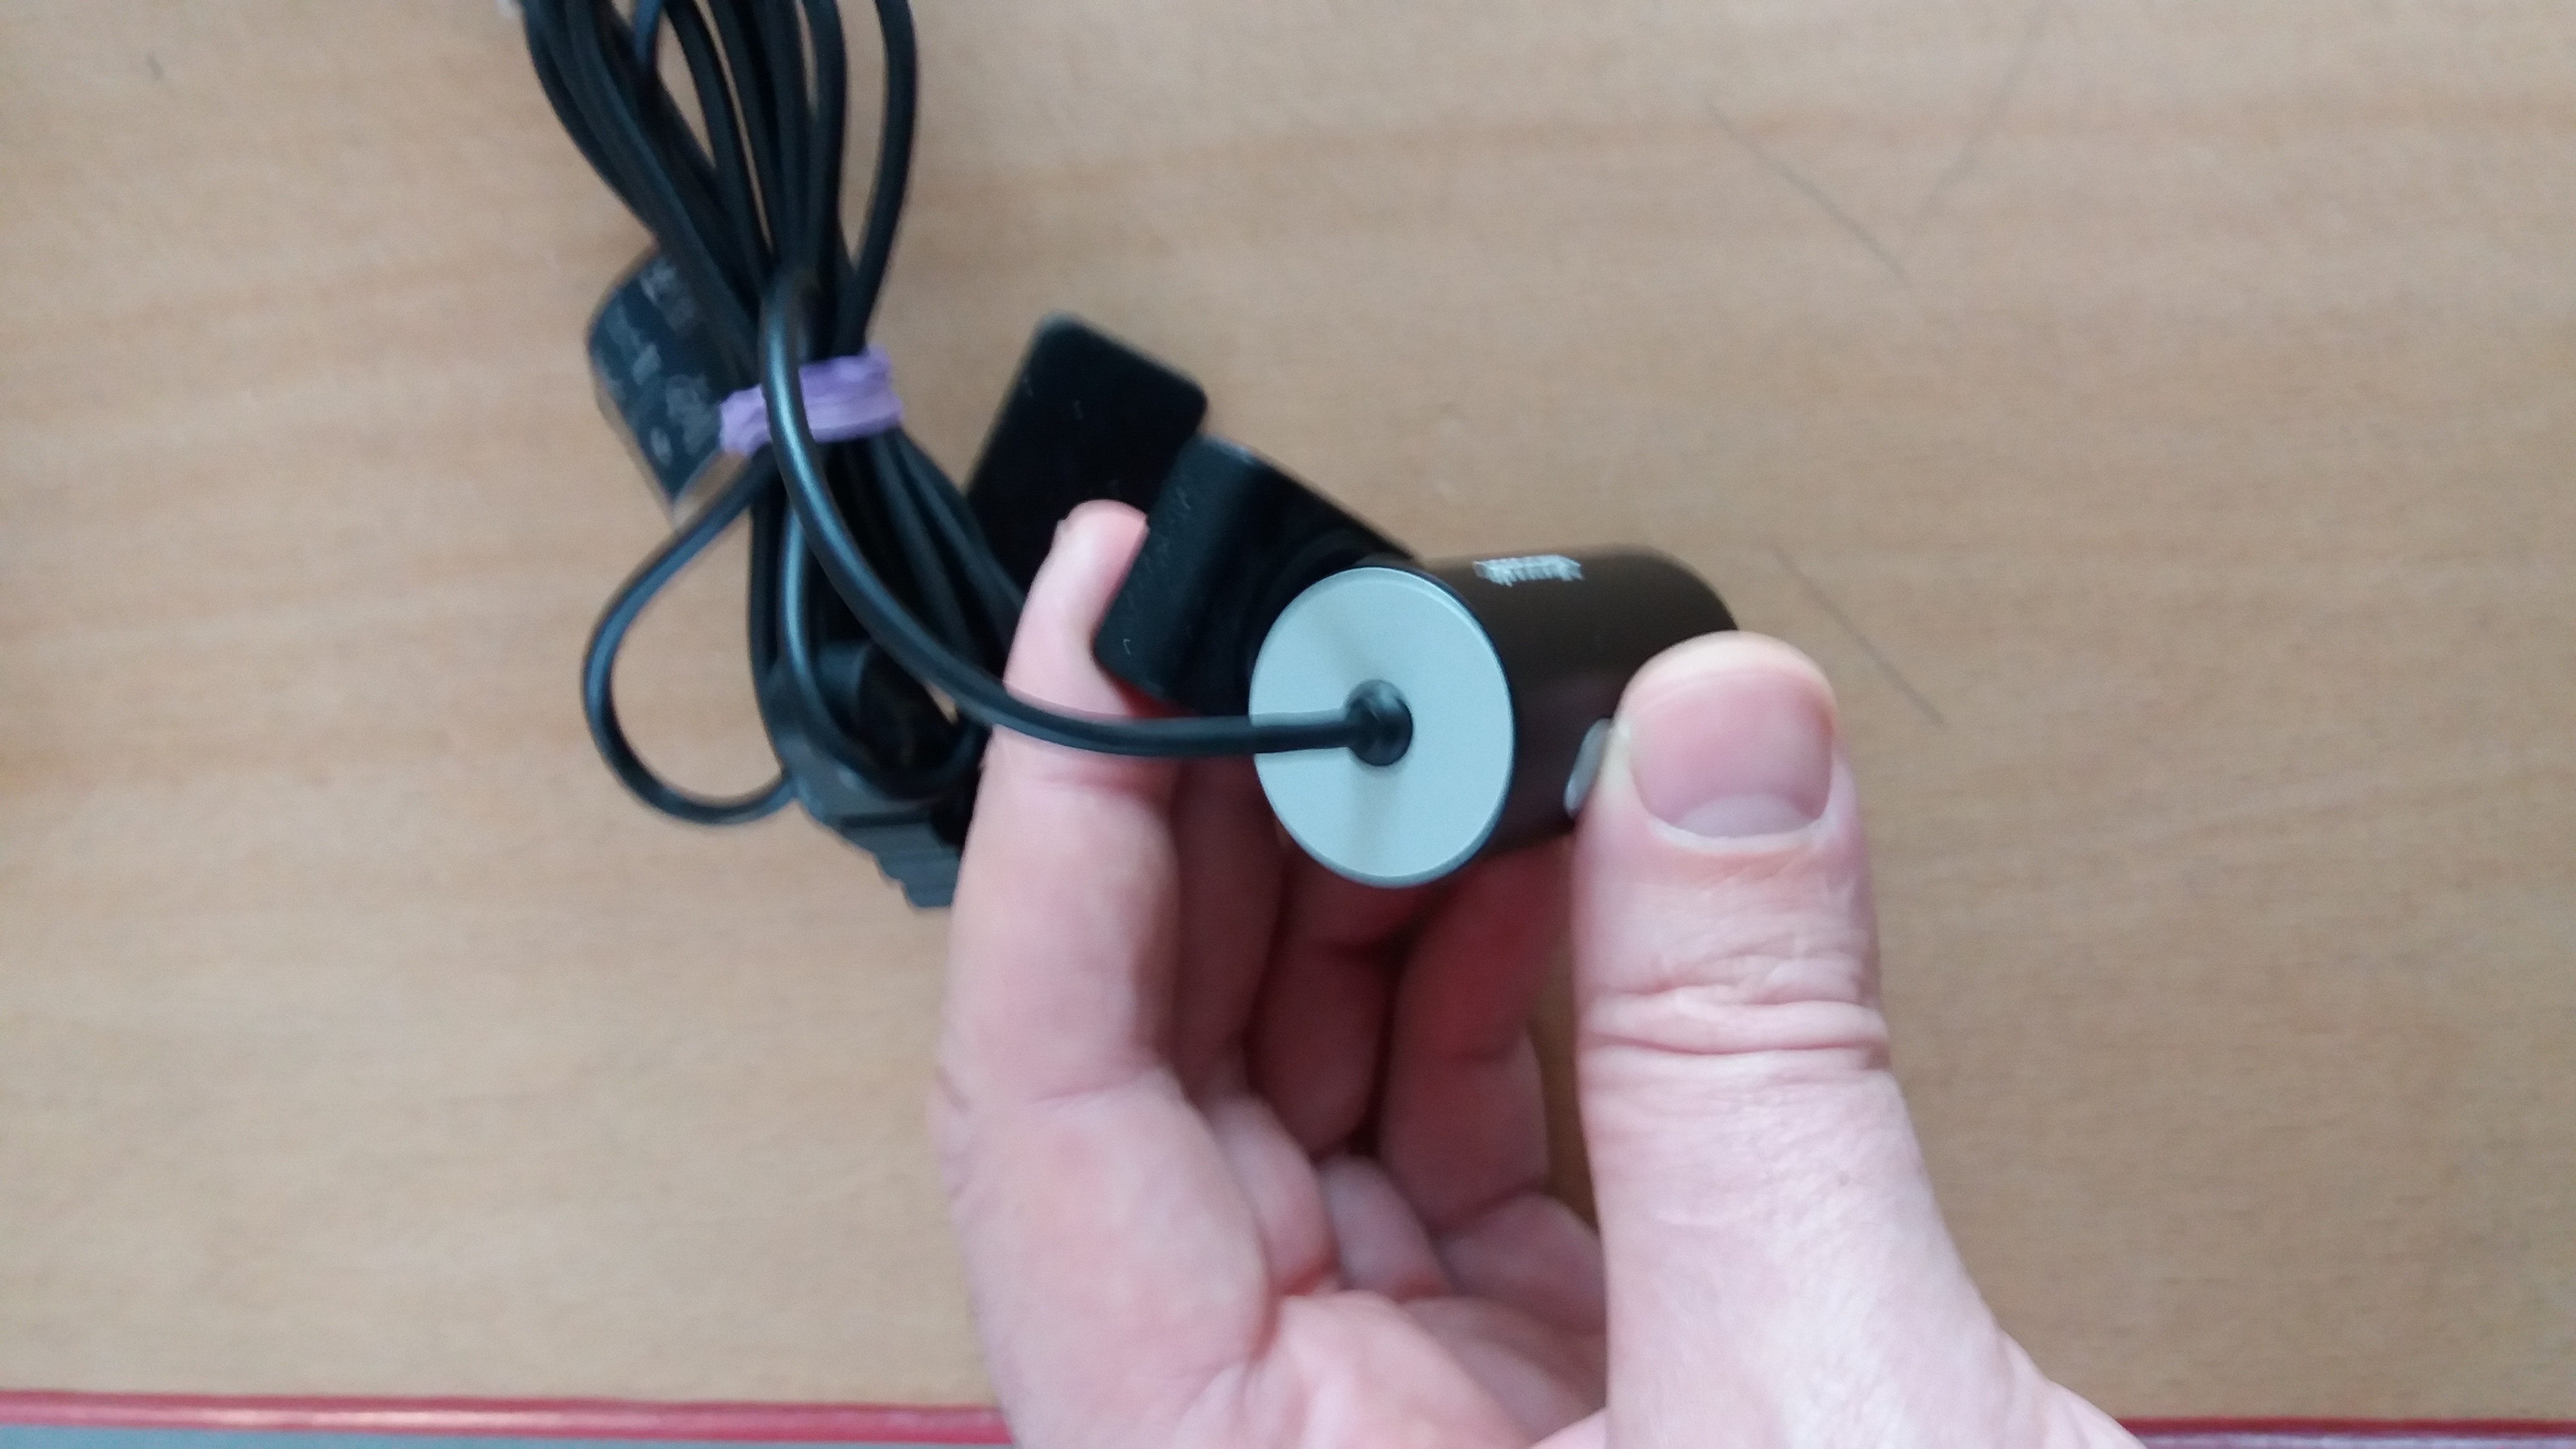
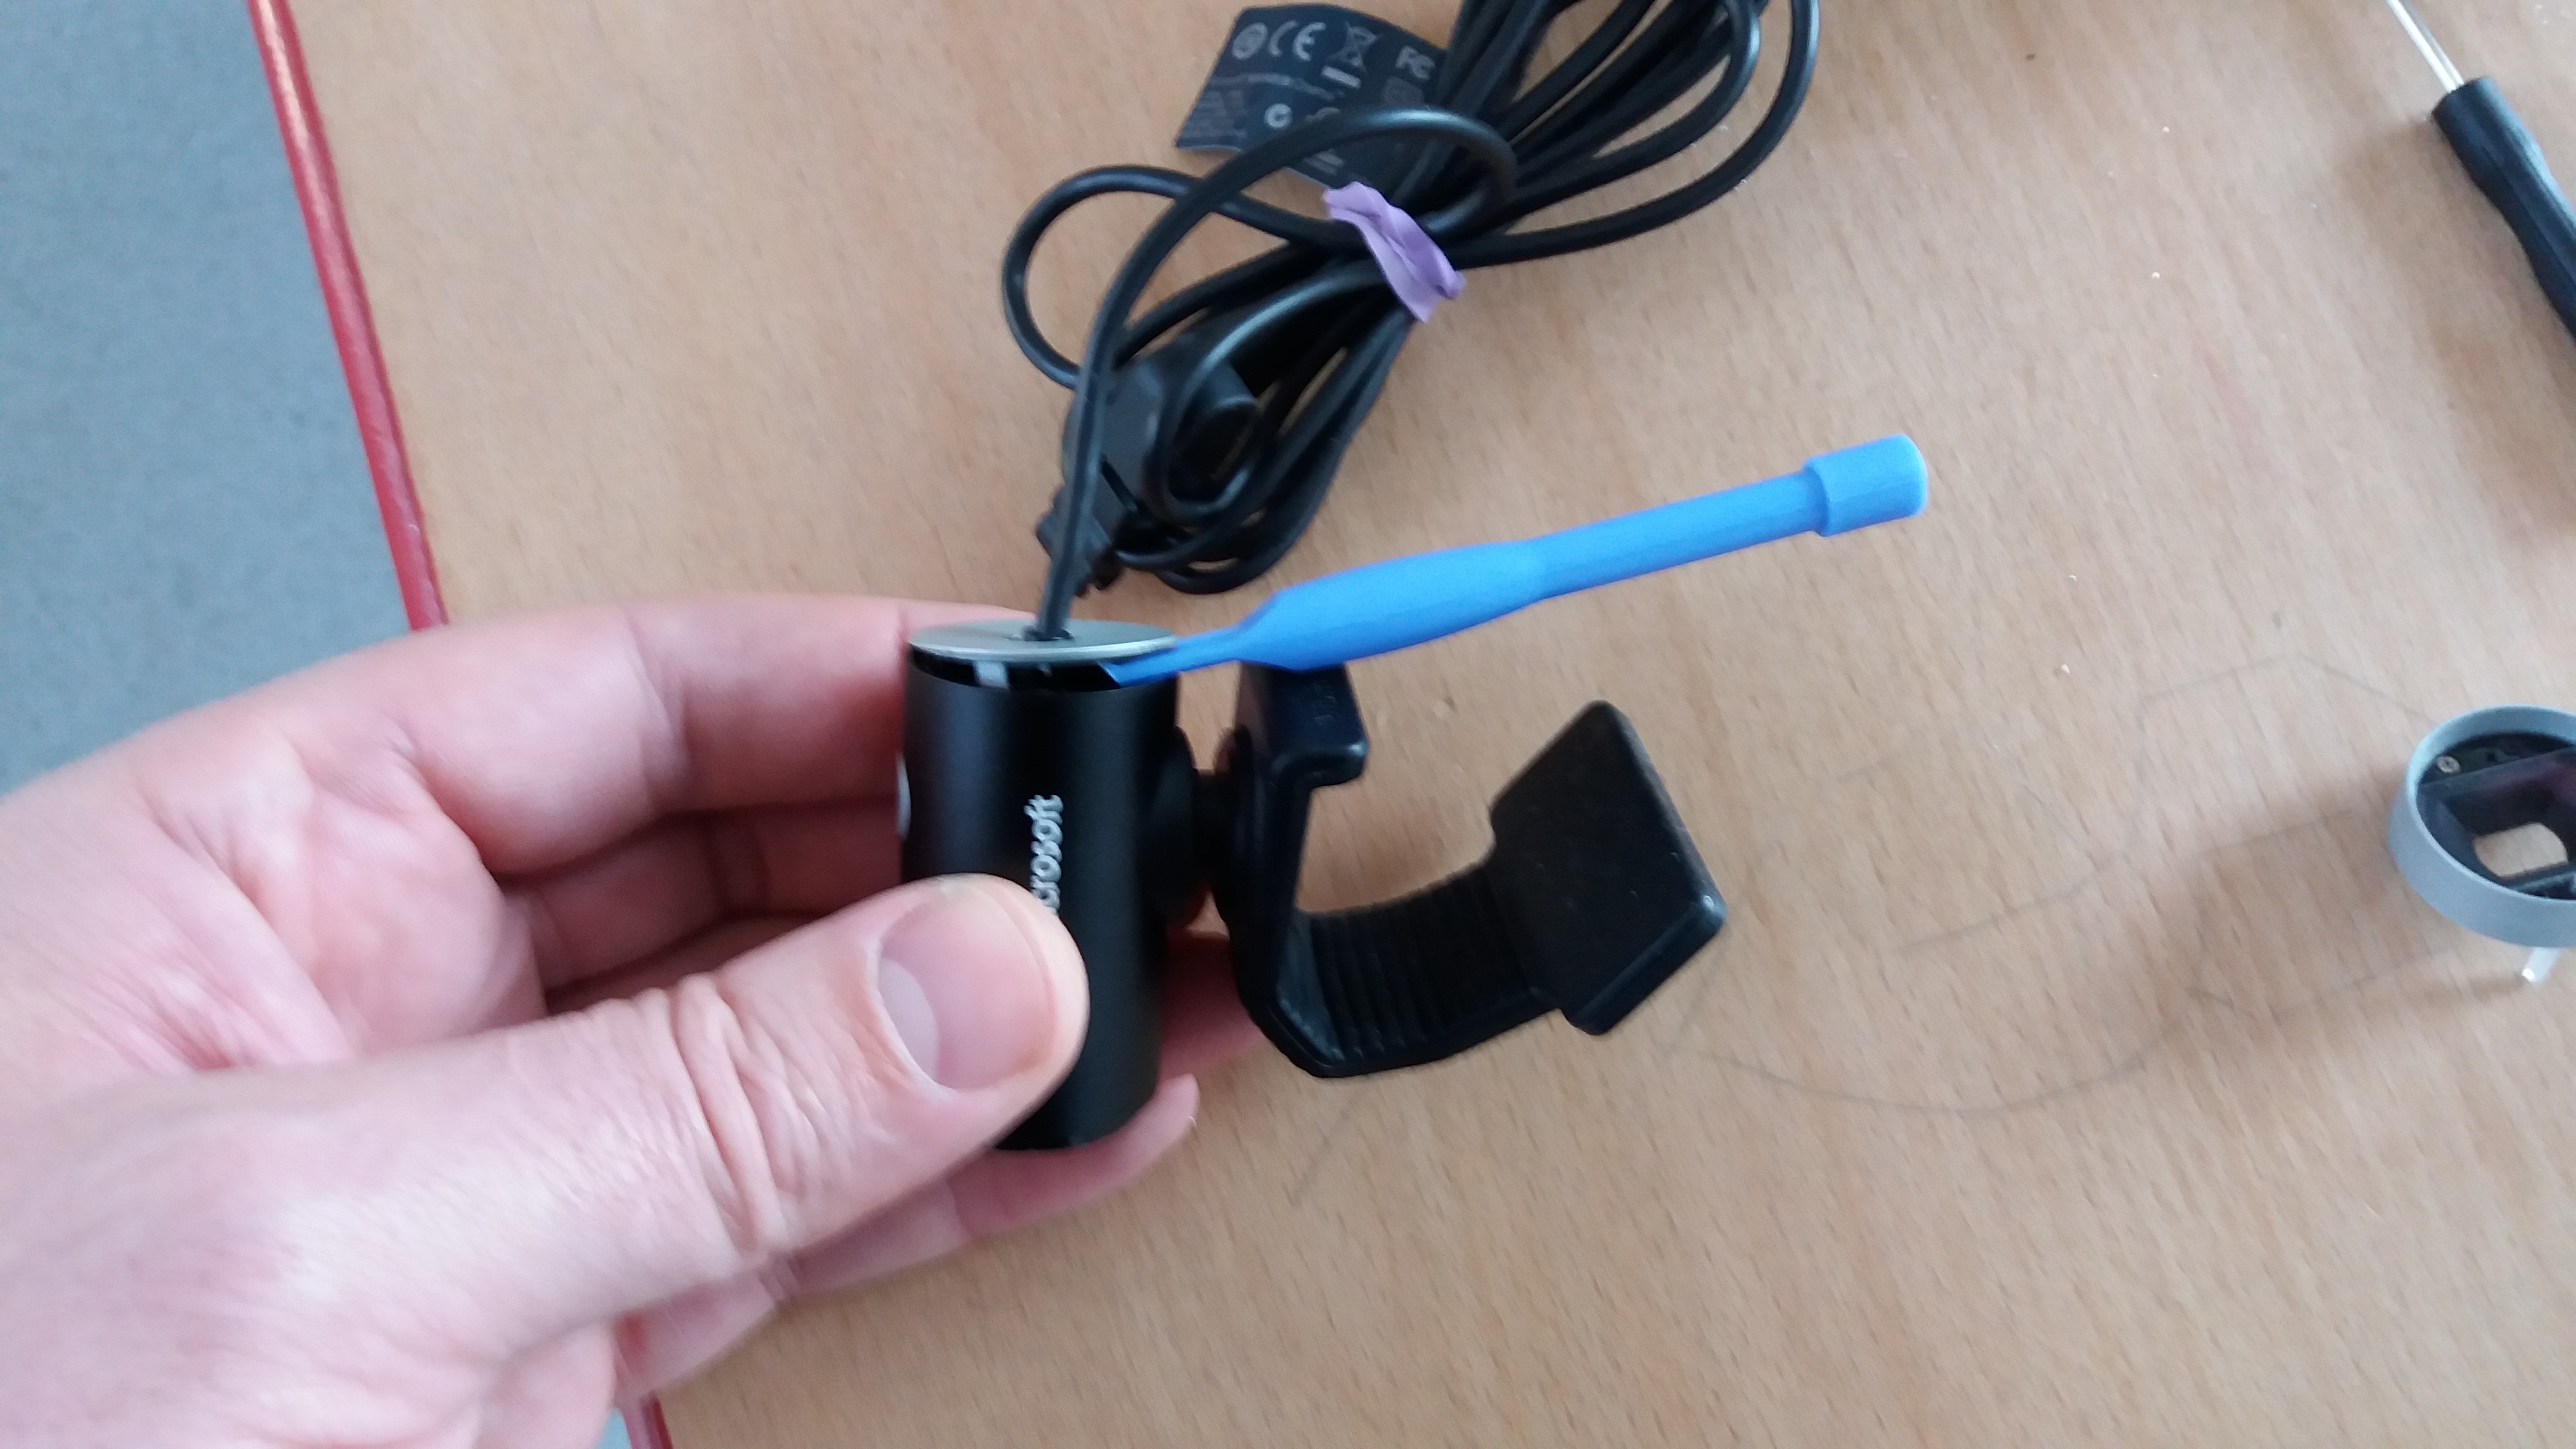
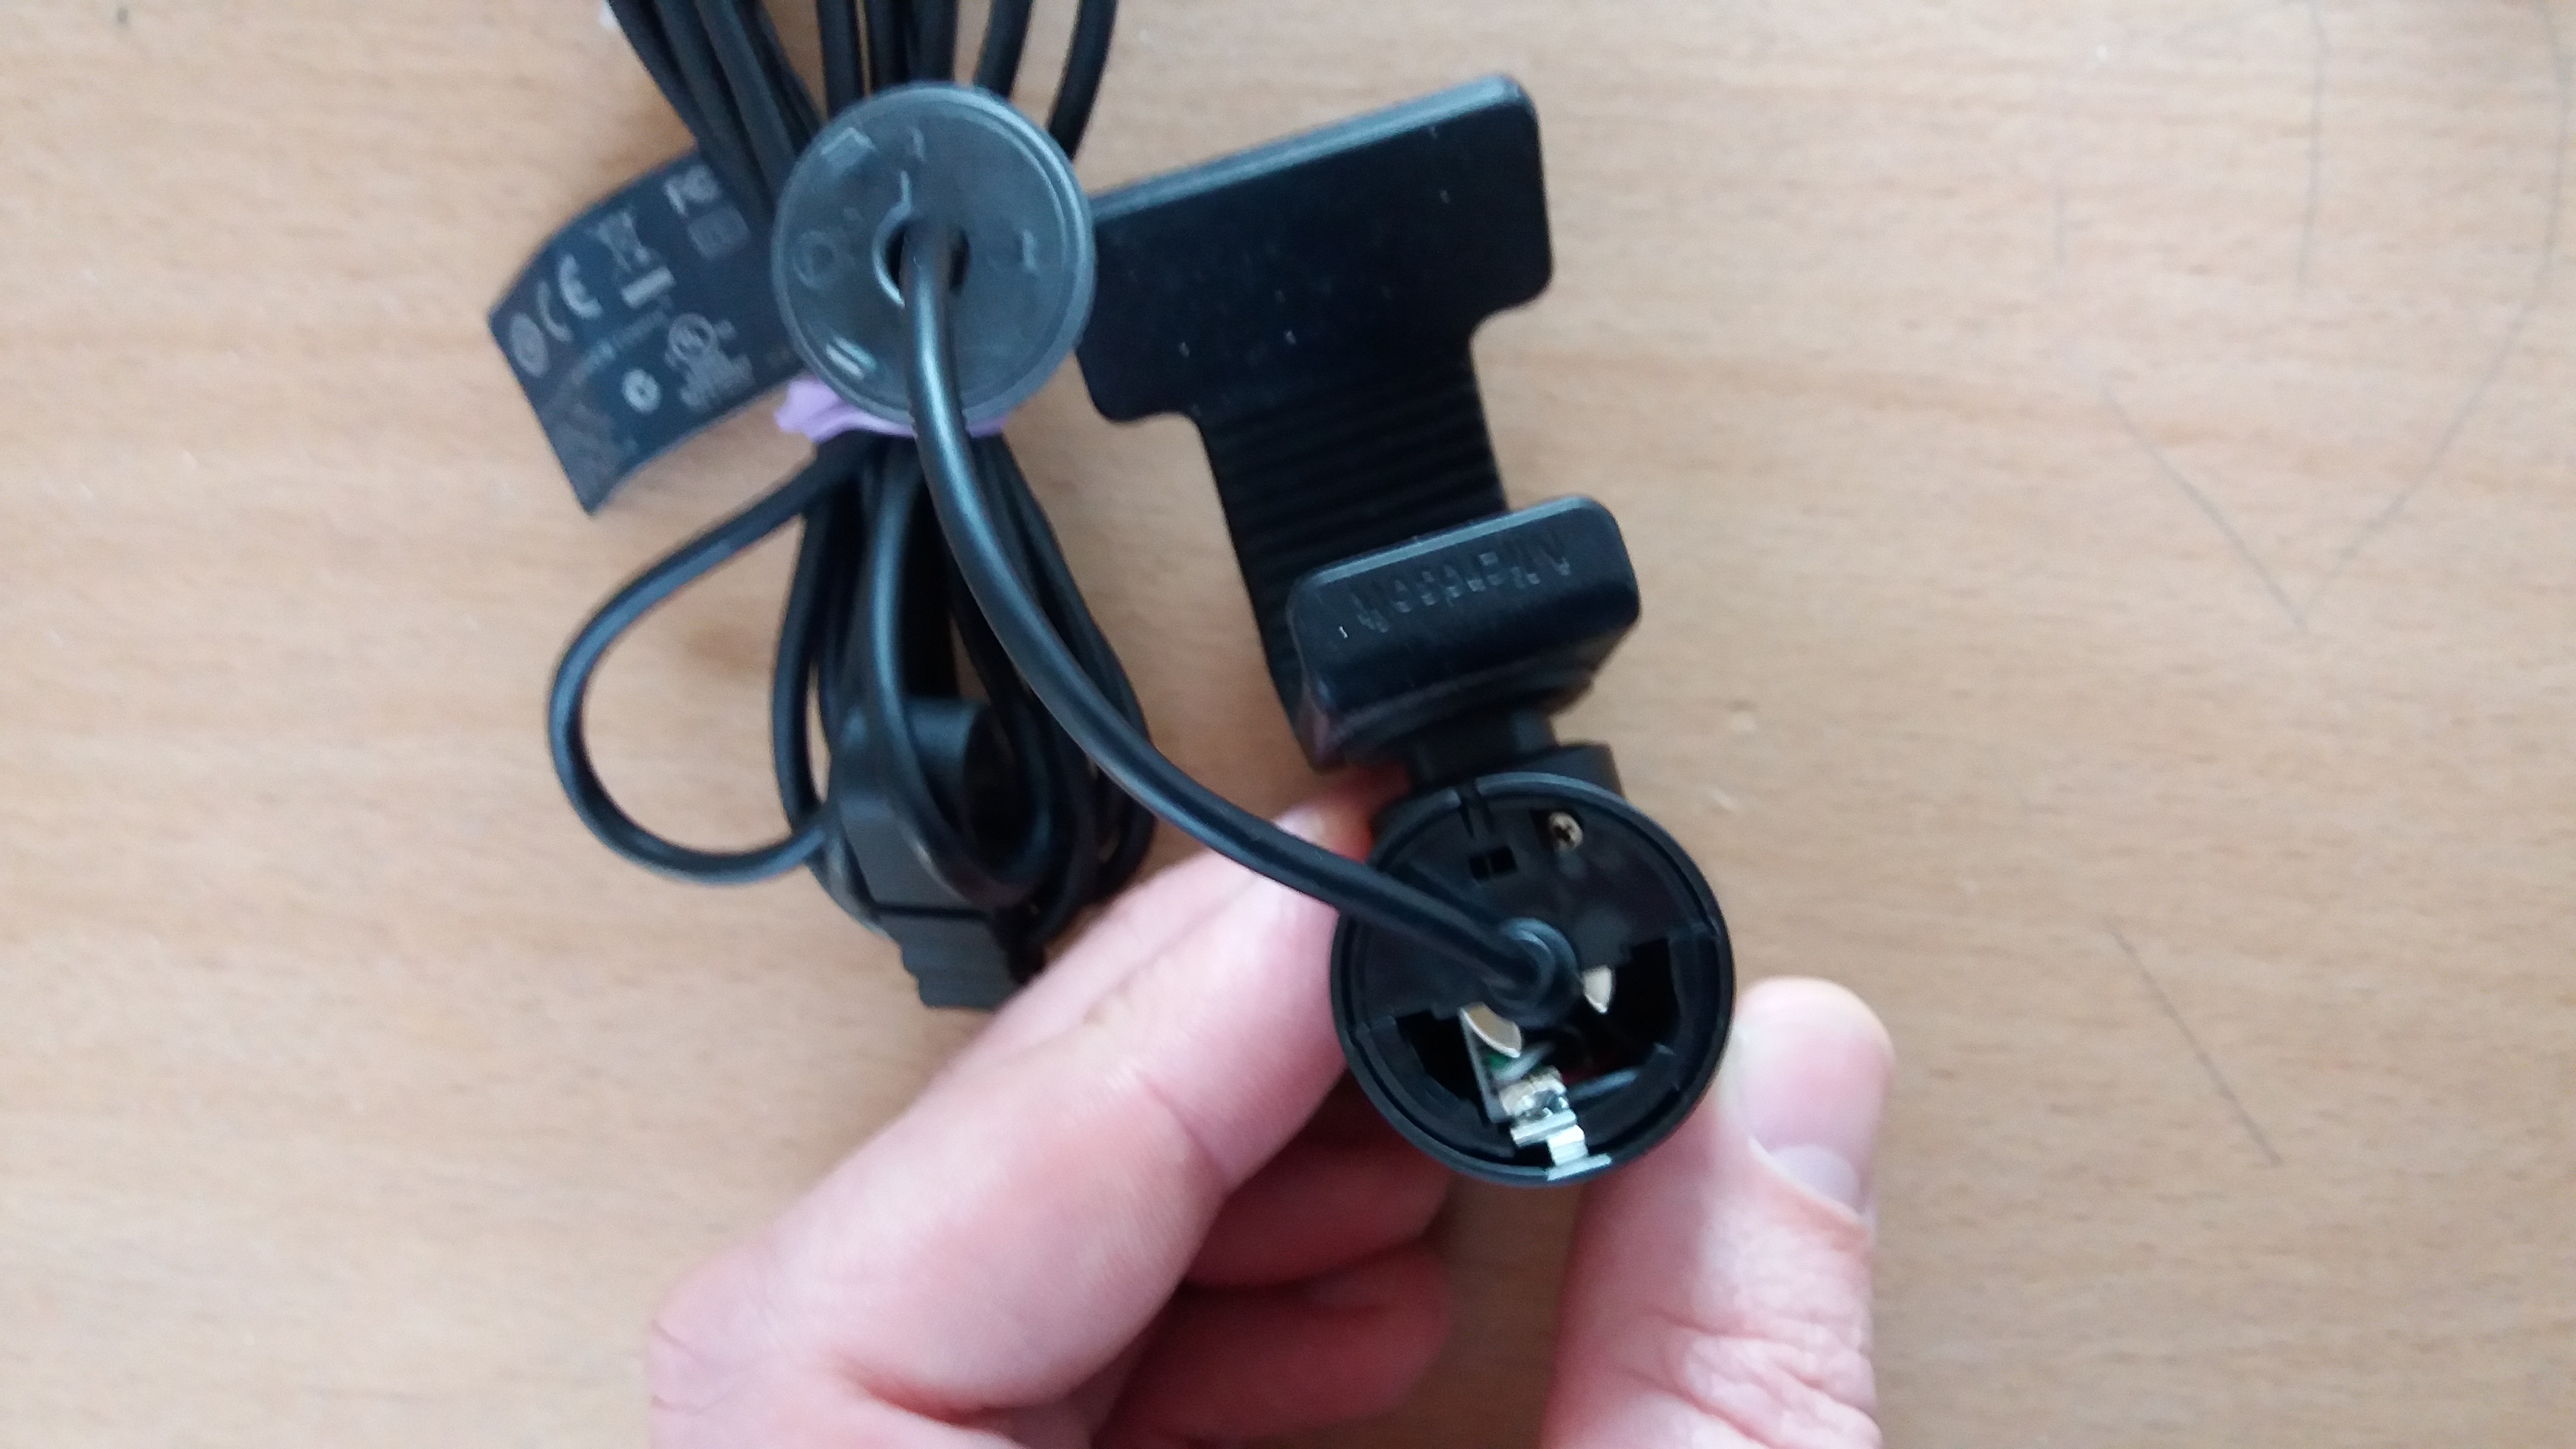
This screw is easier to get to as the rear grey plastic cover merely clips on and can be popped off. Remove the grey cover, take out the second screw holding the base in place. Then pop the grey cover back on.
Now Your Camera Is Ready to Mount
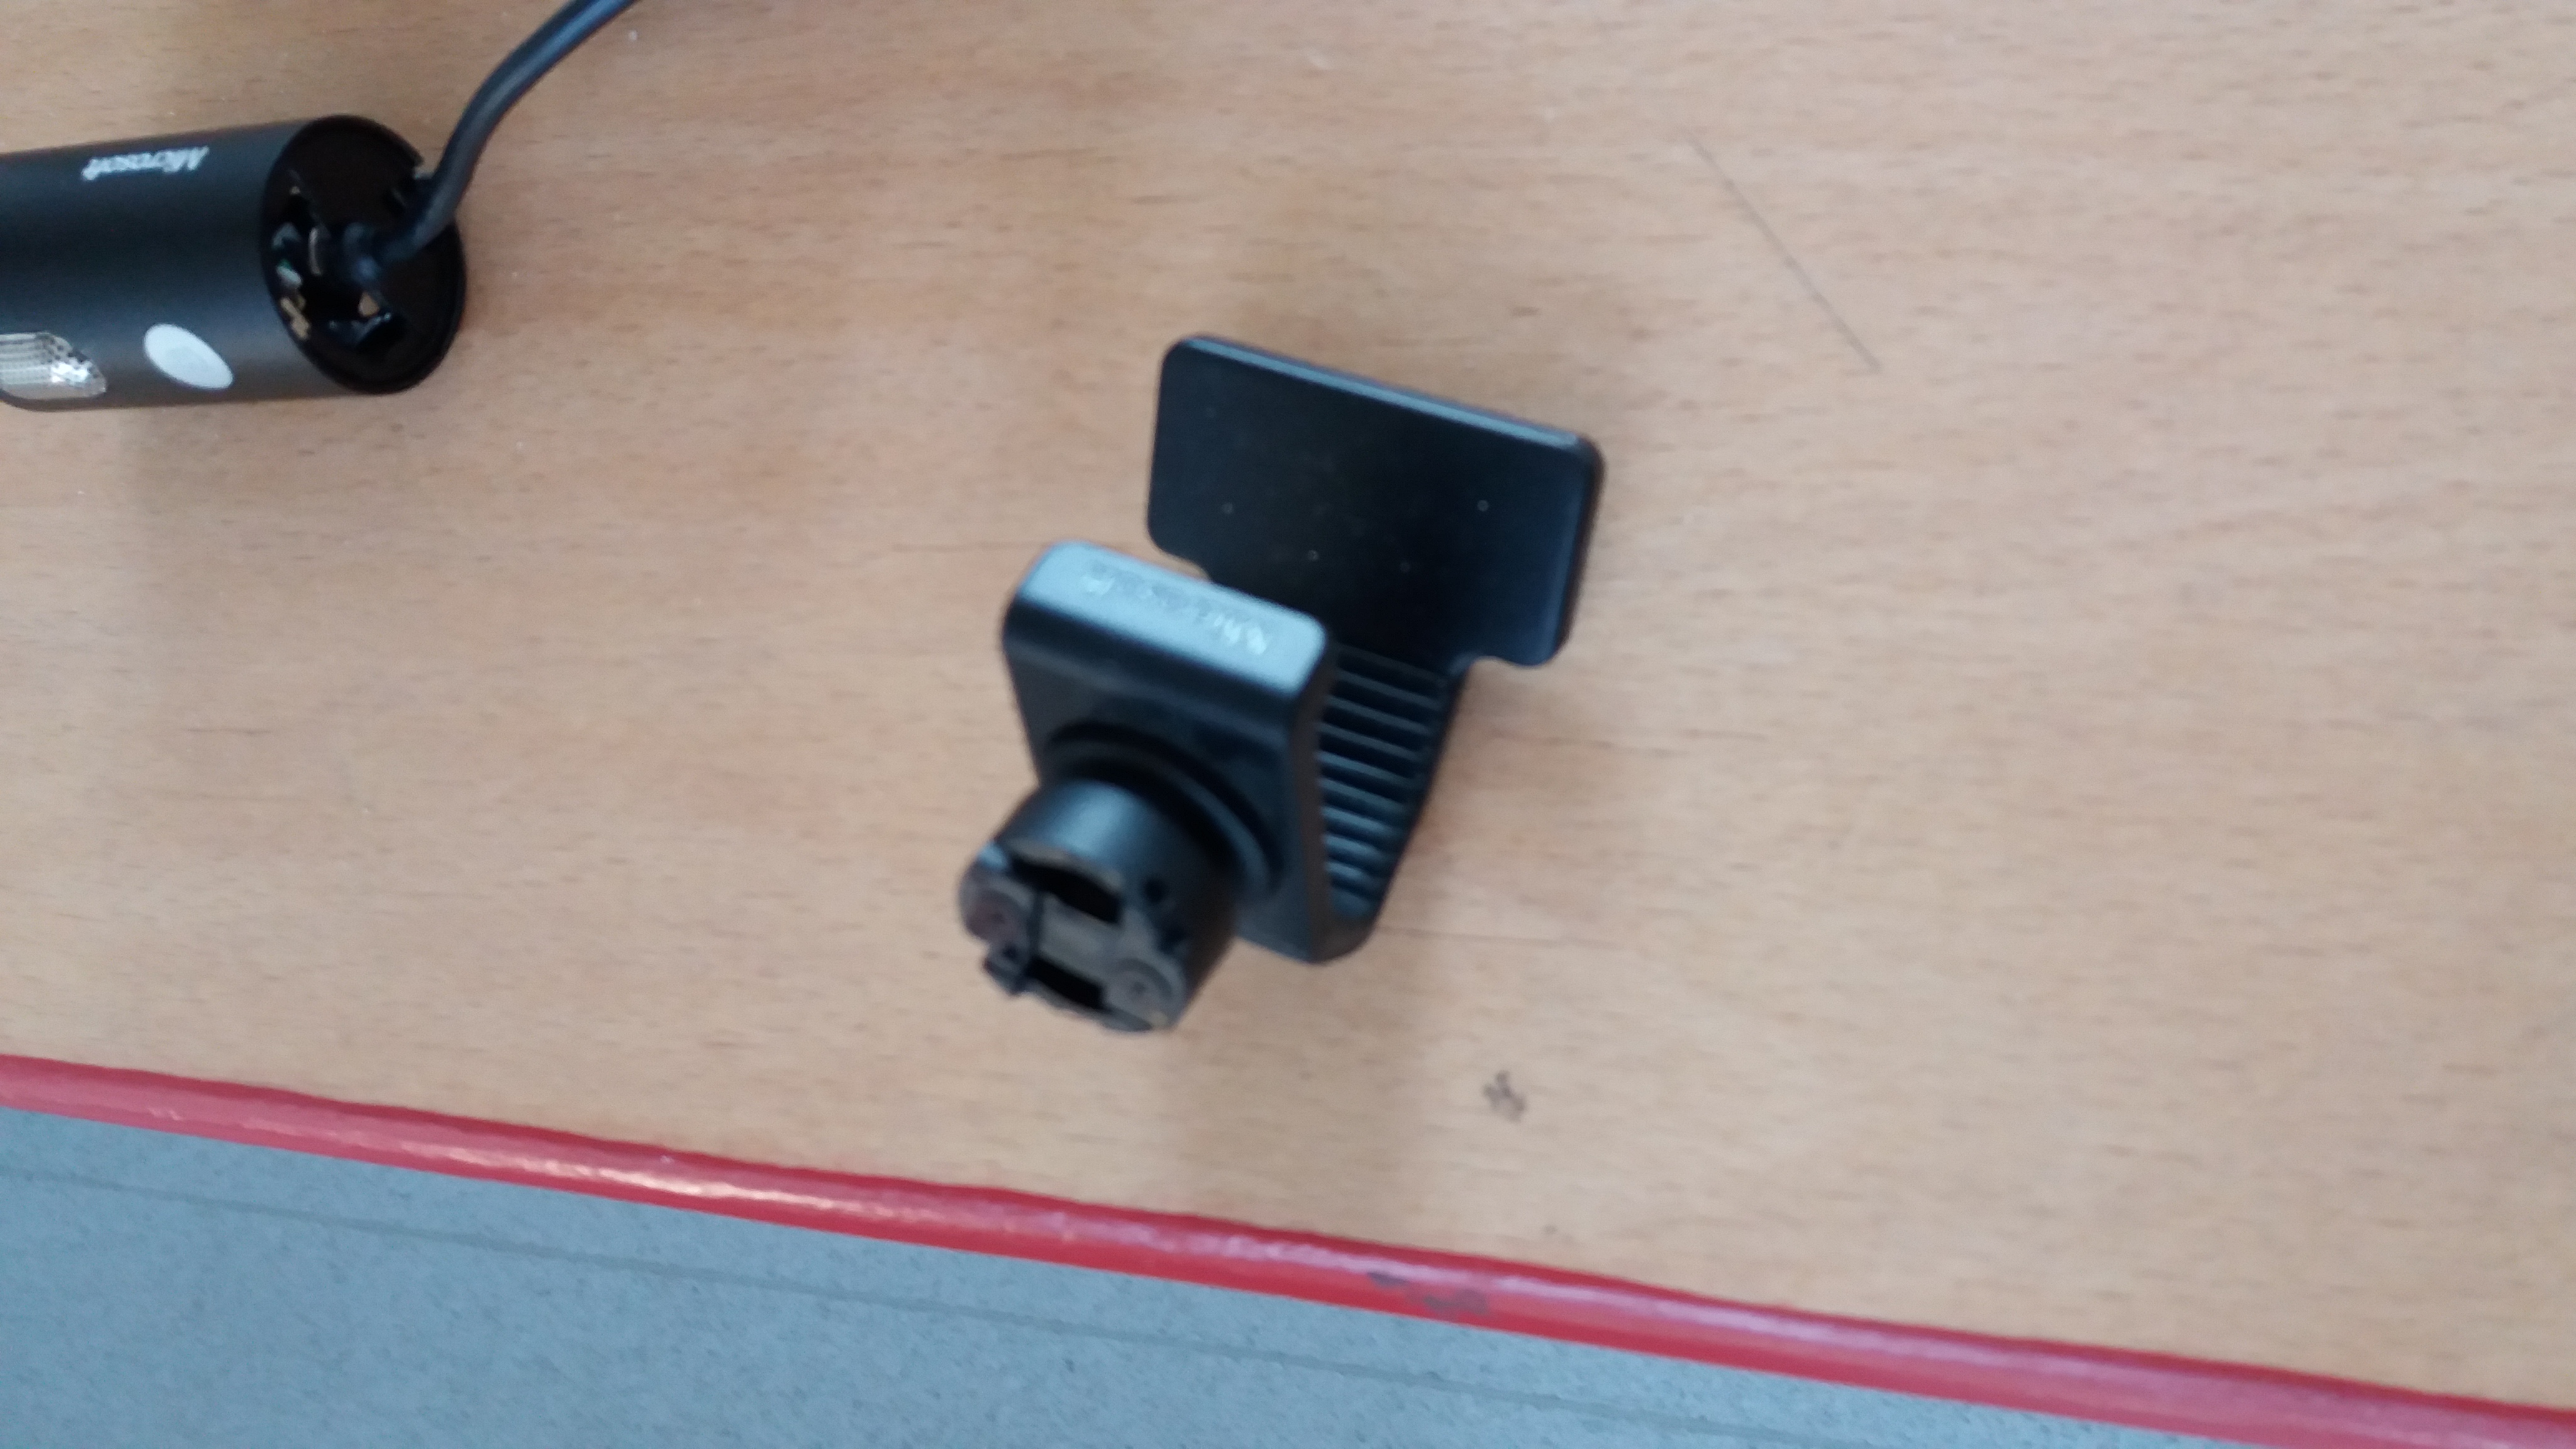
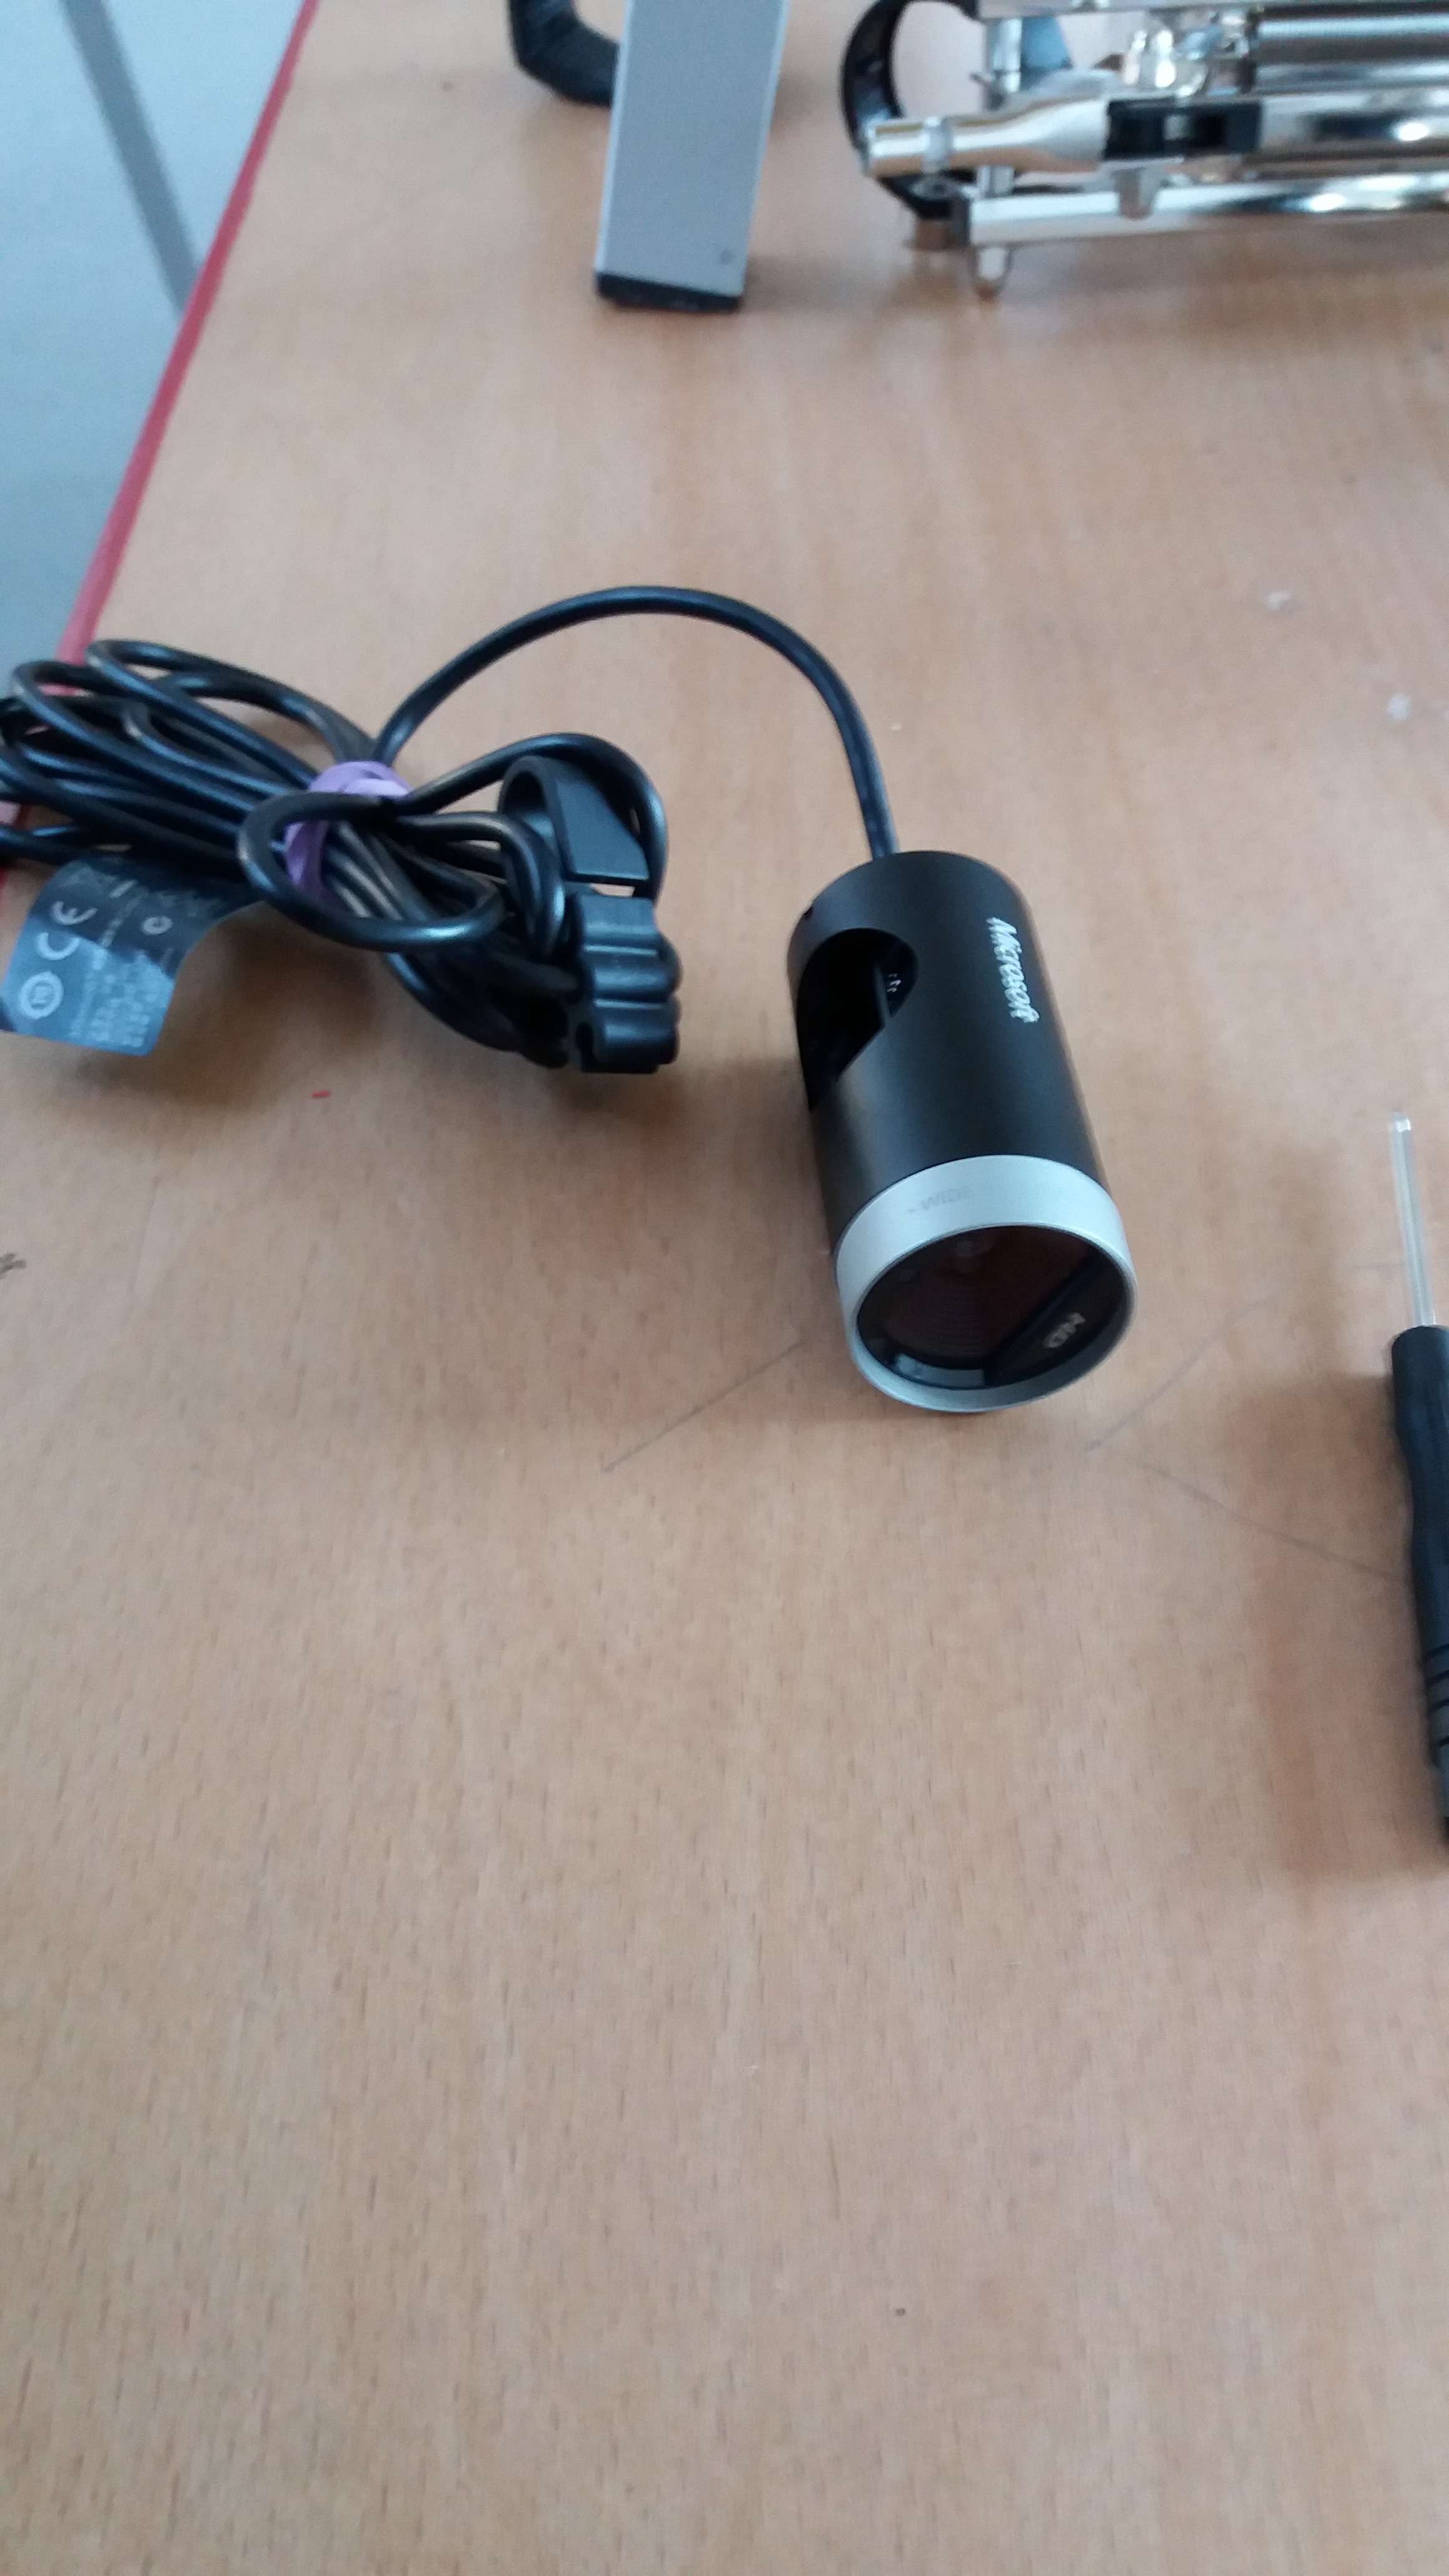
Pull the base out of the camera, with the screws removed it is only clipped in place, but might take a little pressure to pop it out. Once it is out you can throw the base away and you are left with a camera with a hole in the bottom.
Mounting the Camera
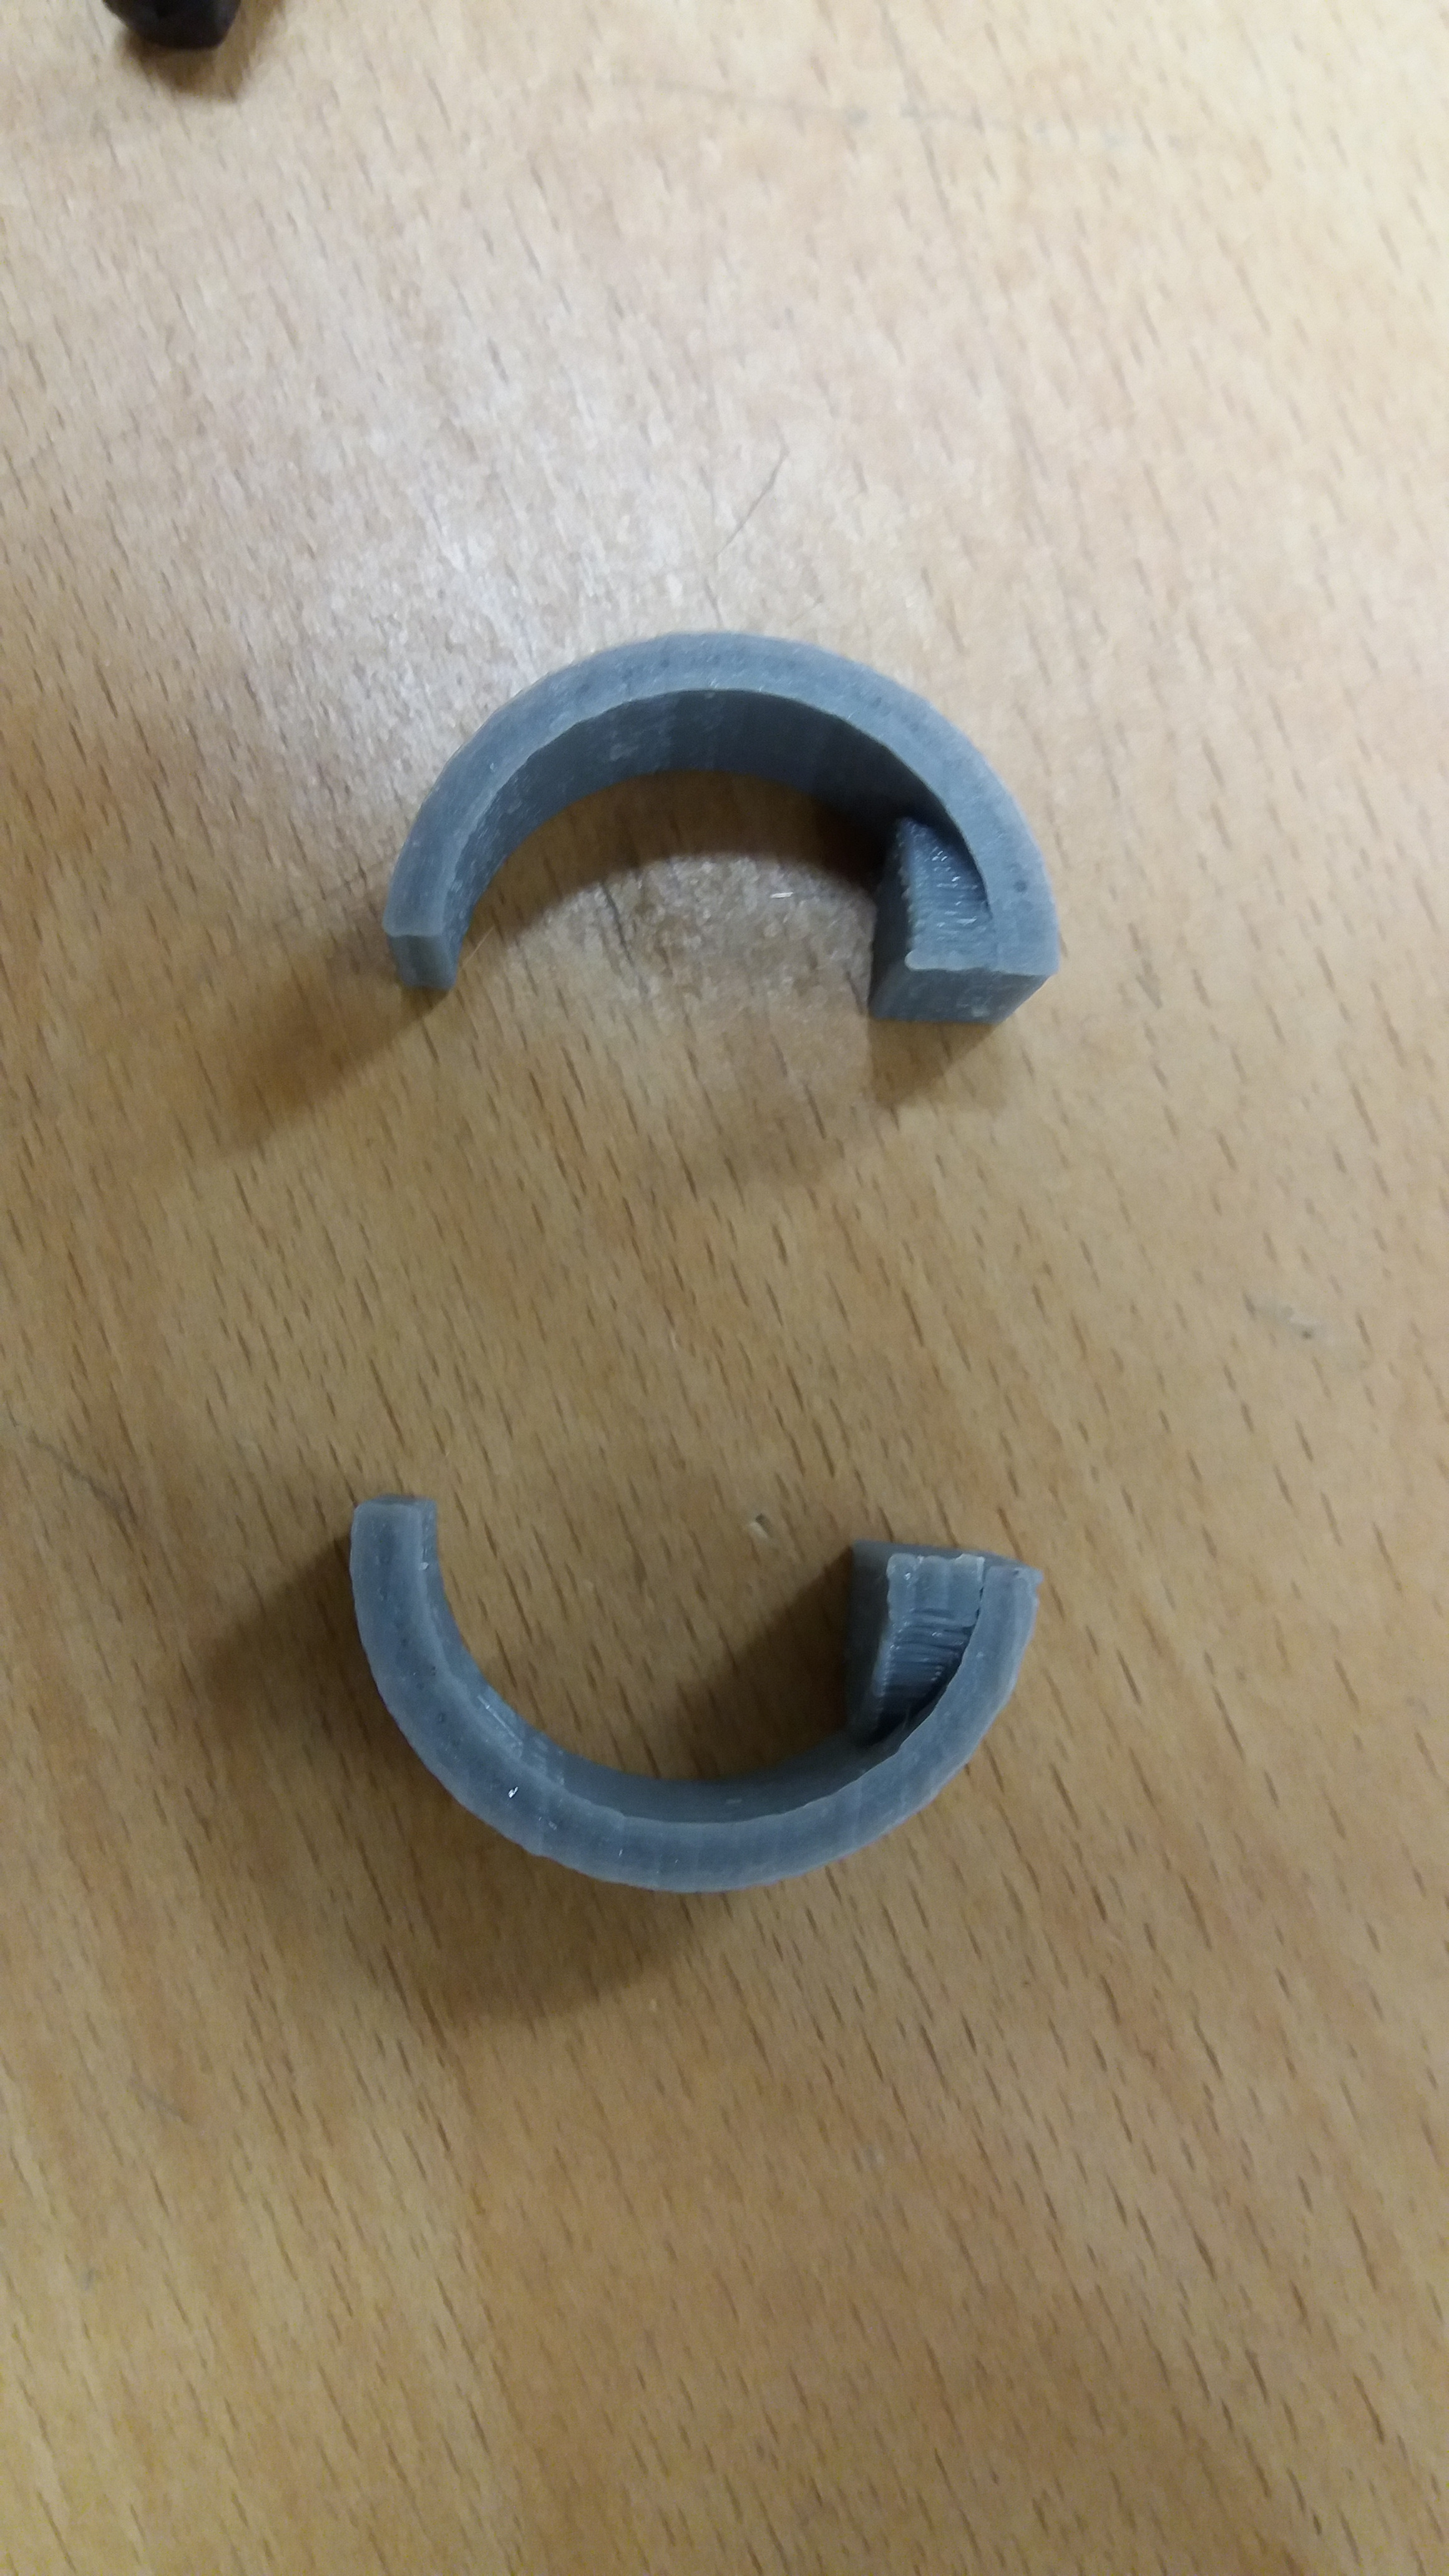
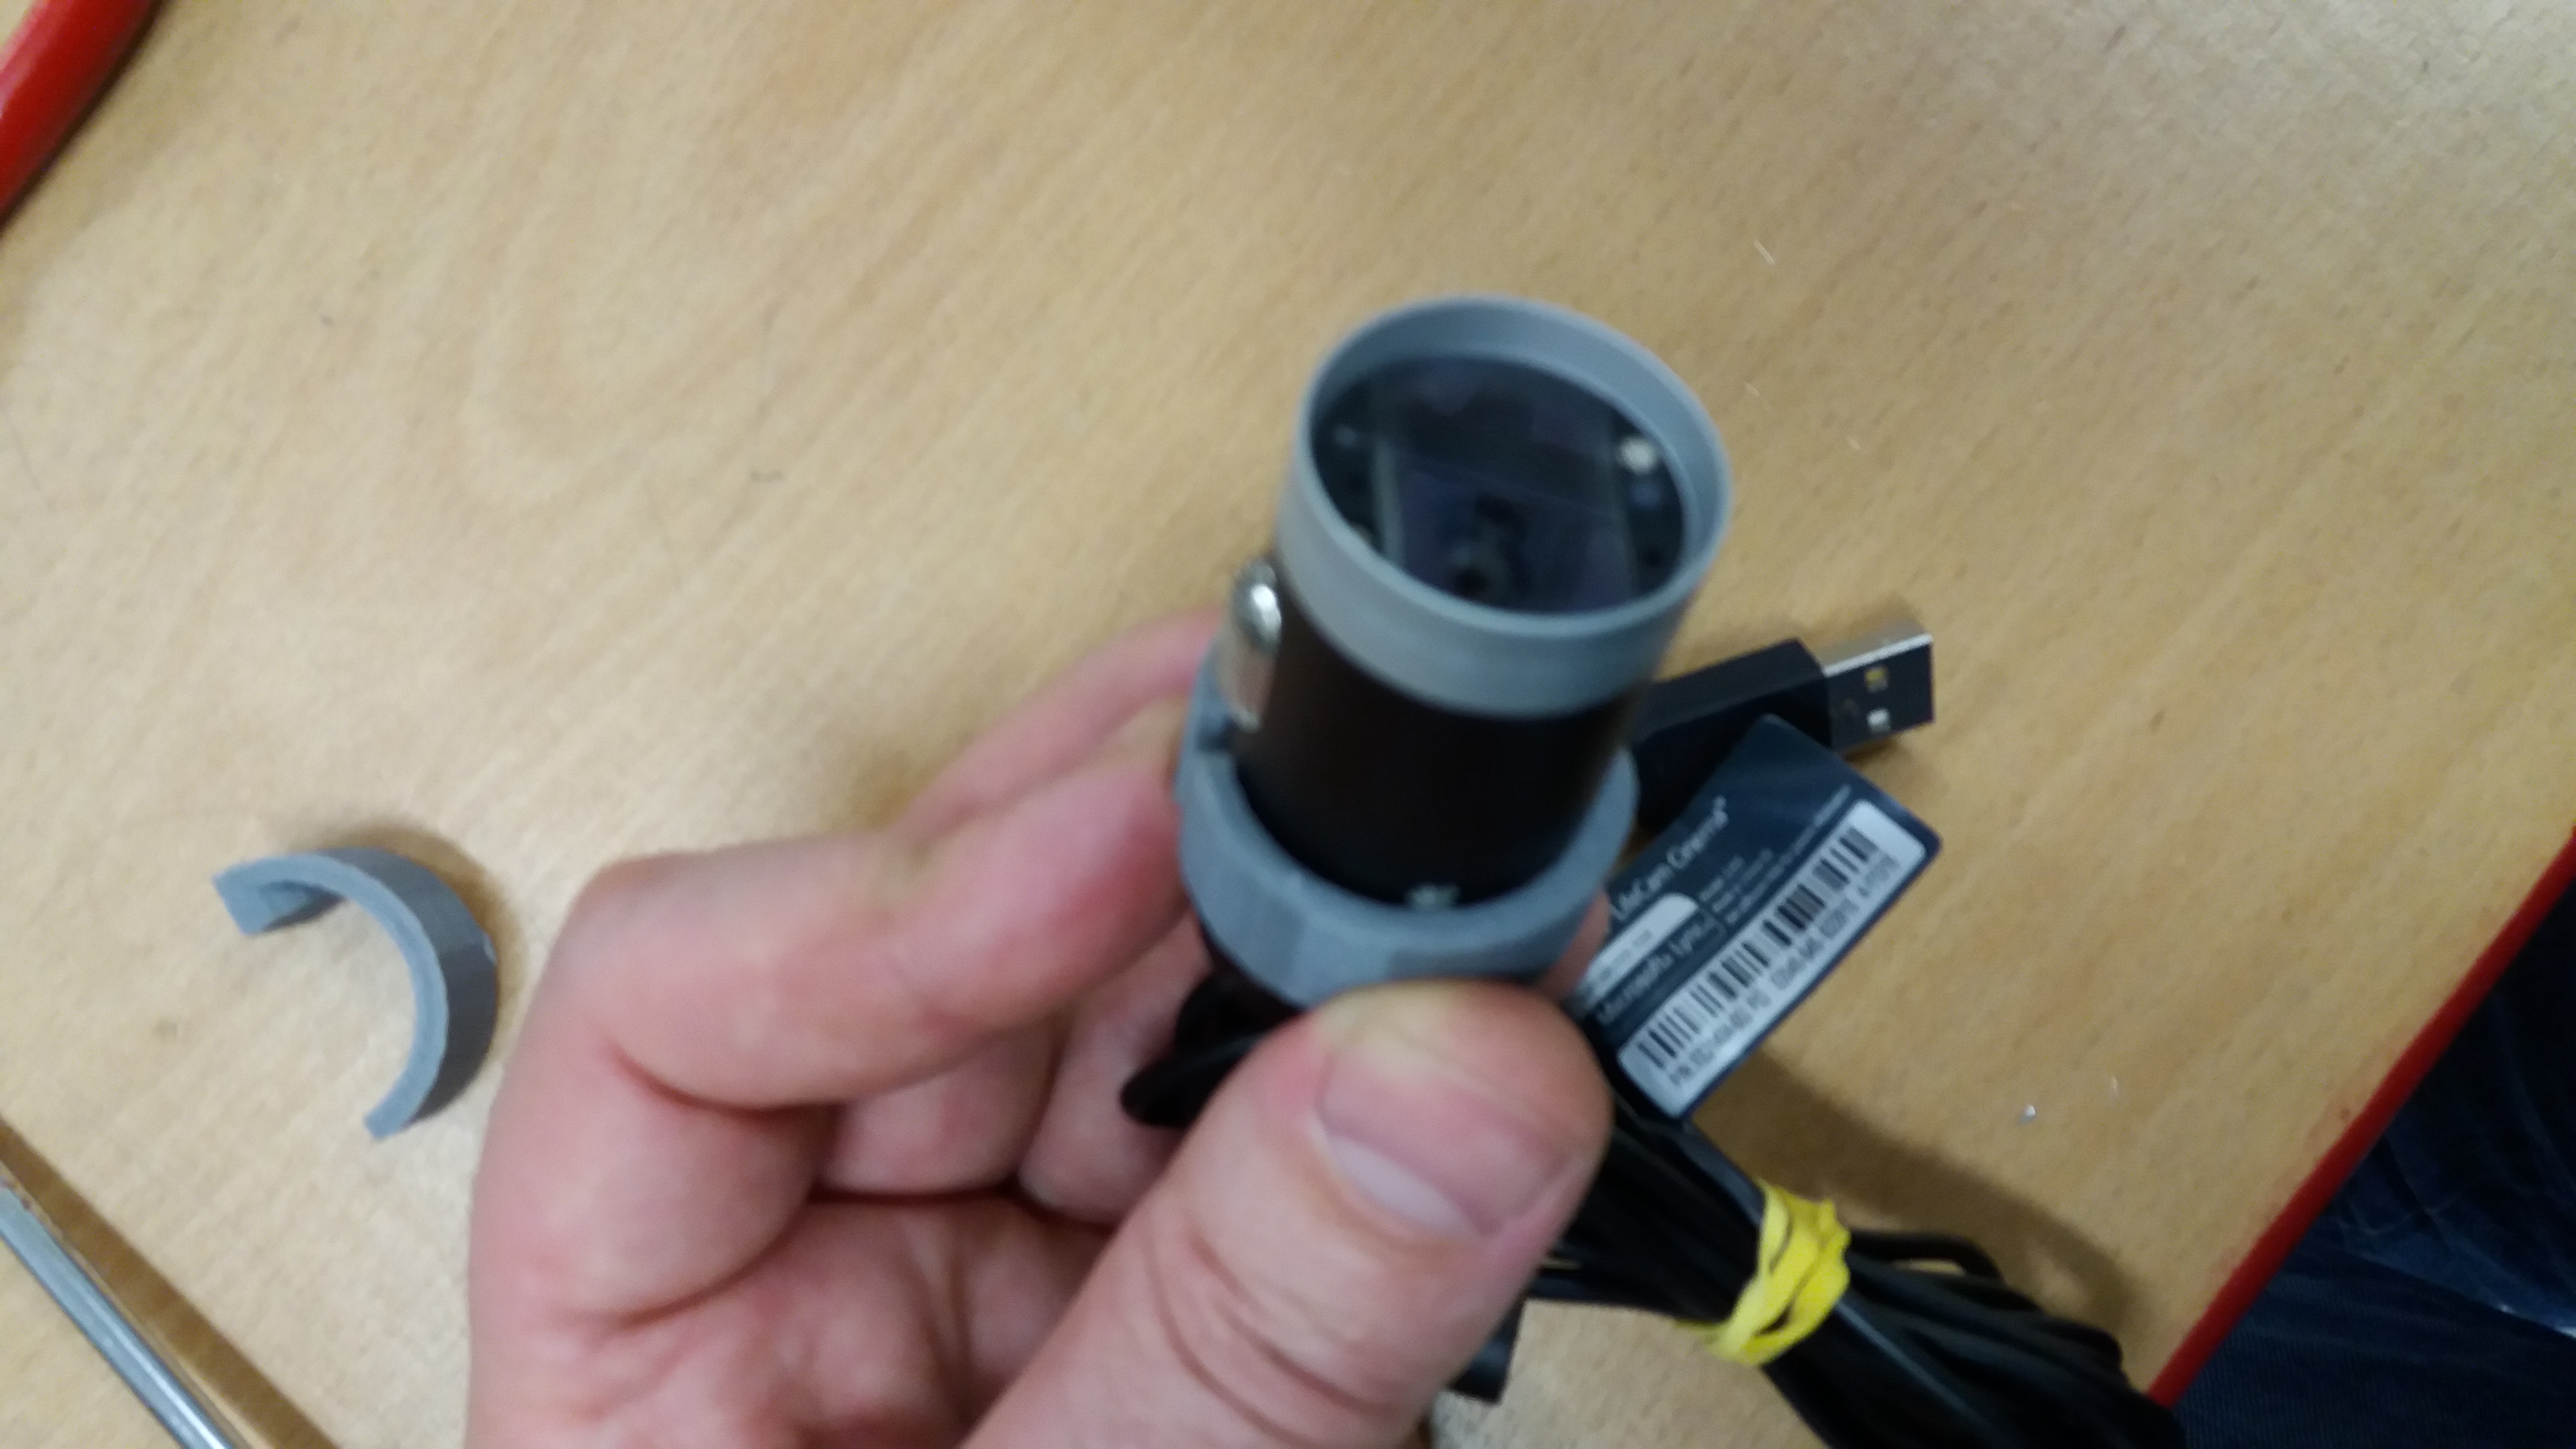
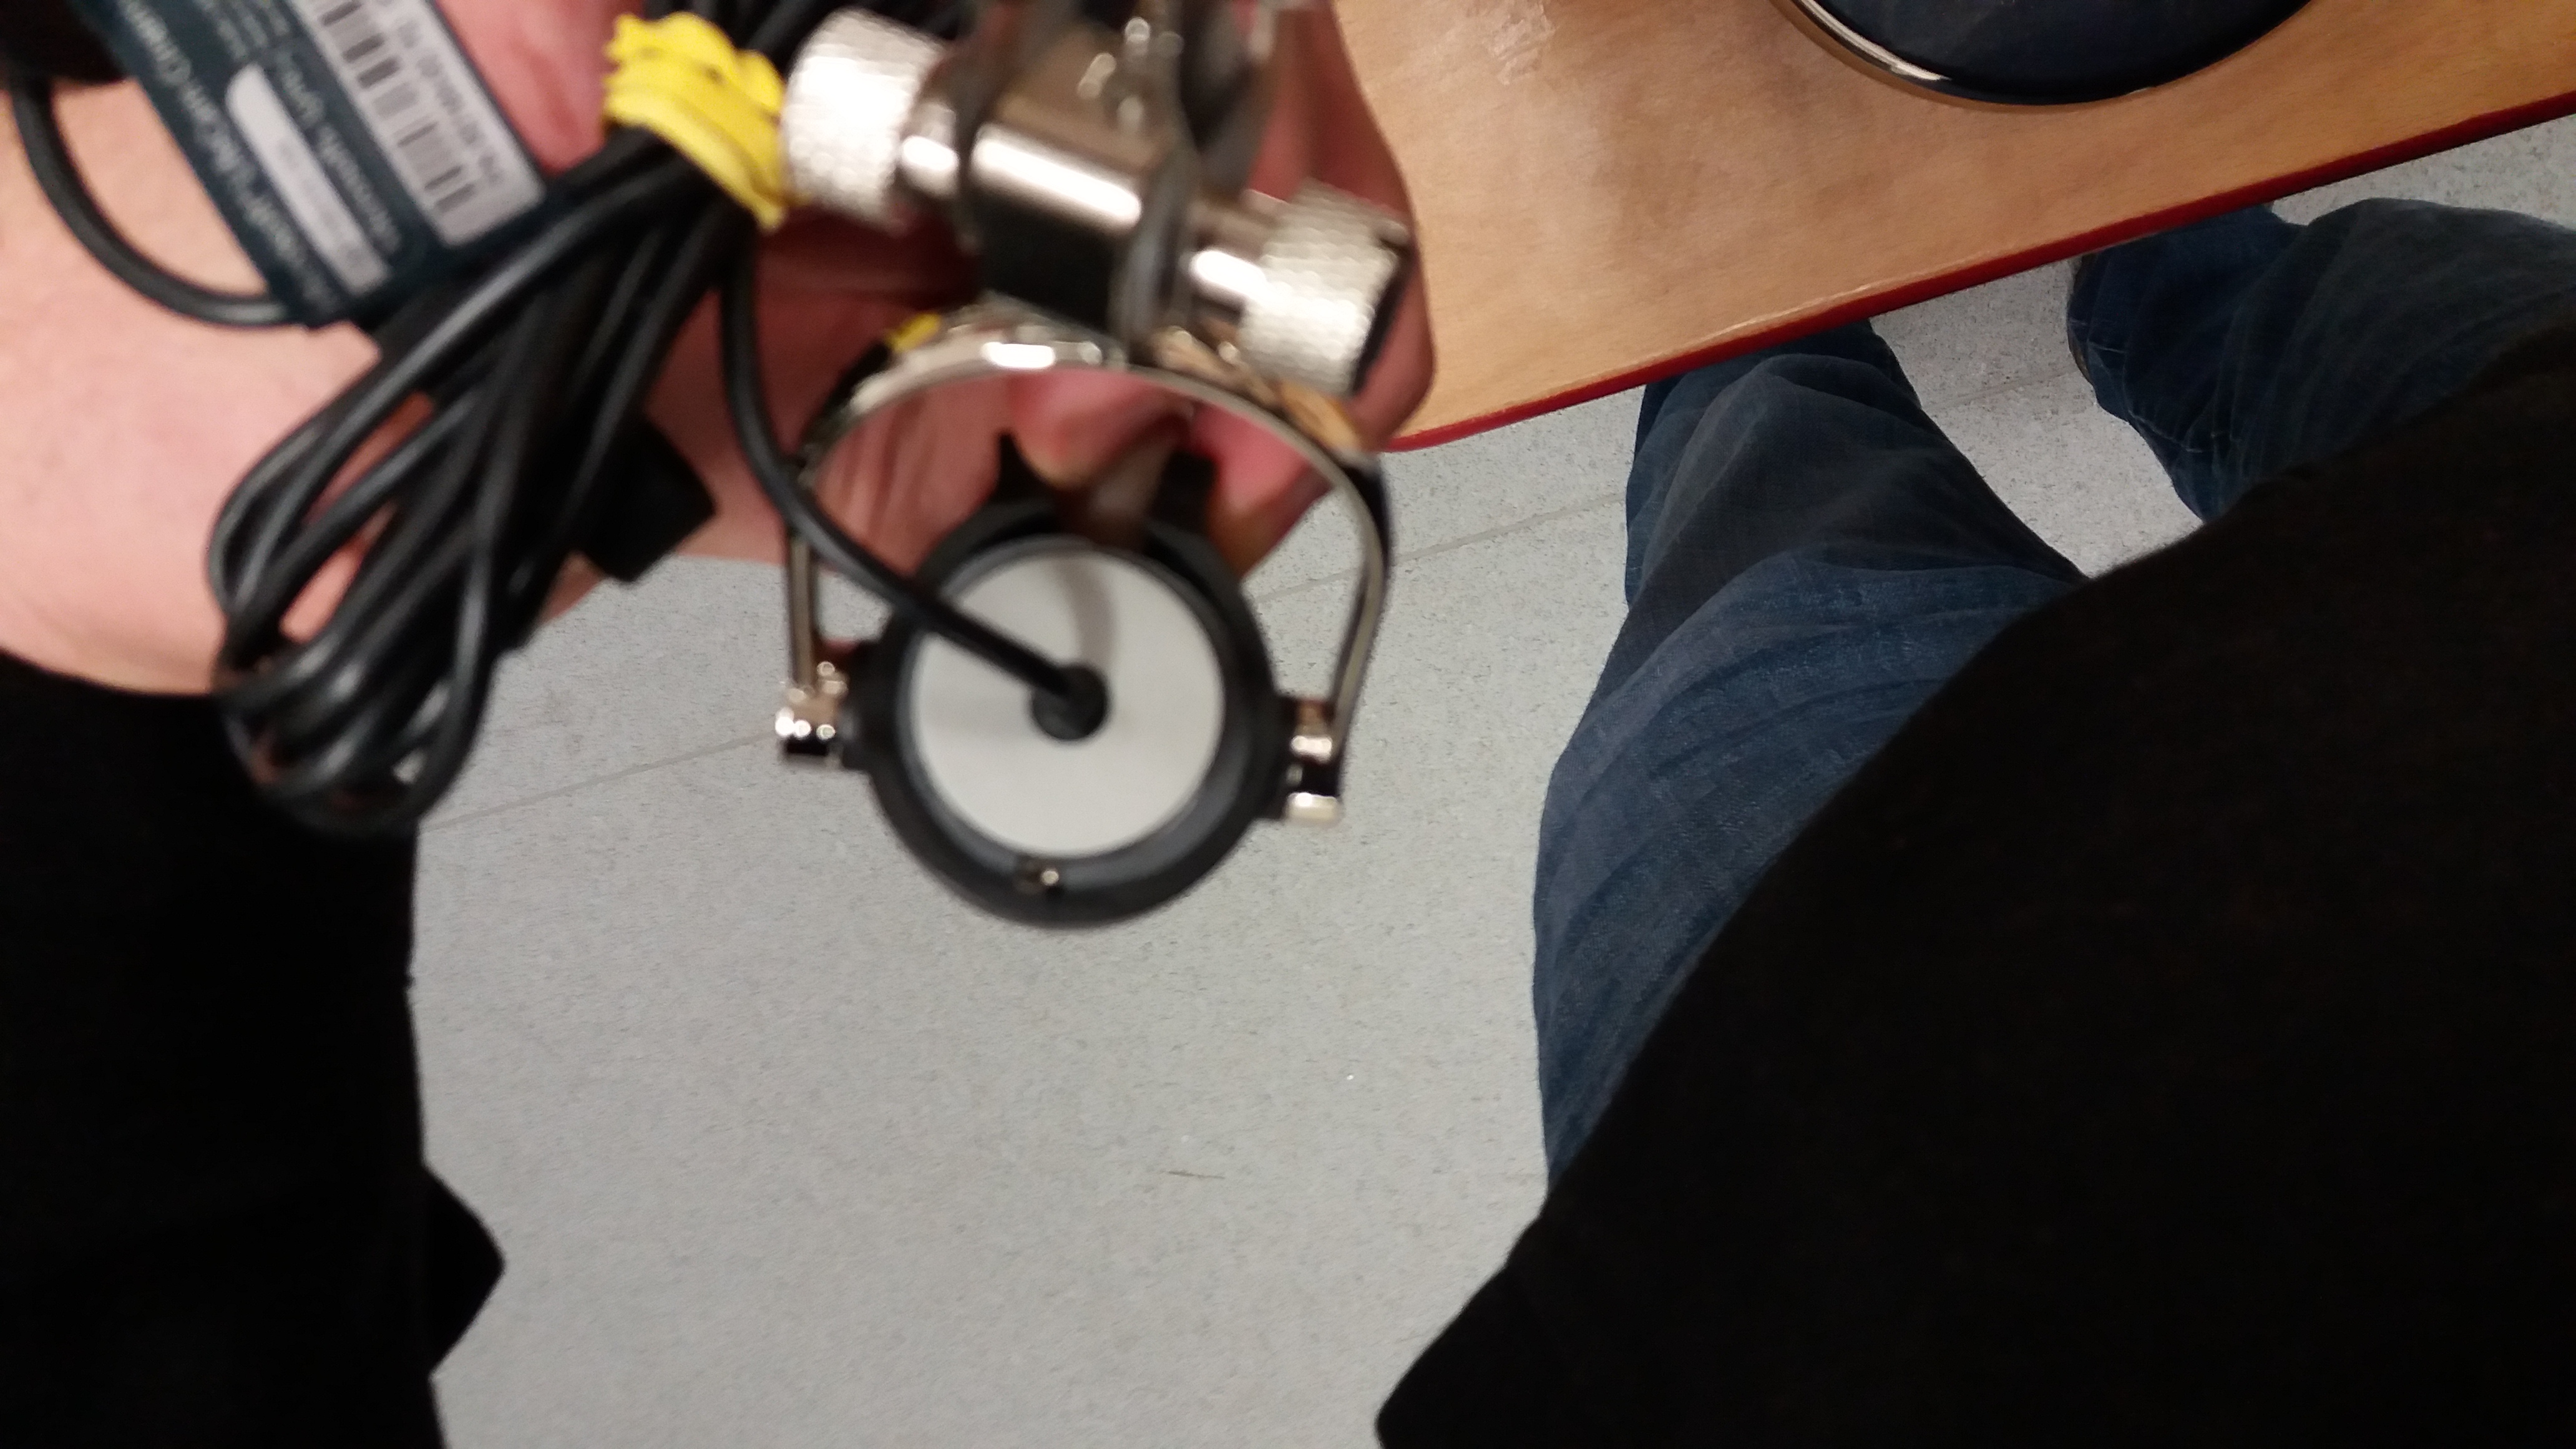
Once the ring is fully printed you can mount the camera. The stubs in the two halves of the ring go into the hole in the bottom of the camera, then the ring goes into the lamp holder. There is a small ridge in the top of the holder which fits between the two halves of the ring. You will need to spread the lamp holder a bit to get the ring in, I found it easier to put it in sideways and rotate it into place. Once in fully tighten the pinch bolt.
If You Don't Want to Solder
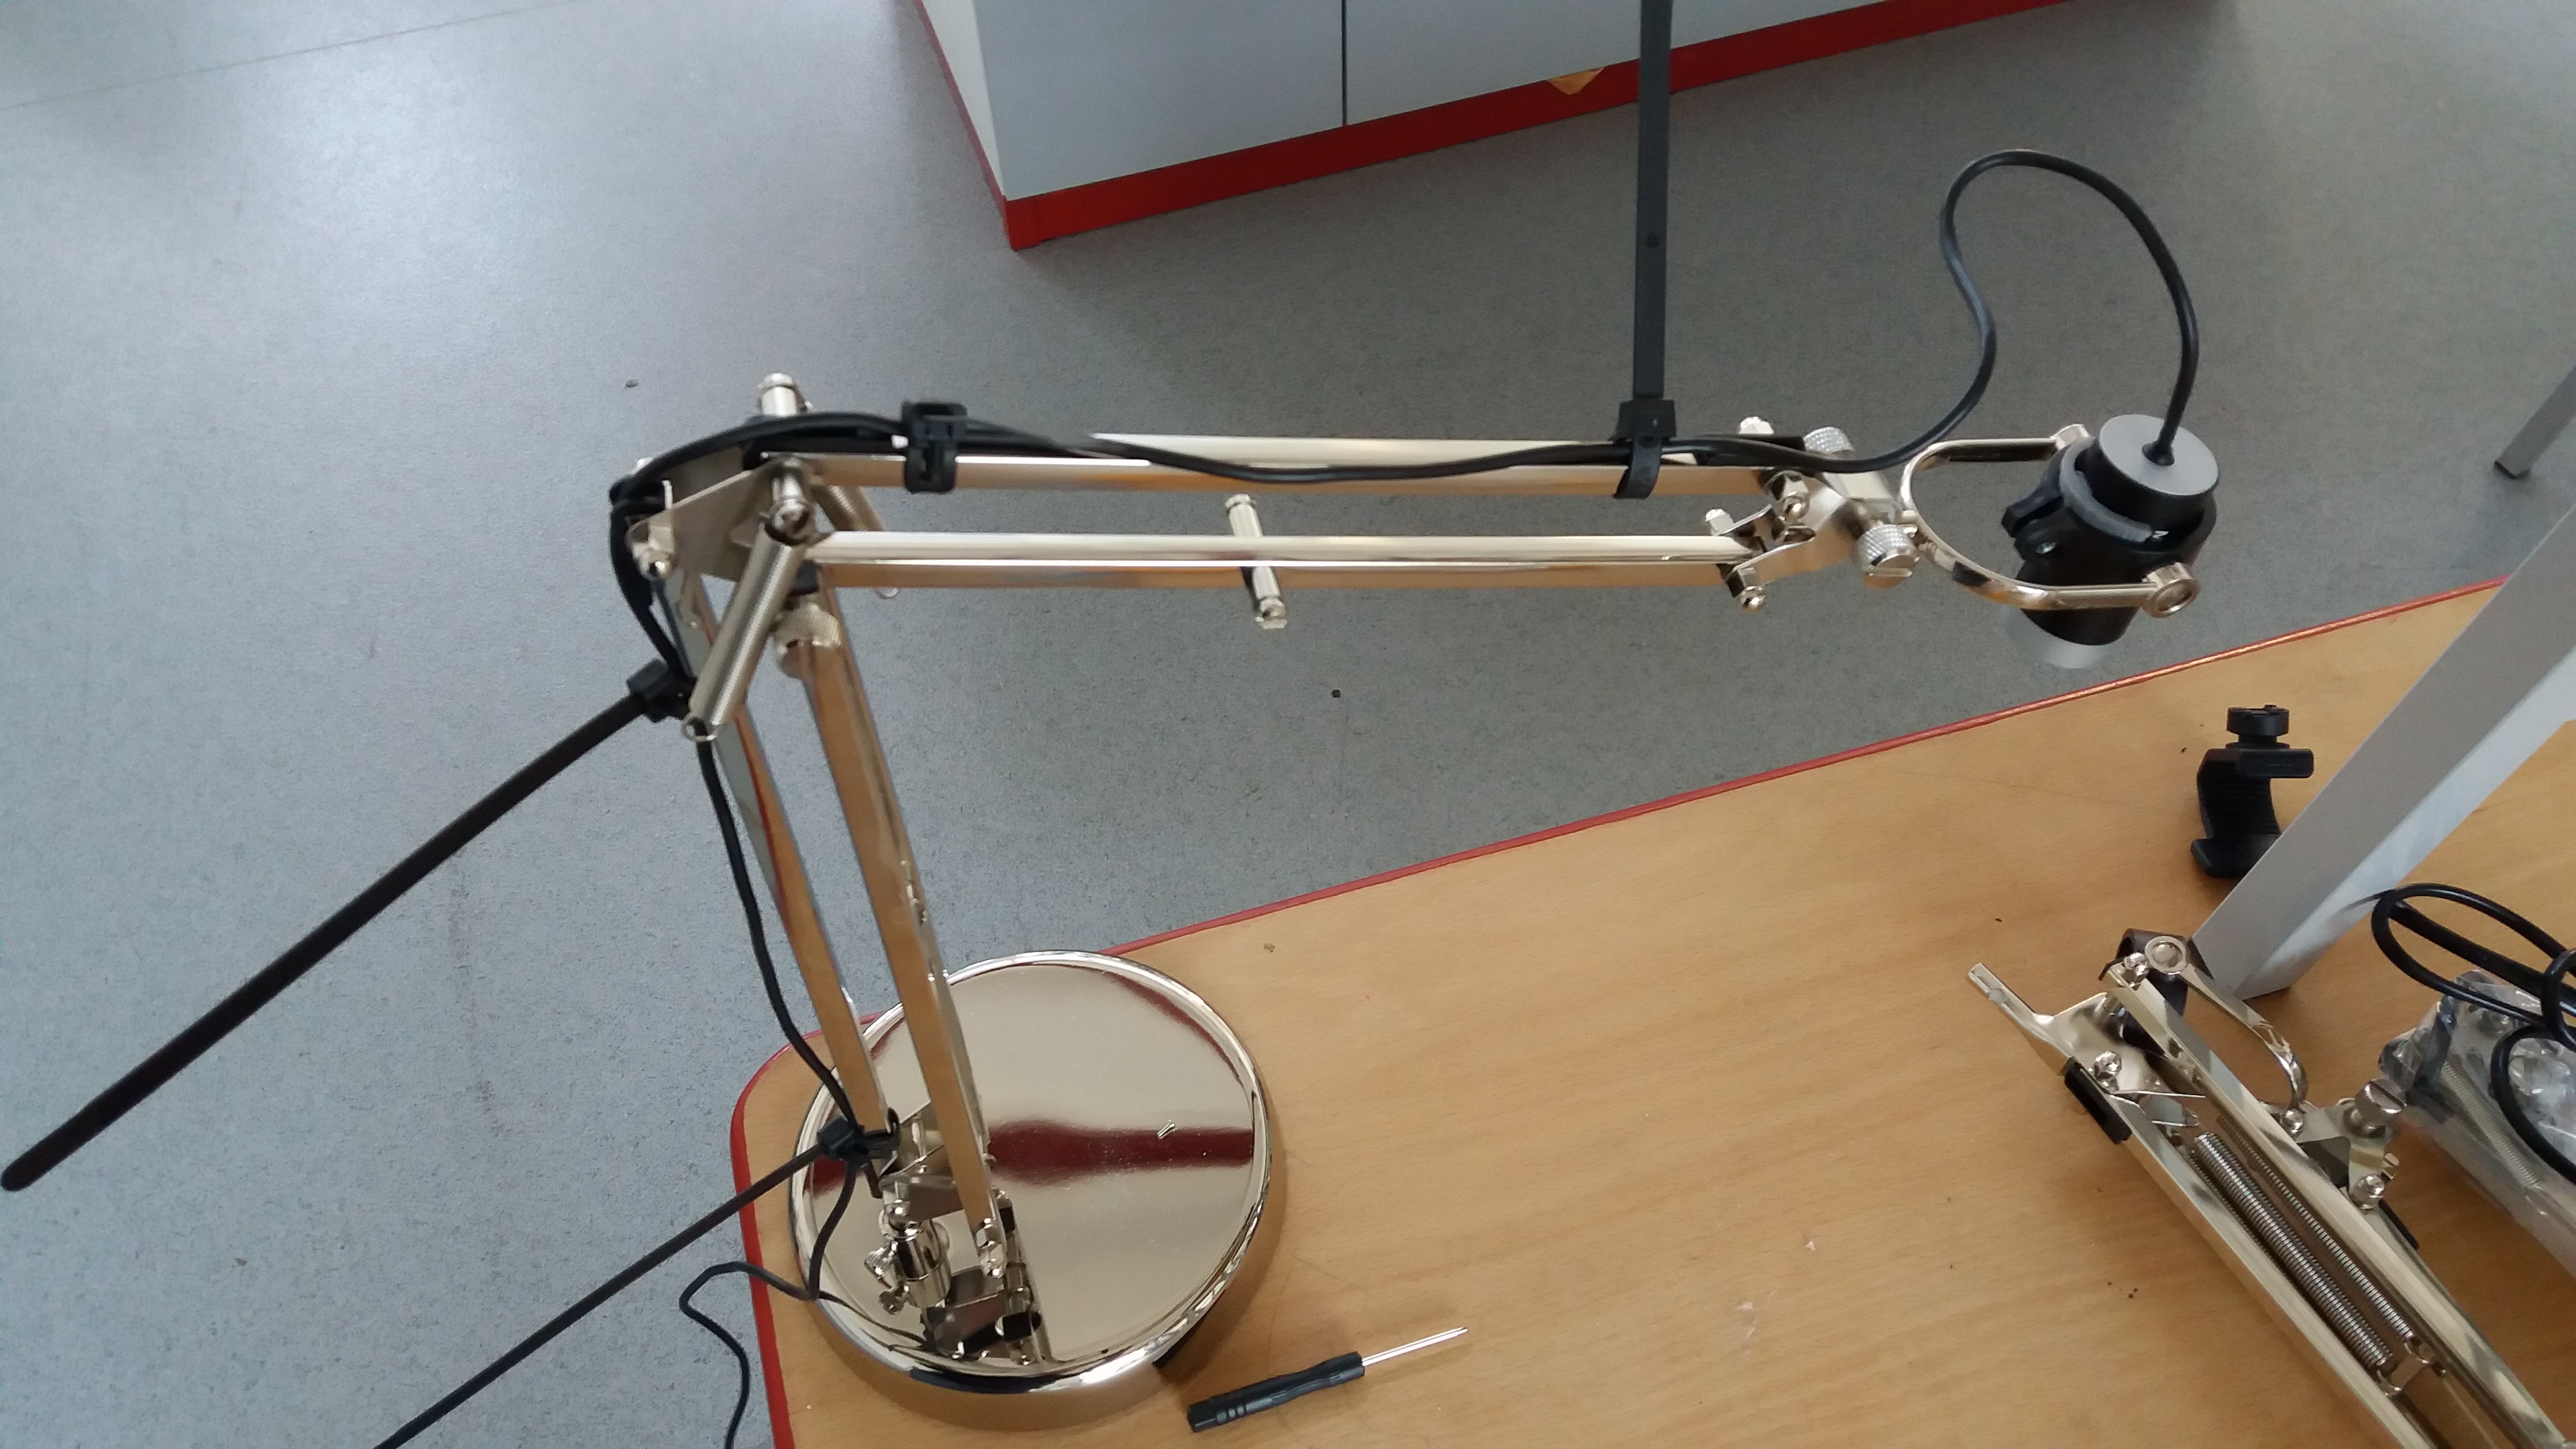
At this point you could cable tie the leads to the angle poise framework and be done. However if you want to undertake a little soldering then move on.
Double Check That the Camera Is Fully Functional
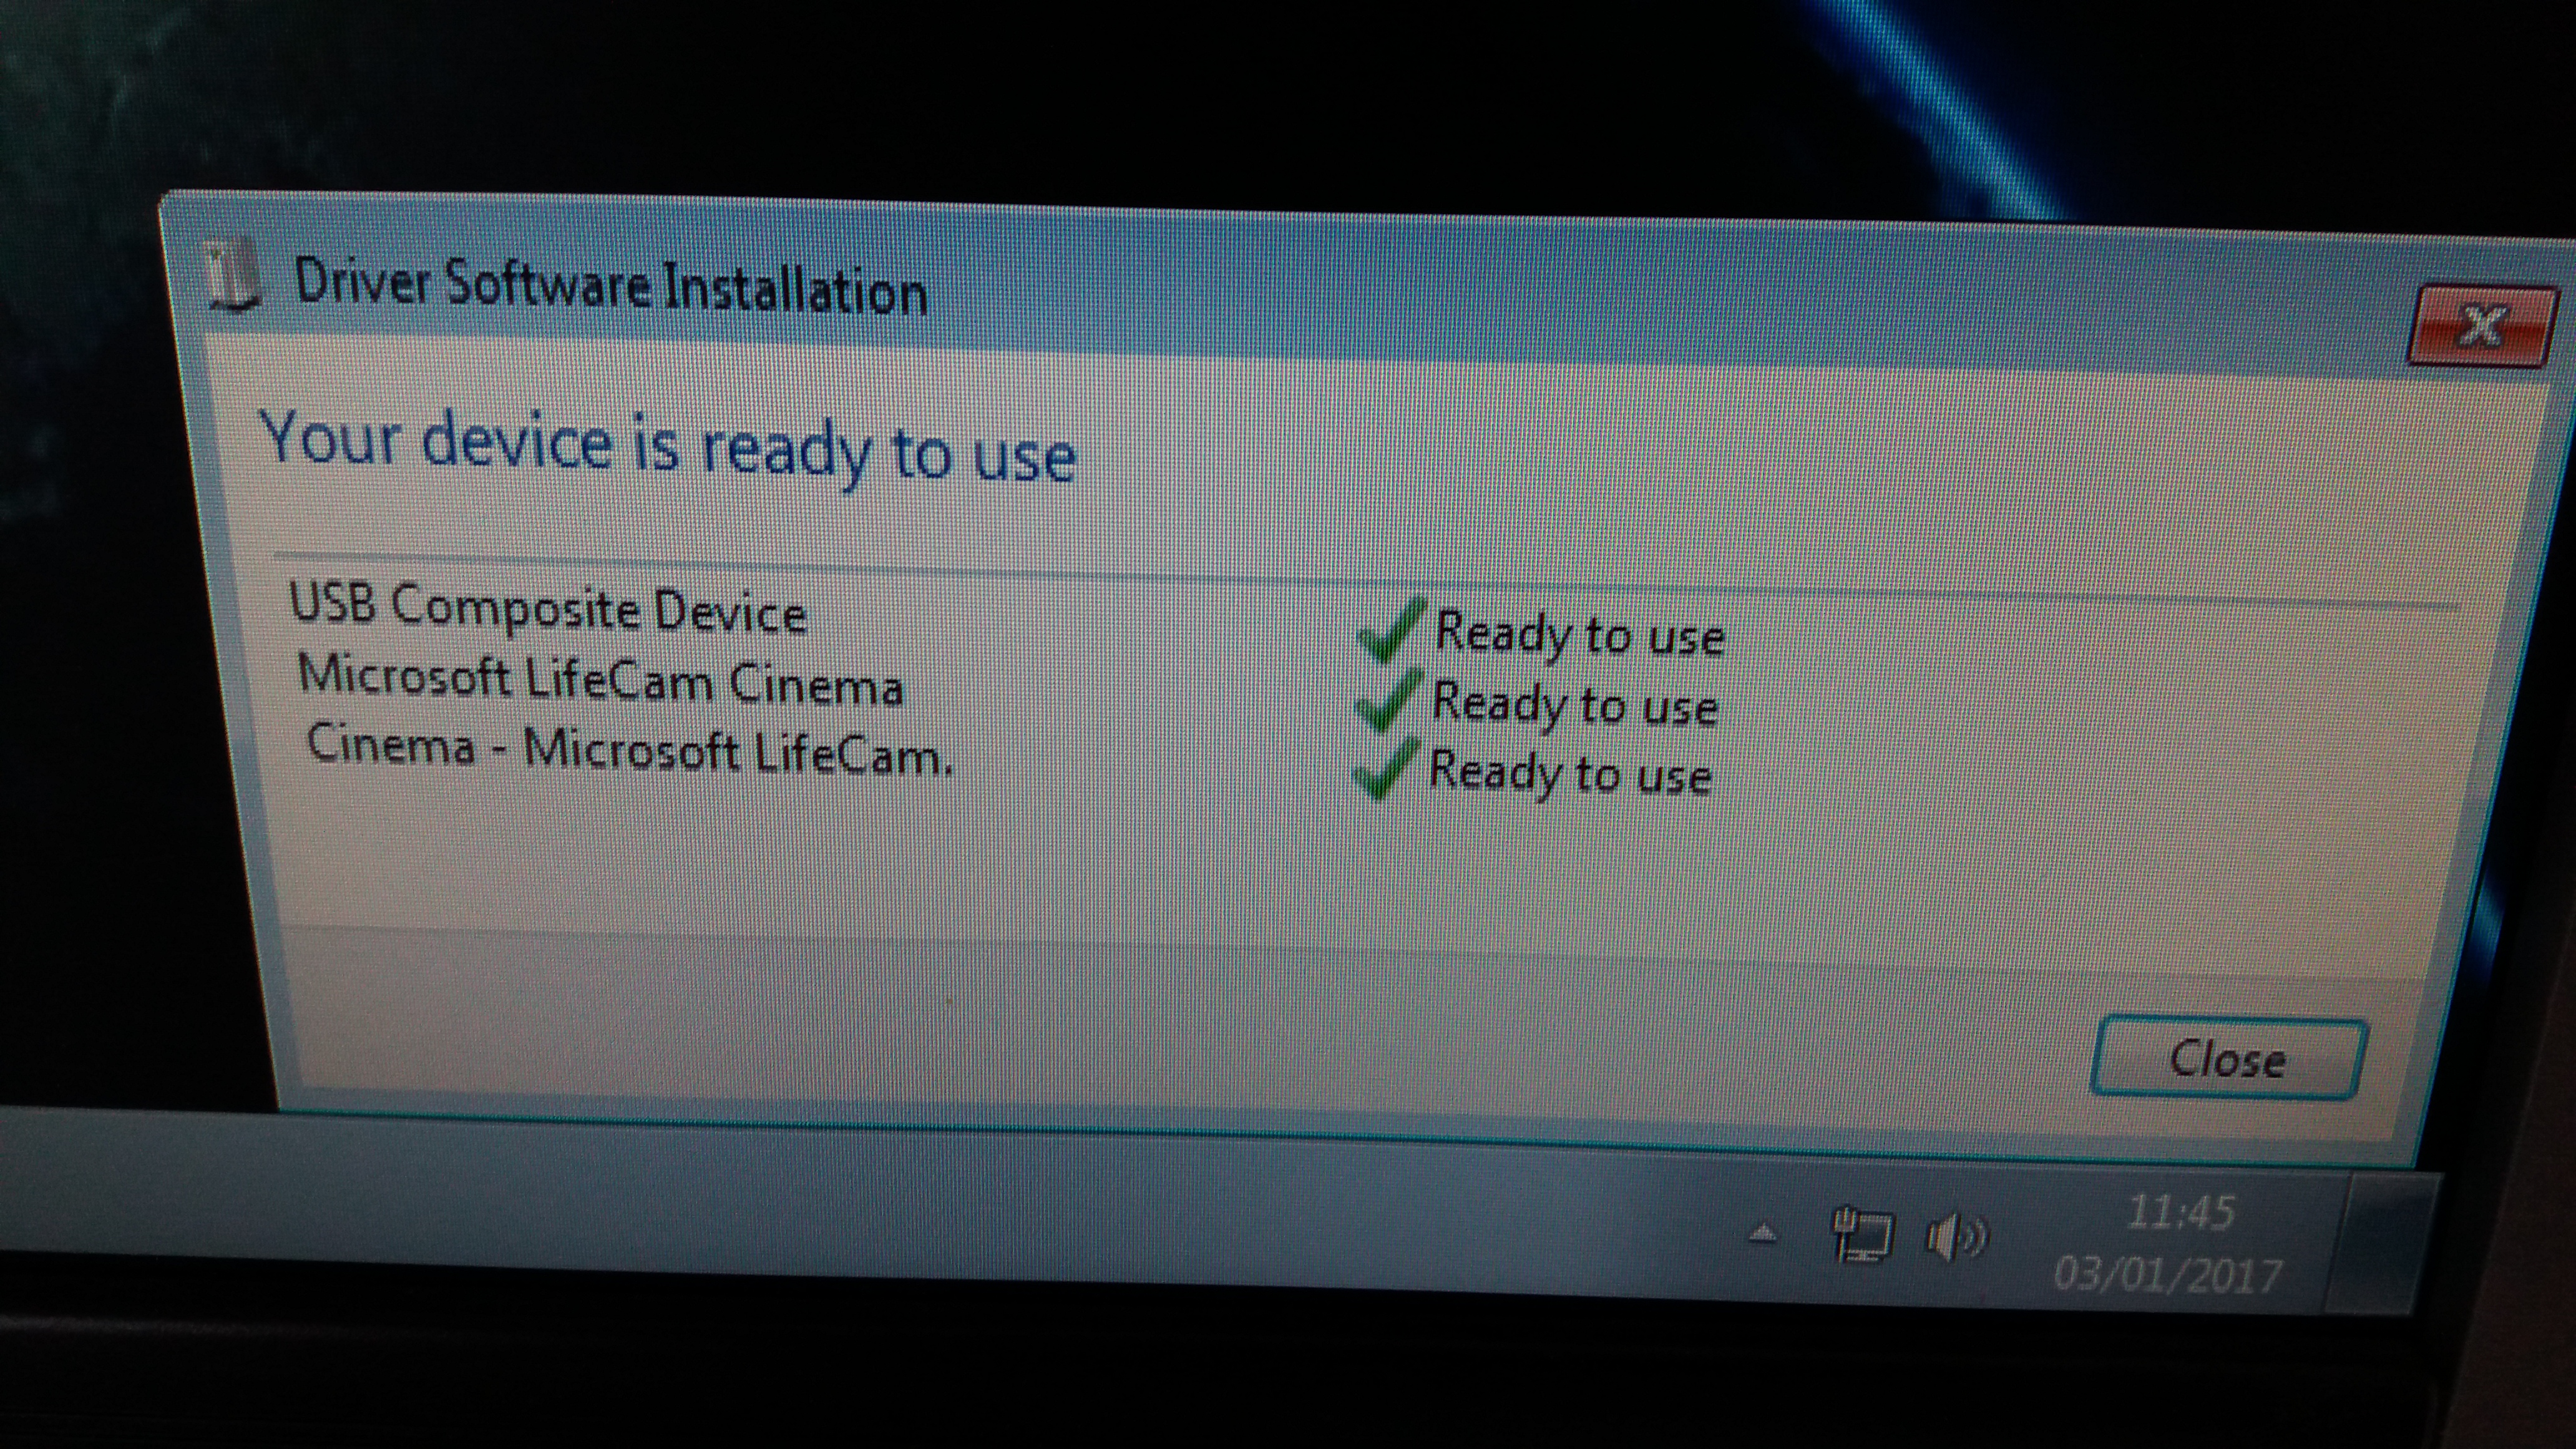
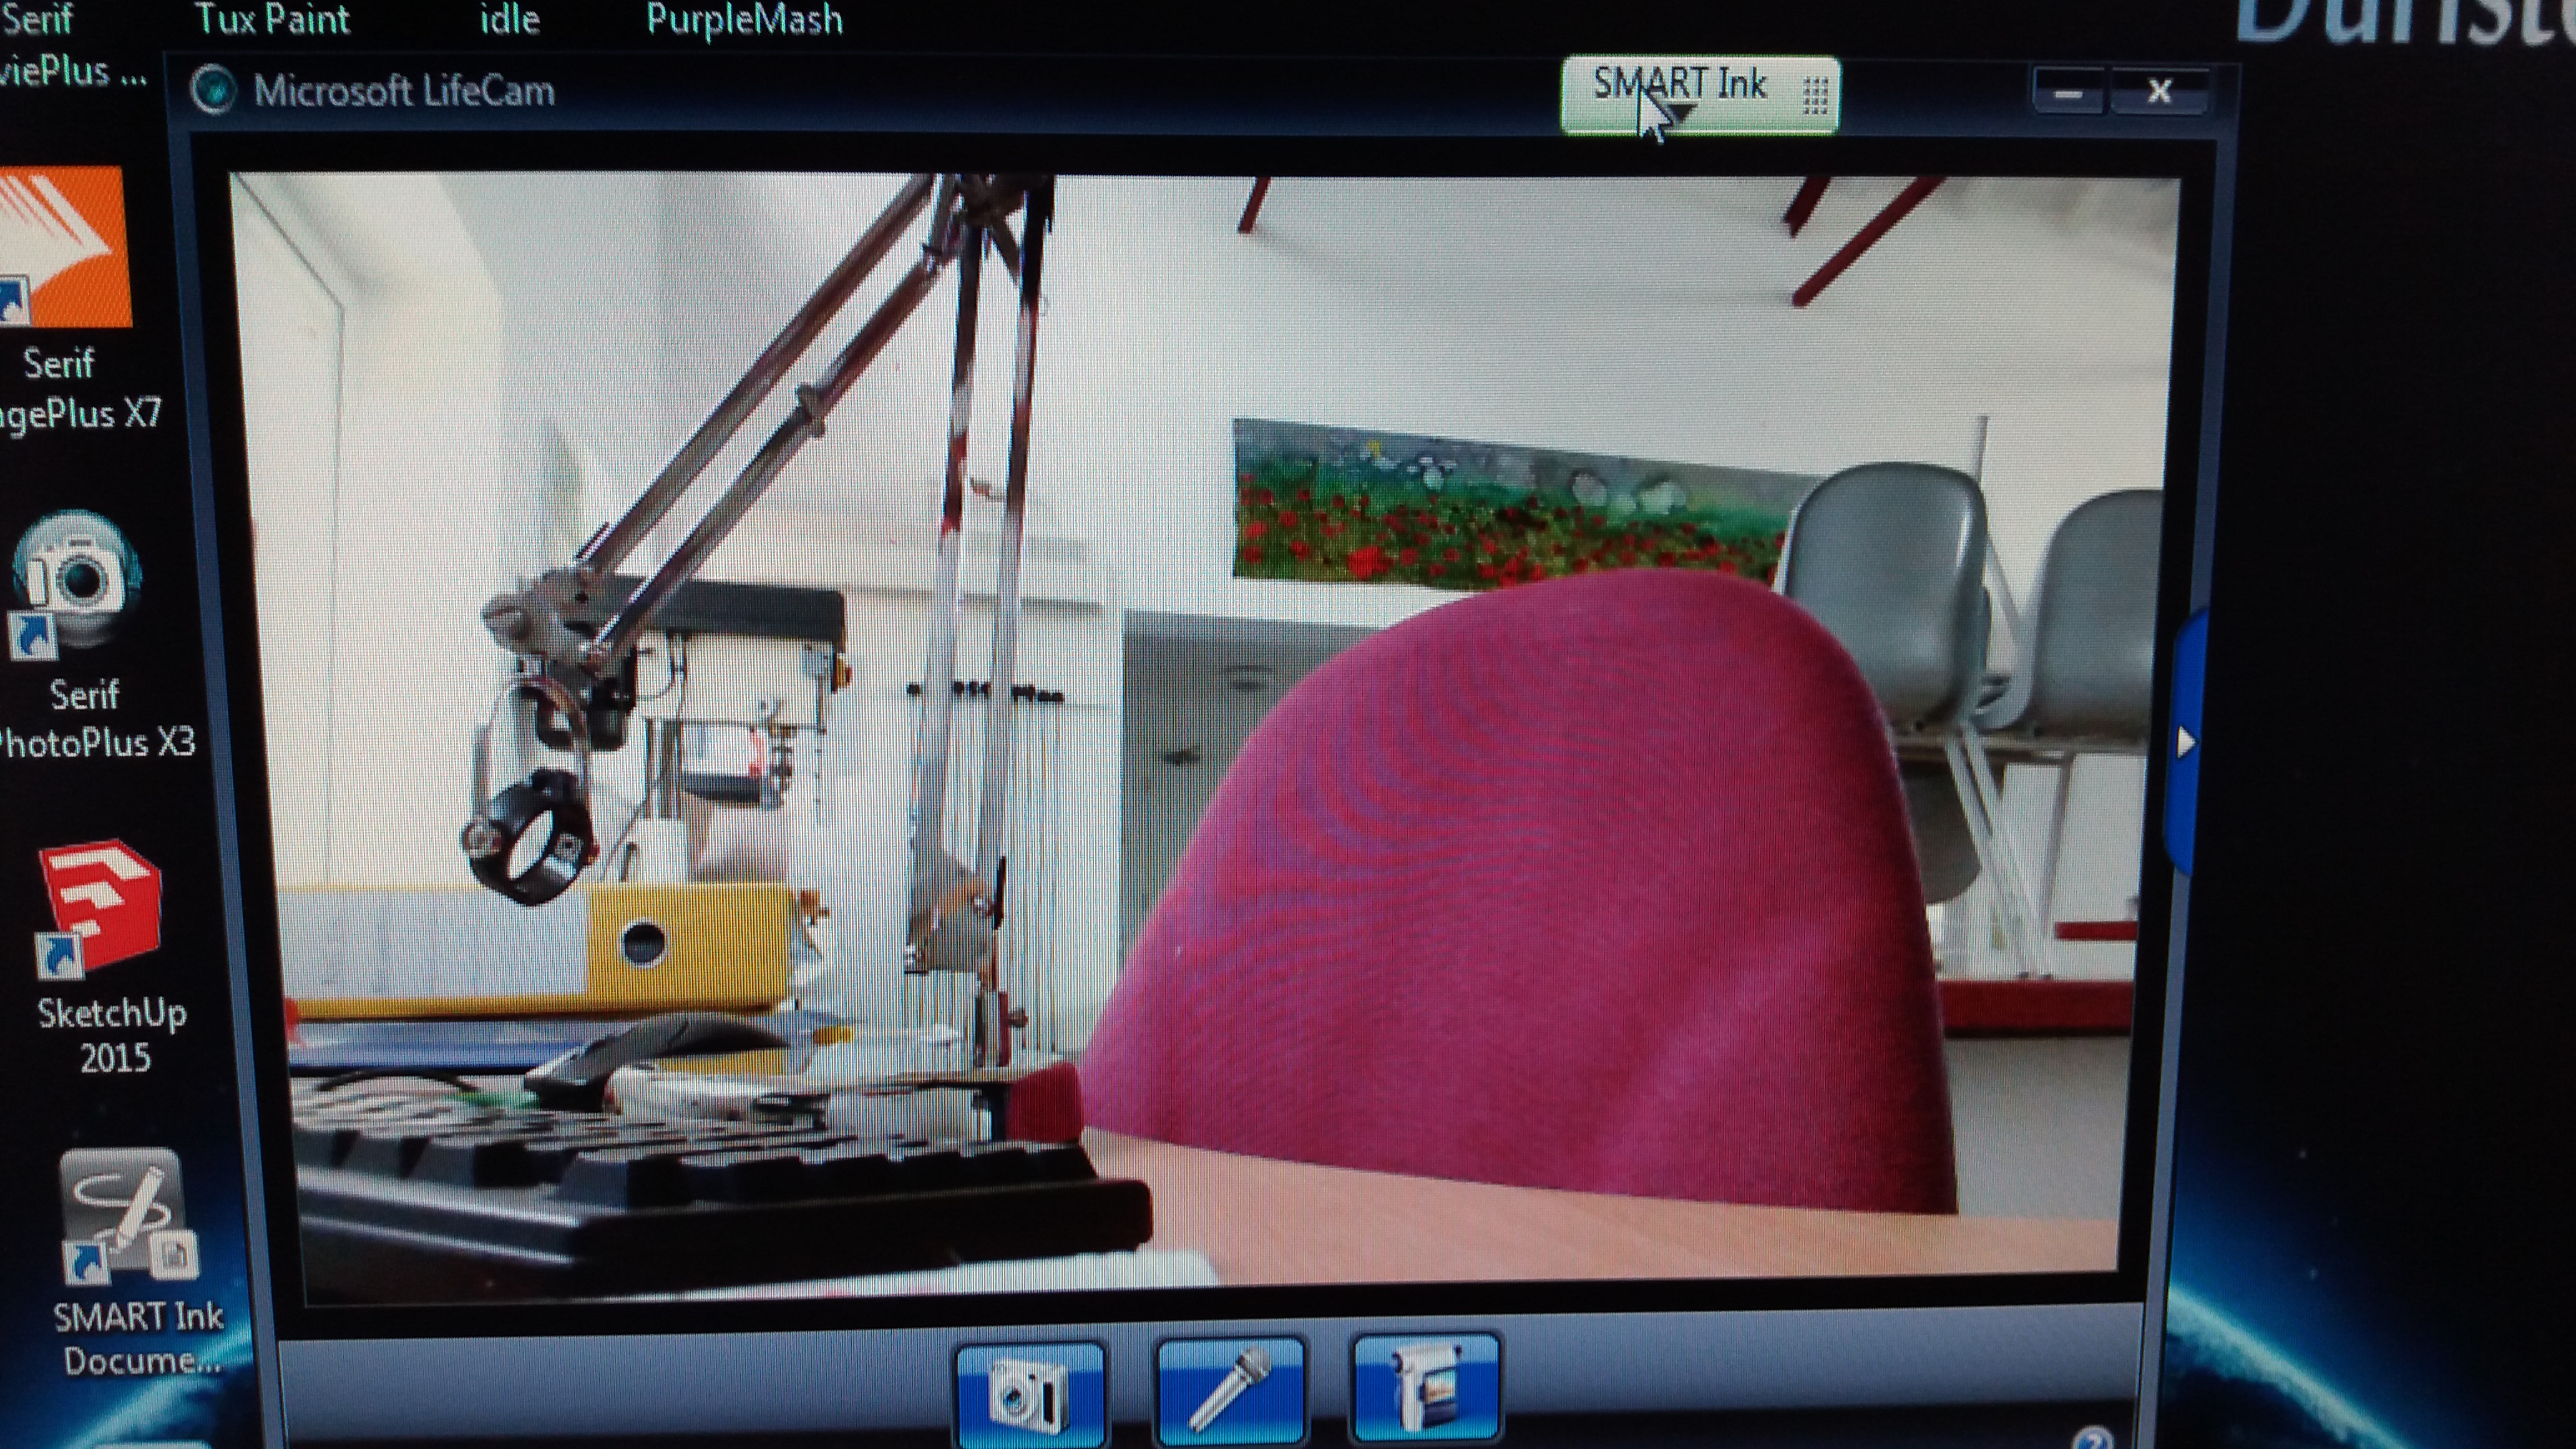
At this point I like to check the camera is fully working before I start so that I know if my soldering is to blame if it doesn't work later. (On my first trial build it didn't work, the next eleven were fine, but I didn't test the camera first so don't know if I did something wrong).
Plug the camera in and let Windows find the drivers, three green ticks means everything should be okay.
Open a piece of video cam software, this may already be on your computer, or you can download the Microsoft Lifecam software, VLC or other appropriate software. Then test the picture.
Cut Off the USB Plug
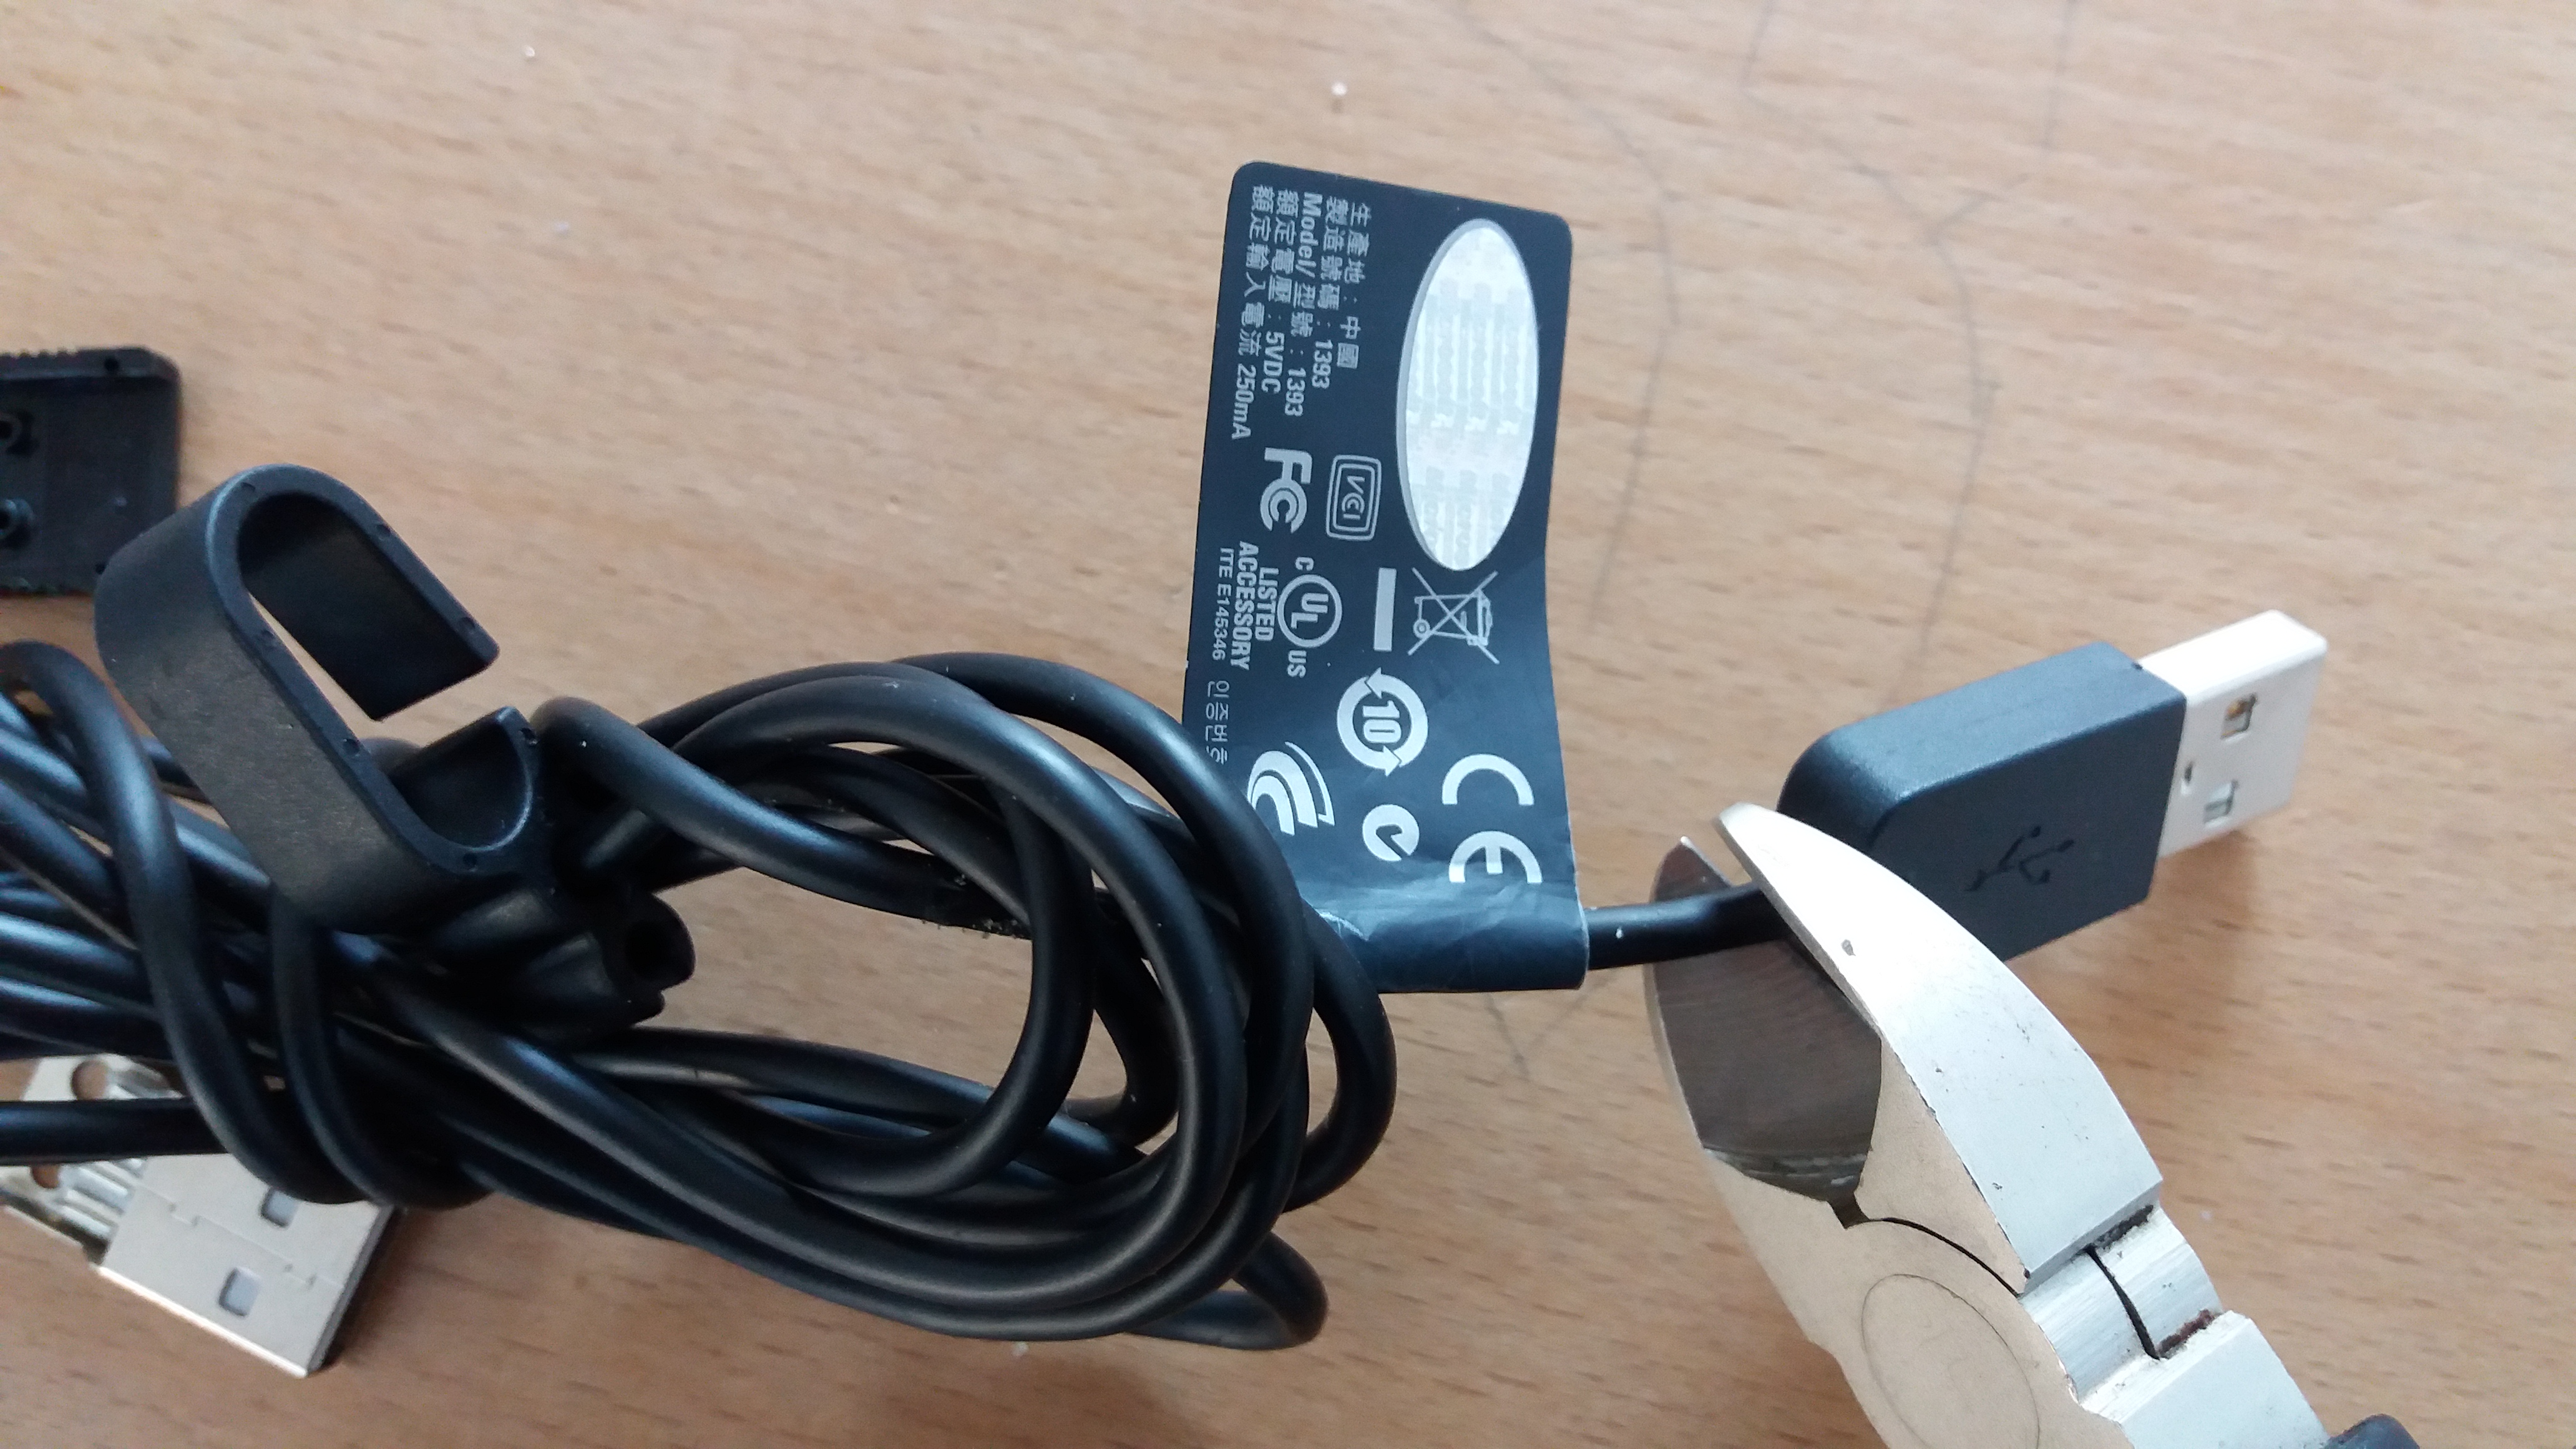
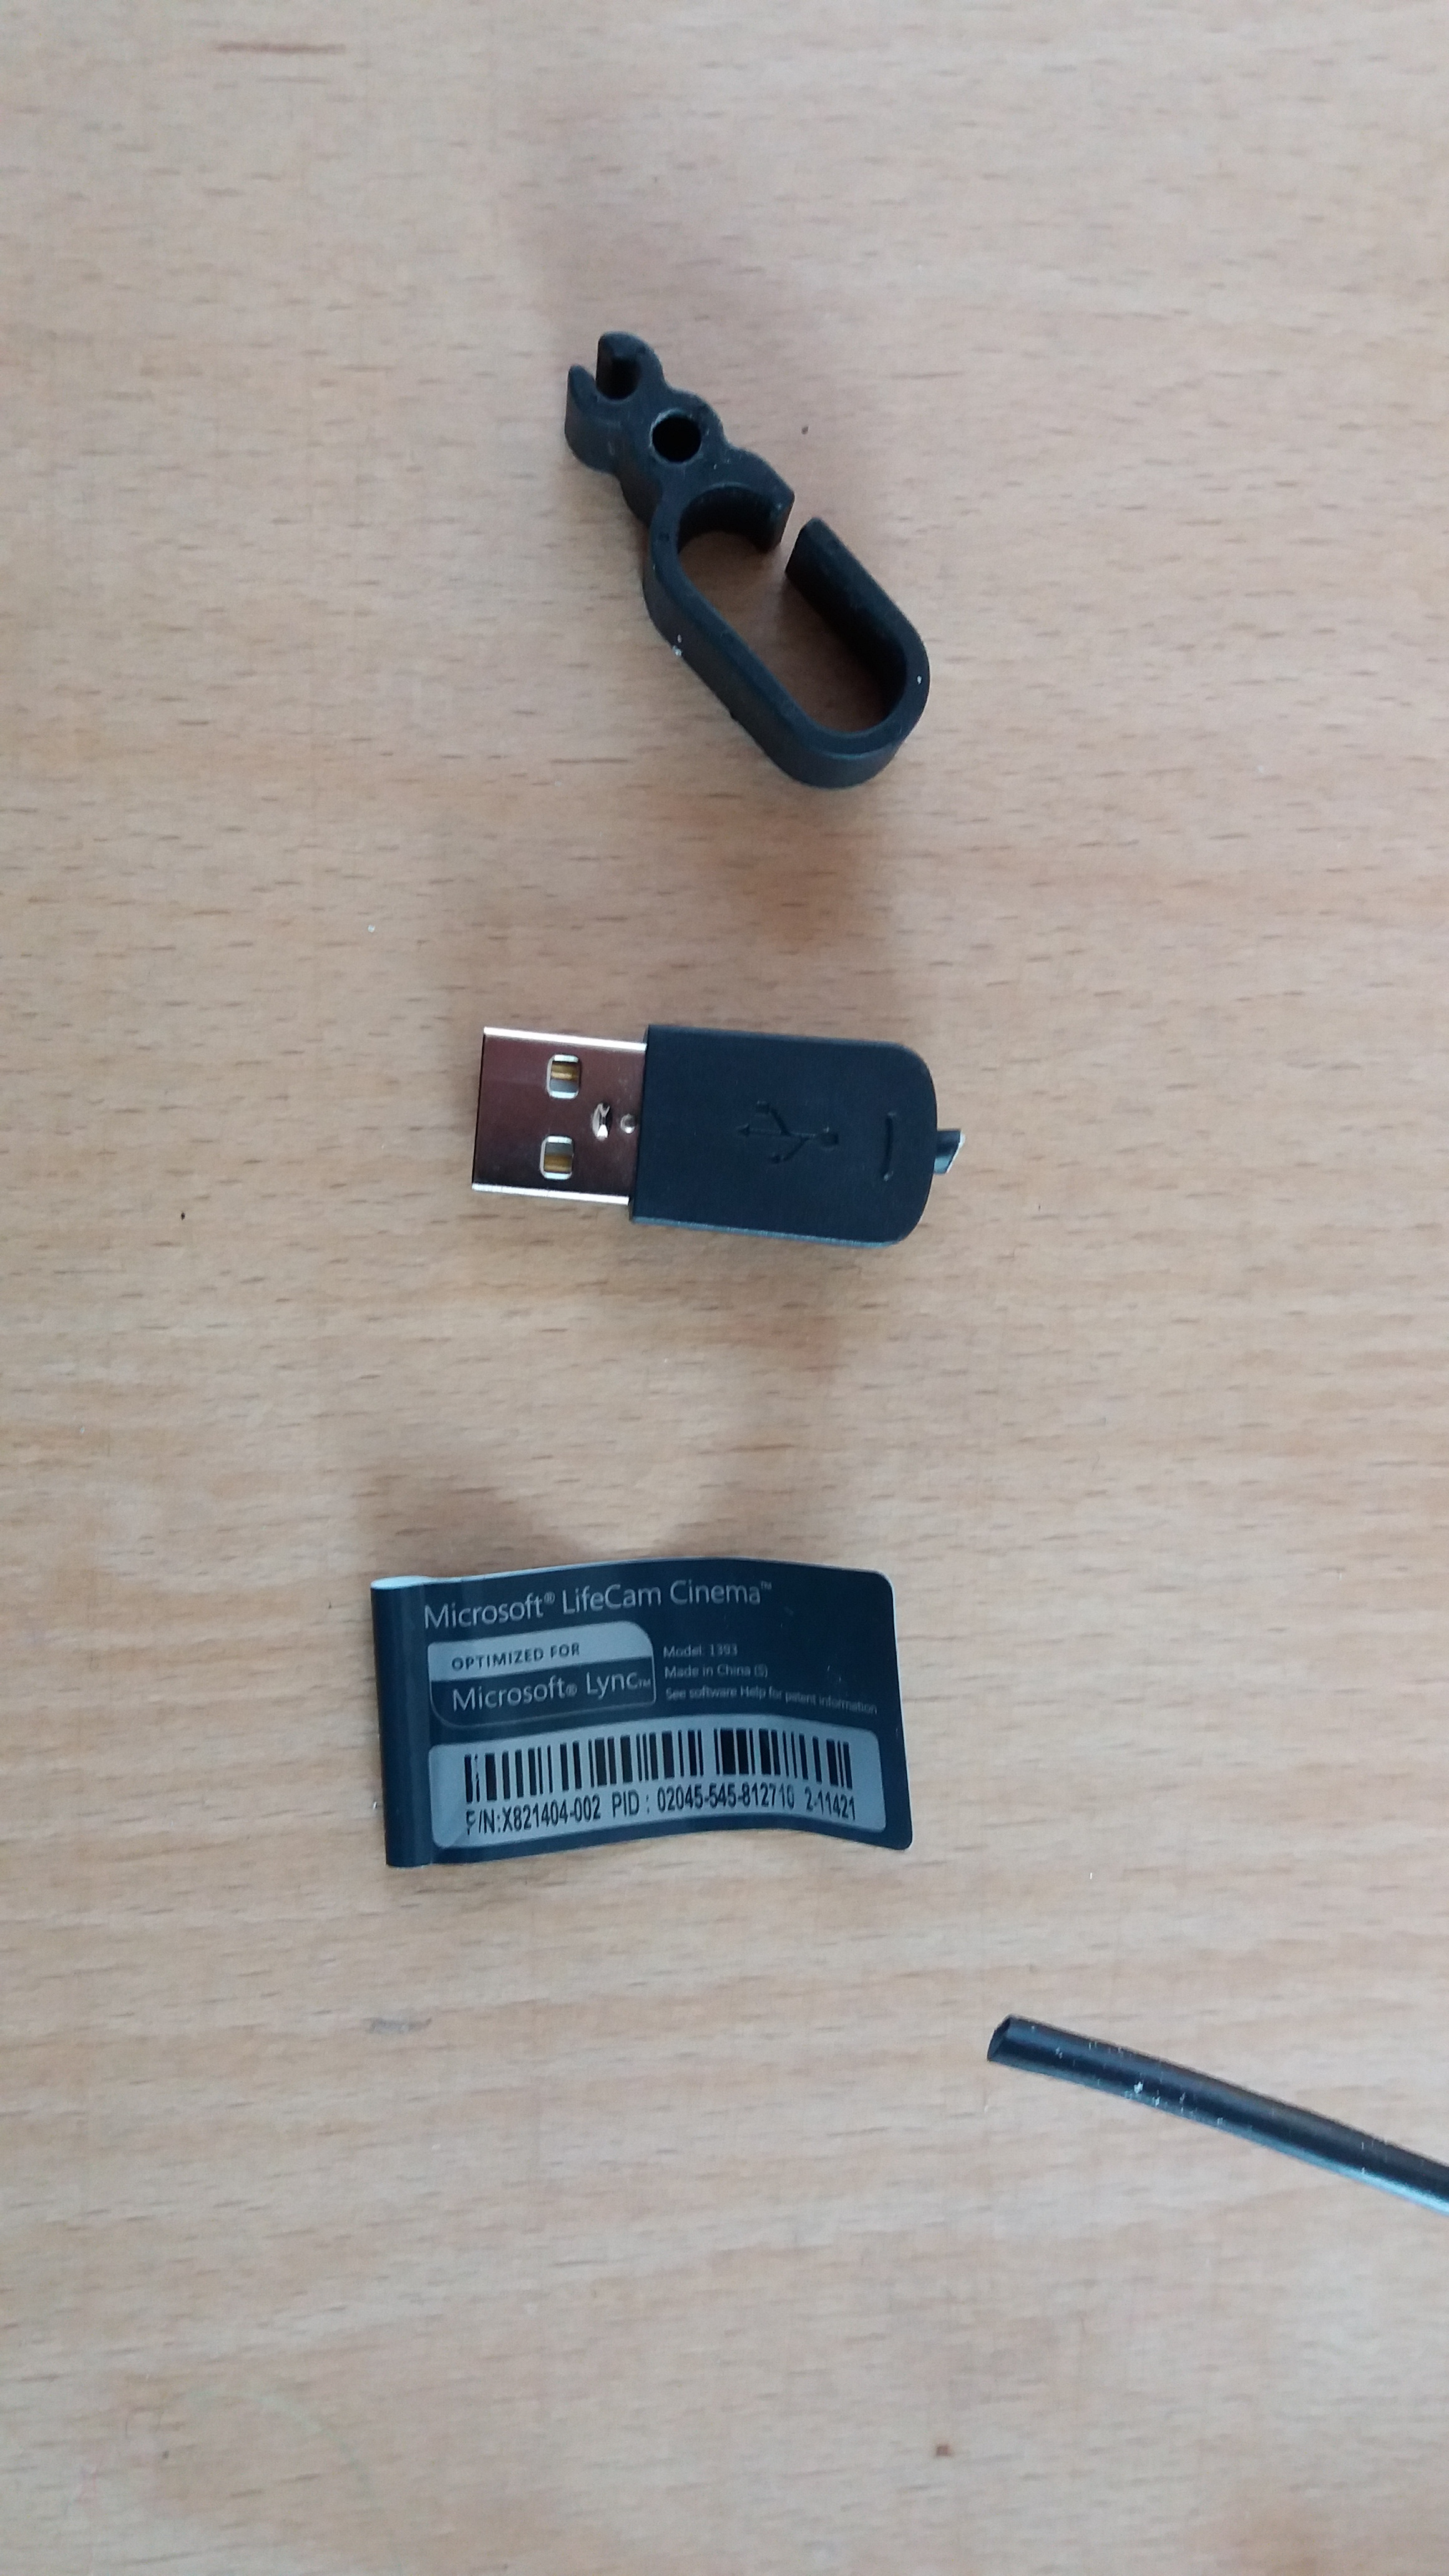
This is the point of no return, snip off the USB plug as near to the end of the lead as possible. Remove the cable tidy and label.
Thread the Lead Through the Angle Poise Framework
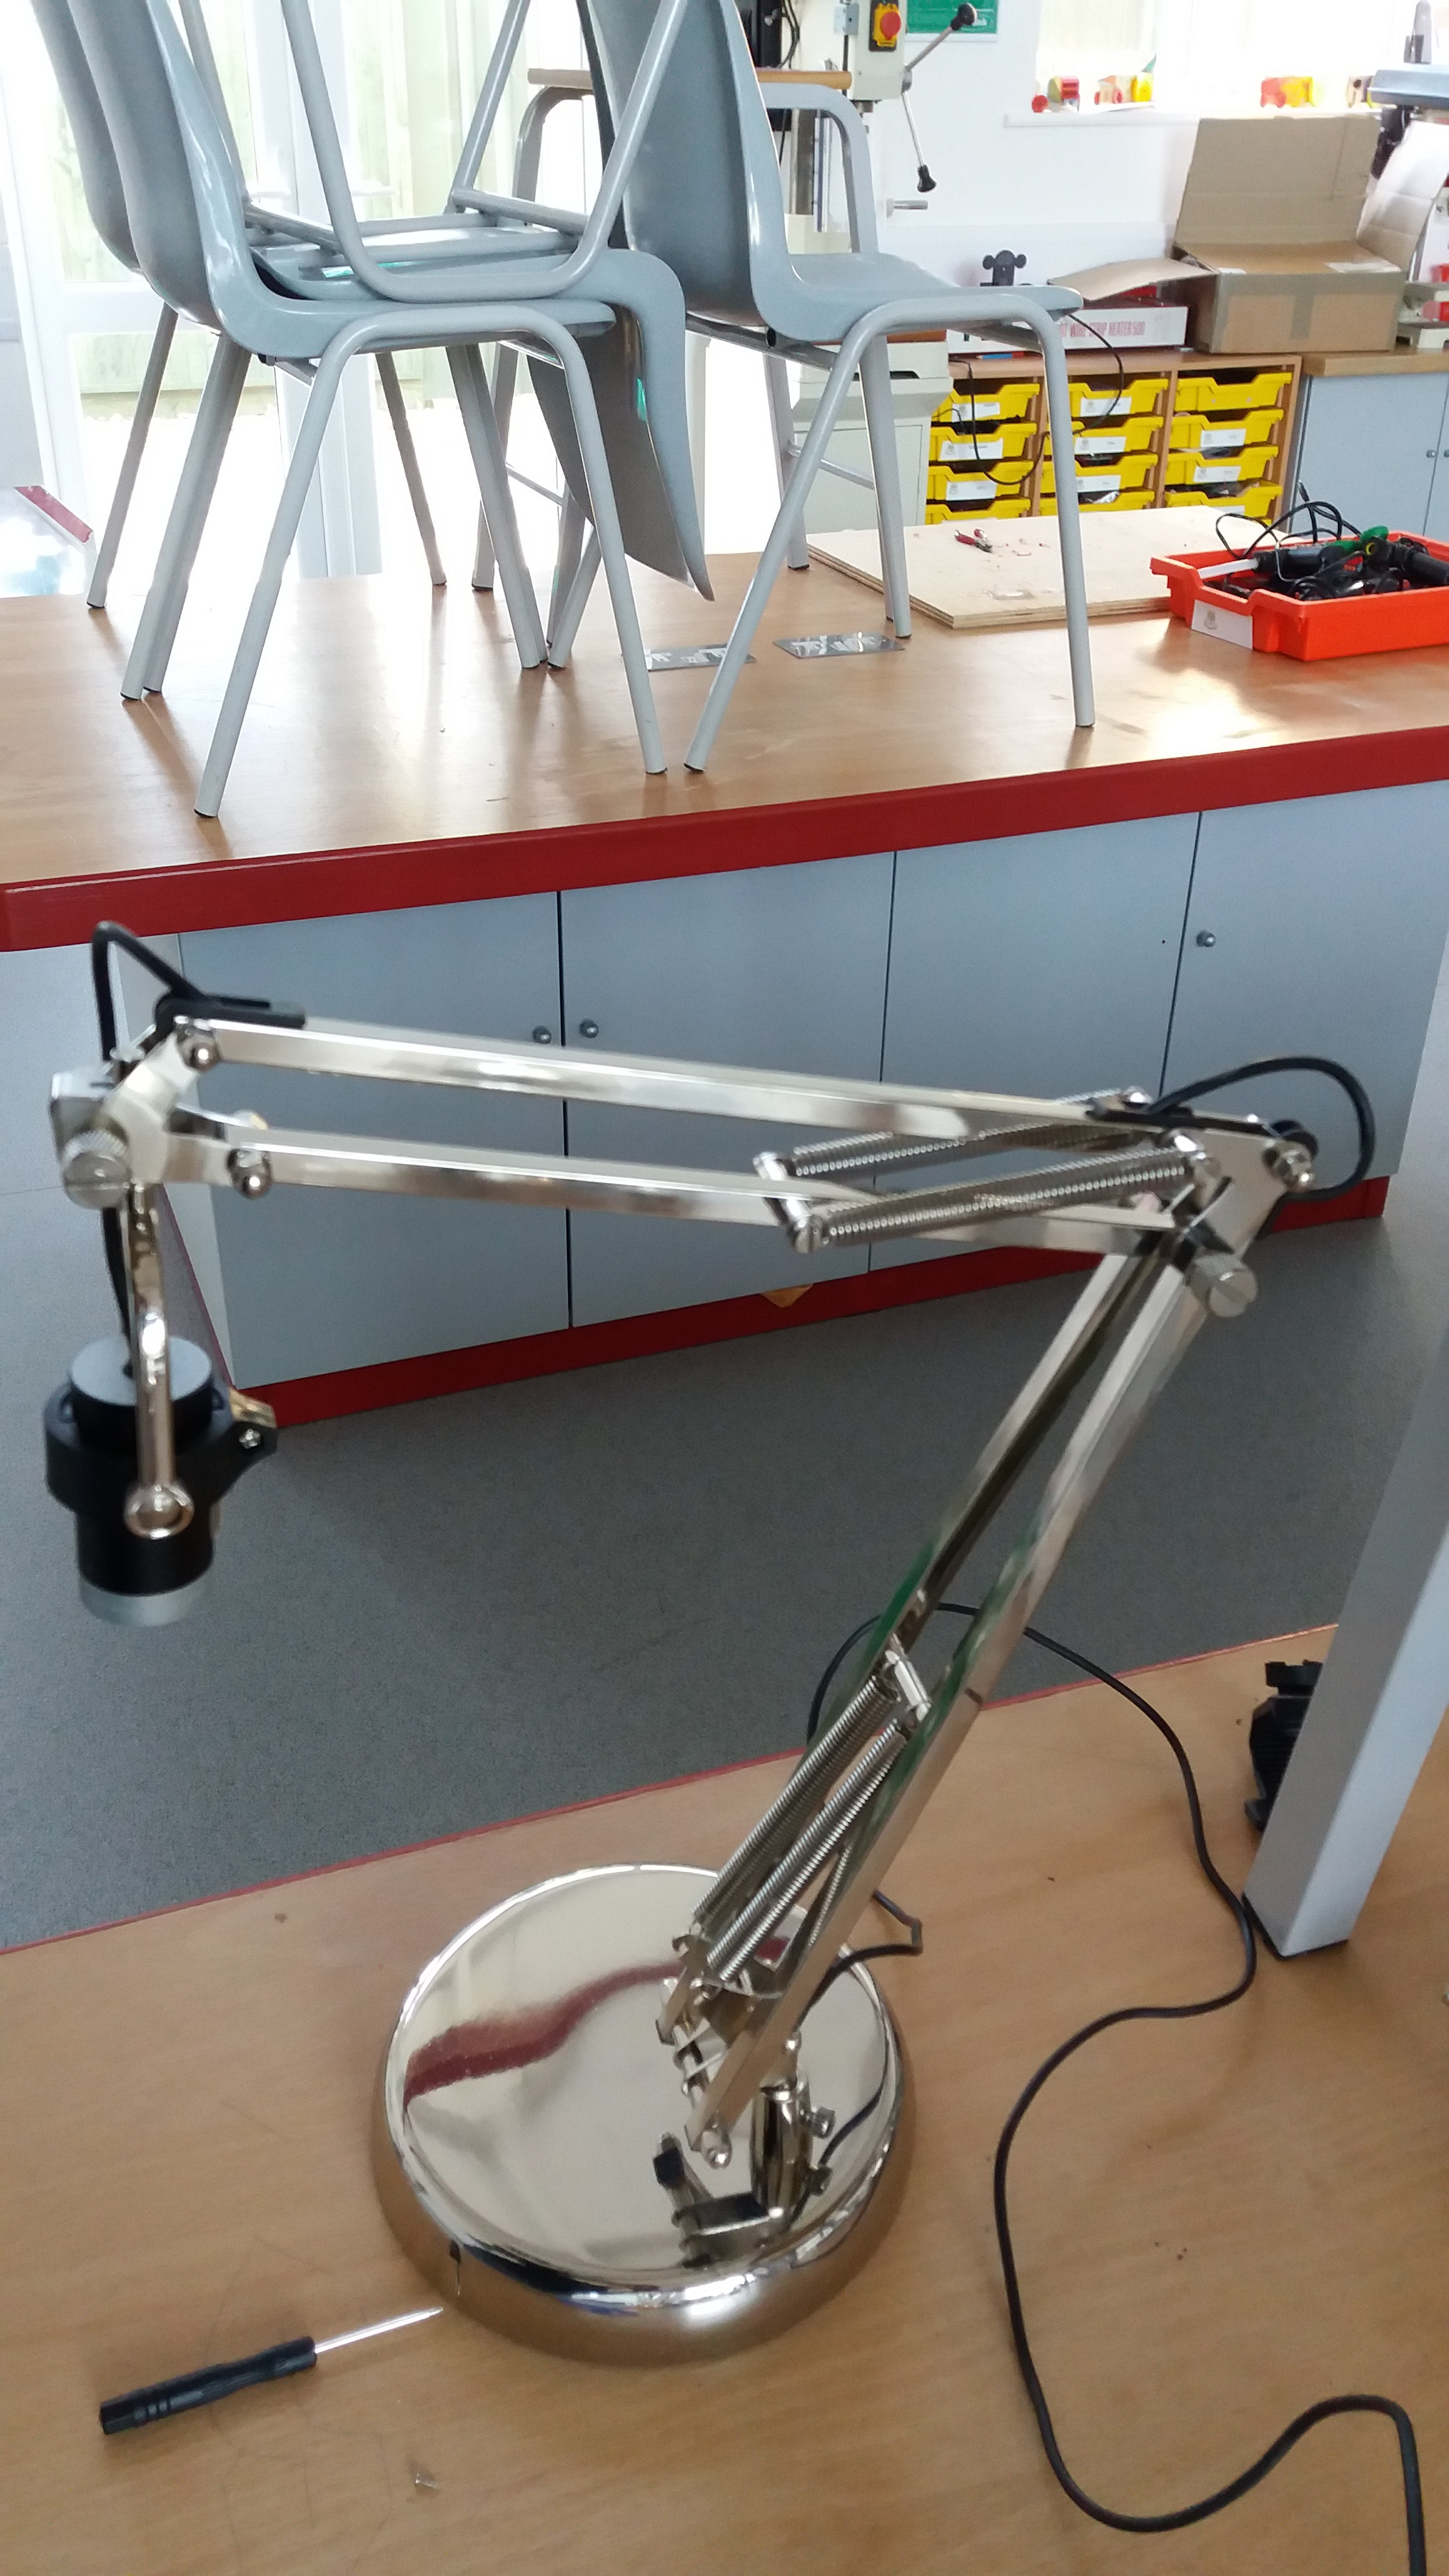
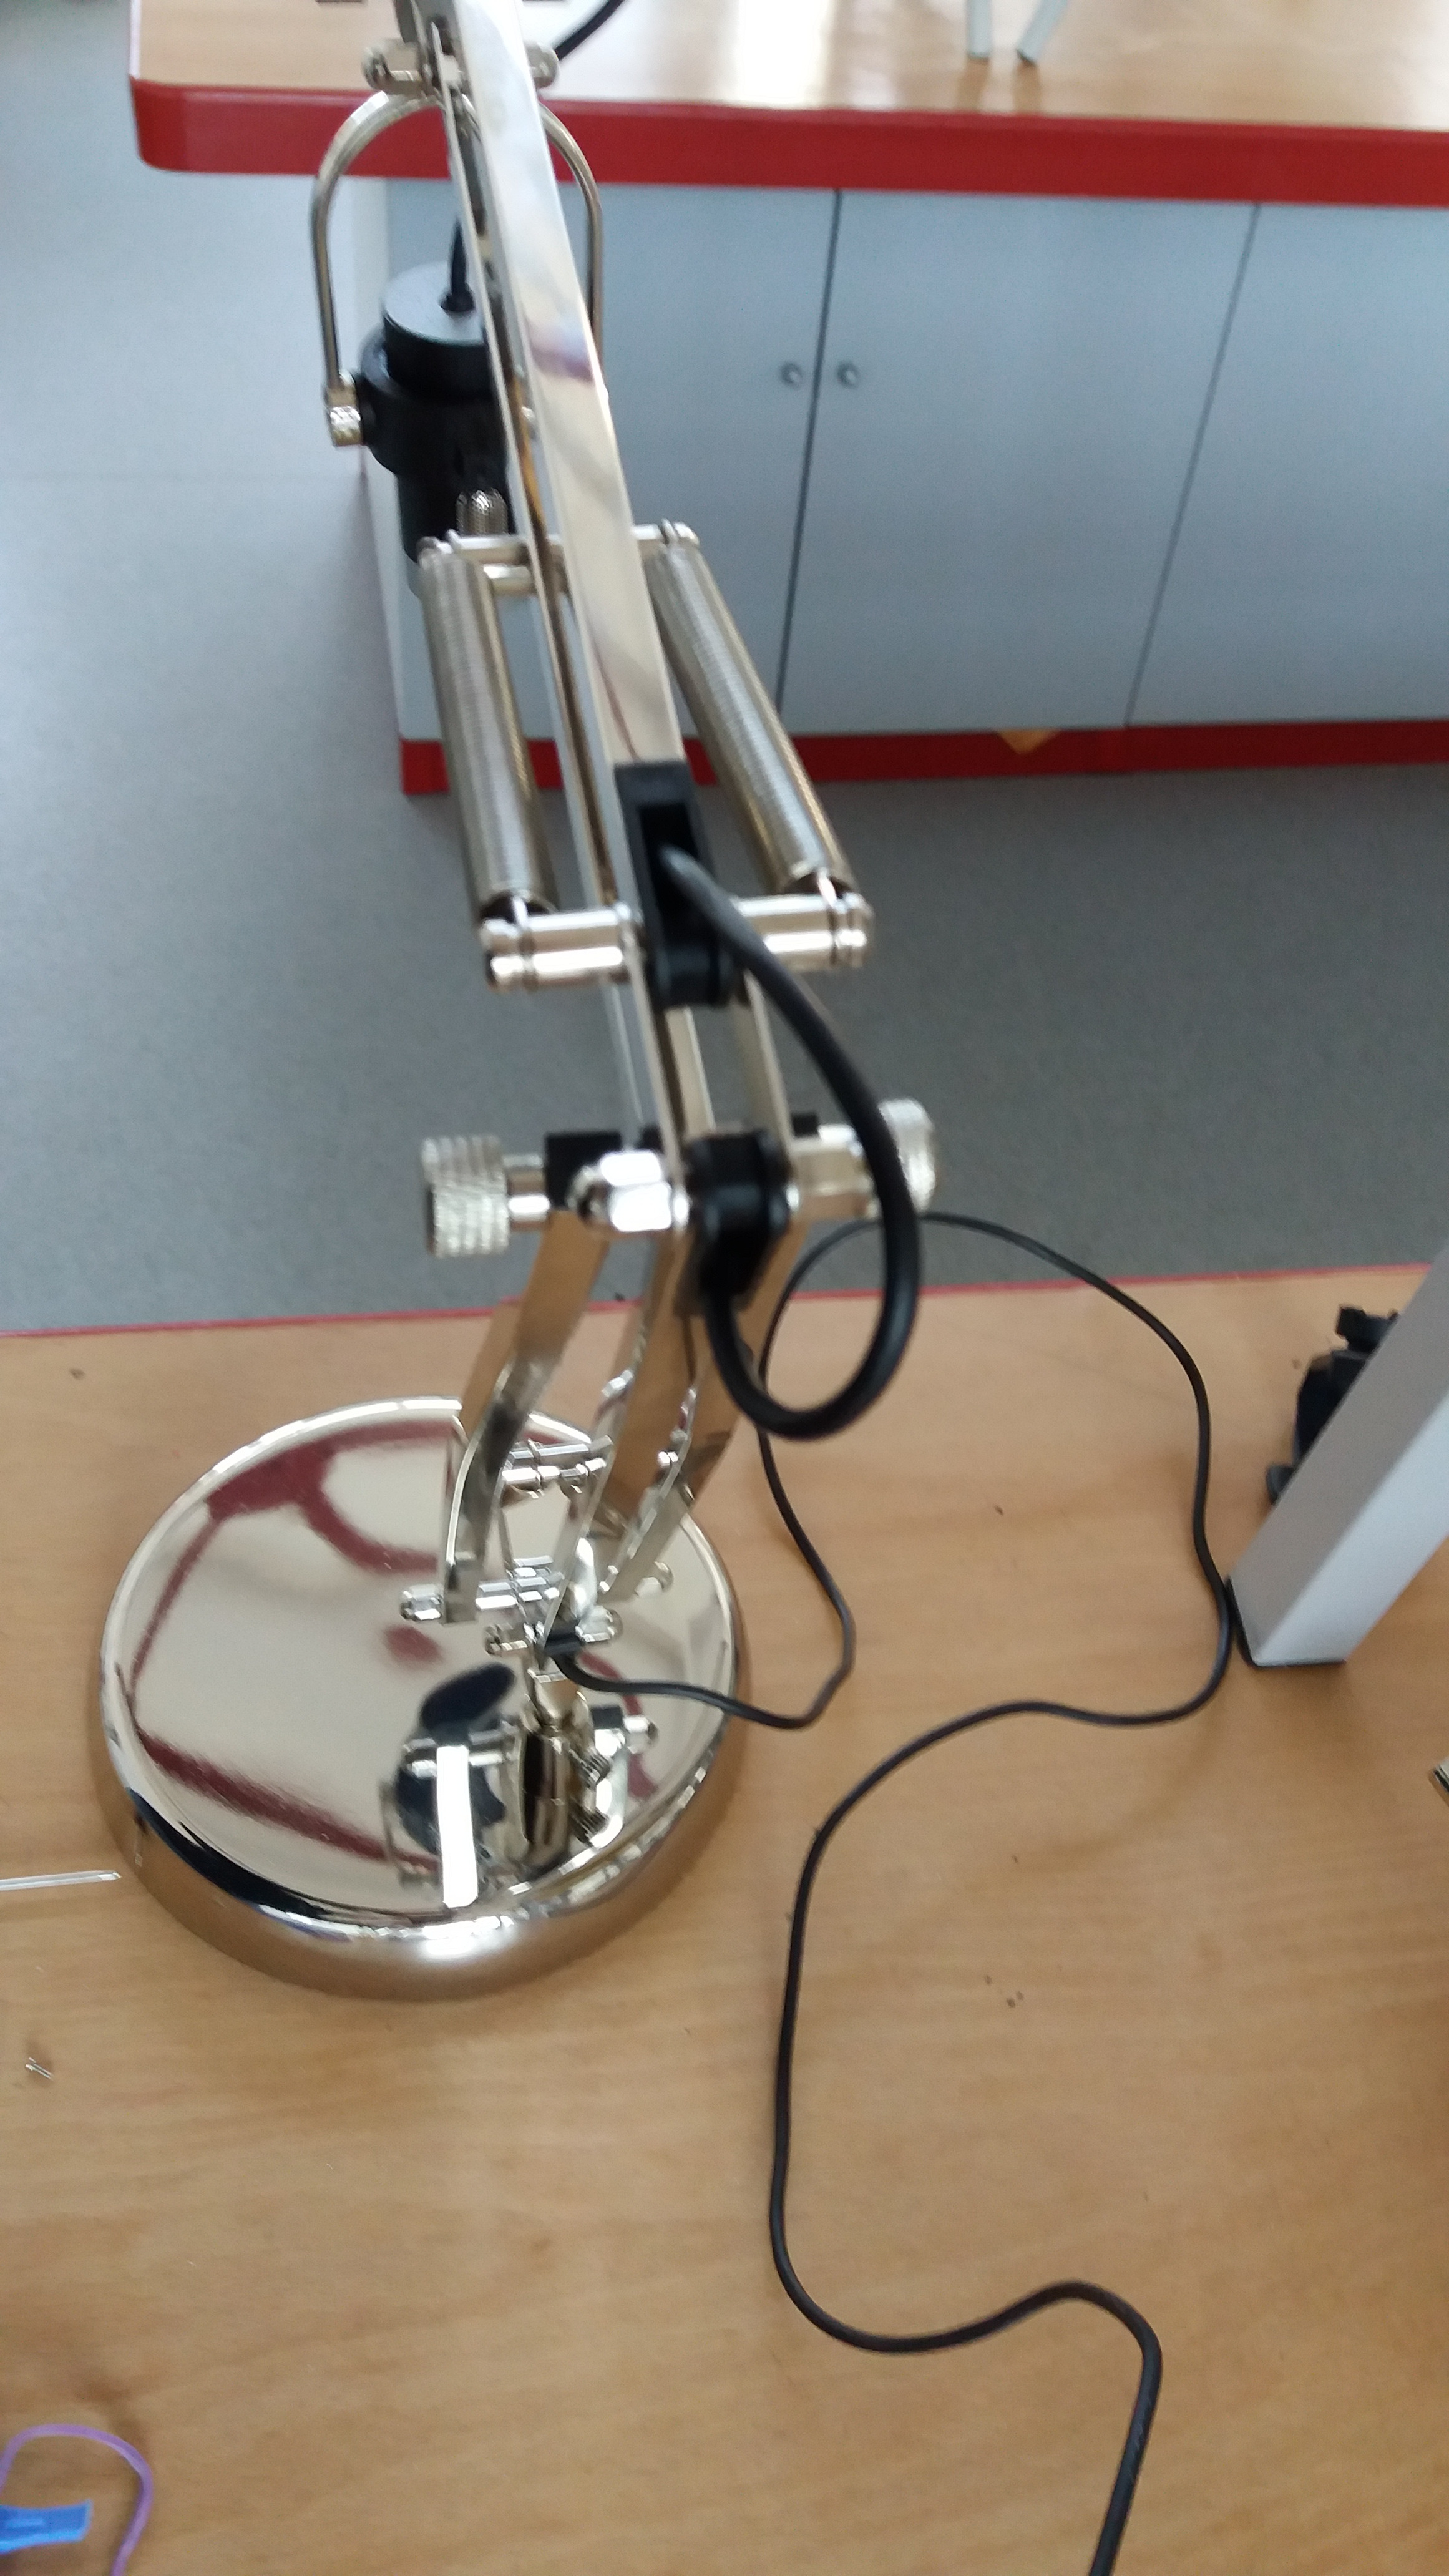
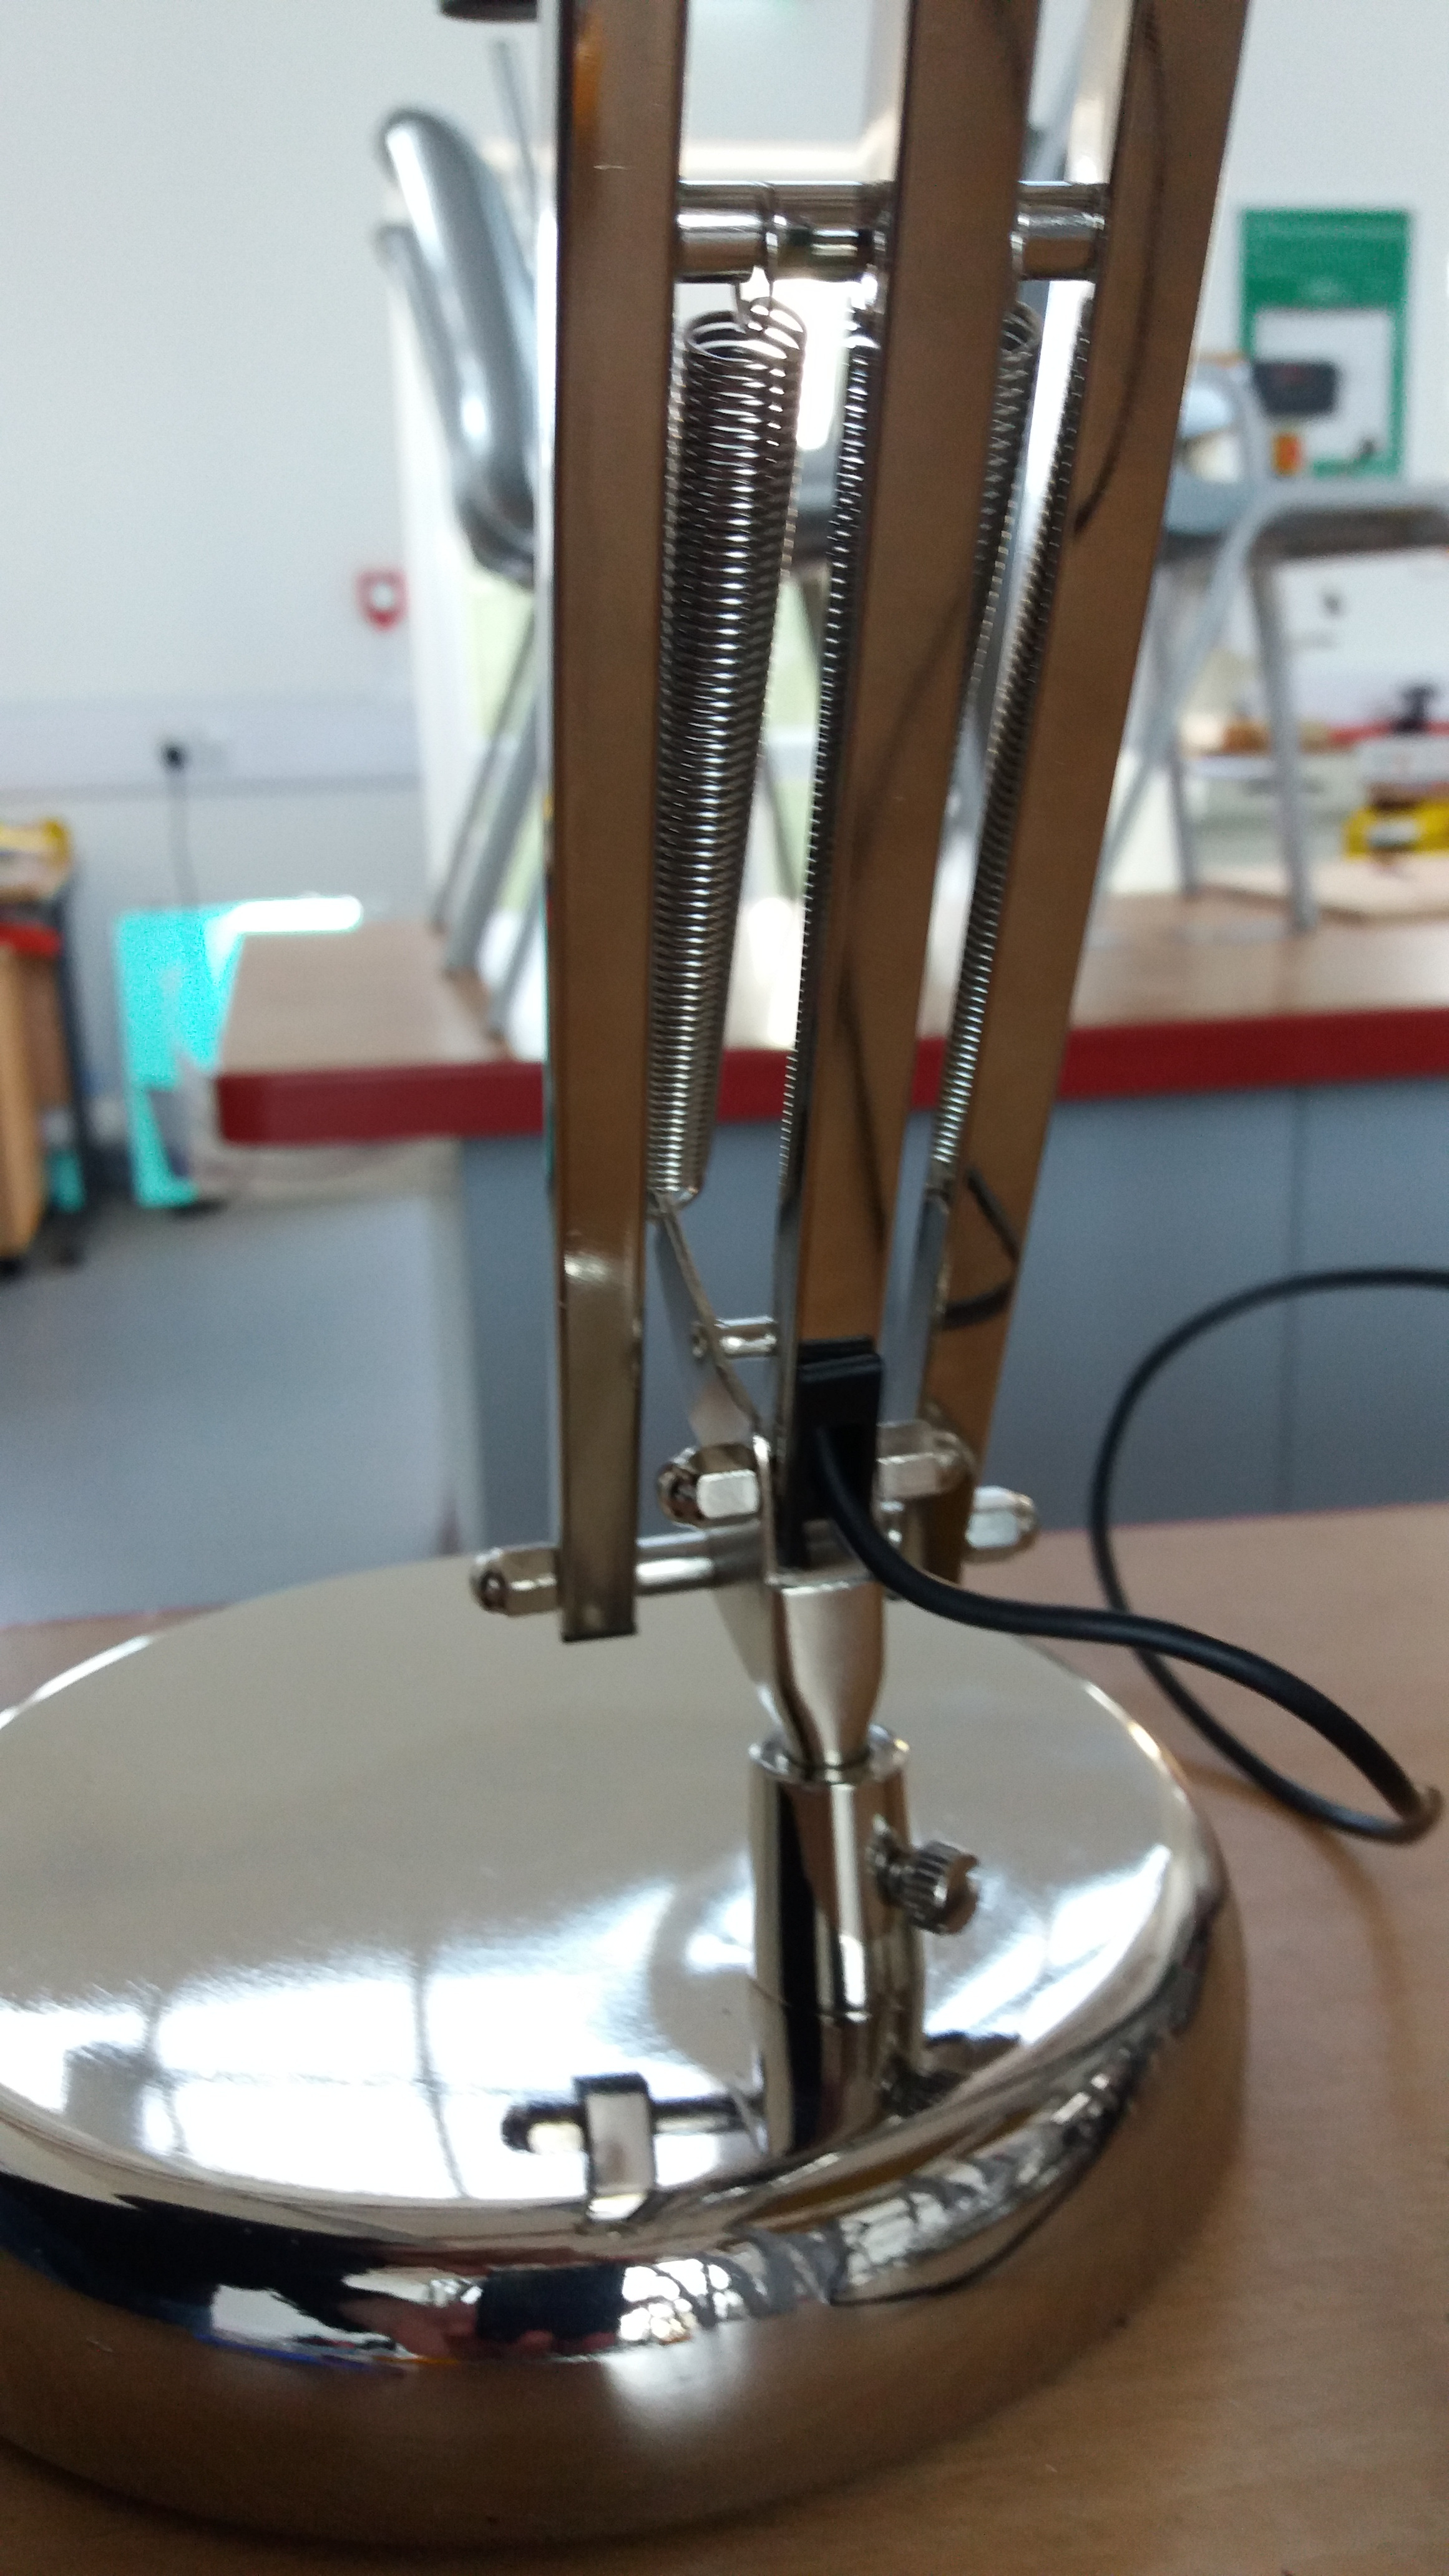
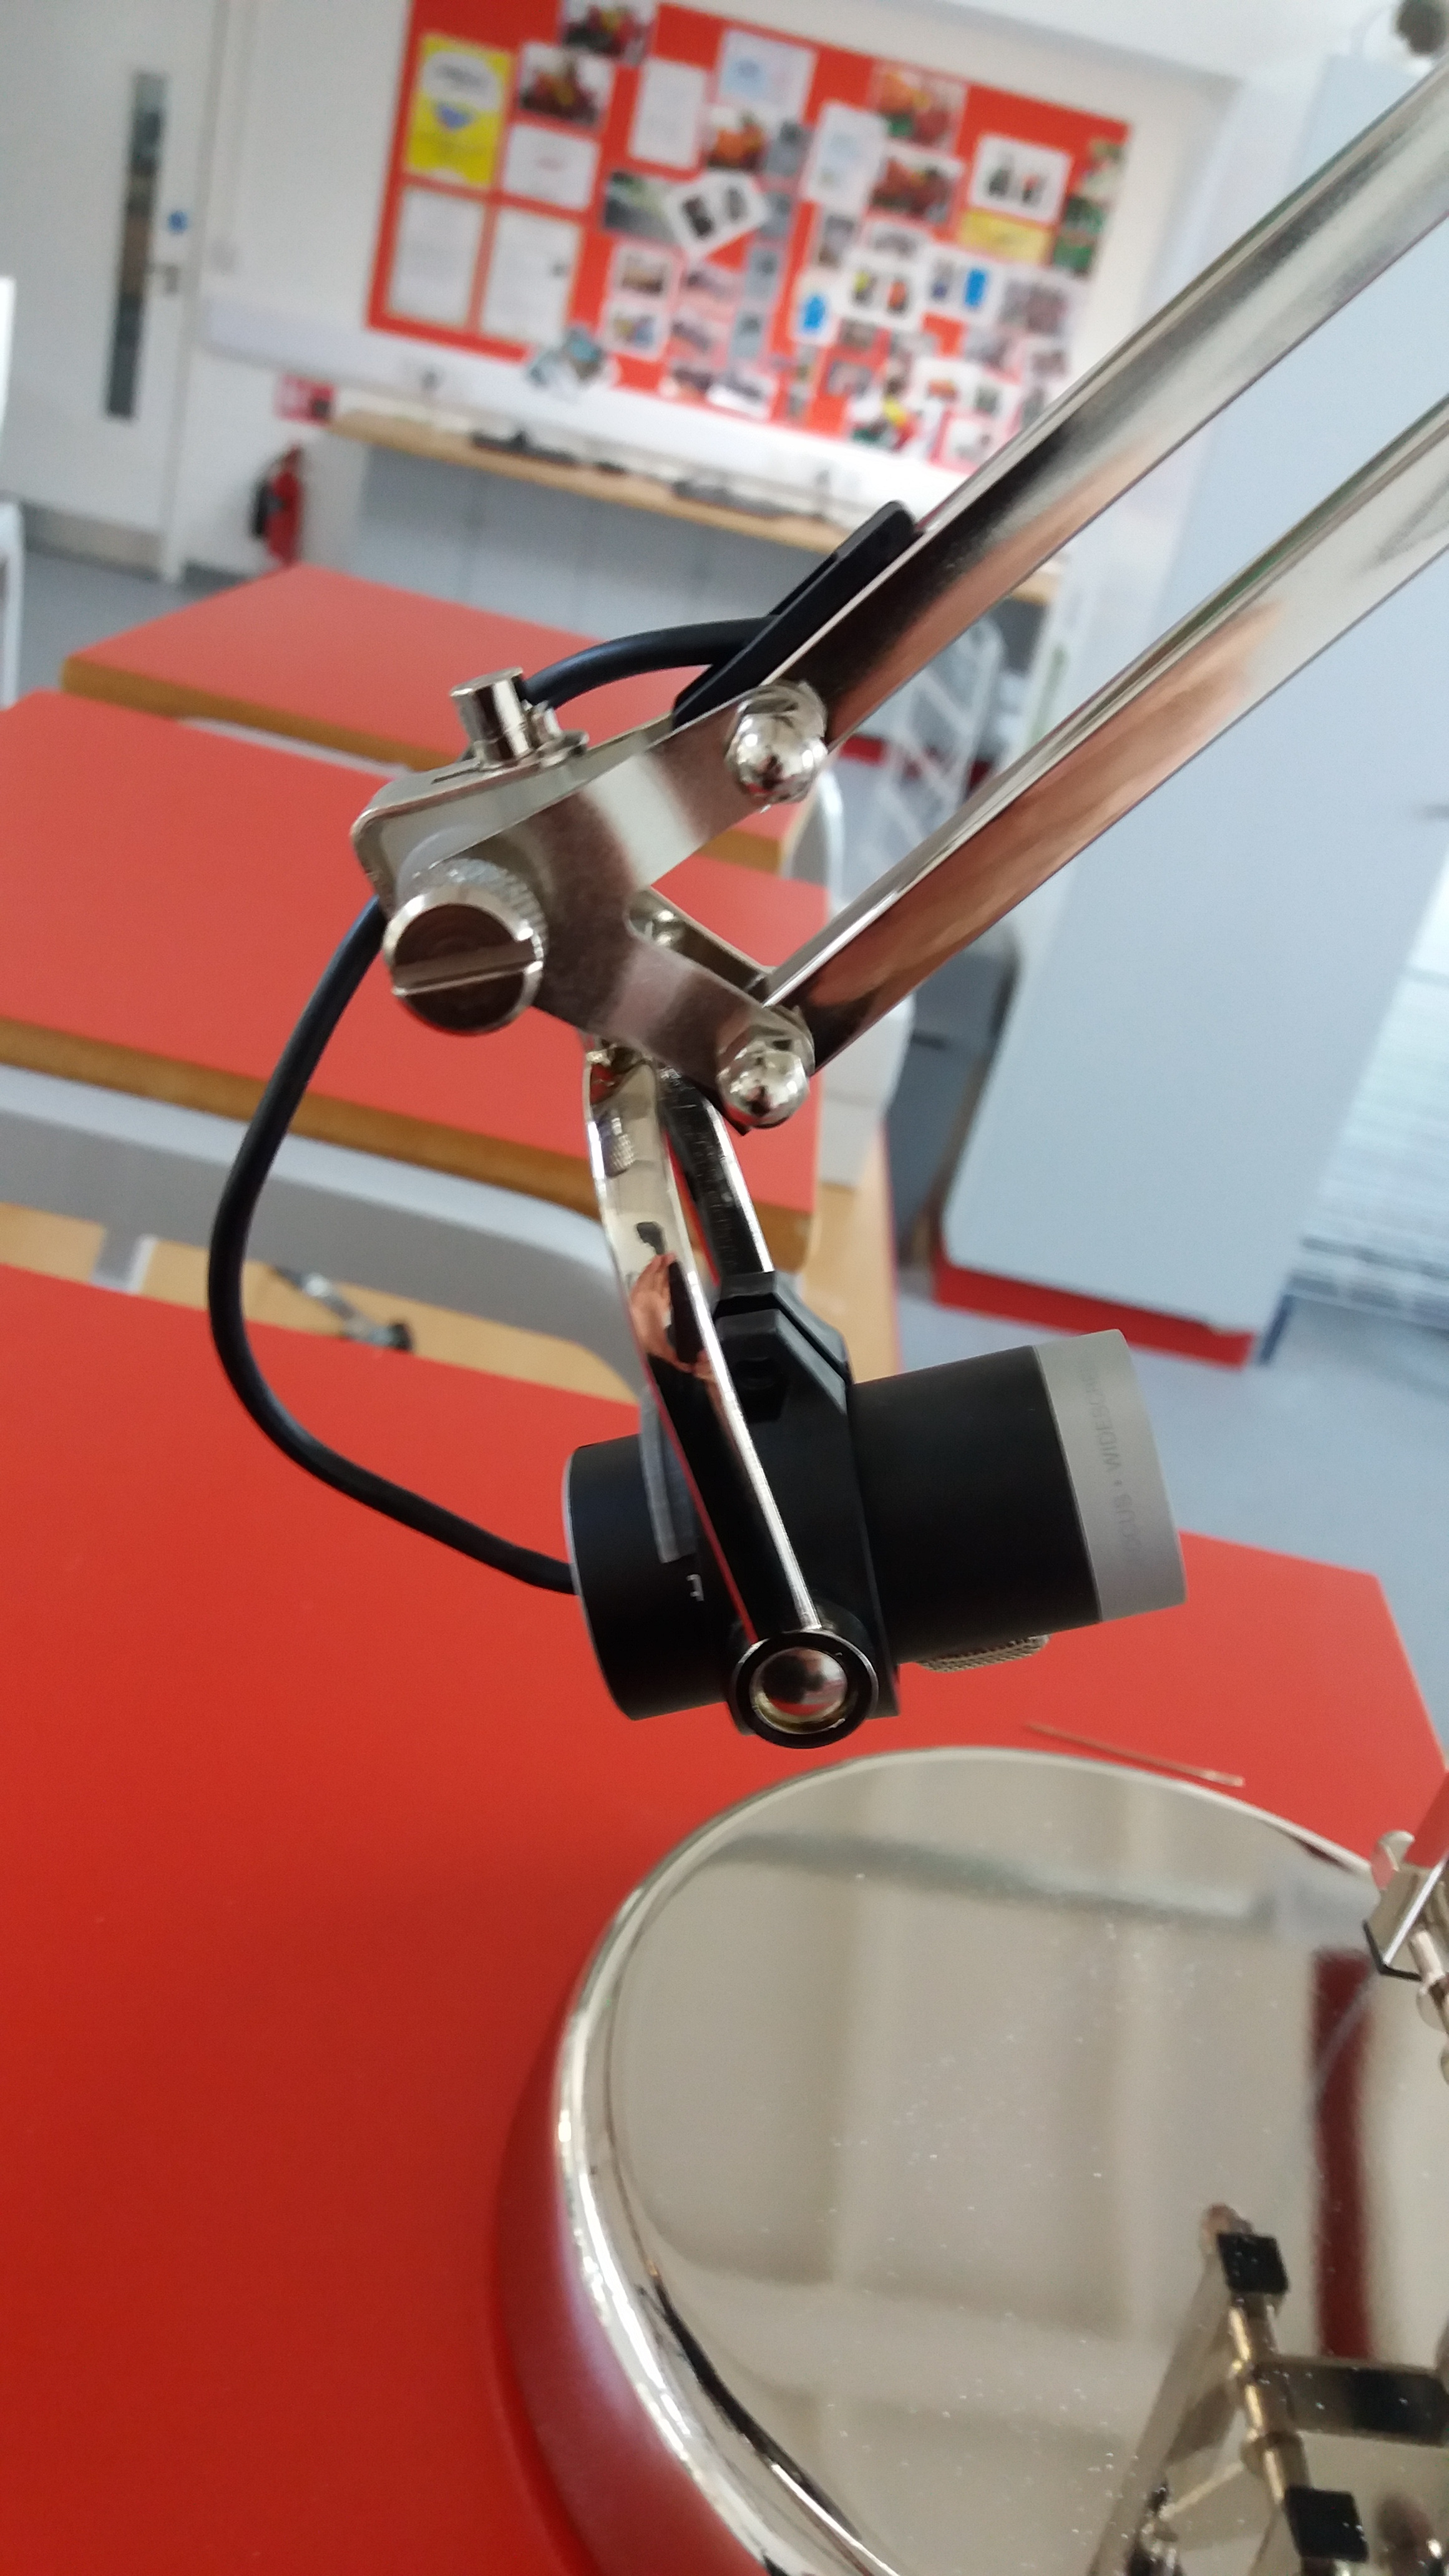
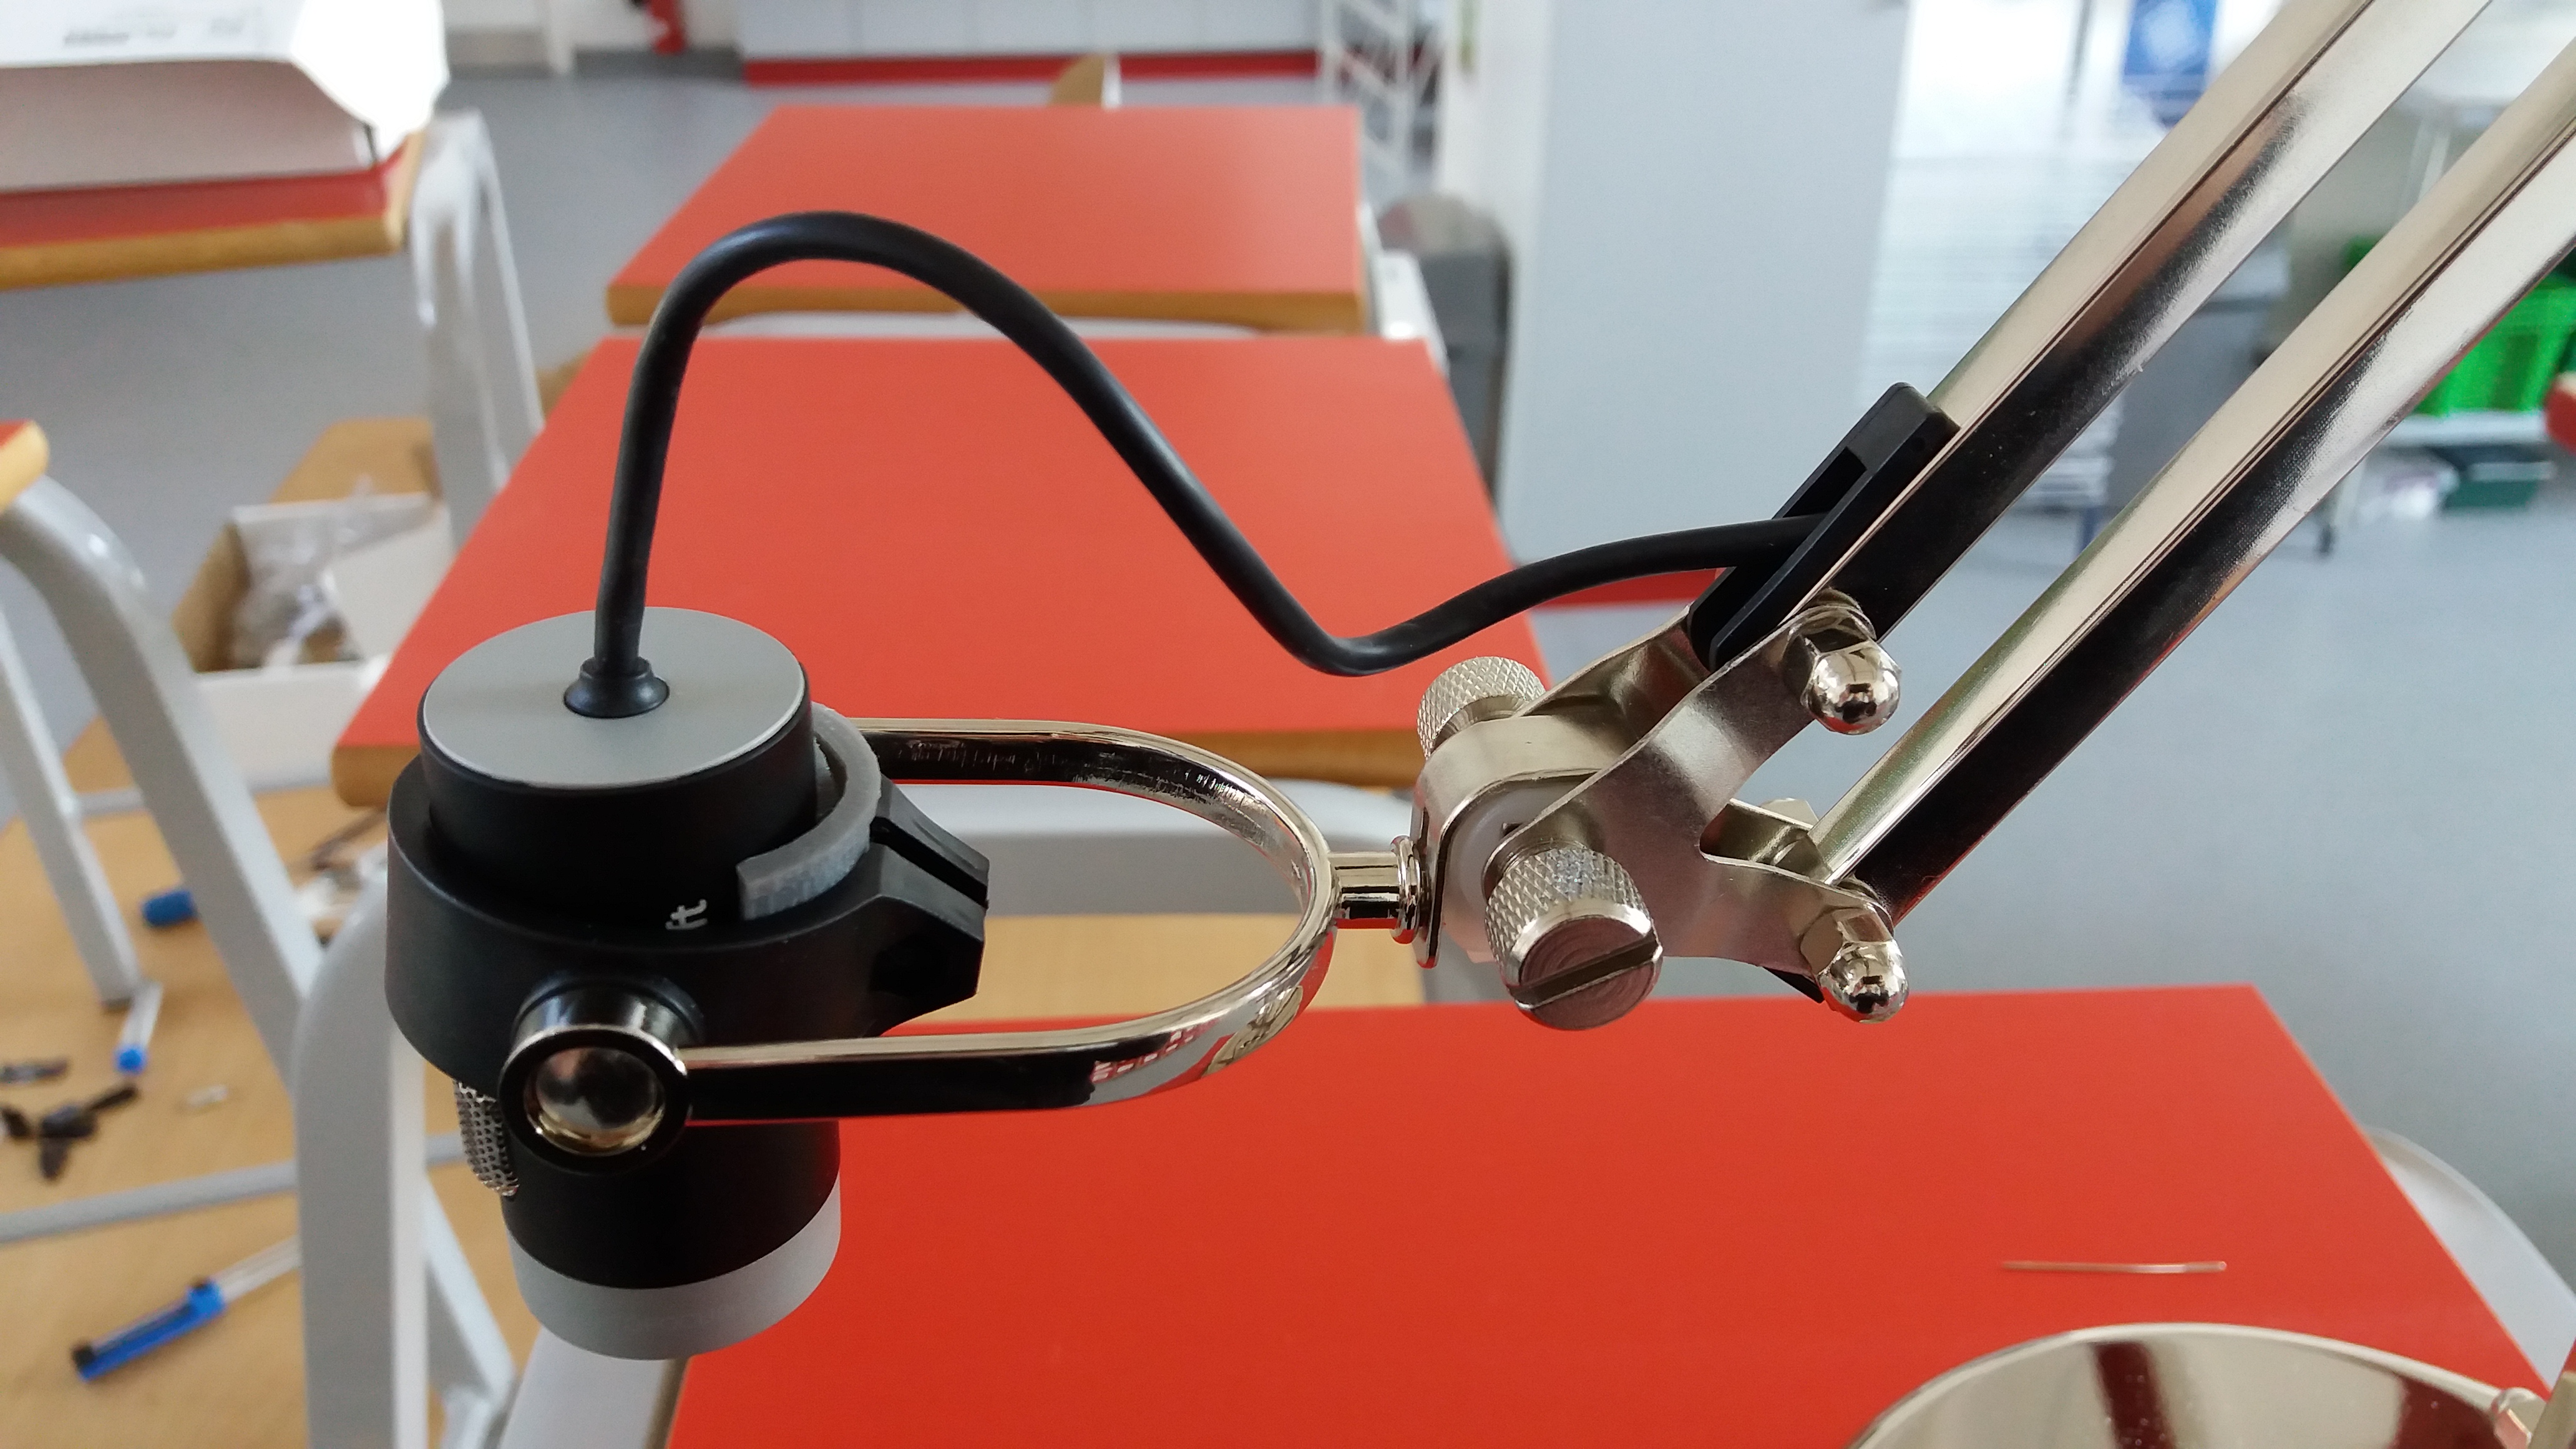
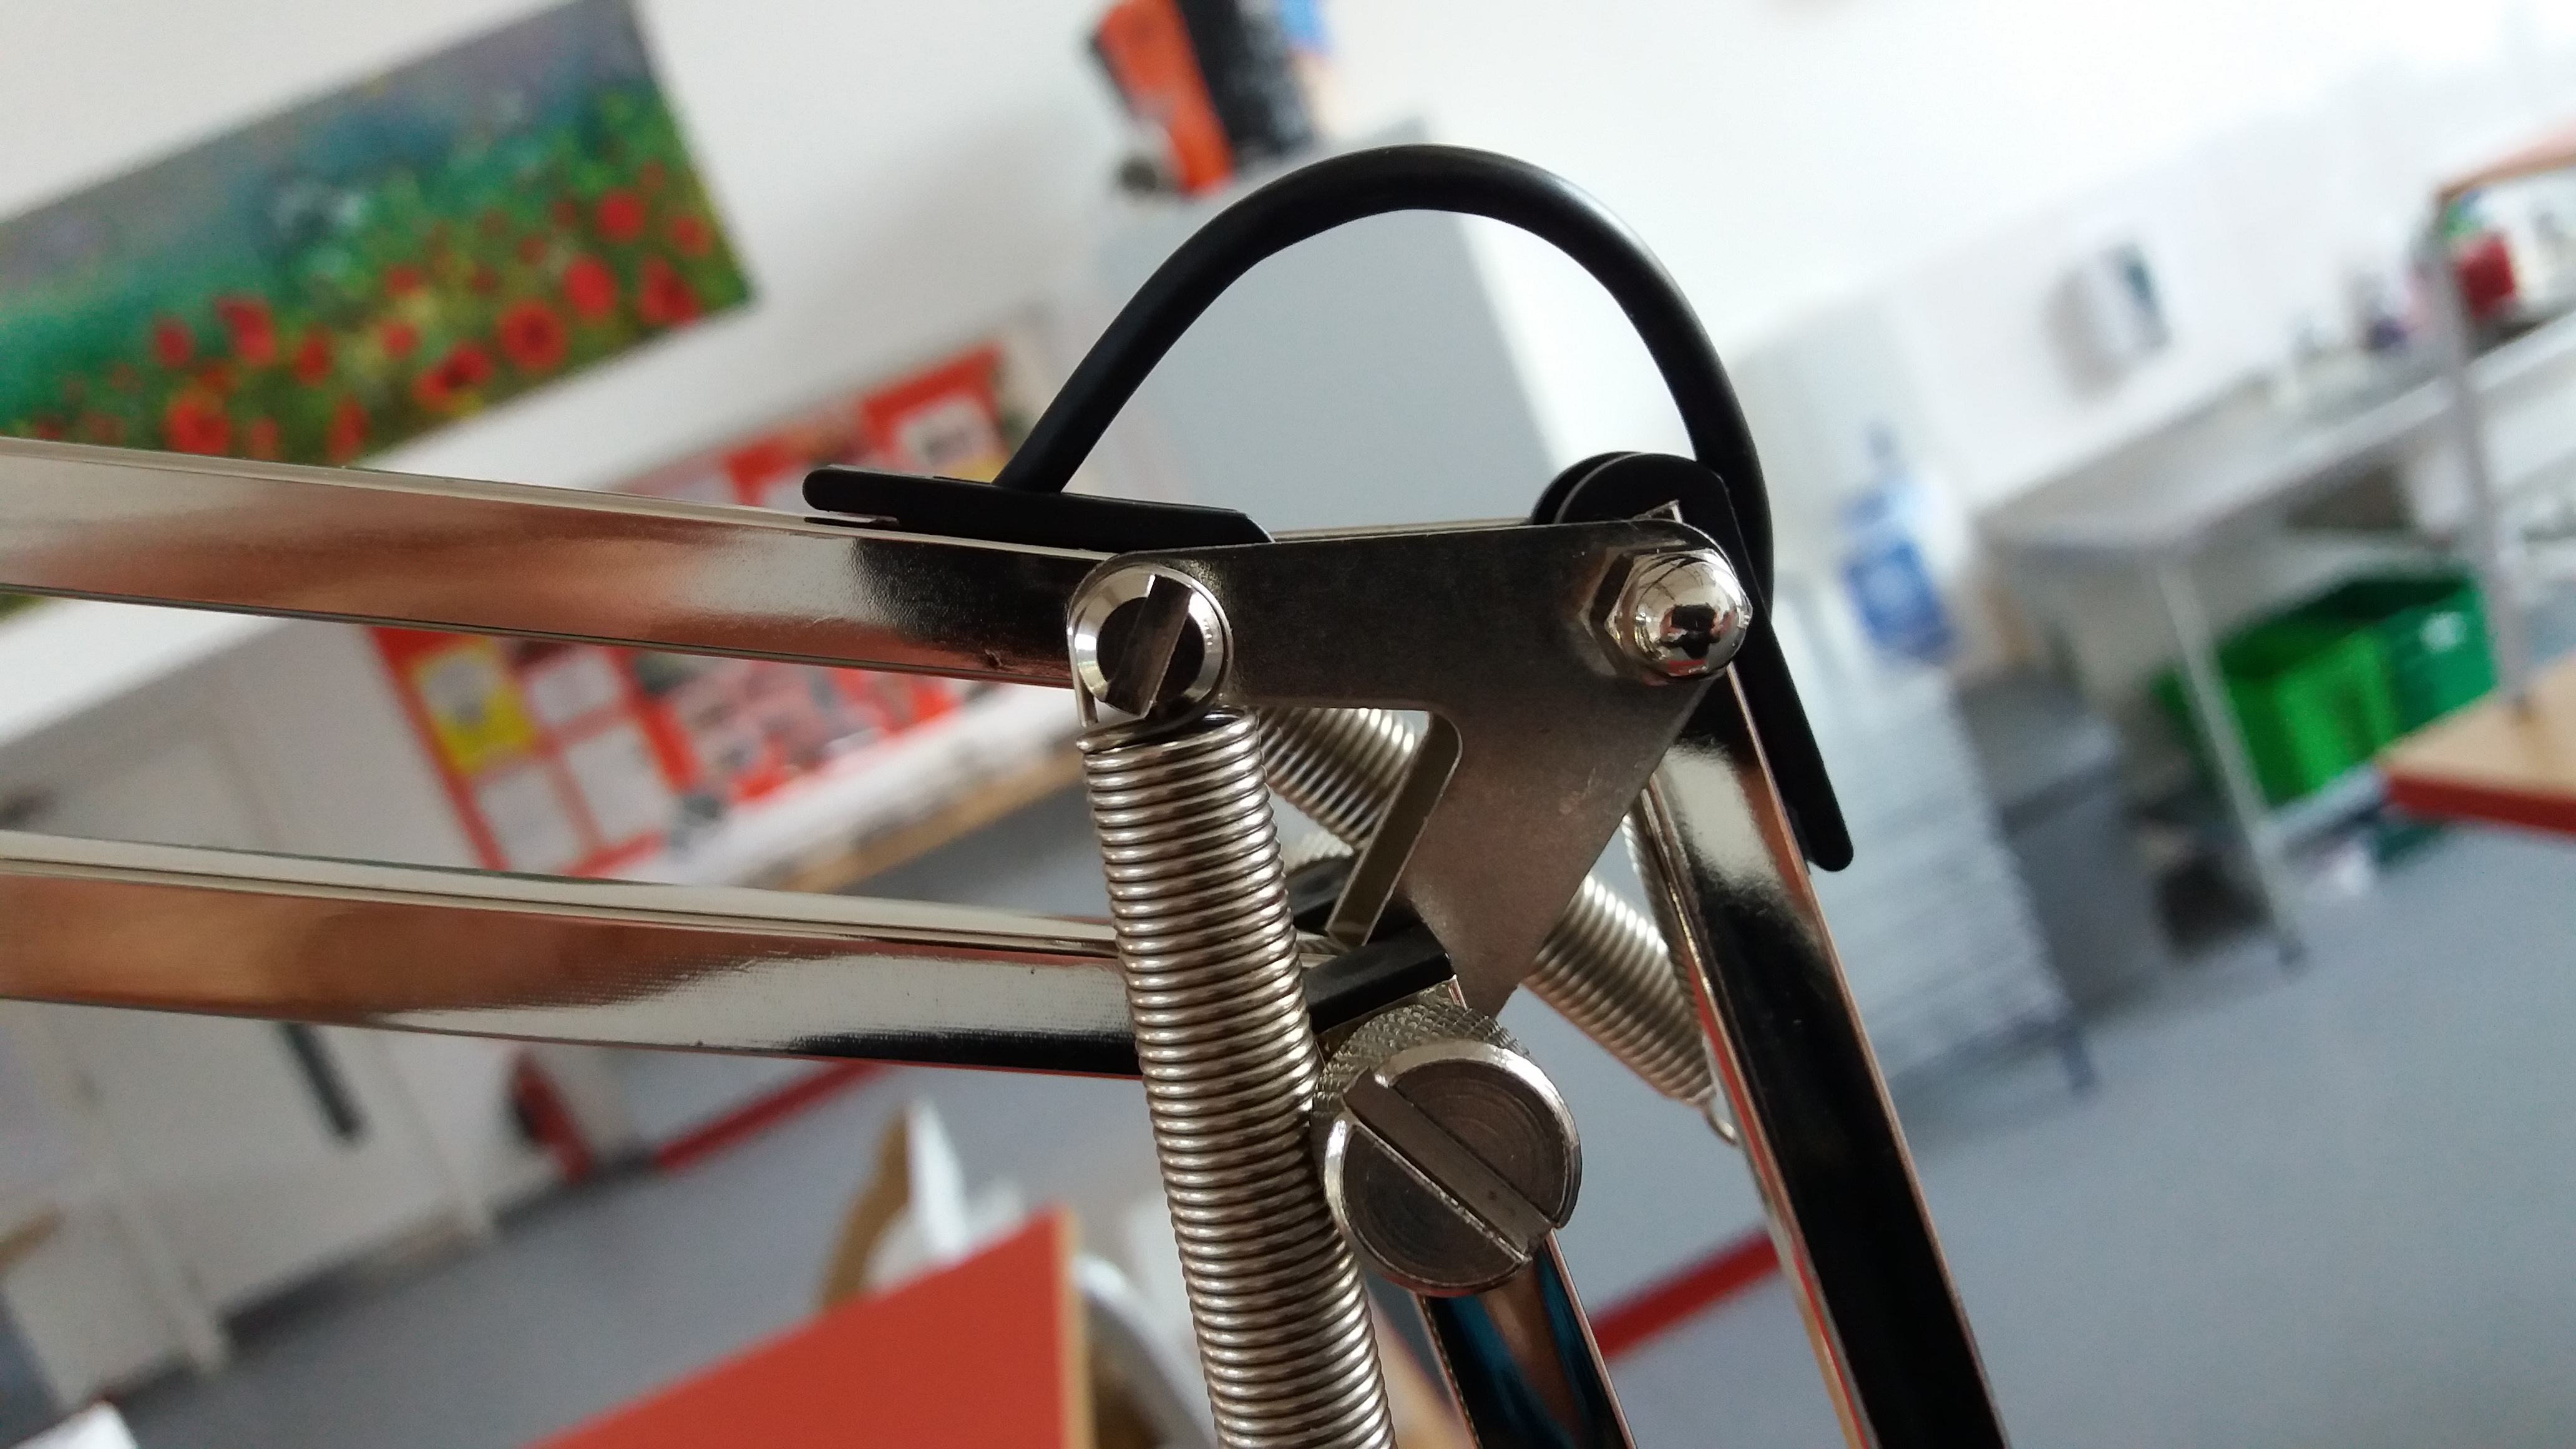
Thread the lead through the metal work. It is a little tricky to get the lead to emerge from the ends, but I found a thin needle ideal to coax it out. Allow enough spare lead for full range of moment in the camera holder and for the joint halfway.
Solder the New USB Connector
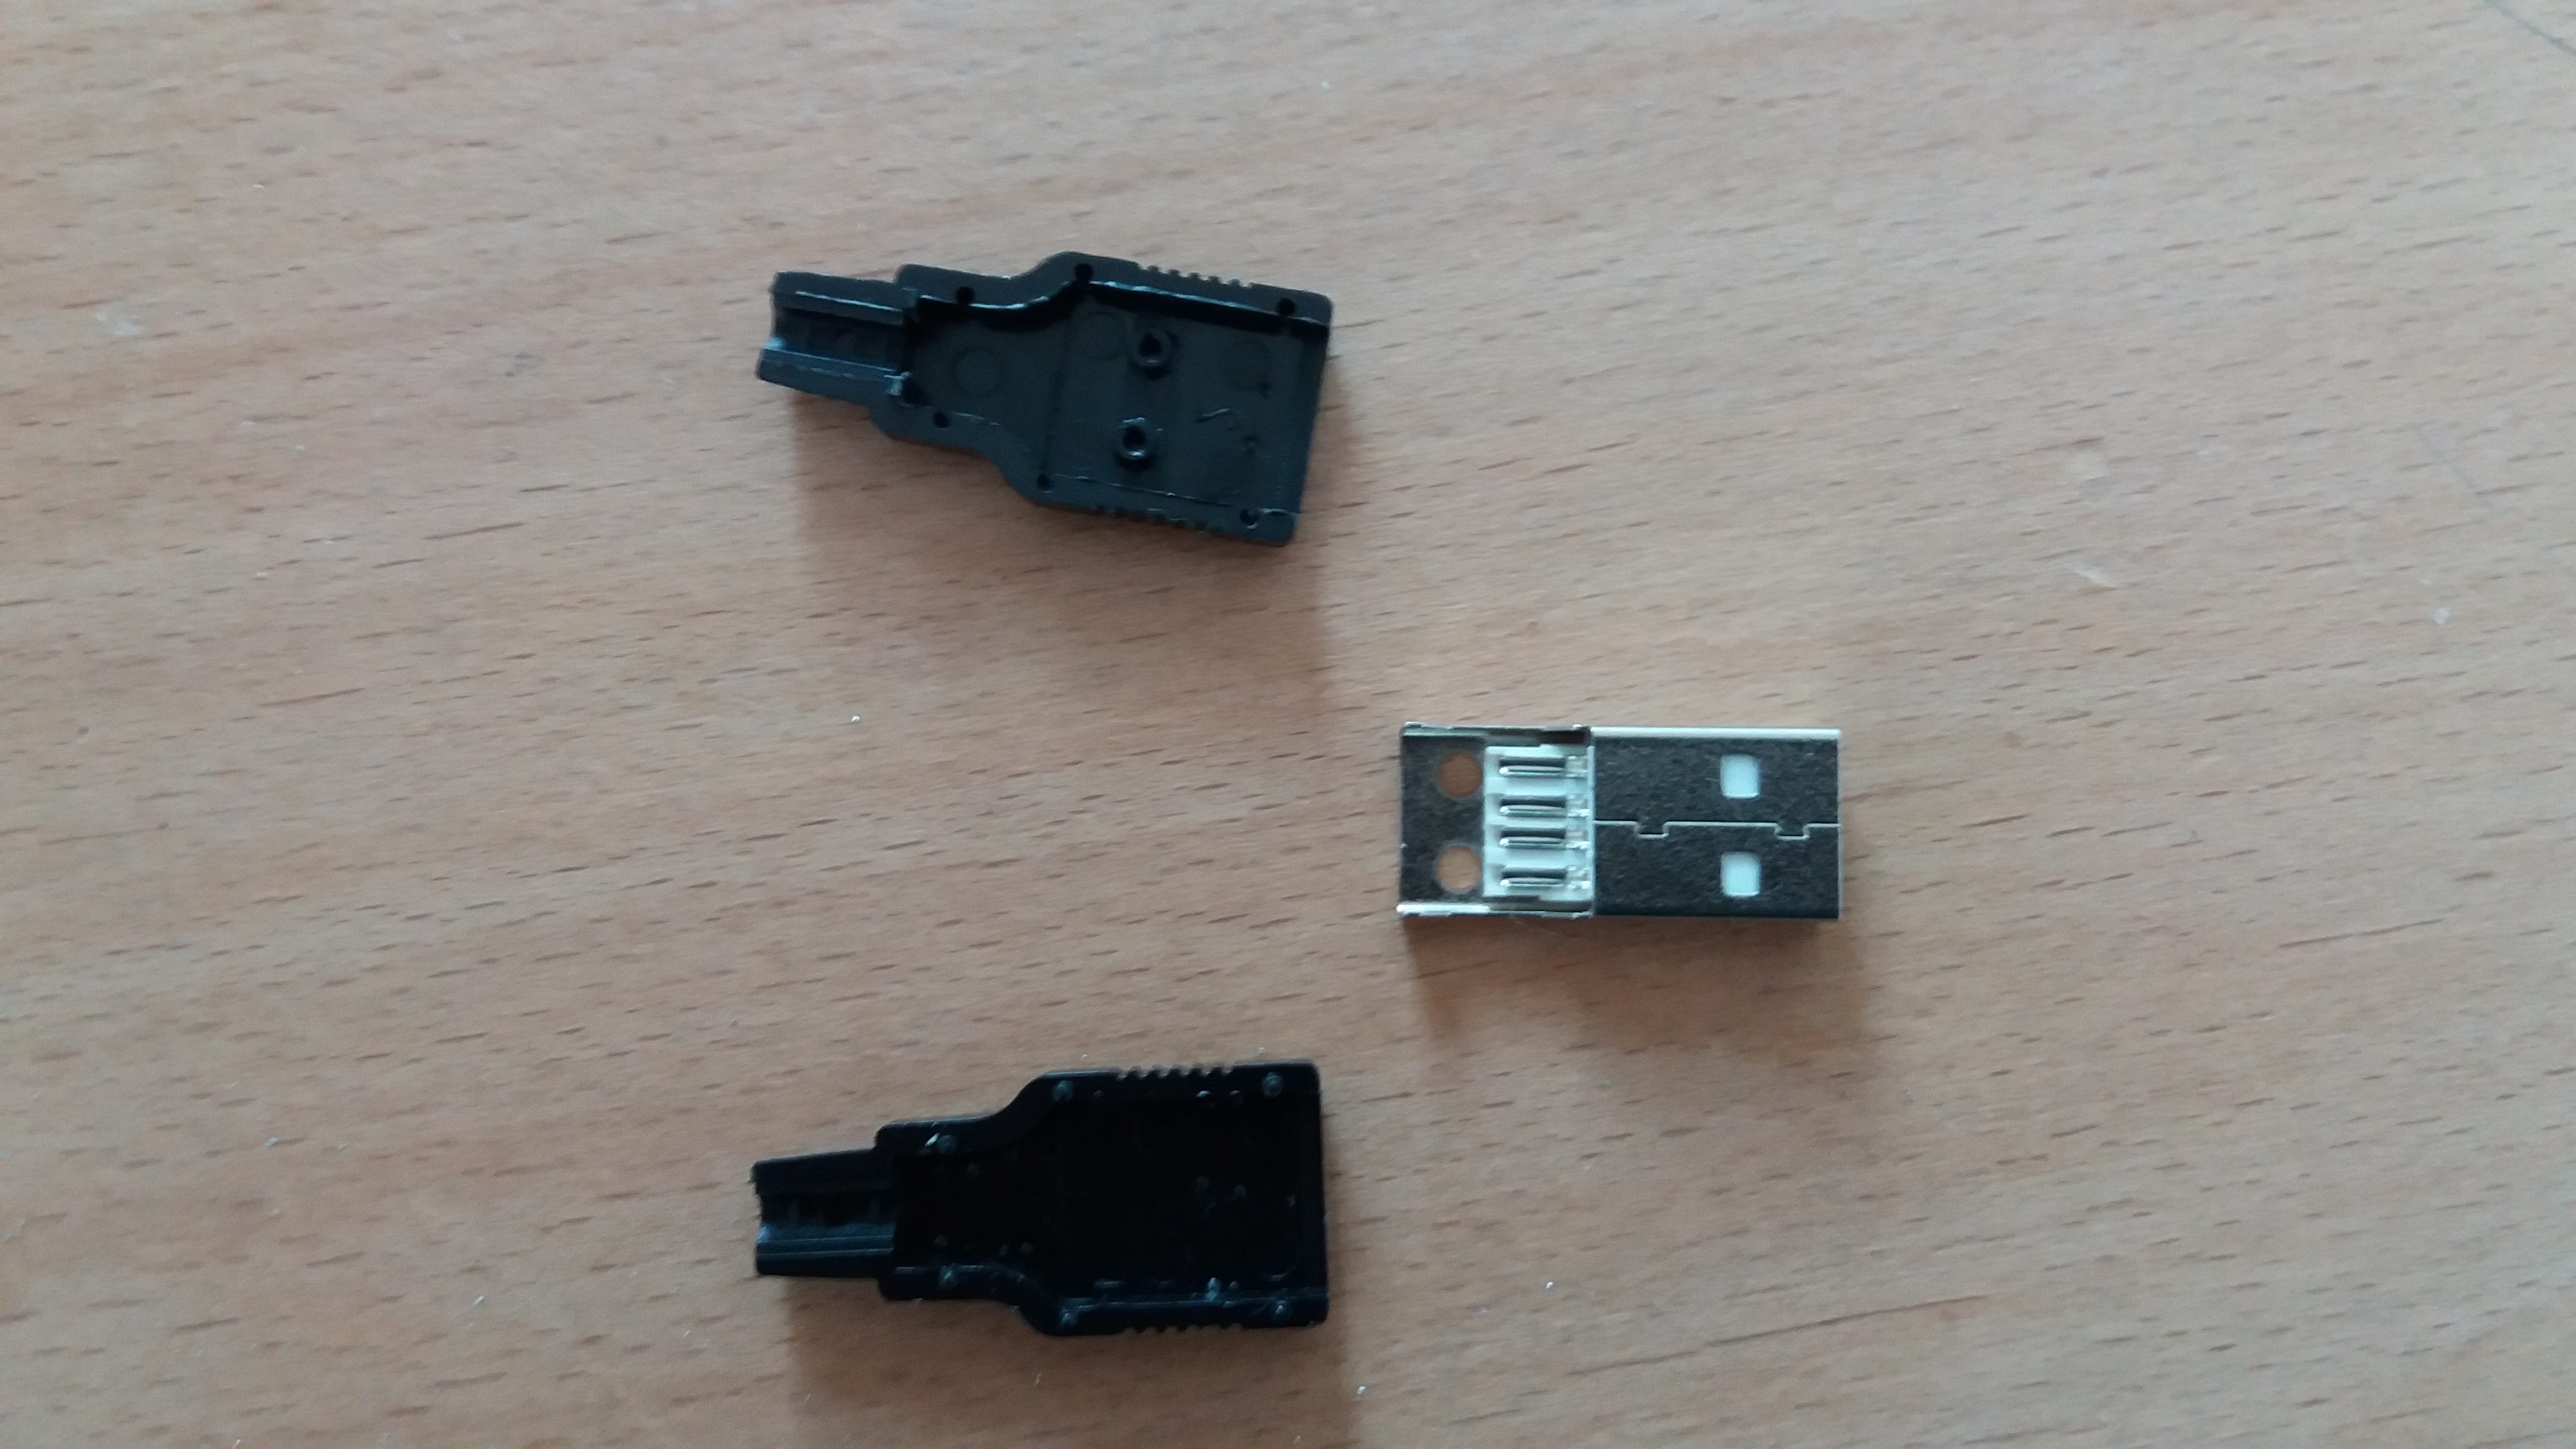
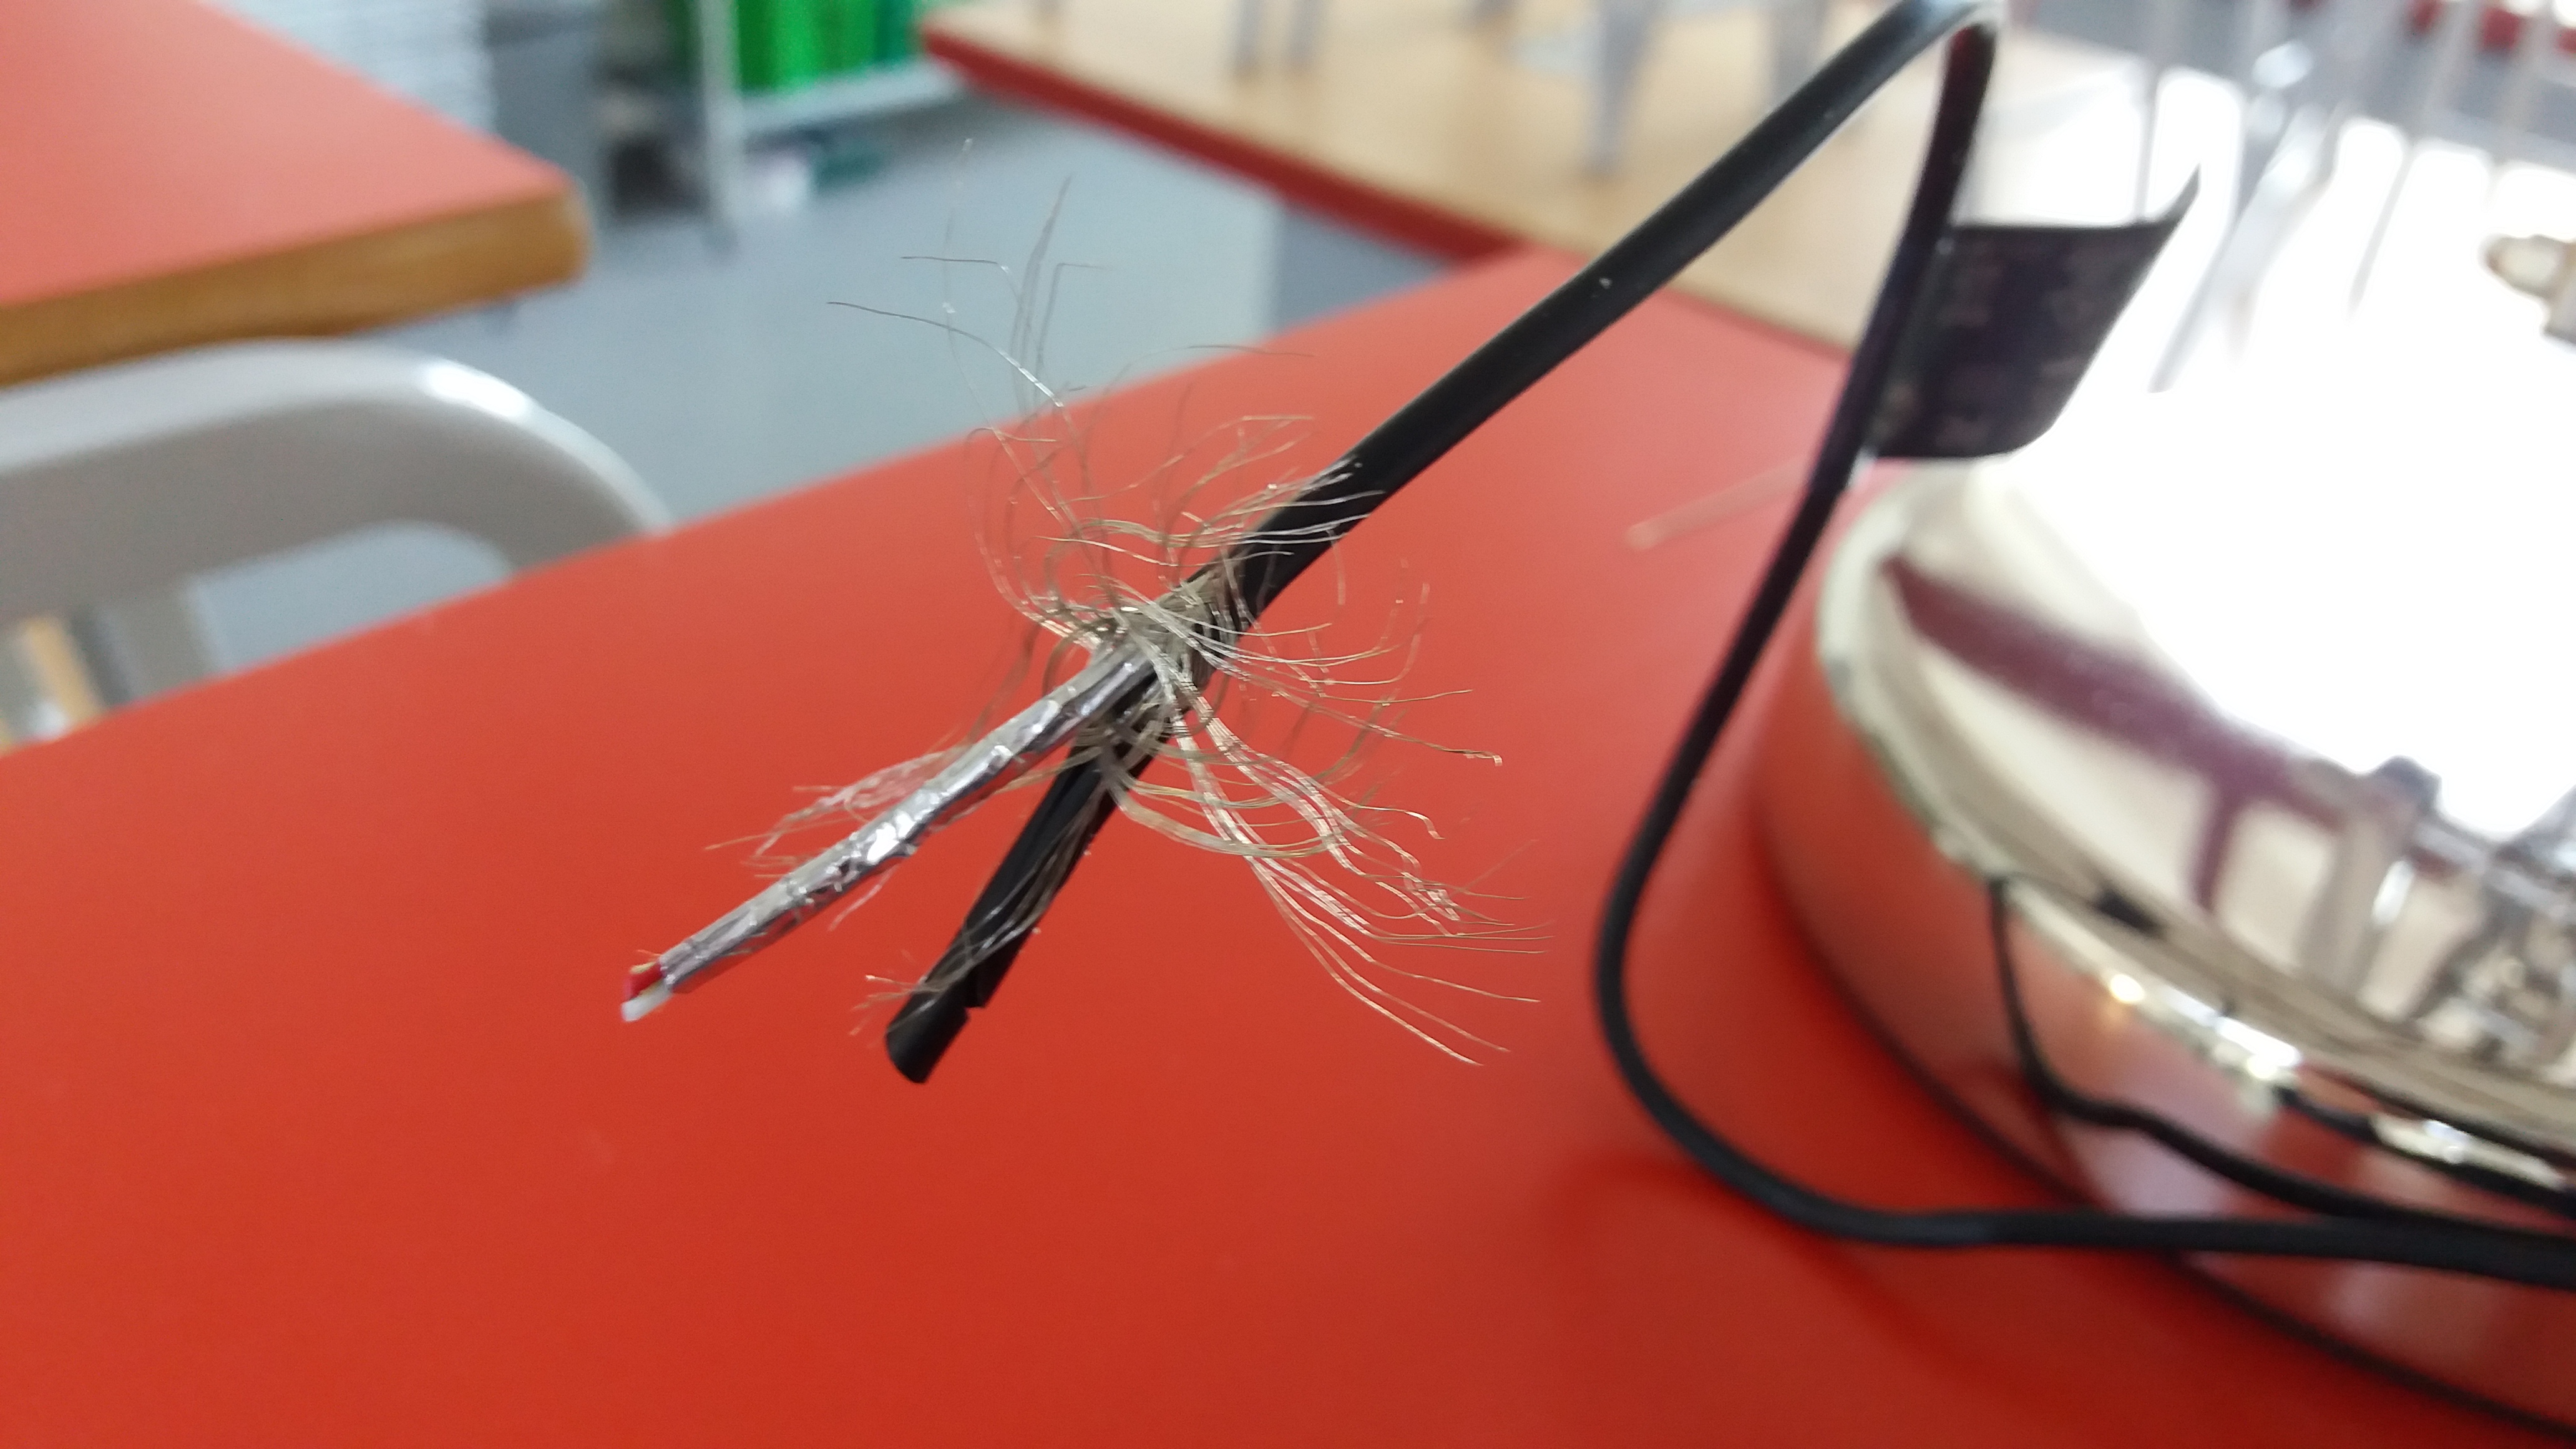
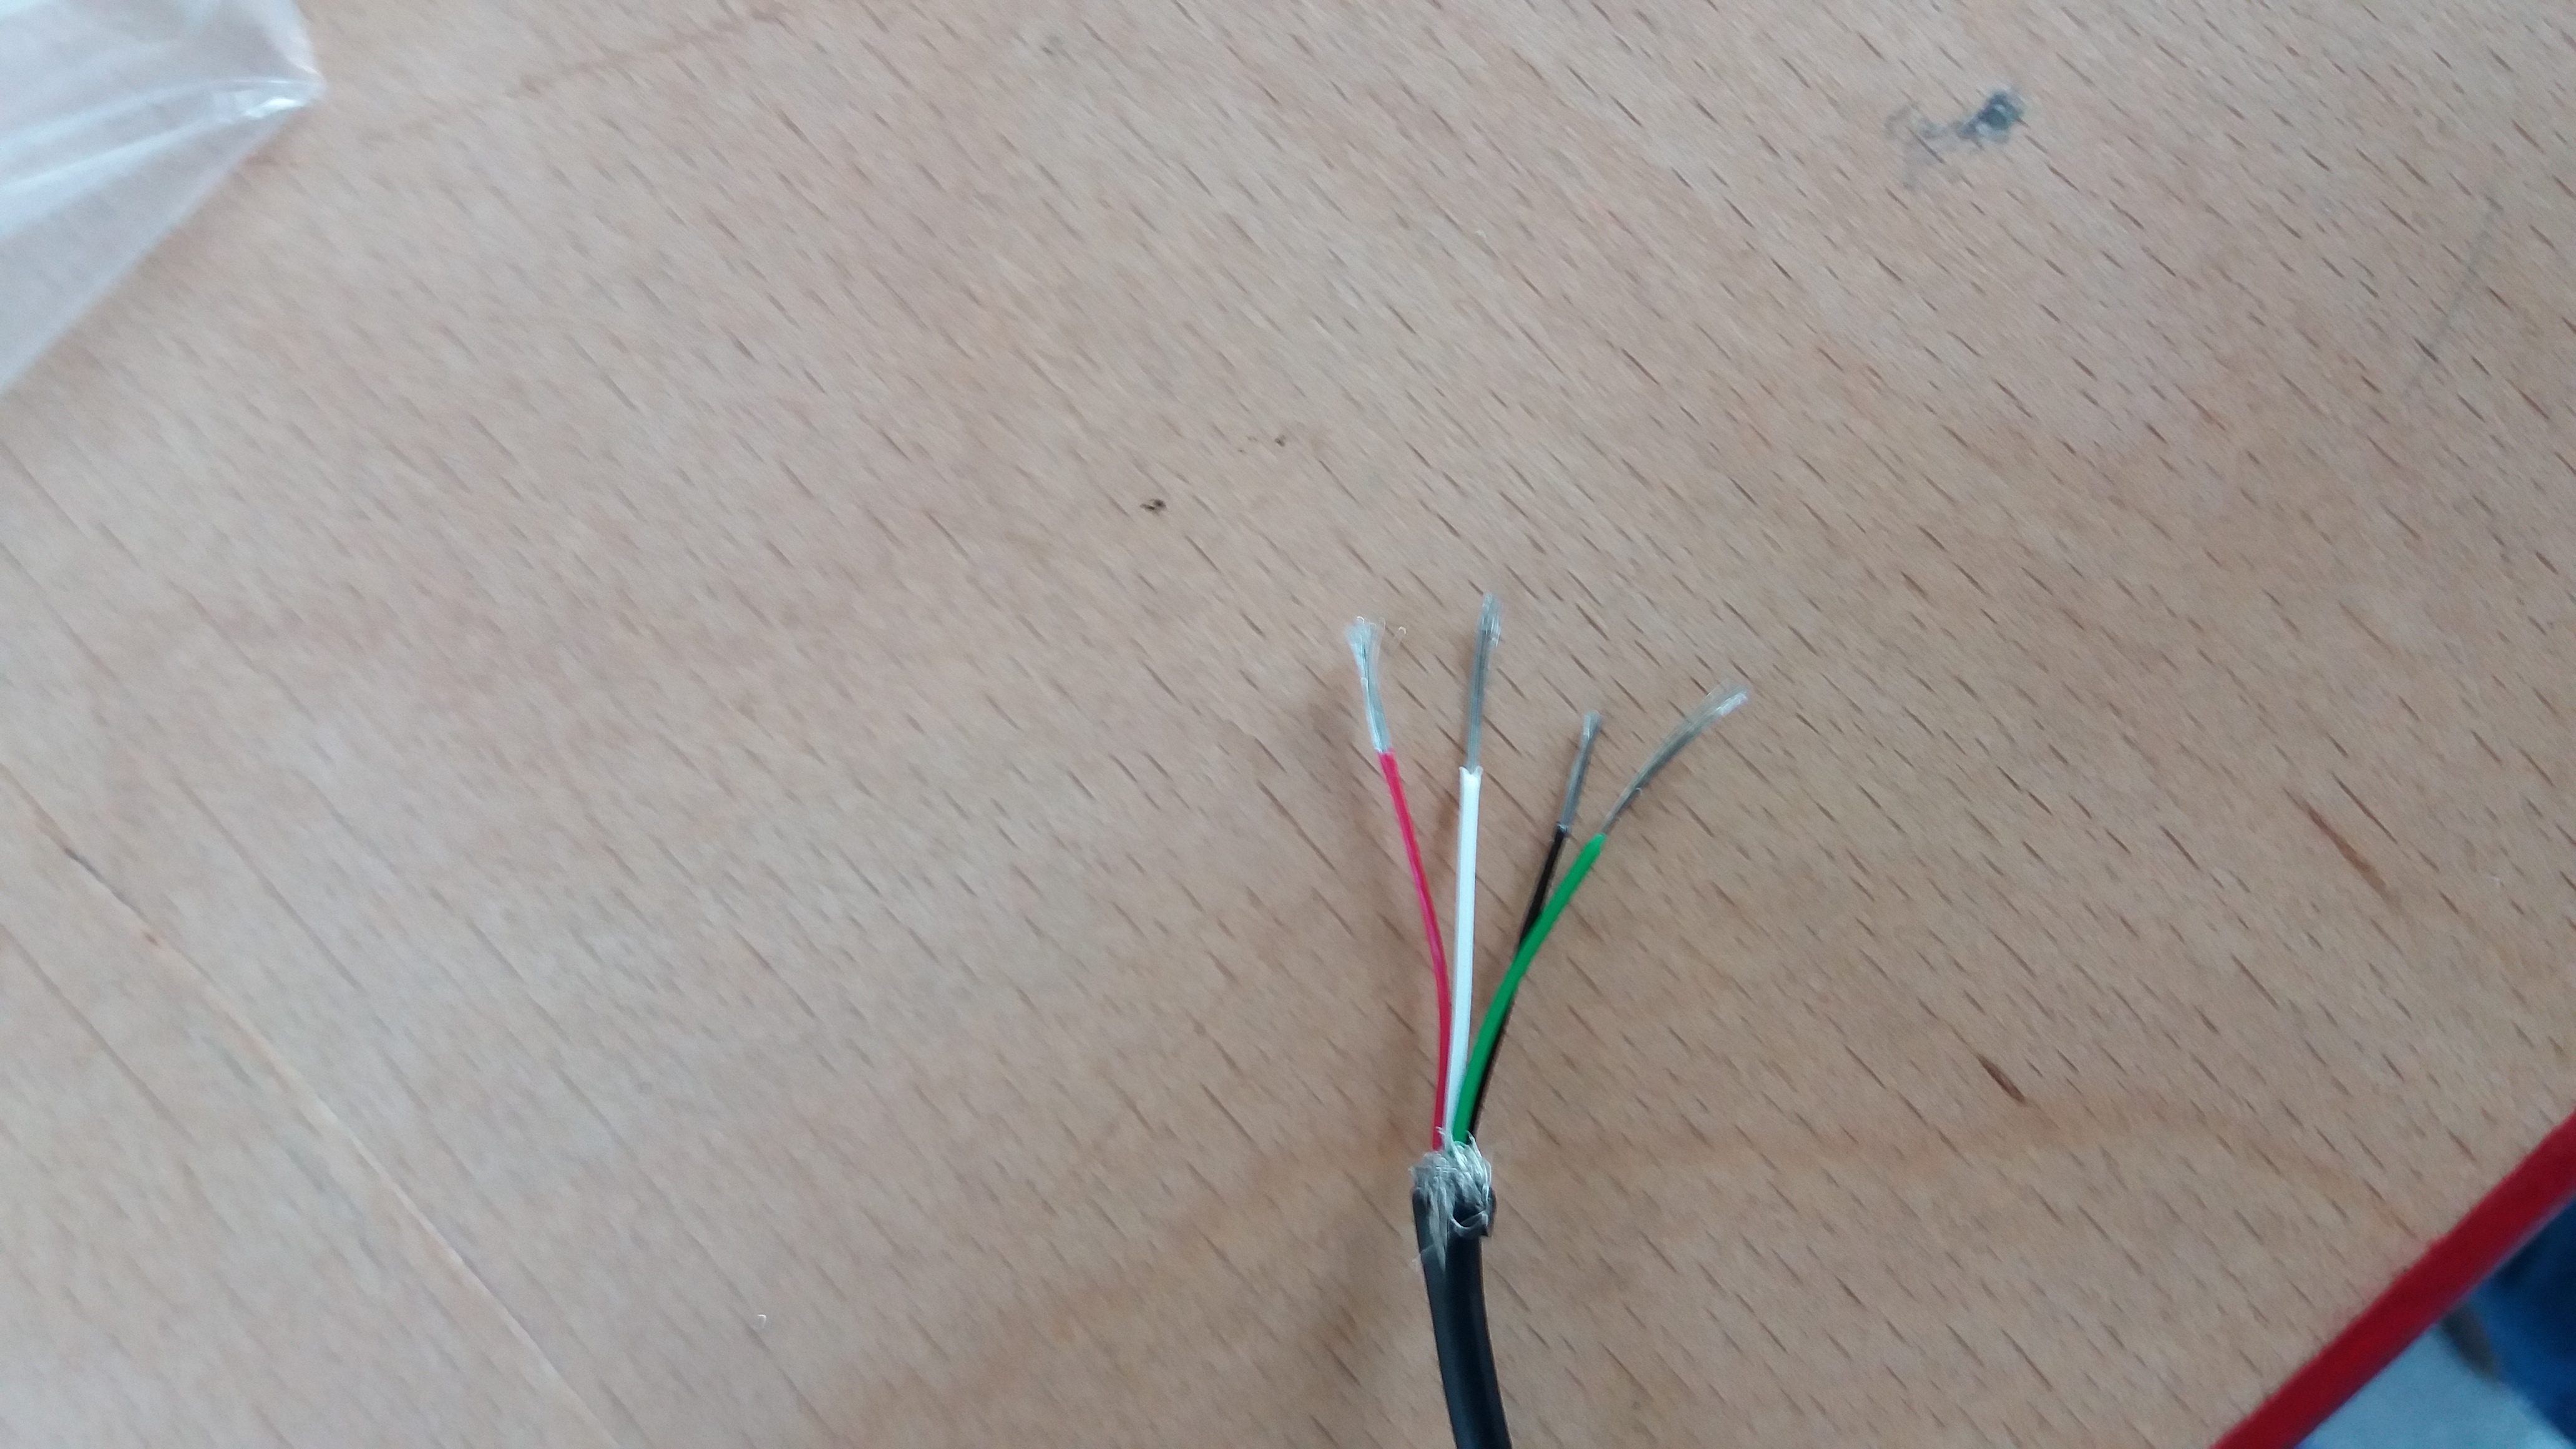
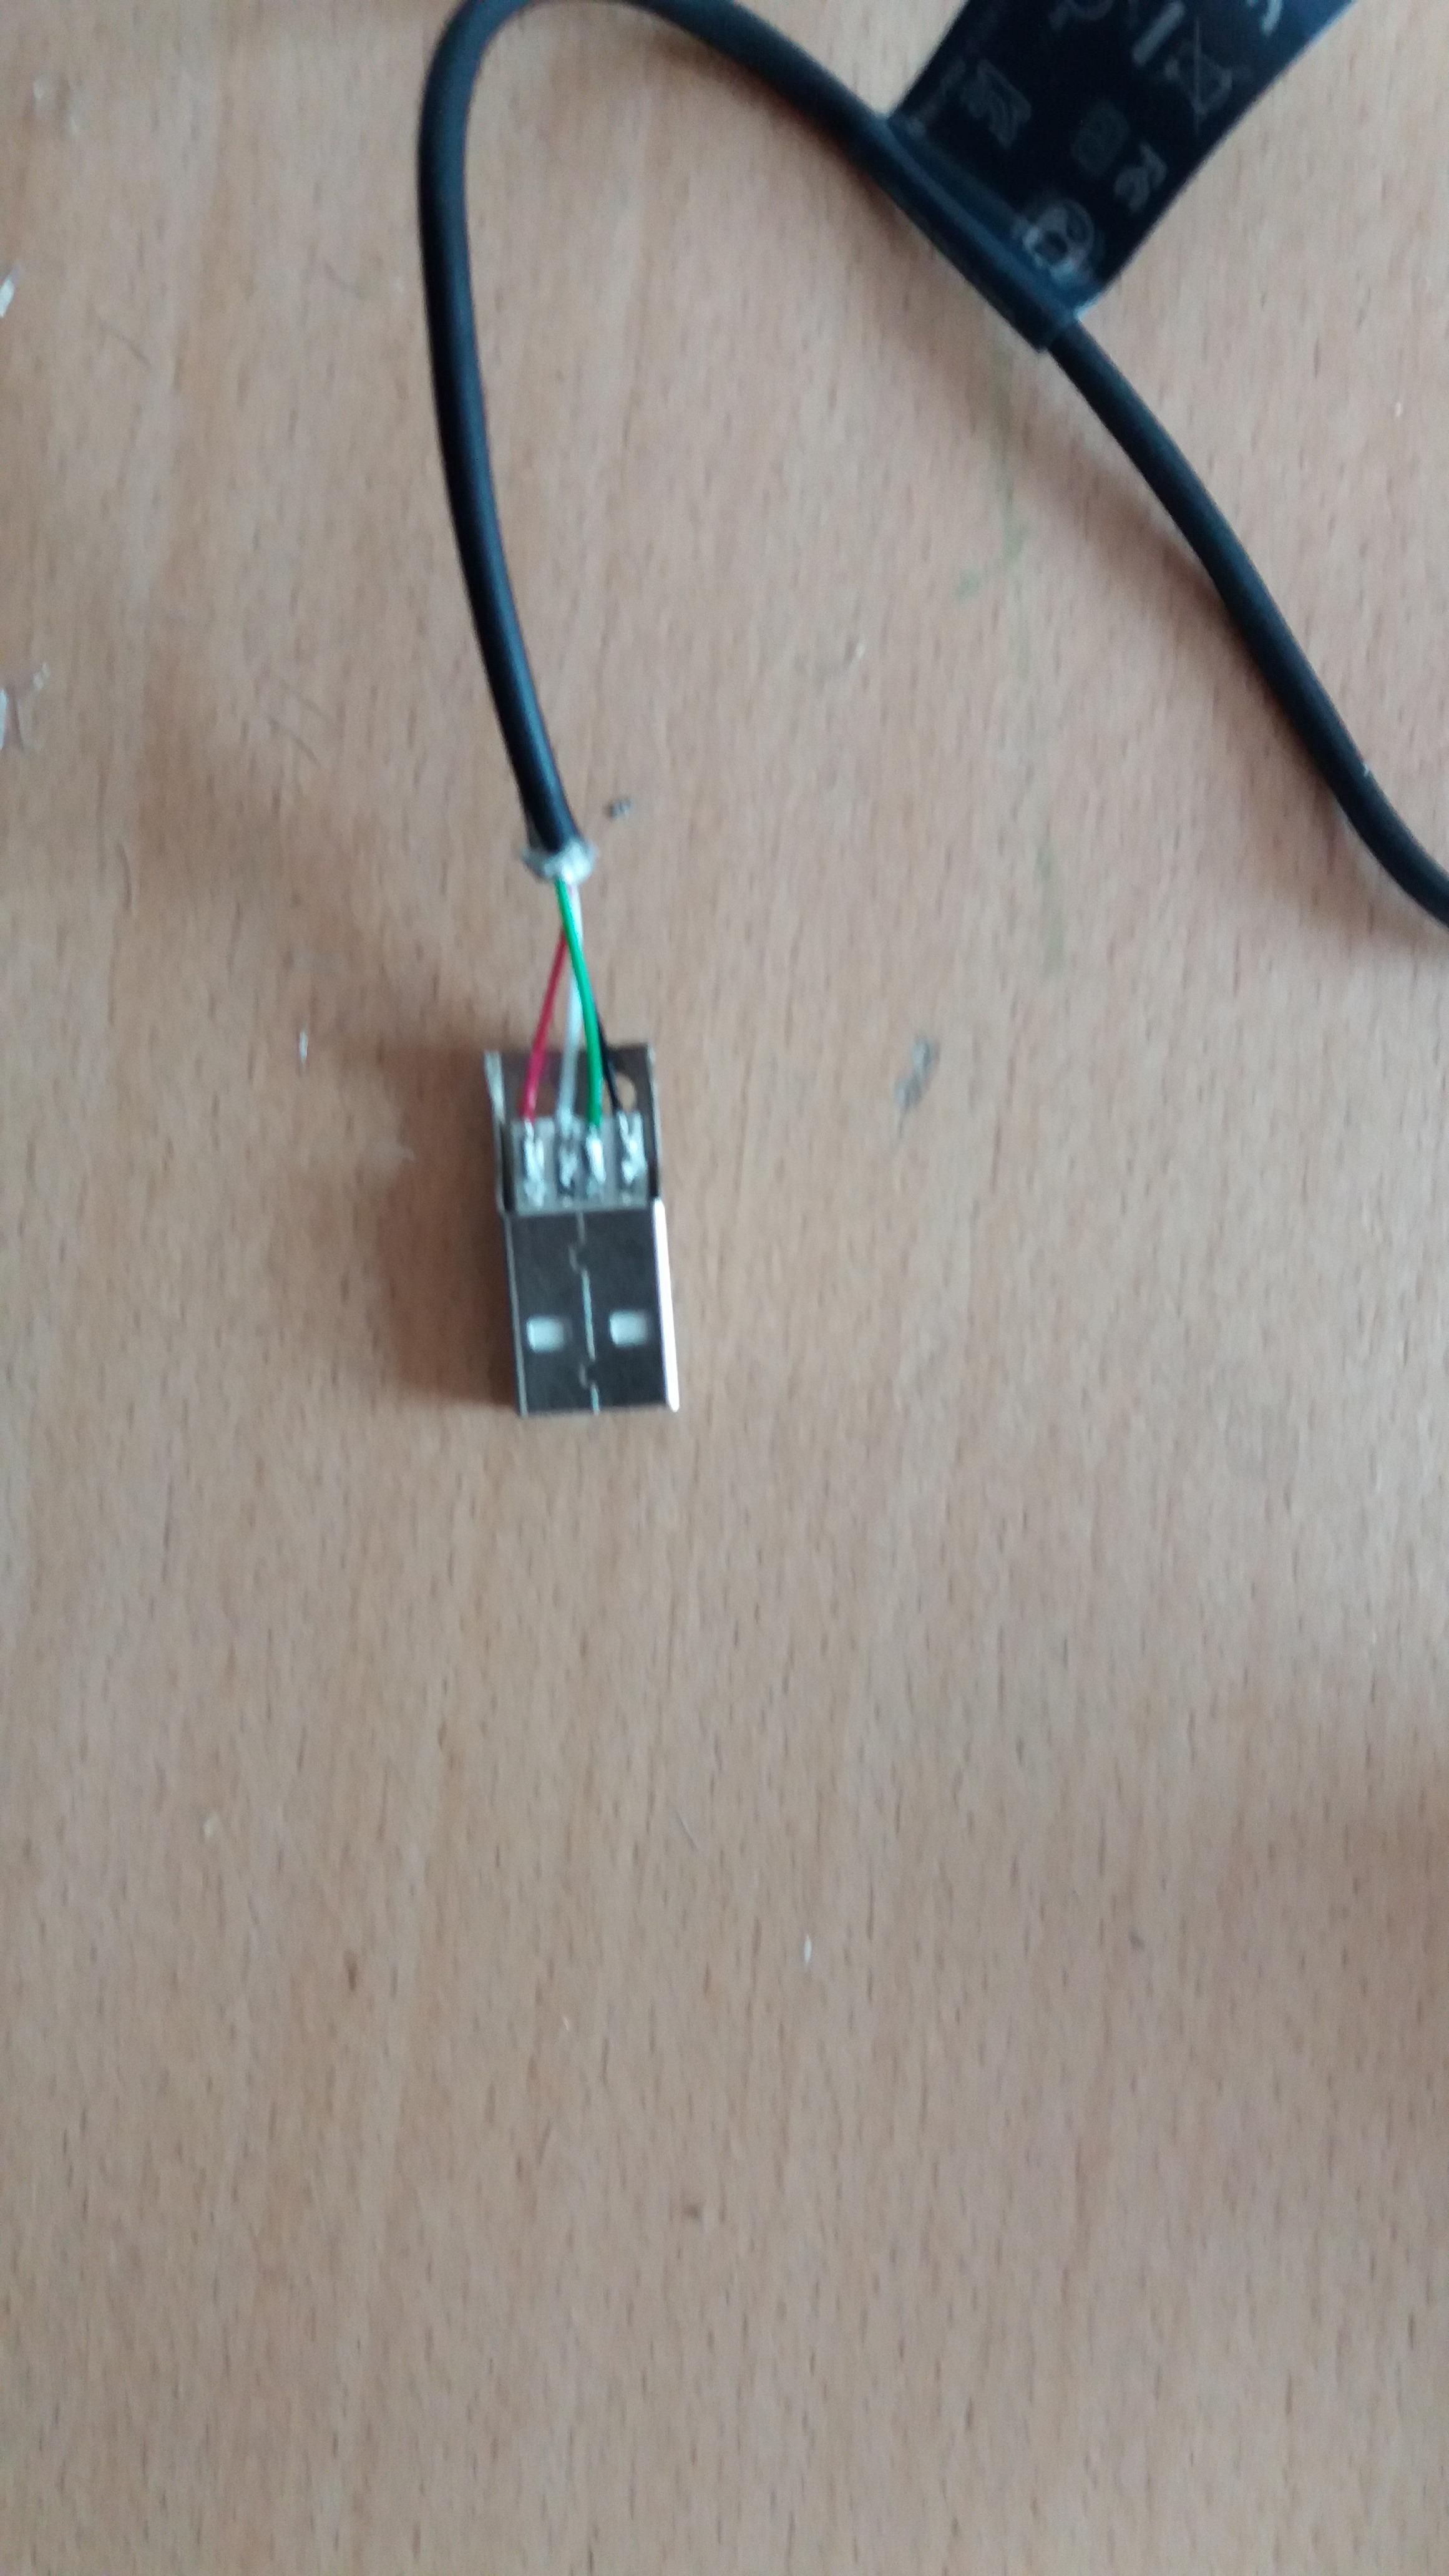
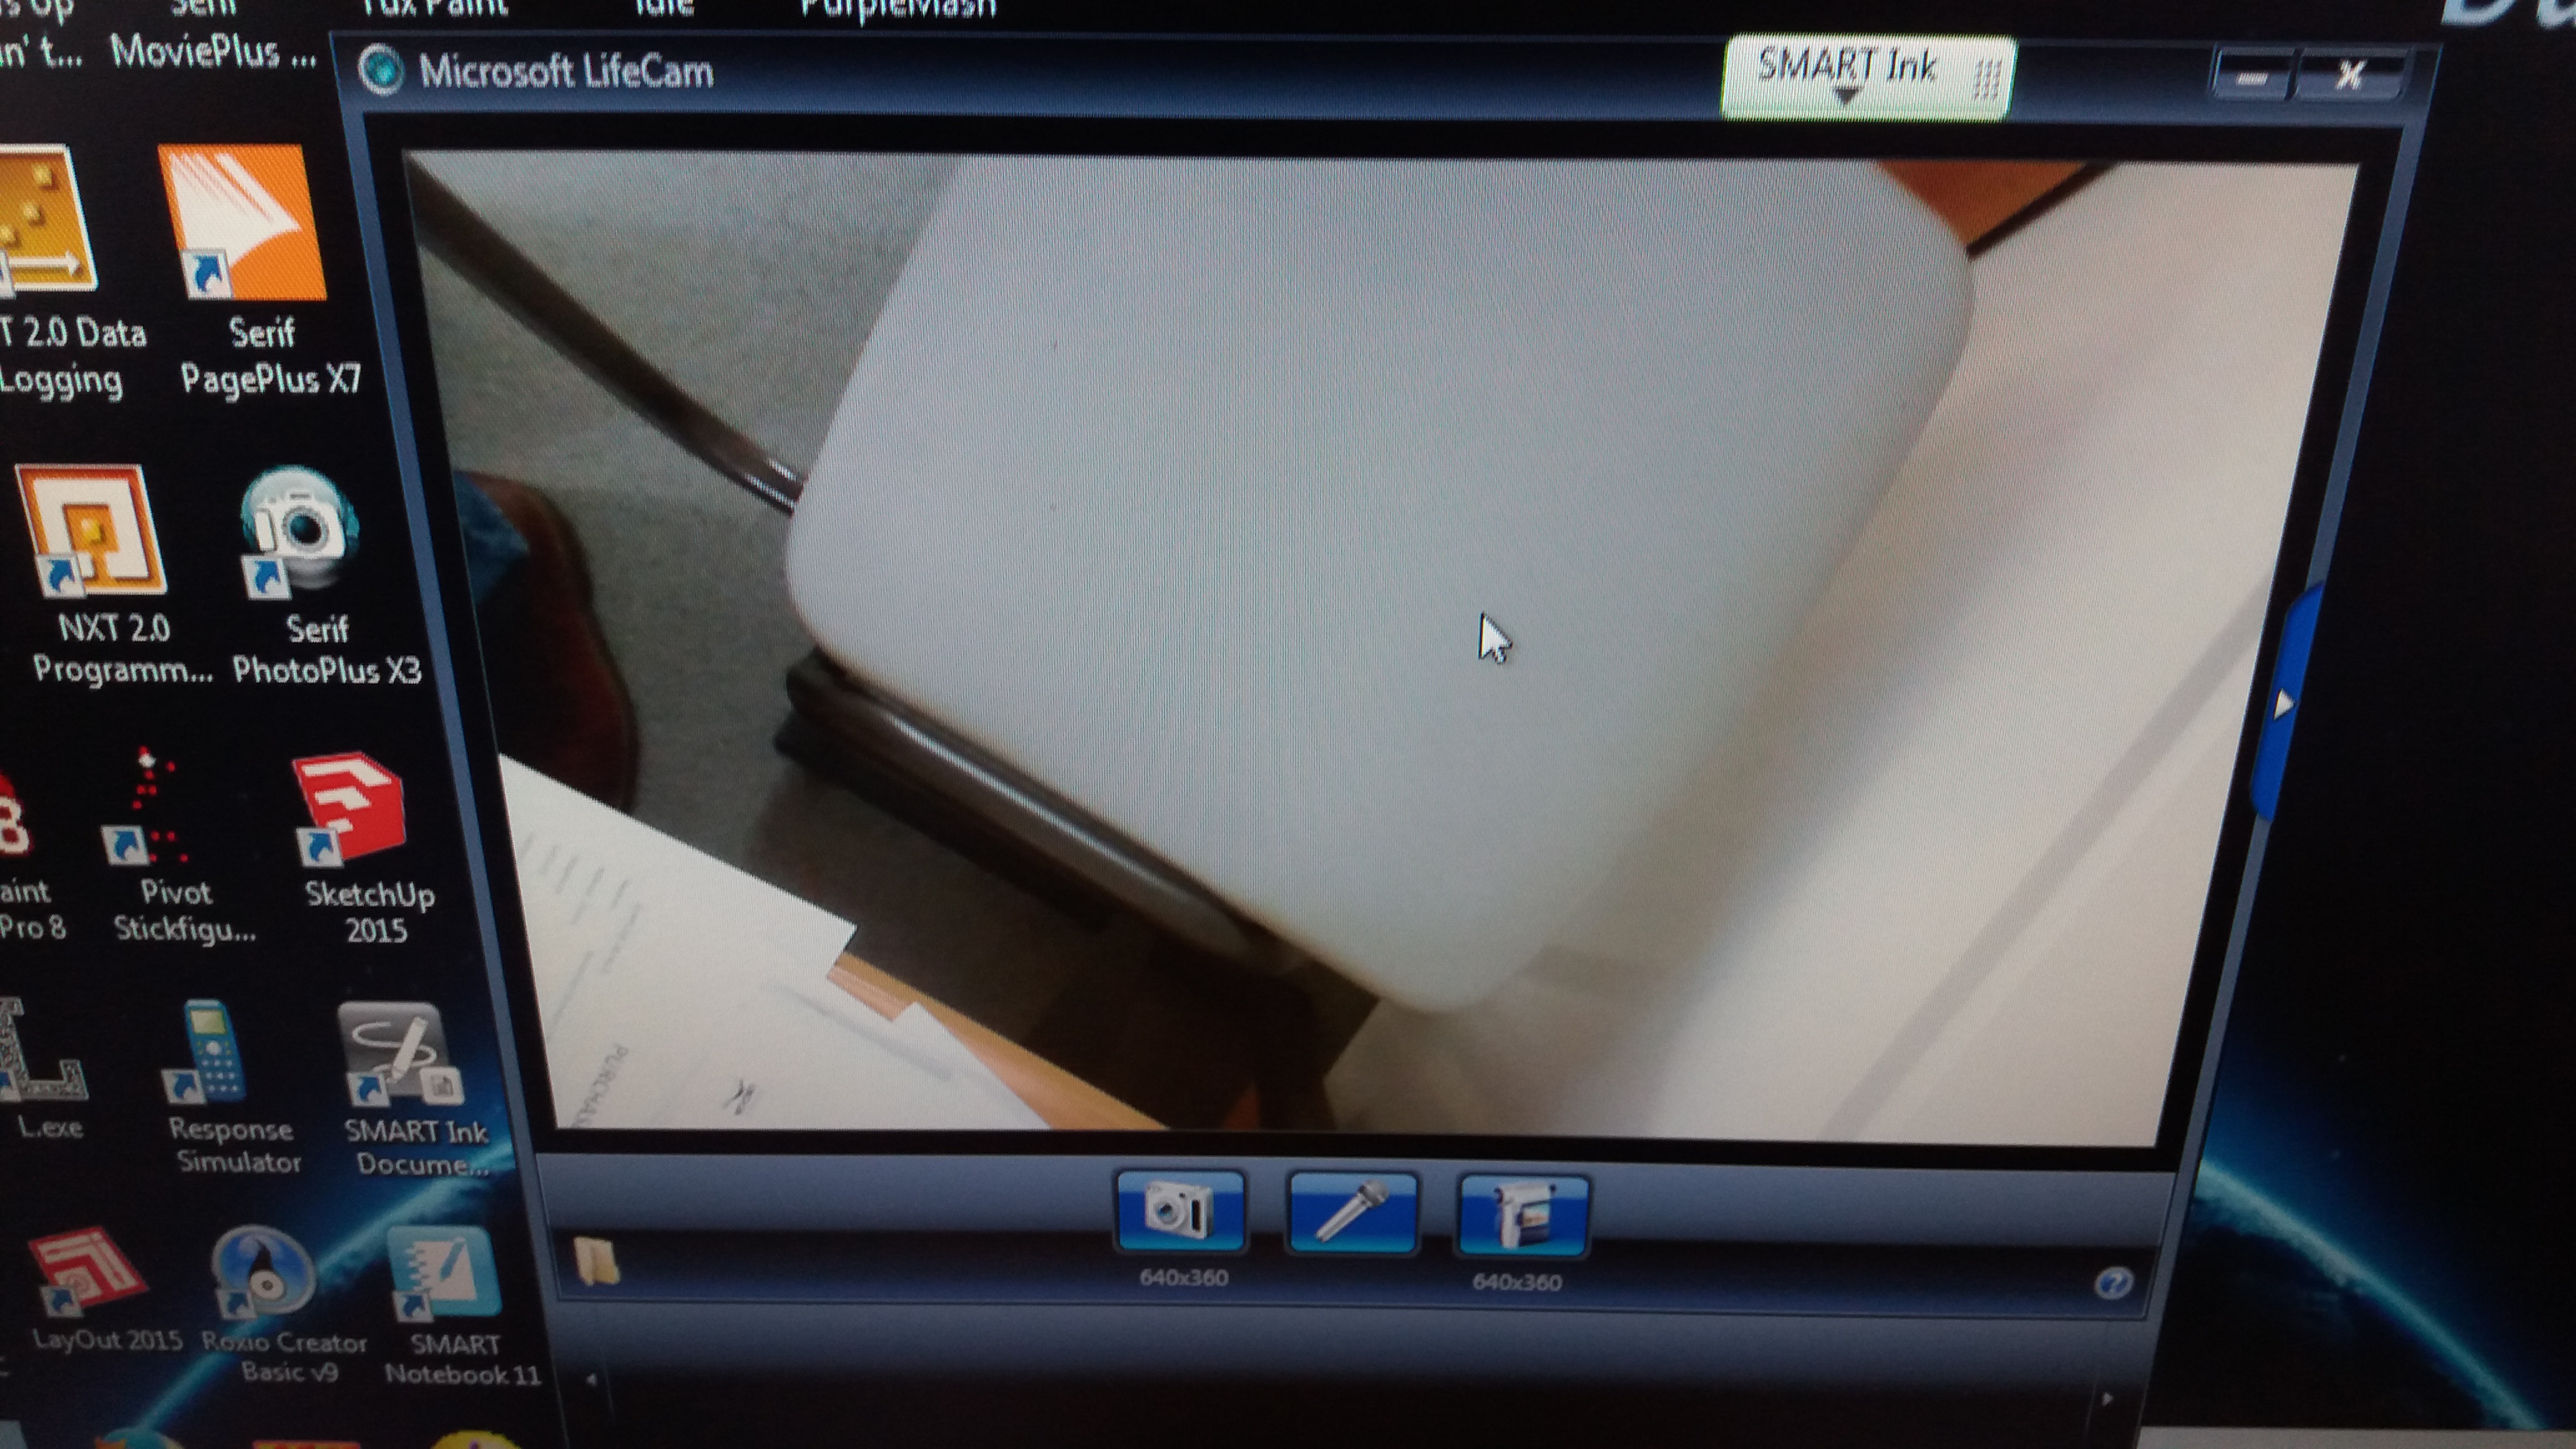
Strip the sheathing from the cut end of the lead and reveal the four internal leads. Reveal enough so that the black sheathing will be hidden inside the USB plug housing when finished. Strip the ends and tin them with solder. Next solder them to the plug in the order Black, Green, White, Red. At this point I like to plug the USB plug into the computer to see if the camera is still recognisd and working.
Finally I assemble the black plastic housing around the metal part of the USB plug. I fill the housing with silicone to insulate any bare wires. Then run super glue around the edge of the housing and press together, wiping off any excess.
The visualiser is now complete and can be used as a visualiser, web cam, etc.