DIY Upcycled Pedalboard


Don't want to pay an absurd price for a slab of aluminum that you'll just step on and not think twice about? Me neither! This cheap and easy project will appeal to beginners, DIYers, and professionals, and all you need are a trip to the hardware store, a trip to Goodwill, and about $15!
Standards for Technological and Engineering Literacy (STELs):
Core Disciplinary Standards-
Core Concepts of Technology and Engineering
Design in Technology and Engineering Education
Technology and Engineering Contexts-
Material Conversion and Processing- While there isn't much material being processed, students are converting a kitchen accessory into a musical accessory
Technology and Engineering Practices-
Creativity- Students are encouraged to be creative and adapt different styles to their board
Making and Doing- Students are actively making a product that they can use
Critical Thinking: Students are challenged with finding the most efficient way of arranging their pedals in a limited space
Supplies
- Guitar pedals
- Drawer handles x2 (~$1-3 each)
- Wood cutting board (at Goodwill for ~$1-2)
- Velcro Strips (5ft roll for ~$5)
- Adhesive rubber feet (~$4)
- Scissors
- Screwdriver/drill
- (Optional) Paint
Planning

Depending on how many/how large your pedals are, you may want a larger/smaller board. Lay your pedals out (leave room for your power supply and patch cables!) to get a rough estimate of what size cutting board you need.
Dry Fit

Once you have acquired all the materials you need, lay everything out on the board-- pedals, handles, cables, etc. It's okay if there's extra room! More room for more pedals in the future!
Handles

Once you have the handles in the desired place, drill them in (careful NOT strip the screw!! Depending on the wood your board is made of, the screw might not go all the way in...)
Rubber Feet

Flip the board over and add the rubber feet, one in each corner should suffice. The feet both raise the board off the ground to make pressing the pedals easier, and keep the board from scratching the floor.
Velcro

Take your Velcro and cut it into strips slightly less than the width of your board. Leave about two inches of space between each strip. Repeat until you've reached the bottom.
Then take the remaining Velcro strip and adhere it to the bottom of your pedals. You don't need a lot for this, 1-2 small strips should work.
Adhere and Rig It Up!
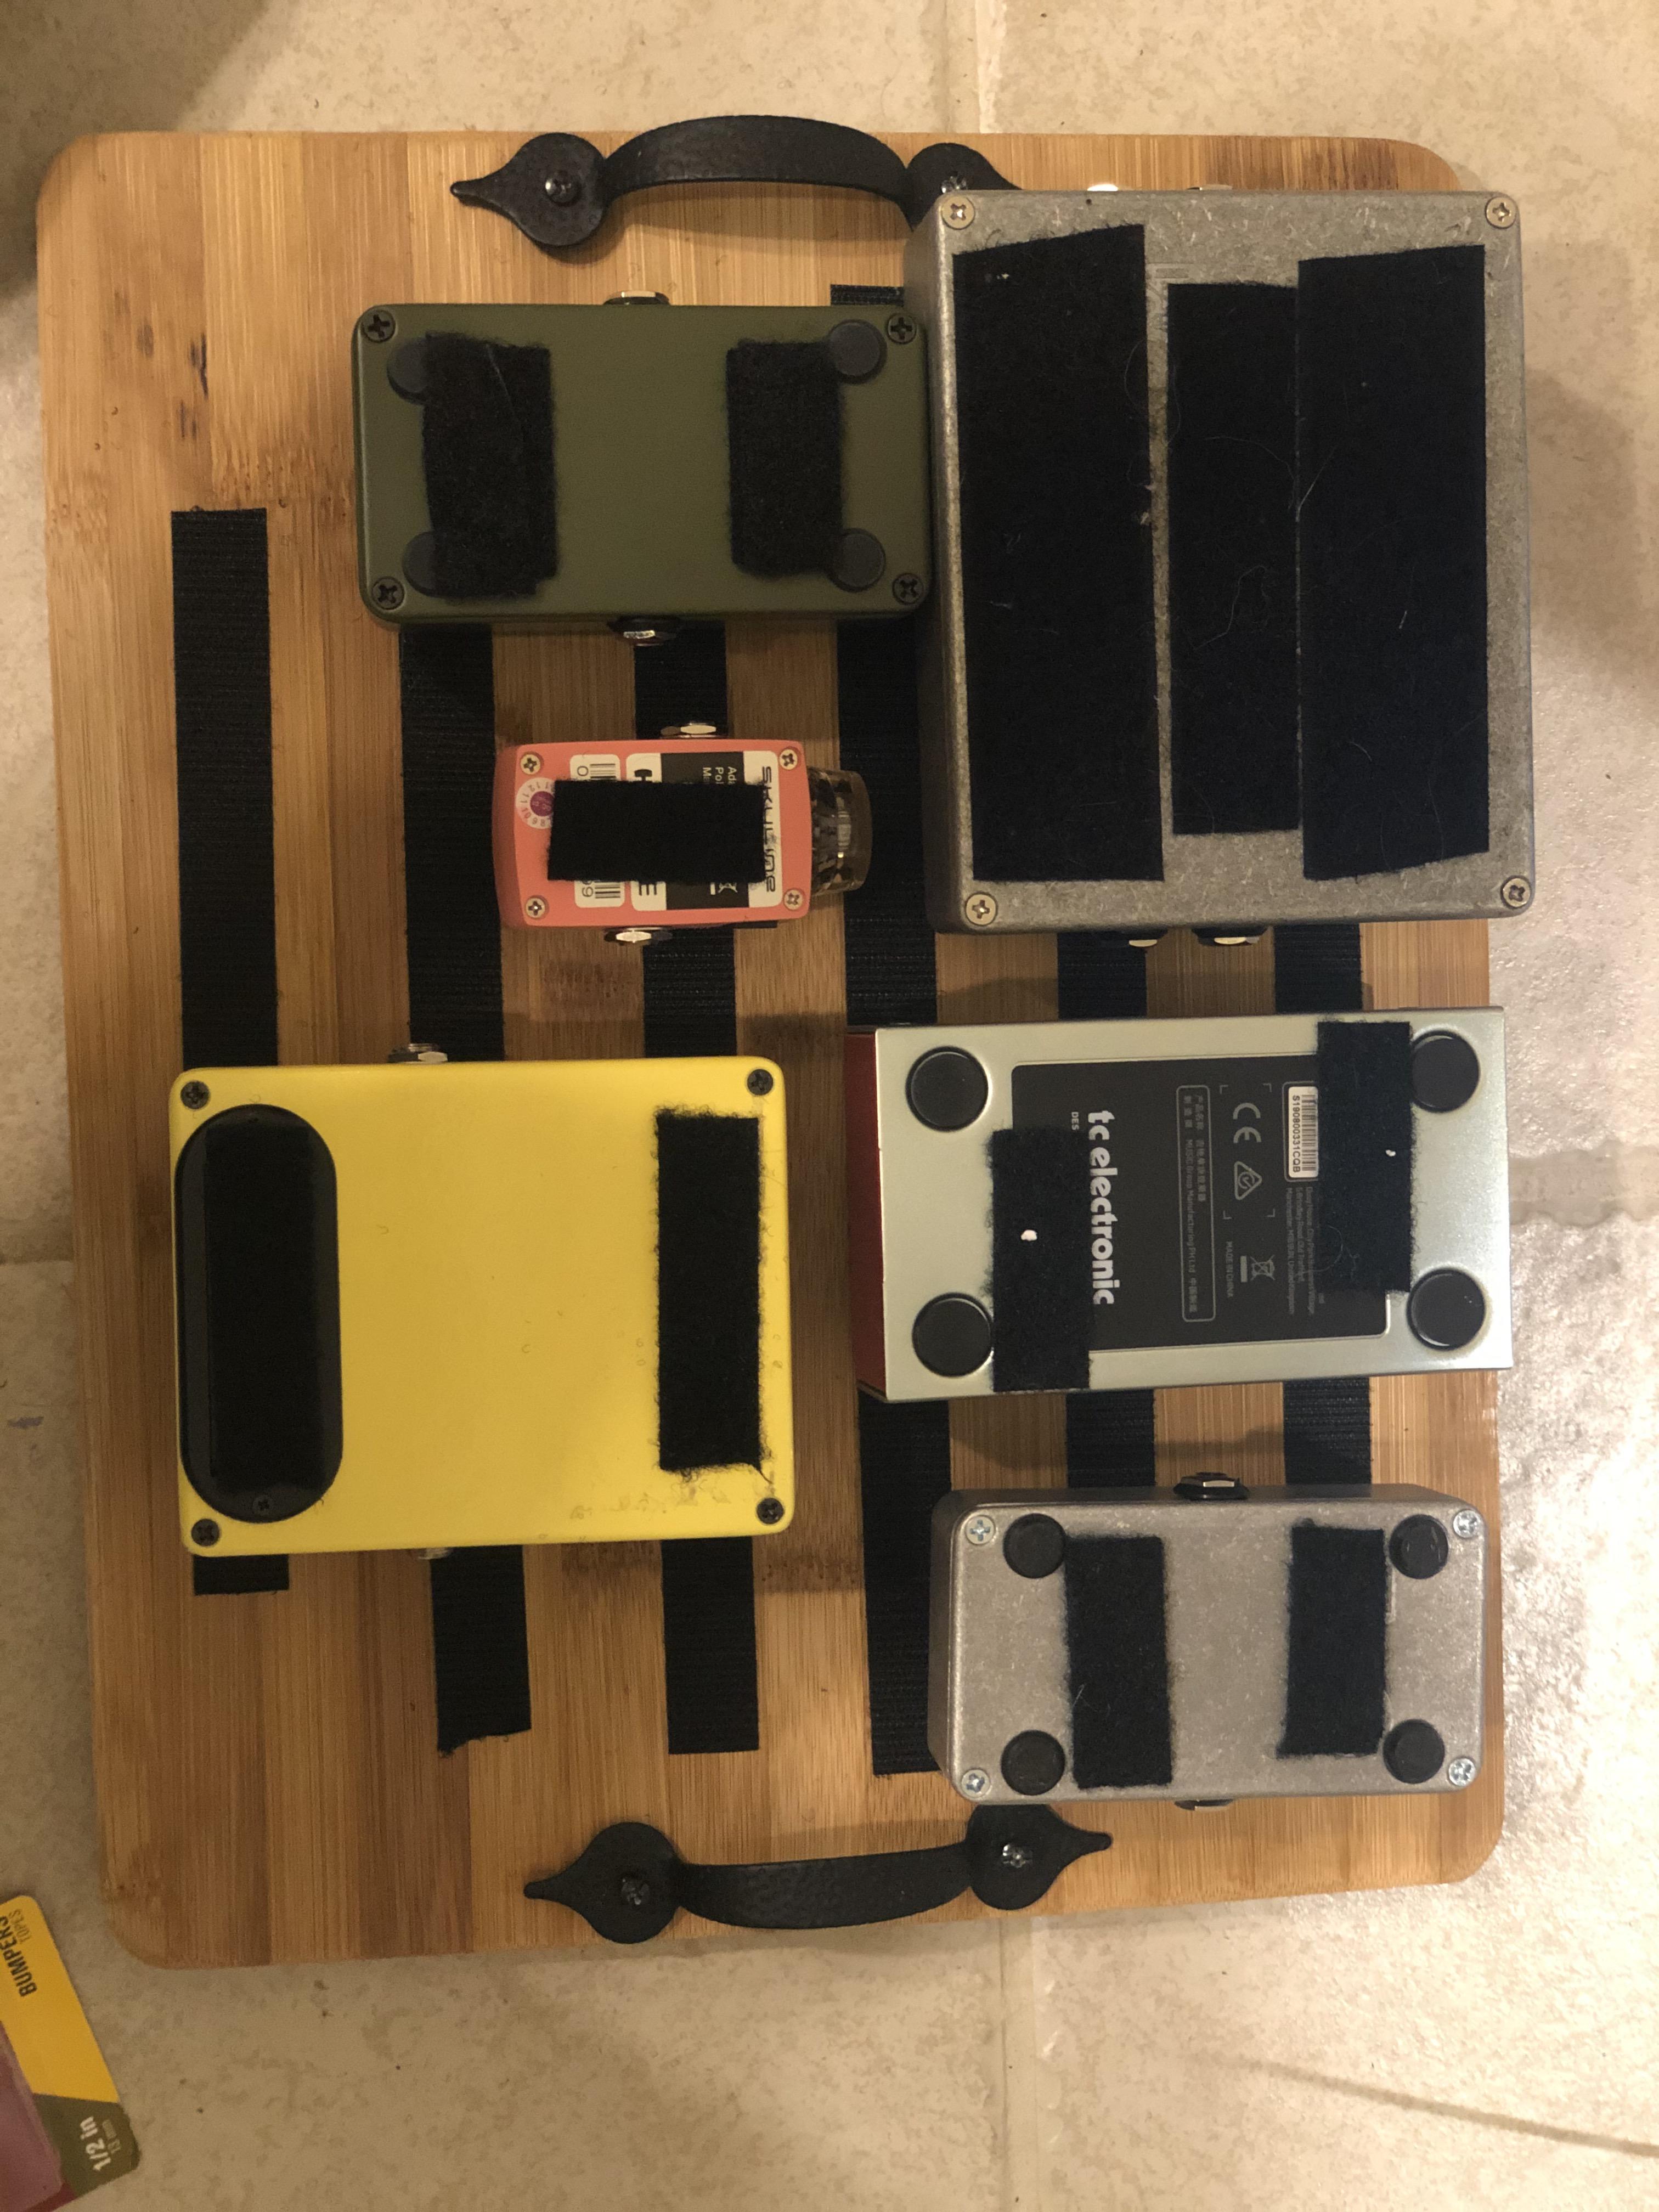

Lay out your pedals as you did before. If it doesn't work like you had initially hoped, that's what the Velcro is for, move things around! Once you have everything where you want it, plug it up and give it a try, reconfigure your pedals to your likening.
Happy jamming!