DIY Ultra Short Distance Projector
by Unboxingexperience7 in Workshop > Home Theater
7669 Views, 3 Favorites, 0 Comments
DIY Ultra Short Distance Projector

Put any projector close to the wall and still enjoy a large screen! With this DIY hack you can easily build an ultra short distance projector without spending big money! Overall, you need to spend less than 5$ when you use your old projector.
Supplies
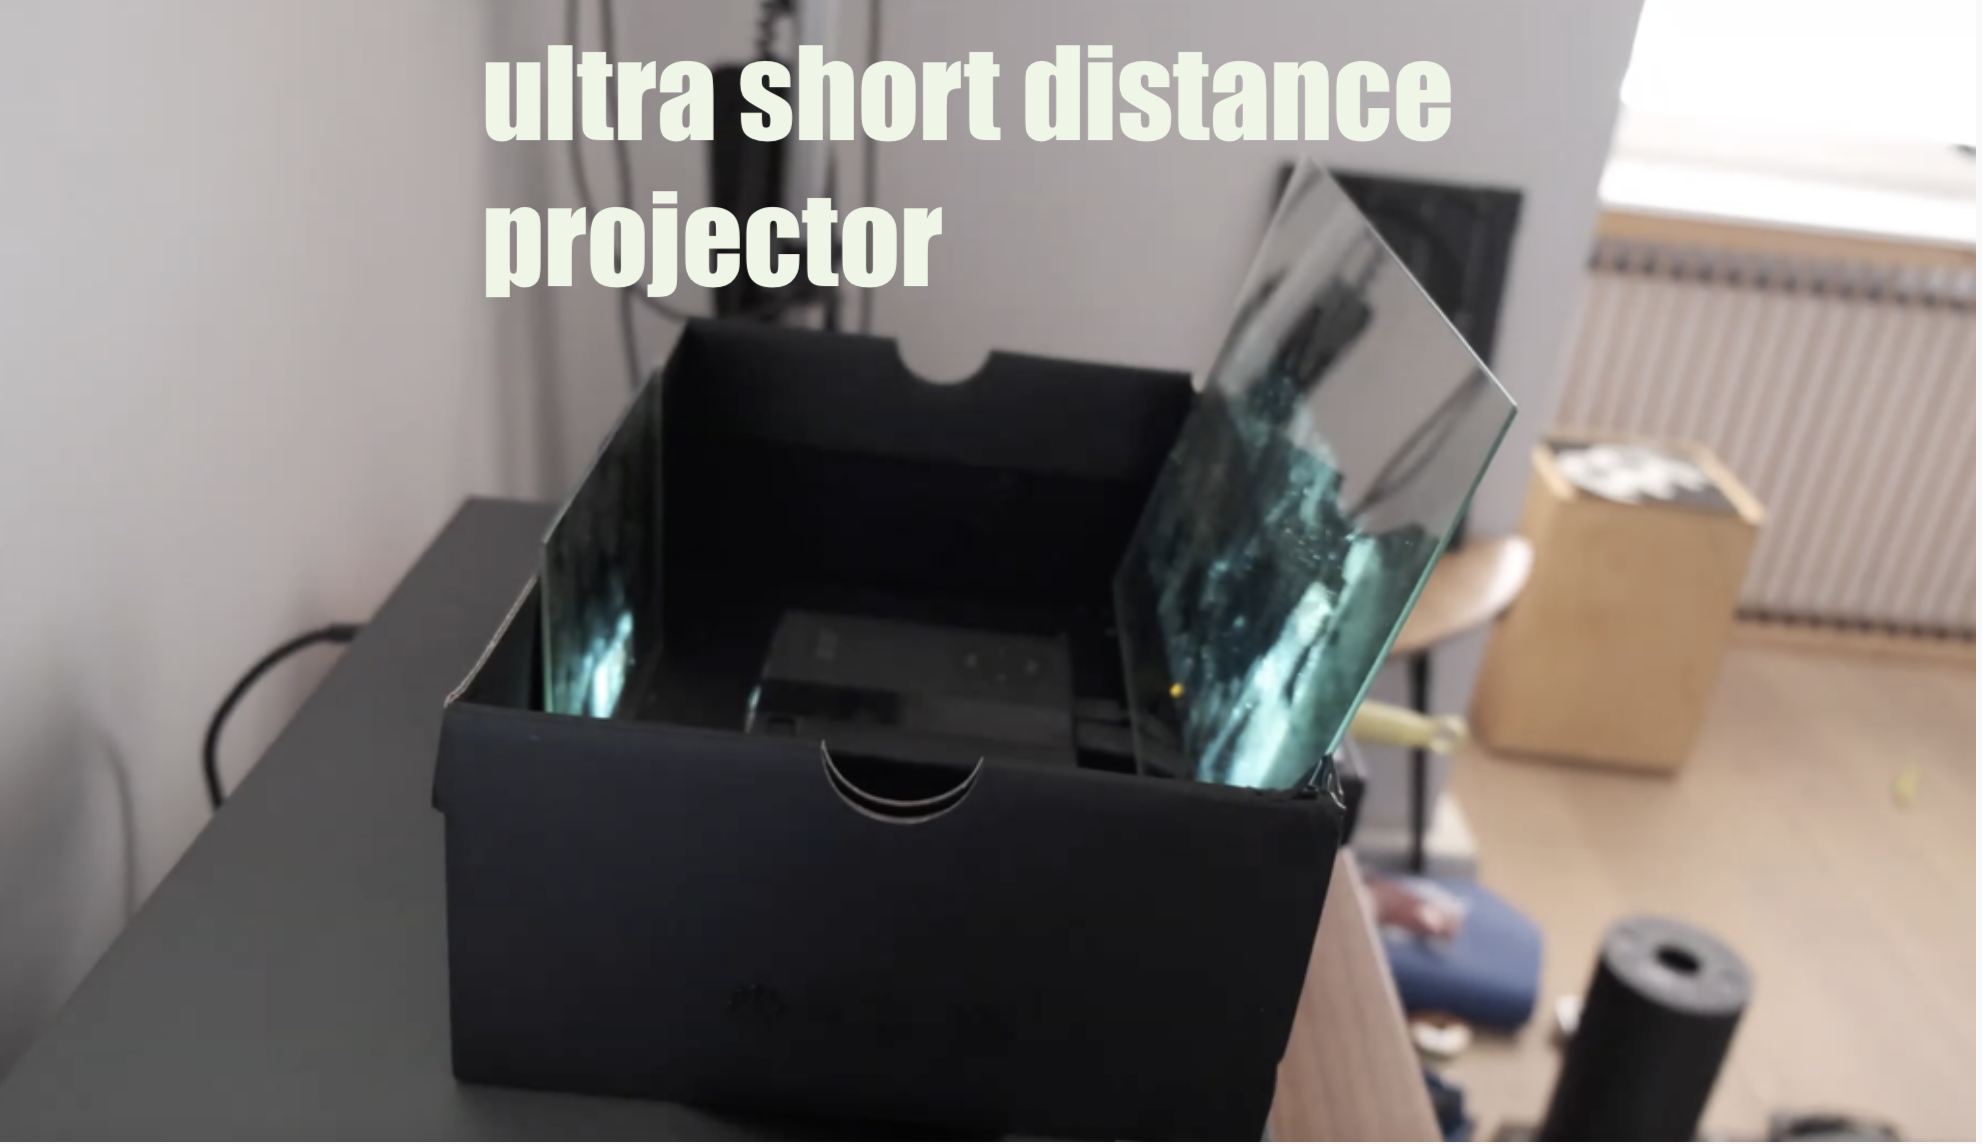
Cut the Shoe Box


- take an old shoe box
- empty the box
- remove the lid/cut it off
Install the Mirrors


- insert the smaller mirror on the long side of the shoe box
- mount it with duck tape to the box, but ensure that you can adjust the angle
- insert the bigger mirror opposite to the smaller mirror and leave room for the projector to be put in-between
- mount it with duck tape to the box, but ensure that you can adjust the angle
Install the Projector

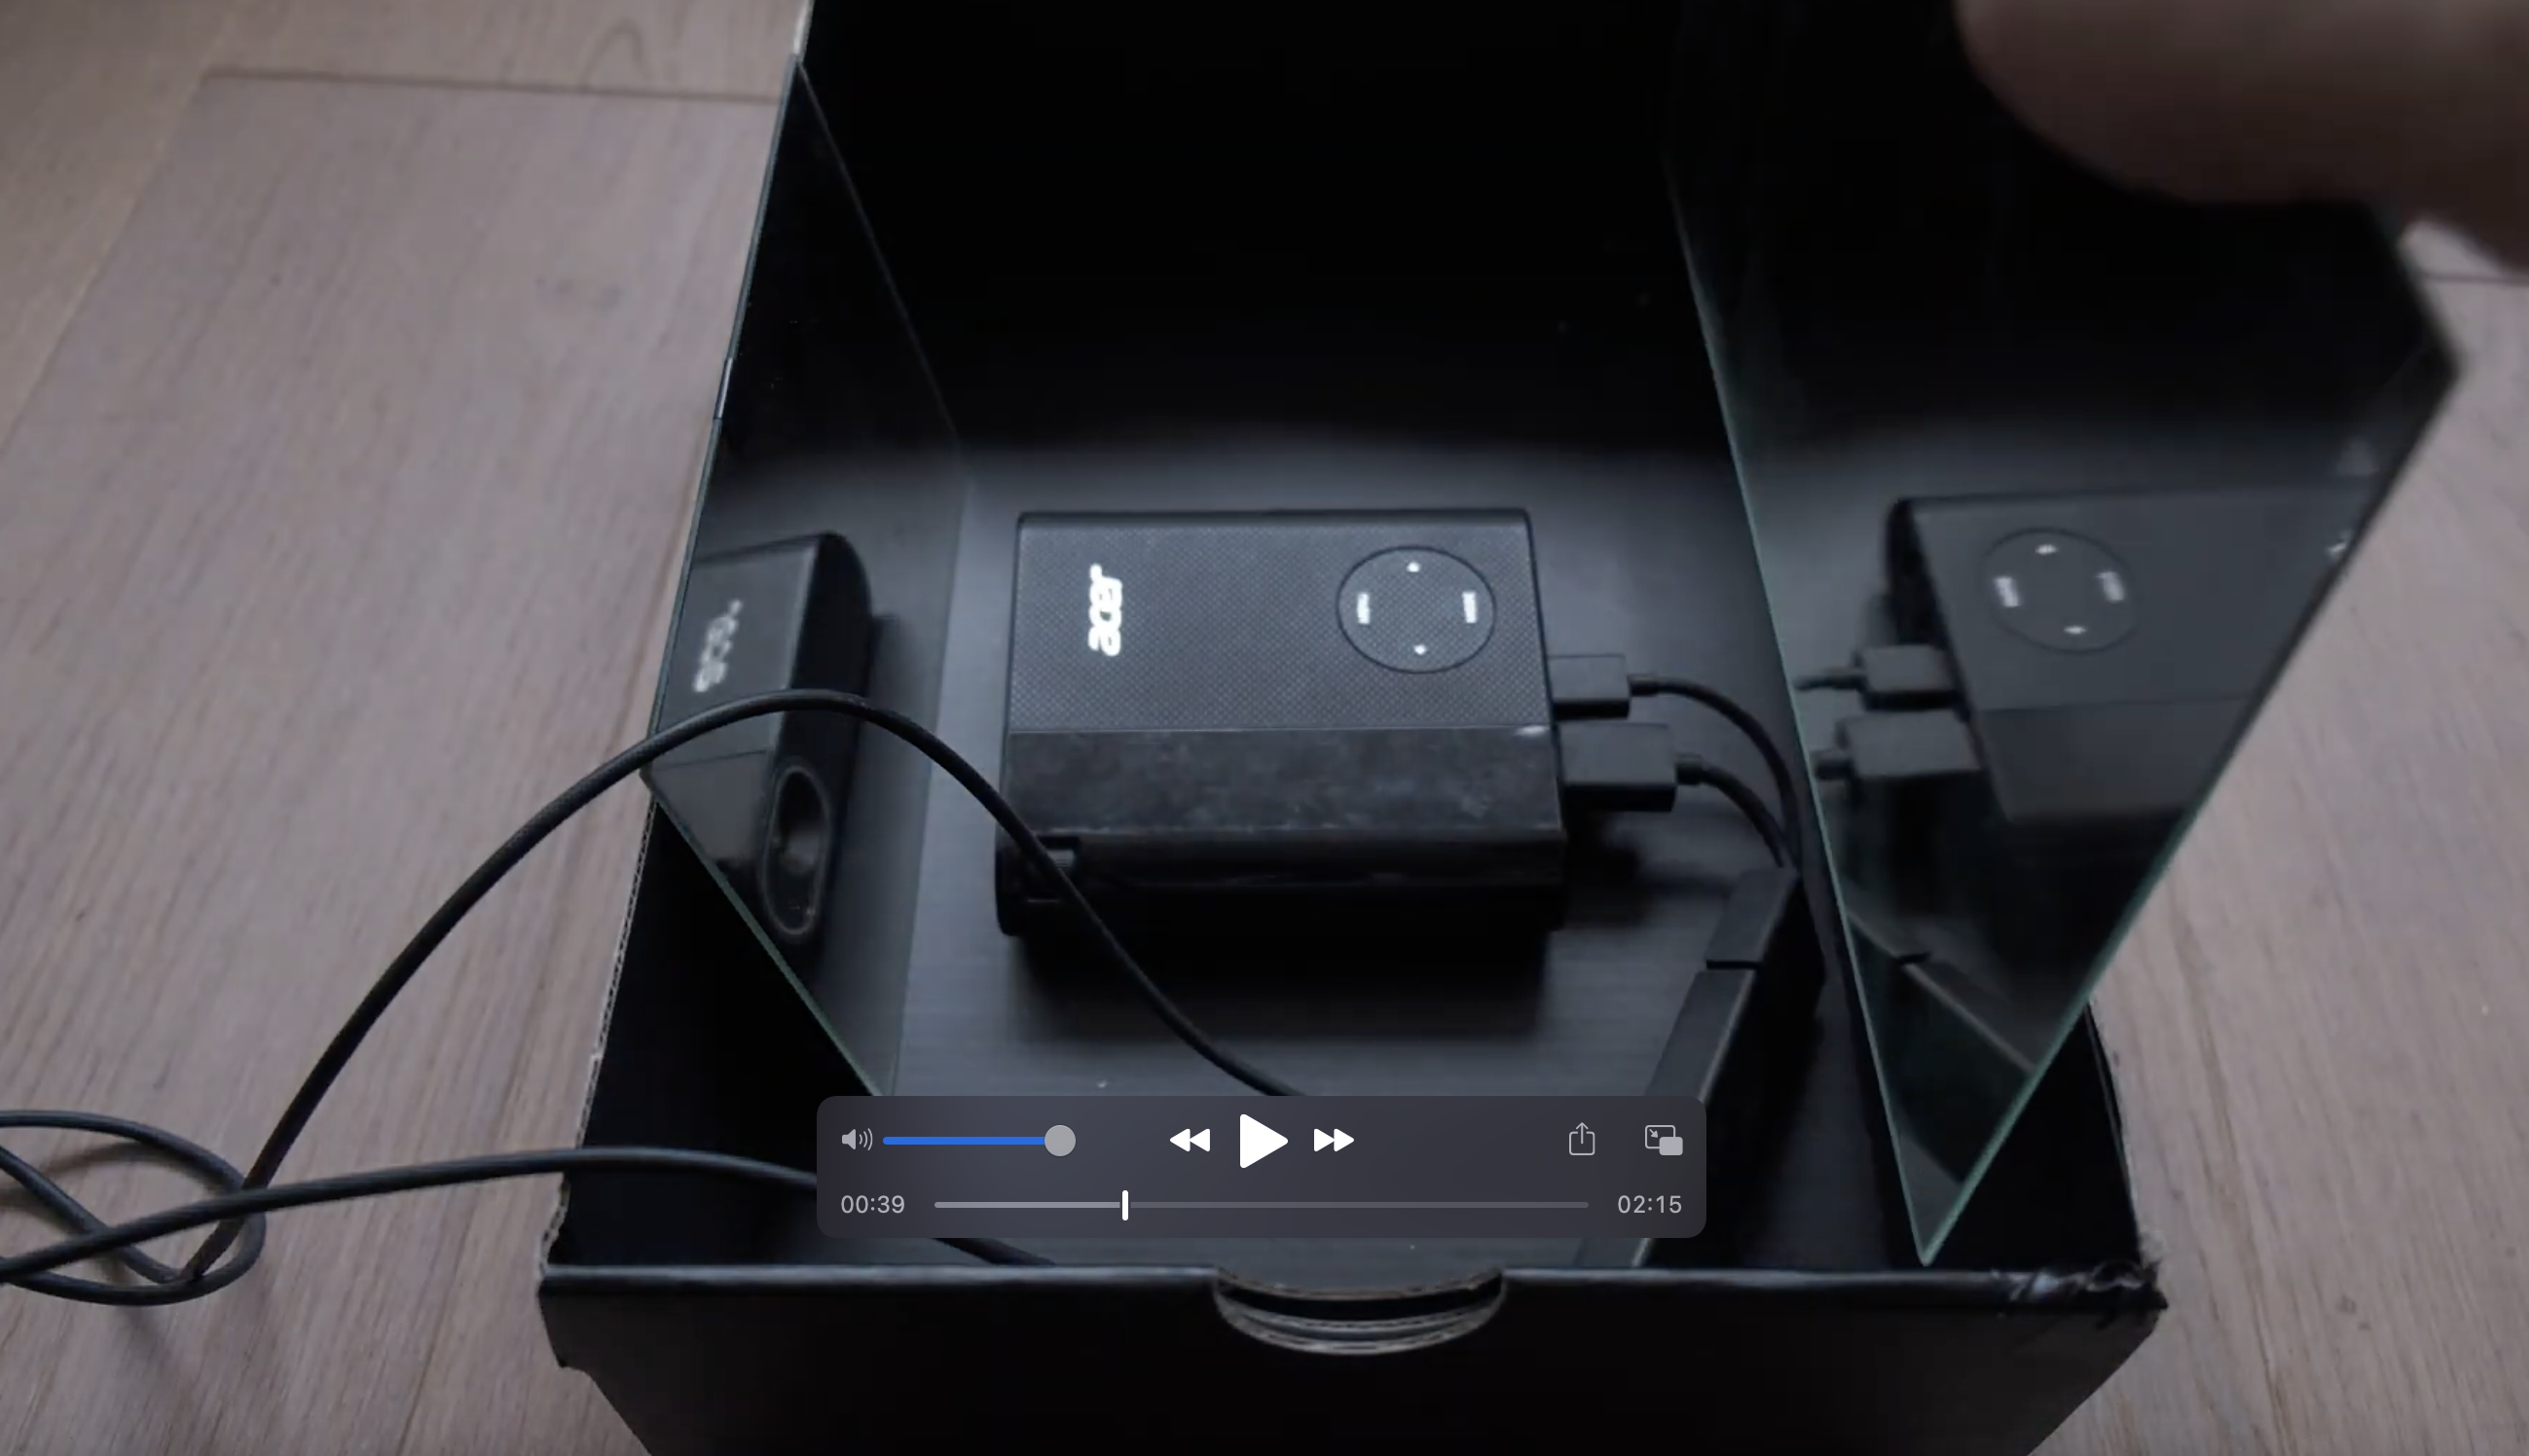


- Put the projector in-between both mirrors
- Ensure, that no cable is reflected in the mirrors
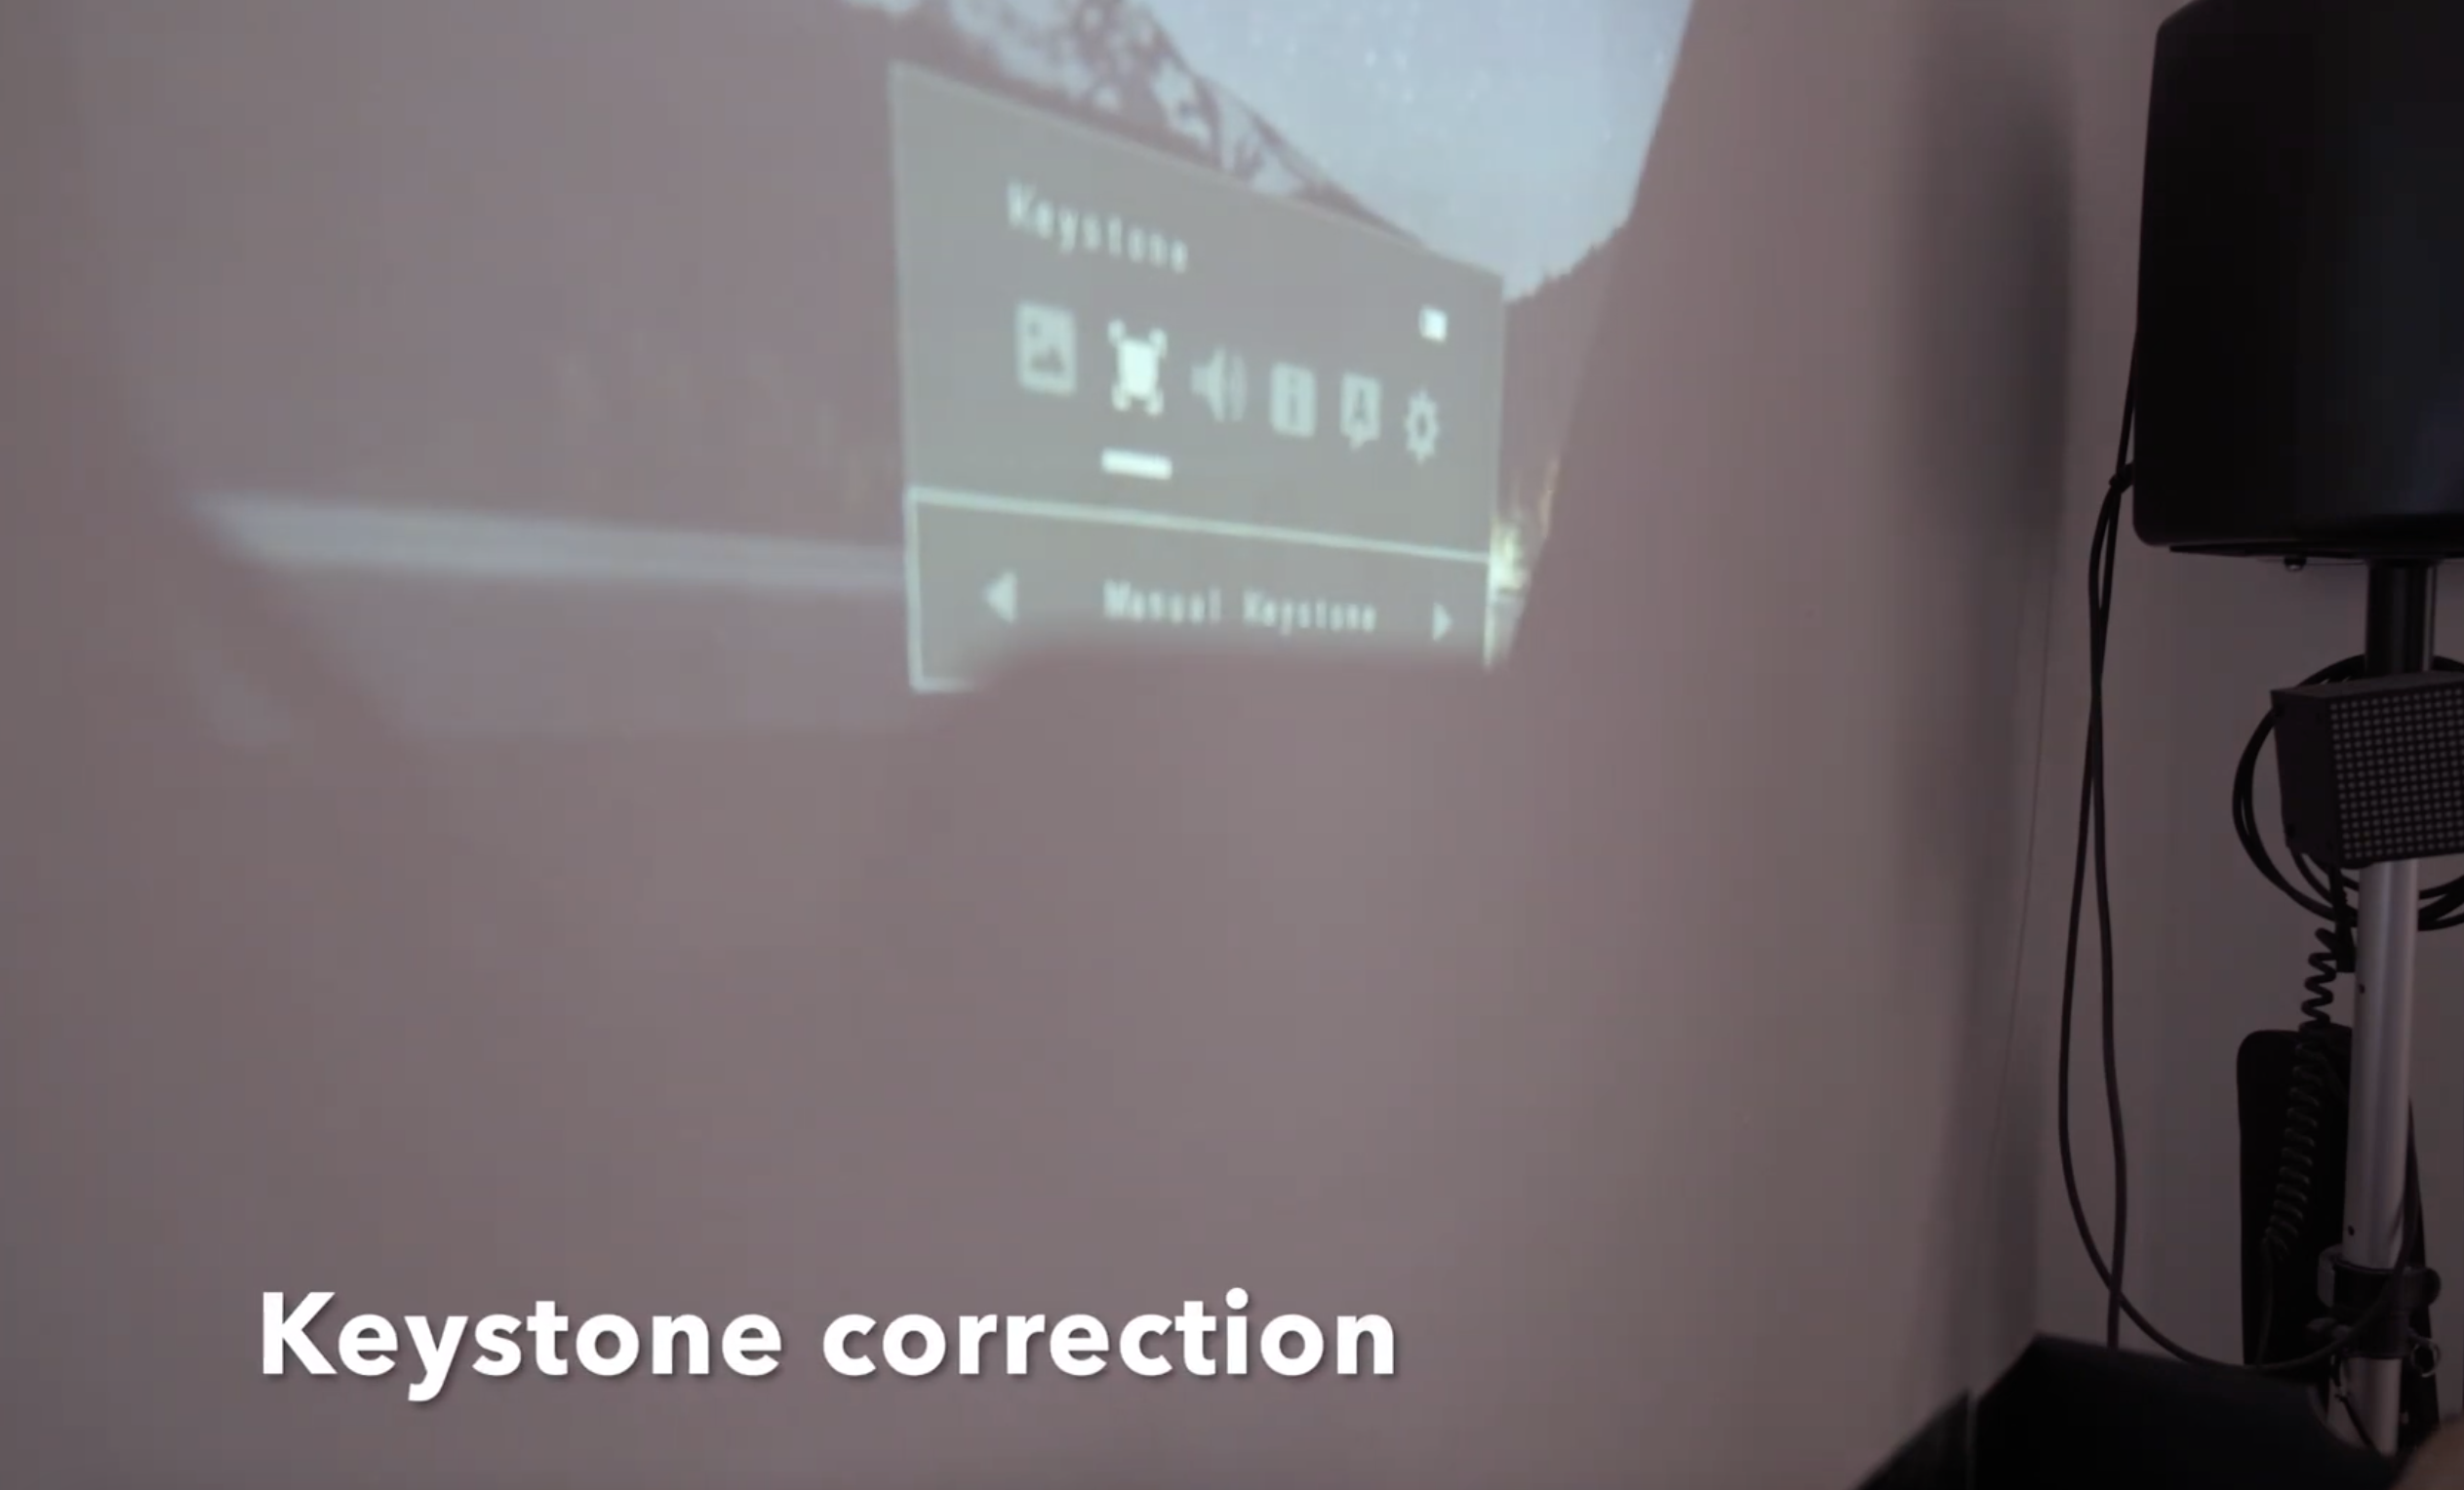
- Turn the projector on and put the box close to a wall.
- Now adjust the mirrors so that you get a large picture on the wall.
- Use Keystone correction to adjust the picture
Enjoy!

Congrats, you are now finished. You can now enjoy a large picture even in small rooms for a few bucks.
Stay healthy!