DIY Transformable Zombieman: a 3D Printed Terror for Halloween Night
by VCreations in Workshop > 3D Printing
492 Views, 6 Favorites, 0 Comments
DIY Transformable Zombieman: a 3D Printed Terror for Halloween Night
.jpg)
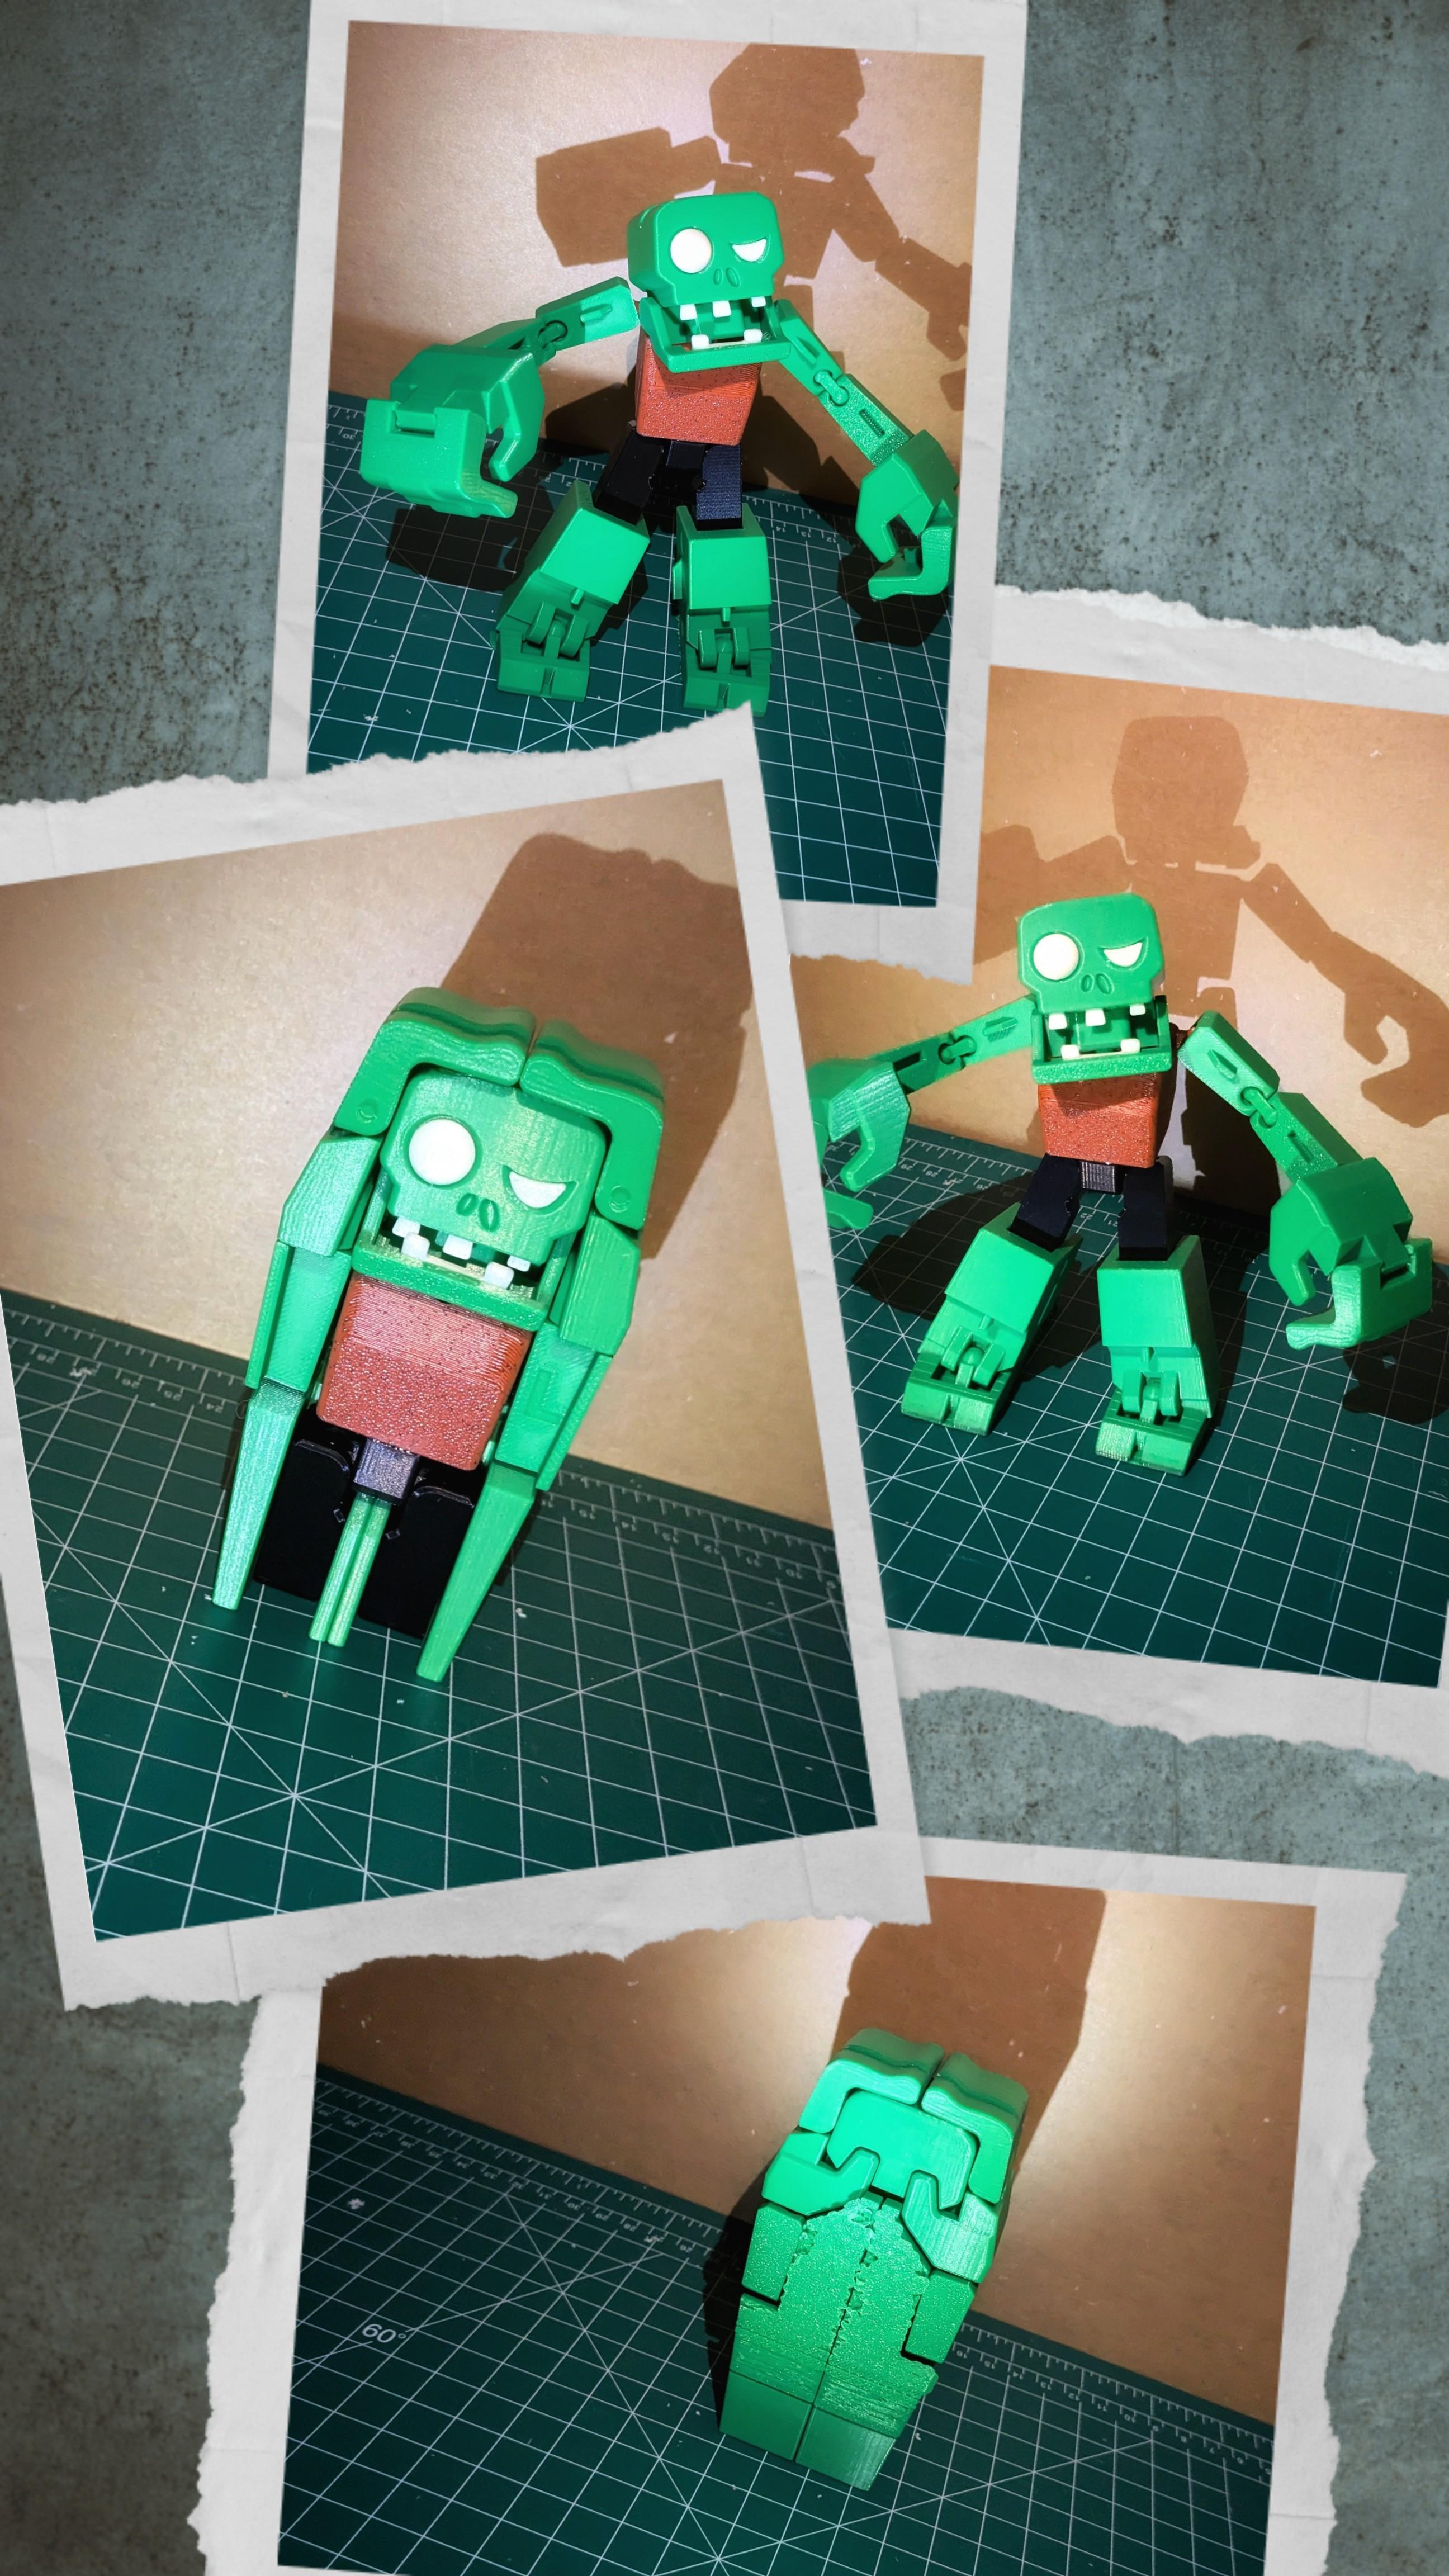
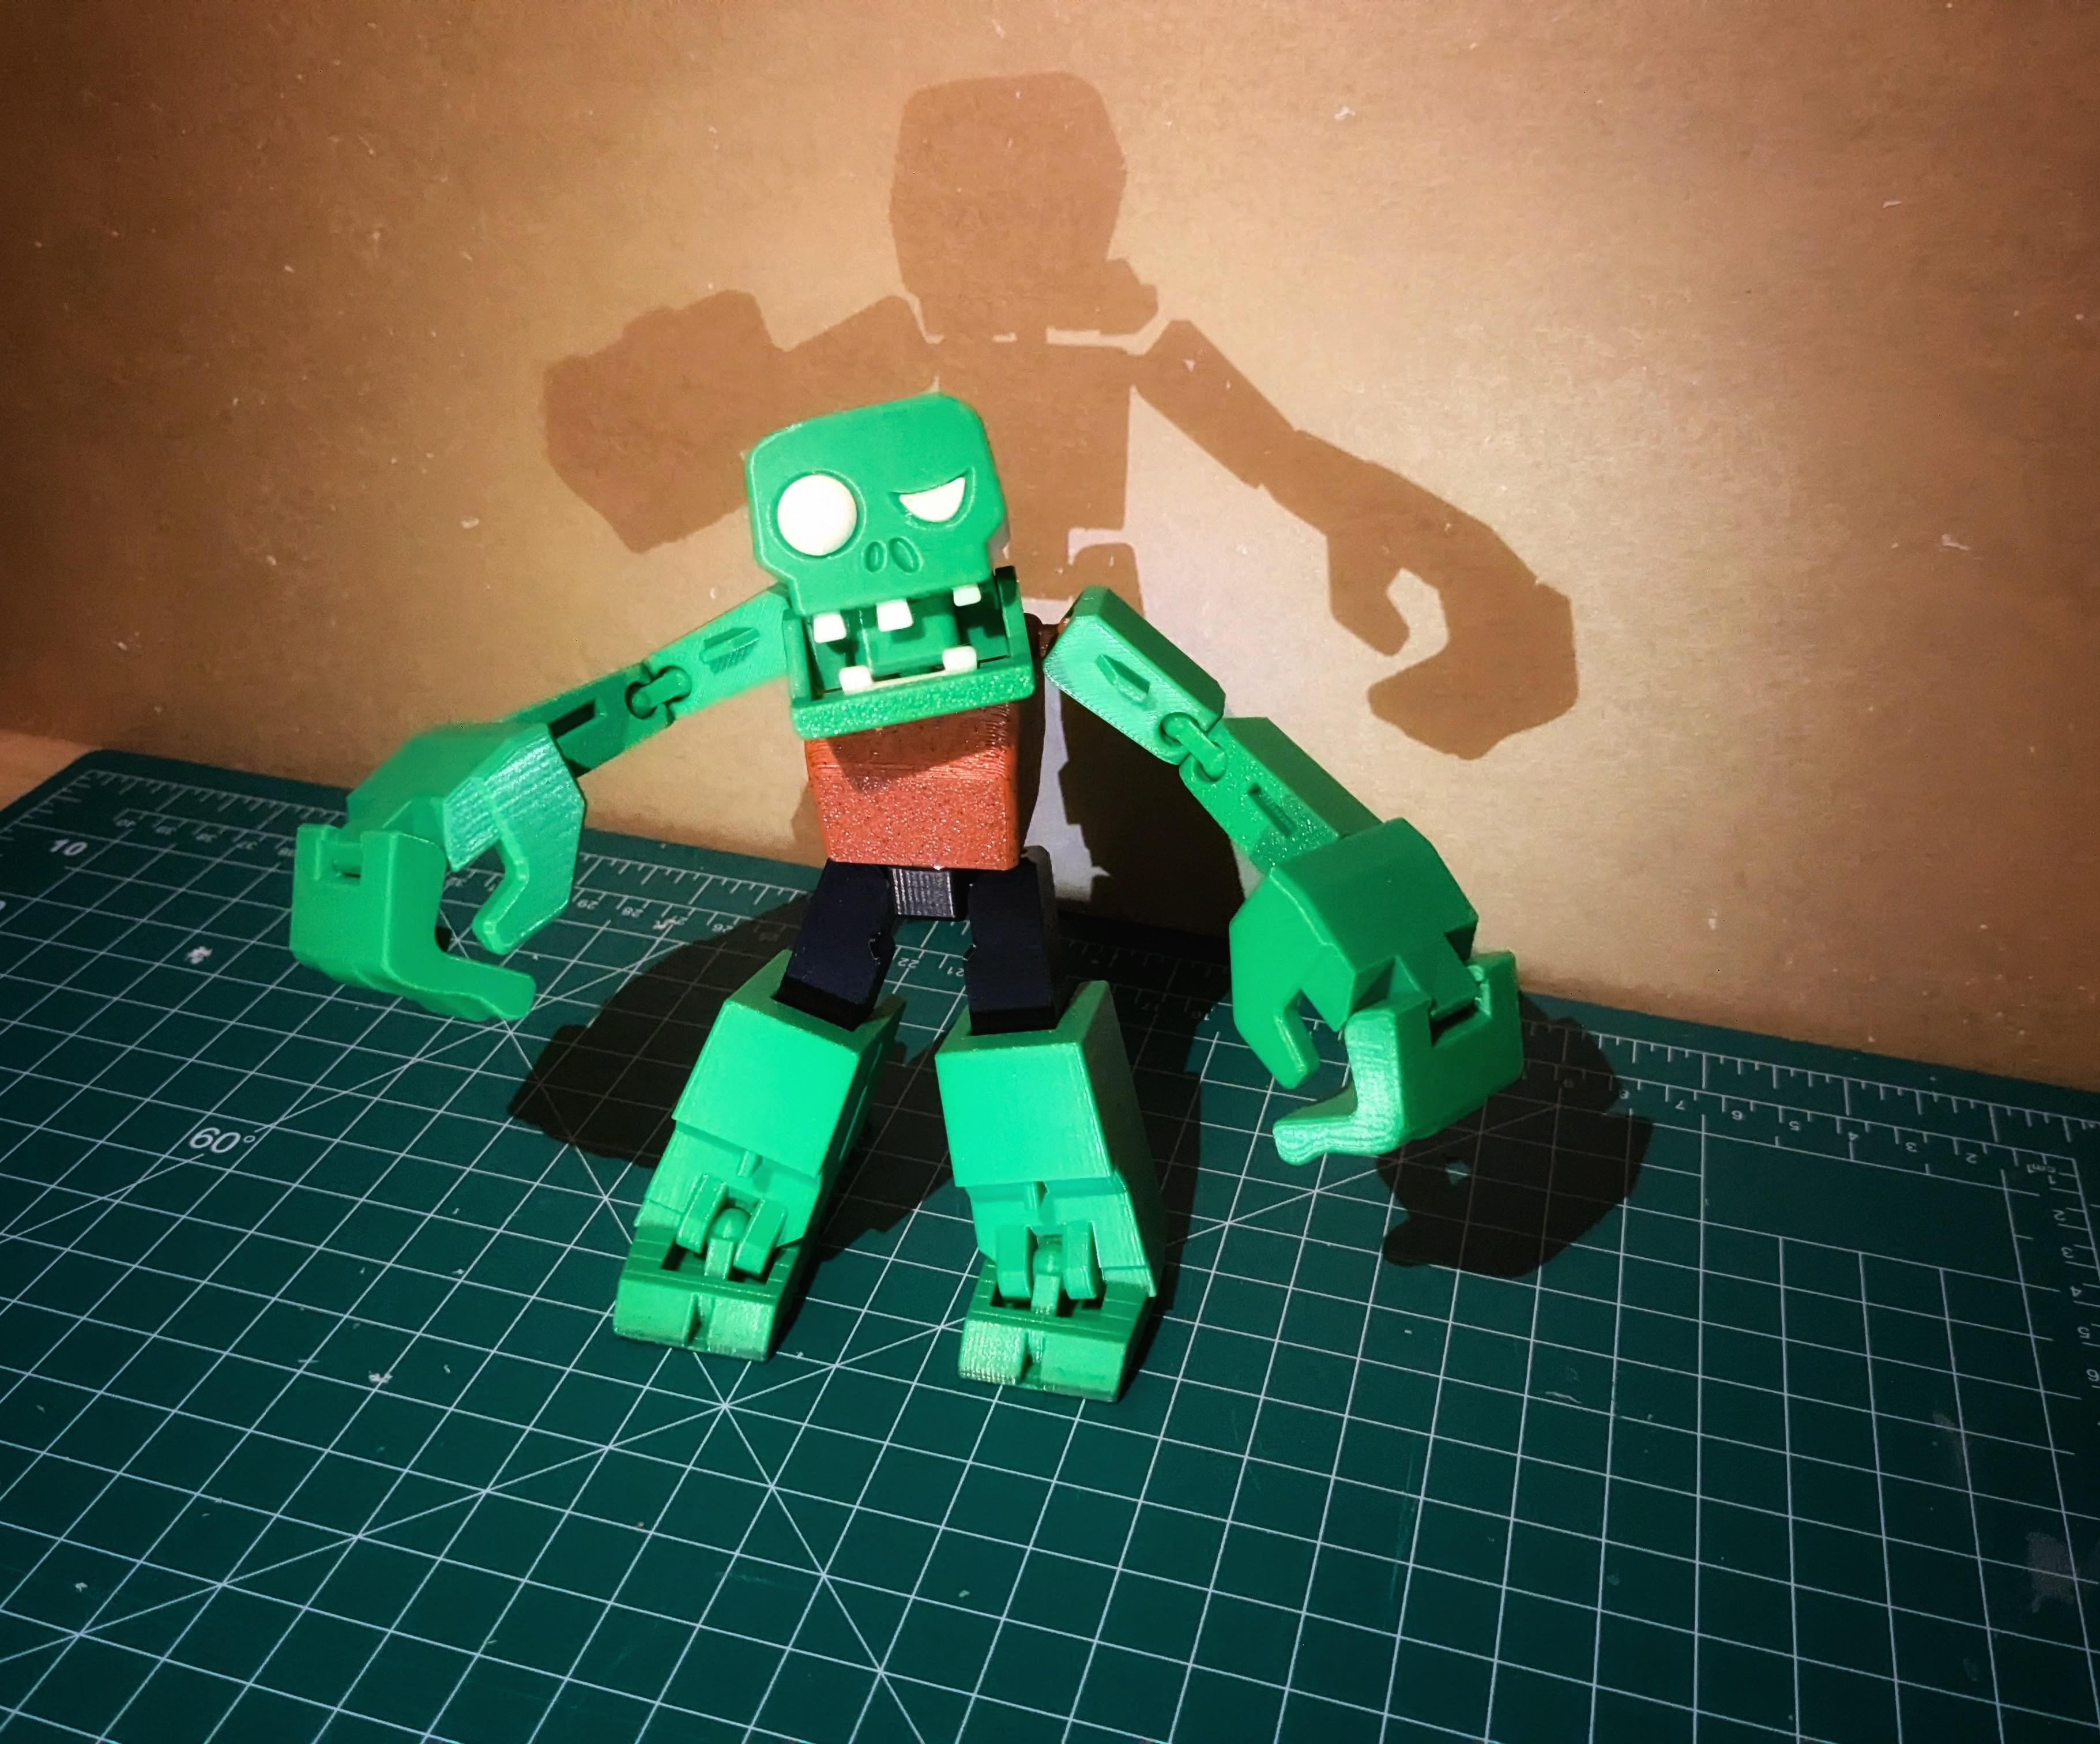
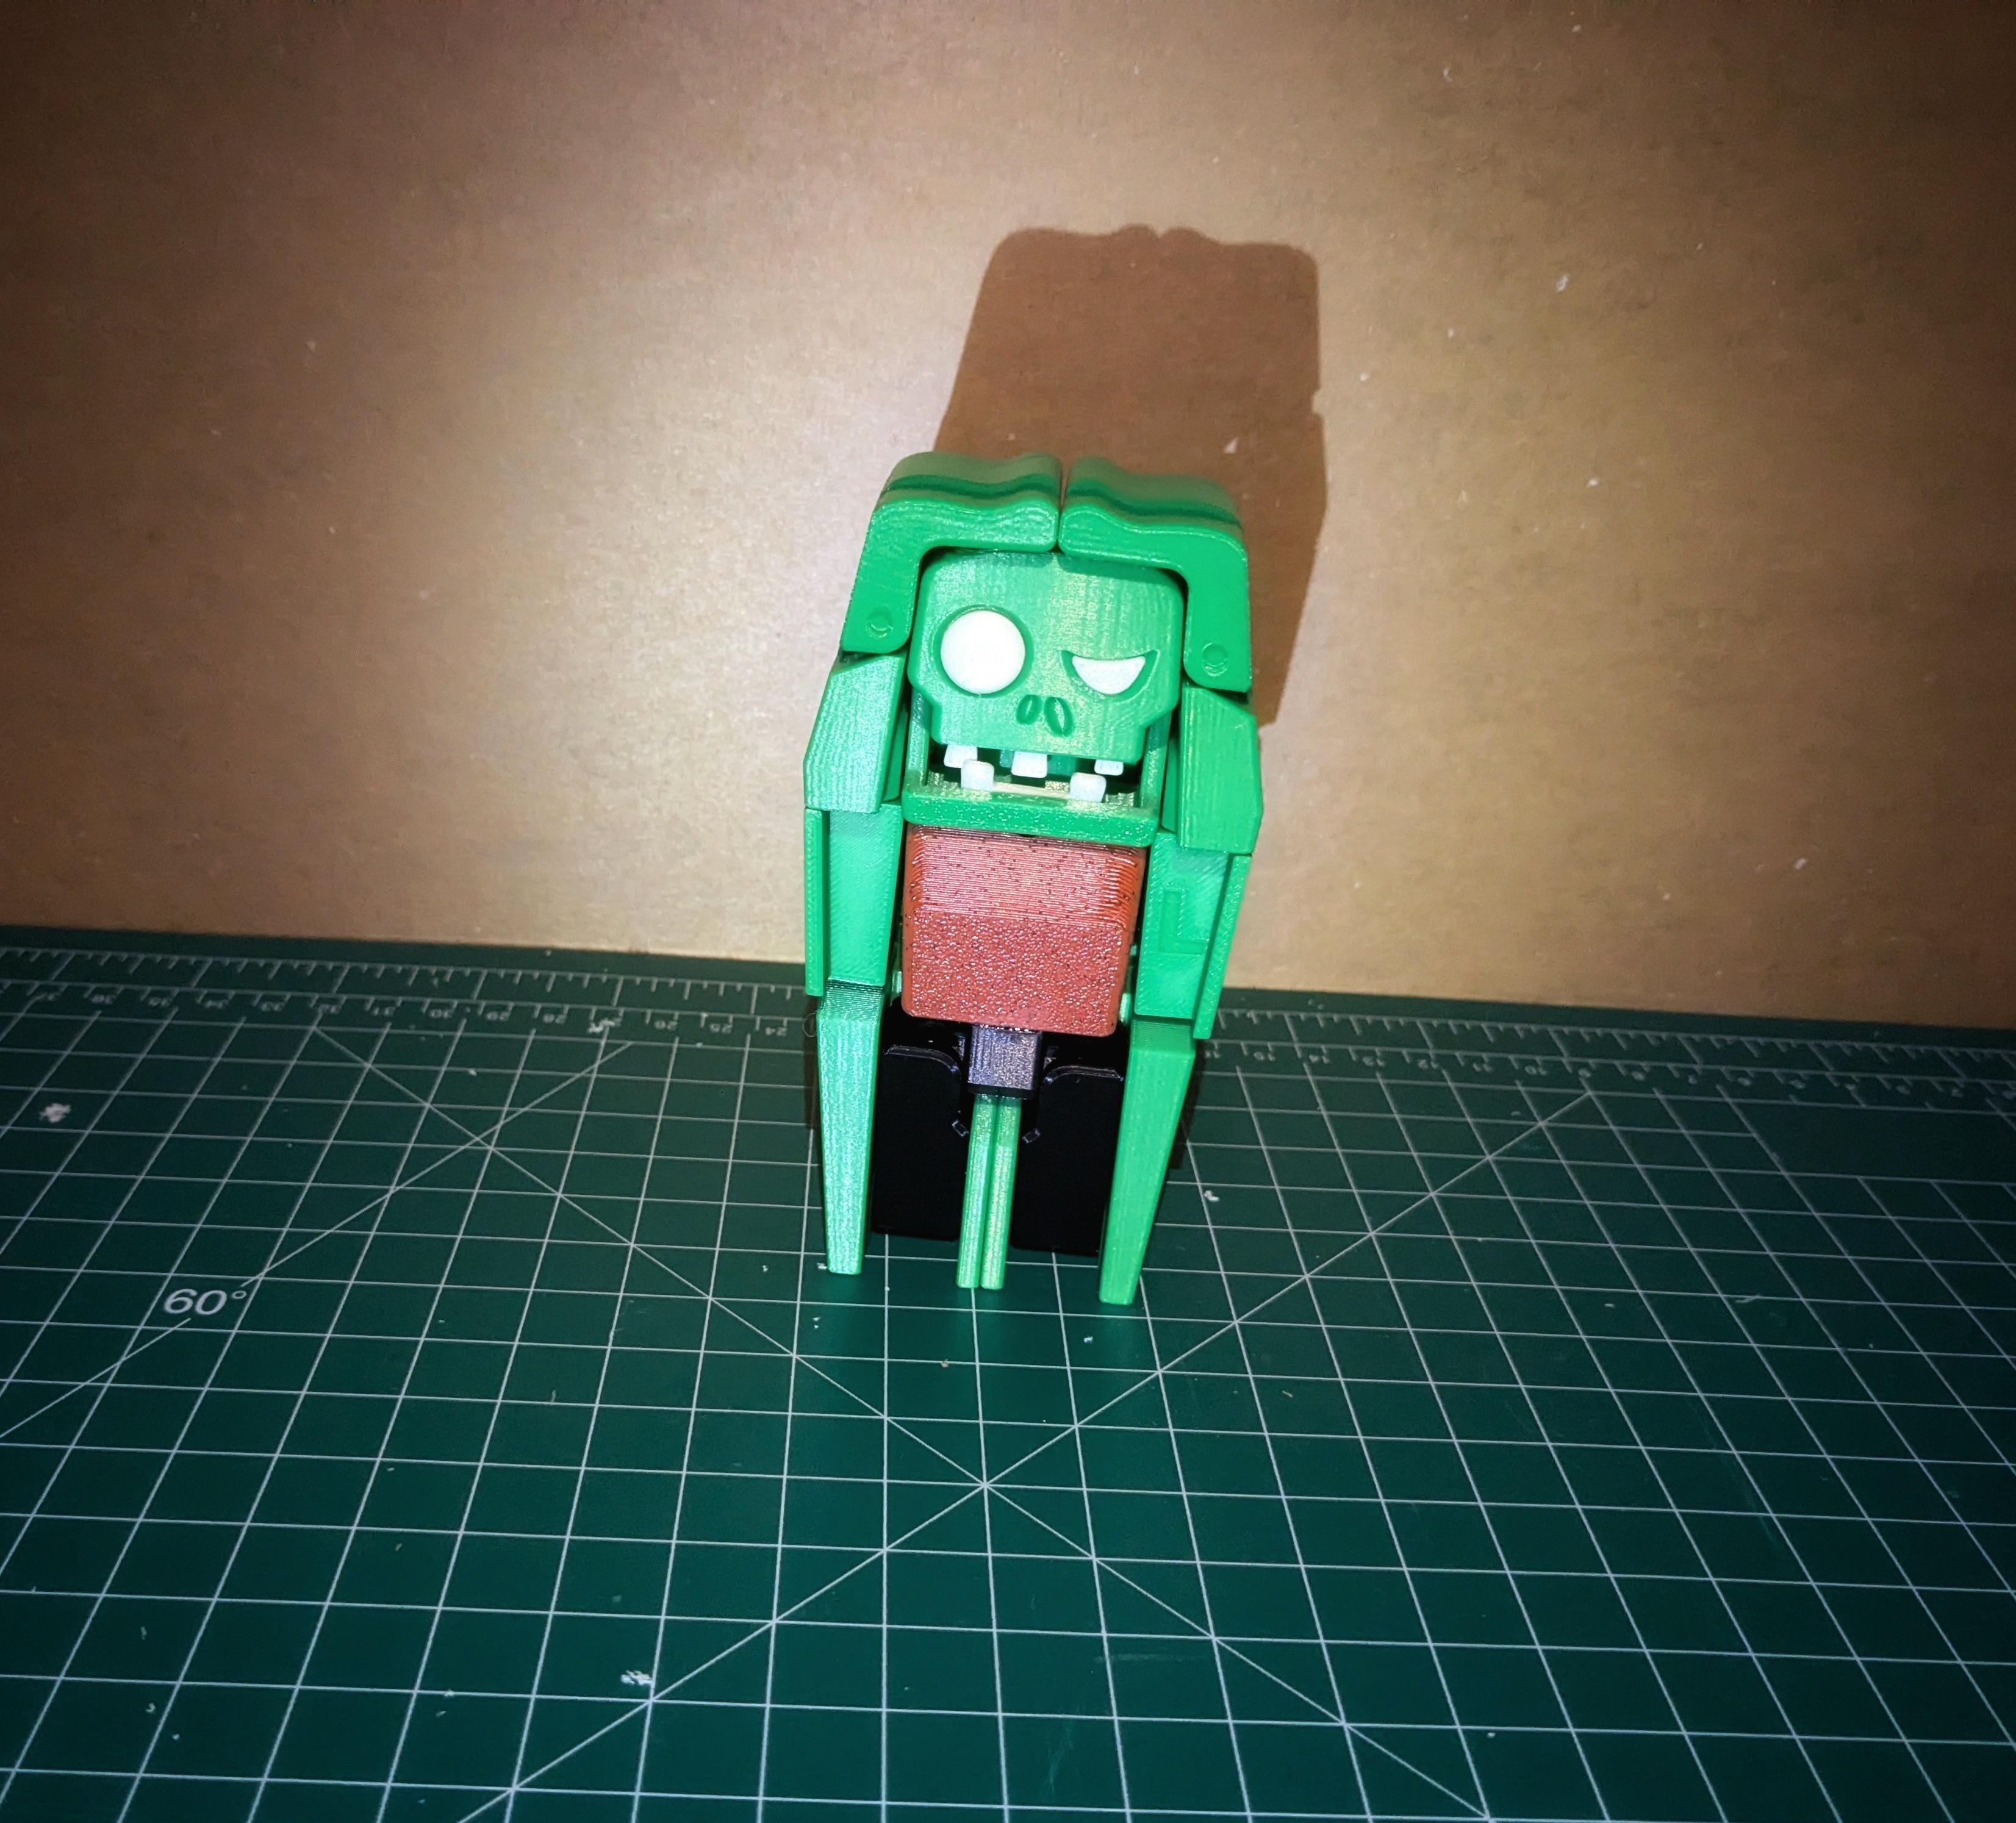
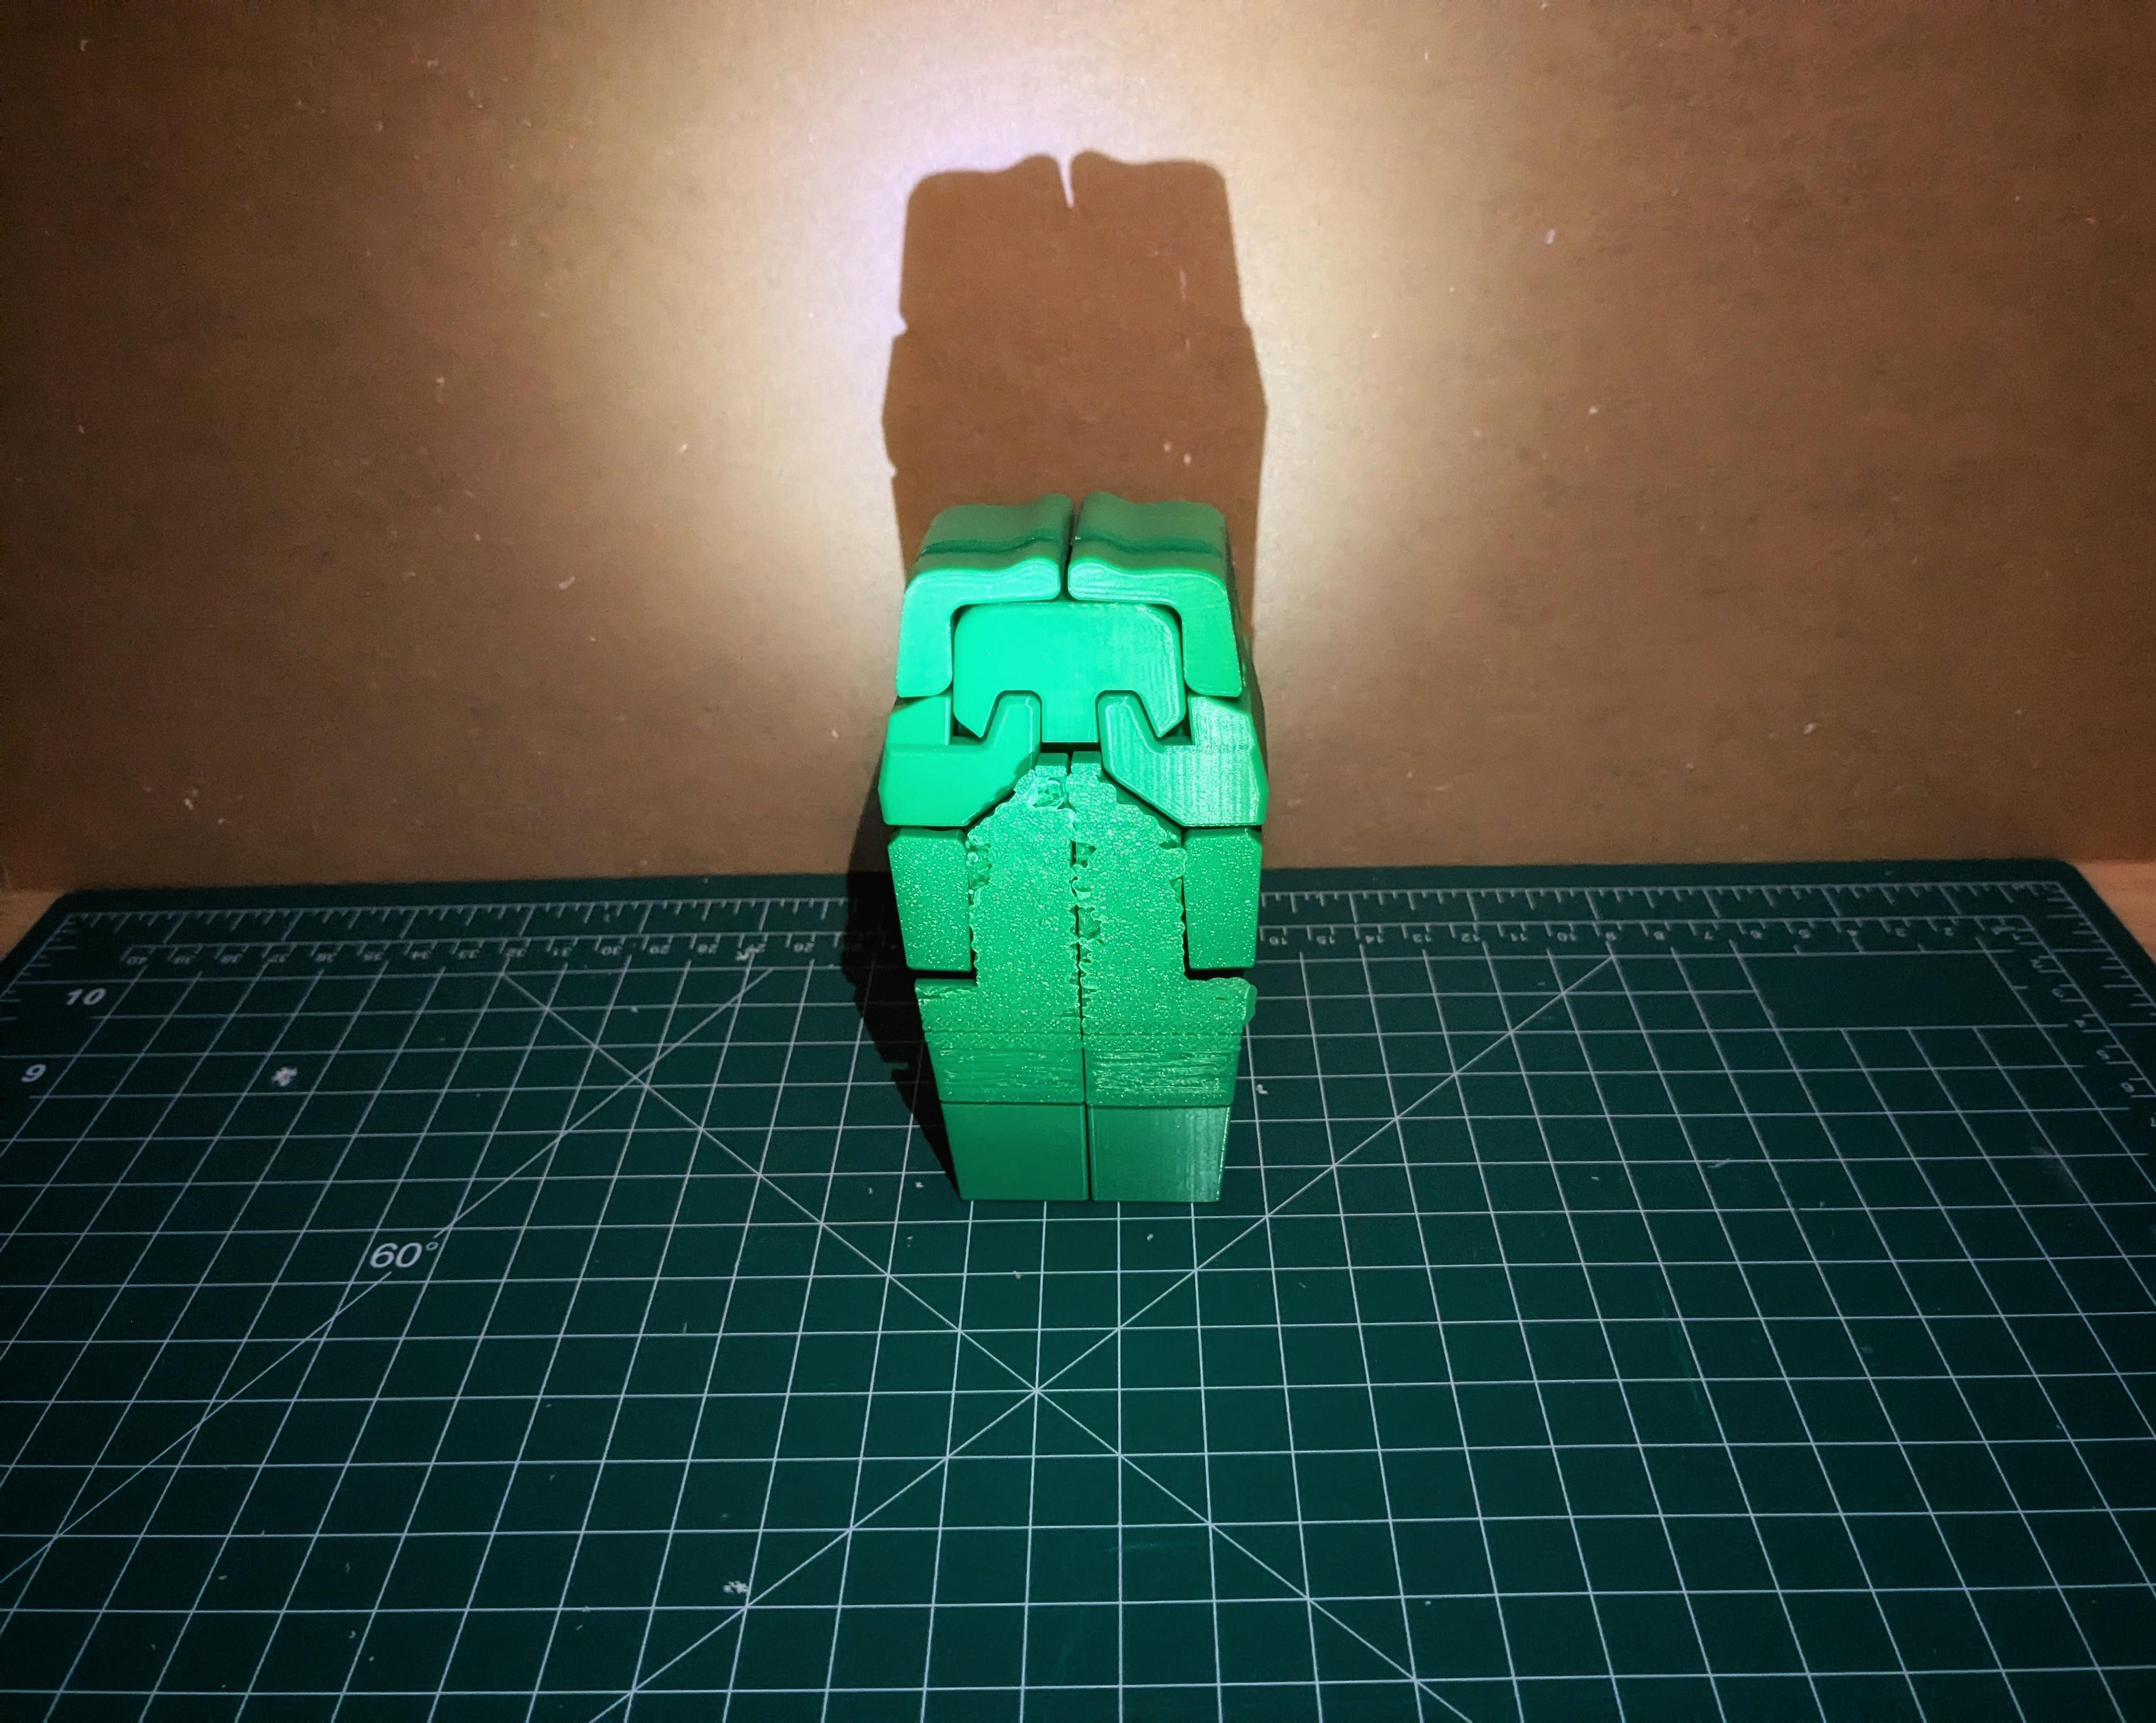
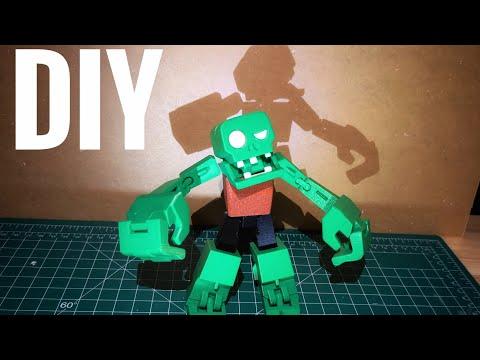
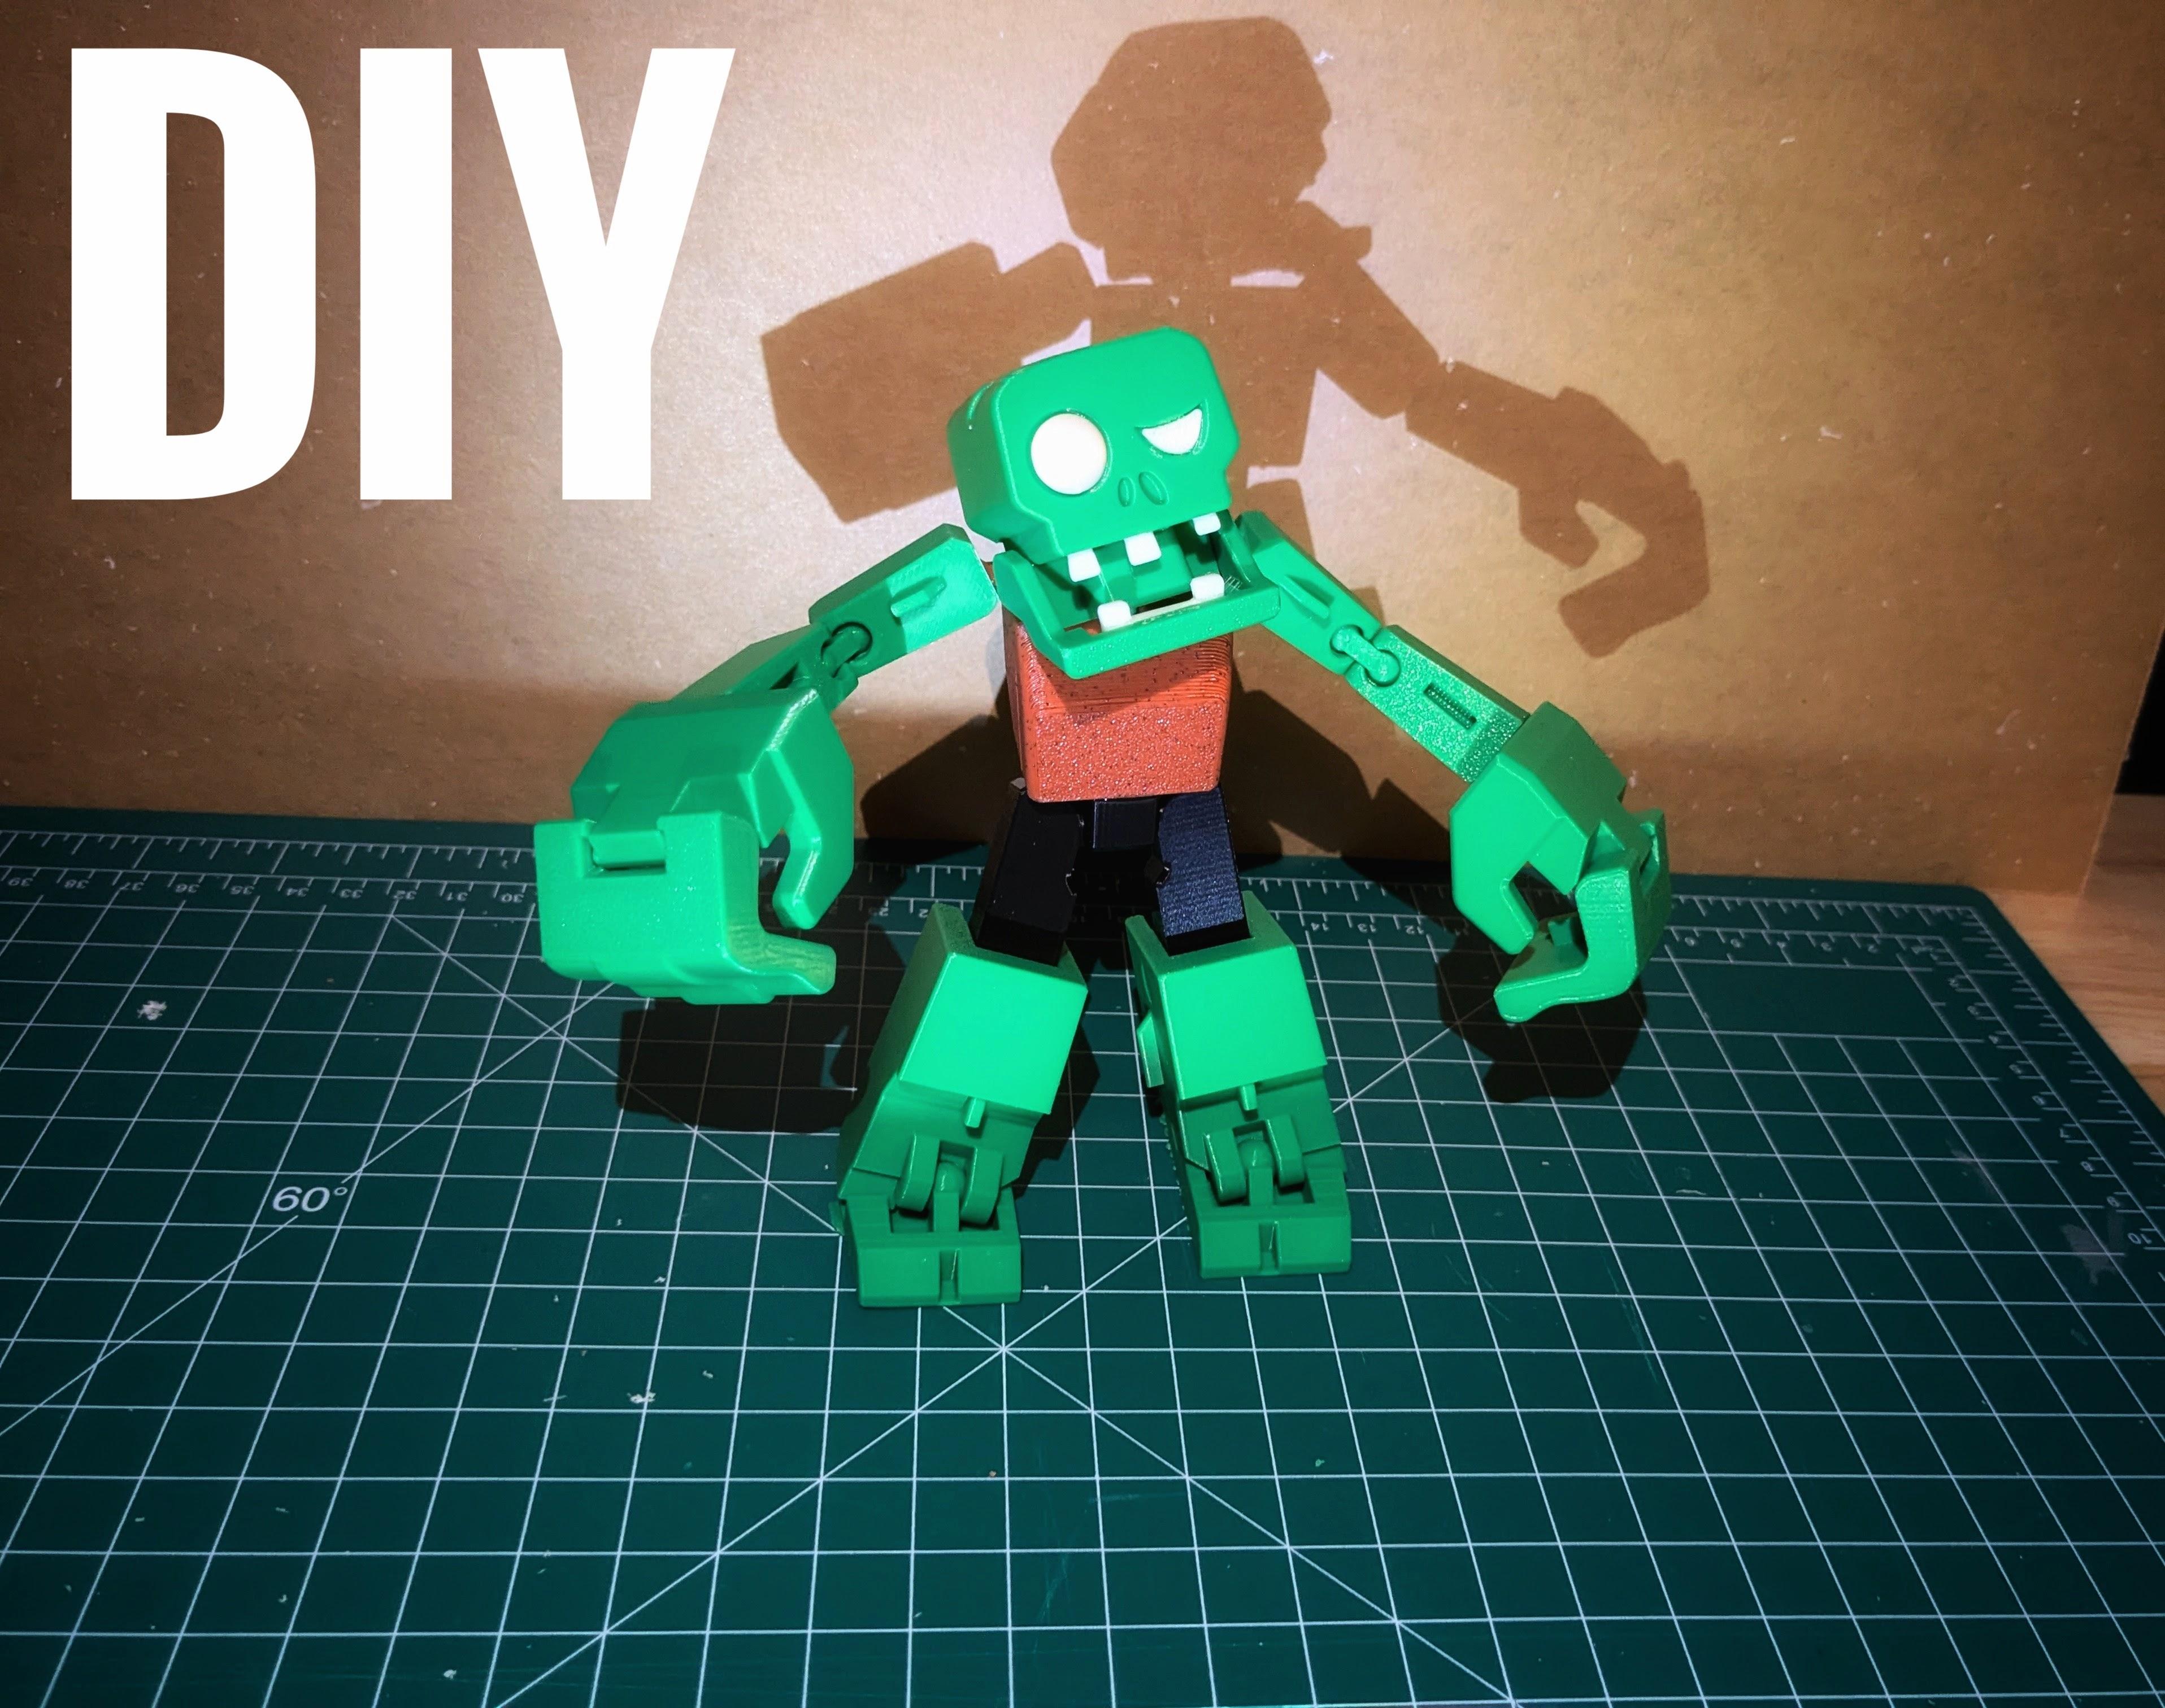
With Halloween right around the corner, have you ever wanted to build something that’s not only spooky but also transforms unexpectedly? That’s exactly what I set out to do when I decided to create a DIY Zombieman that transforms into a coffin. It wasn’t just about making a creepy figure; I wanted an interactive piece that would shock and surprise, making it the highlight of my Halloween display.
The idea of a zombie suddenly collapsing into a coffin is sure to get a few screams, followed by admiration for the creativity and craftsmanship. If you’re looking to create something that’s both spooky and clever, this Instructables is the perfect way to take your Halloween decorations to the next level!
Downloads
Supplies
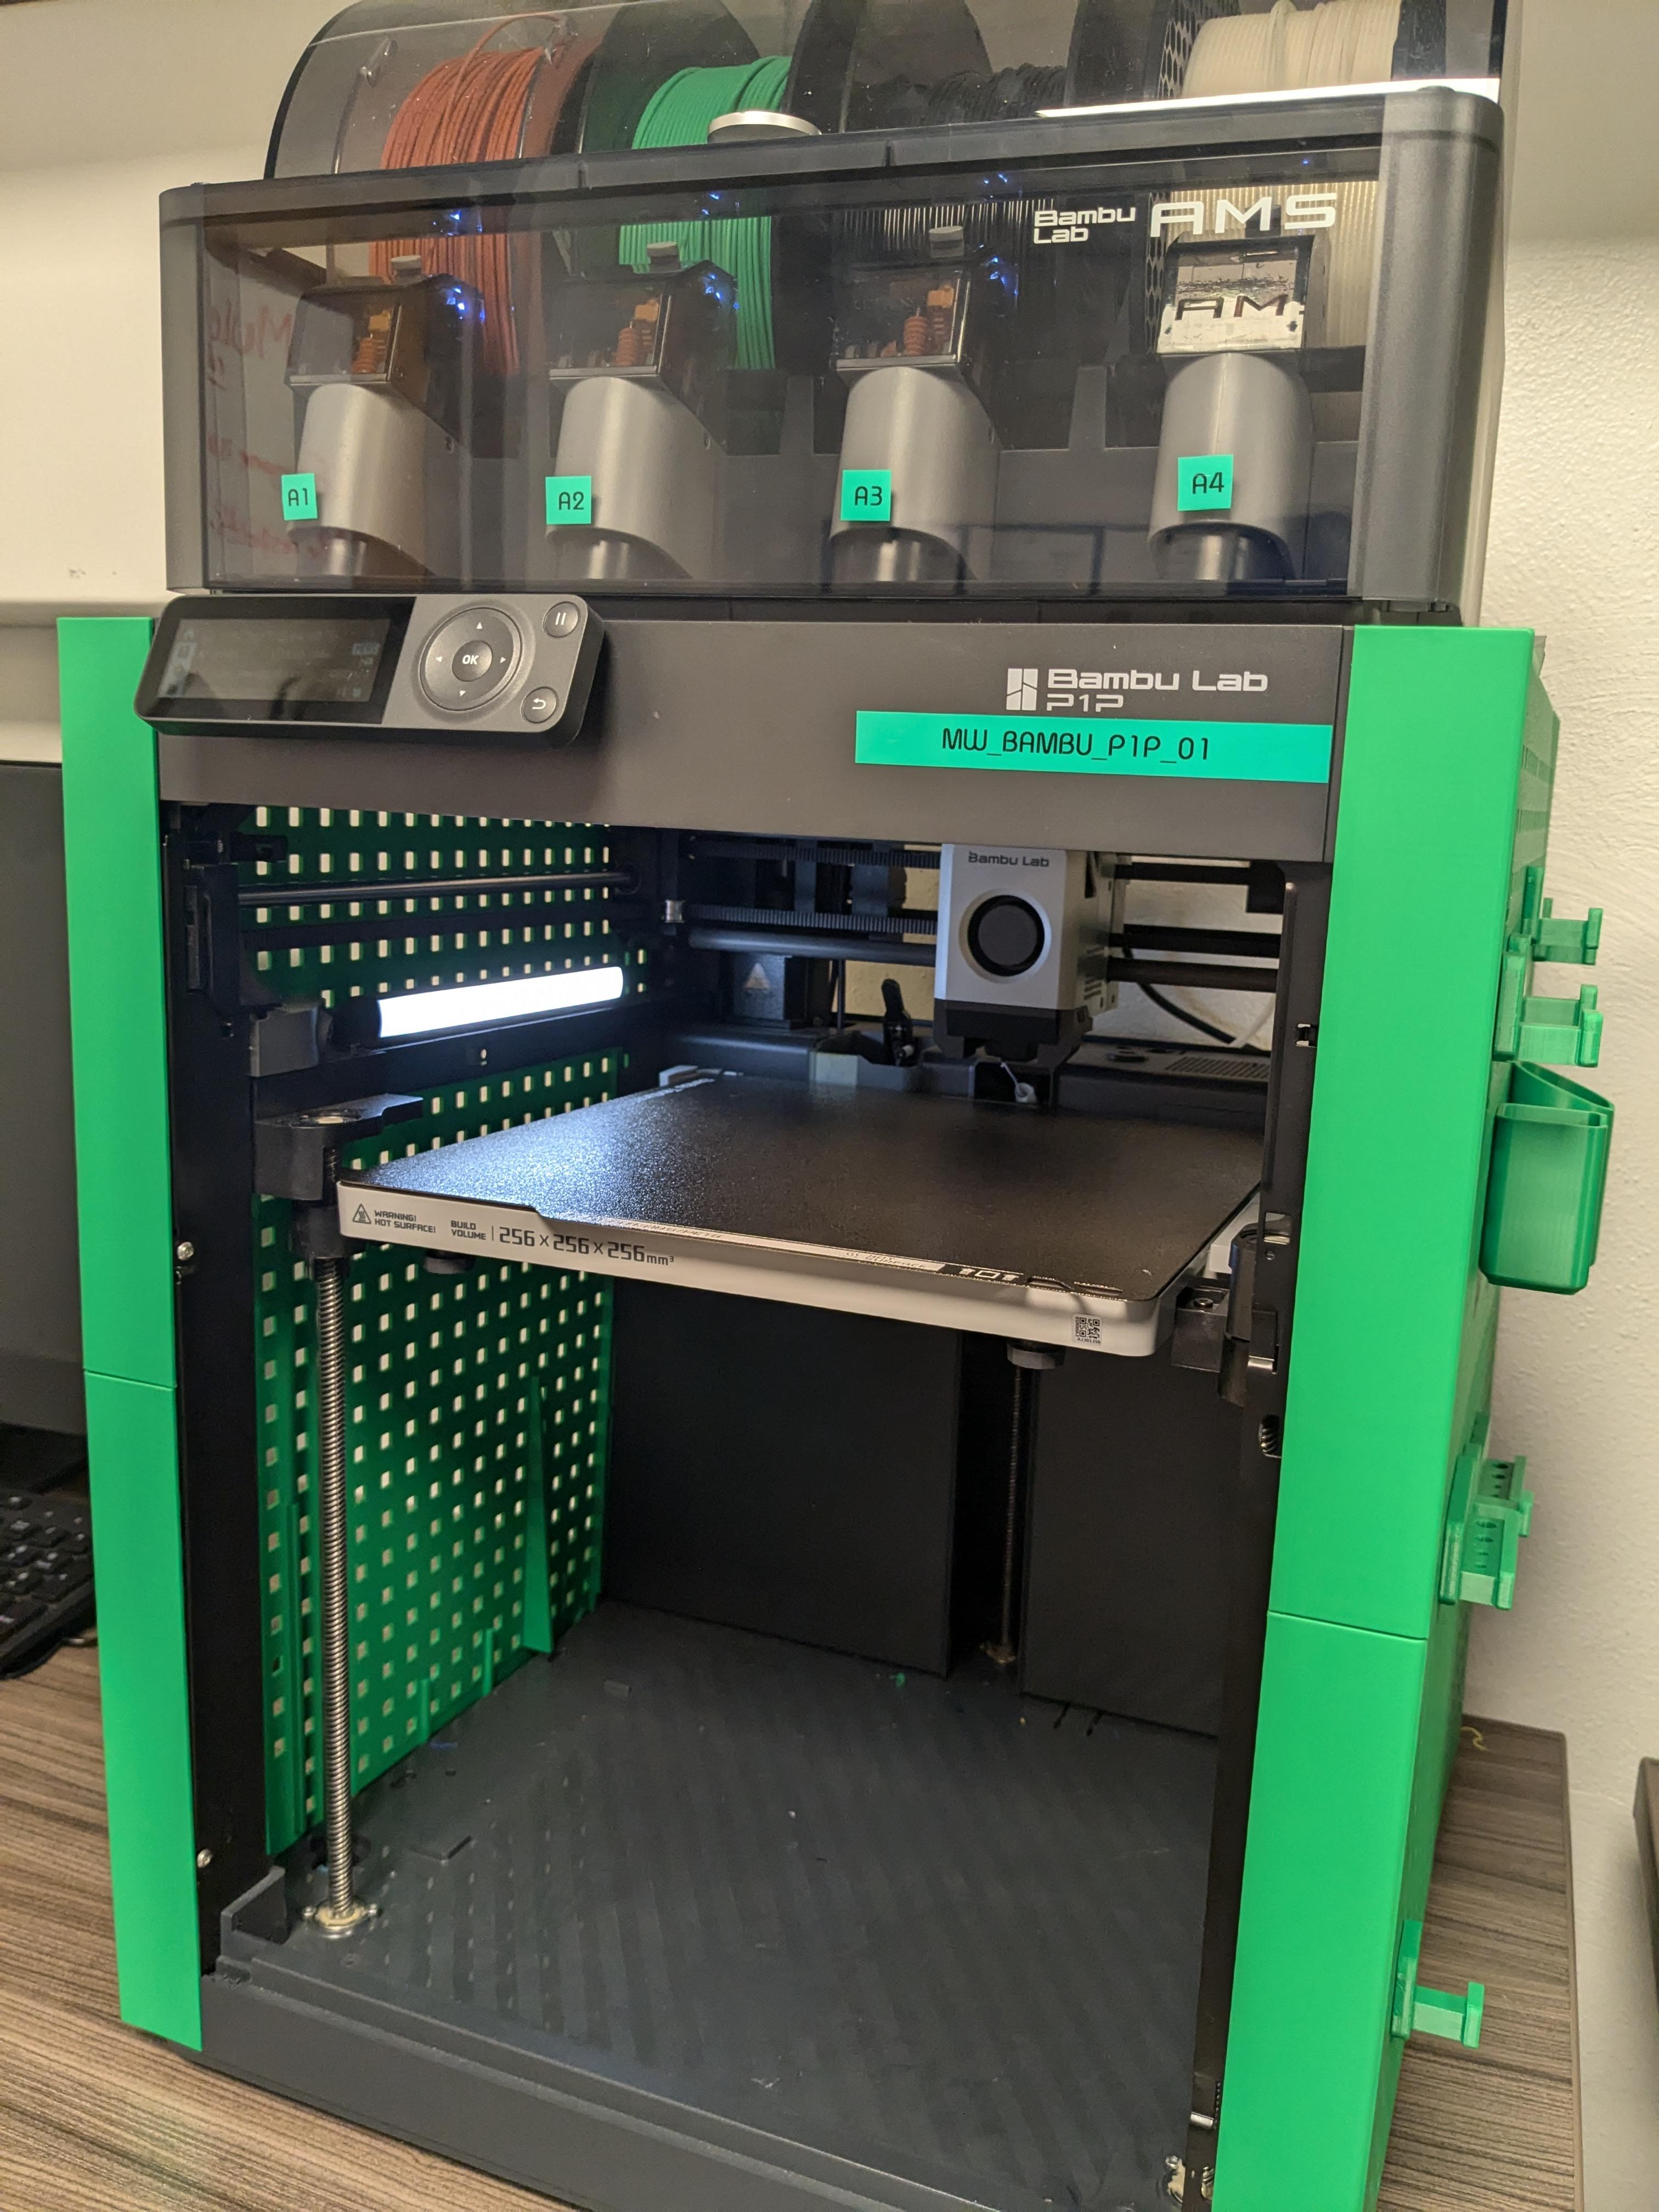
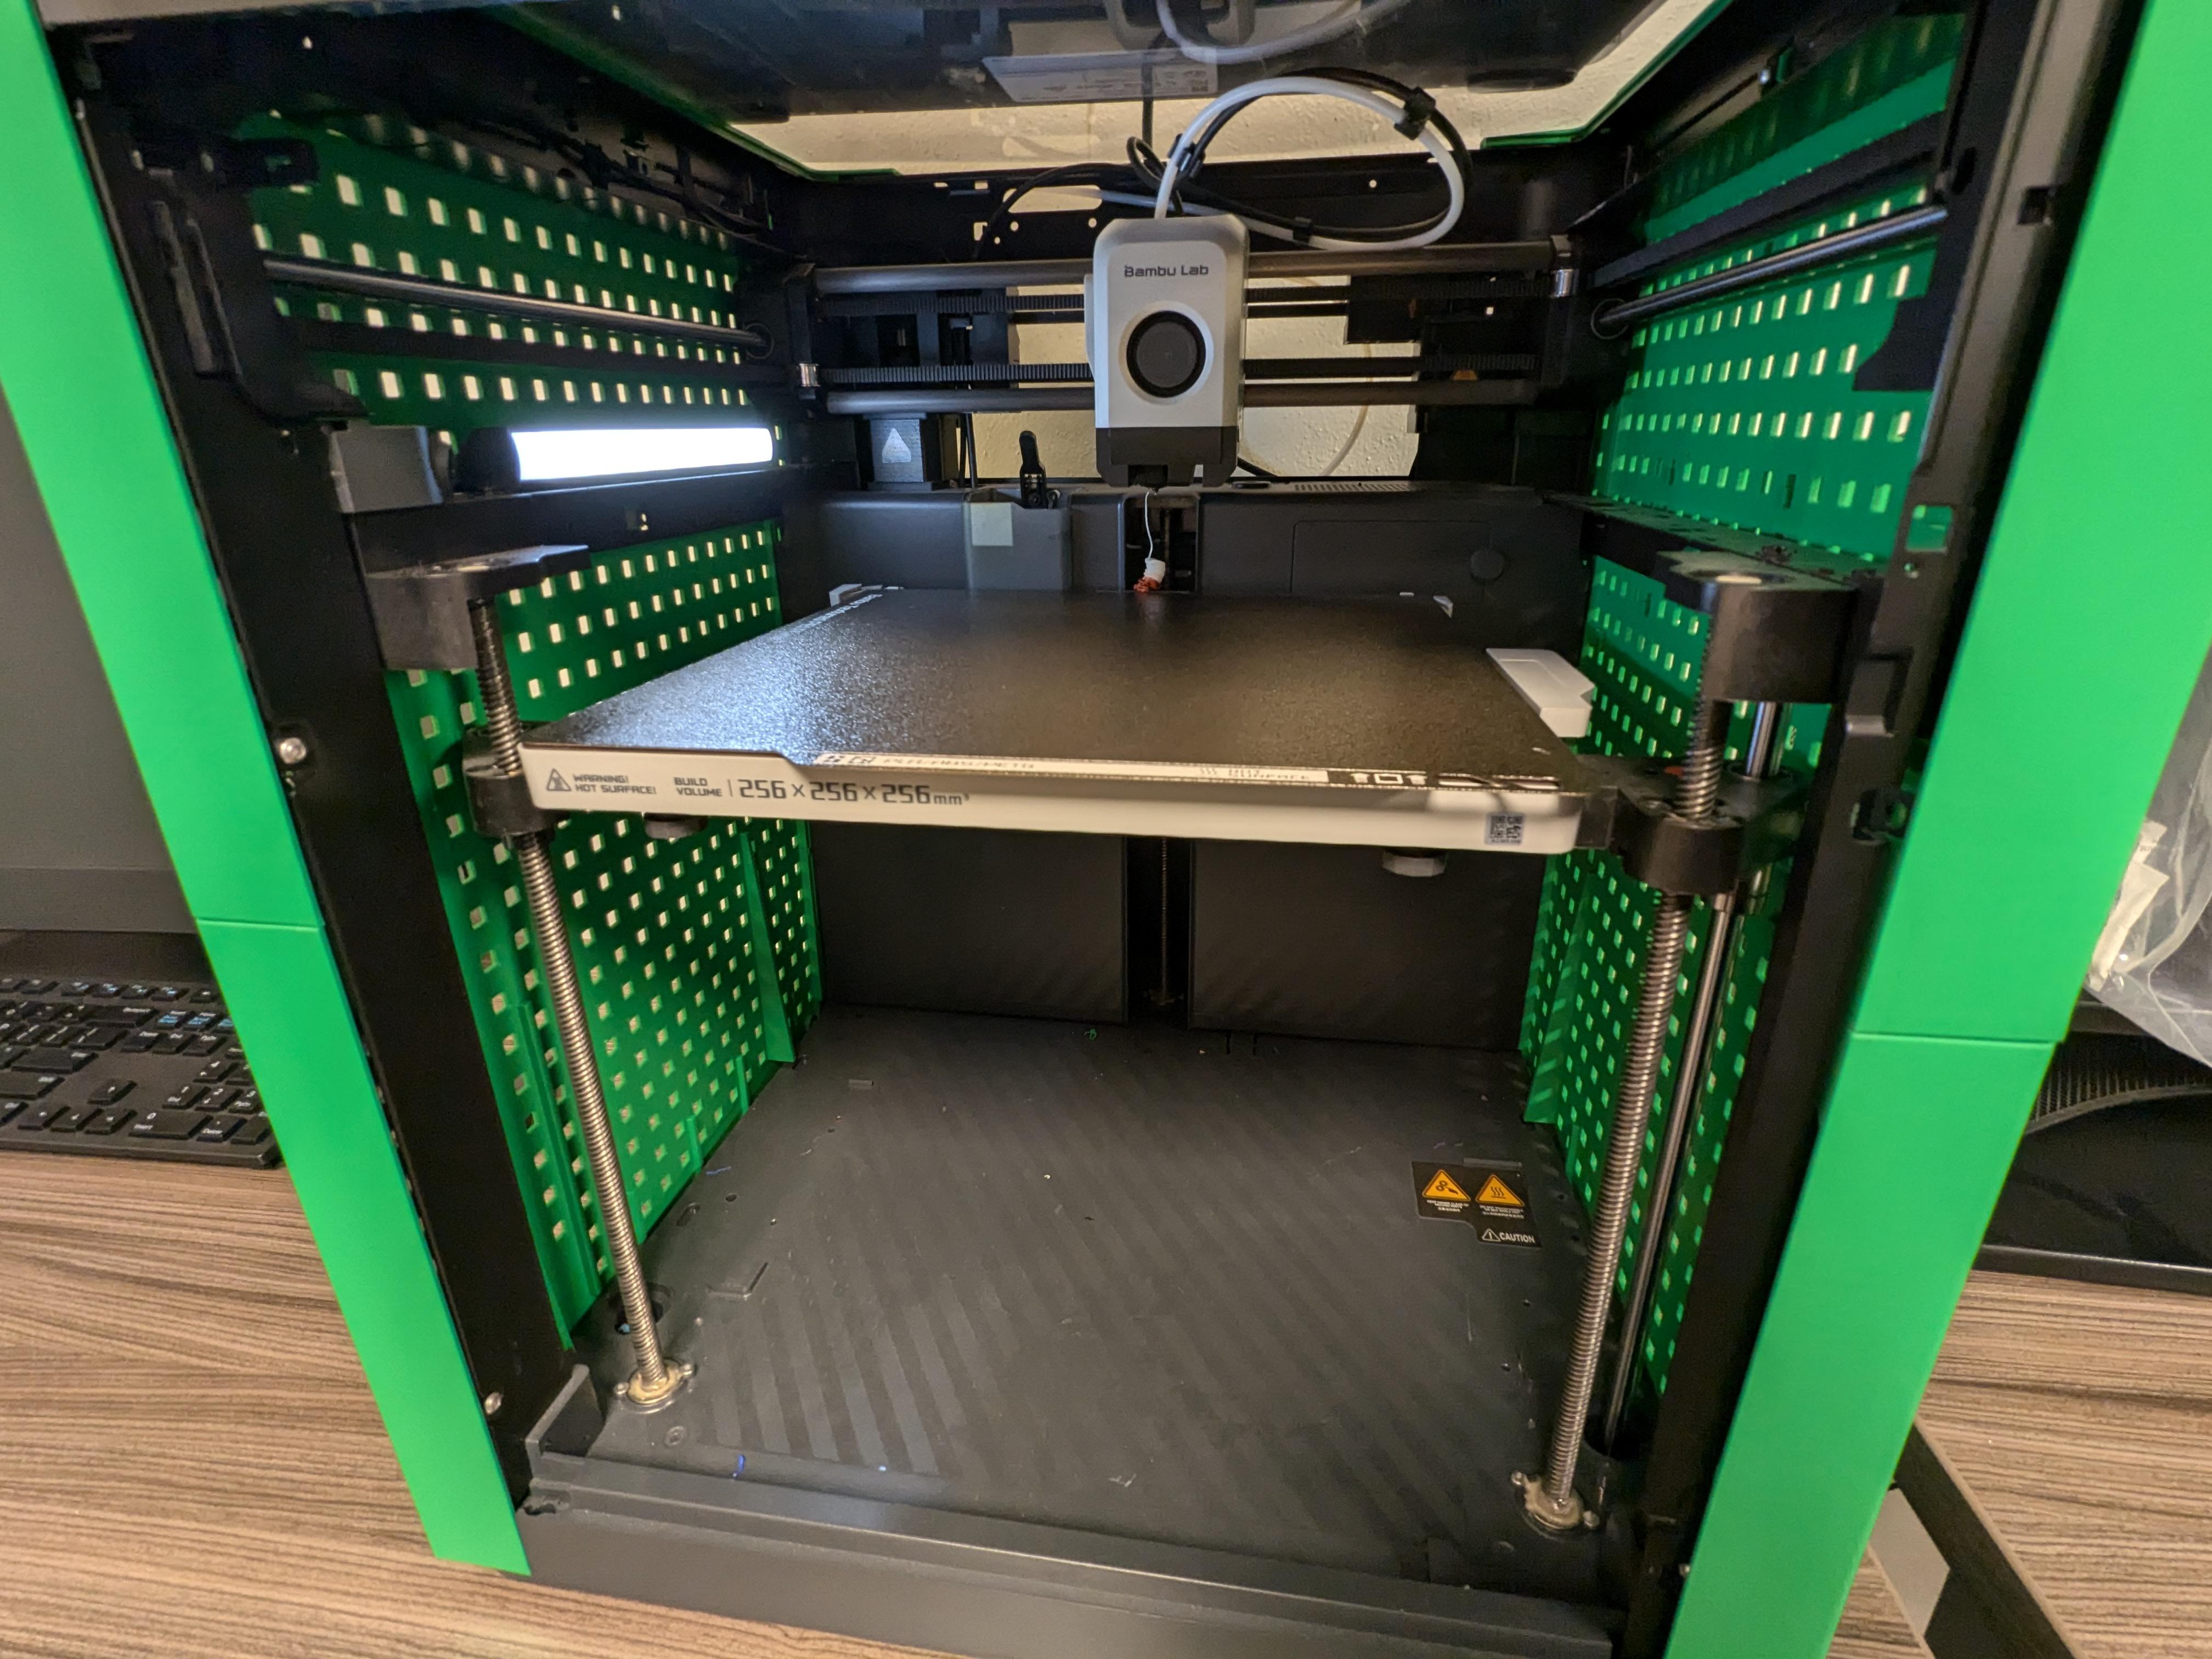

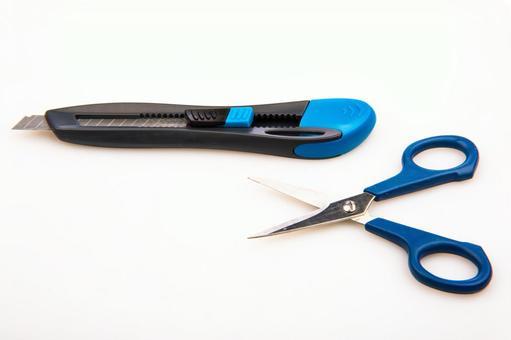
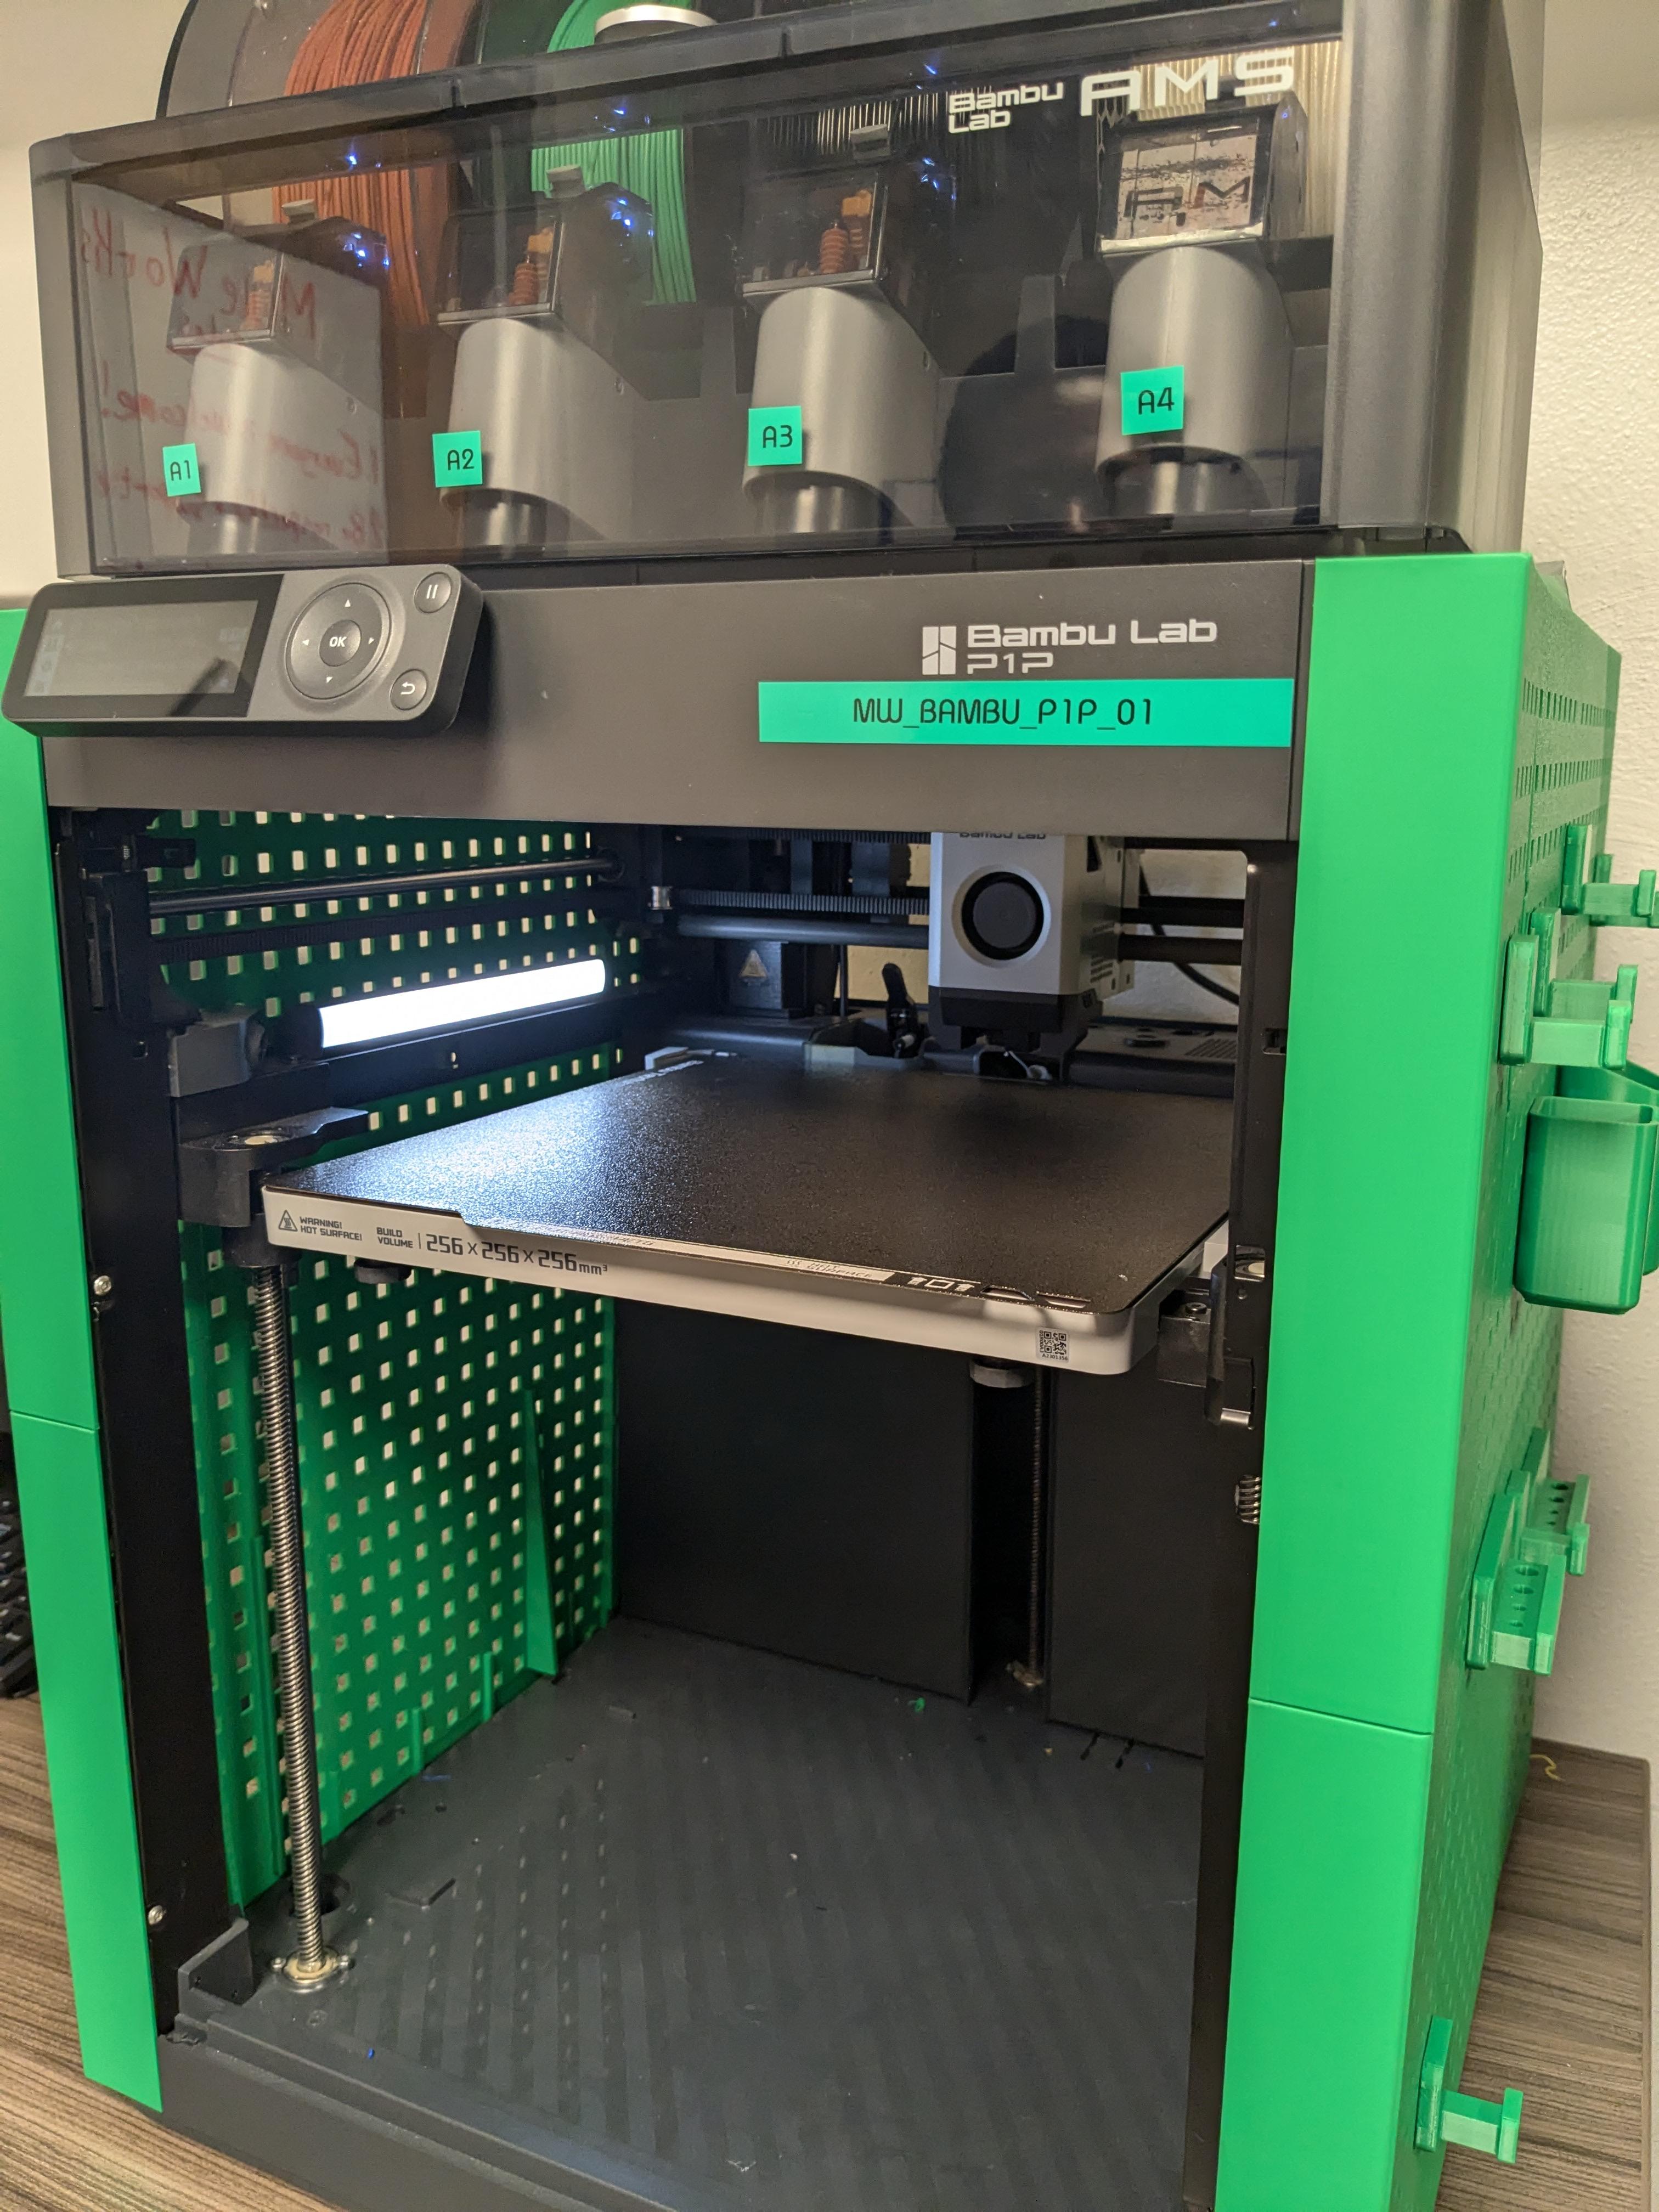
For the supplies you are required-
- 3D Printer
- PLA Filament
- Super Glue
- Cutter or Scissors
- Fusion 360 ( if you wanna make the changes to the file)
Getting Started With the Files
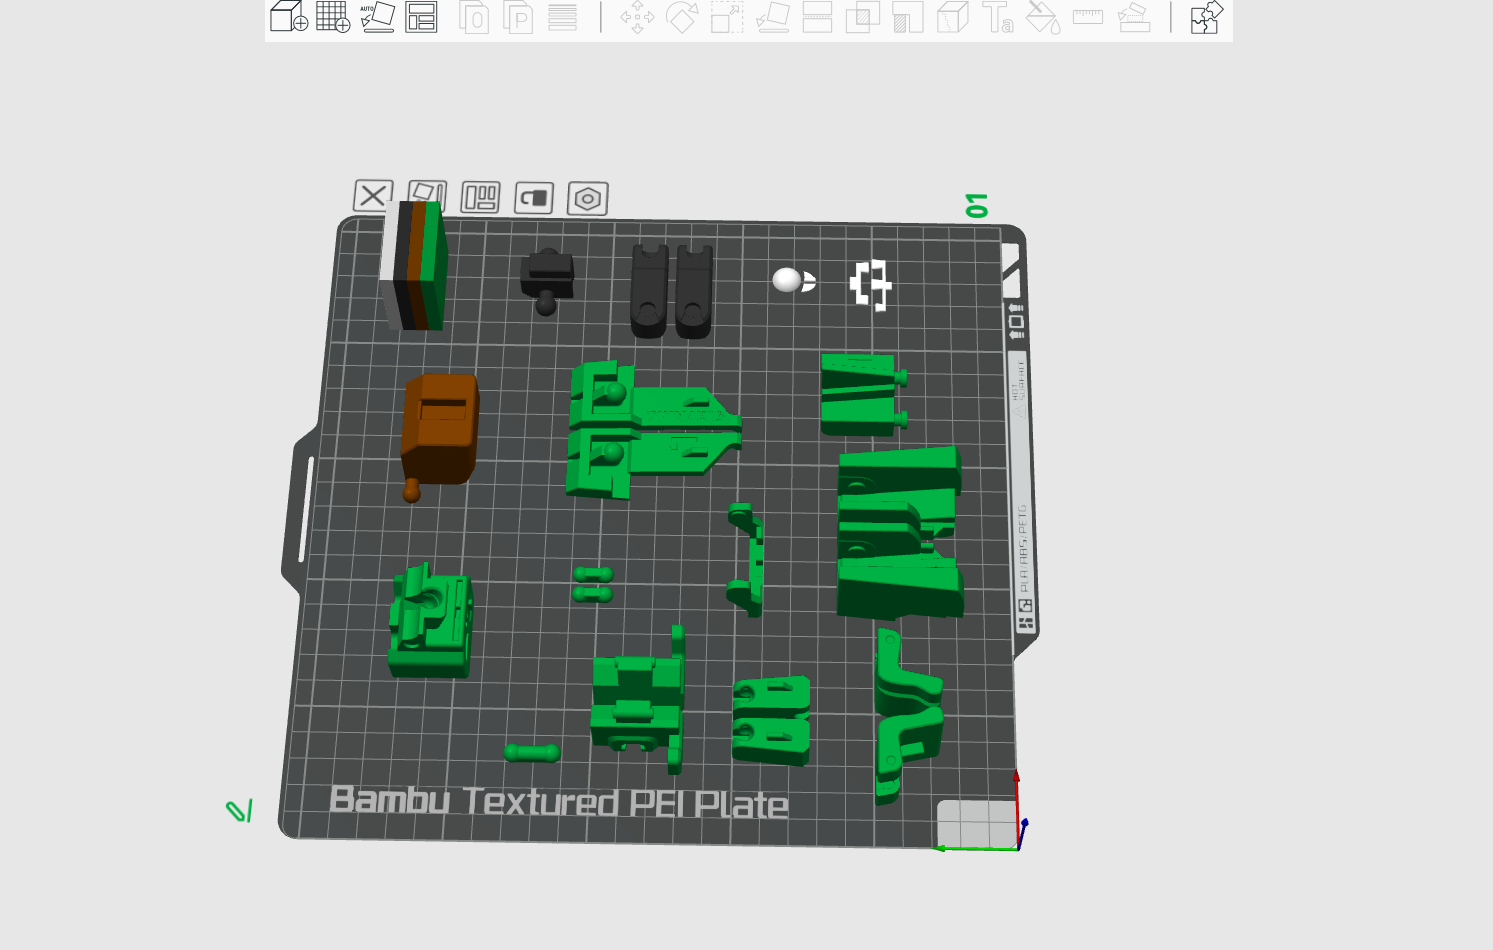
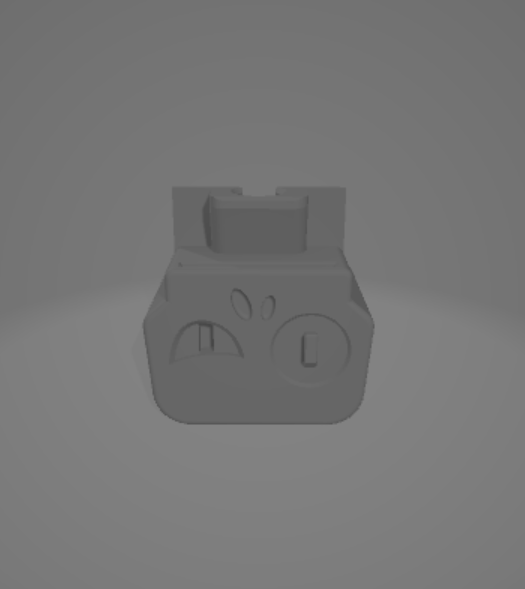
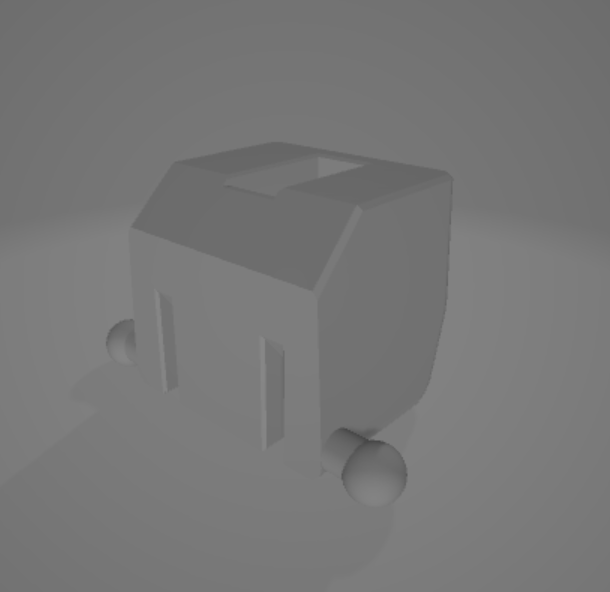
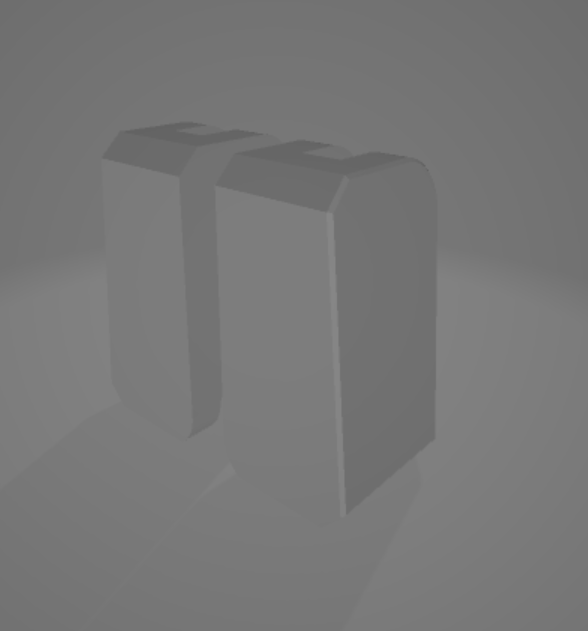
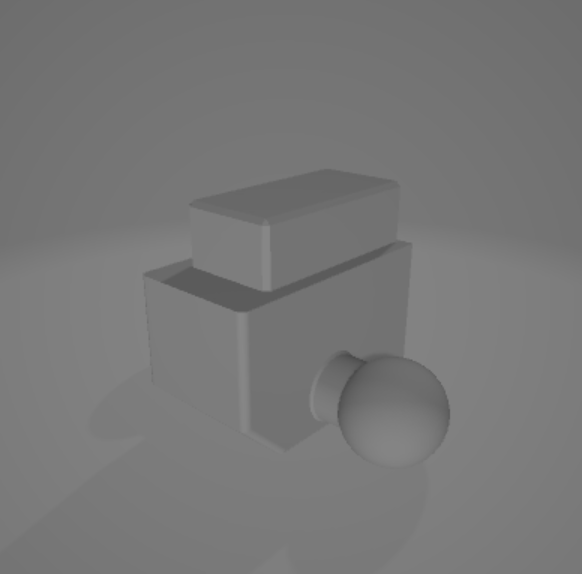
- Before getting started, take a moment to review the 3D files you have. Ensure they are organized and labeled clearly for easy identification.
- If you want to make any adjustments (like resizing or altering details), use a 3D modeling software like Fusion 360 or Blender to make modifications.
- Think about how you want the Zombieman and coffin to look. You can add features like facial details or textures to enhance the overall appearance.
- Open your slicing software (like Cura or PrusaSlicer). Import the modified files and adjust settings based on your printer type, including layer height, infill density, and support options.
- Use the slicing software's preview function to check the printing path and layers. This can help identify any potential issues before you start printing.
- Once satisfied with the settings, slice the models to generate the G-code file that your printer will use, and save it to an SD card or send it directly to your printer if connected.
Download and Prepare 3D Files
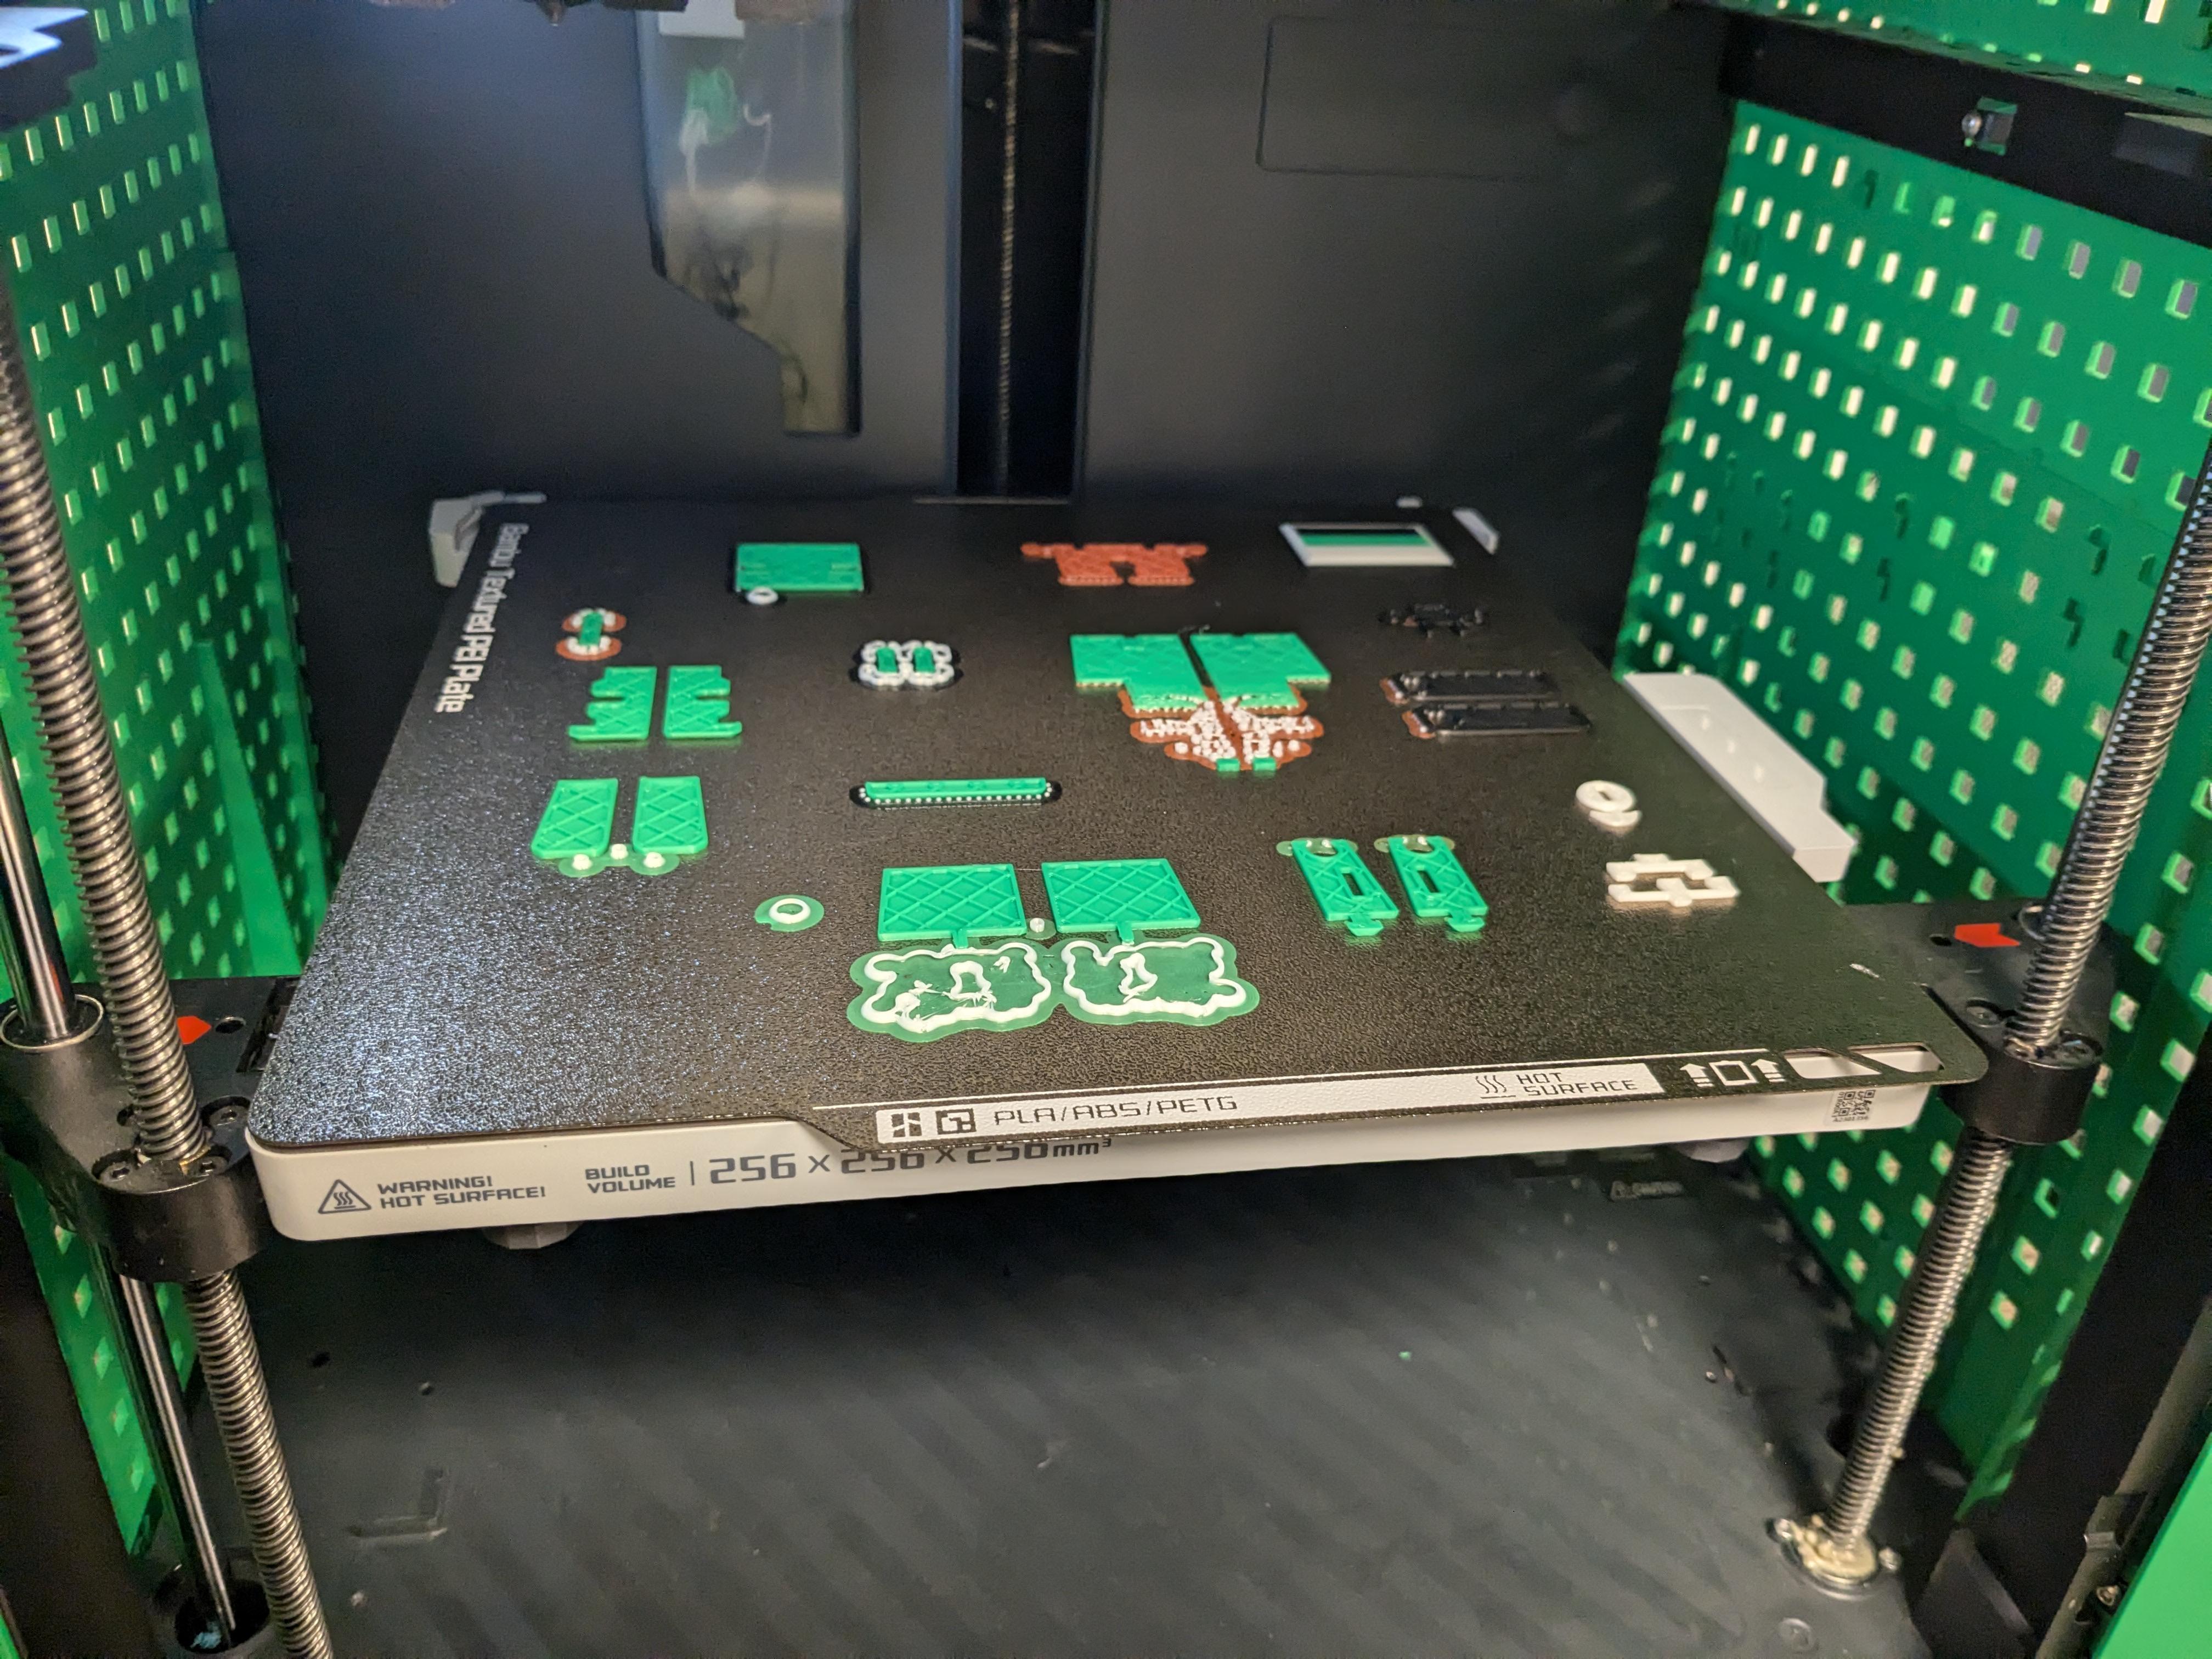
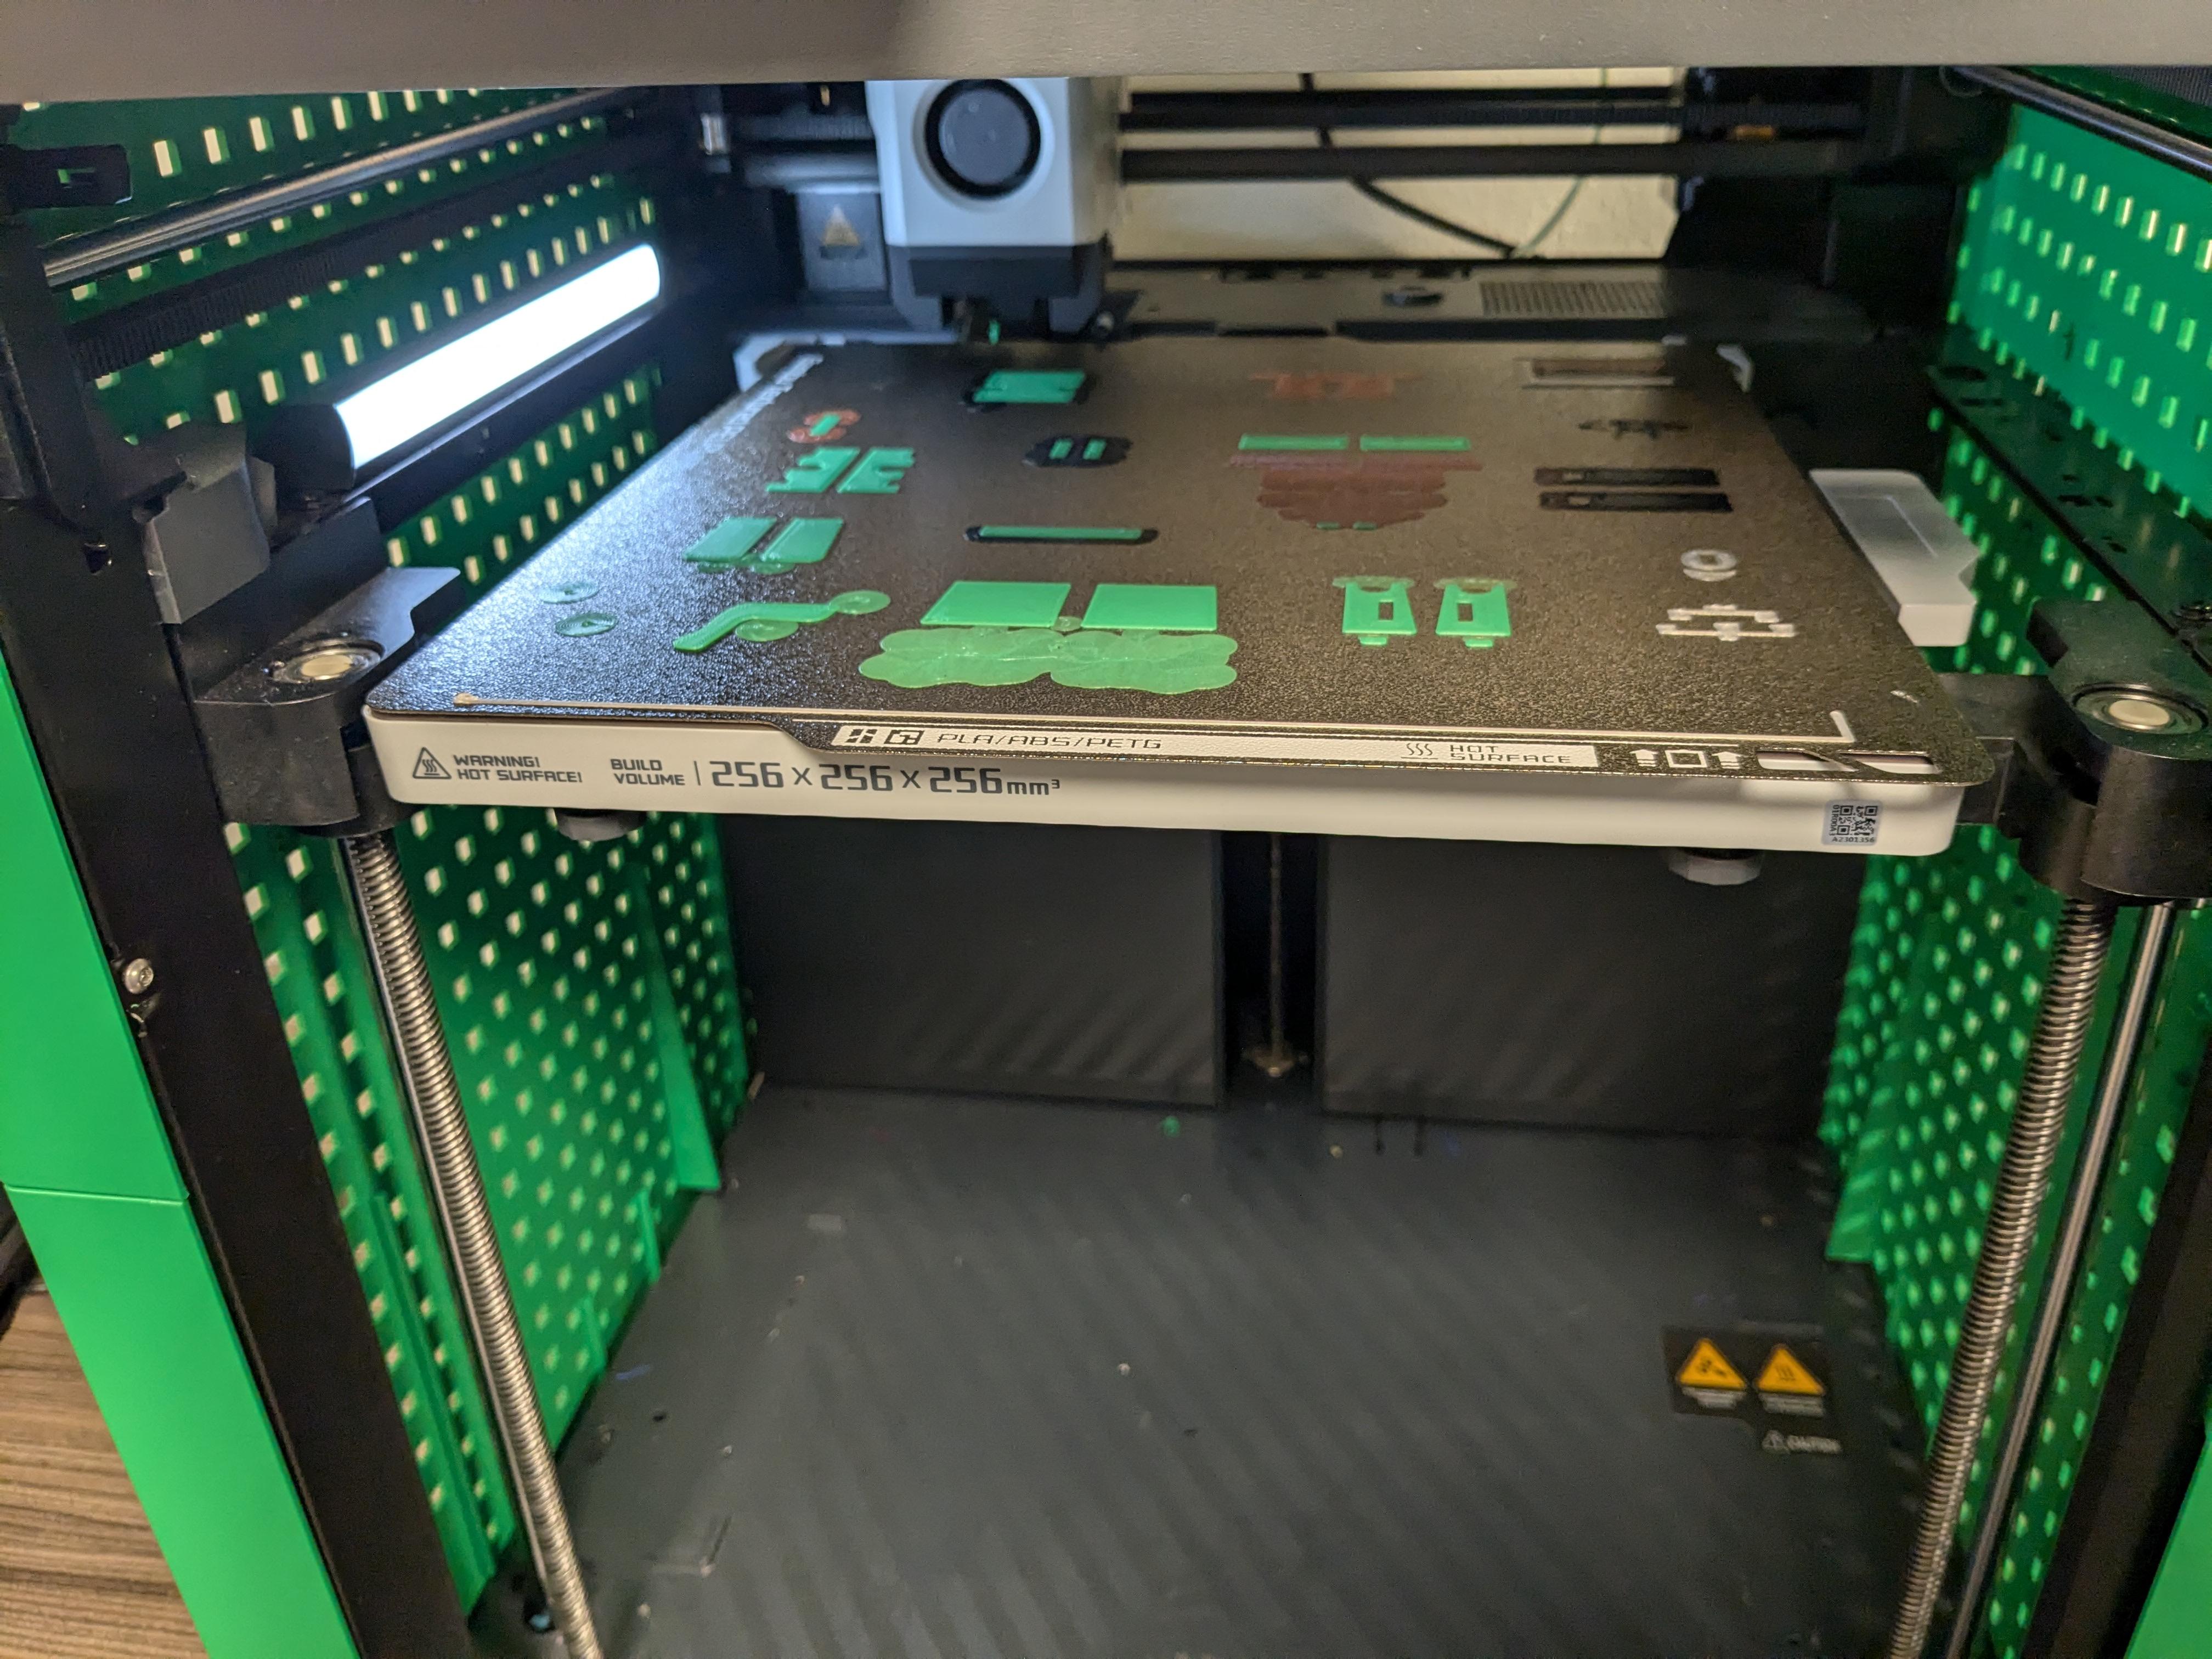
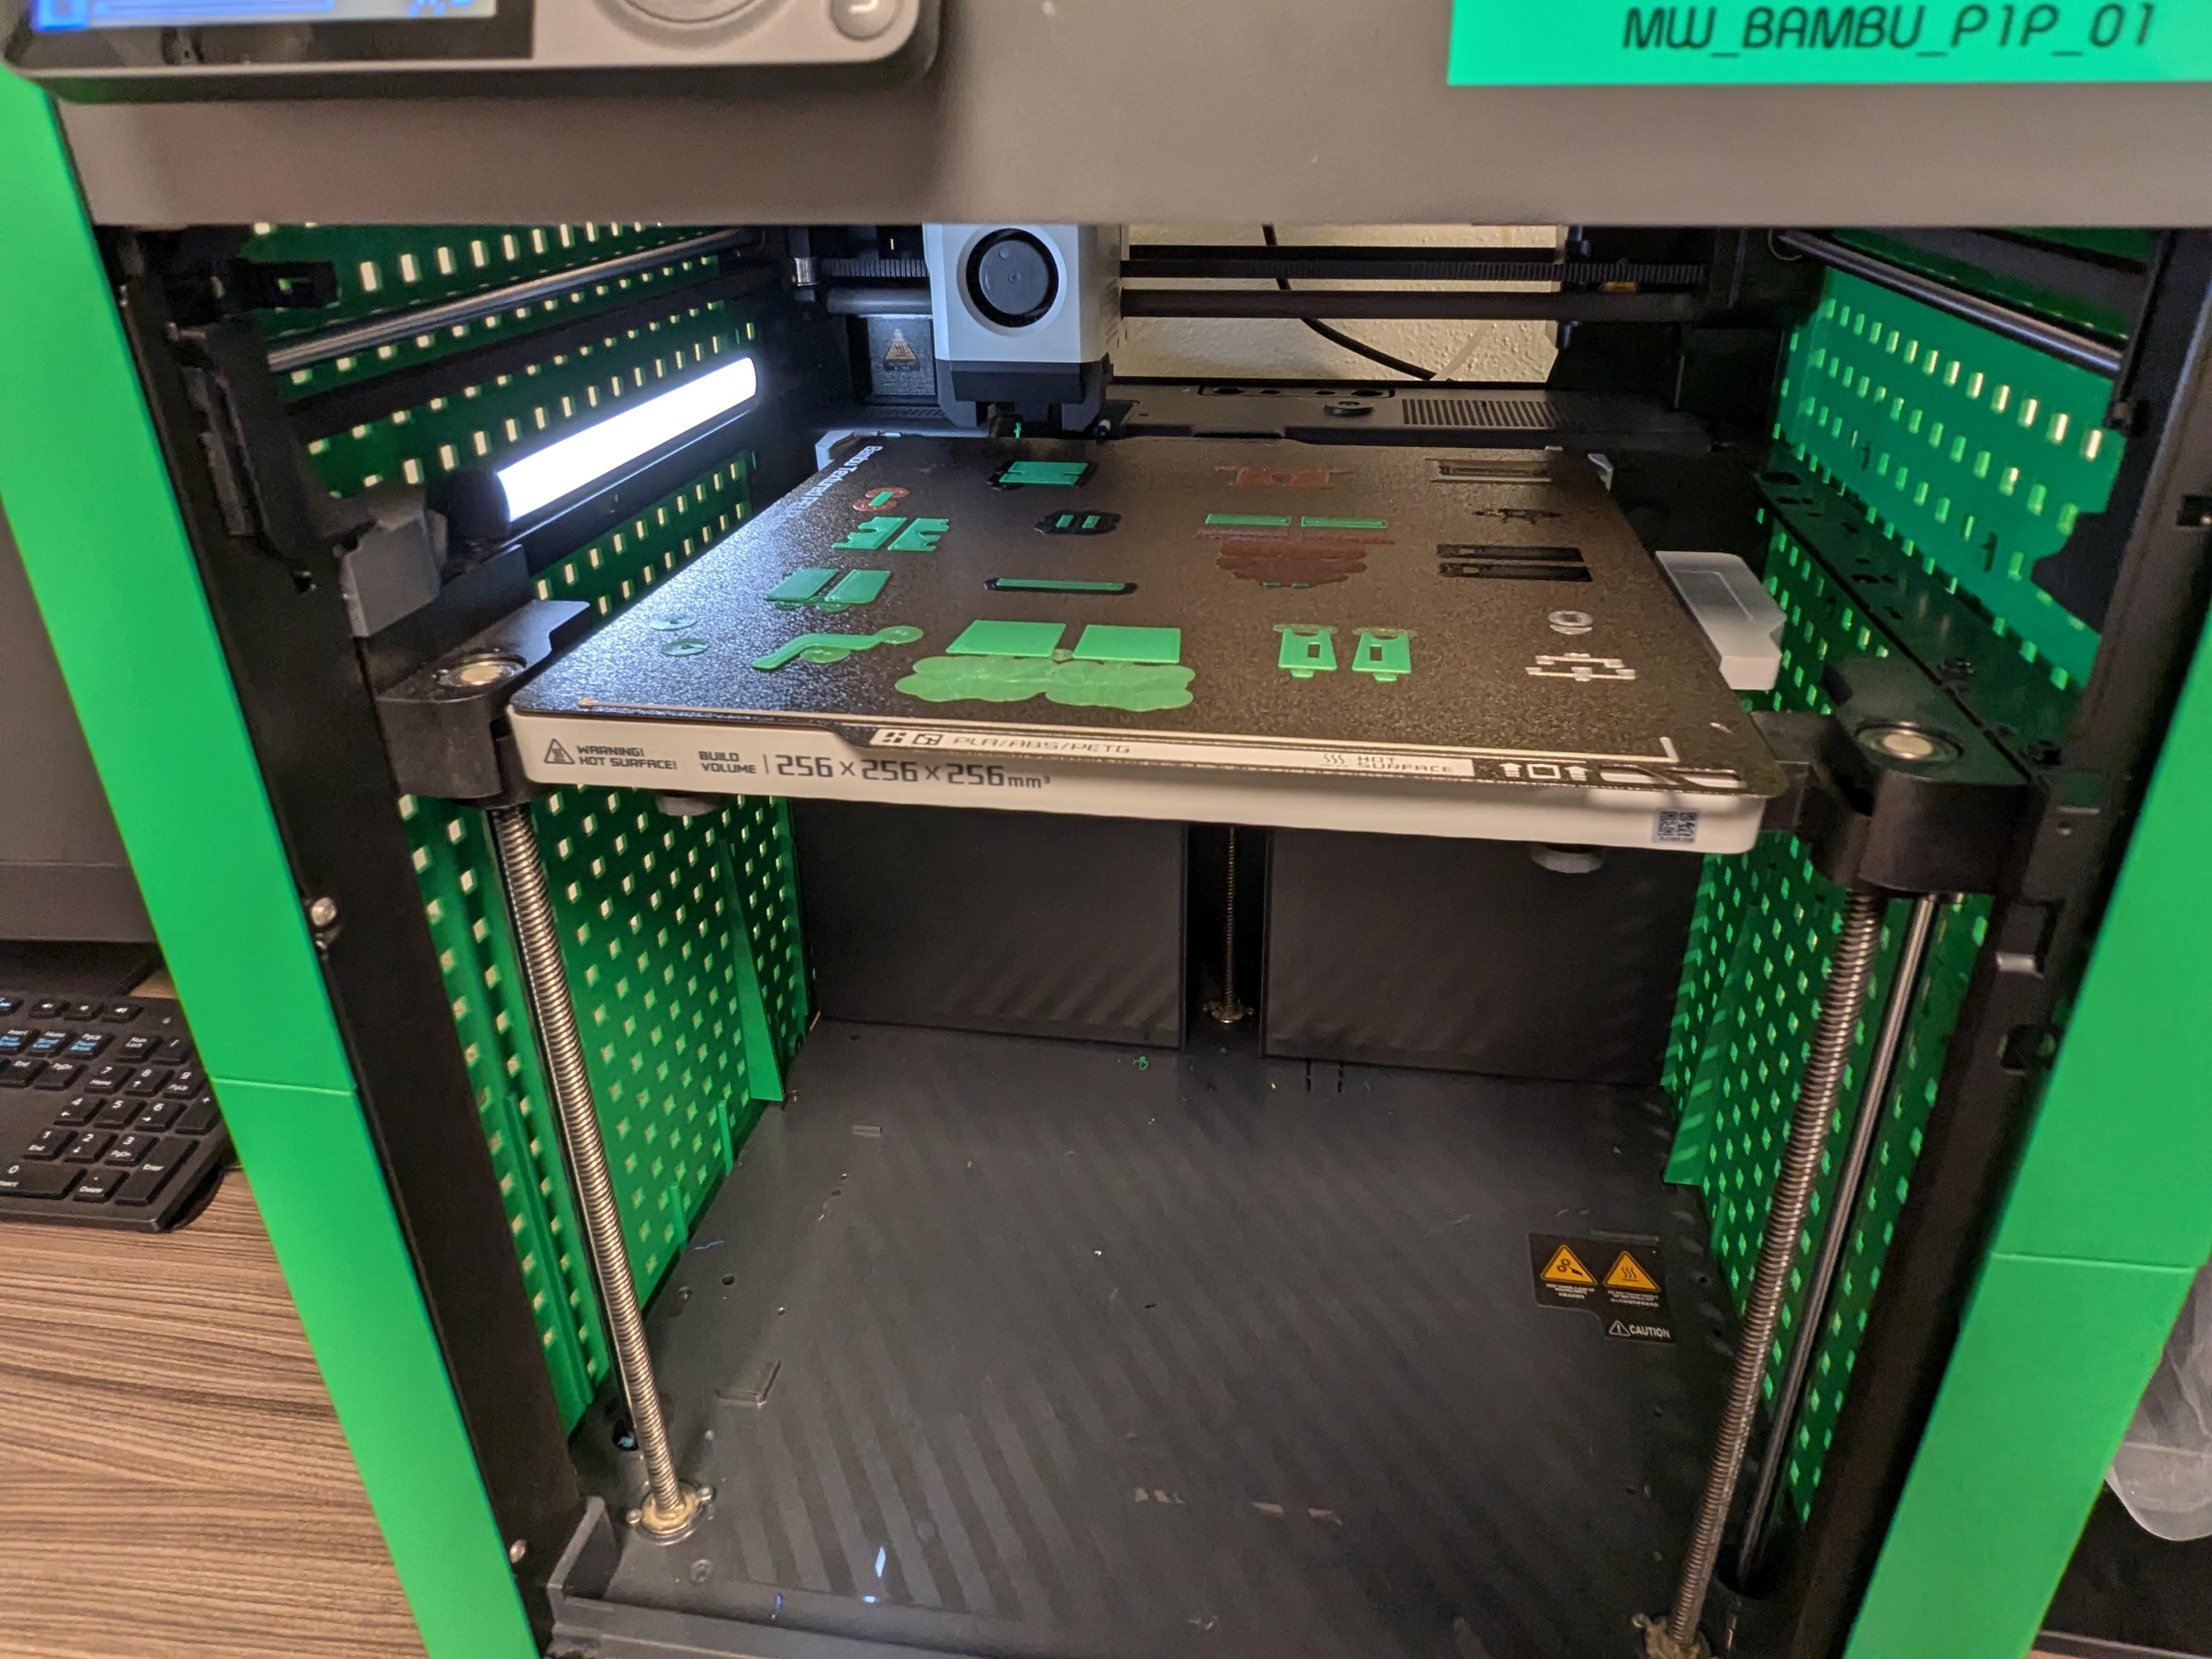
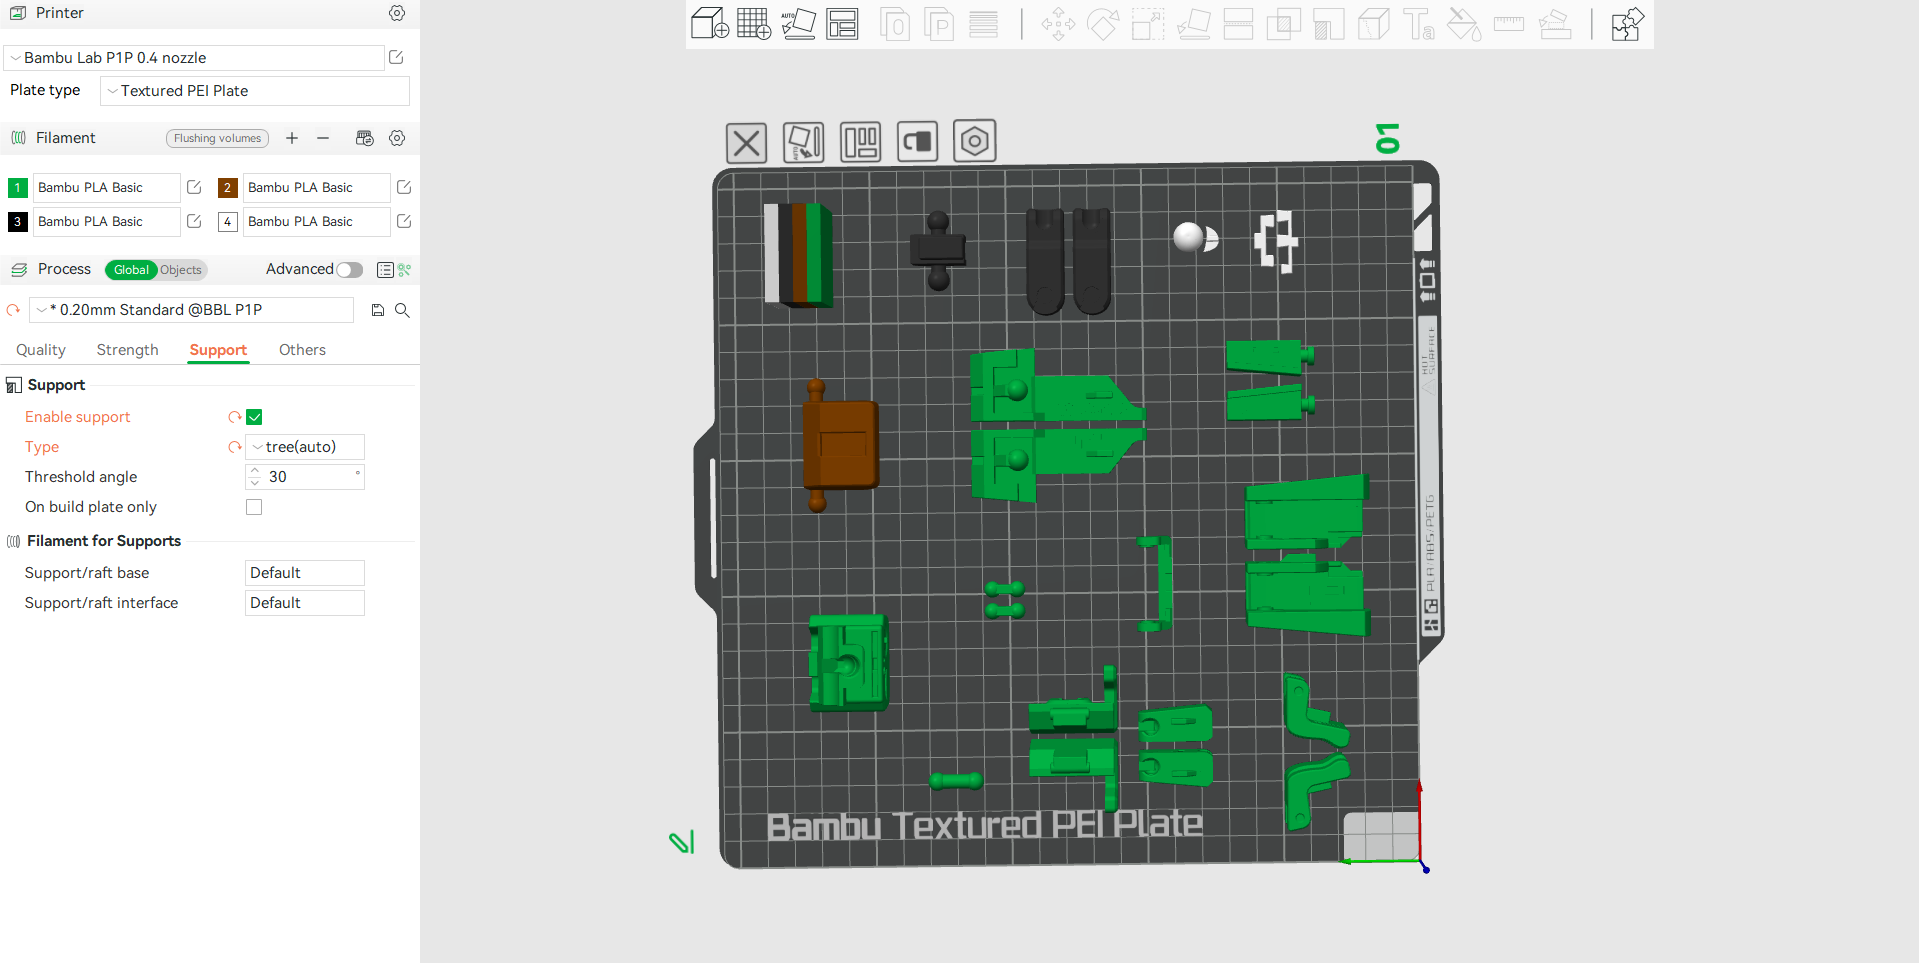
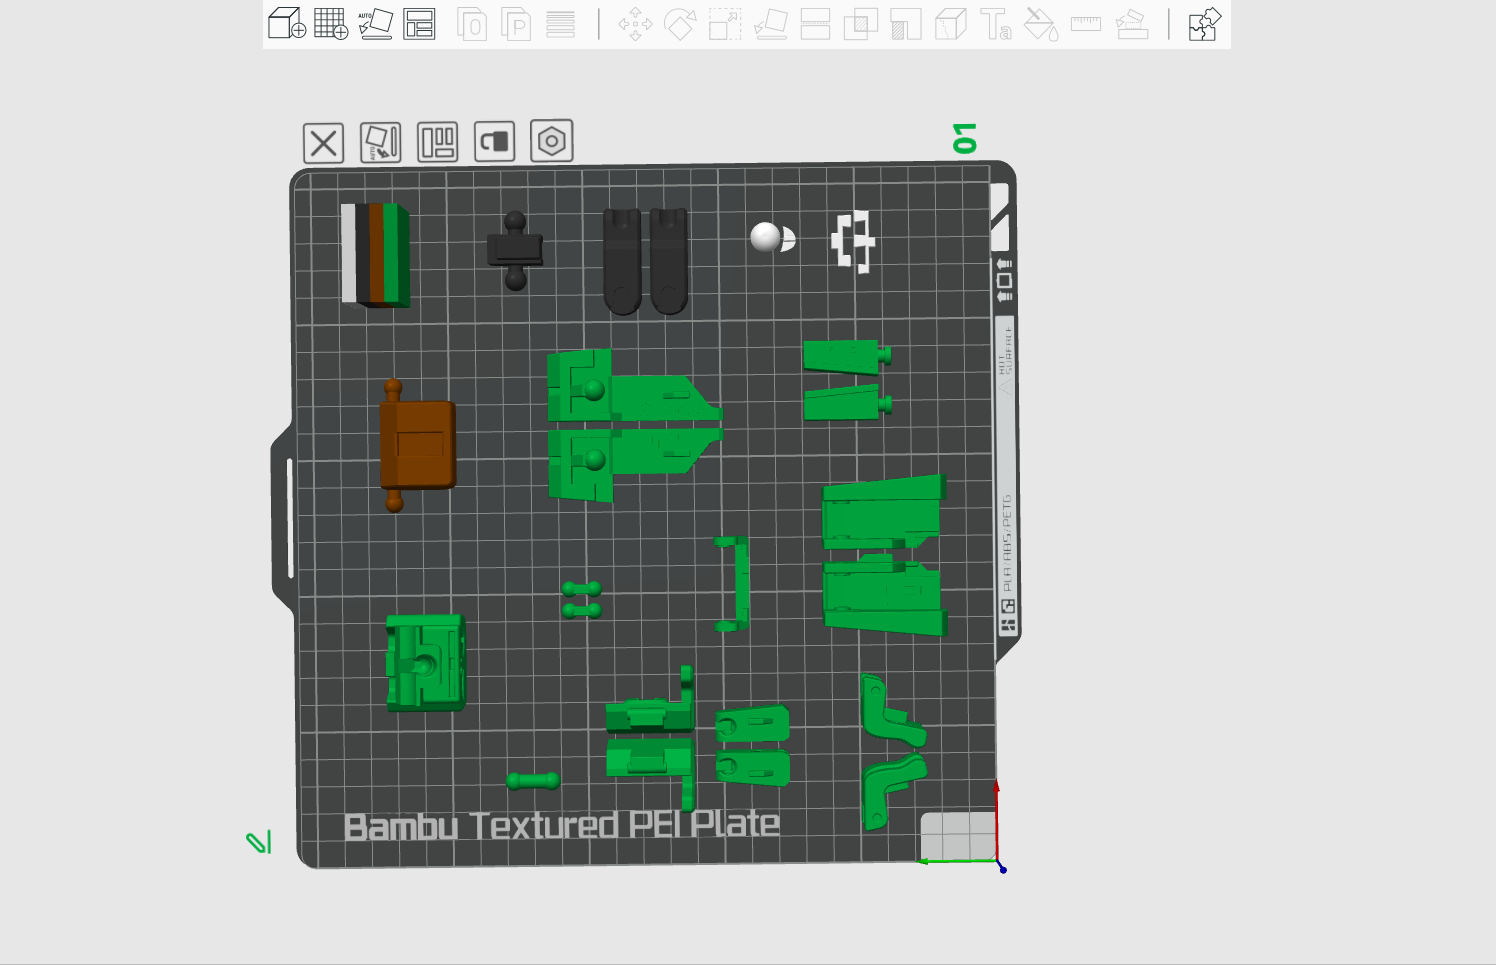
- Retrieve the modified 3D files you created for the Zombieman and coffin.
- Ensure the files are in a format compatible with your 3D printer (like STL or OBJ).
- Adjust the scale in your slicing software to fit your display preferences if necessary.
- Use the slicer to preview how the parts will be printed, checking for any potential issues.
- Generate G-code from the 3D files for your specific printer settings.
3D Print the Components
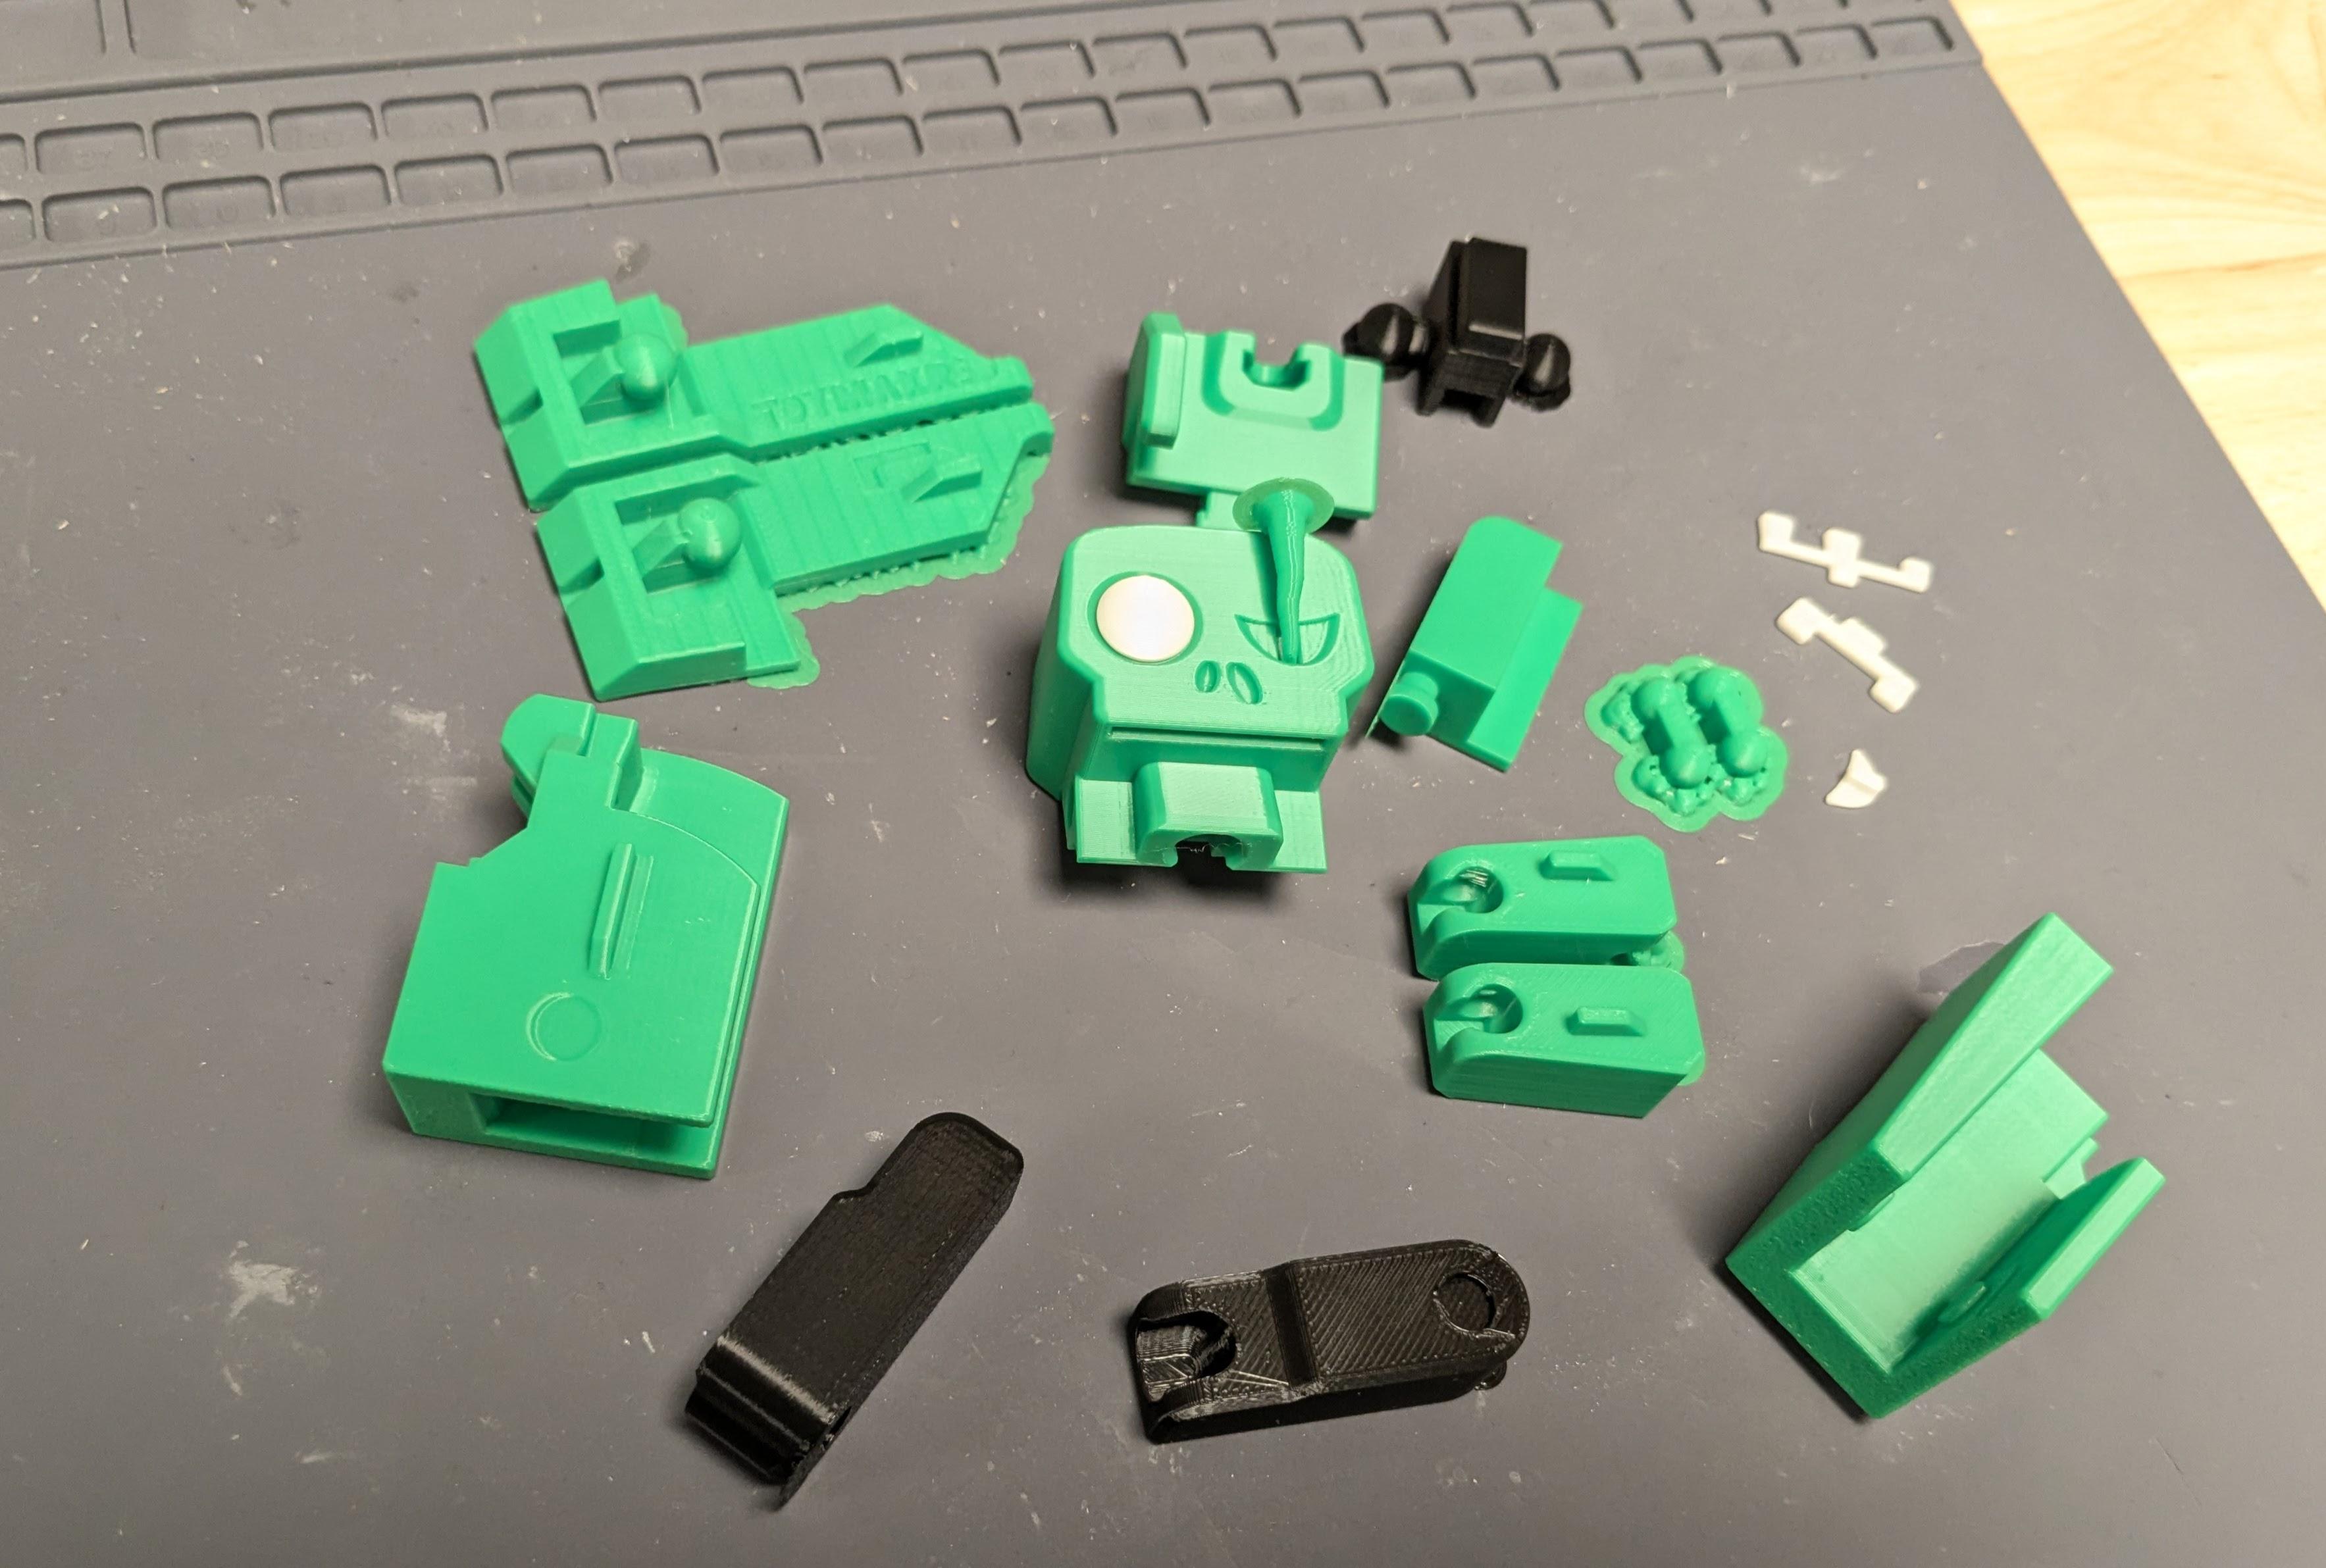
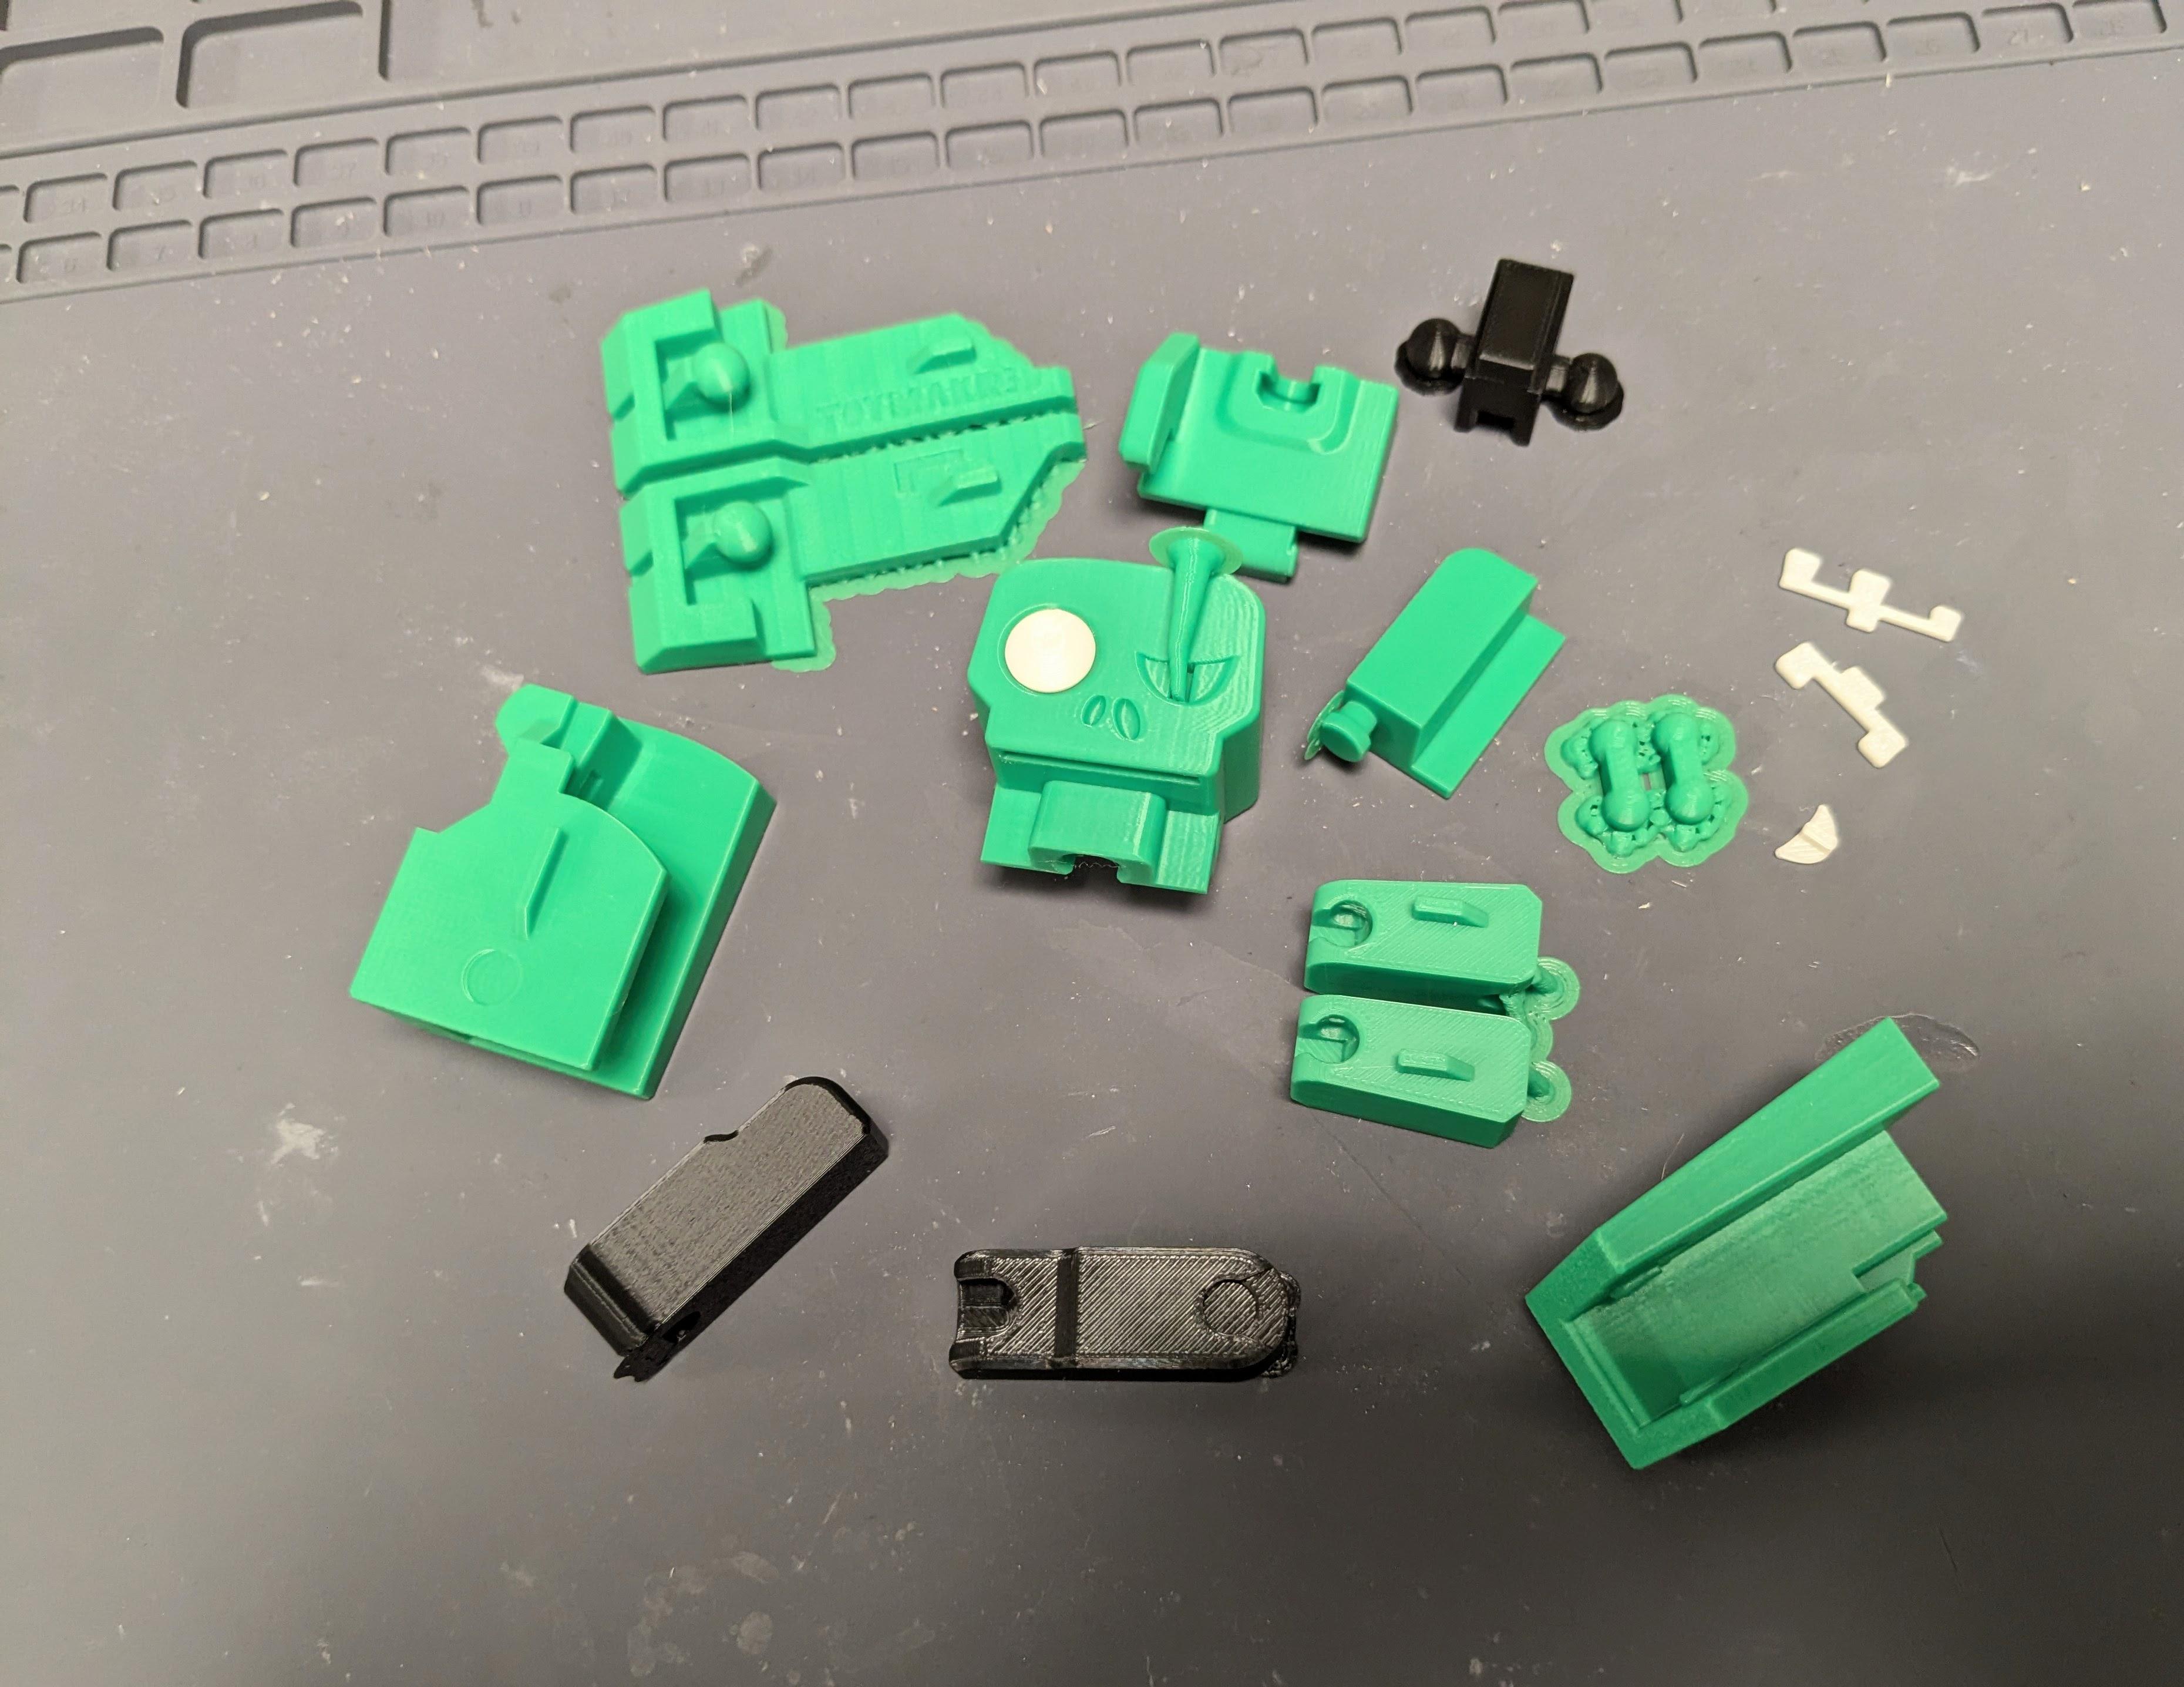
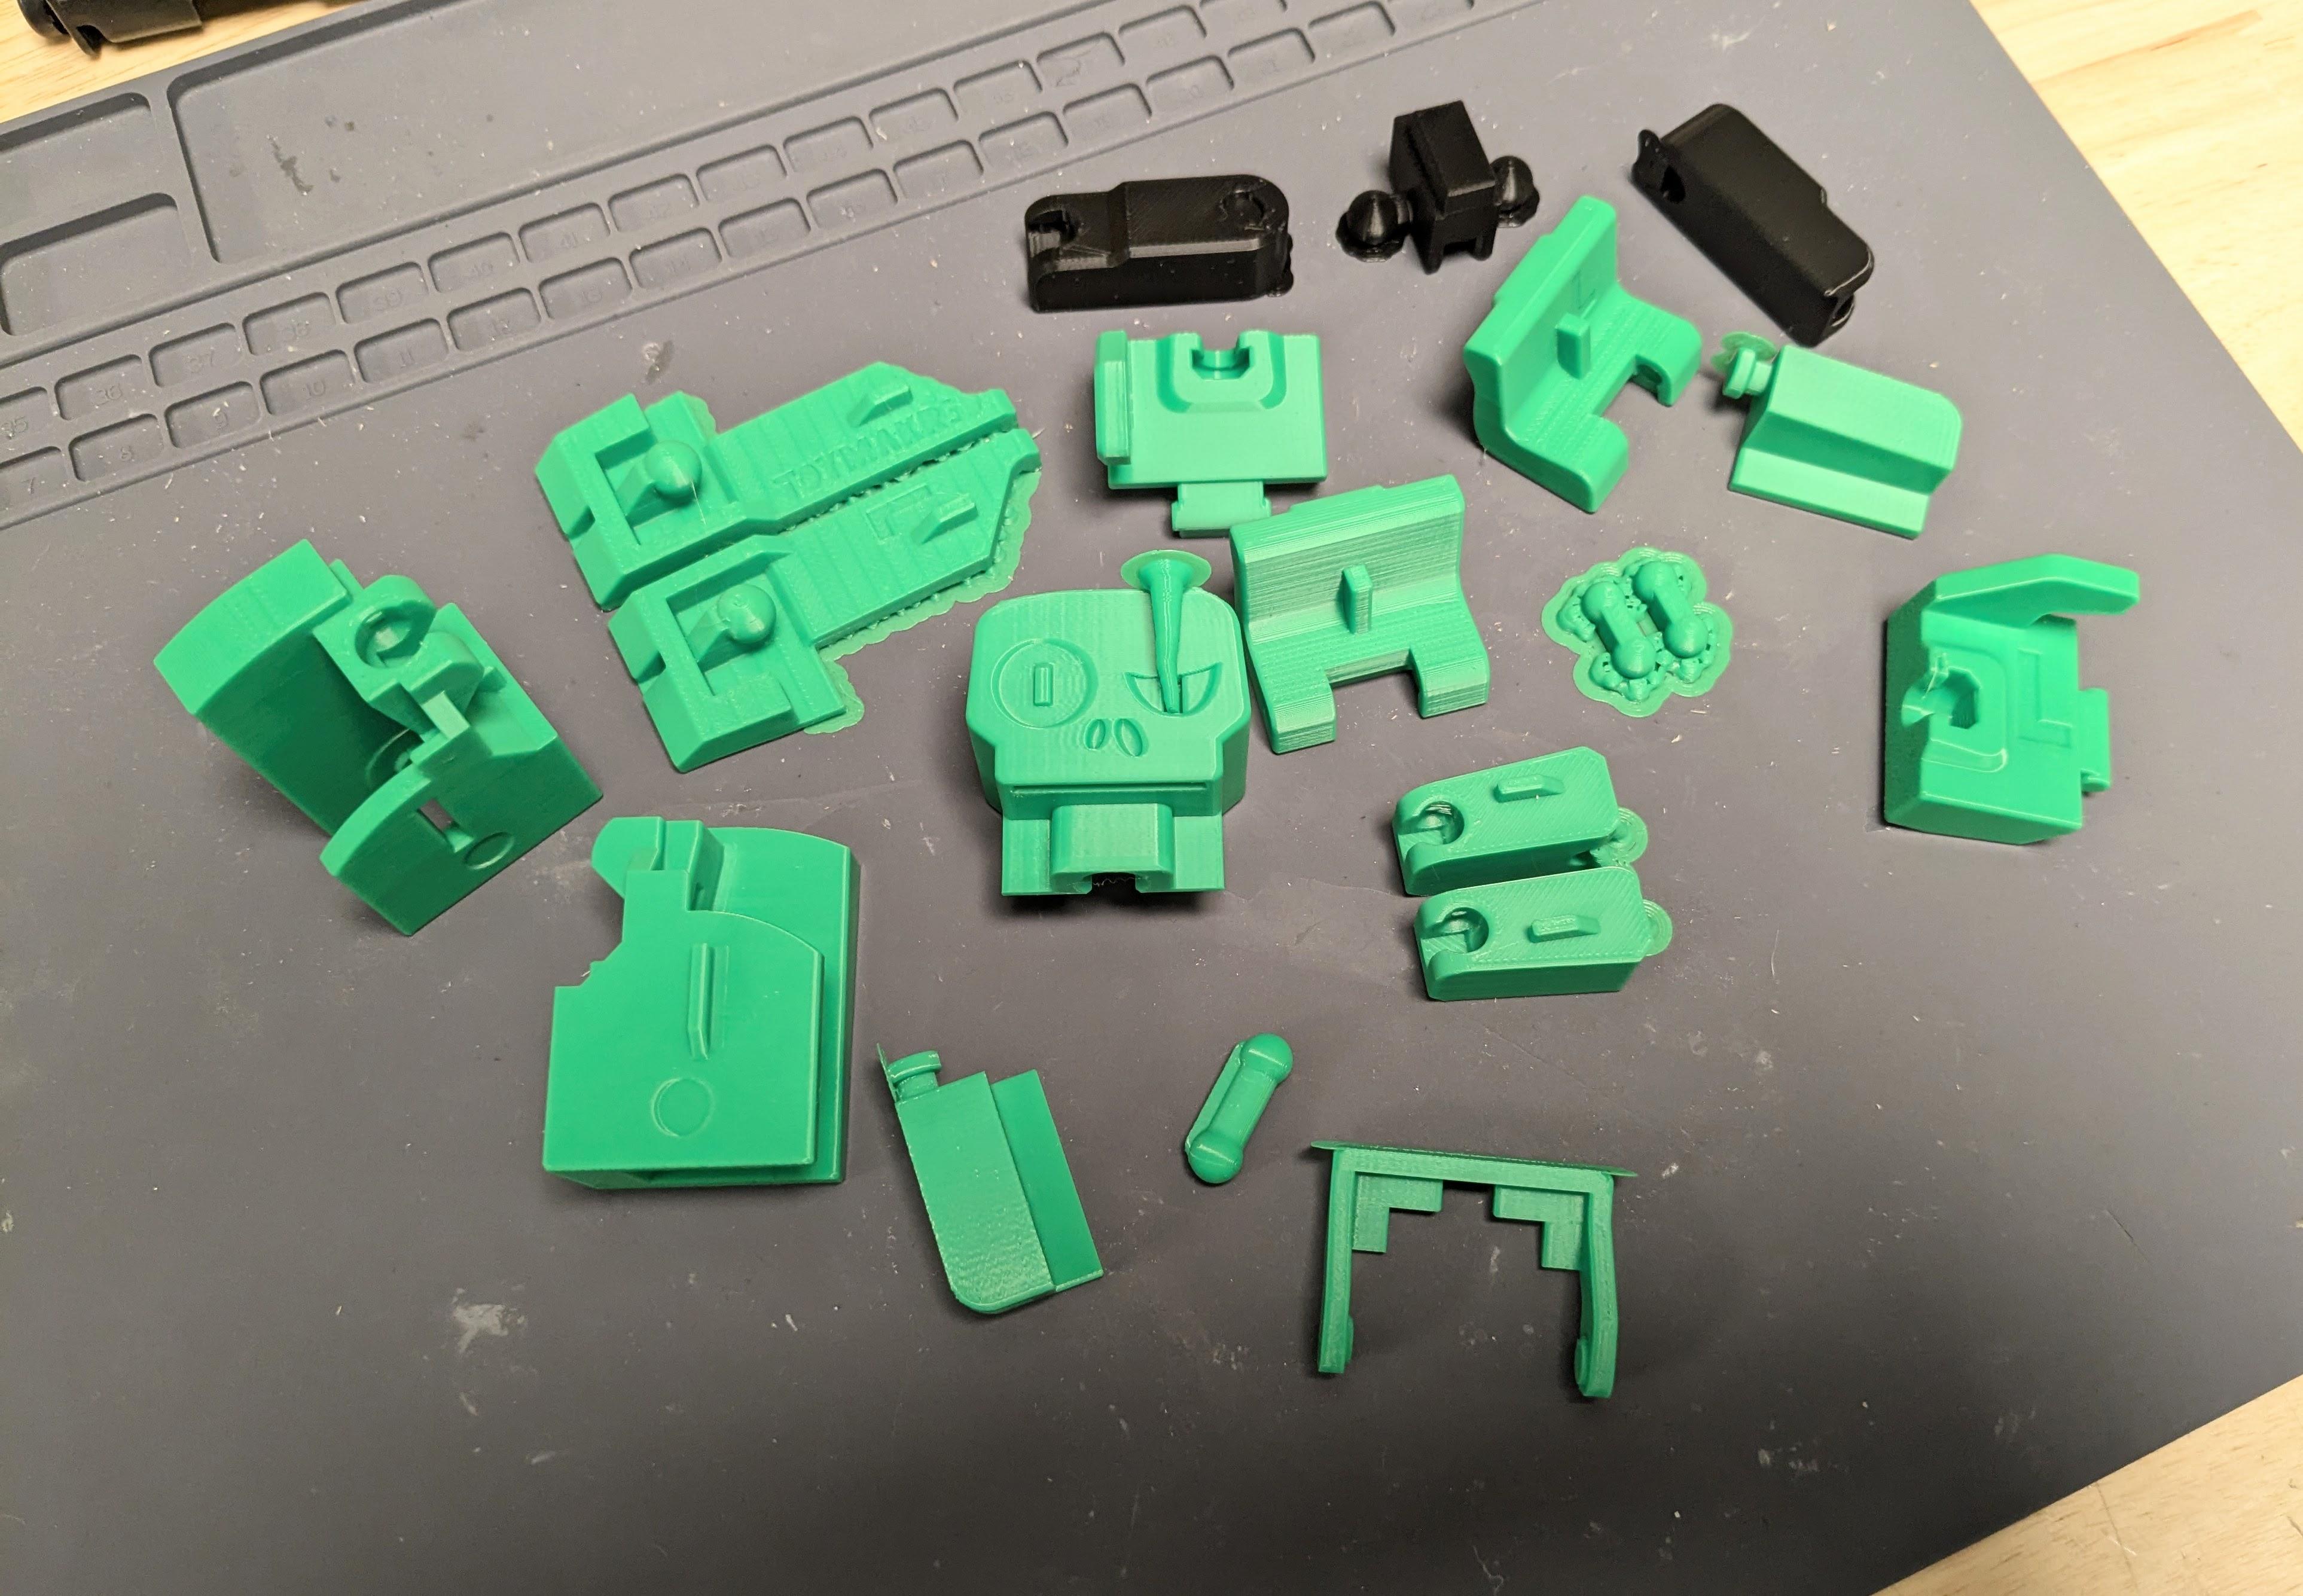
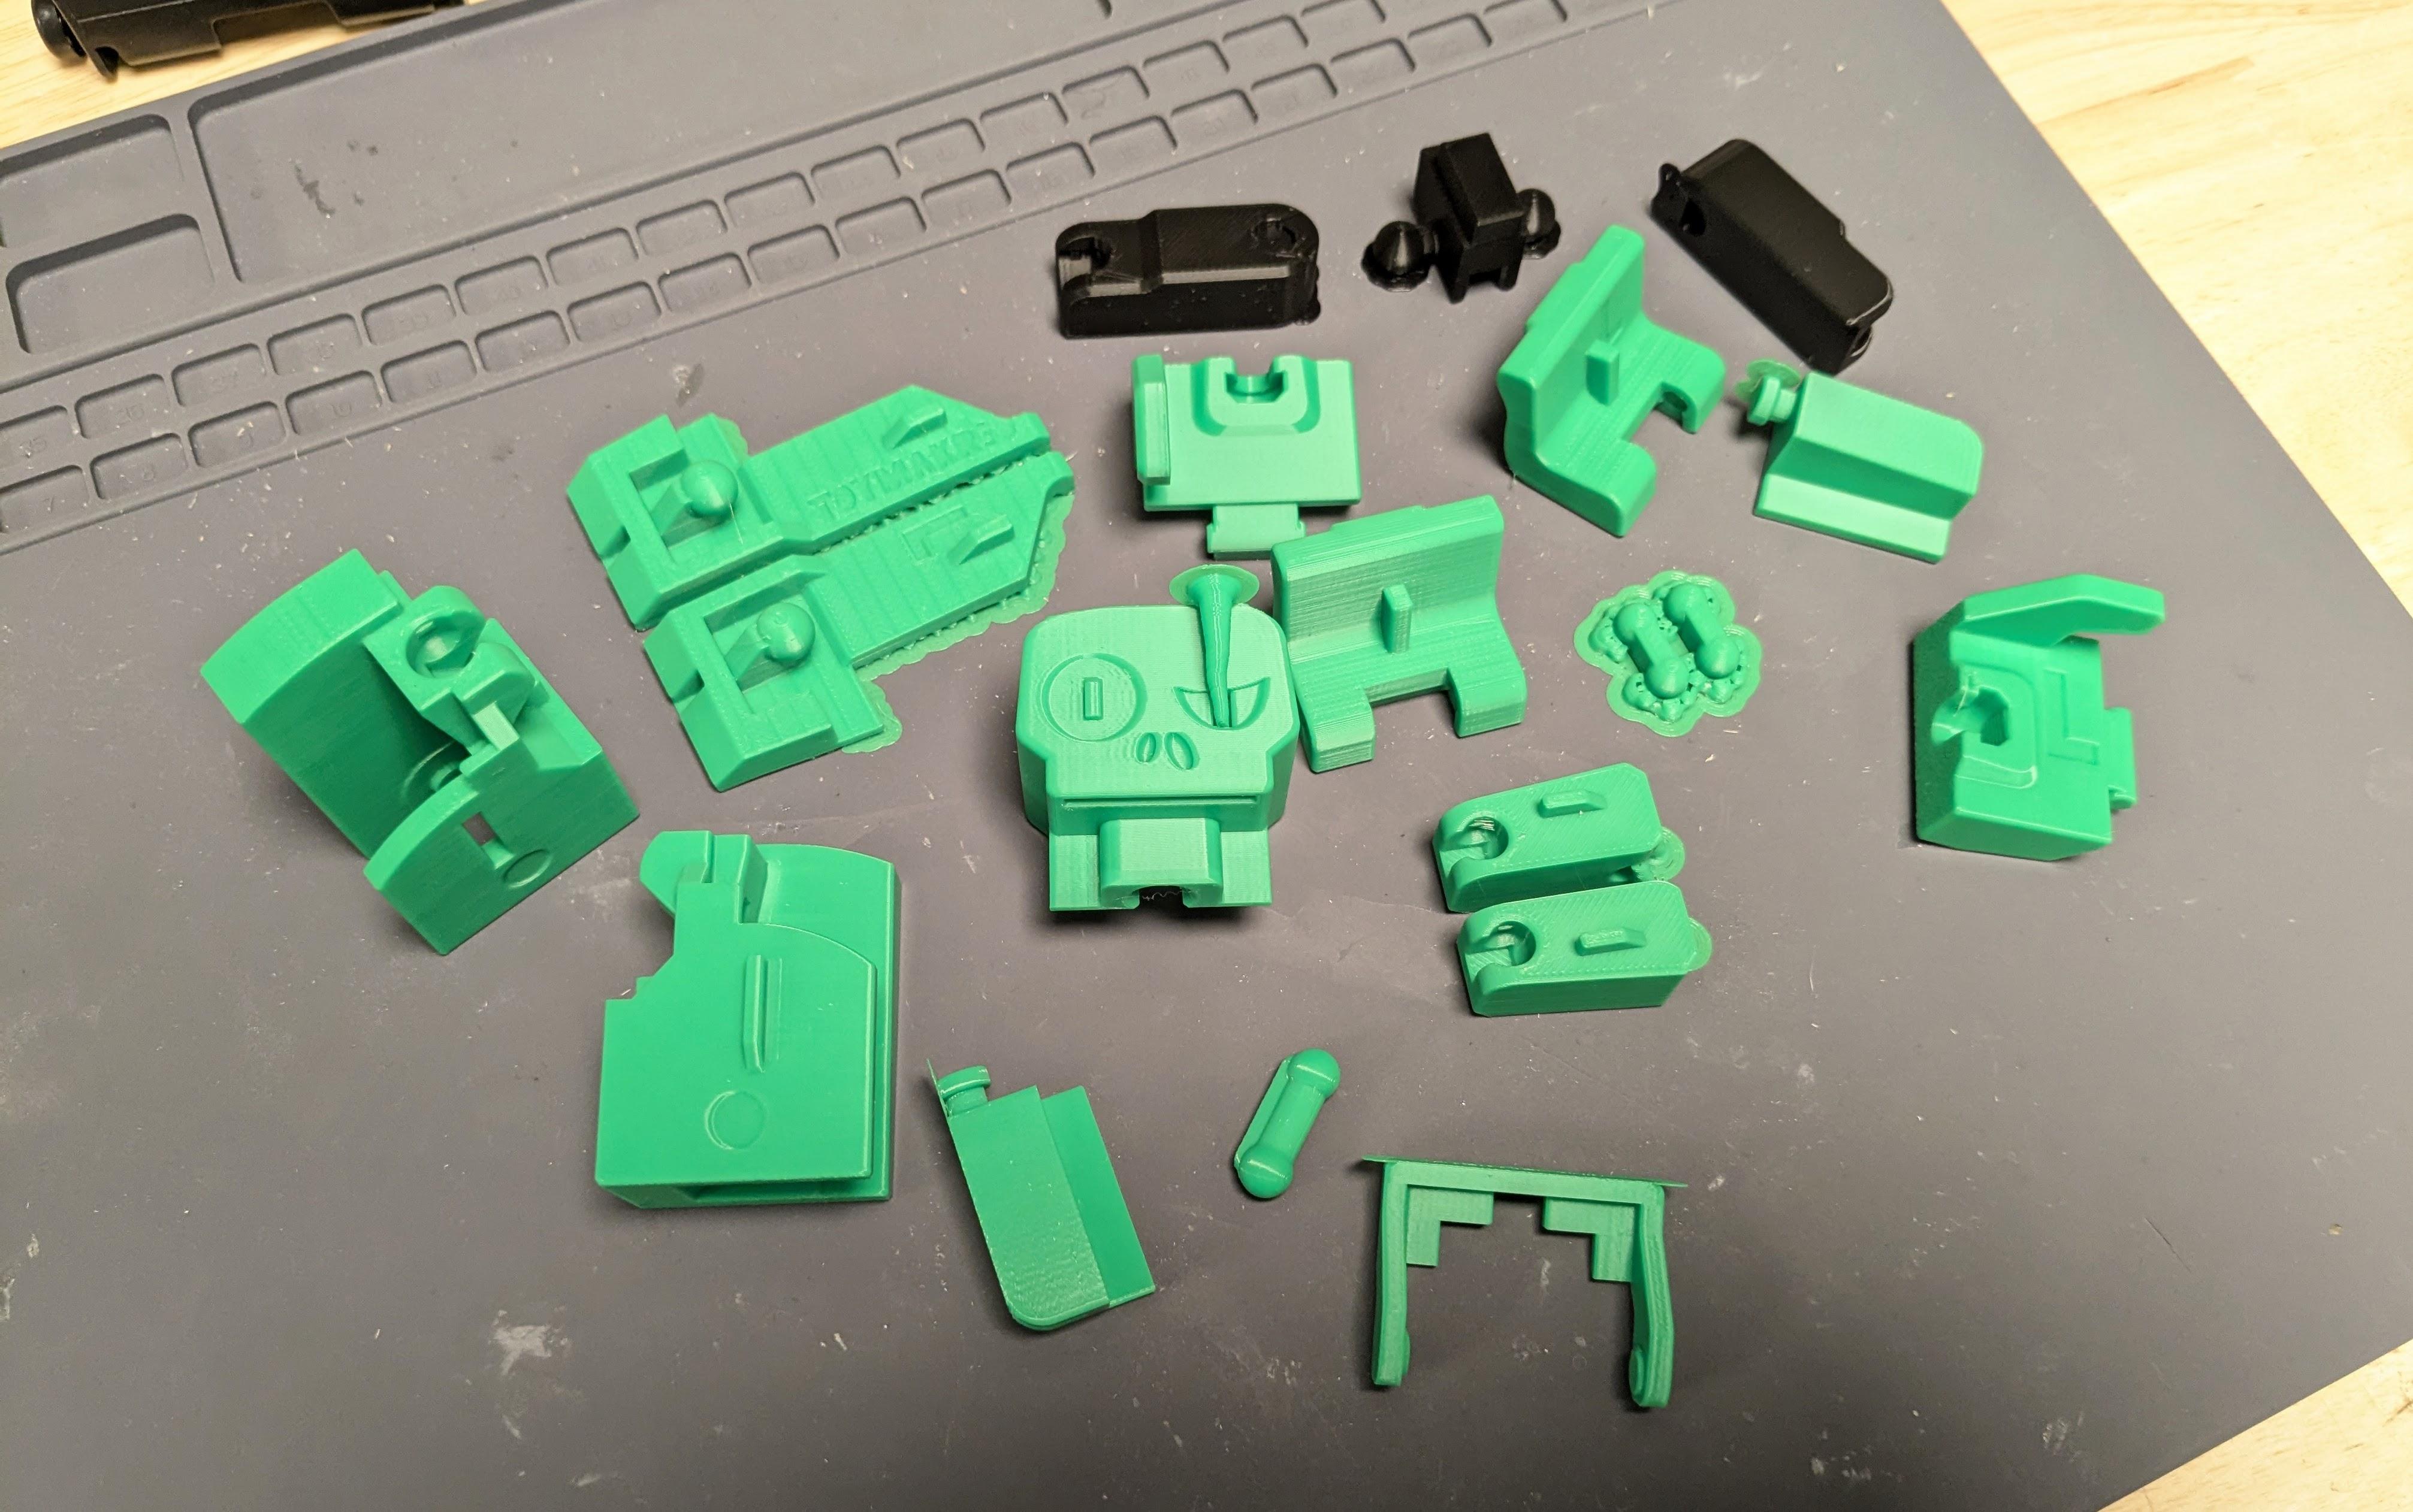
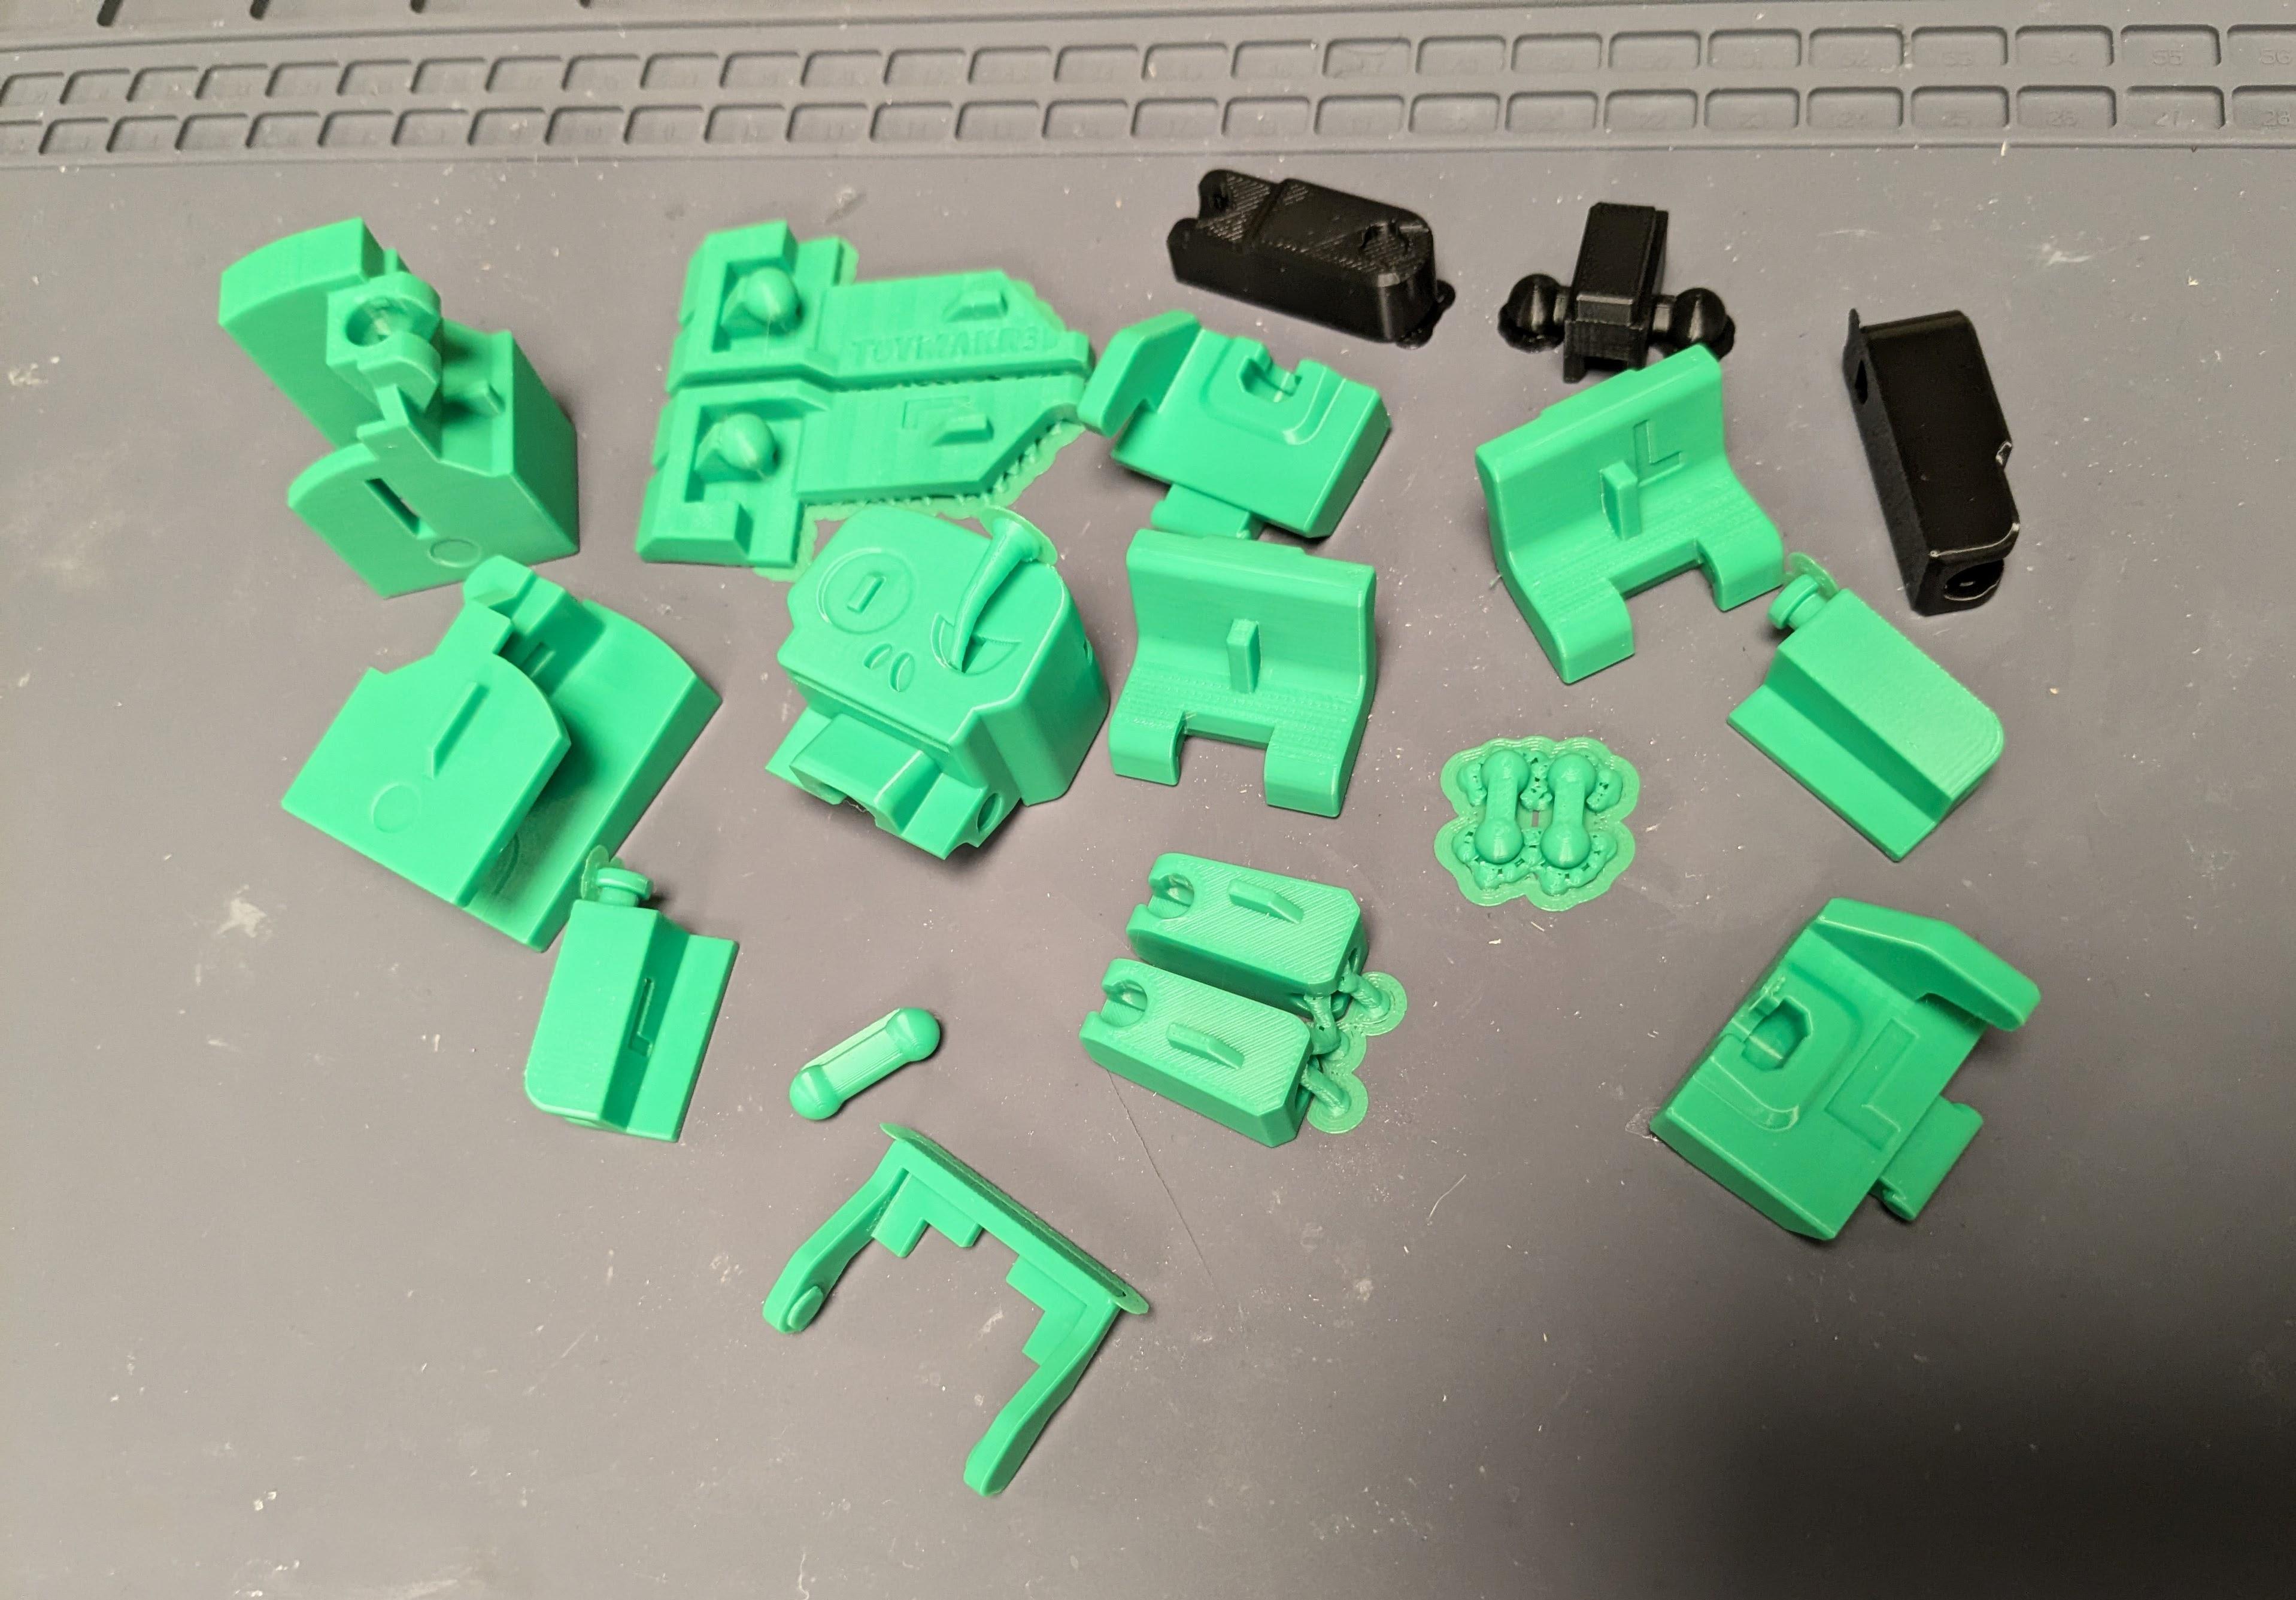
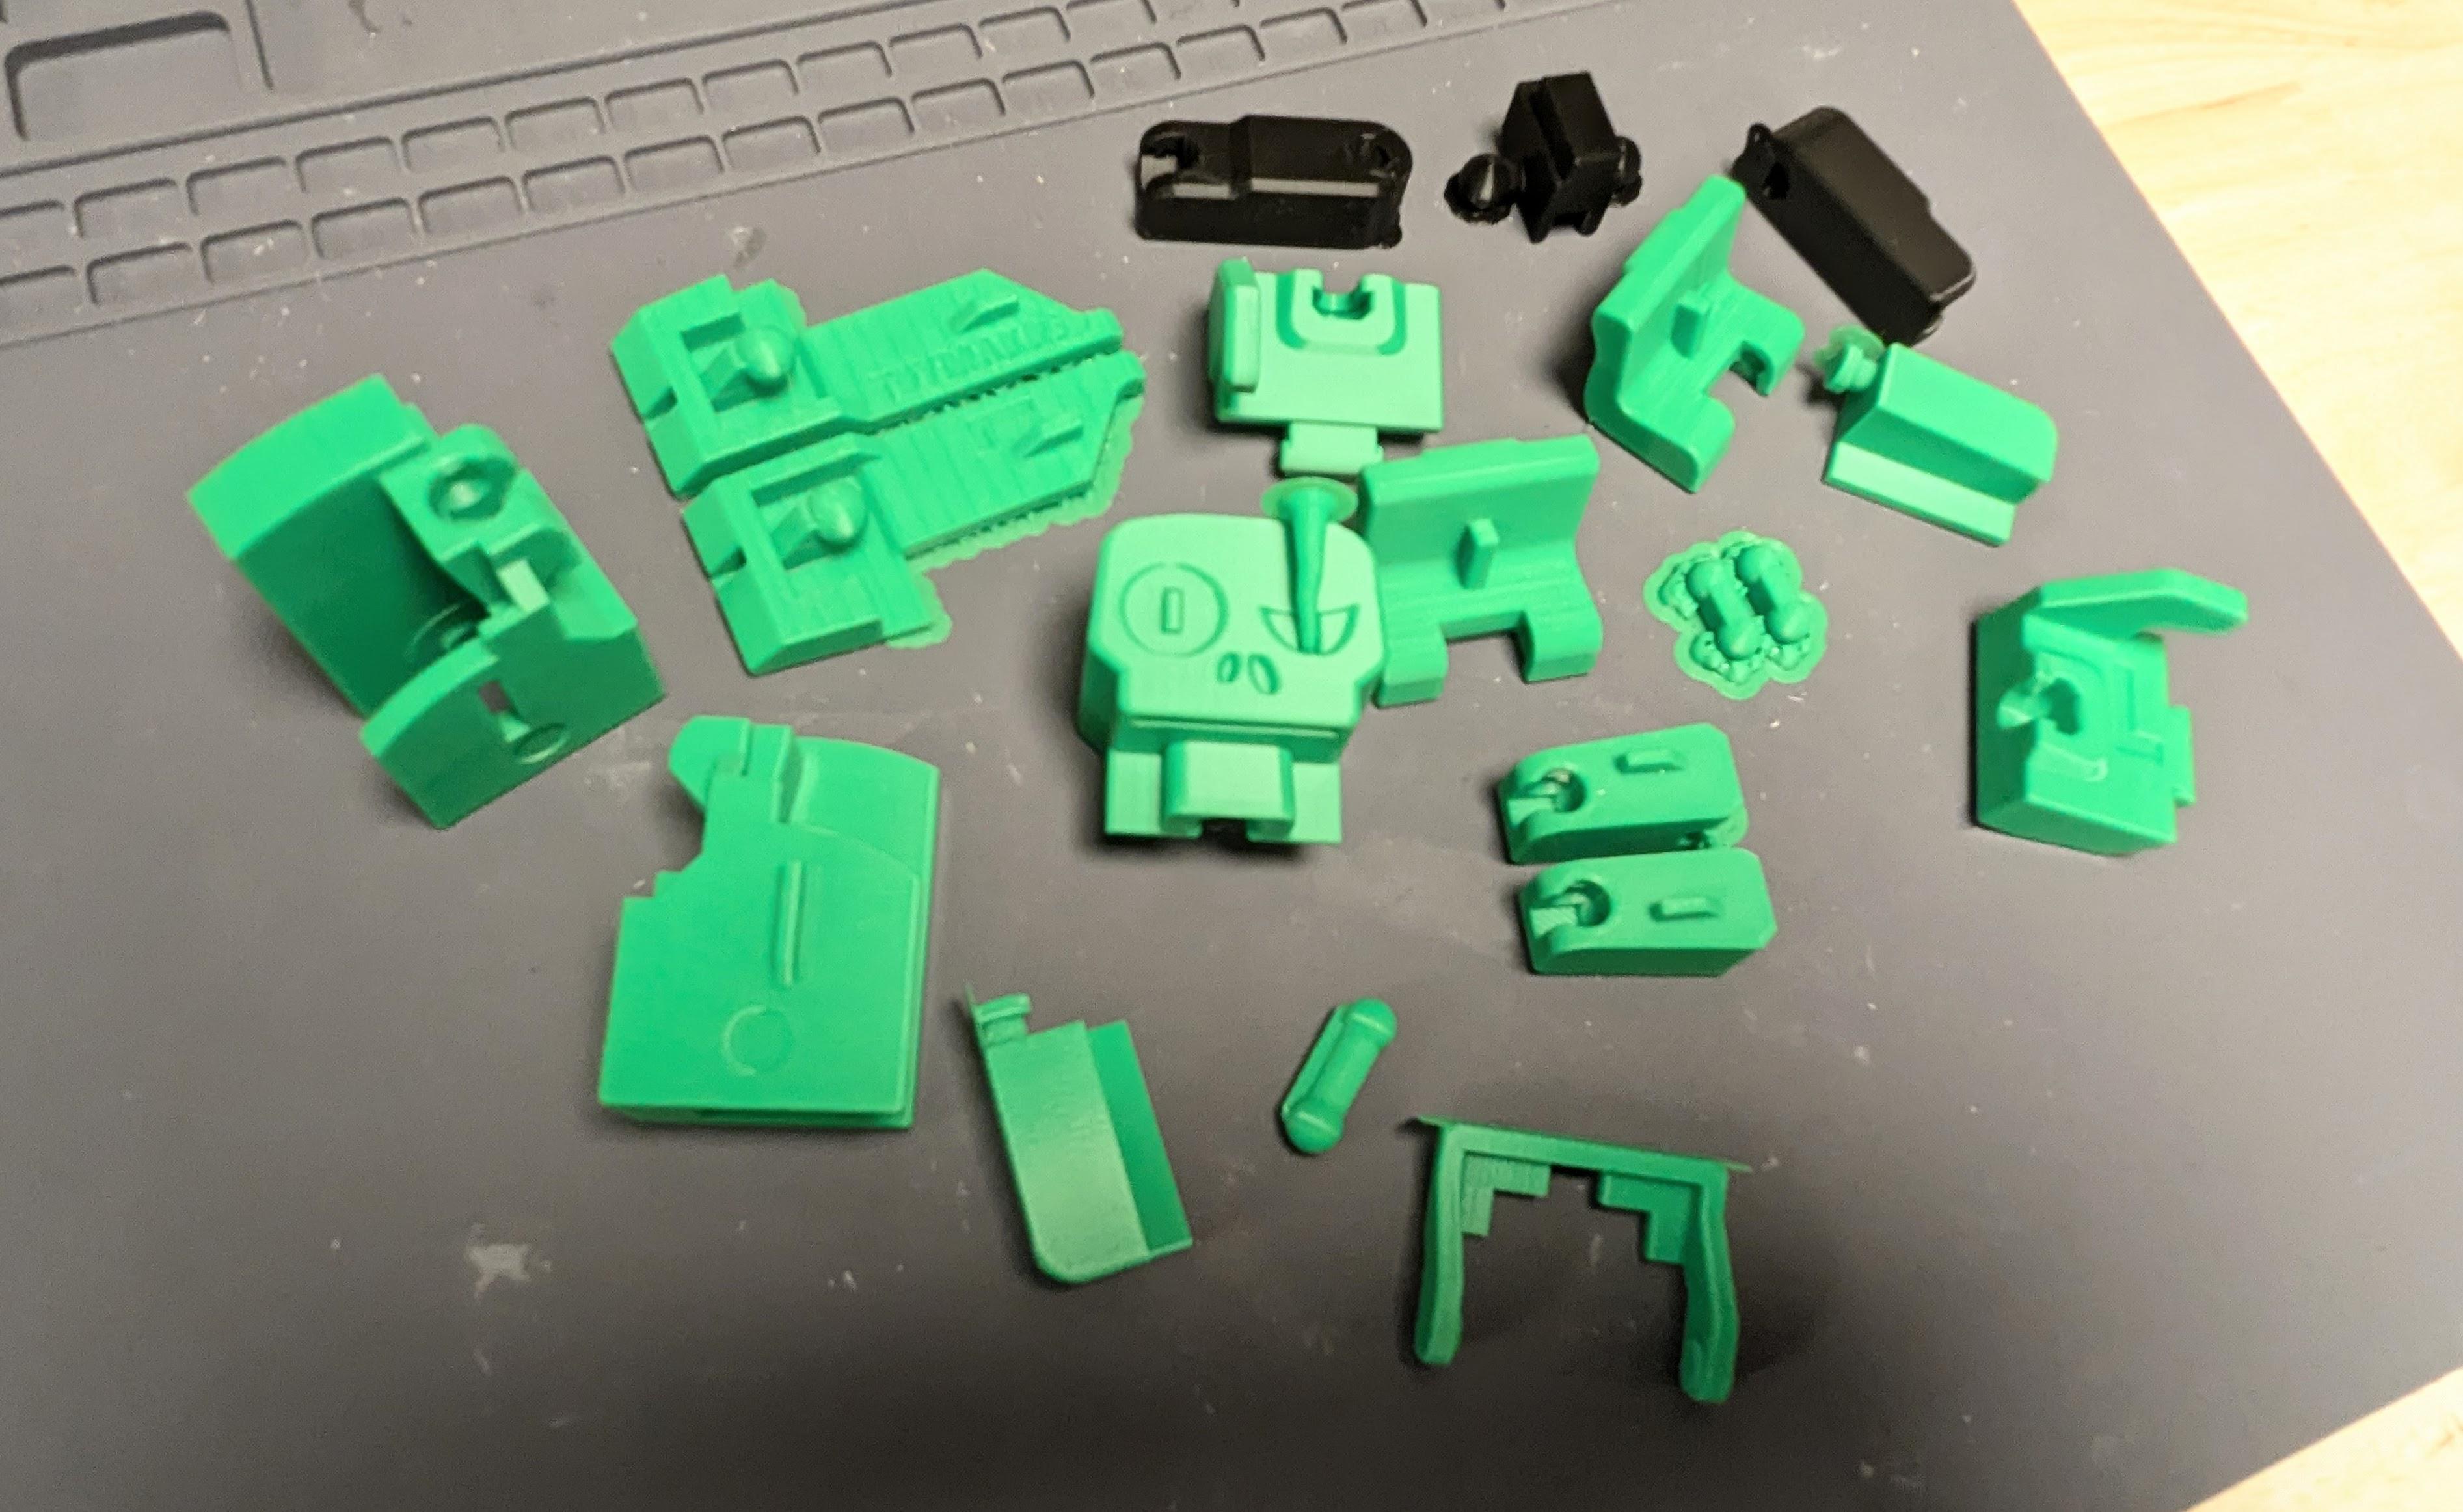
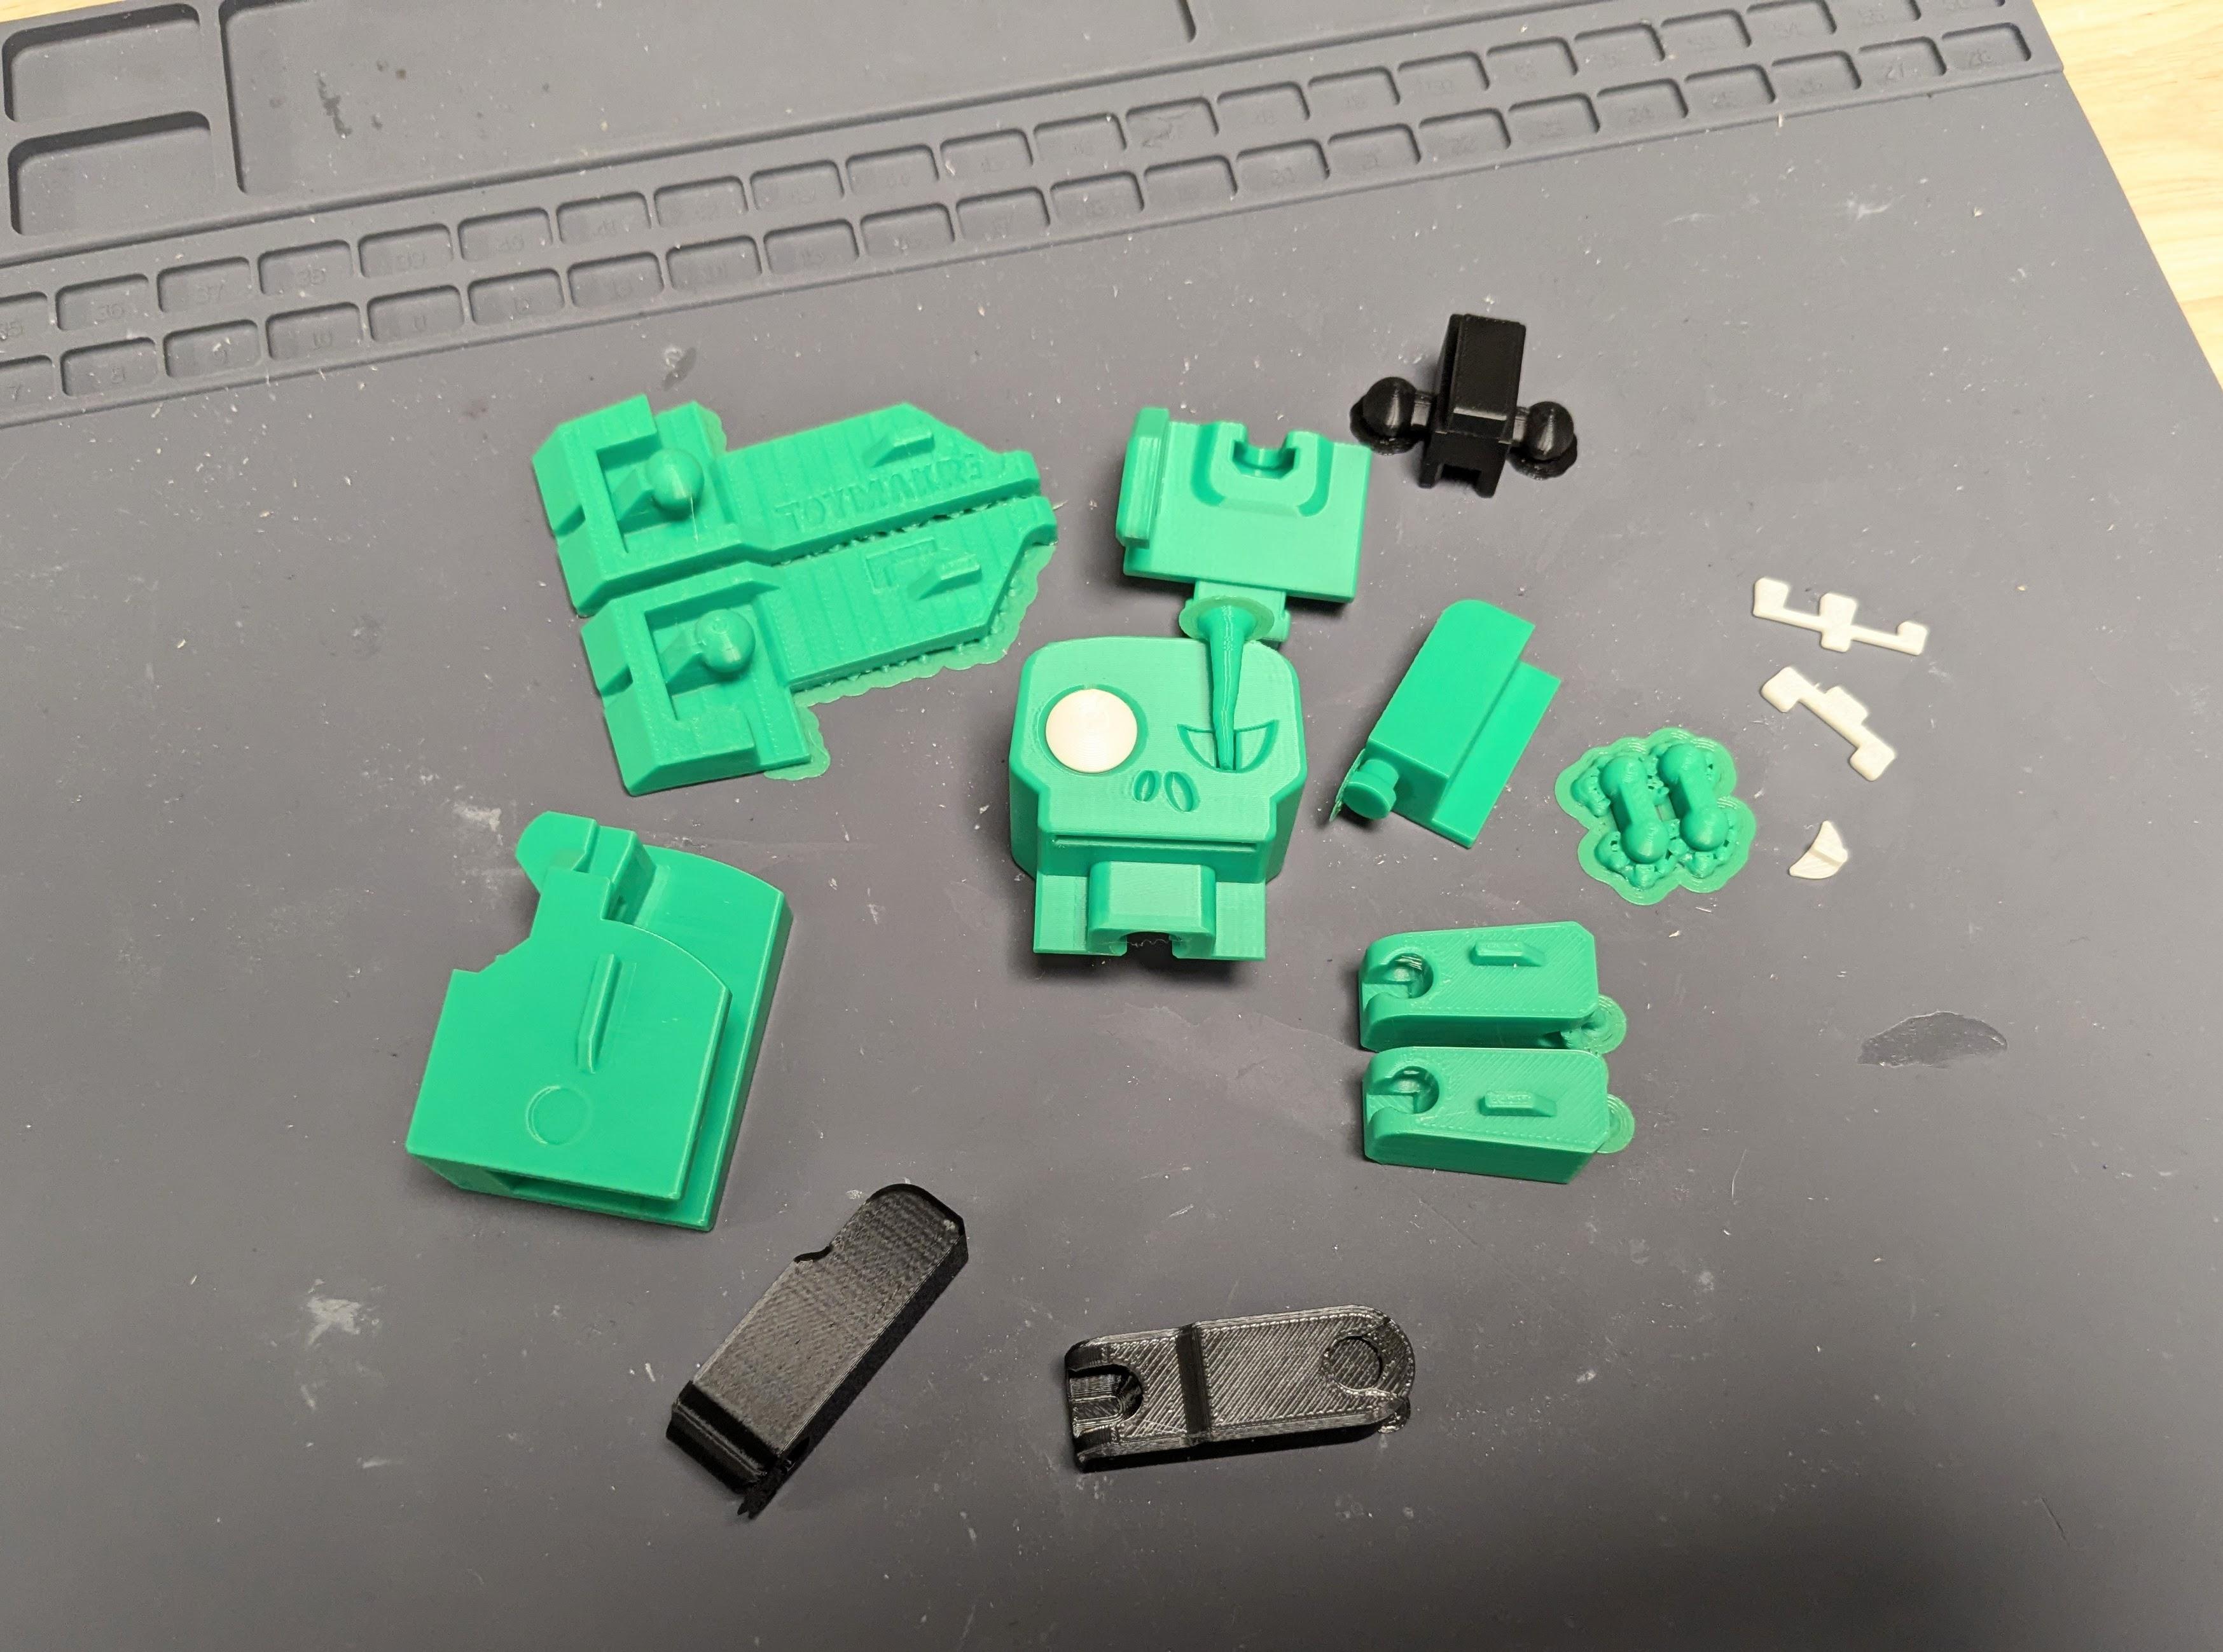
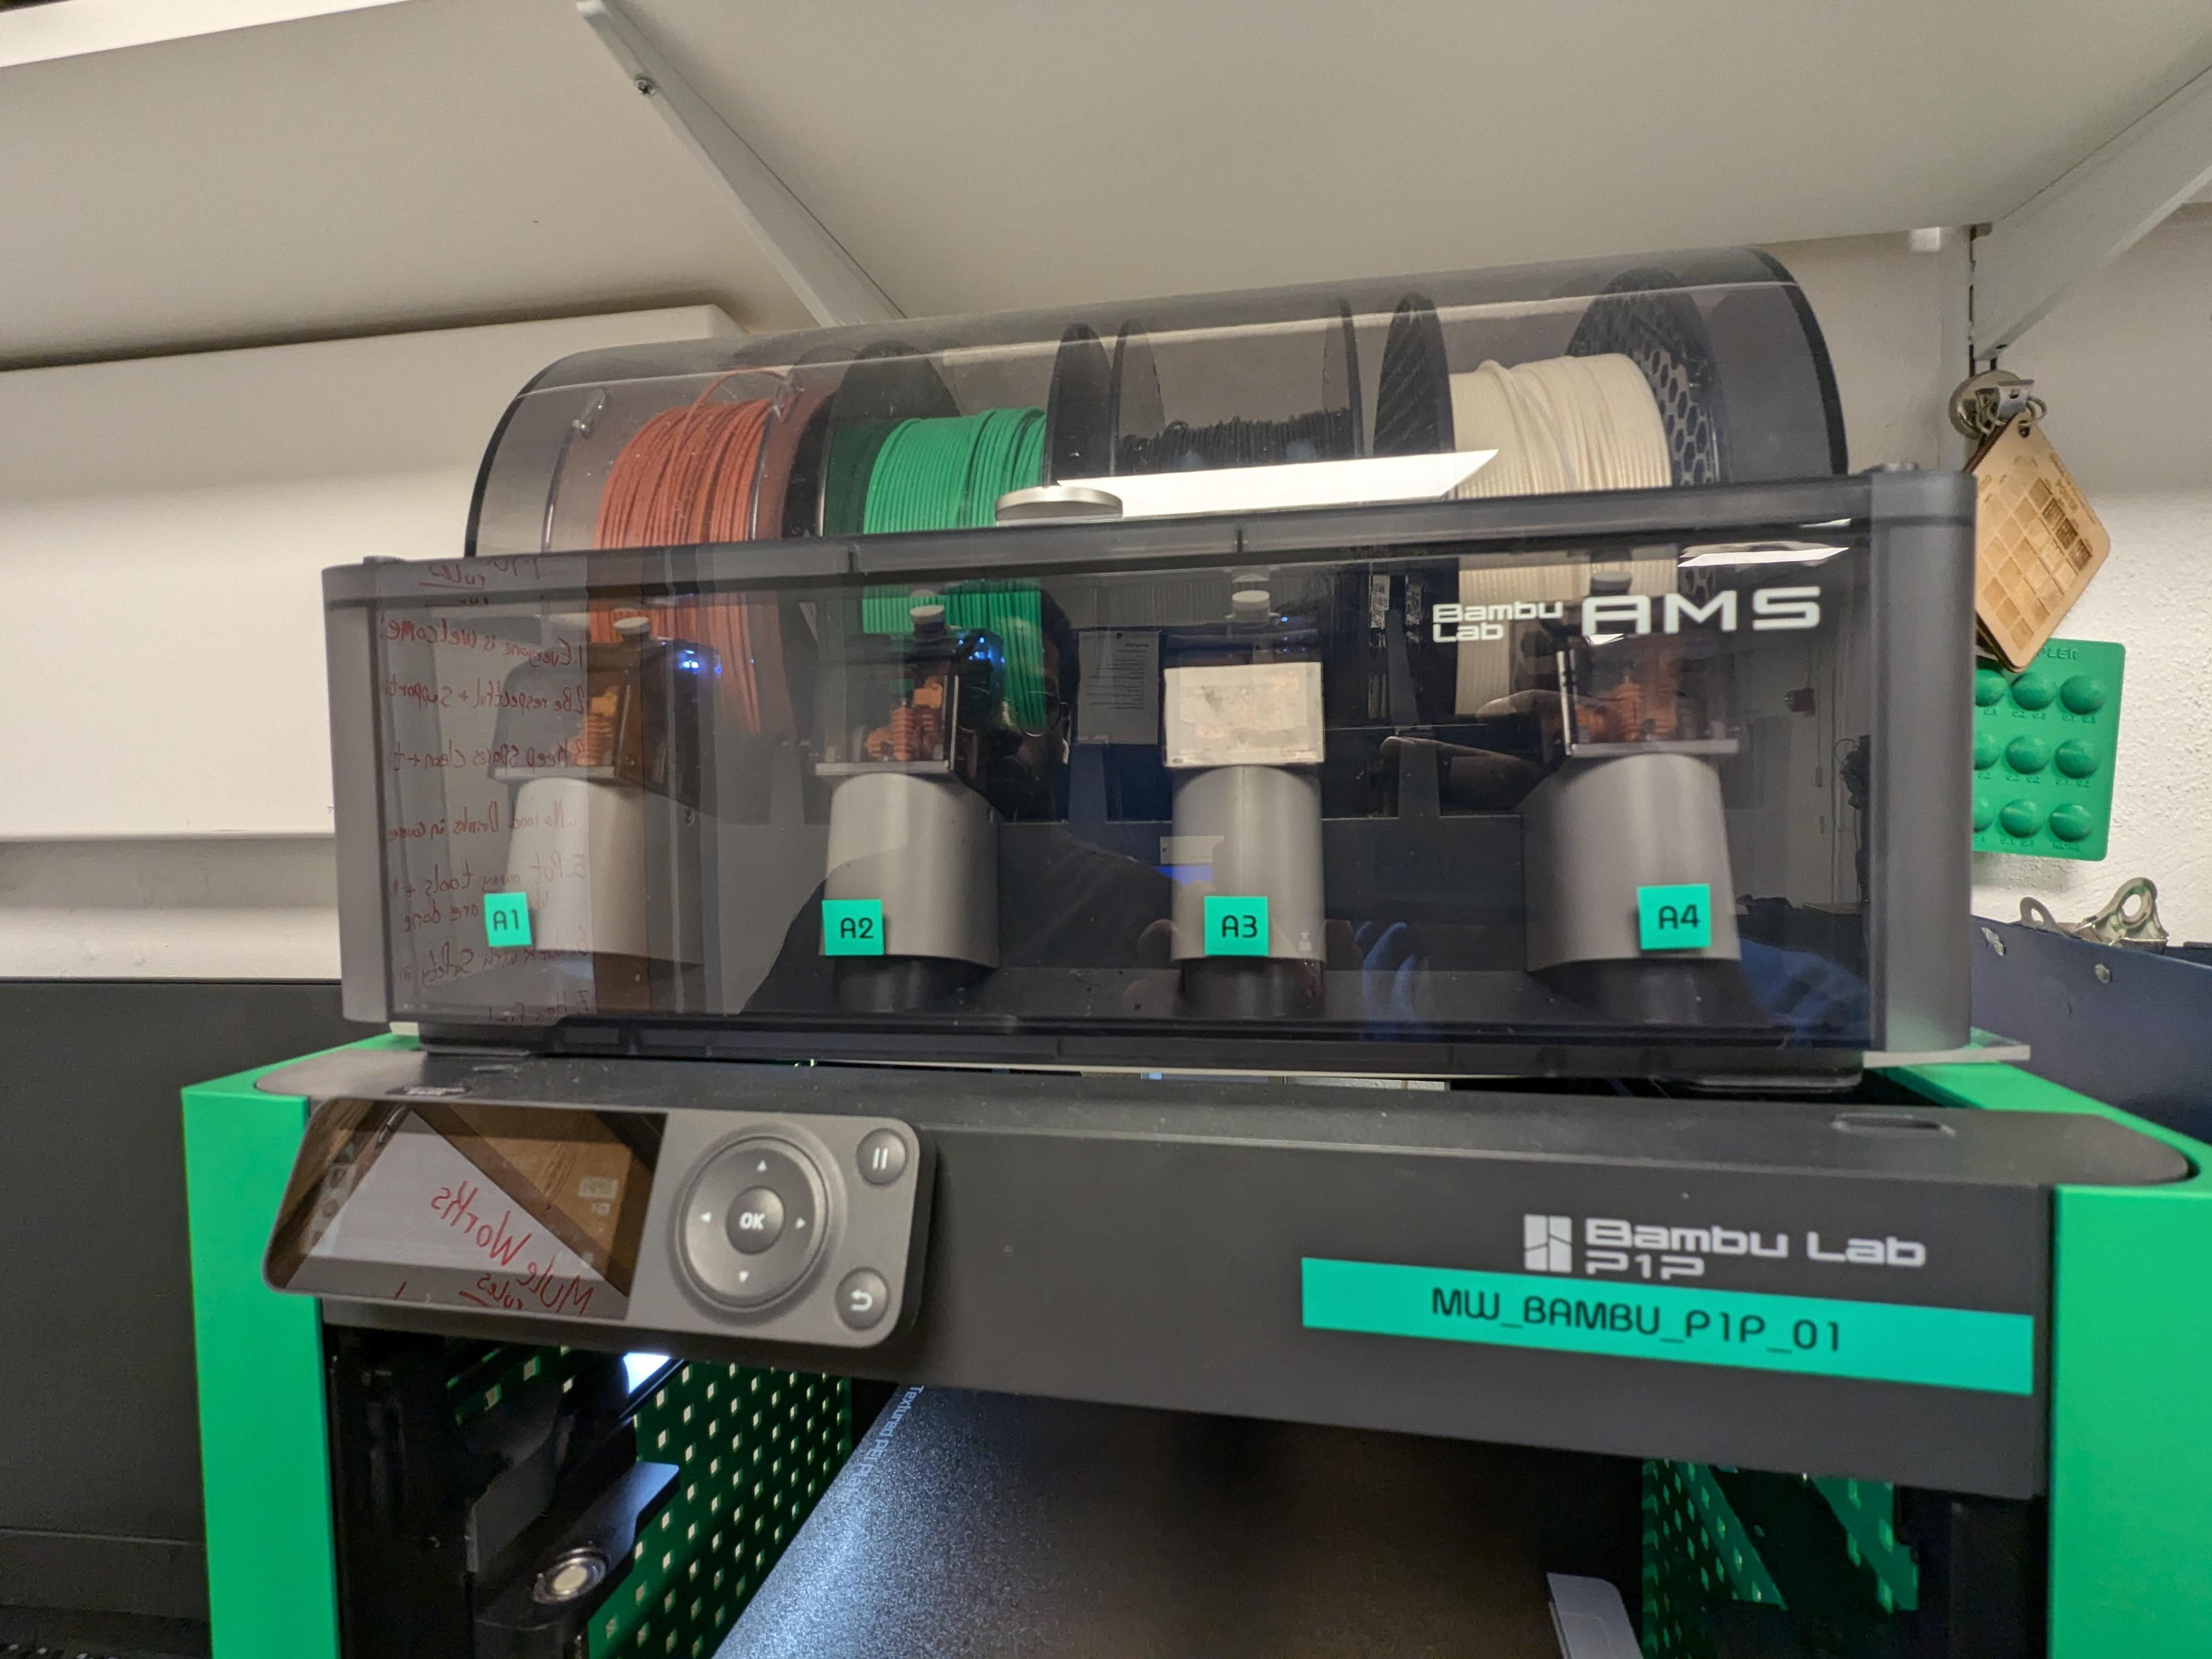
- Insert the chosen PLA filament into the 3D printer, ensuring it's correctly fed through the extruder.
- Adjust the printer settings based on the filament type, including temperature, speed, and layer height.
- Begin the printing process, monitoring the first few layers to ensure proper adhesion to the print bed.
- Regularly check the print for any issues like warping or filament jams.
- Once finished, carefully wait for the print to cool before removing it from the bed.
Post-Processing the 3D Prints
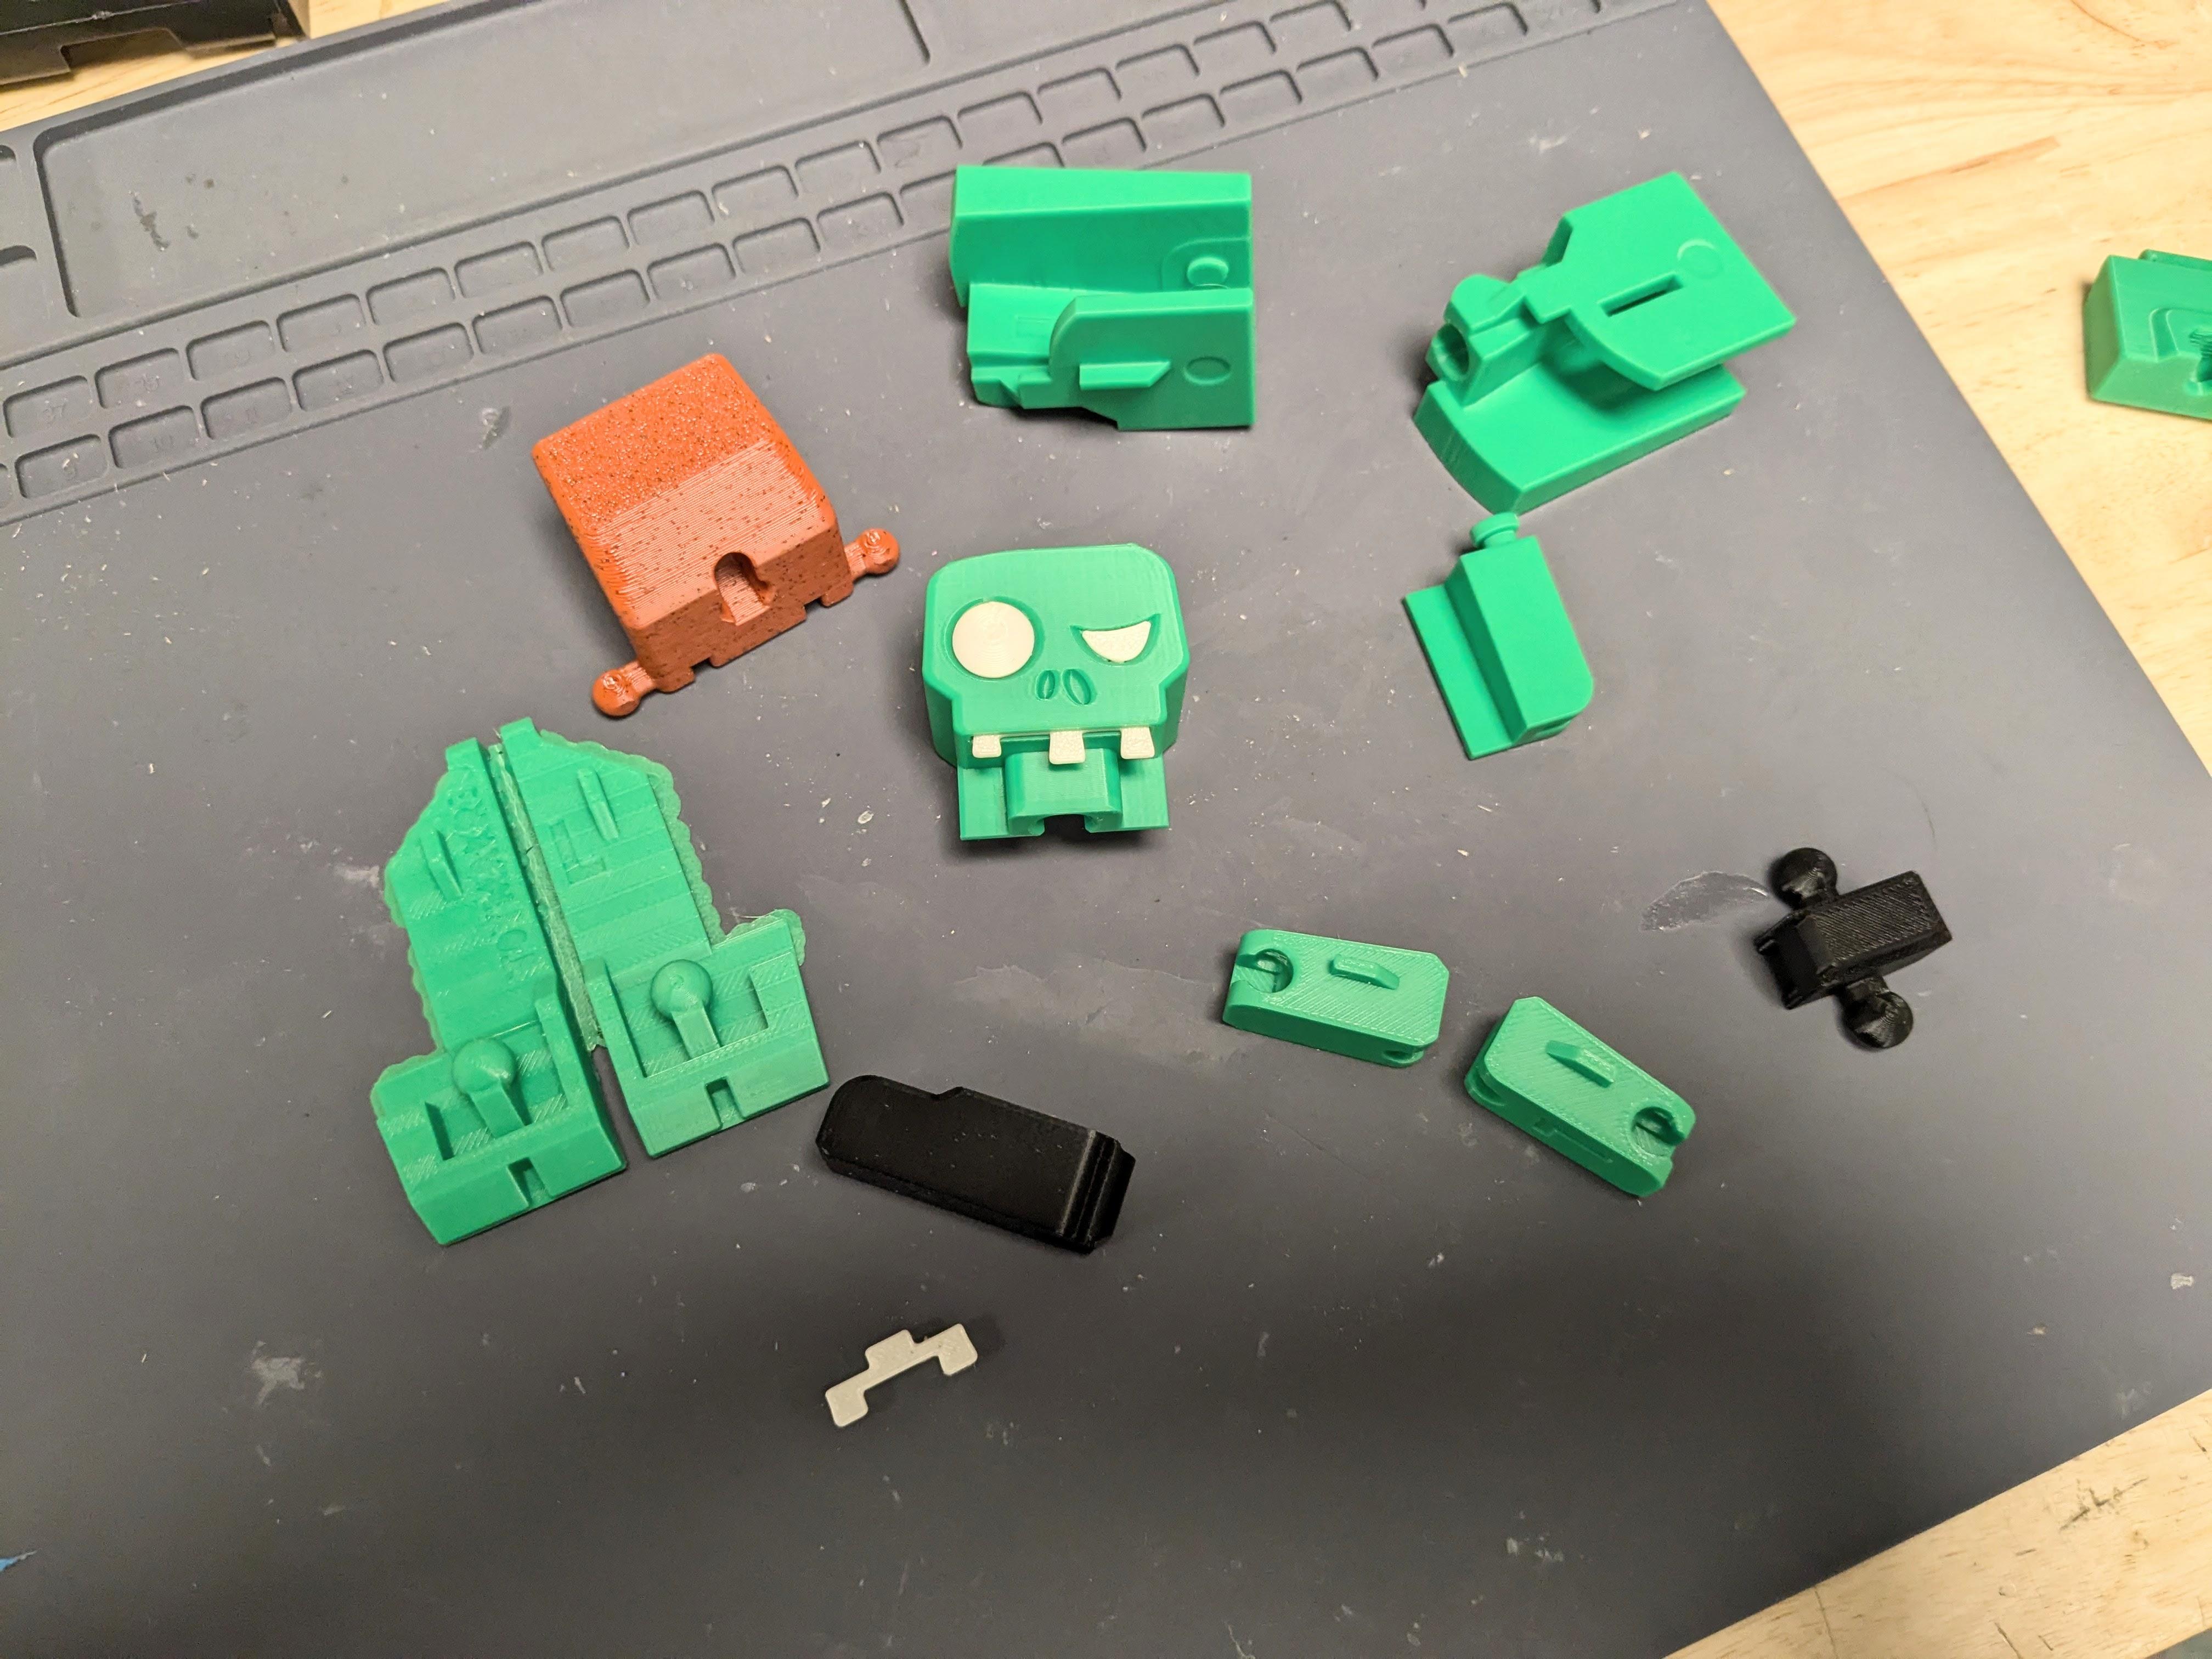
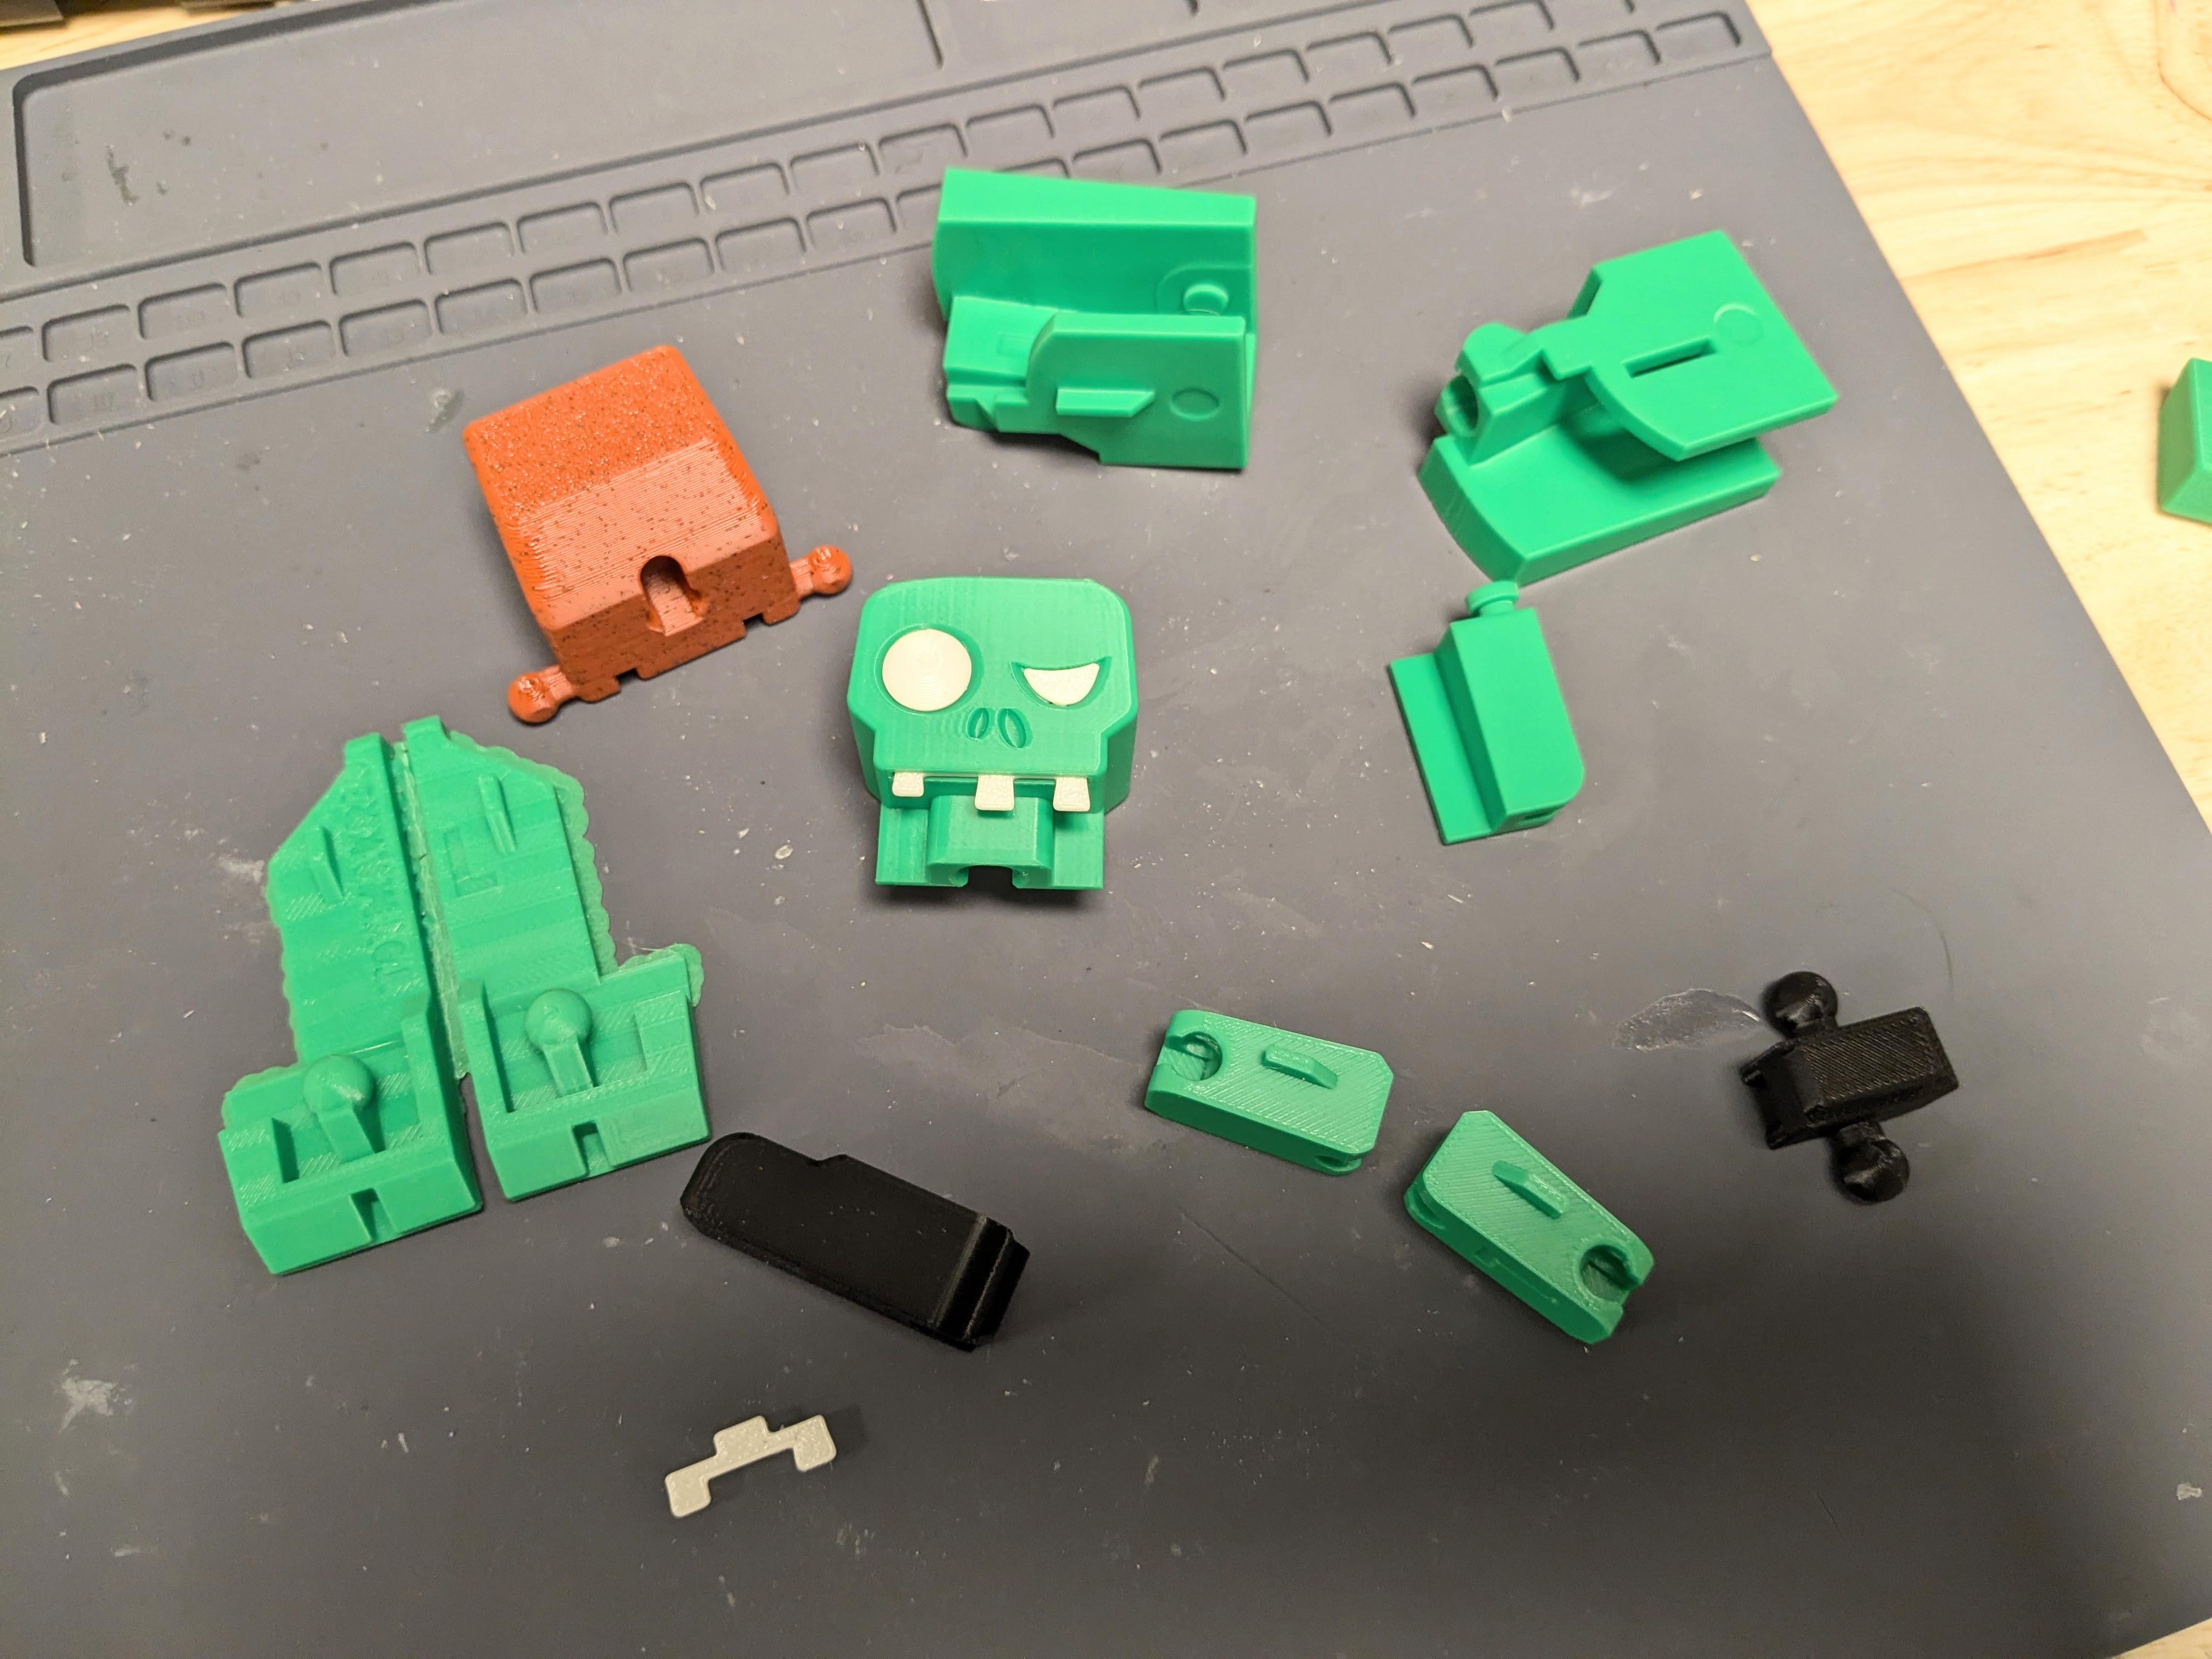
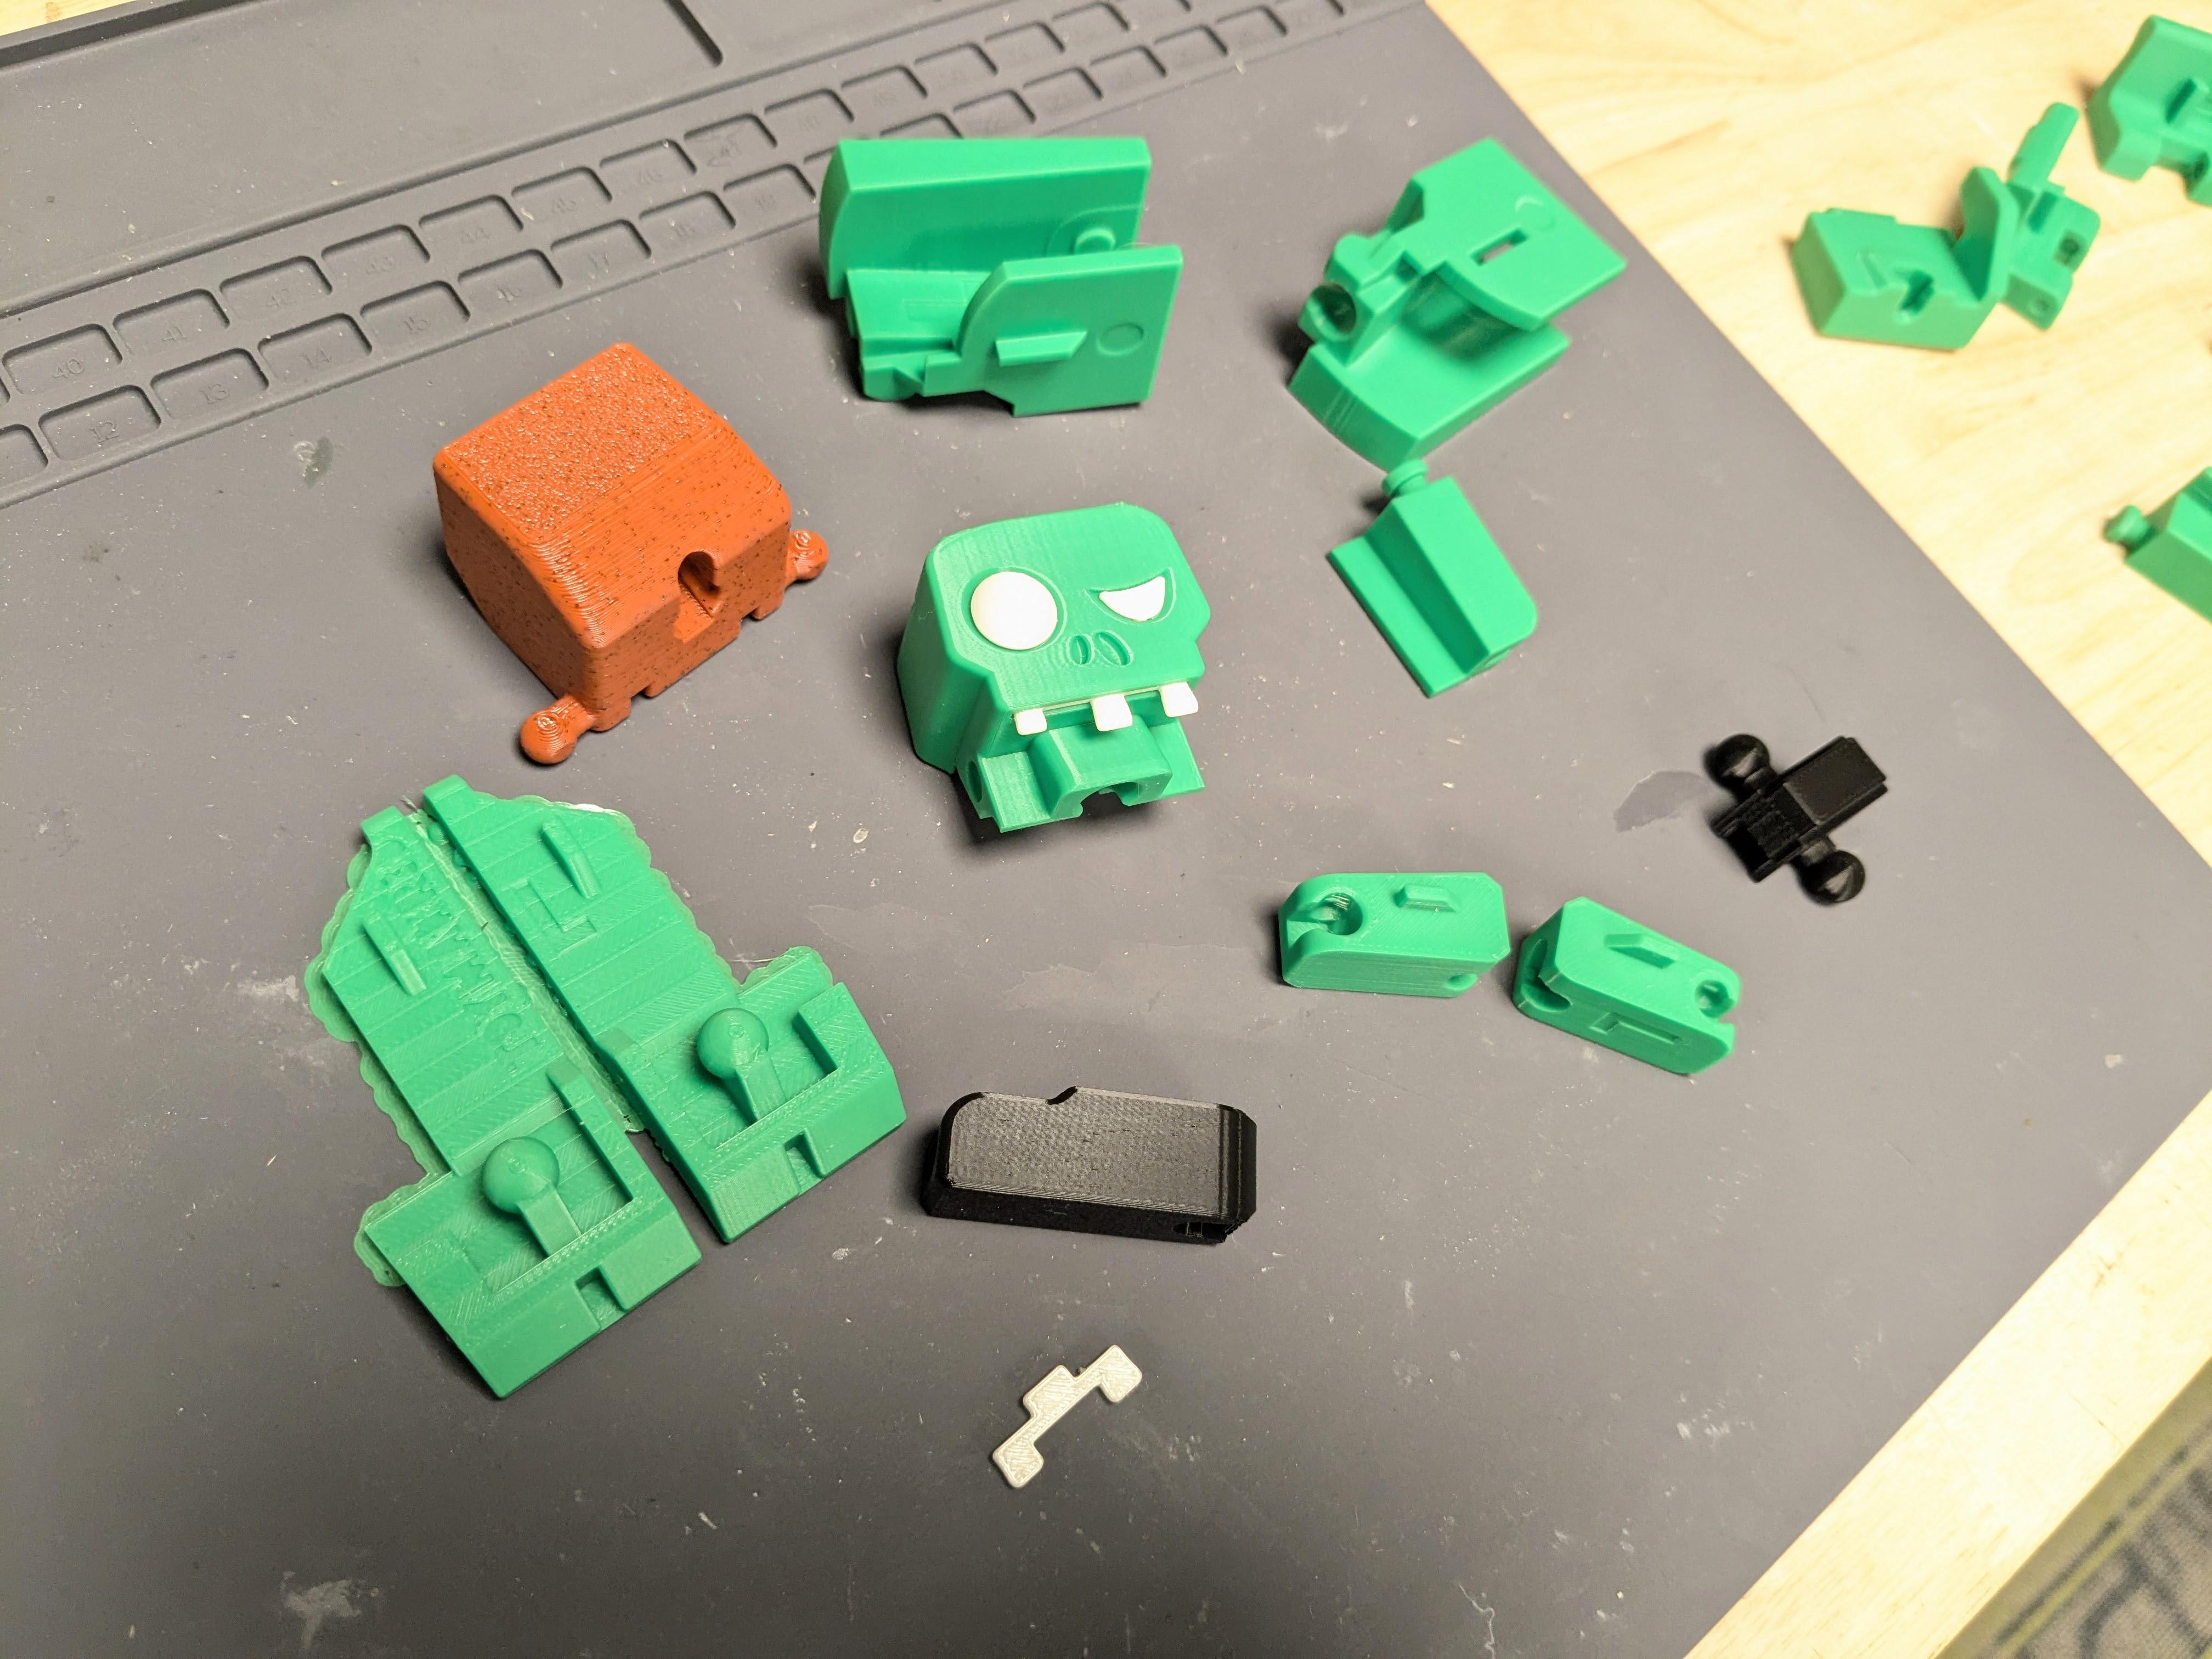
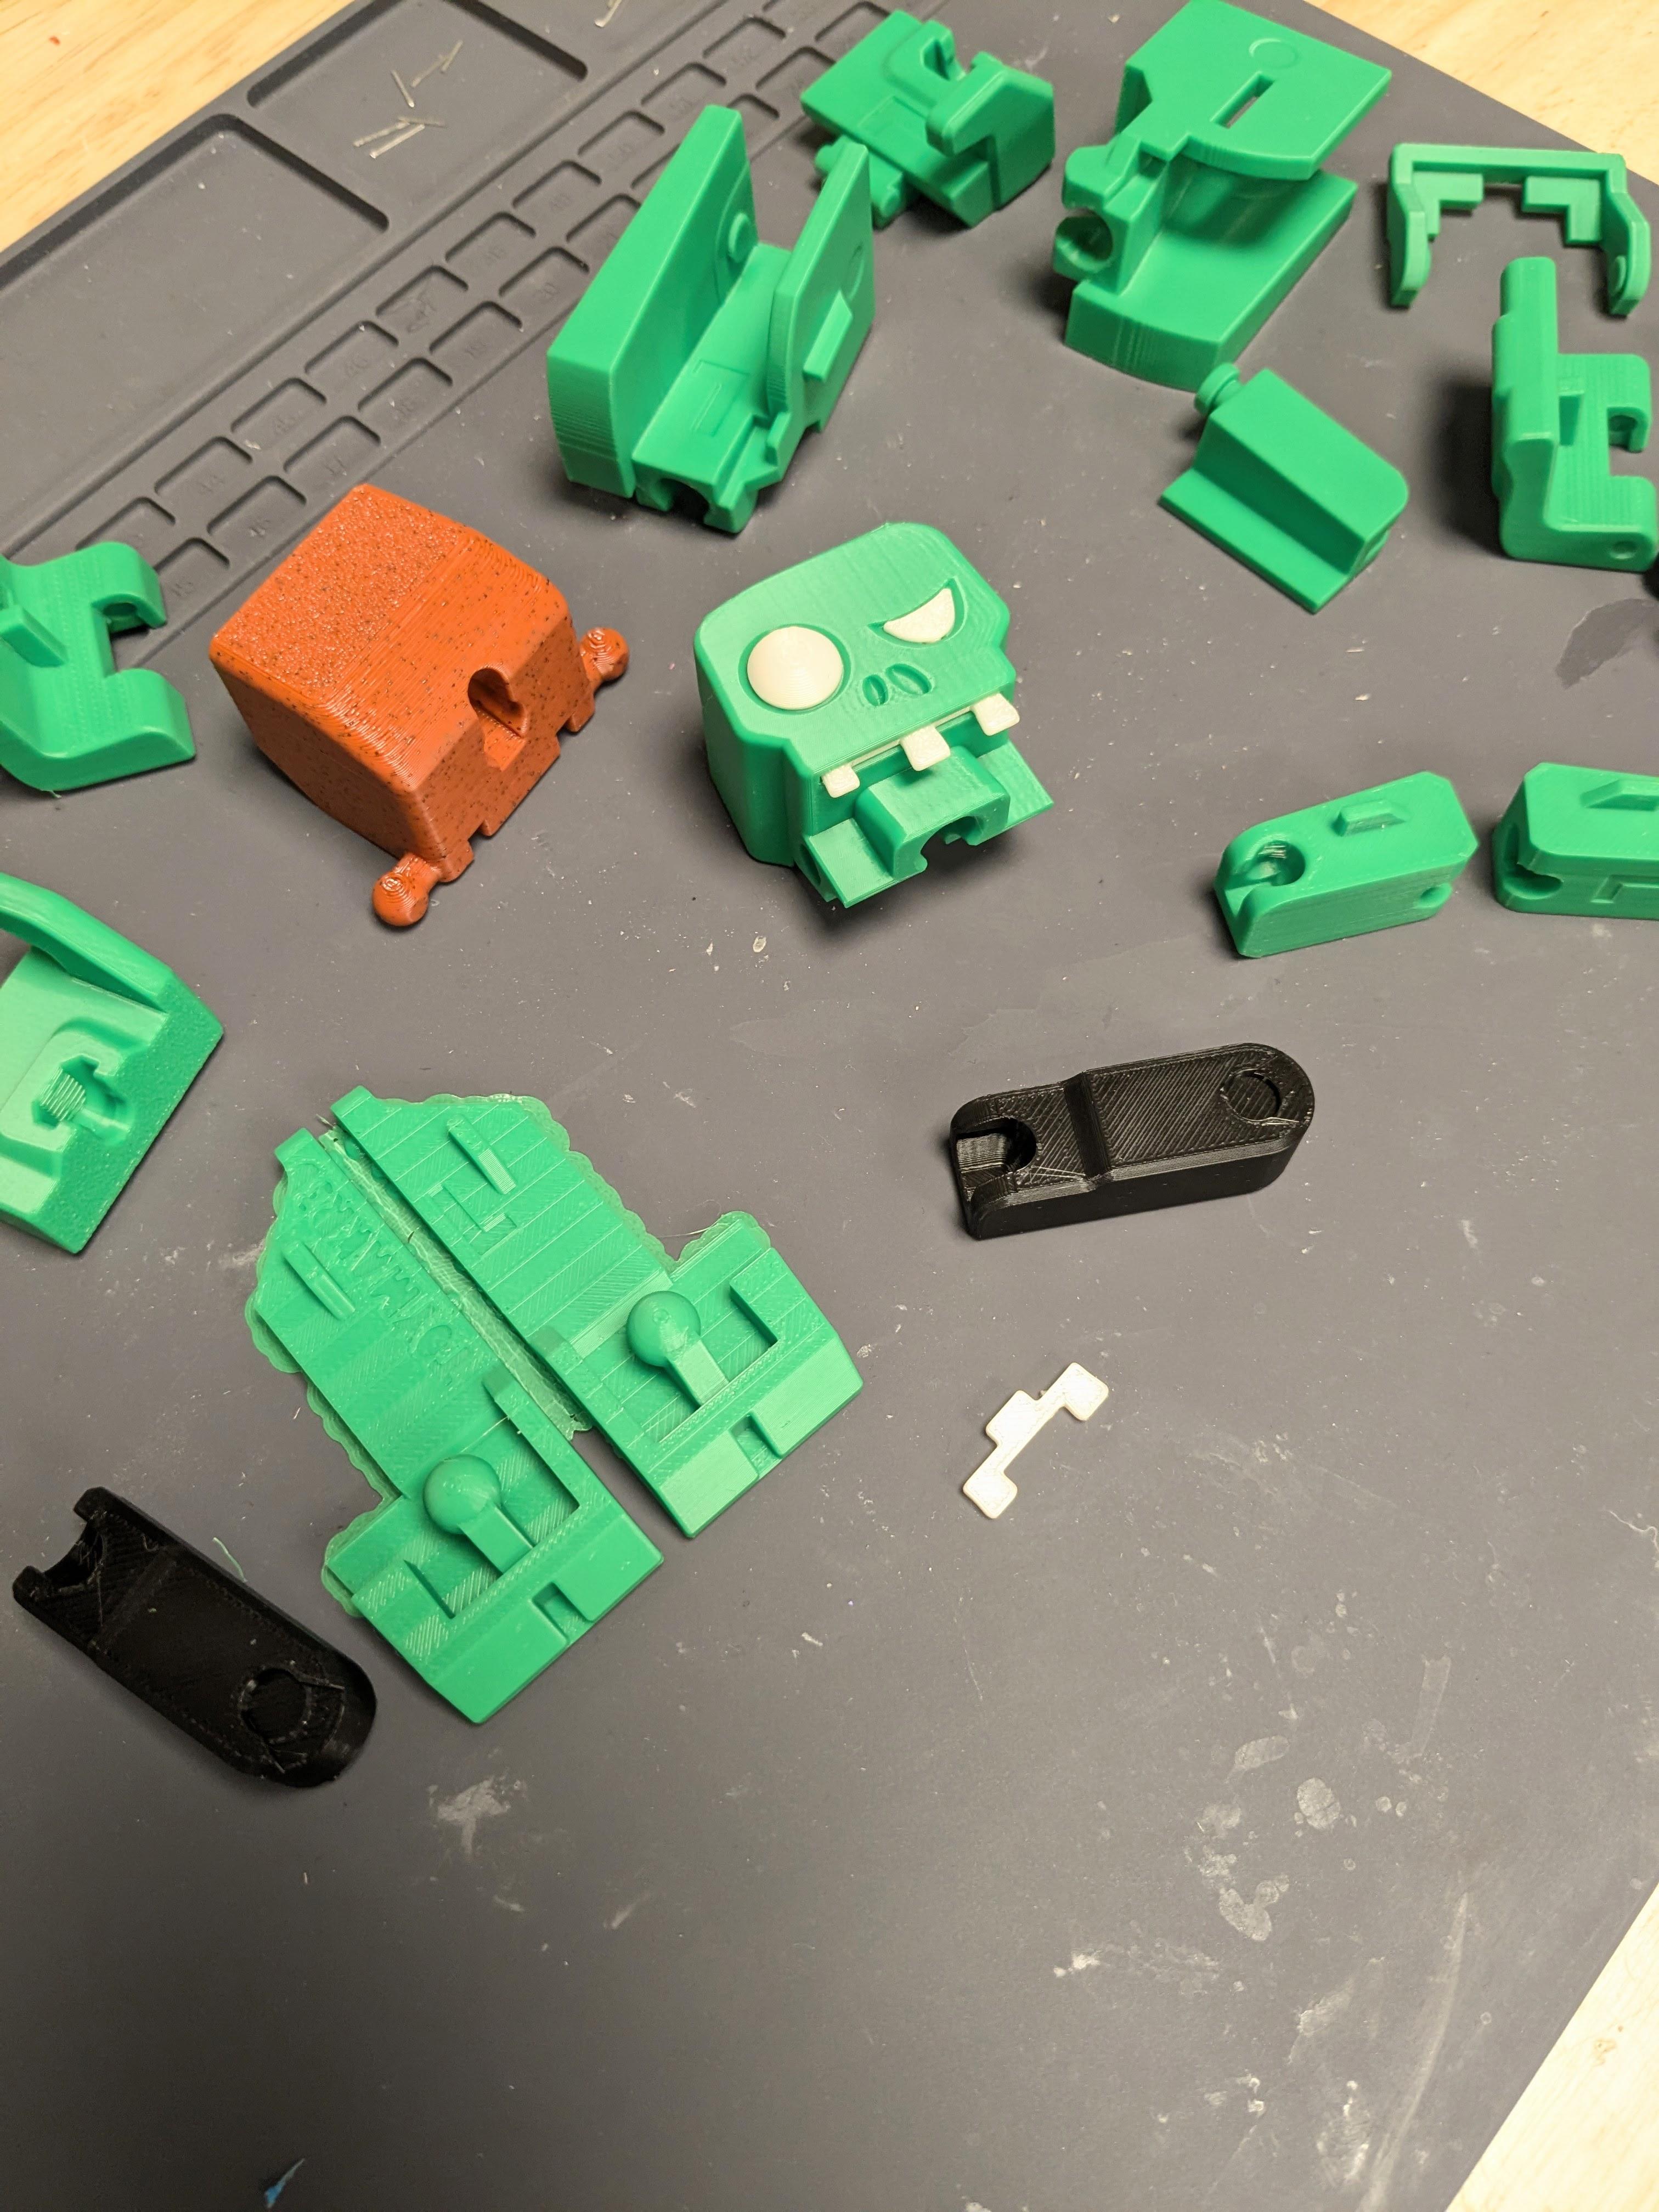
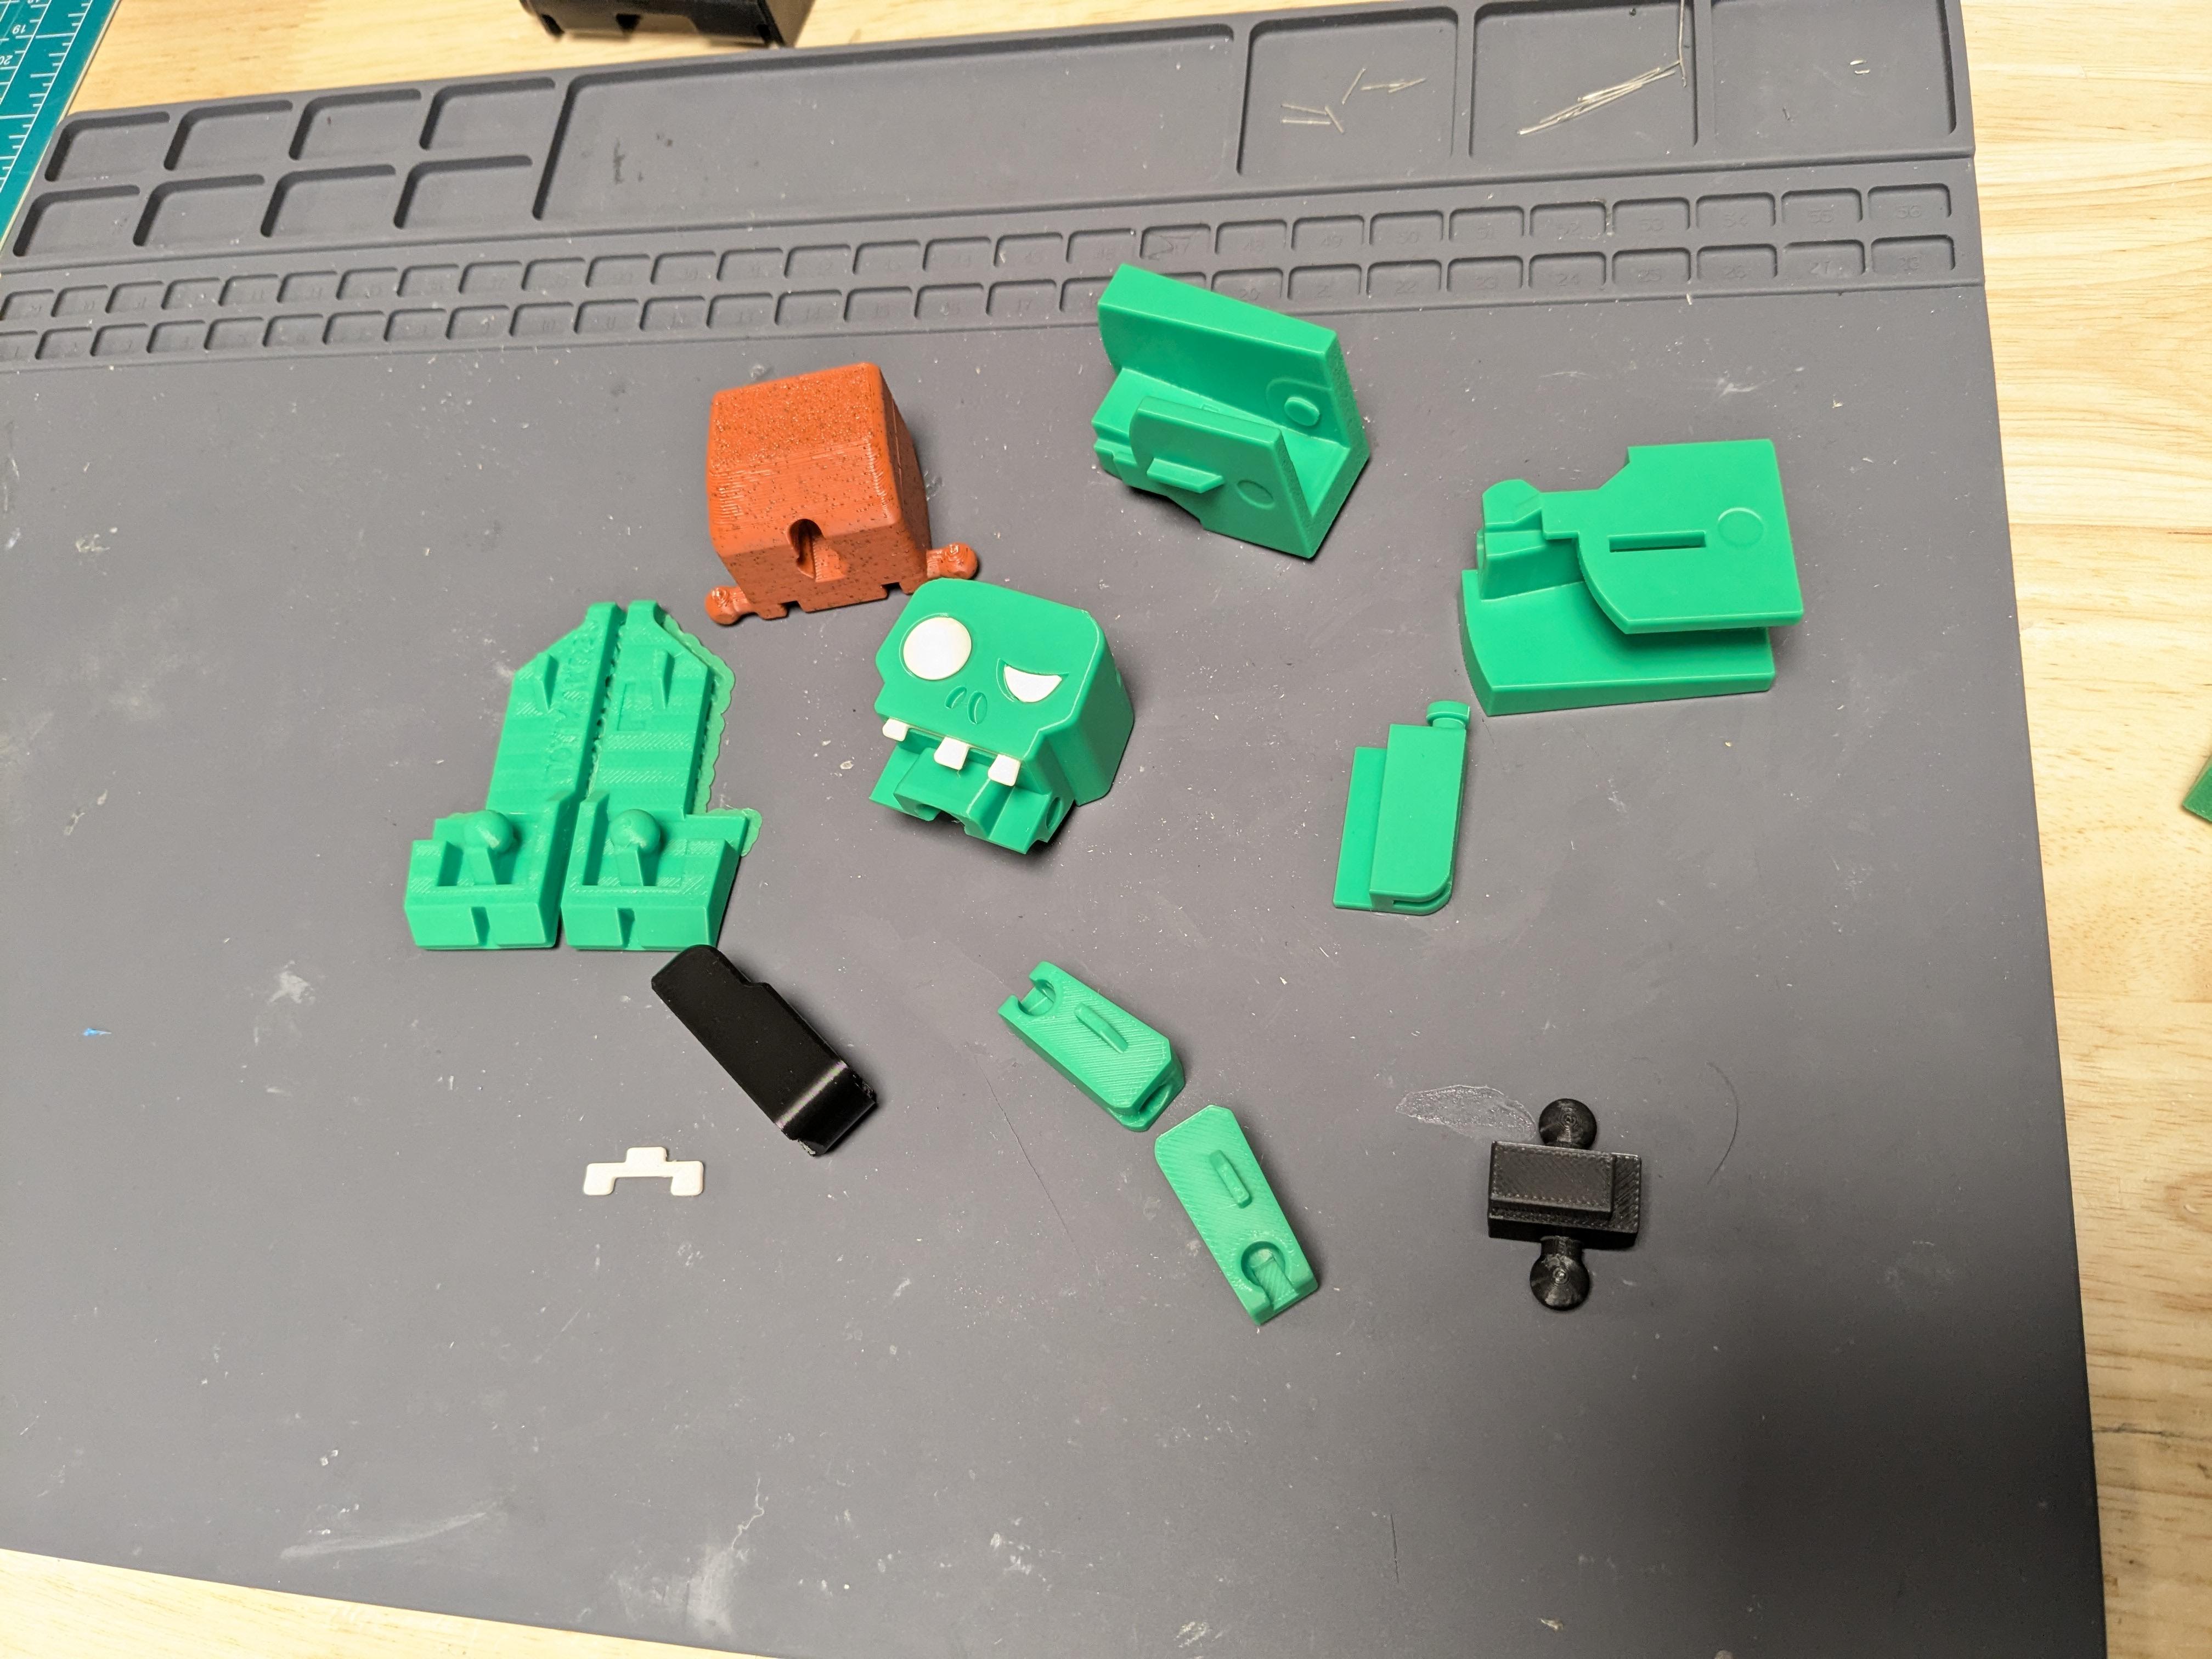
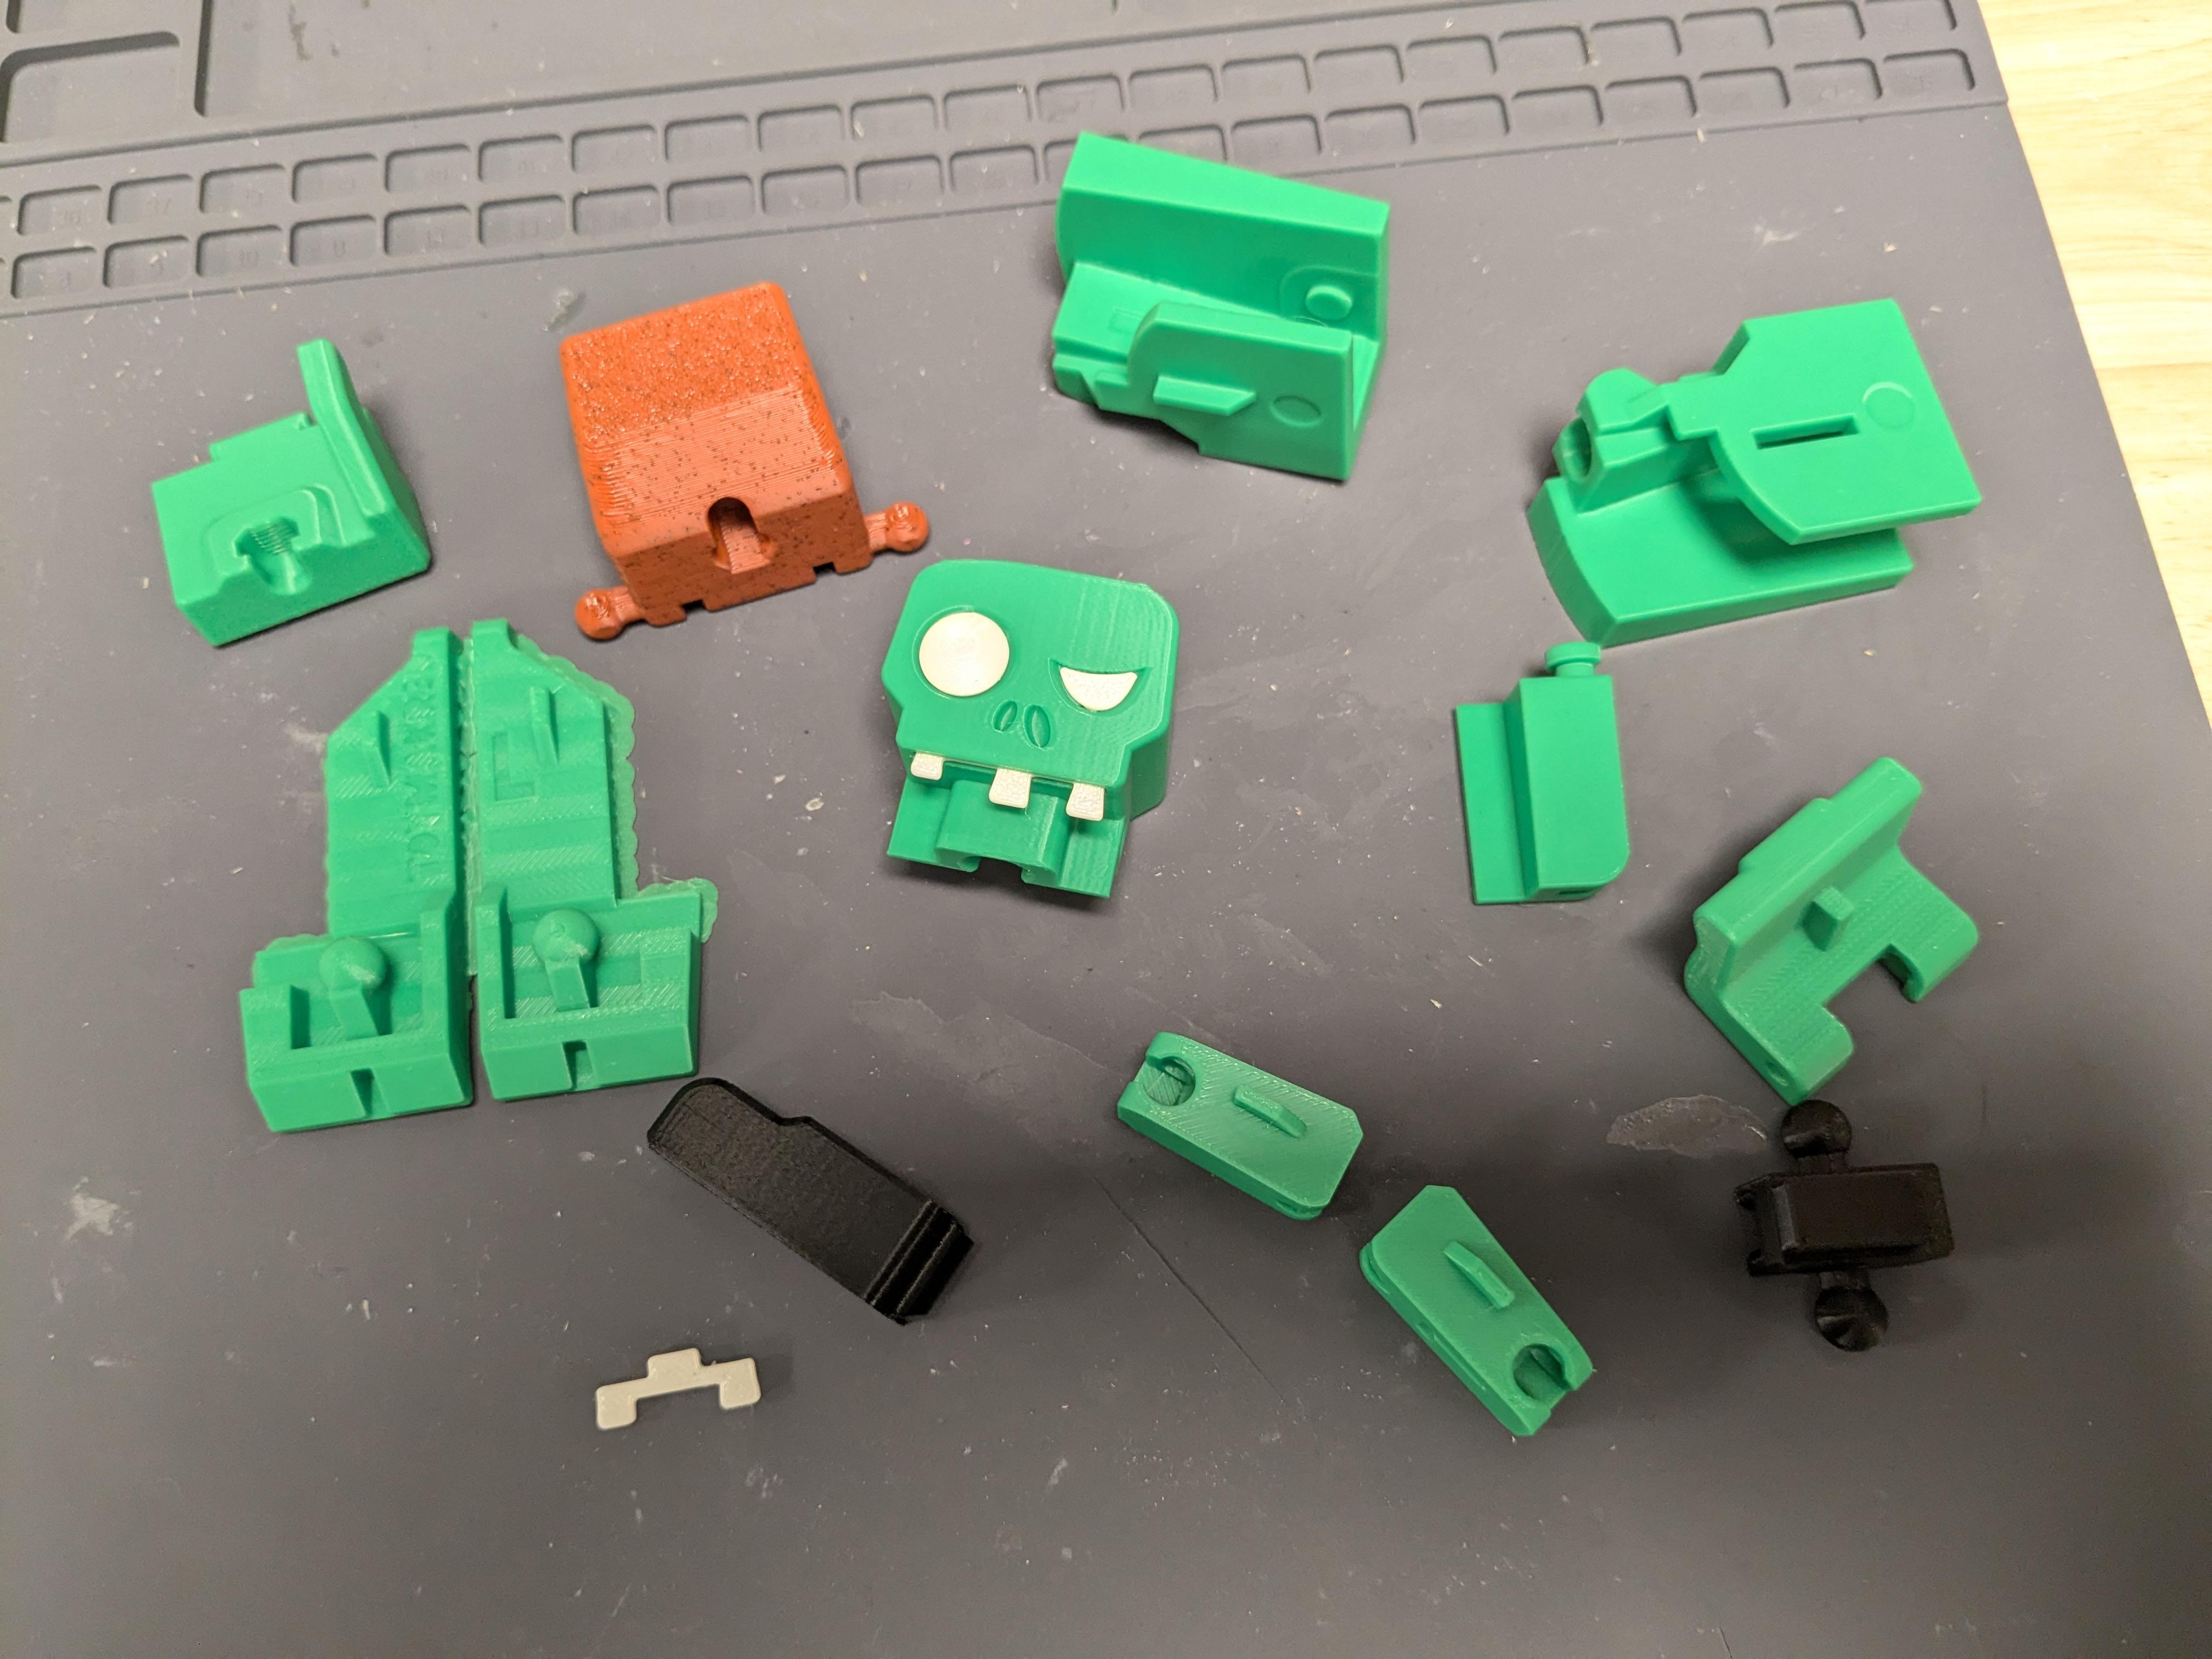
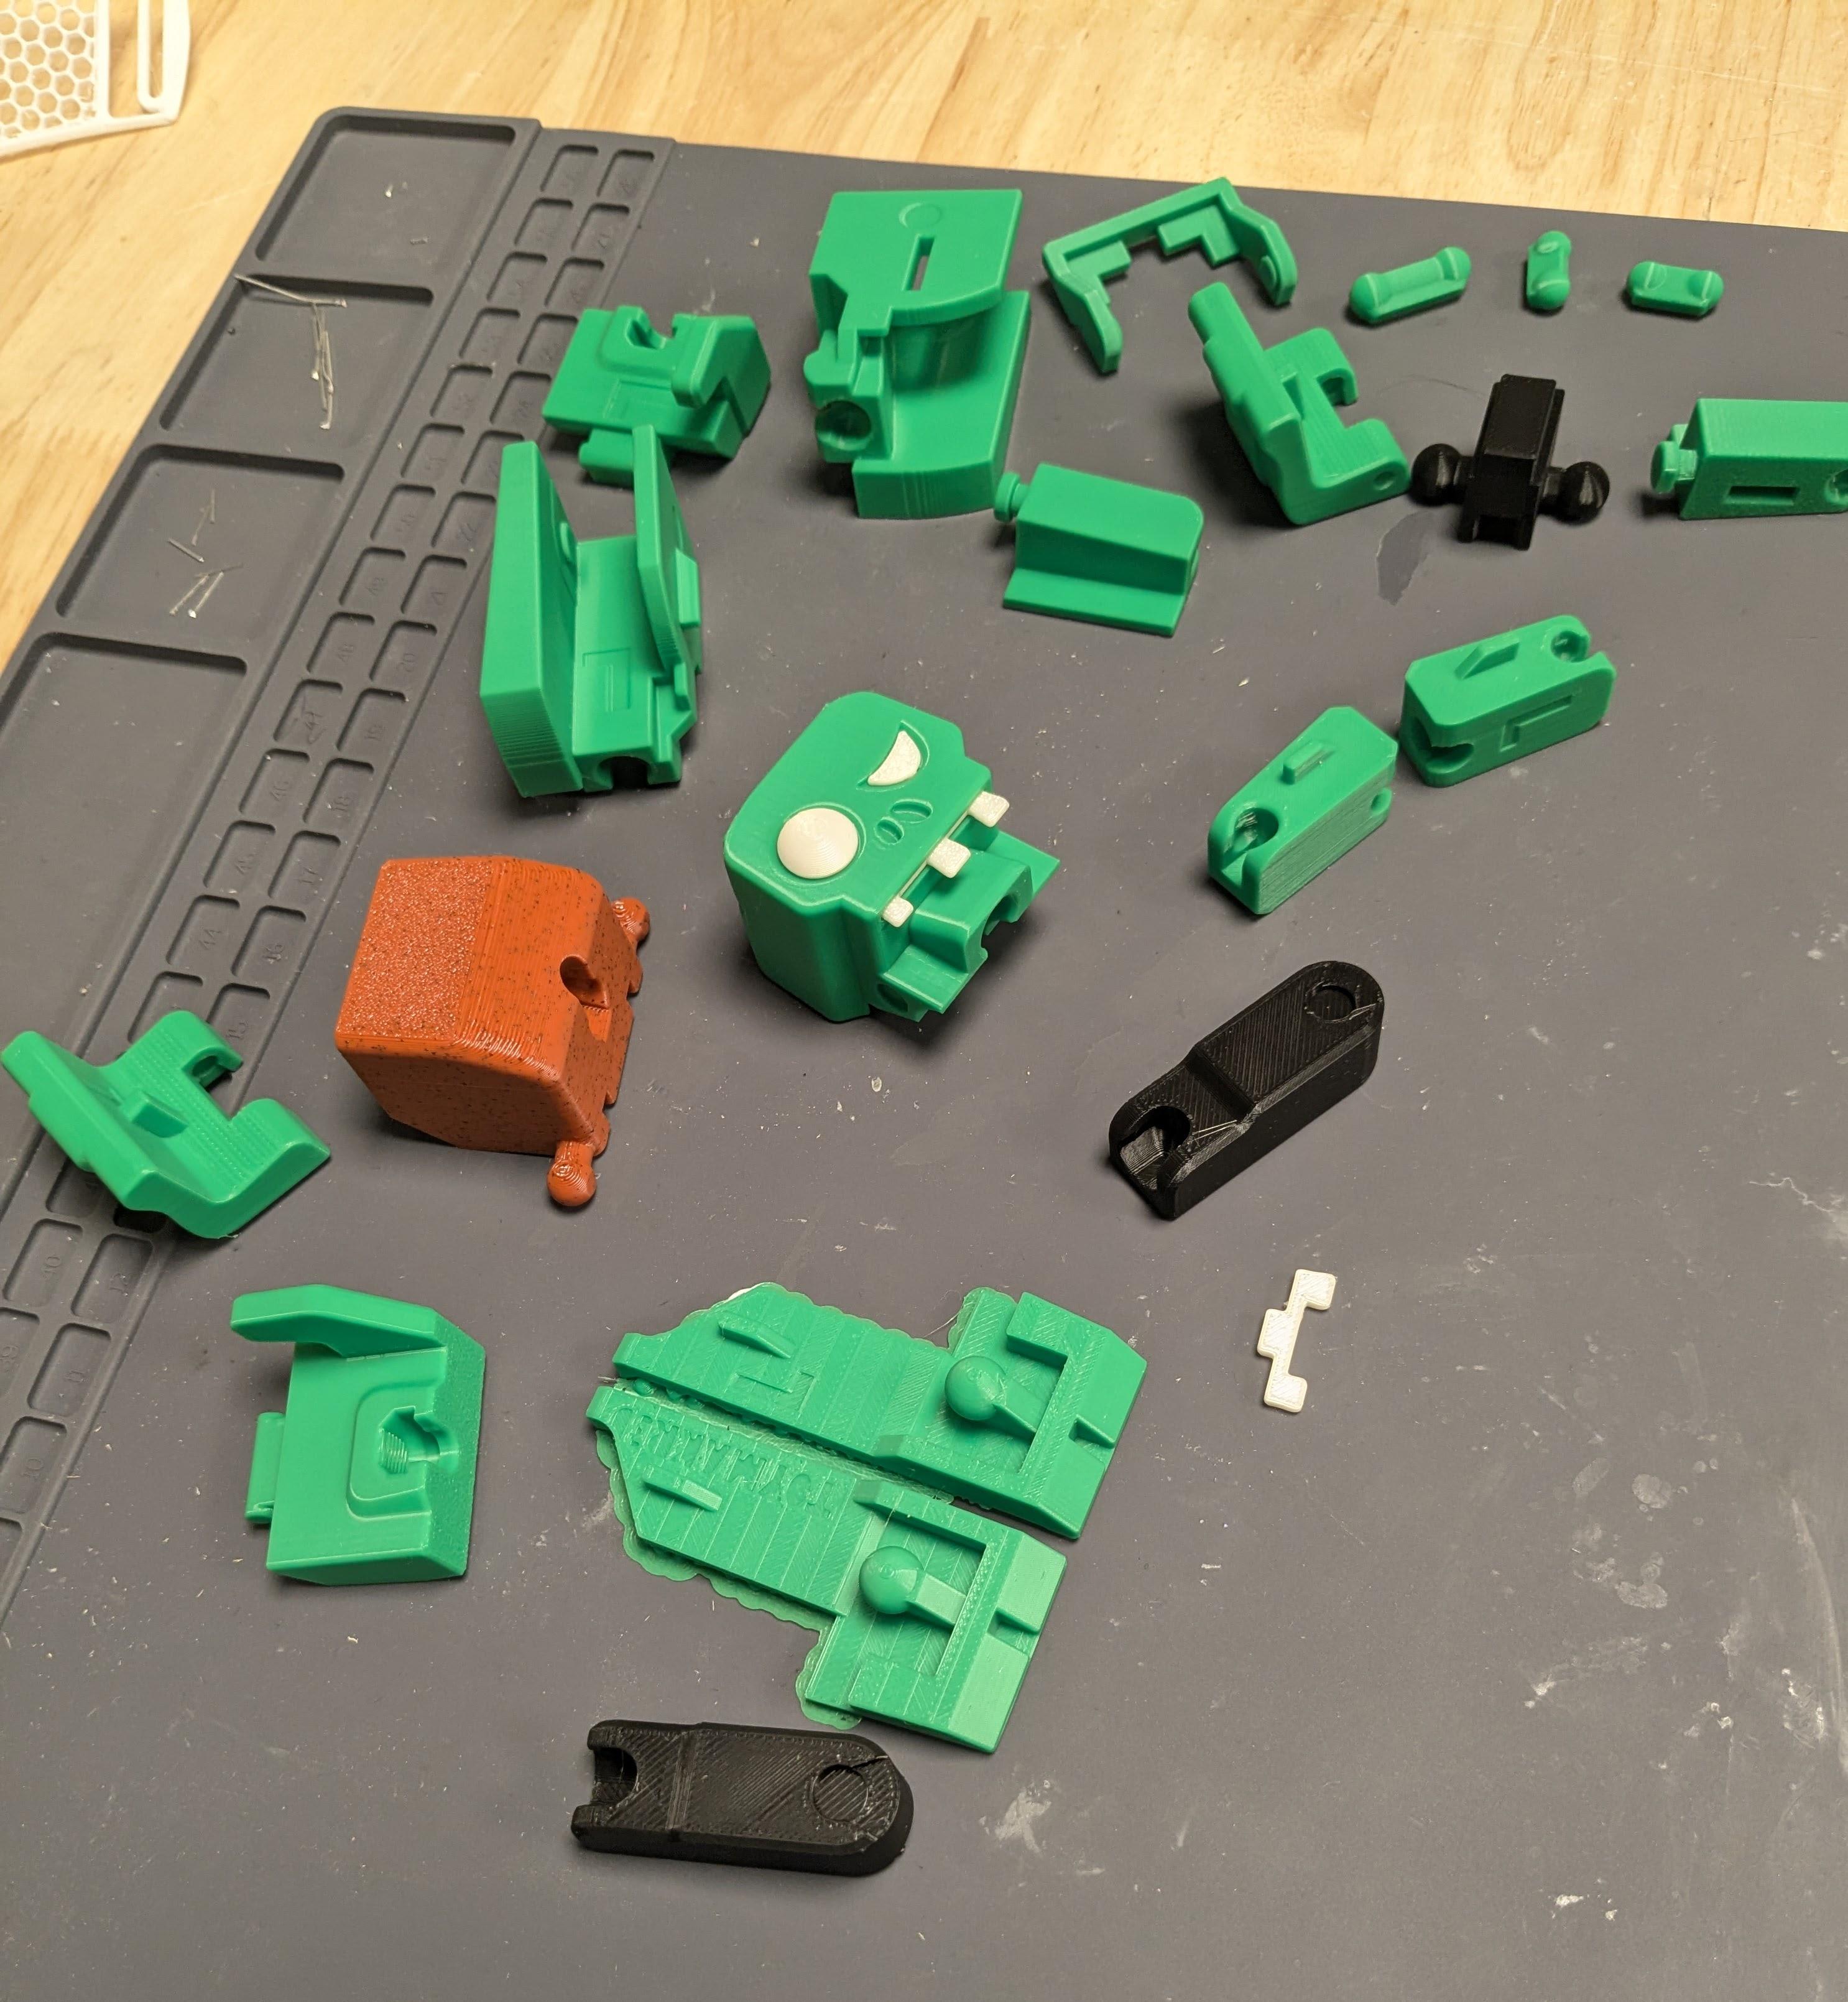
- If the print includes support structures, carefully remove them using pliers or cutters.
- Use sandpaper or a file to smooth out rough edges or imperfections on the printed pieces.
- Clean the pieces with soap and water to remove any residual dust or oils from handling.
- Apply Primer (Optional): If desired, apply a primer coat to enhance paint adhesion and surface finish.
- Use acrylic or spray paint to add color, applying multiple thin coats for even coverage.
Assembling the Zombieman
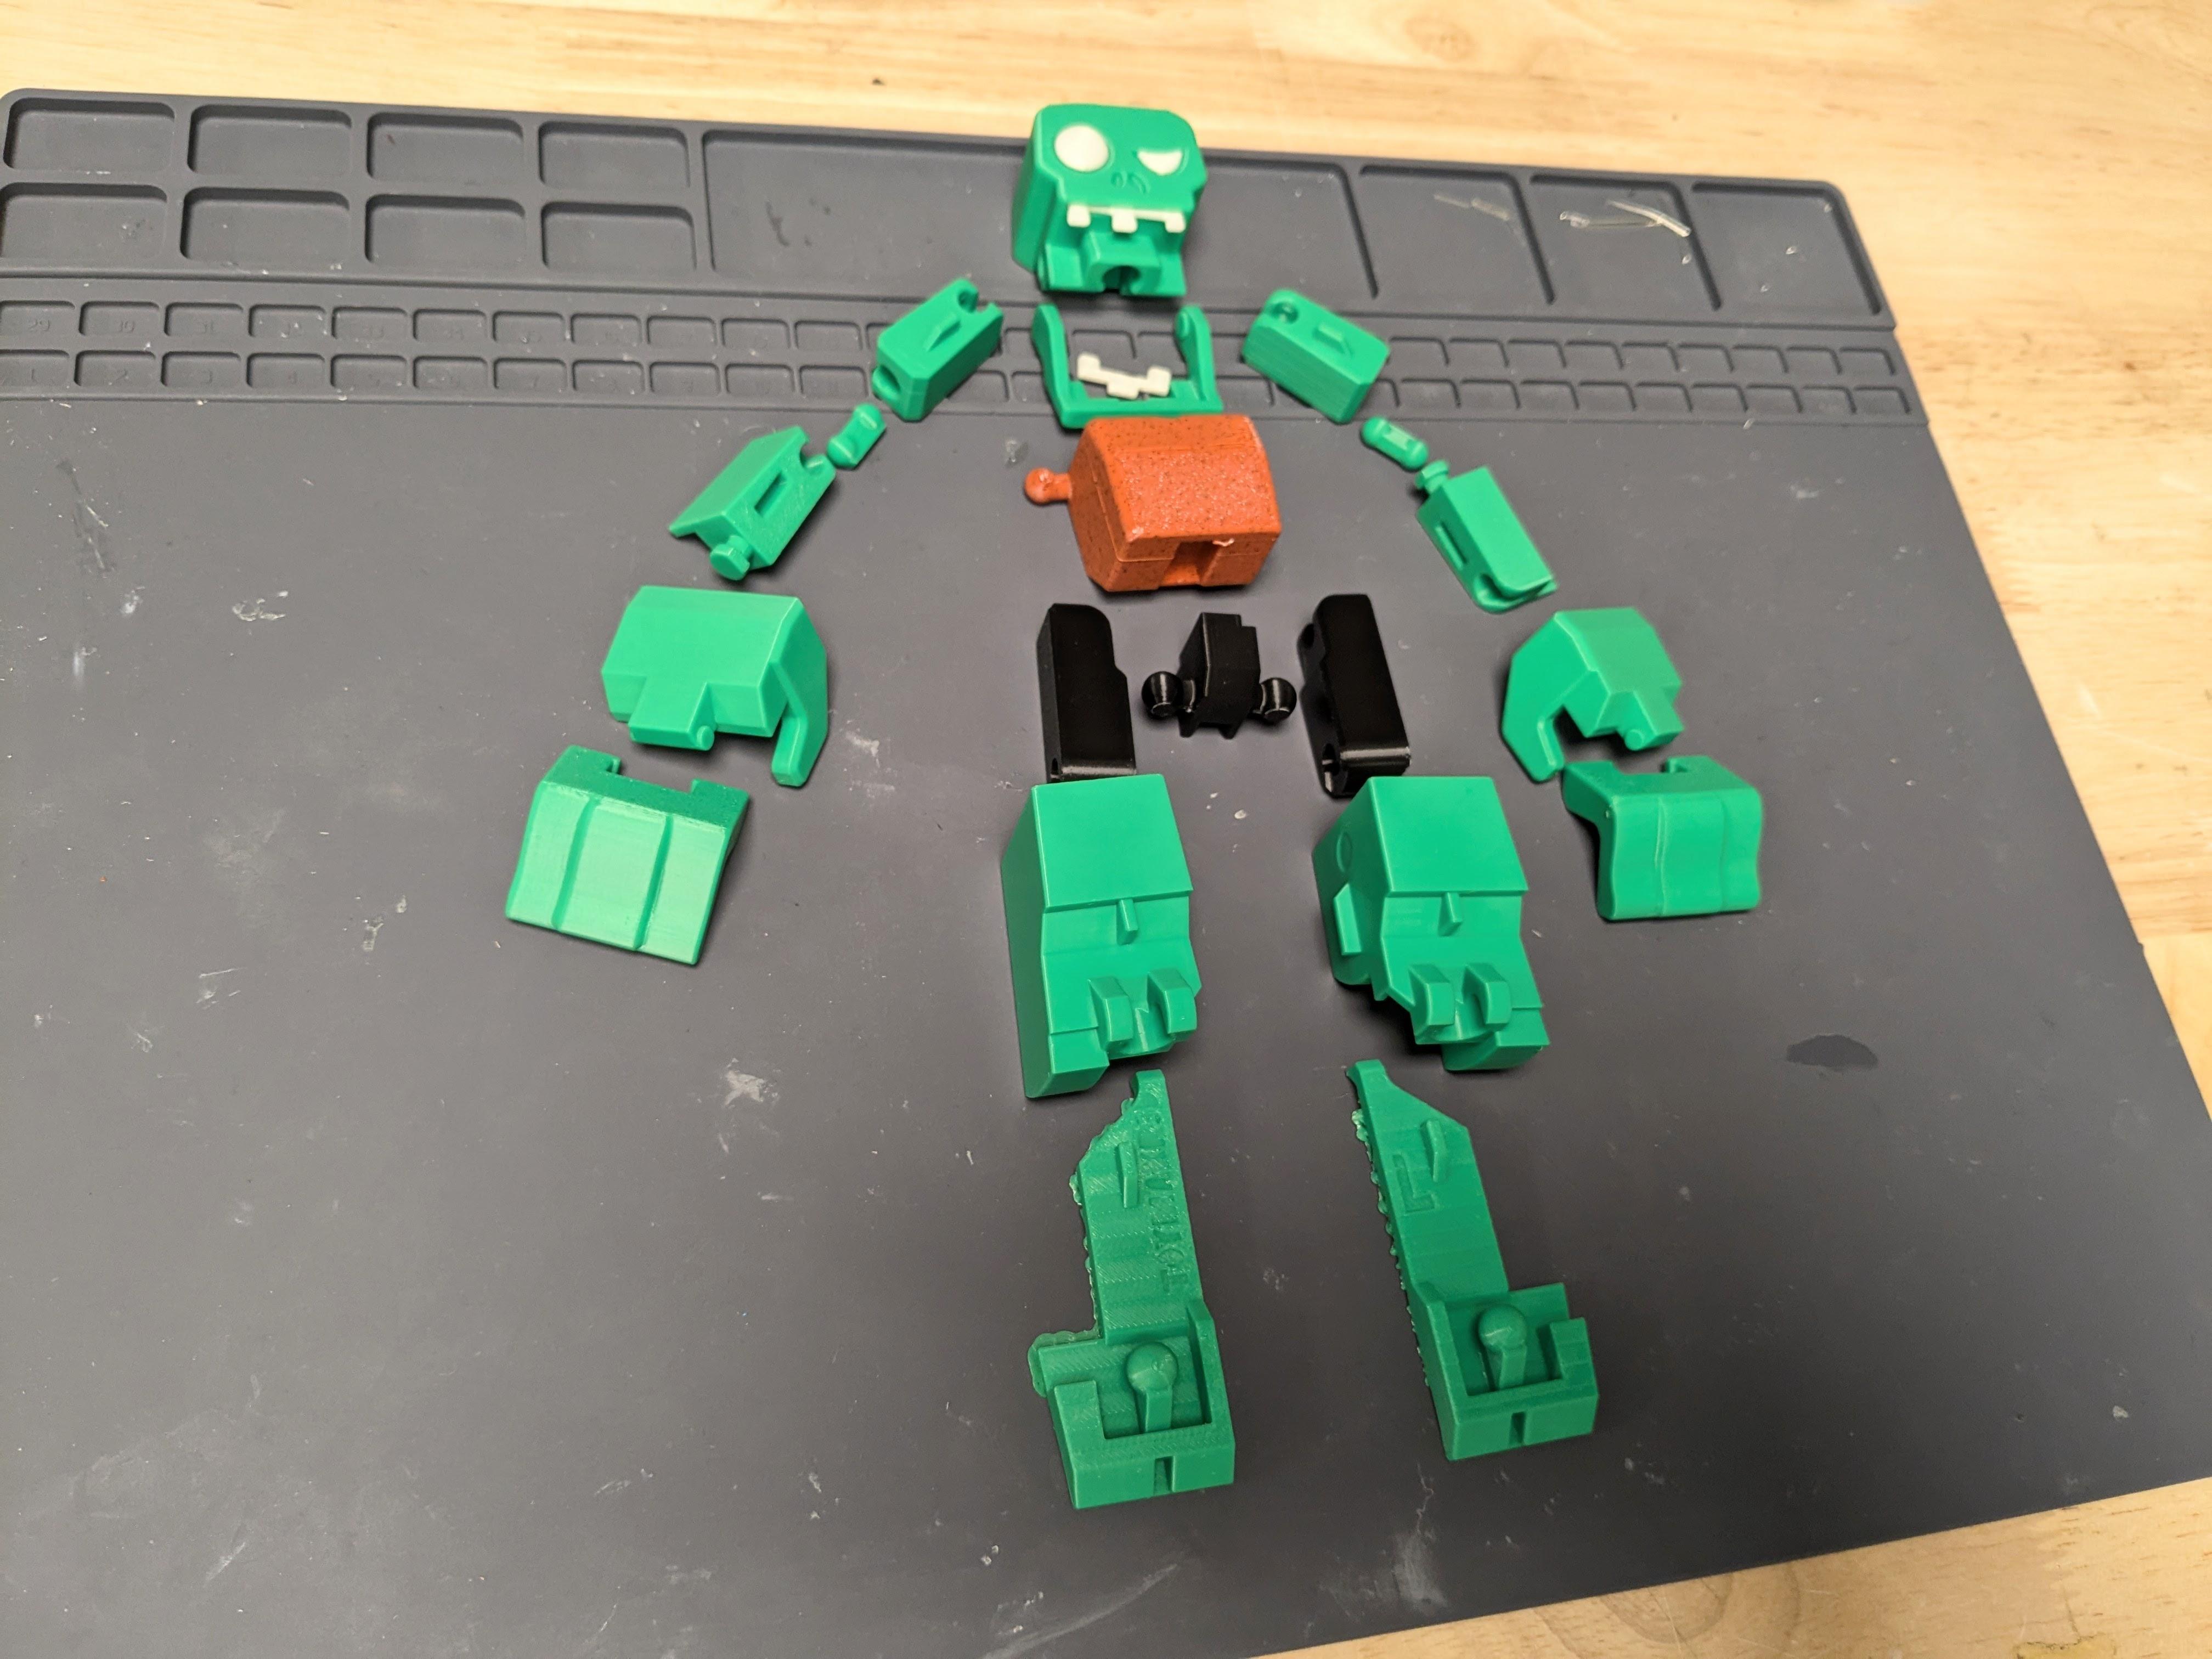
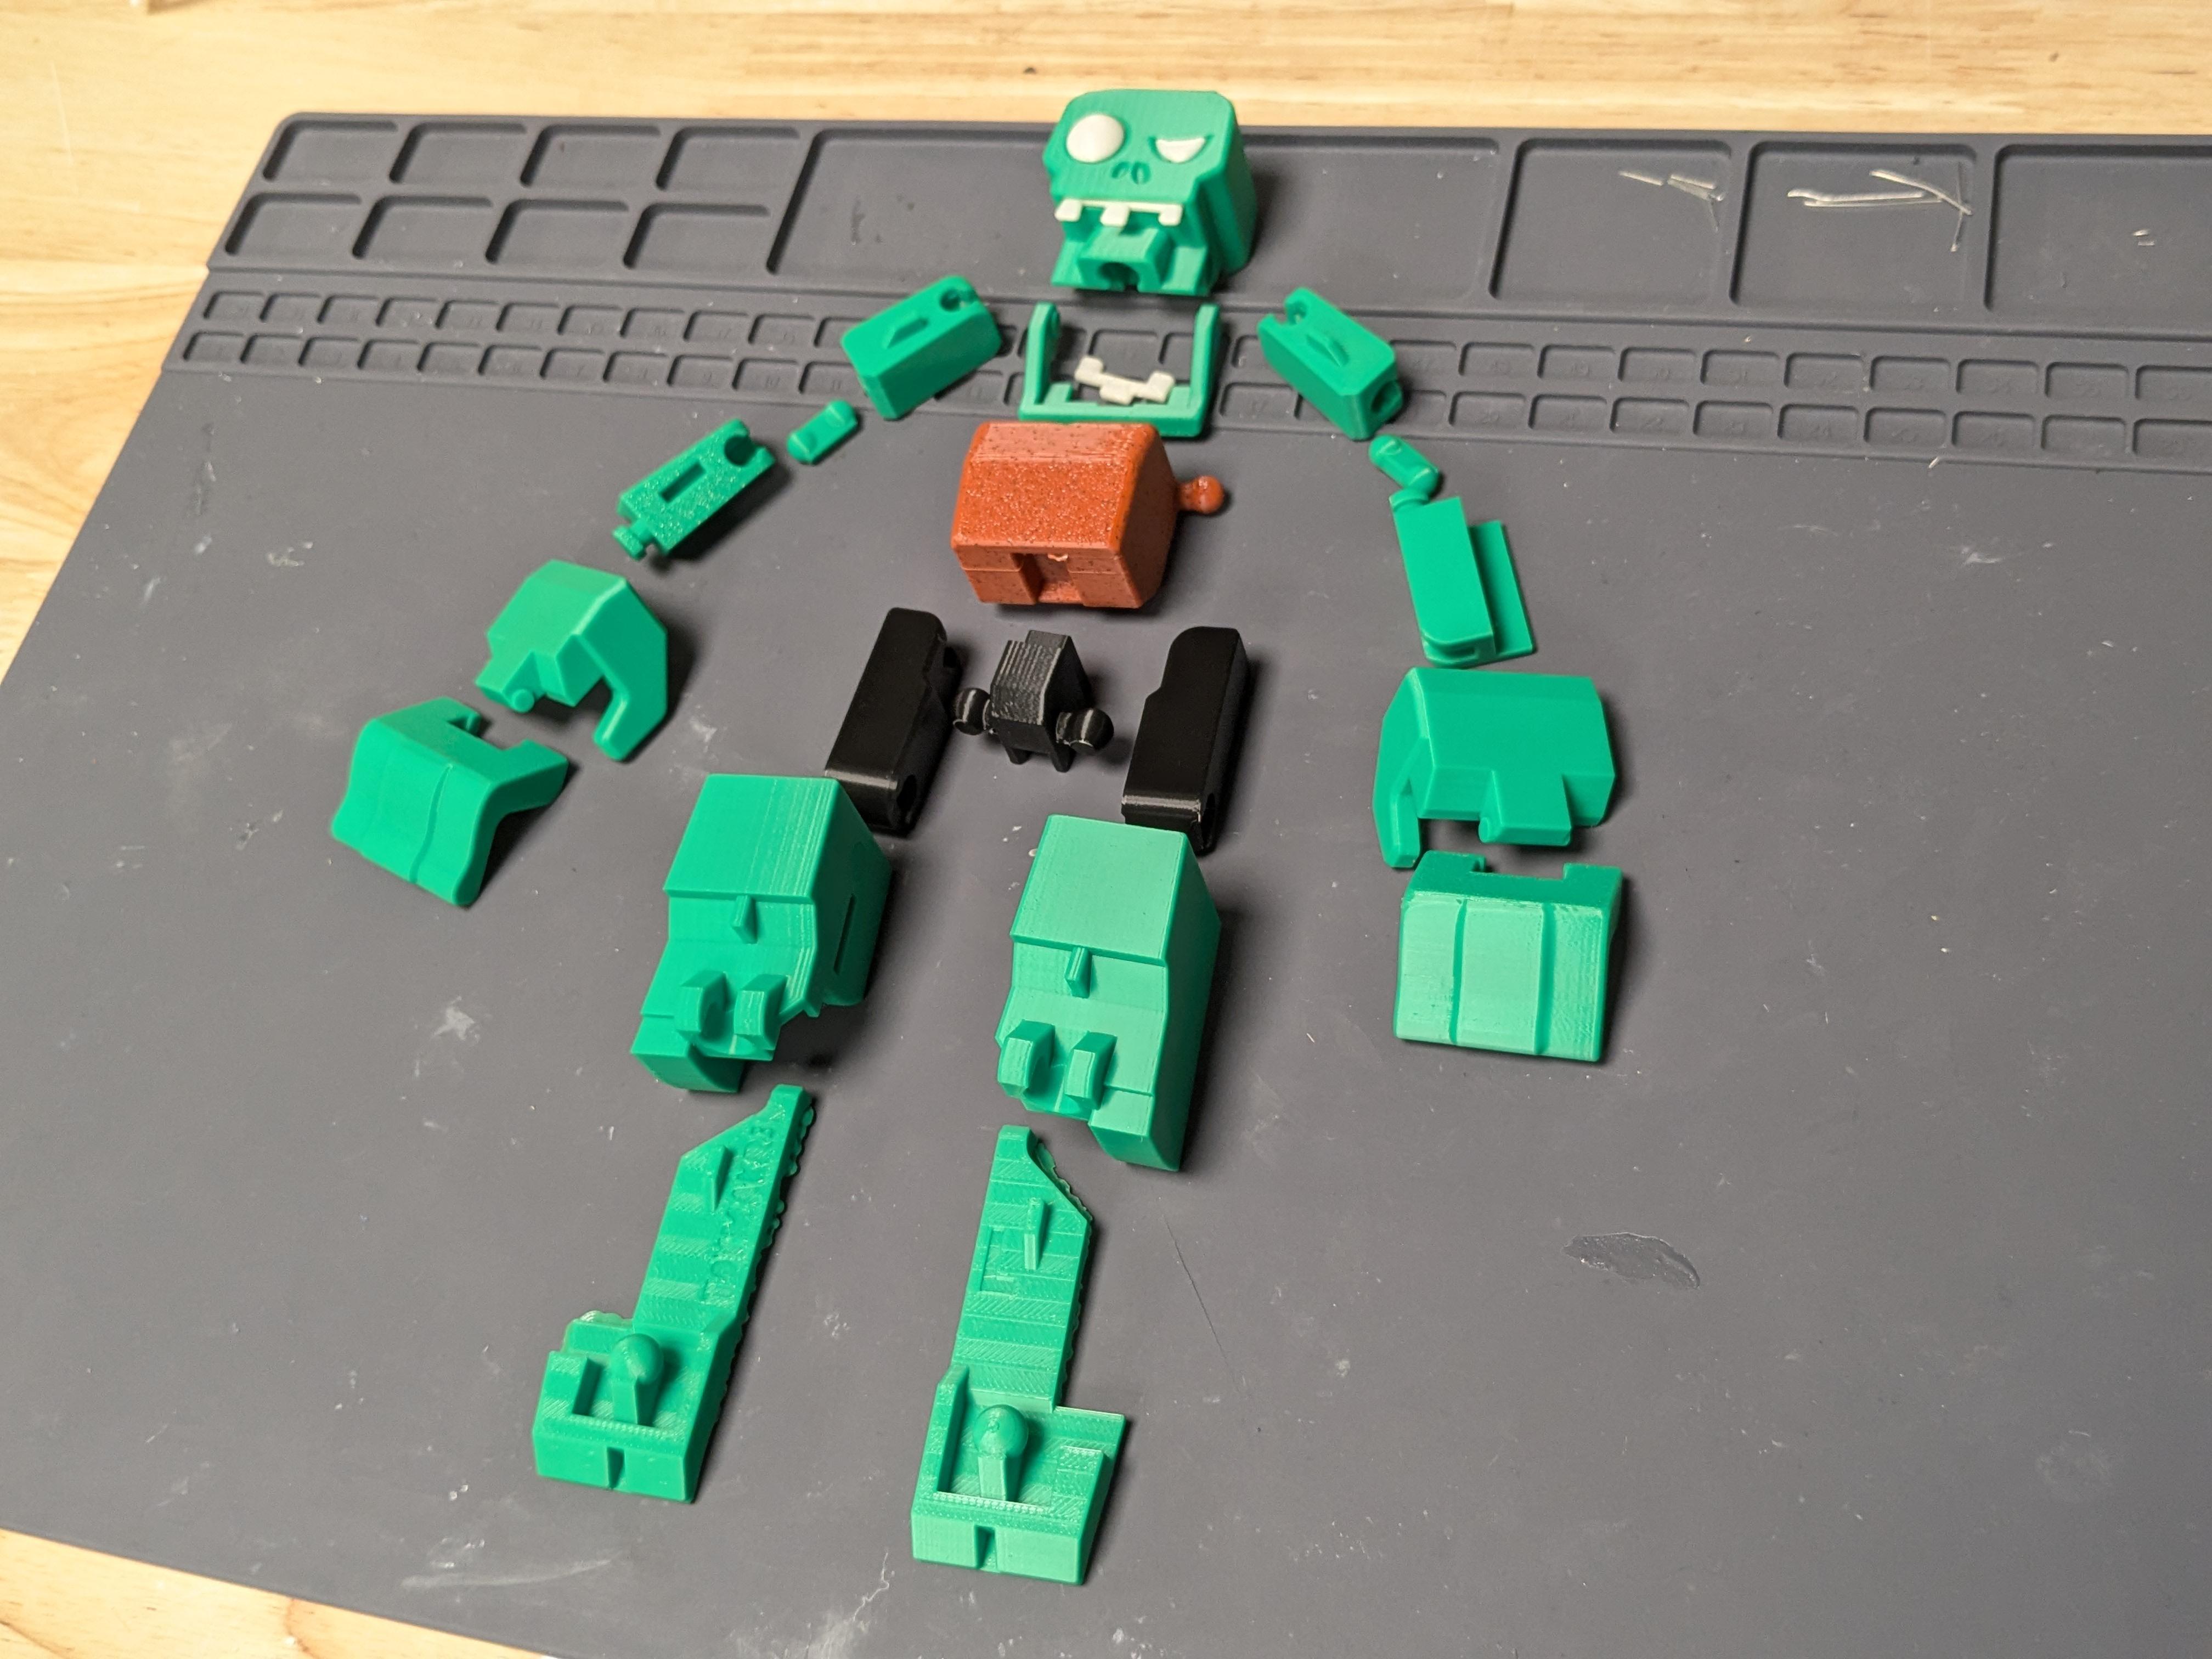
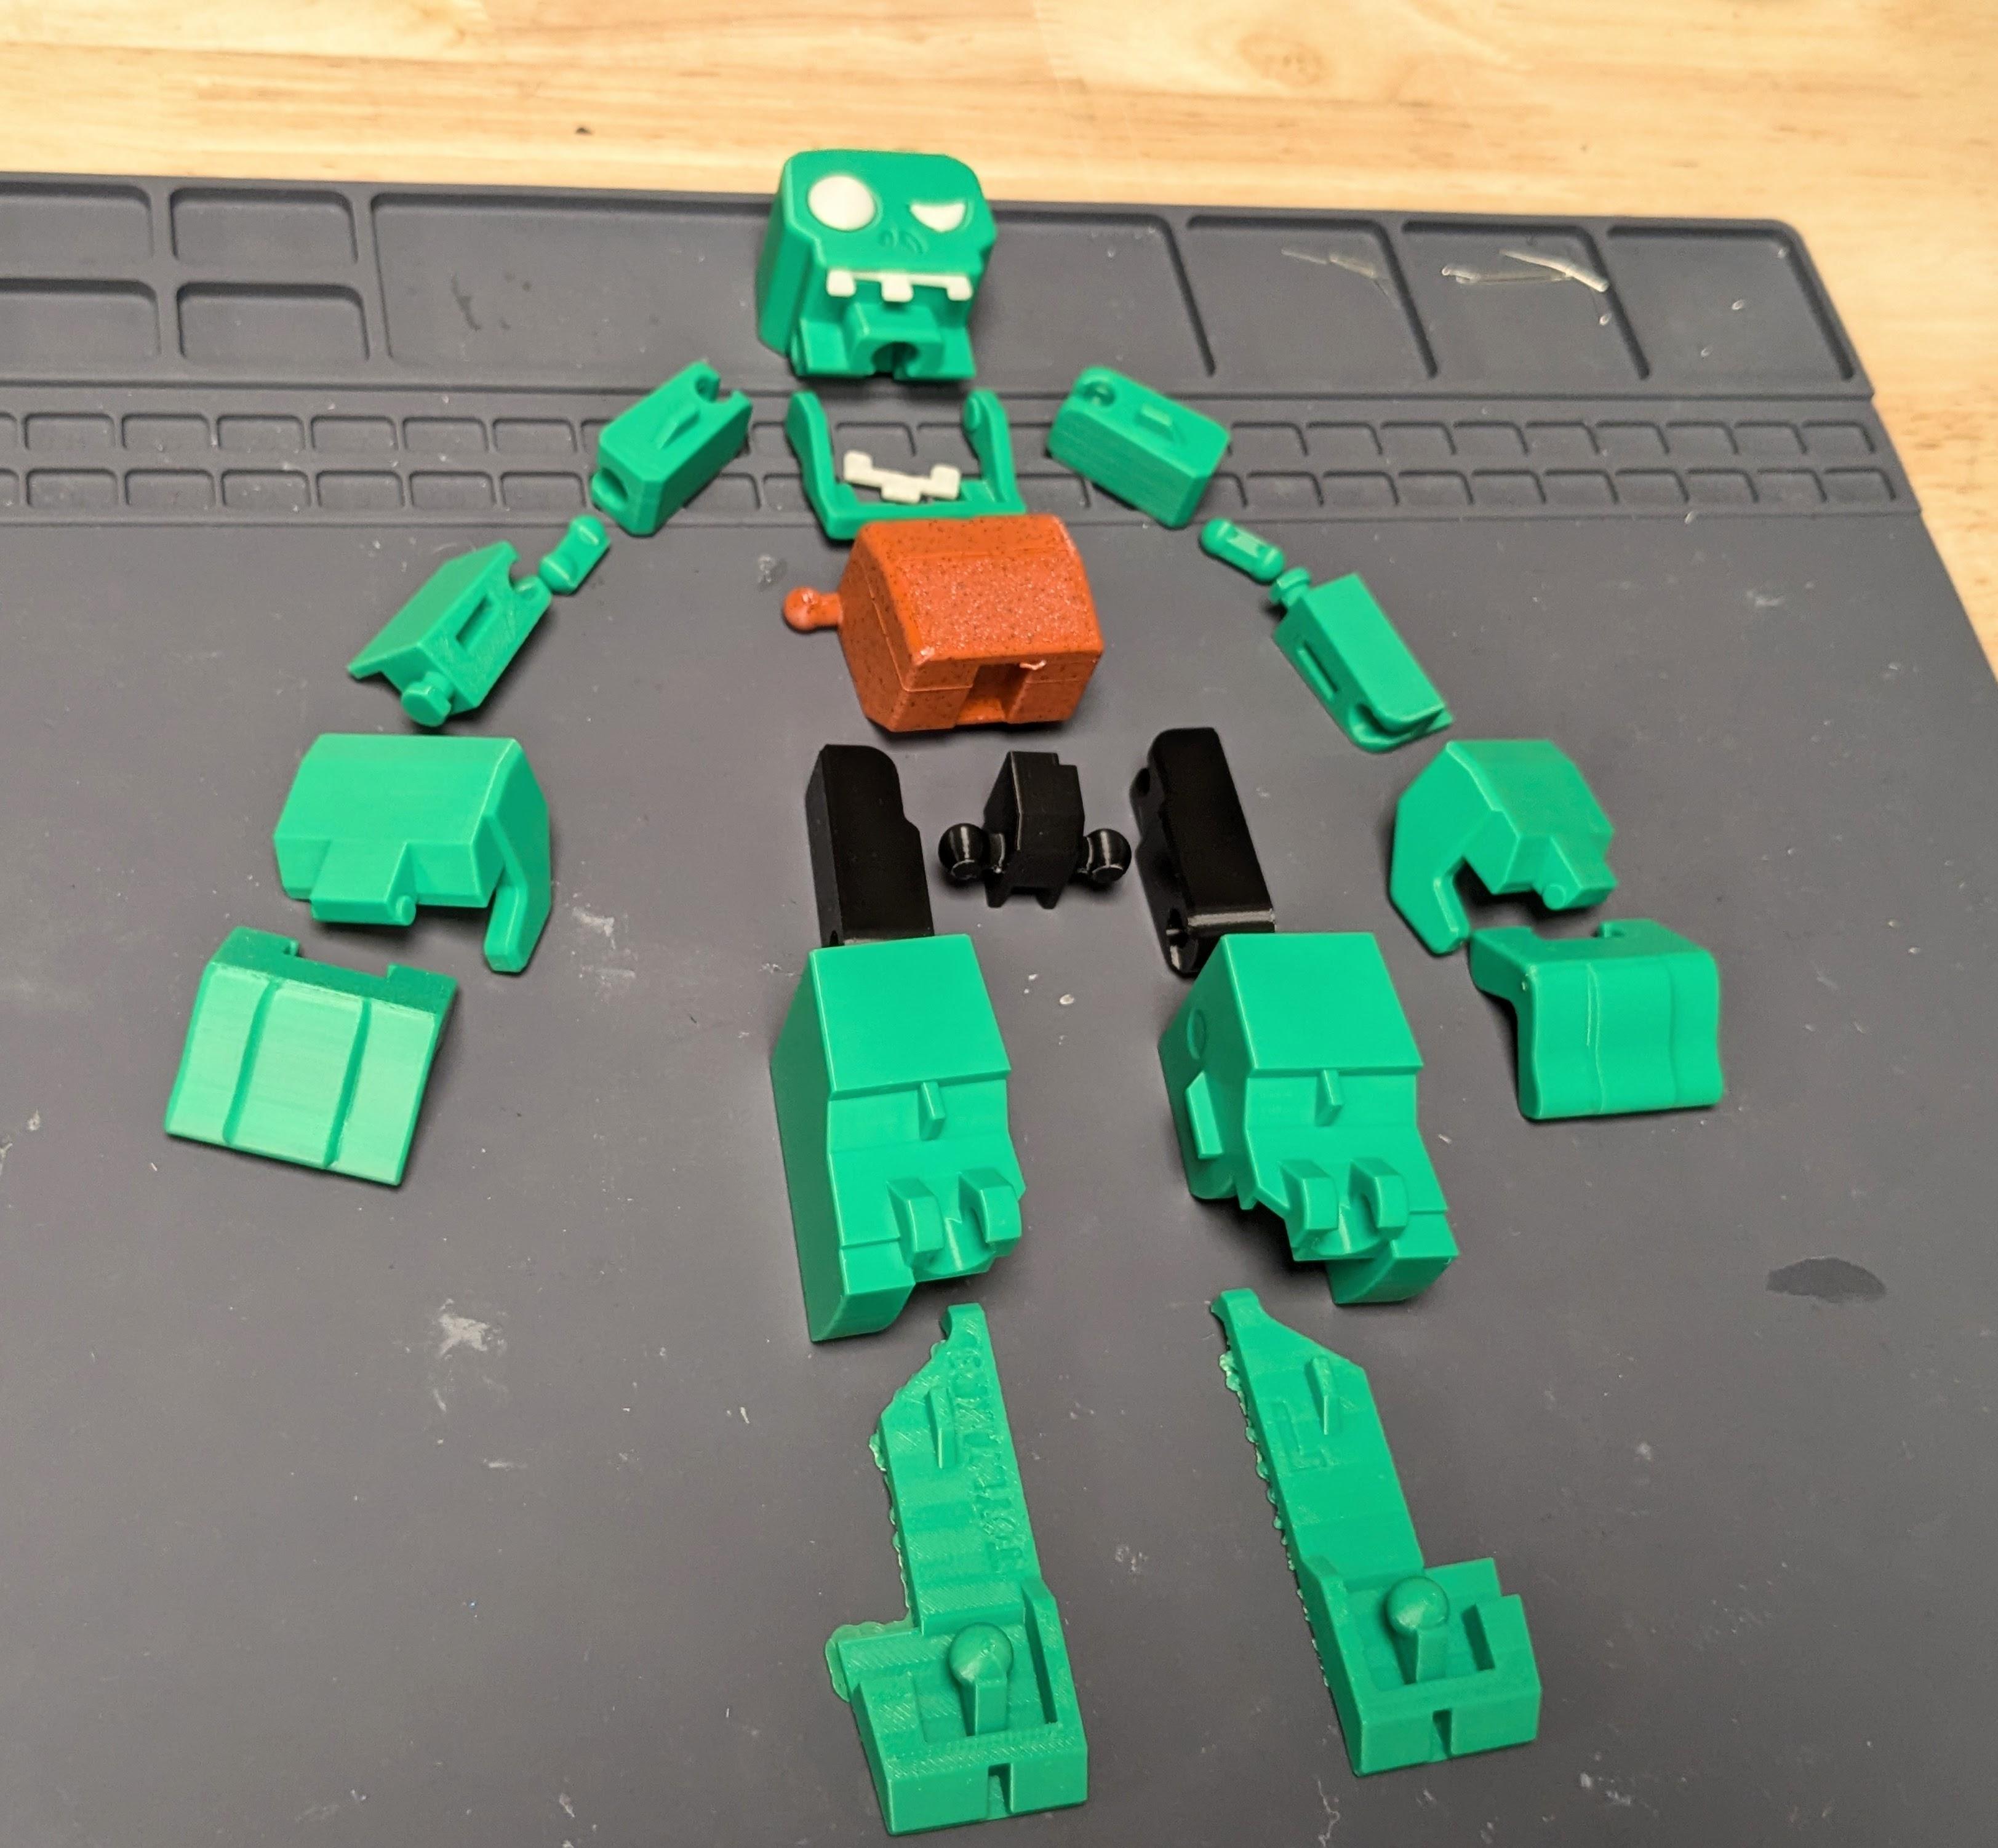
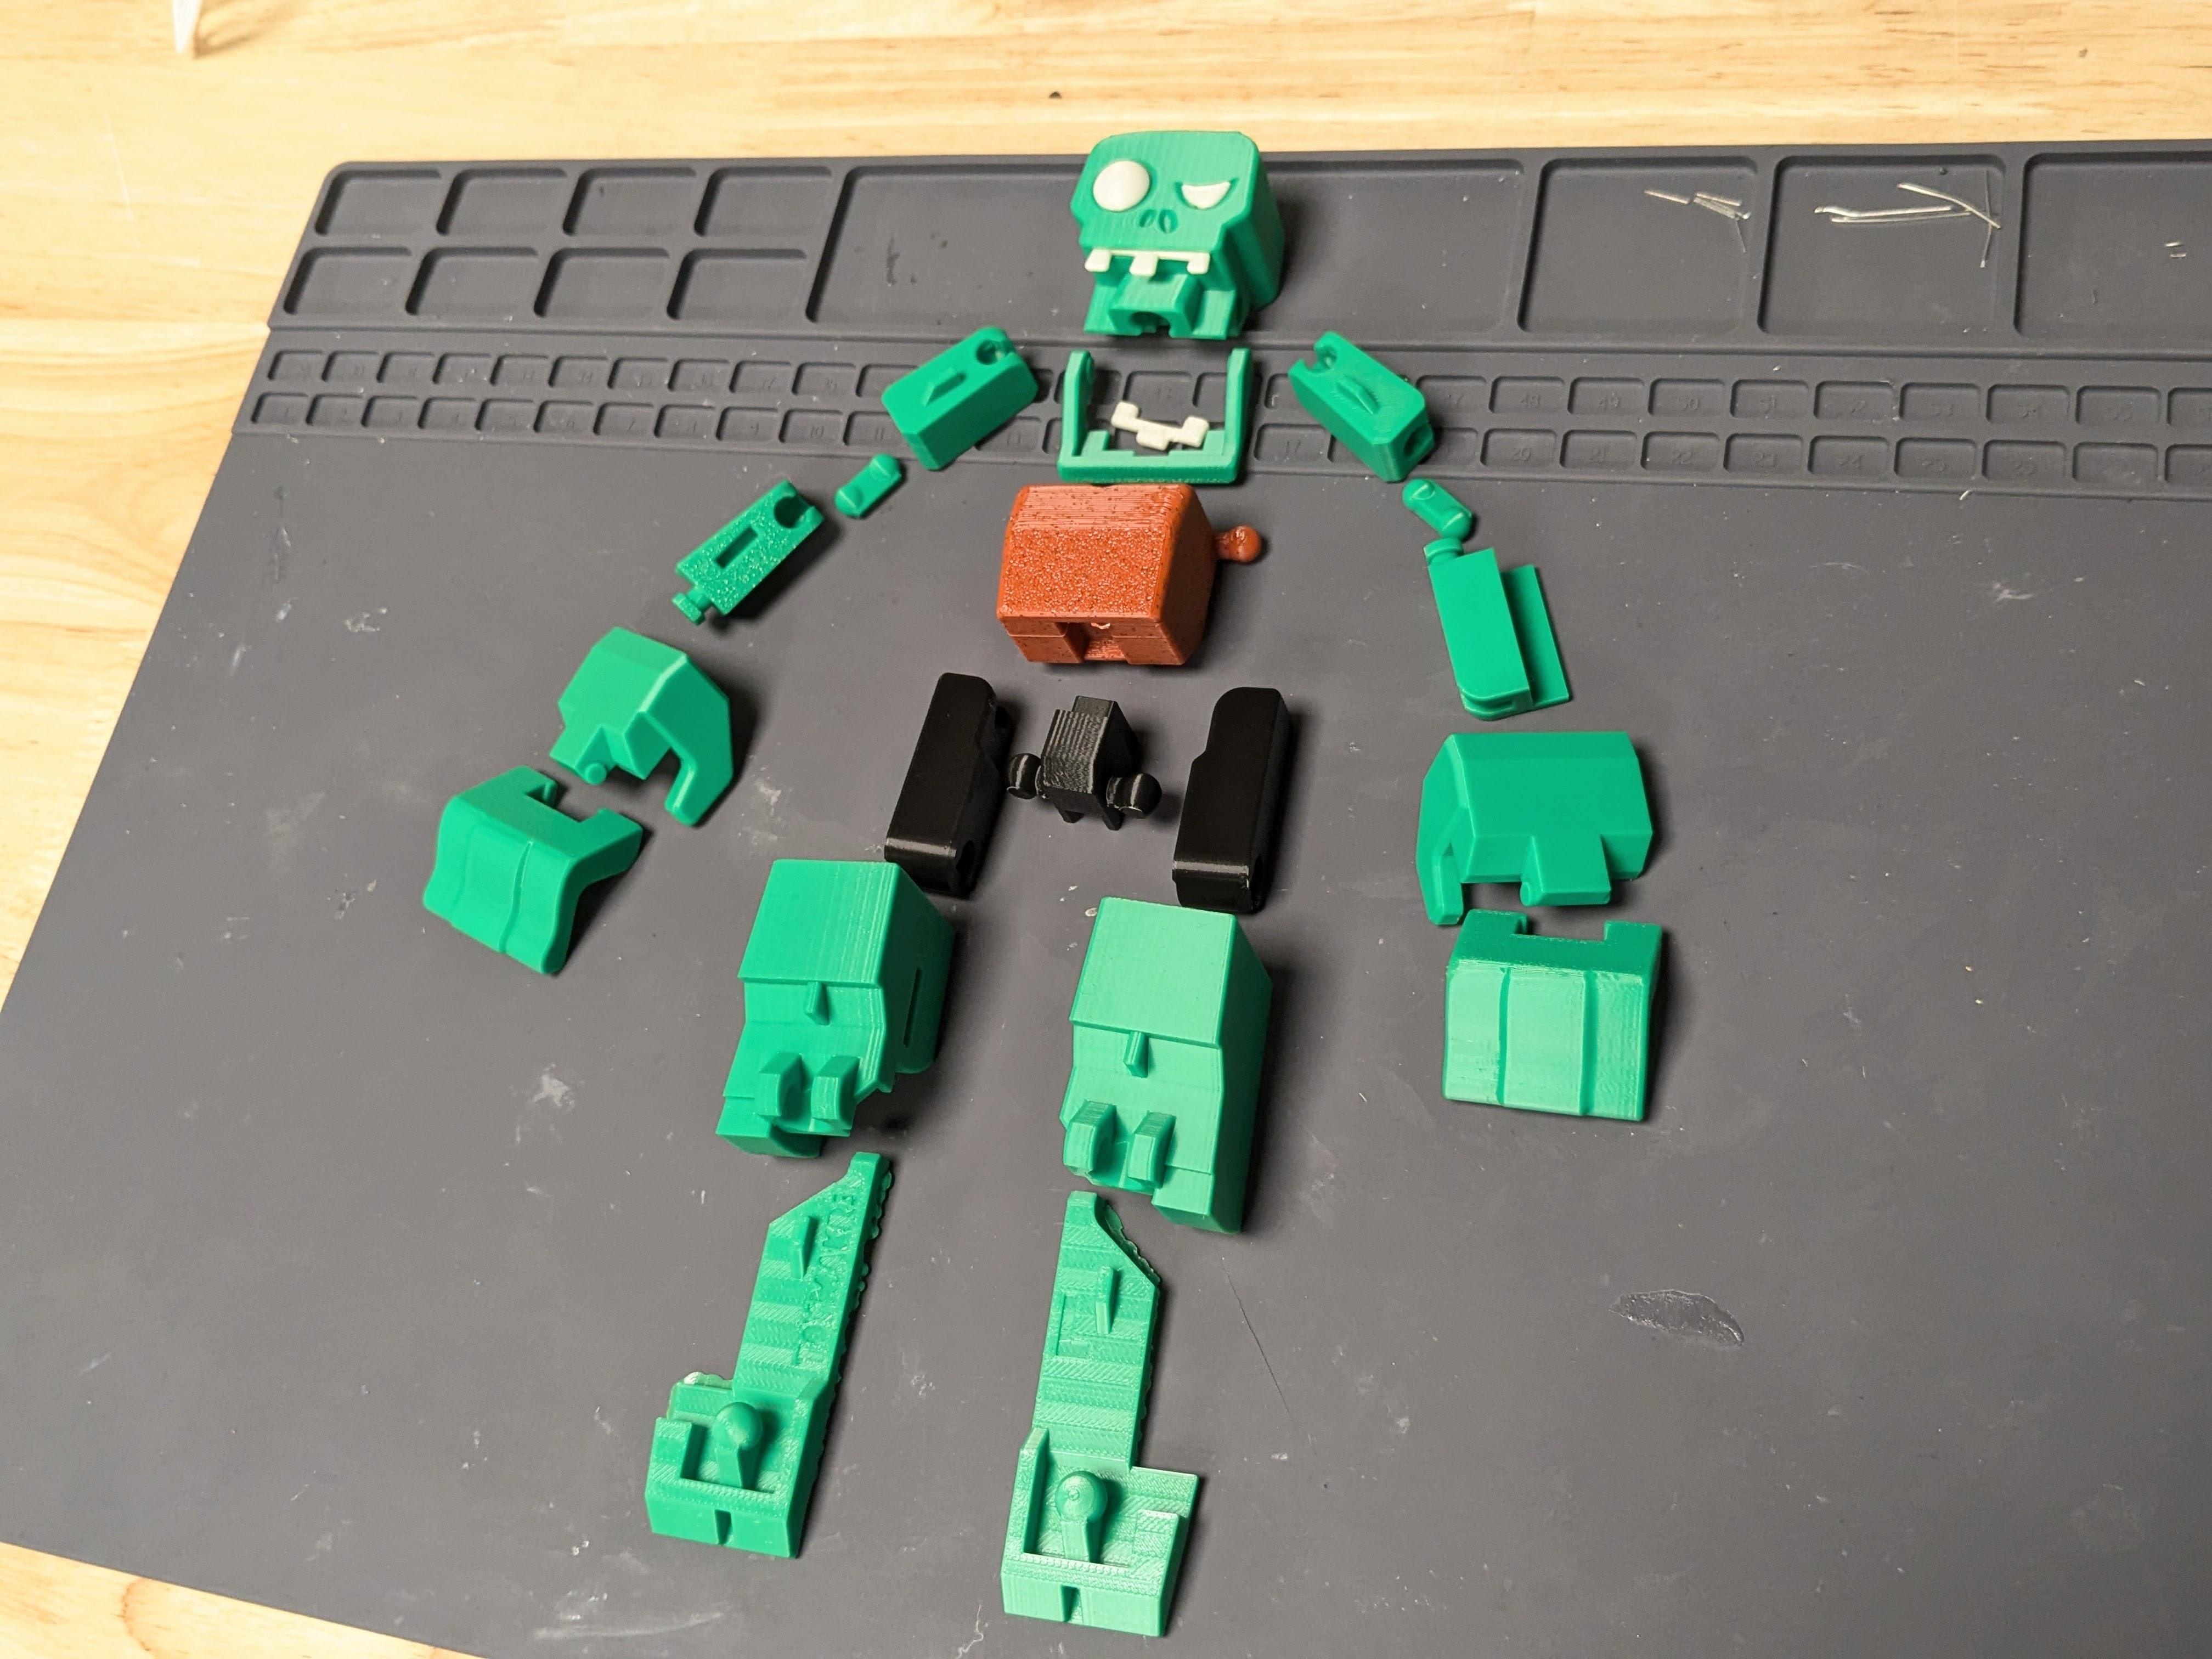
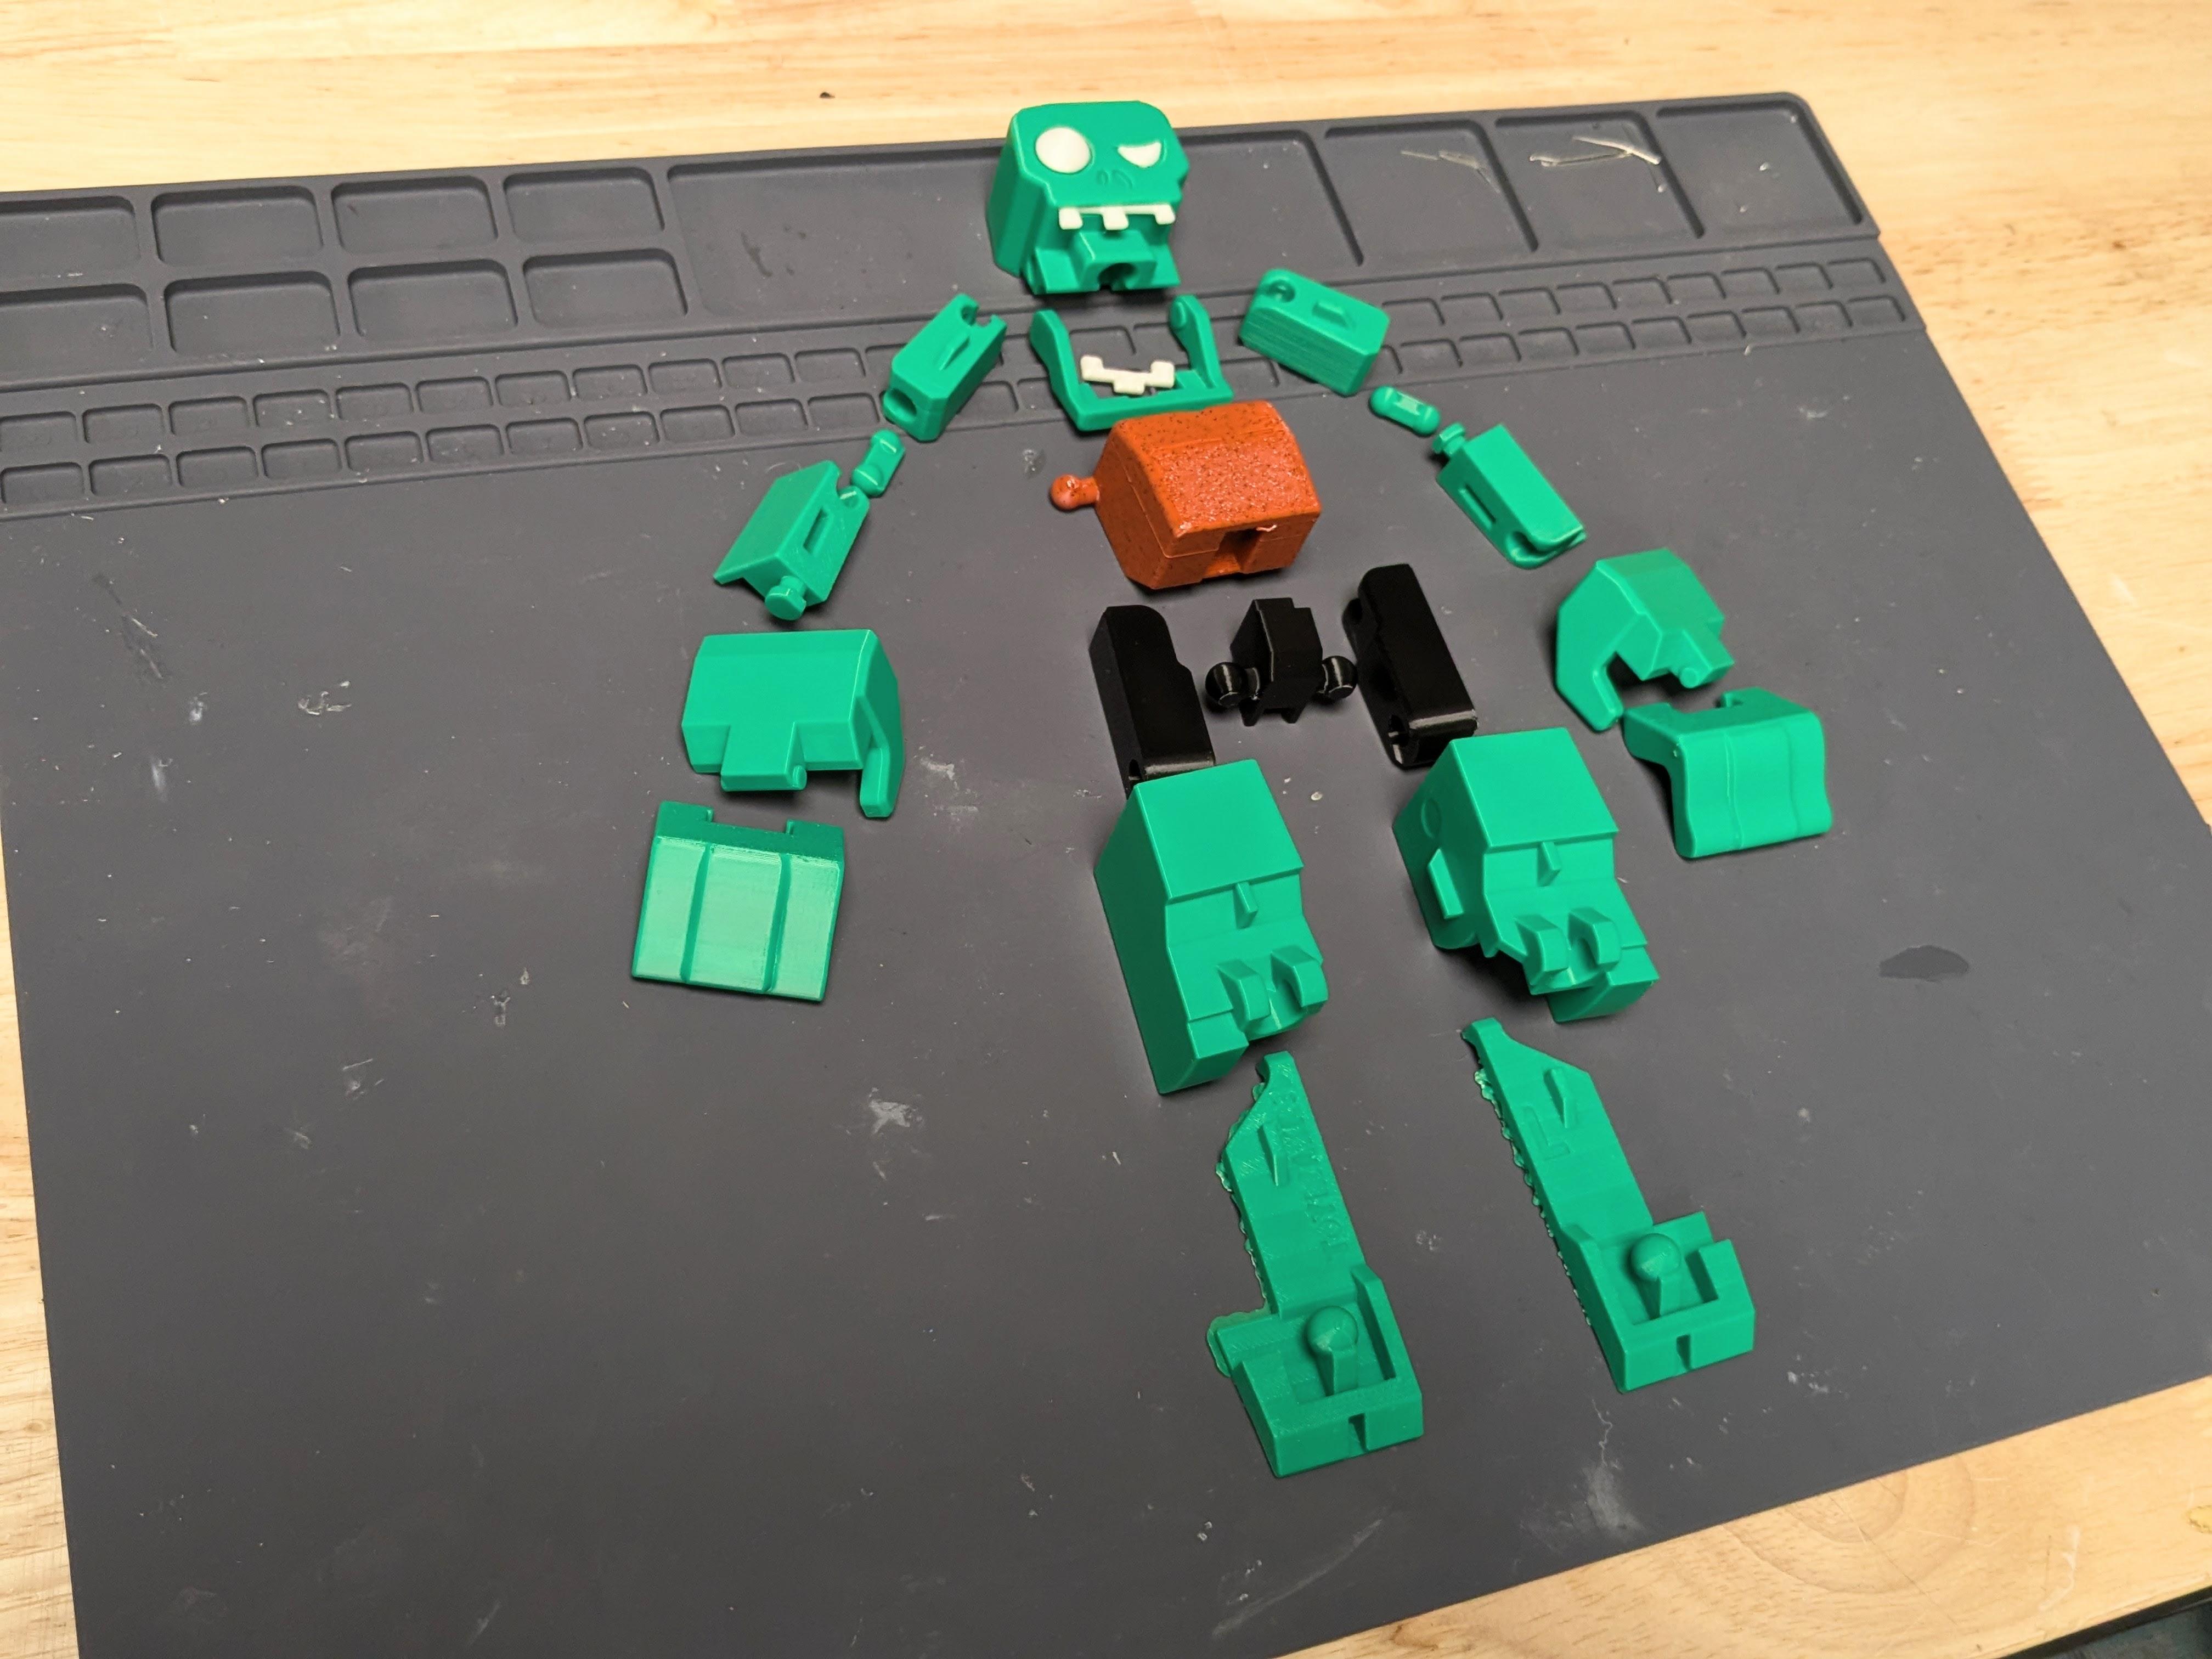
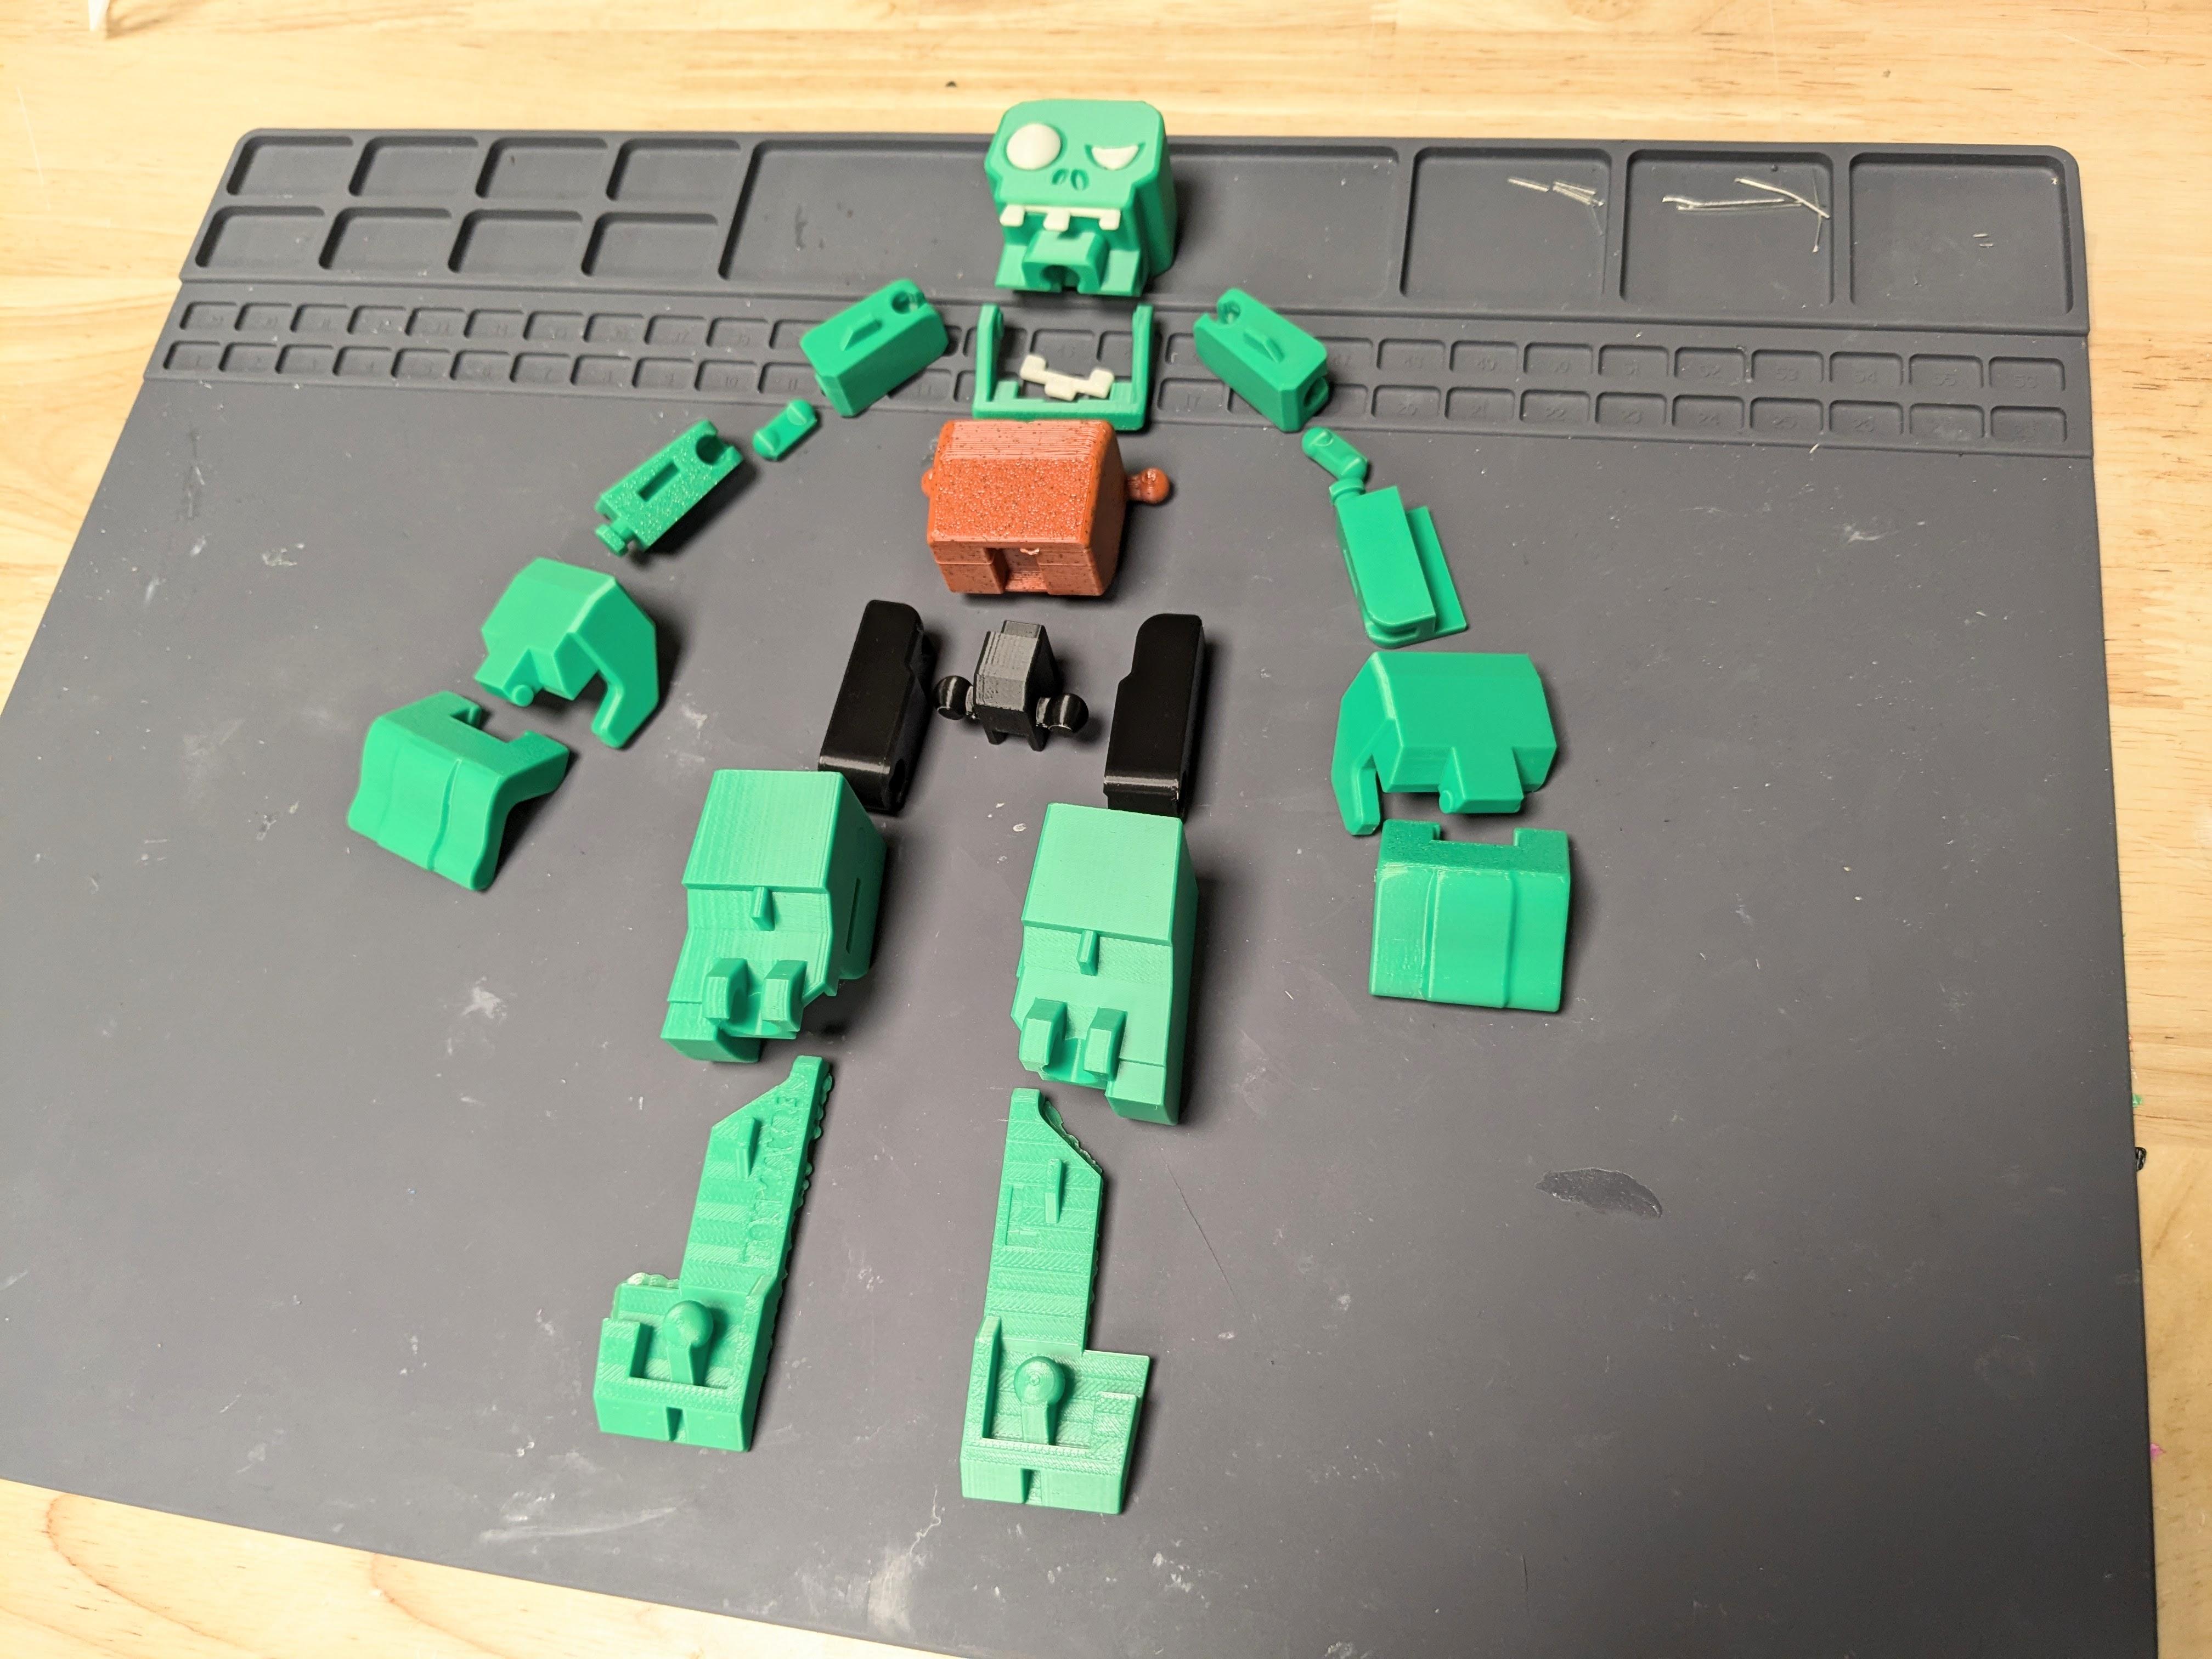
- Lay out all printed parts to identify how they will fit together.
- Before using adhesive, dry-fit all pieces to ensure they align properly.
Attaching the Head
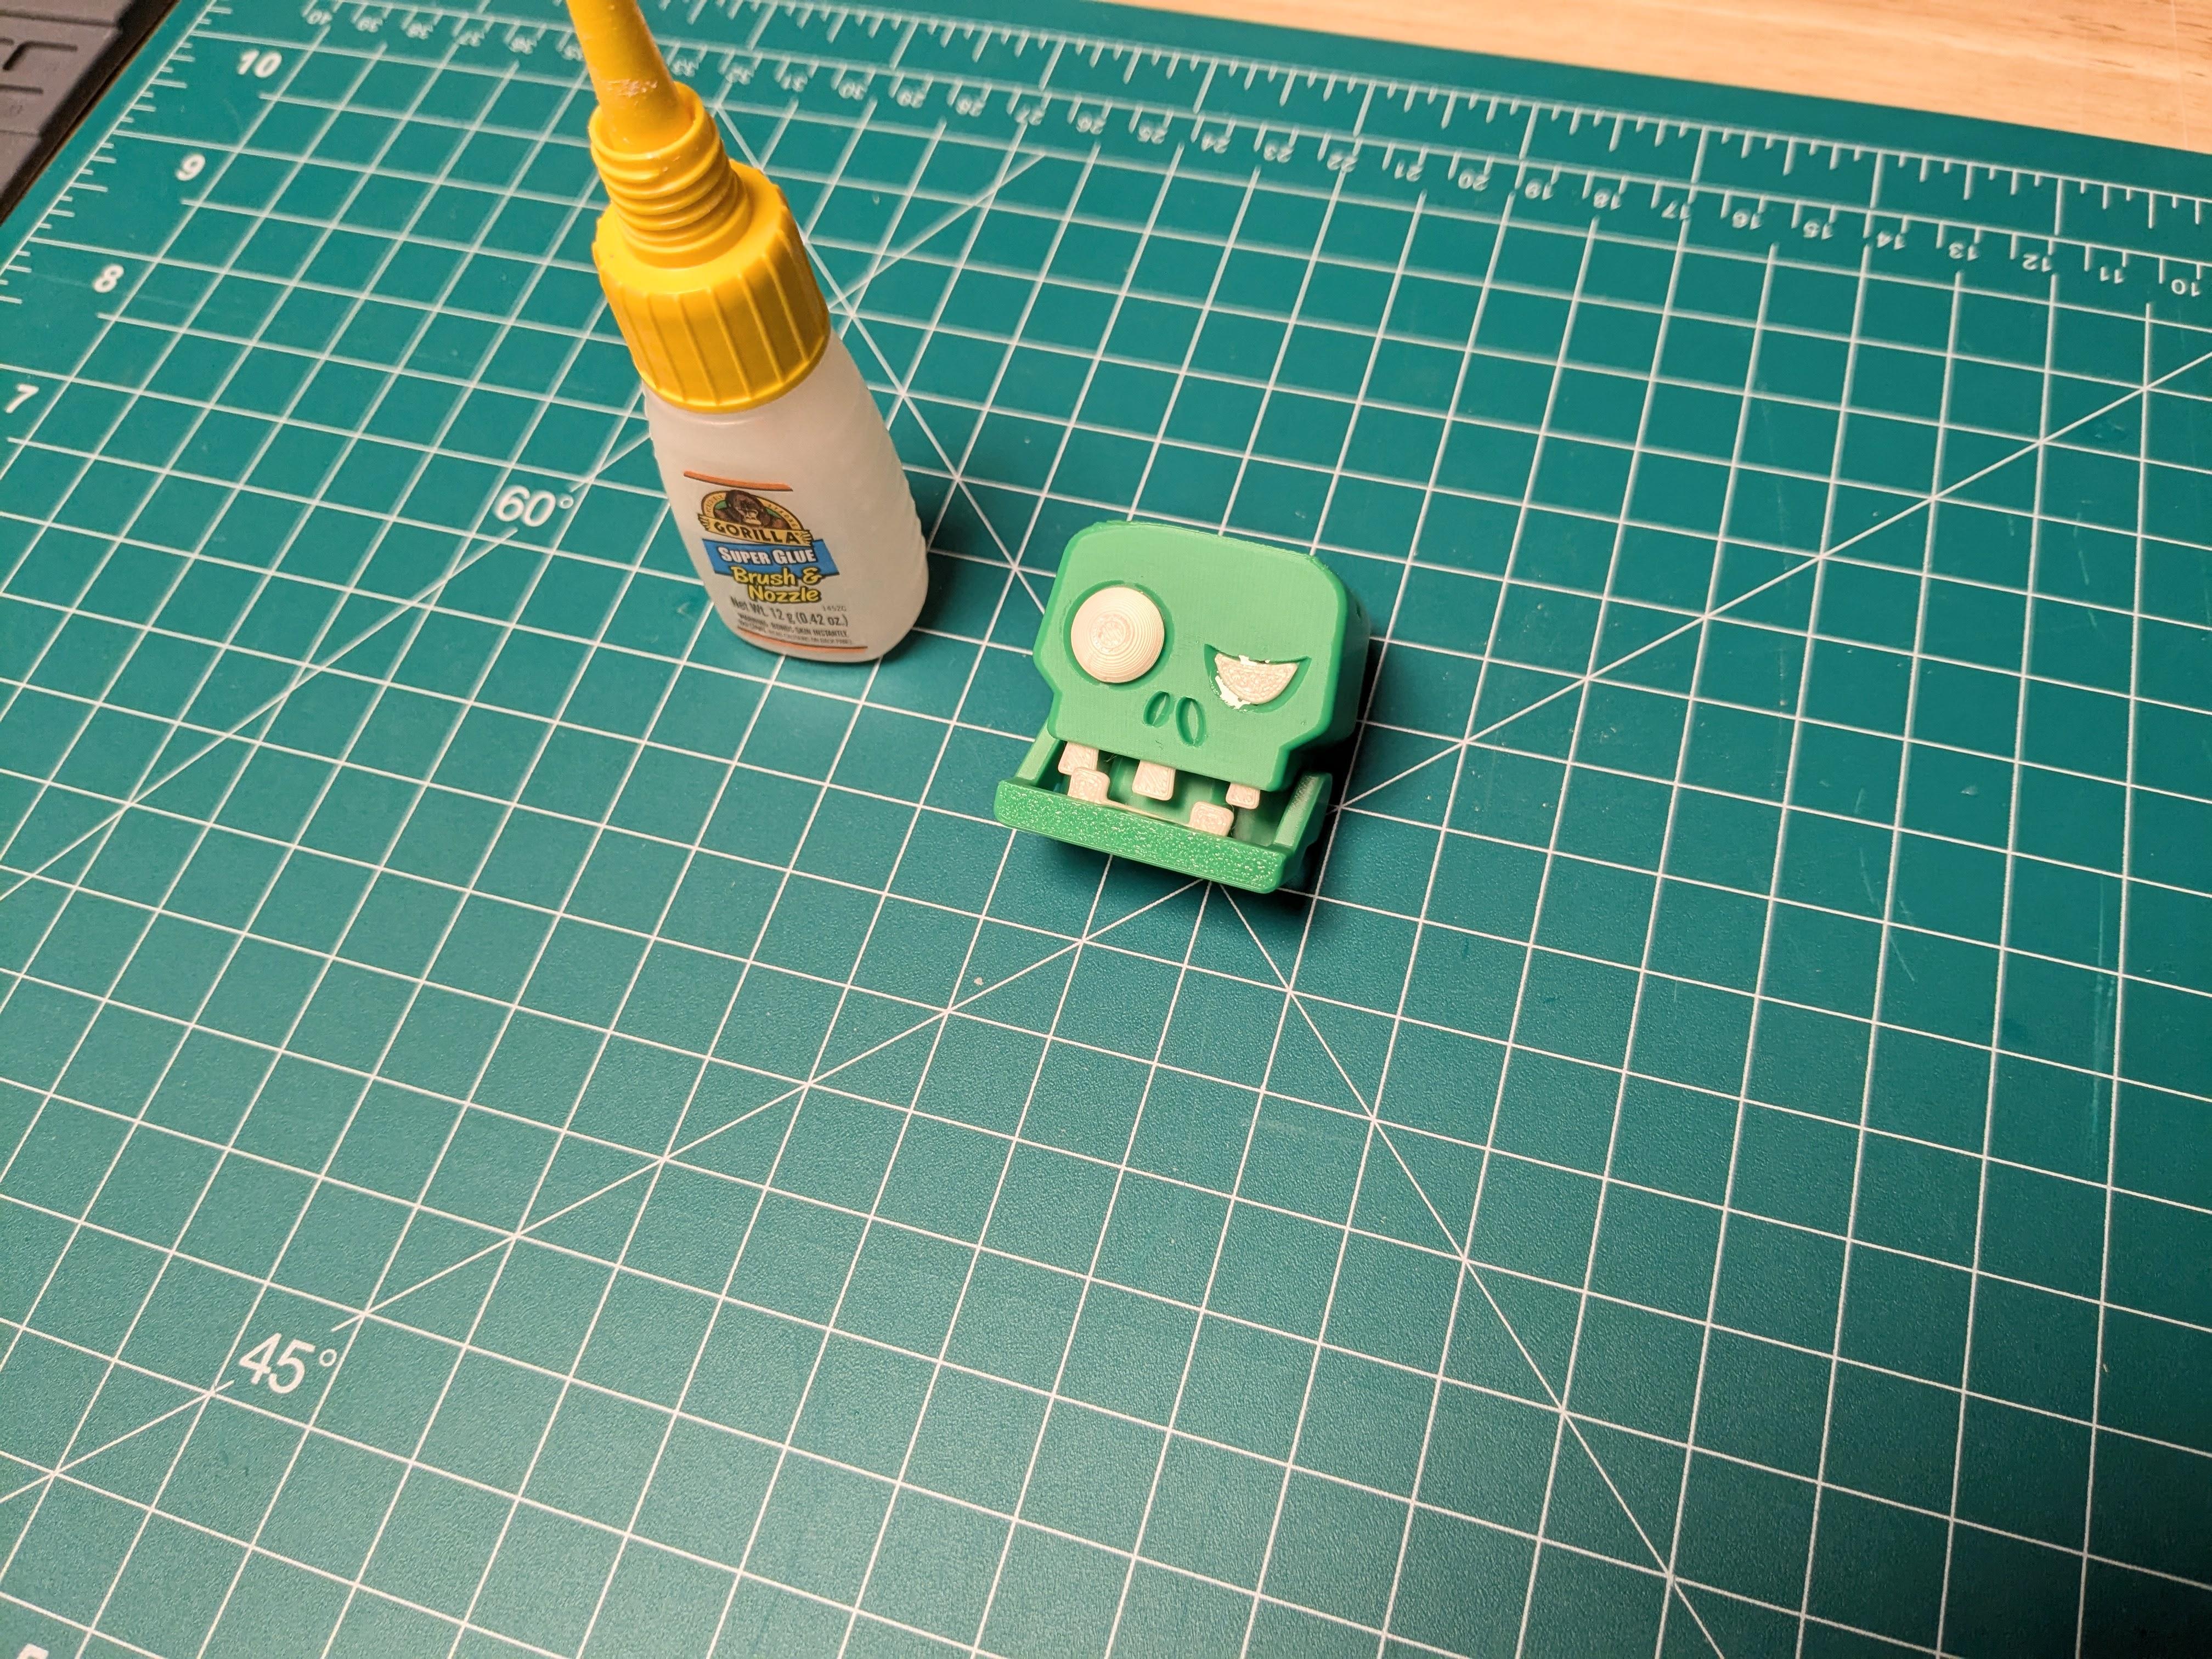
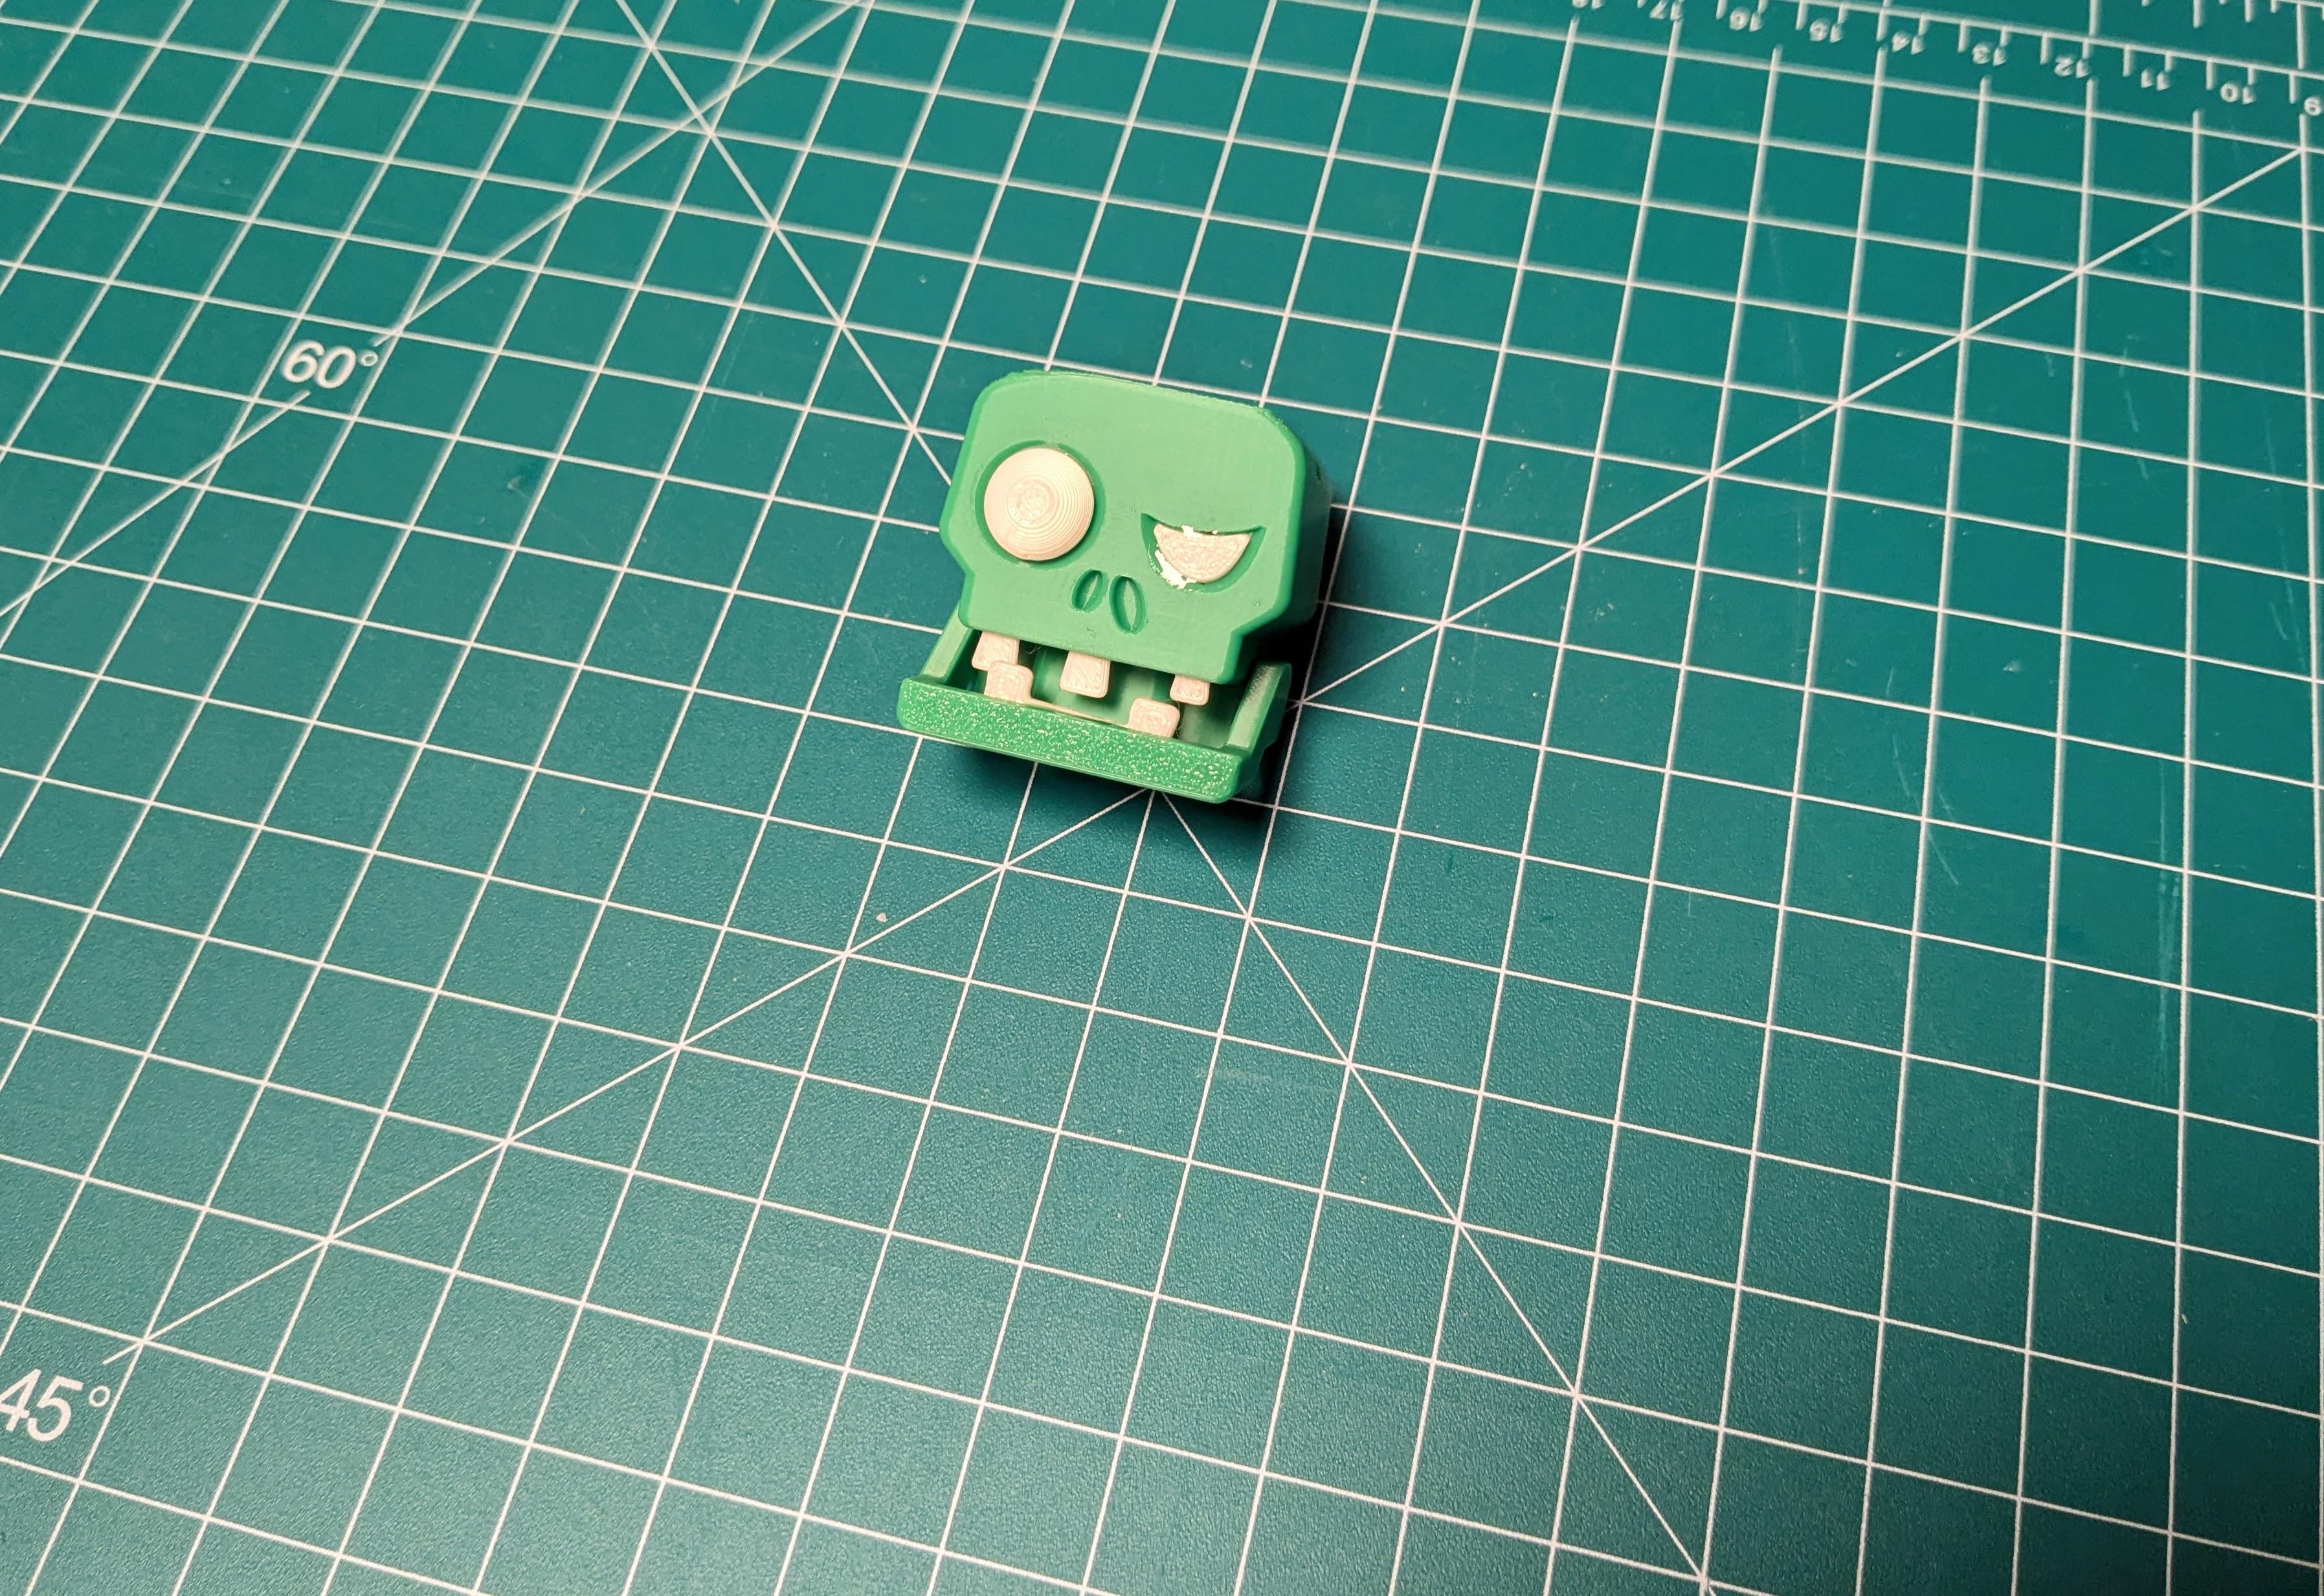
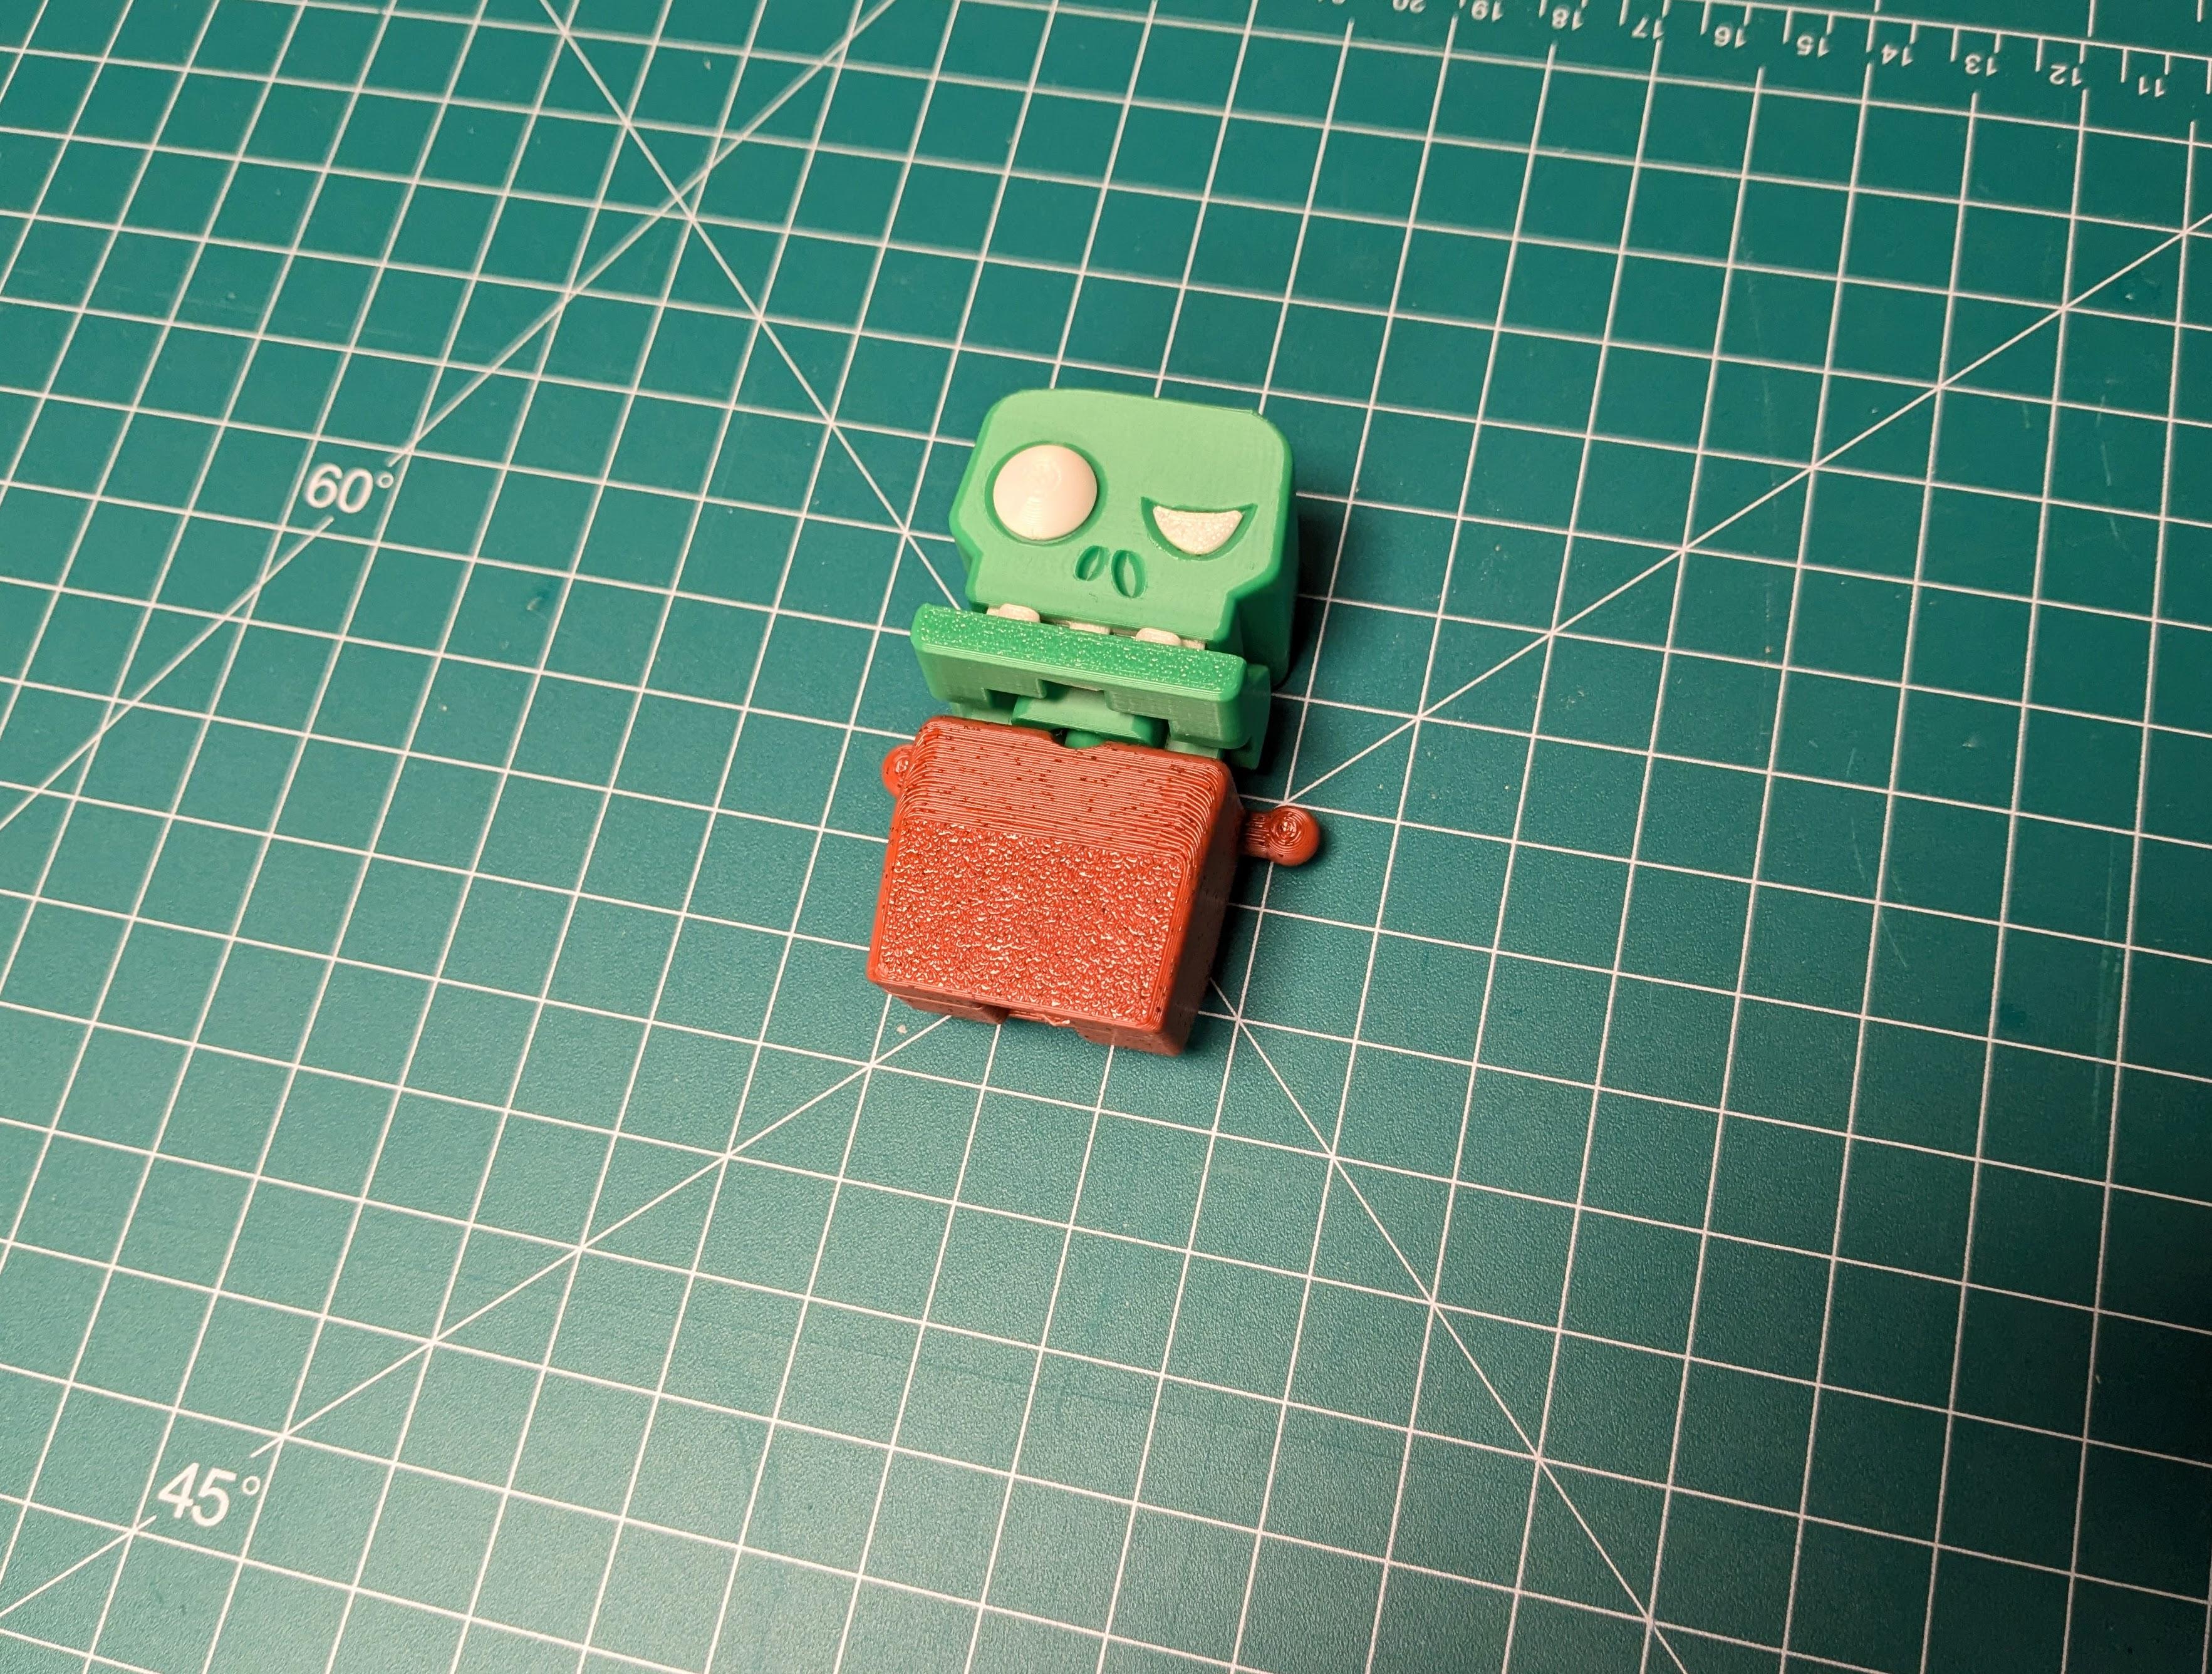
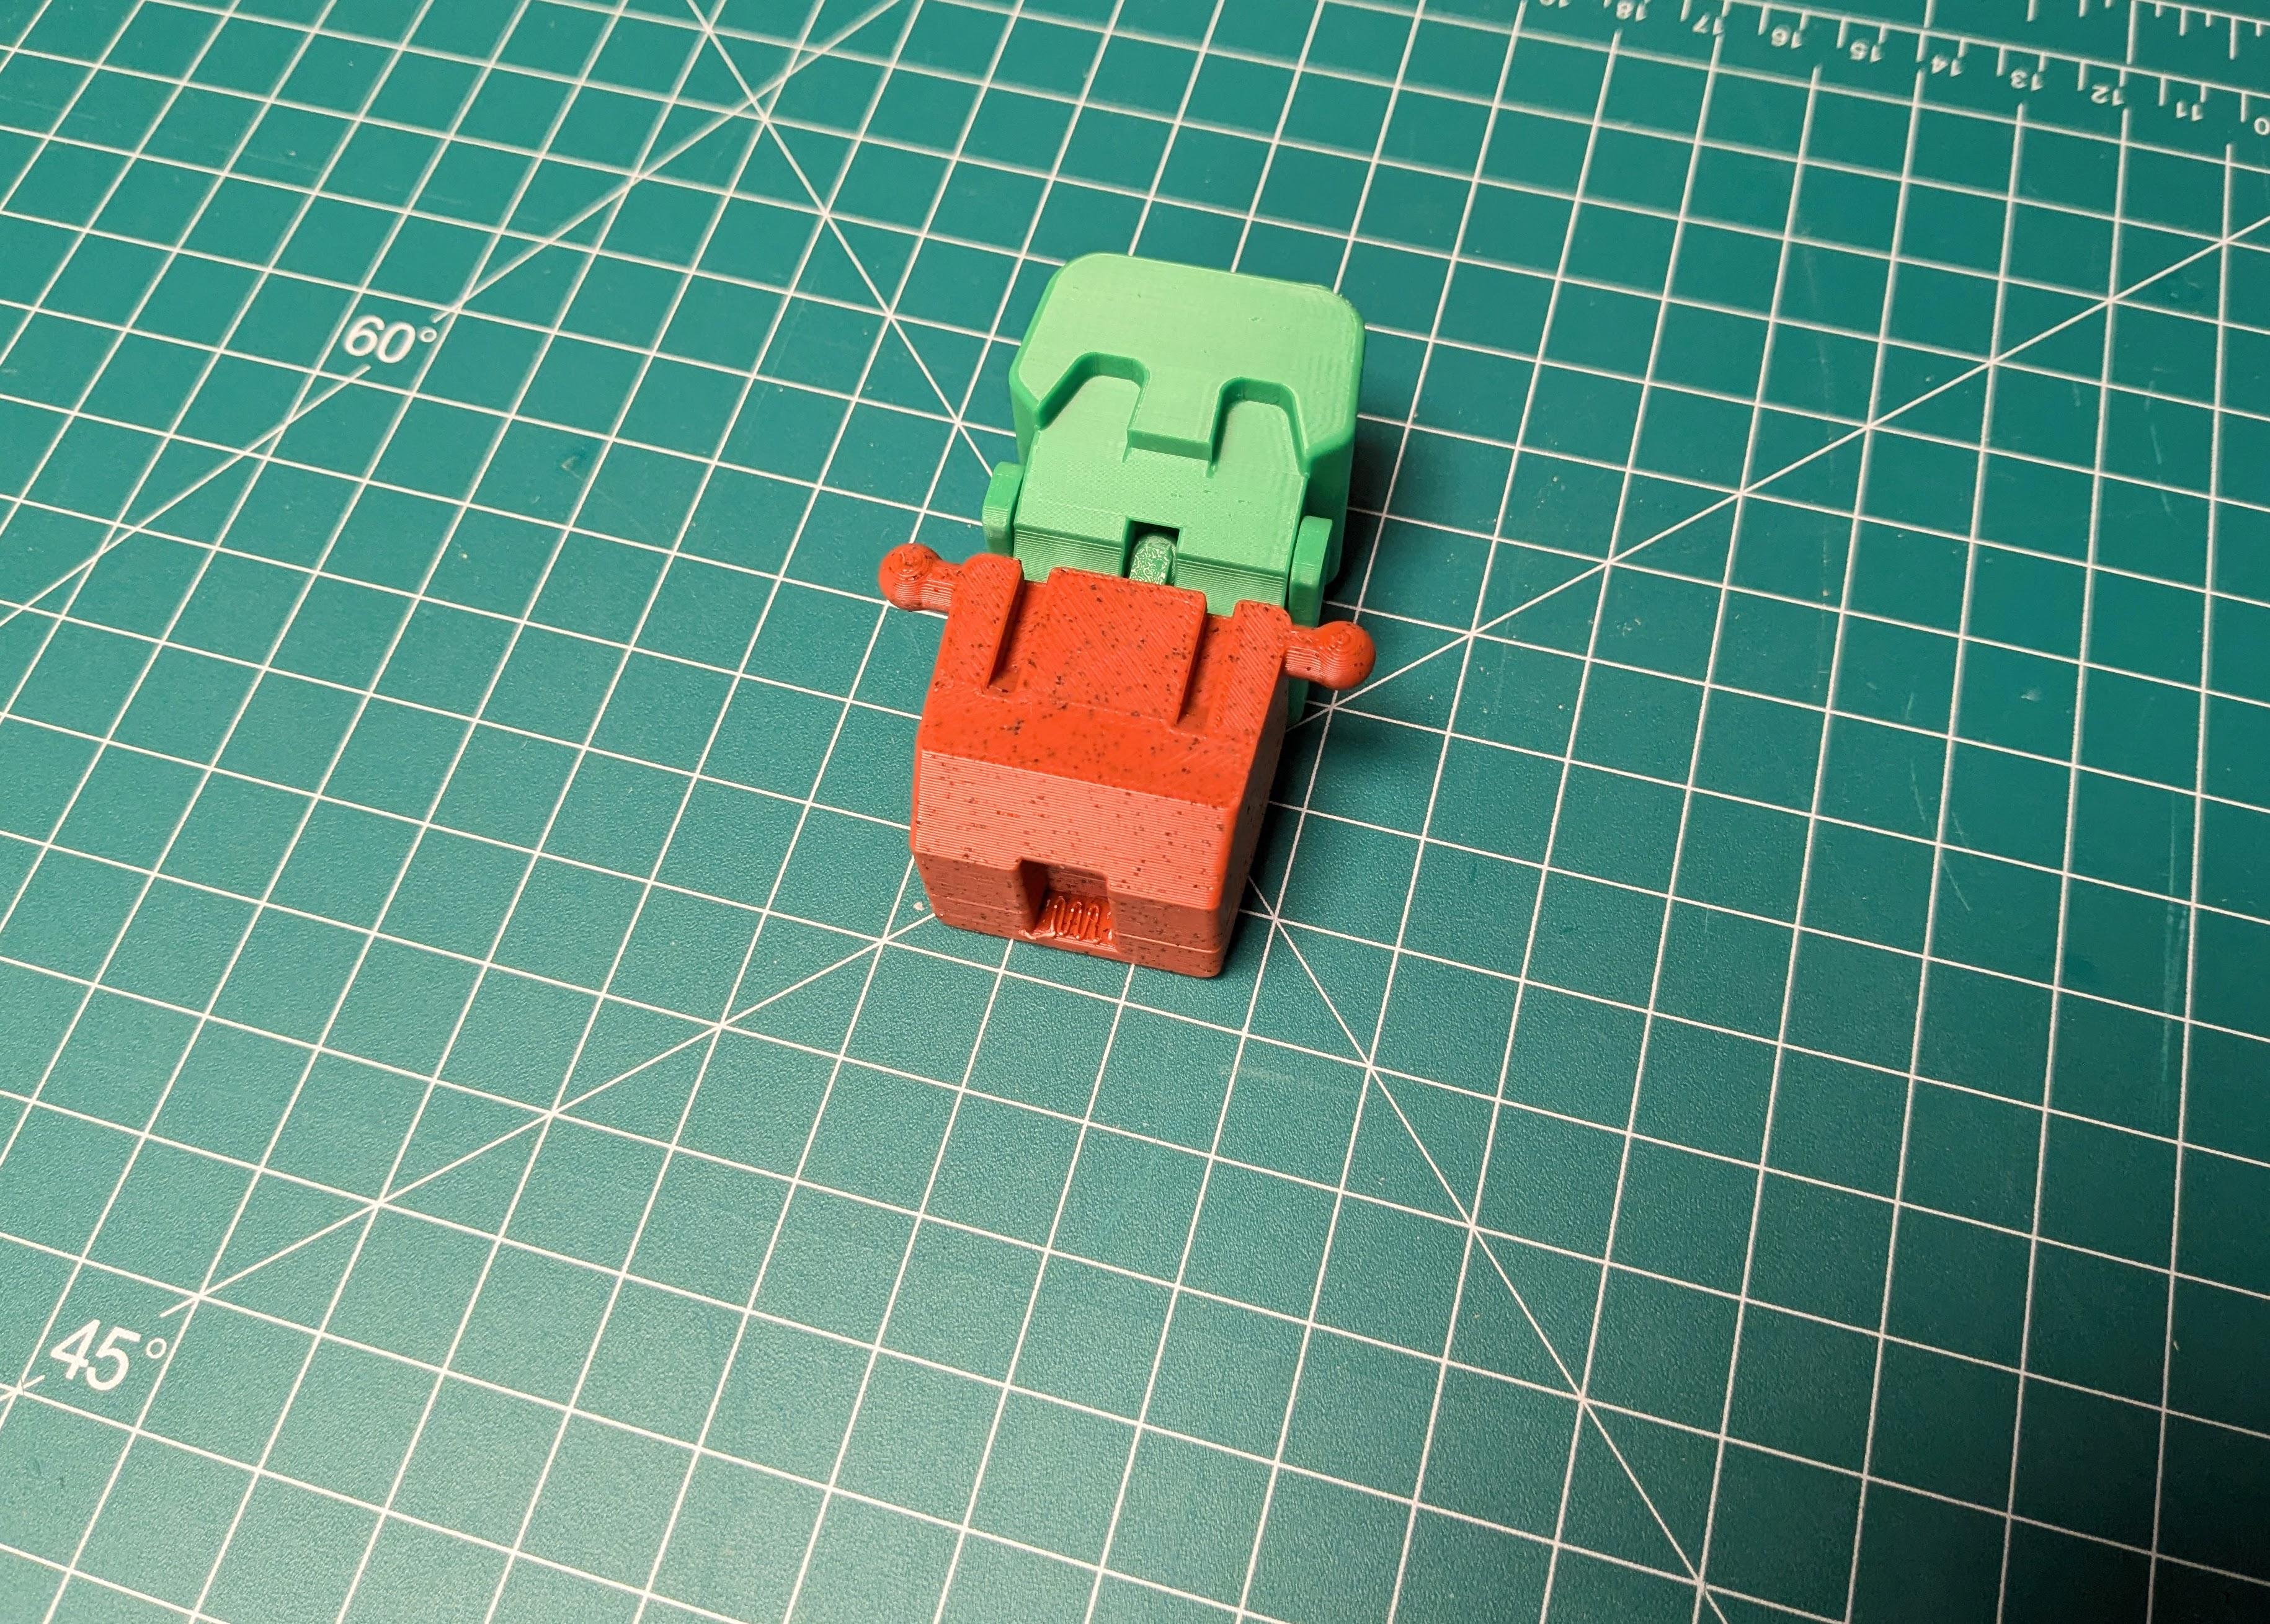
- Identify the Zombieman’s head piece and make sure any supports are removed and the part is clean.
- Align the head with the torso and ensure it fits snugly.
- Use a hot glue gun or strong adhesive to attach the head to the body, holding it in place for a few seconds until it’s secure.
Attaching the Body
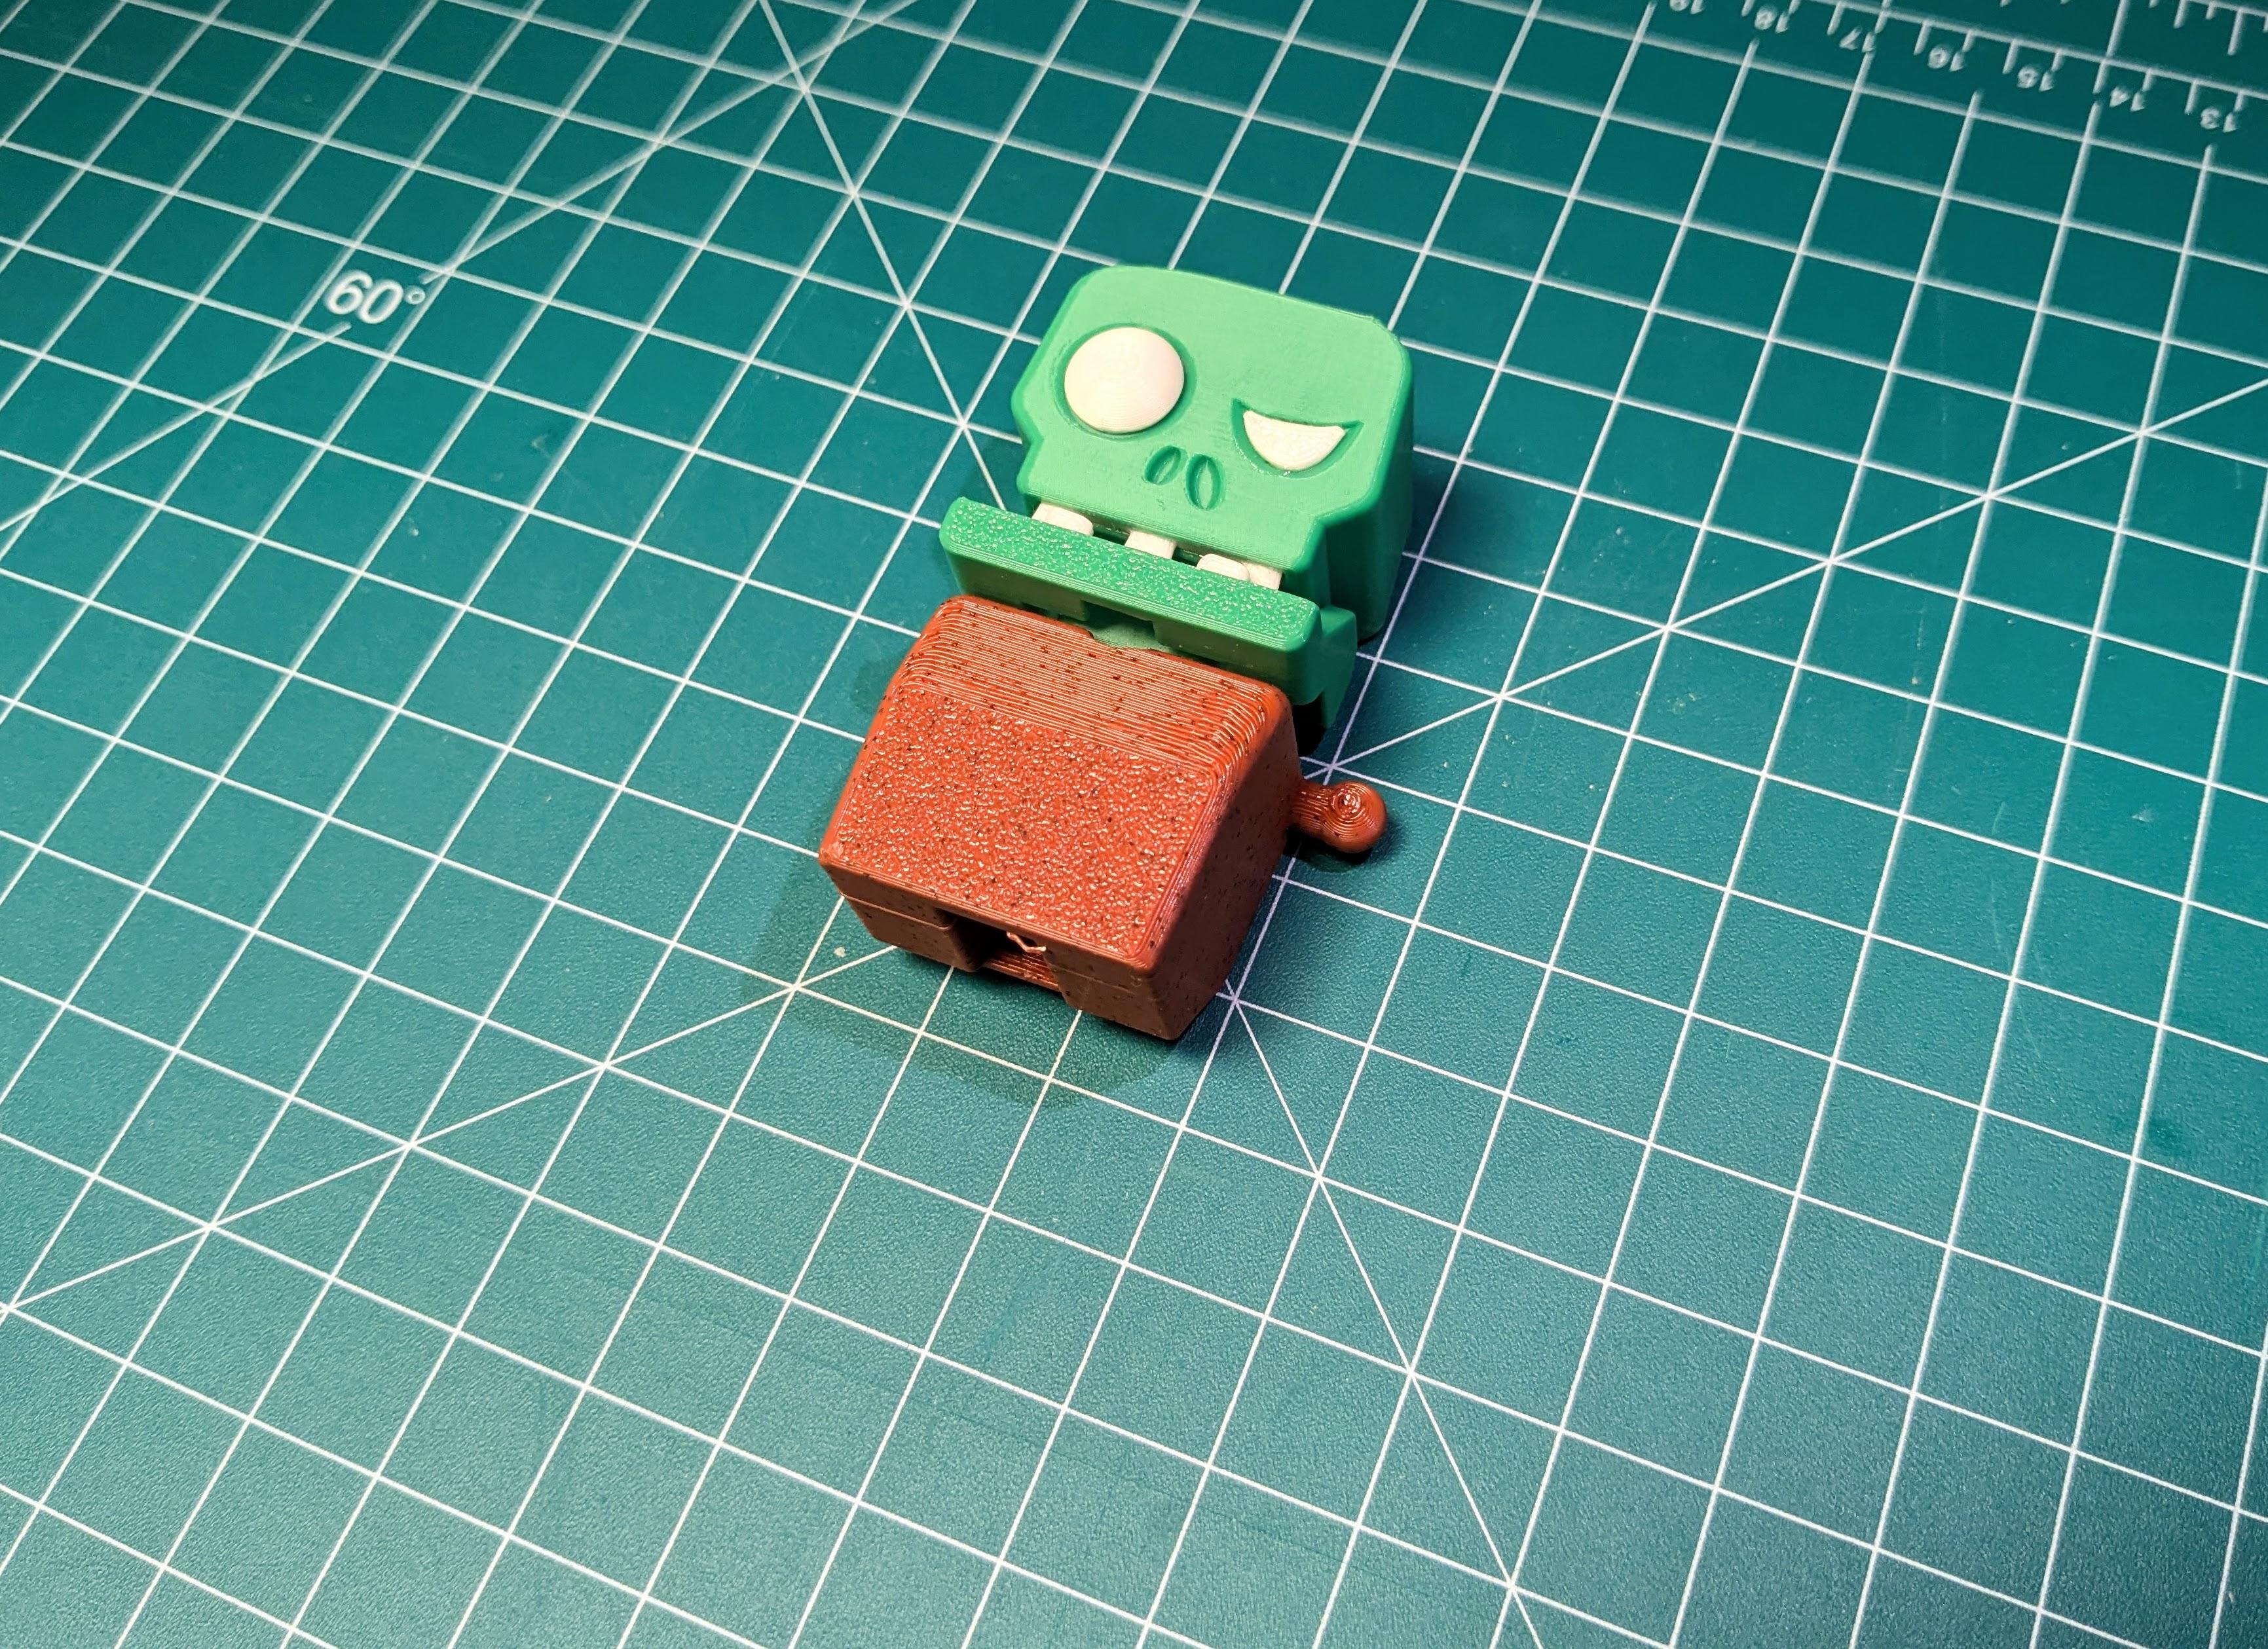
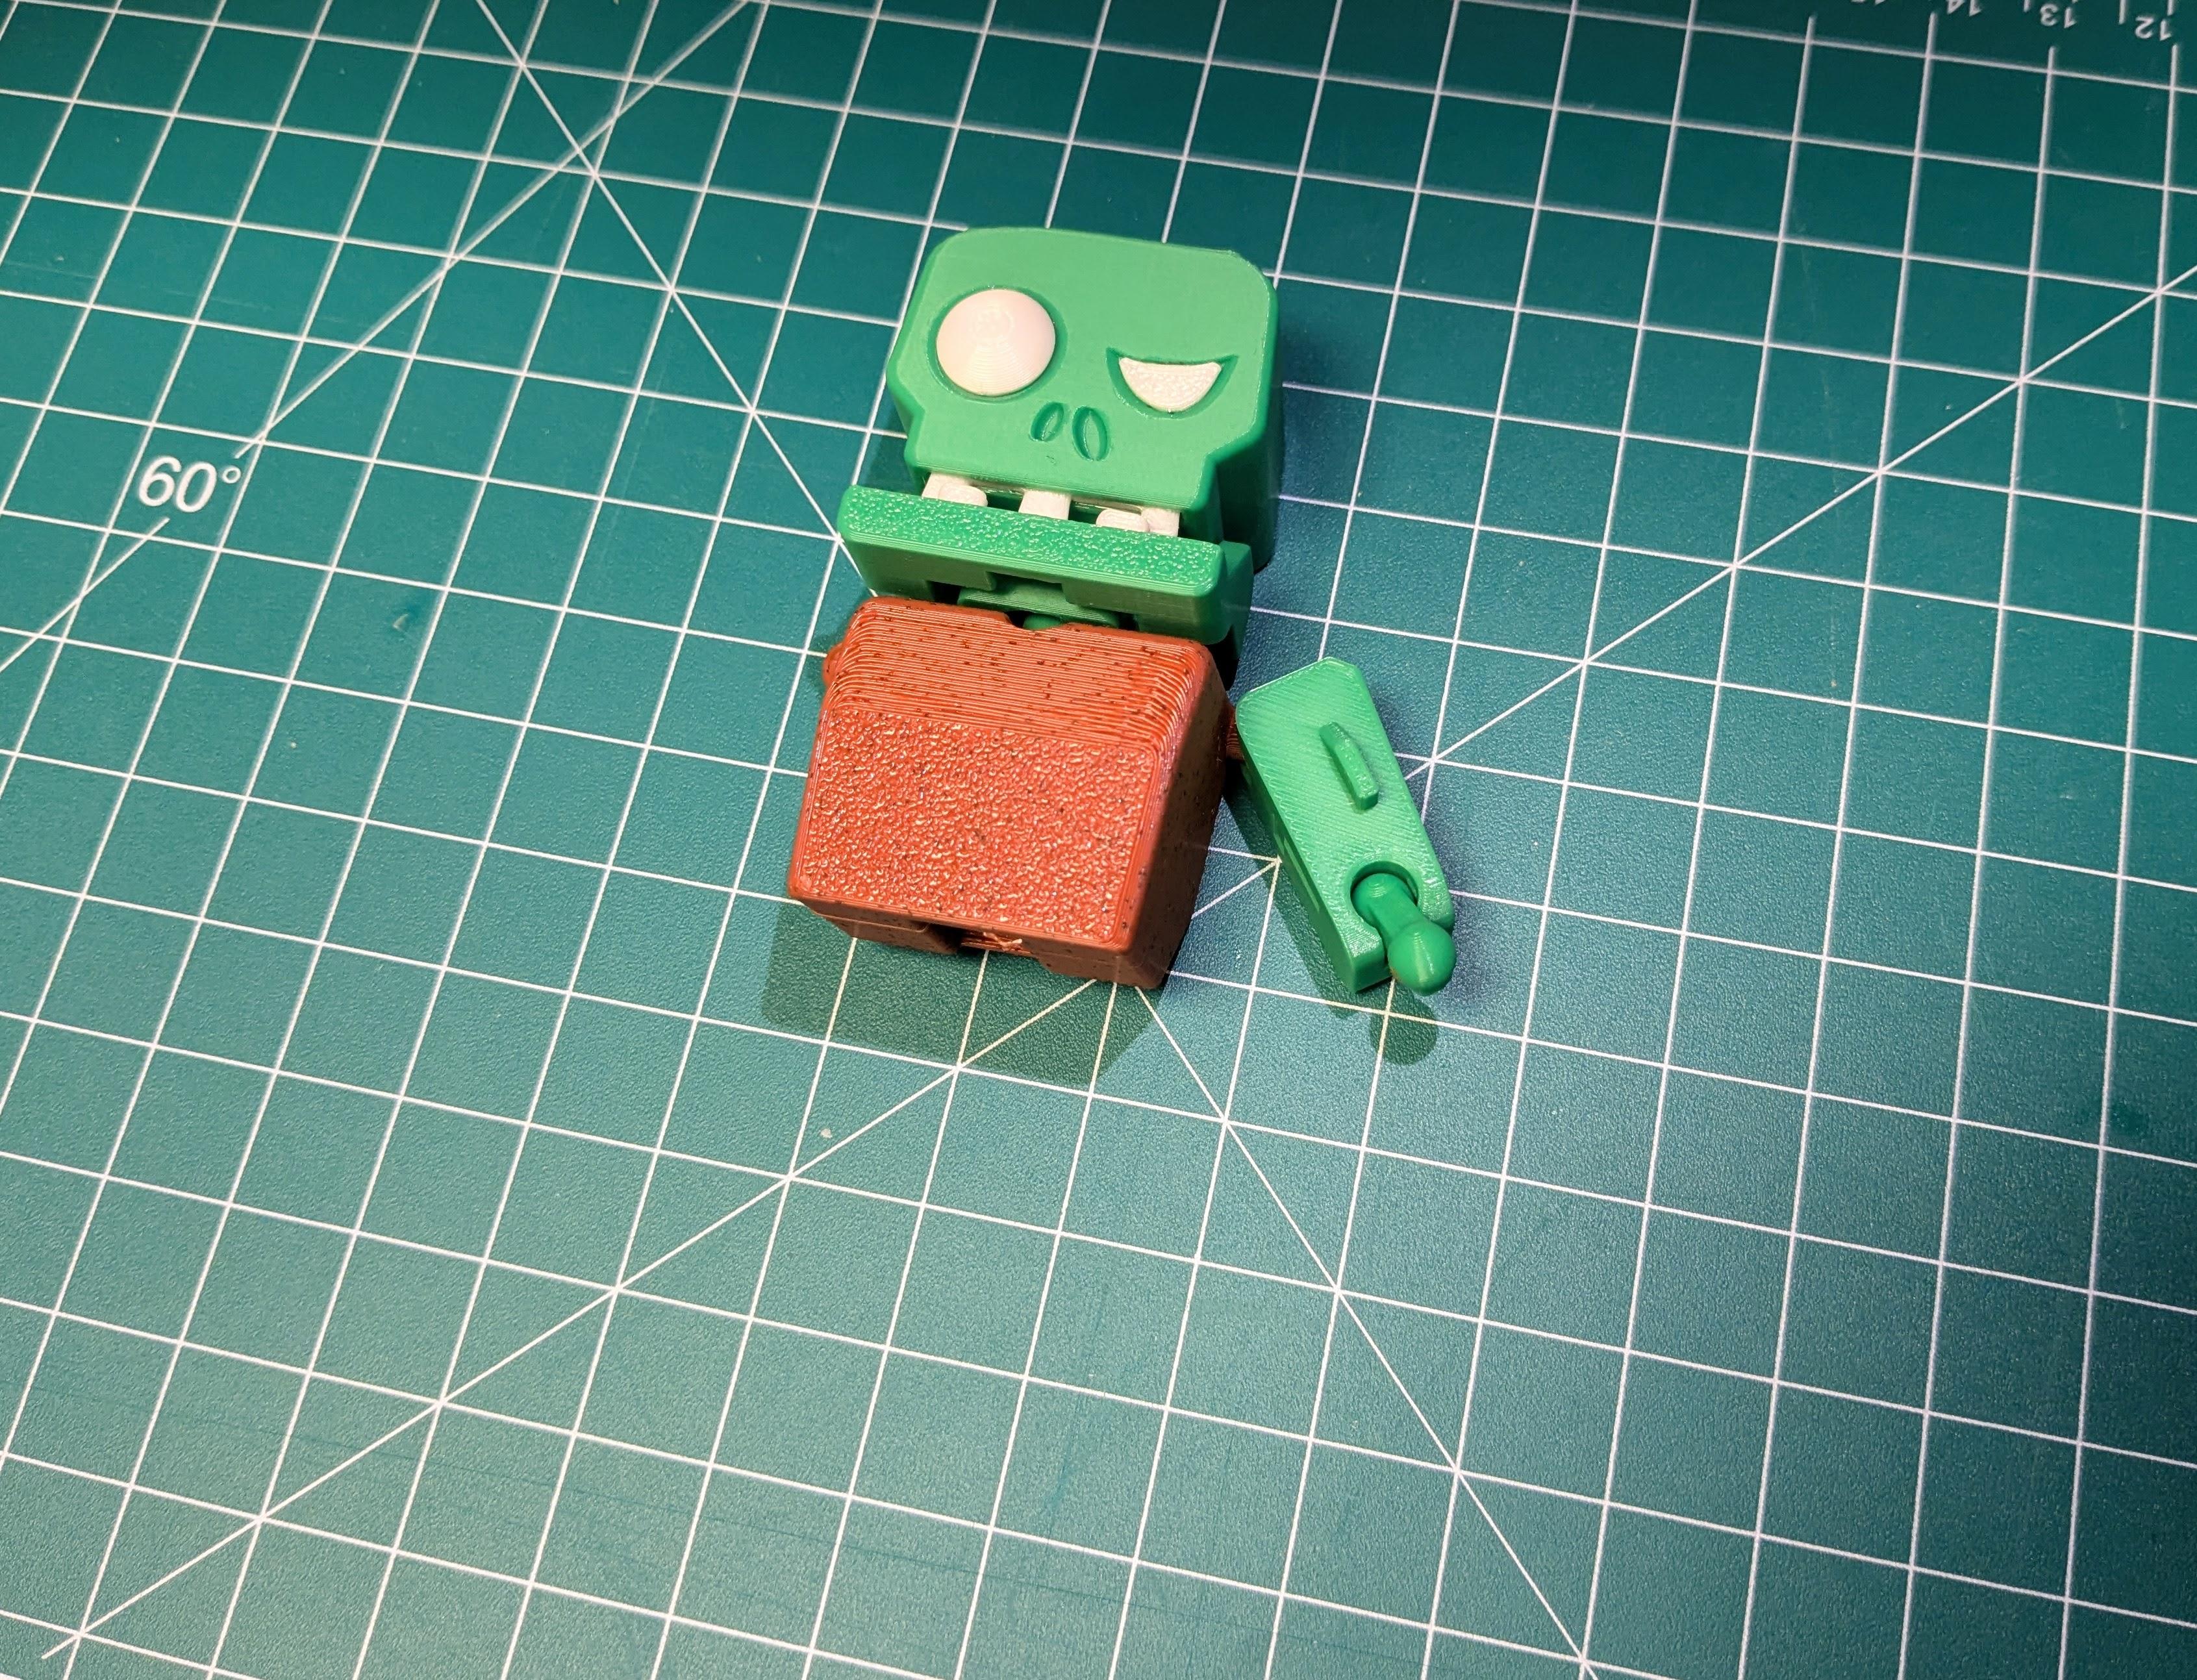
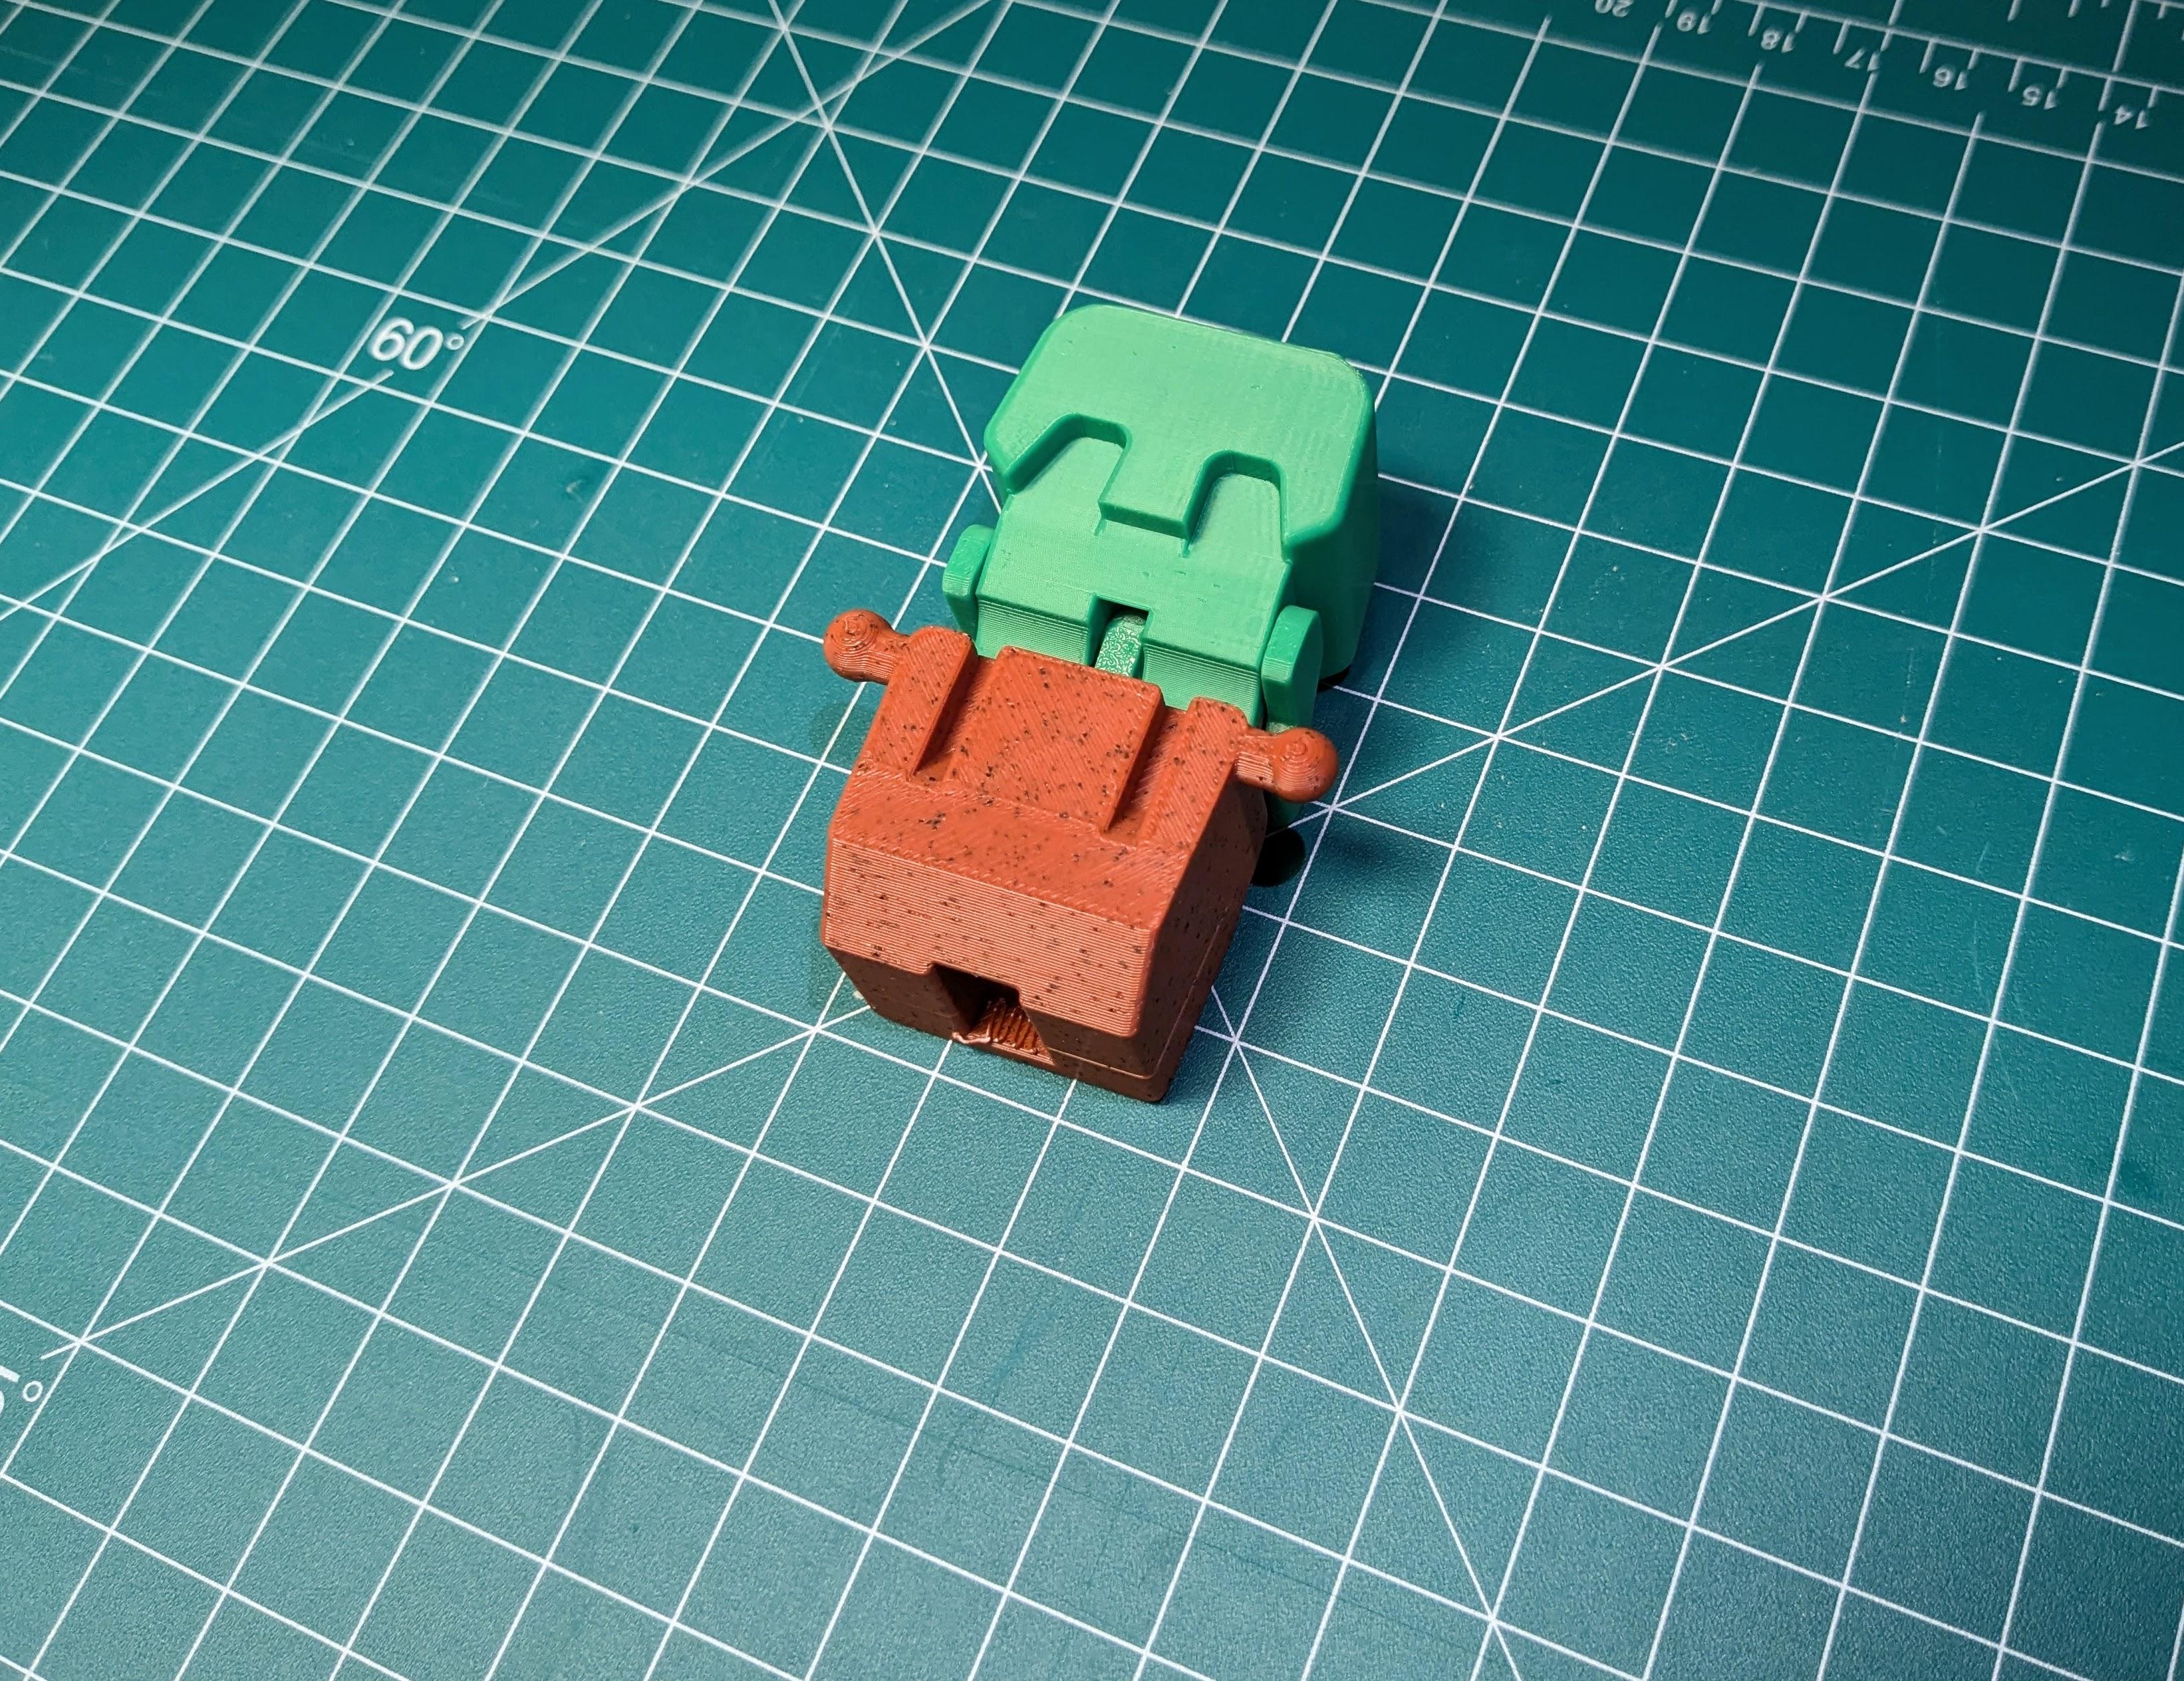
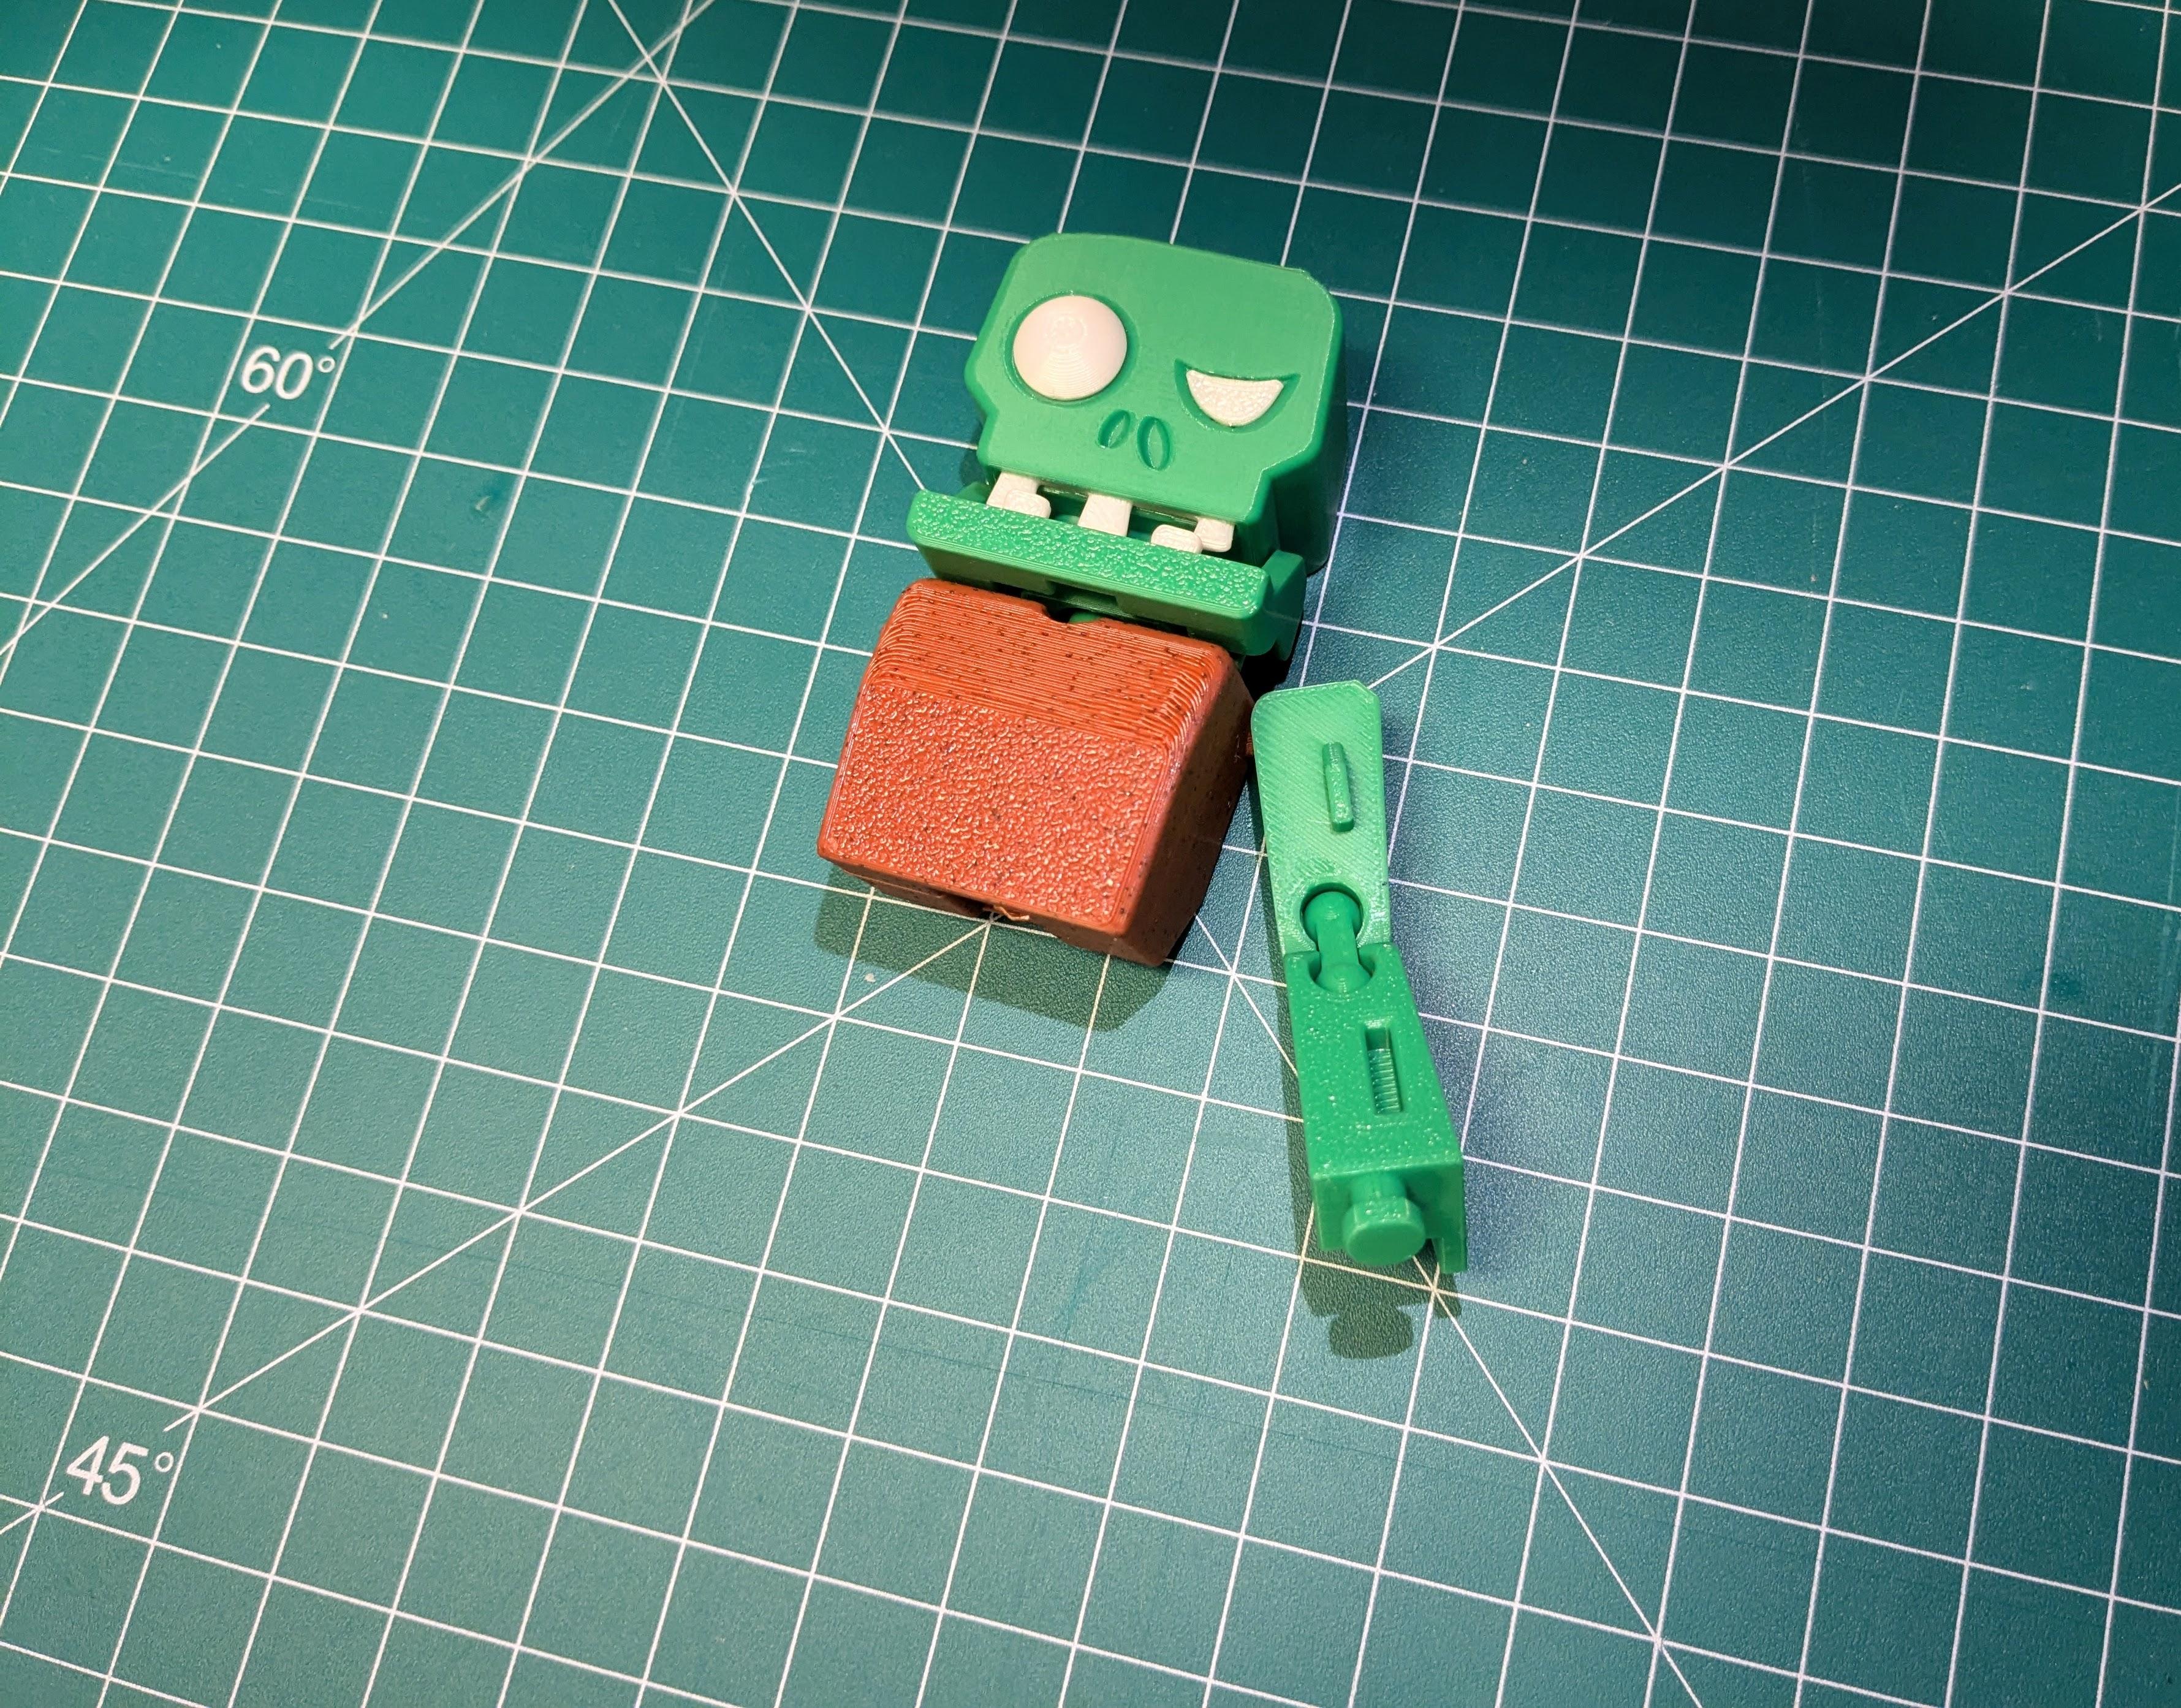
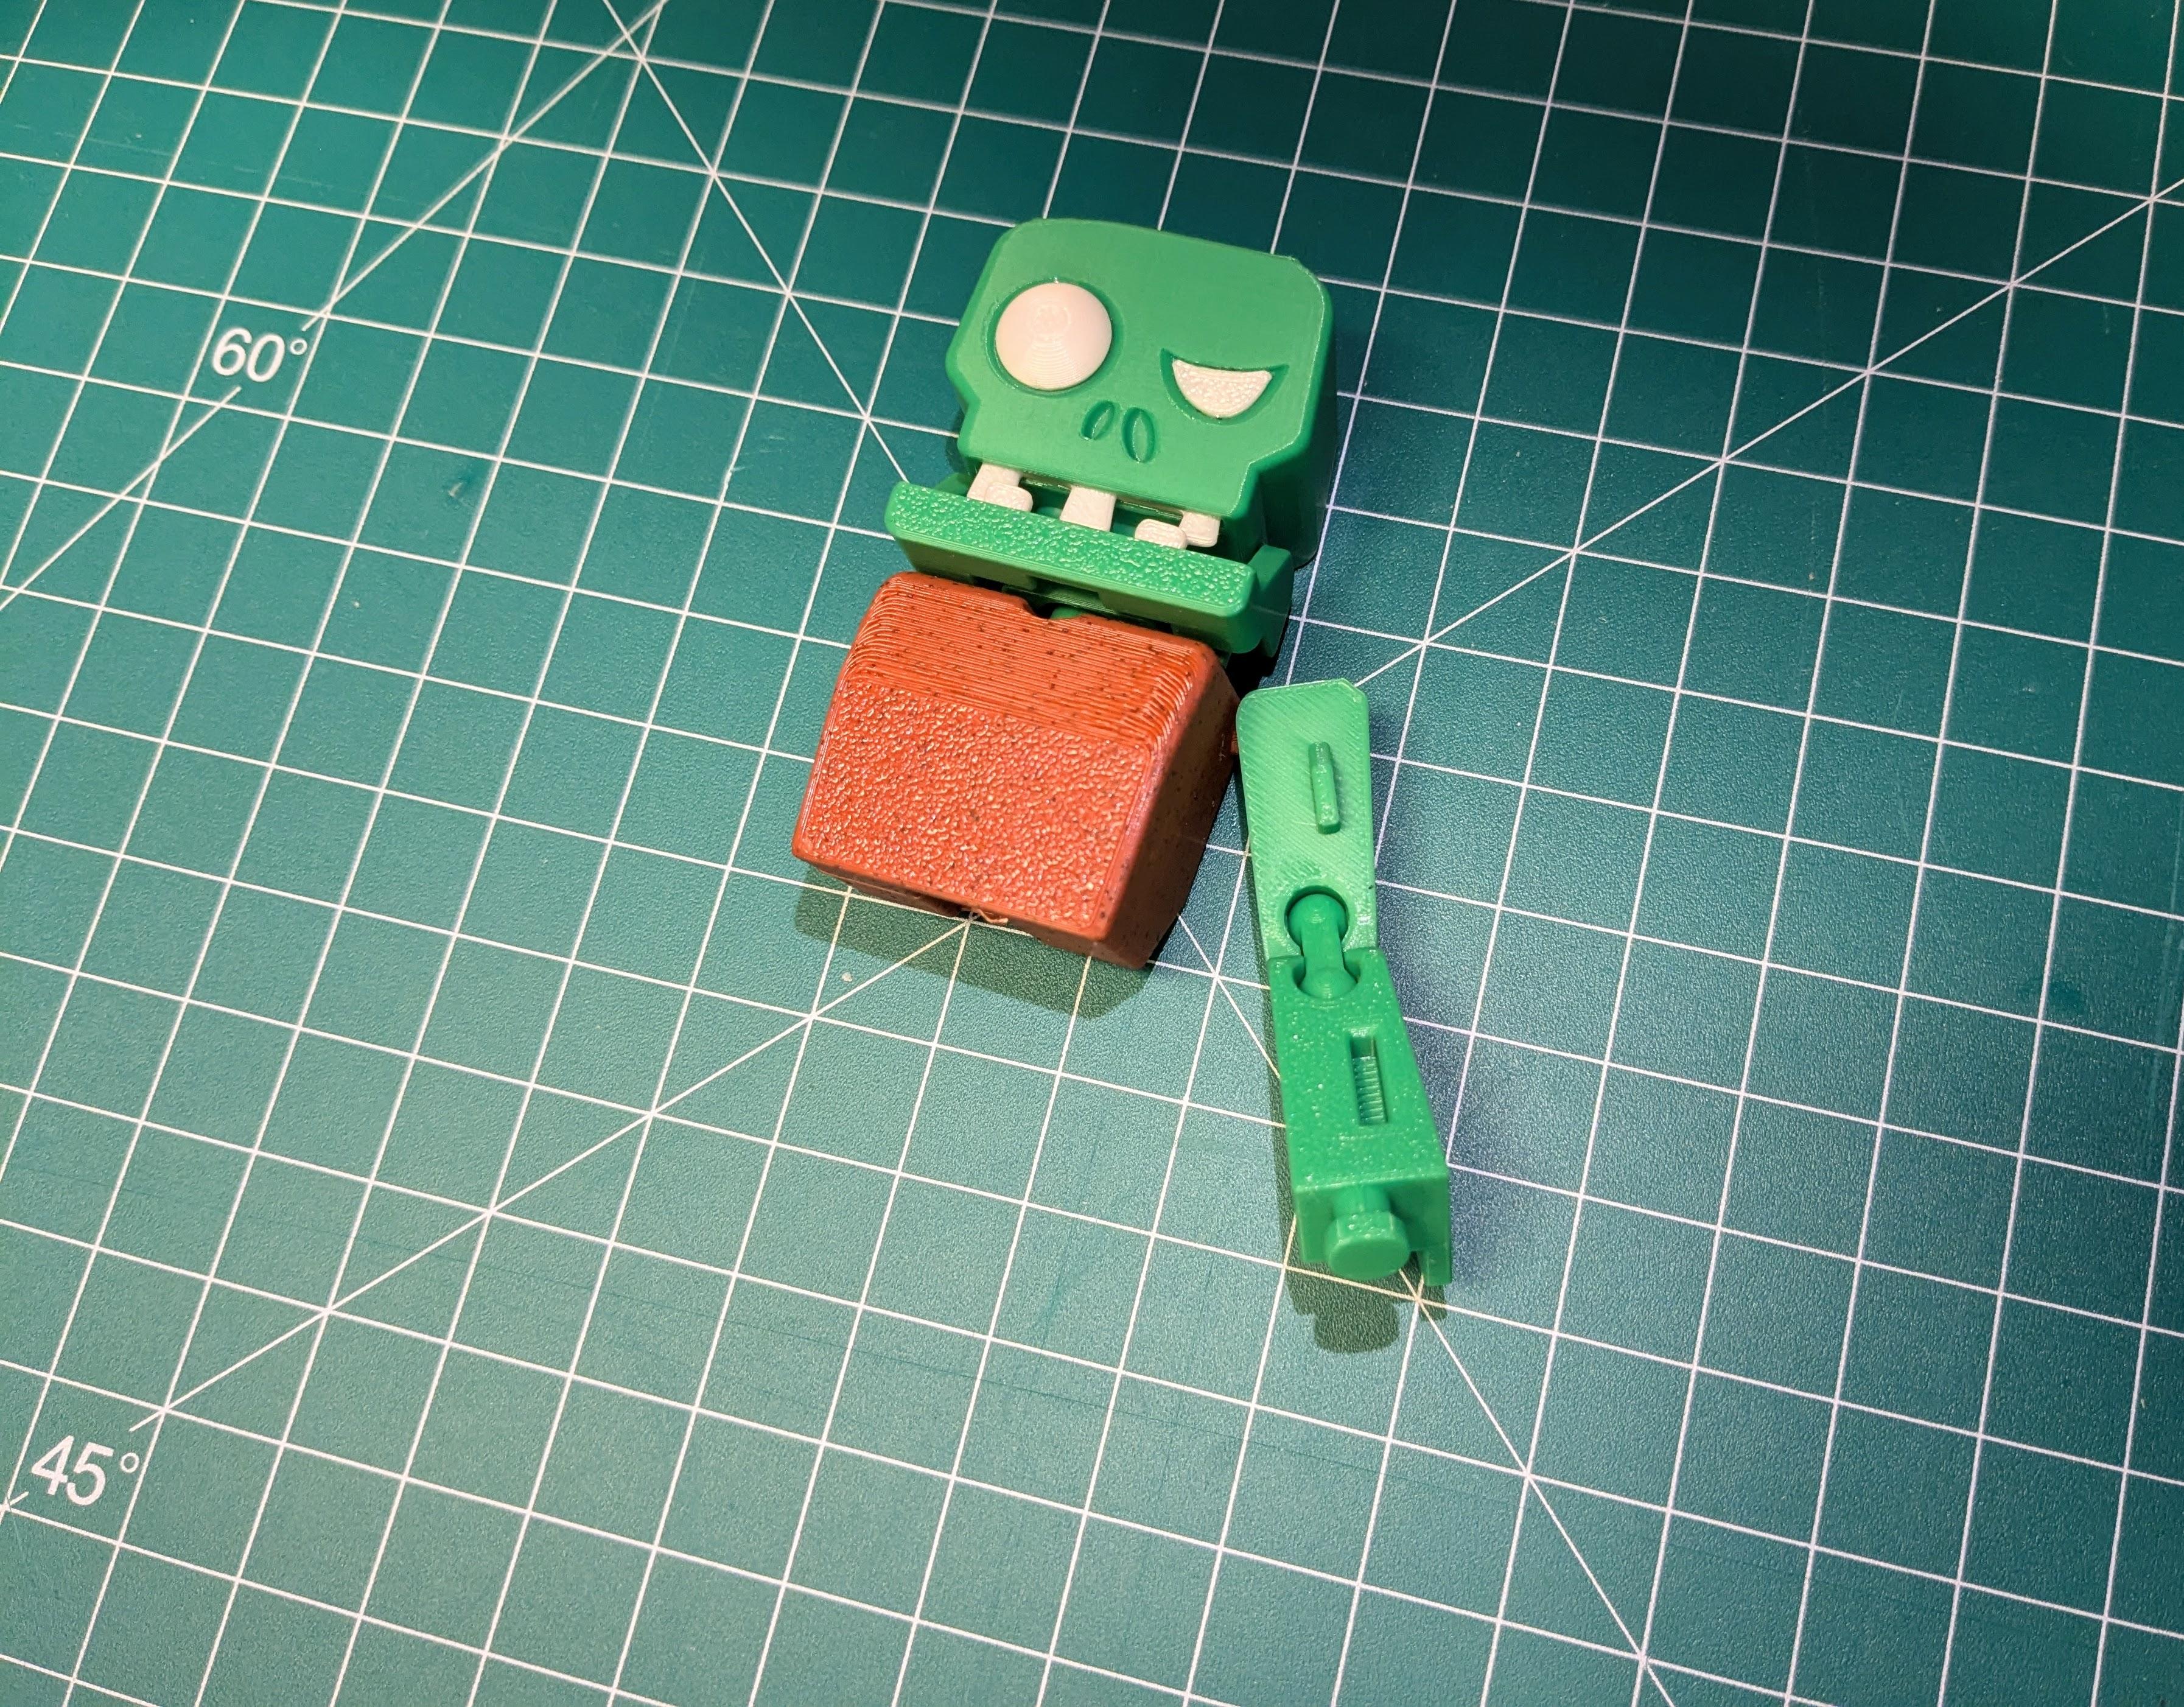
- Before gluing, please make sure that the body (torso) is properly aligned with the other parts.
- Carefully apply glue along the edges of the torso where it will meet the legs and arms.
- Once positioned, press the parts together and hold them in place until the glue dries.
Attach the Arms
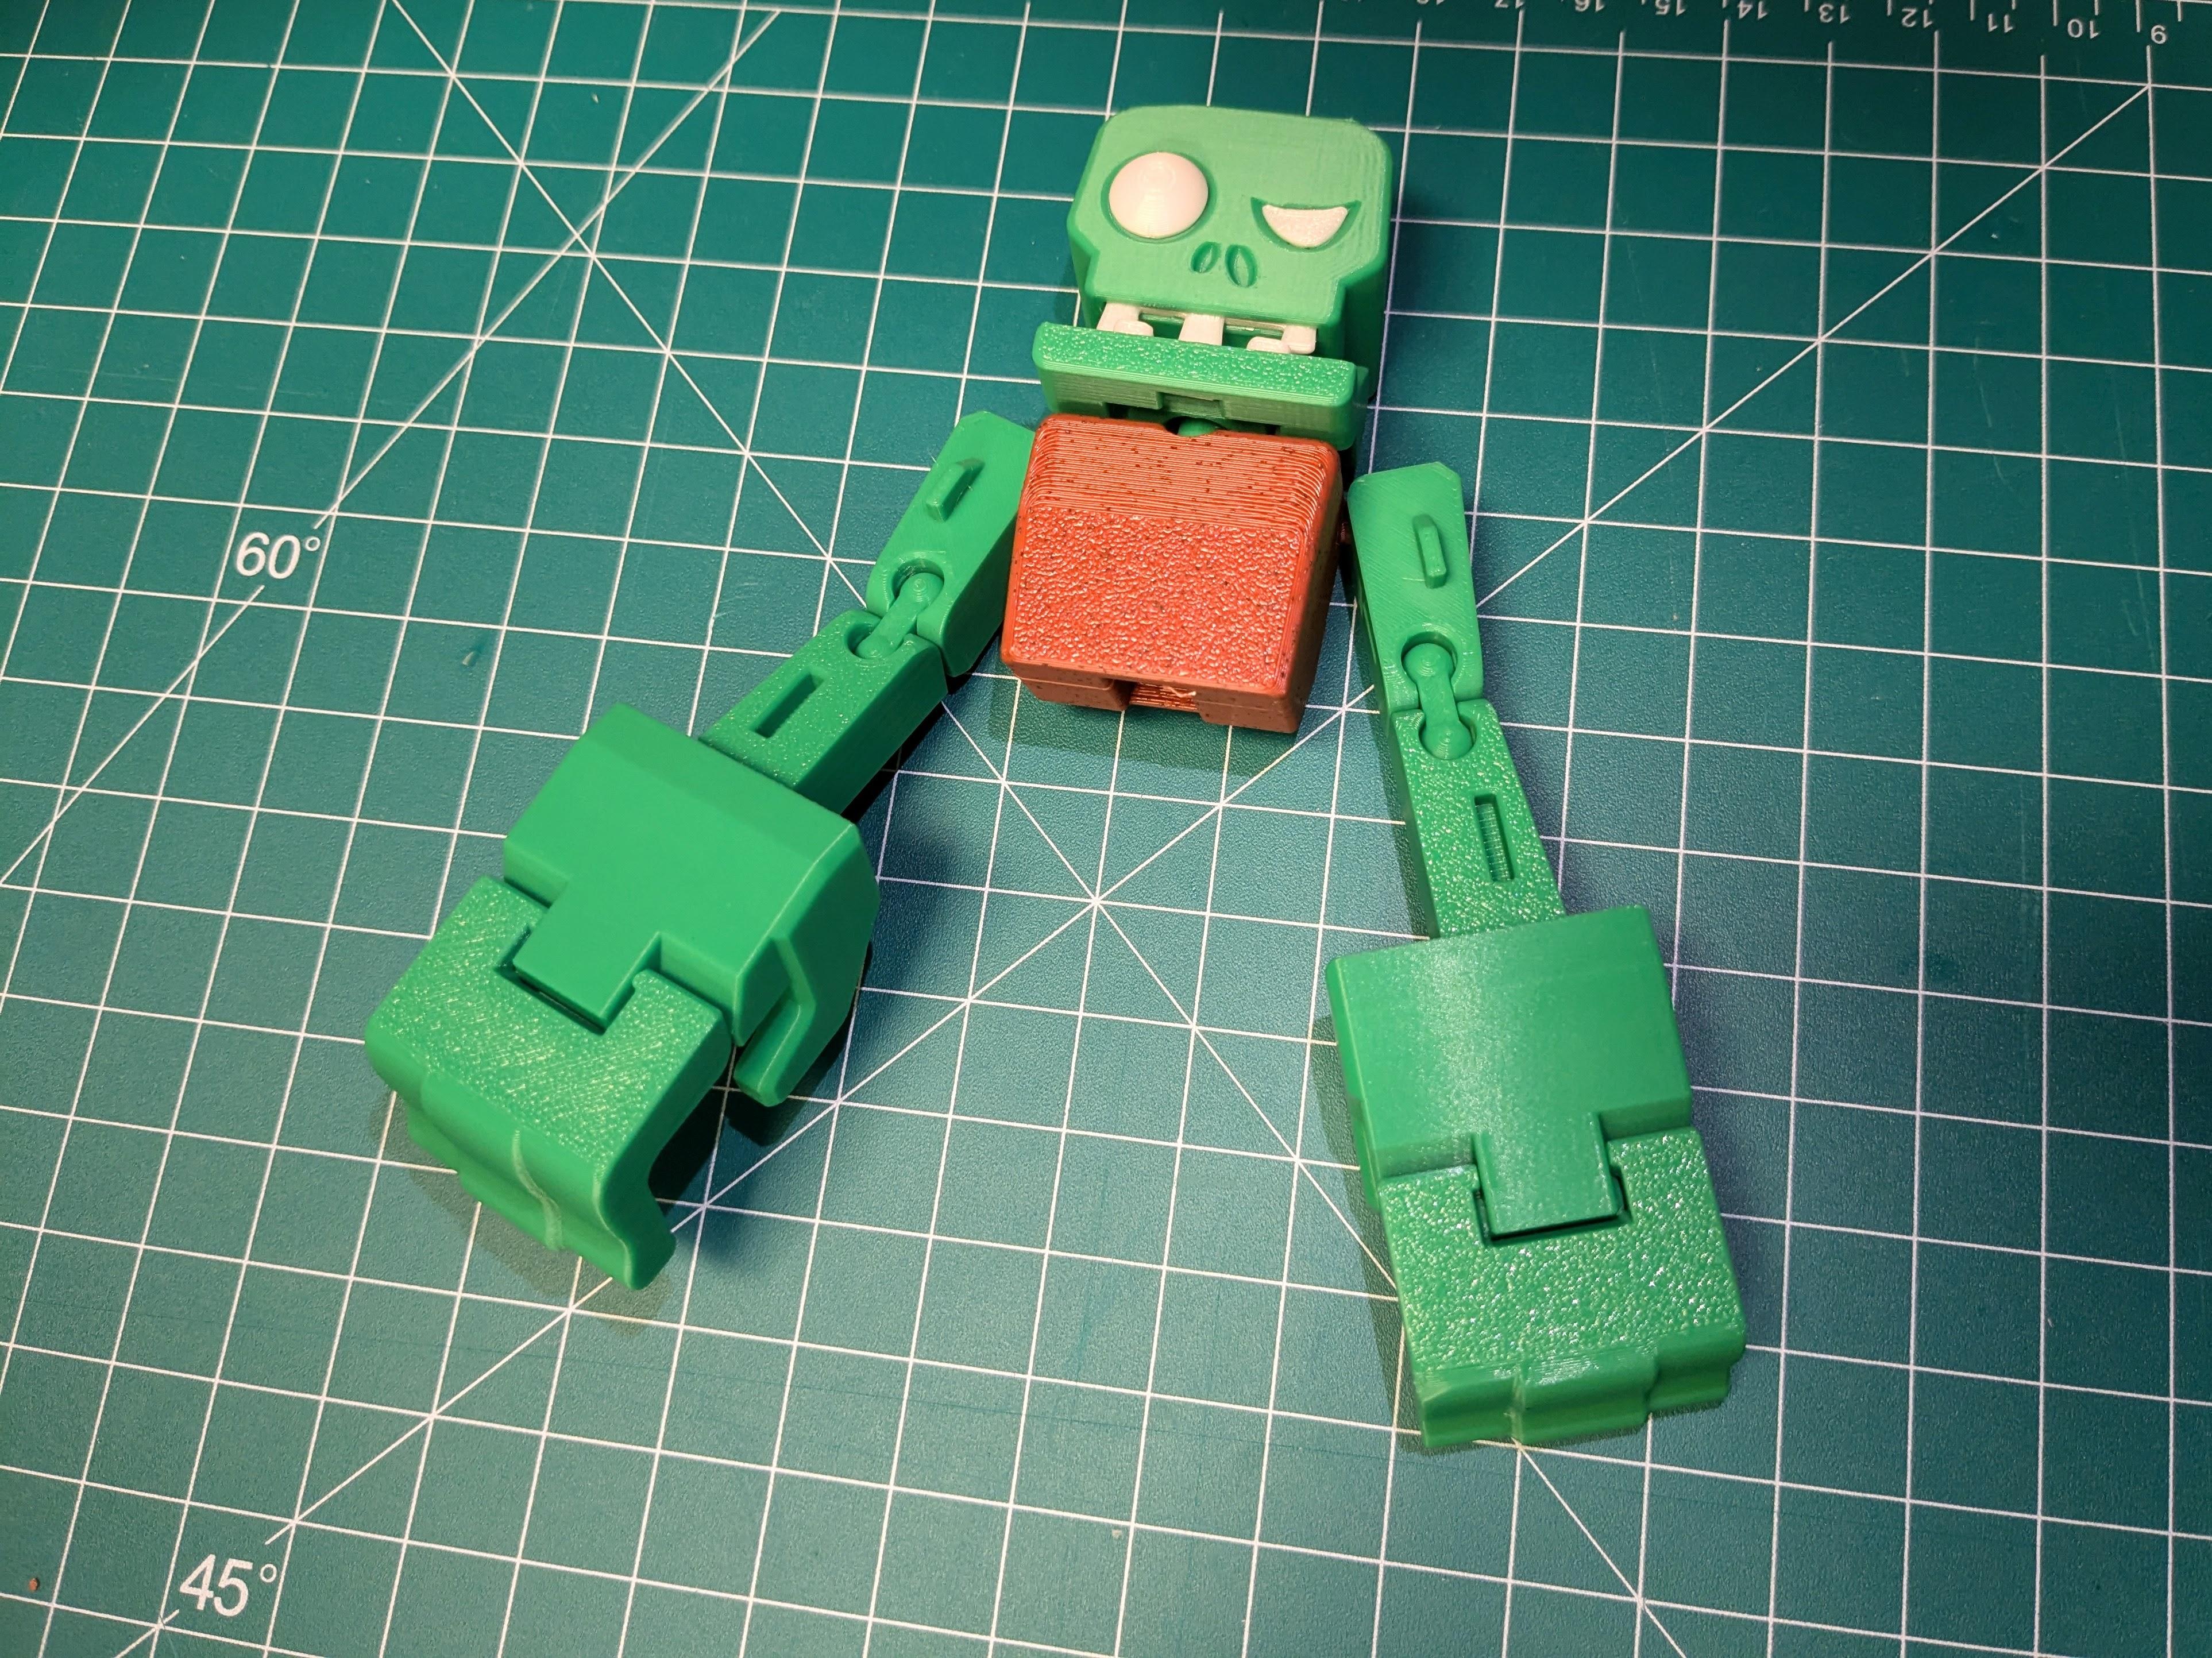
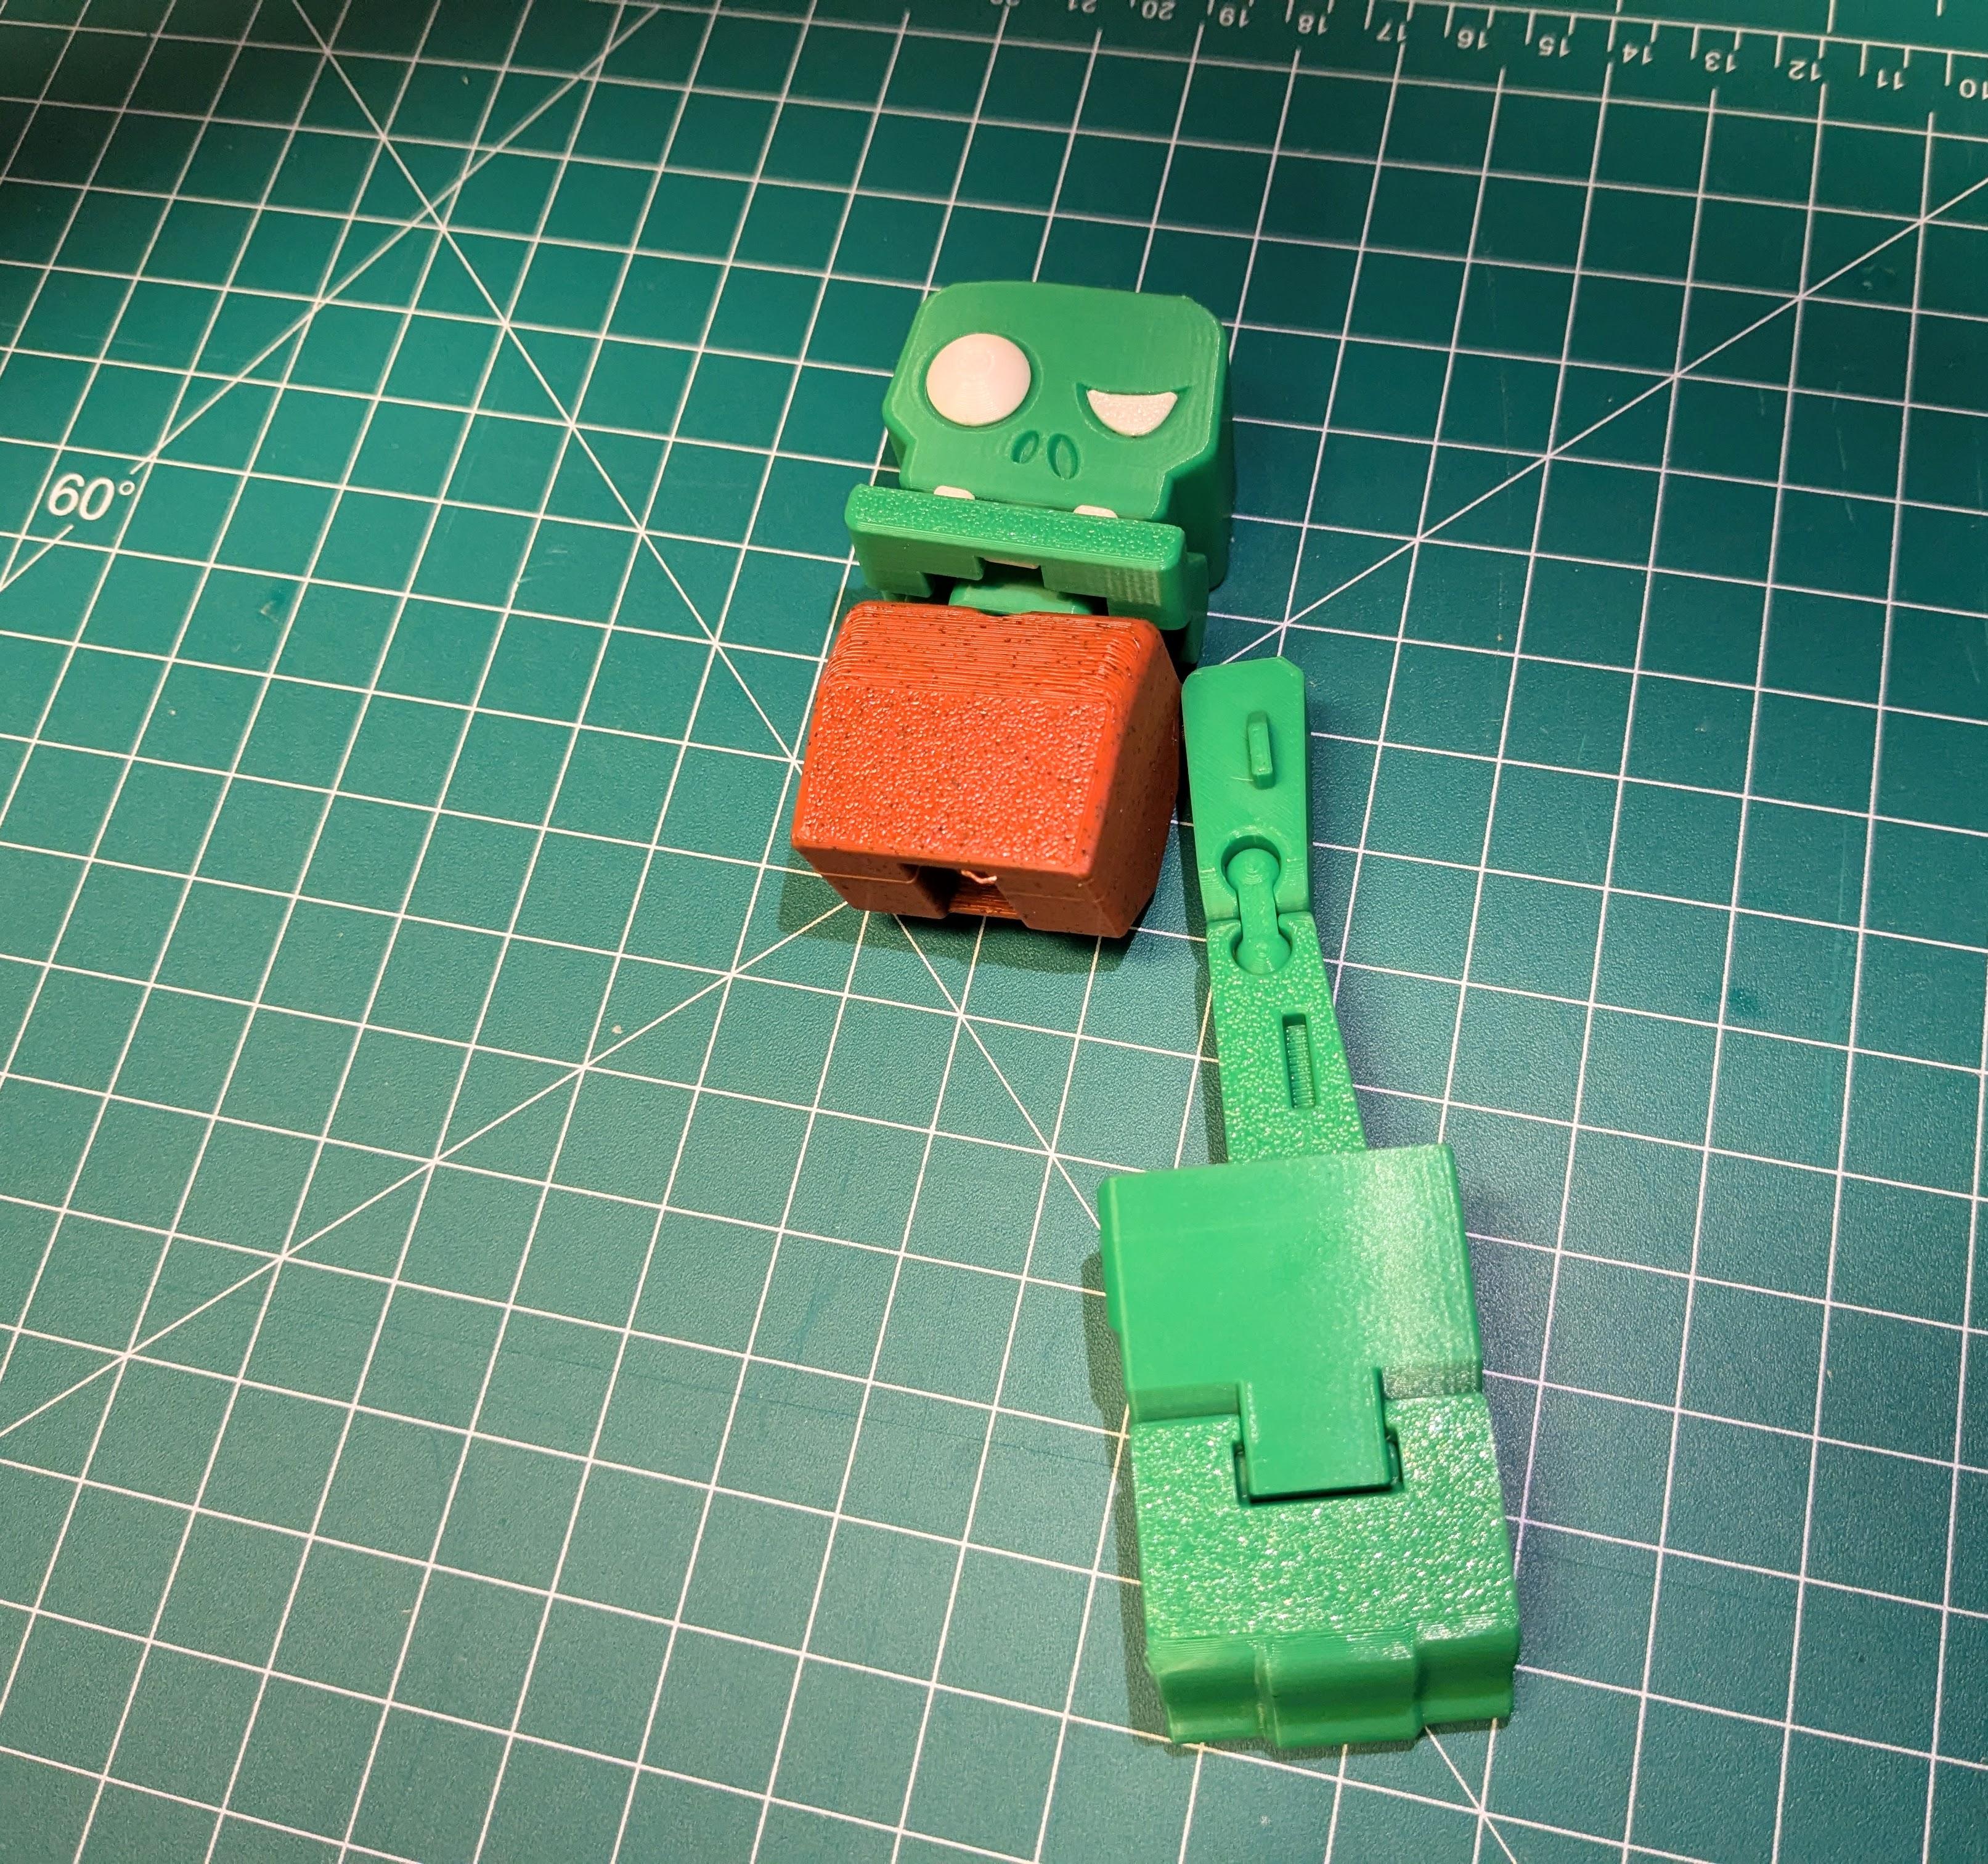
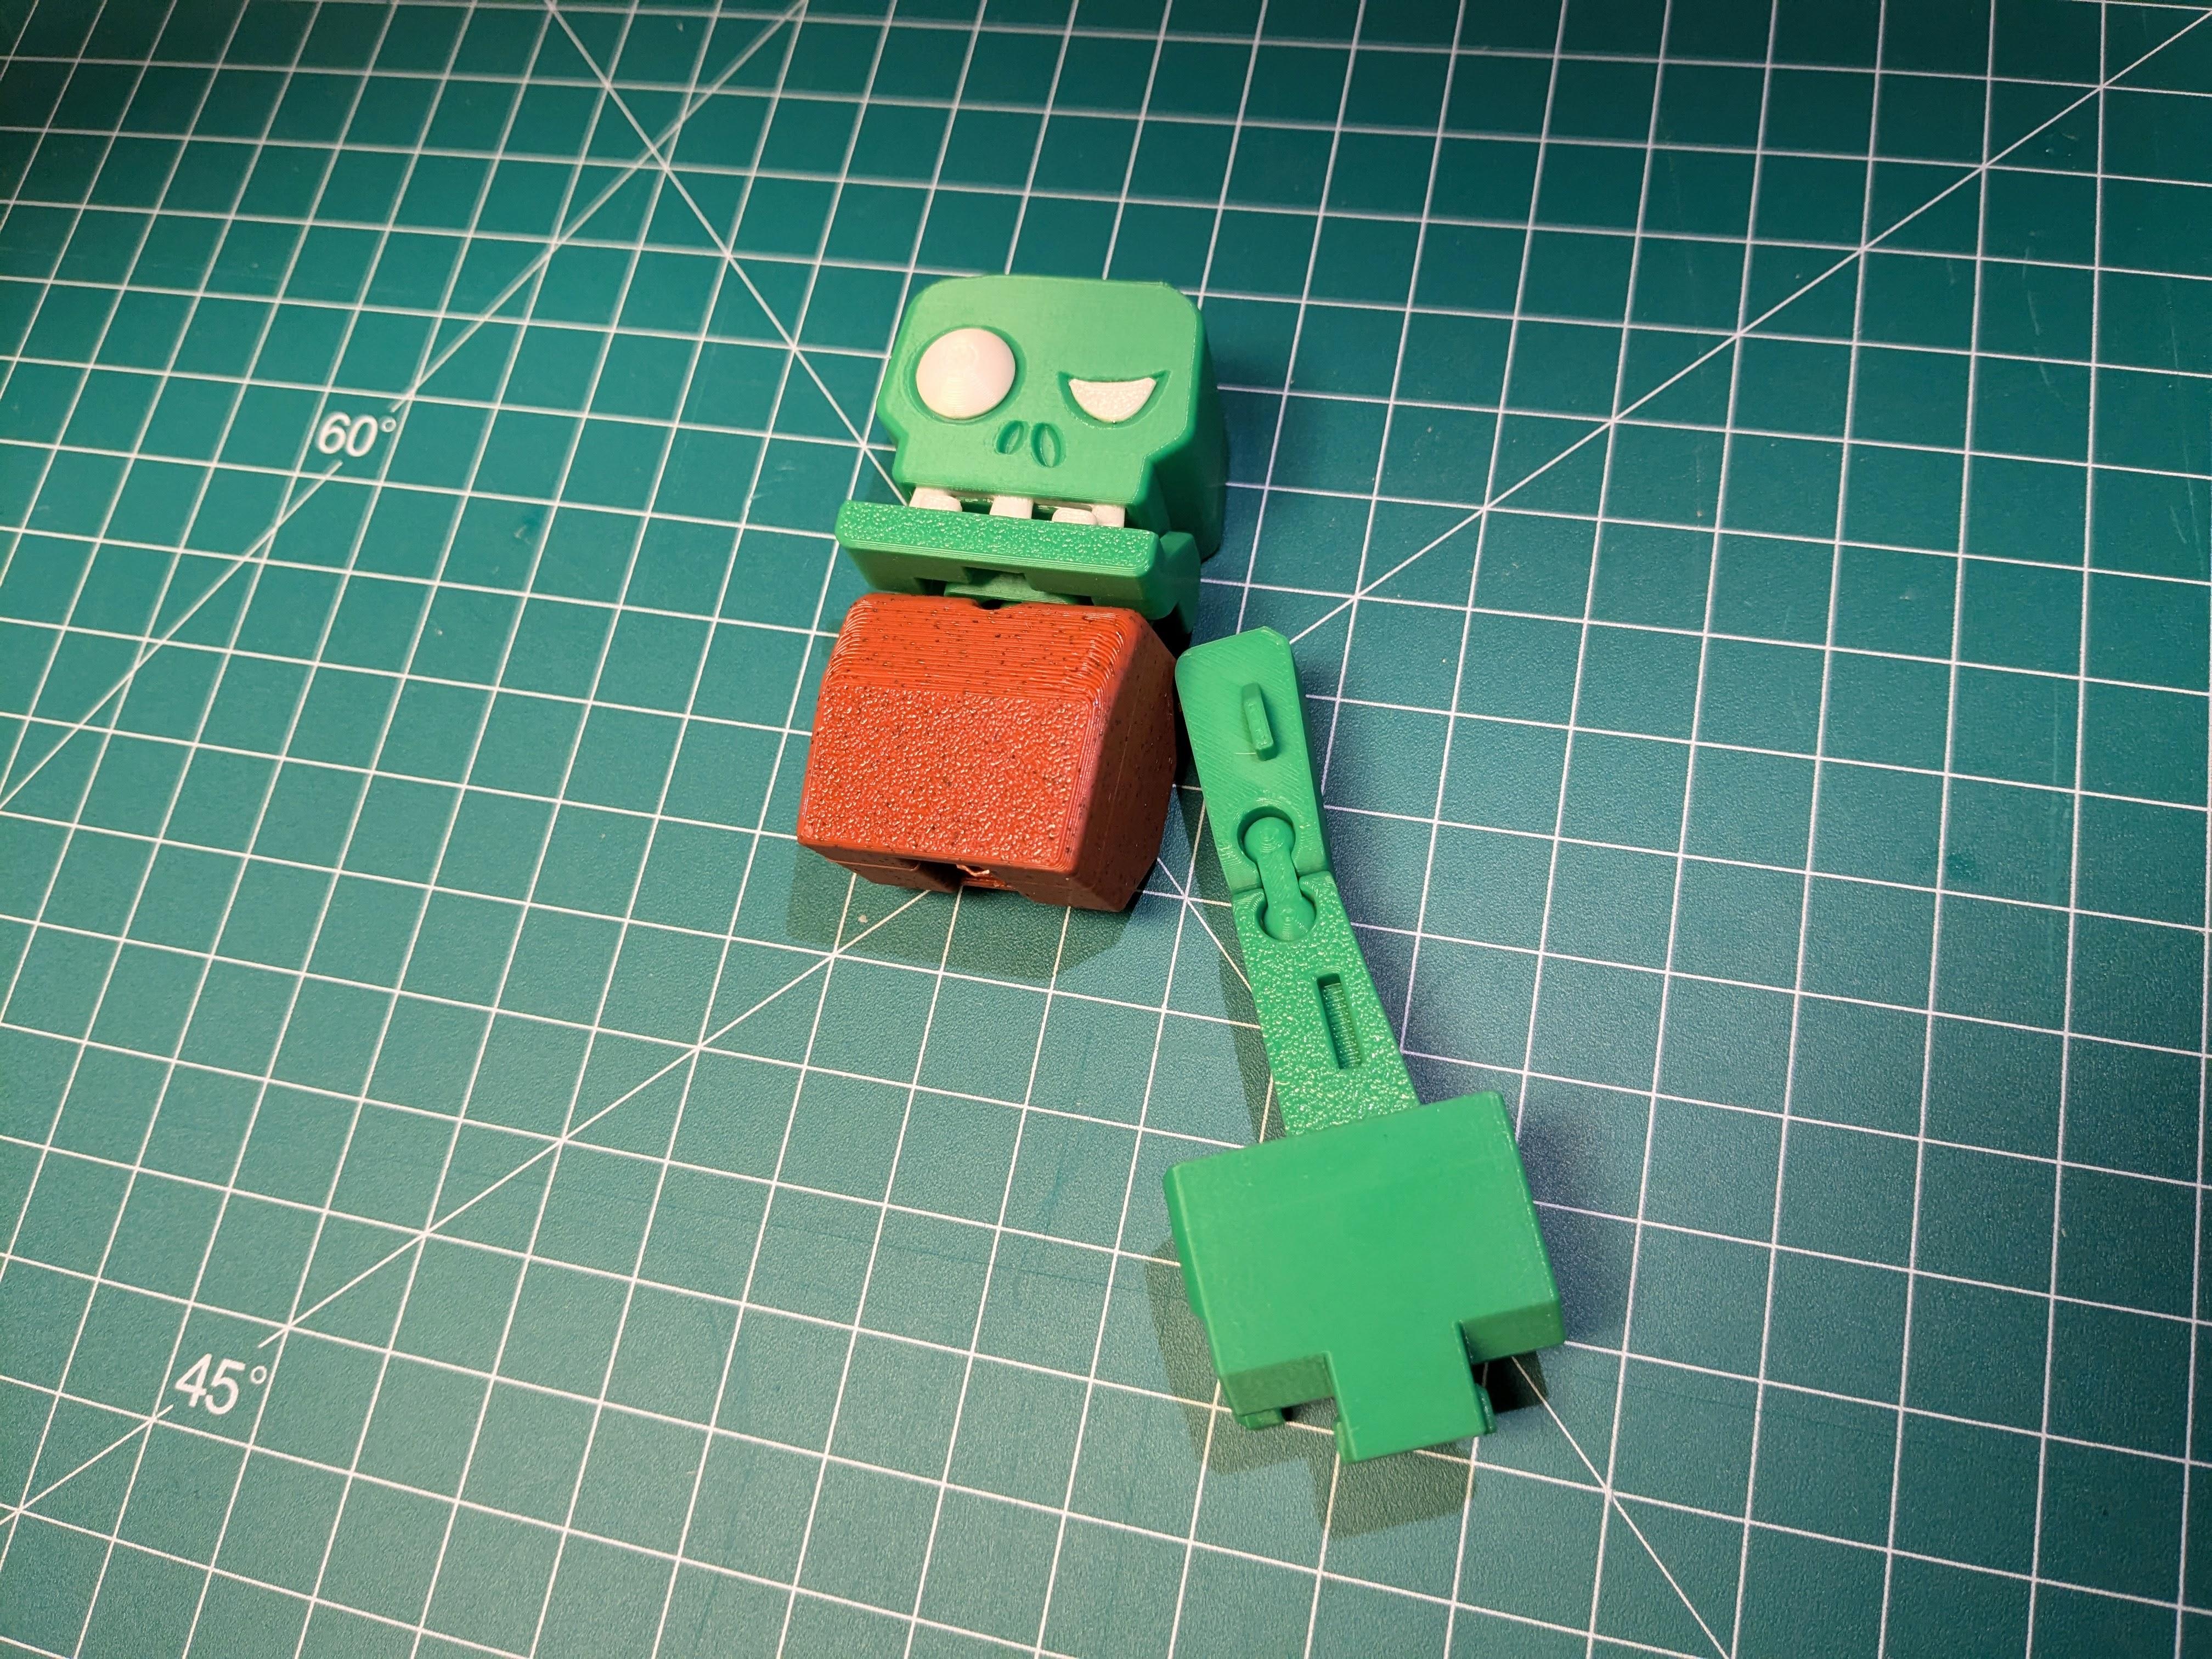
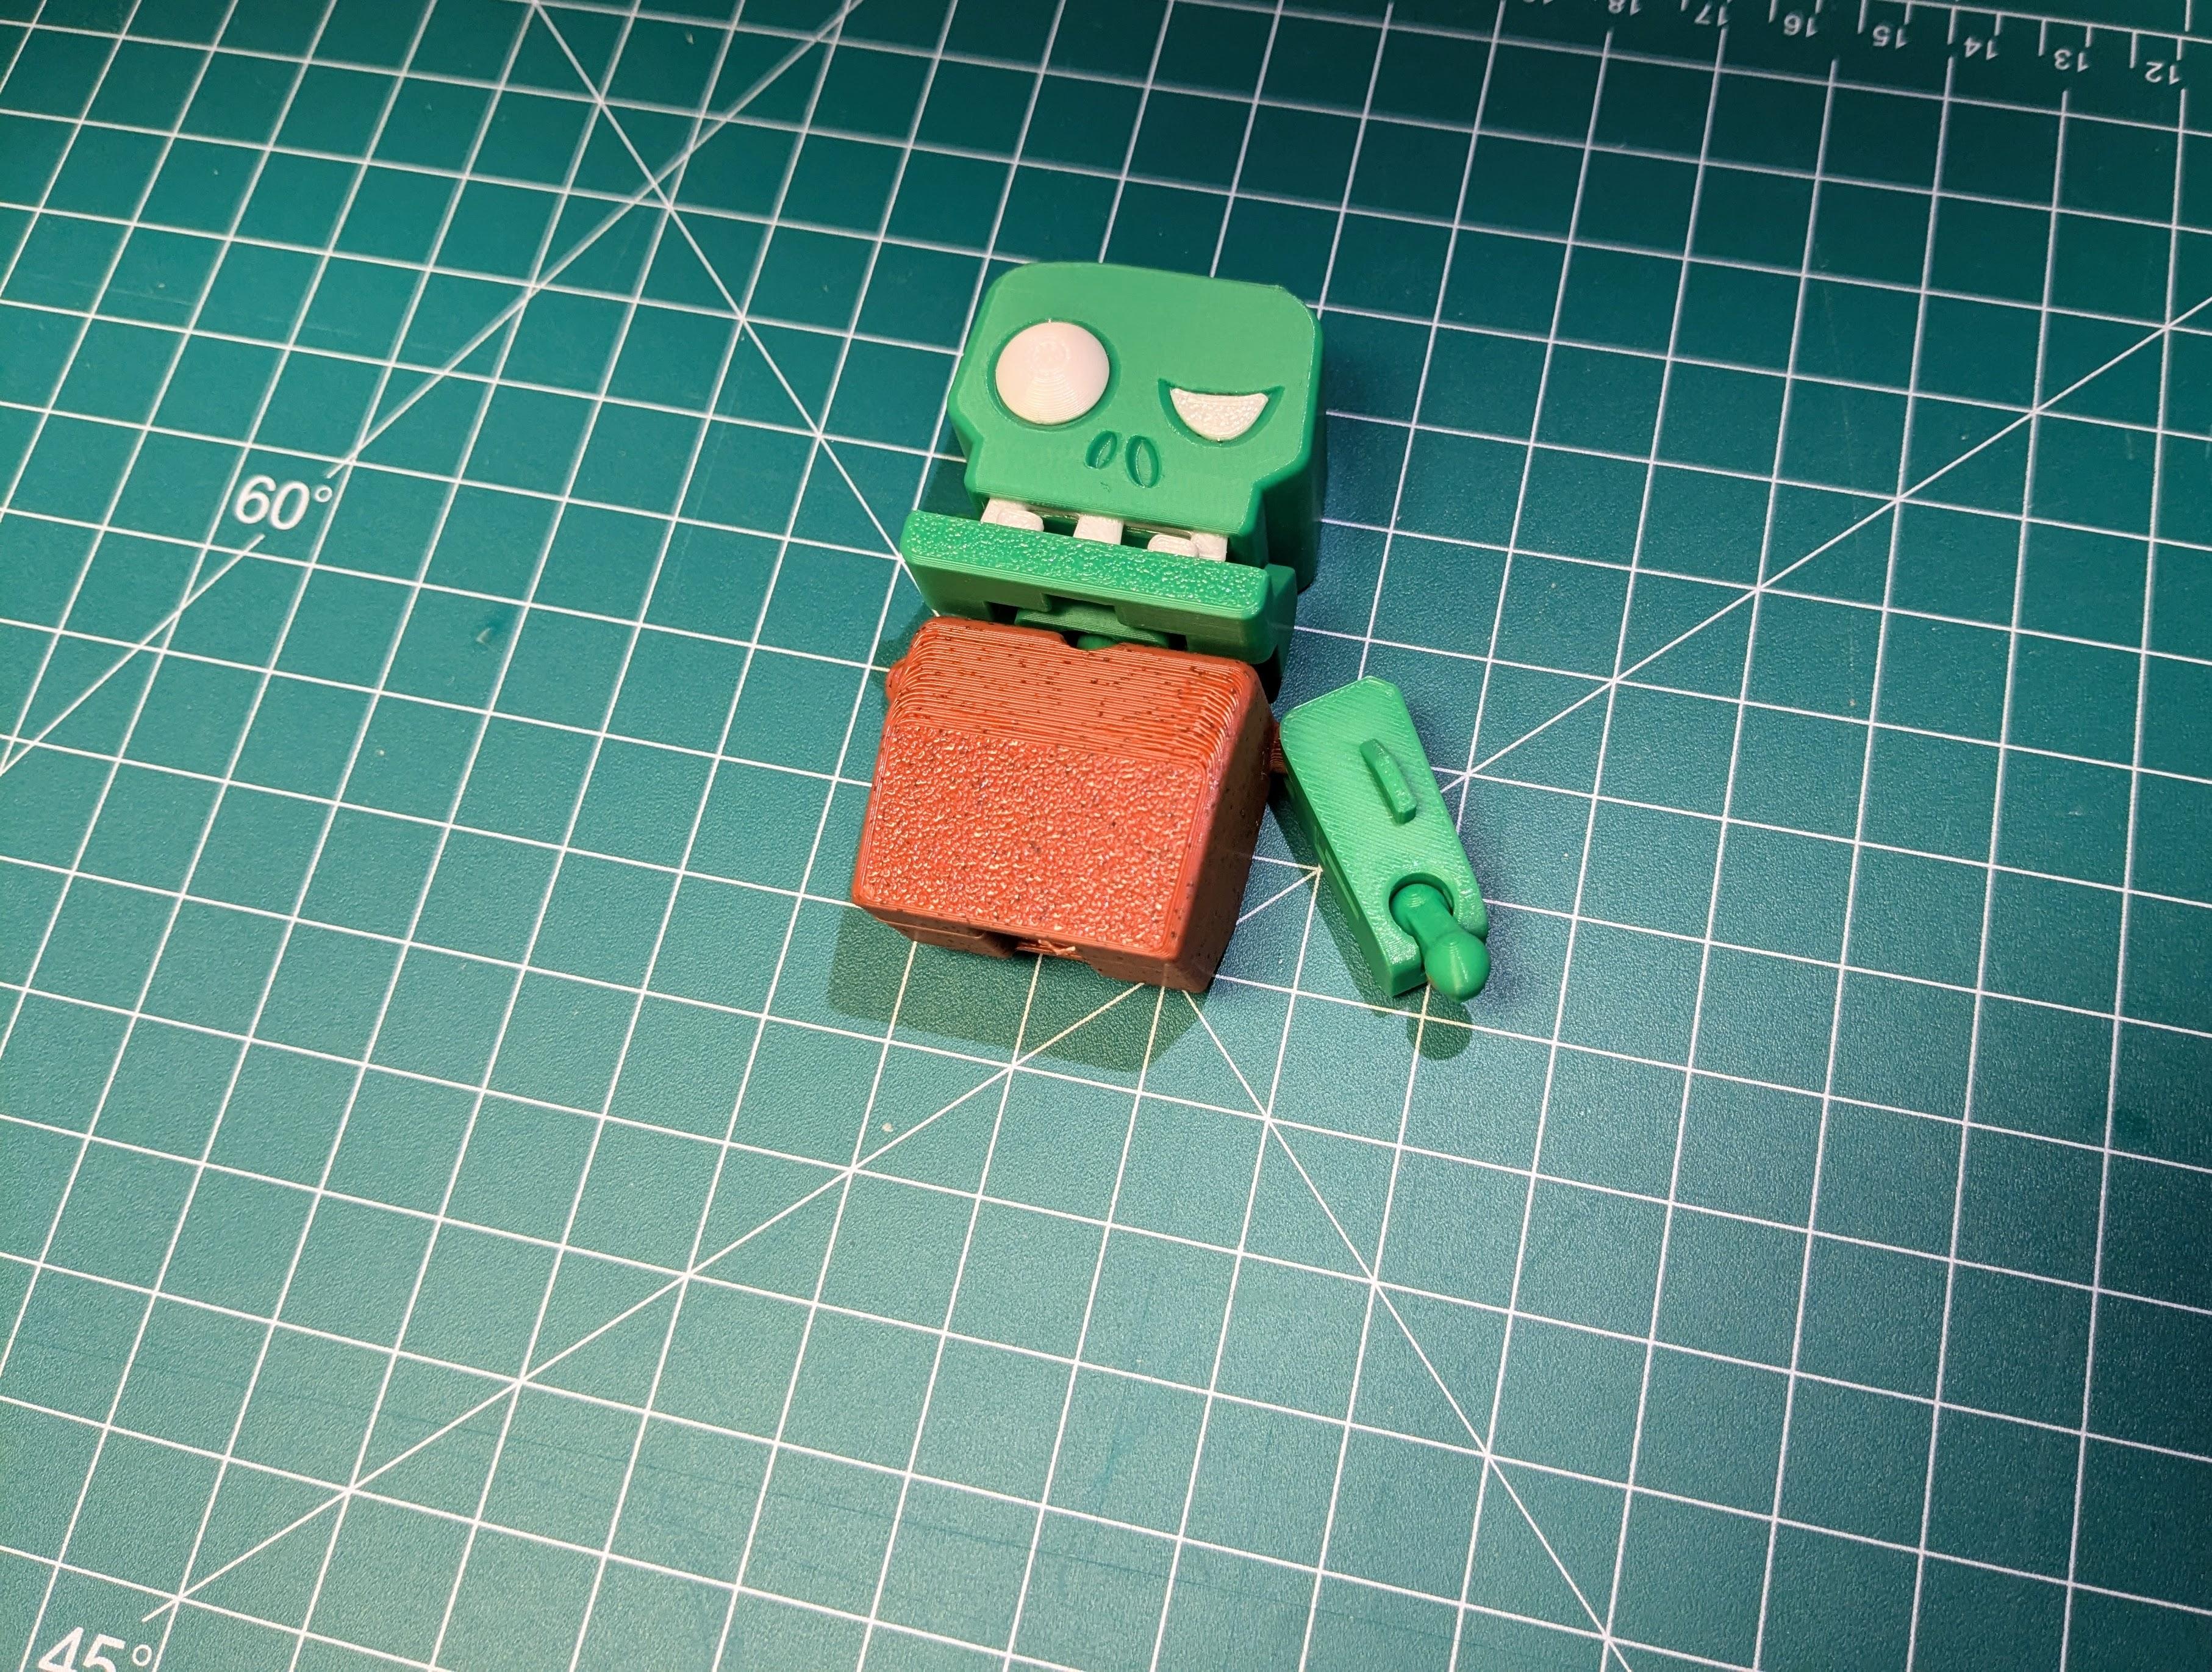
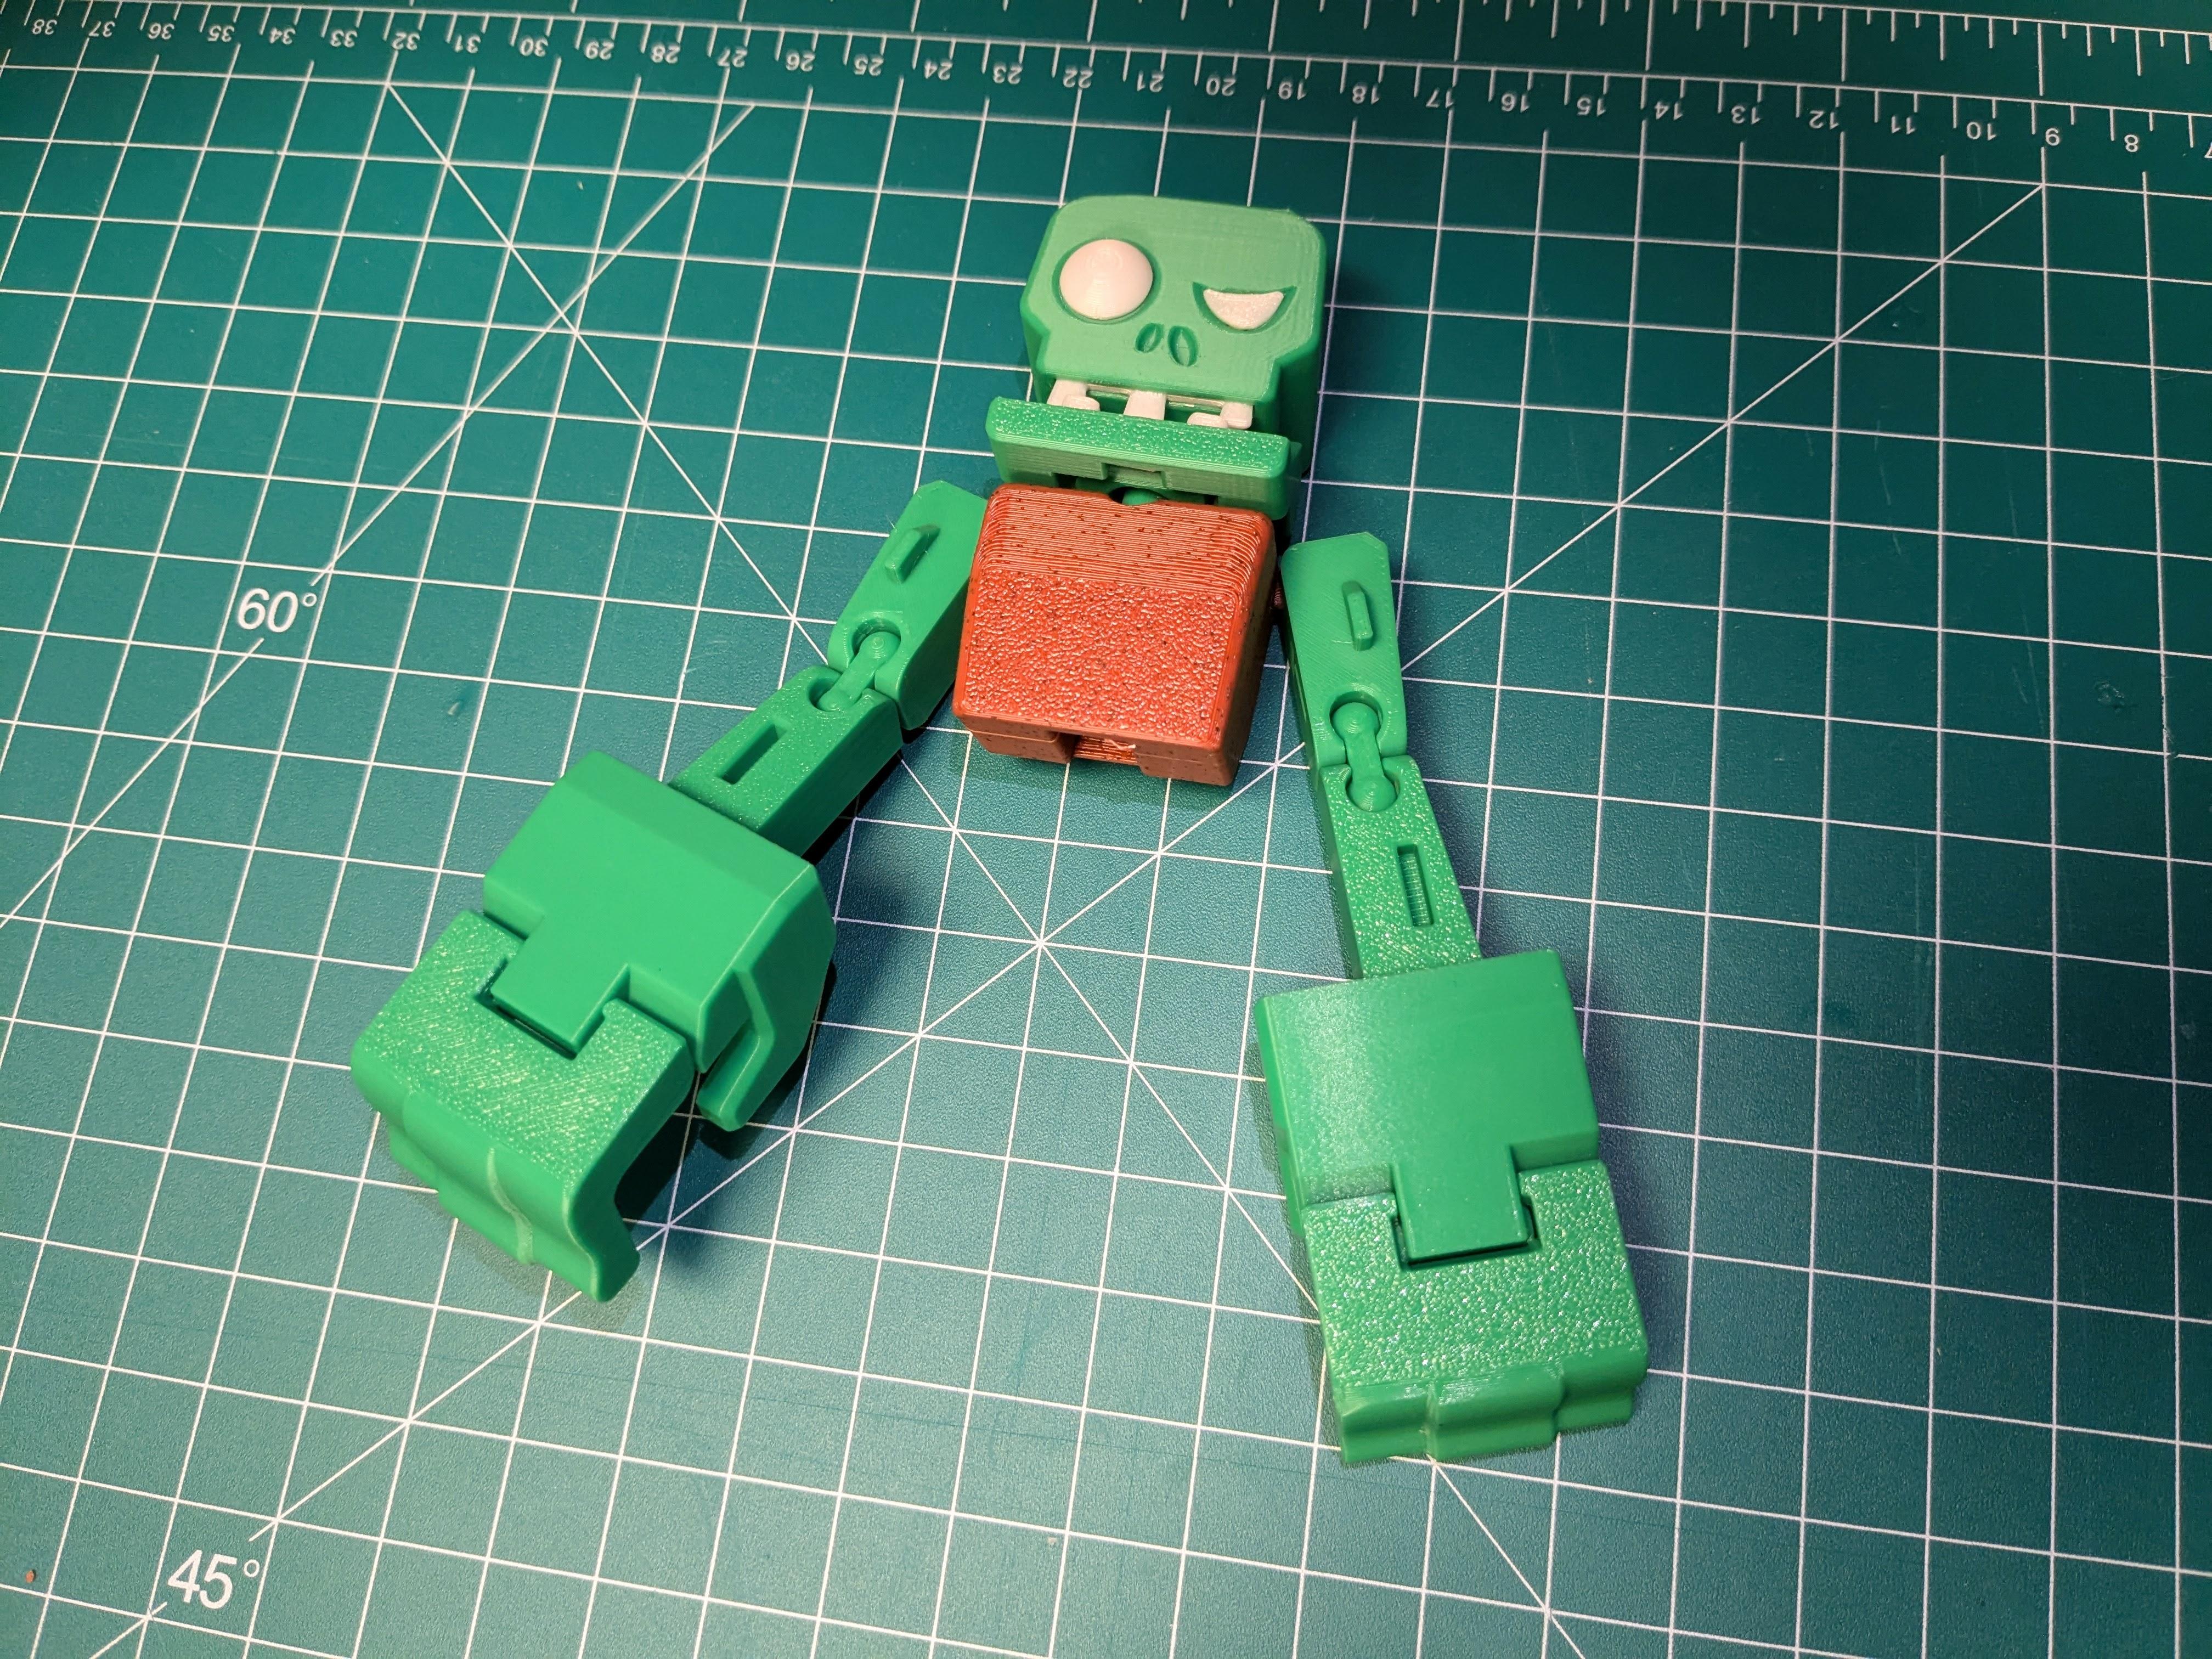
- Clean and remove supports from the arms.
- Place each arm into its respective socket or position on the torso.
- Apply a small amount of glue to the joints and attach the arms, ensuring they are correctly aligned.
- Hold the arms until the glue sets and they are firmly attached.
Attach the Legs
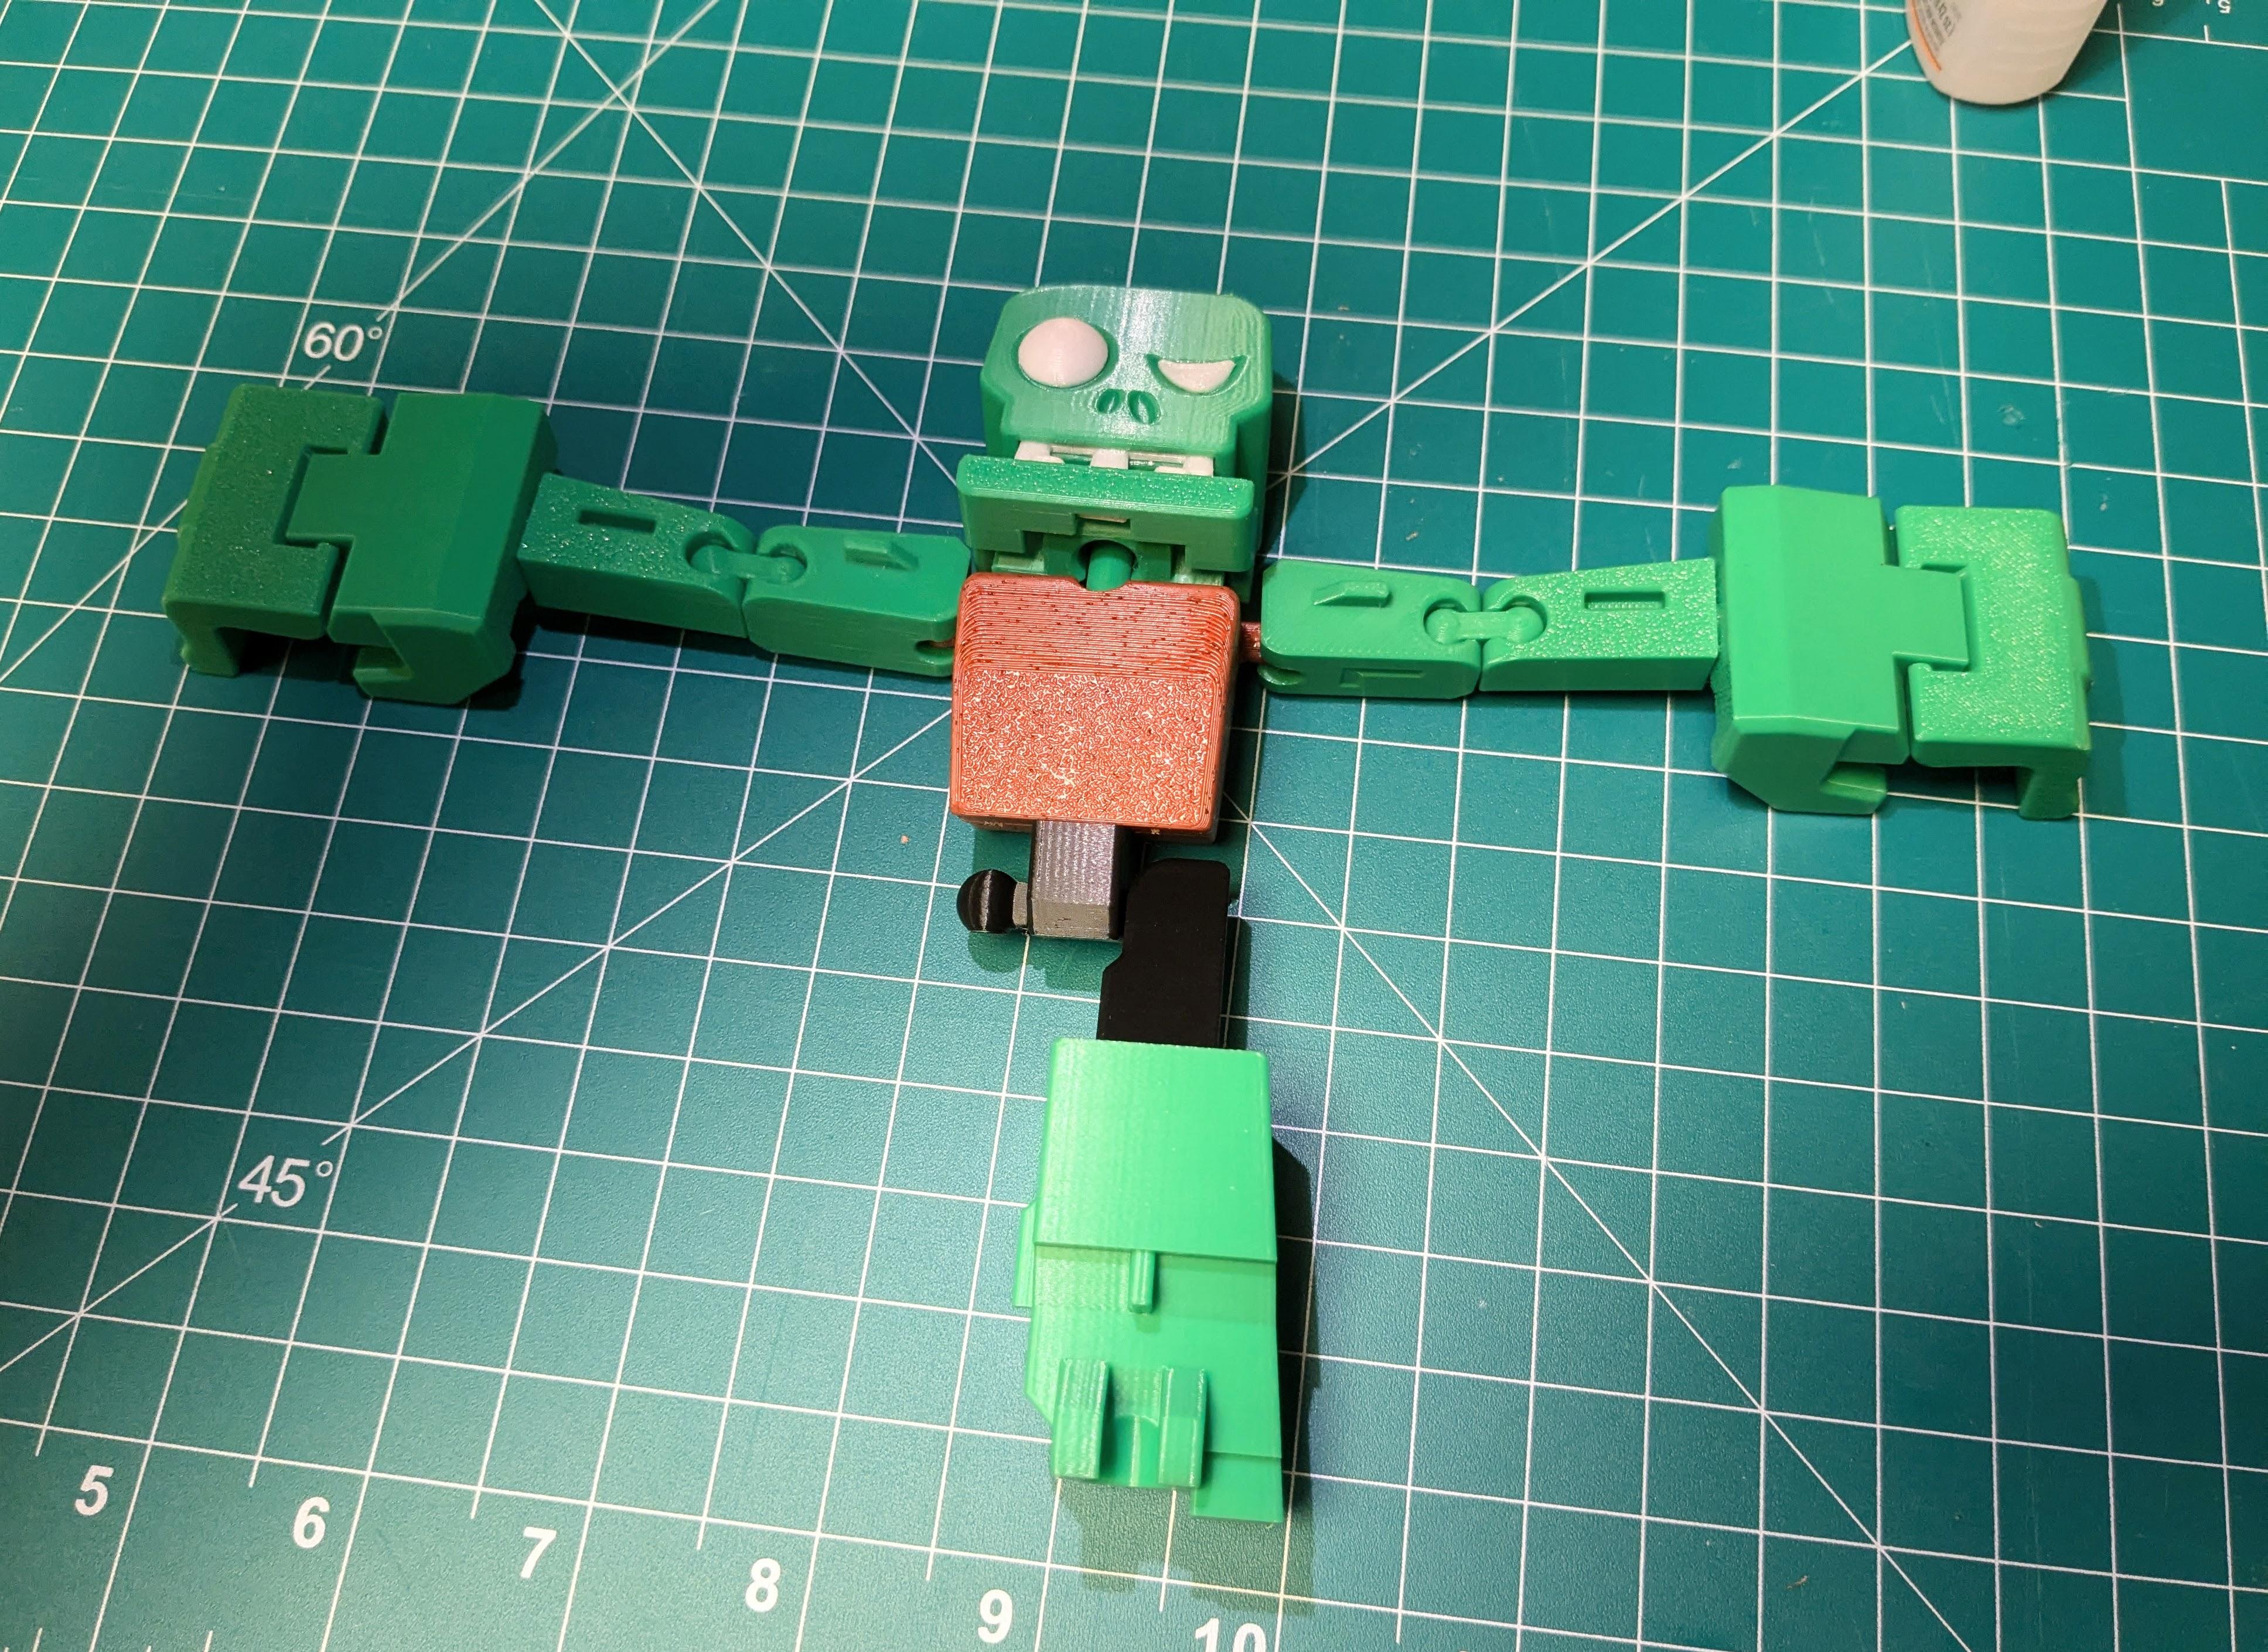
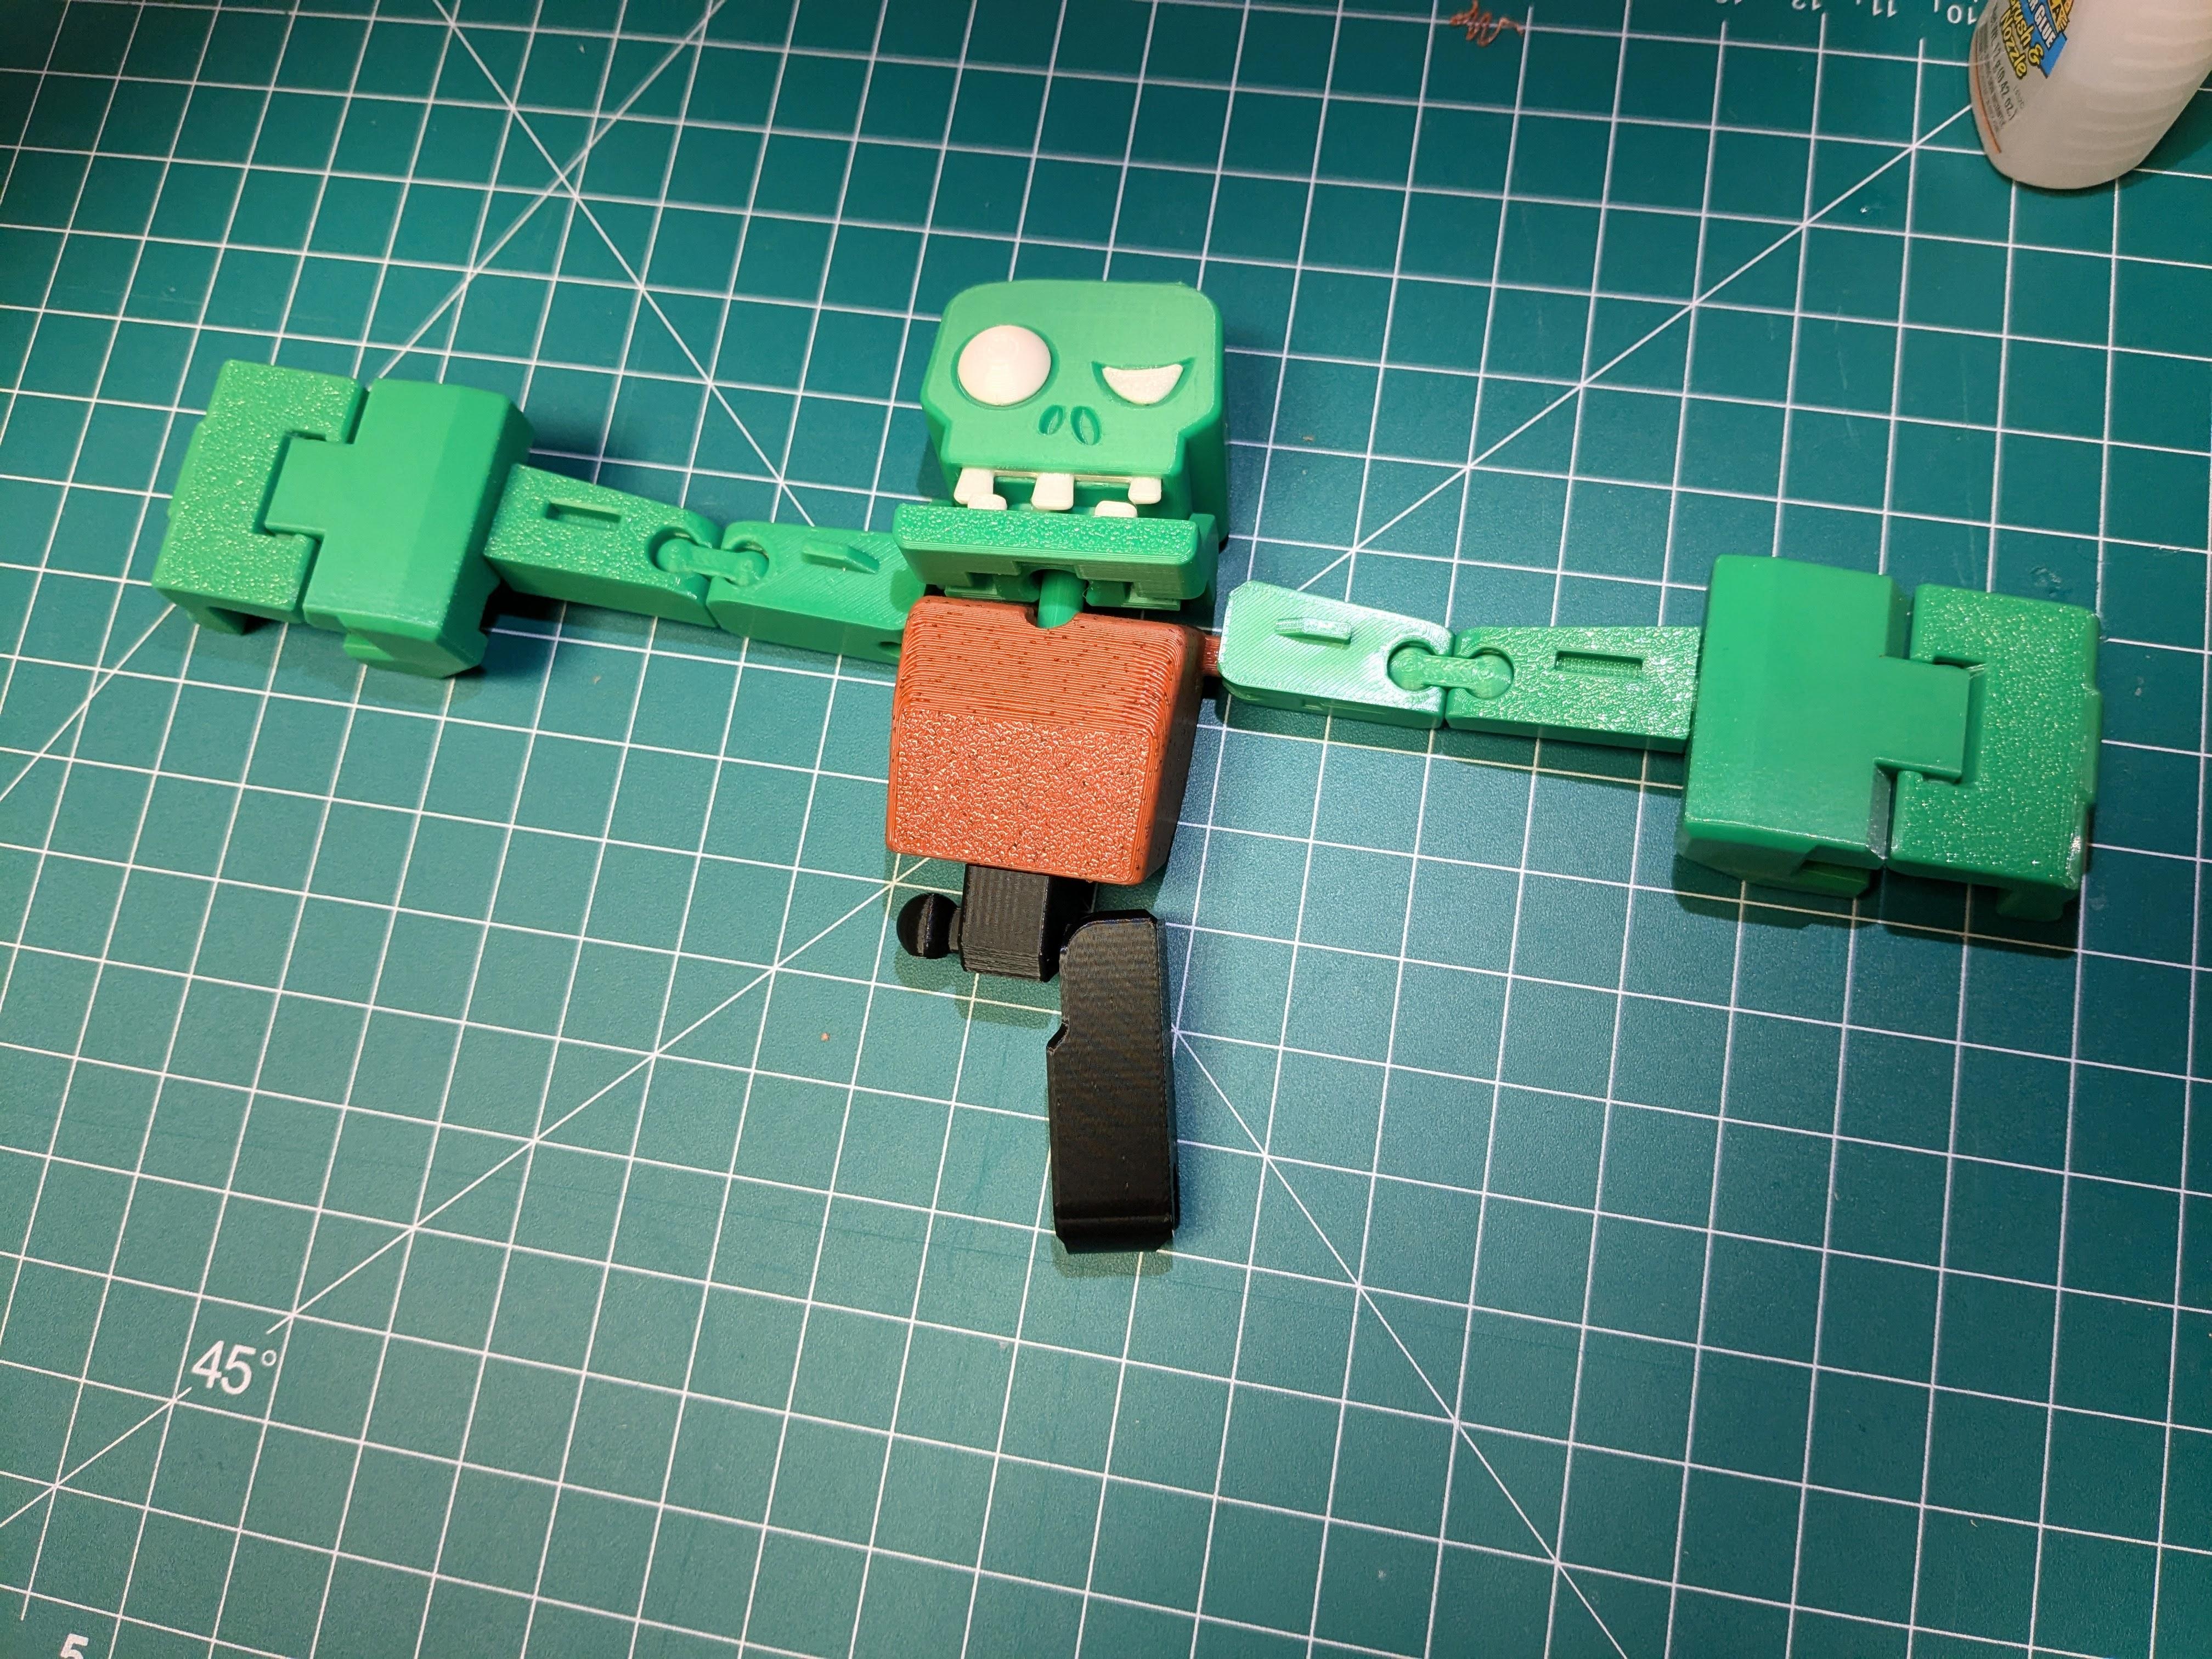
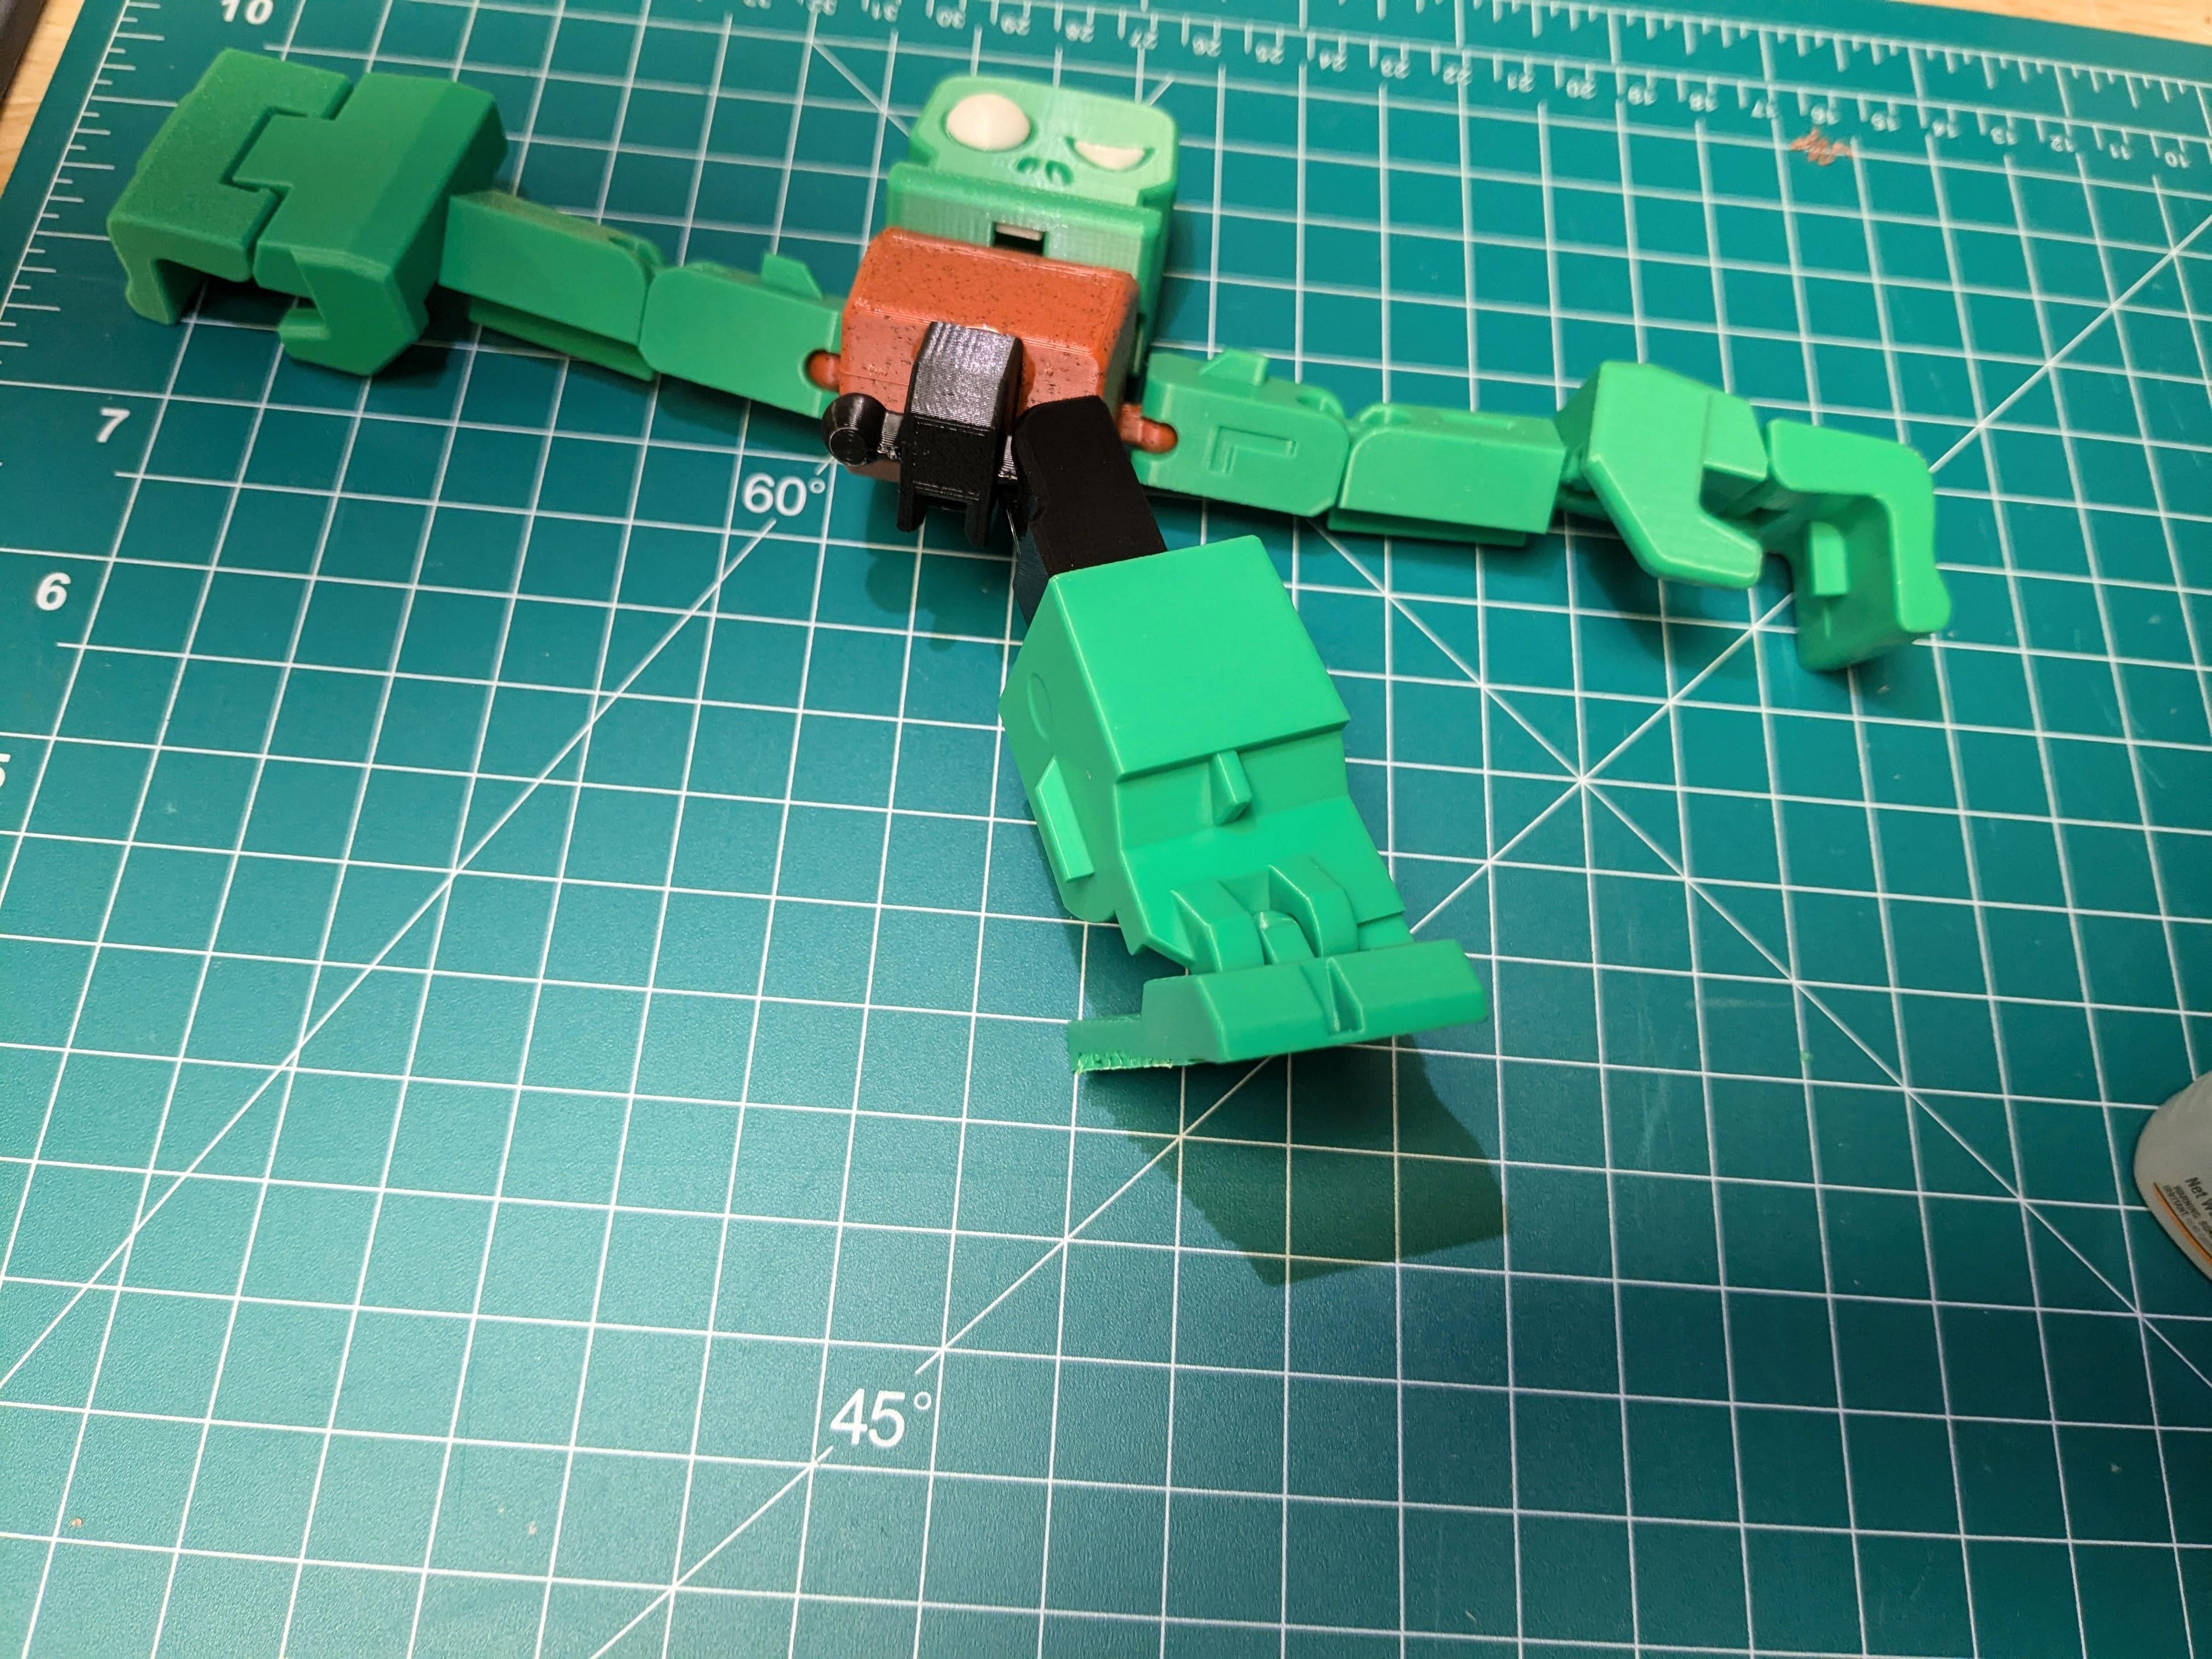
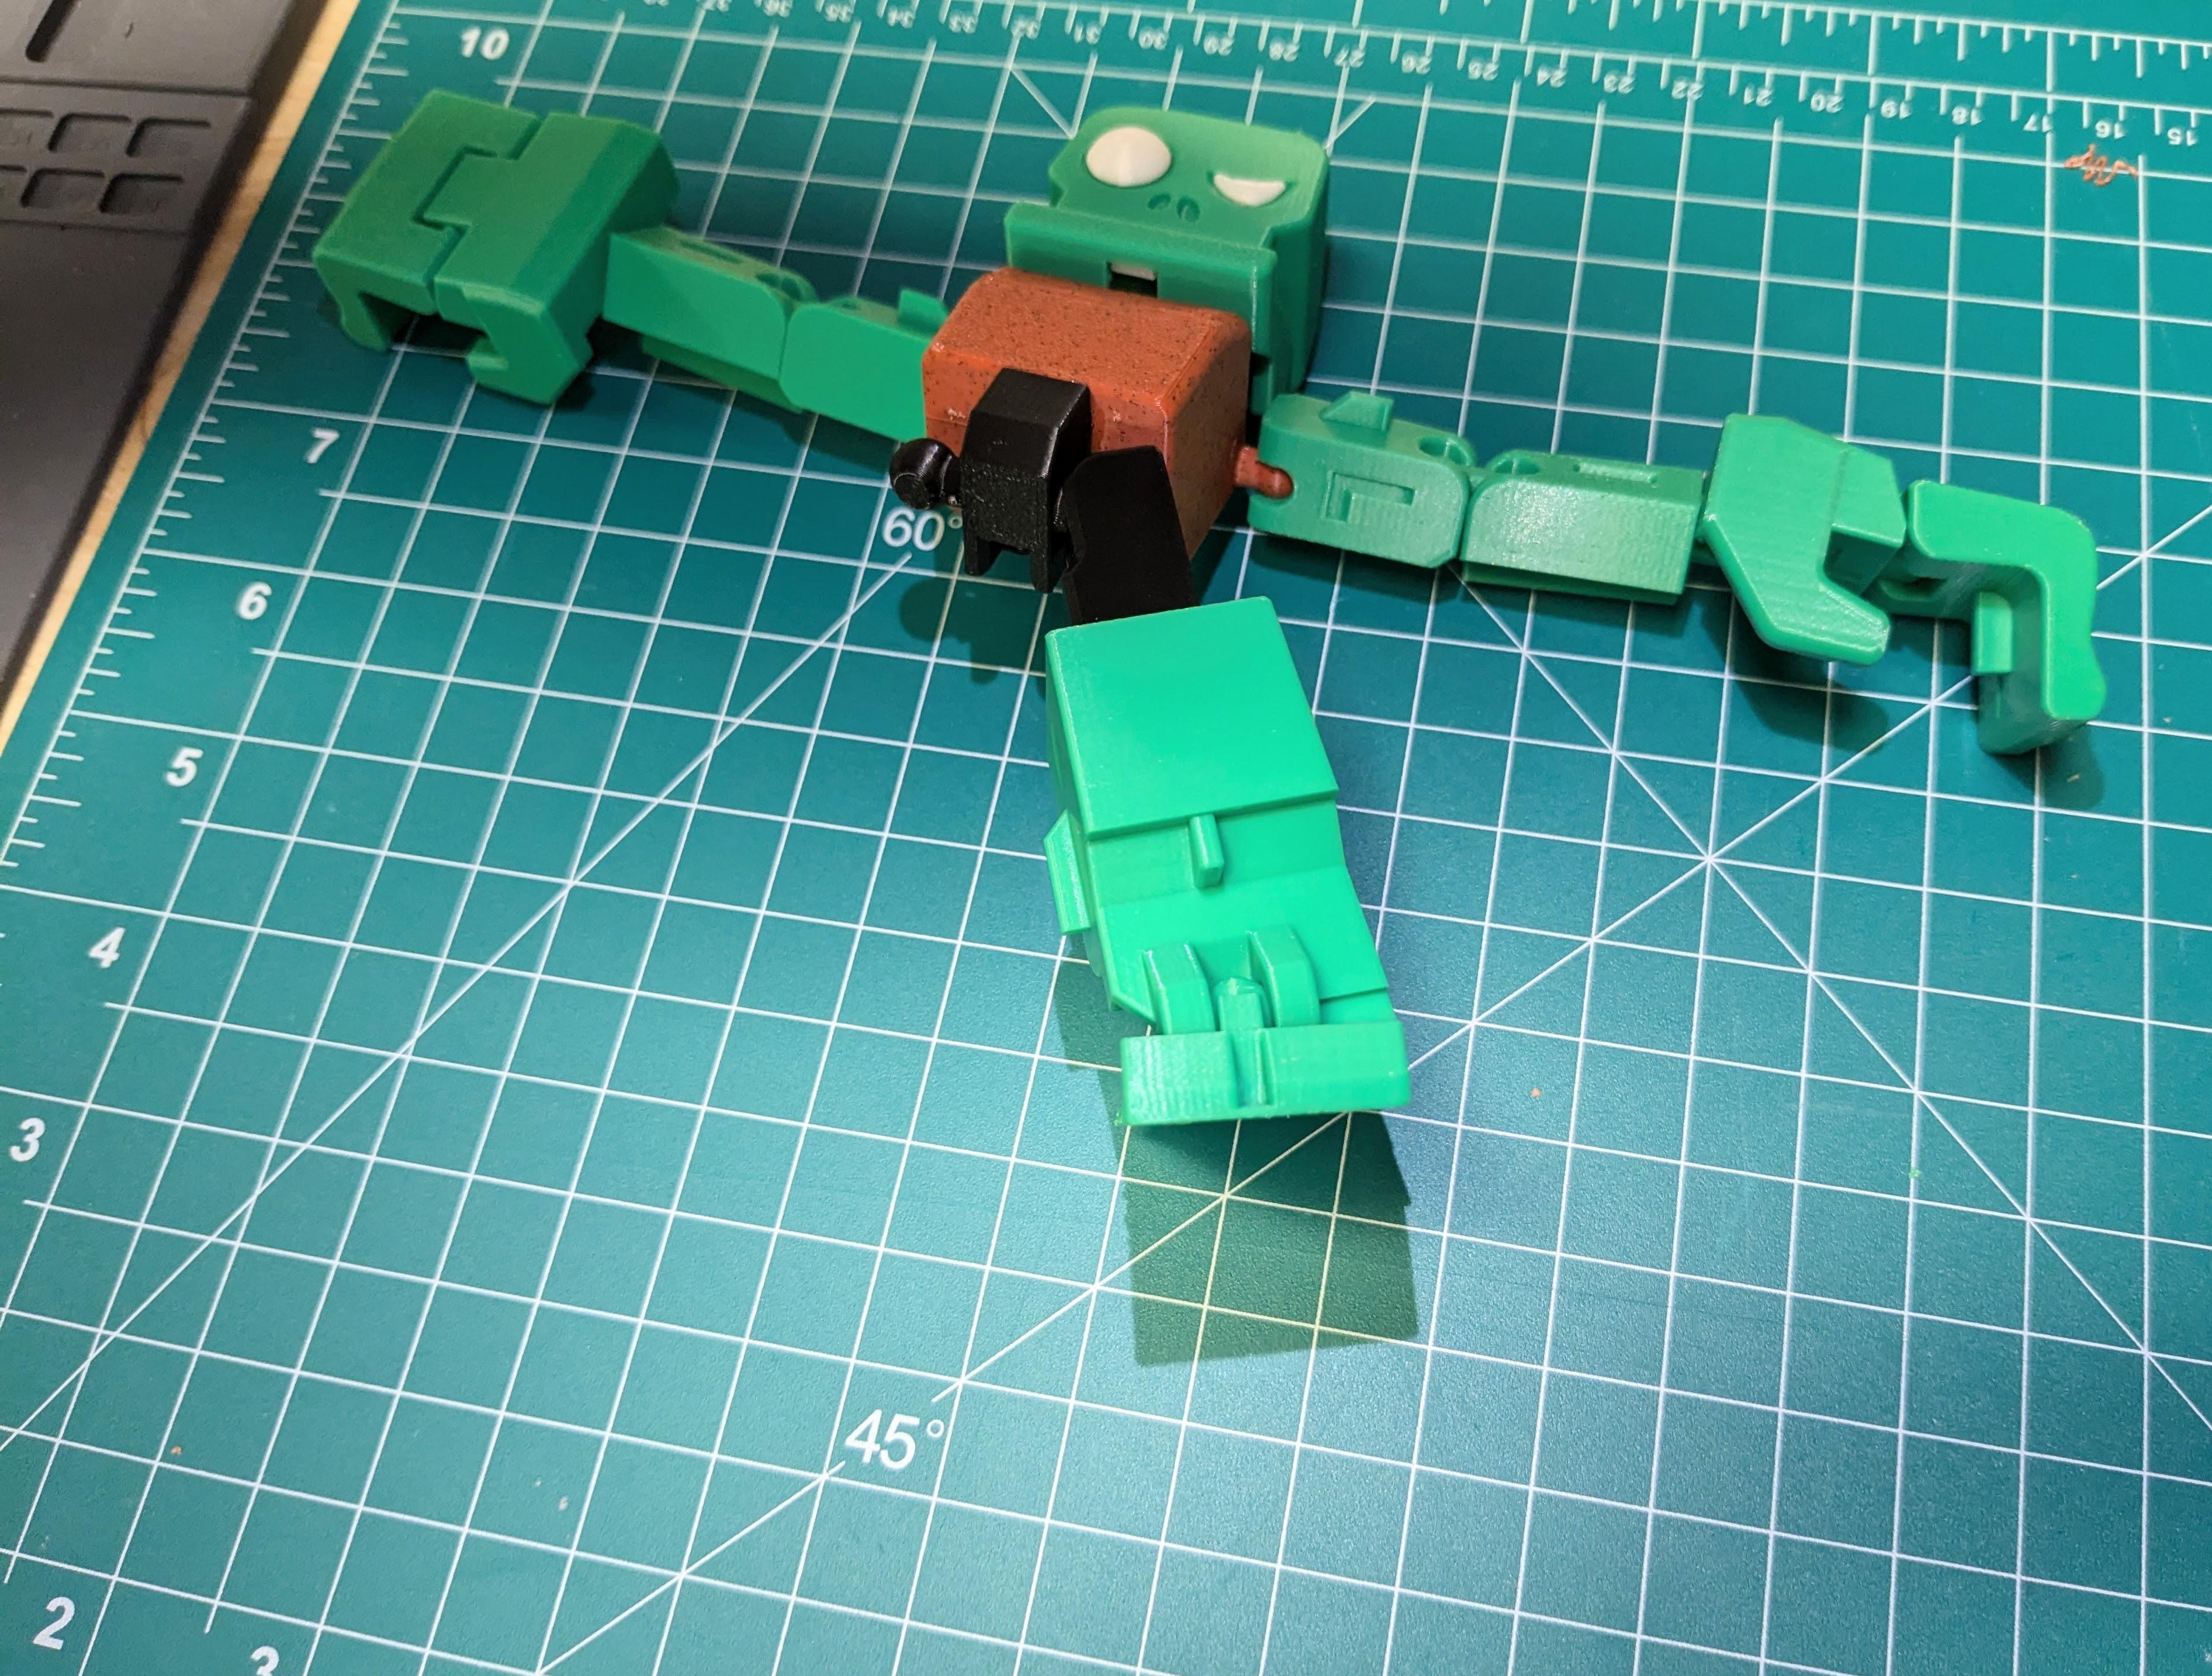
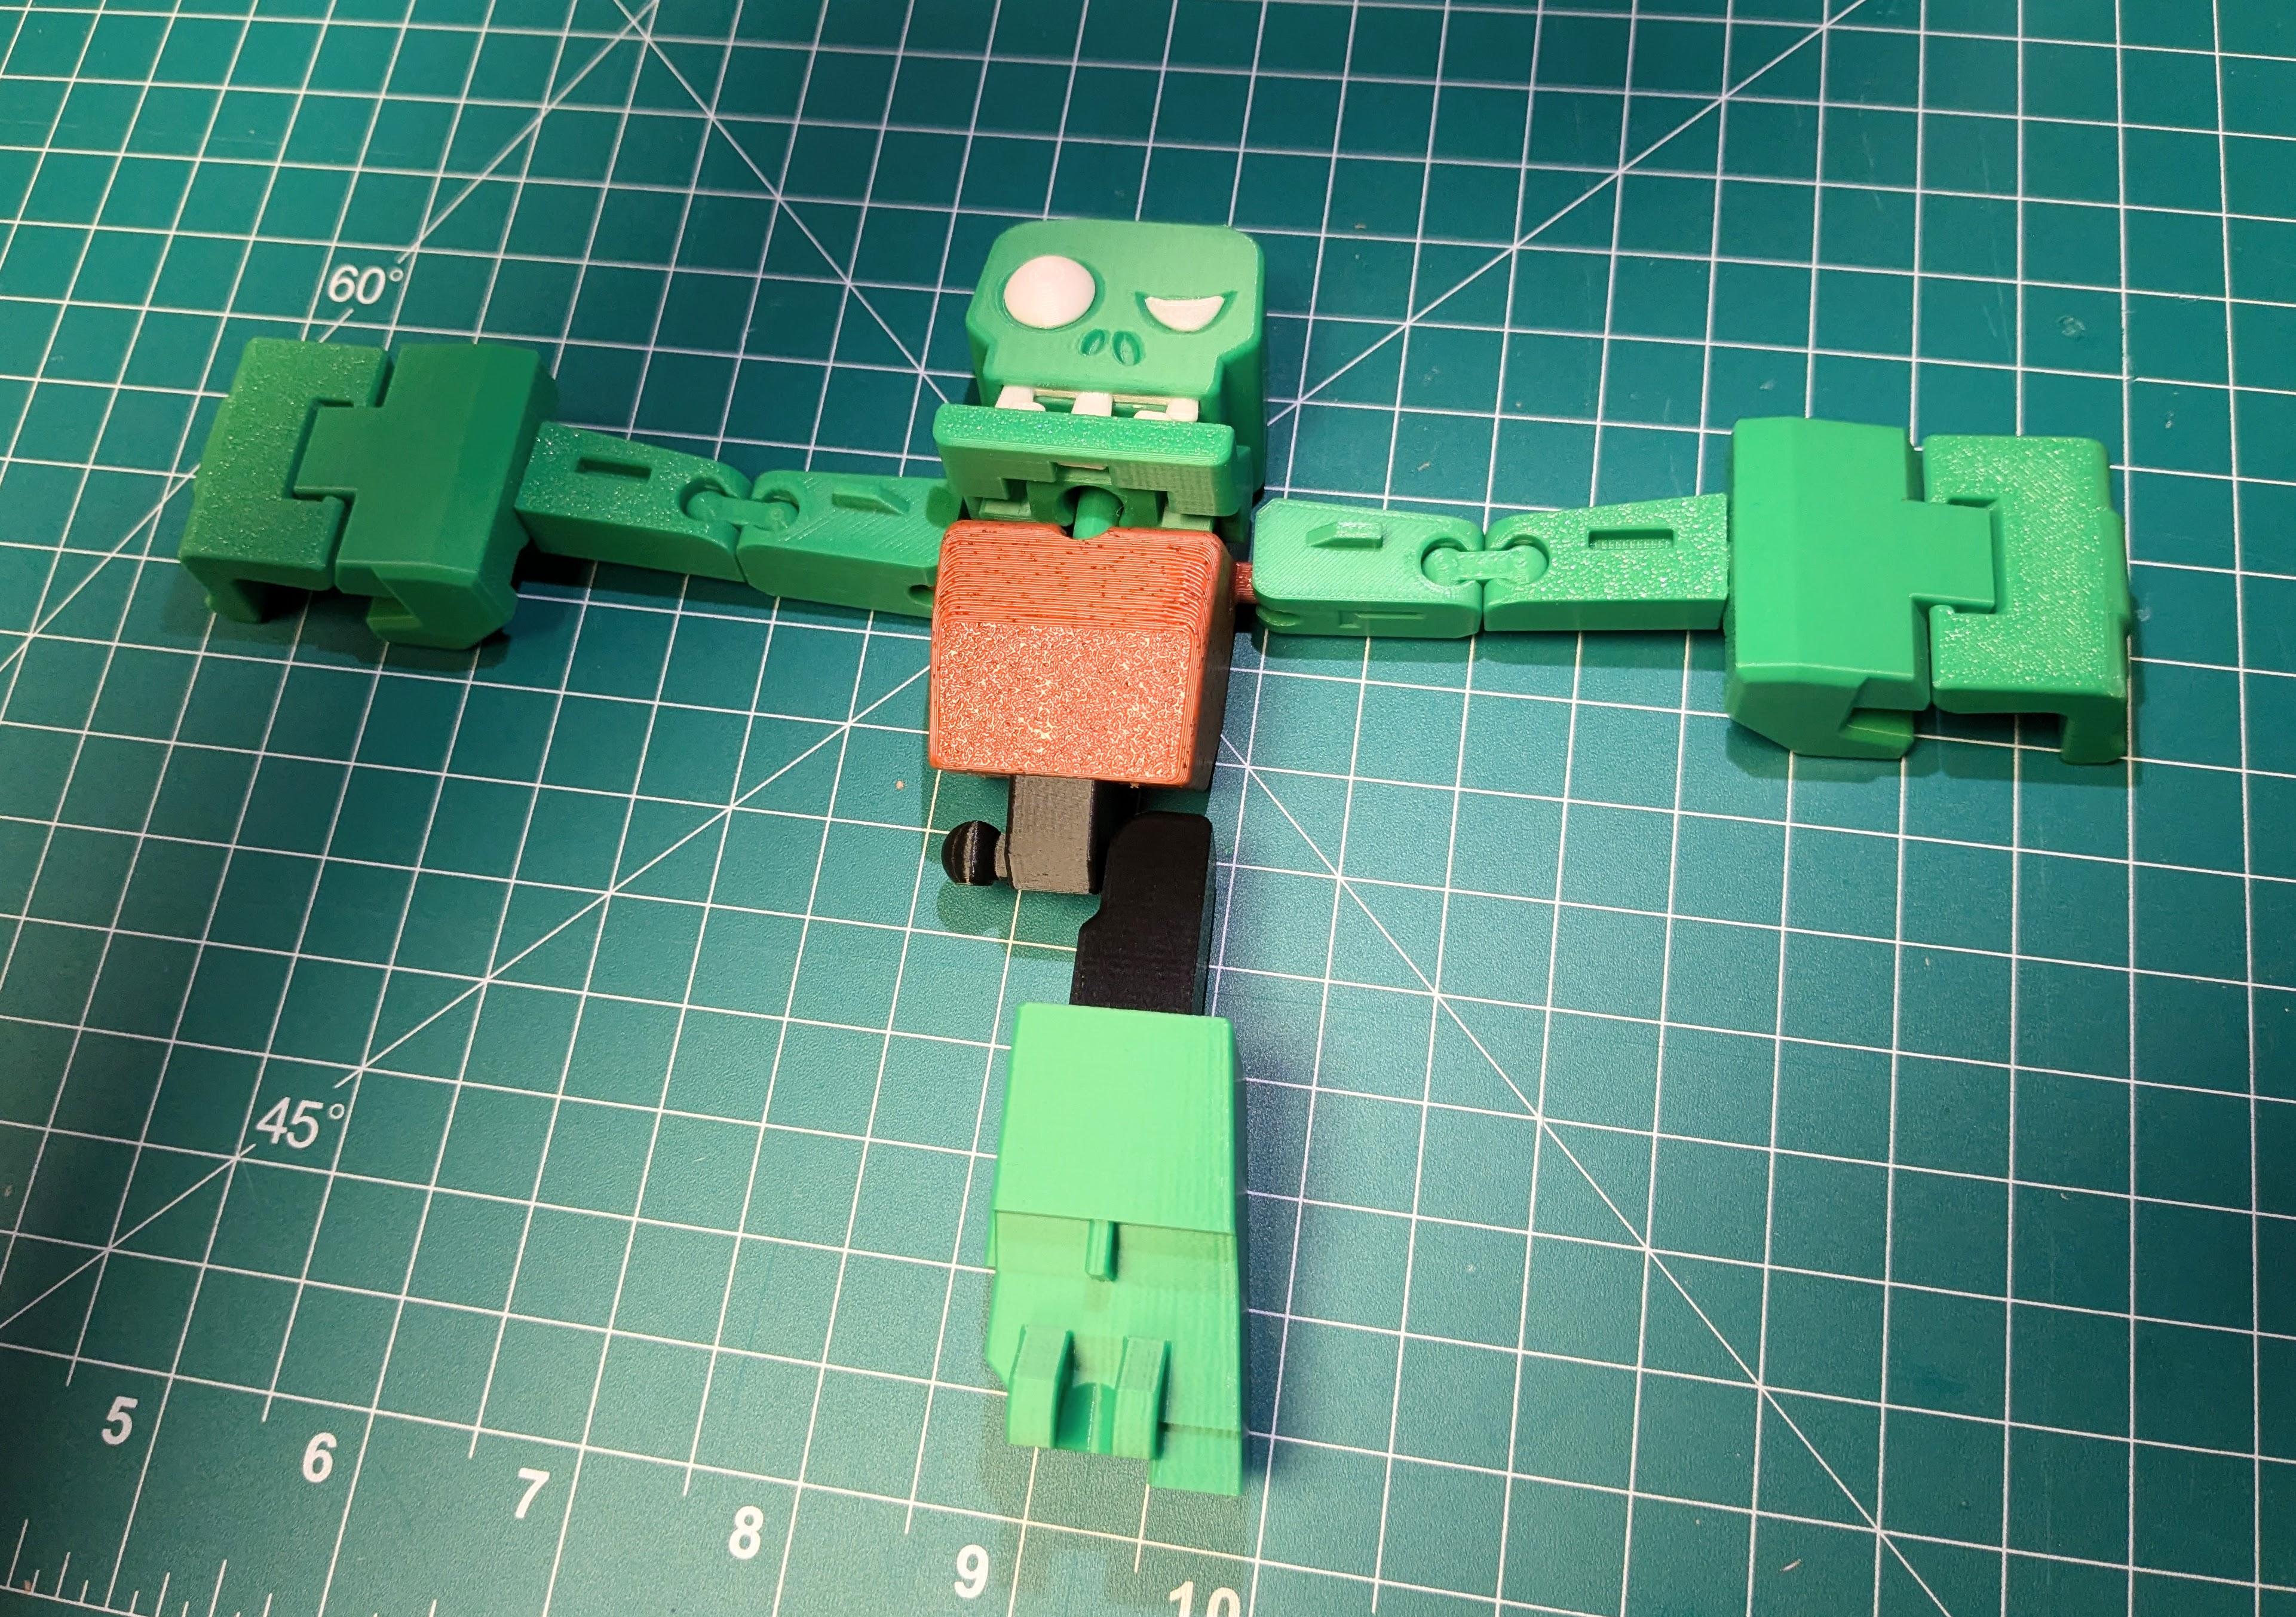
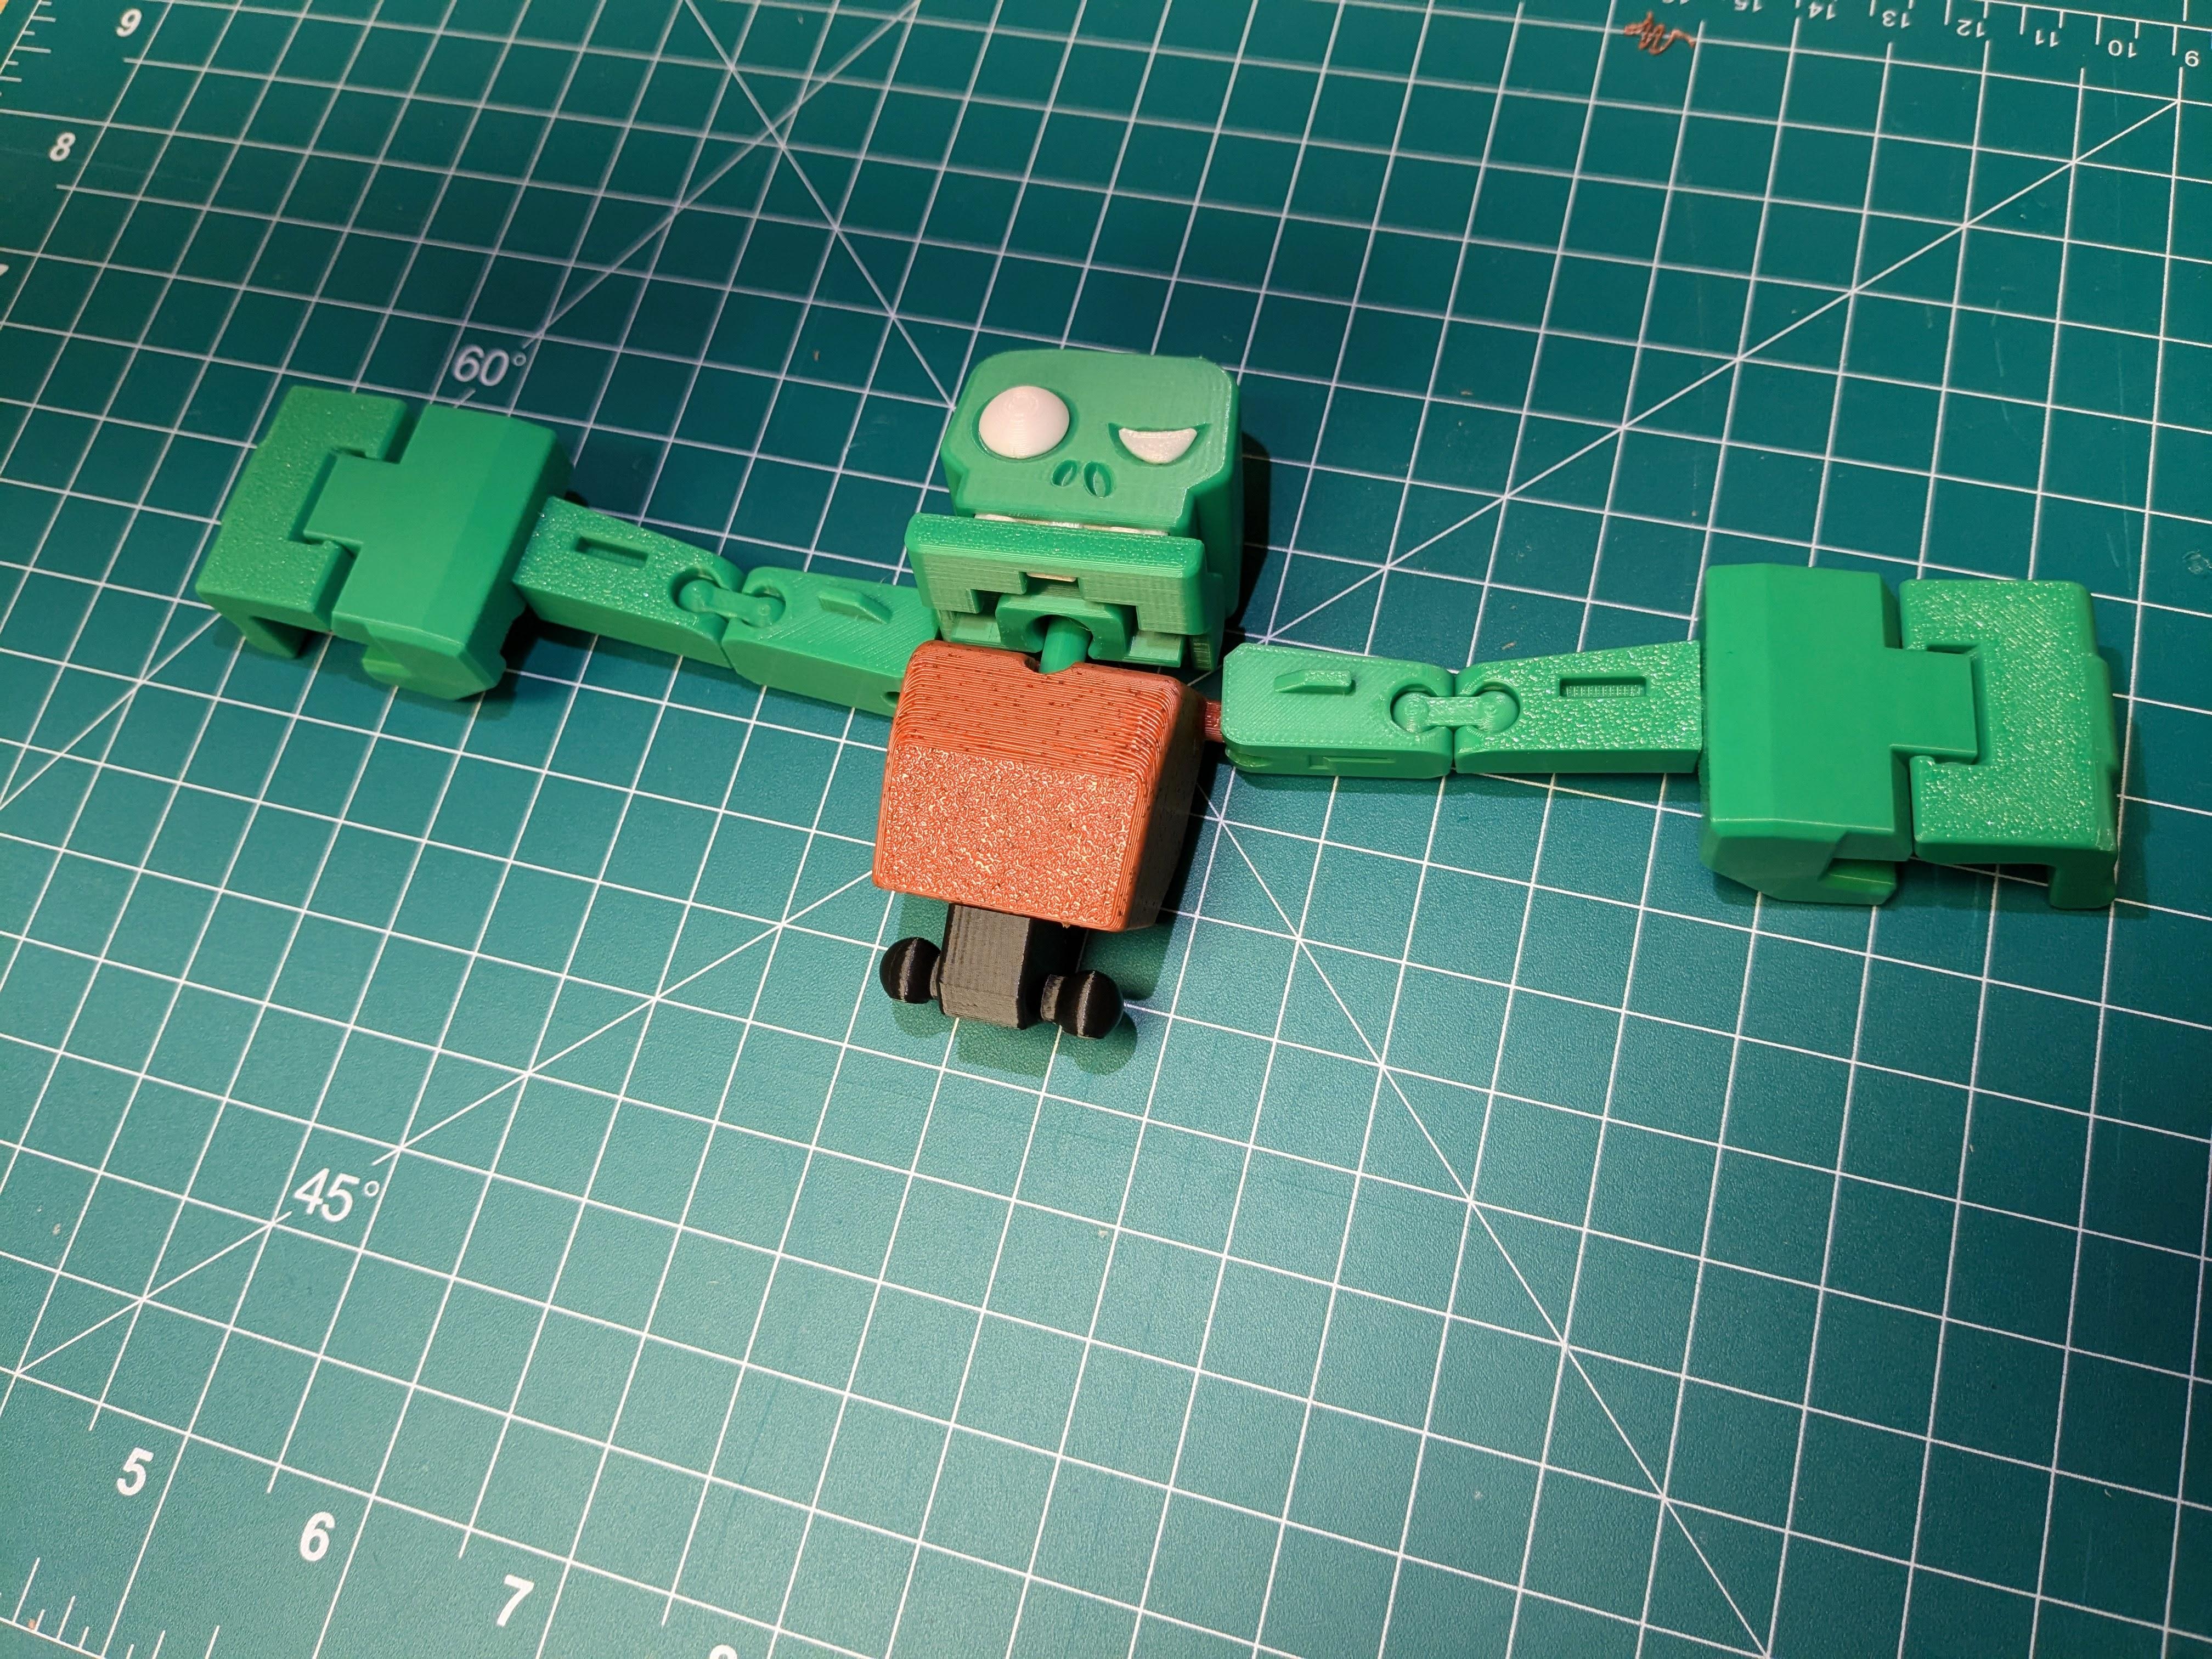
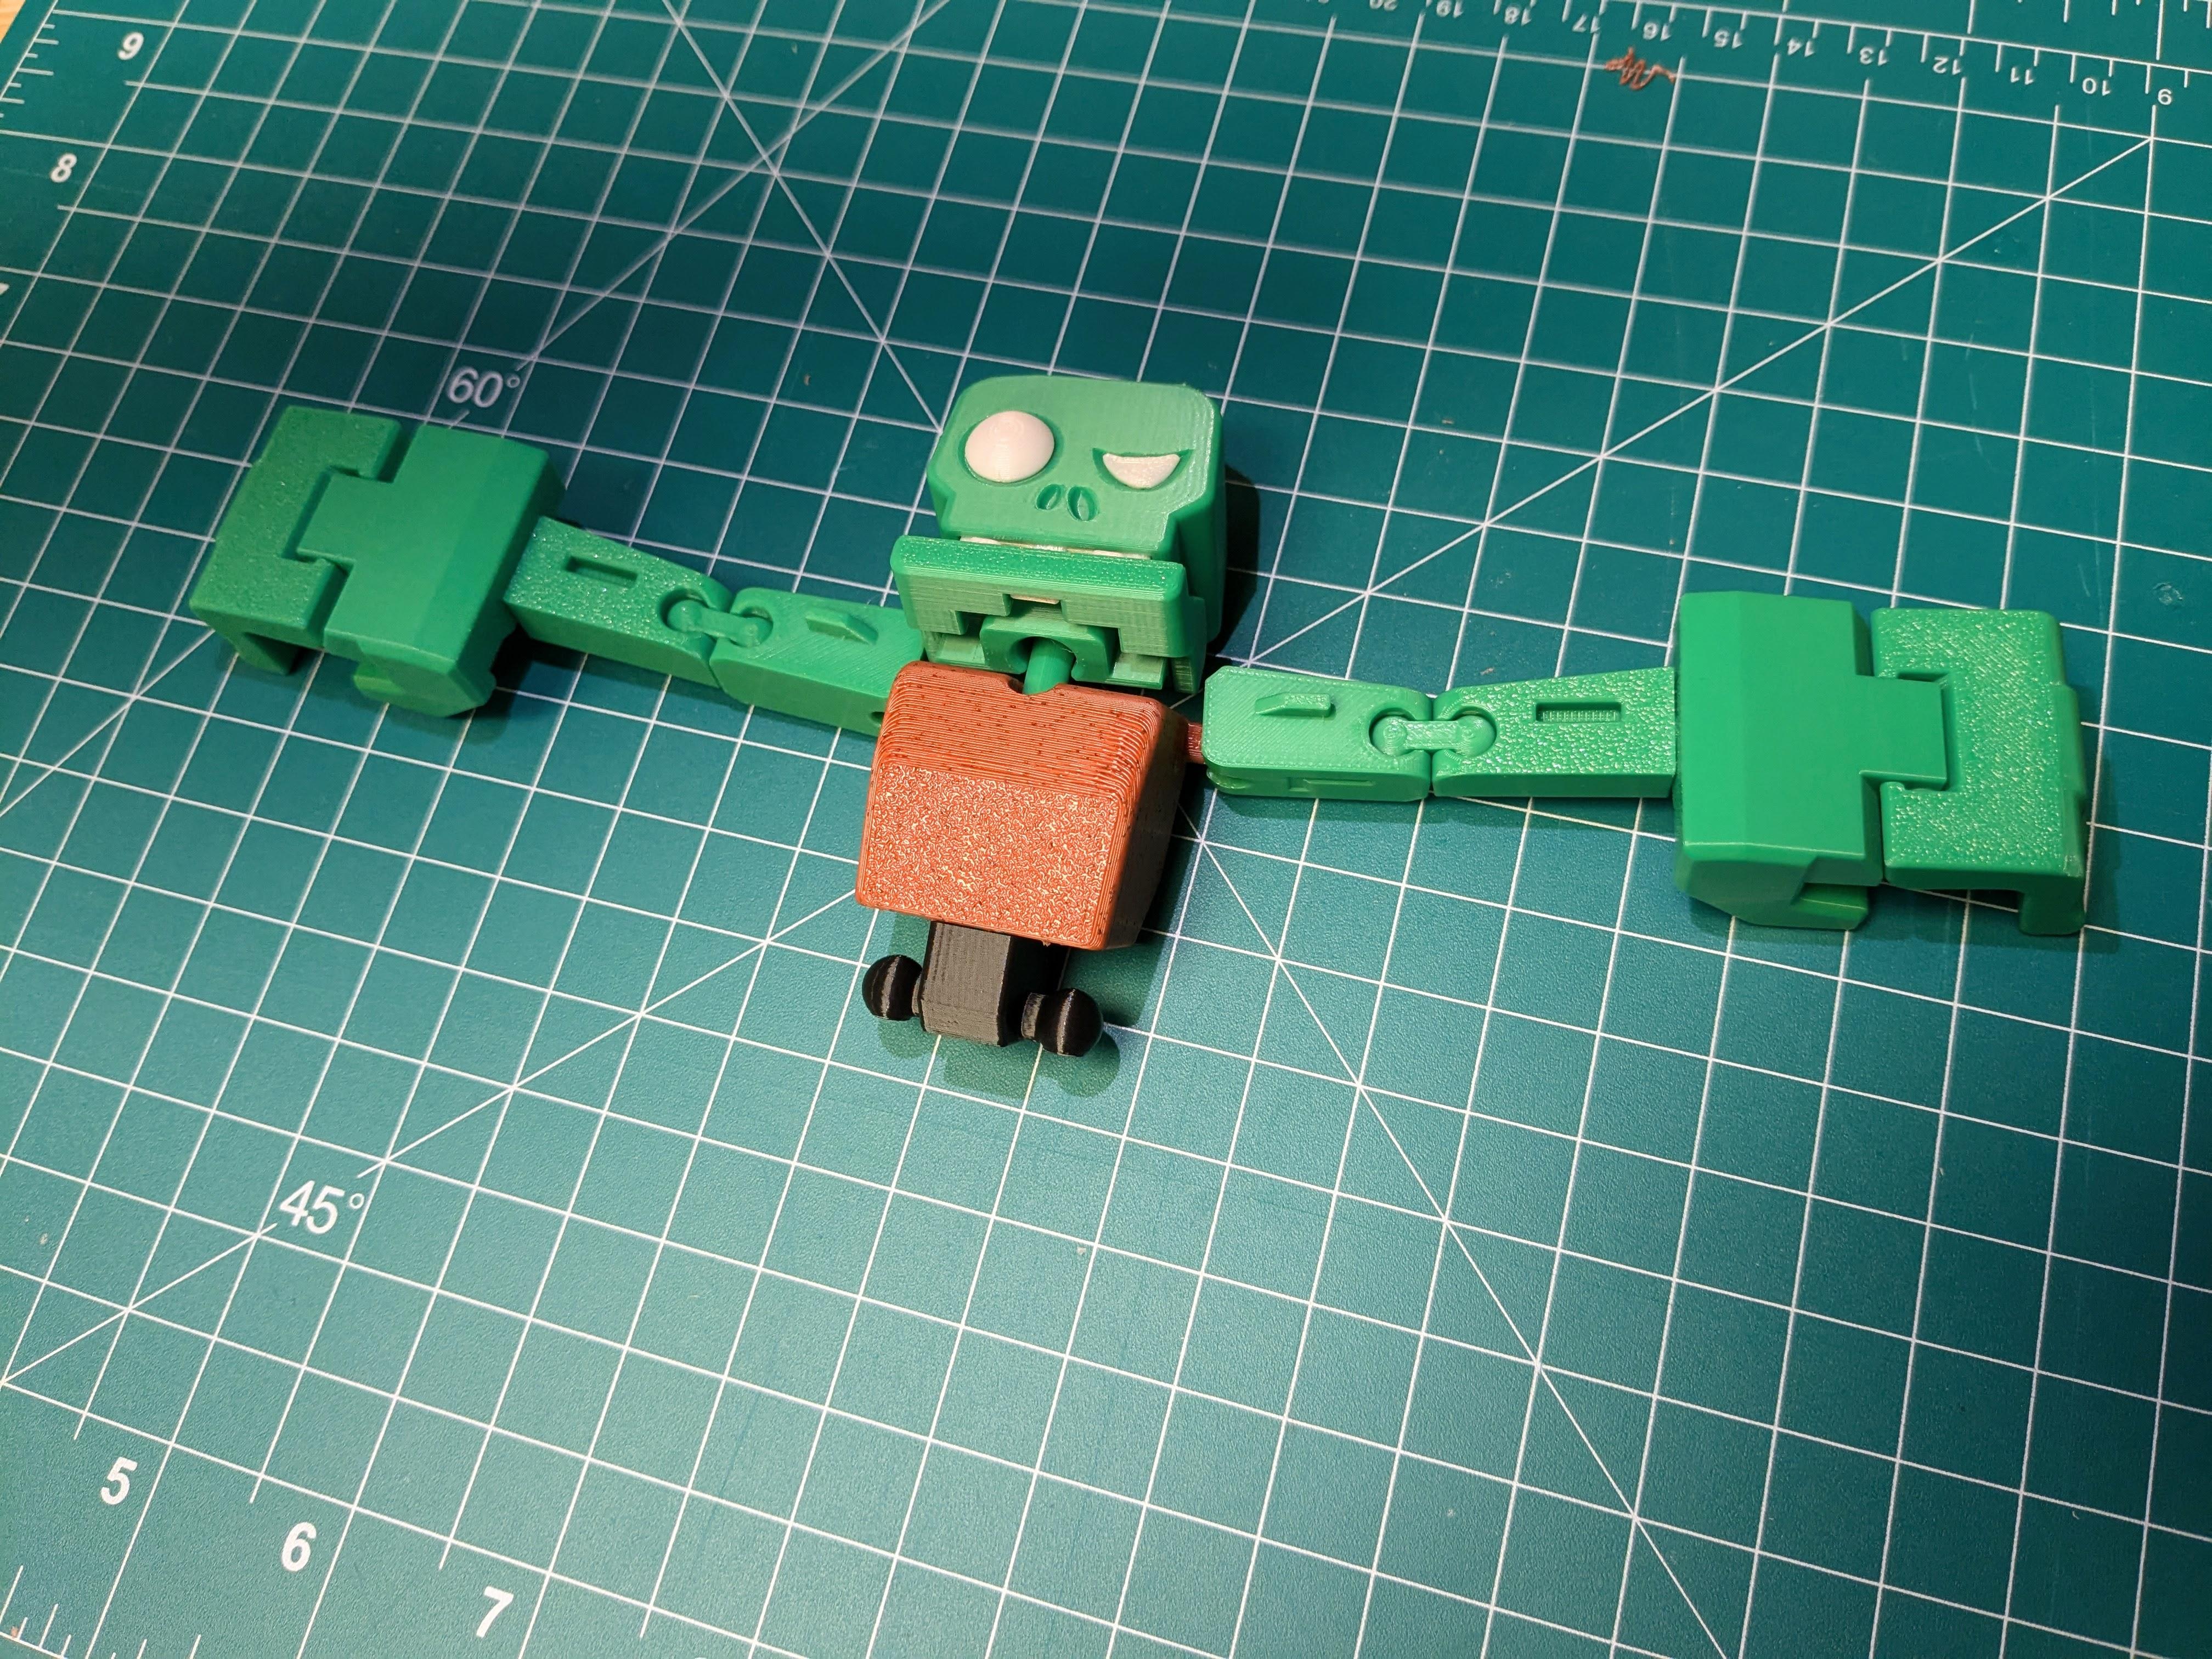
- Clean and smooth any rough edges from the legs.
- Align the legs with the torso, ensuring they are in the correct position for the transformation into a coffin.
- Apply glue to the joints where the legs meet the body and secure them in place.
- Ensure the legs are positioned correctly for the Zombieman’s transformation function.
Final Assembly and Transformation Check
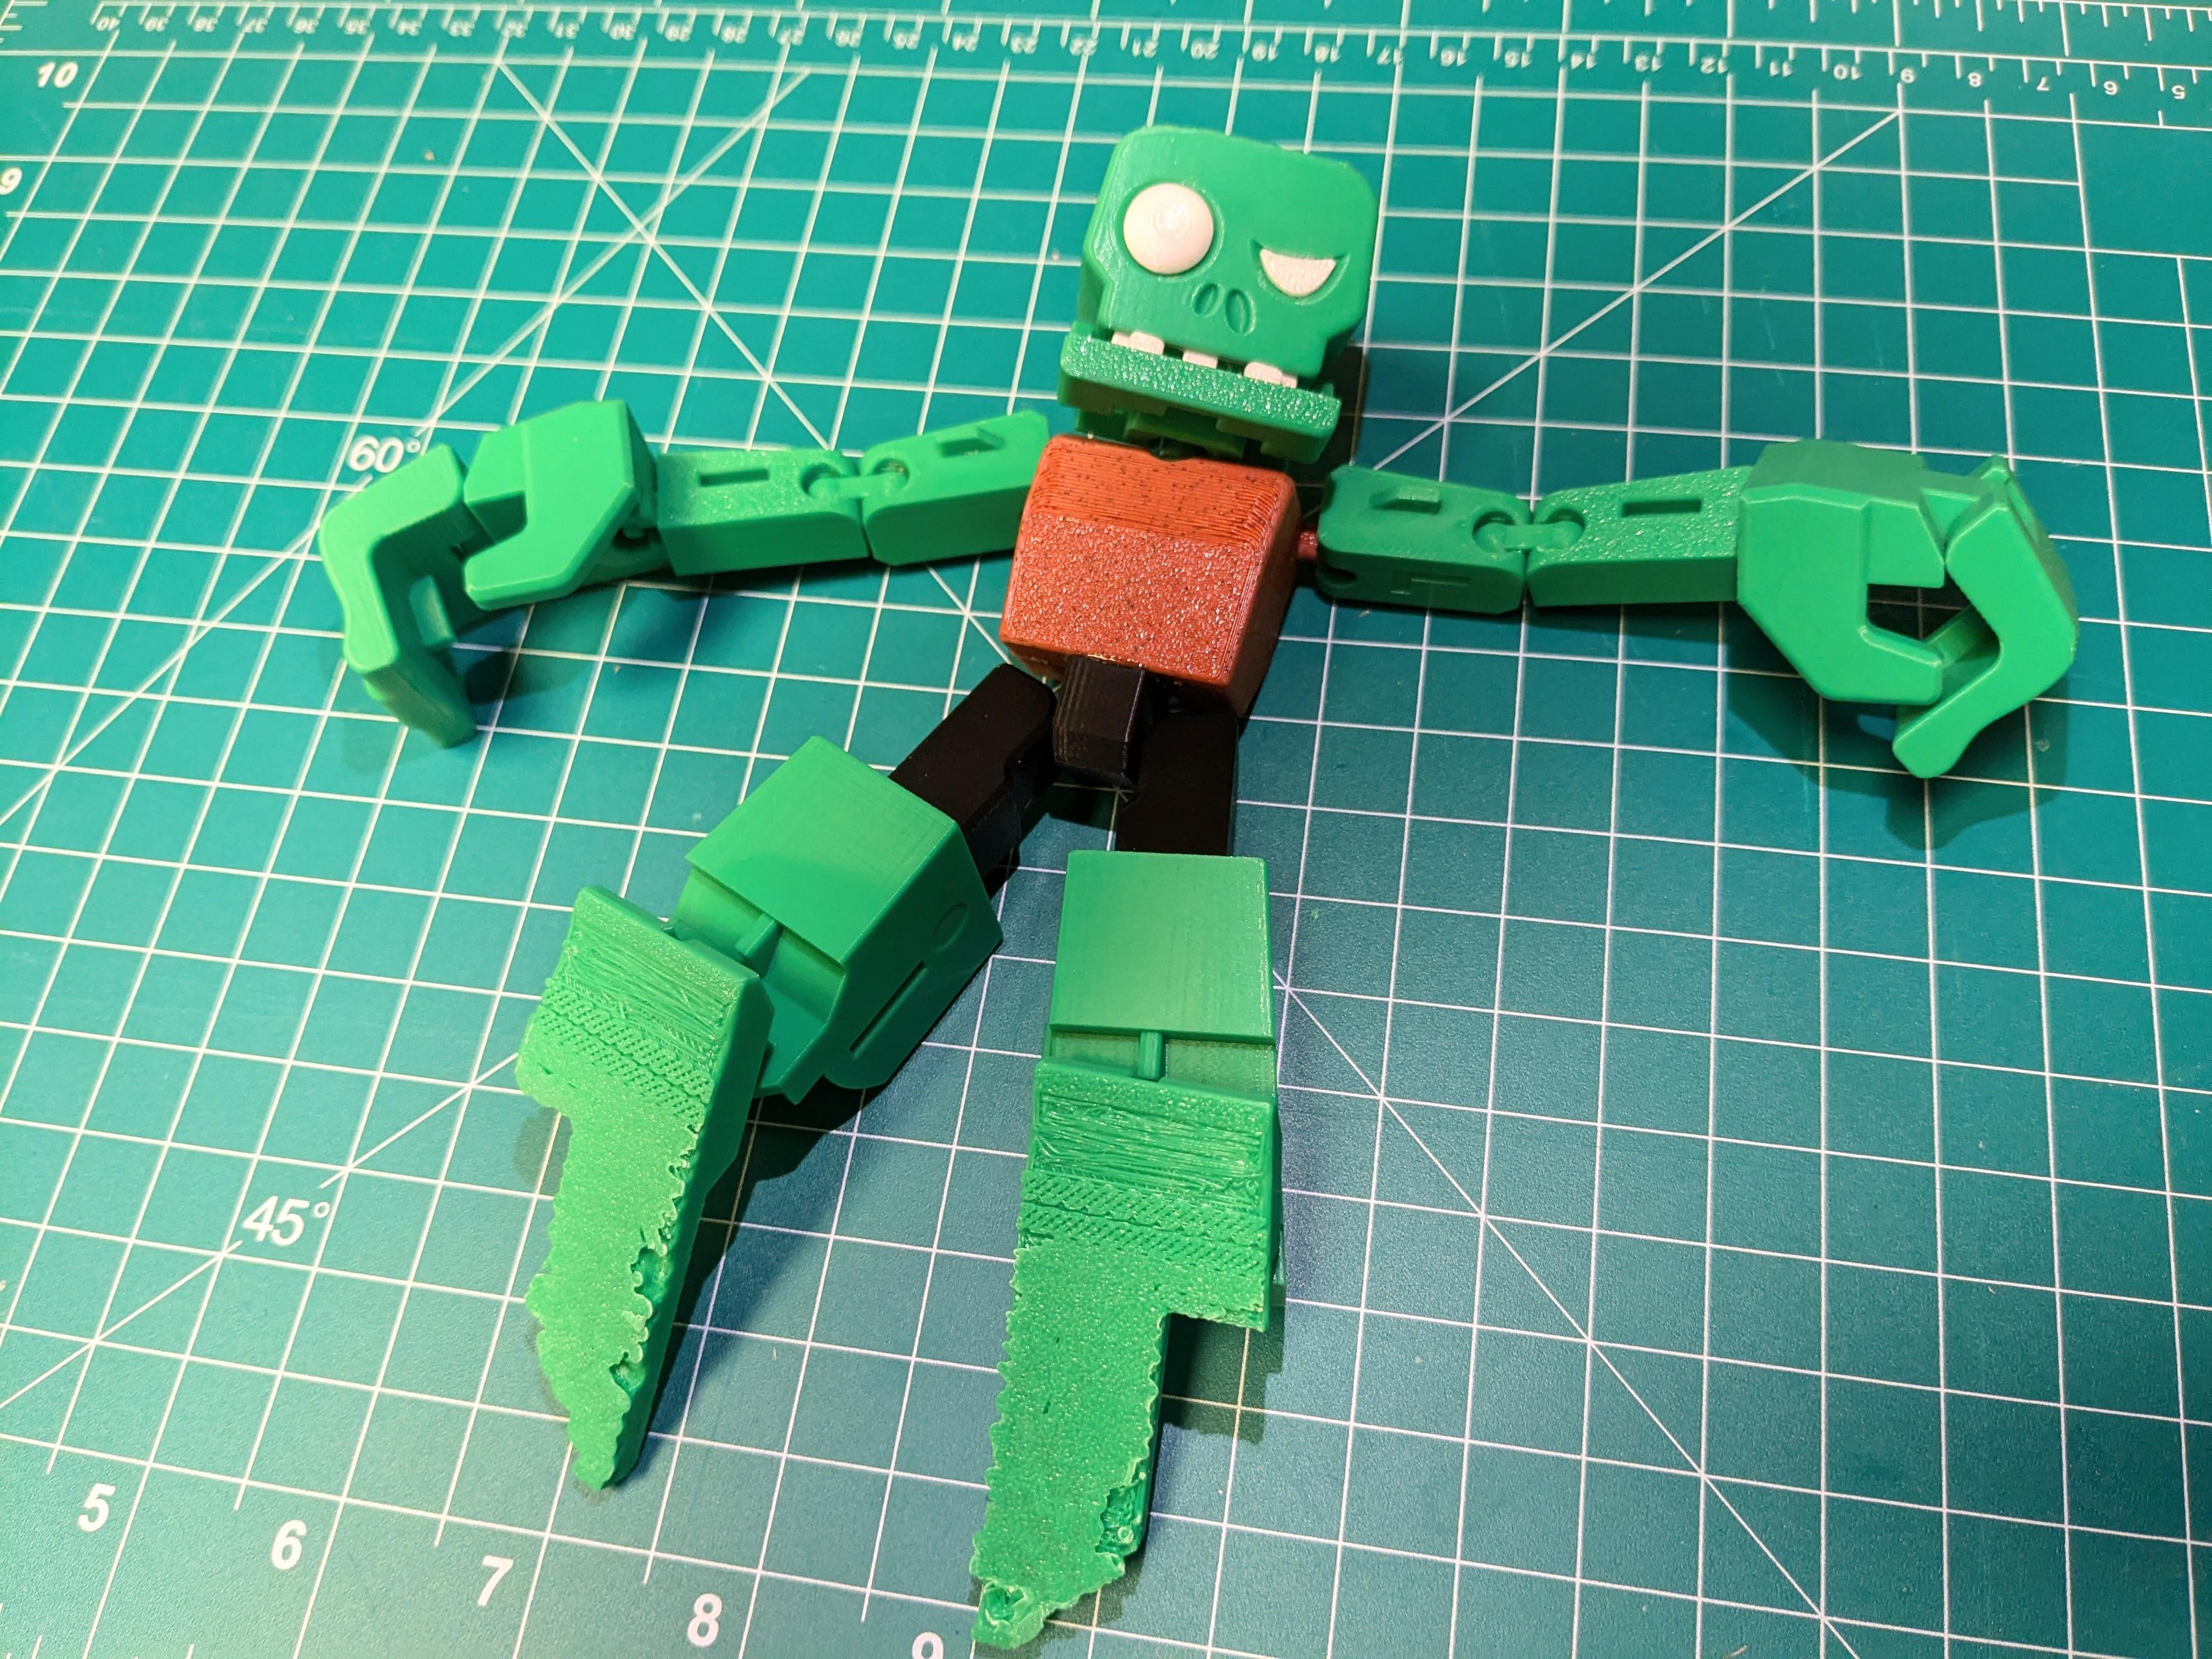
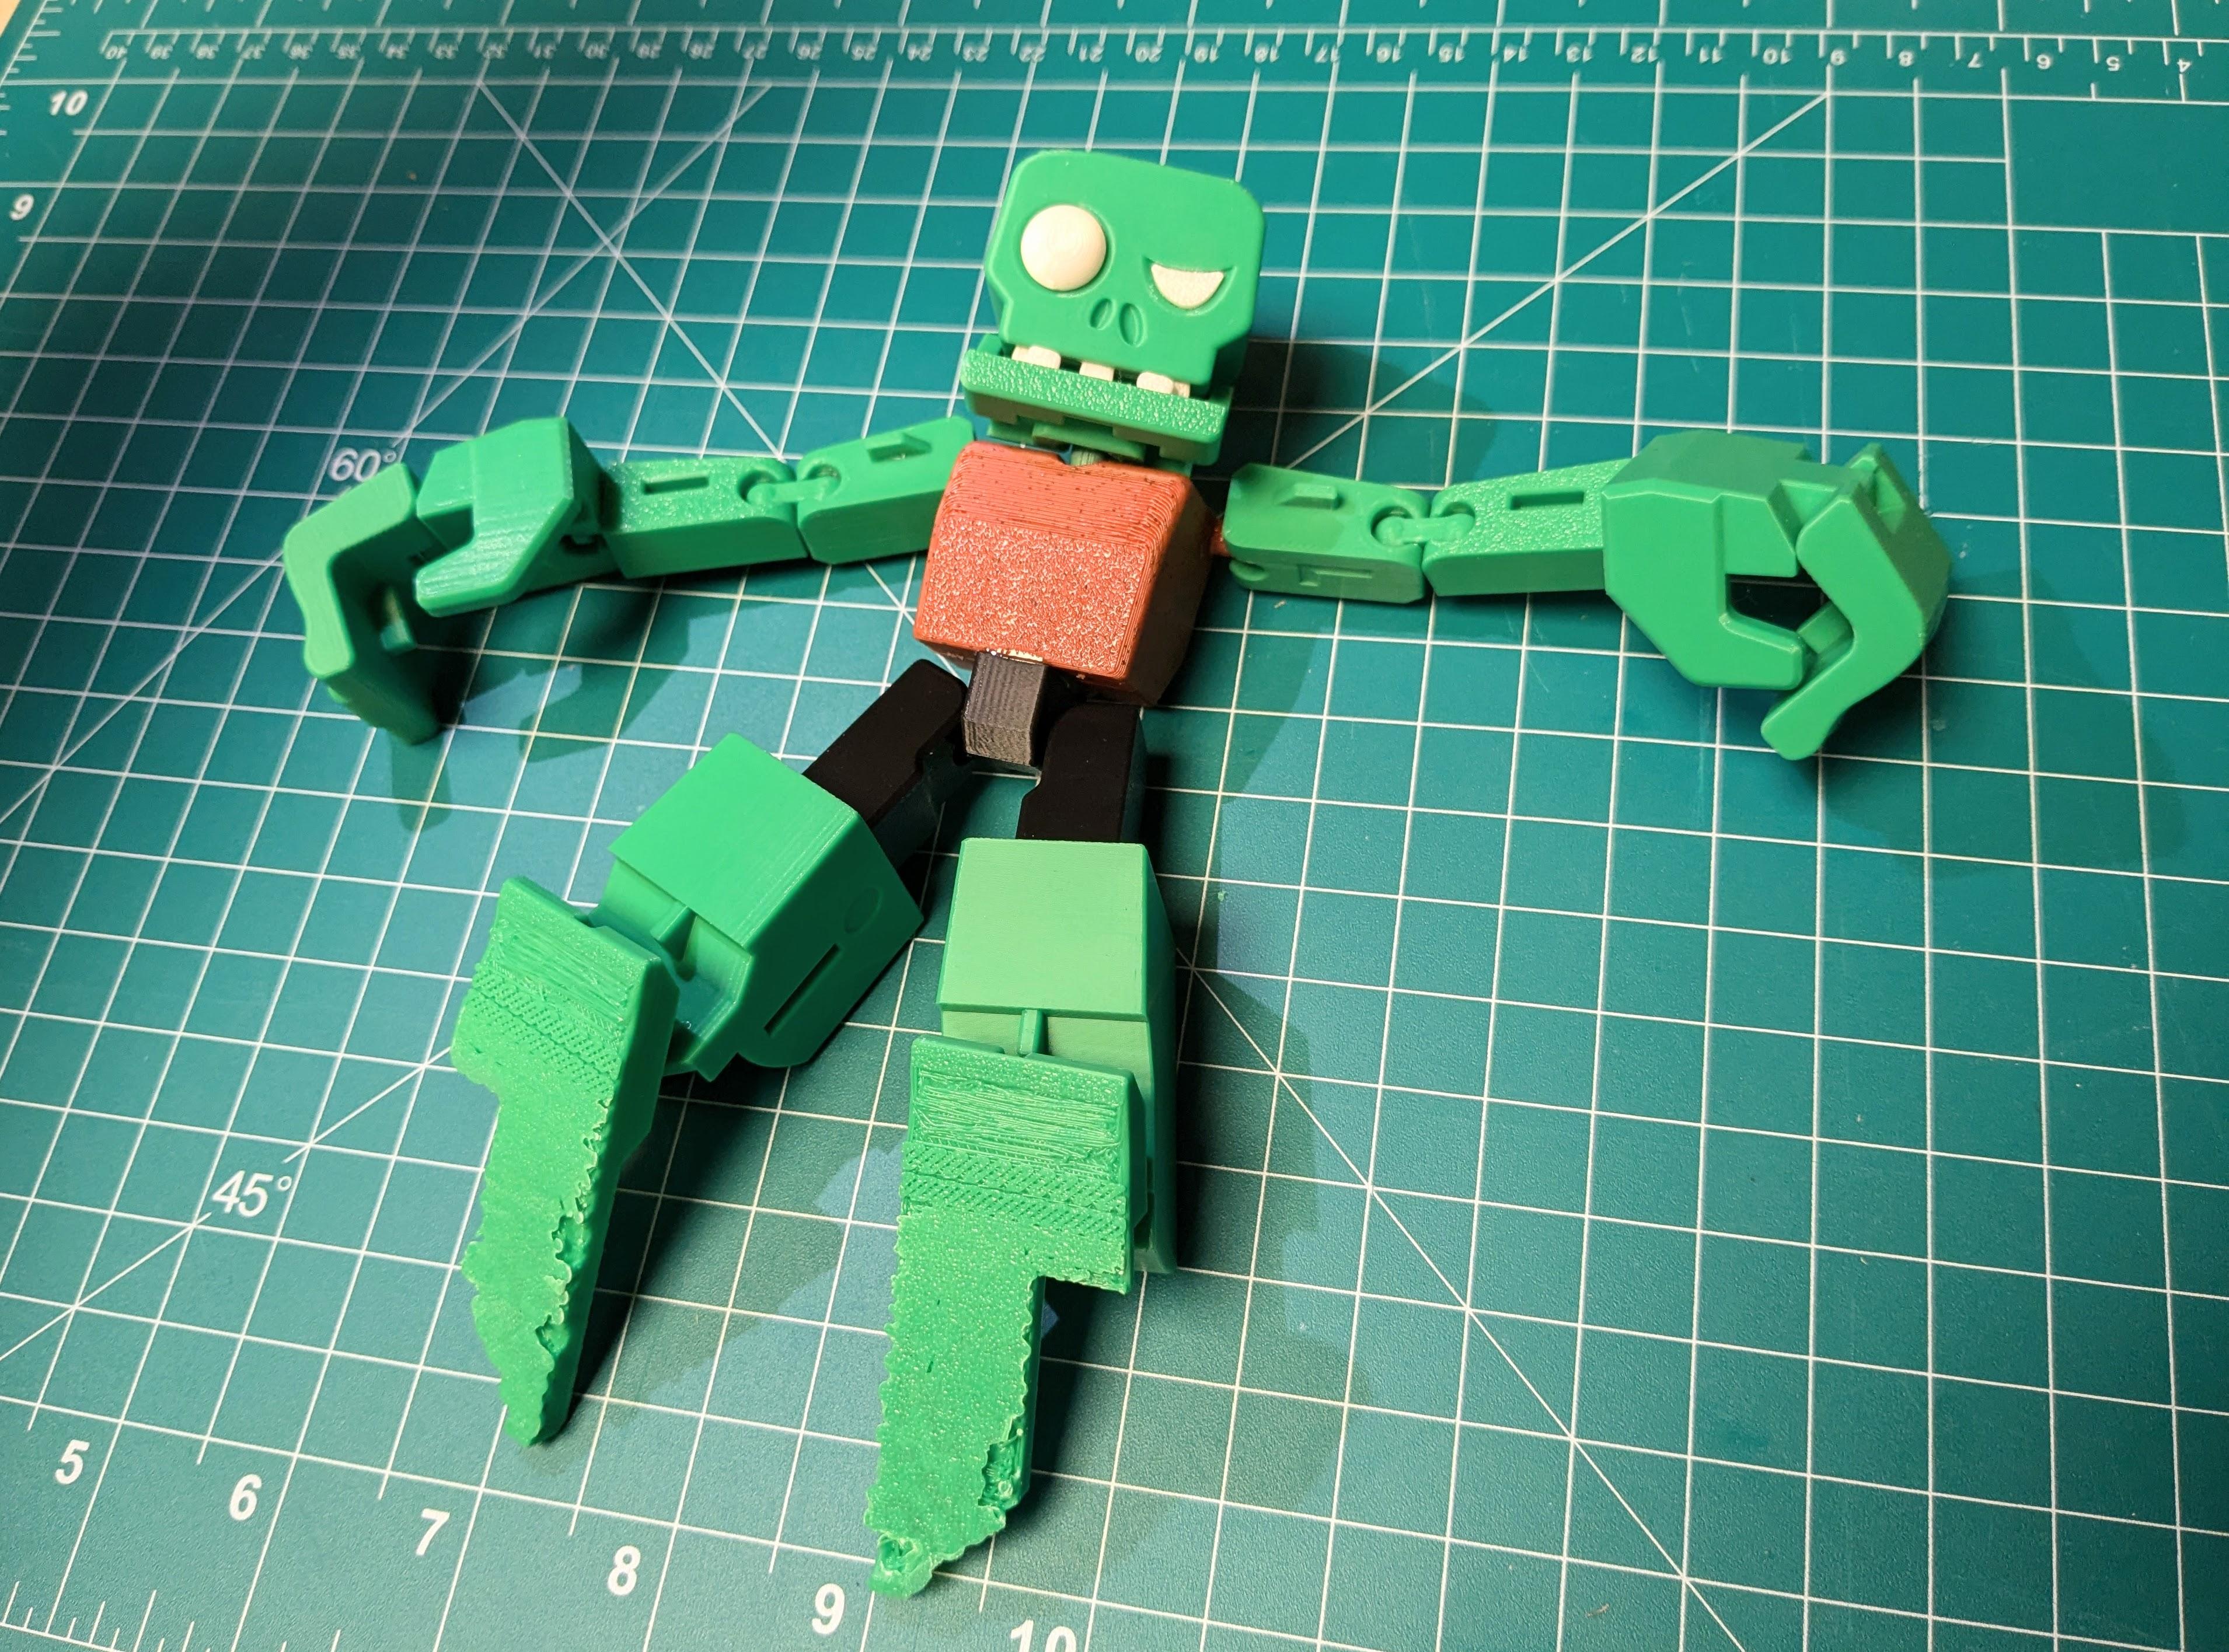
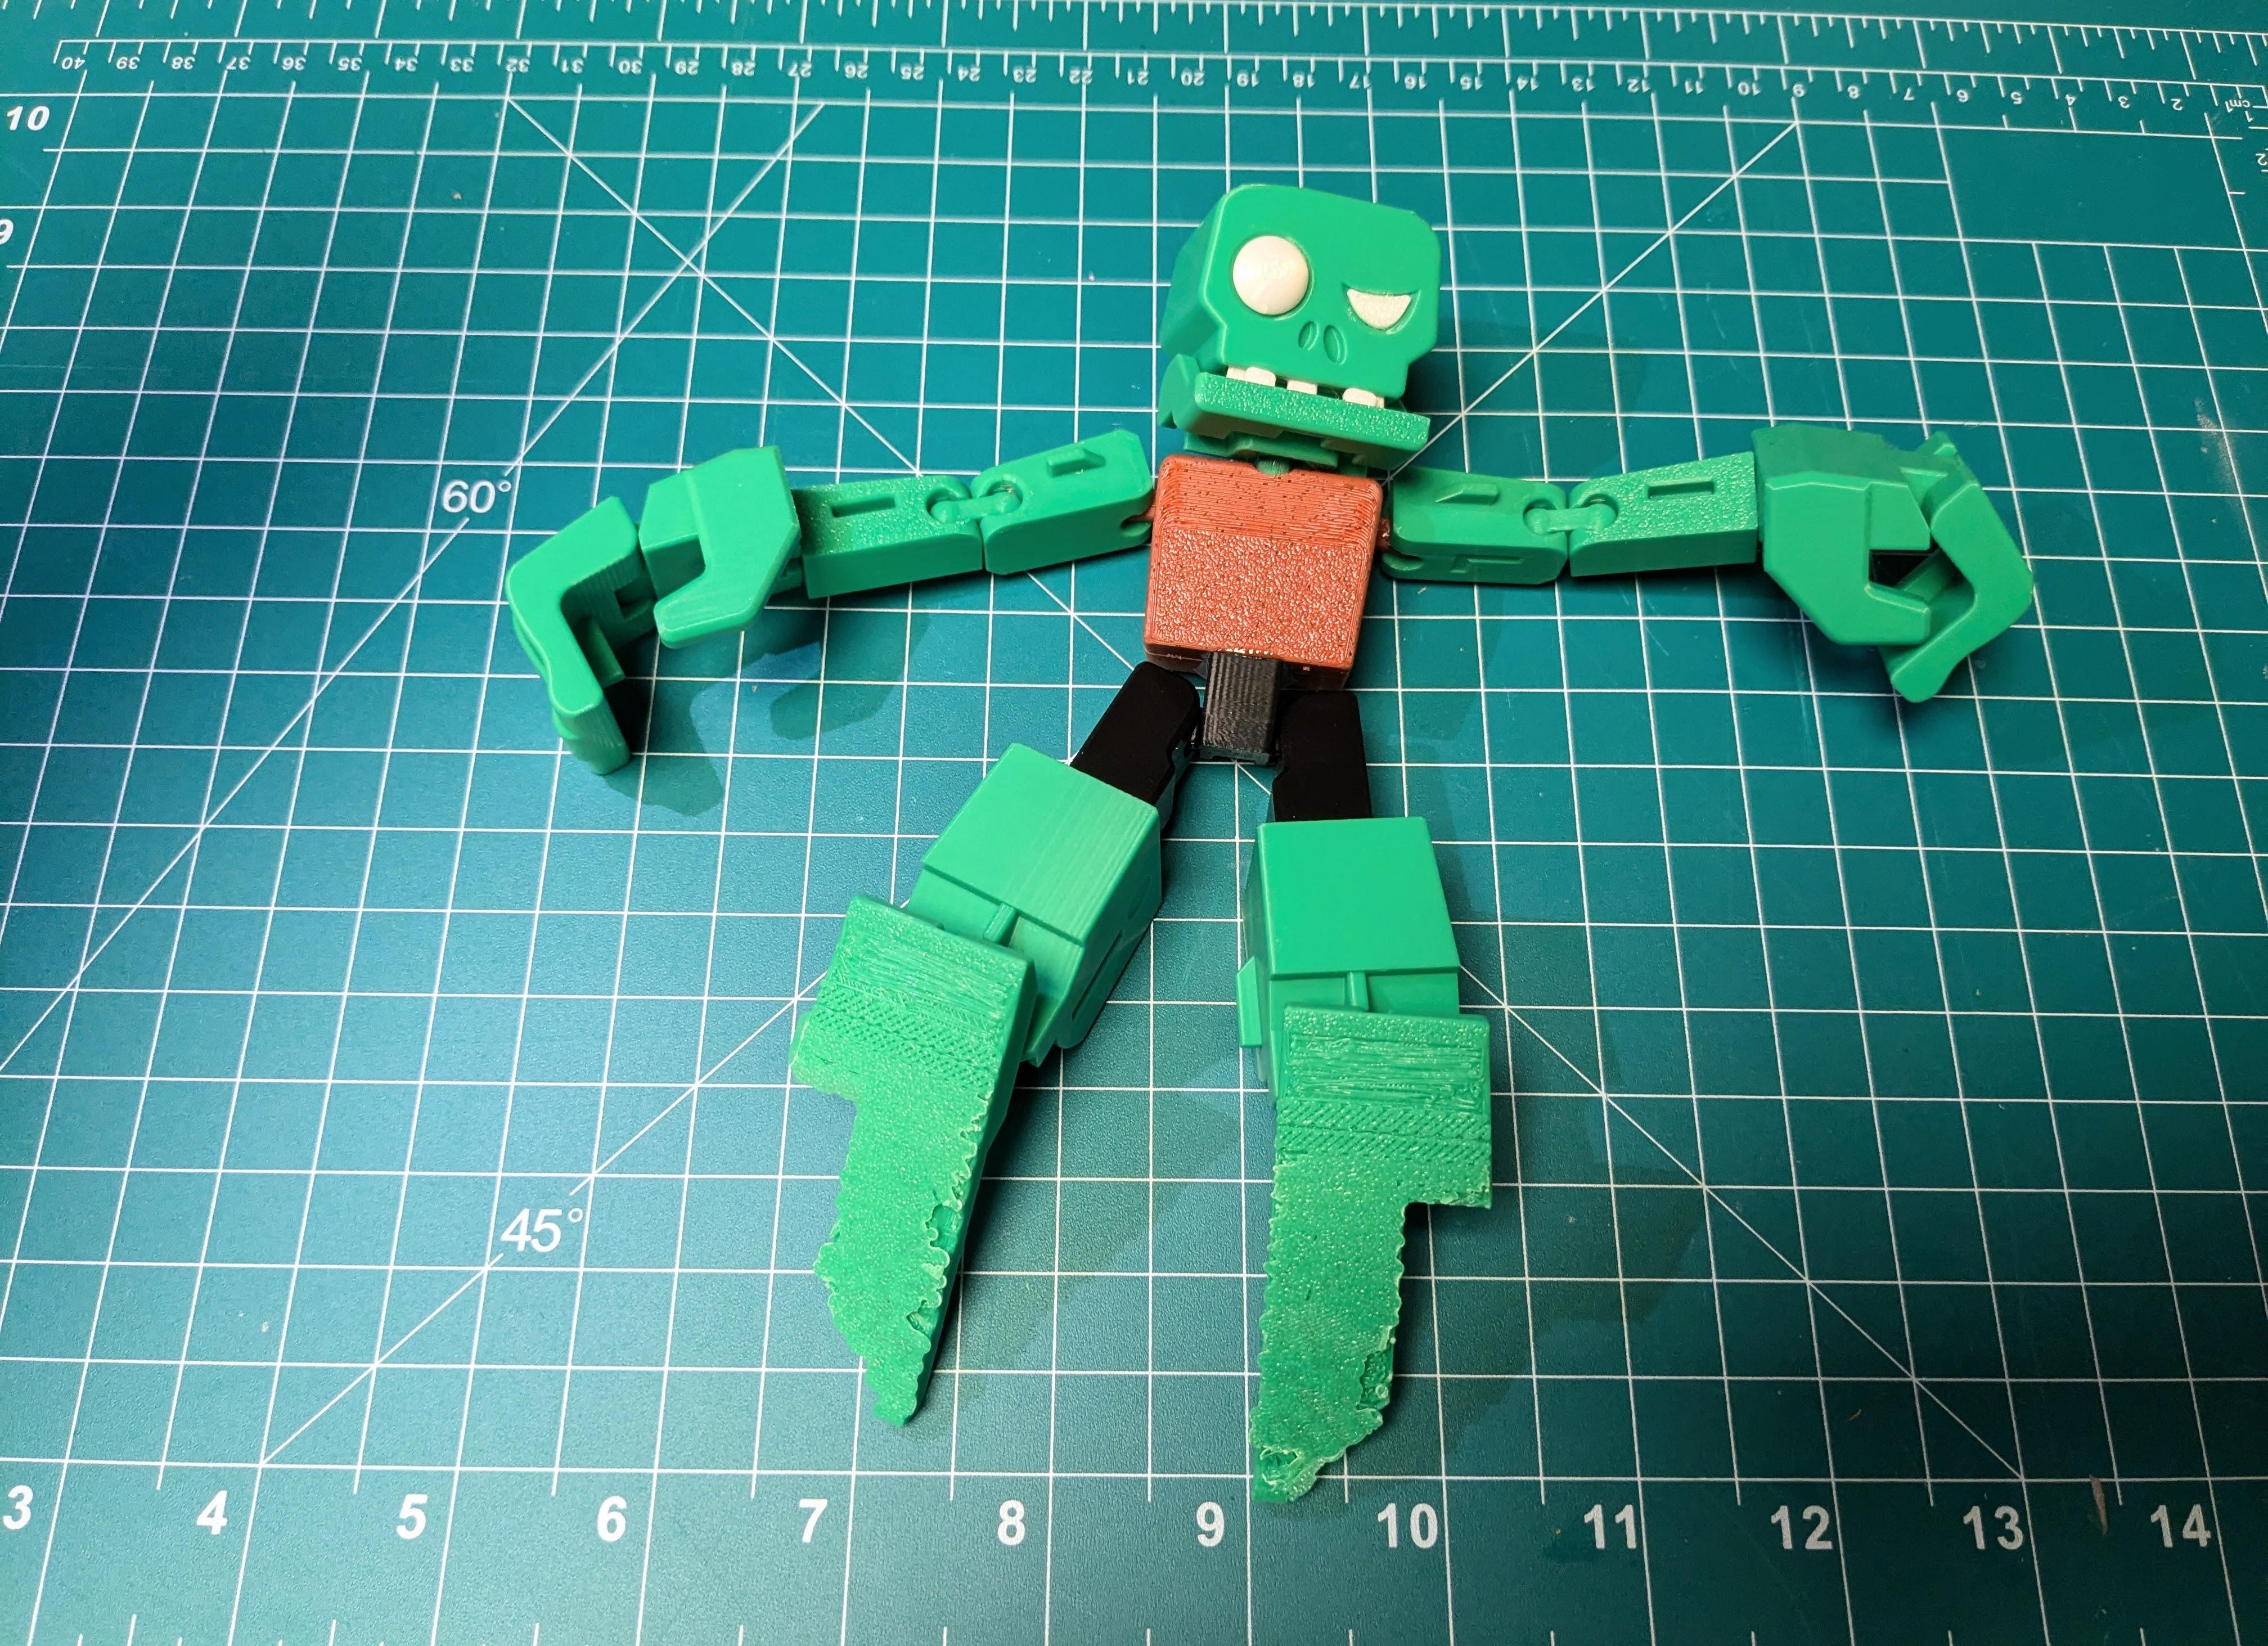
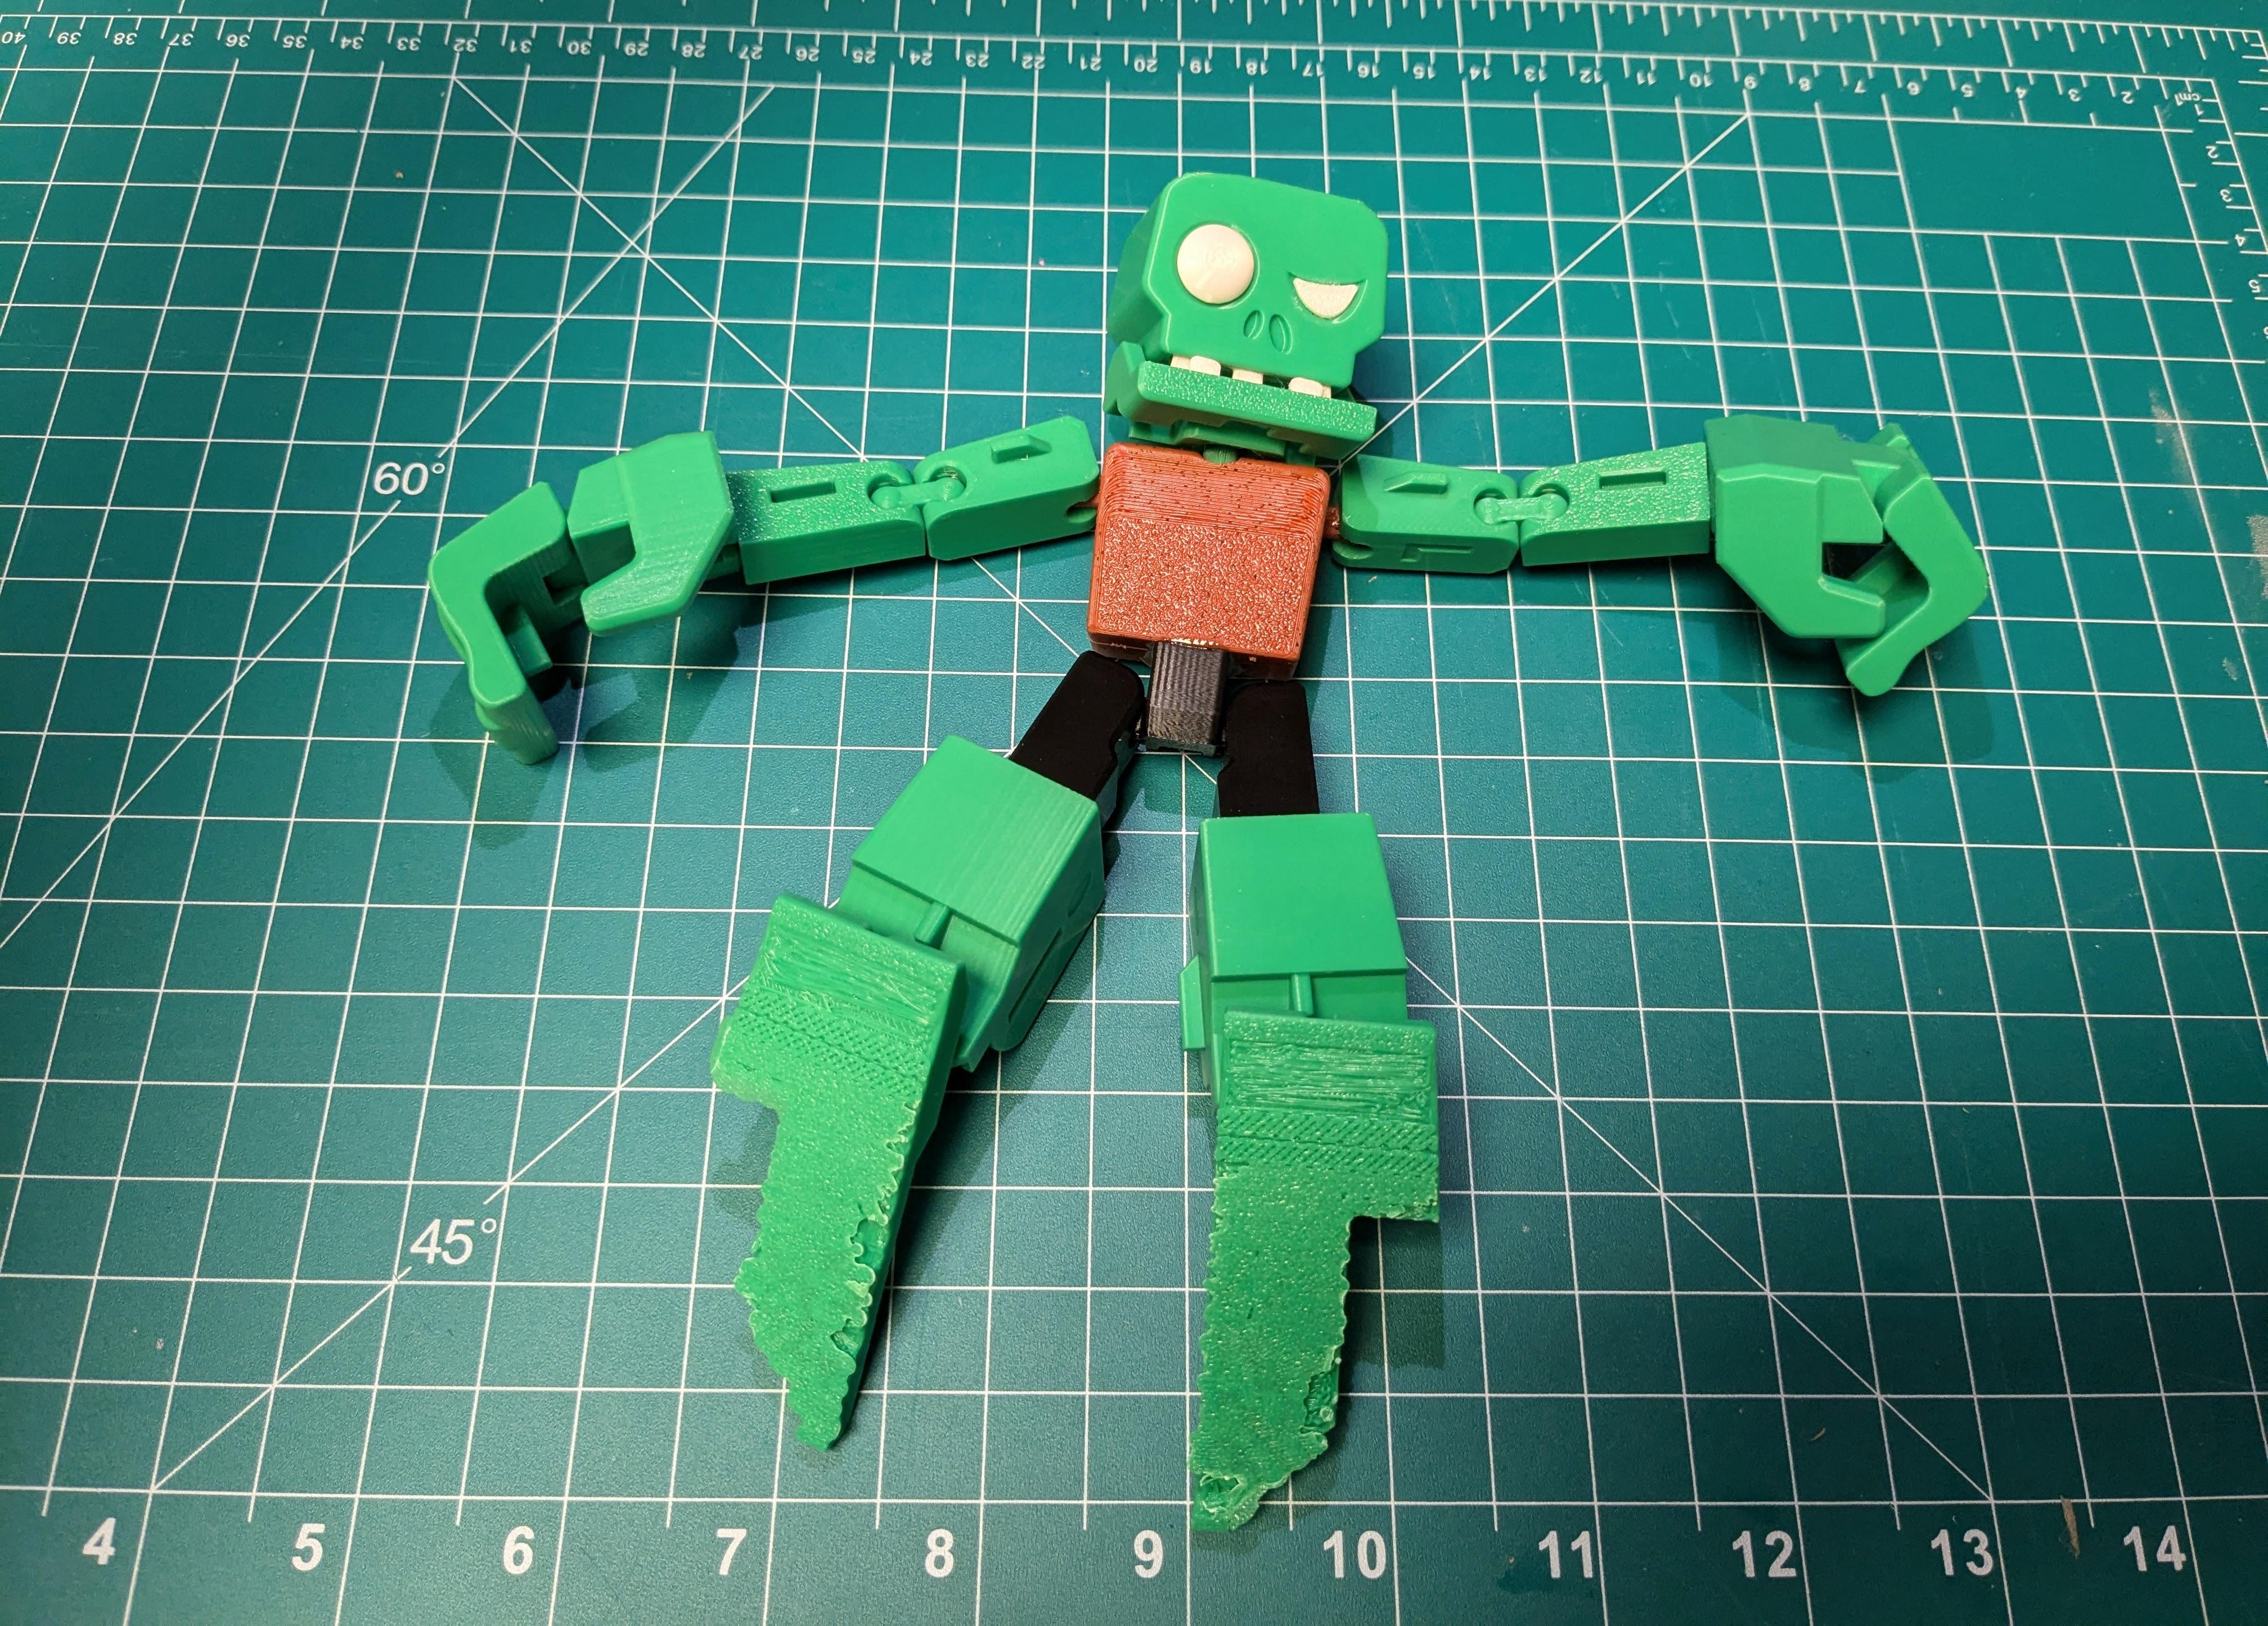
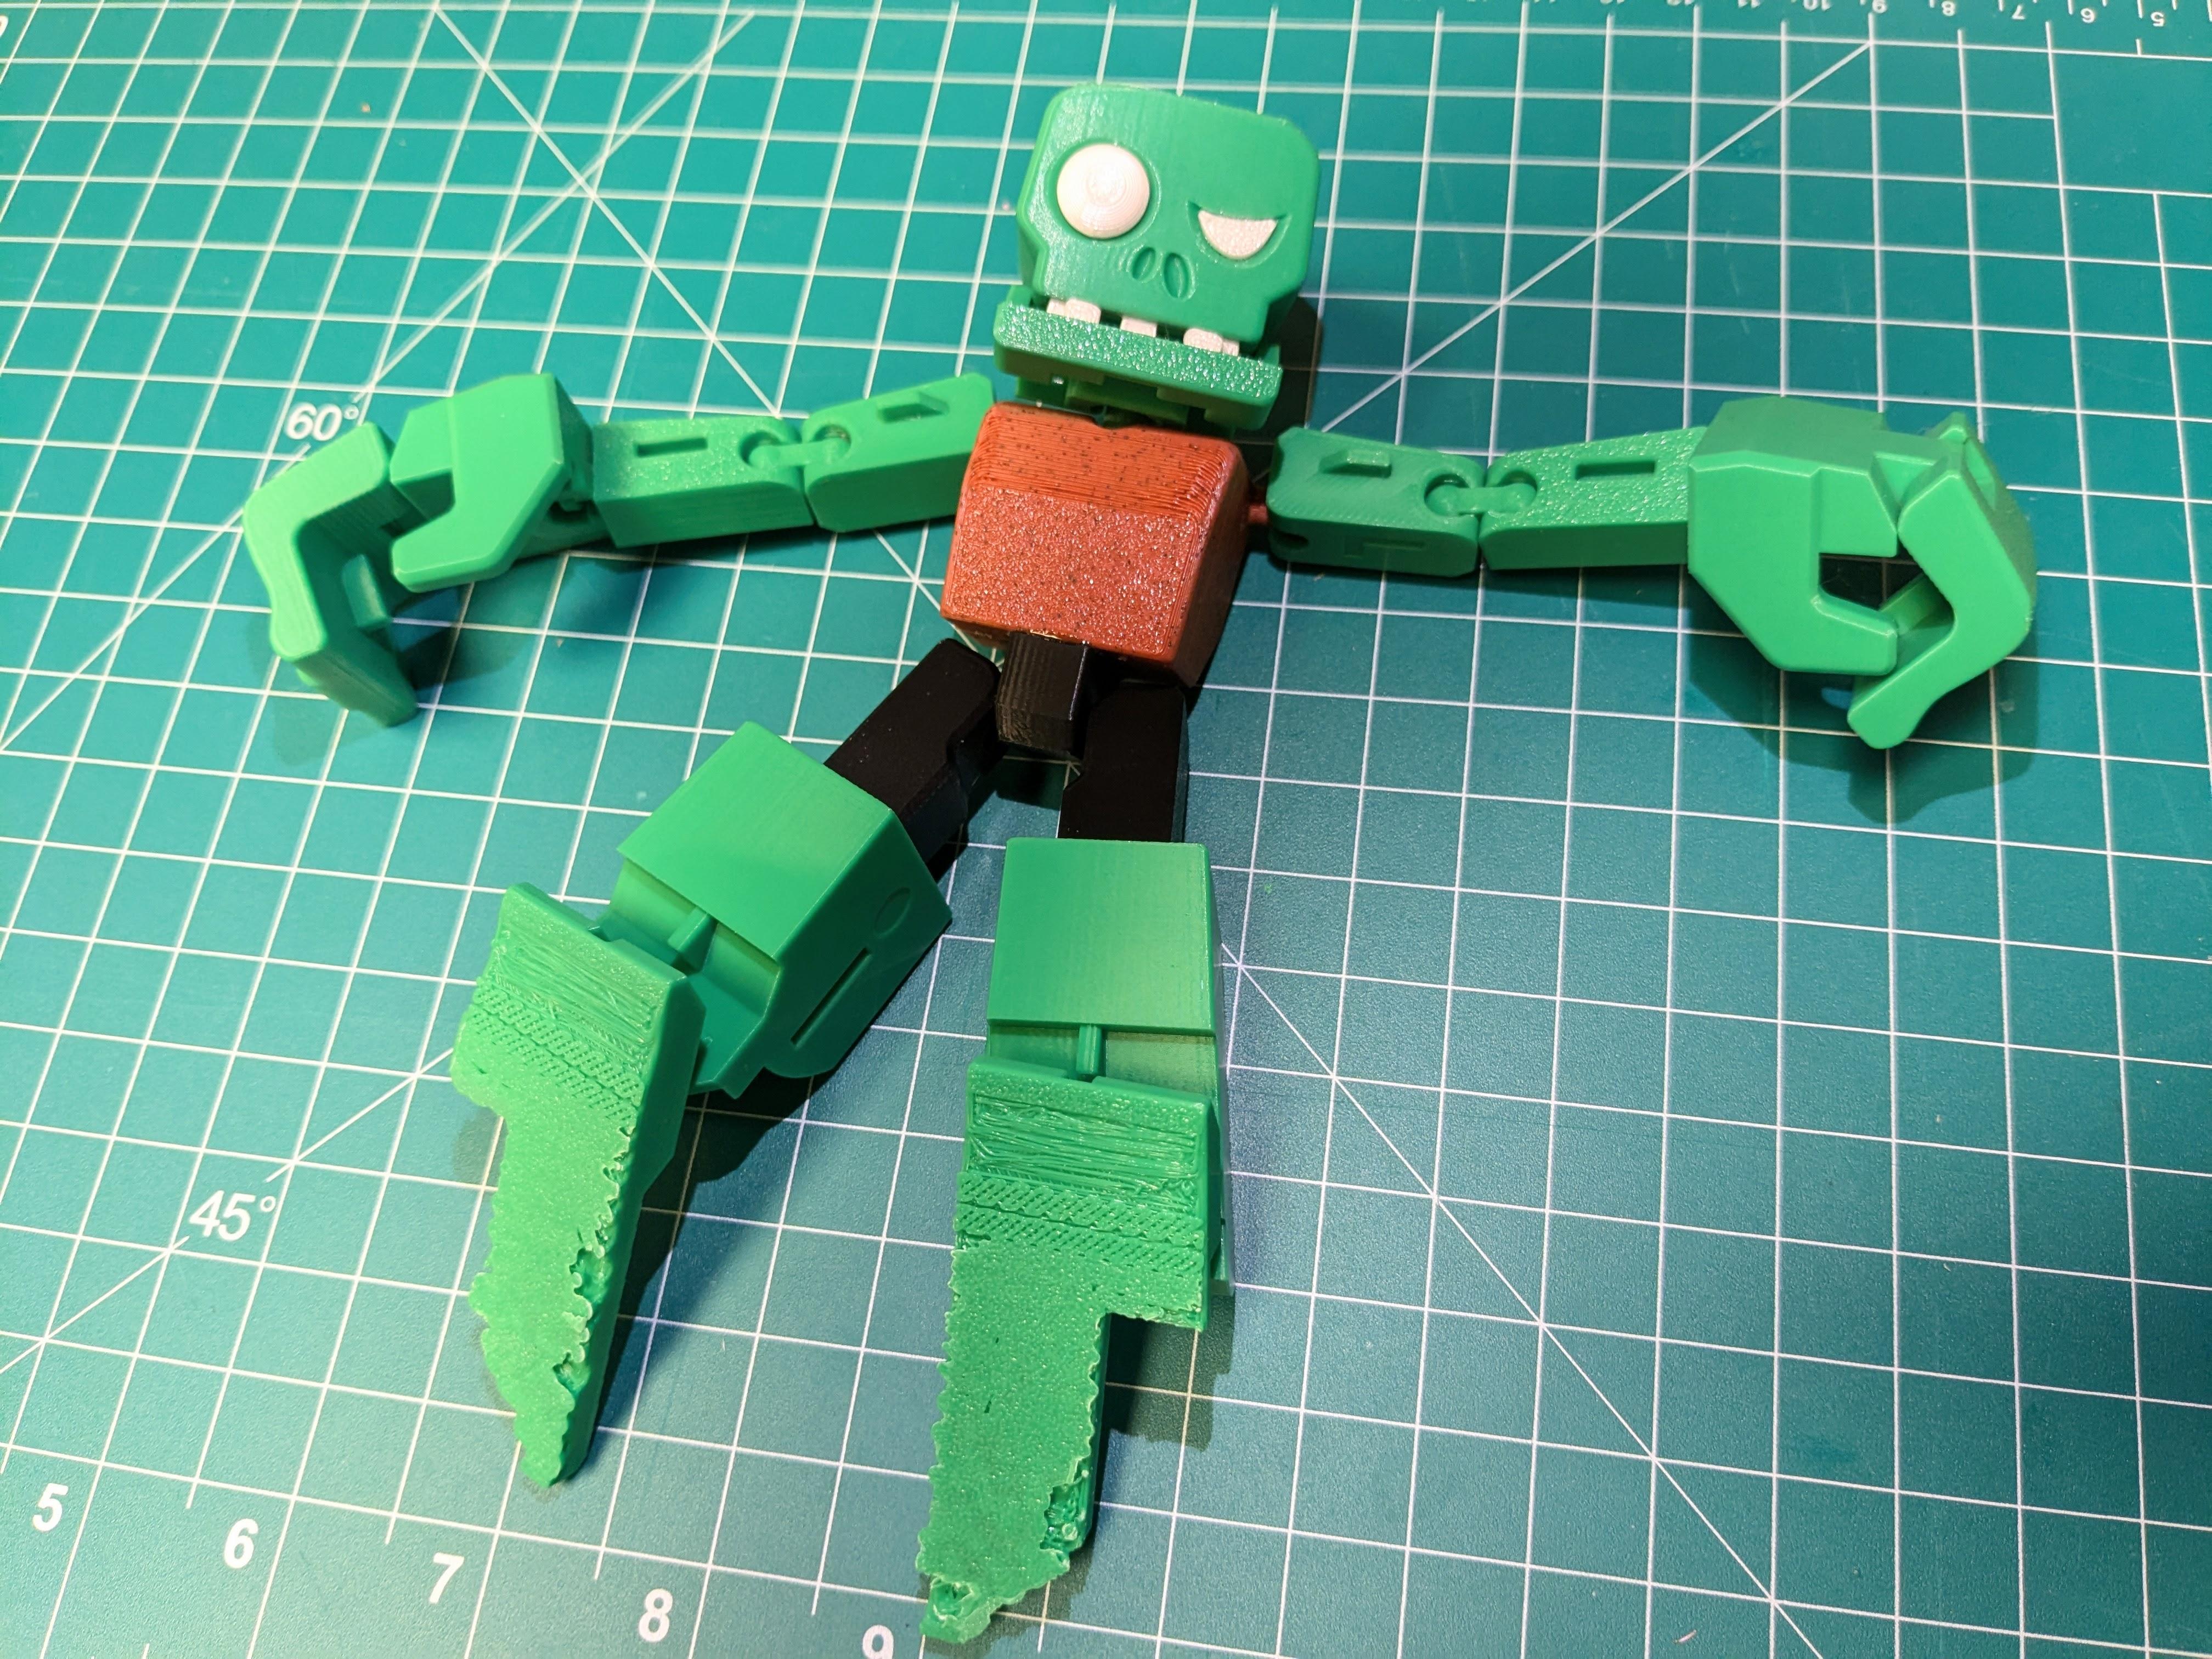
- Attach the Zombieman to the coffin structure, ensuring the transformation works as intended.
- Fold the Zombieman into the coffin to verify the transformation mechanism.
- If any parts don’t align properly, trim or reposition them as needed.
- Double-check all assembly points and reinforce with additional glue if necessary.
Display Your Creation
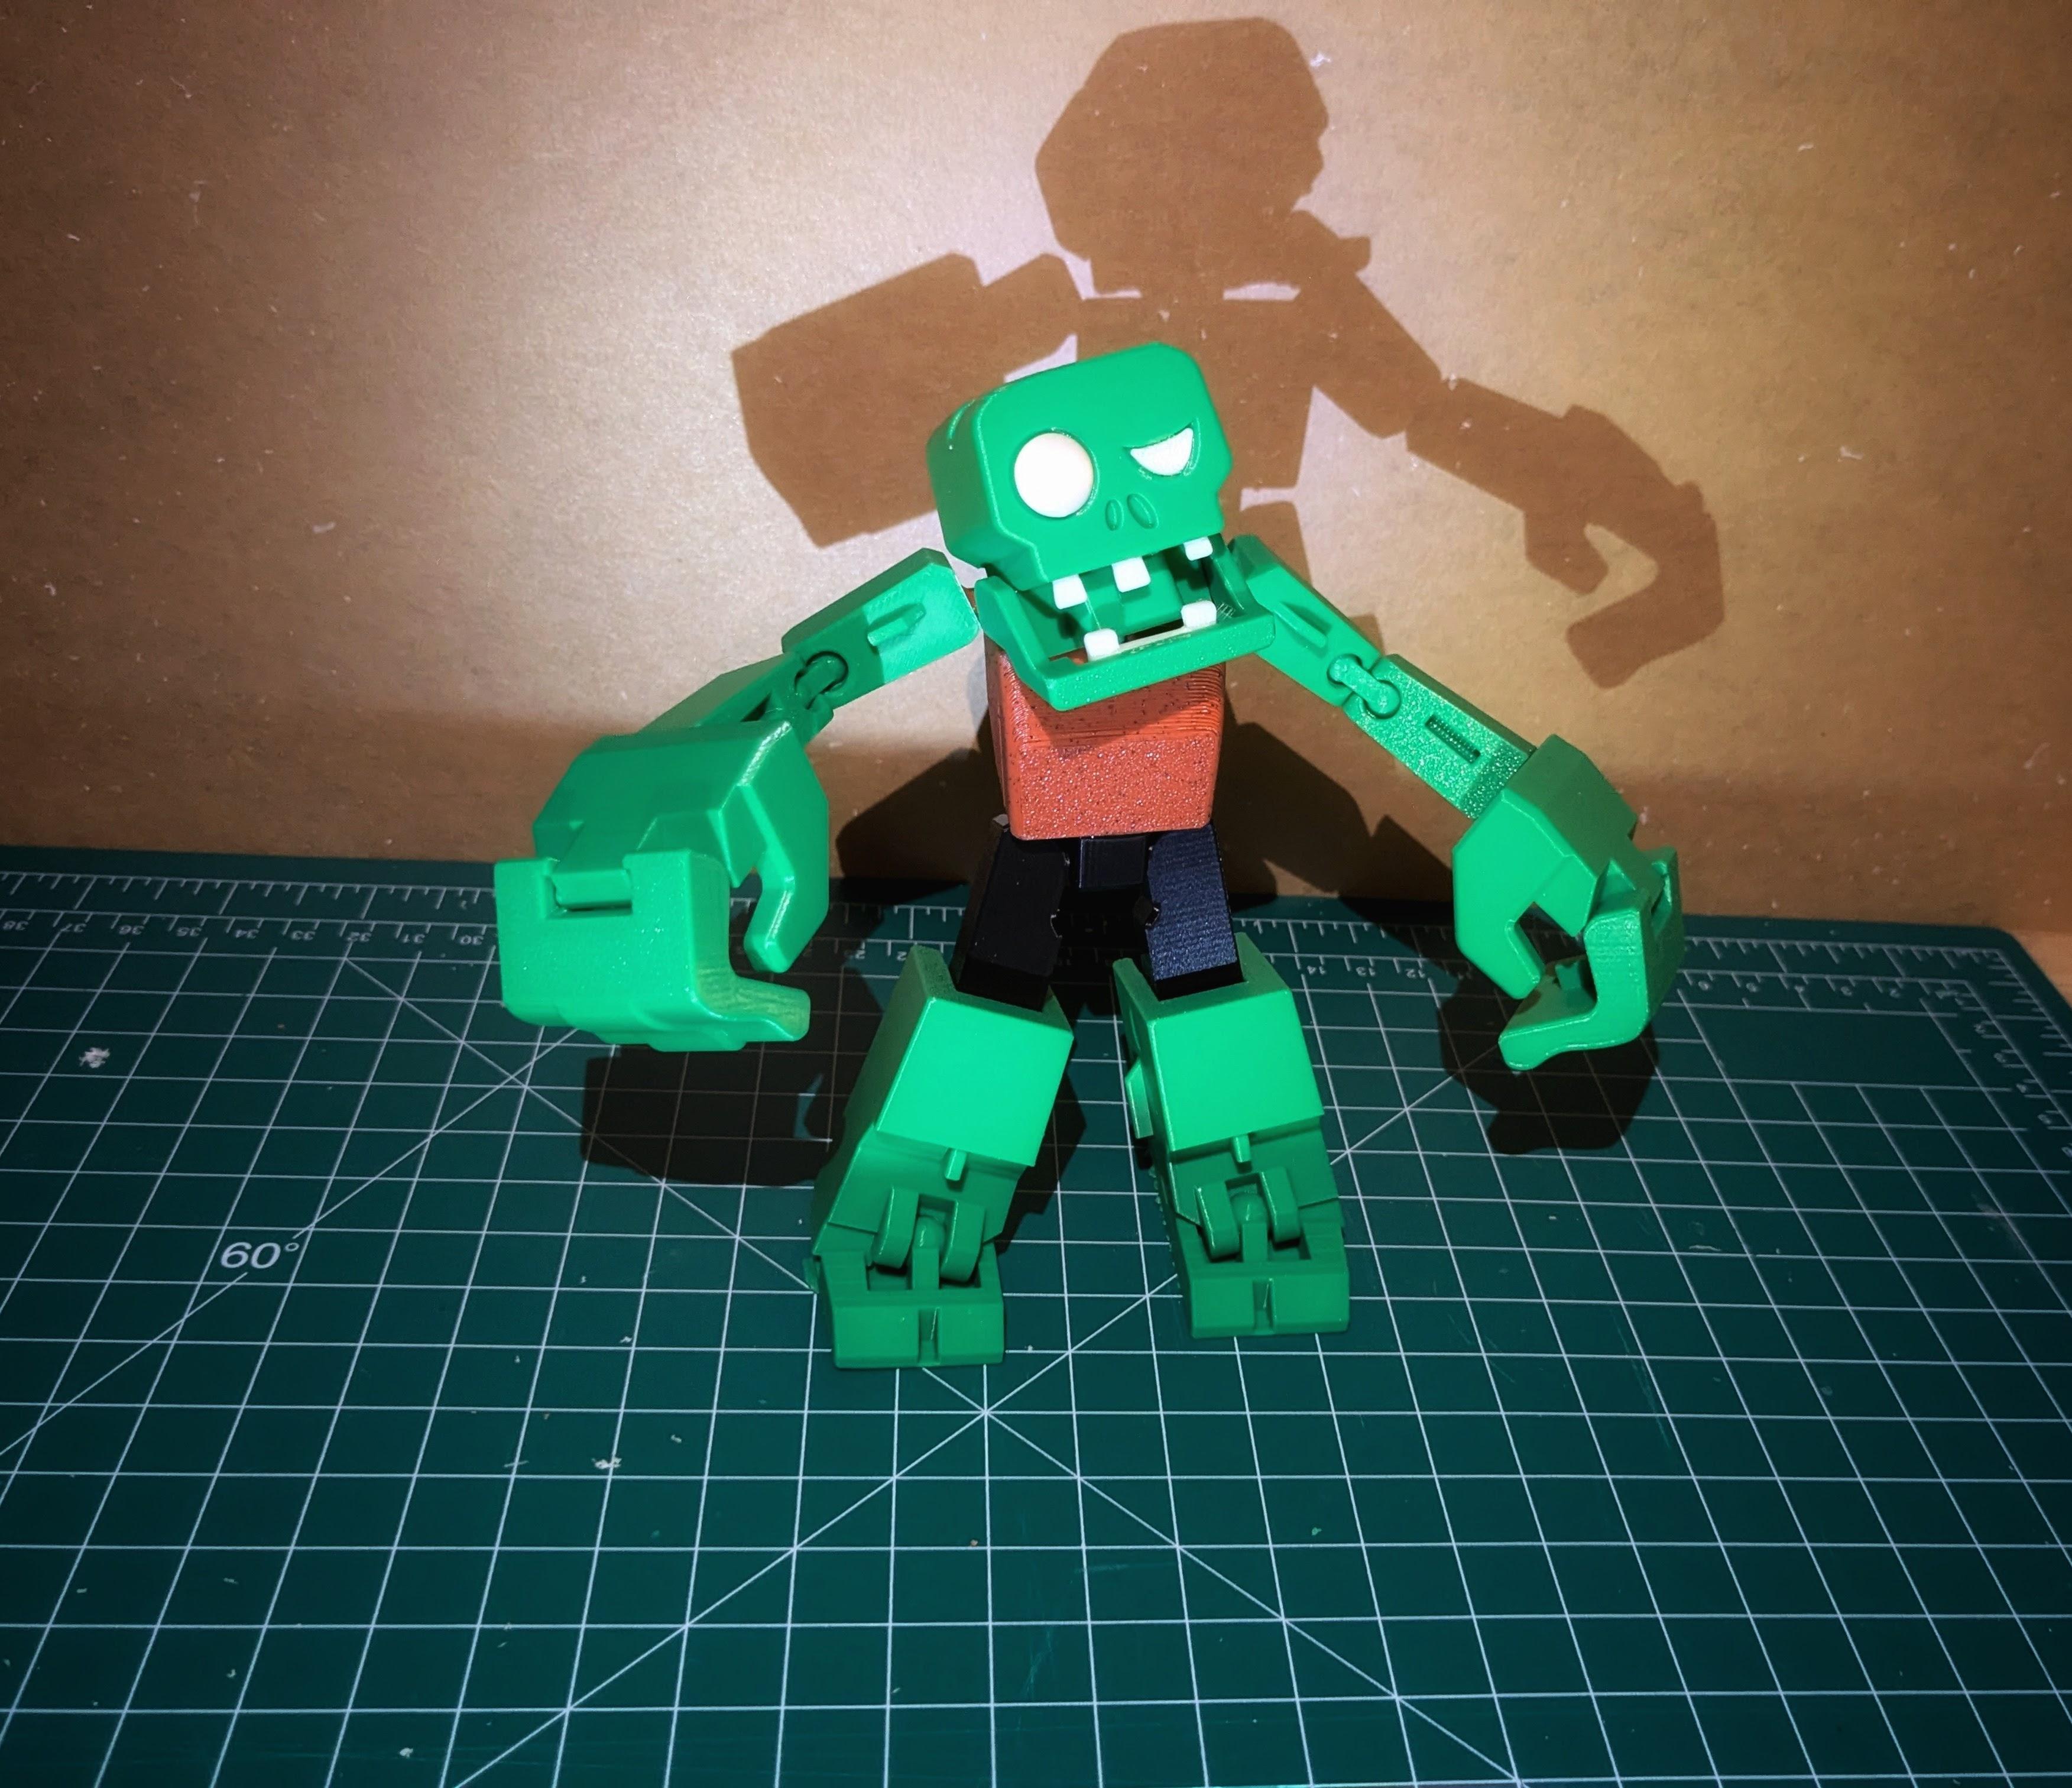
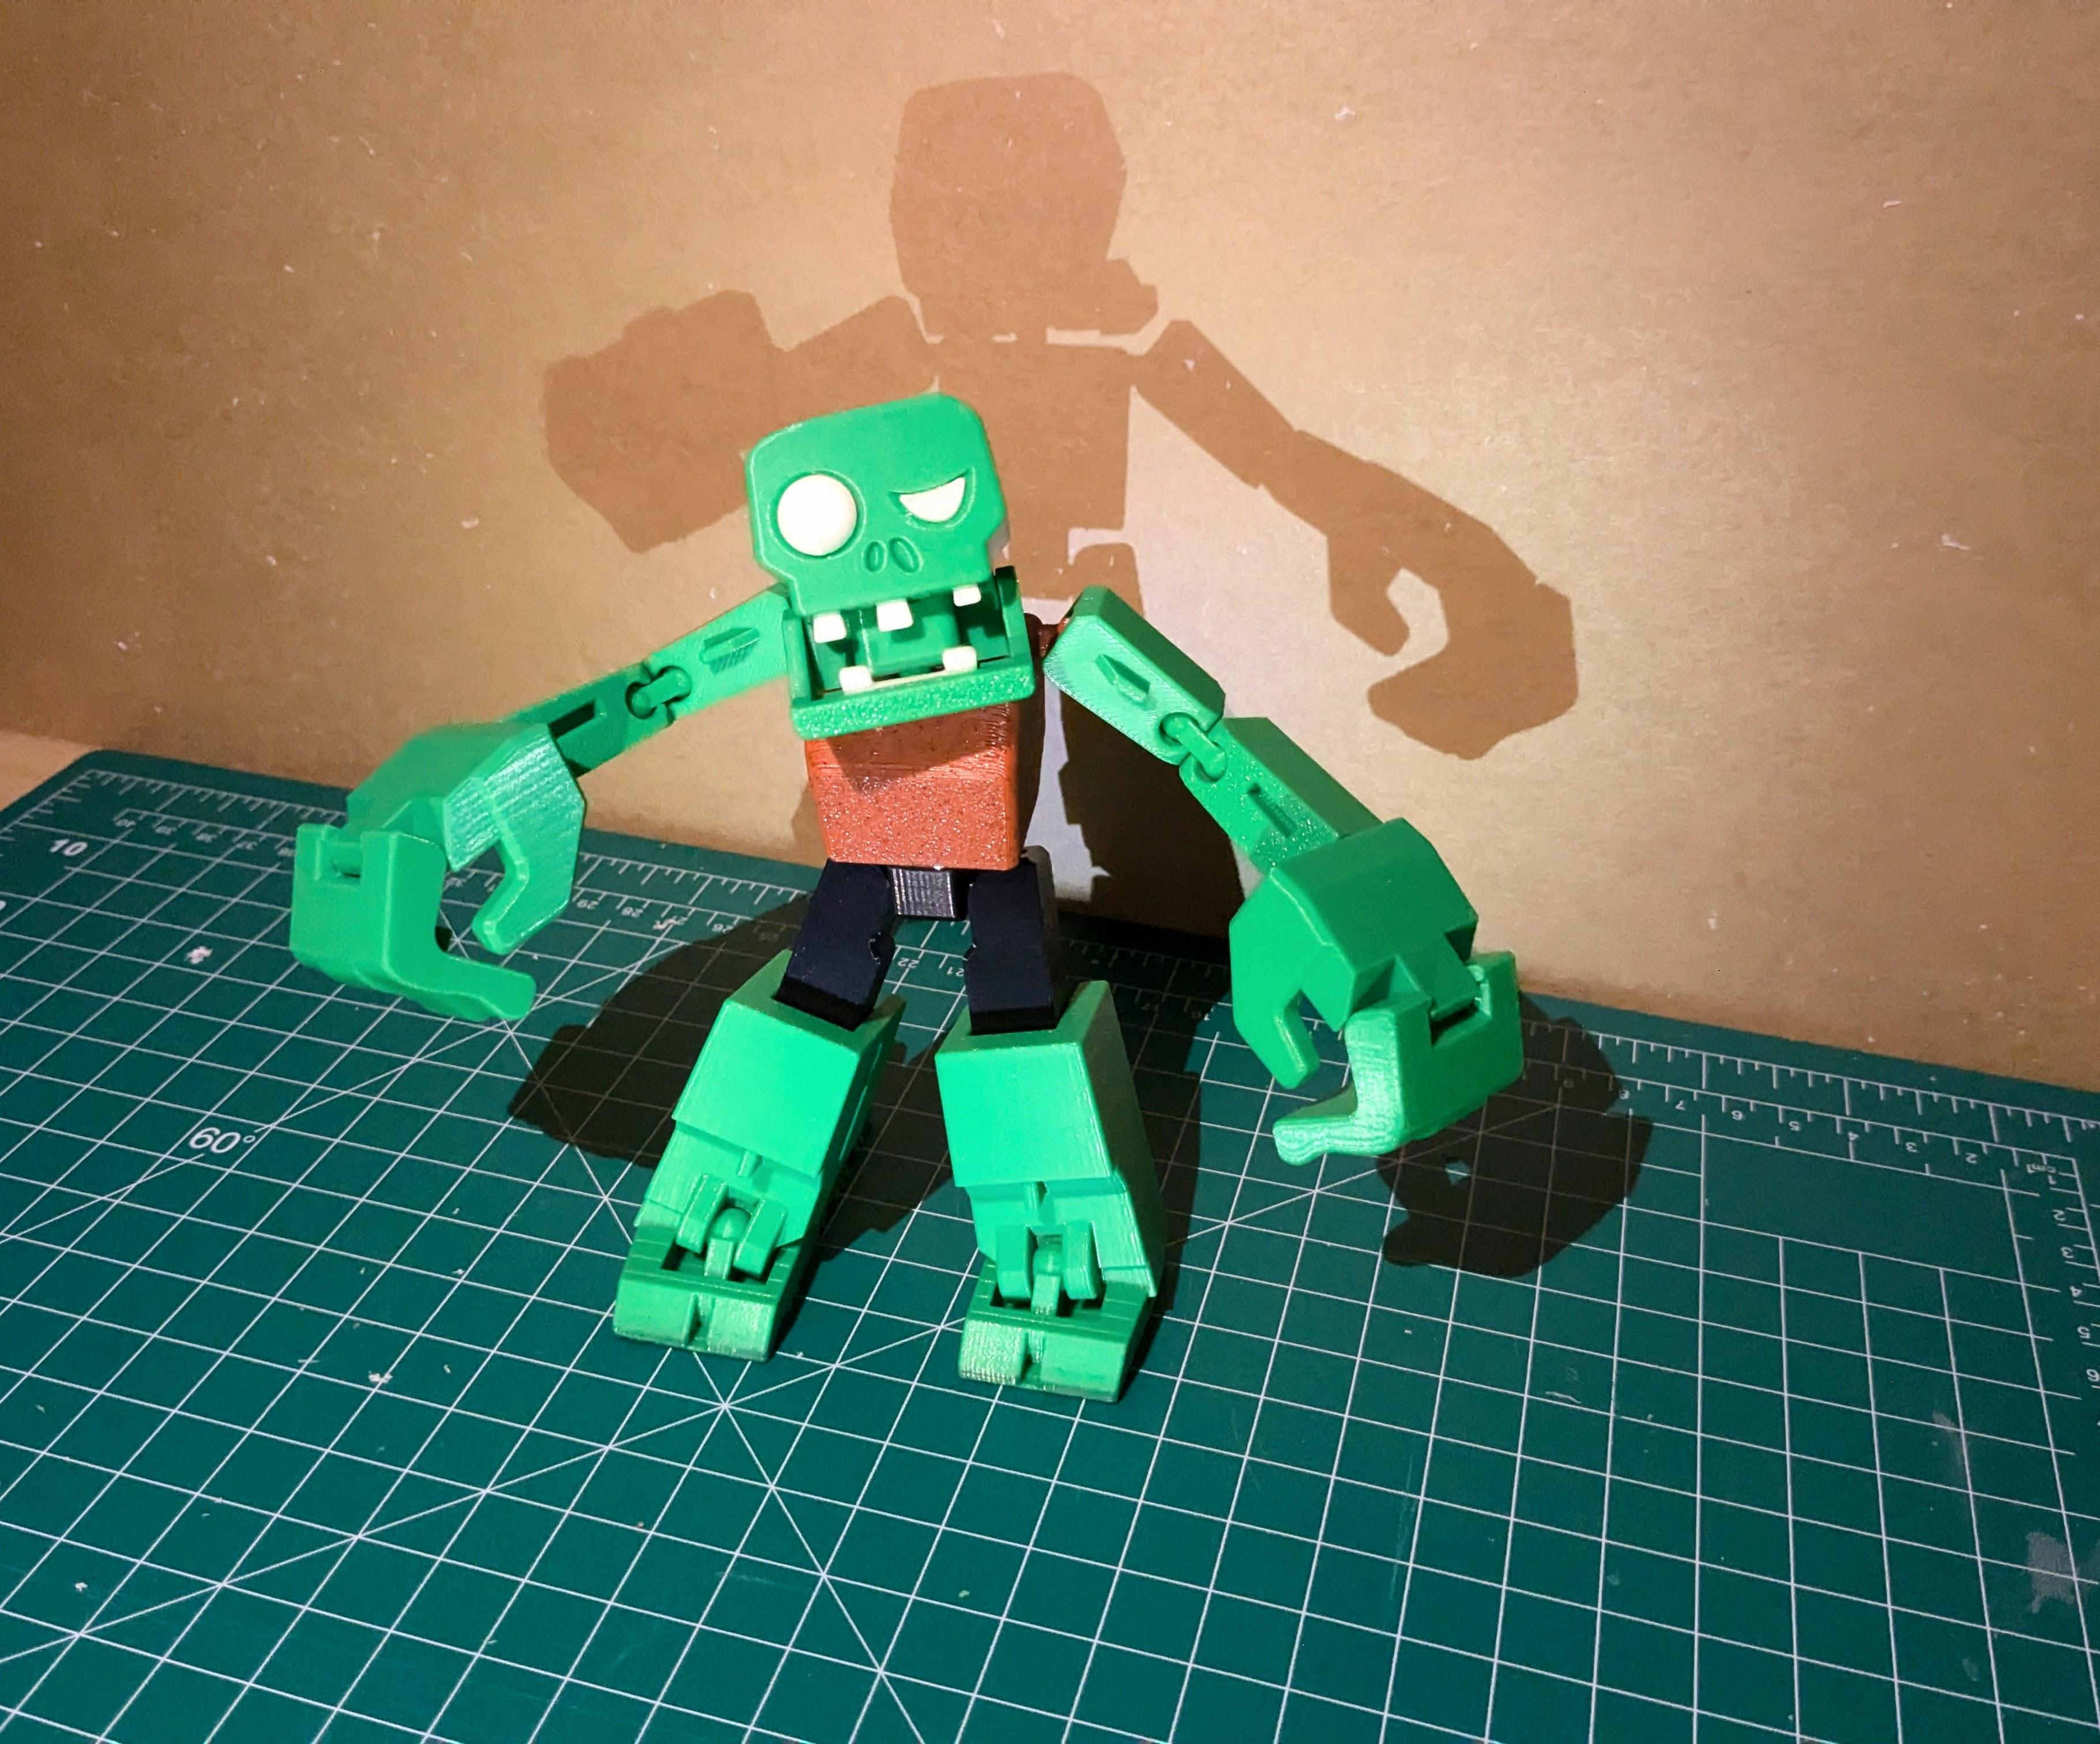.jpg)
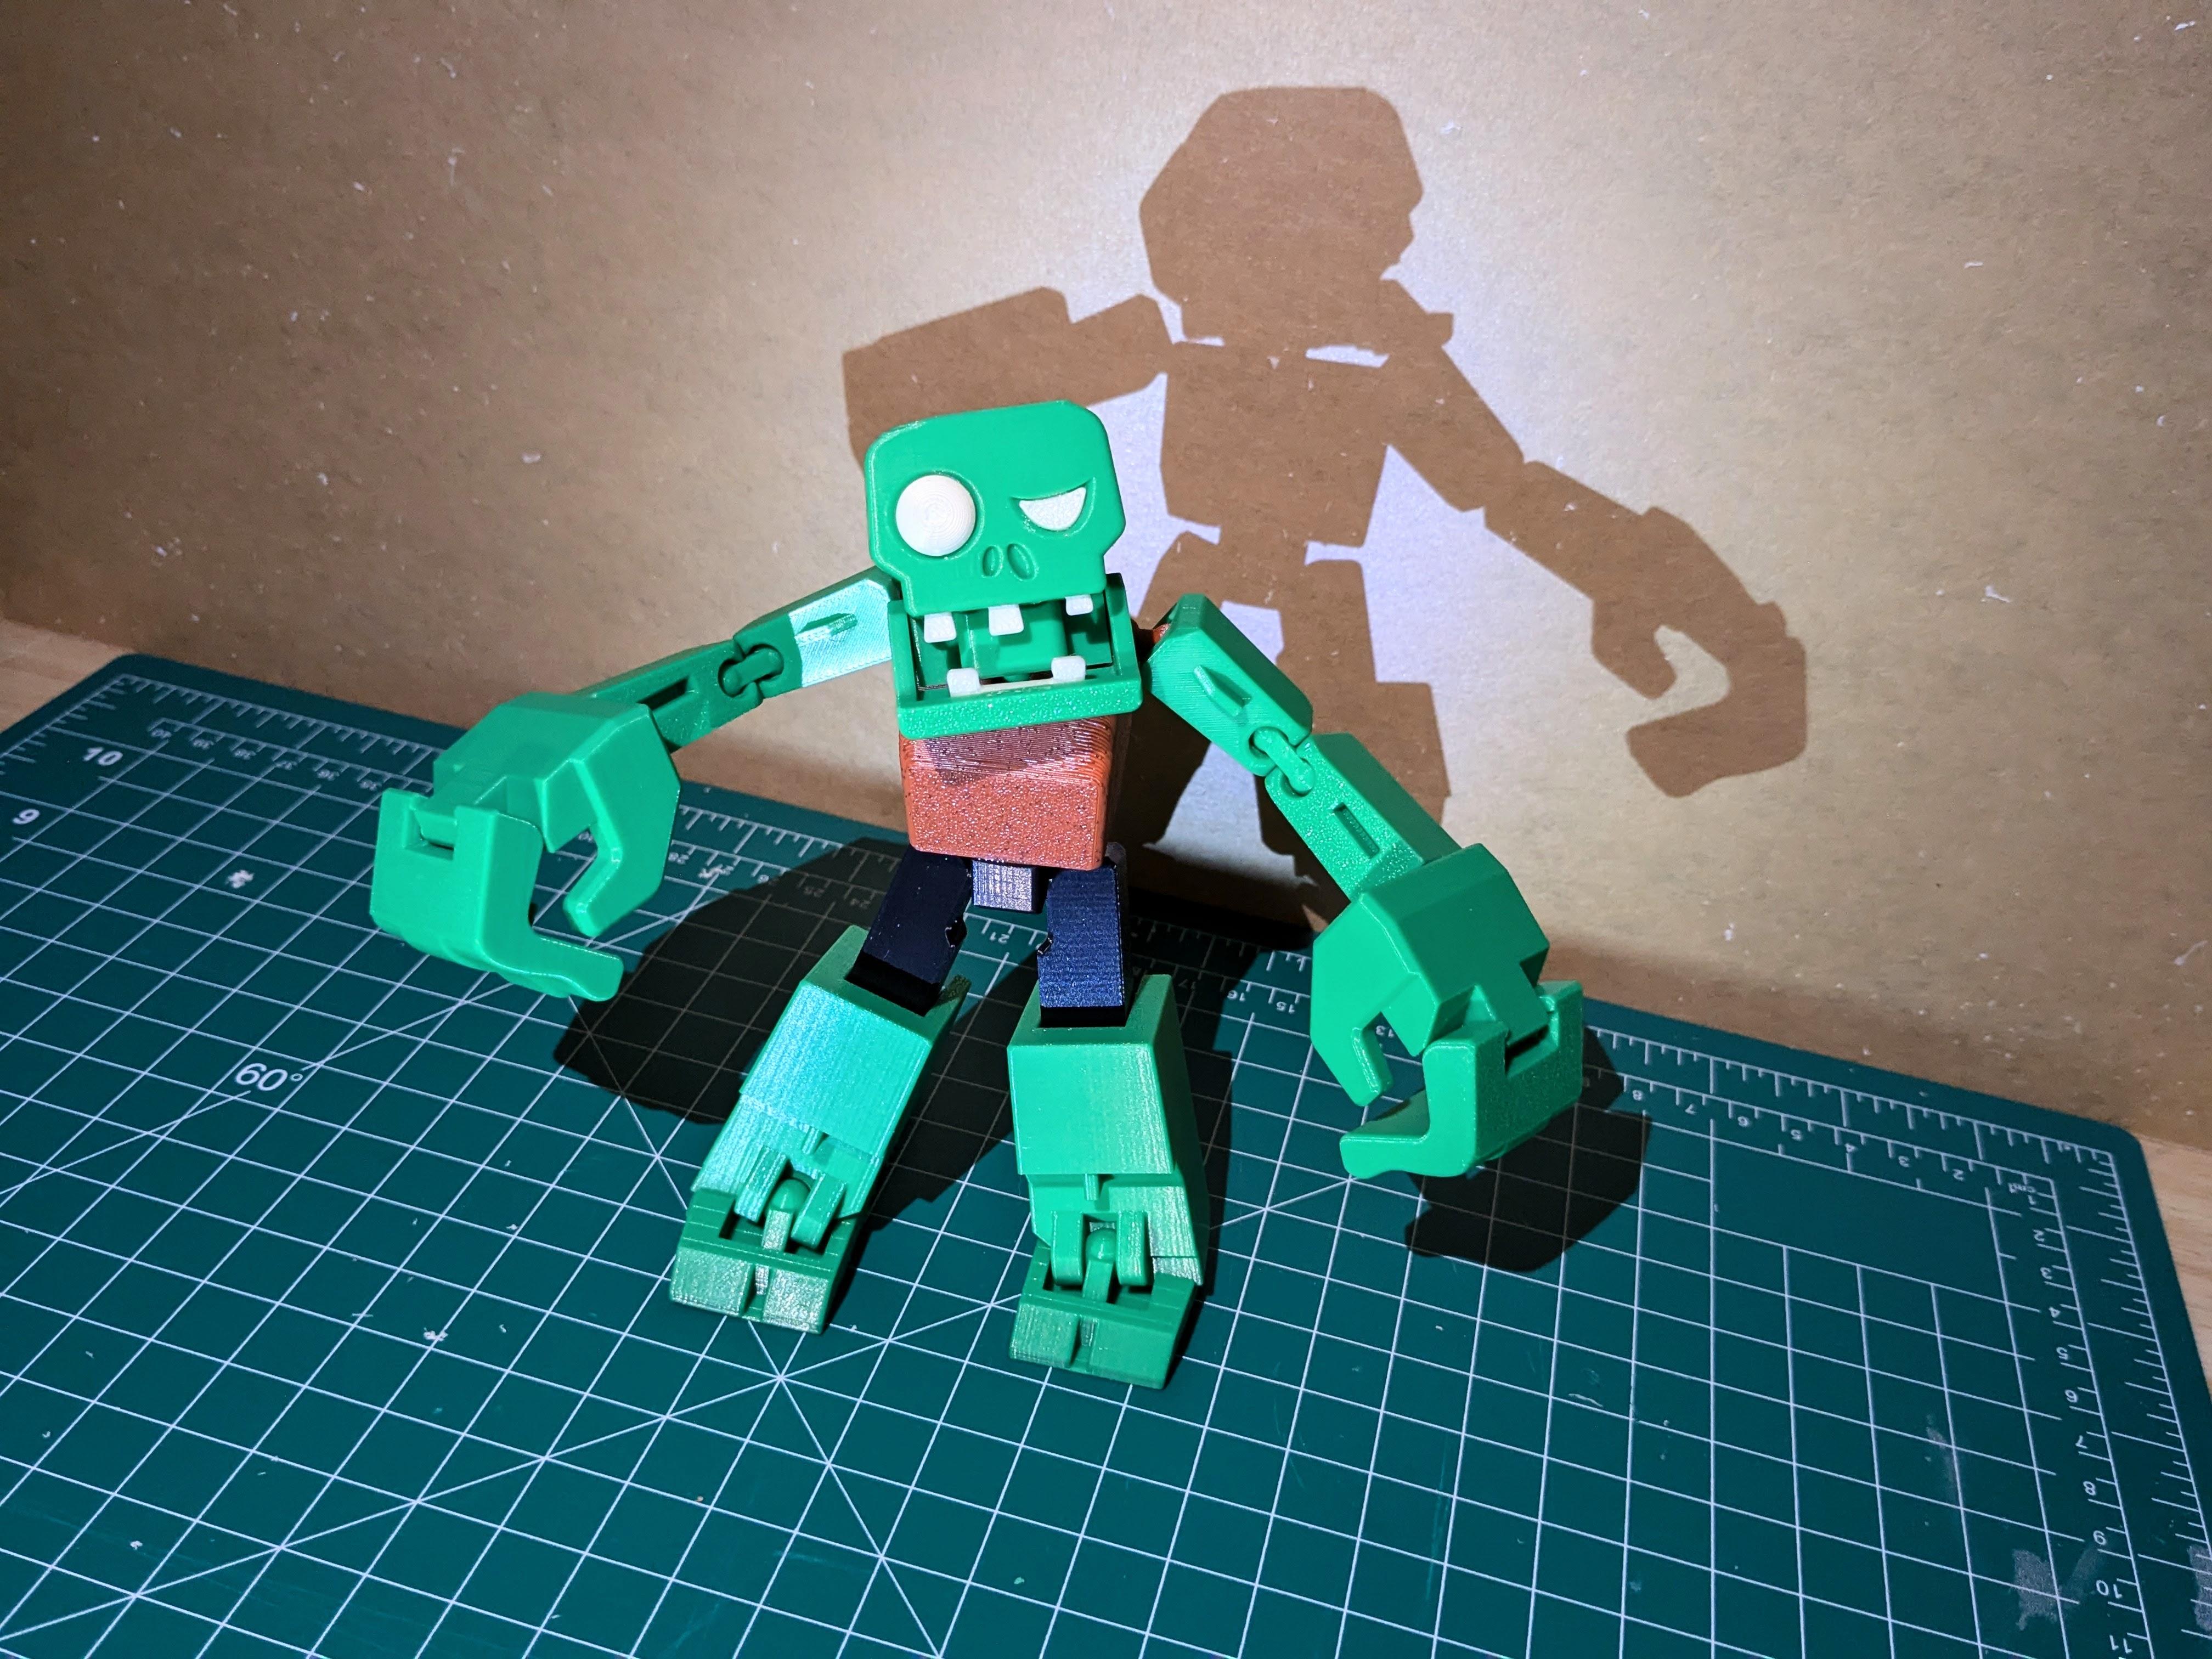
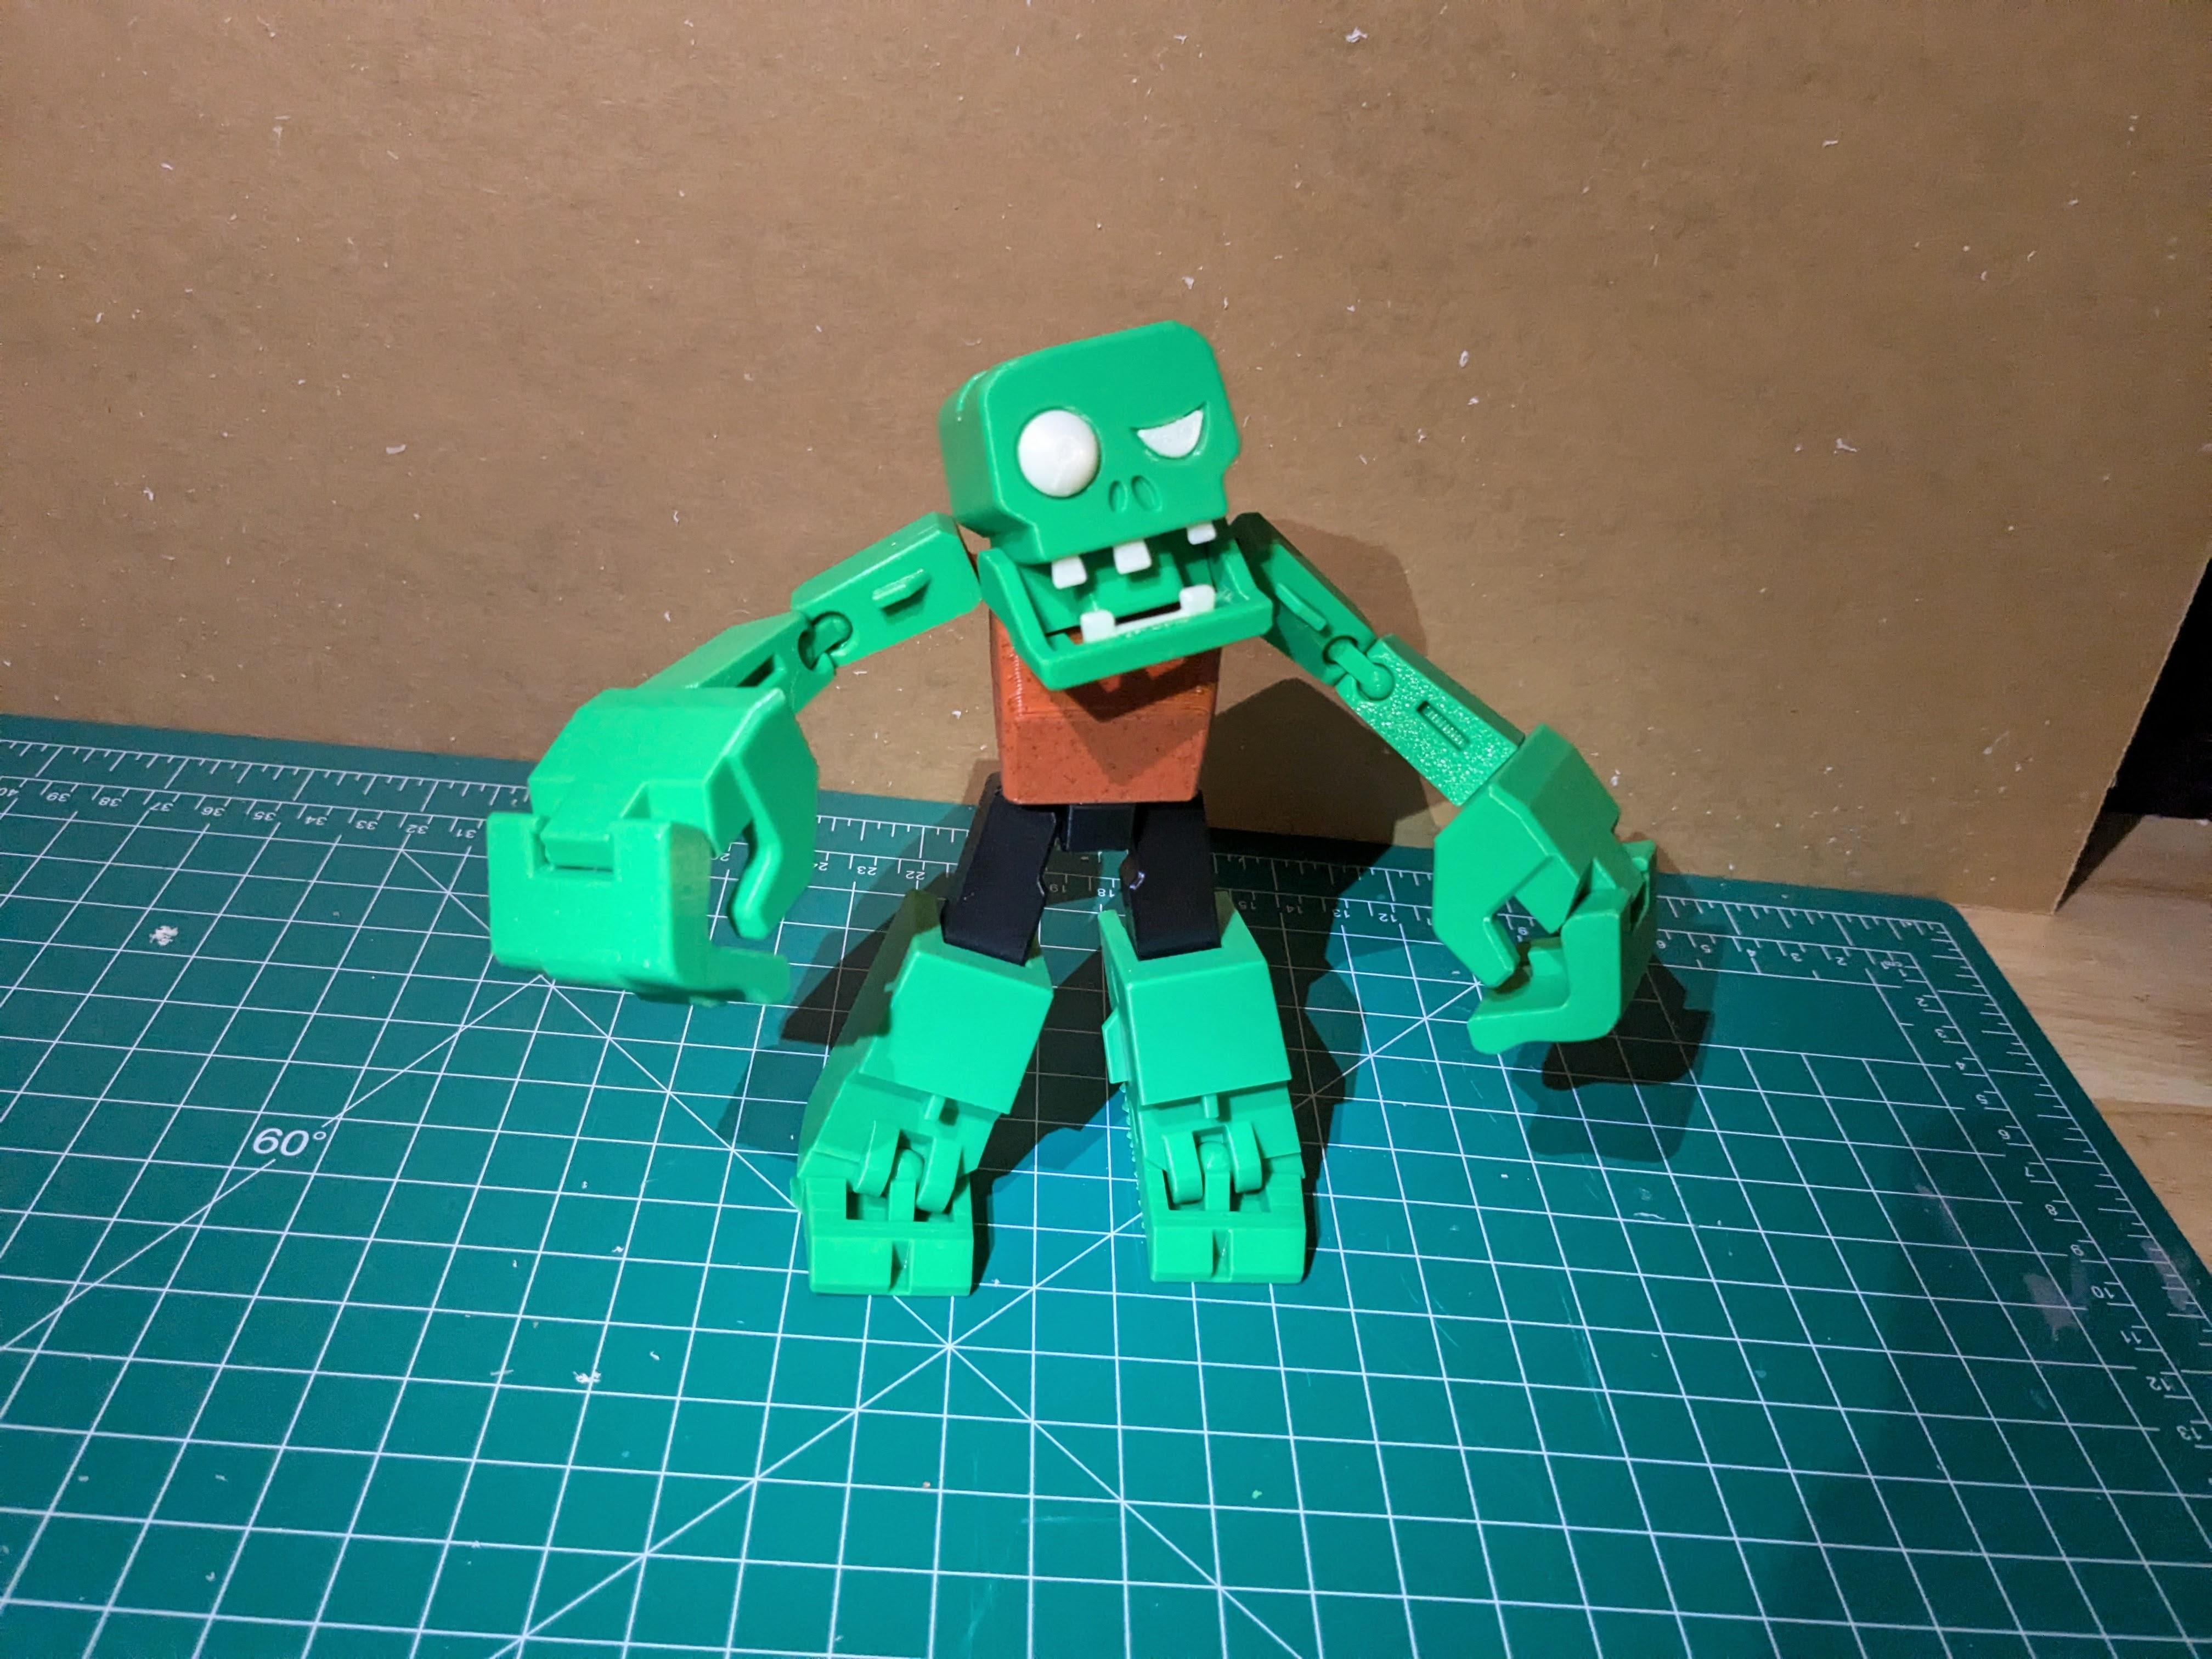
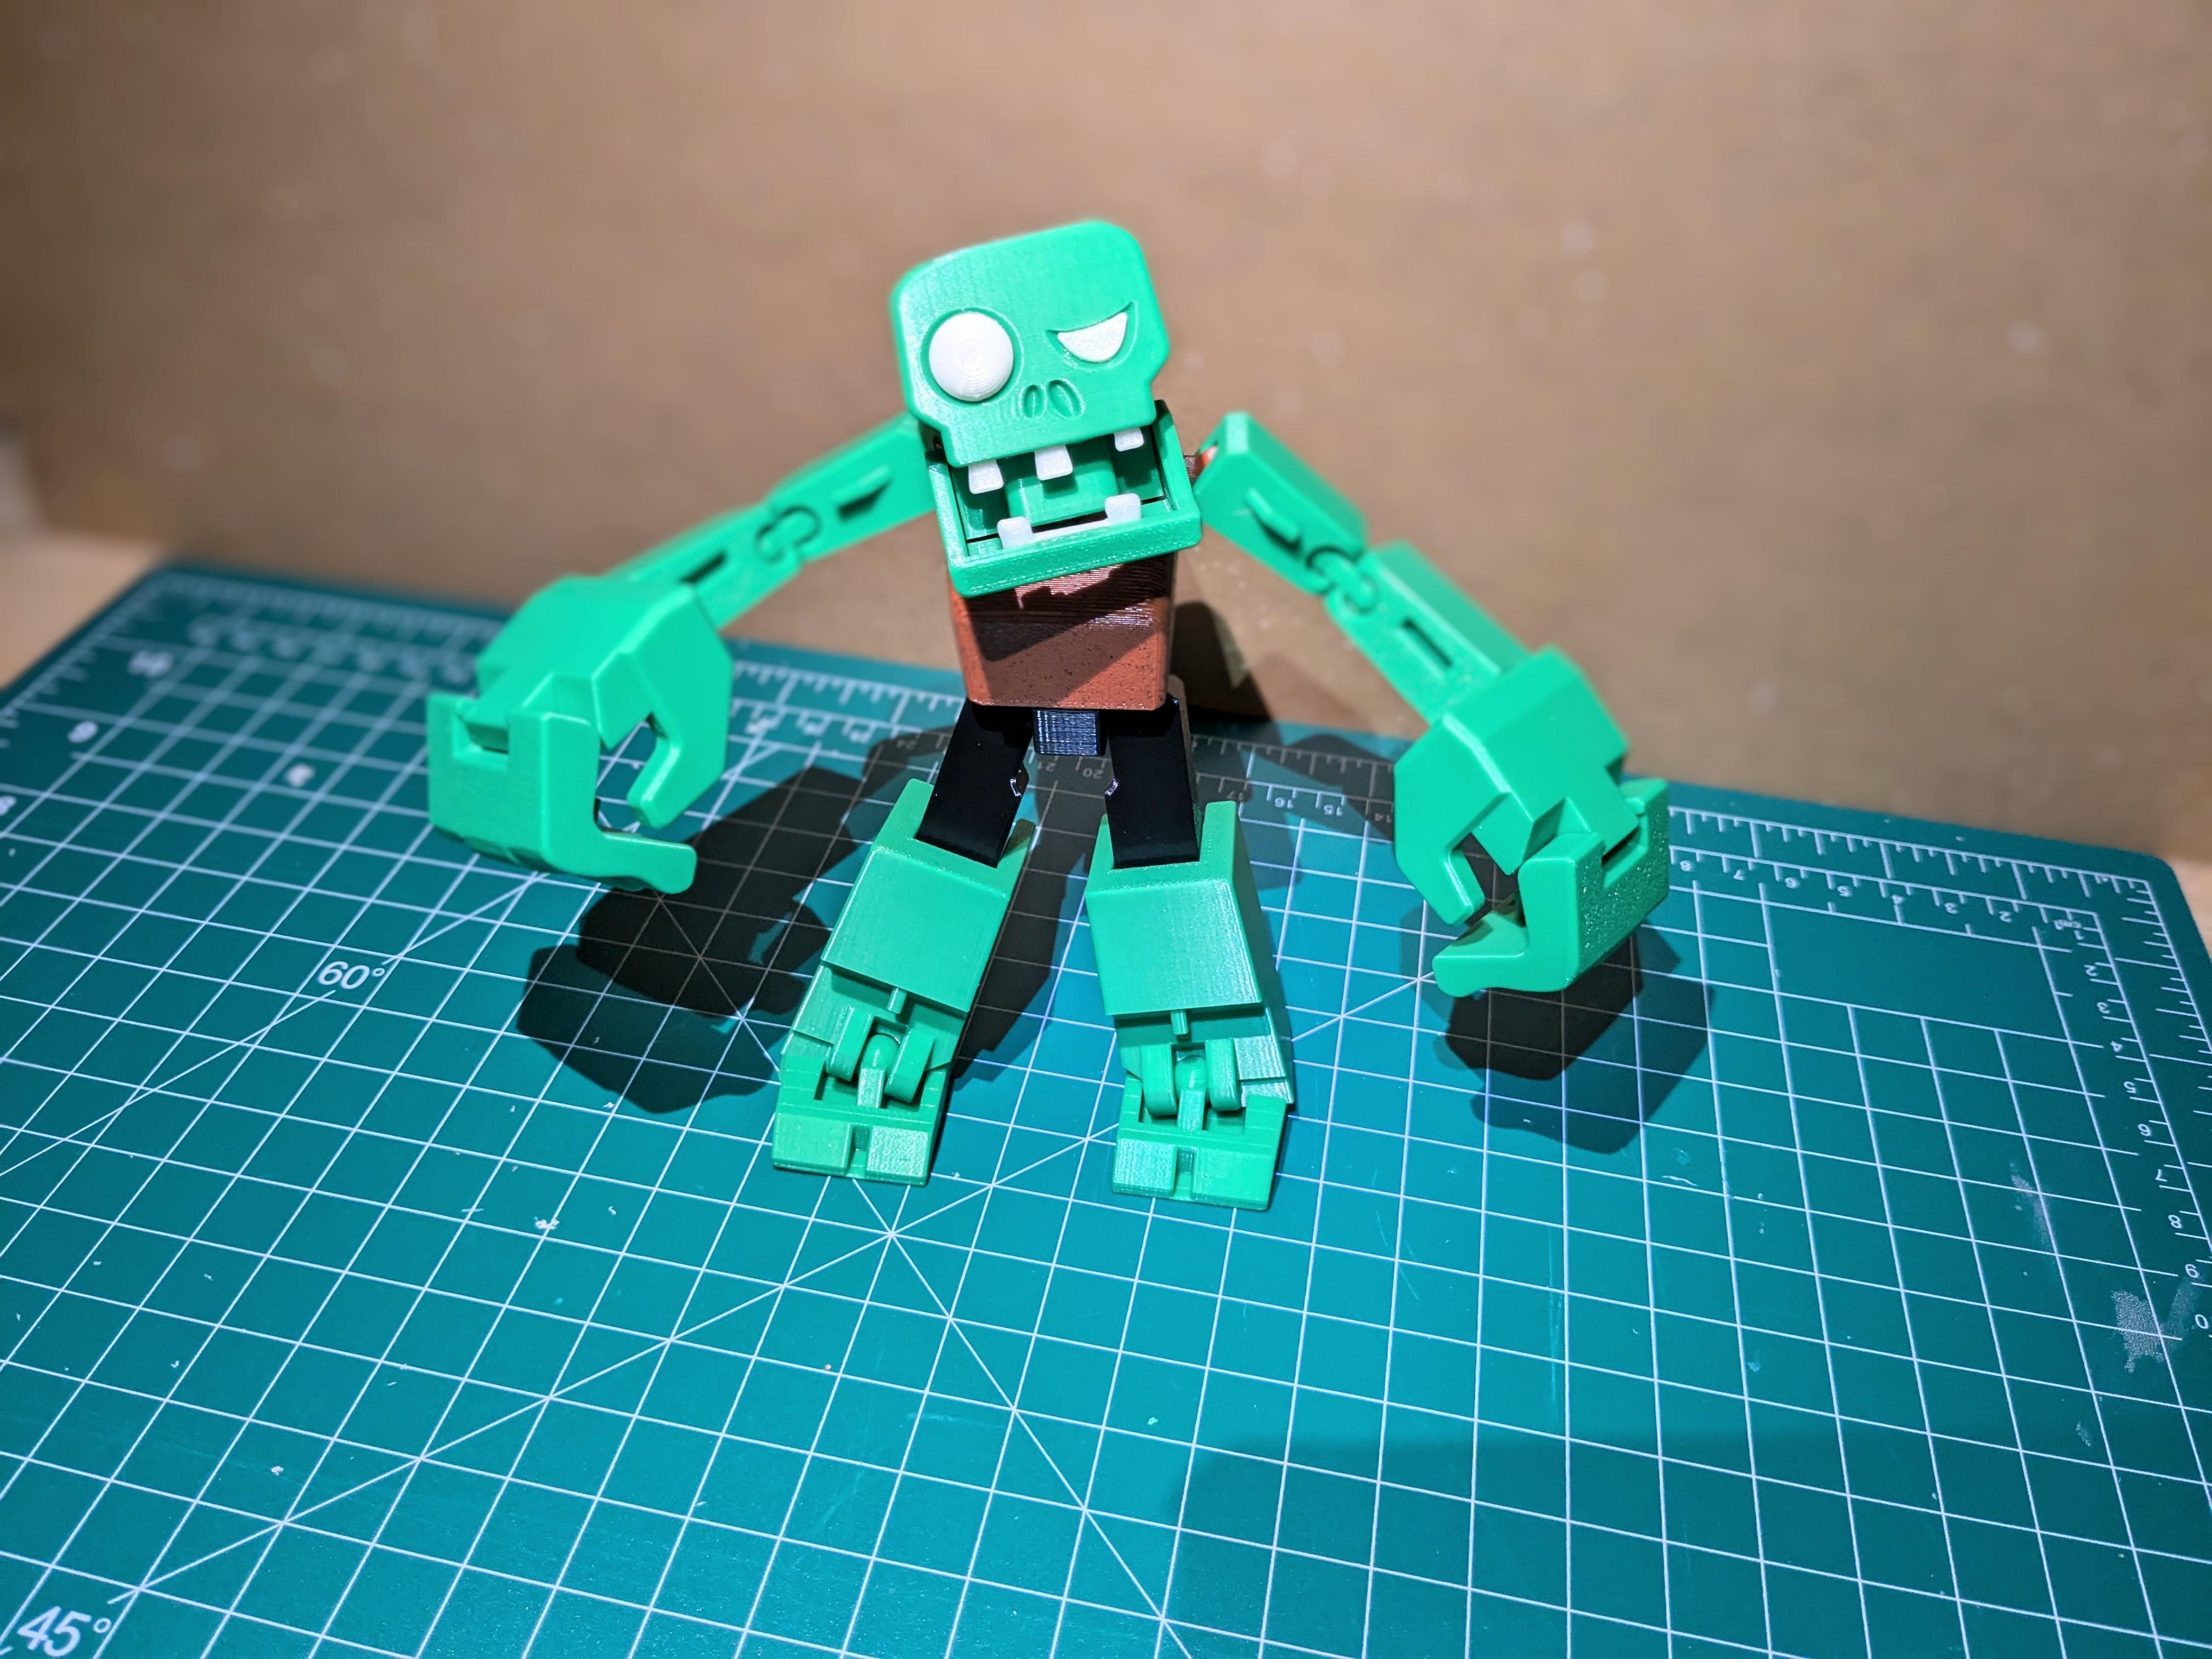
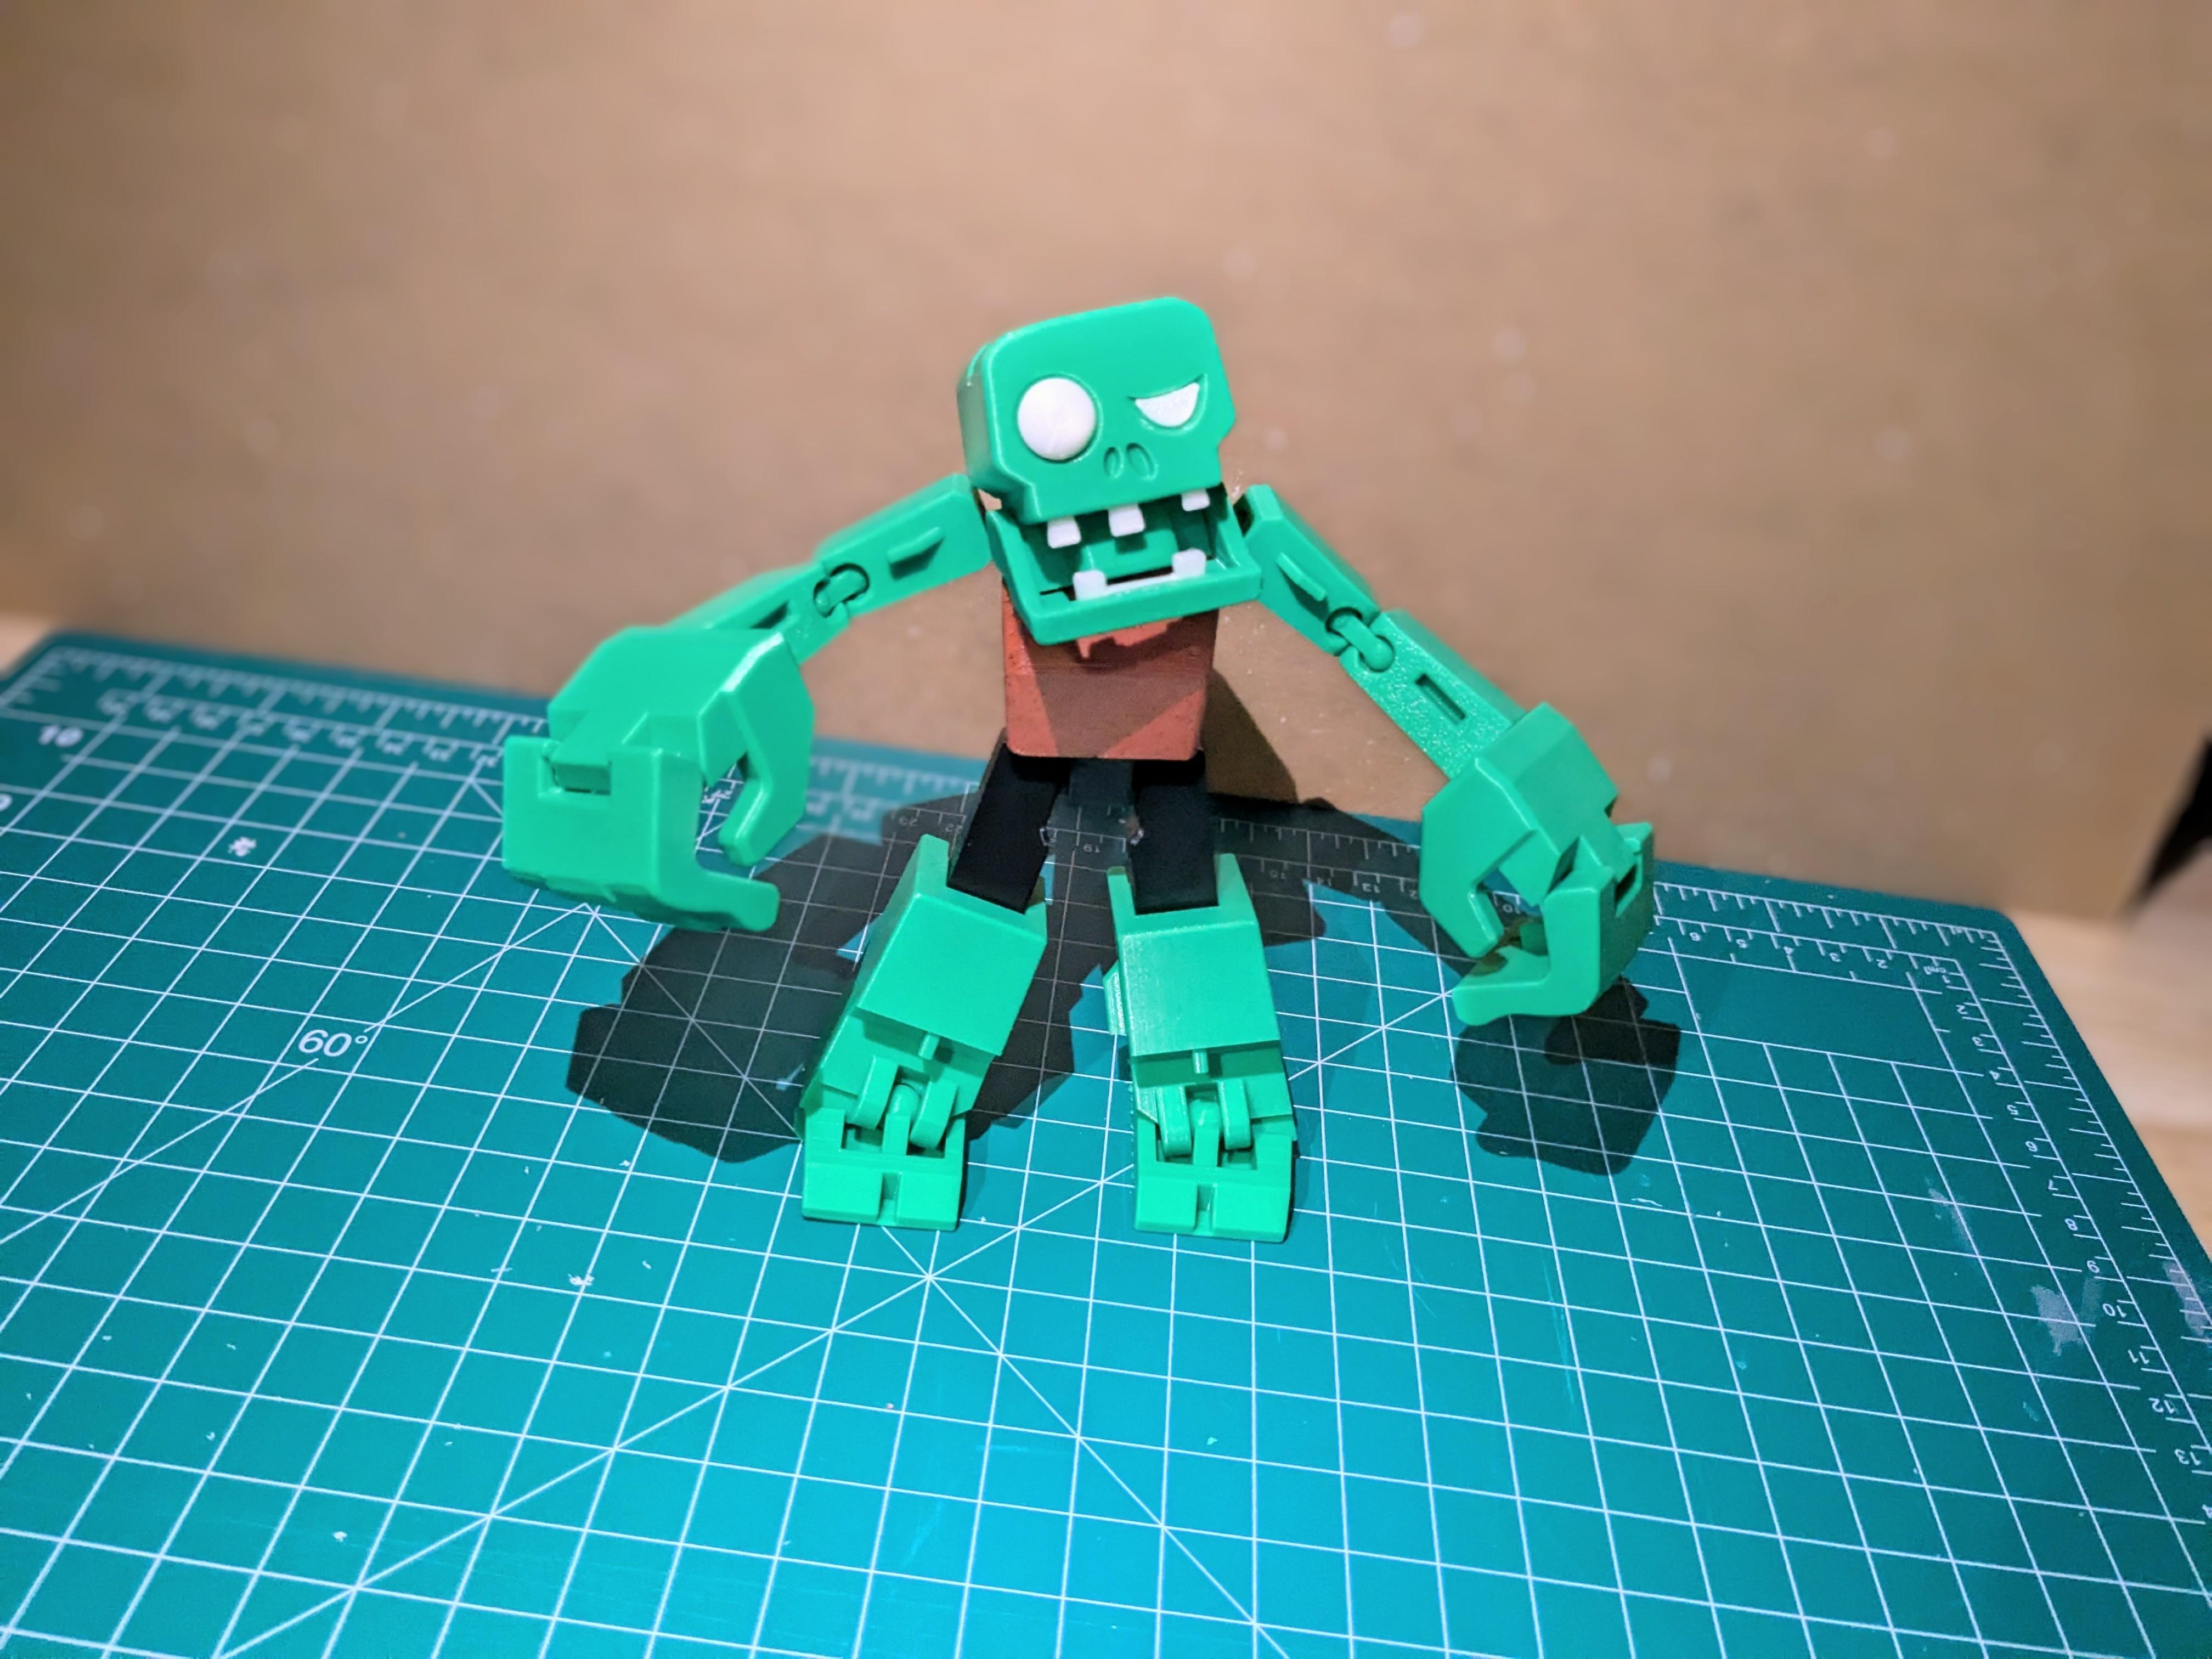
- Select a prominent area in your Halloween setup where the Zombieman-to-coffin can be easily seen.
- Enhance the display with additional spooky decorations, such as fake spider webs or eerie lighting.
- Consider placing LED lights inside the coffin for a chilling glow effect.
- Position the Zombieman in a way that maximizes its visibility and the surprise factor of its transformation.
Enjoy the Reactions!
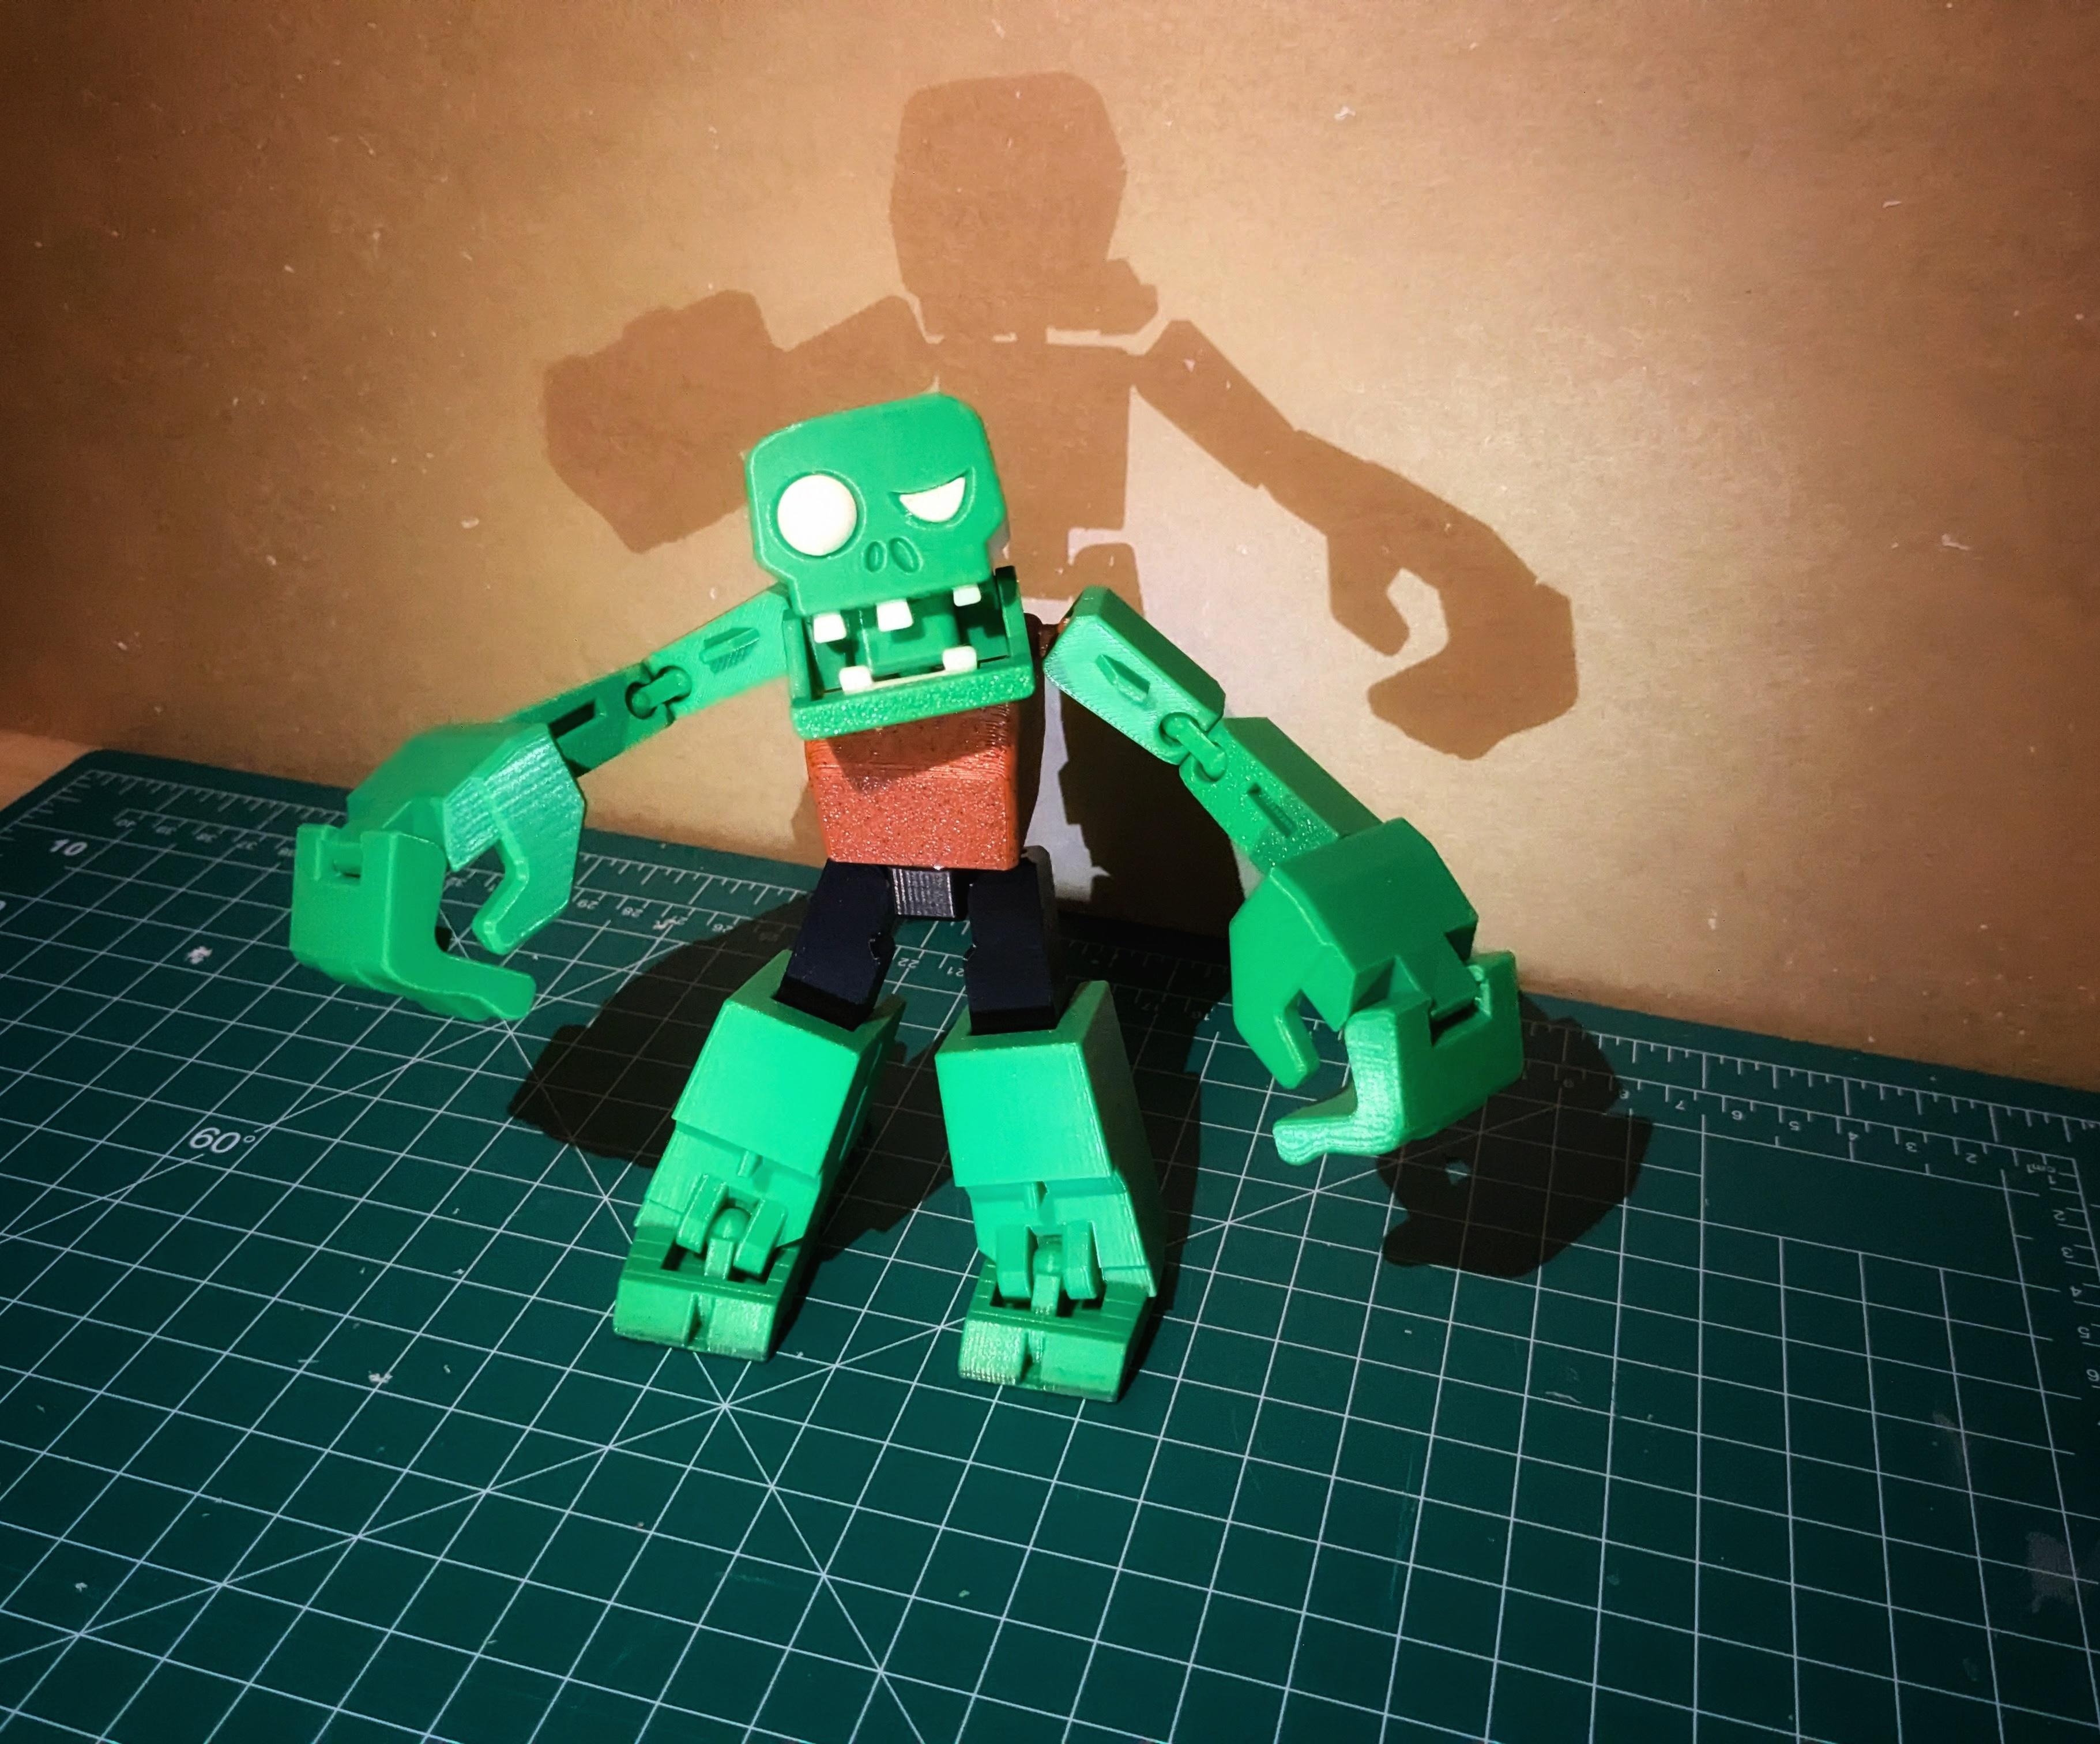
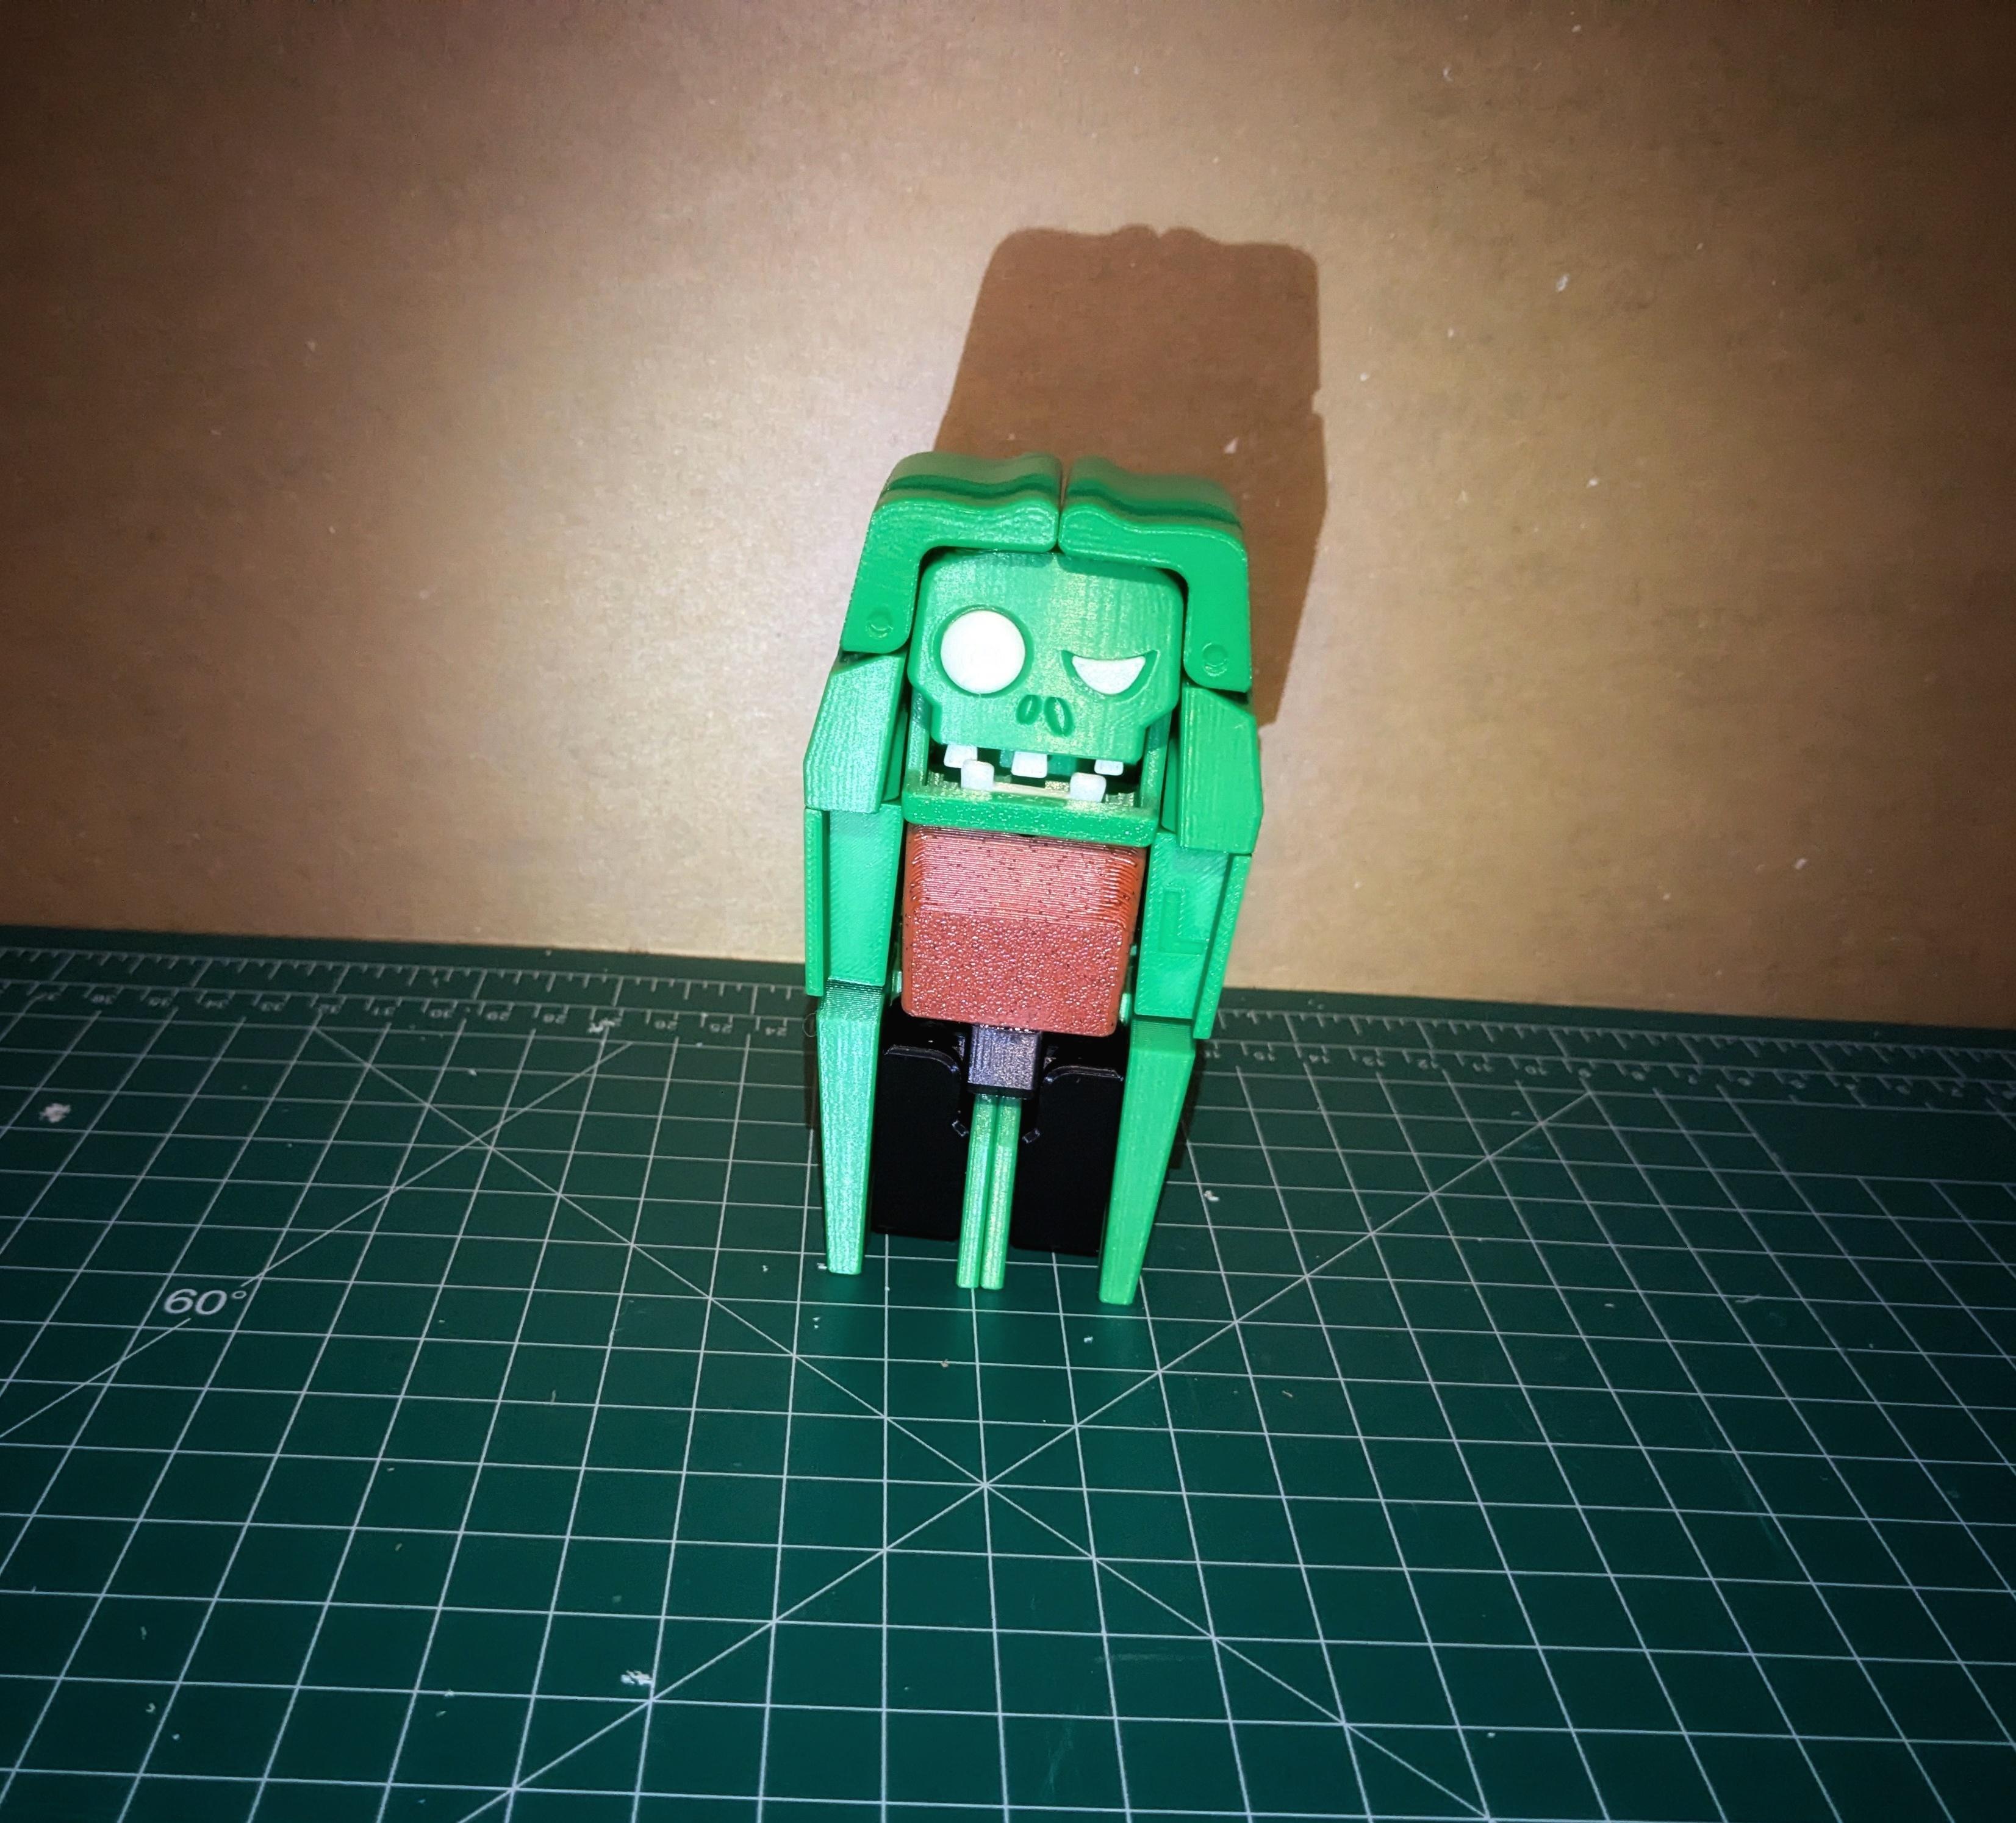
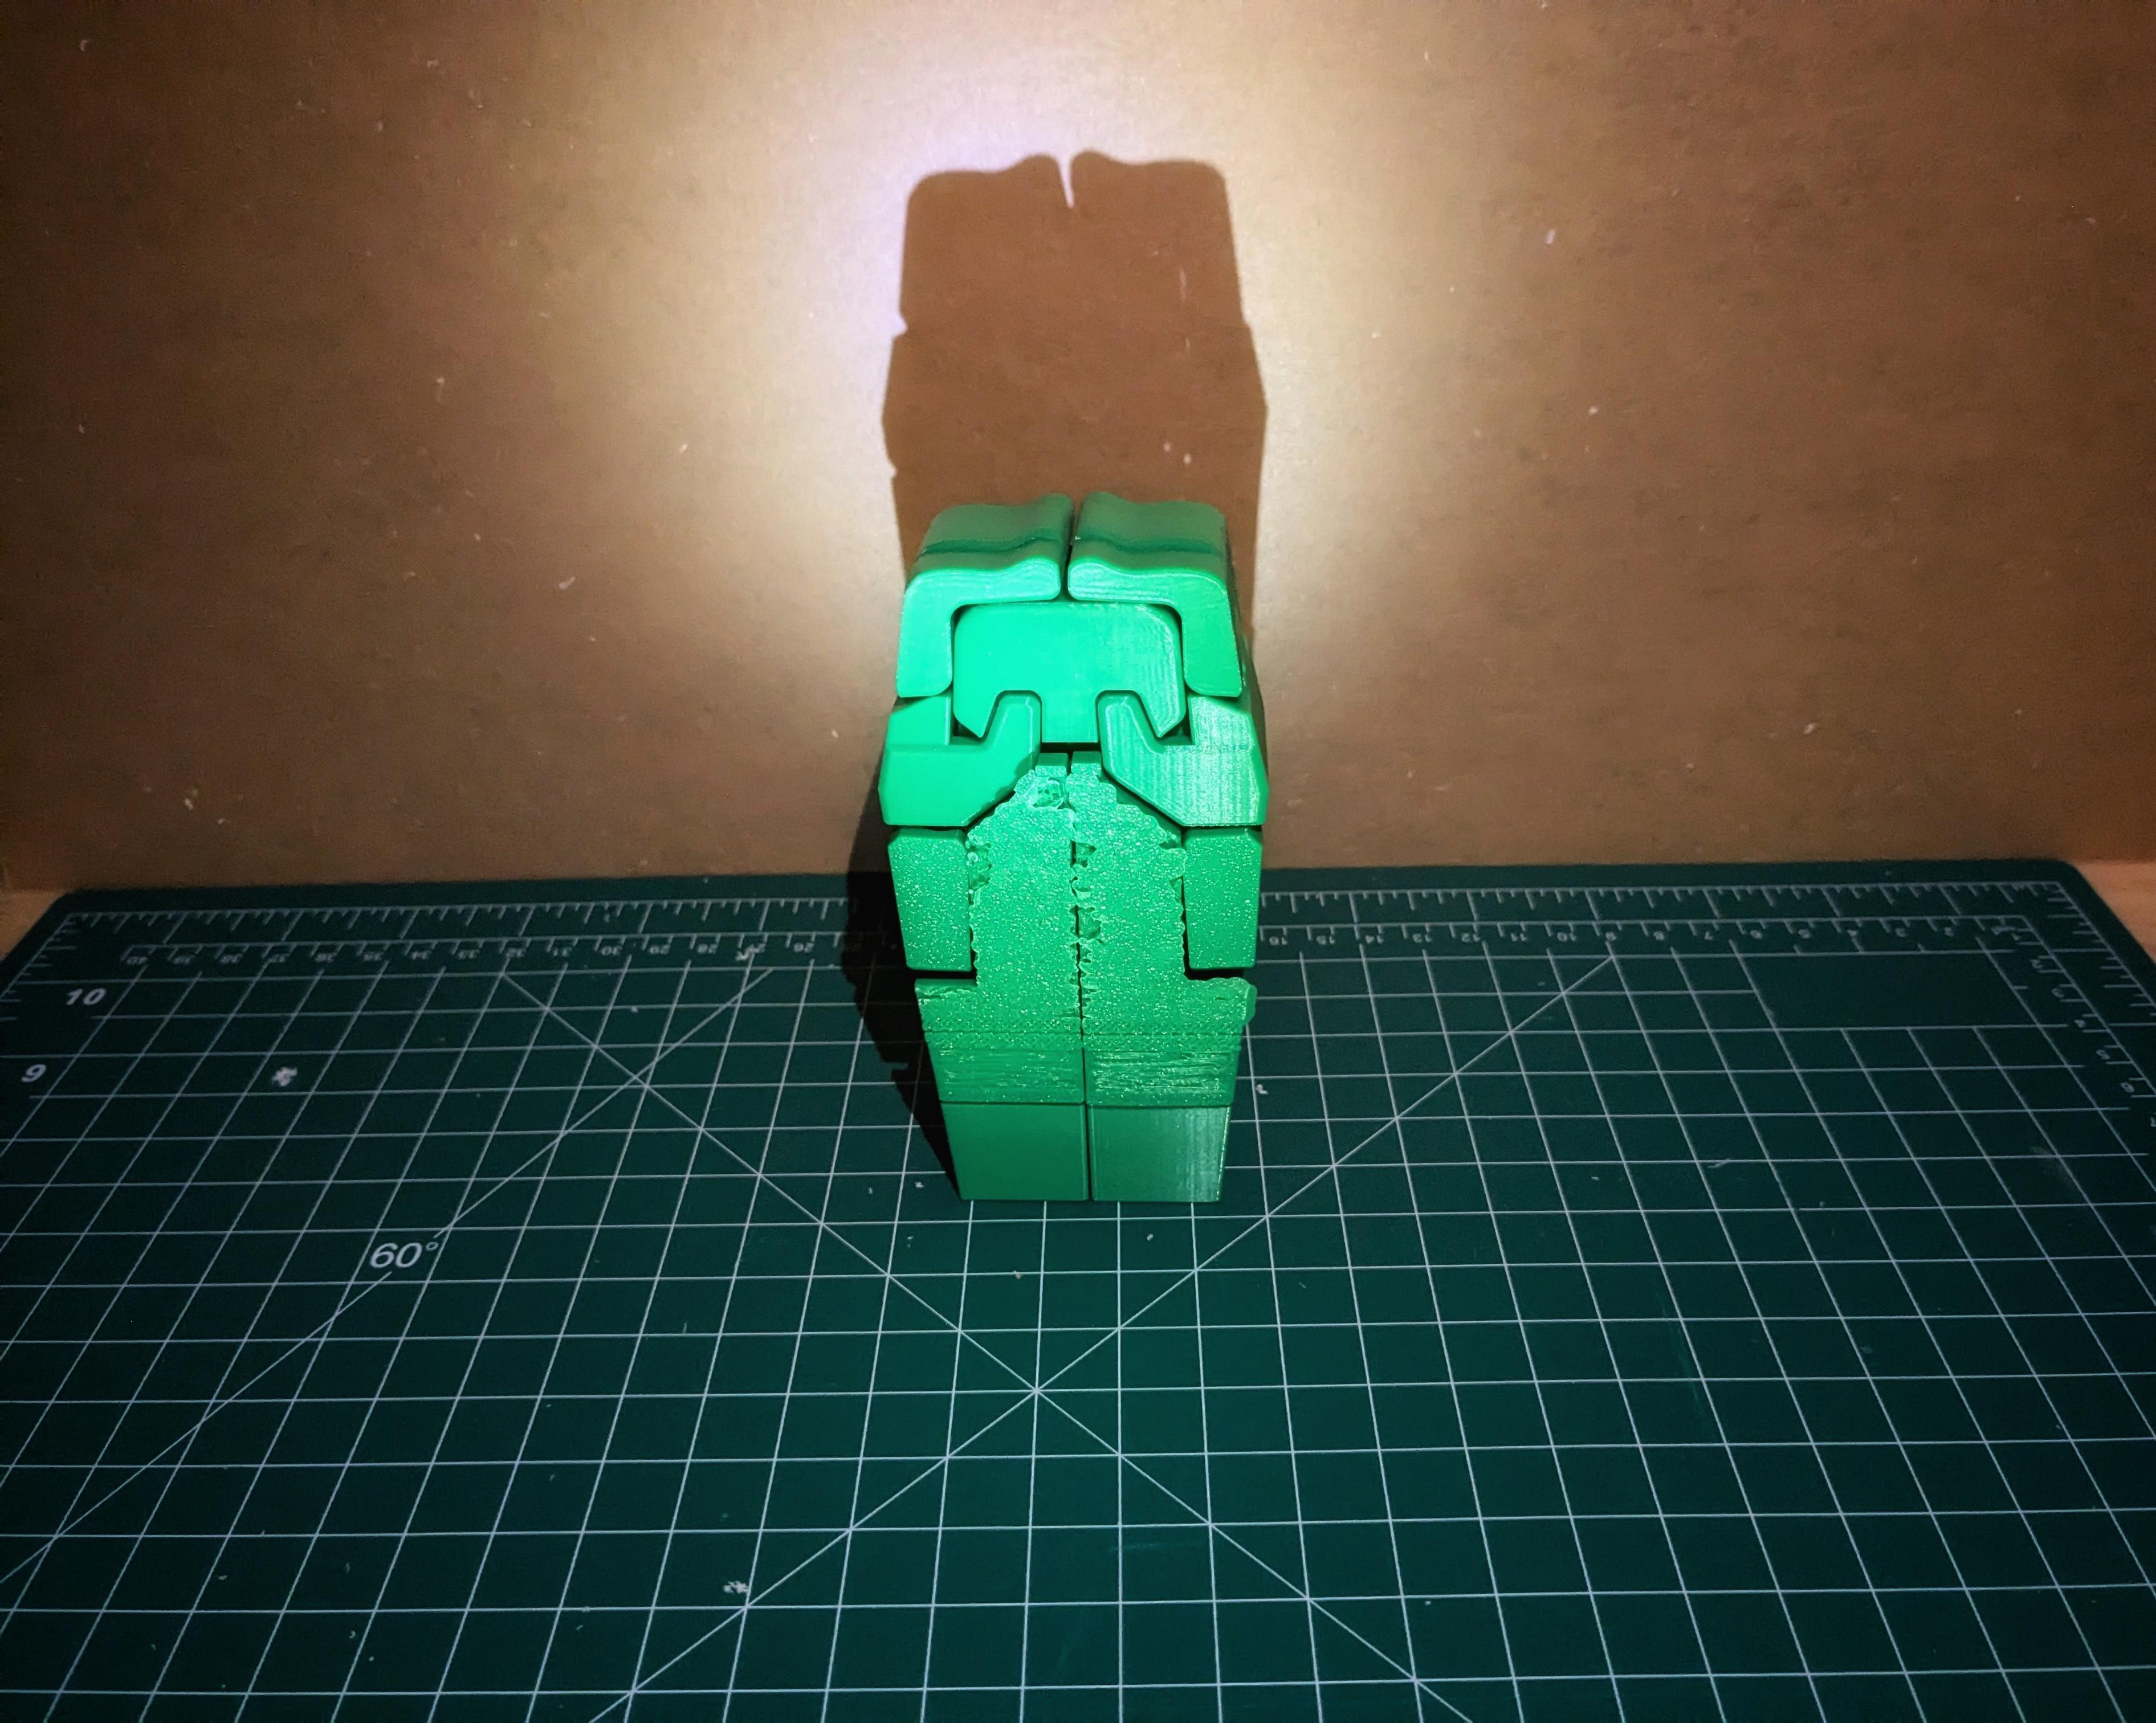
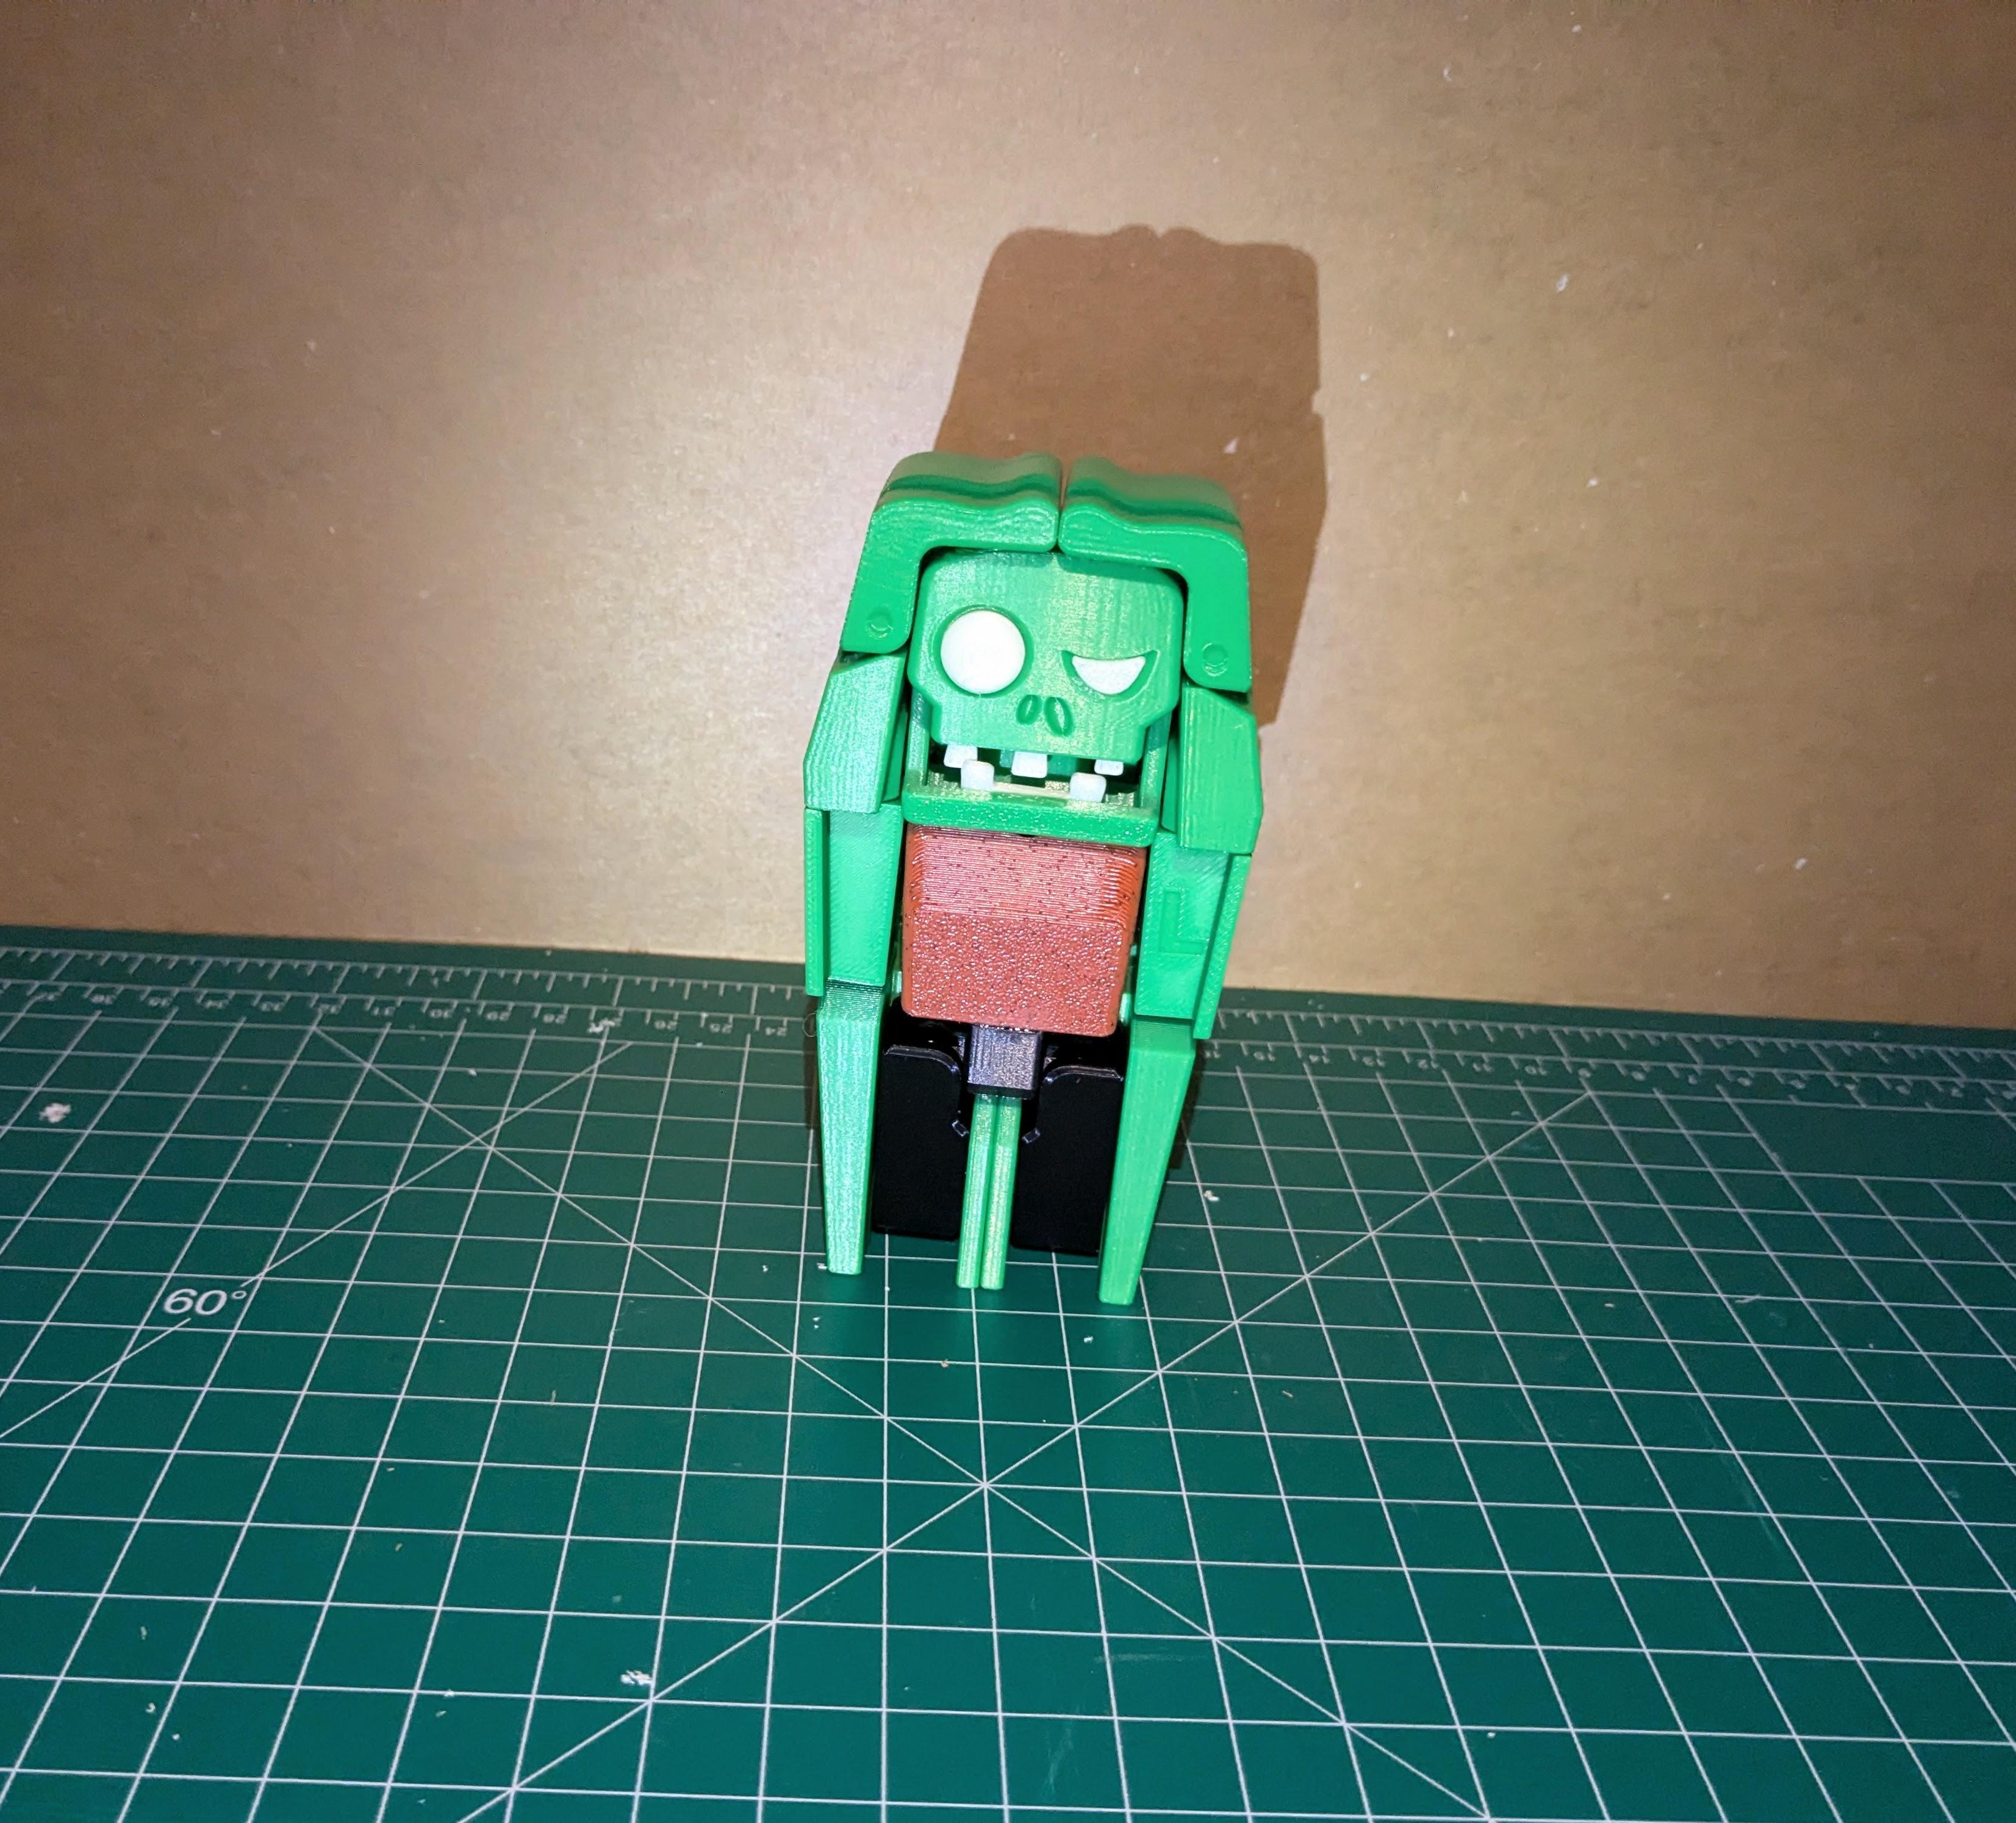.jpg)
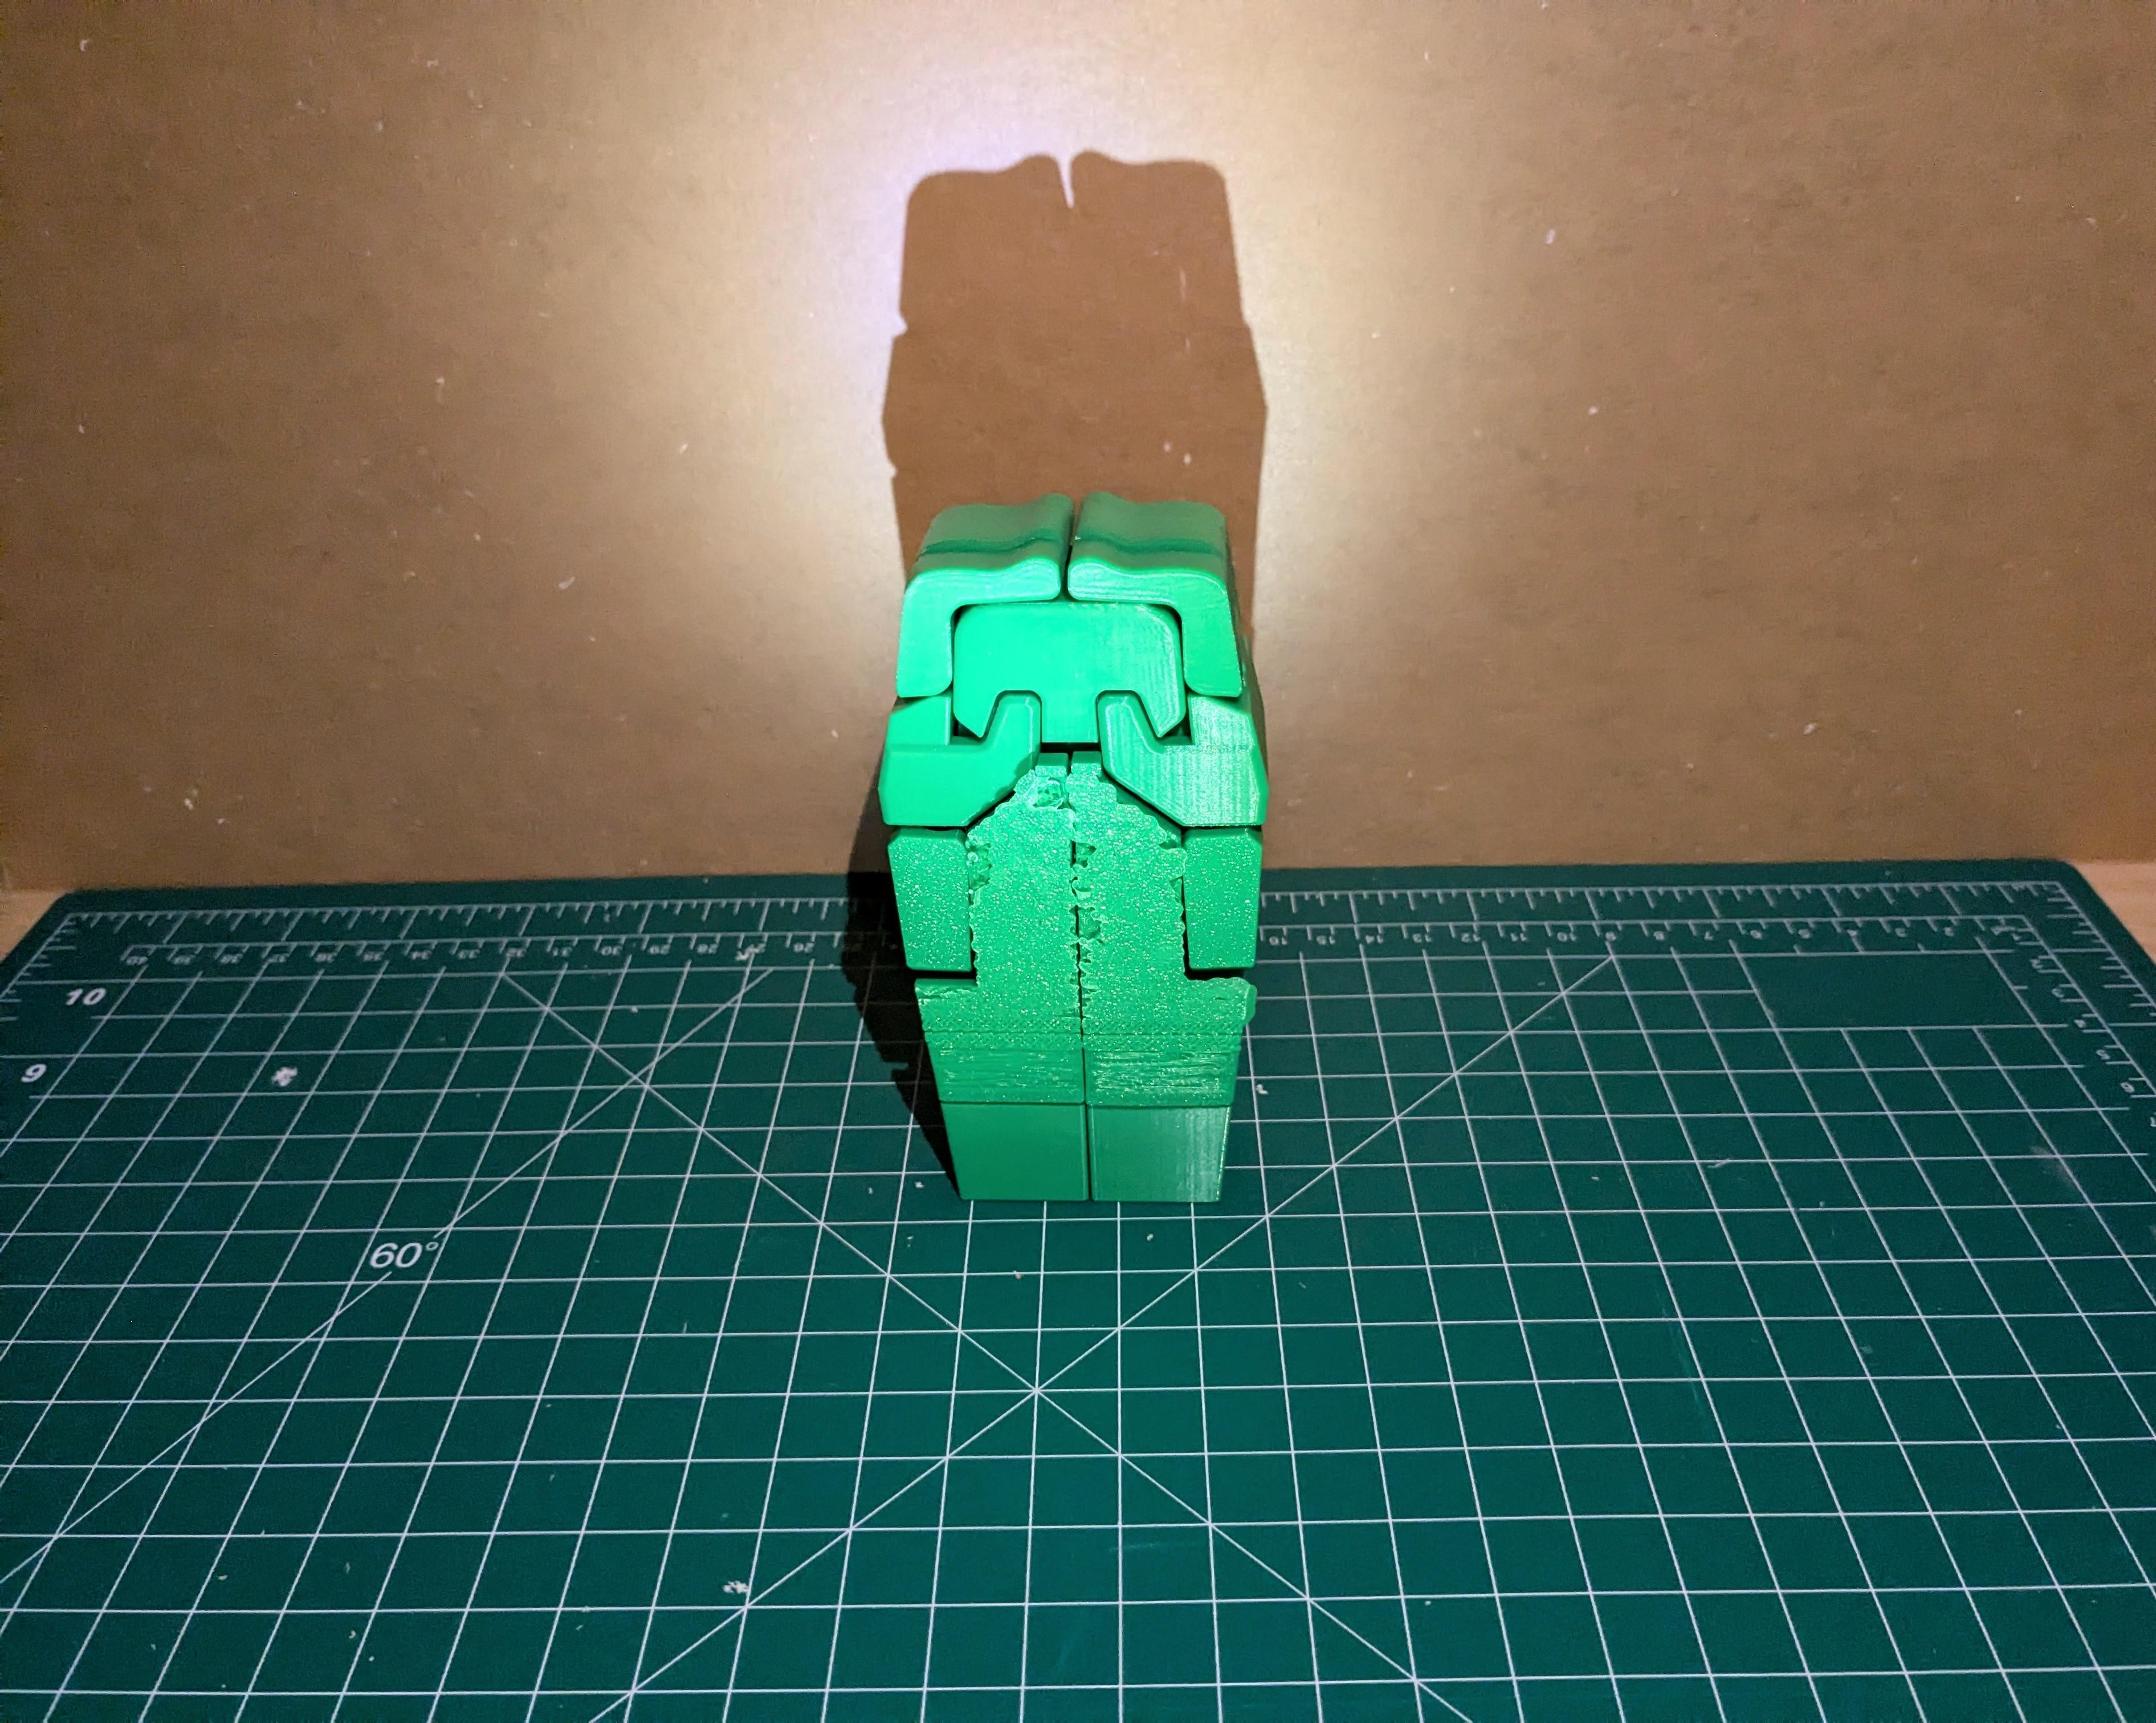.jpg)
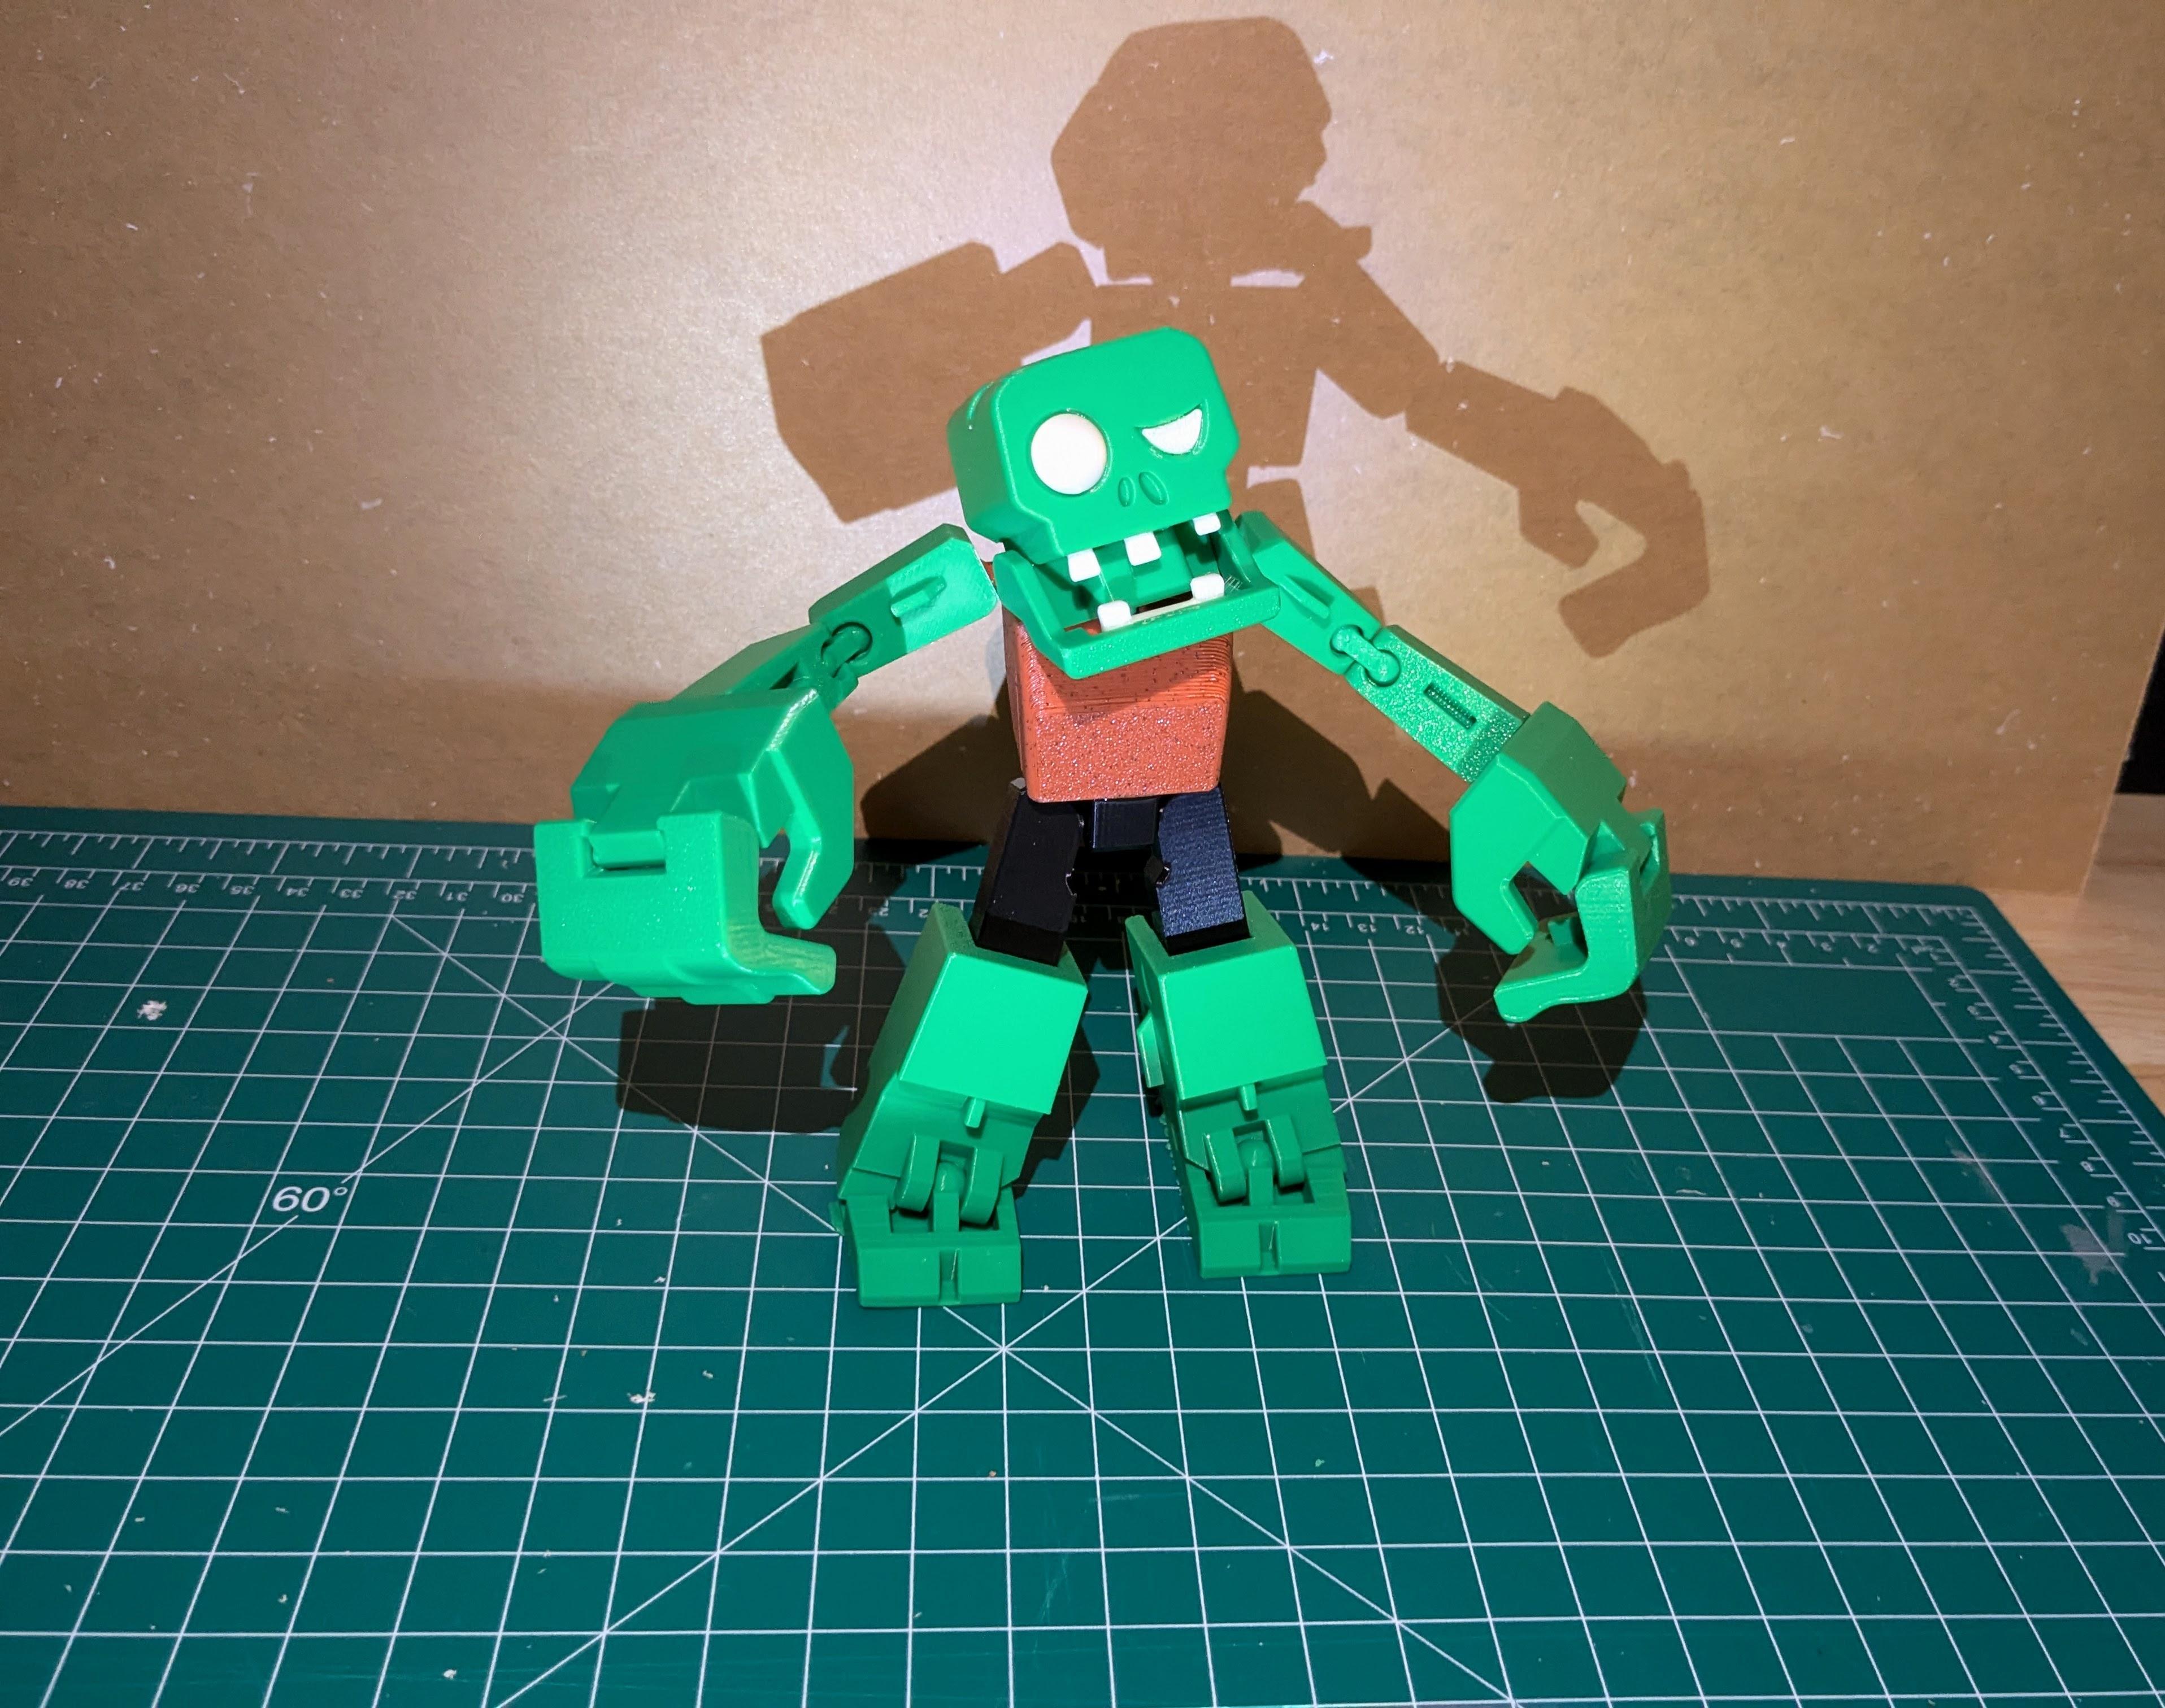.jpg)
Building this transformable Zombieman-to-coffin was such a rewarding experience! I learned a lot throughout the process, from enhancing my 3D modeling and printing skills to mastering the art of assembling intricate parts. What stood out was the challenge of getting the transformation mechanism just right—it was like solving a puzzle, and seeing it work in the end was so satisfying.
Not only was this a fun and creative project, but it also added a cool factor to my Halloween setup. The way the Zombieman transforms into a coffin is a perfect mix of spooky and clever. It’s something that stands out among typical Halloween decorations and brings a wow factor to anyone who sees it. Plus, there’s nothing better than the thrill of saying, “I made that!” while watching people react with awe and fear.
I hope you enjoyed following along with this spooky DIY project! Bringing the Zombieman-to-coffin to life was such a fun challenge, and I’m sure it’ll add an unforgettable touch to your Halloween setup. If you decide to create something similar, I’d love to hear how it turns out.
Wishing you a frightfully fun and creative Halloween—happy haunting! 🎃👻