DIY Thundercloud Lamp
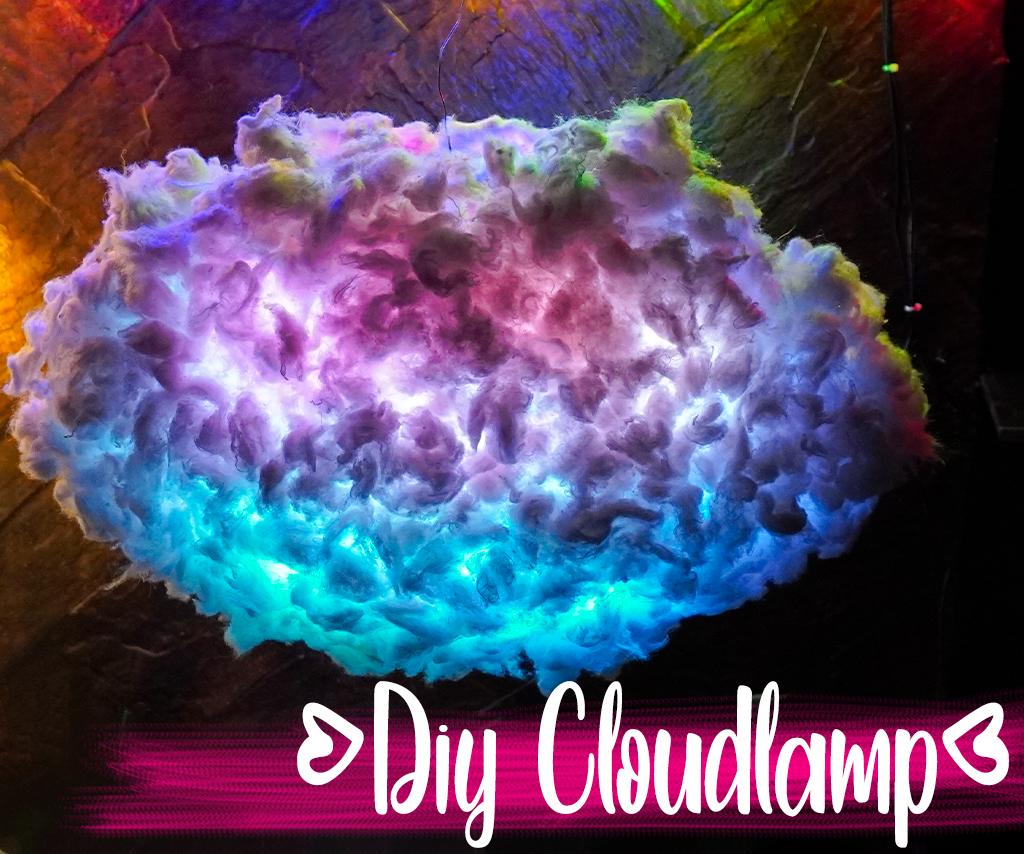
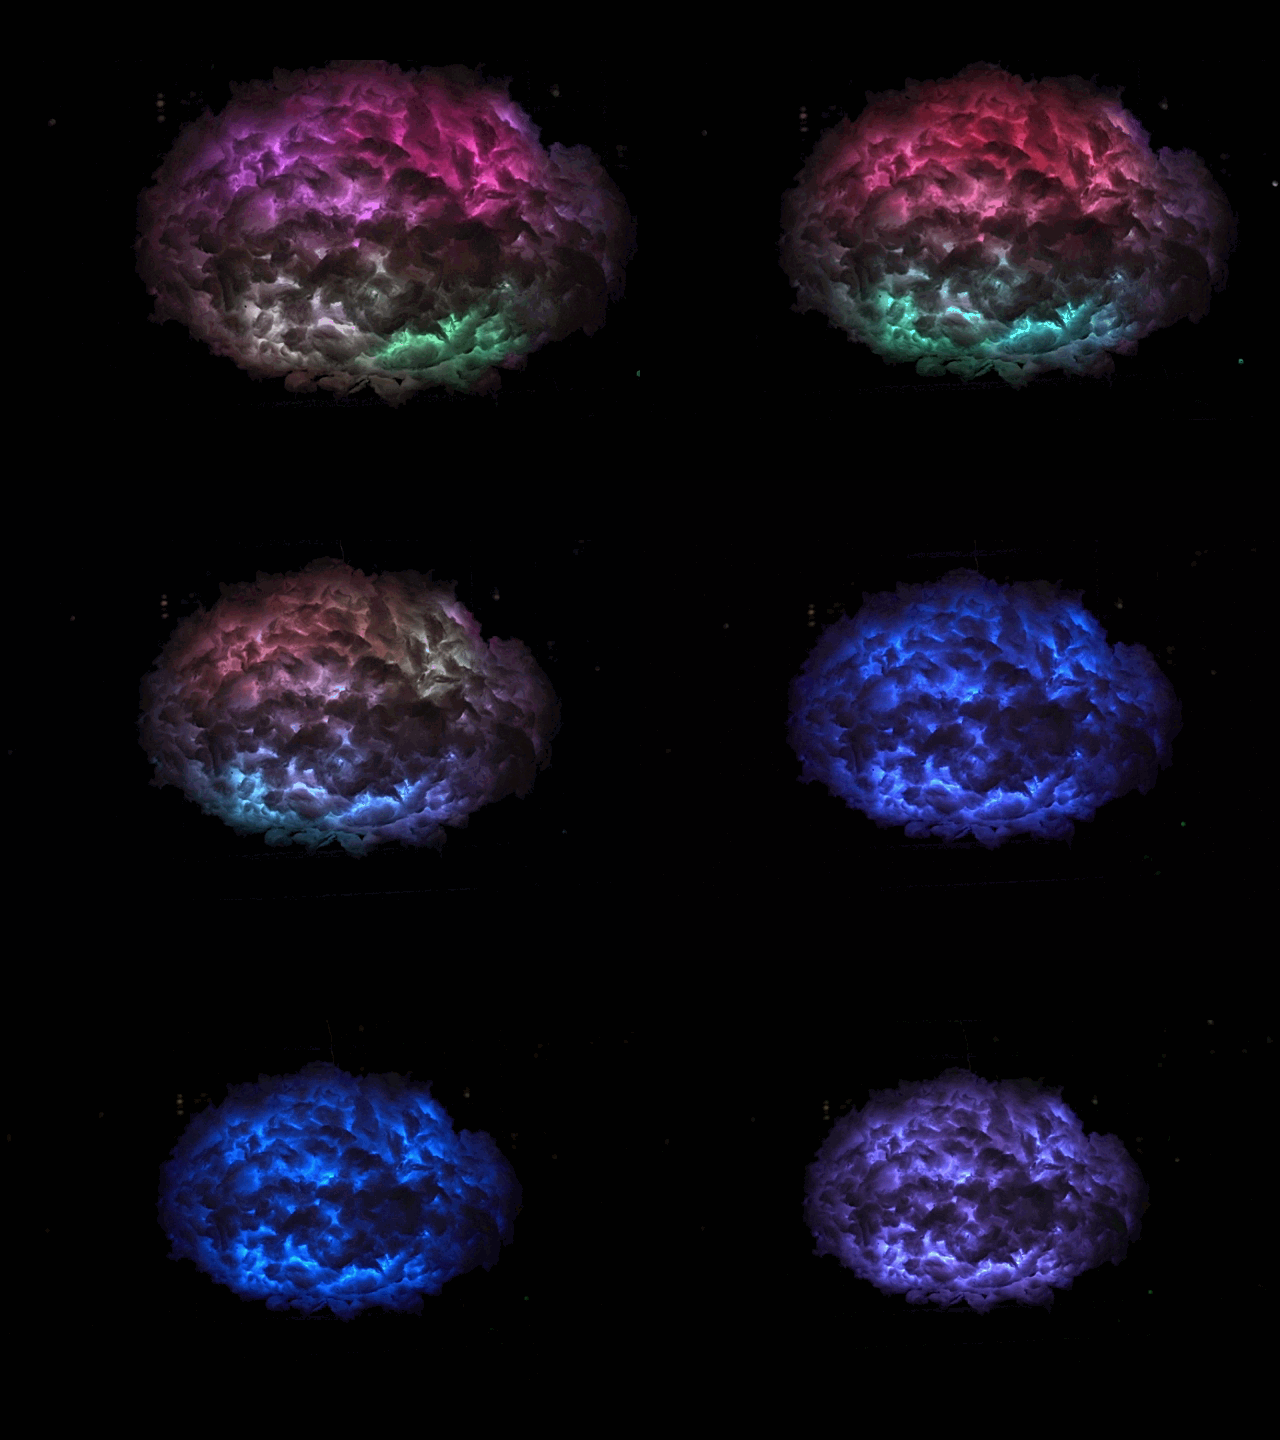
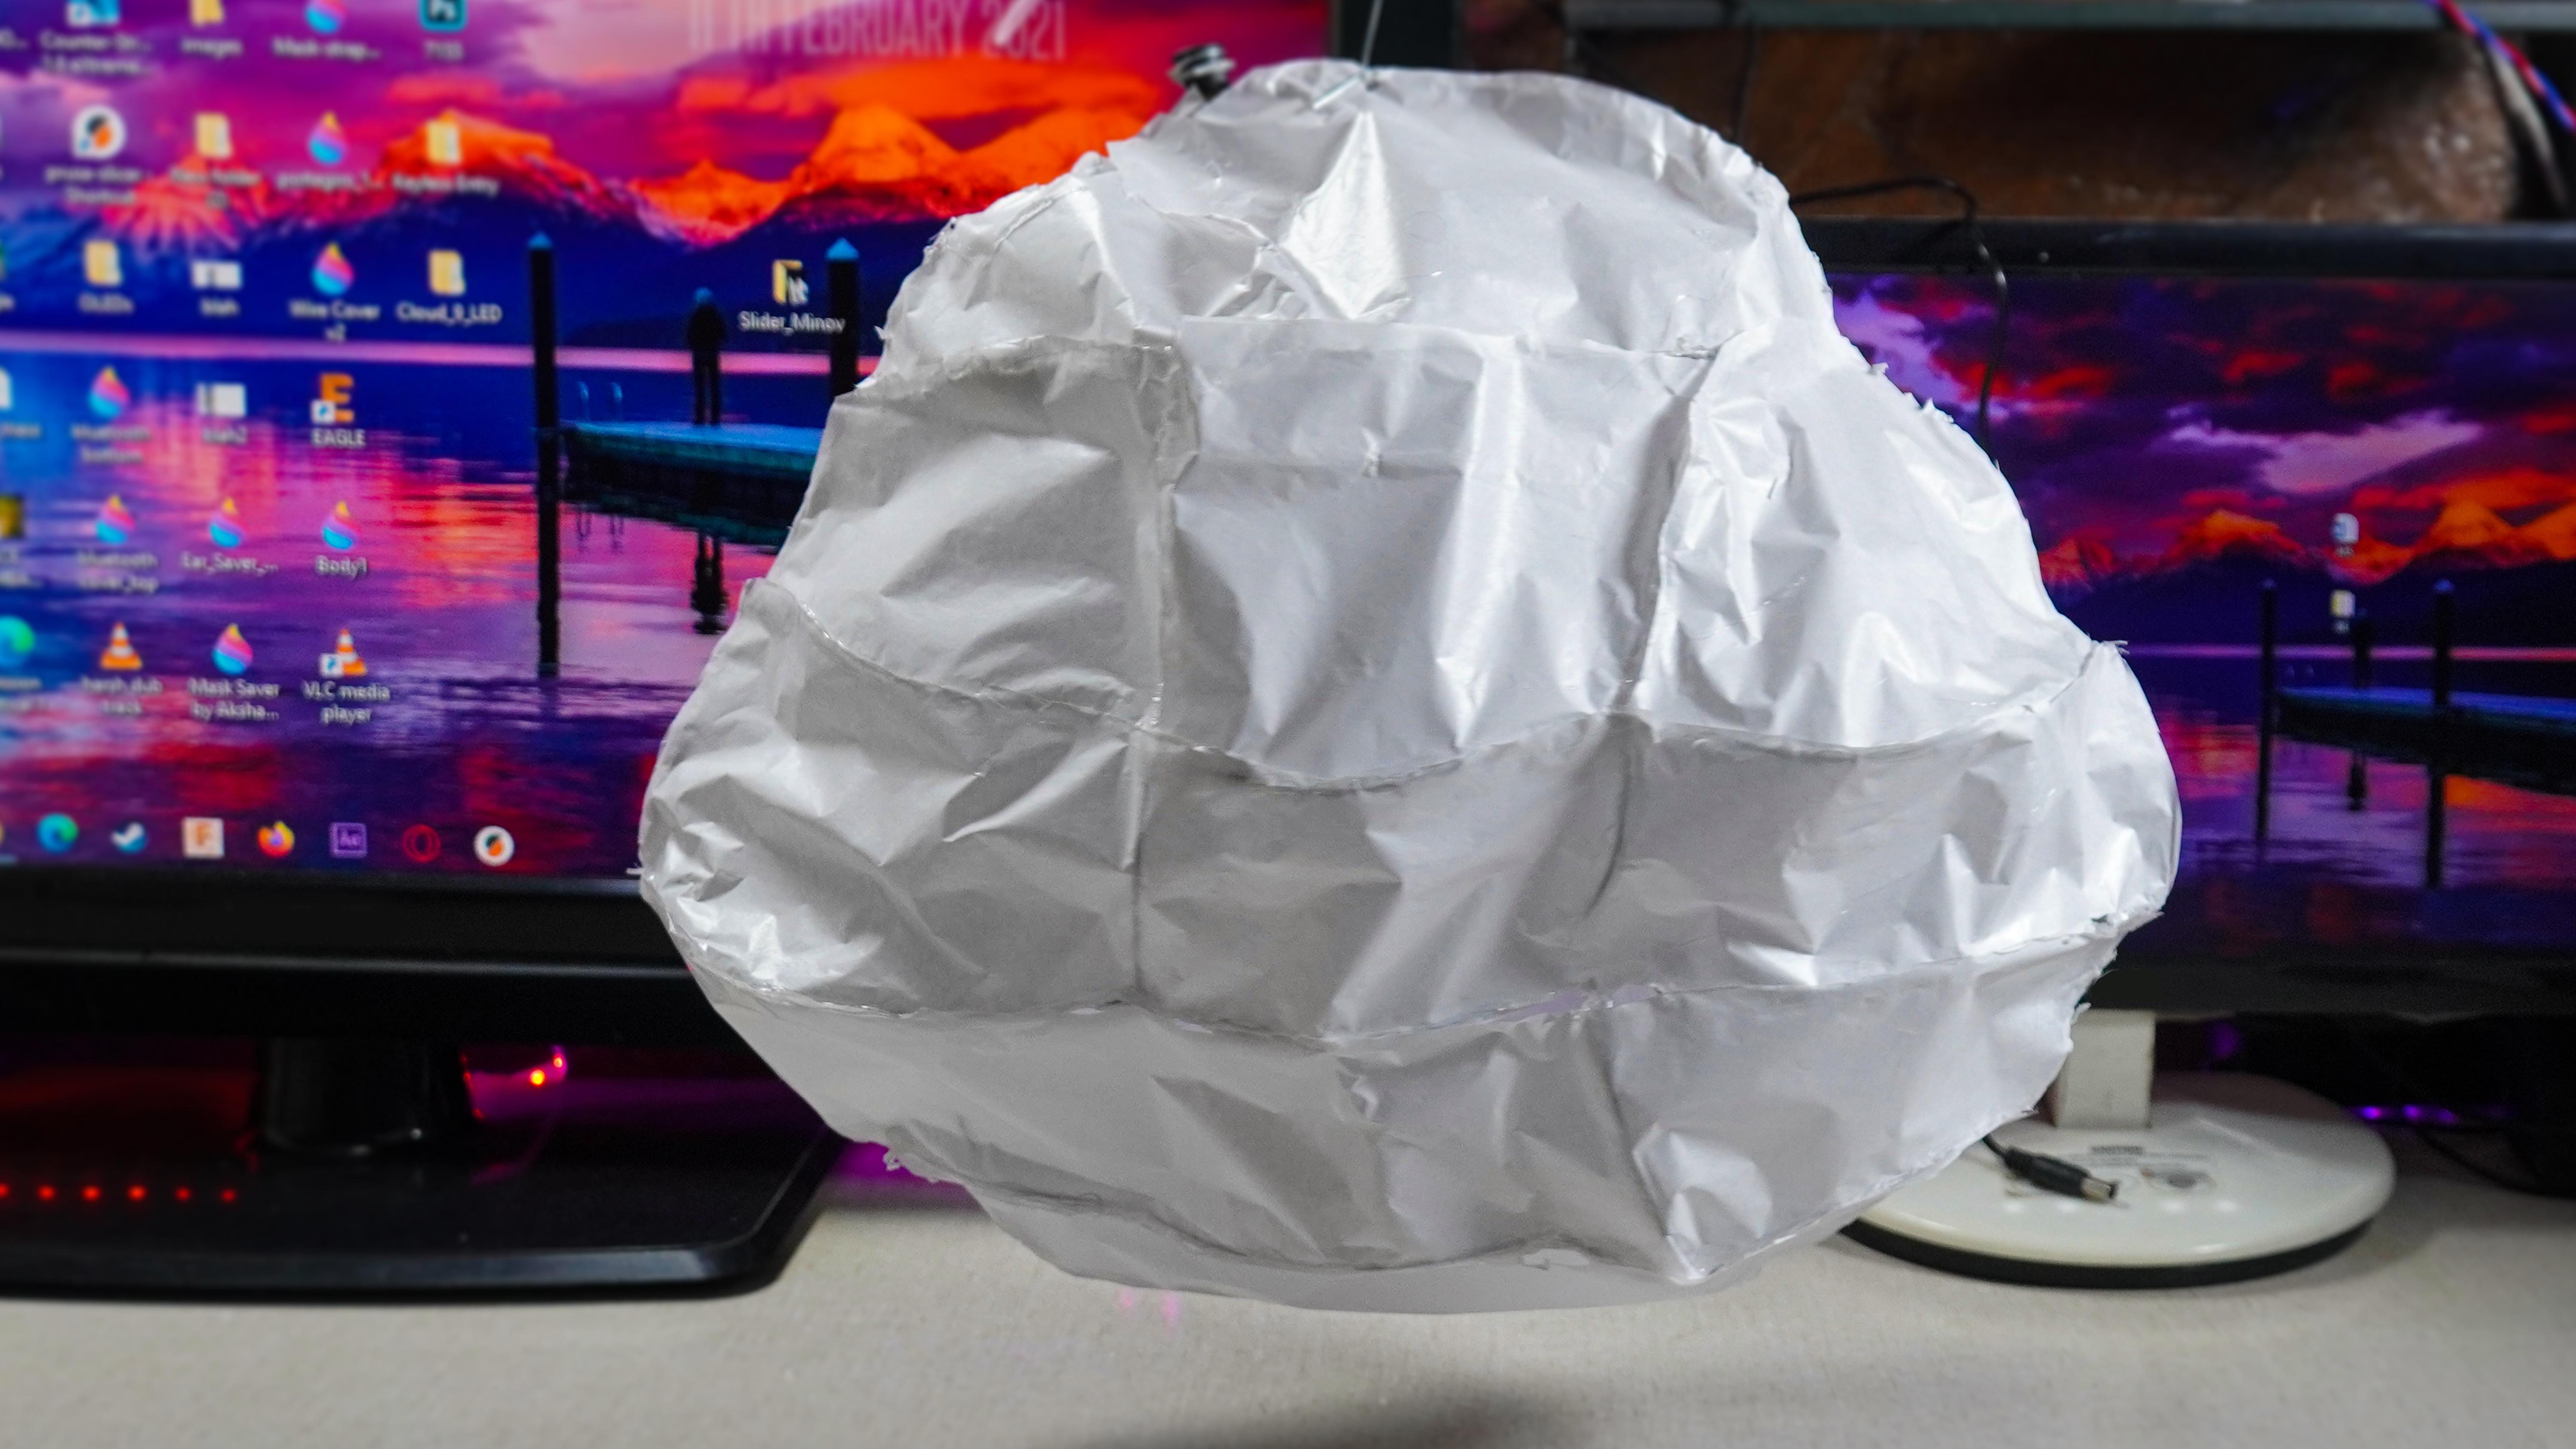
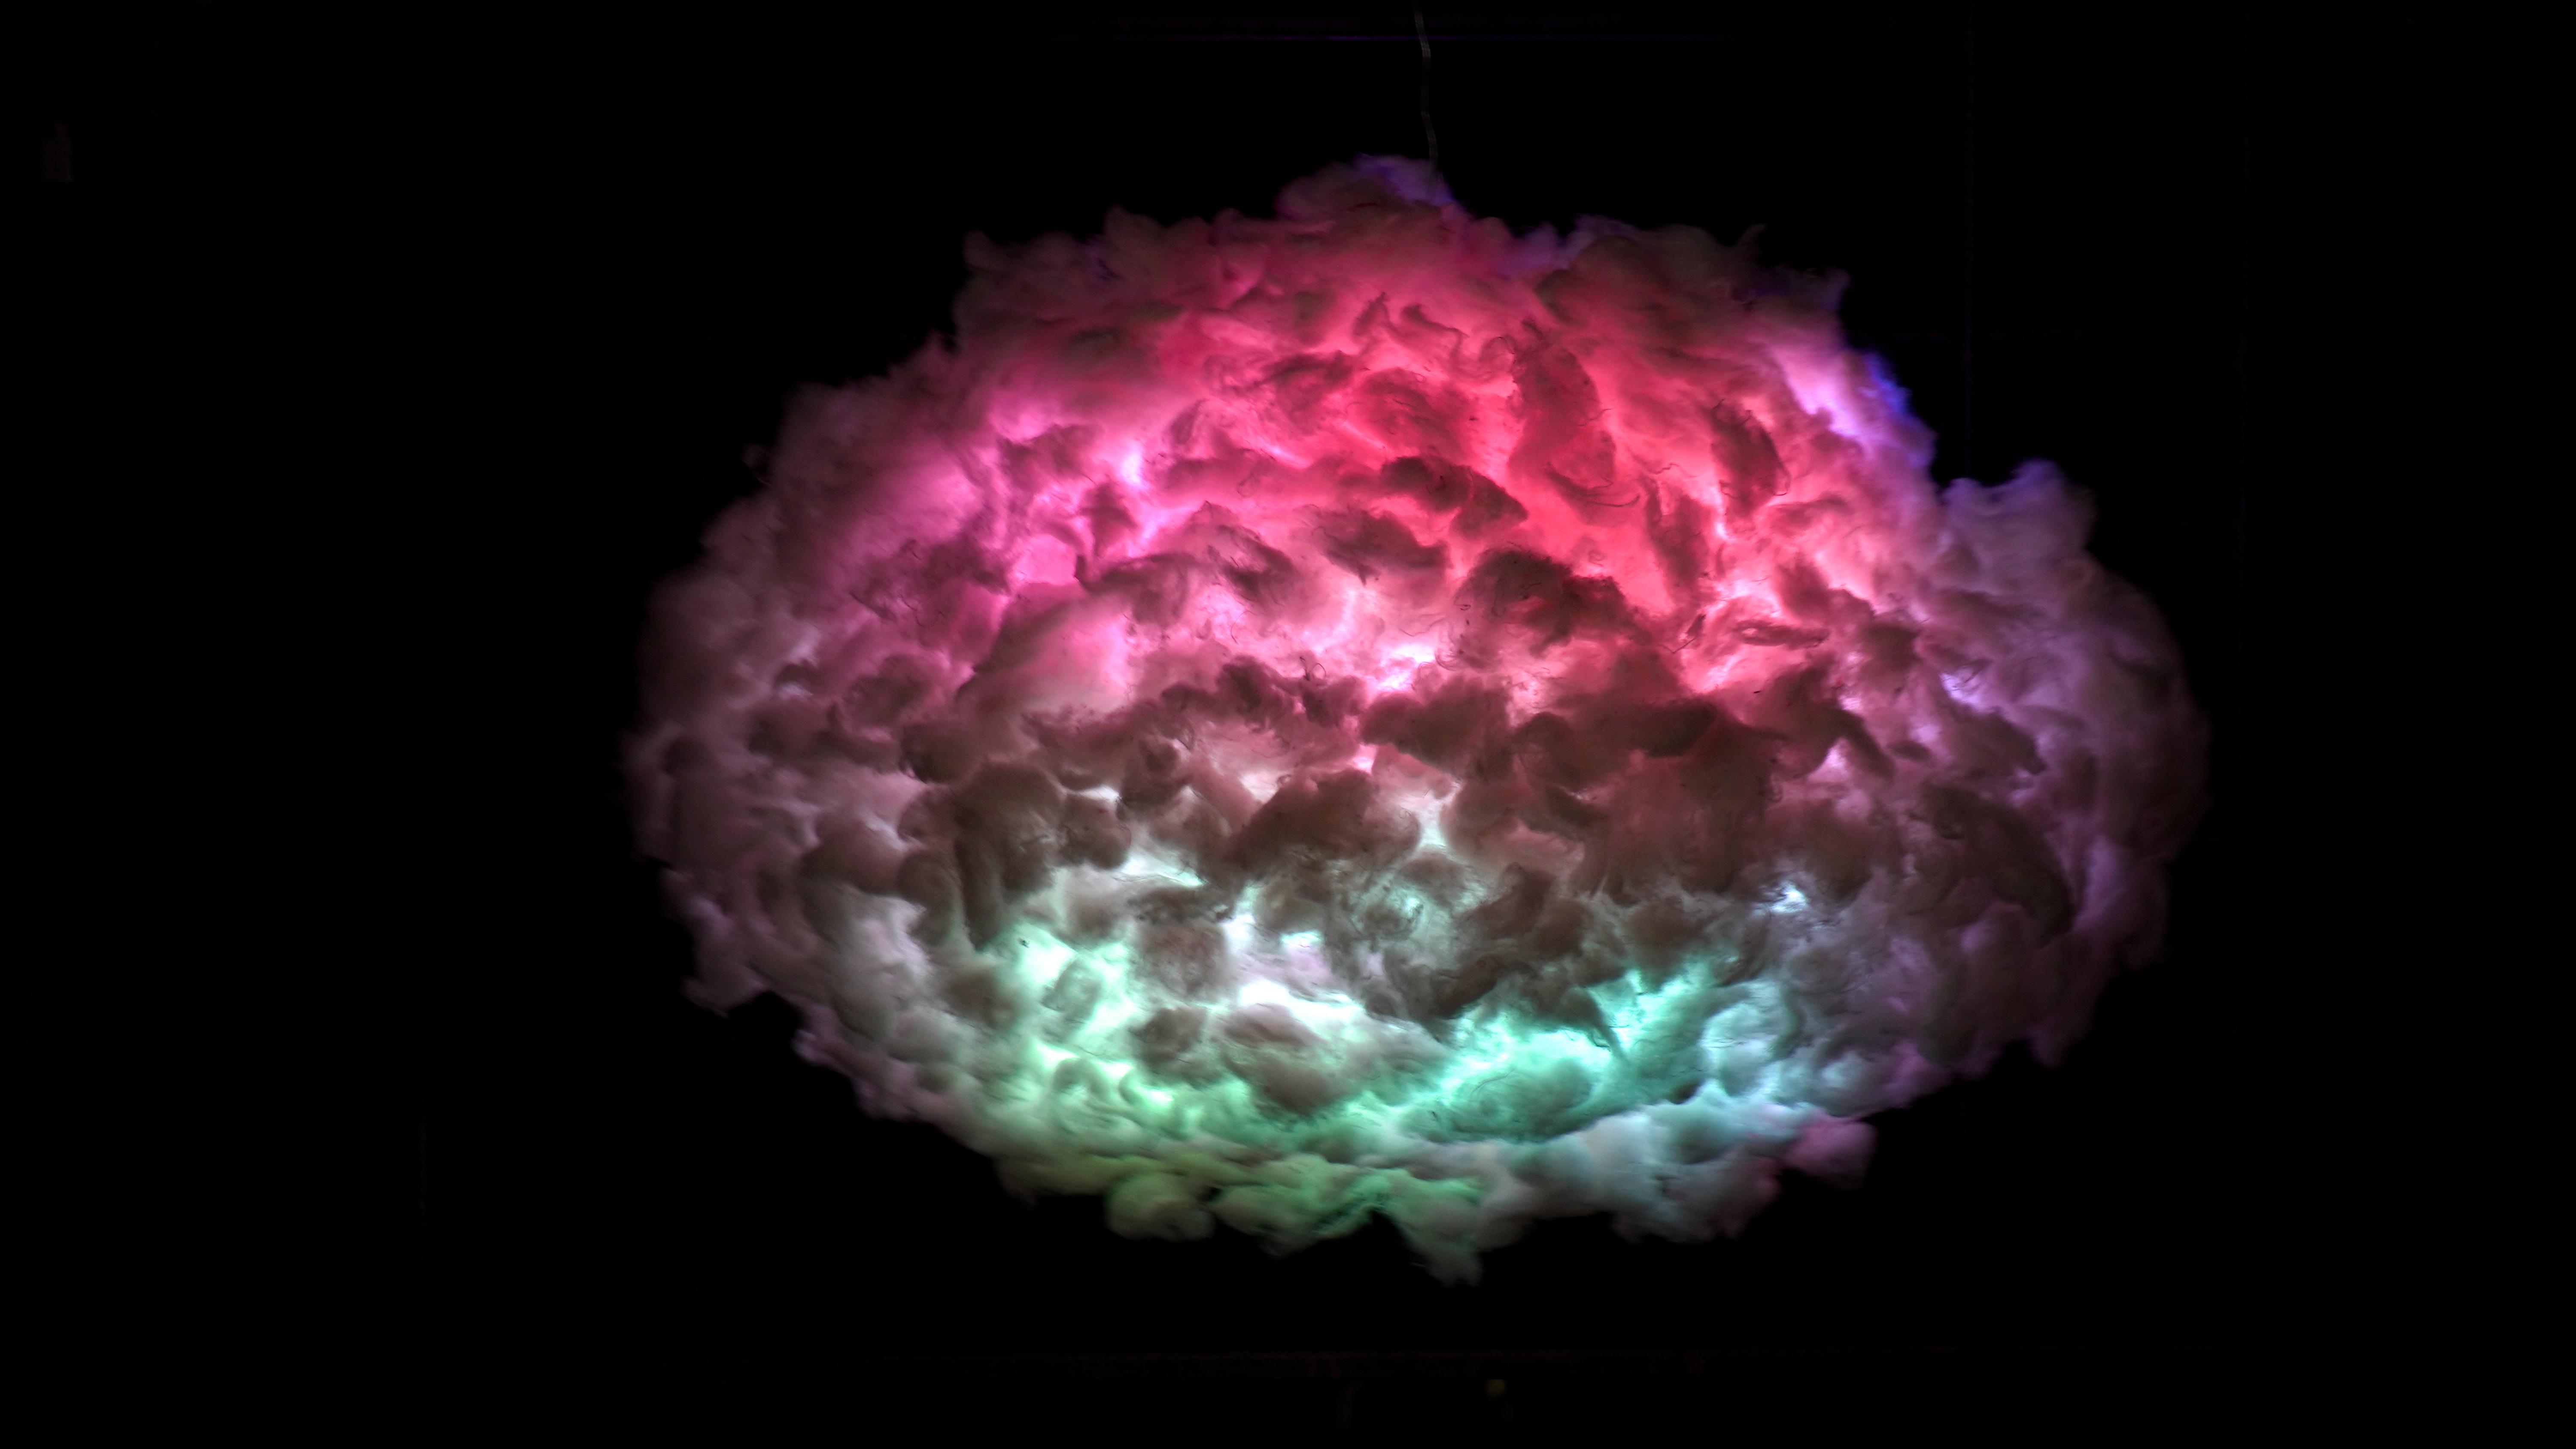
Today we will learn how to make a mesmerizing and cool Cloud lamp with thunder effect, which will be controlled using mobile phone app. This Instructable will teach you everything from theory of operation, how to build the cloud, to the inner workings of the Circuit and software/app. We will take you through the software step by step, both the low level drivers/routines and how to create awesome animations for the thunder cloud lamp. About halfway through the Instructable, you will actually have a fully functional Cloud lamp. The remaining steps will show you how to customize the pattern of the cloud light. We believe this Instructable is the most comprehensive step-by-step guide to build an Cloud lamp ever published on the Instructables. Follow this beautiful and satisfying blog post till very end and you will be able to make one for yourself.
[Here you can find the Animations of this Project!]
Supplies
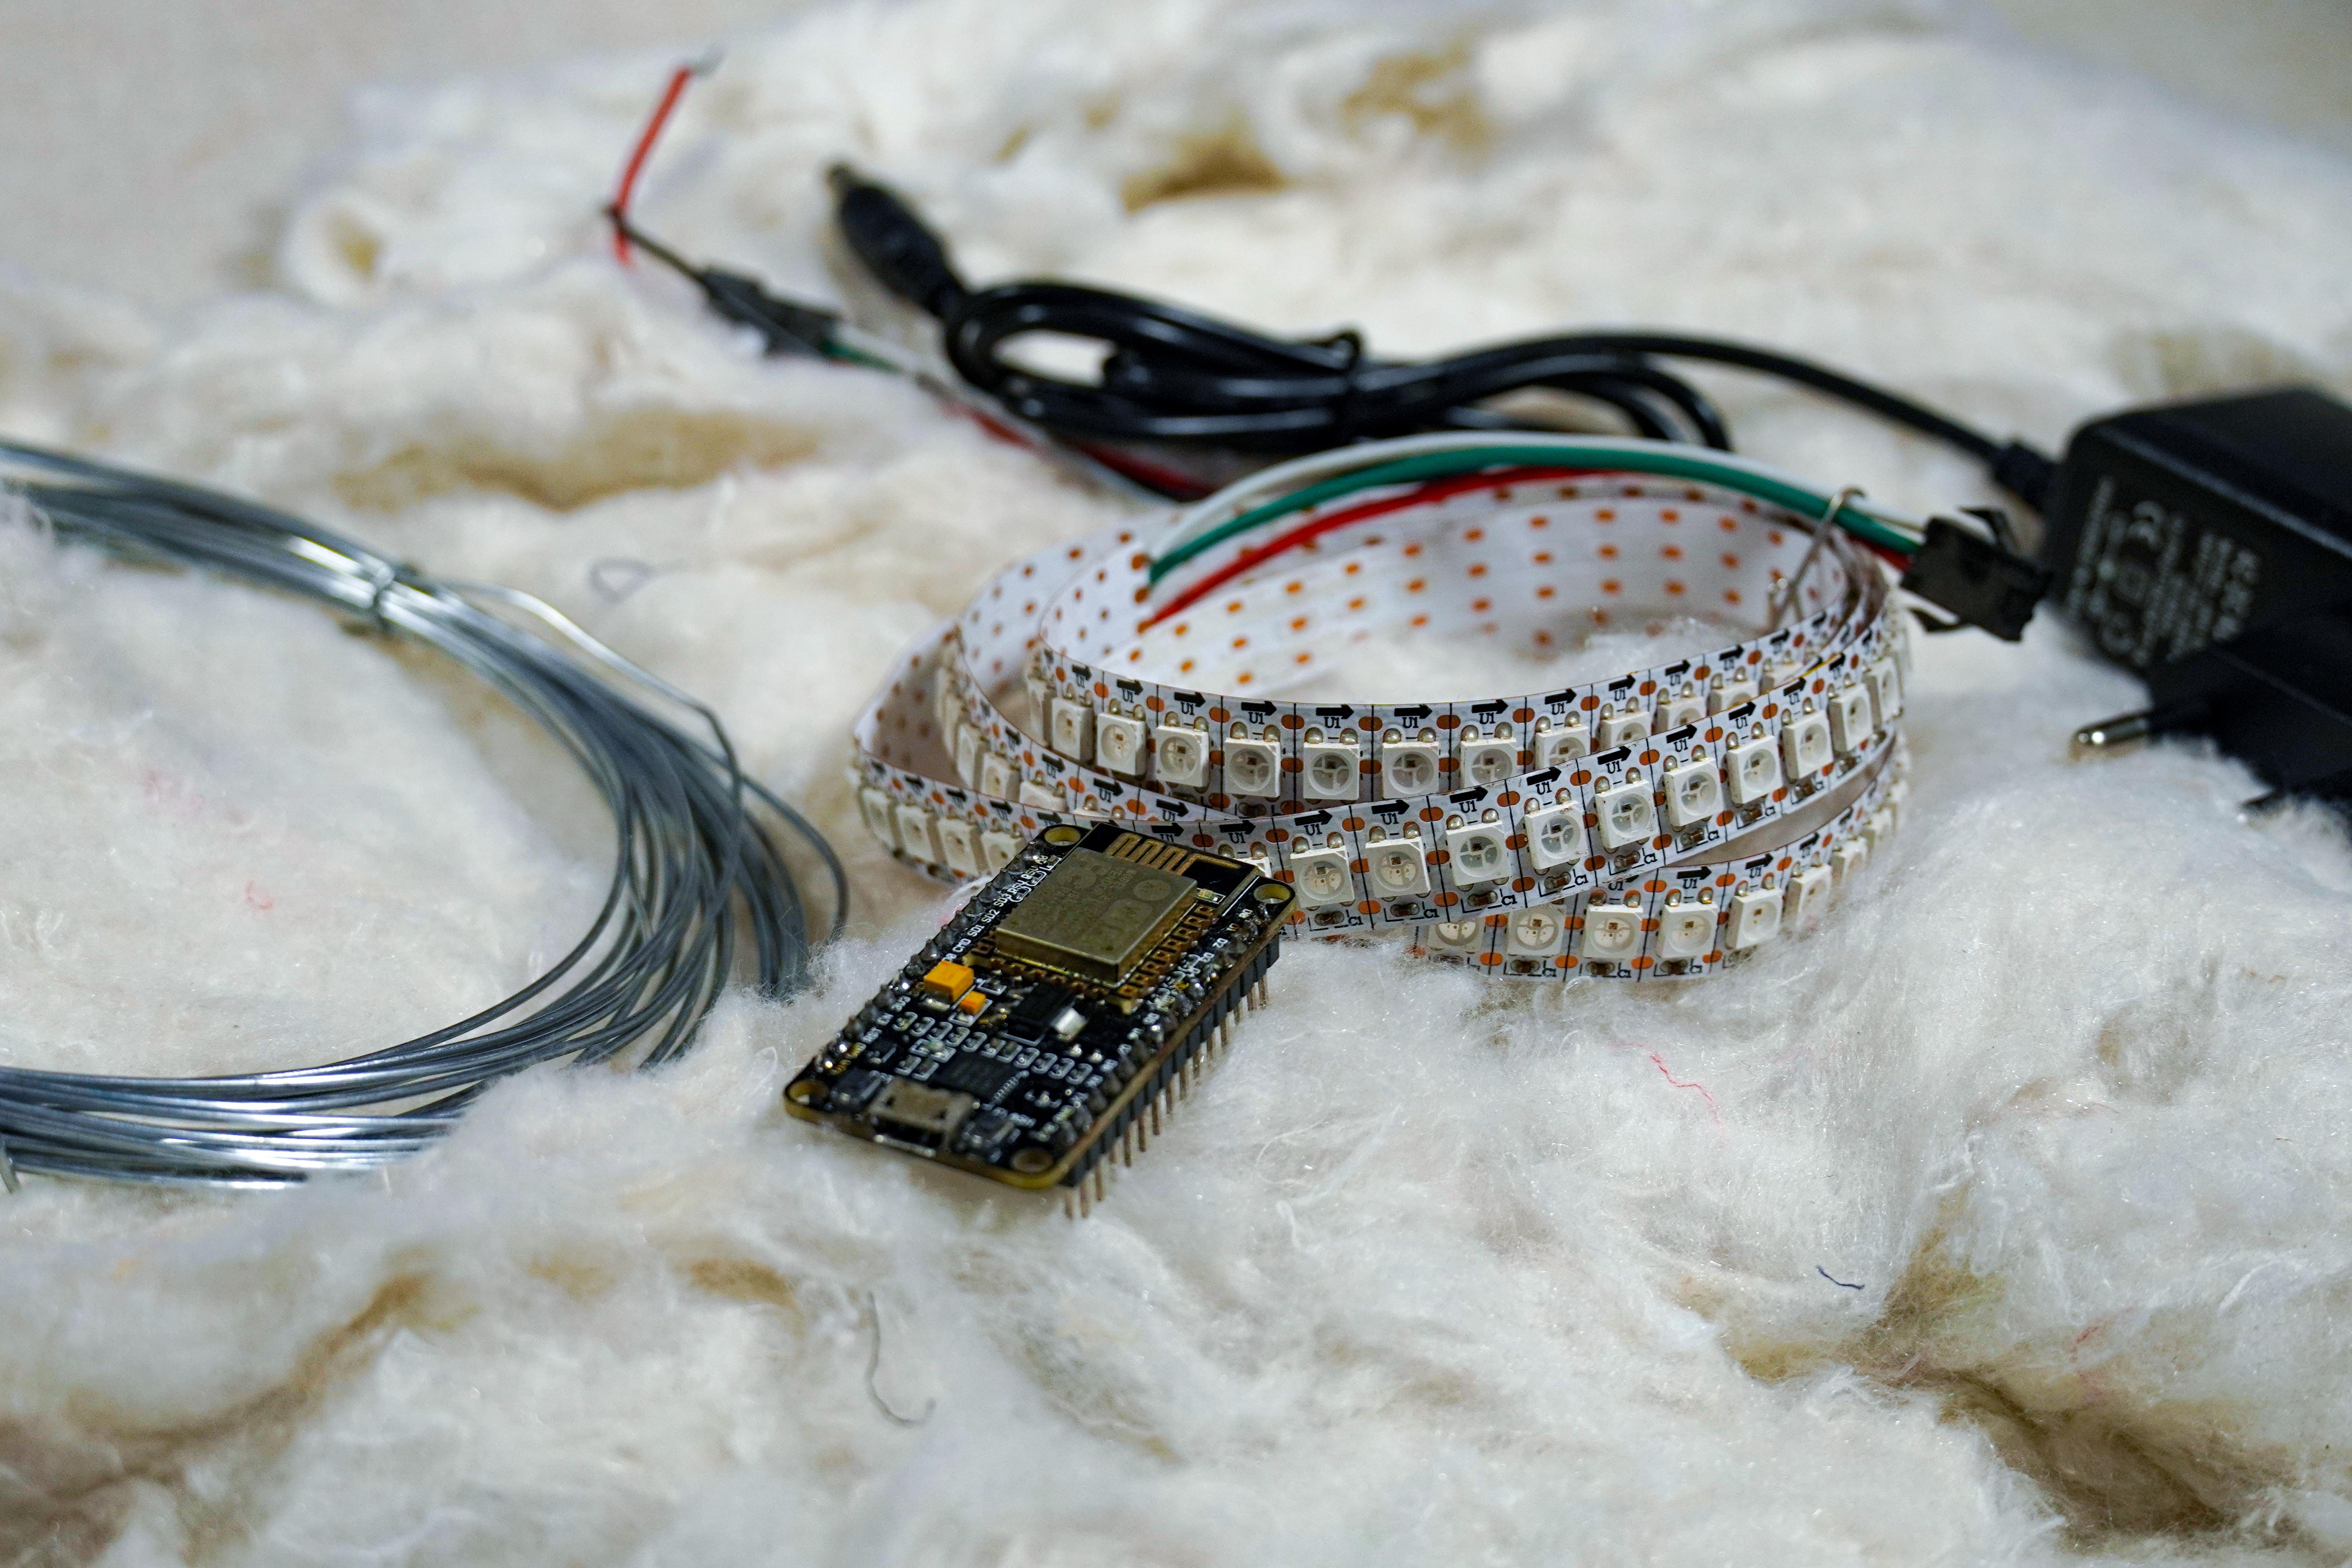
Parts:
- Neopixel WS2812B LEDs. [ AmazonIndia | Gearbest | Banggood | Amazon Global ]
- Node MCU. [ Amazon India | Gearbest | Banggood | Amazon Global ]
- 5 volt - 2Amp Power Supply. [ Amazon India | Gearbest | Banggood | Amazon Global ]
- 100 uF Capacitor (Optional).
- Connecting Wire.
- 1 mm Metal wire.
- Butter Paper.
- Cotton (Raw). [ Amazon India | Amazon Global ]
Tools:
- Soldering Iron.
- Solder fume extractor (Optional).
- Third hand / PCB holder (Optional).
- Hot Glue gun.
- Brush ( for applying glue ).
- Scissors.
- Plier.
Watch Video
Build Wire Frame
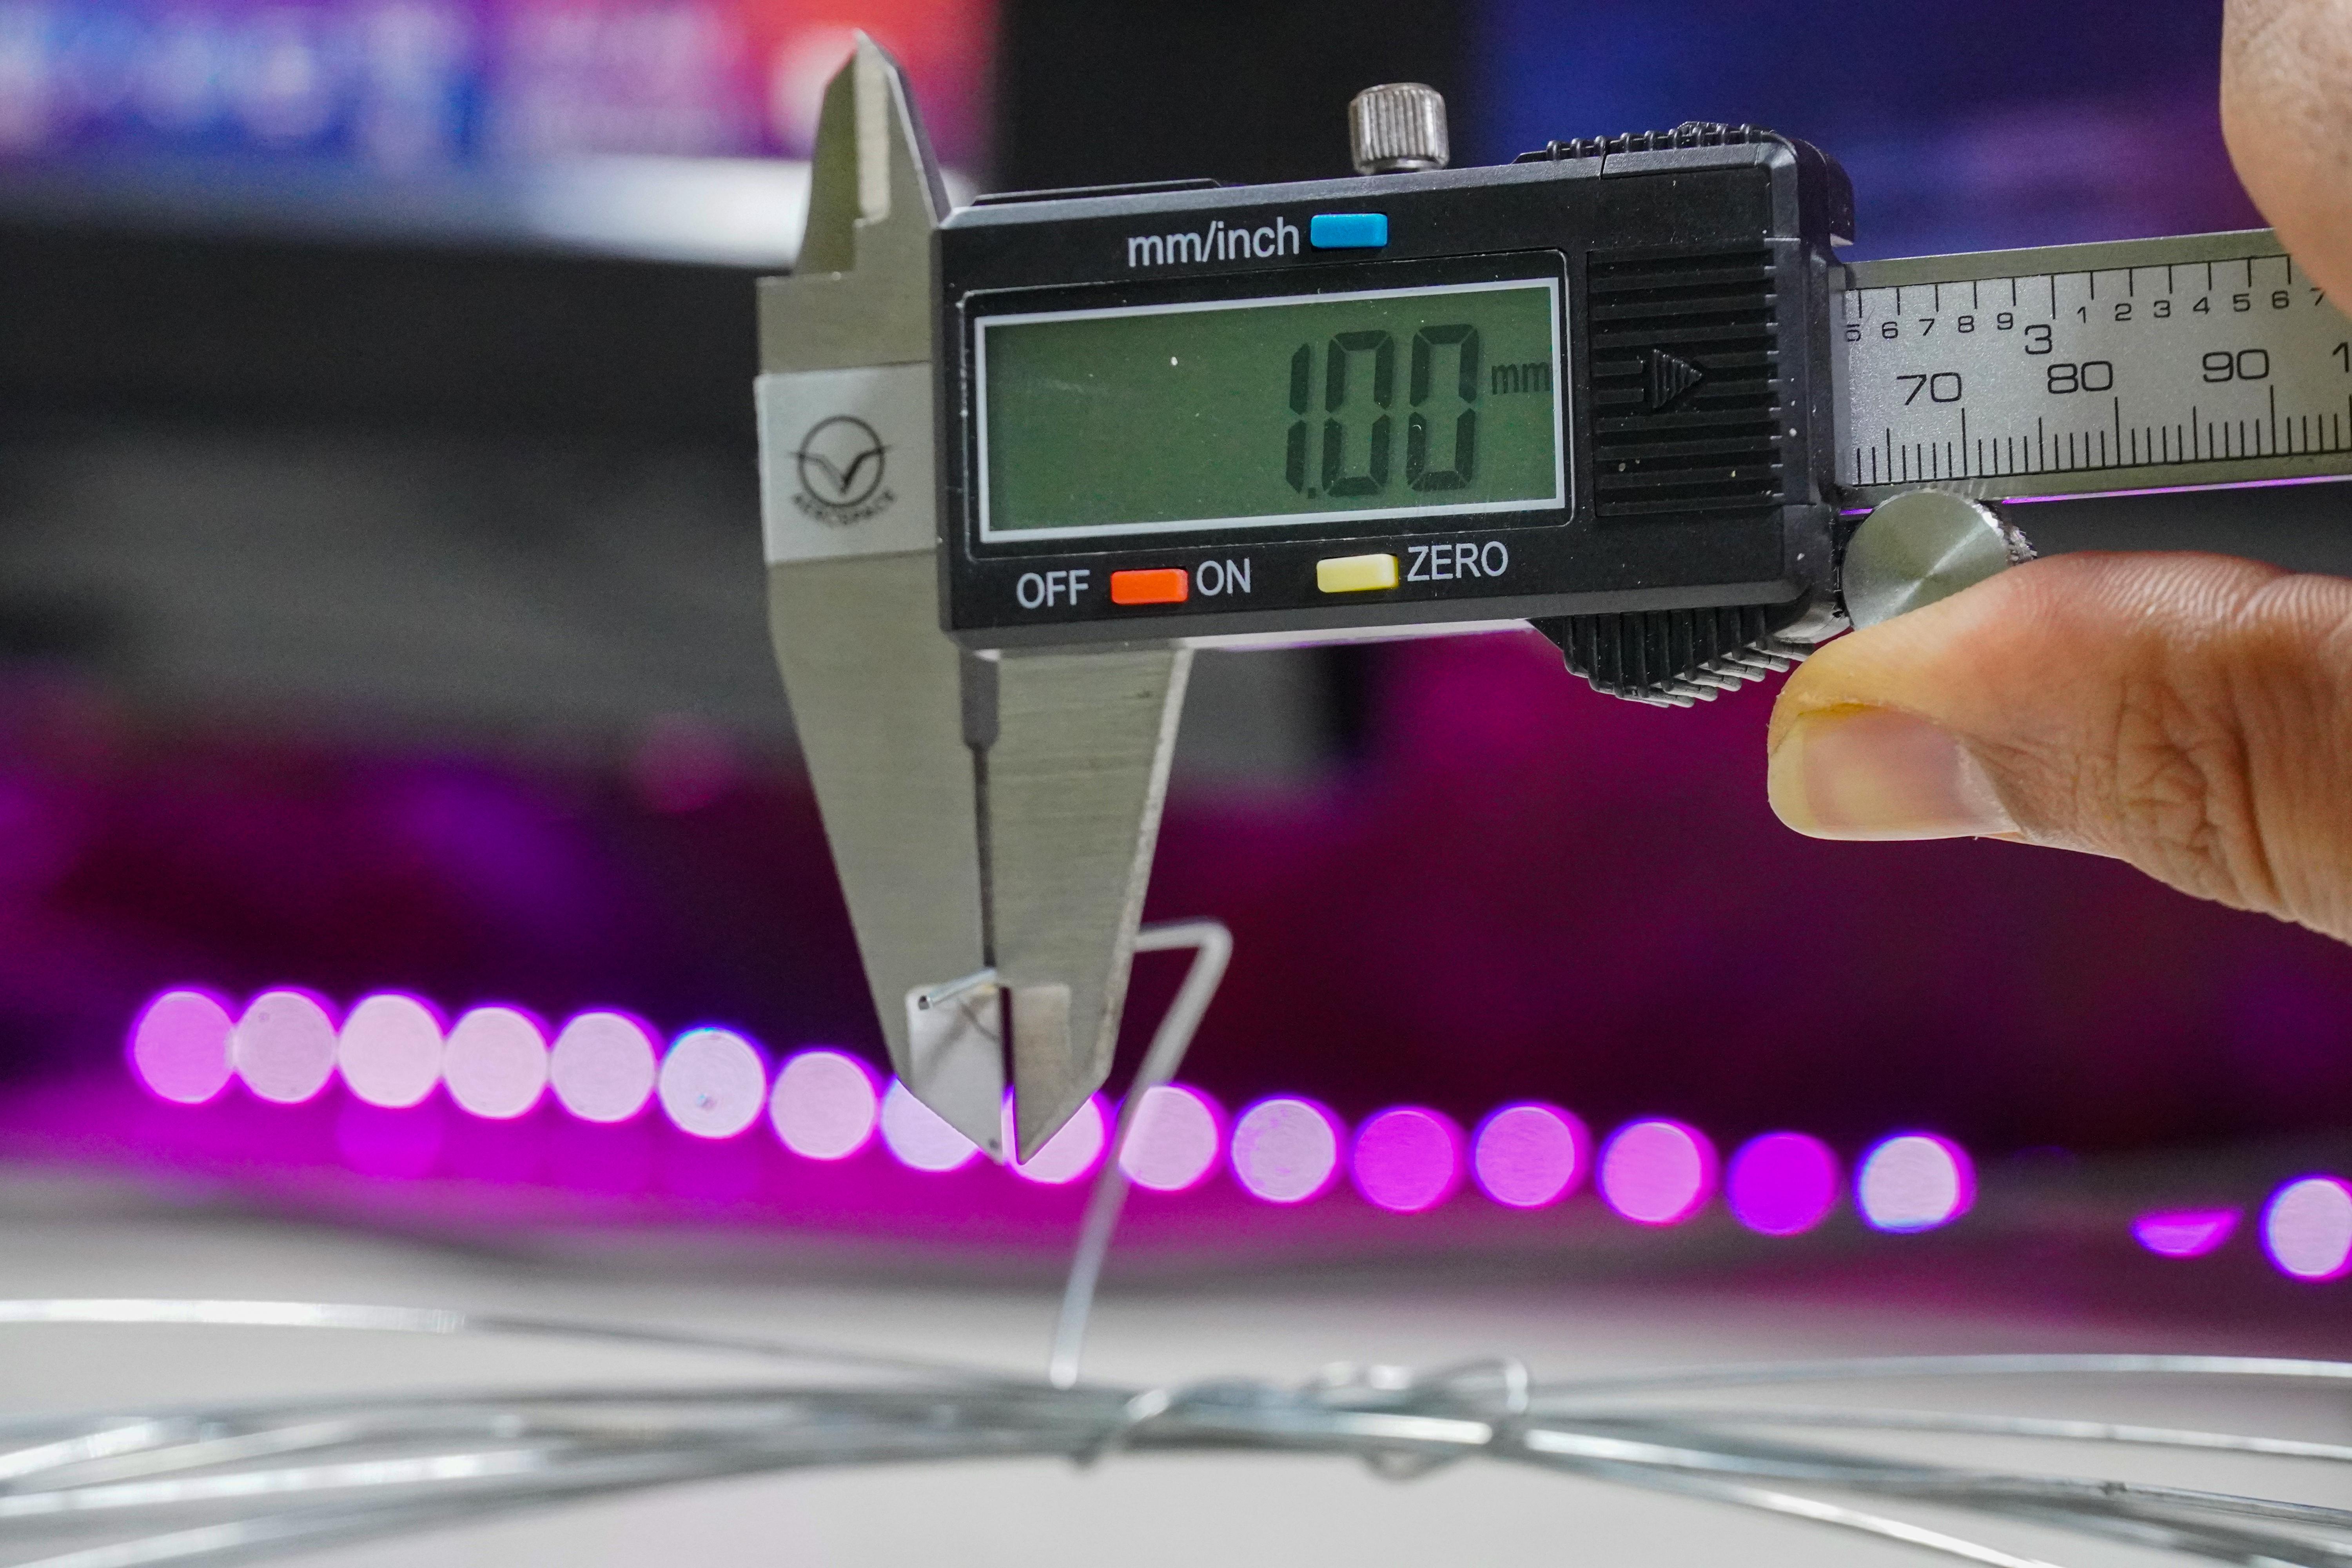
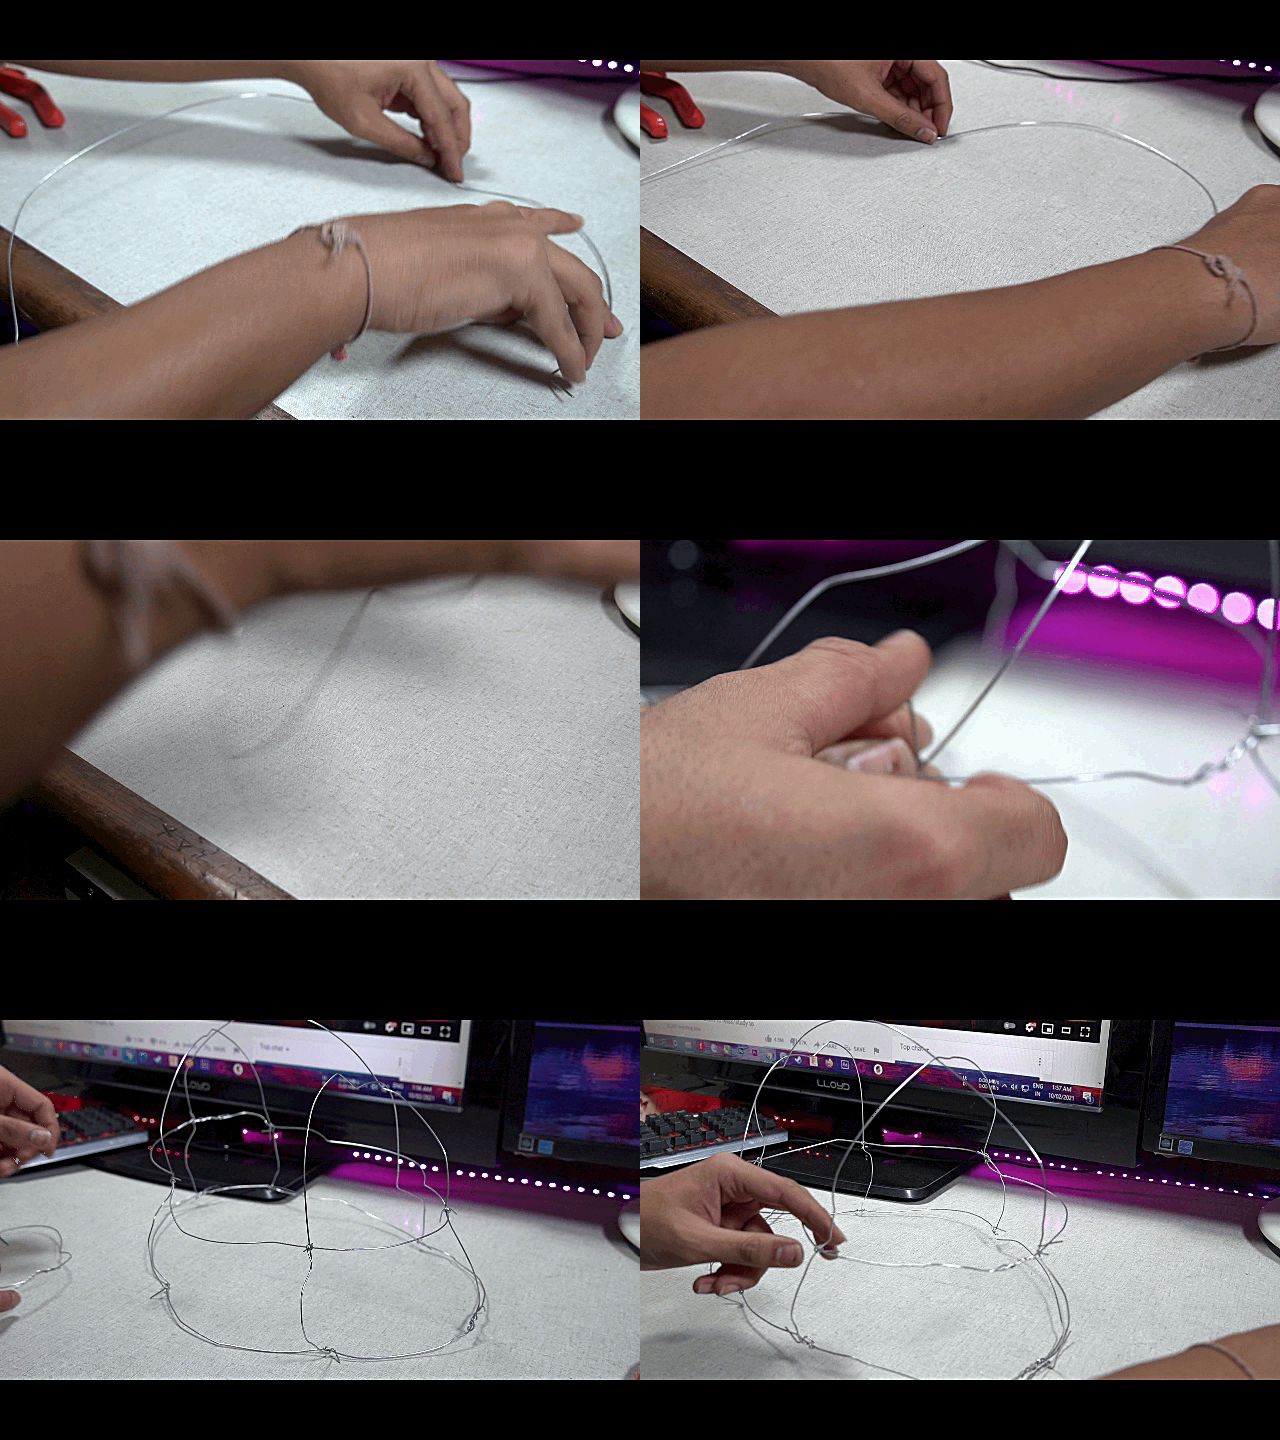
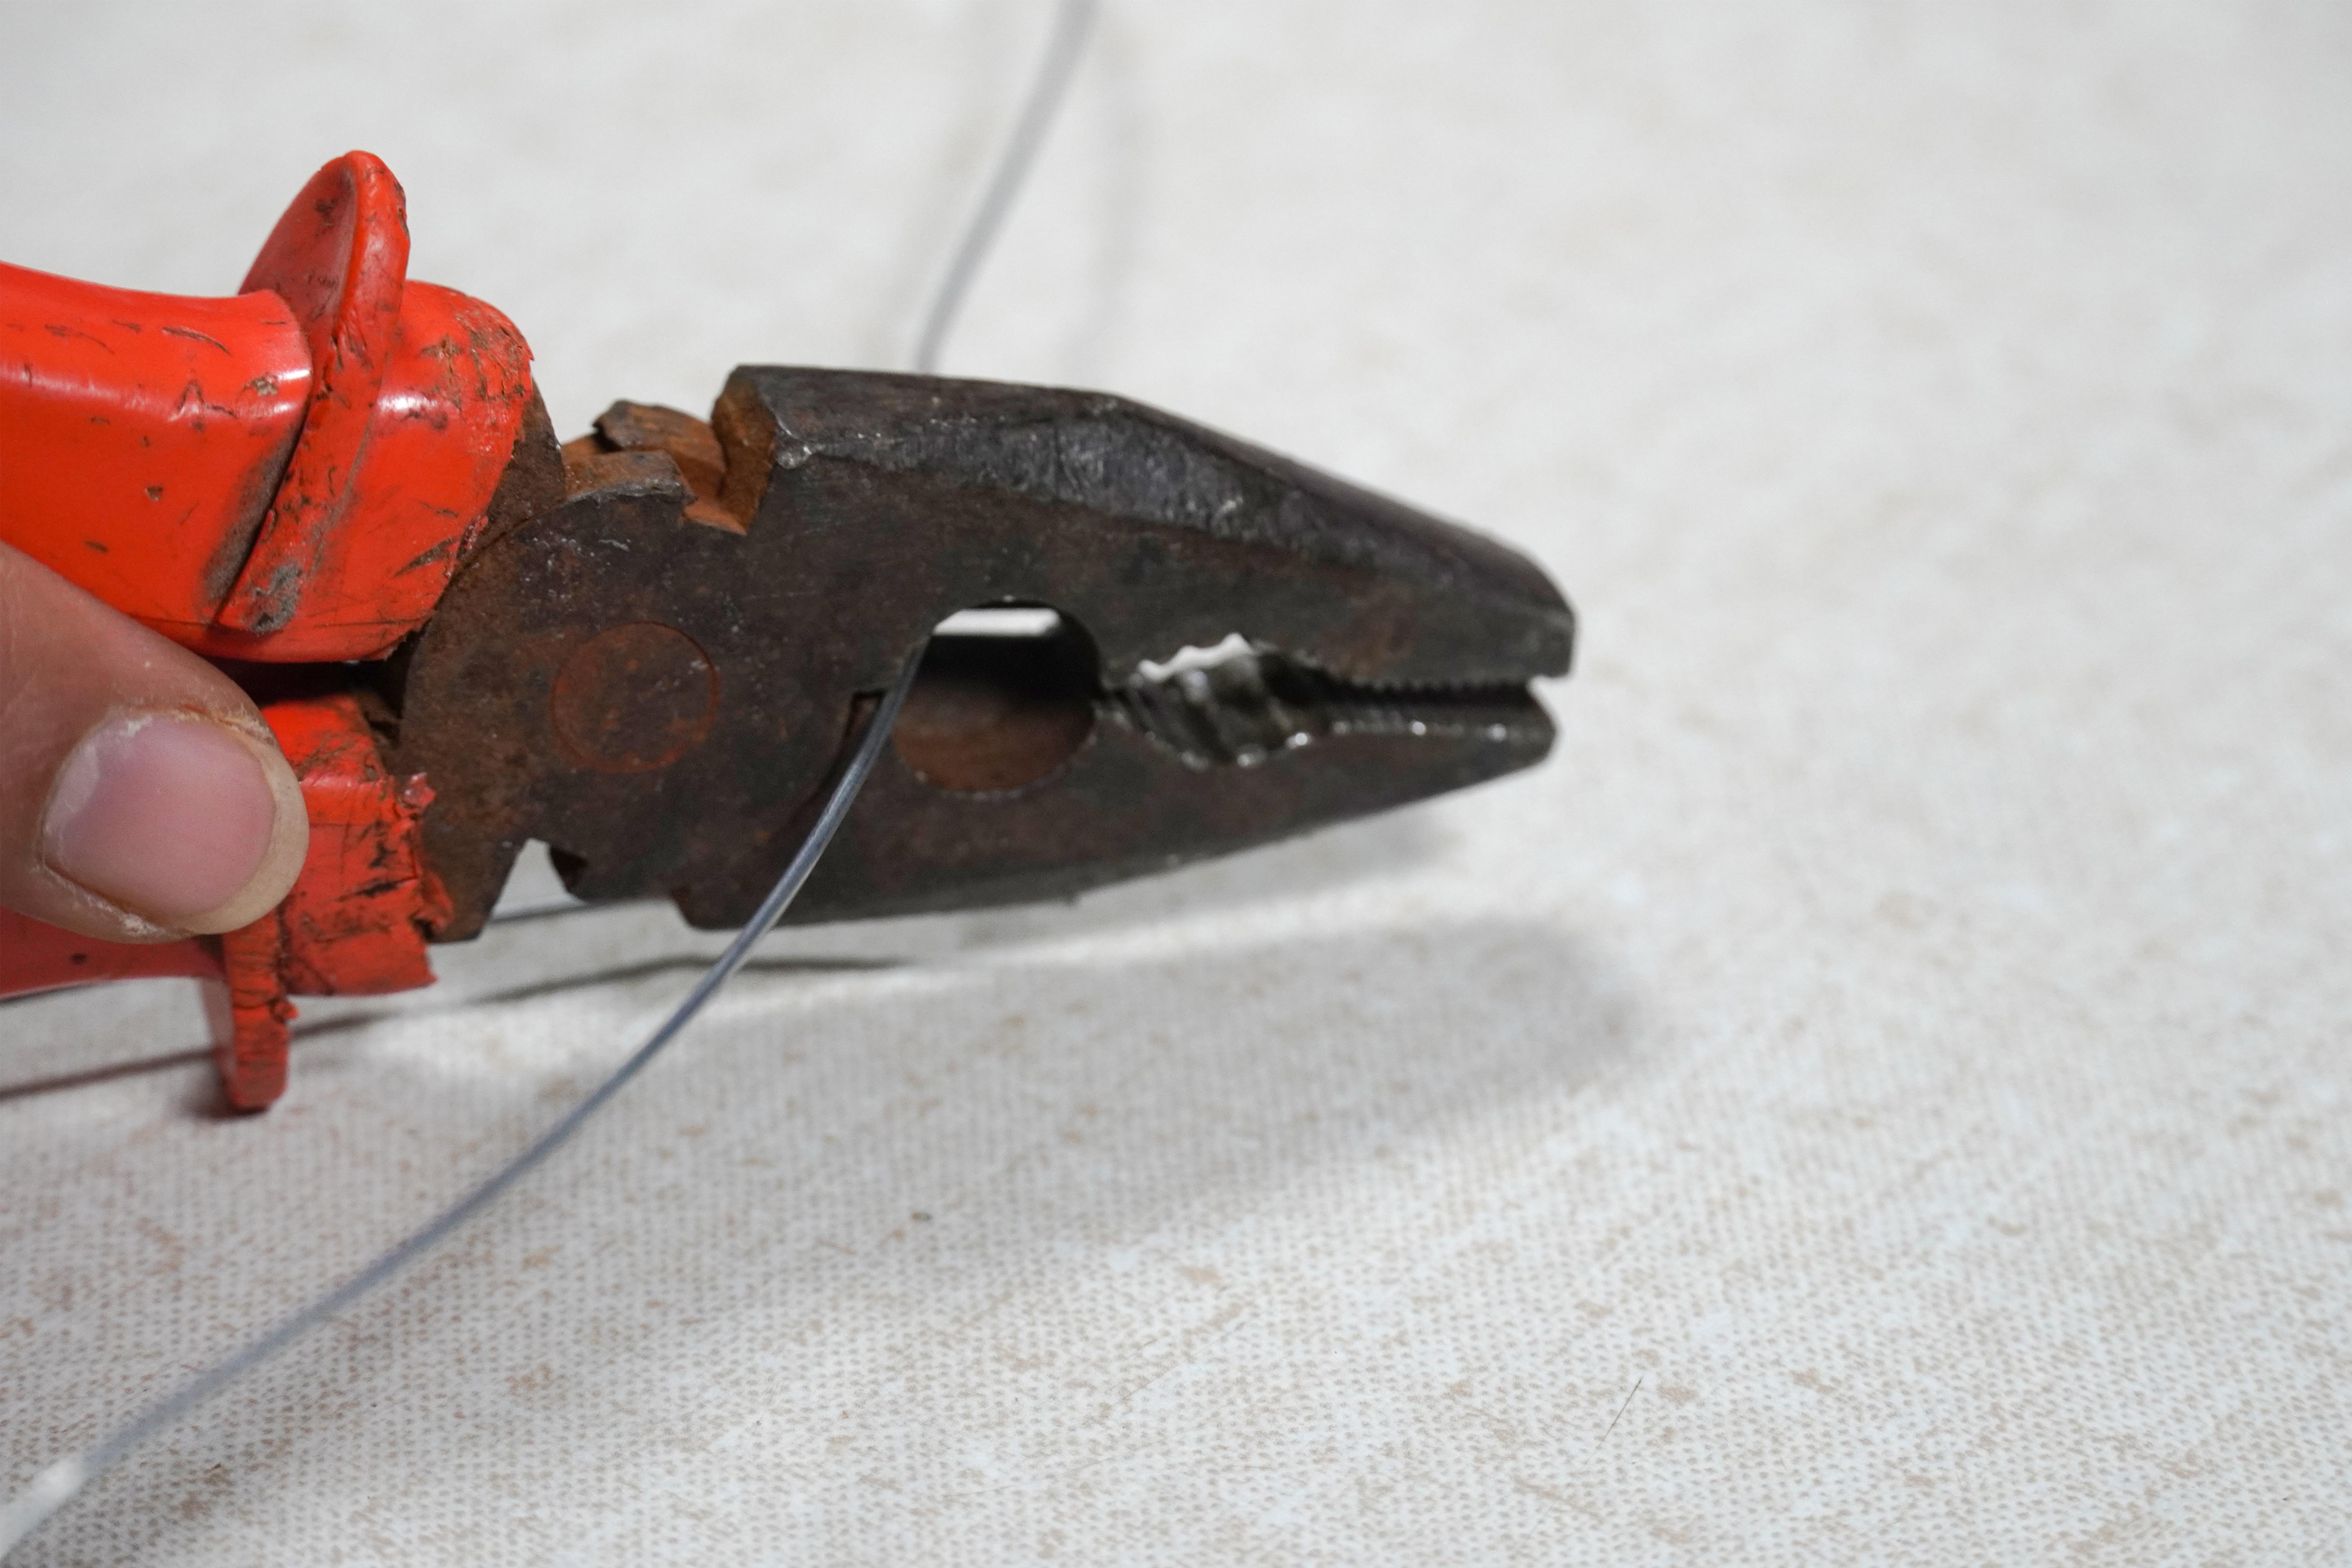
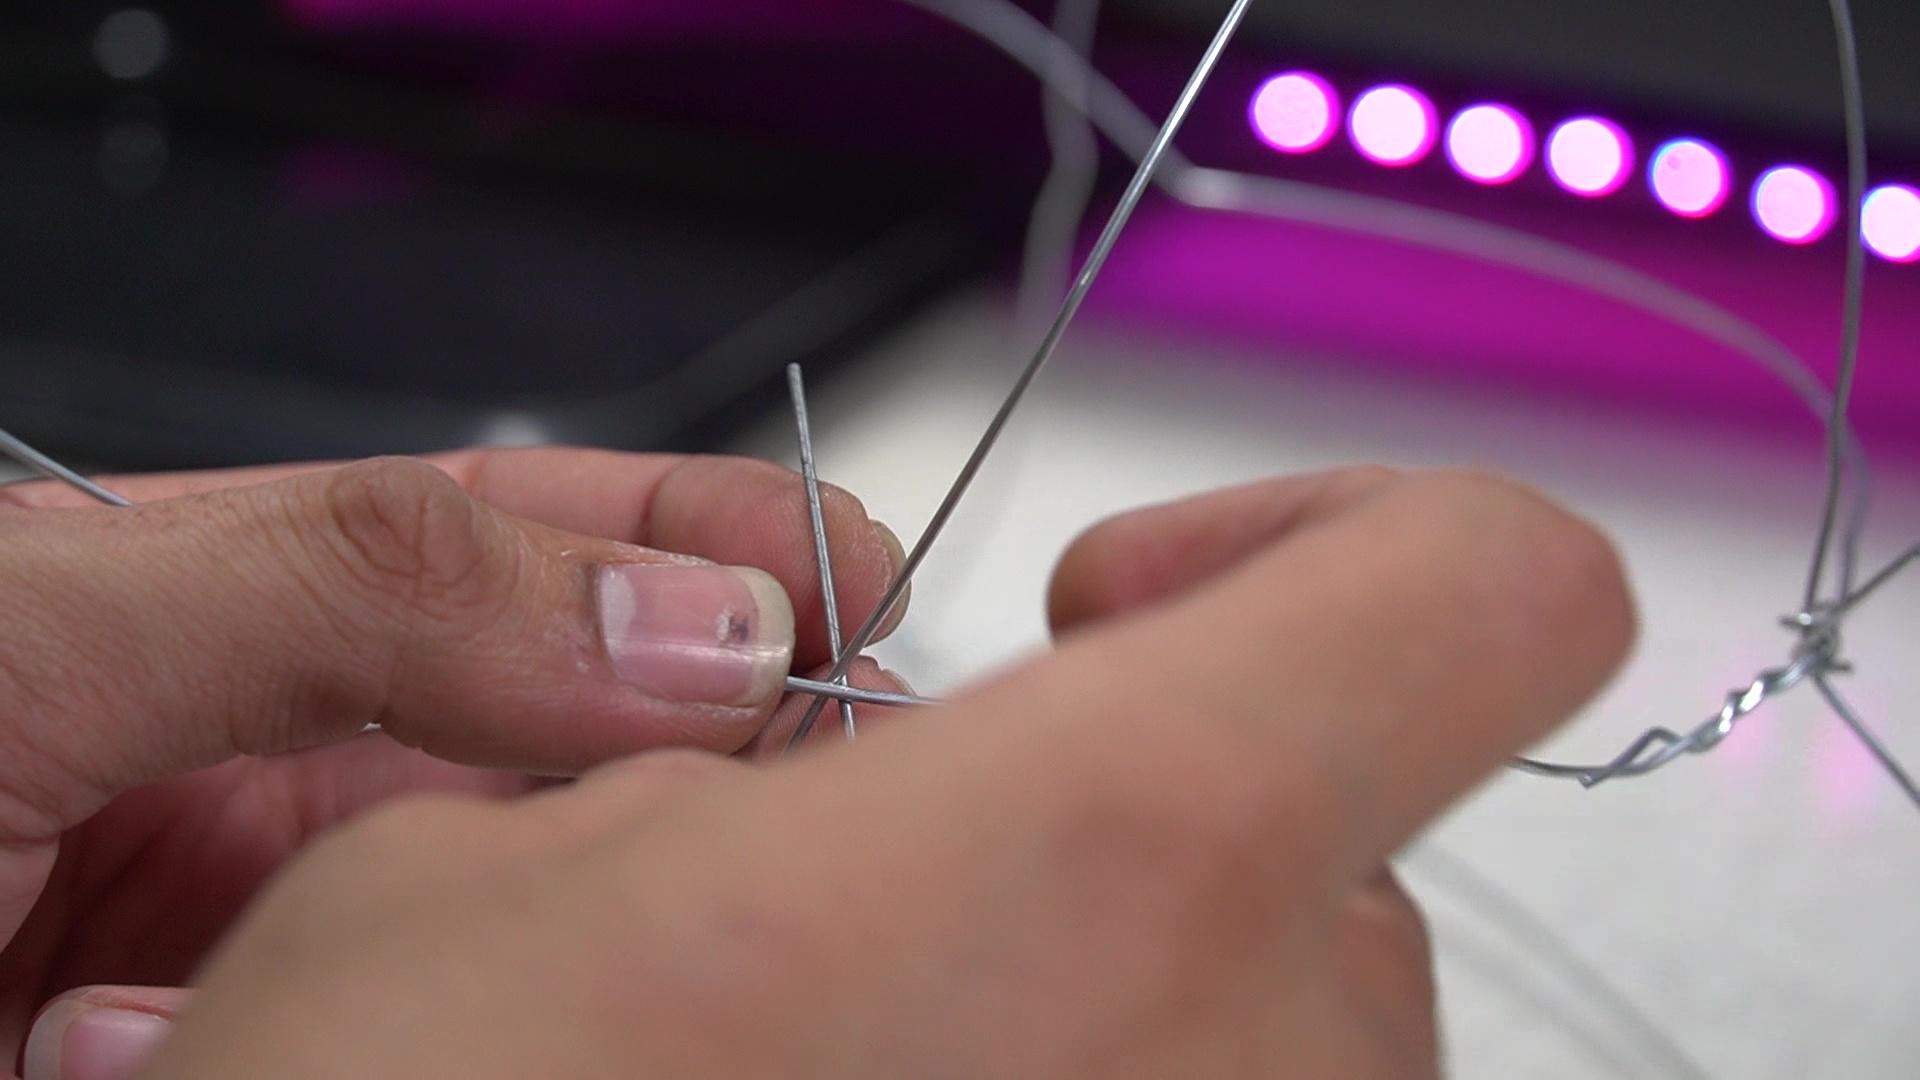

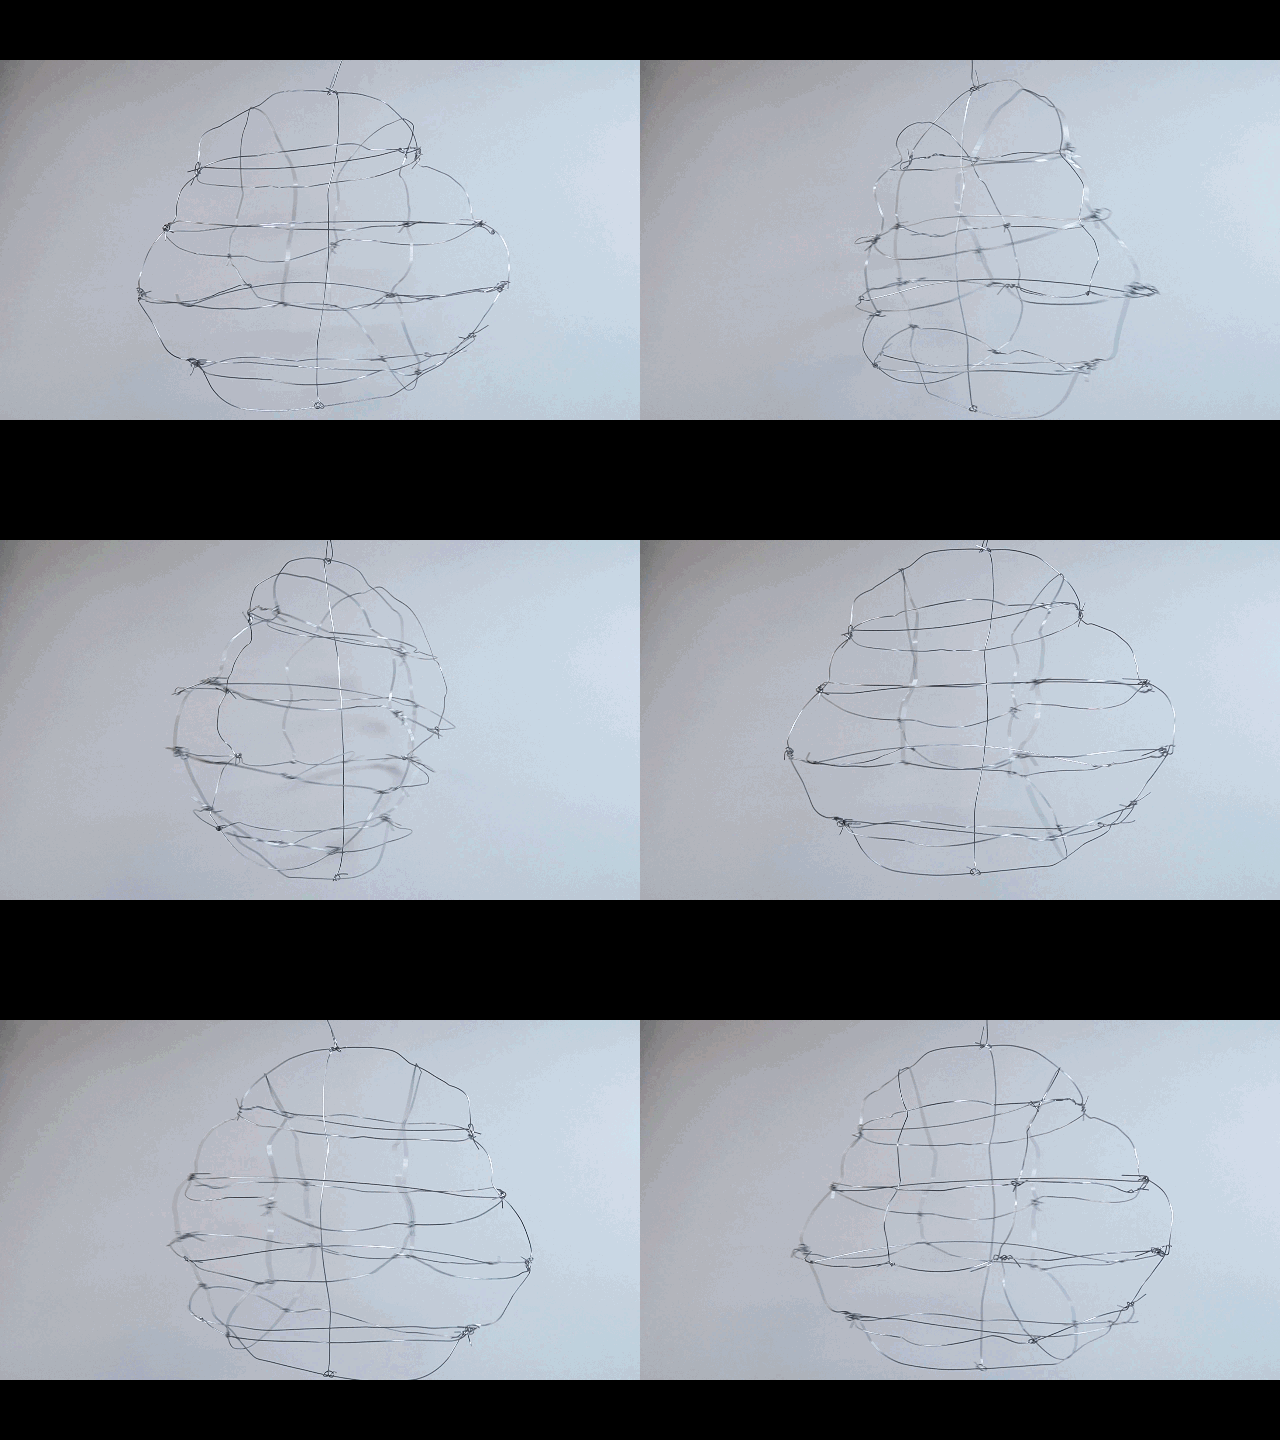
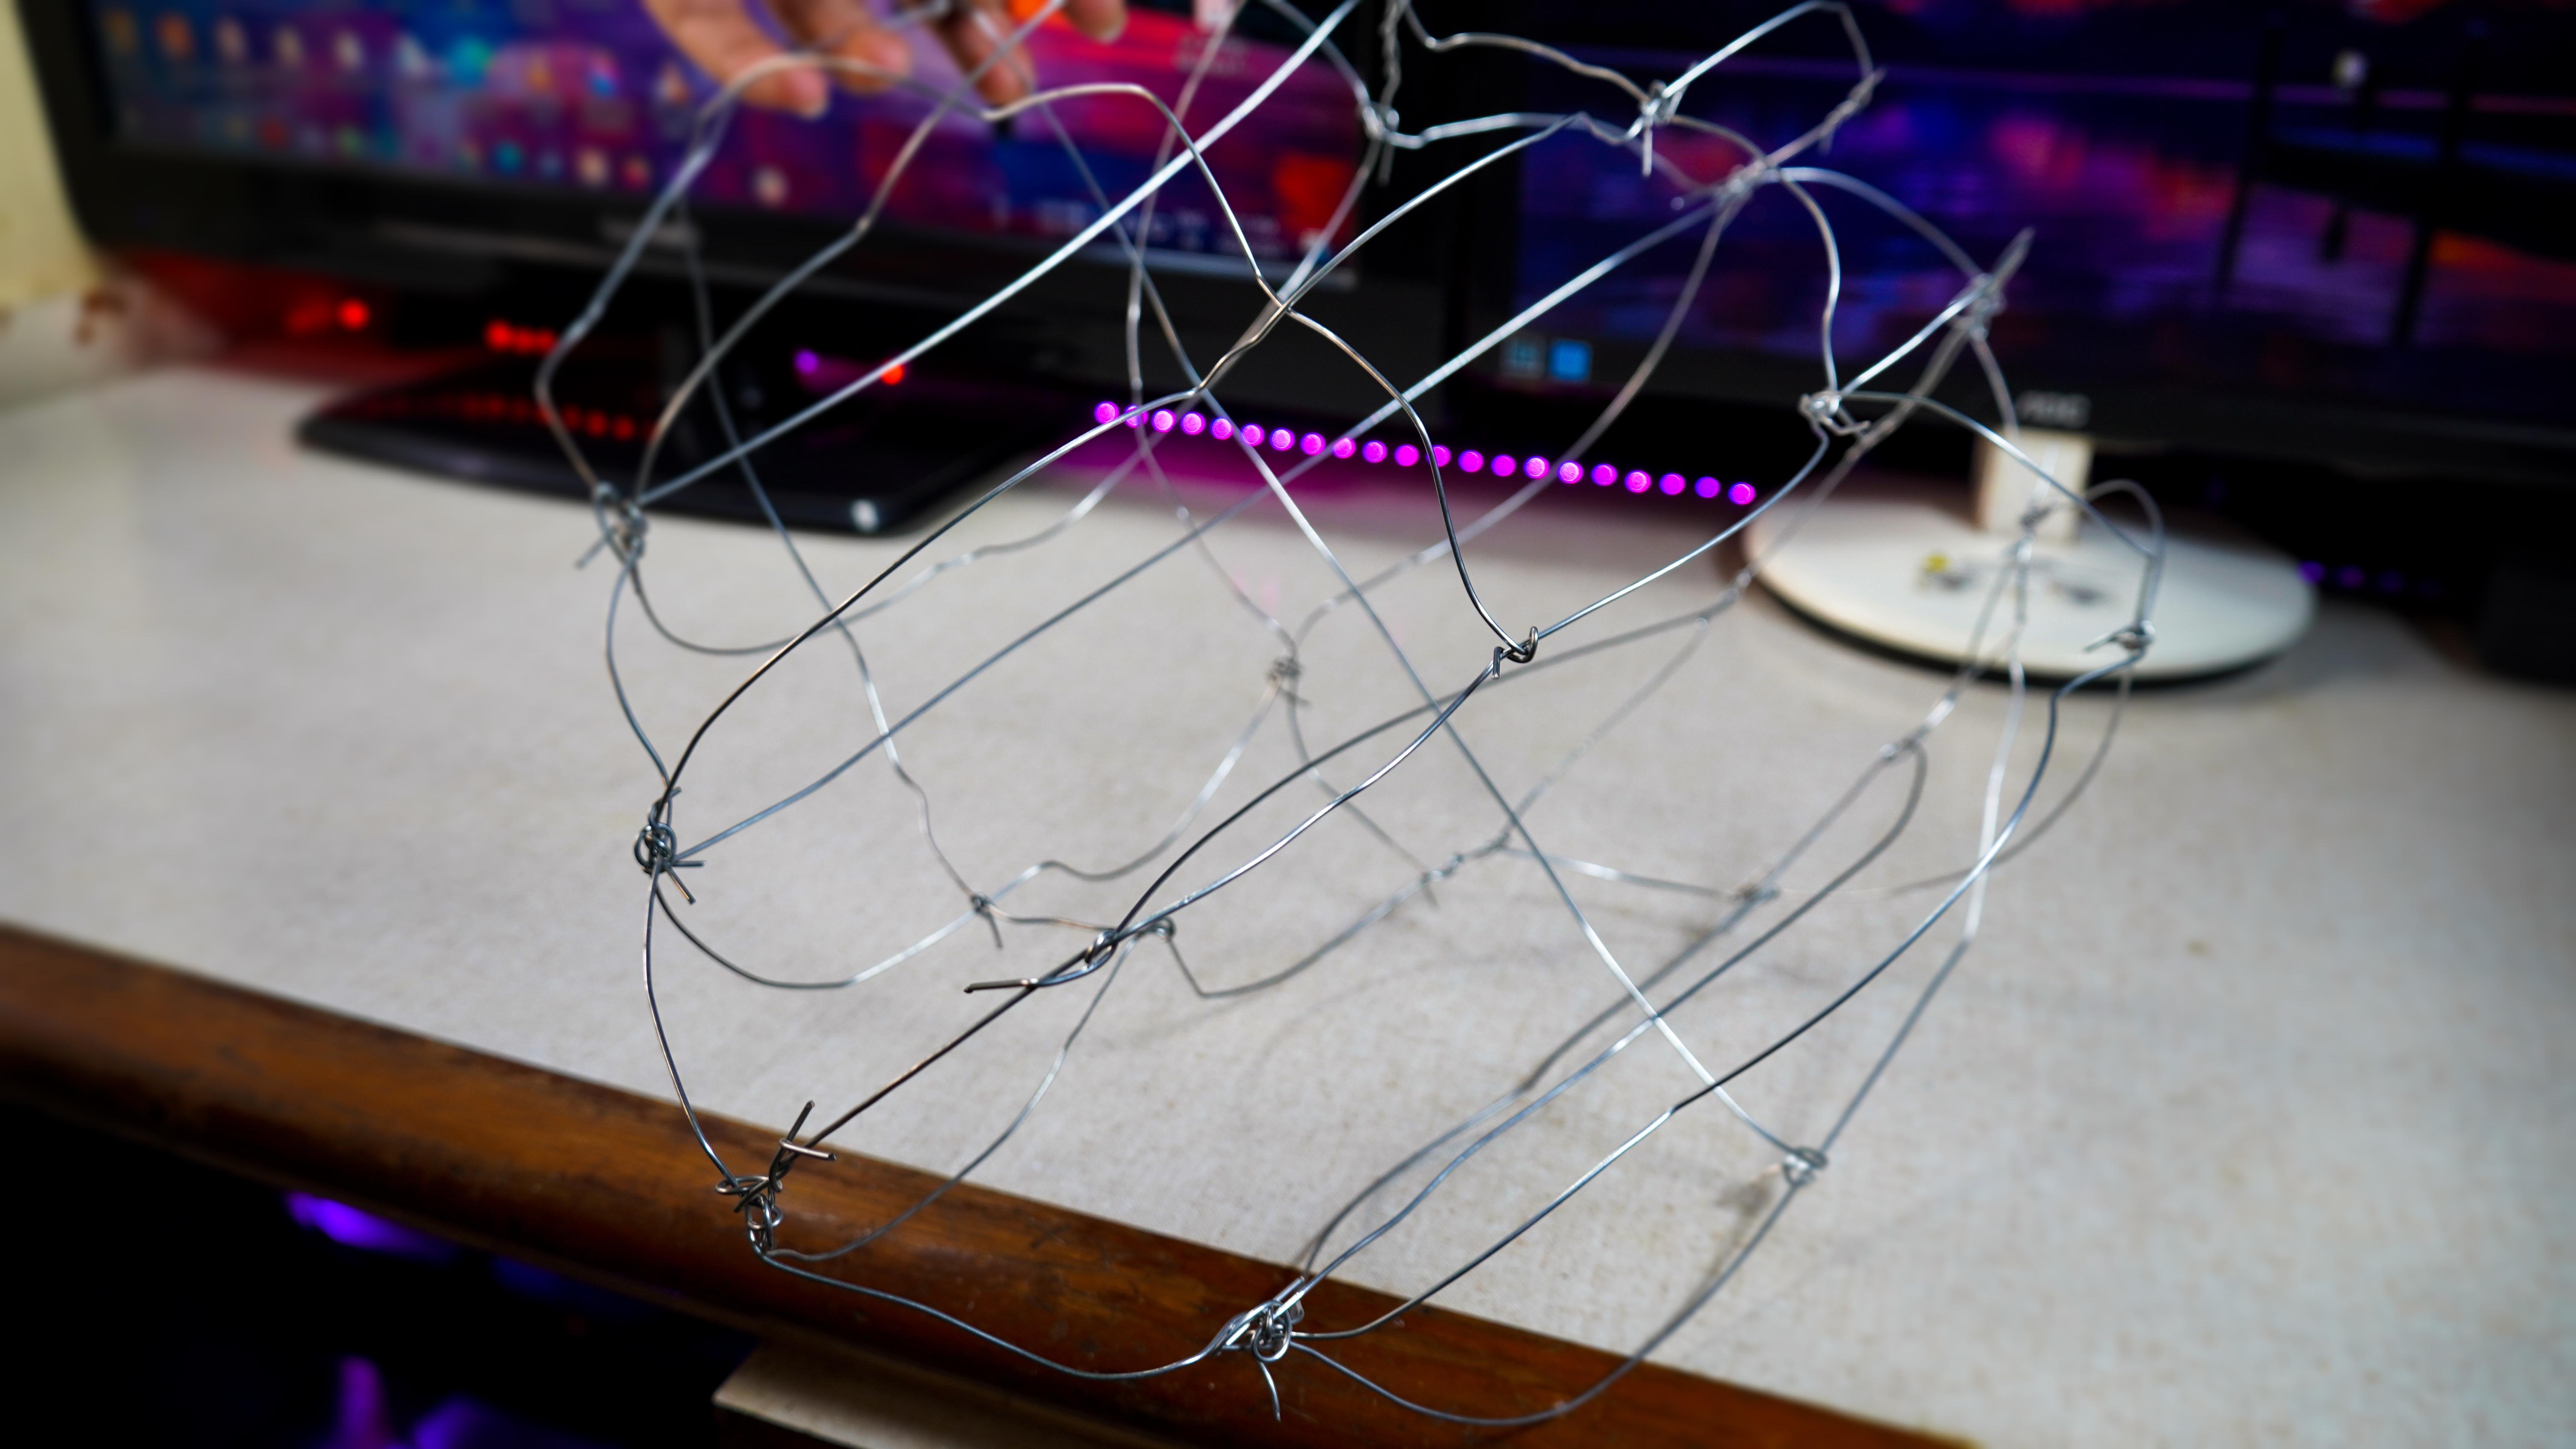
First we have to make a solid structure or you can say like a skeleton for our lamp, so that we can stuff lights, controller and everything required inside. Since the parts we are using are simply cotton, butter paper (Parchment Paper) and Node MCU, the total weight including wire, wont exceed 200 to 250 grams, therefore it's not necessary to consider the structure as a Truss. Thus, we need not worry about structural integrity of our lamp, we can basically just wind the wireframe in any way we like. Its also worth noting that we can make the size of lantern according to our wish, i tried to keep the size under 60 cm, since i had my size constraint, you can make larger size or smaller, depending on your purpose.
Lets follow the steps to create our Cloud lantern structure.
- Take 1 mm square wire of length approximately 2.5 times the size you desire for base layer.
- Cut the Wire with the help of pliers.
- Fold the ends in a loop making sure it doesn't come loose.
- Cut smaller length of wire for next layer and make loop, Repeat this process for 1 more time to have 3 total layers.
- Cut 4 Wires for vertical support structure of any required height.
- Use small zip tie or wire to tie the horizontal and vertical layers together to form a 3D structure. ( Refer to above pictures. )
- Optionally you can add a bottom layer, which can be smaller than base layer, so that the cloud lamp doesn't look flat at bottom.
- Add Diagonal wires at each layer ( Opposite diagonal for each layer ) for supporting LEDs.
- Add required length of wire to hang it and loop it at top most layer.
Once this is done, we can see that our structure already looks like a cloud. You may complete structure as you like, since there is no hard and fast rule when it comes to shape of cloud, my cloud might look different than yours, but most importantly it should look somewhat like a cloud. Take your time and enjoy this art process.
Code ESP8266 ( Node MCU Board)
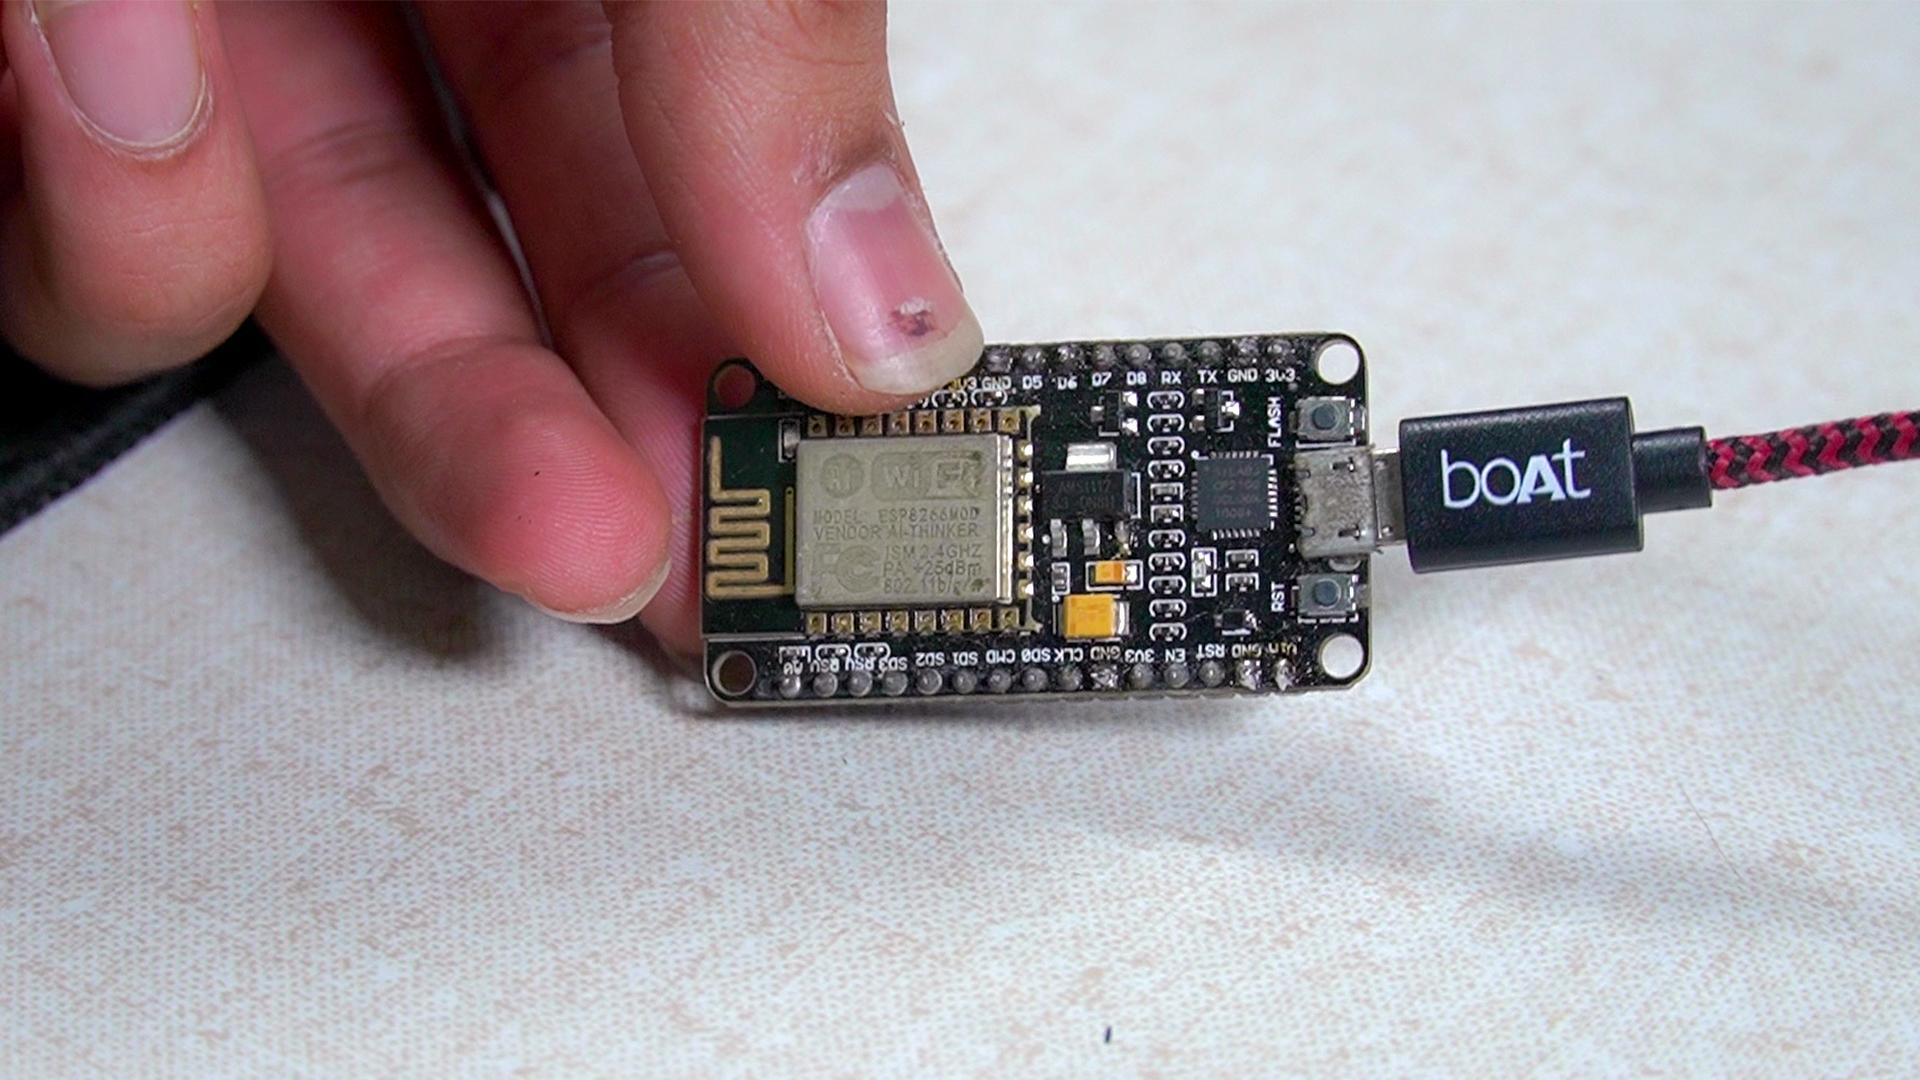
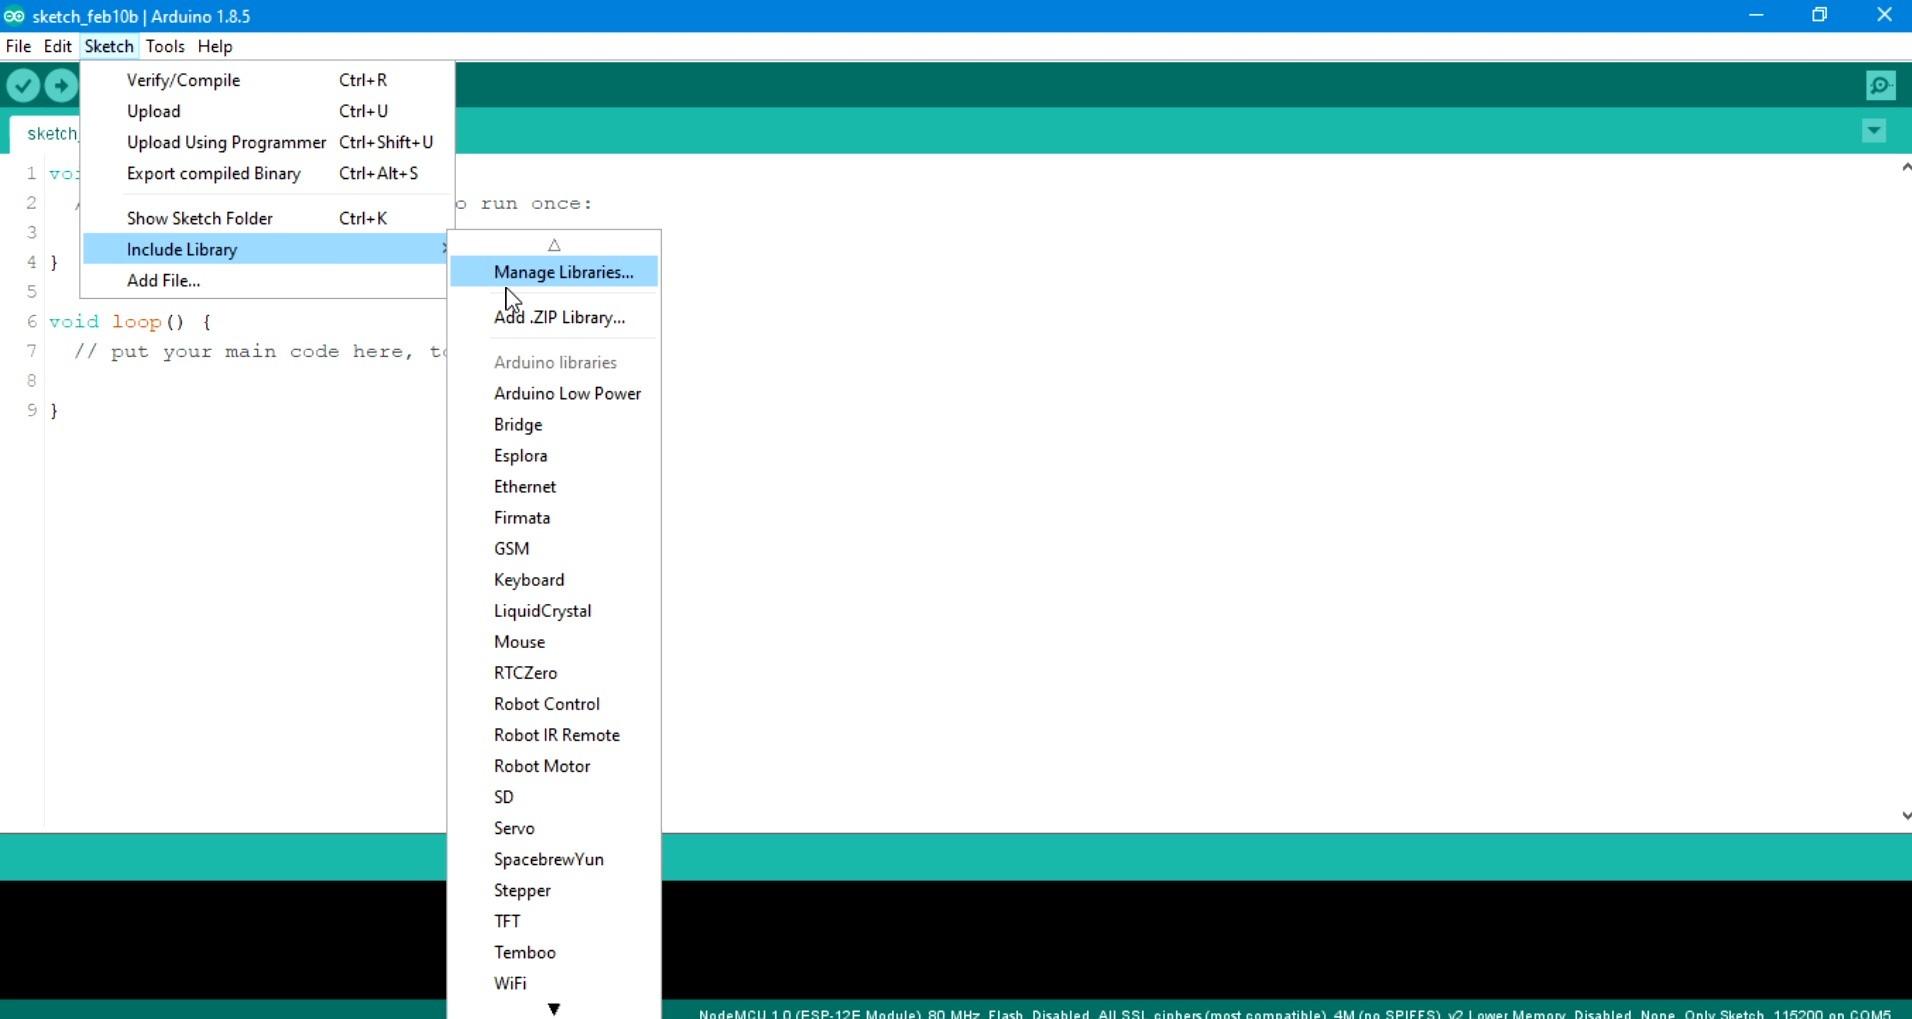
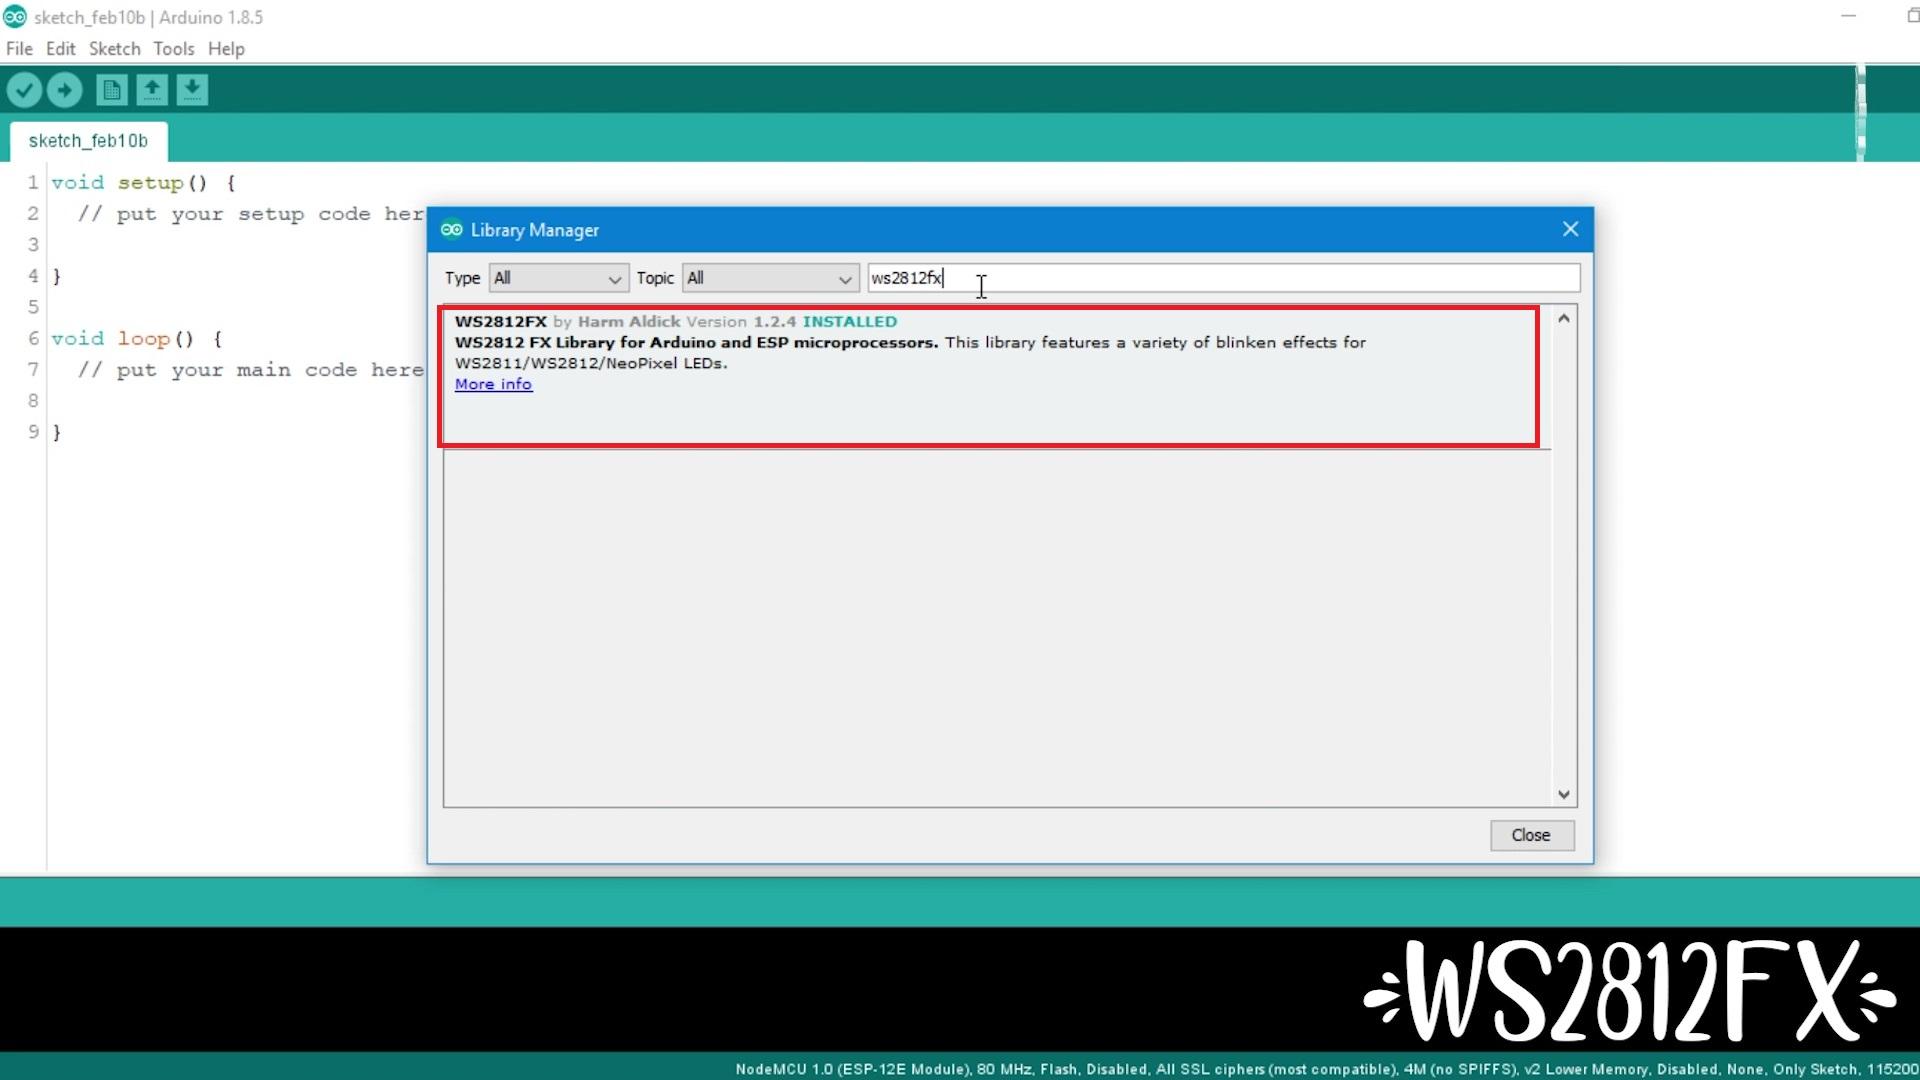
To control the Neopixels, we will be using Node mcu microcontroller, since it has Wi-Fi onboard, which will give us ability to control neopixels through internet, for that matter of fact using mobile phone app. Rather than sticking to one pattern or code, we will use WS2812FX library which will give us at least 30+ effects for our neopixel, thus we can customize our cloud lamp as per our mood.
Steps:
- Connect Board with the PC using a USB cable.
- Open Arduino IDE and Open a new sketch.
- Install the required library: Go to sketch menu--> include library--> manage library option. In the Search bar type WS2812FX. Select the latest version and Install the library.
- Once the library is installed, open the required sketch under files--> Examples---> ws28fx--> ws28fx_pattern_web.
Once you click ws28fx_pattern_web, a sketch will open, there are few changes needed to make this code work, like Pin number, number of LEDs , Wi-Fi SSID and Wi-Fi Password. so simply count the number of individual LEDs and make necessary changes ( for my case it is 144 LEDs ).
uint8_t  dataPin = D2; // default digital pin used to drive the LED strip
uint16_t numLeds = 144; // default number of LEDs on the strip
( remember the pin GPIO D2 resembles D4 in Nodemcu according to its datasheet.
Add your Wi-Fi SSID and Wi-Fi Password.
#define WIFI_SSID "xxxxxxxx"     // WiFi network
#define WIFI_PASSWORD "xxxxxxxx" // WiFi network password
Follow up Steps:
- Select Board as Node MCU. (ESP 12-E model).
- Select your port and upload the code.
- Open serial Monitor.
- Set Baud rate to 115200.
- Copy the IP address / Host Address (for my case it is 192.168.1.103). We will use this in further step to setup our app.
If you are new to NodeMCU, checkout this post, which explains in depth about how to add Nodemcu board on your Arduino IDE. Also, we have added the code in this step, so that it's easy to recreate this project.
Downloads
Prepare Neopixel LEDs
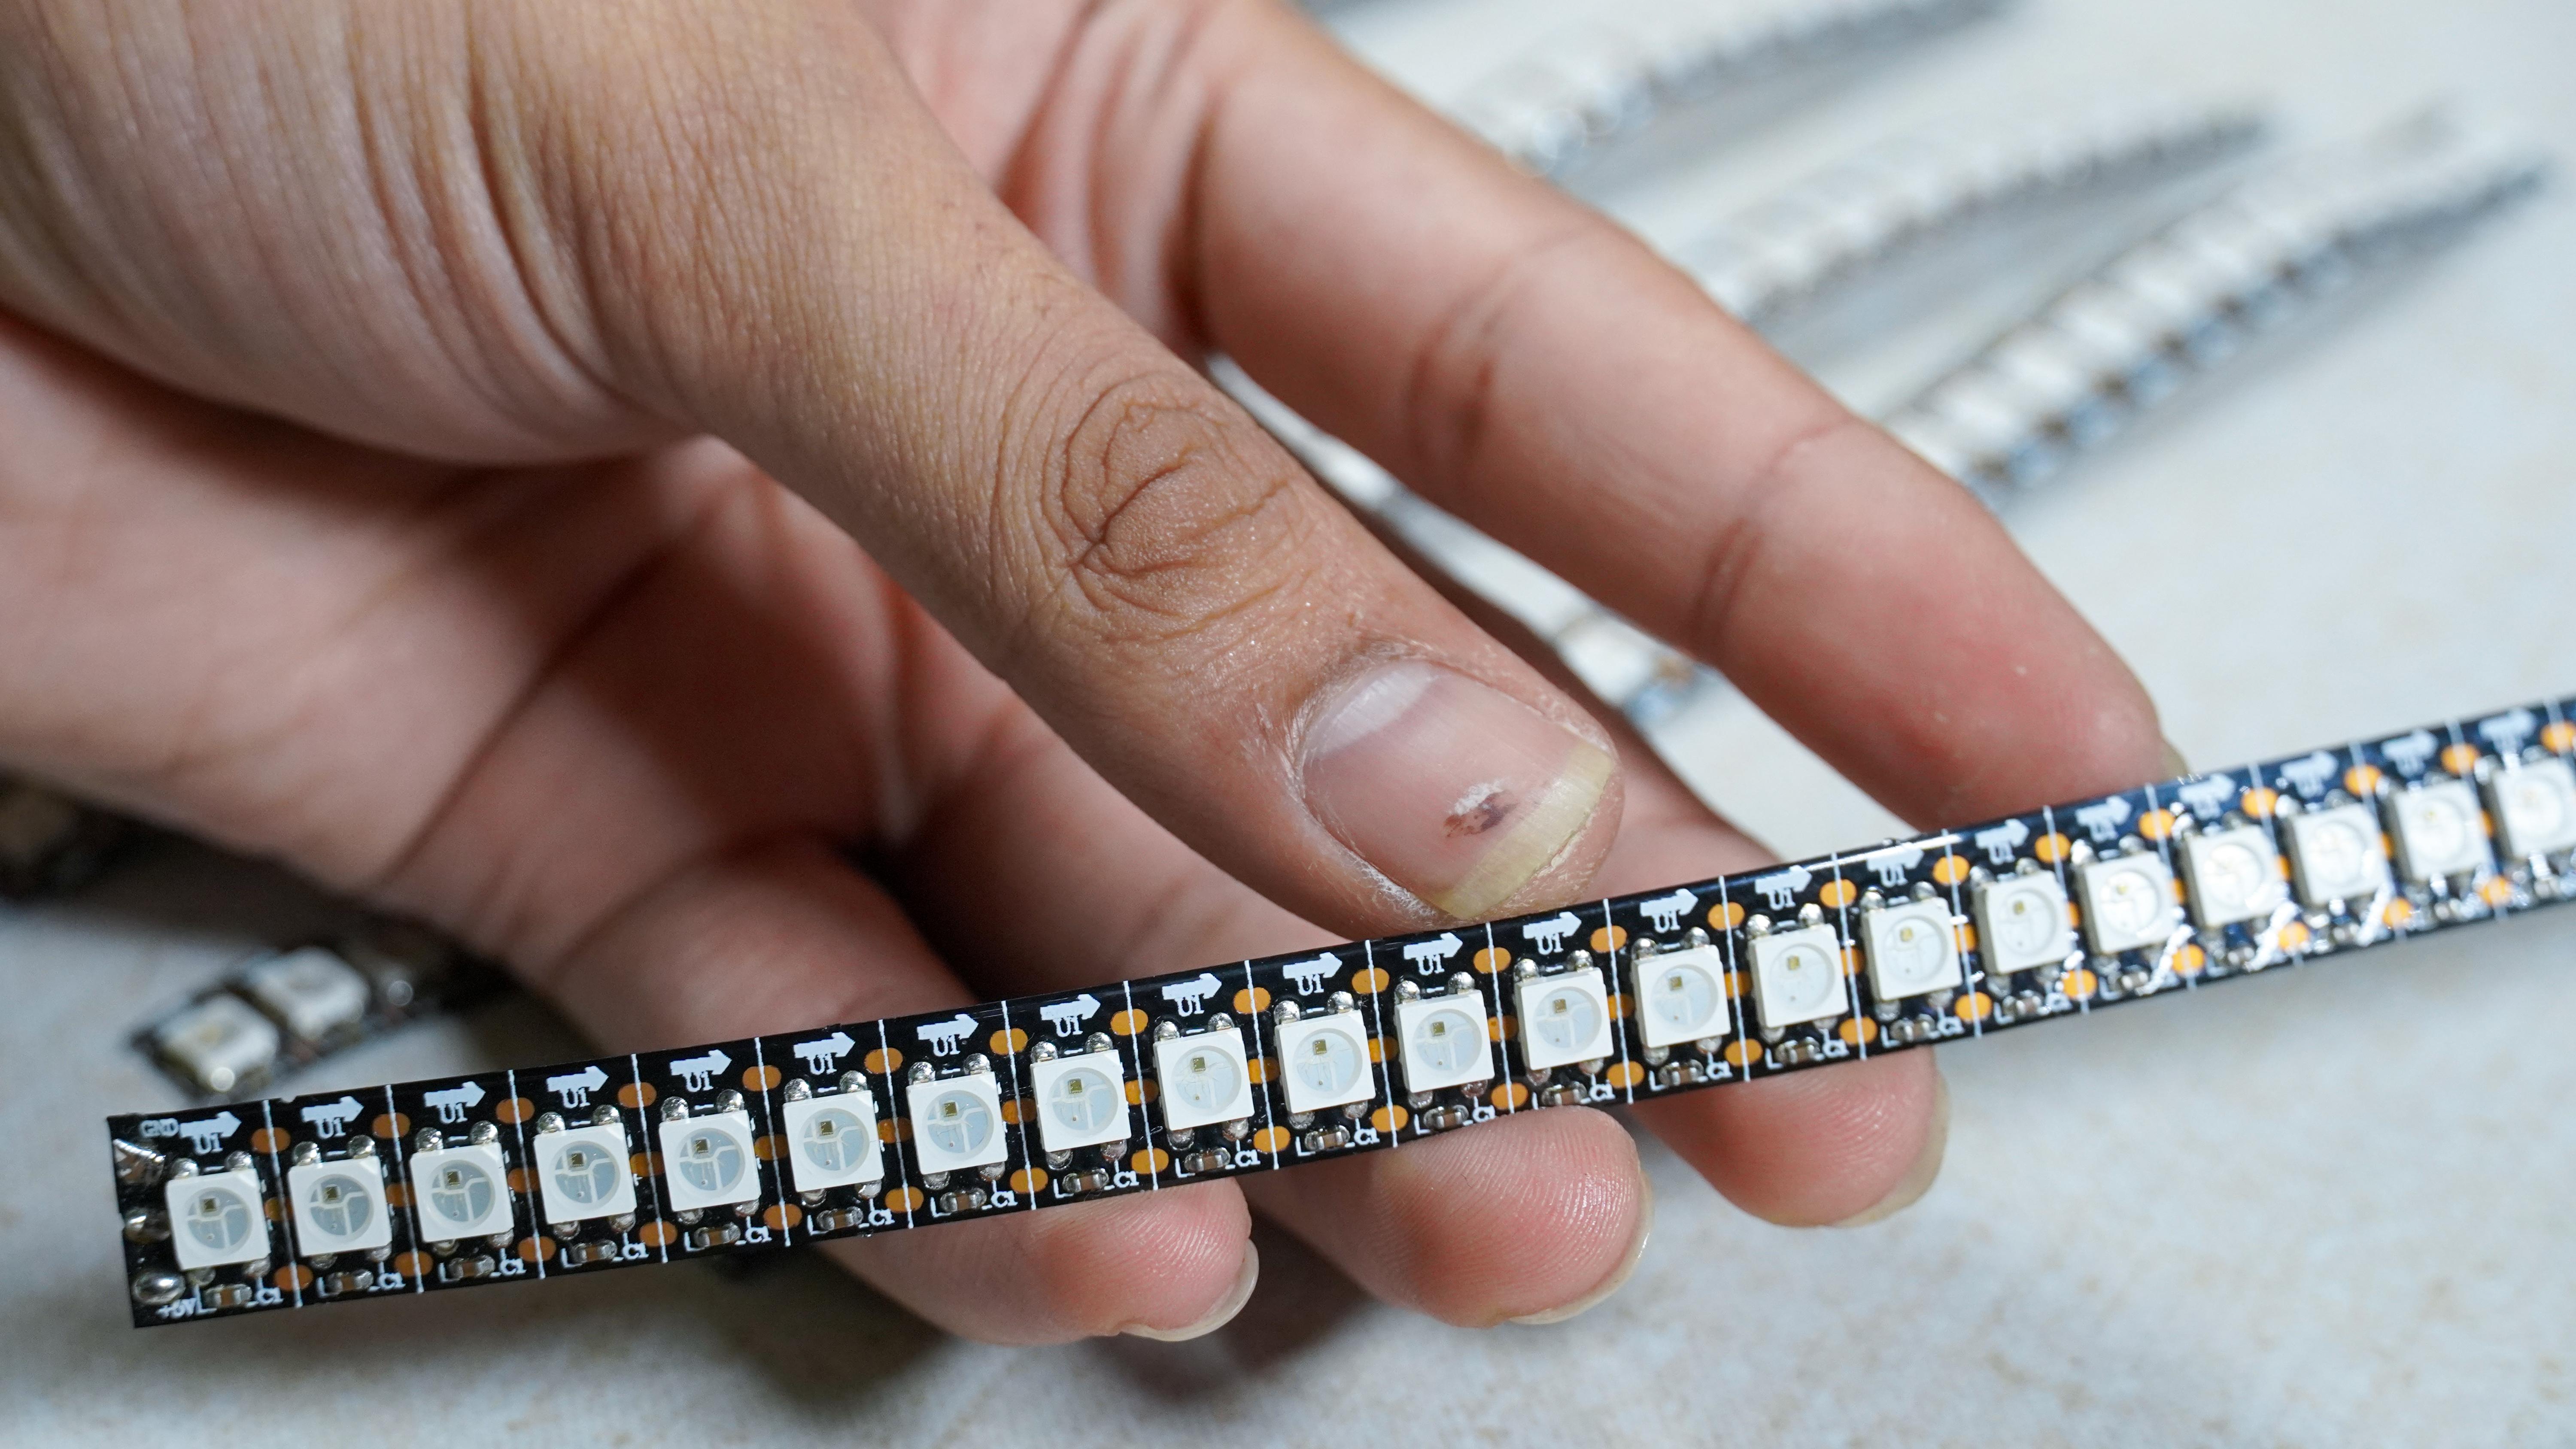
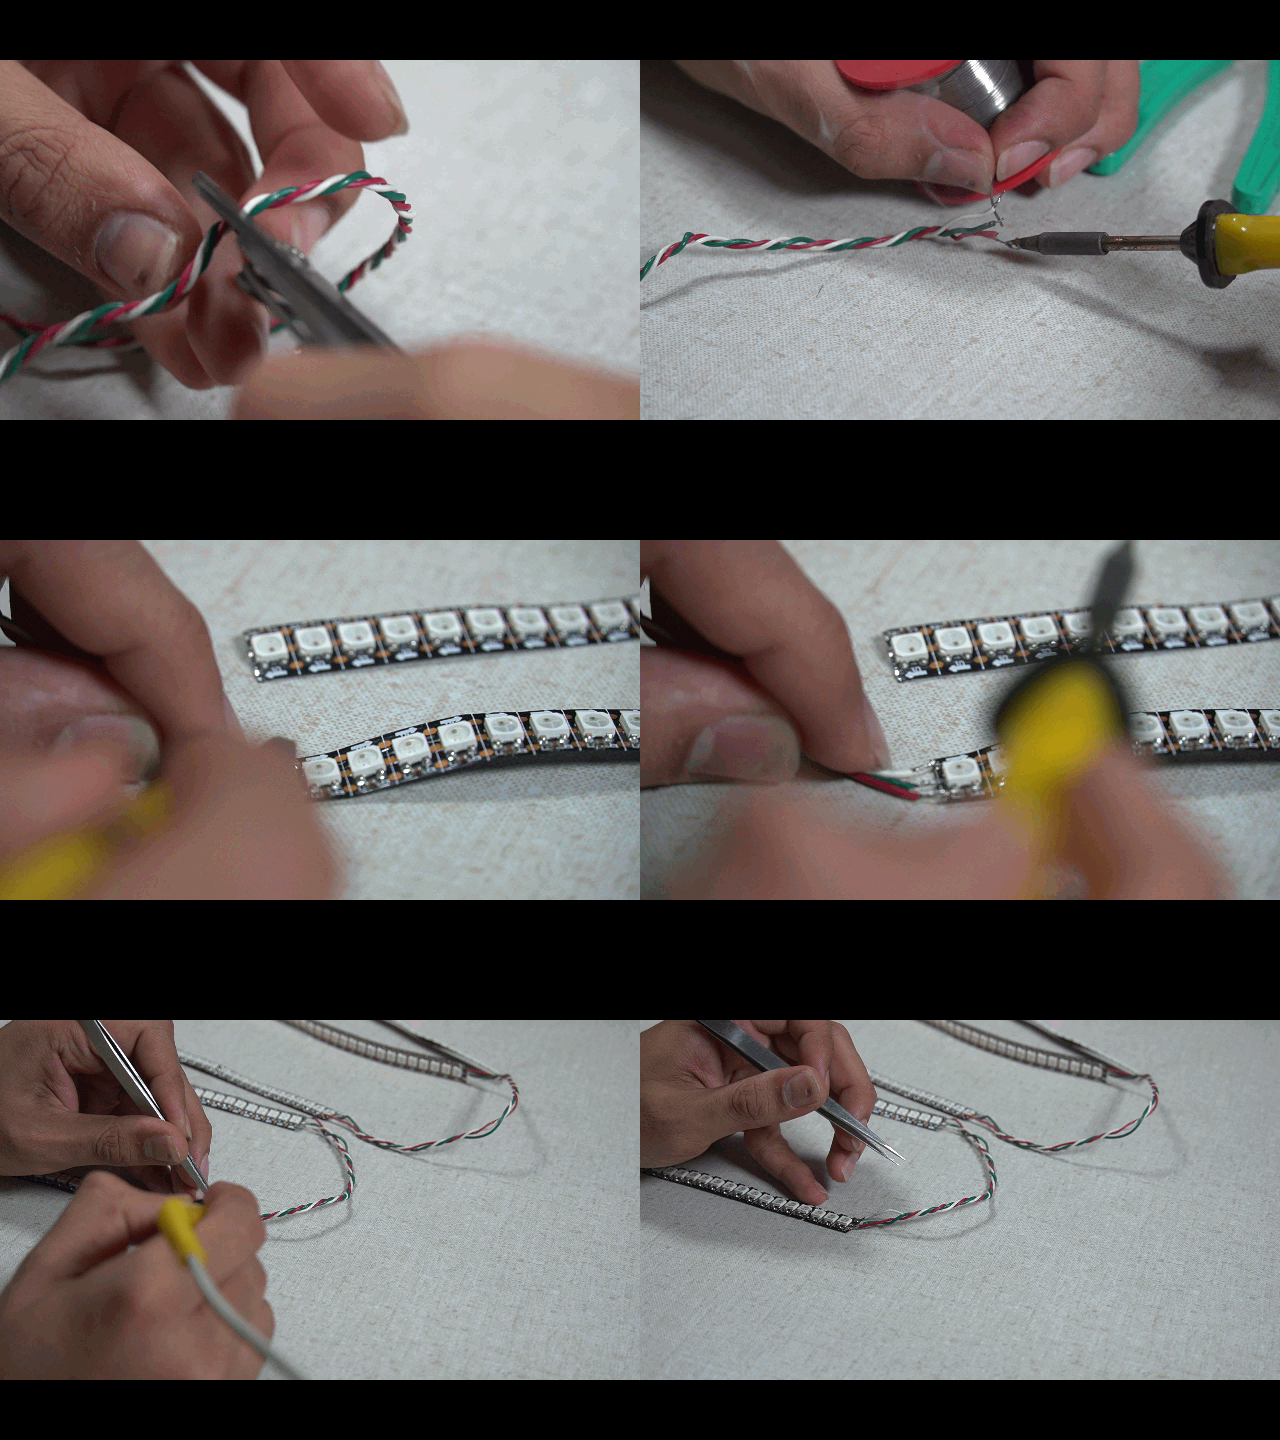
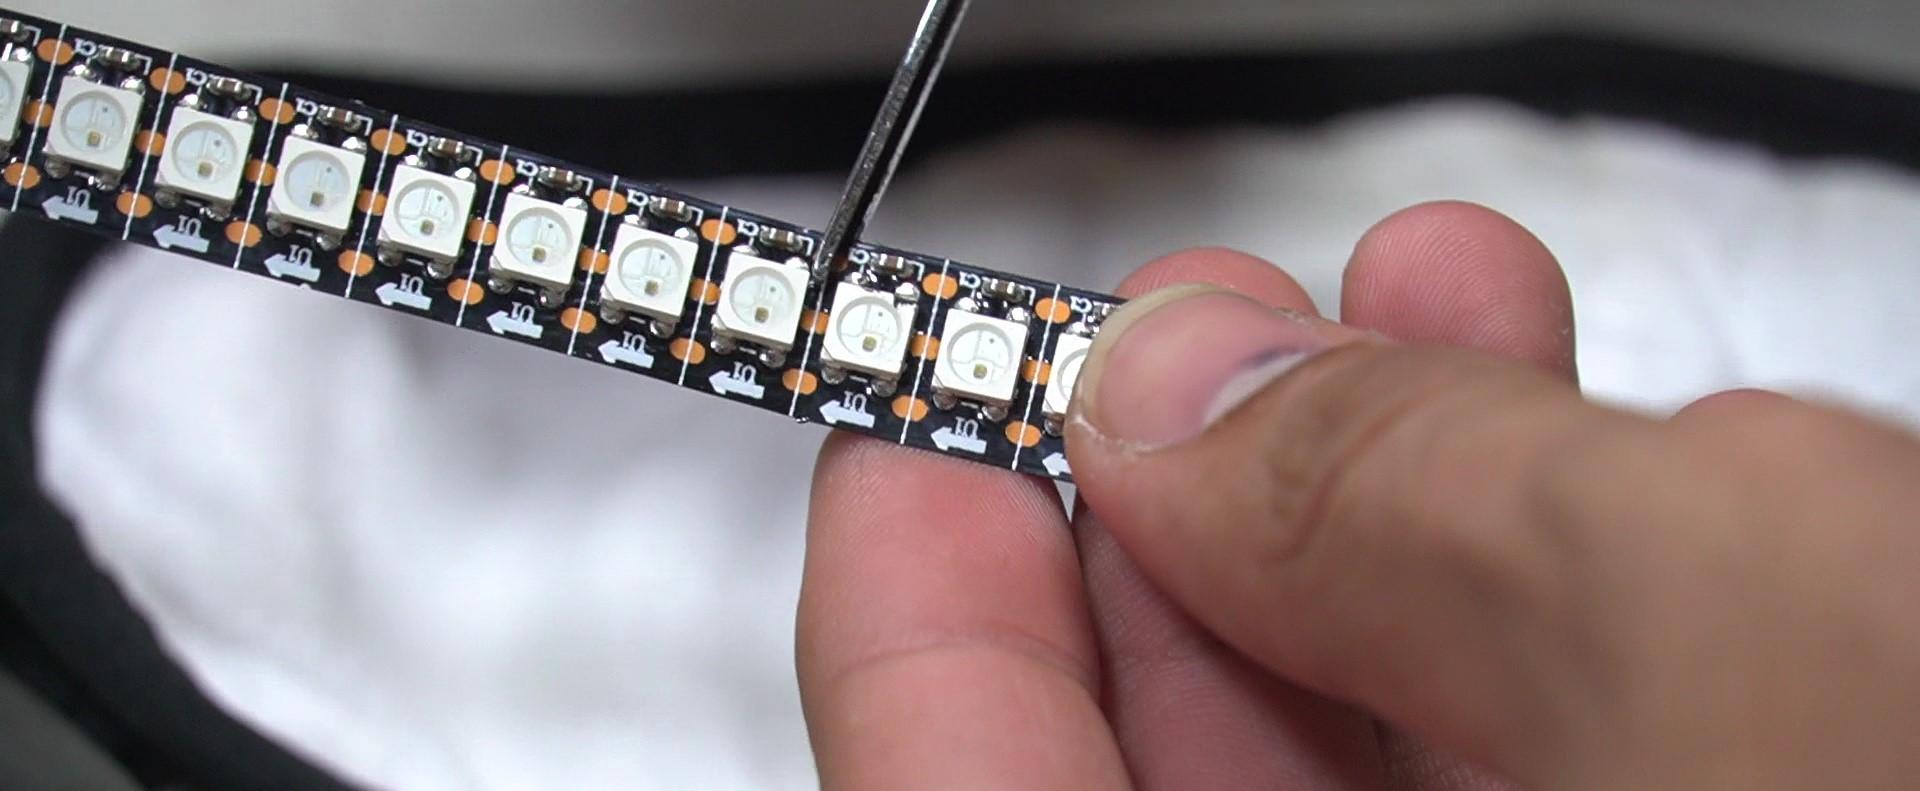
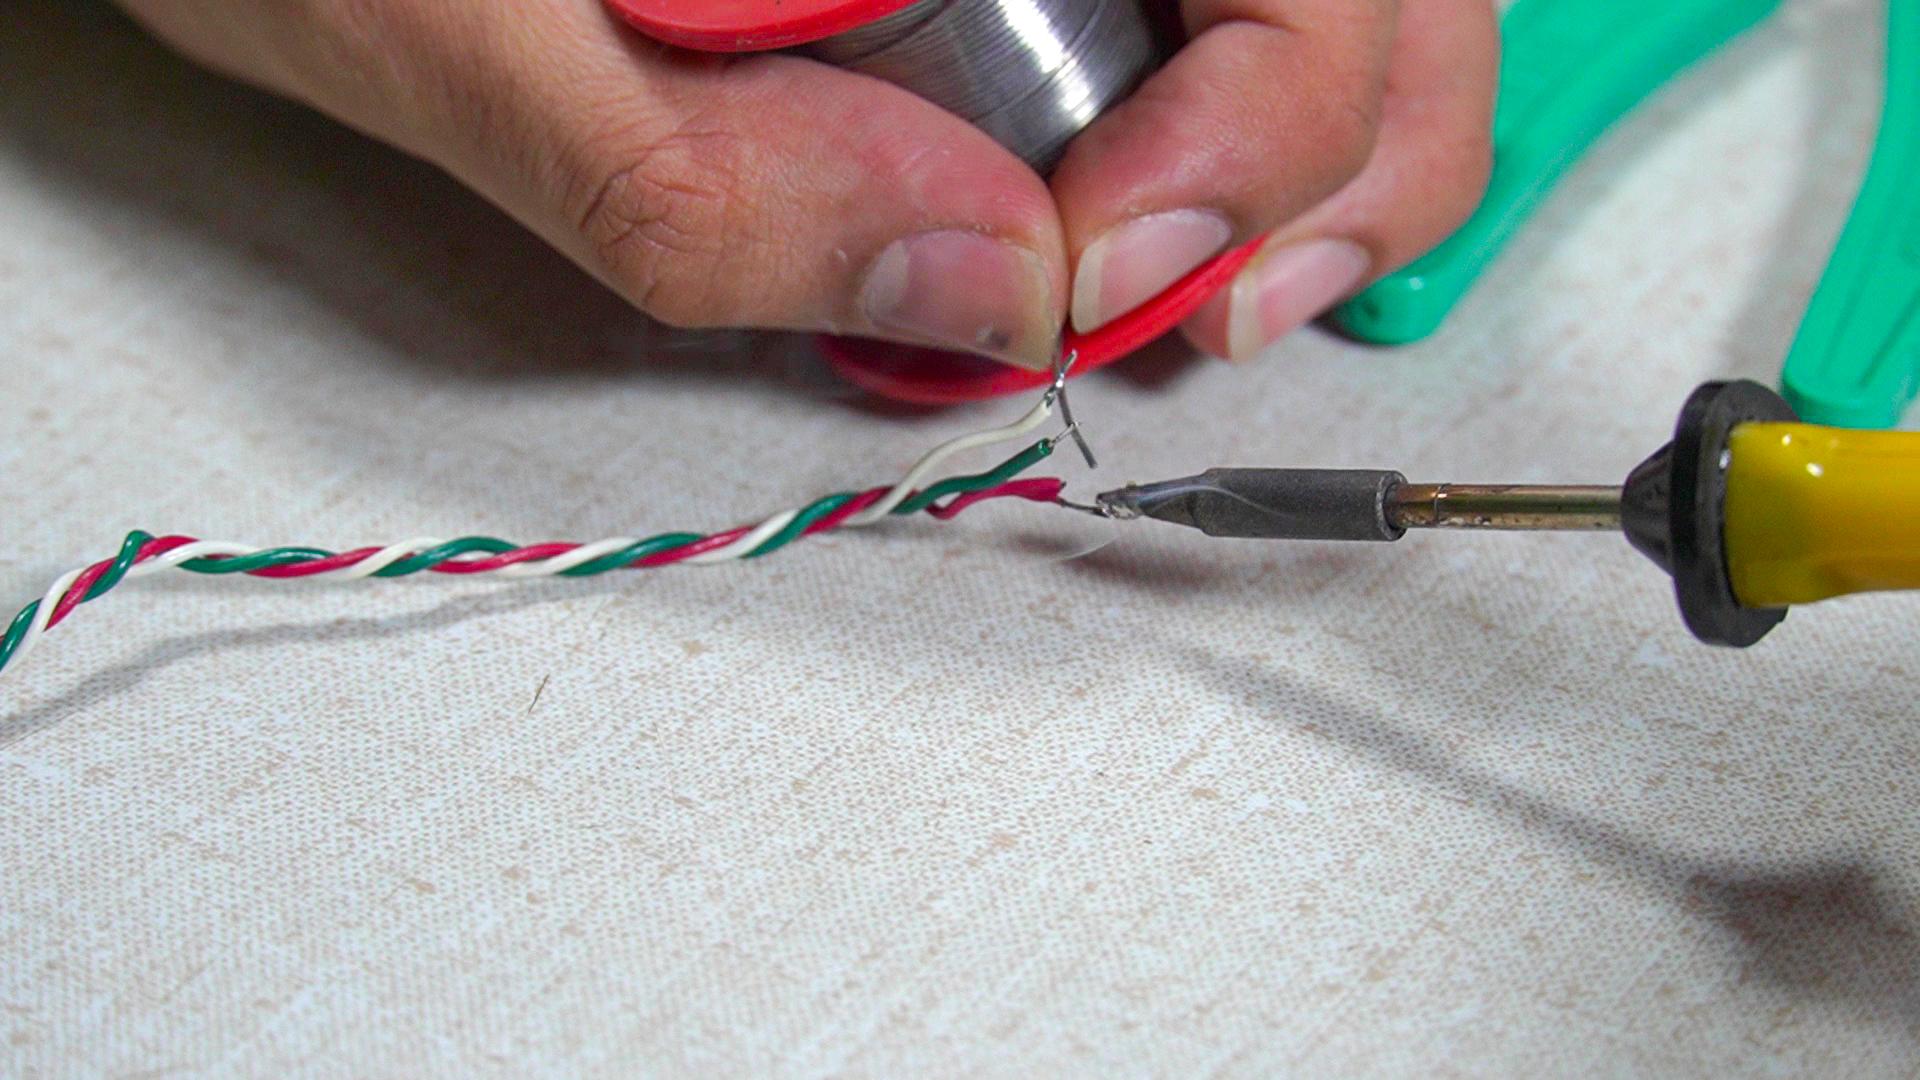
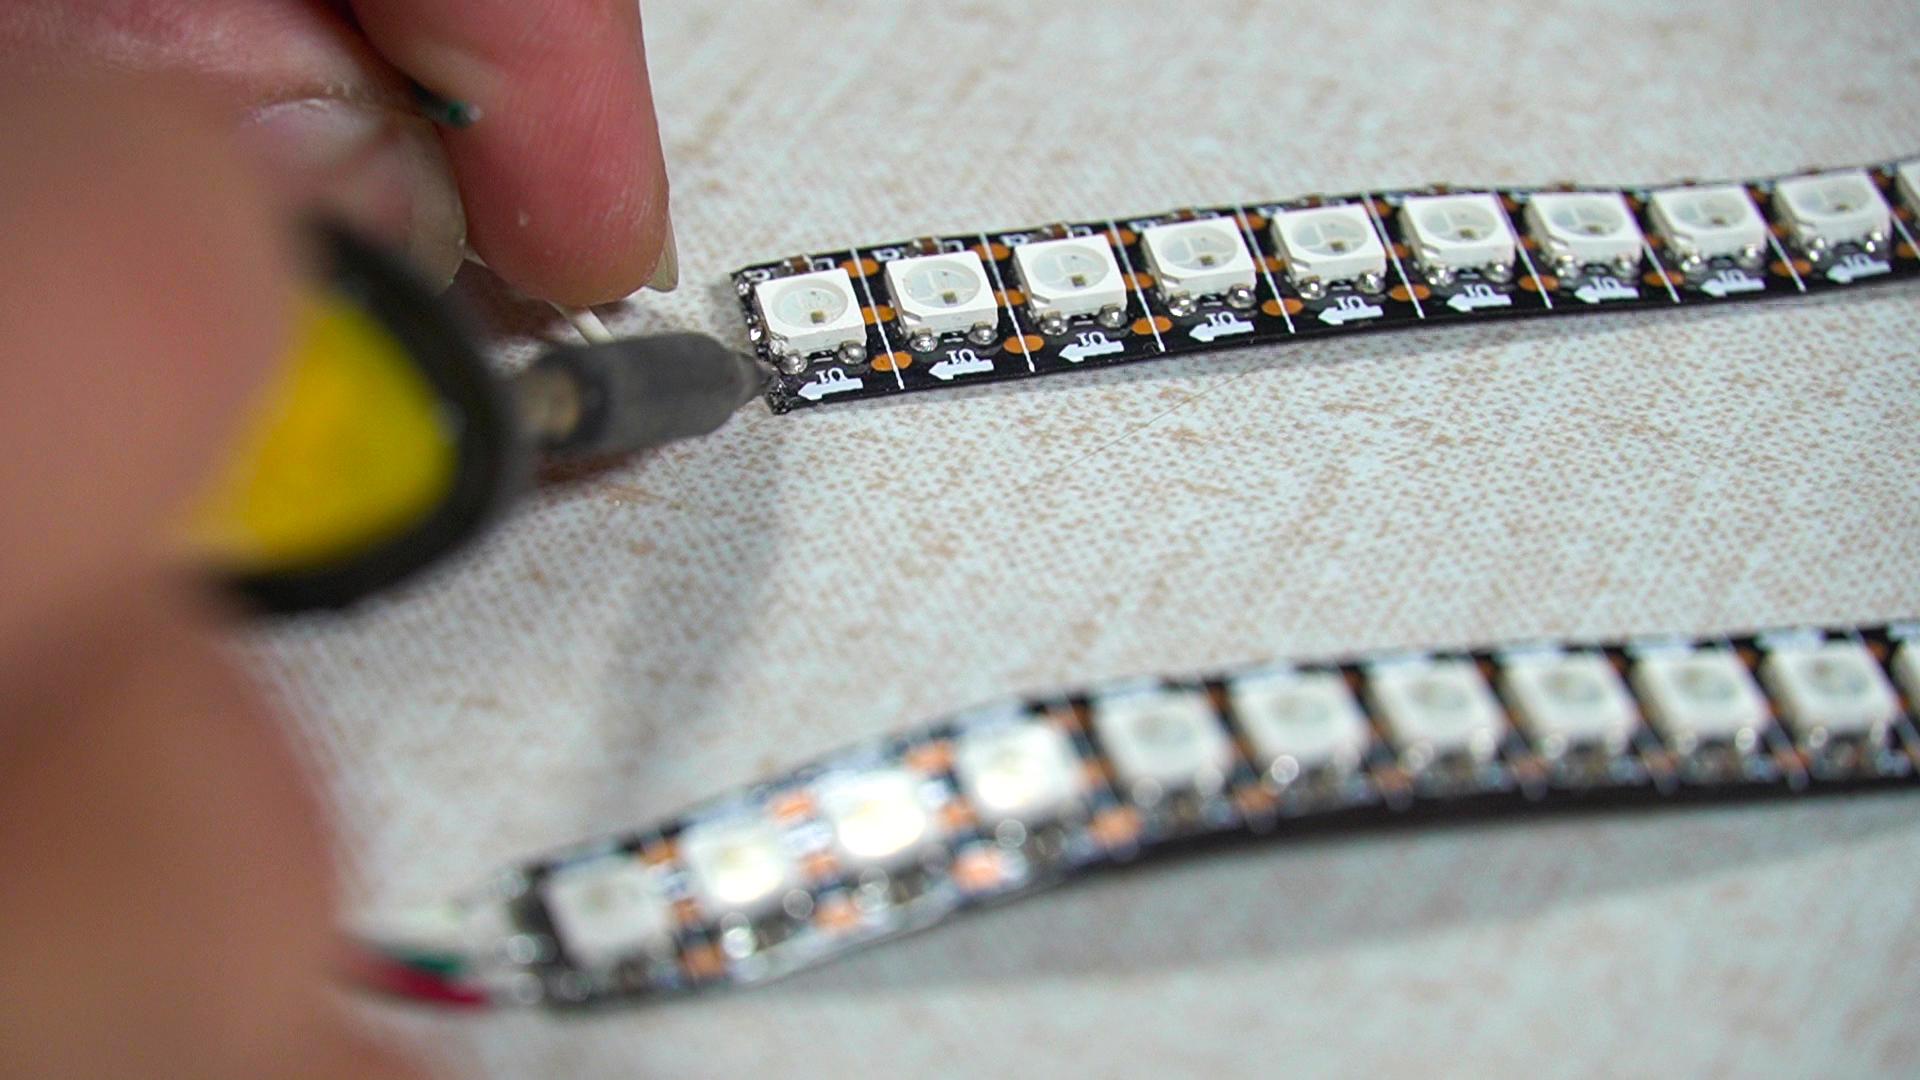
Now that we are done with coding and our Cloud structure or say wireframe is ready, we can start to bring this project to life by adding lights, for which we will first start to prepare the neopixels so that they are ready to be glued on our wireframe. There are 3 connection points or terminals for a neopixel WS2812B LEDs which are VCC, DATA and GND. We need to solder the LEDs strips to each other in series manner, that is connecting VCC - VCC , DATA - DATA, GND - GND of each LED strip. Remember, there is a arrow direction on each LED pixel, you need to follow the data flow direction, making sure its in series.
Steps:
- Decide and mark the length of LEDs needed according to the size of your Wireframe. ( for my case, i divided 1 meter strip into 5 sections of 28 pixels. ( approximately)
- Cut the LEDs at marked position using Scissors, making sure to leave enough room for soldering.
- Pre-tin the Solder pads of each LED strip on both sides to prepare LEDs for next step. ( refer This Post! for detailed soldering tutorial ).
- Pre-tin 5 set of 3 wires. ( preferably red, green, white color coded for VCC, DATA, GND ).
- Arrange LED strips in series and continuous manner, making sure direction of arrow is continuous.
- Solder VCC, DATA, GND of all strips in series.
- Solder longer wire at start of strip so that we can route the controller. (make sure the arrow is pointing away from you, that is data is flowing up not down.)
Downloads
Isolate LEDs and Glue Them on Cloud Wireframe
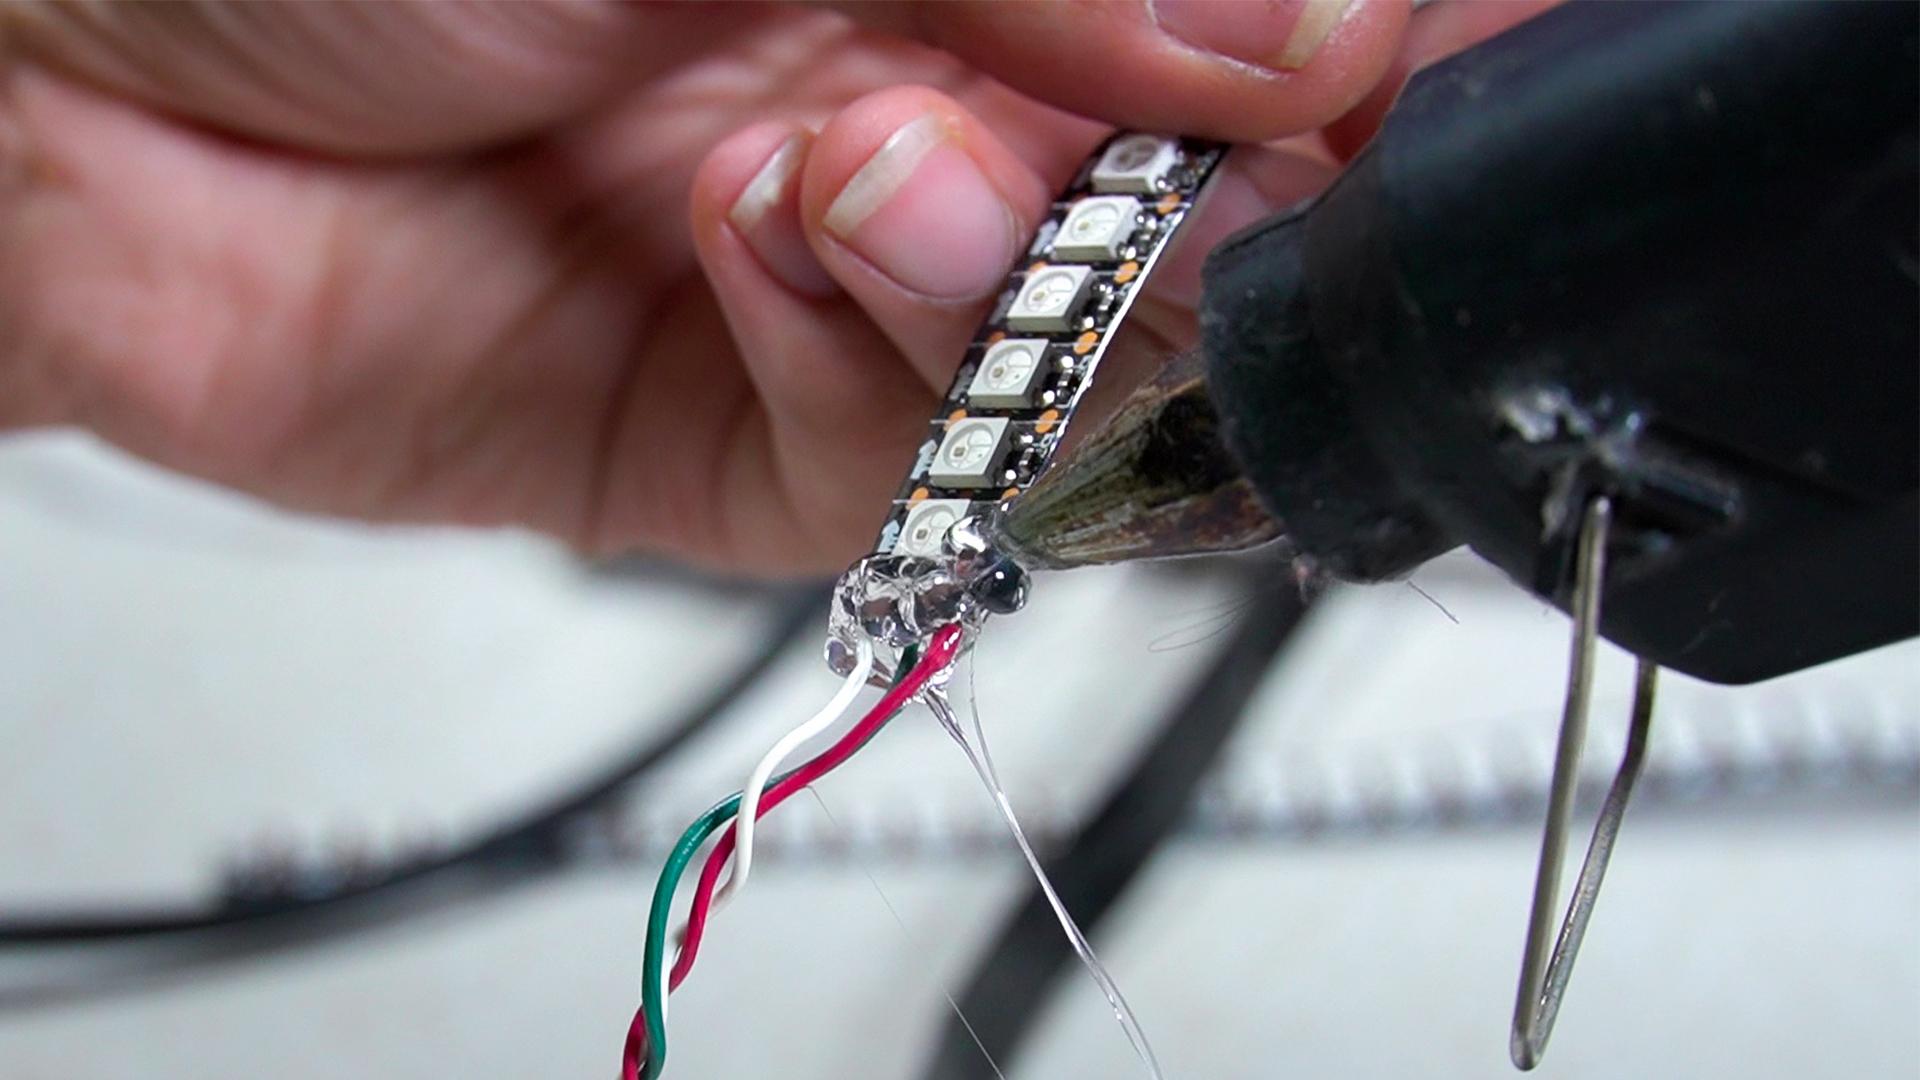
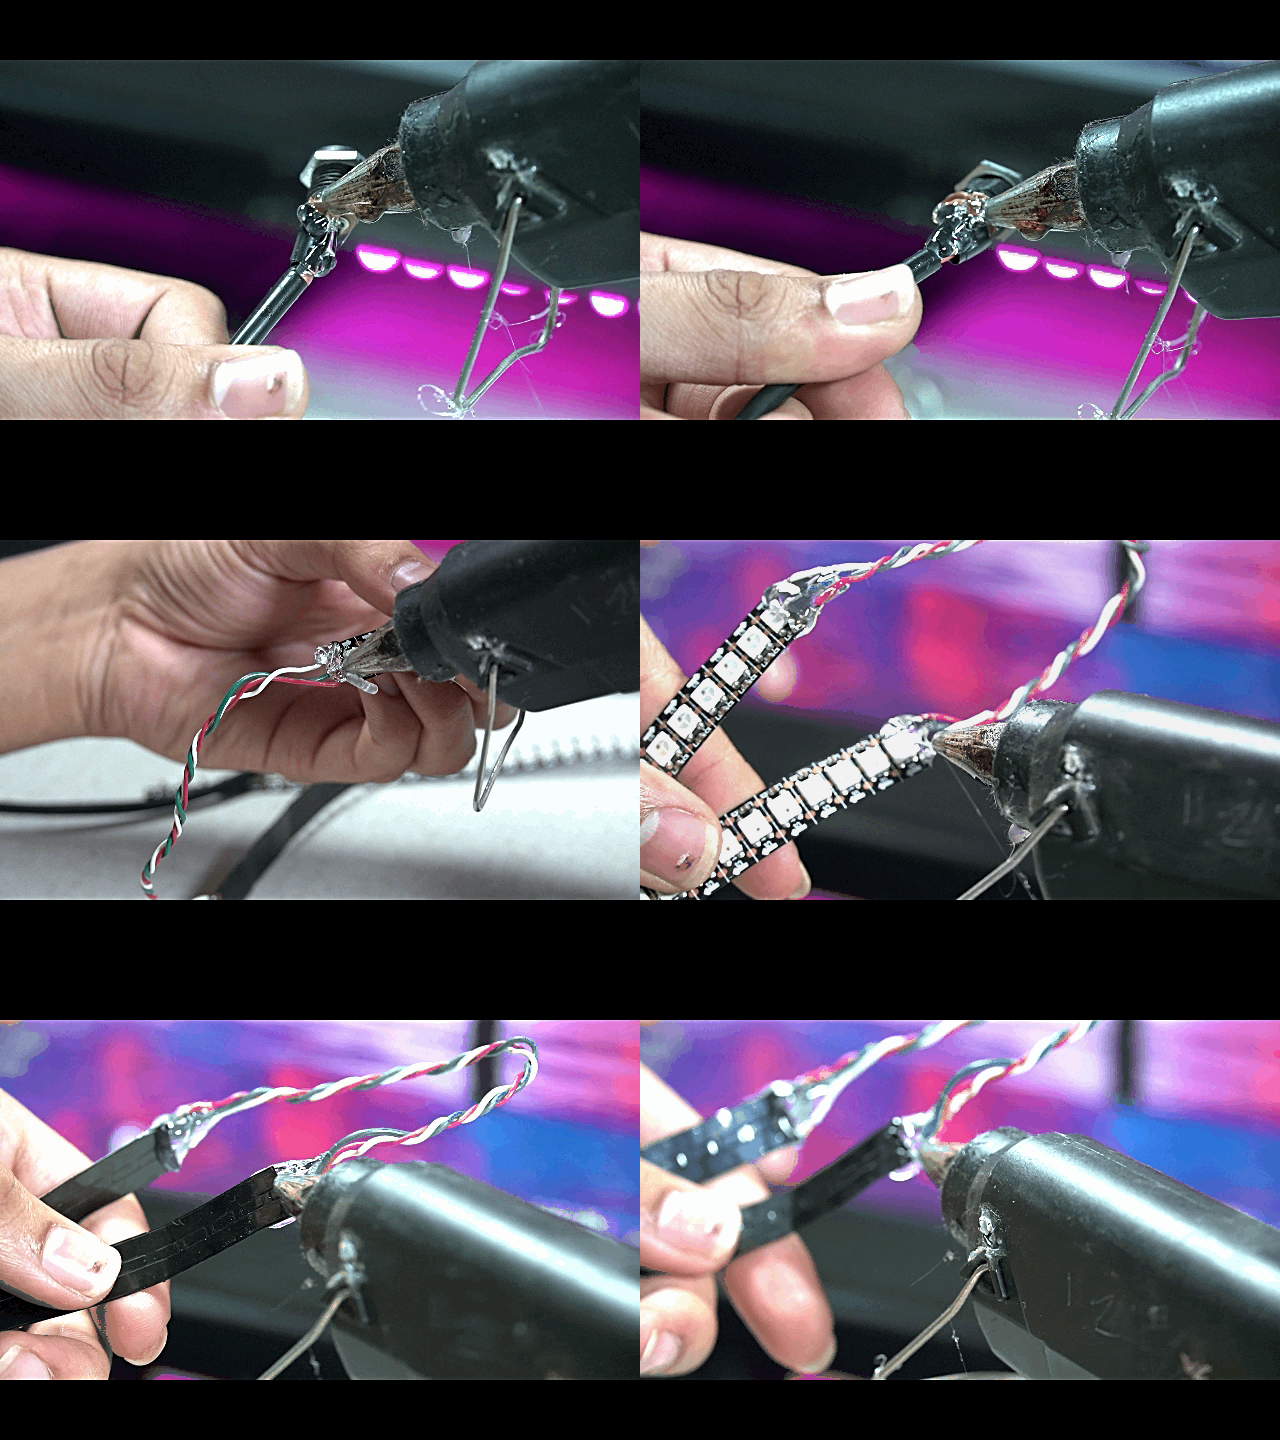
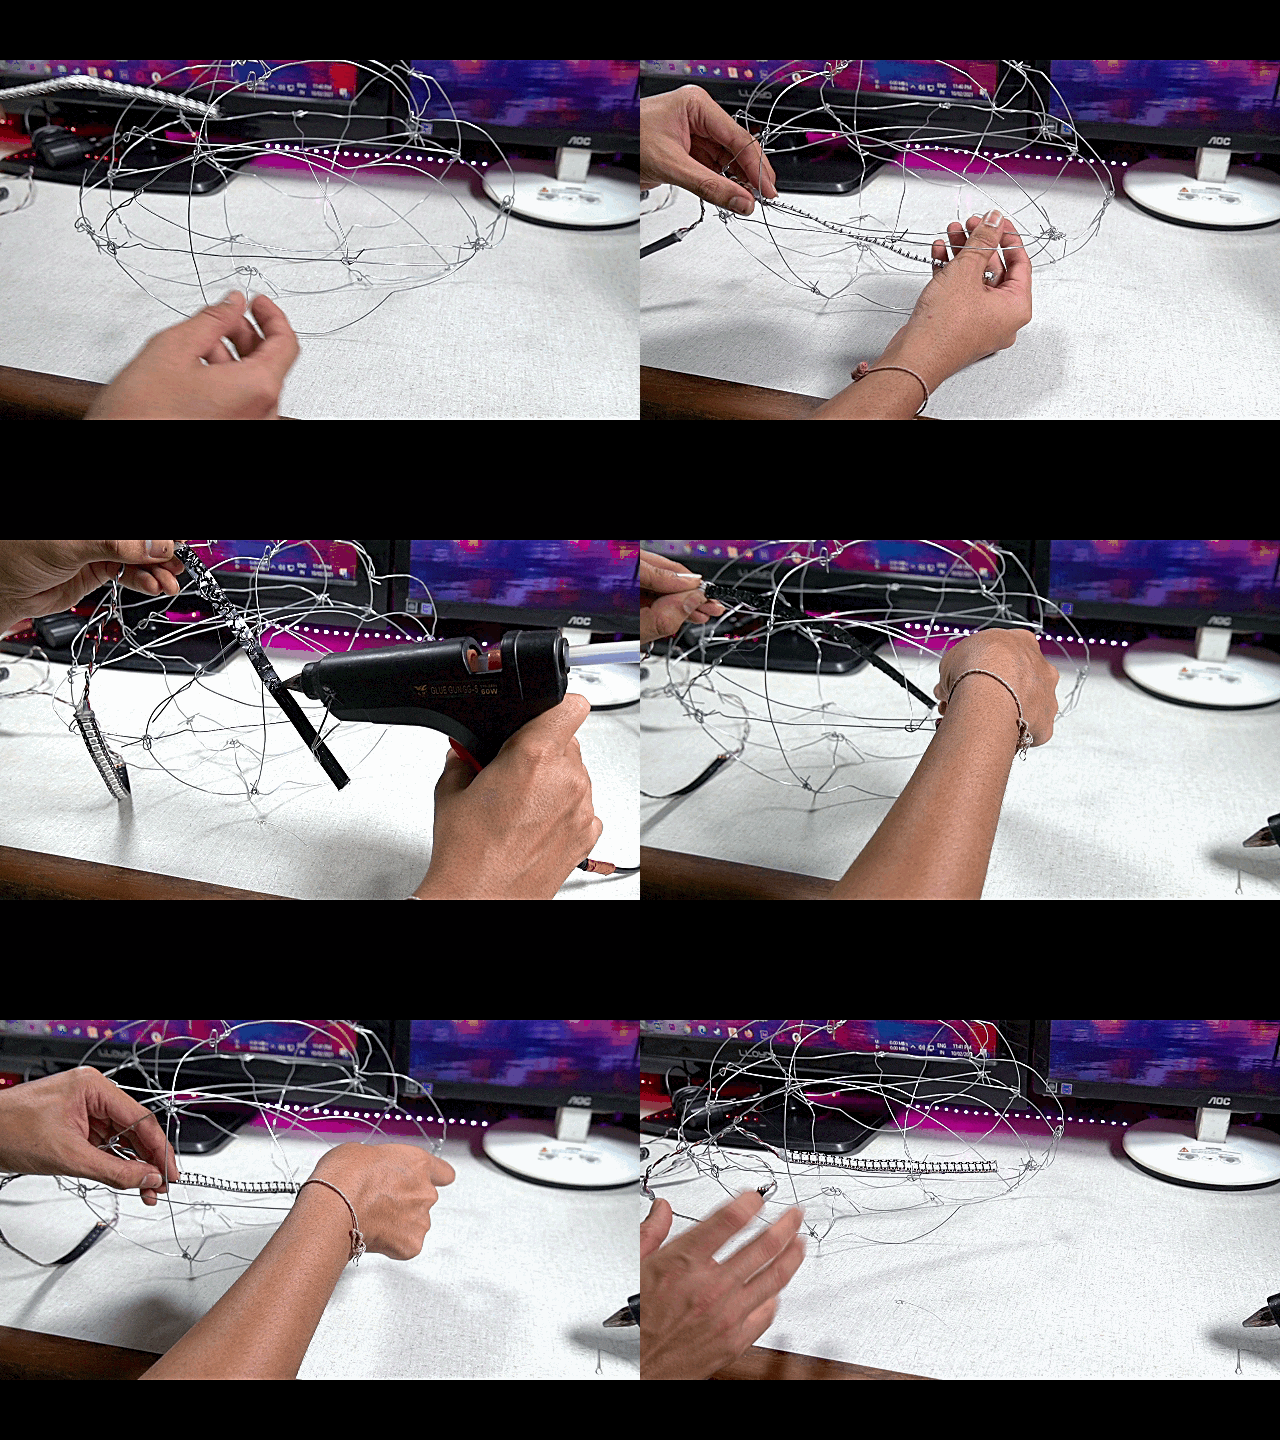
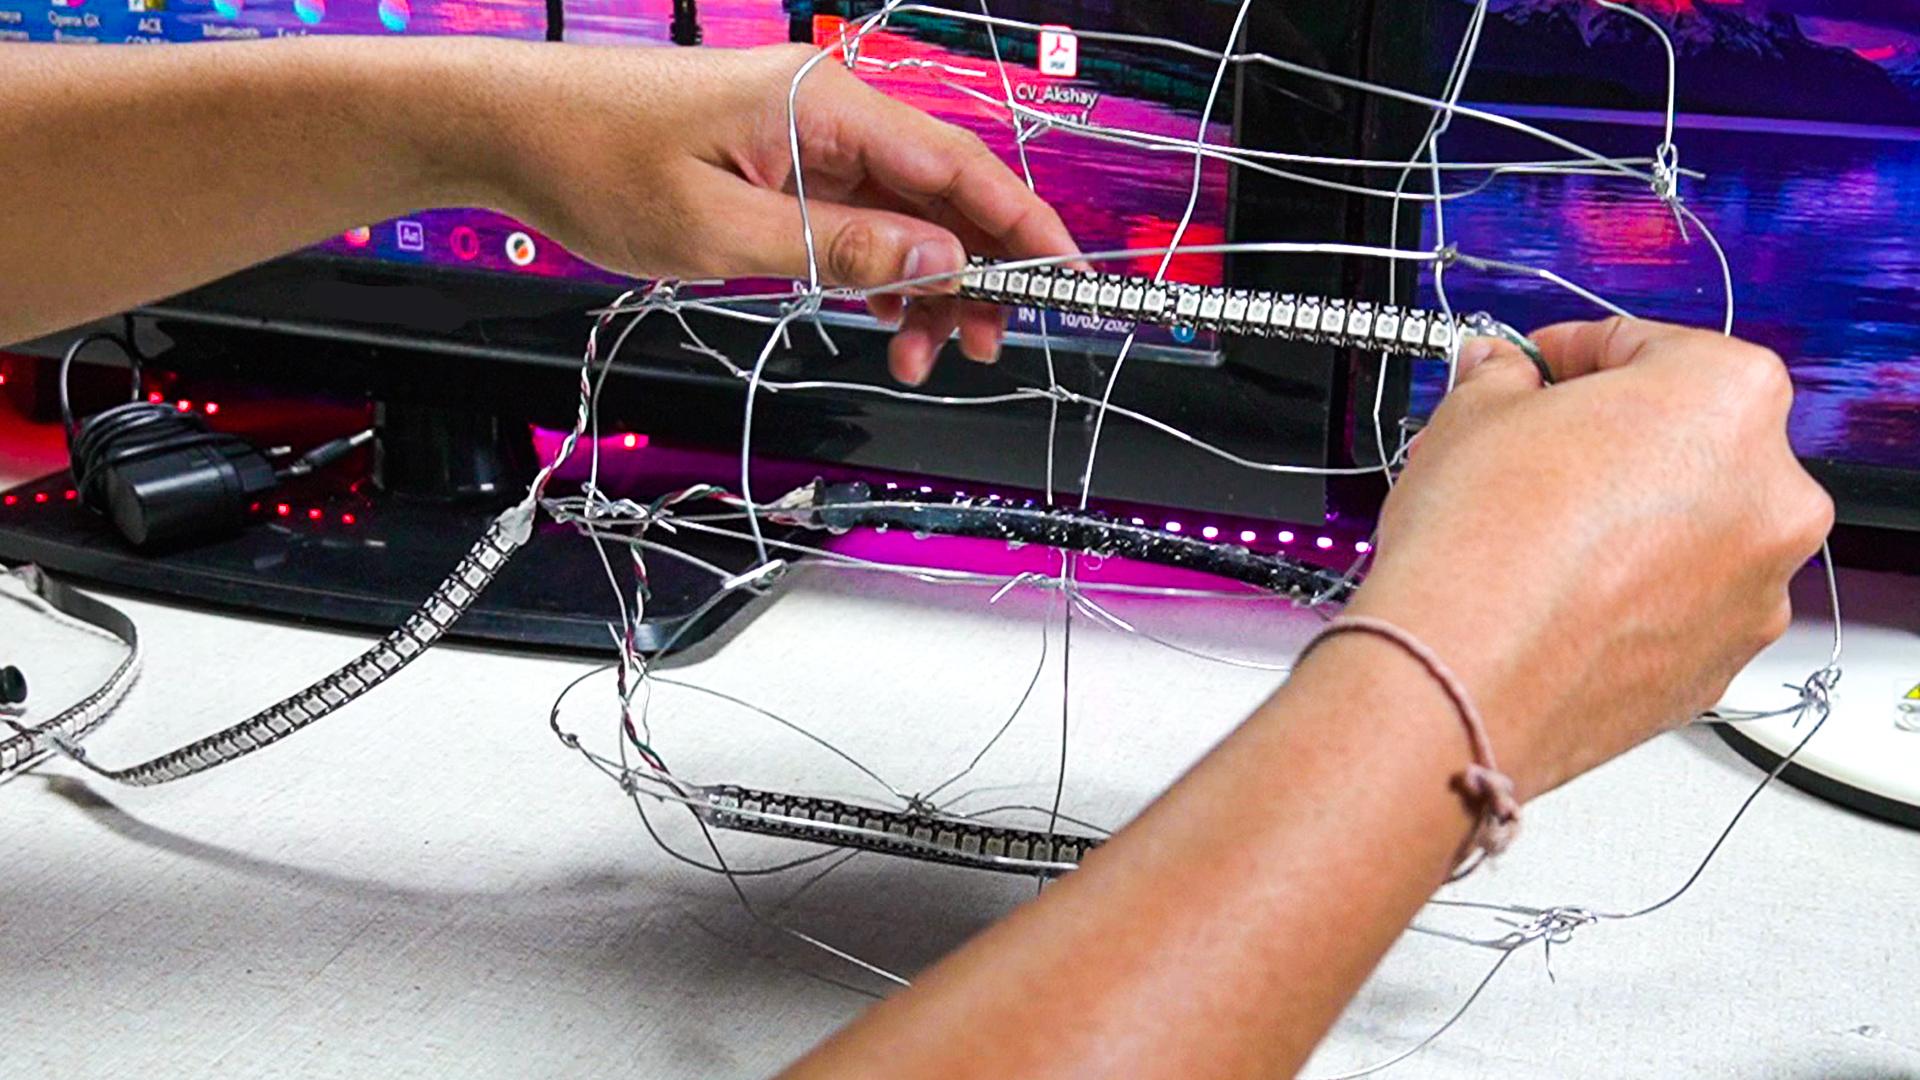
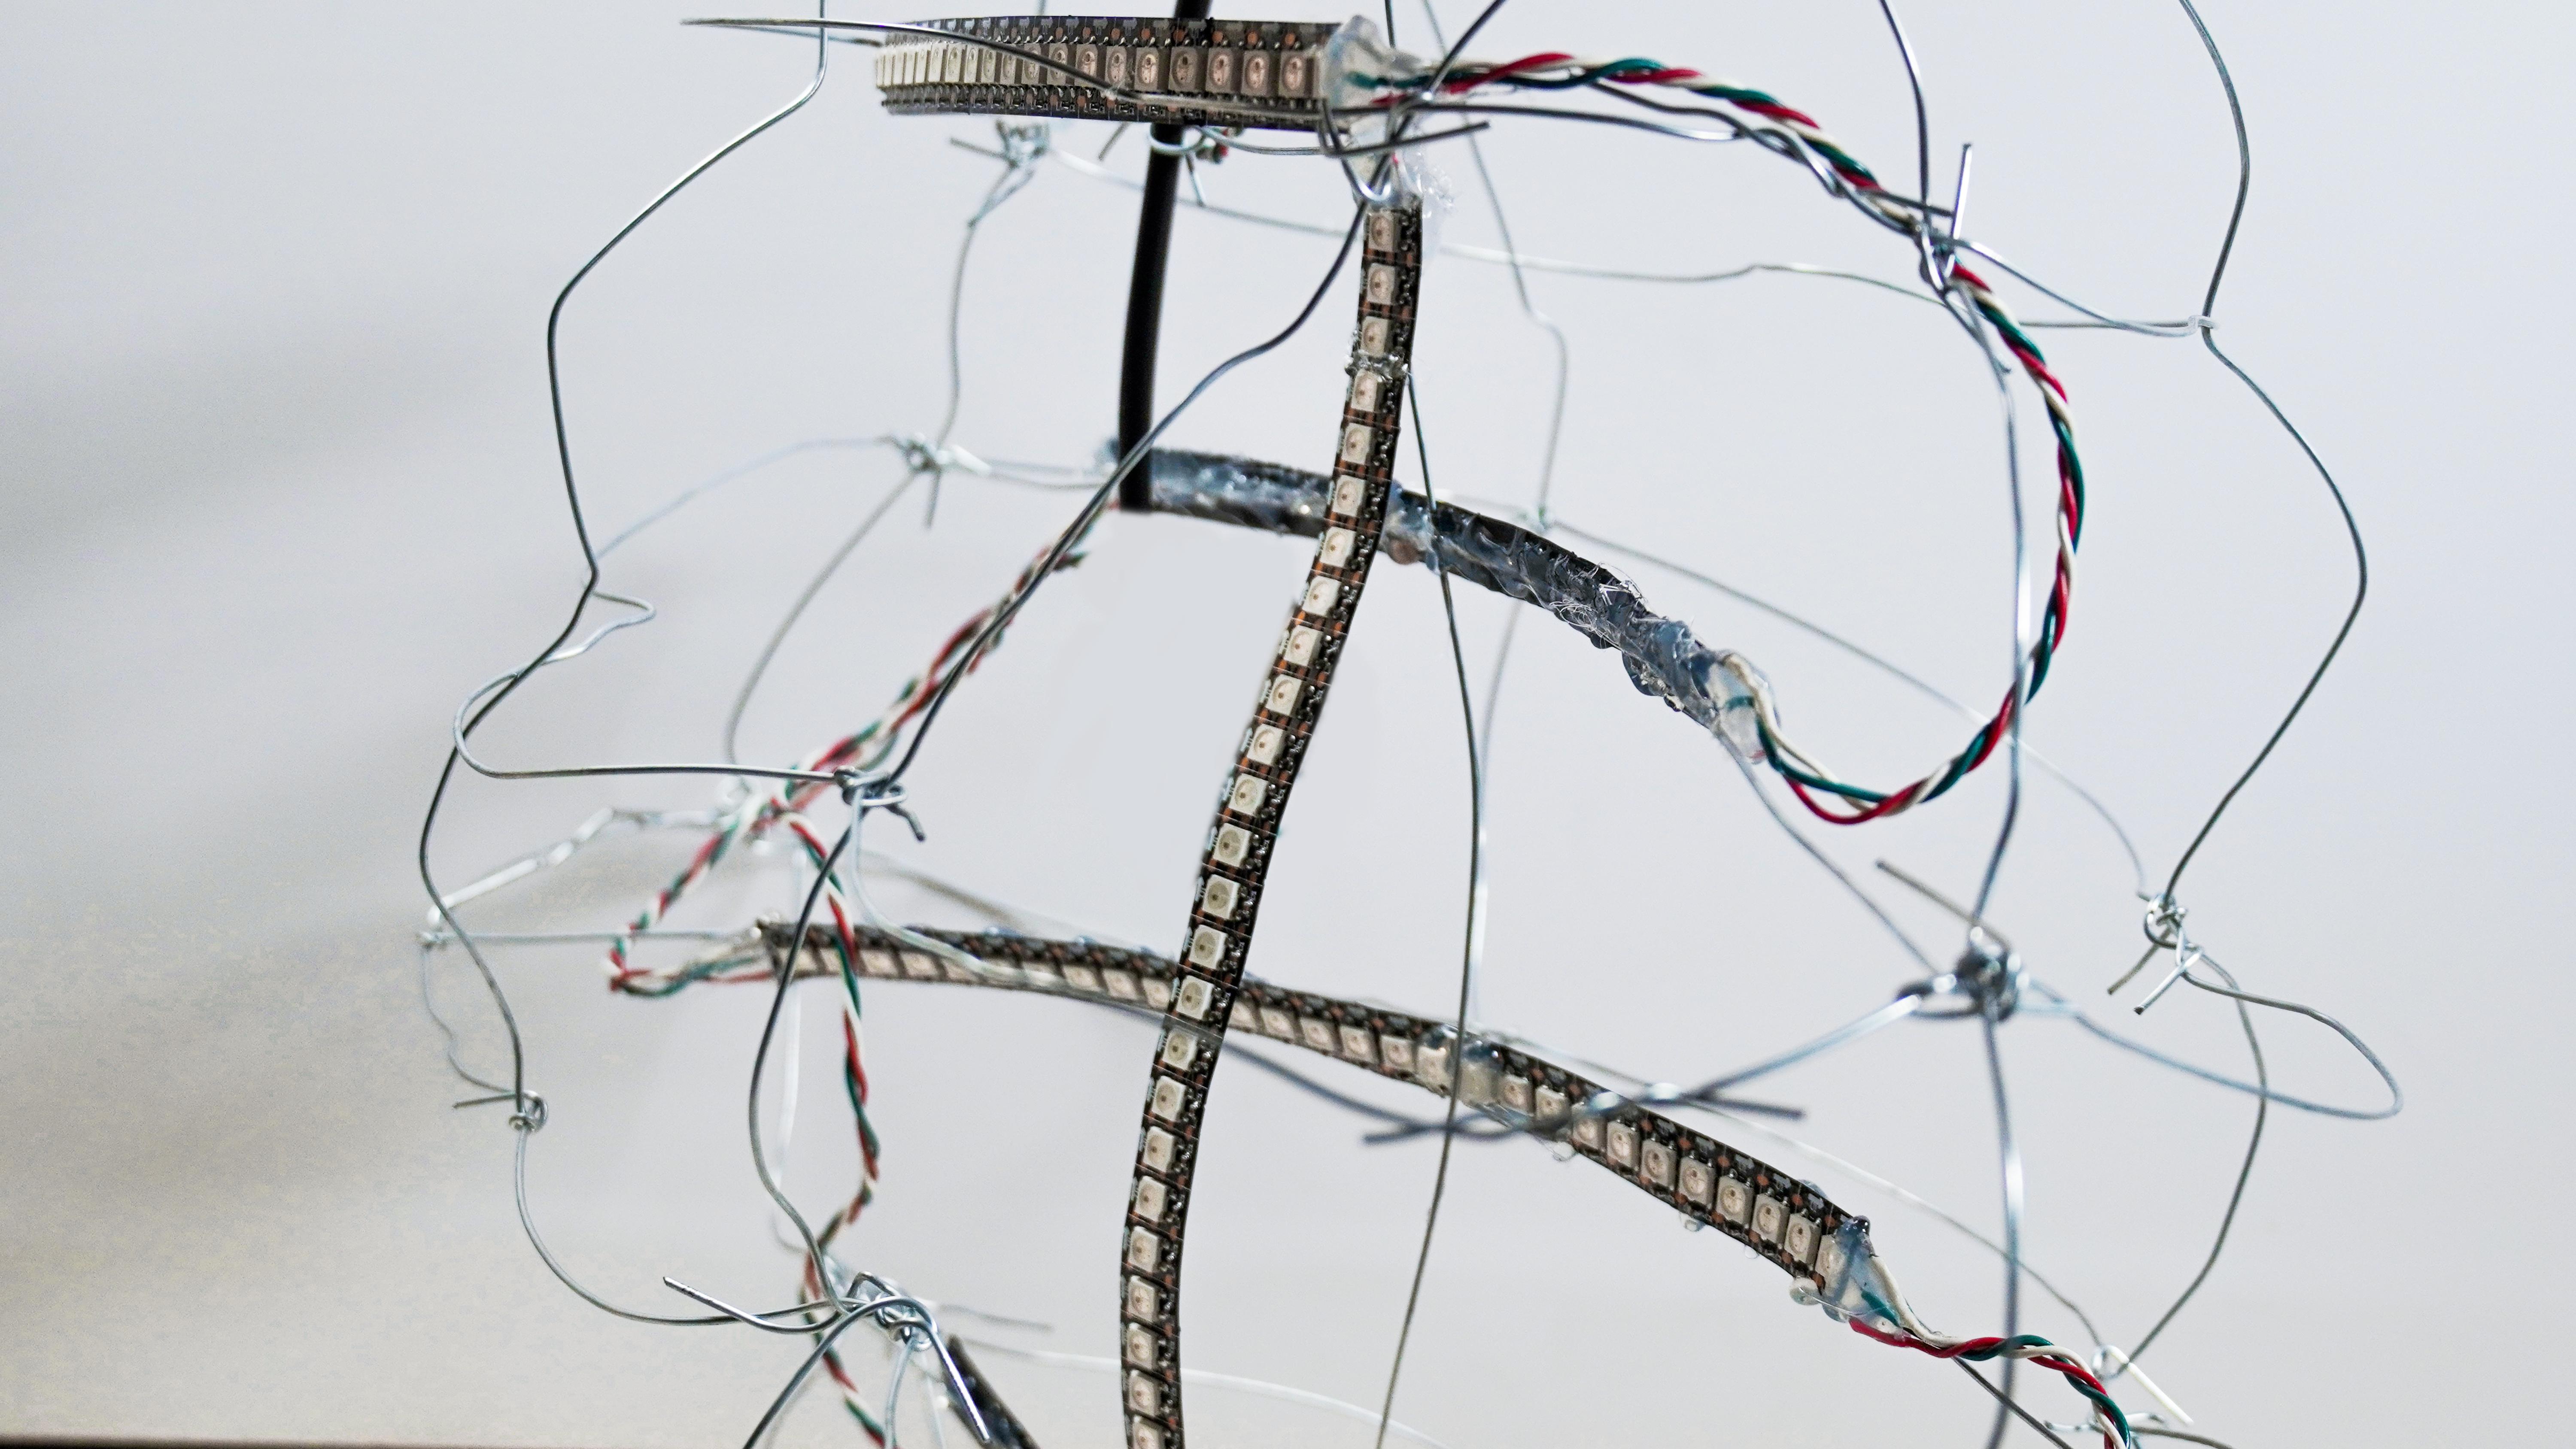
In the last step, we have soldered and prepared LEDs to be attached to our wireframe. In this step, we will add these Neopixel WS2812B on our Lamp, also we will isolate our connection pads of neopixels.
Steps:
- Isolate the soldering pads, to which we soldered extension wires in last step using hot-glue gun.
- Stick LEDs on designated diagonal wires we installed on structure.
- Face LEDs in opposite faces while sticking.
The skeleton of the thundercloud is now ready with all the LEDs installed, now lets add microcontroller in upcoming step.
Microcontroller Connections
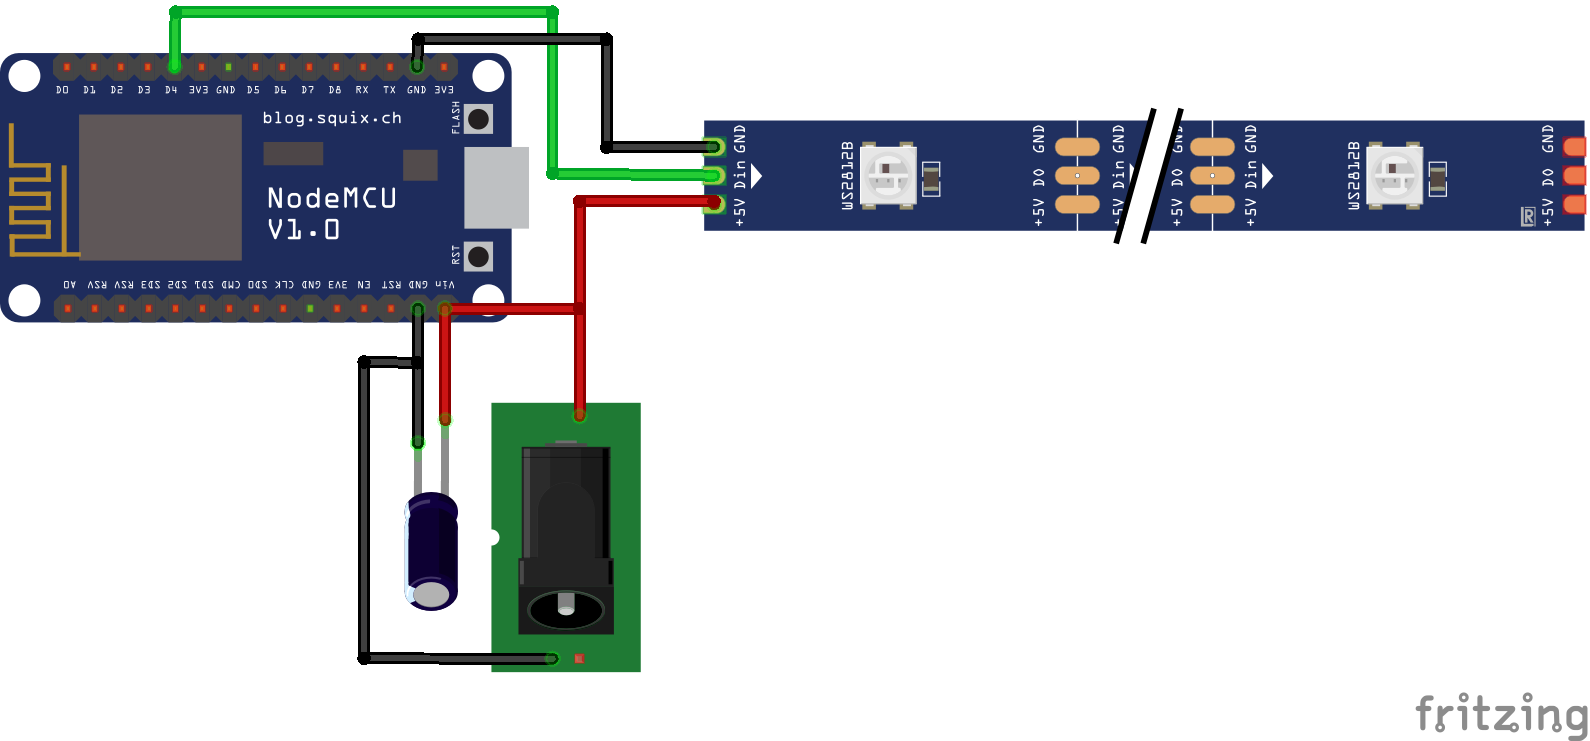
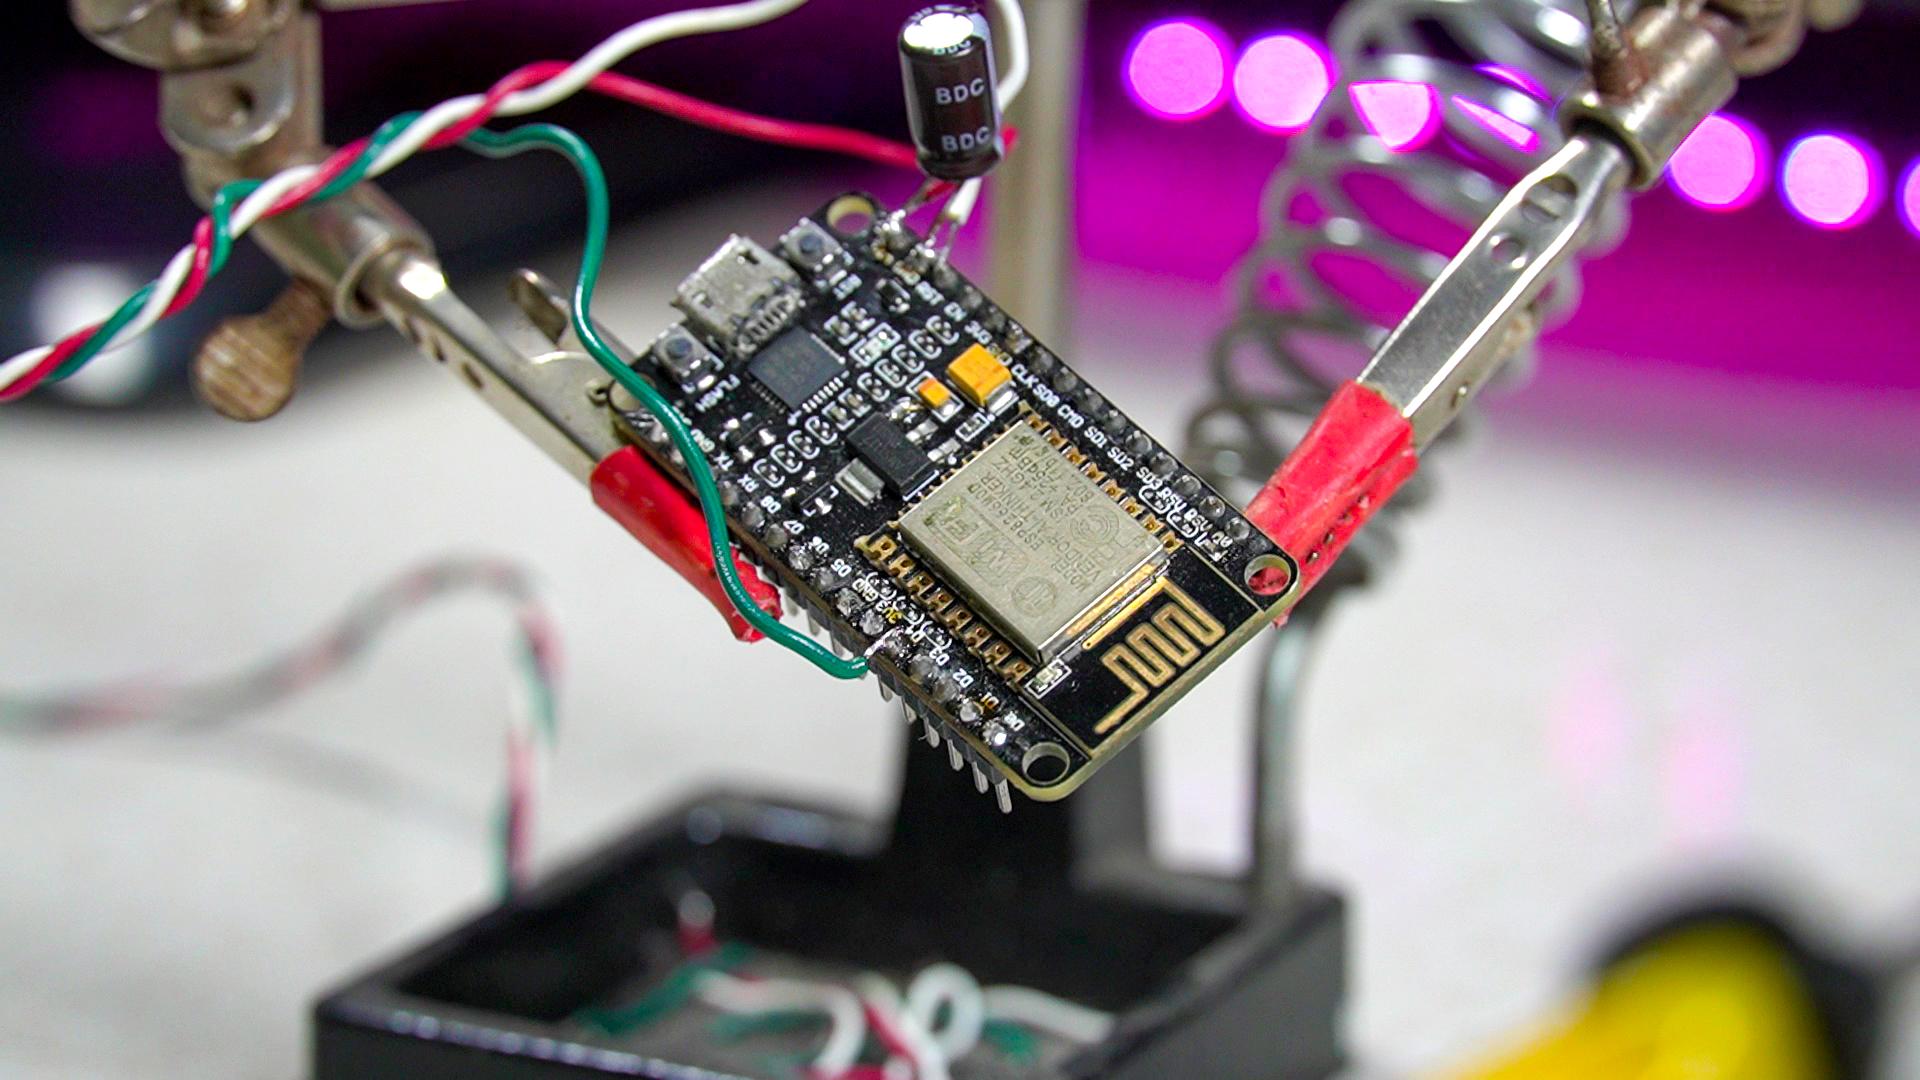
To control the neopixels, we will be using node mcu microcontroller, since it has Wi-Fi. This gives us ability to control neopixels through internet. Now lets discuss connections, which are very very straightforward. we will power node mcu & neopixels using a 5V power supply, which we will connect to a 5.5mm DC power jack. We will use GPIO pin D4 of node mcu and add a 100uF Electrolytic capacitor between Vin and Gnd pin of node mcu, to protect from possible voltage spikes, which can damage our sensitive node mcu board. The connections are listed as following:
CONNECTIONs:
- Signal of neopixel - D4 of node mcu.
- Vcc of neopixel - Vin of node mcu.
- Gnd of neopixel - Gnd of node mcu.
- Positive of Capacitor - Vin of node mcu.
- Negative of Capacitor - Gnd of node mcu.
- Positive of DC jack - Vin of node mcu.
- Negative of DC jack - Gnd of node mcu.
At last, use HOTGLUE and isolate all pins to avoid short-circuit and add strength to solder joints.
(also, a FZZ file of circuit can be found in this step along with circuit picture.)
Downloads
Installing APP
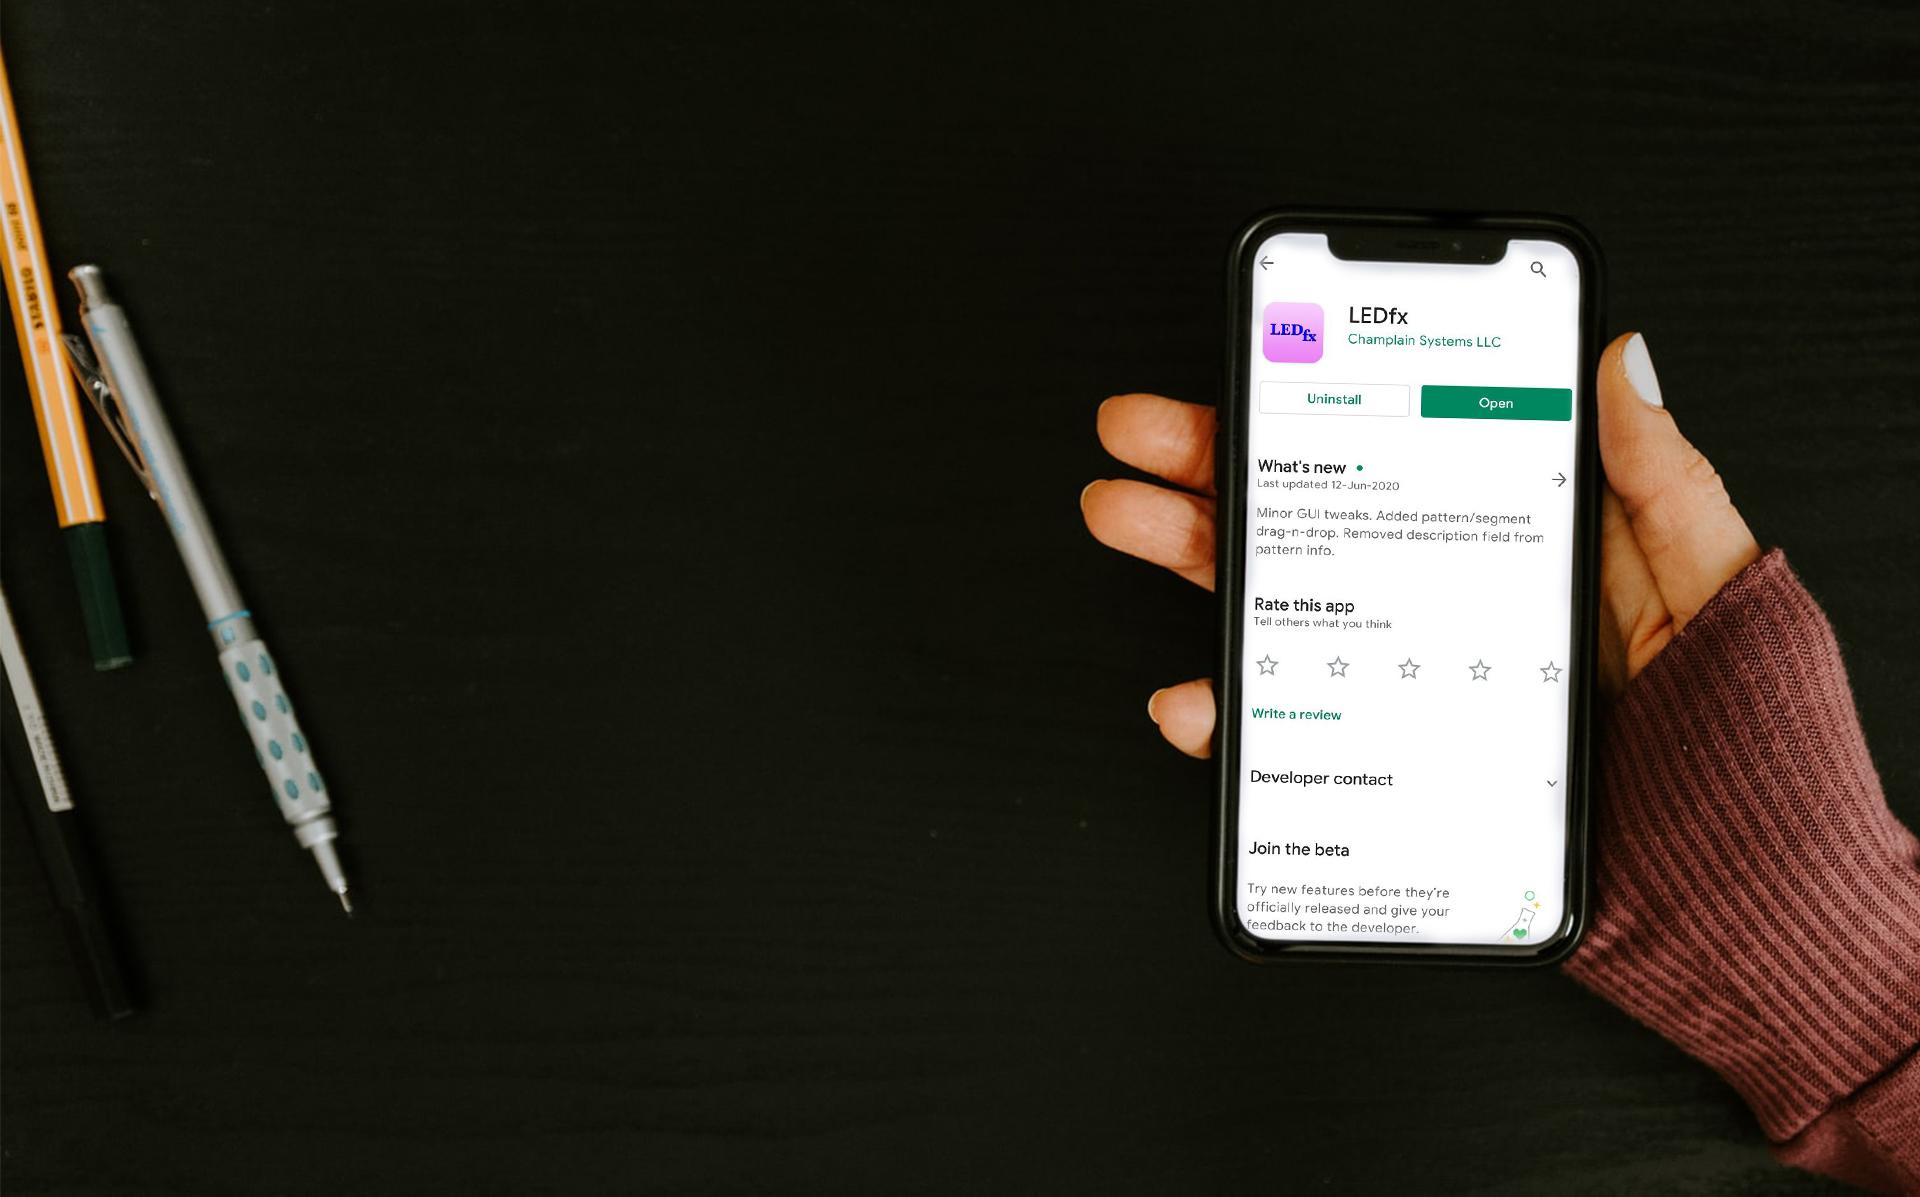
Setup App
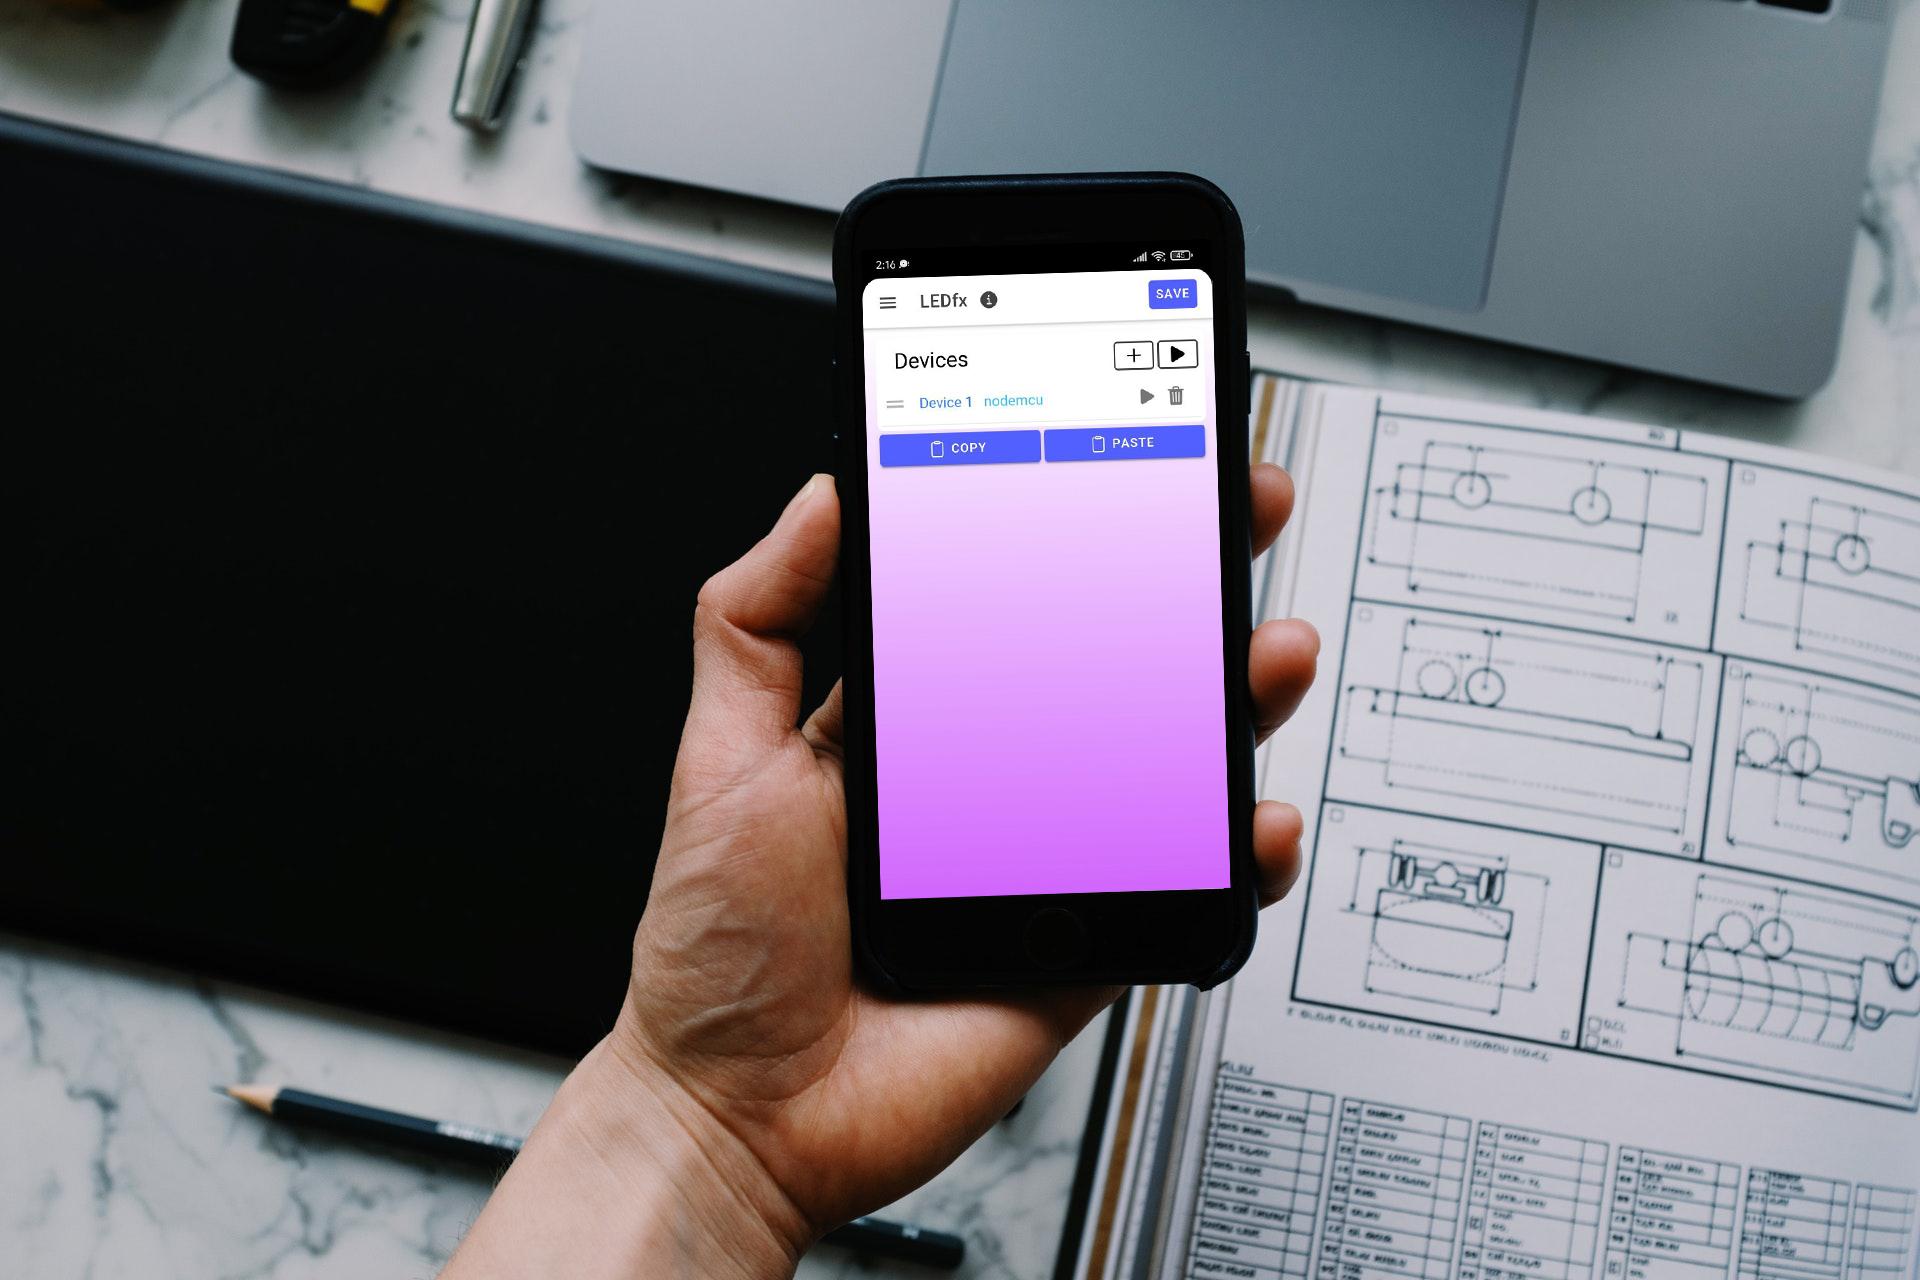
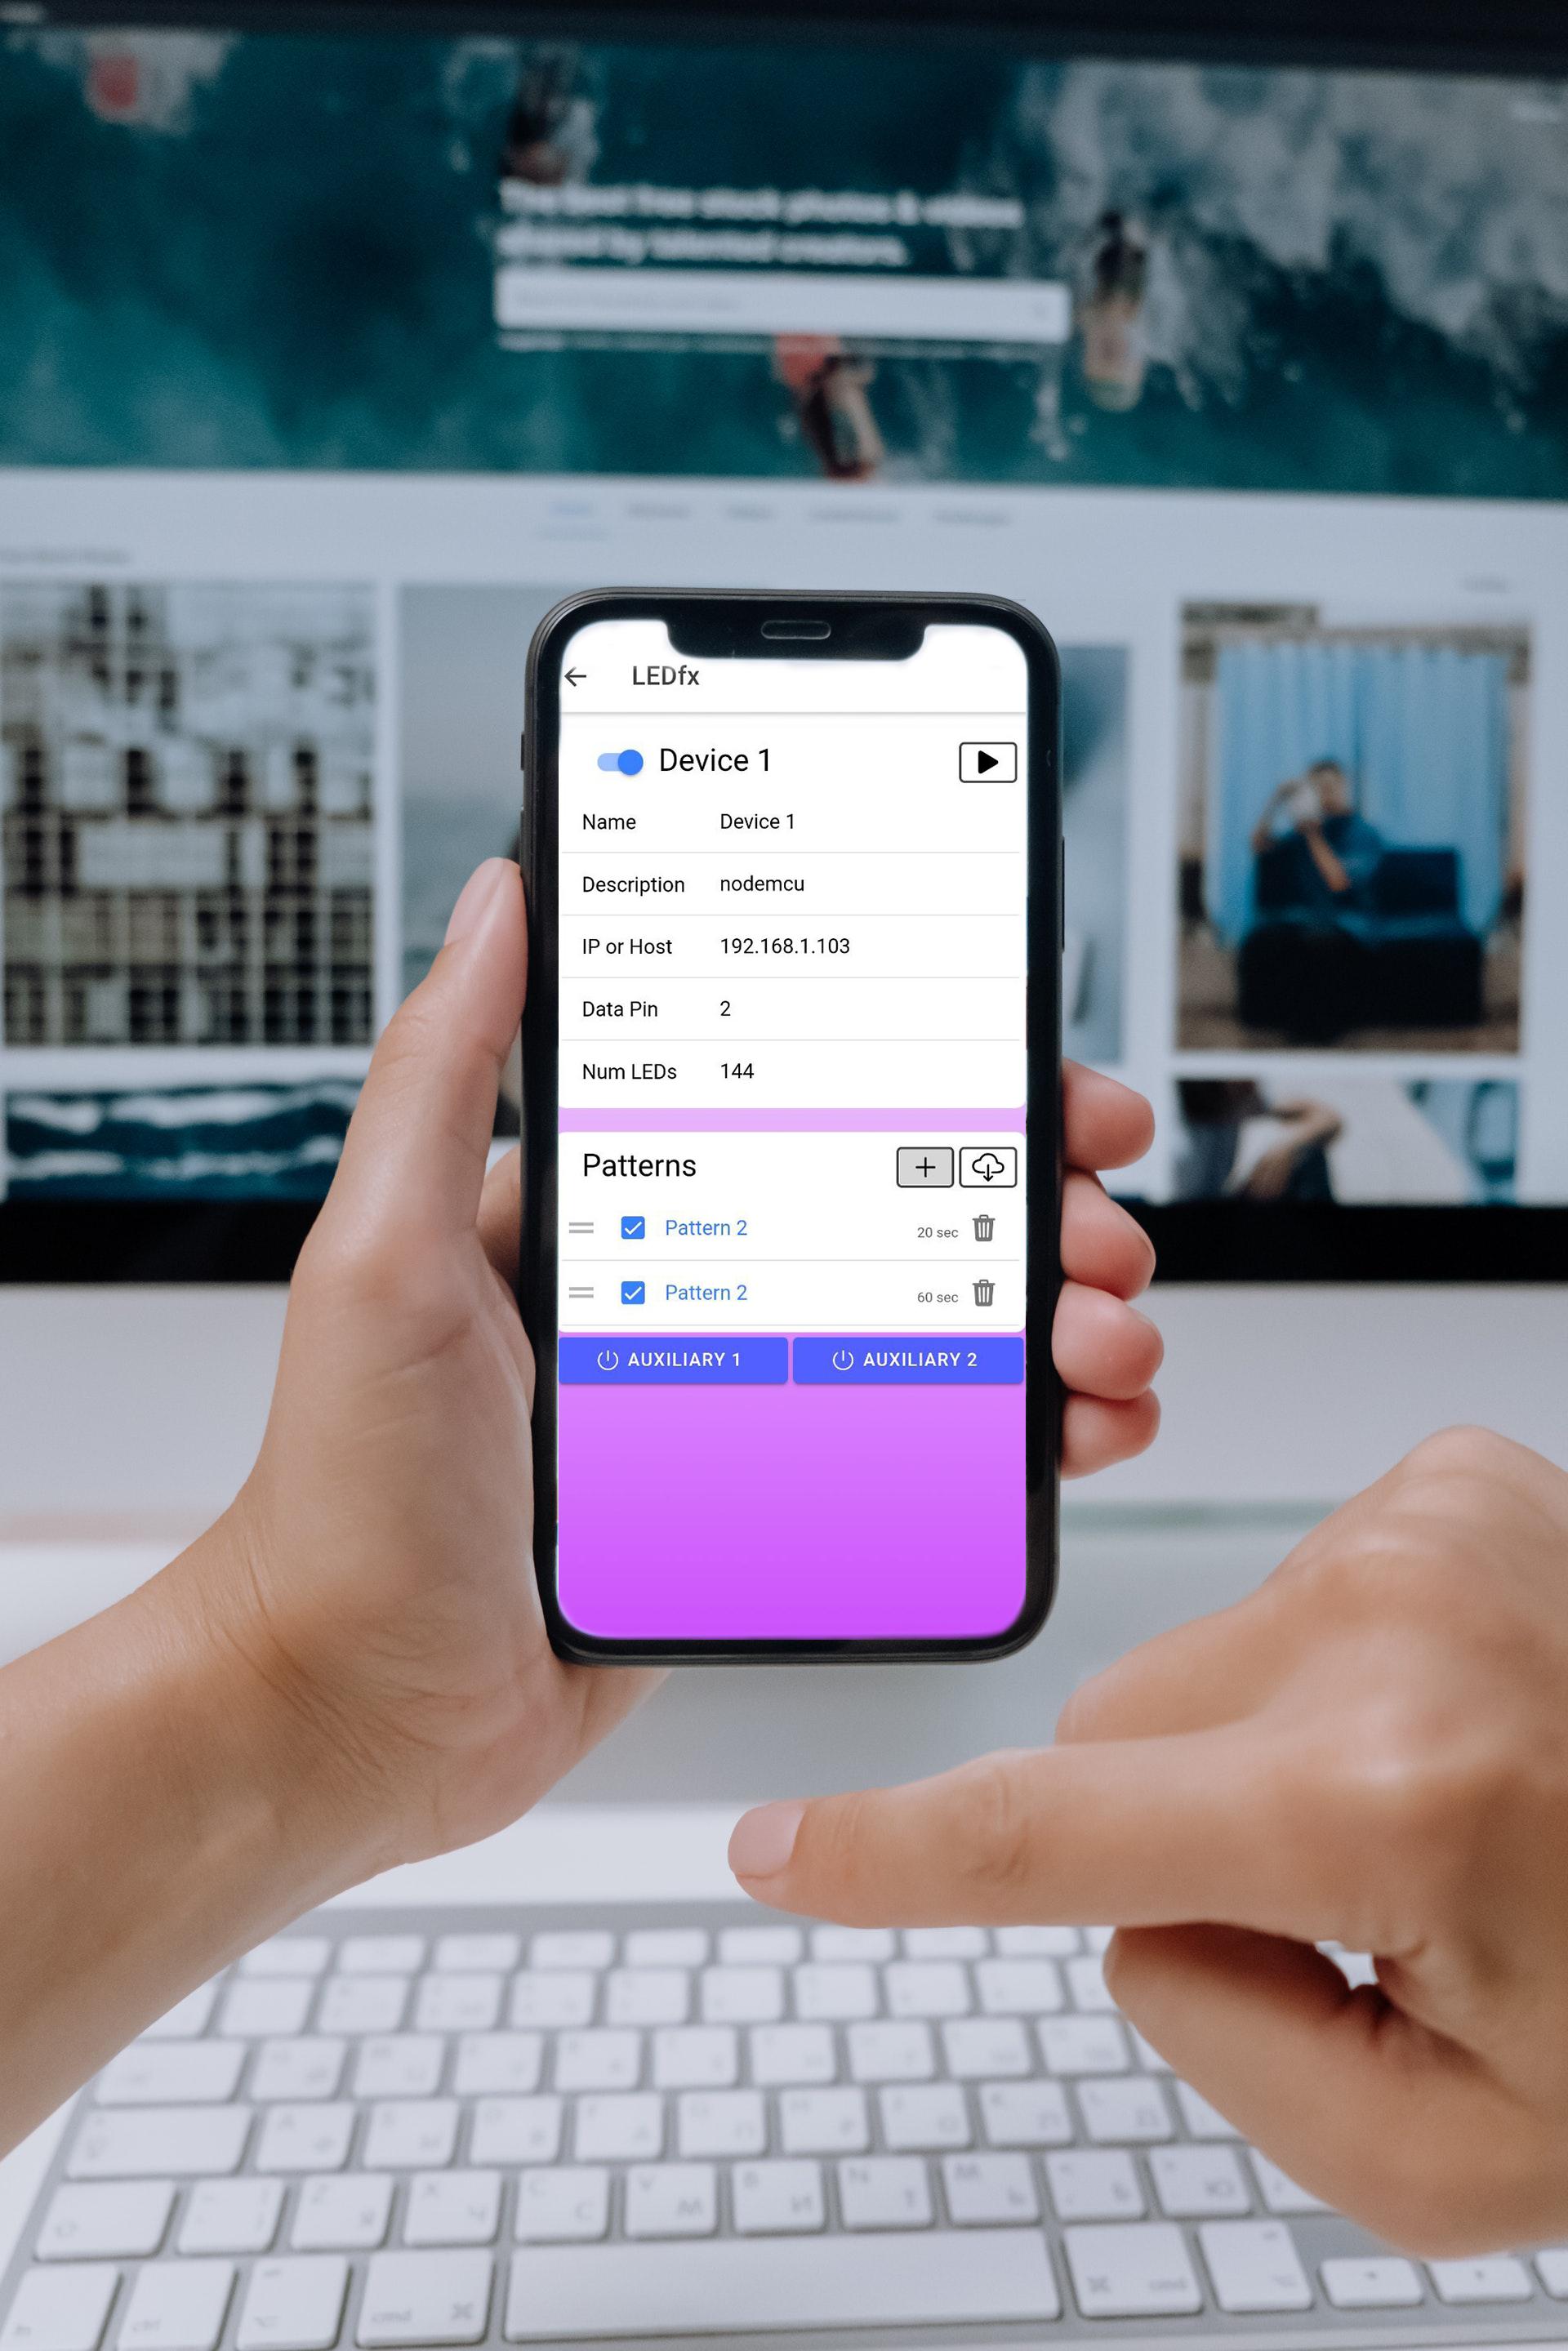
Once the app is installed, open the app and follow the given steps, to complete the setup.
Steps:
- Open LEDfx app on your phone.
- Add a new device and rename it as Node MCU. Inside this device, you will see numerous options to customize the LEDs.
- Add the IP address / Host address which was copied from serial monitor in step 3.
- Set the Pin number as pin 2.
- Set the number of LEDs as we did in the code. (which is 144 for my case)
- Customize patterns, colors in the Patterns section as desired. ( explained in further steps)
Cover Frame With Butter Paper (Parchment Paper)
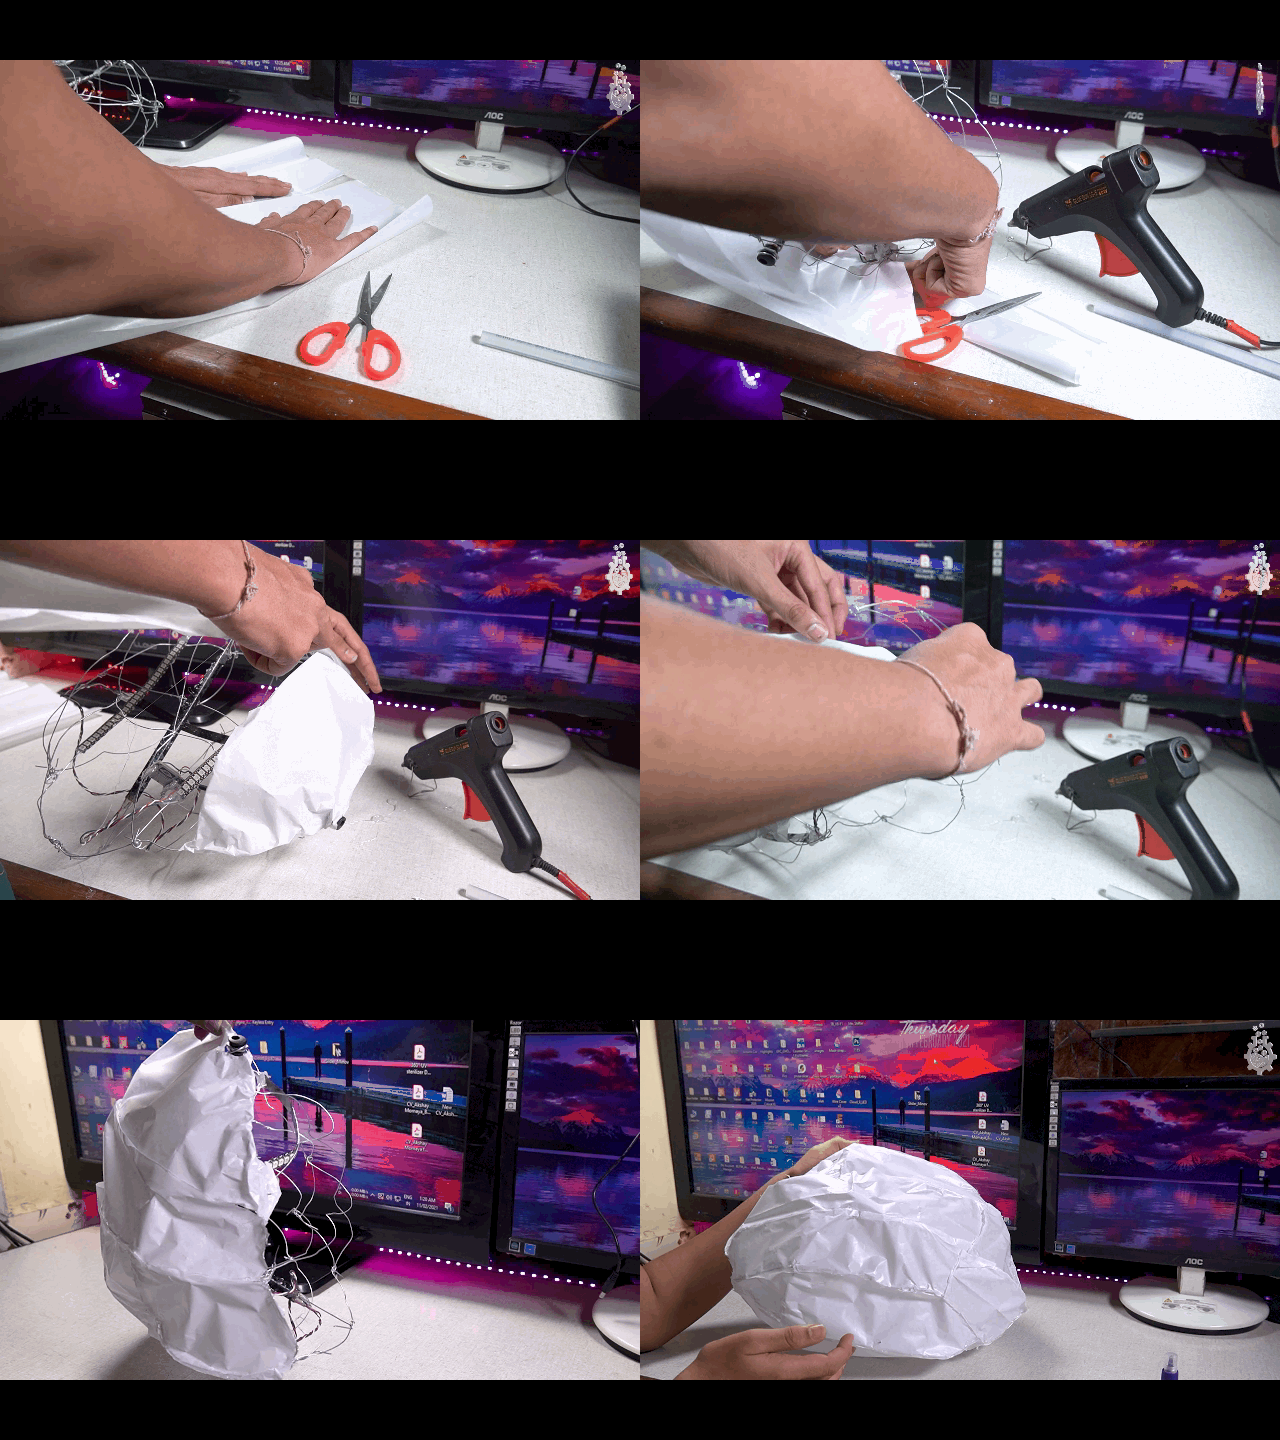
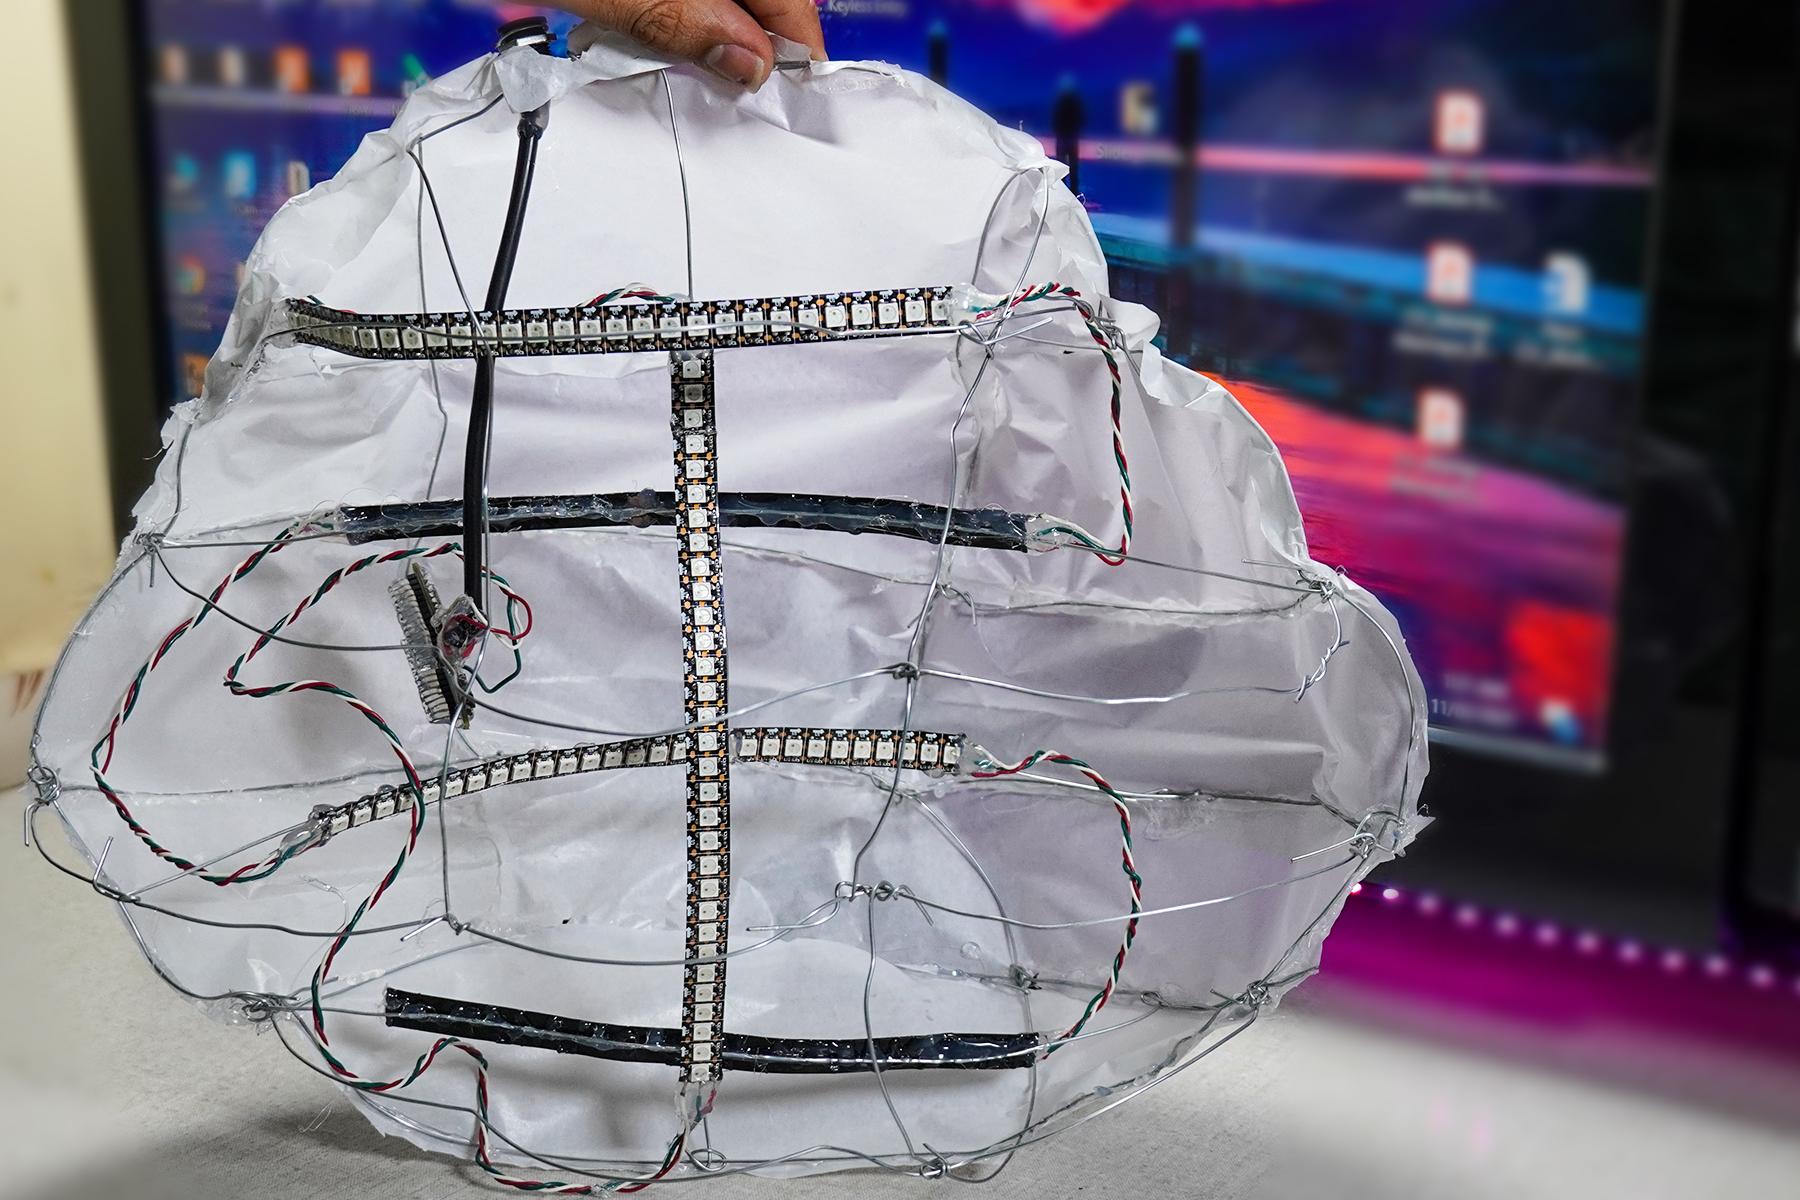

Since we are in almost end part of our project and satisfied with out coding and hardware part, its finally time to give this project its artistic finish, which we need to do by adding cotton layer in end. The cotton won't alone stay at its place and the pixels from Neopixel are too bright to hit the surface of cotton. To solve 2 problems with one solution, we will add Parchment paper (butter paper) to the structure of our lamp.
Steps:
- Cut small segments of the parchment paper bigger than size of segments.
- Apply thin layer of hot glue at the structure edge, working one segment at a time.
- Stick to the Paper on framework carefully.
- Cut off the excess part of paper using pair of scissors.
- Cover all sides properly using hot glue gun.
Adhering Cotton
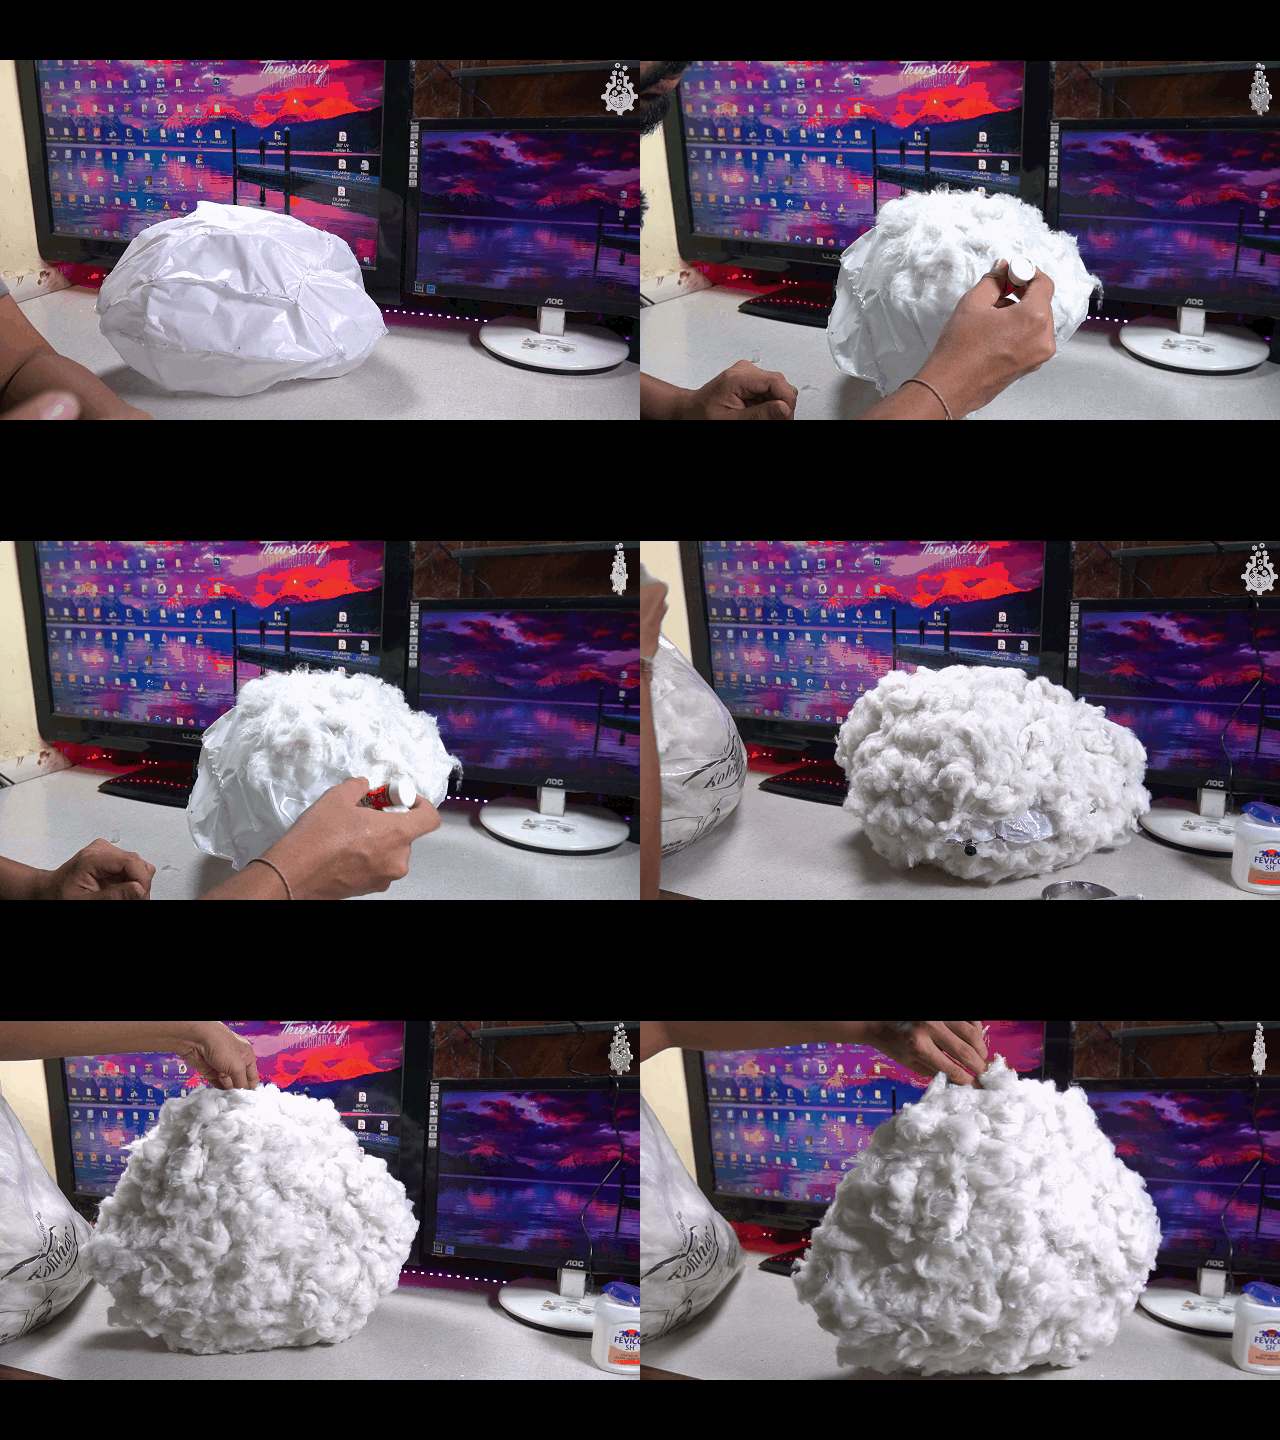
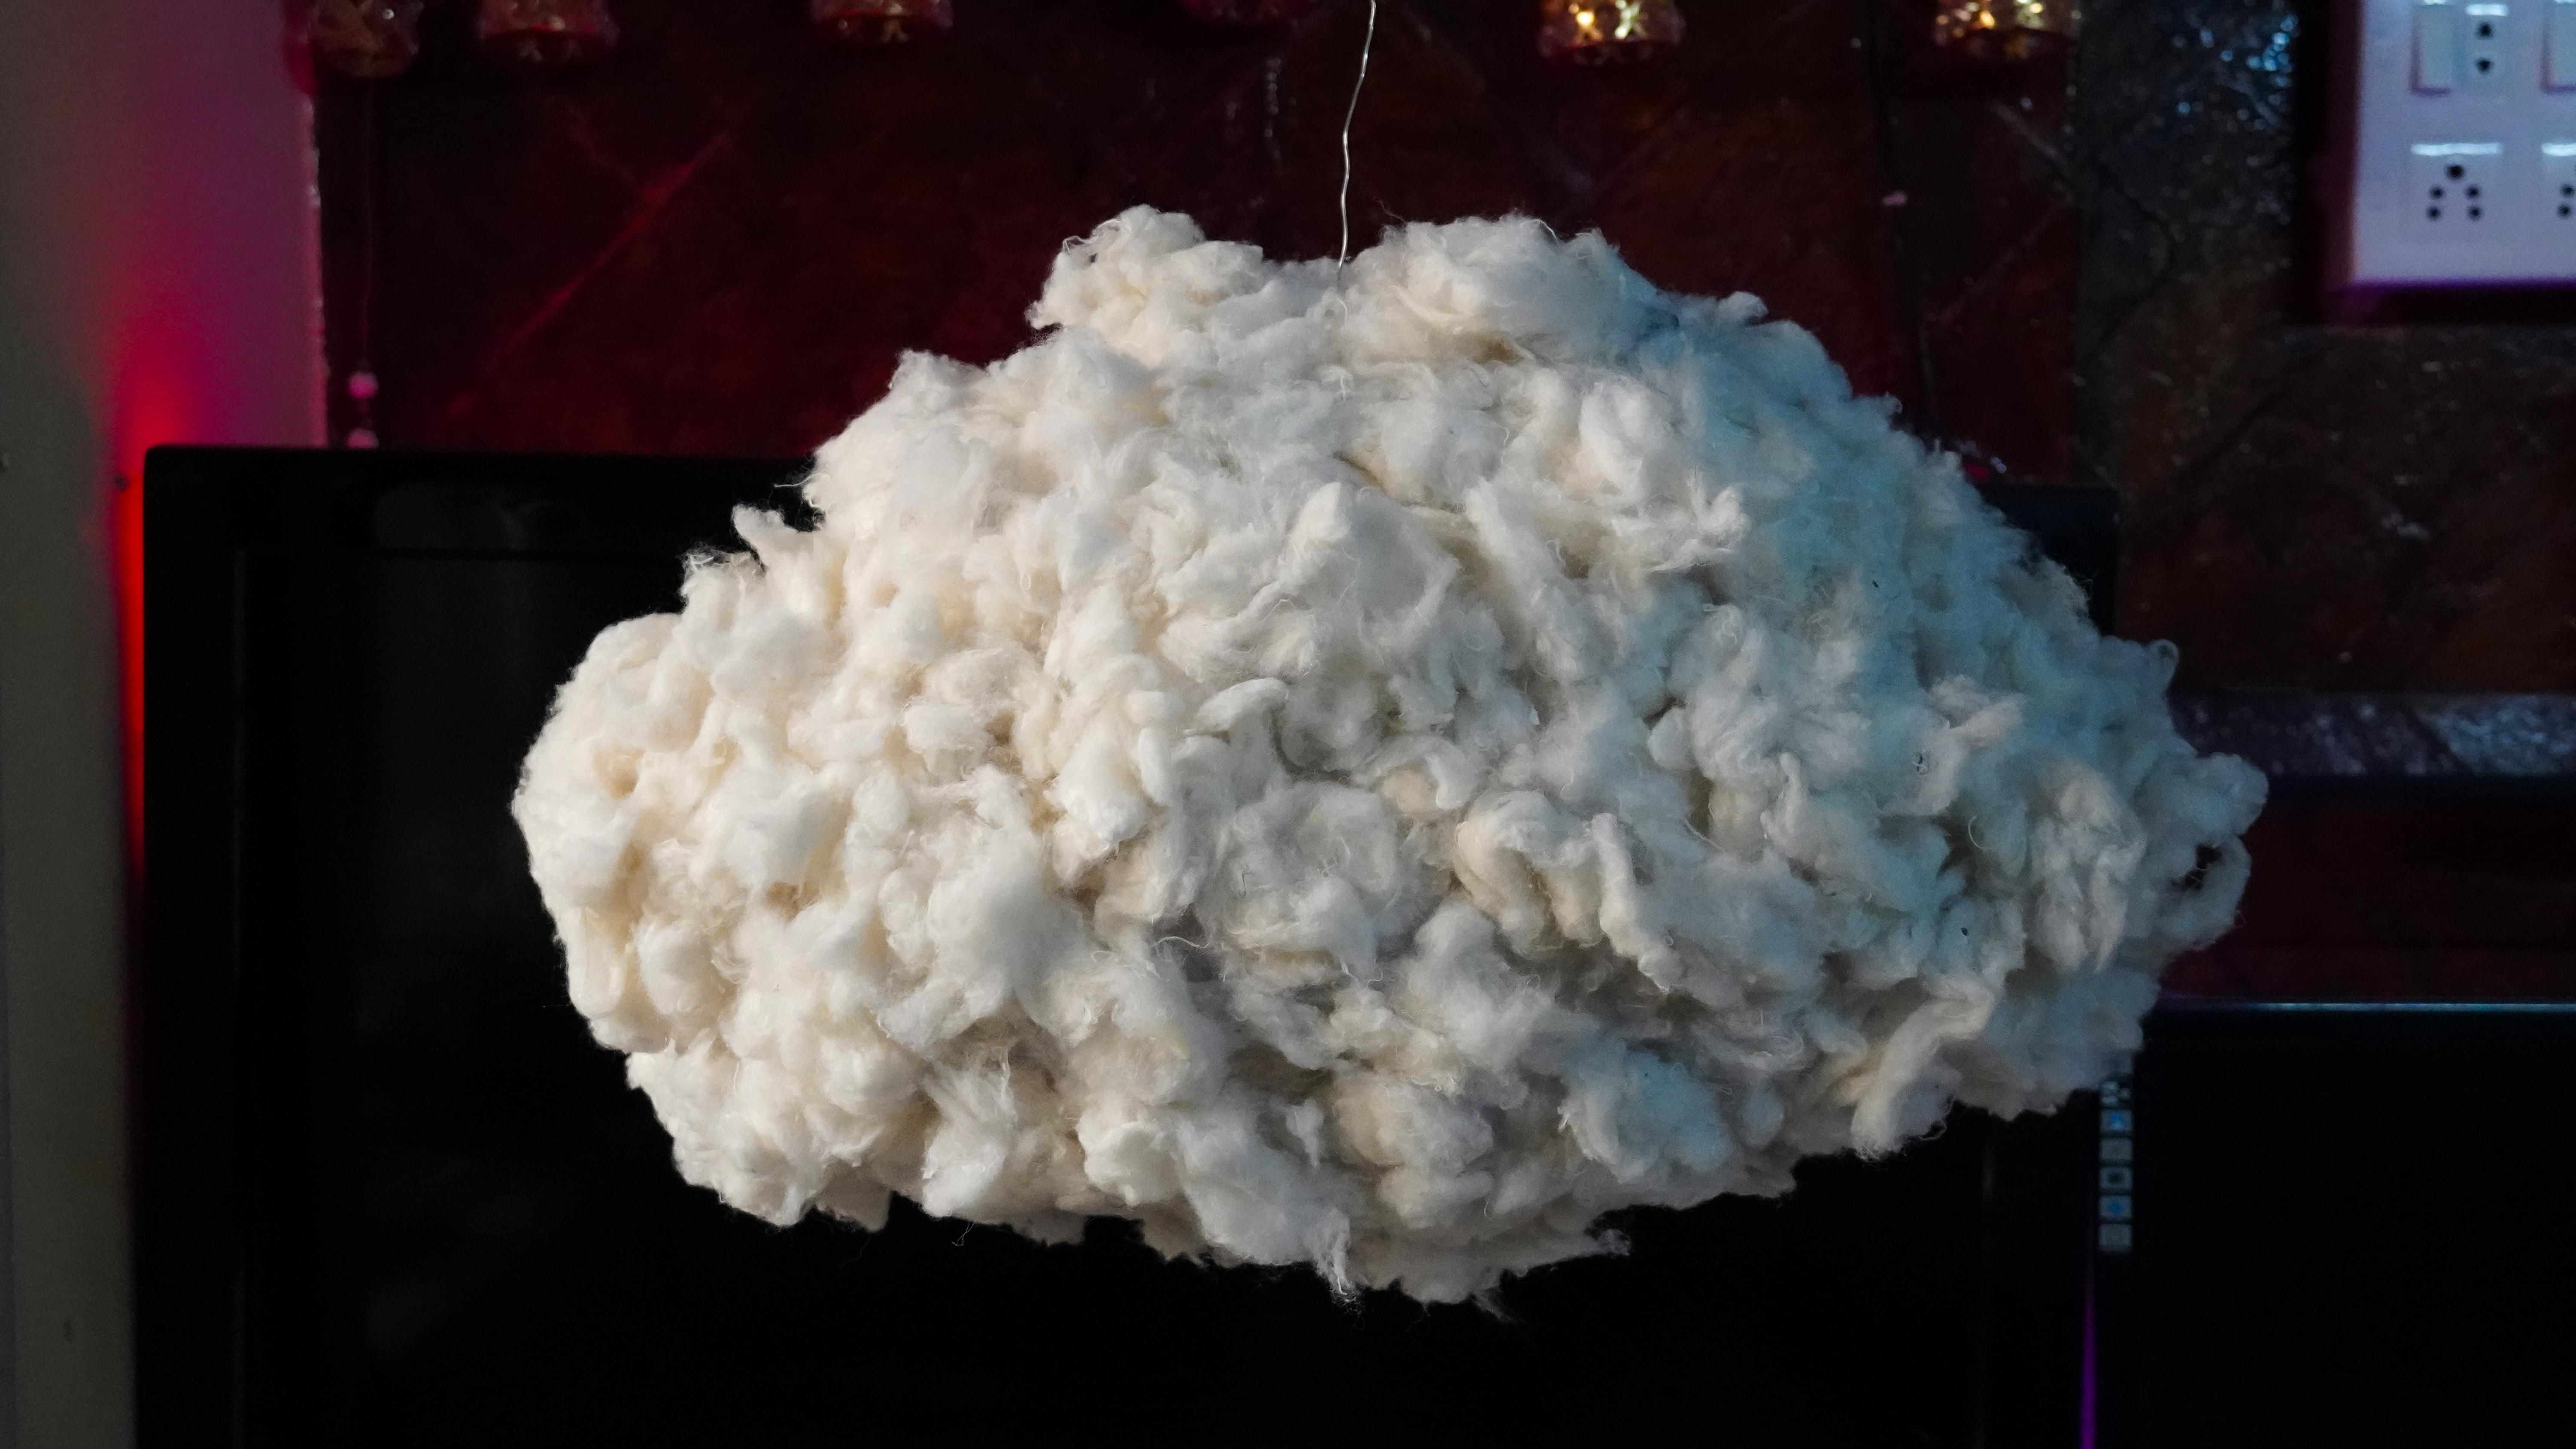
Use glue(Fabric glue/ craft Glue) and stick cotton to the parchment paper so that it looks like a cloud.
Steps:
- Mix 1:1 ratio of craft glue with water and mix it well.
- Apply even coat of glue solution on one part of lamp at a time.
- Stick very thin layer of cotton over the glued section.
- Cover the cloud with lots and lots of cotton. (Cotton will give the texture of a cloud.)
(Pro Tip: you may add extra layers and fluff the cotton to make the cloud look more natural and little more airy.)
Customizing LED Pattern
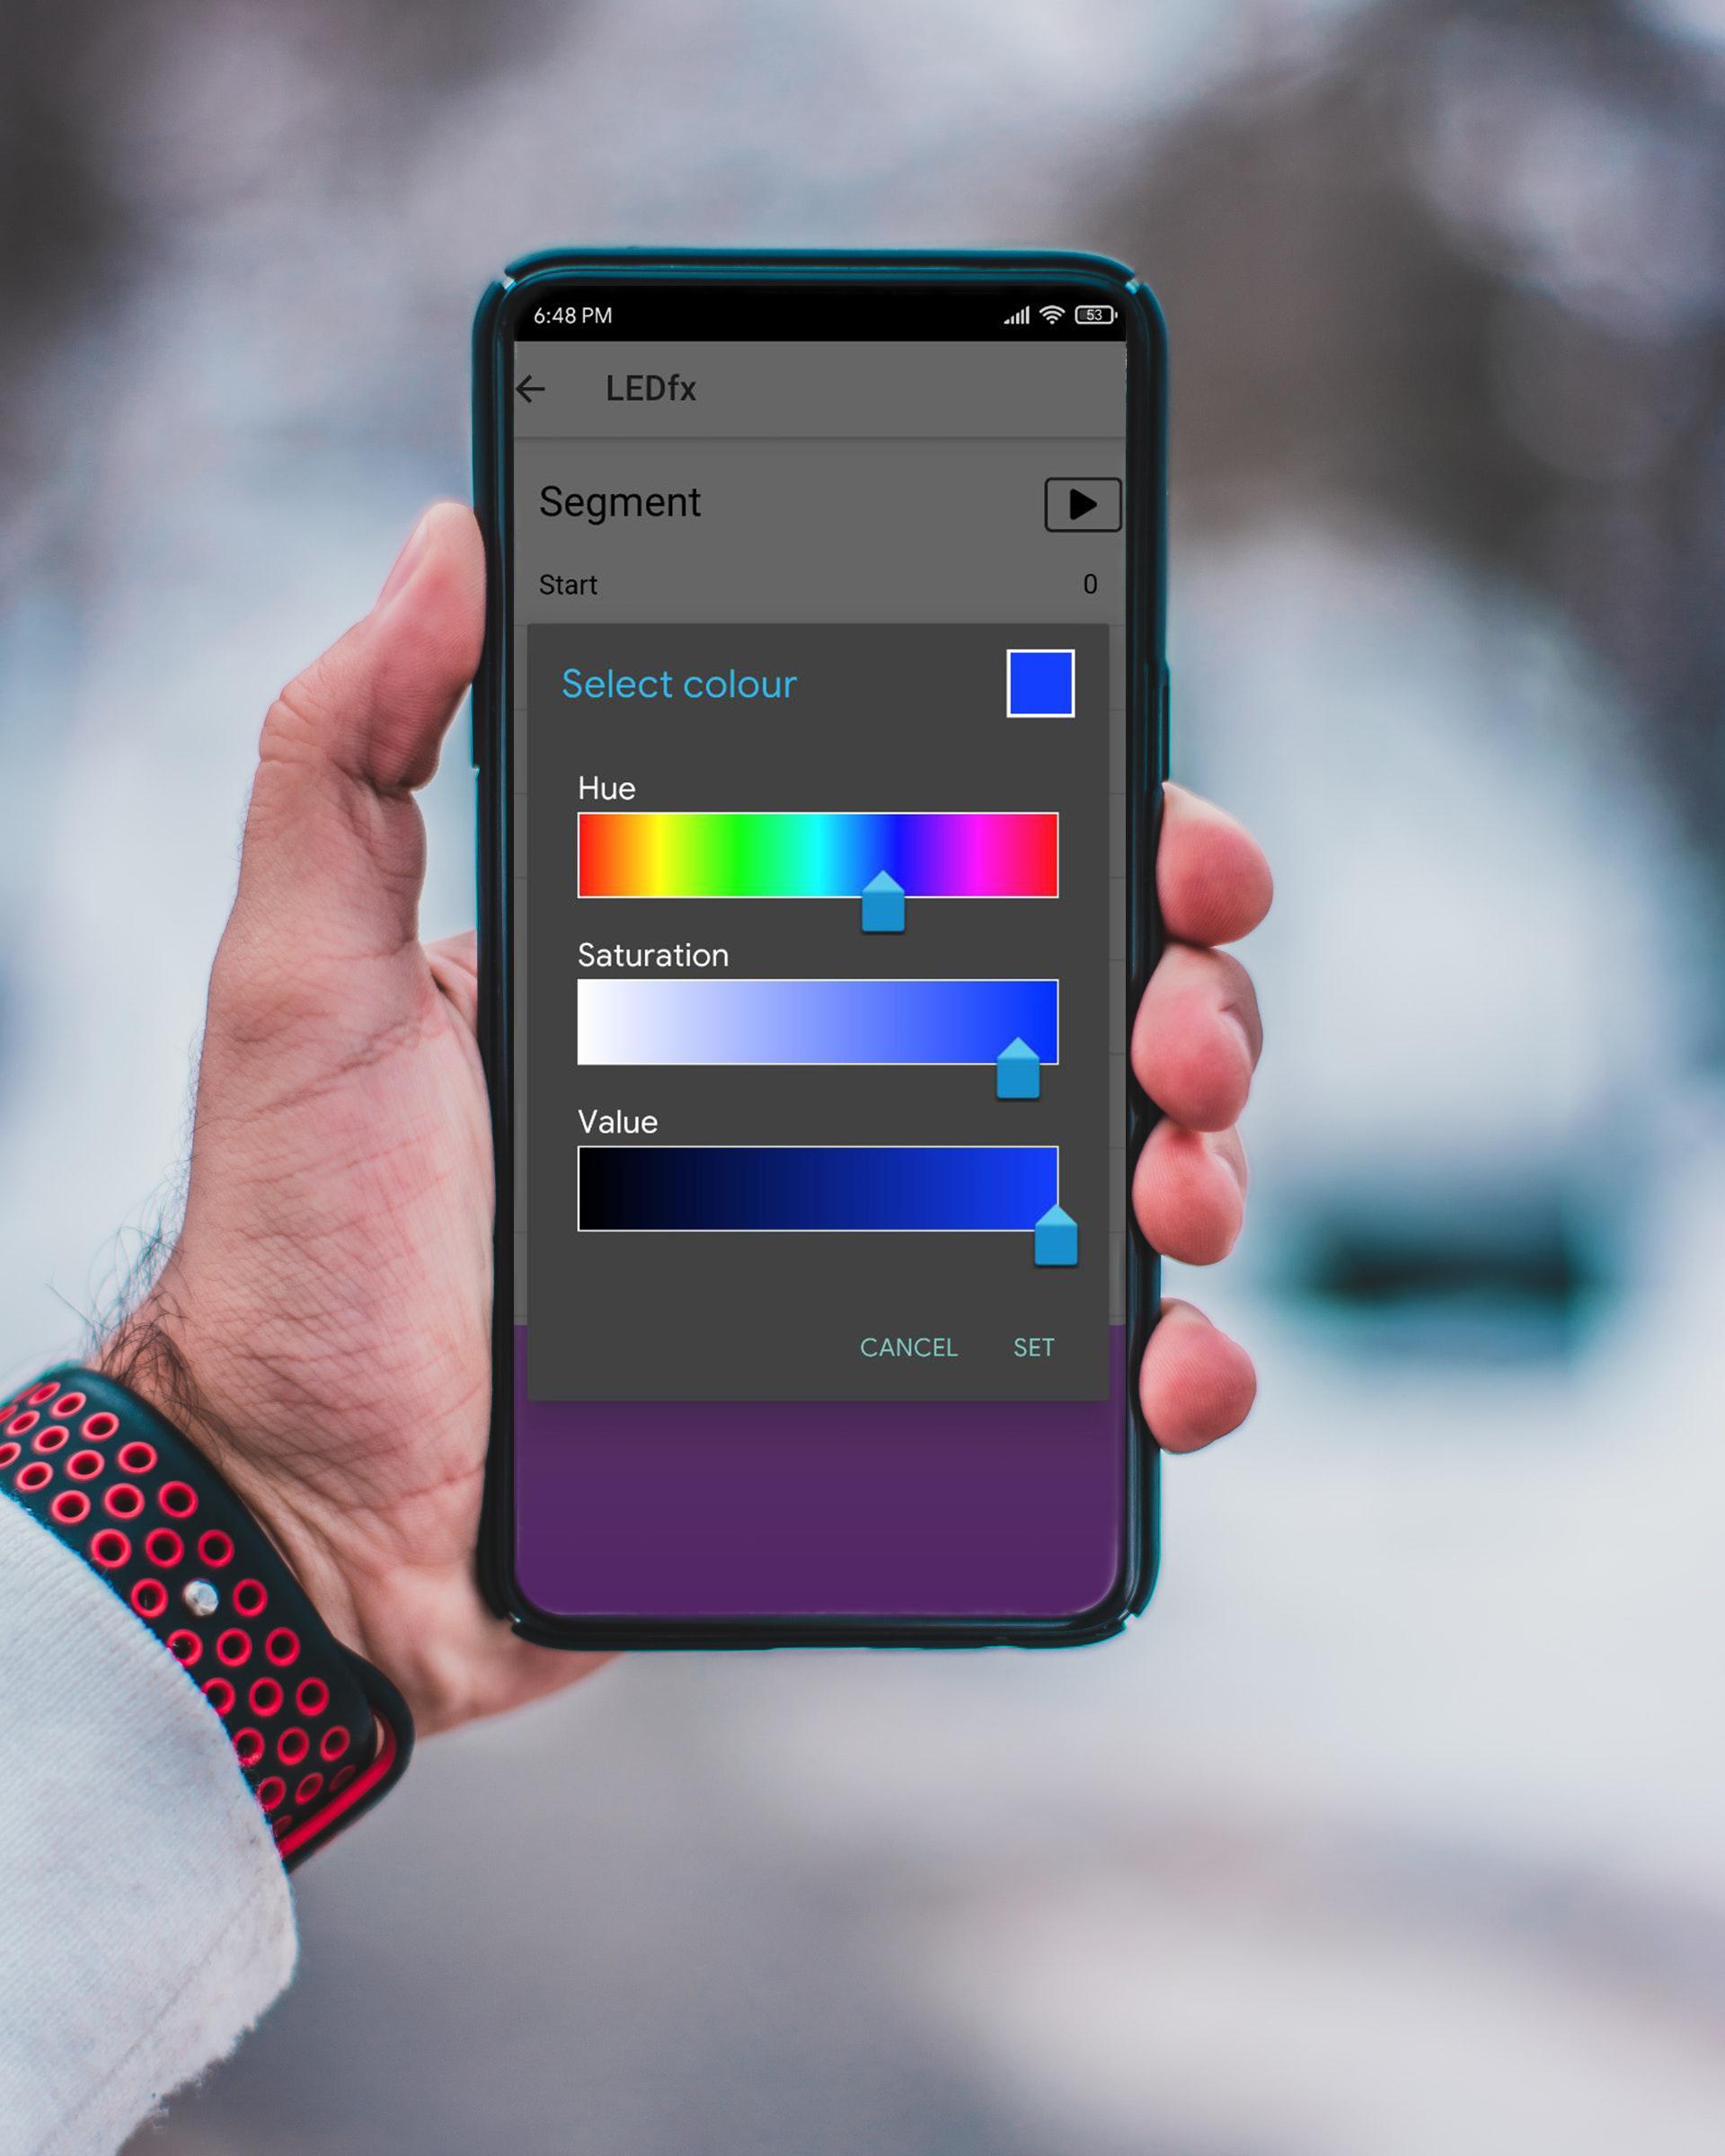
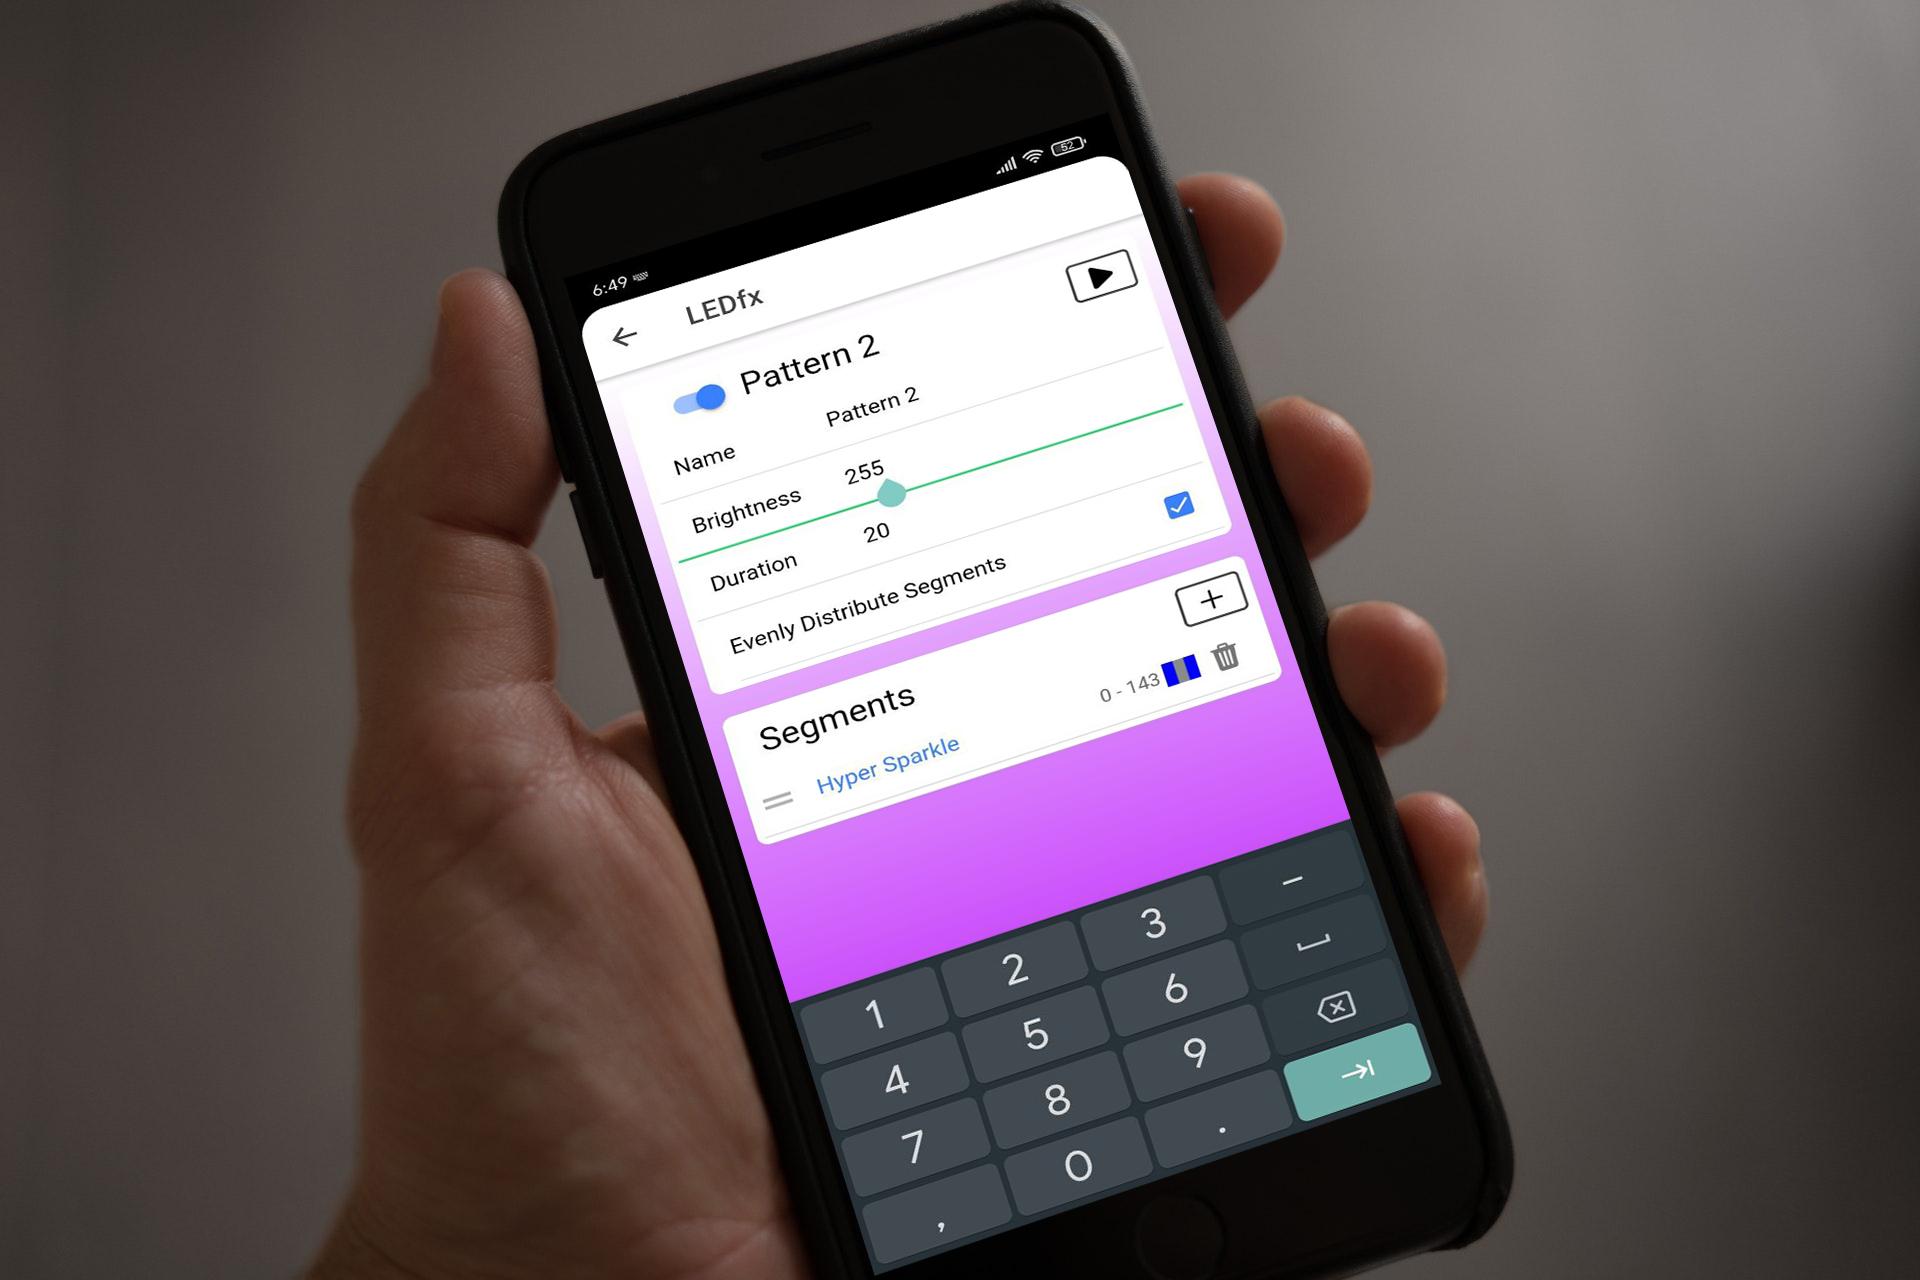
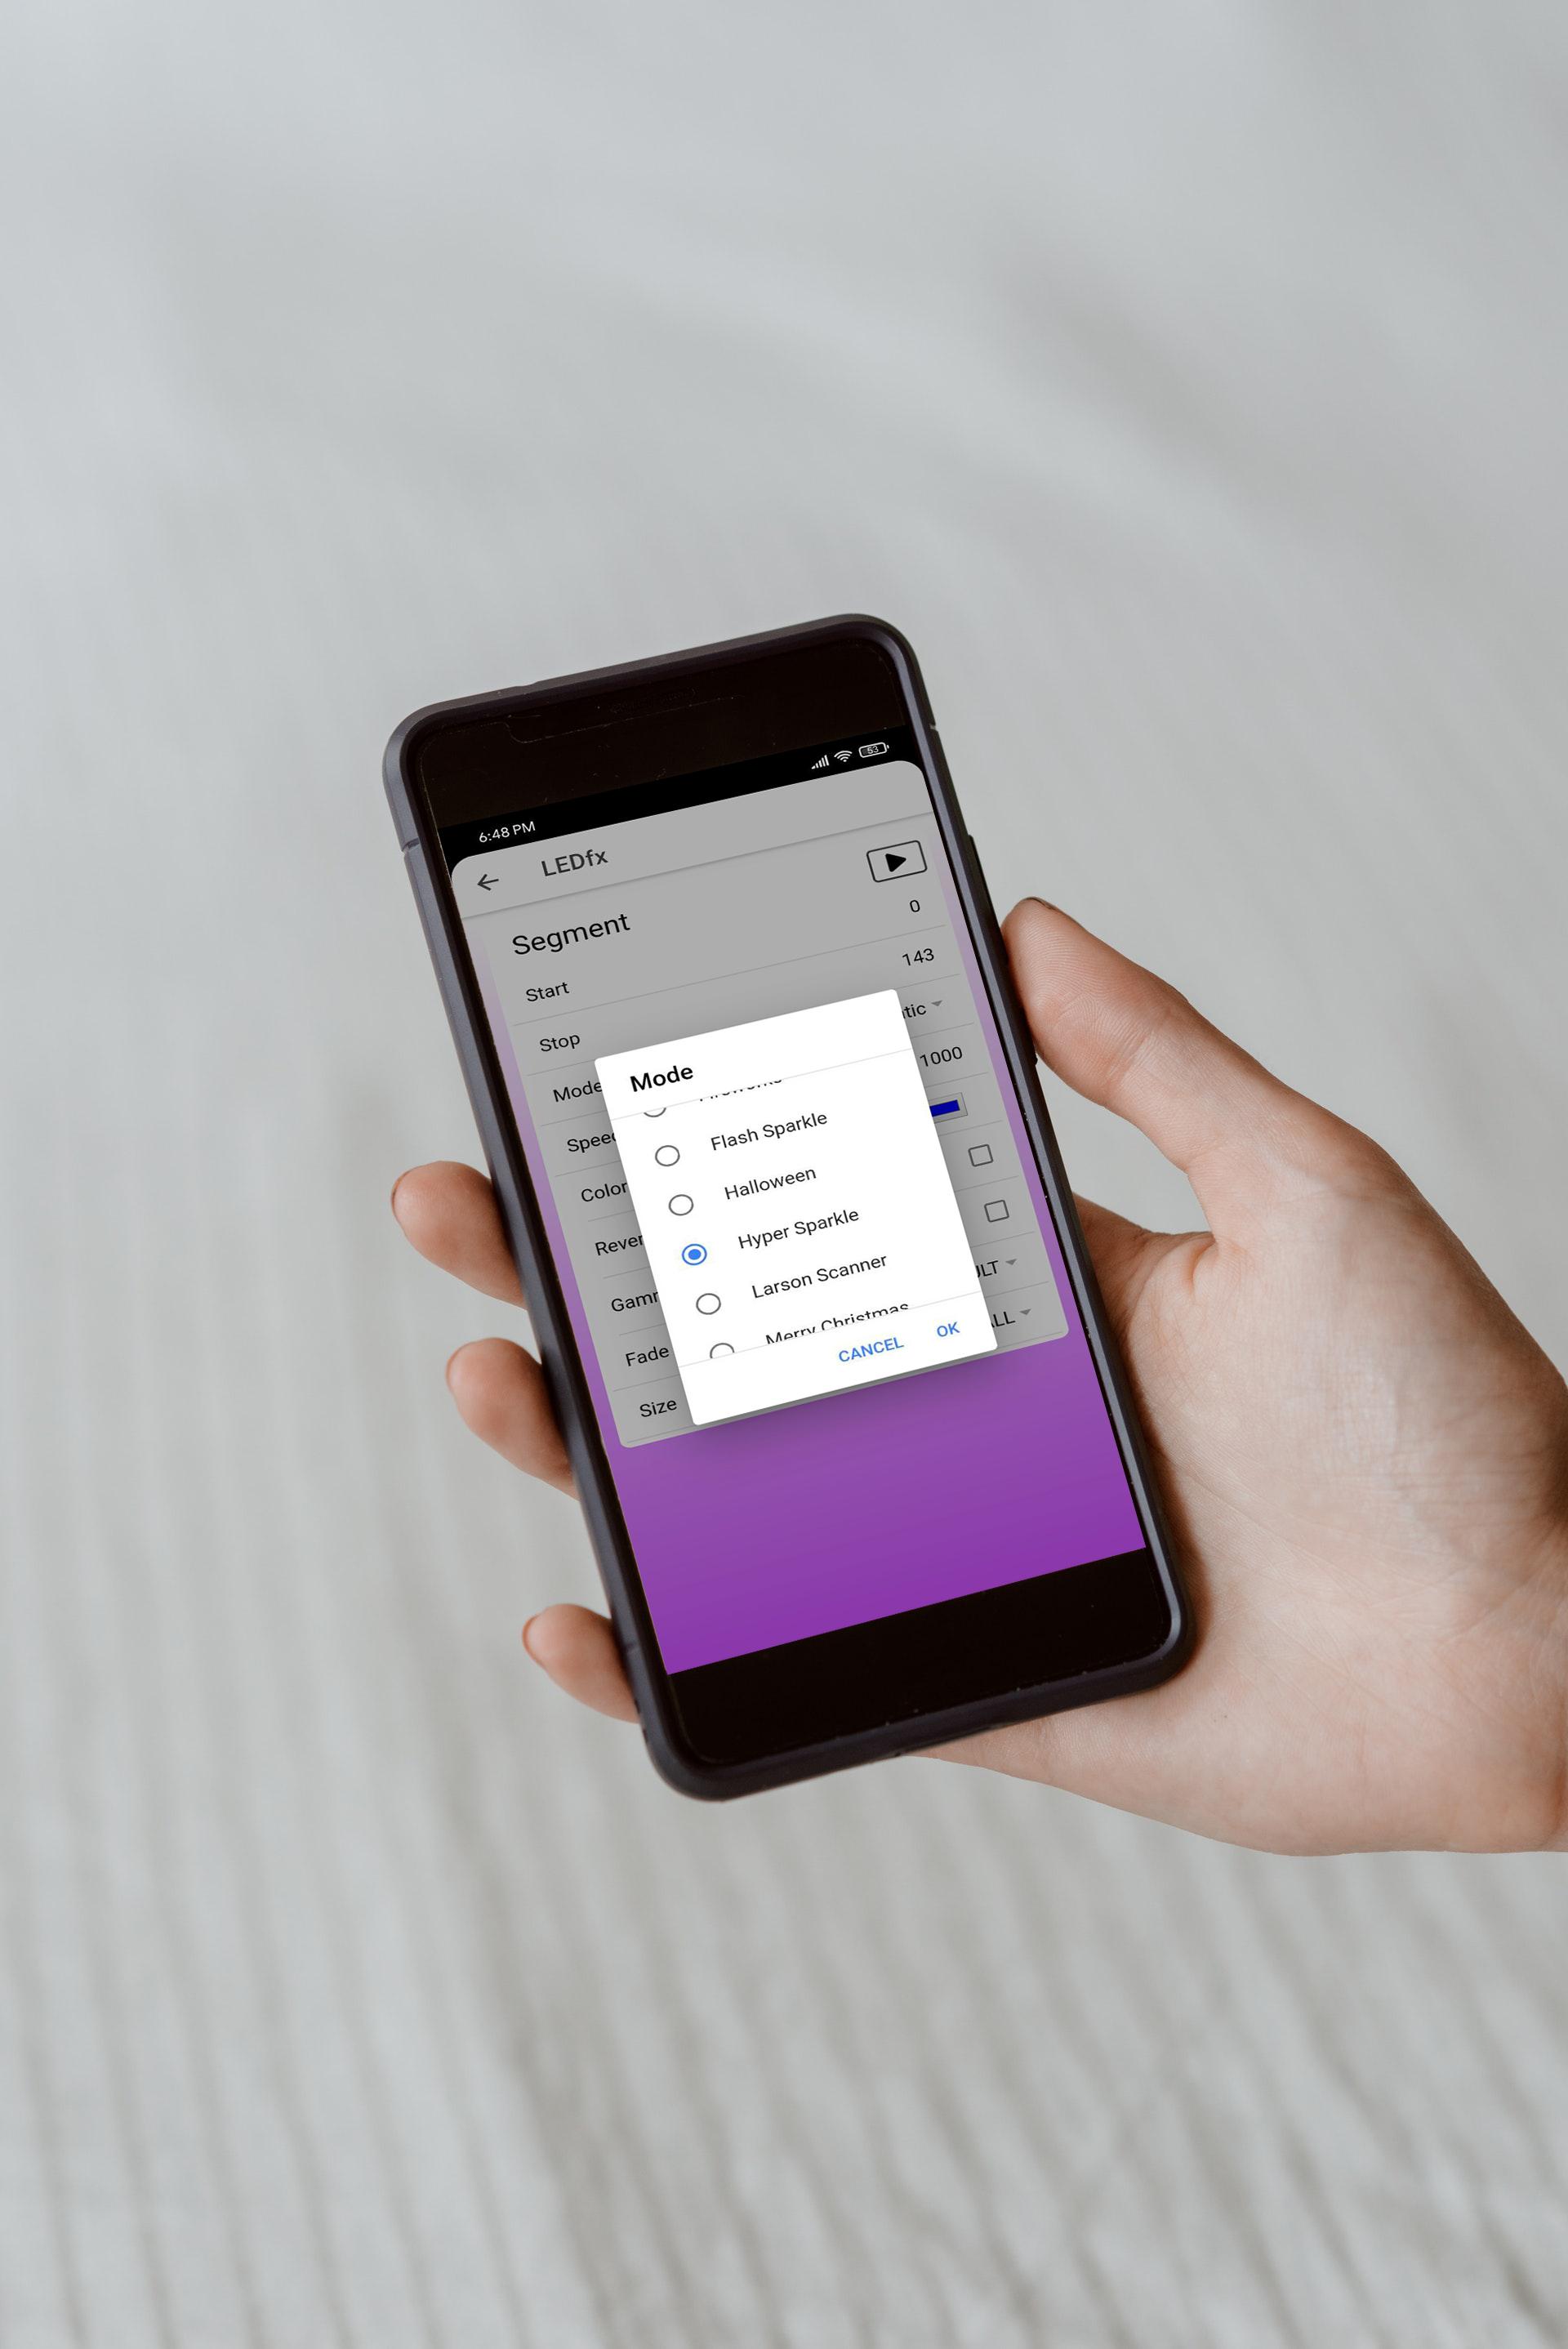
Since we have Setup our device into app, its time to create the Animation required using the same LEDfx app.
Steps:
- Open the LEDfx app.
- Click on the Device we added in last step.
- In the patterns section you will see many segments, you can use these segments or create a new Pattern.
- Click on add pattern.
- Add segment.
- Select the required Pattern from over 30+ effects list.
- Choose speed as suitable.
- Select required color.
- Set Brightness between 0 to 255 where in 0 is lowest and 255 is highest.
- Set the duration of effect. (in seconds)
There are lots of effects so you can choose any effect or you can choose Hyper Sparkle to create Thunder effects. You can also select one specific color by choosing static effect, or you might choose rainbow cycle effect to see the most mesmerizing Neopixel rainbow. You may also add more patterns and run them sequentially. One more interesting thing we can do is add more effects in one pattern by clicking on add segment and run multiple effects together.
Ready
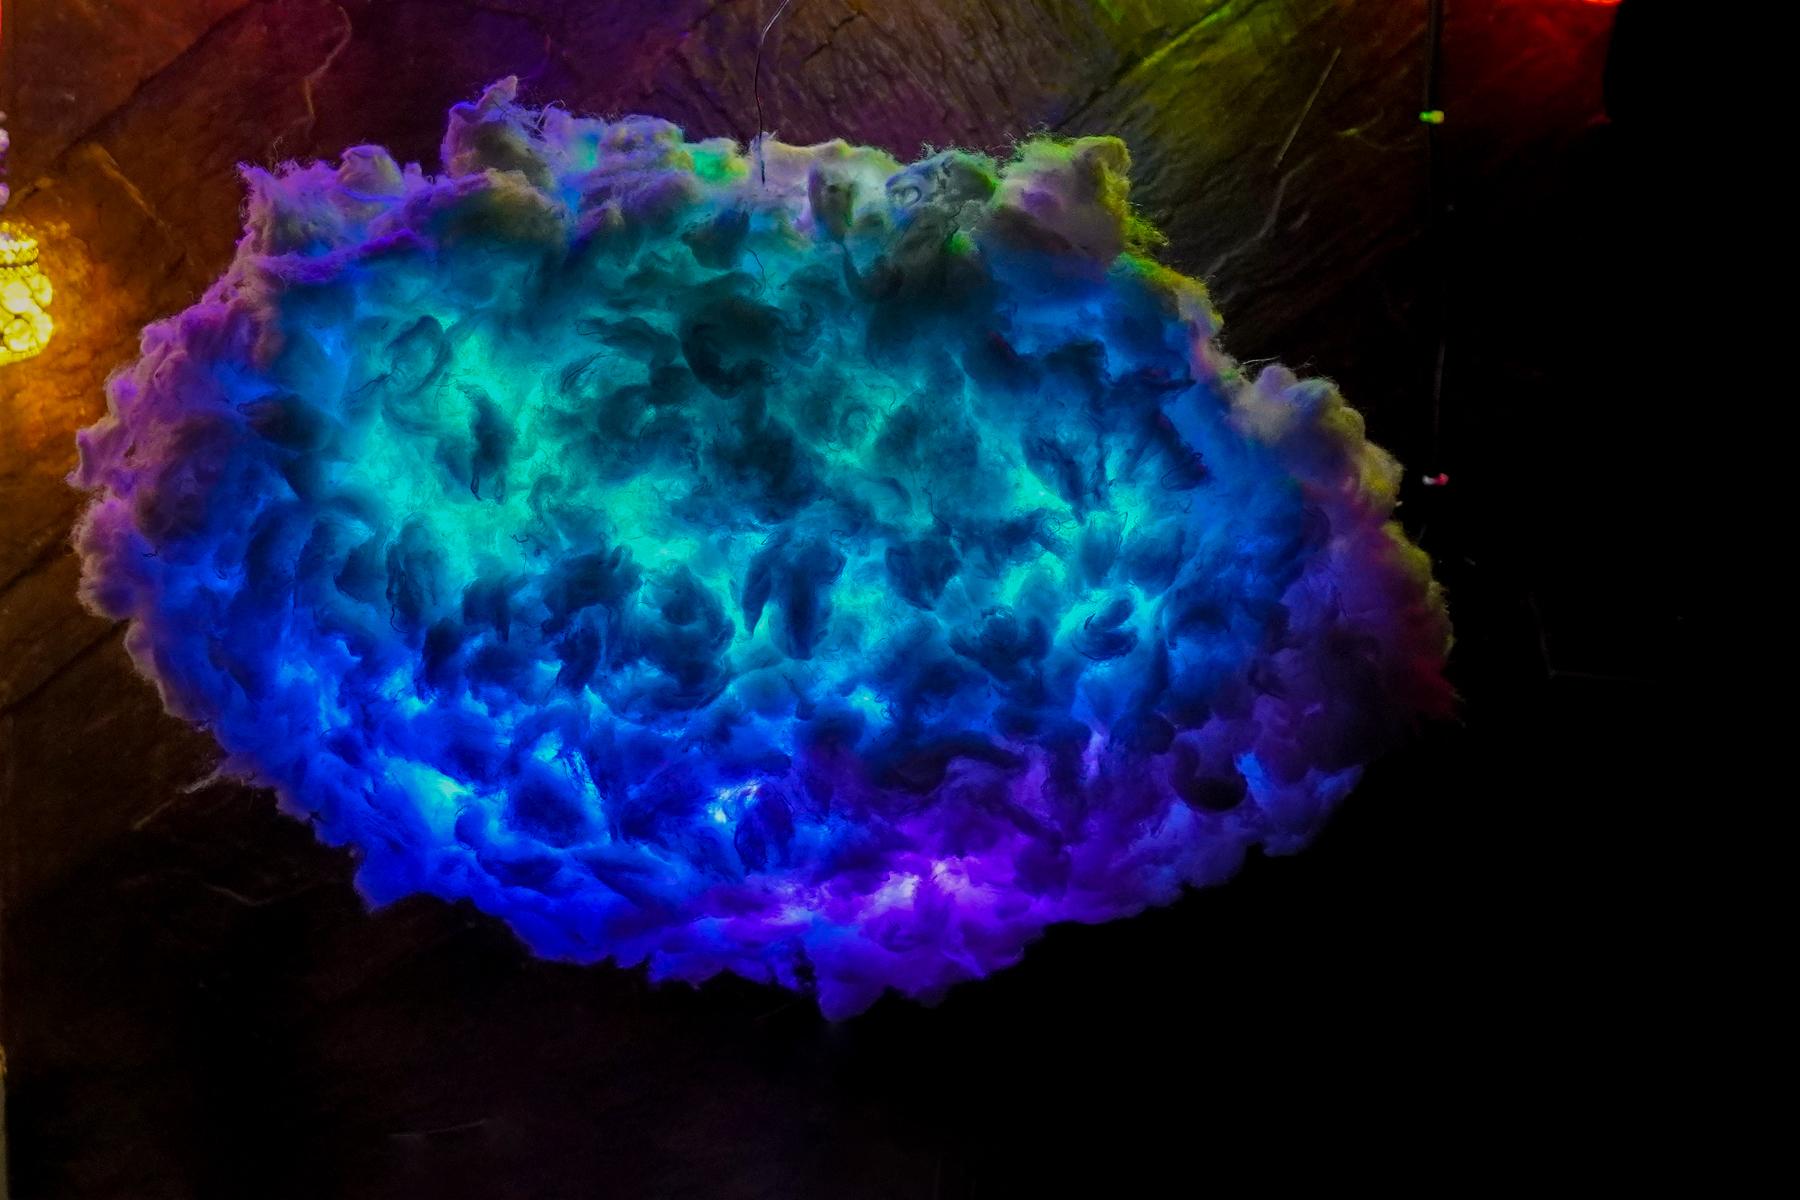


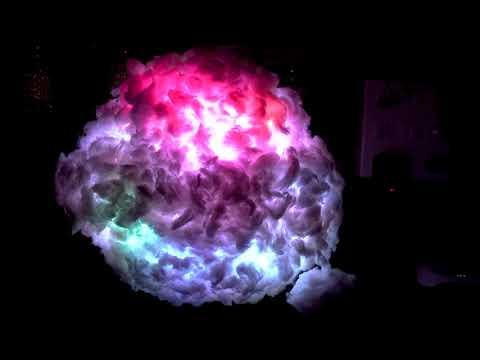
I have to admit that I built this lamp for myself, but it turned out to be so special that i want to gift this beautiful lamp to someone Gorgeous (someday). I hung this lamp on the in my passage area, and sometimes i put it in my balcony when i miss rains. I have been using it for a few days and I really really love it!. More than aesthetics, i enjoyed the build process. However, I might make changes in future to make it more better and for that i am counting on you guys to share your feedback on comments so that i can improve.
If you enjoyed this blog post or project, consider supporting our work by subscribing to our YouTube Channel (its free!) and following our Social media handles, your support means a lot to us and motivates us to keep making awesome content!
Social Media Handles: Patreon, Twitter, Instagram, Facebook.