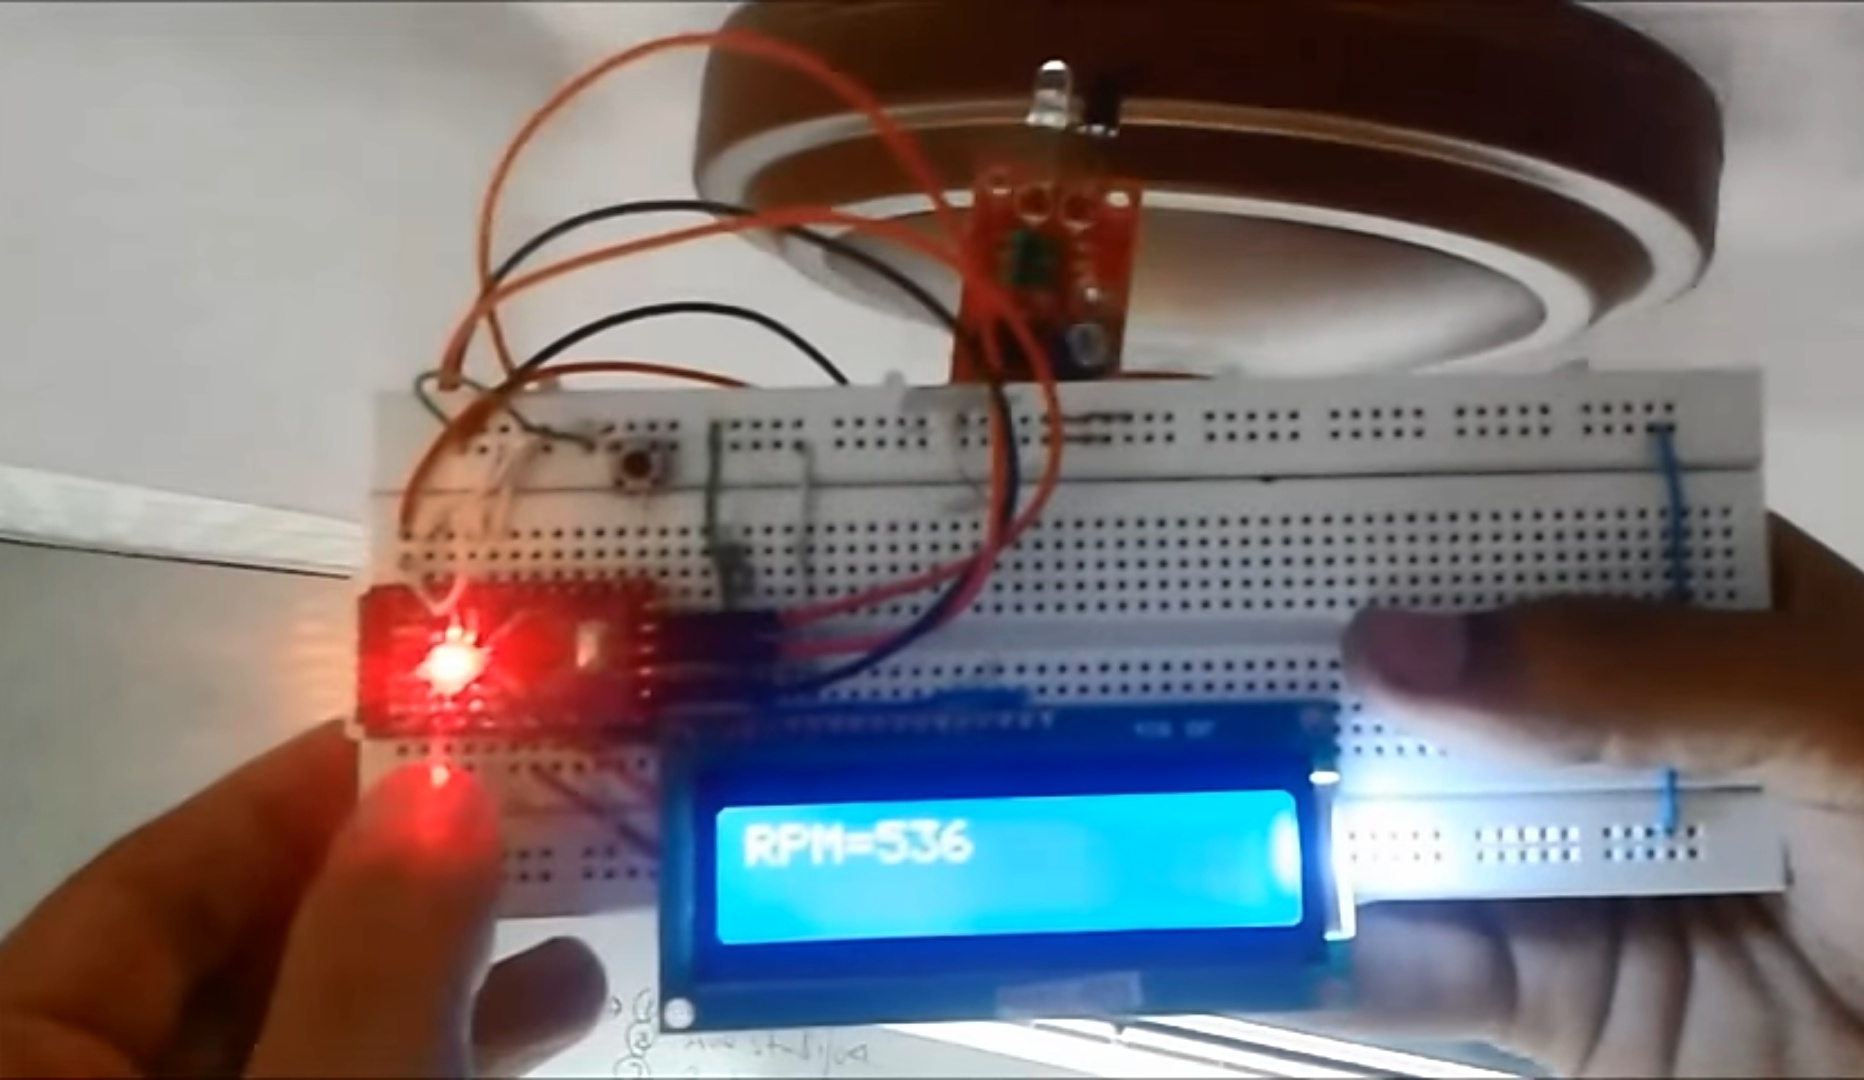
DIY Technometer Using Arduino
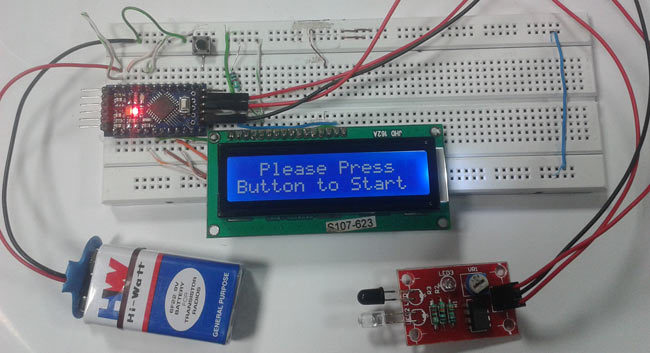
Things You Need
Gor this instructables you will need following things :
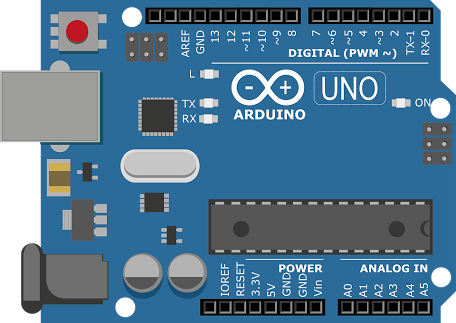
Arduino uno Or
Arduino pro Mini
IR sensor Module
16x2 LCD
Push button
Bread board
9 volt battery
Connecting wires
Basics of the Technometer Project
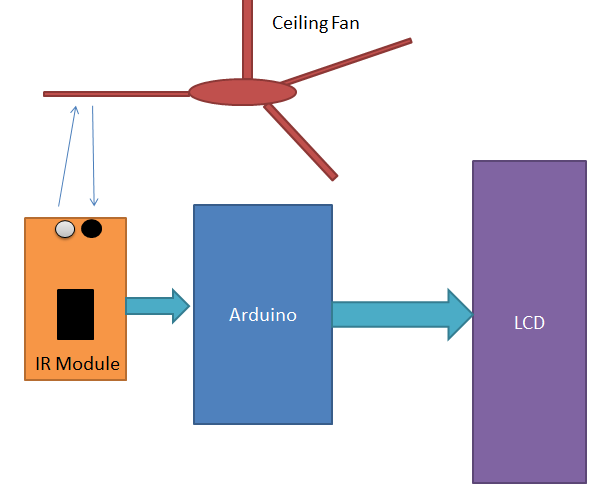
After 5 seconds arduino calculate RPM for a minute using given formula.
RPM= Count x 12 for single object rotating body.
But here we demonstrate this project using ceiling fan. So we have done some changes that is given below:
RPM=count x 12 / objects
Where
object = number of blade in fan.
Circuit & Explanation
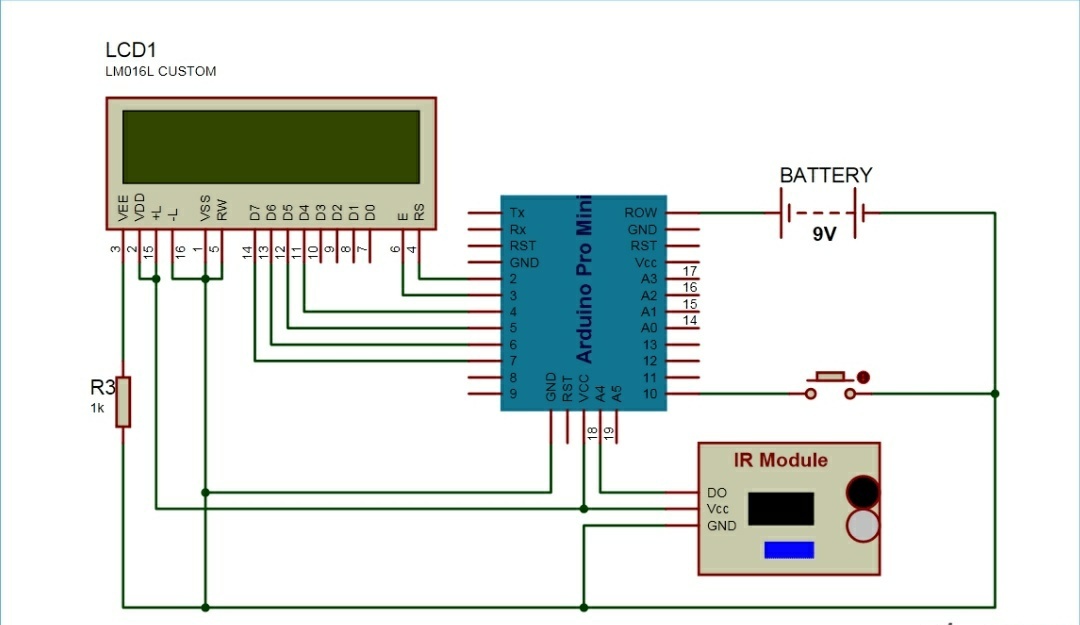
IR sensor module output pin is directly connected to pin 18 (A4). Vcc and GND are connected to Vcc and GND of arduino. A 16x2 LCD is connected with arduino in 4-bit mode. Control pin RS, RW and En are directly connected to arduino pin 2, GND and 3. And data pin D4-D7 is connected to pins 4, 5, 6 and 7 of arduino. A push button is also added in this project. When we need to count RPM we press this button to start this Arduino Tachometer to count RPM for five seconds. This push button is connected to pin 10 of arduino with respect to ground.
Code
.jpg)
Please copy the following code & Upload it to arduino :
#include "LiquidCrystal.h"
LiquidCrystal lcd(3, 2, 4, 5, 6, 7);
#define sensor 18
#define start 10
int delay1()
{
//unsigned int long k;
int i,j;
unsigned int count=0;
for(i=0;i<1000;i++)
{
for(j=0;j<1227;j++)
{
if(digitalRead(sensor))
{
count++;
while(digitalRead(sensor));
}
}
}
return count;
}
void setup()
{
pinMode(sensor, INPUT);
pinMode(start, INPUT);
pinMode(13, OUTPUT);
lcd.begin(16, 2);
lcd.print("Techometer");
lcd.setCursor(0,1);
lcd.print("Circuit Digest");
delay(2000);
digitalWrite(start, HIGH);
}
void loop()
{
unsigned int time=0,RPM=0;
lcd.clear();
lcd.print(" Please Press ");
lcd.setCursor(0,1);
lcd.print("Button to Start ");
while(digitalRead(start));
lcd.clear();
lcd.print("Reading RPM.....");
time=delay1();
lcd.clear();
lcd.print("Please Wait.....");
RPM=(time*12)/3;
delay(2000);
lcd.clear();
lcd.print("RPM=");
lcd.print(RPM);
delay(5000);
}
Testing
