How to Build a DIY Sunflower
by dreamkit in Circuits > Electronics
887 Views, 4 Favorites, 0 Comments
How to Build a DIY Sunflower

Maturing sunflowers begin the day with their heads facing east, then slowly swing west through the day and back to the east at night. A team of plant biologists conveyed that the sunflowers use internal circadian clocks, acting on growth hormones, to follow the sun.
A maker is always sensitive to new and funny things. When I was a kid, I remember being taught that the sunflower mirrors the sun, but later on, when I watched a video depicting the same, I had a sudden insight into making an electronic device imitating this bio-mechanism.
So lets Build sunflower with dreamkit.
Supplies Required:

- Dreamkit
- Glue gun
- Cardboard sheet
- Double side tape
- Chart paper
- Markers
- Scissors
- Color pencil
- Compass
- Gum Tape
How It Works

In this project, LDR sensors are used as light detectors. Before we go into the details, we will have to understand how the LDR works. LDR (Light Dependent Resistor) also known as photoresistor is a light-sensitive device. Its resistance decreases when light falls on it, thereby finding its frequent use in Dark or Light Detector Circuits.
The two LDRs are placed on the sunflower facing in the opposite directions and the servo motor is used to rotate the sunflower. The servo will move the sunflower towards the light sensor whose resistance will be low, meaning, towards the light sensor on which the light is falling, and in this way, the sunflower keeps following the light. If the same amount of light falls on both the sensors, the servo will not rotate.
Connections
Programming Dream Kit With DK Studio
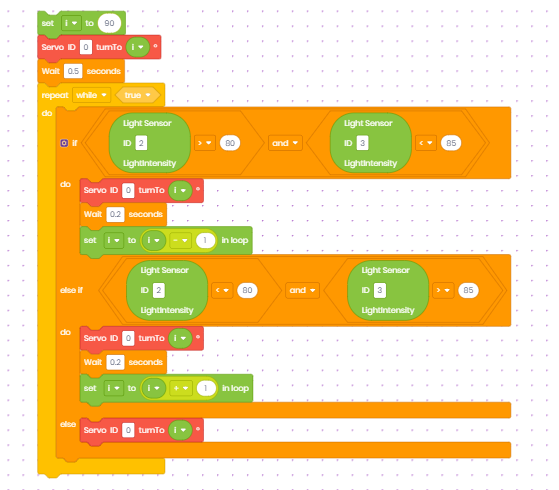
Connect the HUB to your computer using a USB cable and make sure the HUB is in USB mode. Open DK studio software in your computer choosing the correct port number and click on ‘Connect’. Place the blocks as shown below and click on ‘Upload’.
Click here to download the DK Studio Software
Click here to download the code for your Sunflower
Build Your Model
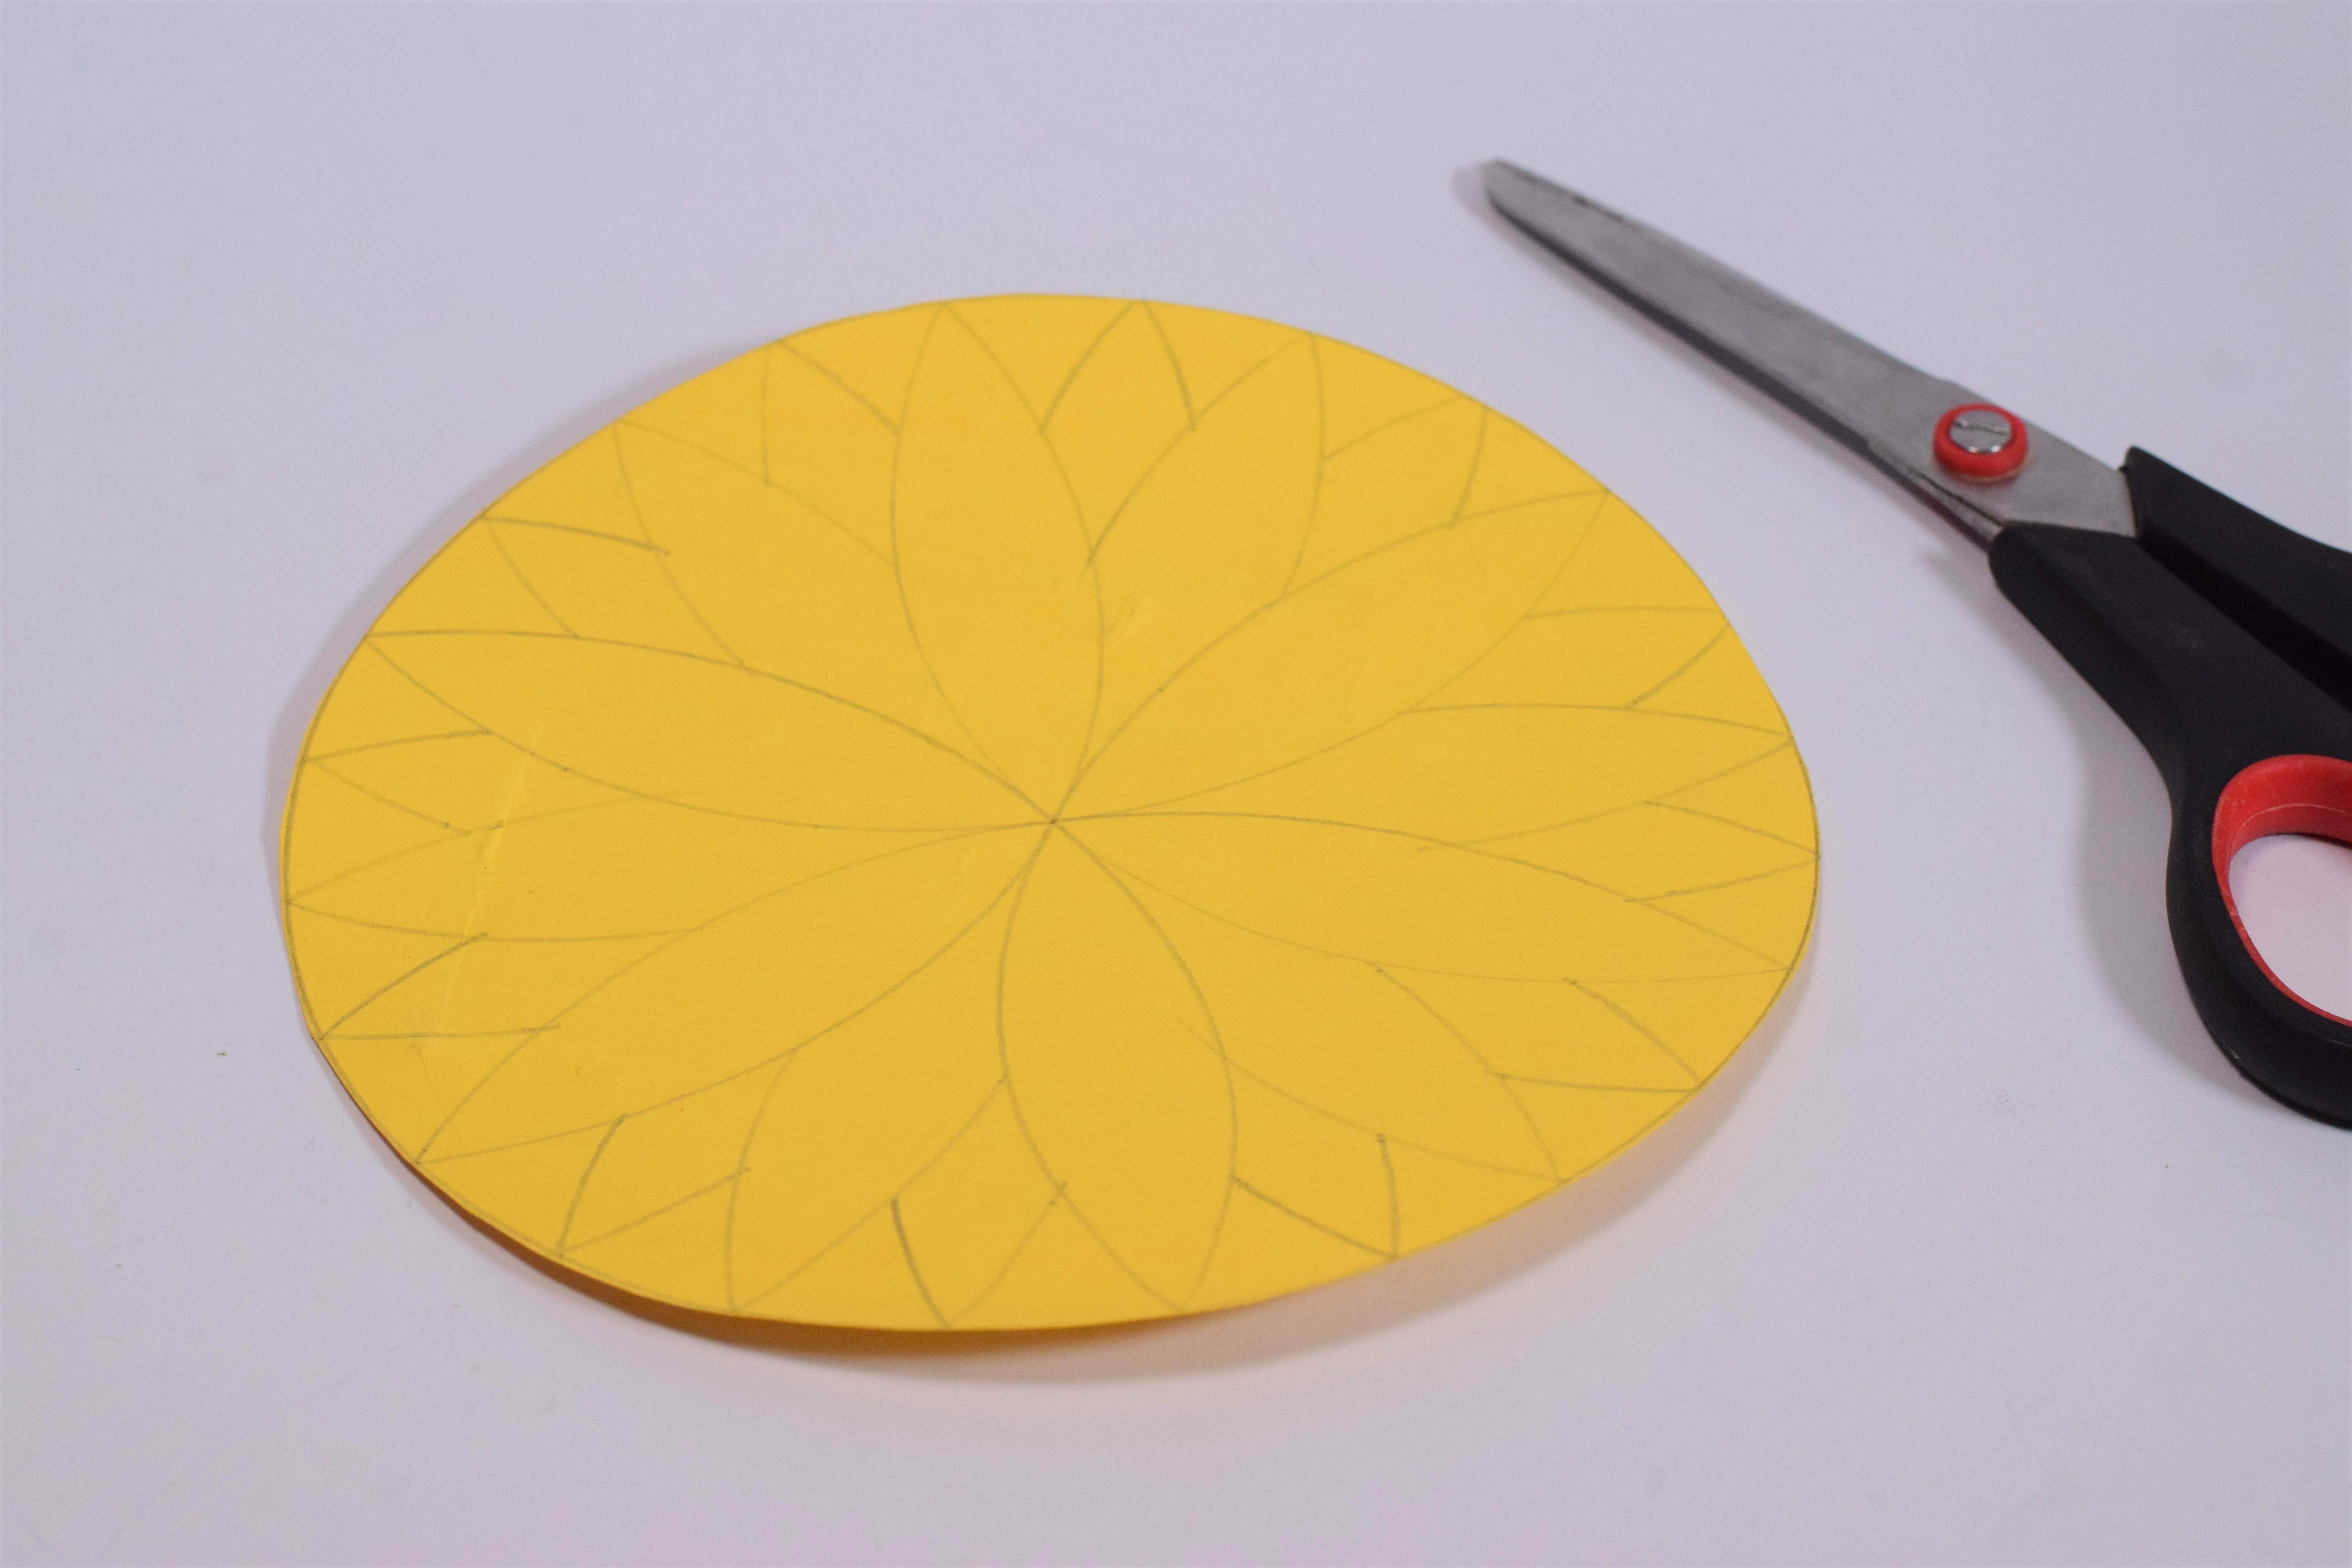
- First, take a chart paper and a compass. Draw a circle of radius 9cm and in the compass maintain the same measurement throughout.
-
Place the pointed part of the compass at any point on the circle and draw an arc.
-
From the point where the arc is ending or from the point where the arc is crossing the circle, place your compass and draw another arc in the same manner.
-
Continuing the same, in the 3rd step you will start noticing the petals.
-
This will make 6 petals all together. For 12 petals place the compass at any point on the circle other than the previous points.
-
Continue the same process as the previous 6 petals.
-
With this we will have a 12 petalled flower.
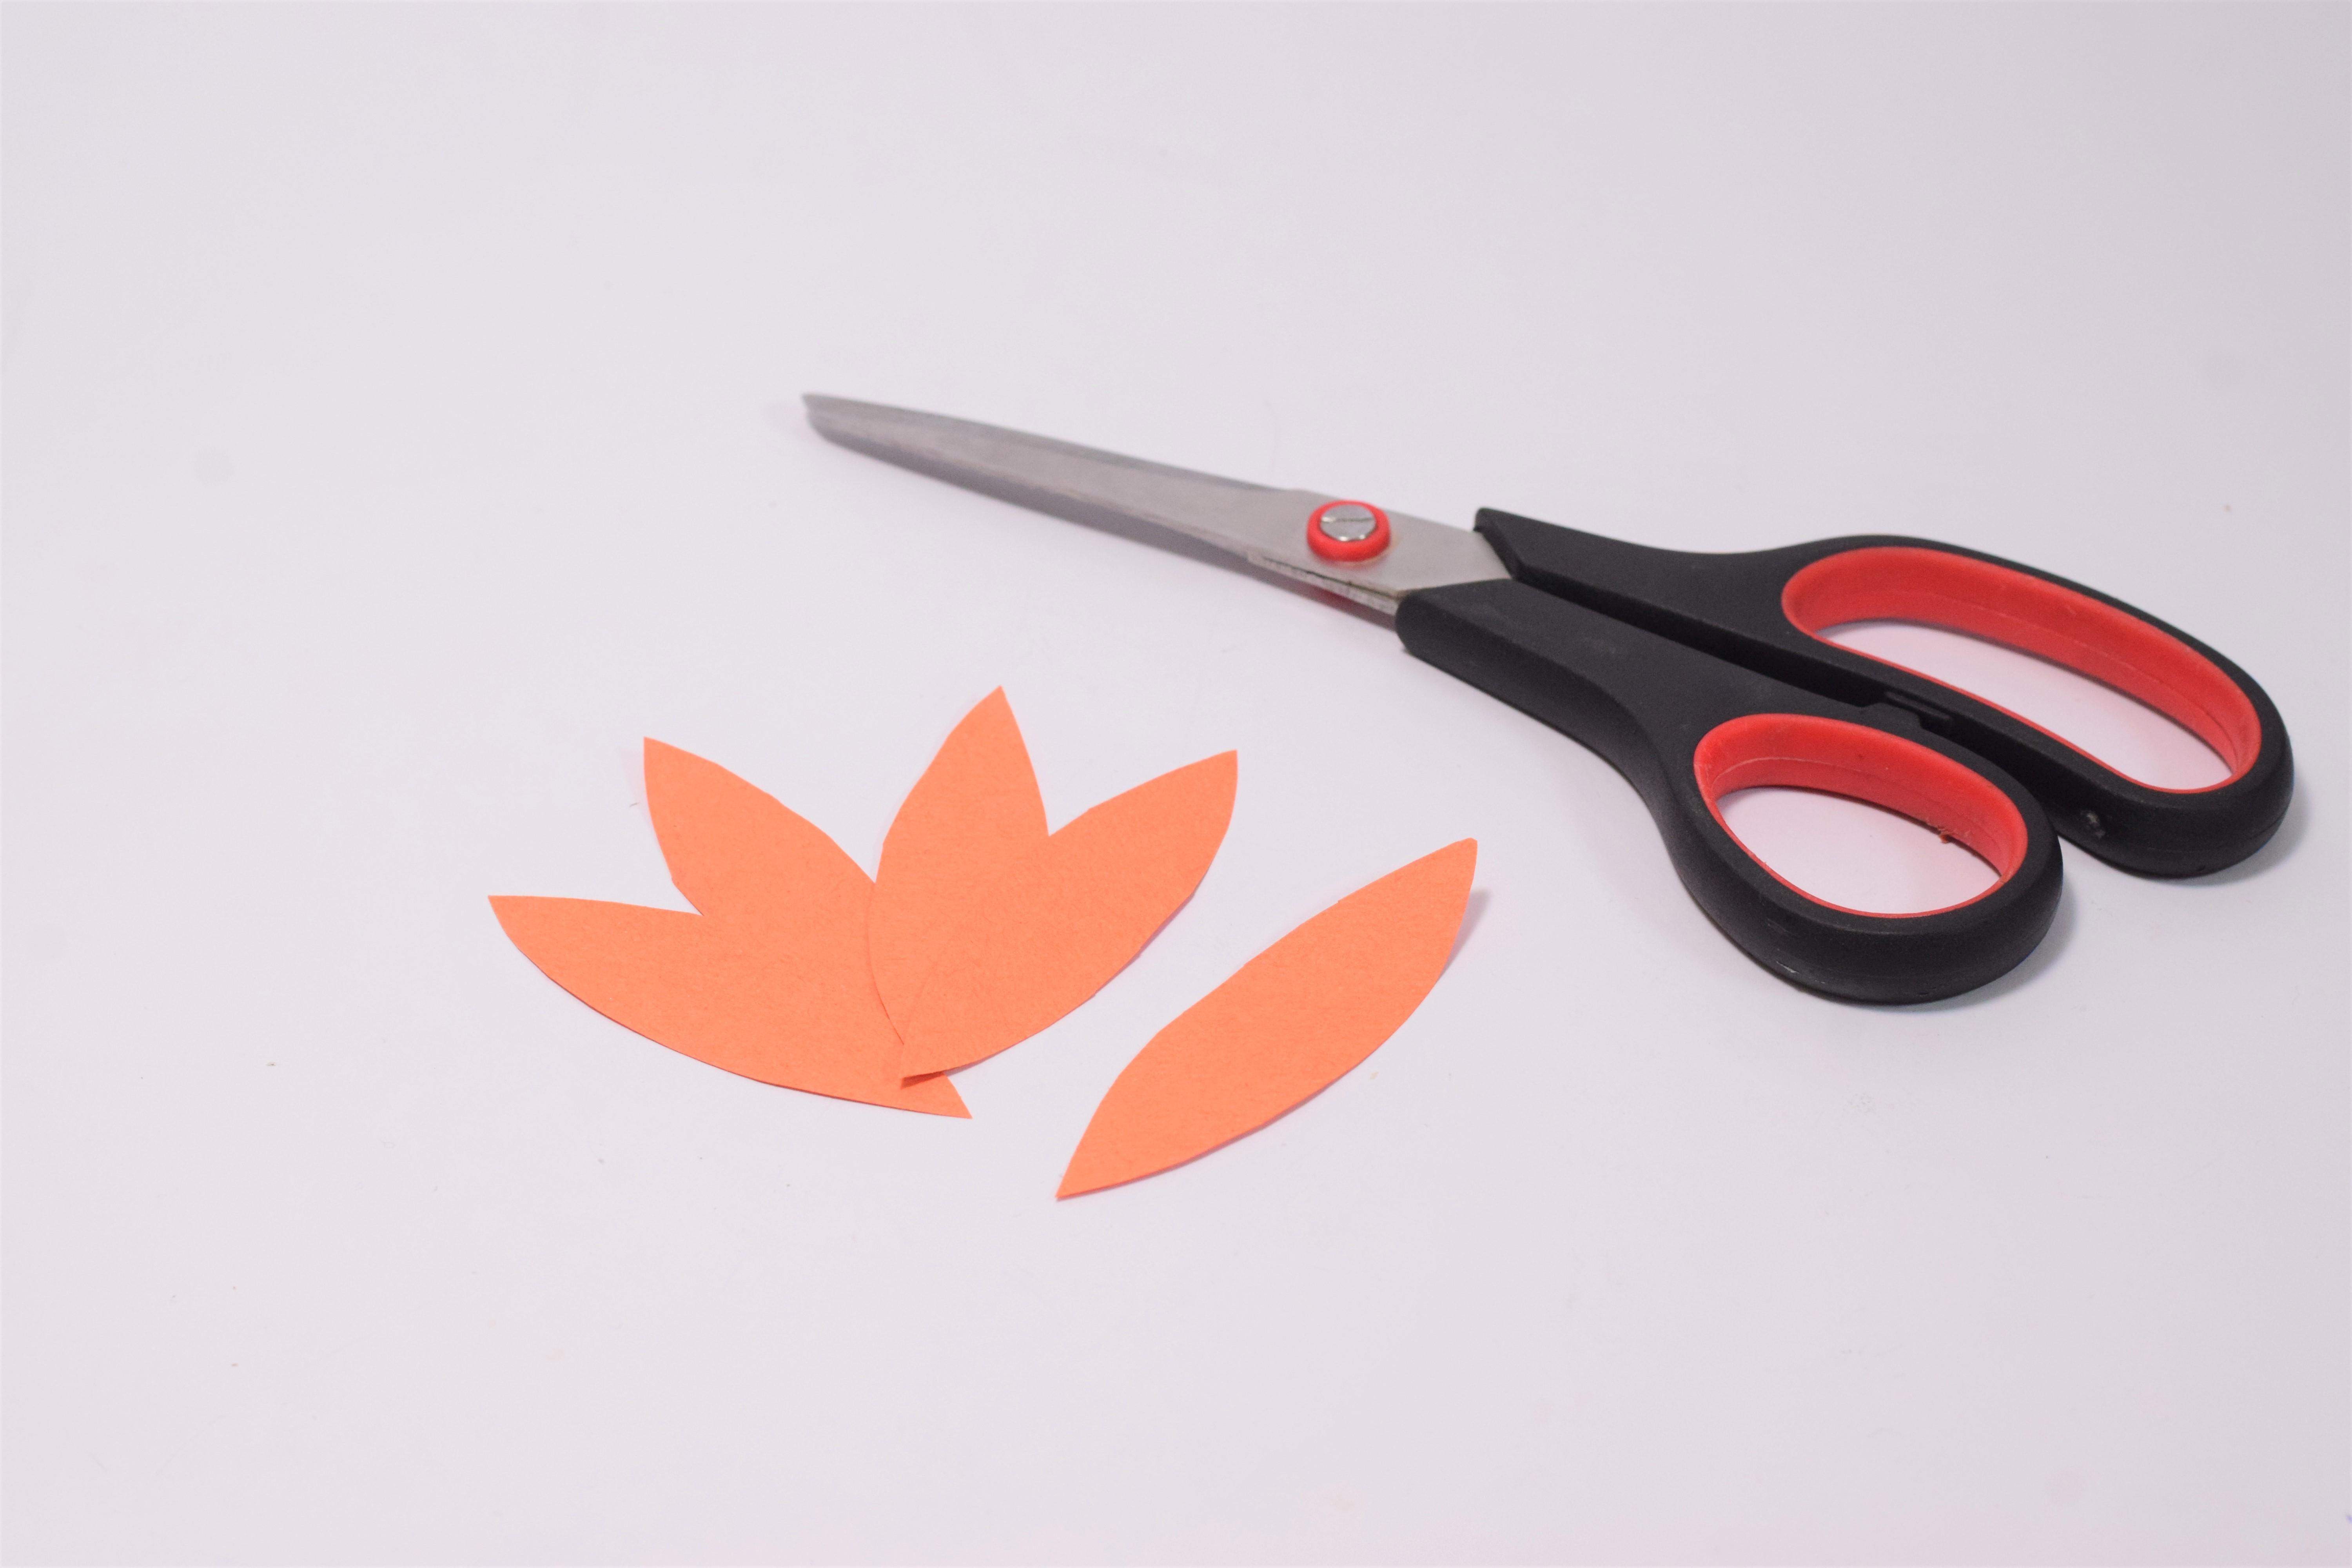
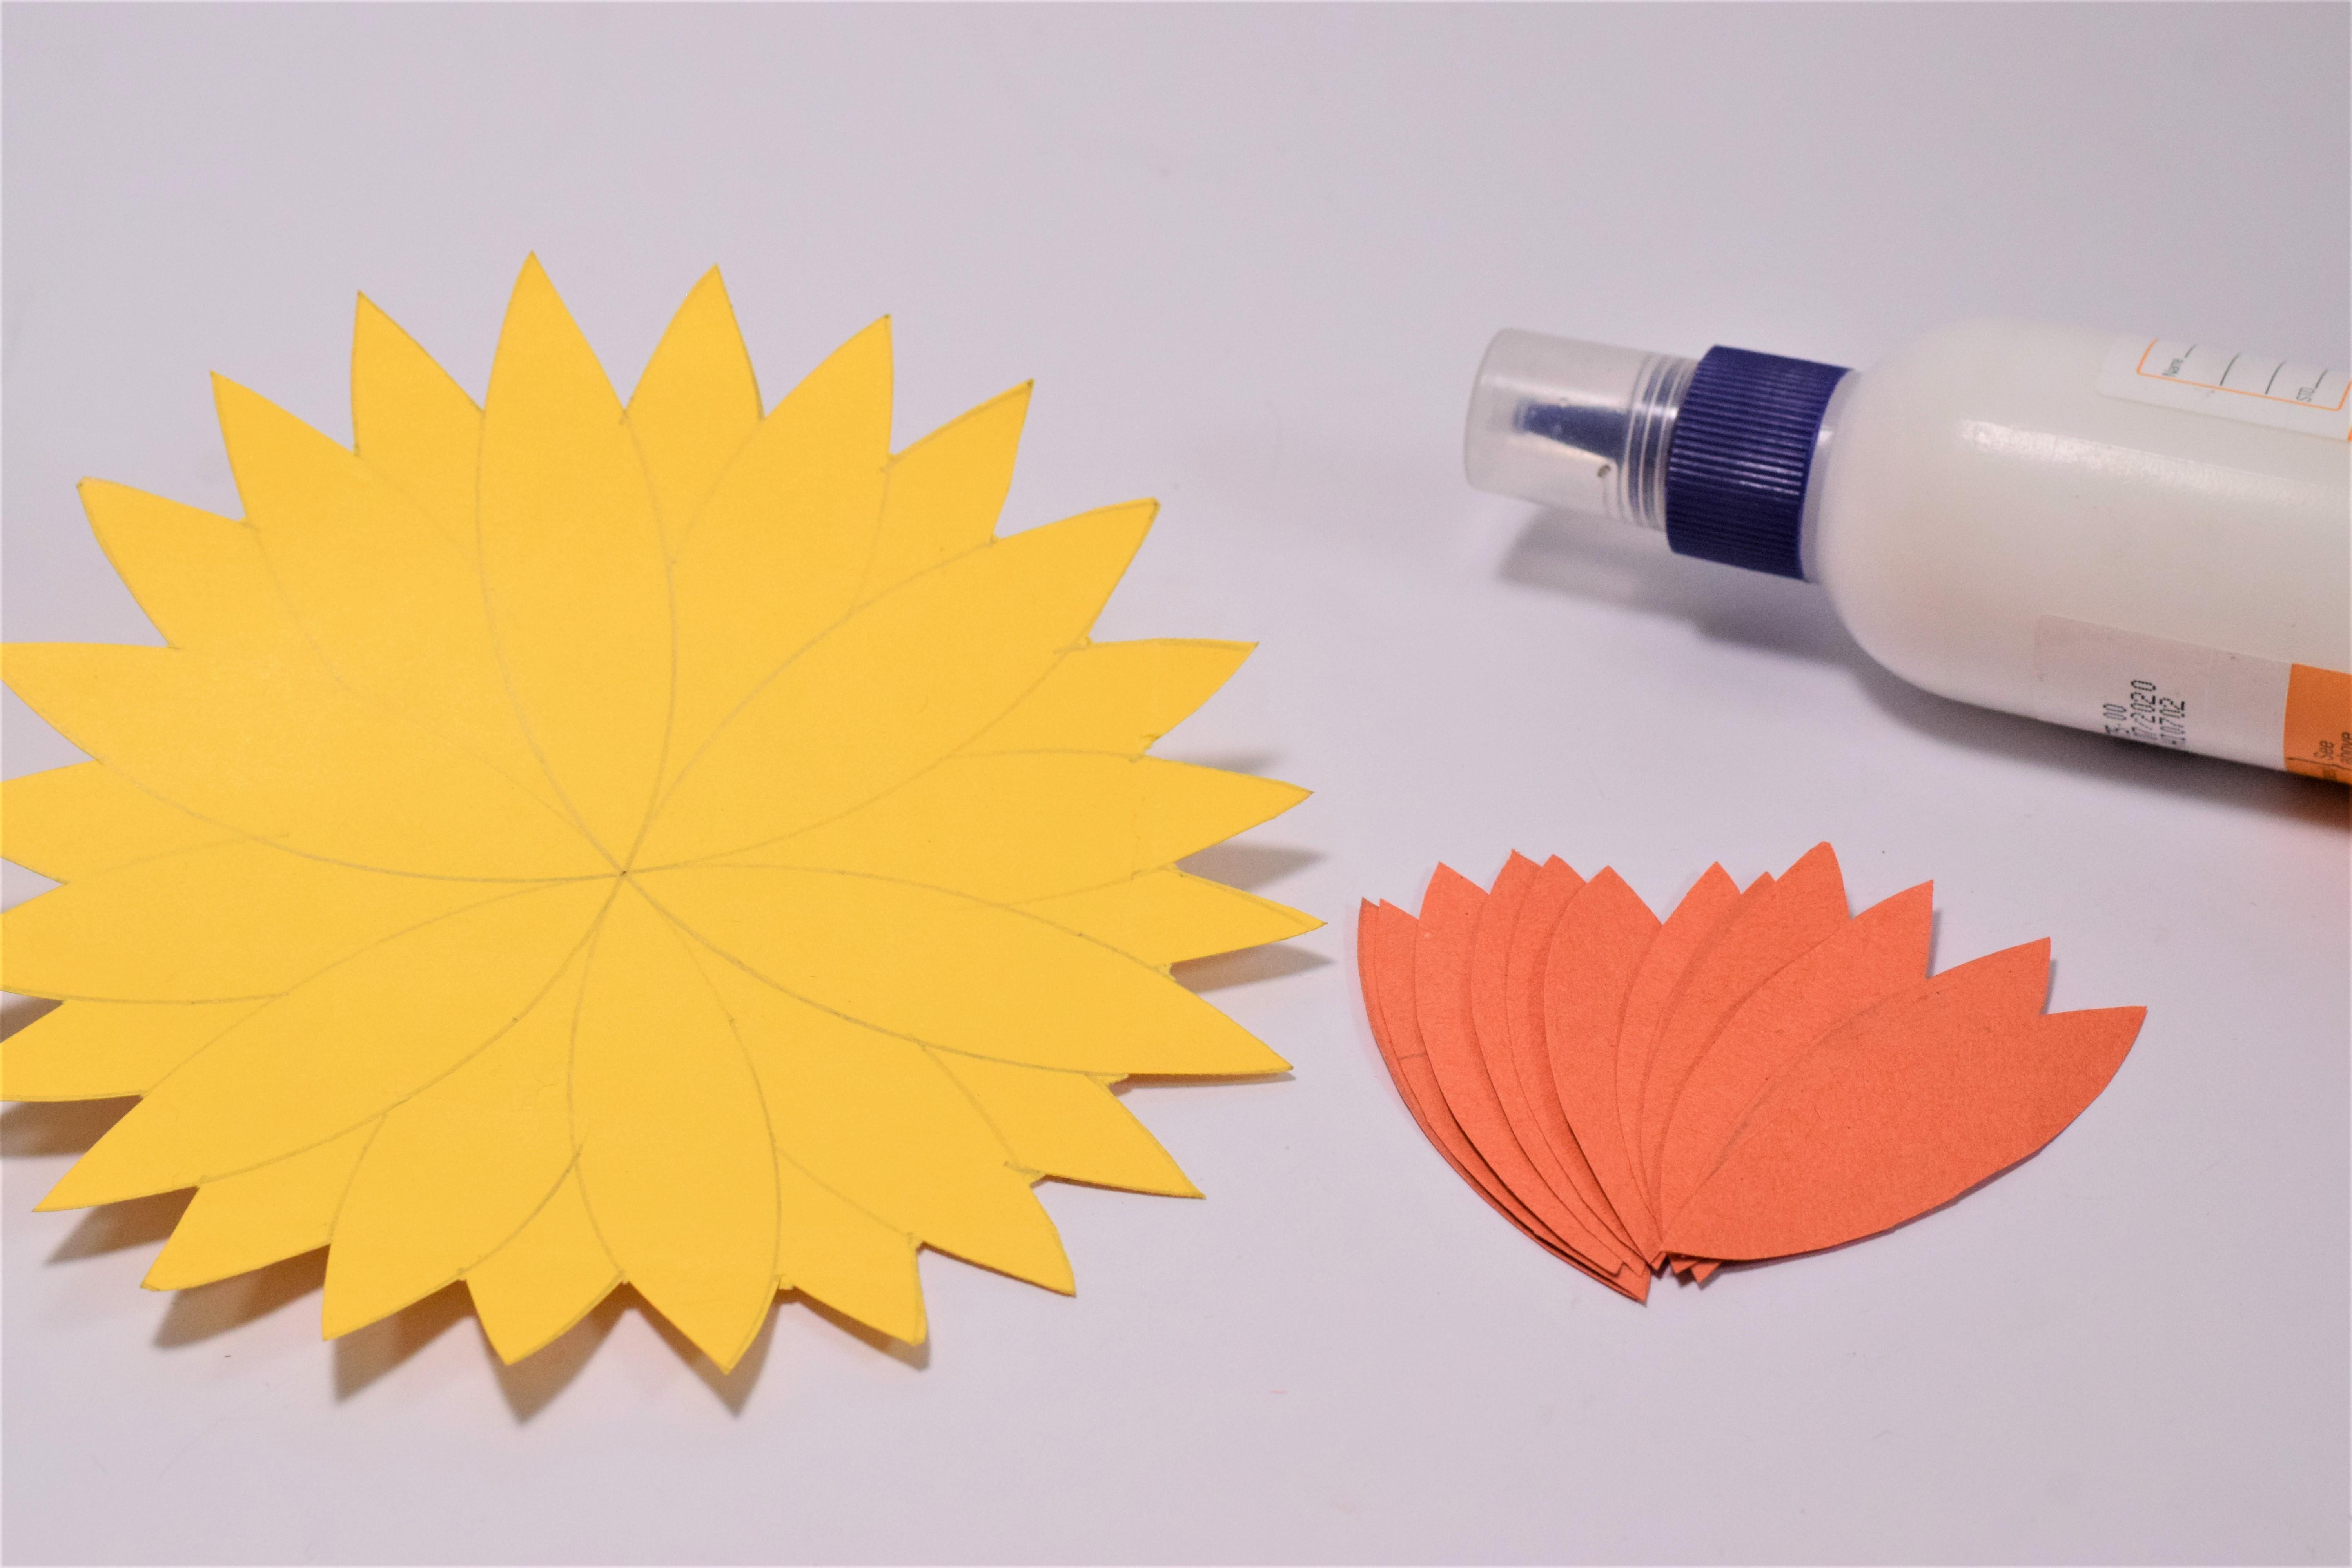
Cut the Petals and the Flower
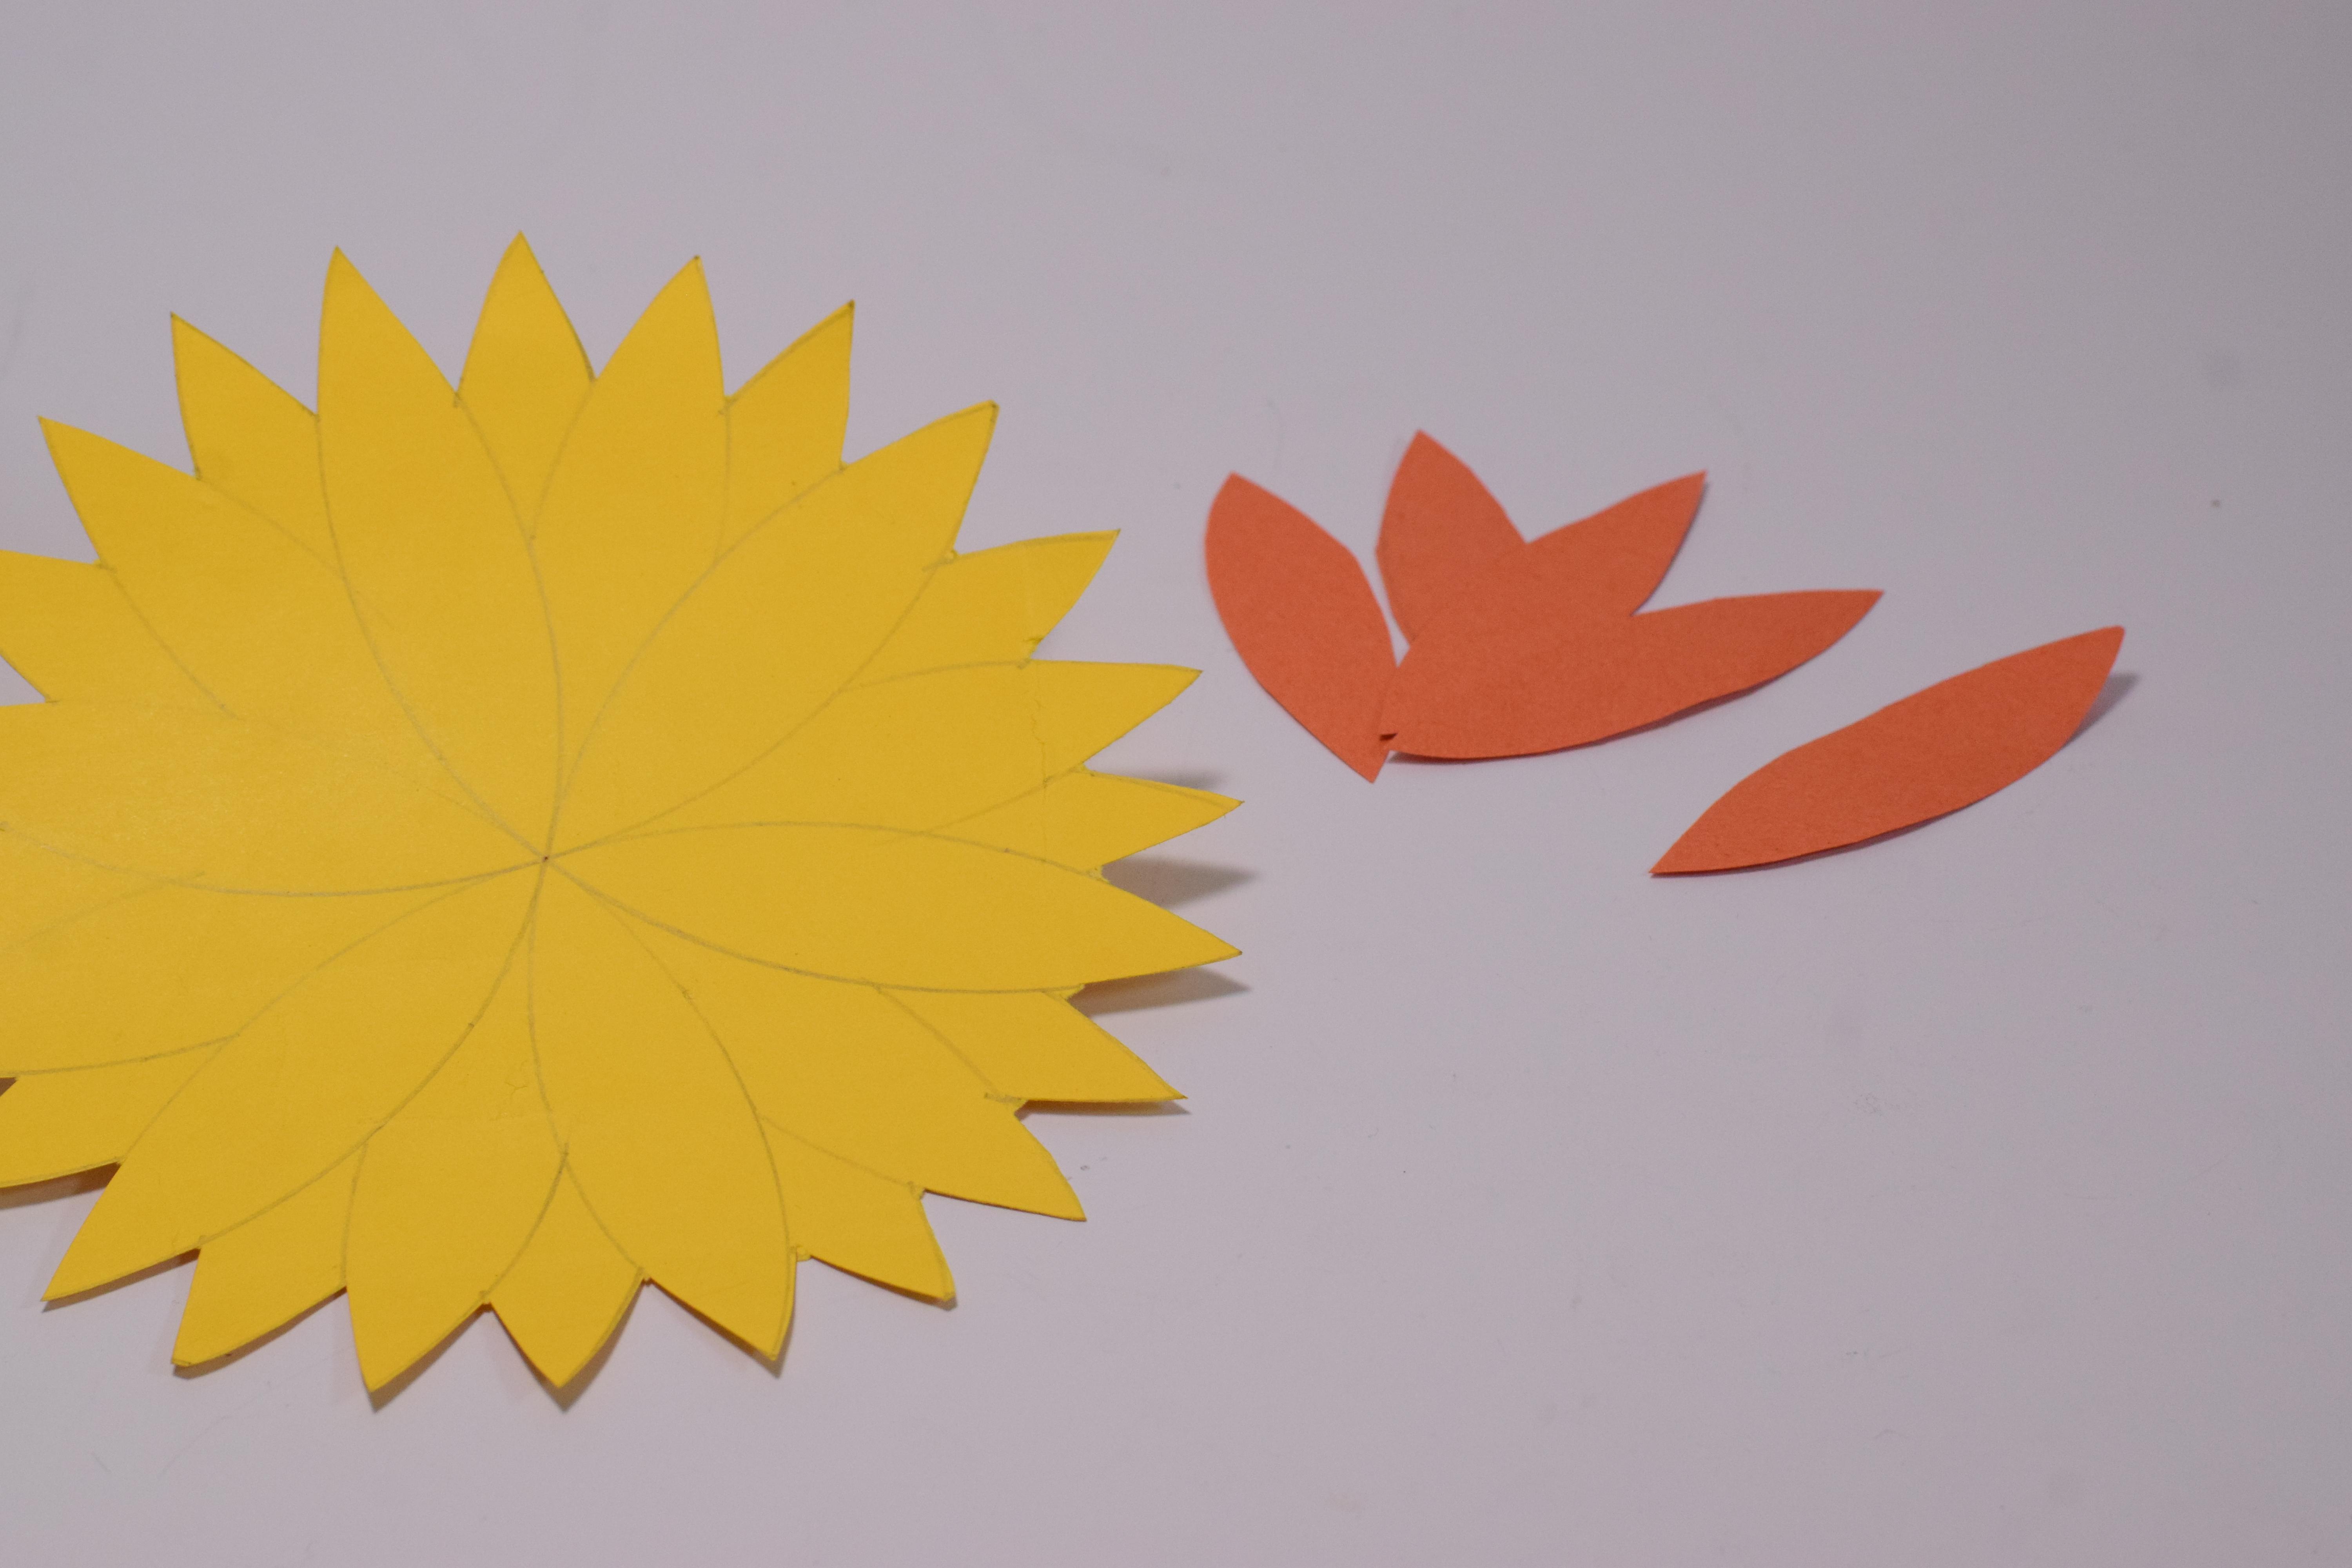
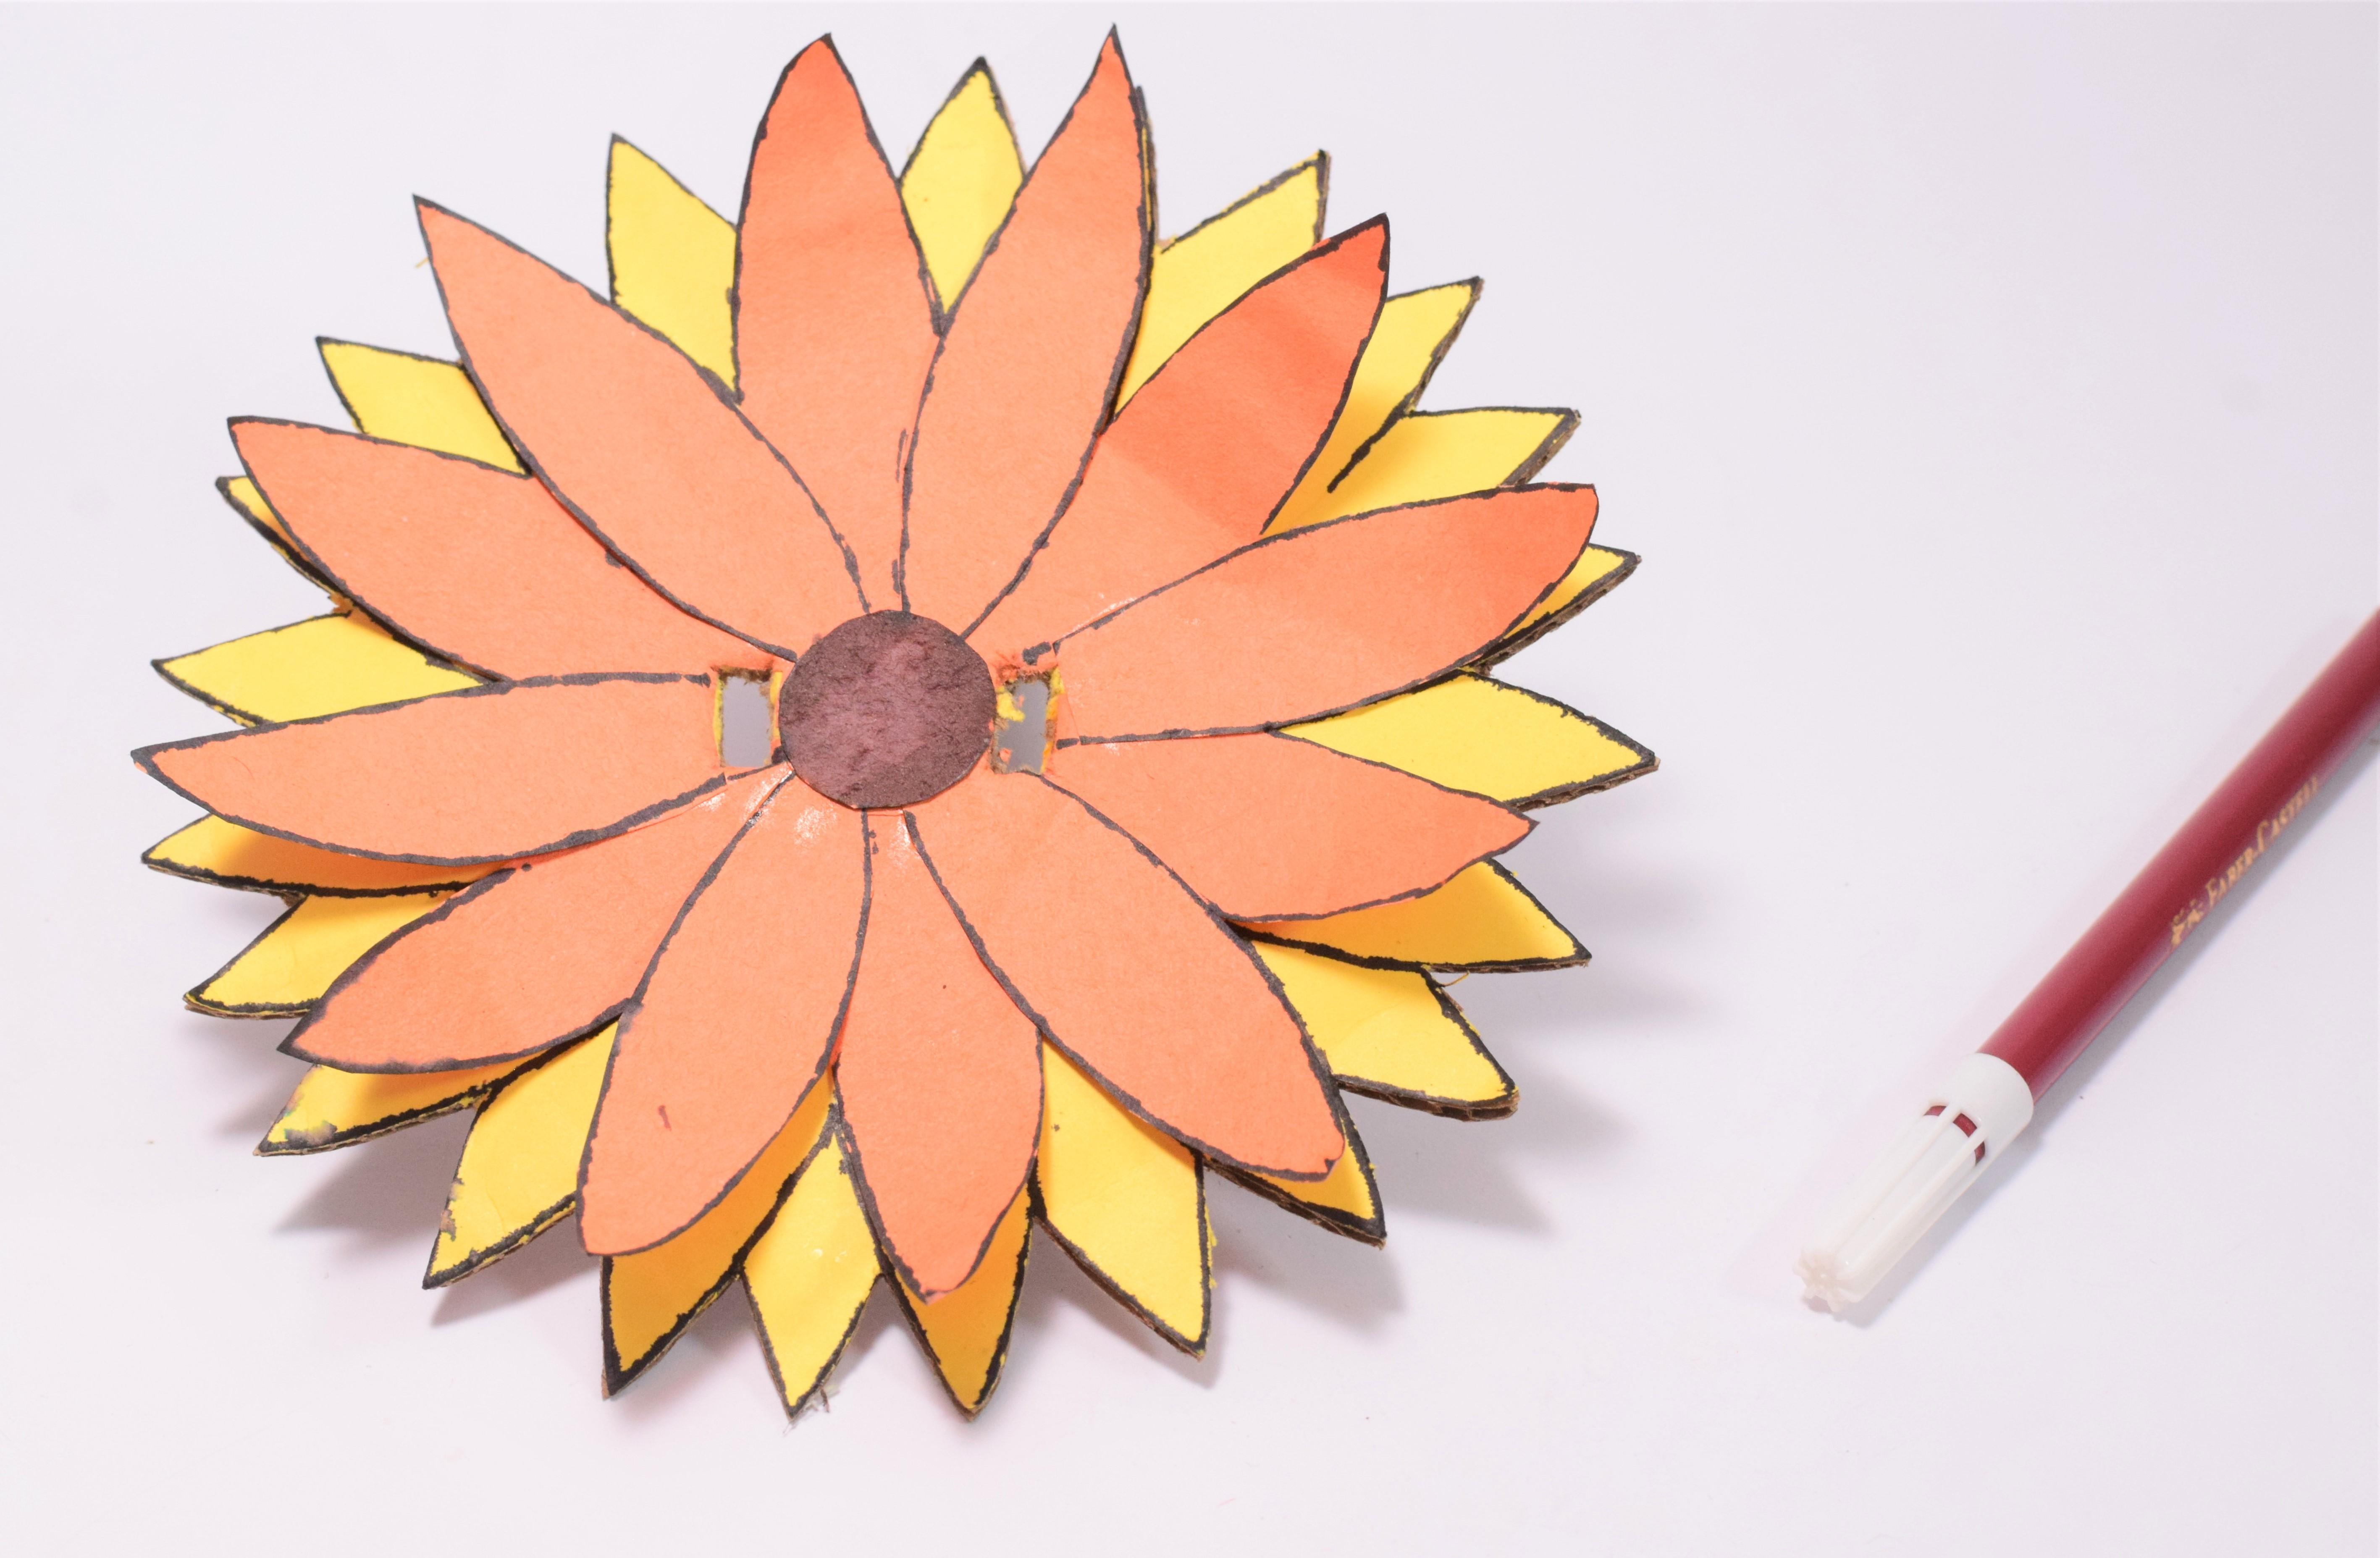
Attach the Petals to the Base Sunflower
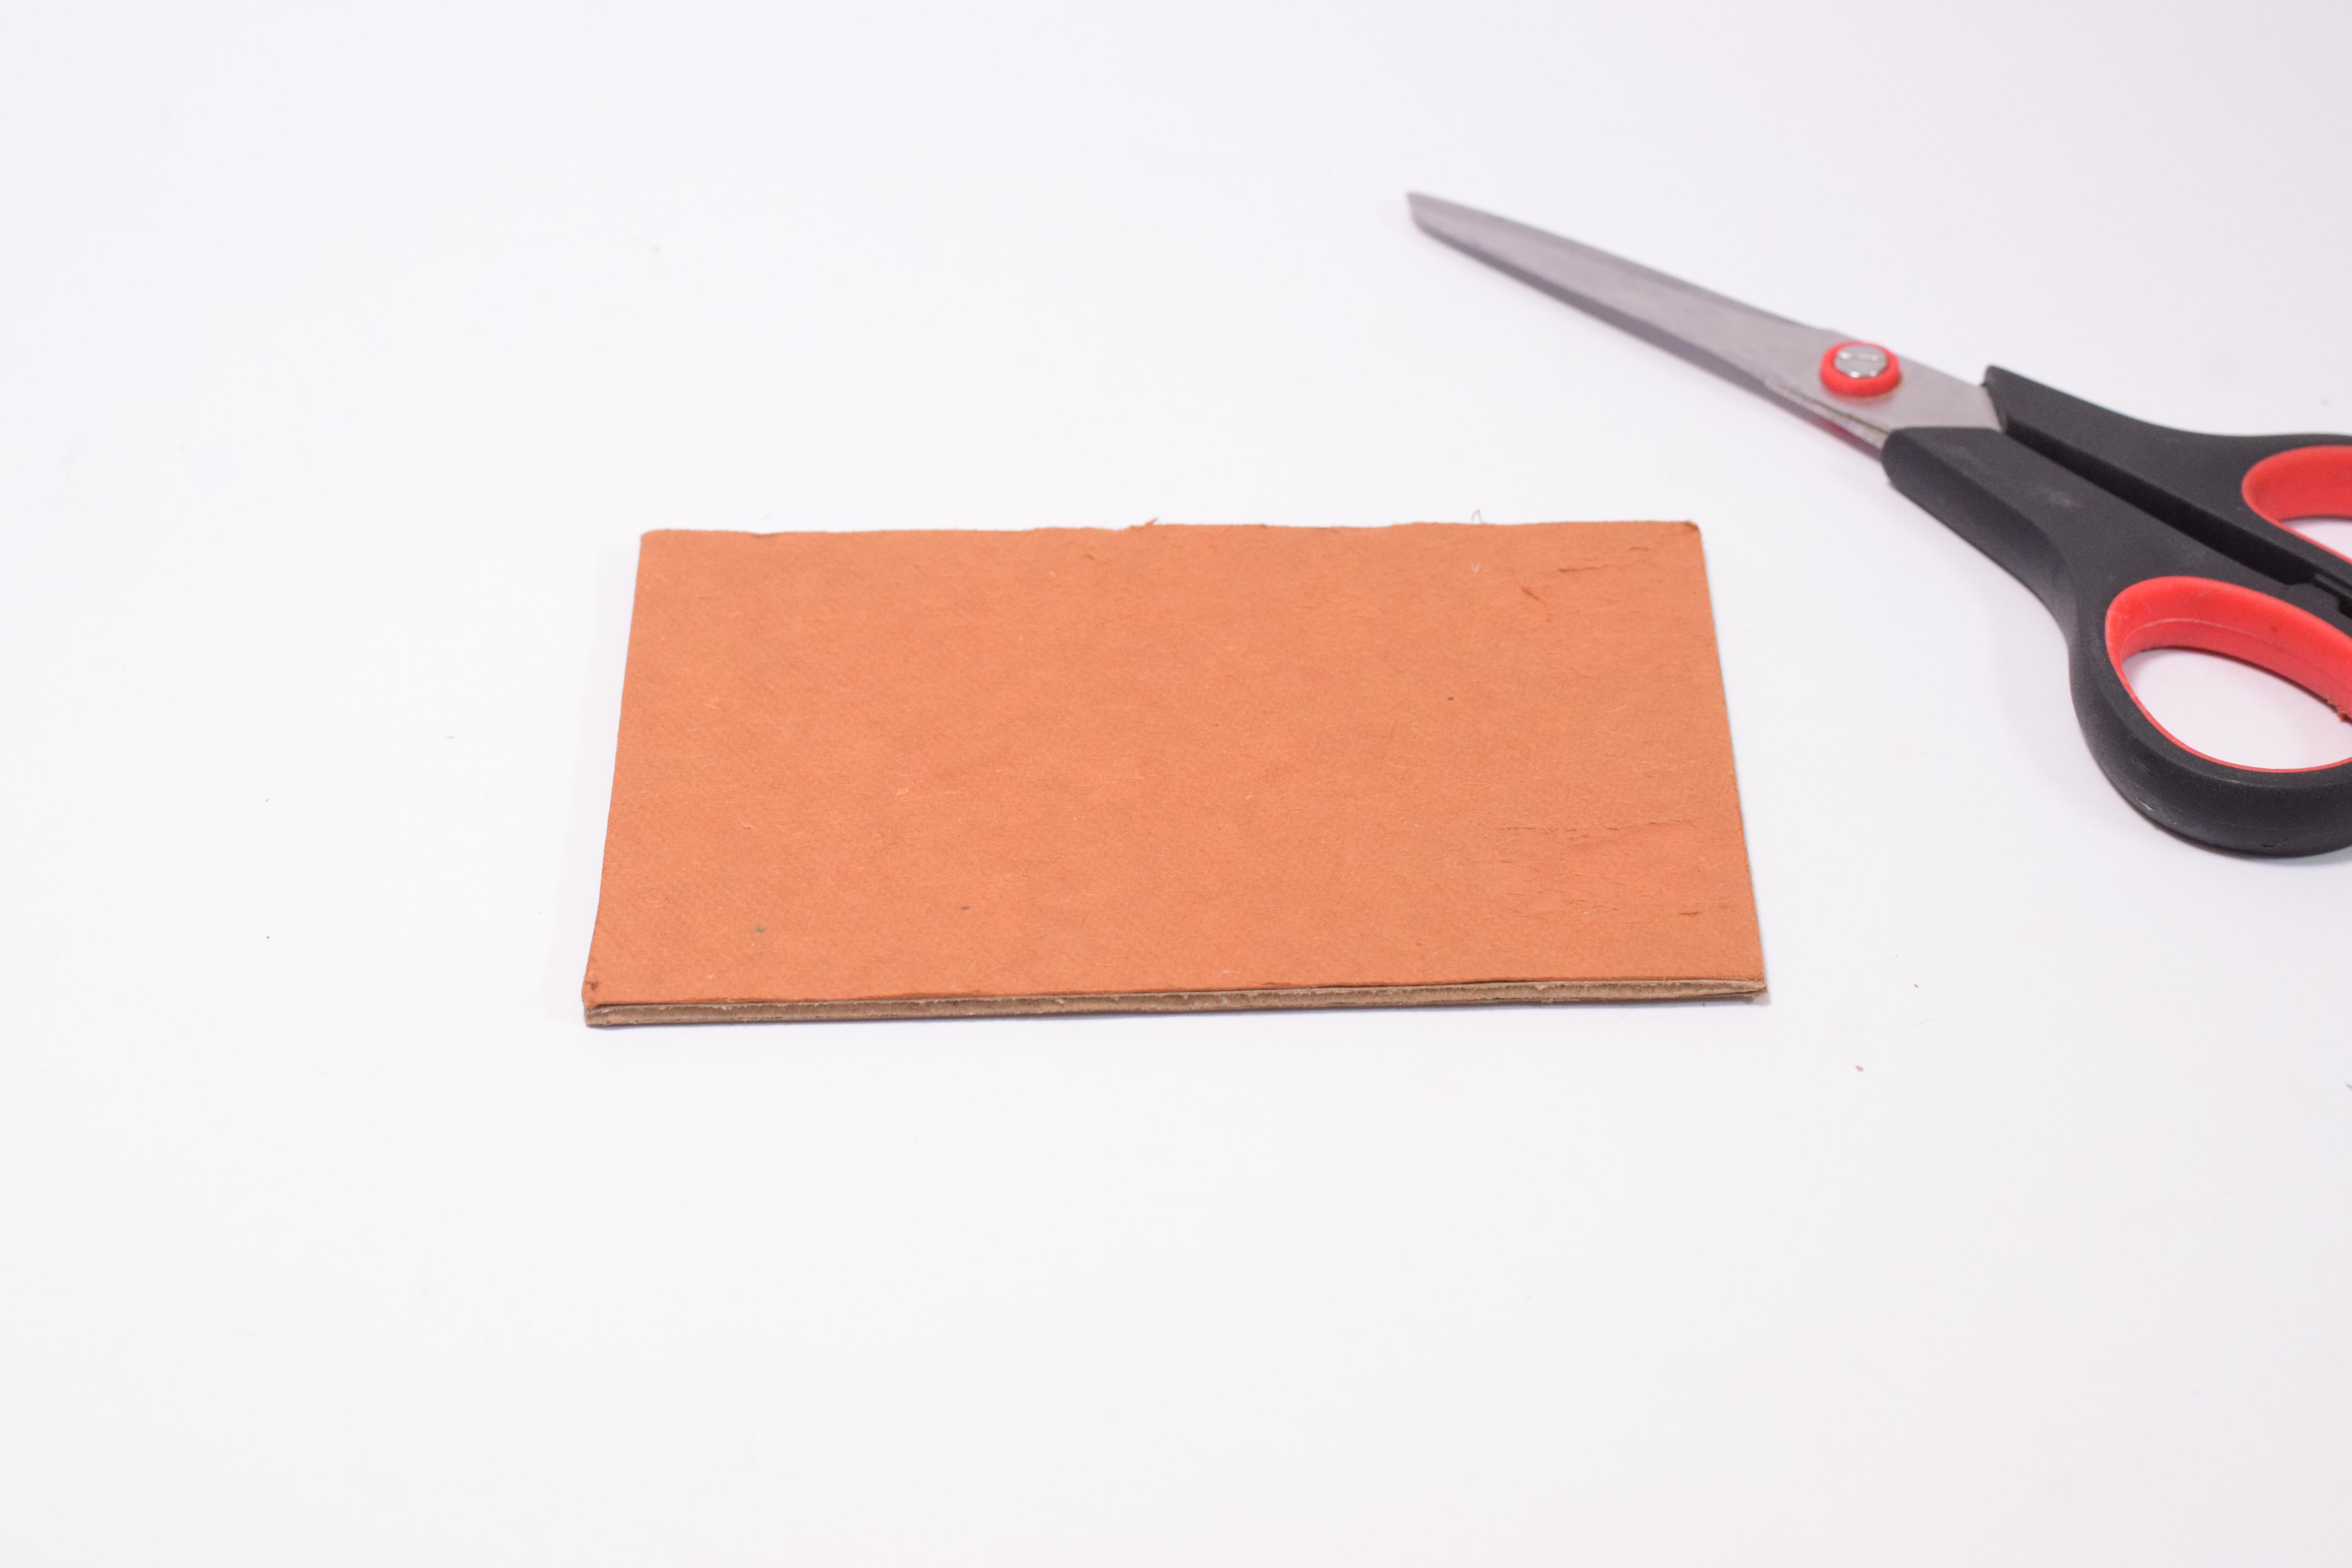
Make a Base for the Project, to Place the Components on It and a Stand for Flower
Stick the Light Sensor Module Together and , Make a Slot in the Center of the Flower for the Dreamkit Wires of the Light Sensor As Shown Below
Now Place the Hub and the Modules Over the Base As Shown Below. Fix the Sunflower to the Servomotor. Place the Servo Close to the Hub
Upload the Program, Take a Flashlight and Test Whether the Sunflower Is Following the Light.
Woah!!! You Have Built Your Own Sunflower That Can Follow the Light Similar to How the Real Sunflowers Do.
Once you complete the project share it on Instagram with Tag #dreamkit and #CreatedWithDreamKit
Happy creating !!!
Click here to Check out our YouTube Channel for More such DIY projects