DIY Sun/Star in Photoshop
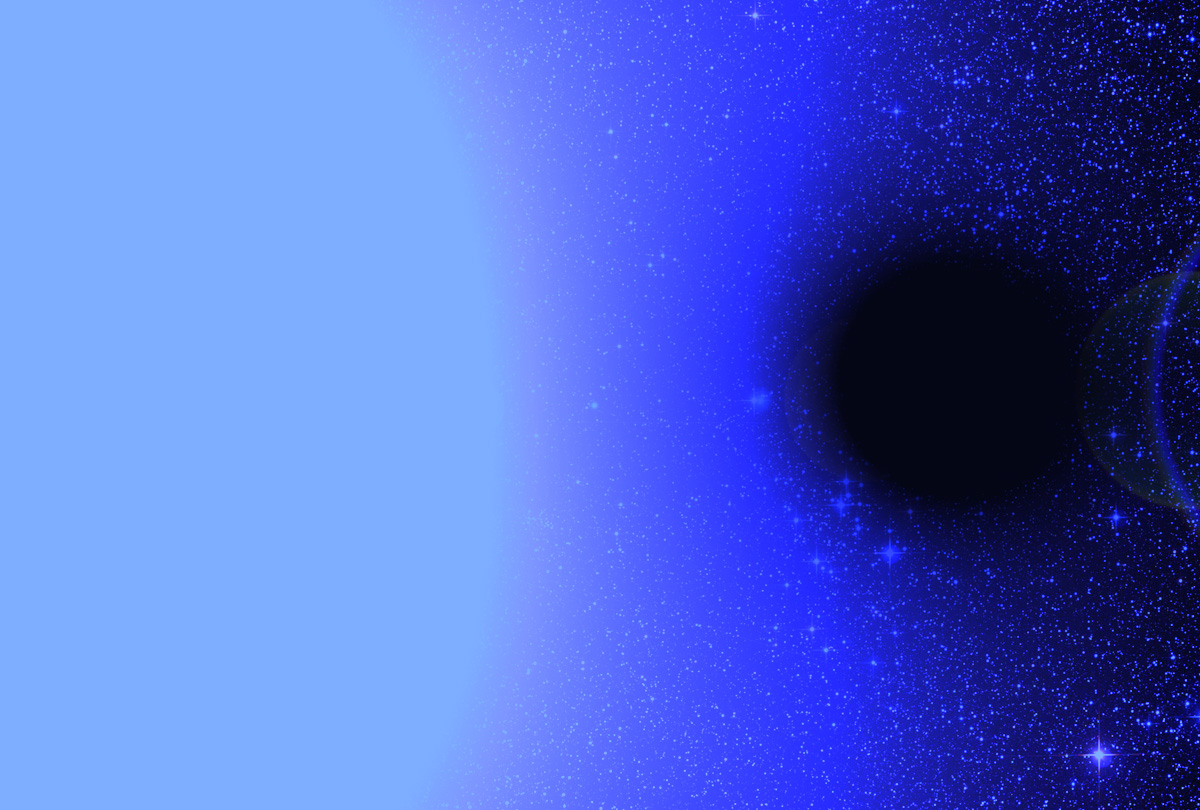
This instructable will teach you how to make a sun in Photoshop. It doesn't matter what intensity, position, or color you want the sun to have... this guide will help you with all of them. This guide will teach you how to make the sun from scratch, and also how you can create suns in pictures that already contain planets or other stars. (Pictured below is one of the ones I made, on the left is a low intensity blue sun and on the right is a black hole).
Materials you'll need:
Photoshop
Google Images
Materials you'll need:
Photoshop
Google Images
Choosing Your Backround
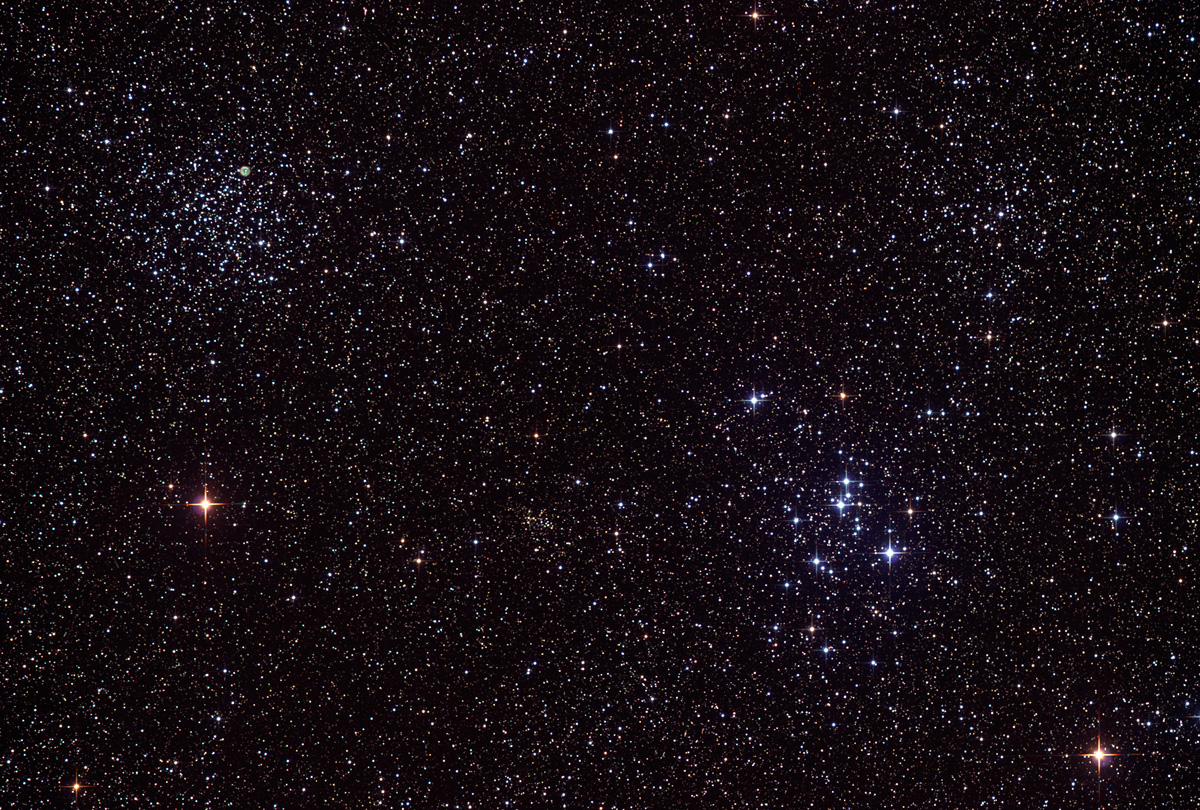
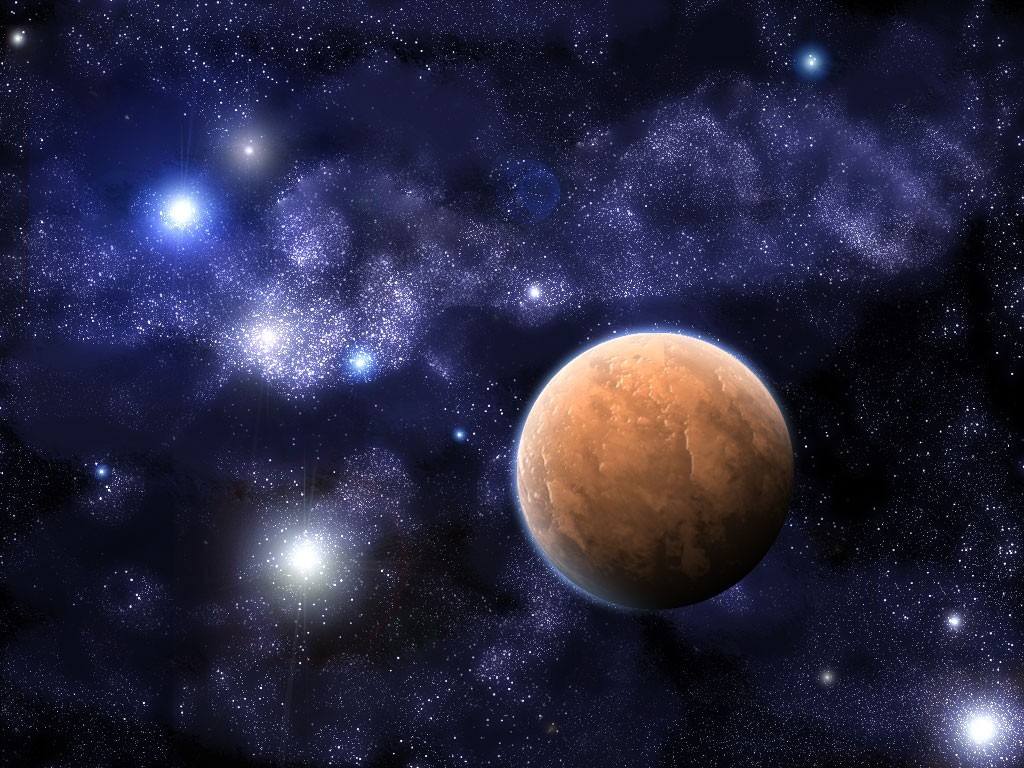
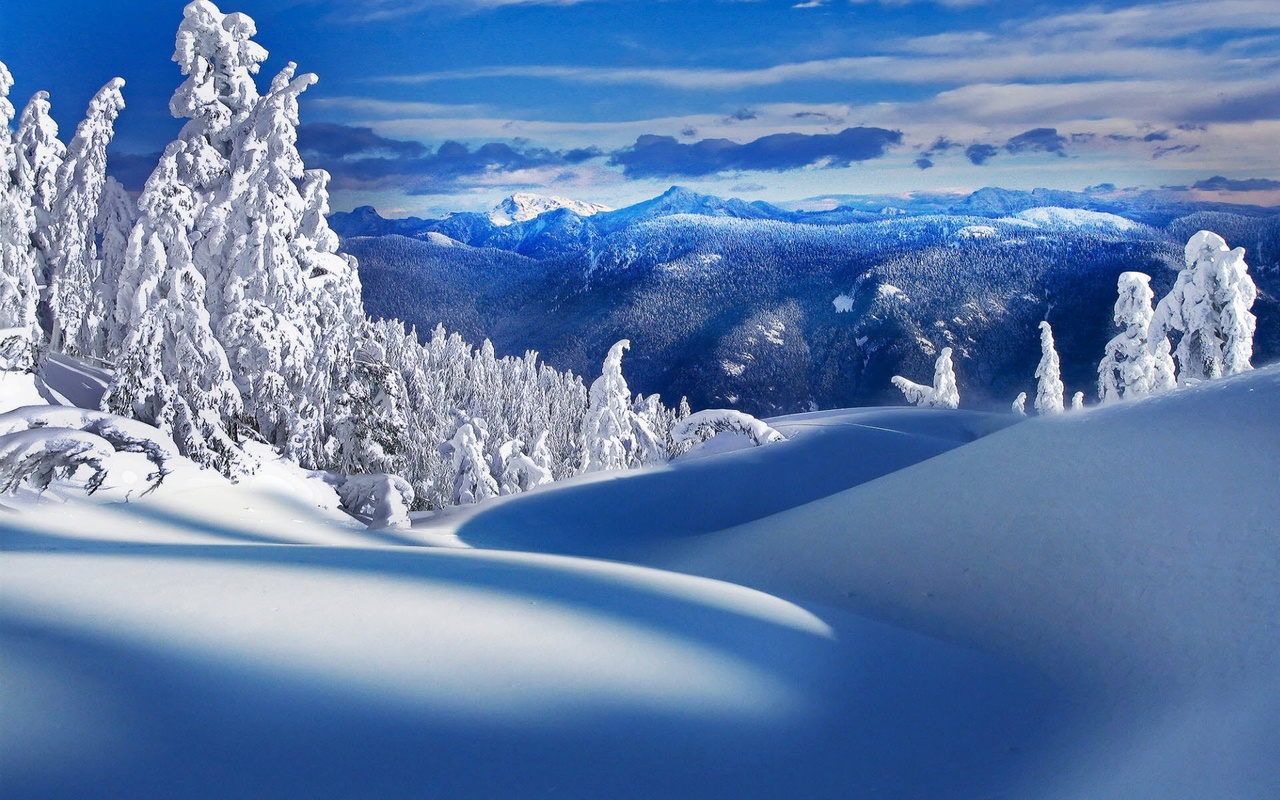


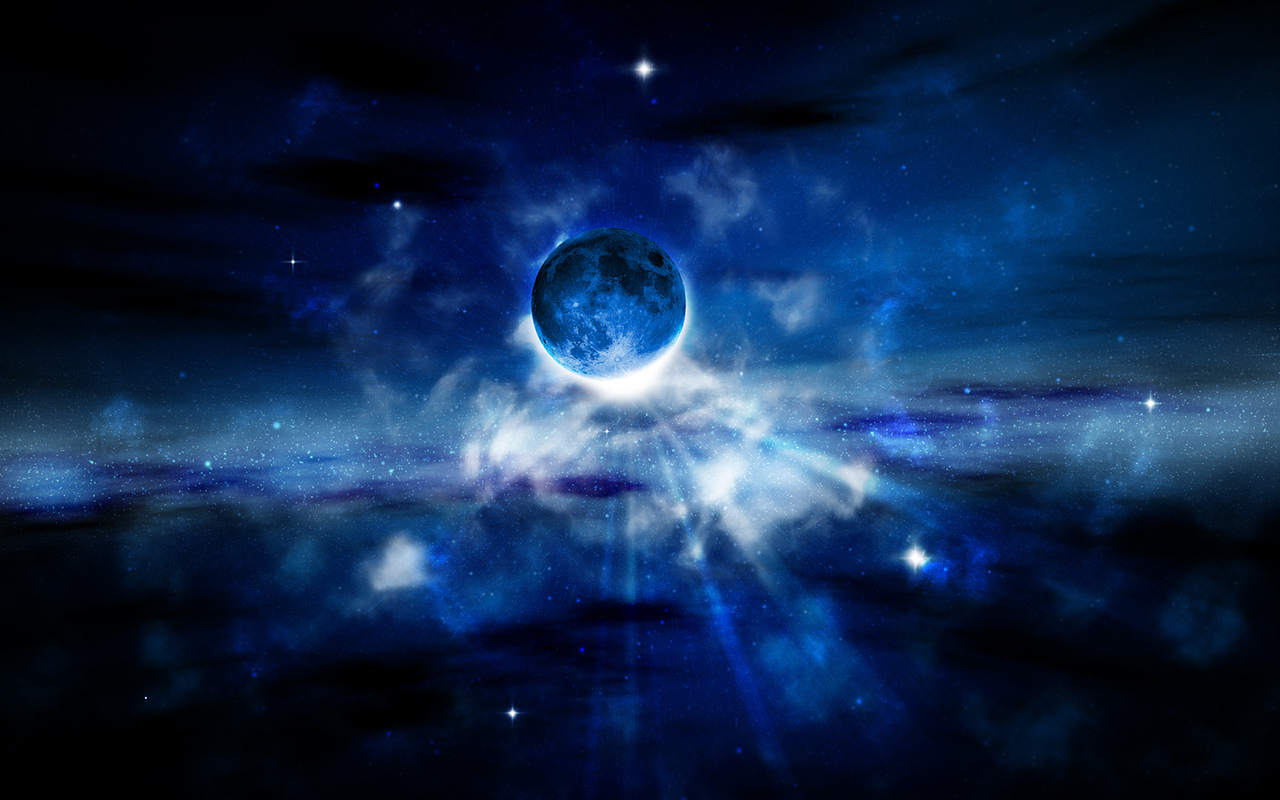
The first step is creating a backround. You have many choices in regards with that, you can choose a plain black backround (which is more realistic for close-ups since when your close to a star the light blocks your vision of other more distant stars). You can choose a starry backround, you could also choose just any old picture taken on earth that has enough sky where you could add your own sun. Or you could choose a picture of a planet where you could create your own sun for the planet. (Pictured below our some examples)
Requirements for your backround picture:
- Must have enough open space to fit the sun.
- Must be of high-quality (i.e. no grainy photos).
- Photo wil allow the sun to be the focal point.
Rendering the Sun

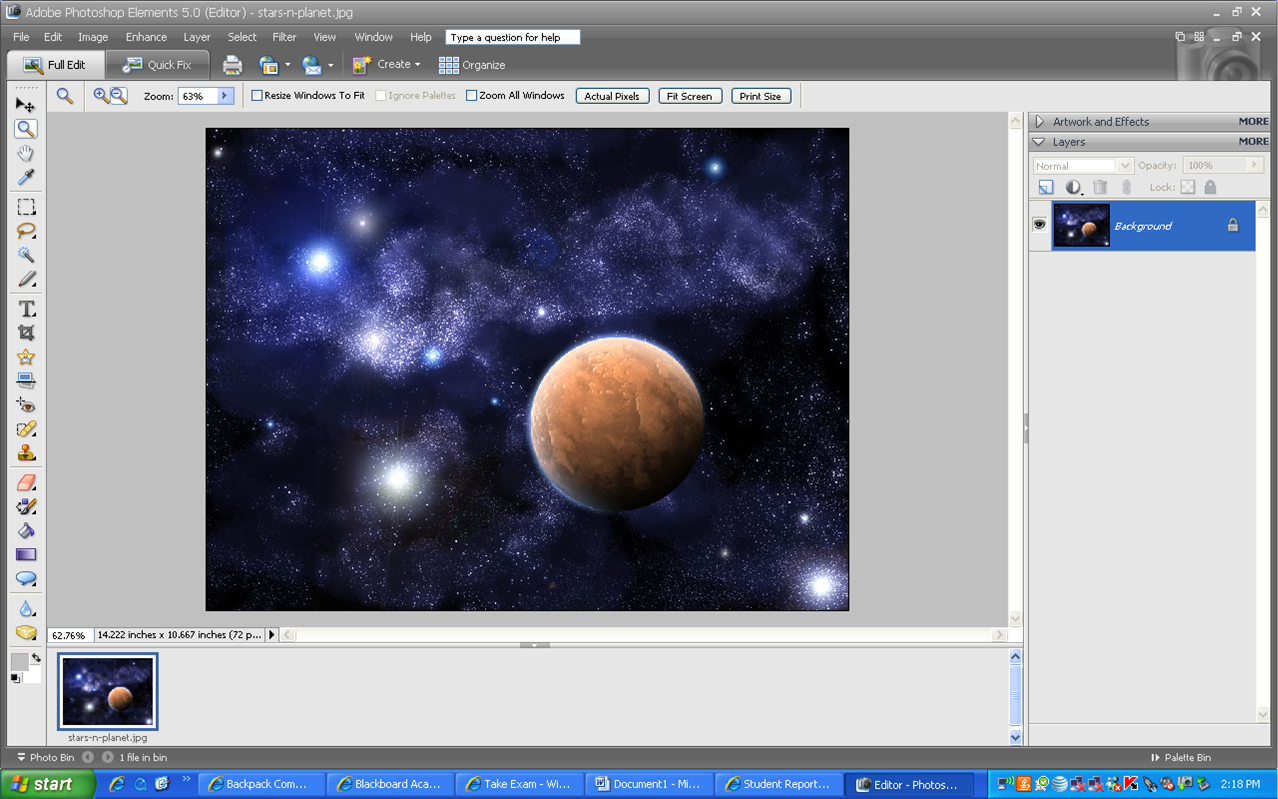
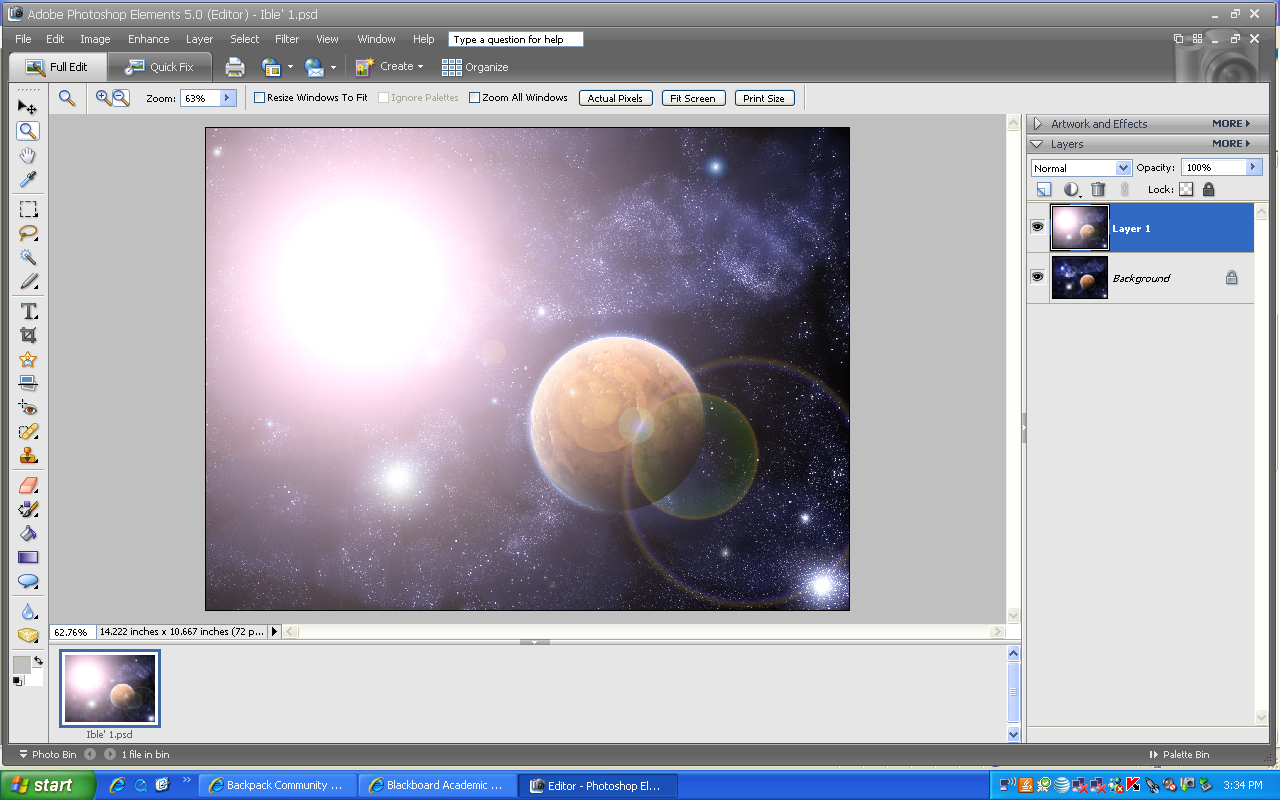
Alright, so here's the first step. As you can see I chose the second picture from the last step as the example for this instructable. You can chose any picture you since the steps for making the sun don't make any drastic changes for different photo's. So, begin with bullet one, and by the end of the step you'll be past one of the most important parts.
1: First, got to "File: Open" and double click on your chosen backround image.
2: Hit the "Fit to Screen" button so that the picture isn't too small to work with, or so large you can't see the whole thing at once. By this time your screen should look similar to the second picture on this step.
3: Next, along the top of your screen there should be the tools bar, click on "Layer: Duplicate Layer". Name the layer "Layer 1". This is an important step to follow EVERY TIME you make a change to your image, since if you make some irreversable mistake you can simply delete that layer and make a new one and start over.
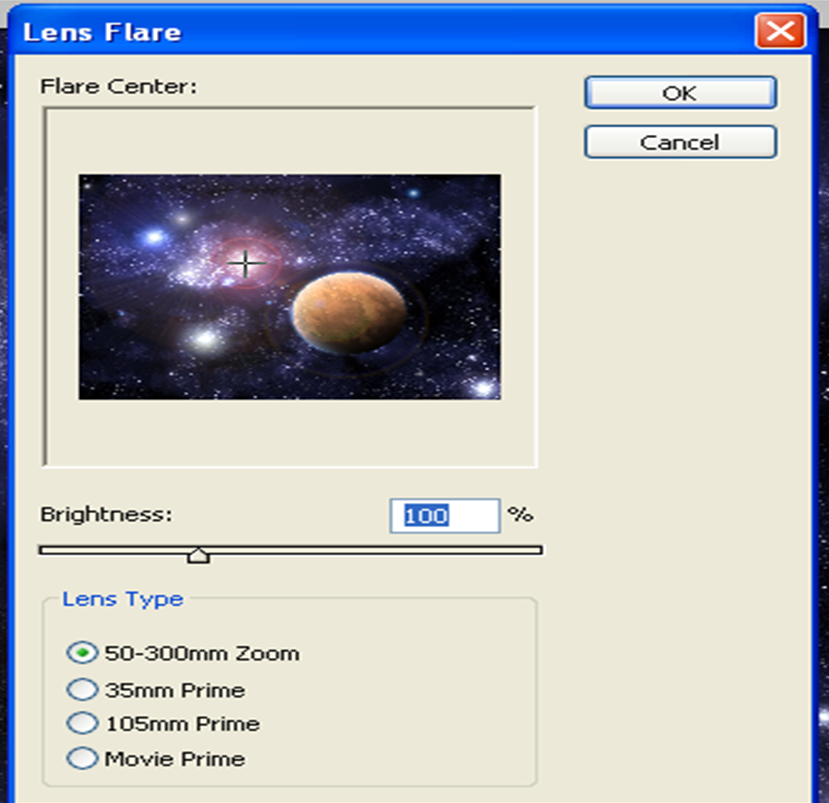
4: Now it's time to render the lens flare that will become your sun! Go to the tool bar and select "Filter: Render: Lens Flare" And the box pictured in the third picture on this step should appear.
5: Click on the lens flare pictured in the lens flare box and reposition it to where you'd like the sun to be located in the picture.
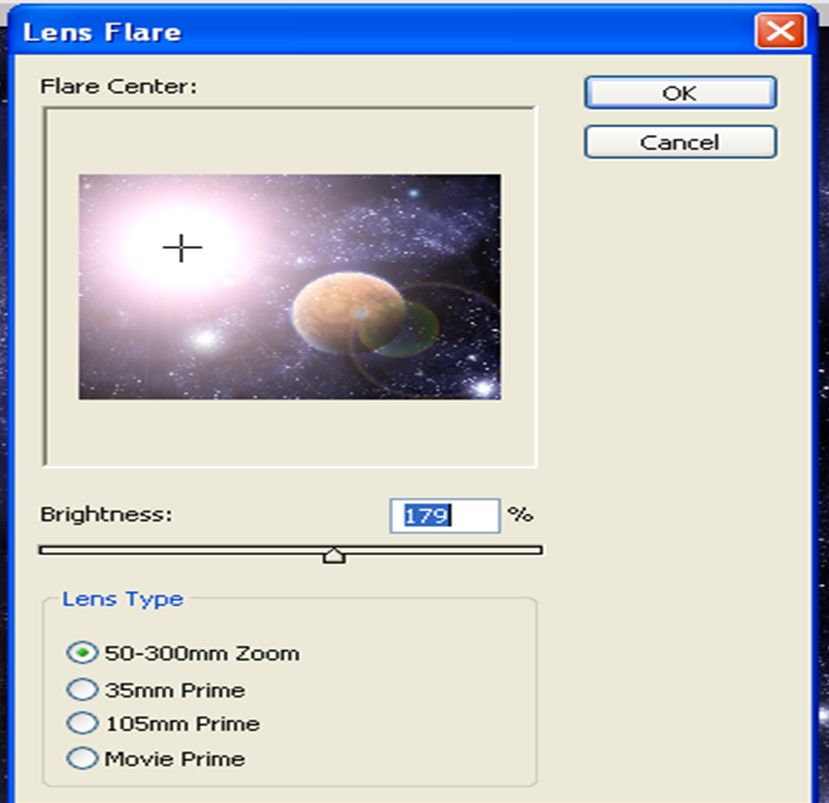
6: Now, you you can use the small "Brightness" bar in the Lens Flare box to modify how bright you'd like your sun to be. Pictured in the fourth picture in this step is how it looked when I had finished.
7: Once you got the position and brightness the way you'd like it, hit the "Ok" button to the right of the image to finalize it. Now the lens flare will appear on your image. In the fifth picture for this step, you can see how my screen looked after I rendered the lens flare.
Now, if you just want a plain white sun, and this looks good to you, you can stop here and save it as a JPEG image. But if you want it to be a different color and maybe add some effects to it, continue to the next step!!!
Coloring the Sun
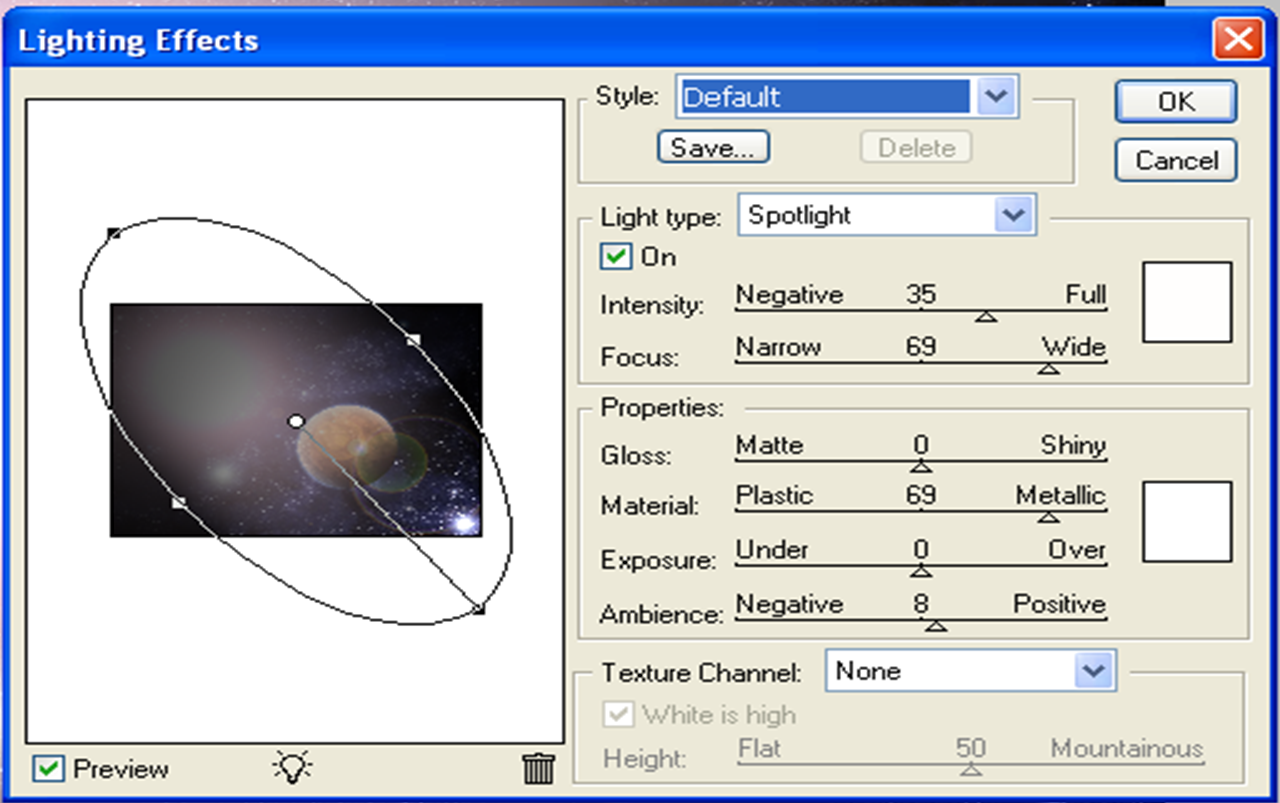
Alright, if you're reading this step, you apparently decided you'd like to make your sun a color other than white, so, follow the steps to create any color you'd like!!!
1: First, create a new layer, as I said in the last step, you gotta do this everytime you make a change.
2: Now, go to the toolbar and click "Filter: Render: Lighting Effects". Picture one (the main picture) for this step shows what the box that appears on your screen should look like.
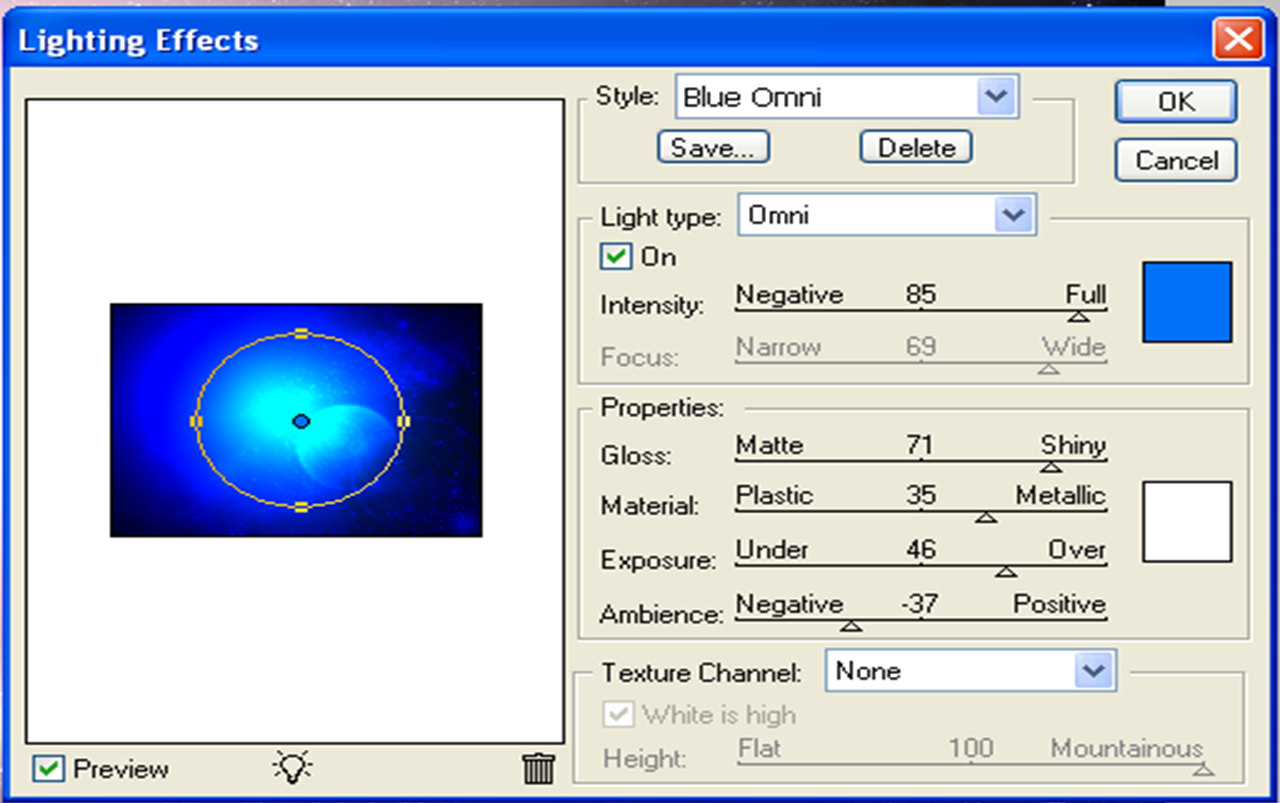
3: Now go to the "Style" drop down bar at the top of the Lighting Effects box and click "Blue Omni". Picture two for this step show's what the Lighting Effects box should look like now.
4: Now, click on your newly created Blue Omni in your Lighting Effects box and drag it over to where your earlier created Lens Flare is located.
5: Now in the Lighting Effects box you can modify the amount of Intensity and Ambience until you get the desired color, brightness, and visibility.
Completion
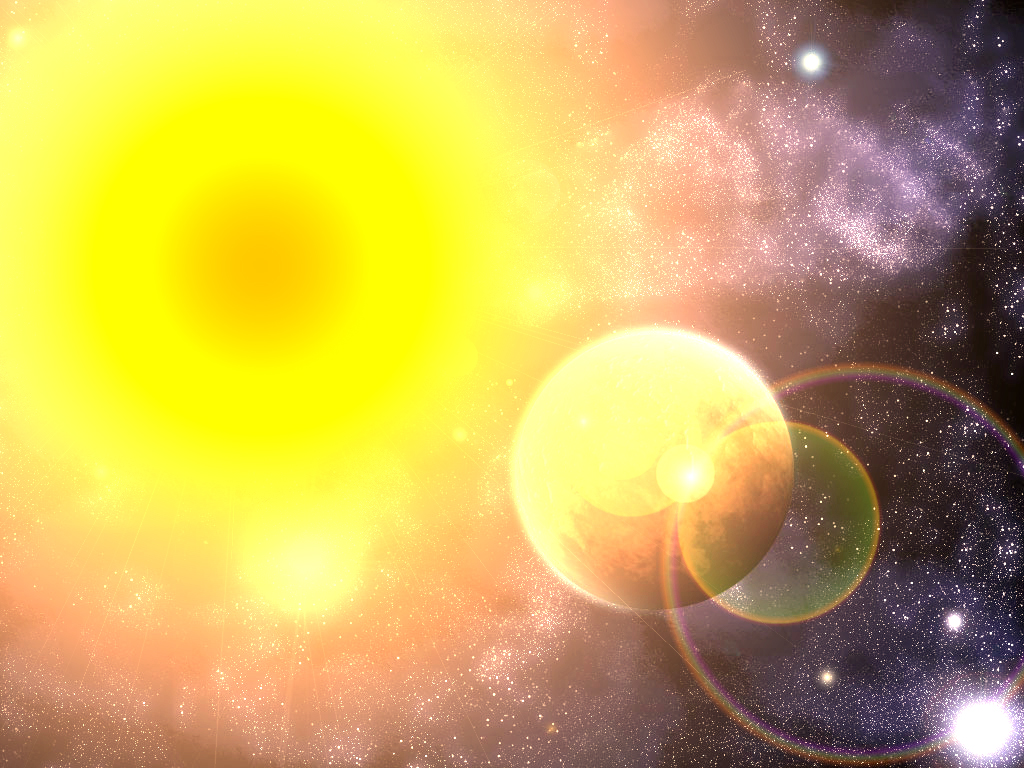
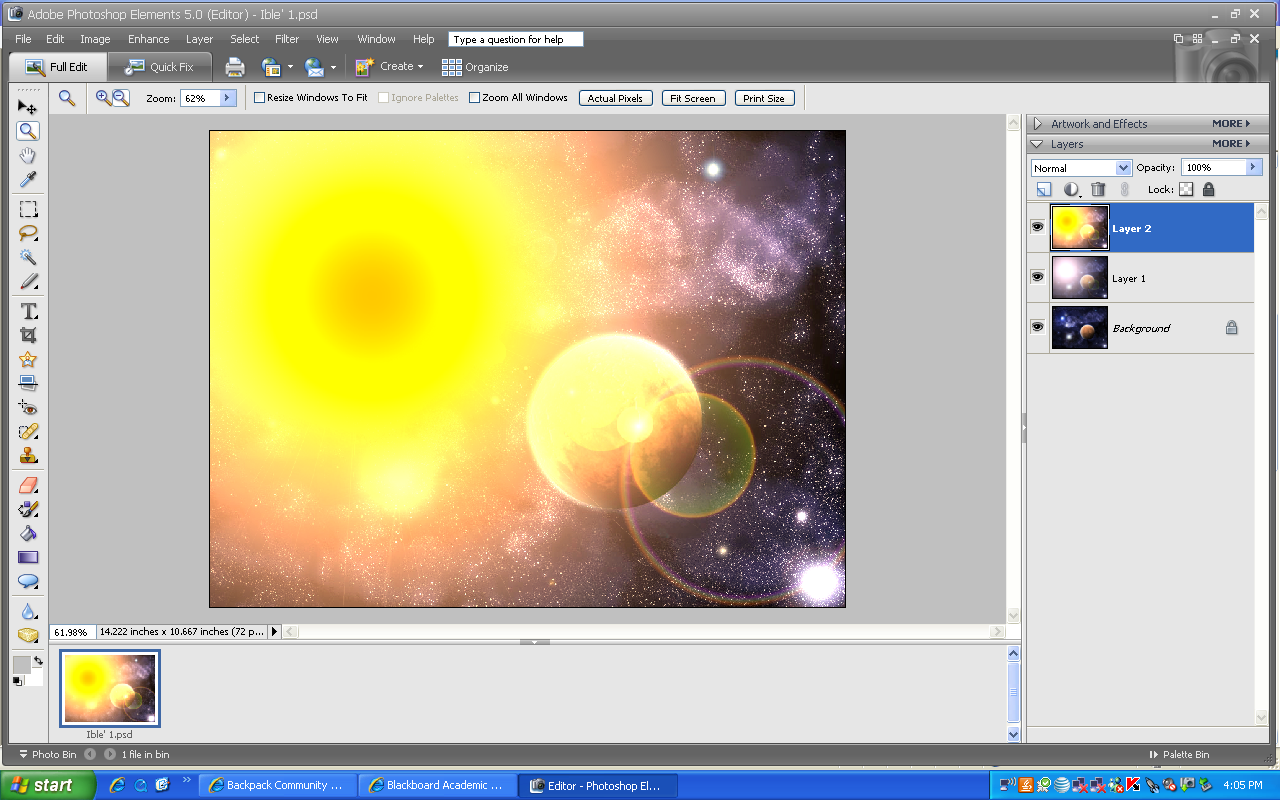
In the second picture for this step you can see what your scree should look like after you've ok'd your lighting effect. If your happy with how it turned out, simply go to "File: Save As" in your toolbar and name it and save it as a JPEG image.
Congragulations!!! You've just completed your first Photoshop rendered Star/Sun.
Congragulations!!! You've just completed your first Photoshop rendered Star/Sun.