DIY Sticker Using Single-Sided Sticky Tape
by Im_Subhrajyoti in Craft > Paper
1881 Views, 9 Favorites, 0 Comments
DIY Sticker Using Single-Sided Sticky Tape
Sticker is something that is loved by everyone. It helps to personalize one’s belongings. It is not wrong to say that stickers represent a part of us. That is why customized stickers are liked by many of us. But making stickers can be difficult sometimes due to the unavailability of sticky paper or double-sided tape. So, in this Instructables article, we will learn, how to make DIY stickers using single-sided sticky tape.
Supplies
Tools Needed:
- Paper
- Single-sided transparent sticky tape (>2 inches wide)
- Scissor
- Butter paper/ Parchment Paper/ Silicon Polymer Coated Paper
- Pencil, eraser, sharpener (Optional)
Software used:
- Inkscape
- Google Docs
Design
.png)
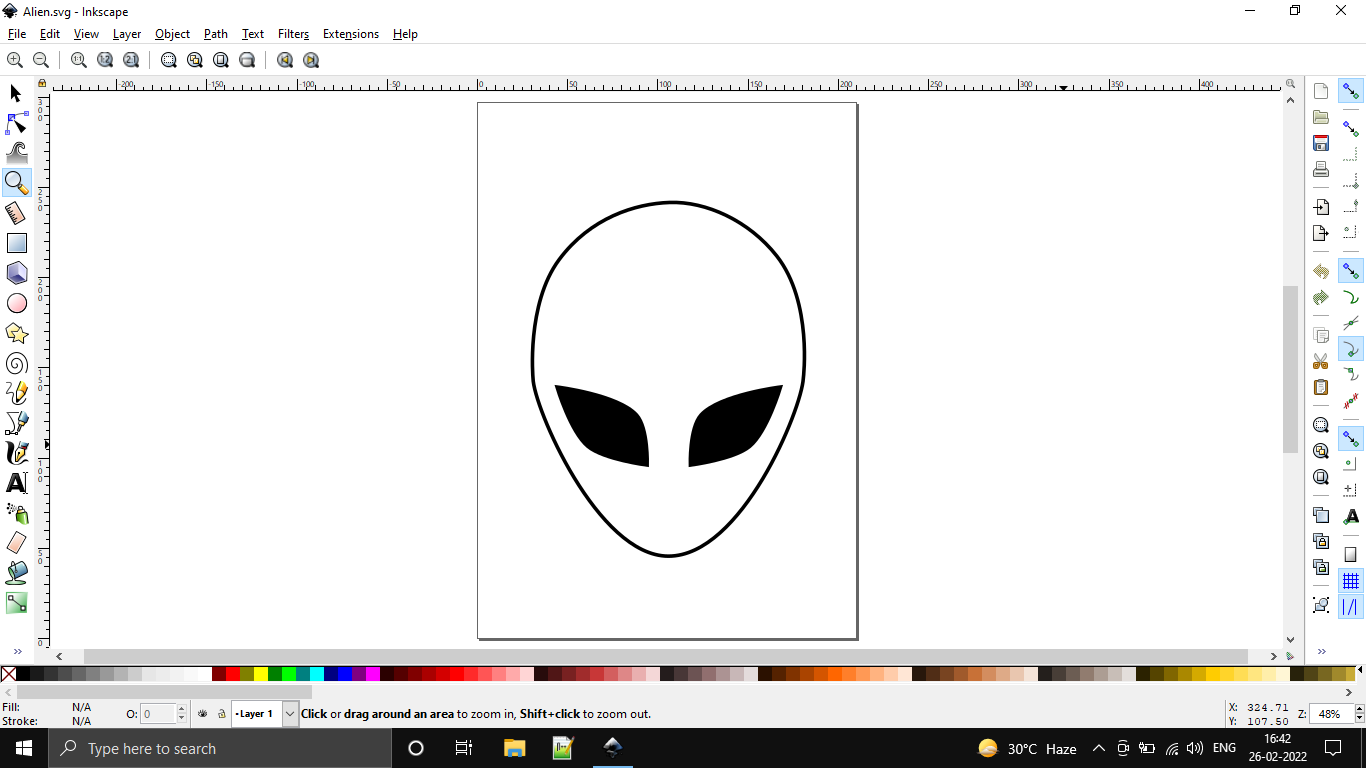
First, we need to design our sticker. I have used 'Inkscape' to design my sticker. After designing, I saved it in the .svg format (vector image).
Downloads
Export the Image in PNG Format
.png)
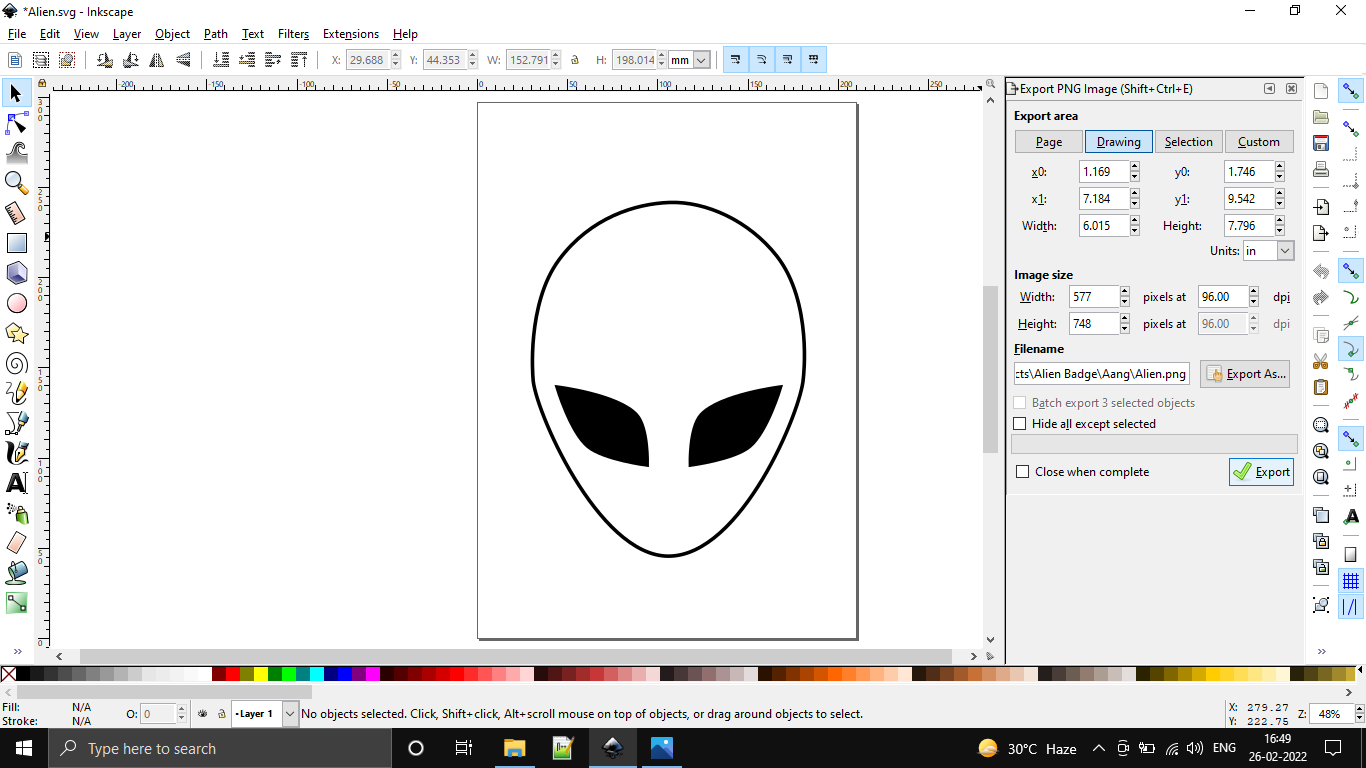
Next, go to File->Export PNG Image… or press Shift+Ctrl+E. Select the ‘Design’ tab and click on the Export button. Then save the image in the desired location.
Set Up a Google Doc
.png)
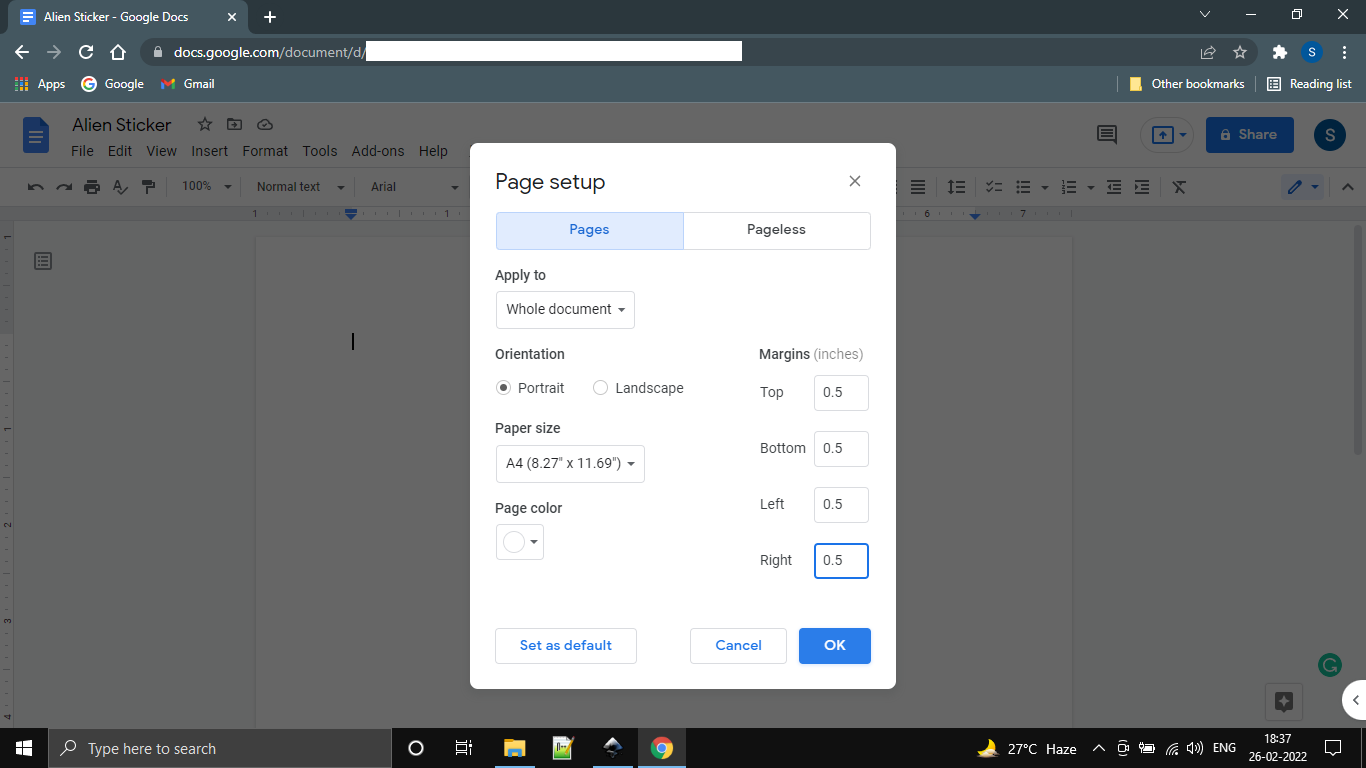
Create a blank Google doc and name it accordingly. Then go to File-> Page Setup. The Page Setup dialog box will pop up. Select the size of the paper you will be using. I have chosen the A4 size.
Add the Image
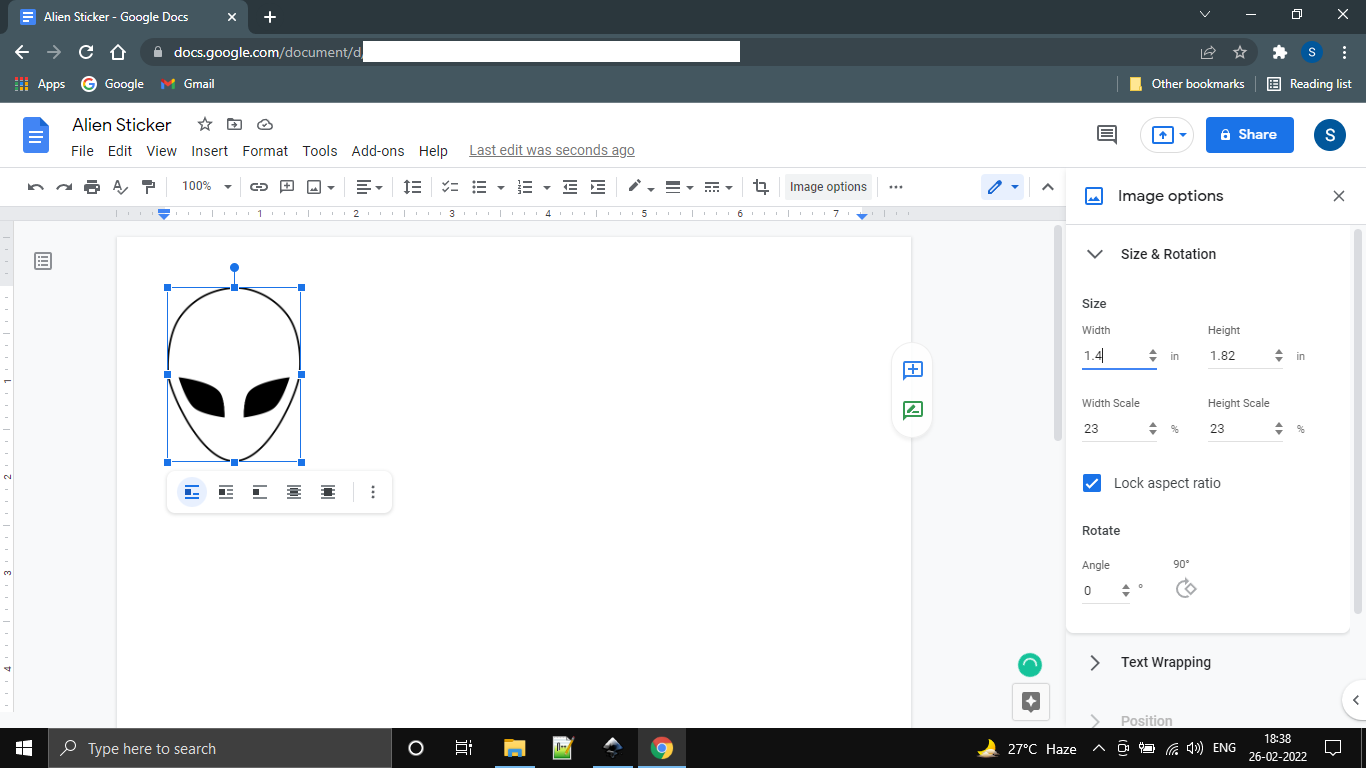.png)
Go to Insert-> Image-> Upload from computer and upload the image. Now select the image and go to image options. Set the width of the image according to the width of your sticky tape. The width of the image should be about 0.5 inches lesser than the width of your tape. Remember to “Lock aspect ratio”. You can copy and paste multiple times to get more prints on a single page.
Export to PDF and Print
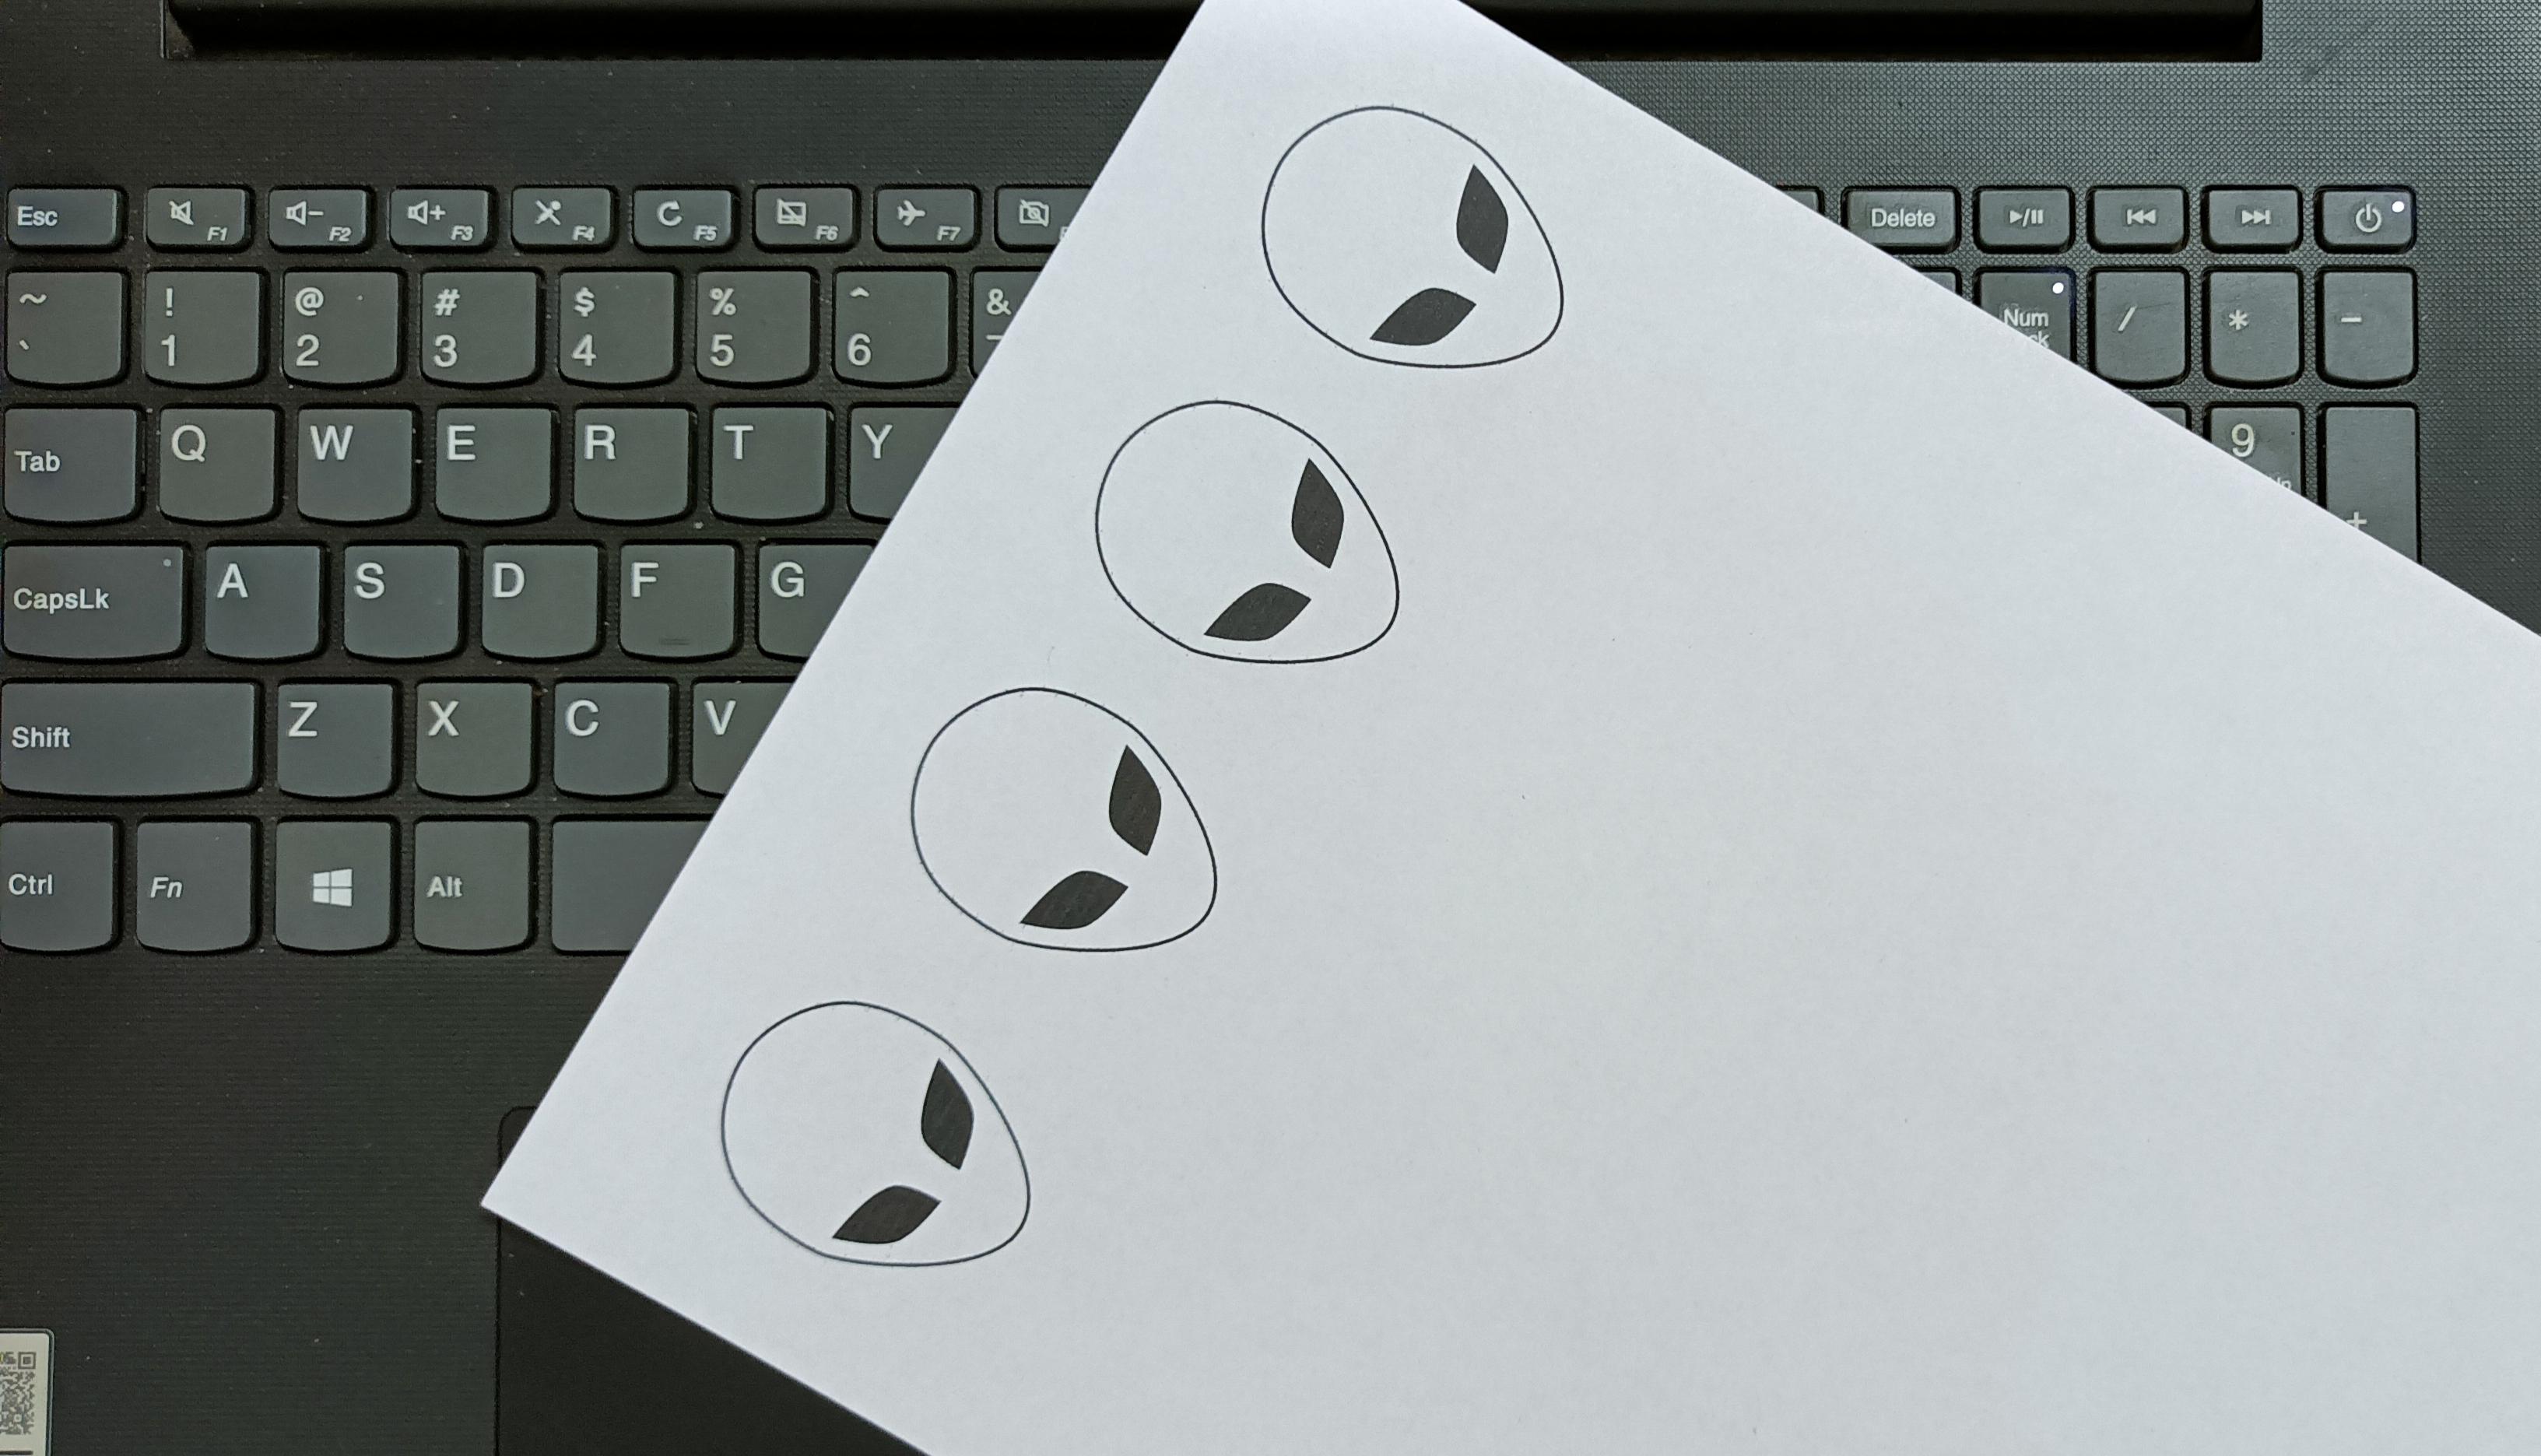
Go to File-> Download-> PDF Document (.pdf). Then the file will be automatically downloaded. Now, print this file.
Downloads
Cut the Image
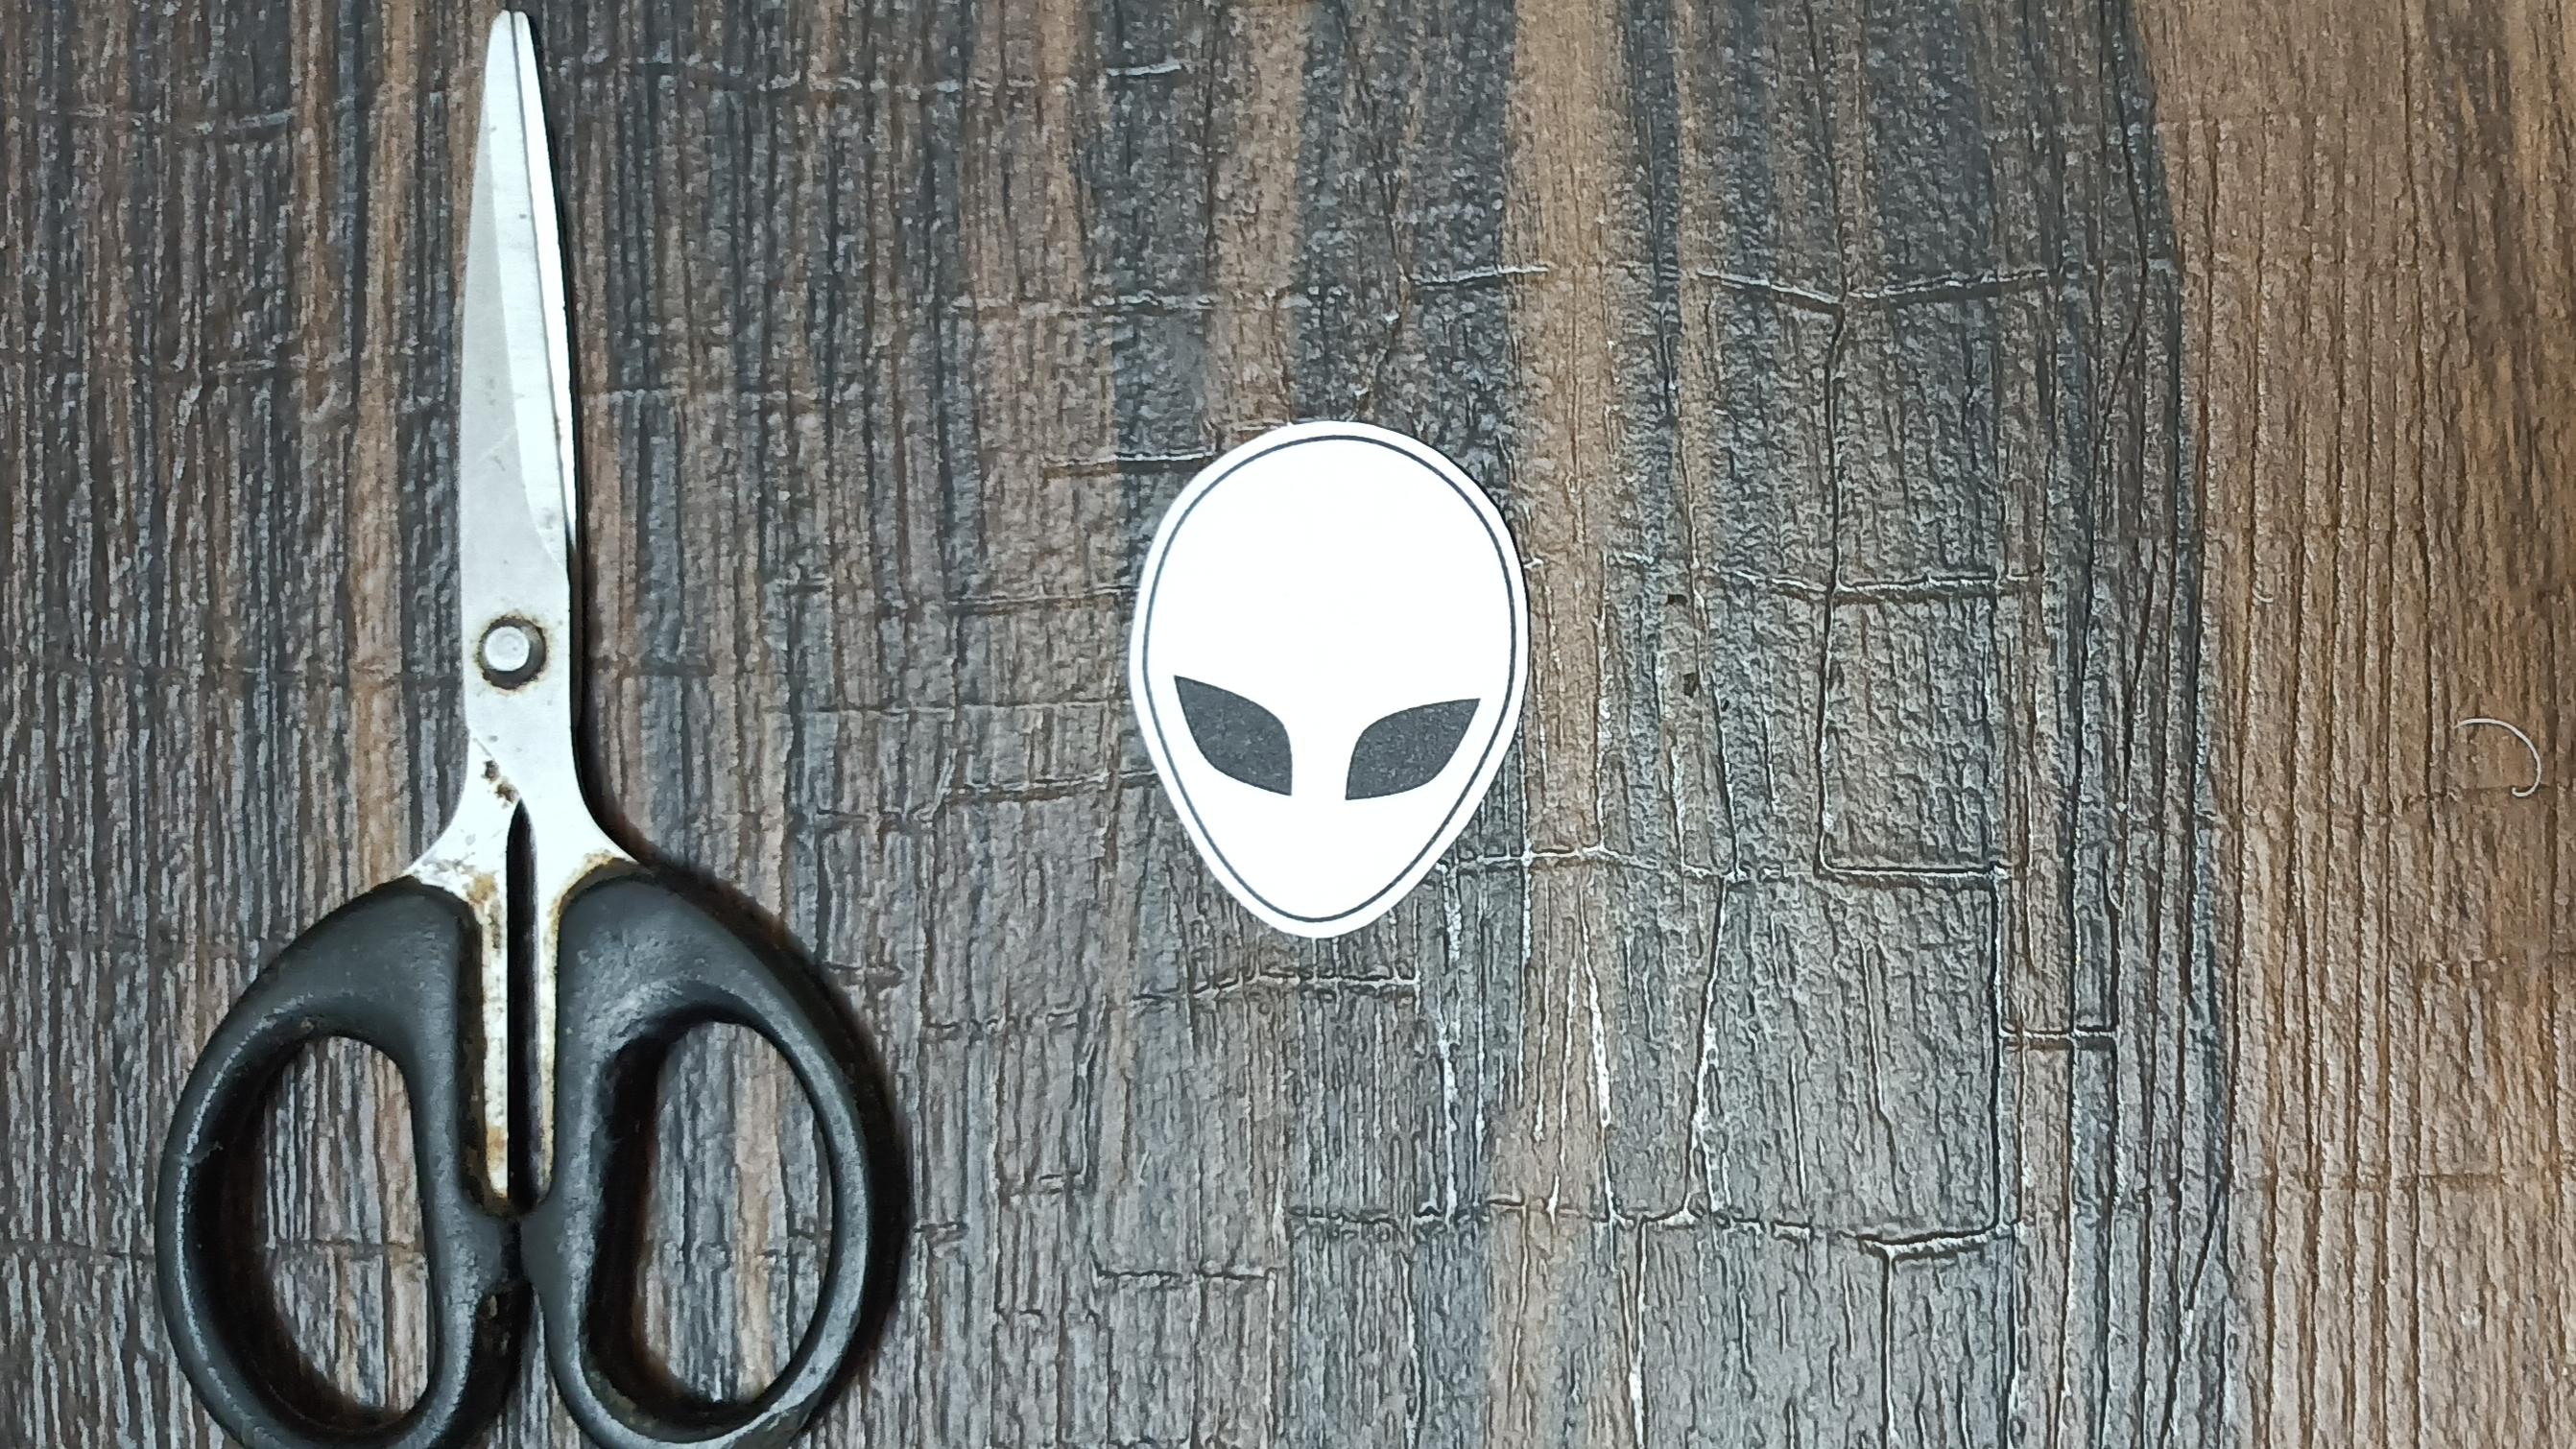
Make an outline using a pencil. This is an optional but recommended step. Now cut the image using the outline.
Apply Sticky Tape on Parchment Paper
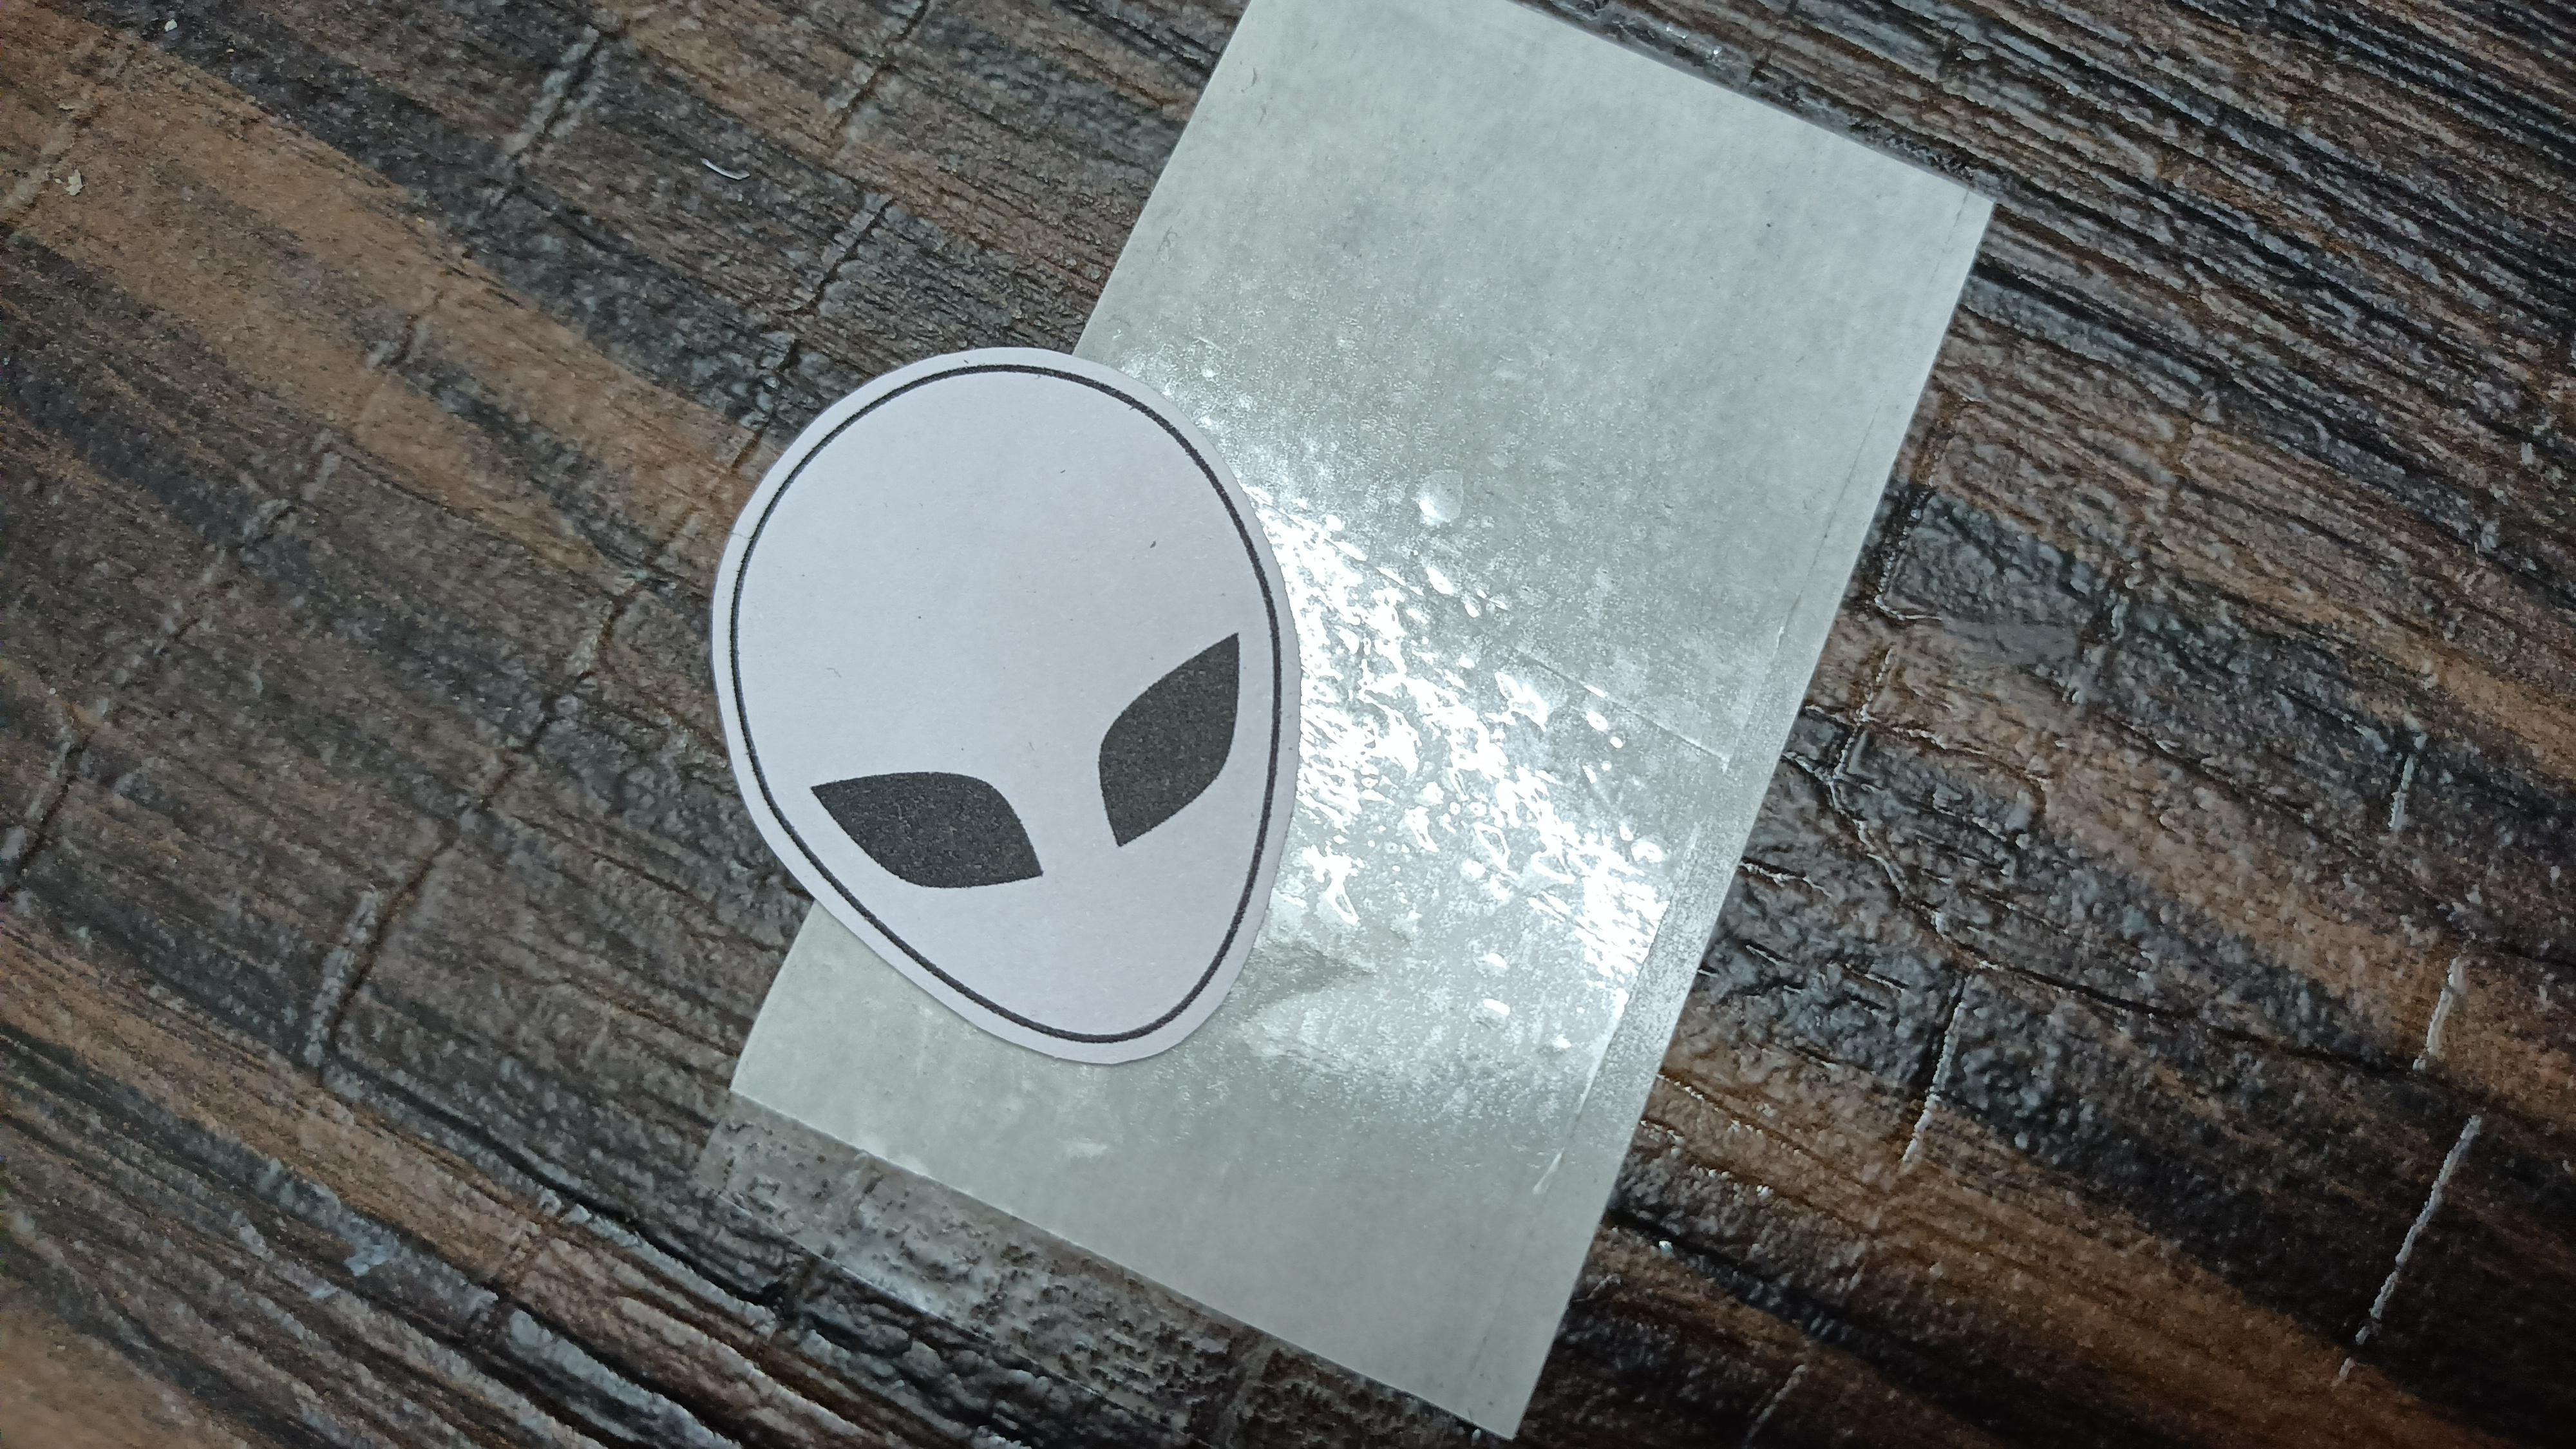
Apply the sticky side of the tape on the parchment paper so that the tape temporarily sticks to the paper. We can later peel the parchment paper off.
Stick the Cut-out
Place the cut-out of the image on the tape (applied on parchment paper) then apply another layer of tape on the cut-out. Remember we are not gluing the cut-out to the first layer of tape. So, we need the apply the second layer of tape such that it sticks to the first layer of tape with the cut-out sandwiched between the layers.
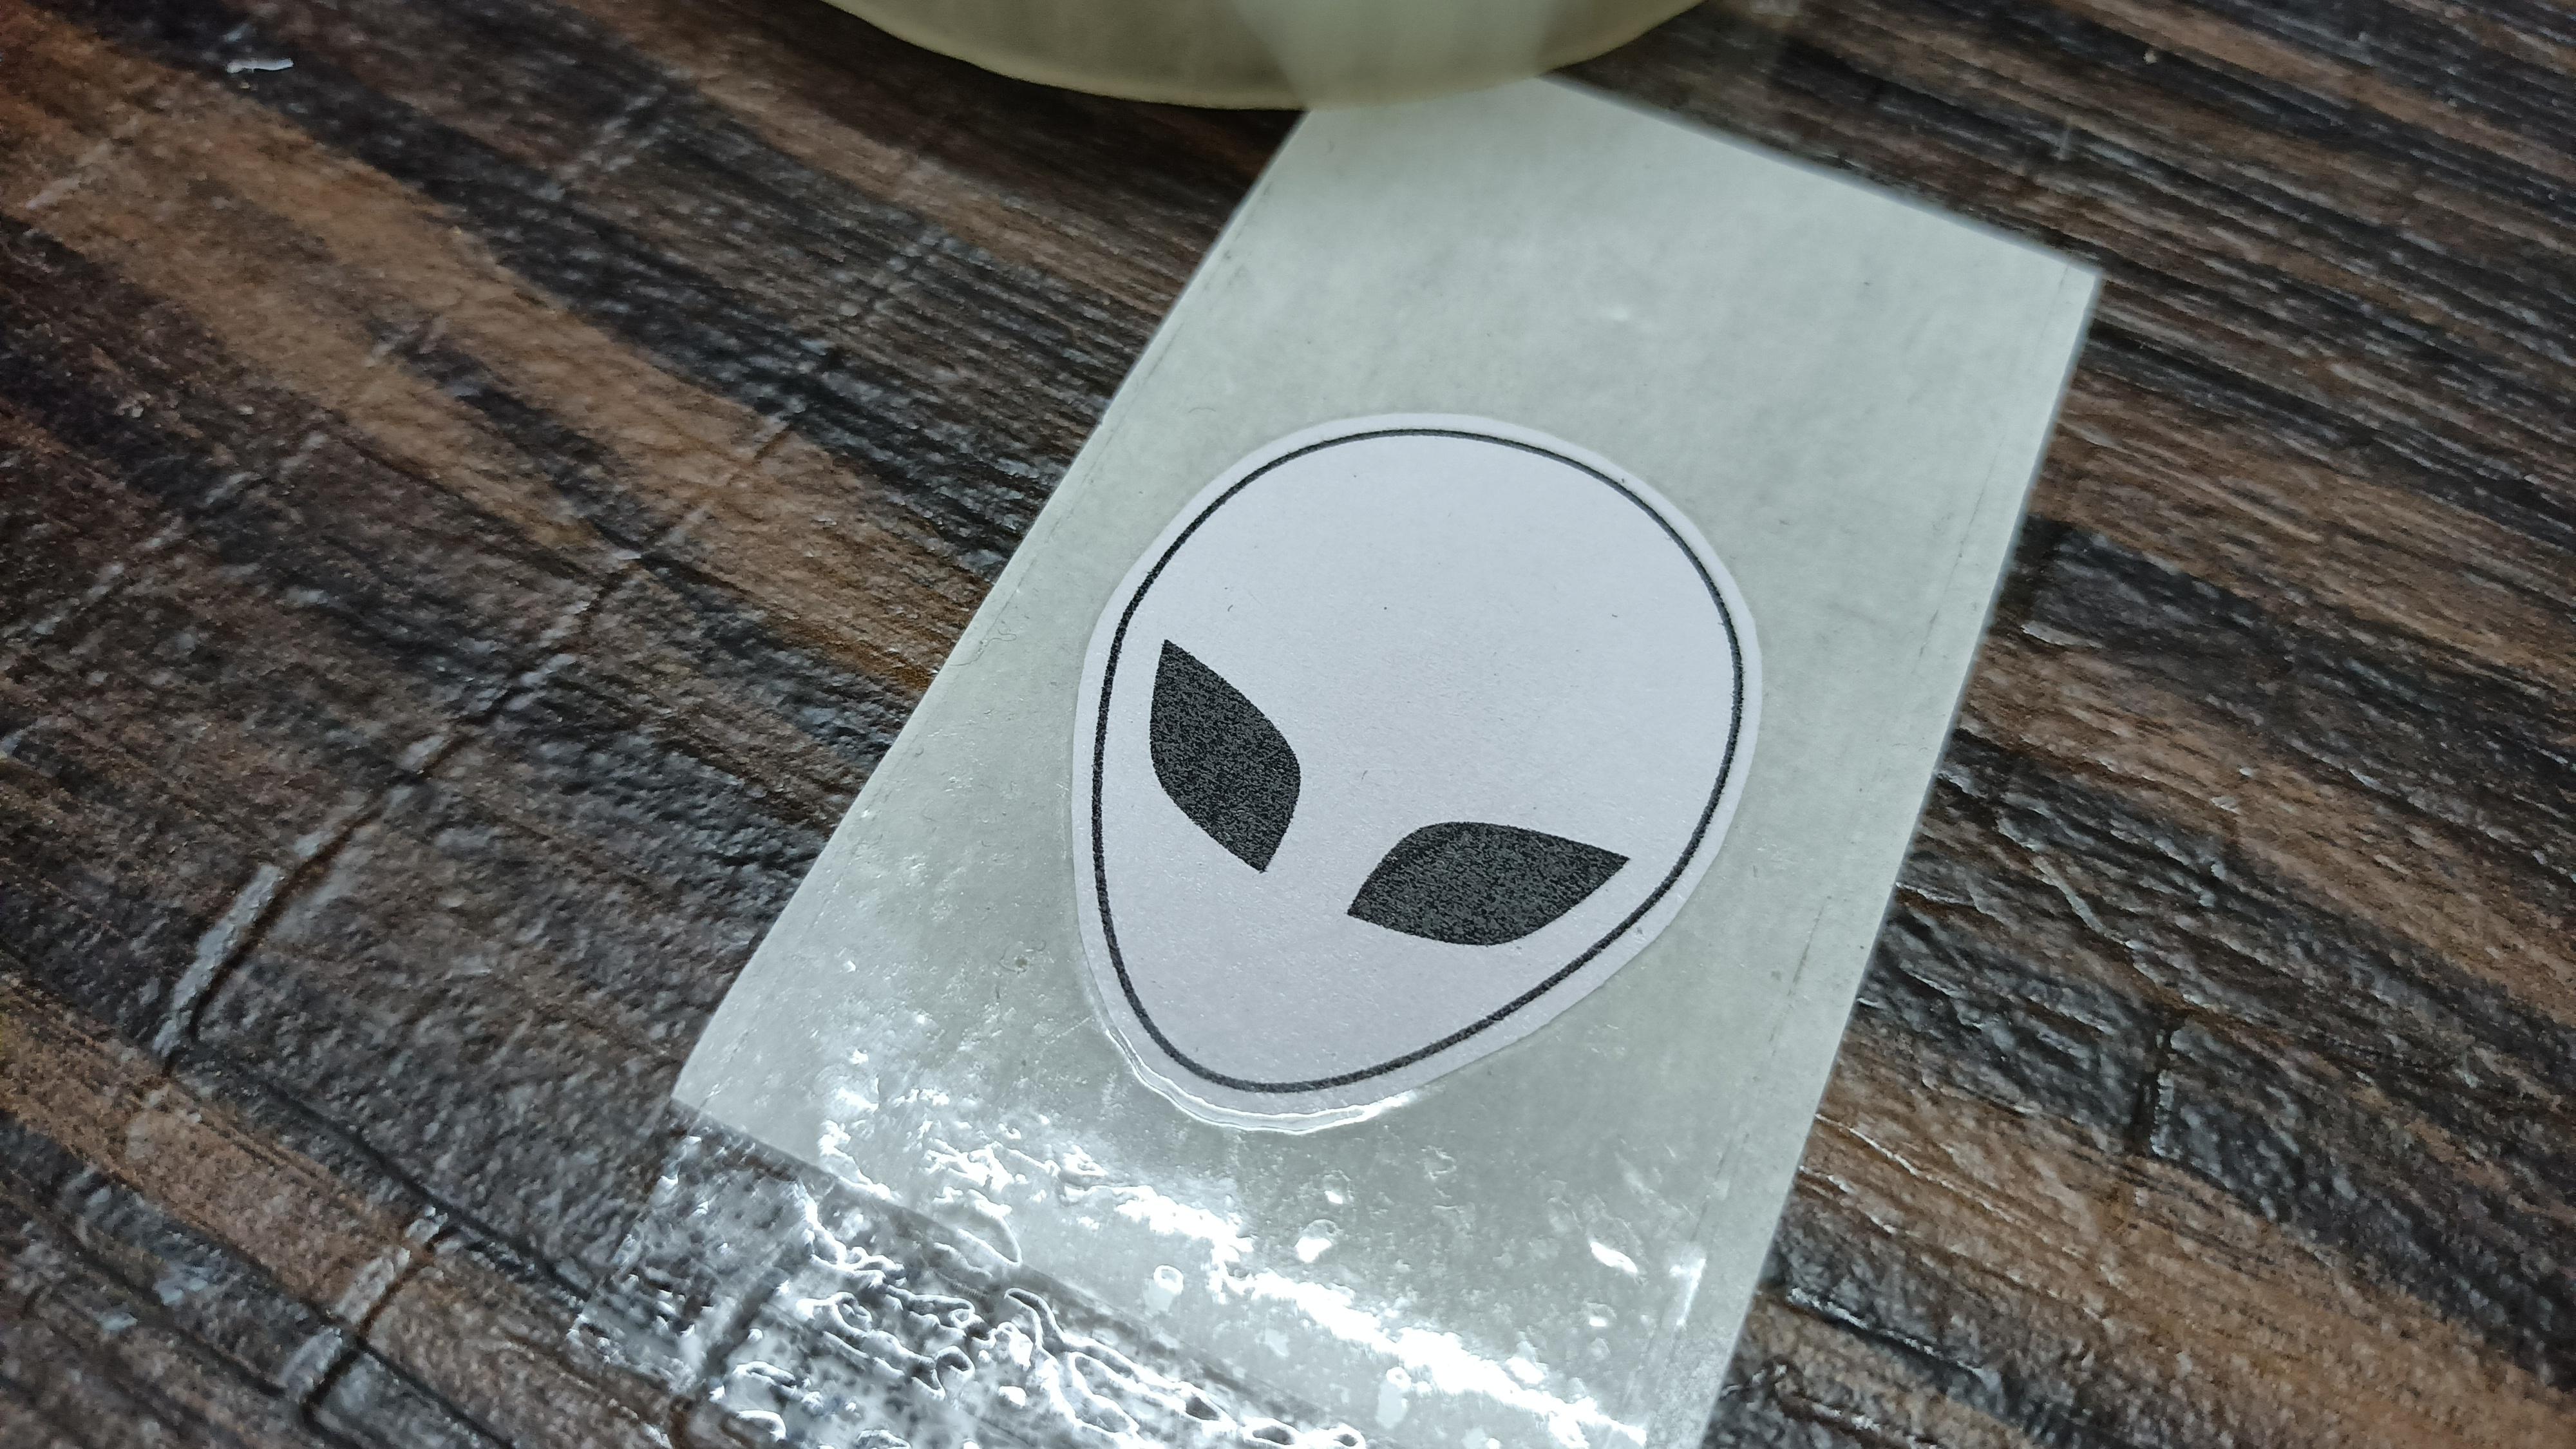
Cut the Sticker

Now, cut the desired shape of the sticker. But remember to leave some space around the cut-out of the image so that the second layer sticks to the first layer keeping the cut-out in between them.
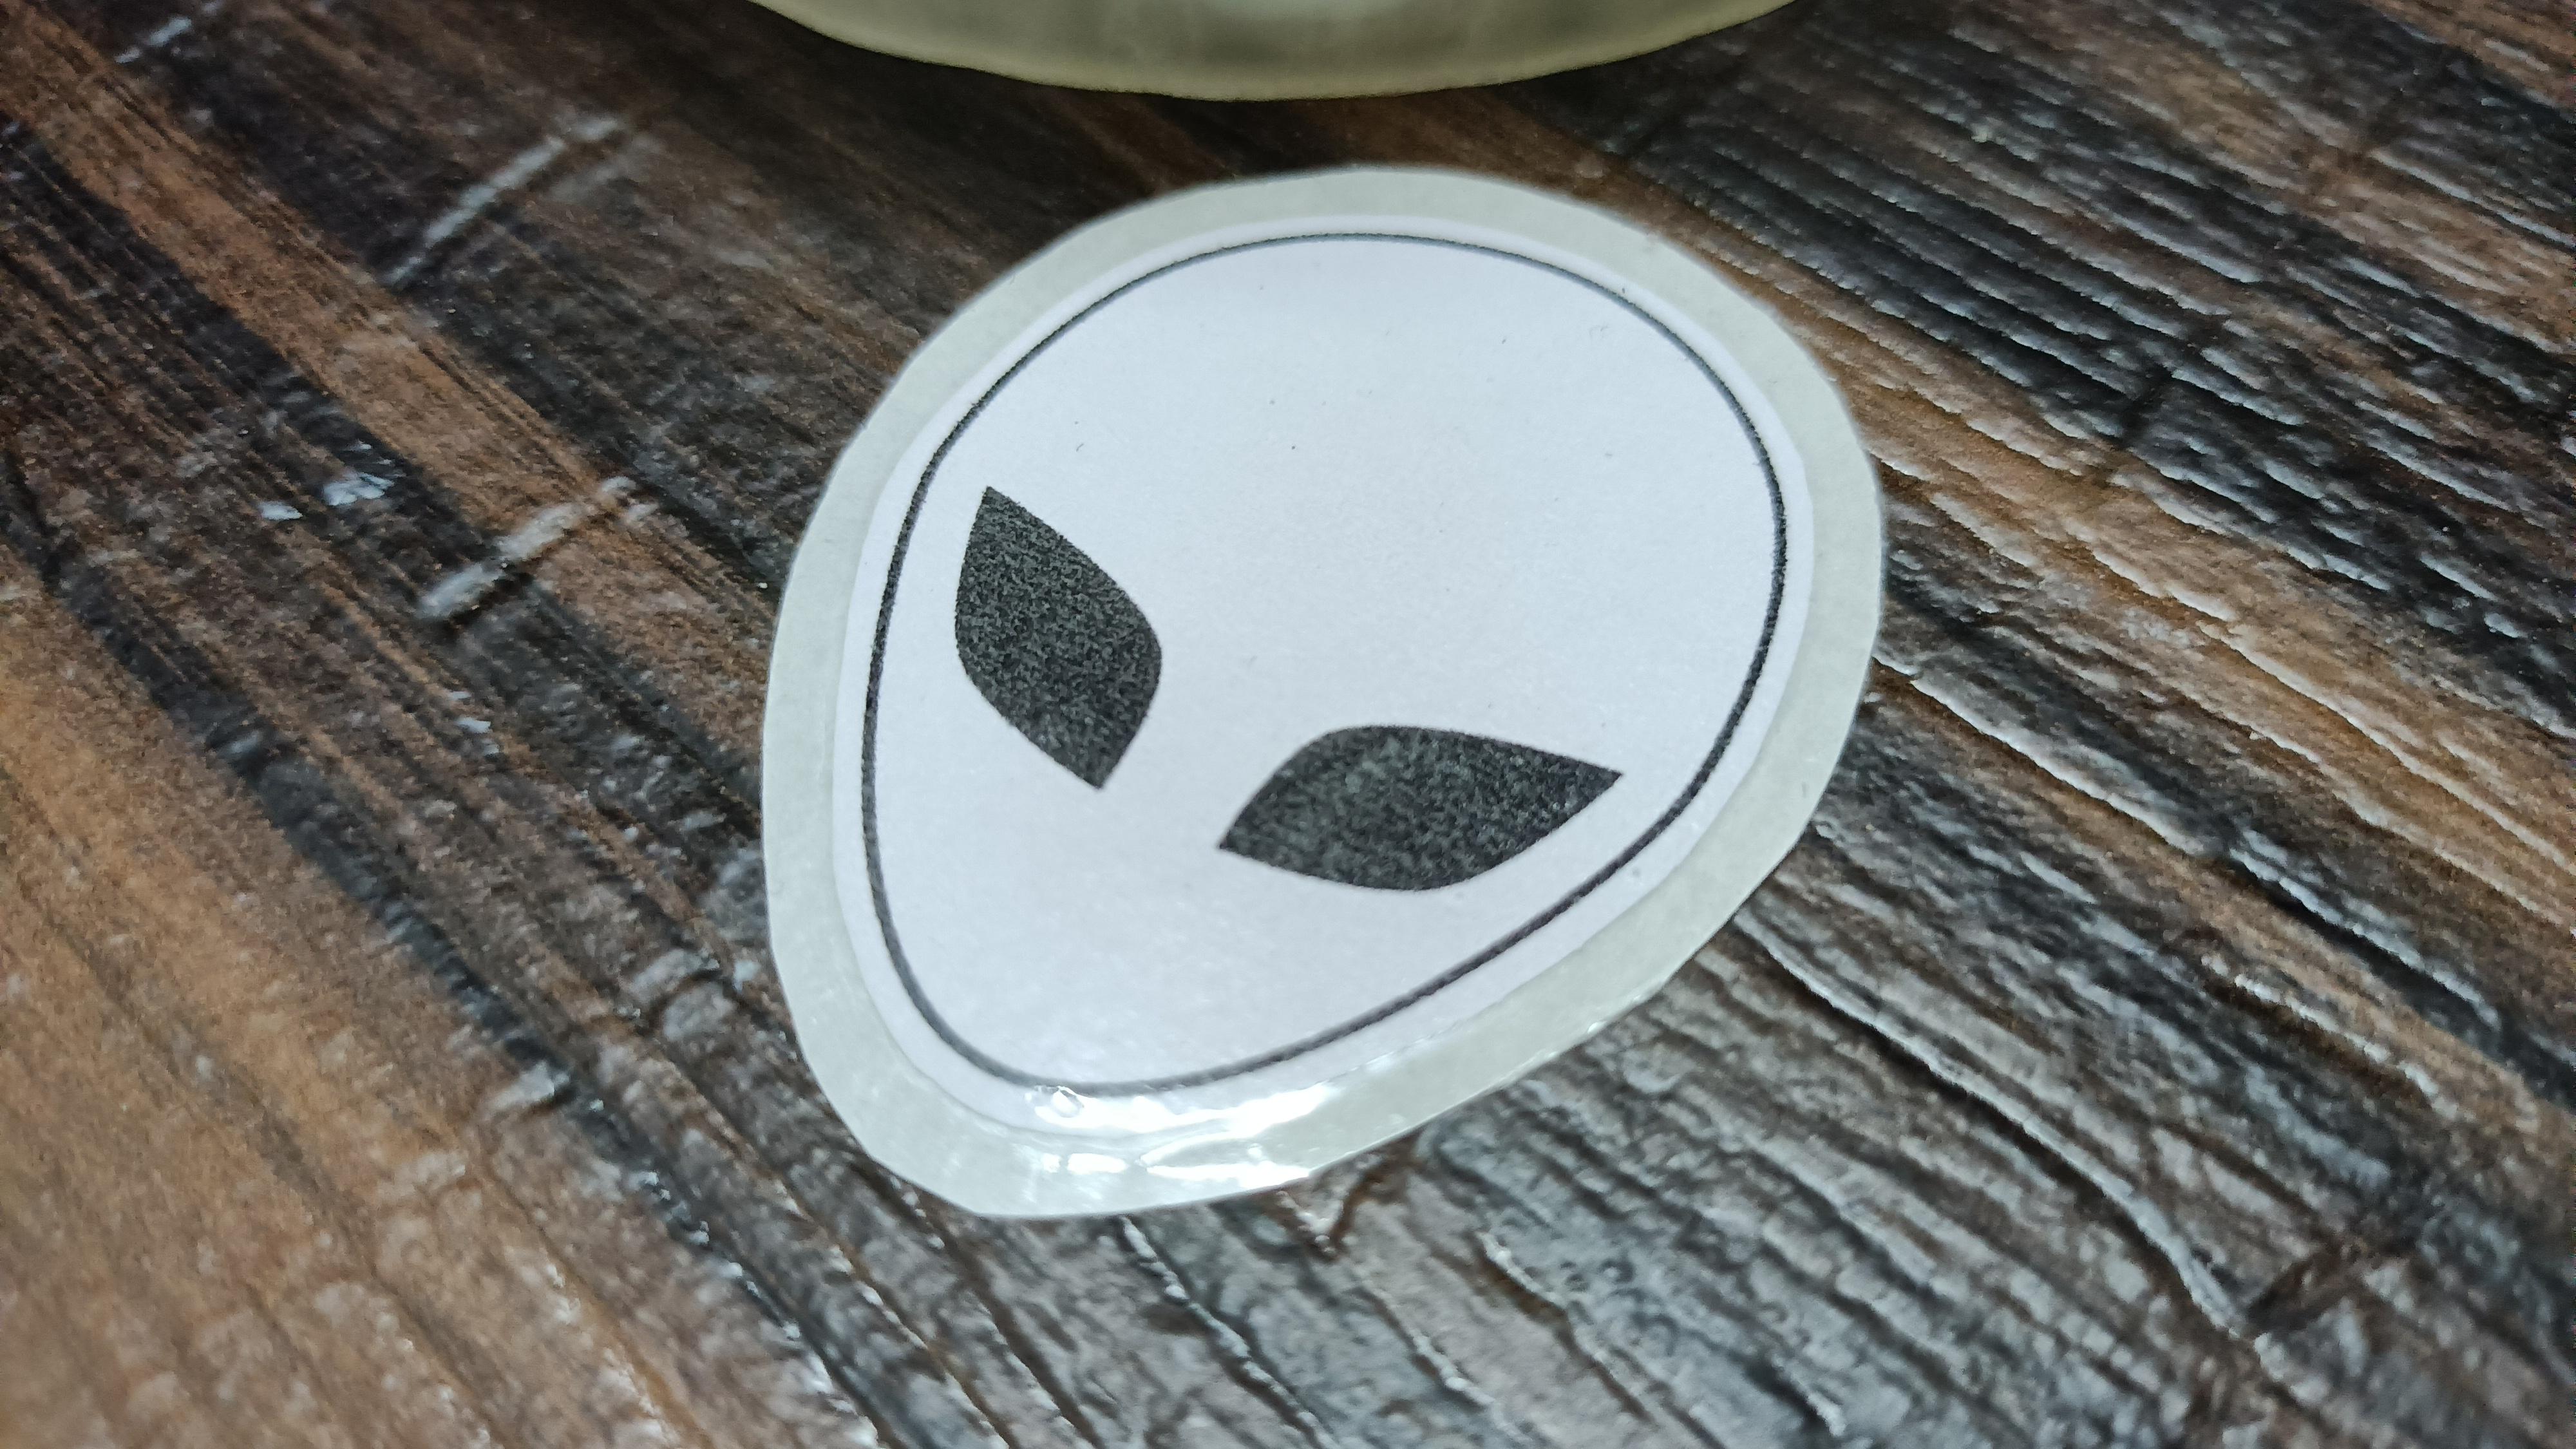
Final Results

Now, you have your sticker. You can store it and use it later. Just peel off the parchment paper and stick it wherever you want to.