DIY Solar Filter for Telescope
by daxpatel in Workshop > 3D Printing
2543 Views, 16 Favorites, 0 Comments
DIY Solar Filter for Telescope

Make a Solar Filter for Your Camera and Telescope.
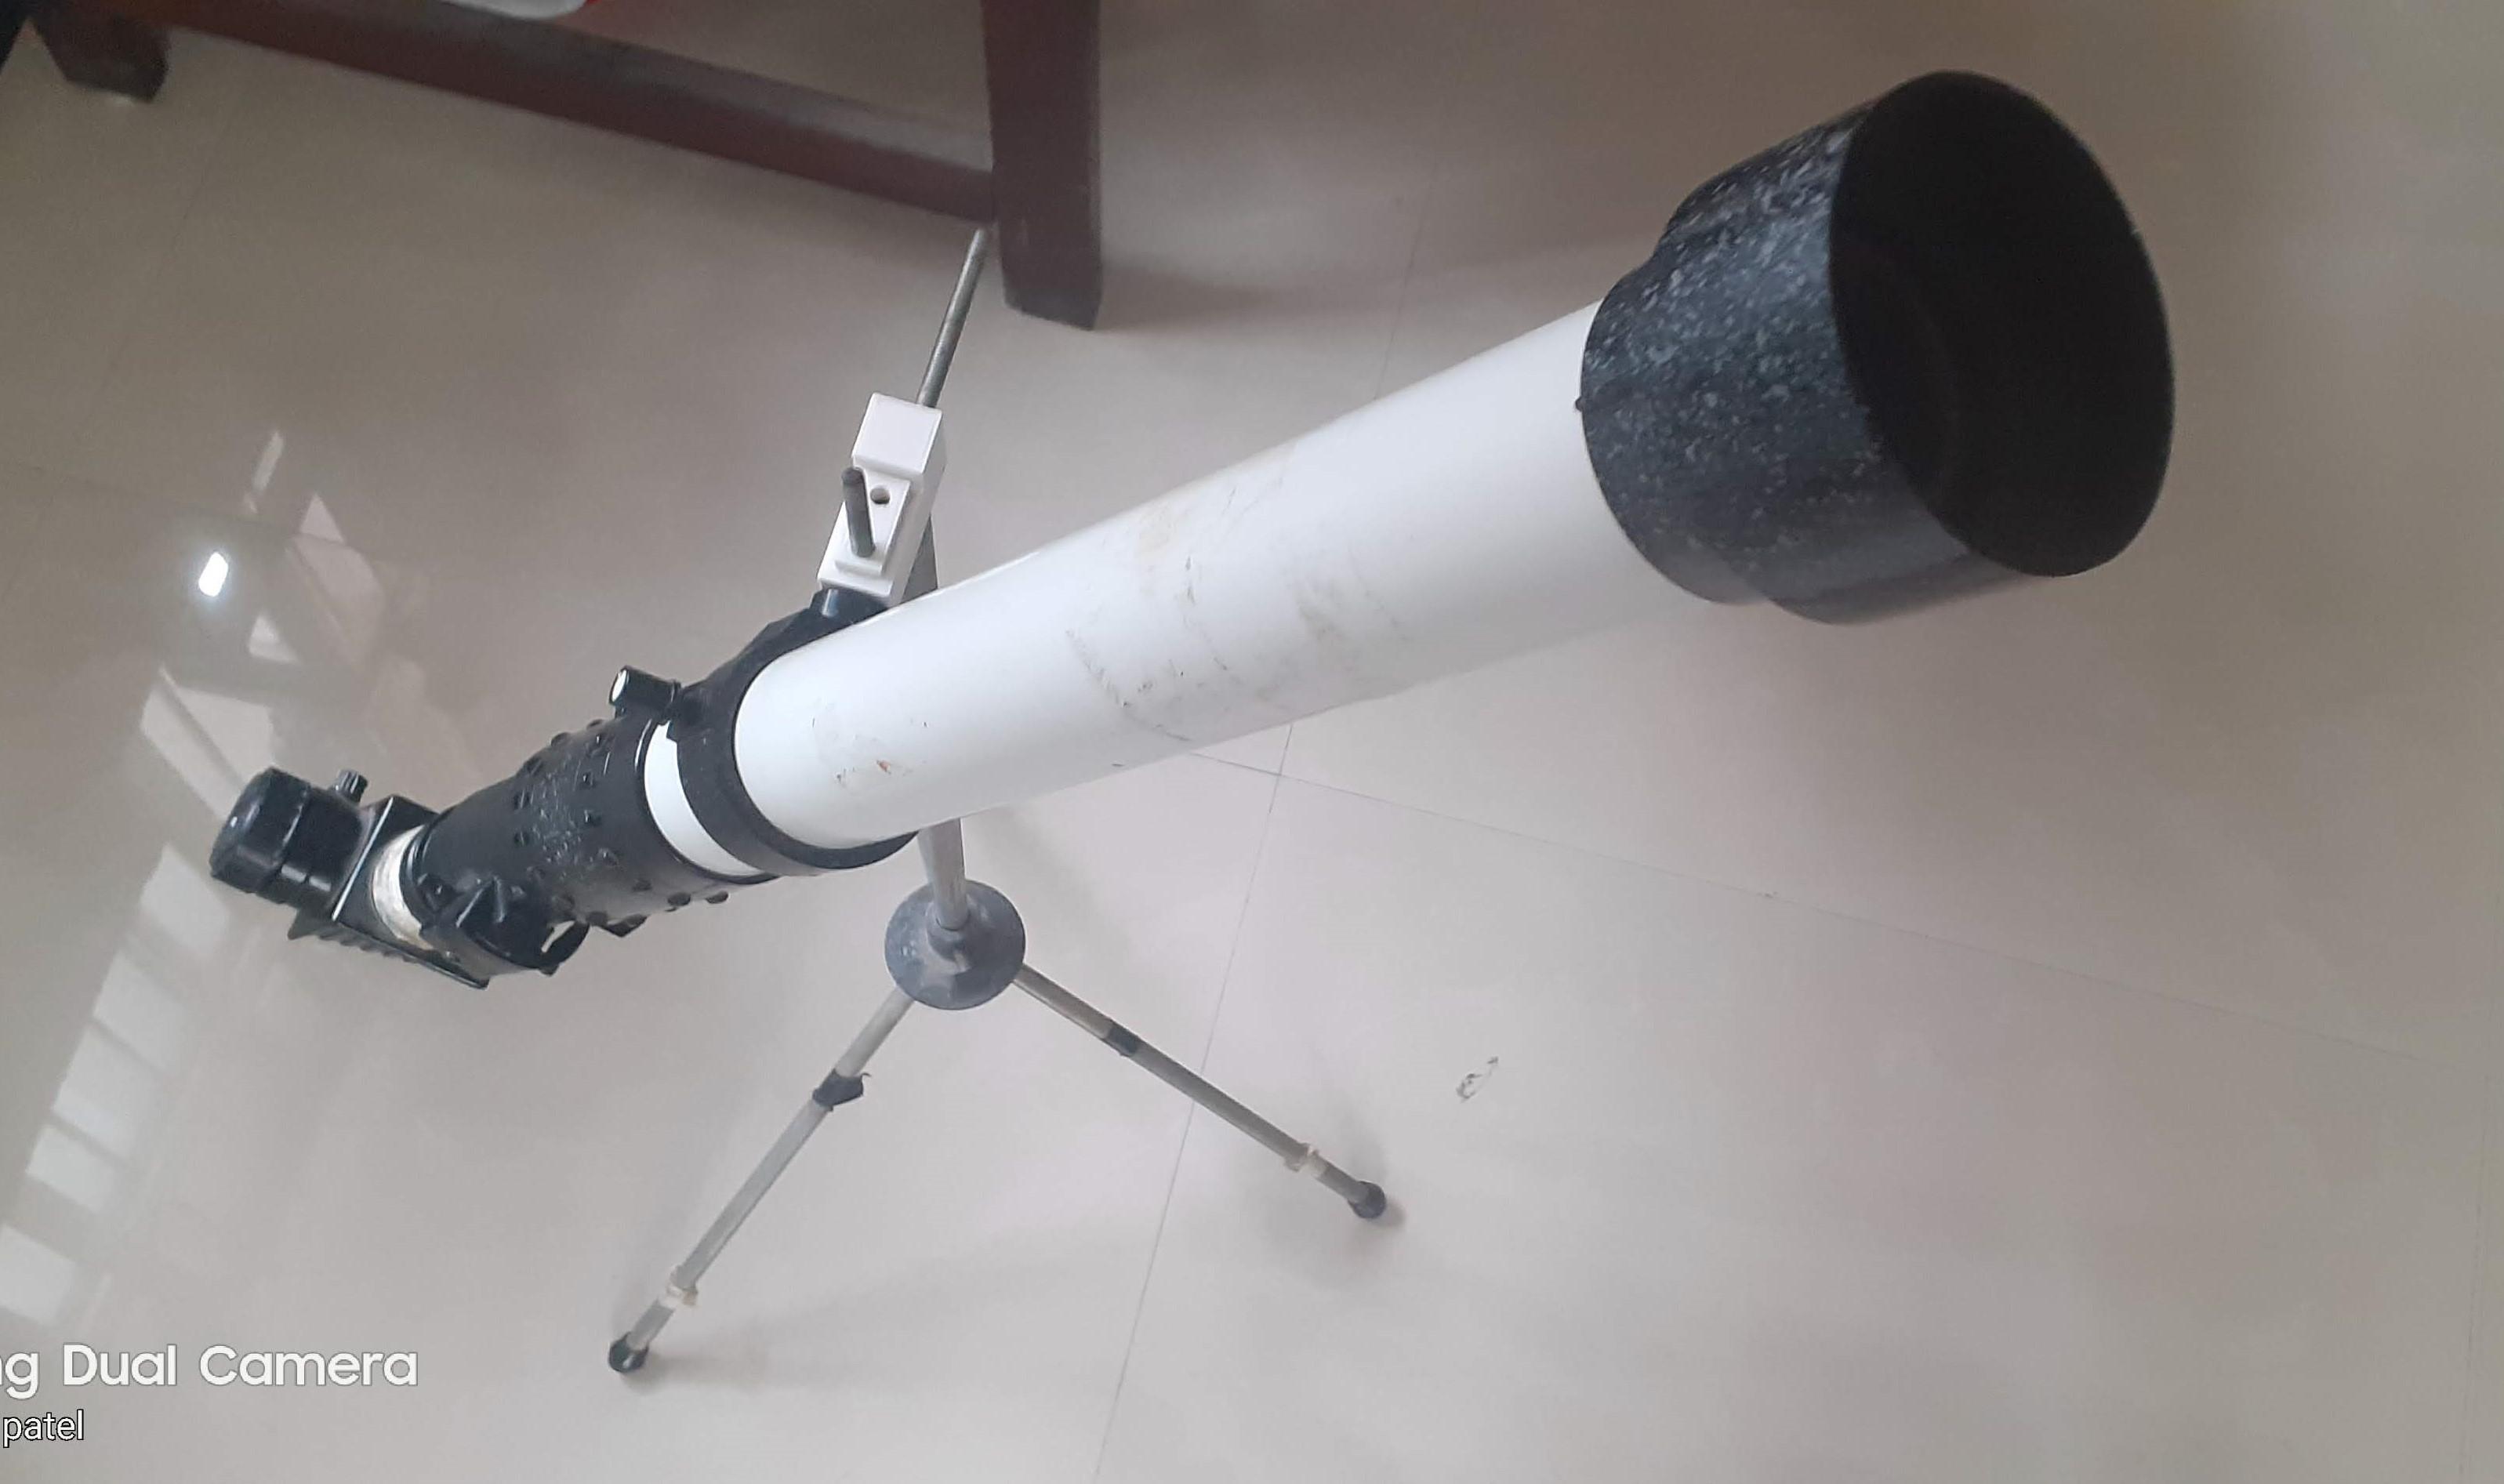
I have a small Telescope. I already recorded the last solar eclipse in January 2021 using my Phone and Small DIY Filter.
Now I have decided to make a DIY solar filter for my Telescope to record All Upcoming Solar Events through Telescope.
Professional Solar filters are more Expensive, Also Take more care in Handle and Storage.
My DIY Filter is Very cheap and Easy to Handle.
Let's make Solar Filter and Checkout Results using Mobile or camera.
Supplies

.jpg)
.jpg)
.jpg)
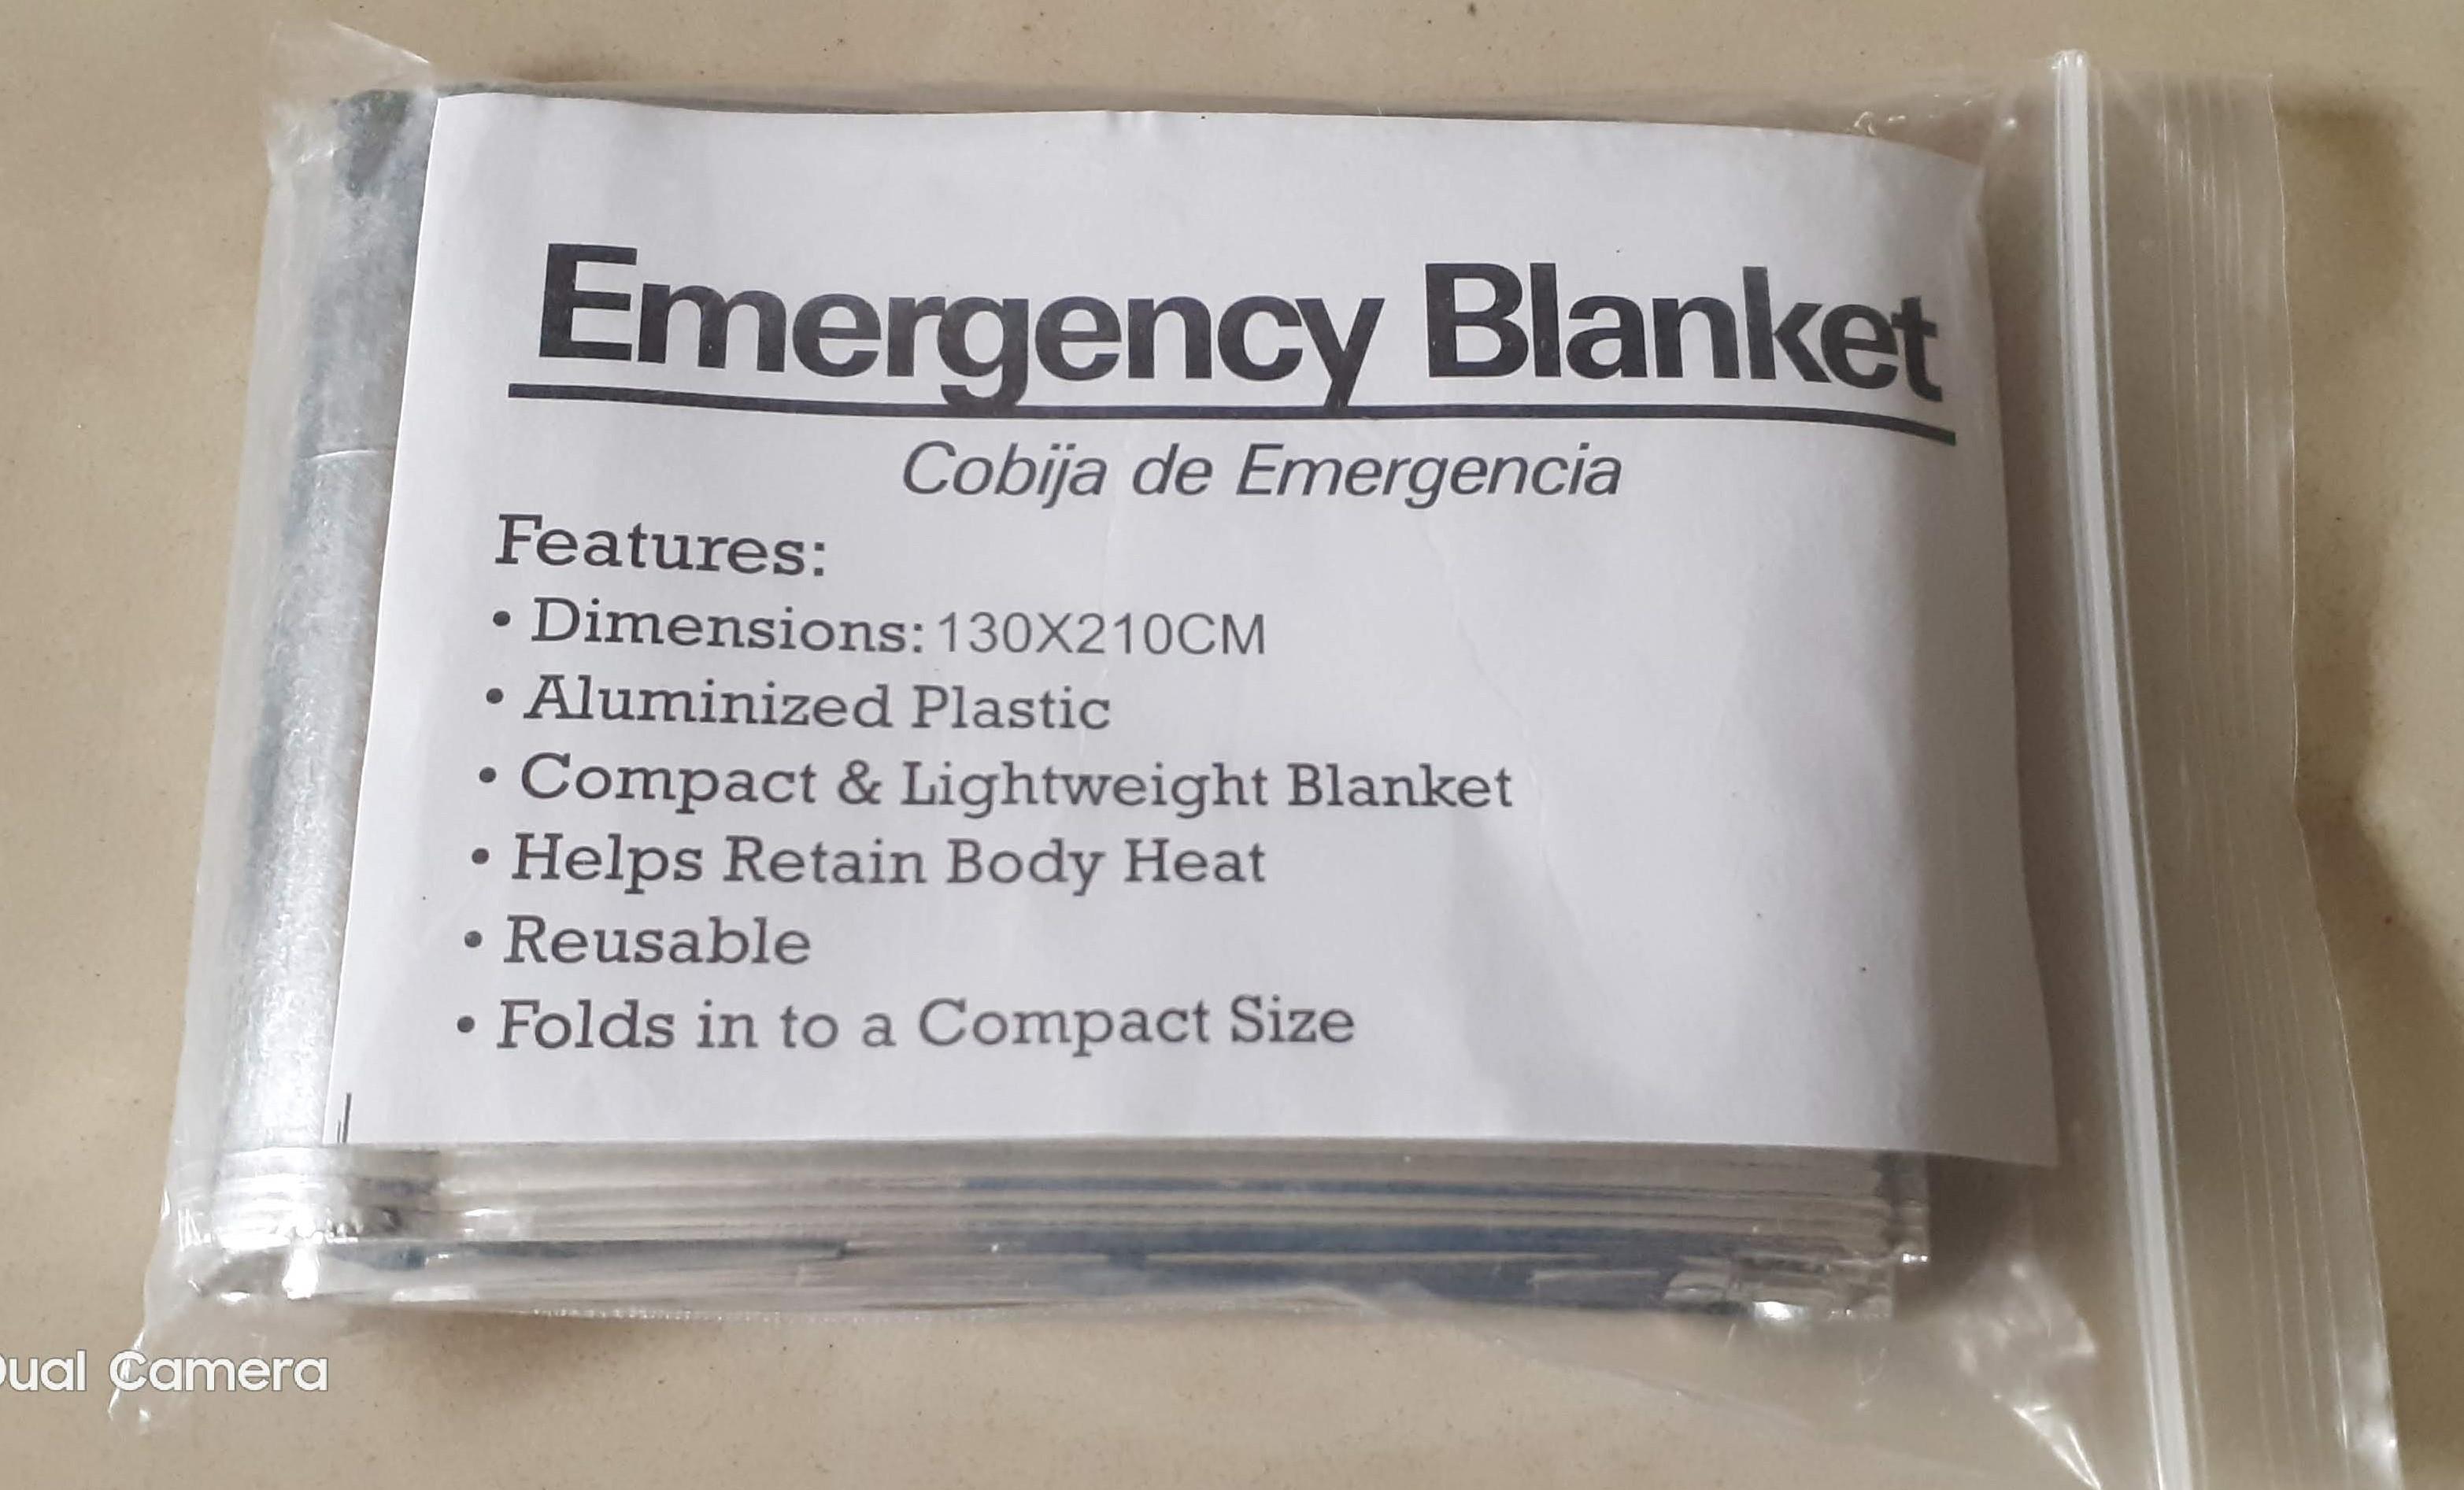
1> Mylar Material Sheet from amazon
2> Laptop for Part design in Fusion360.
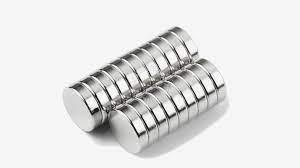
3> Neodymium magnet 10x2 mm
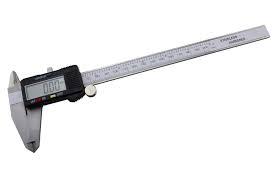
4> Vernier Caliper or Scale for Measure dia of Object Piece
5> 3D Printer Access to print part
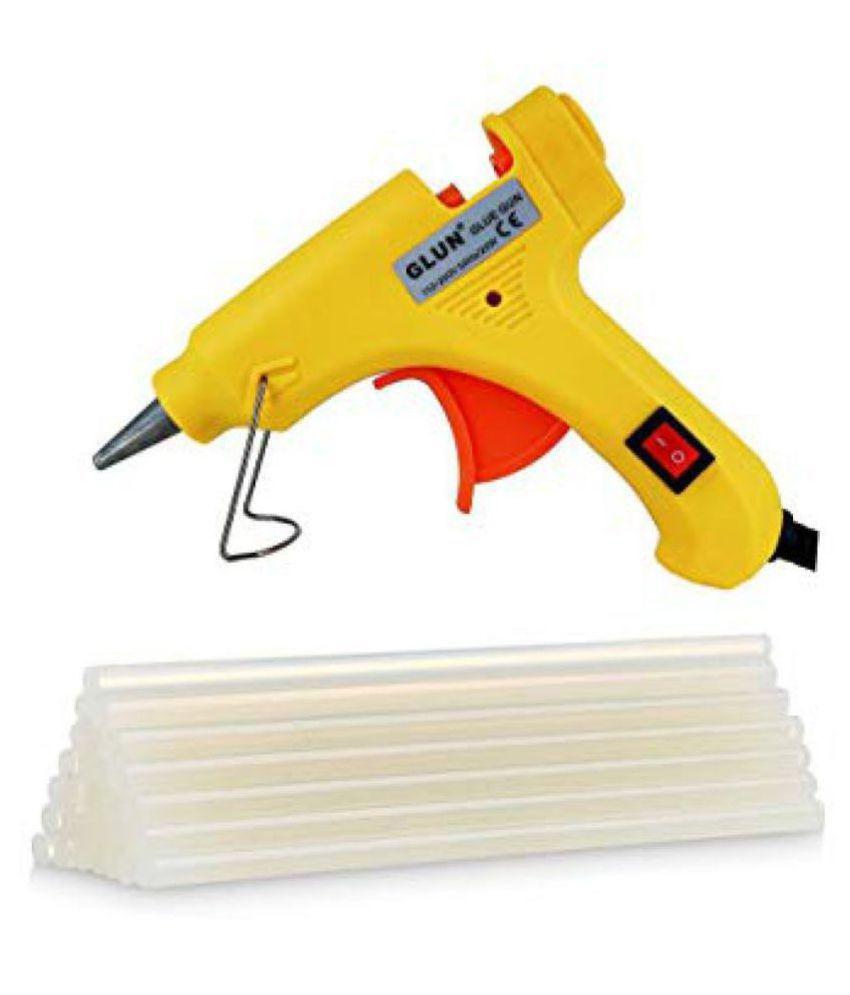
6> Glue gun
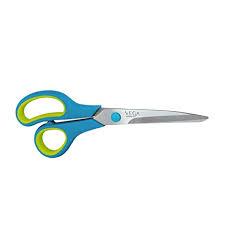
7. Camera or mobile to record Image or video
Start With Design in Fusion360.
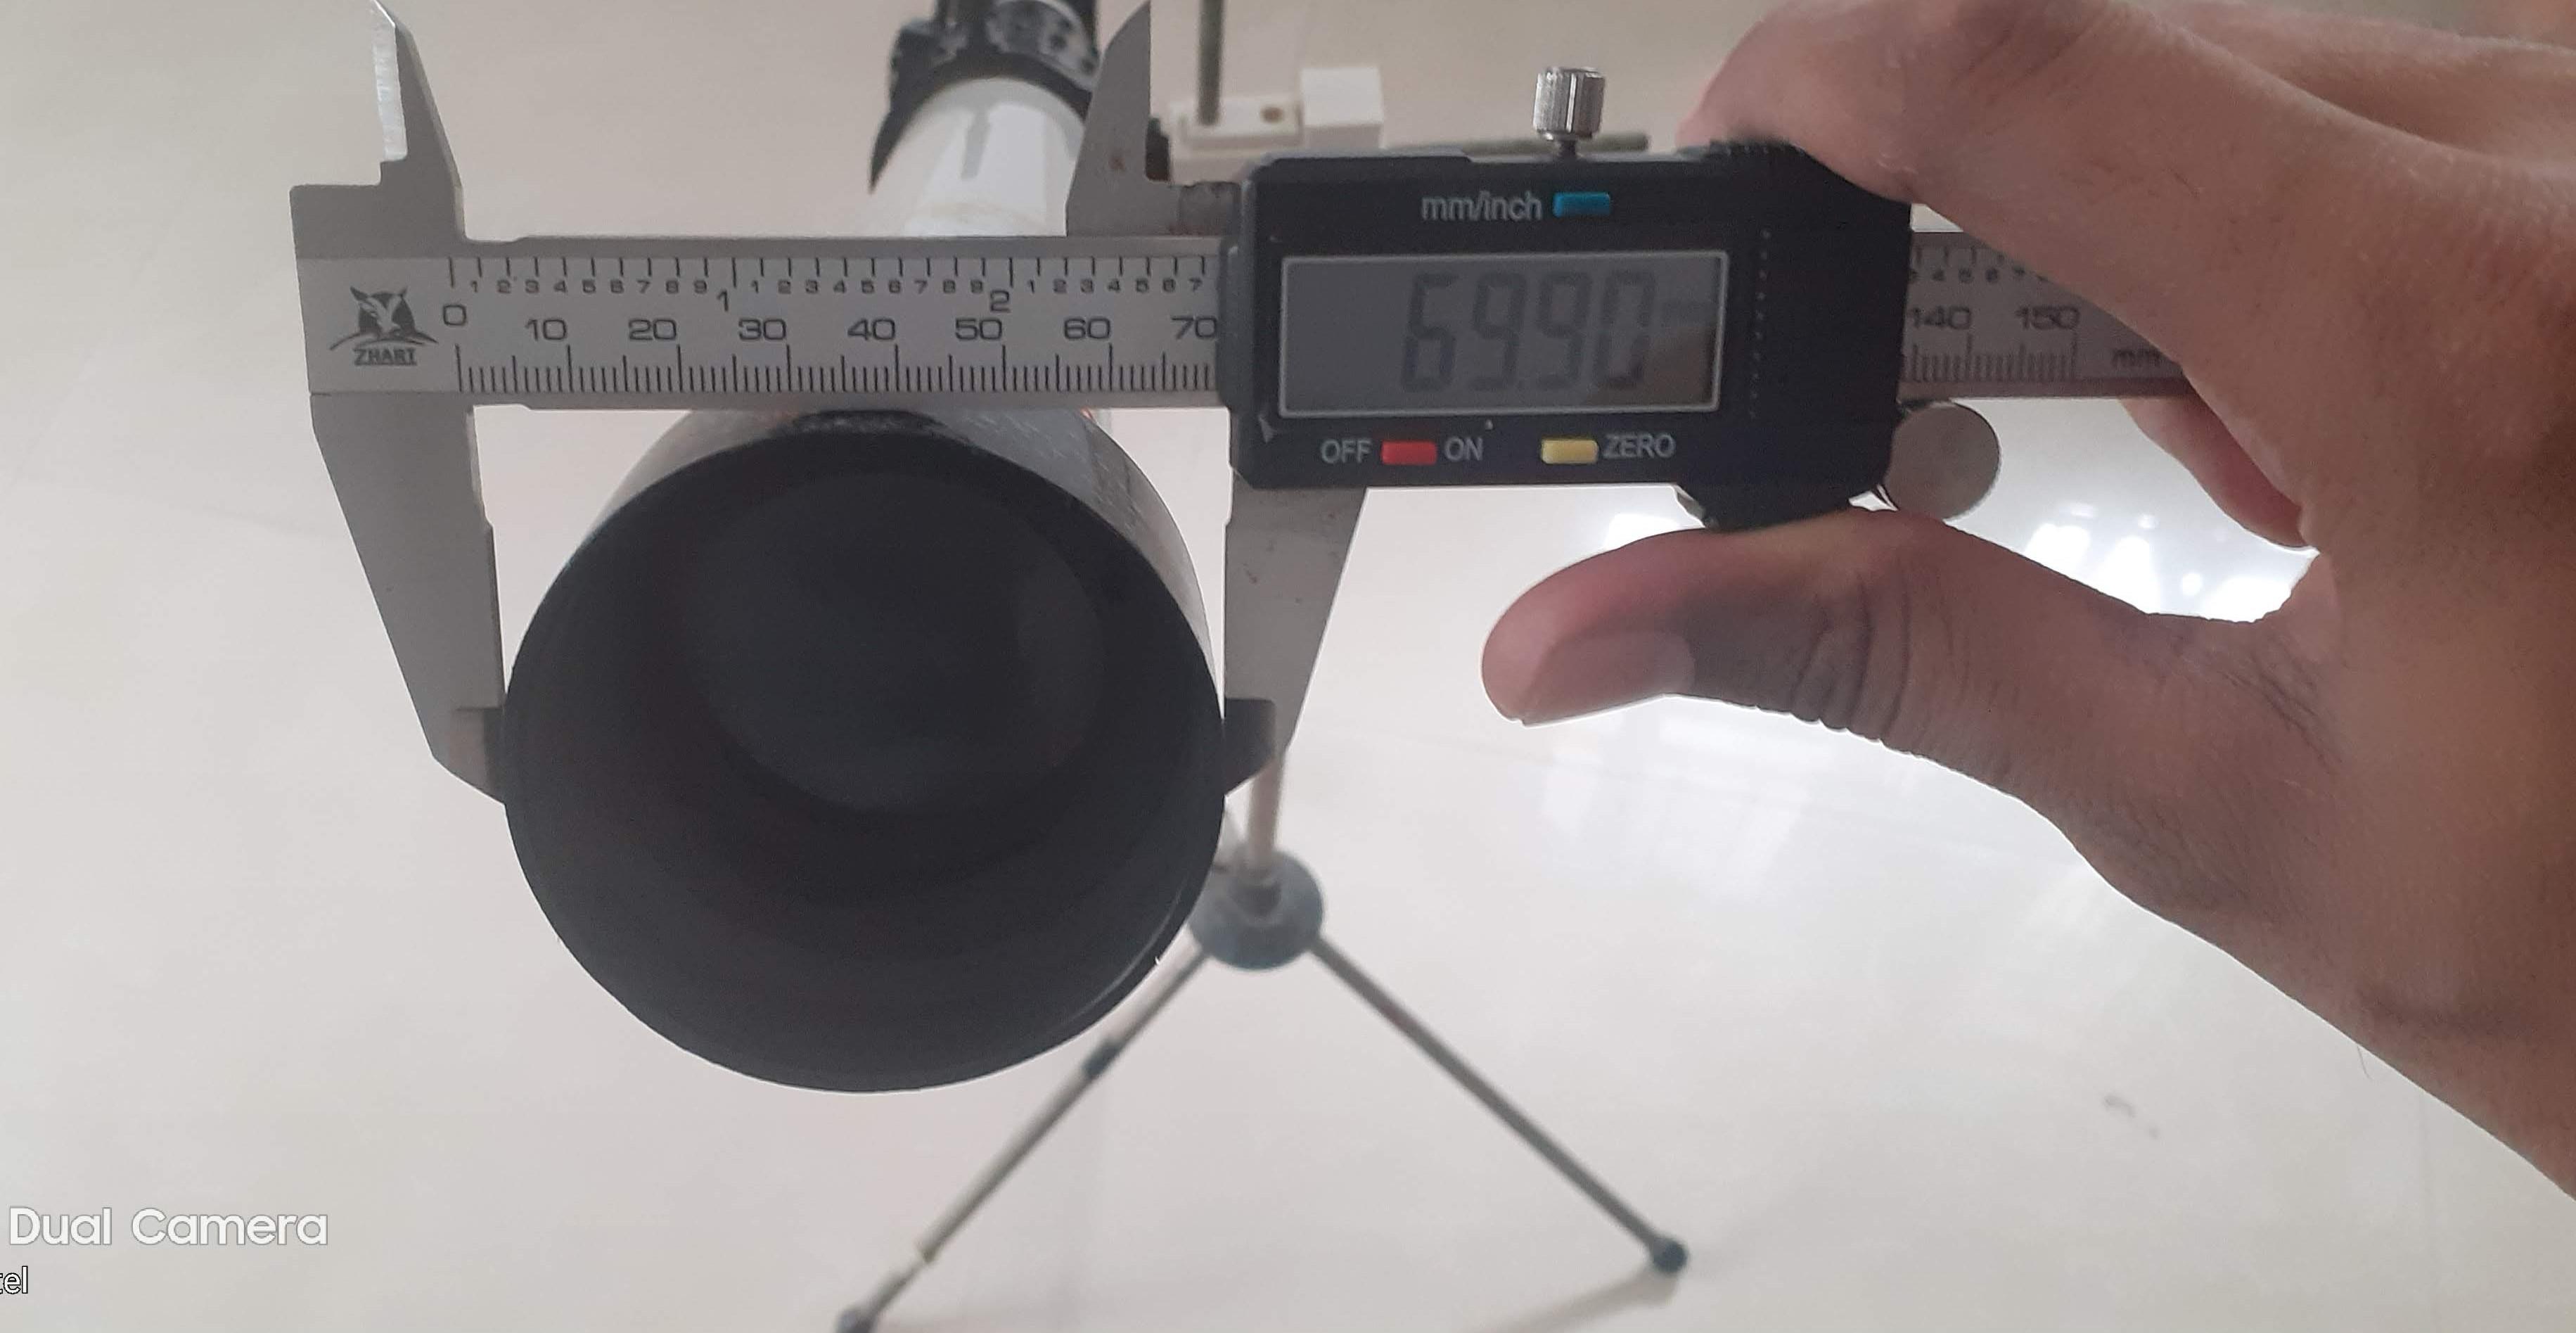
- First, measure the diameter of the telescope.
- My telescope object's piece side diameter is around 69.90 mm.
- Assume it is 70 mm for design and 3d Print Tolerance.
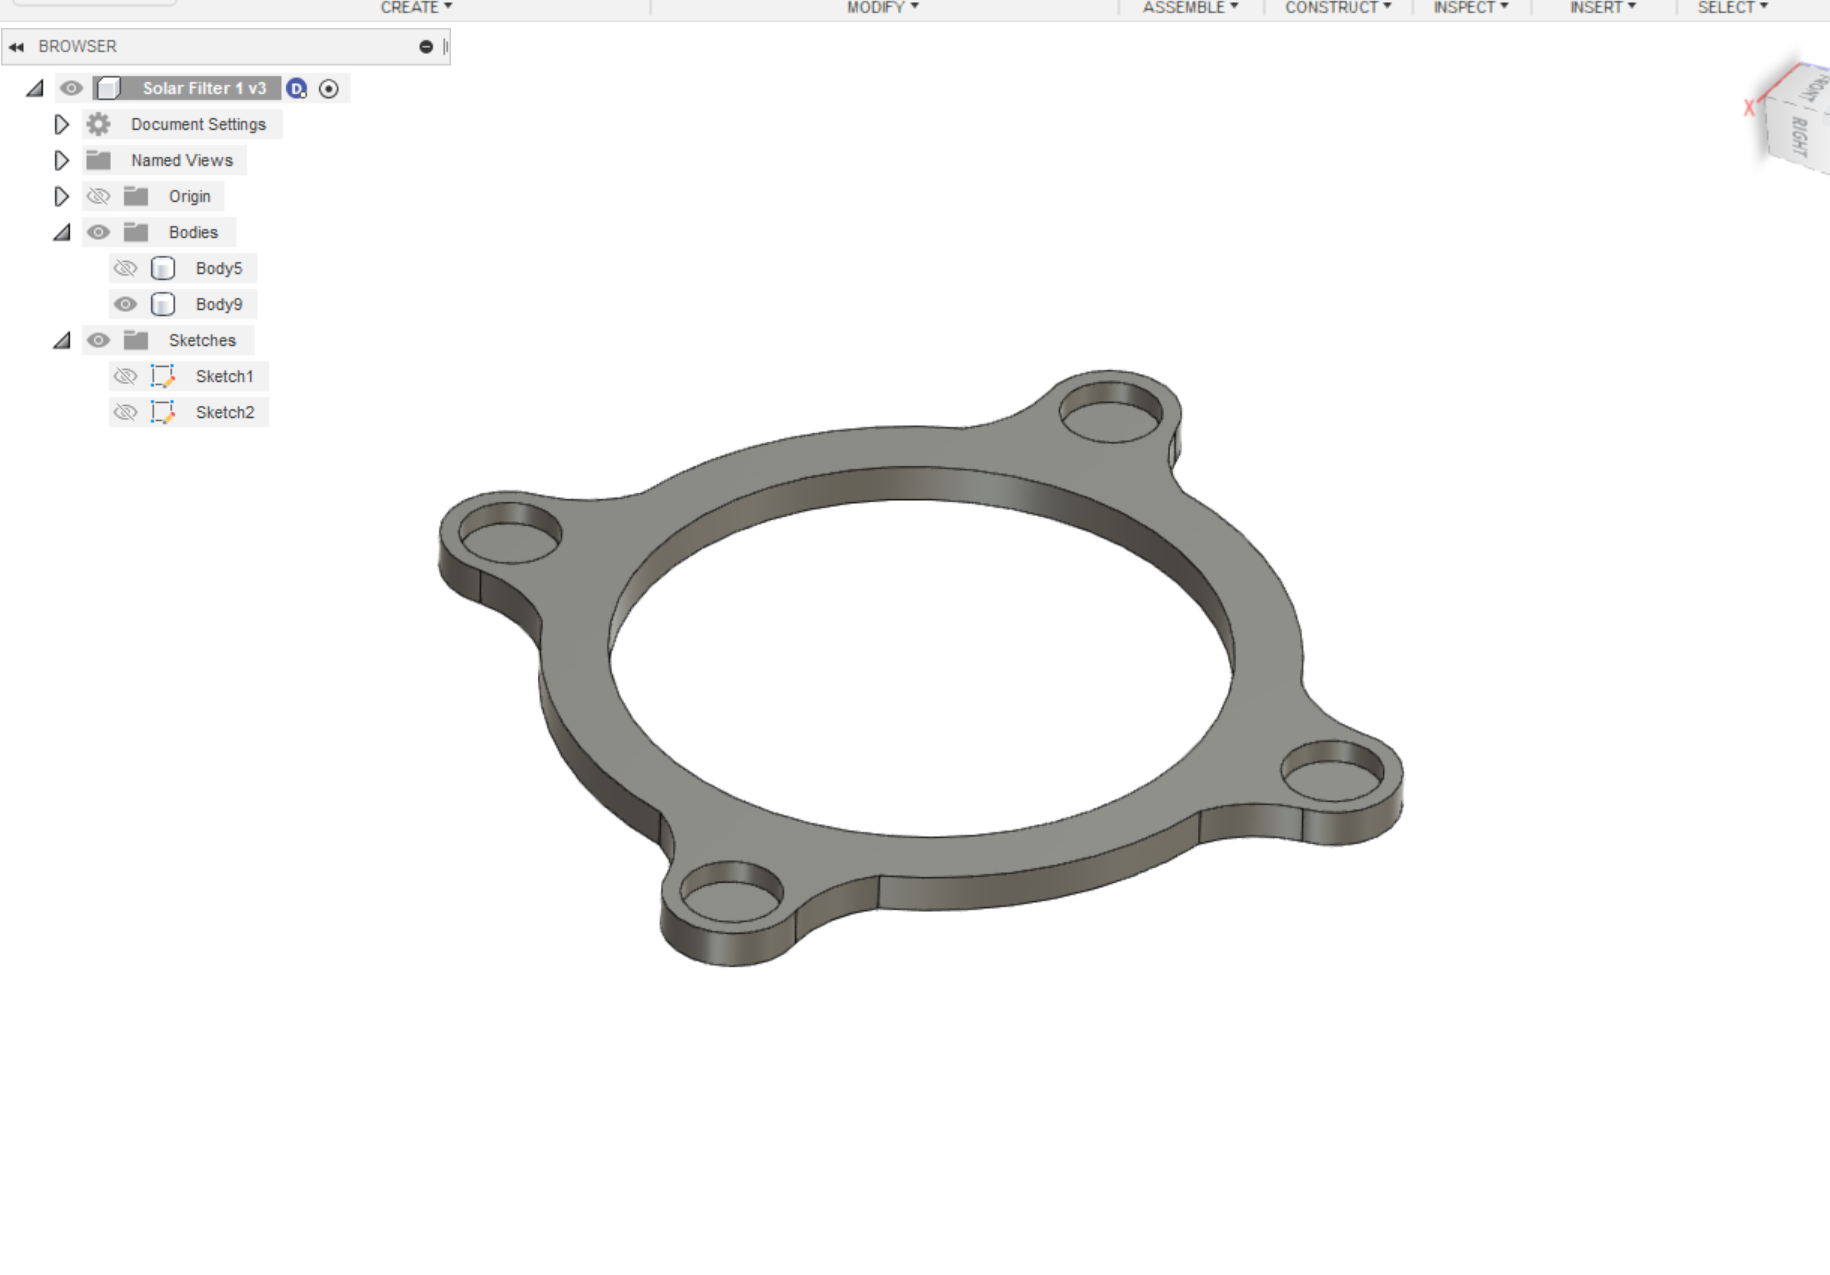
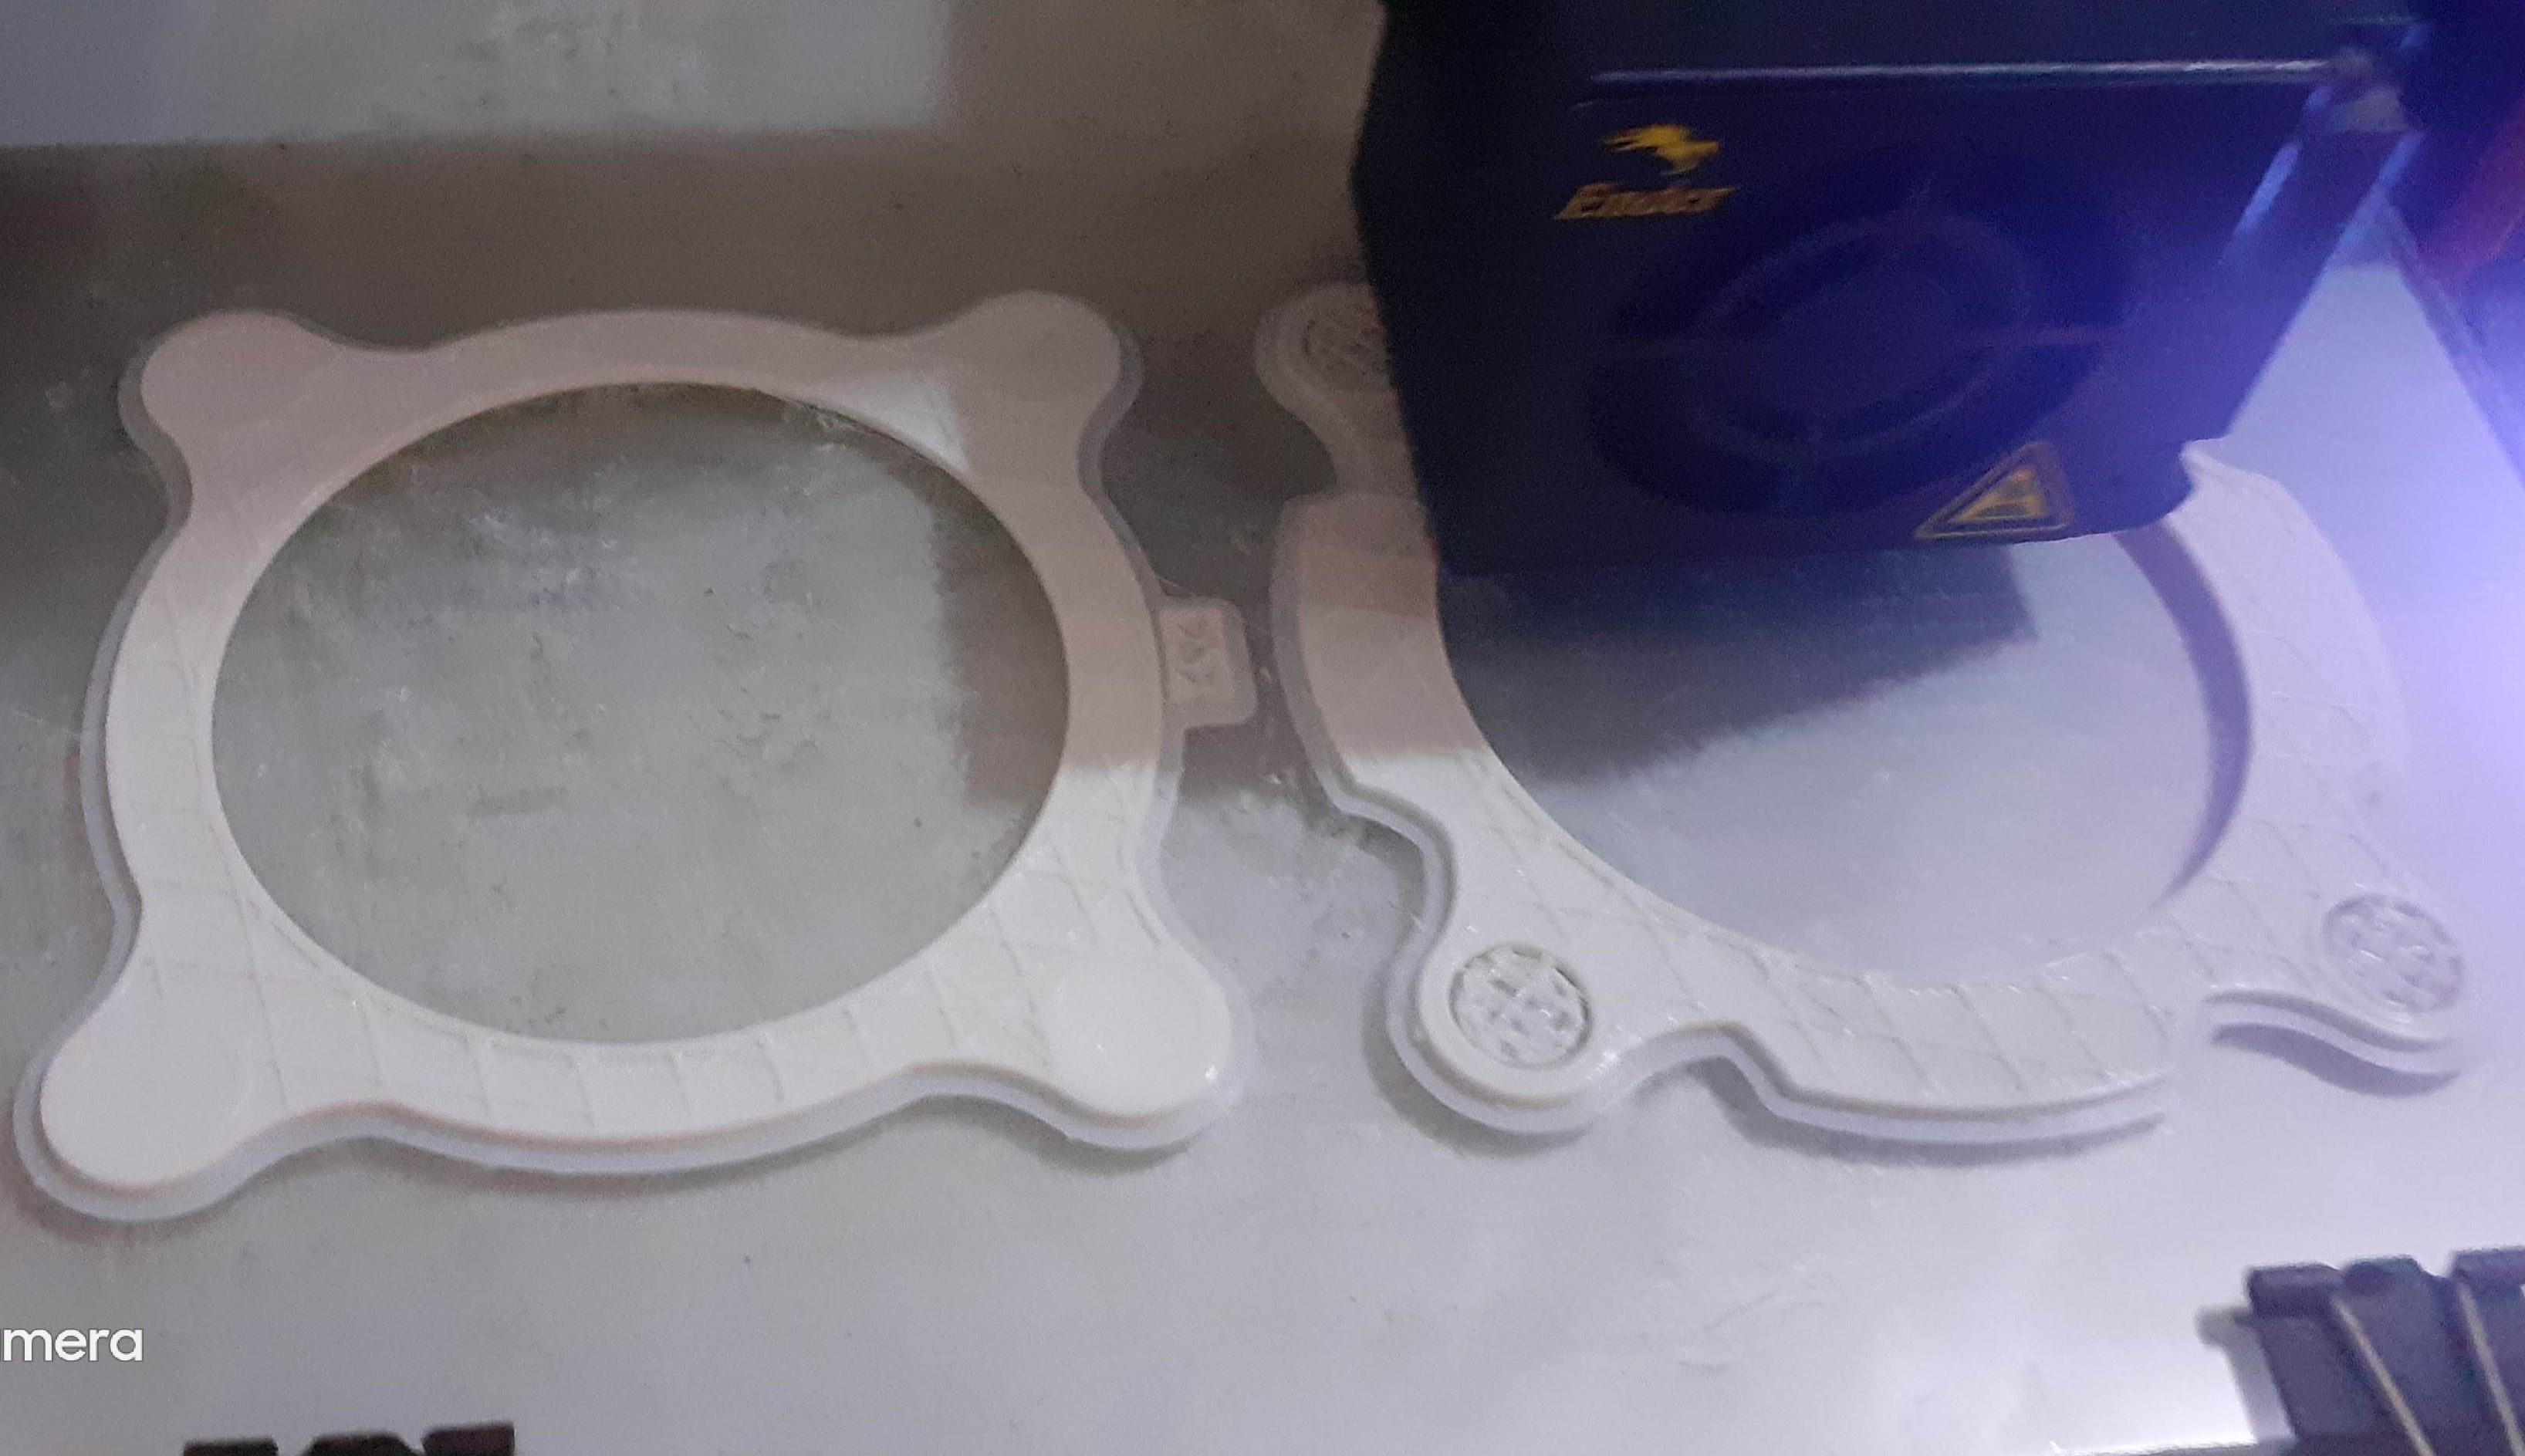
- Our design is Split into 2 Parts.
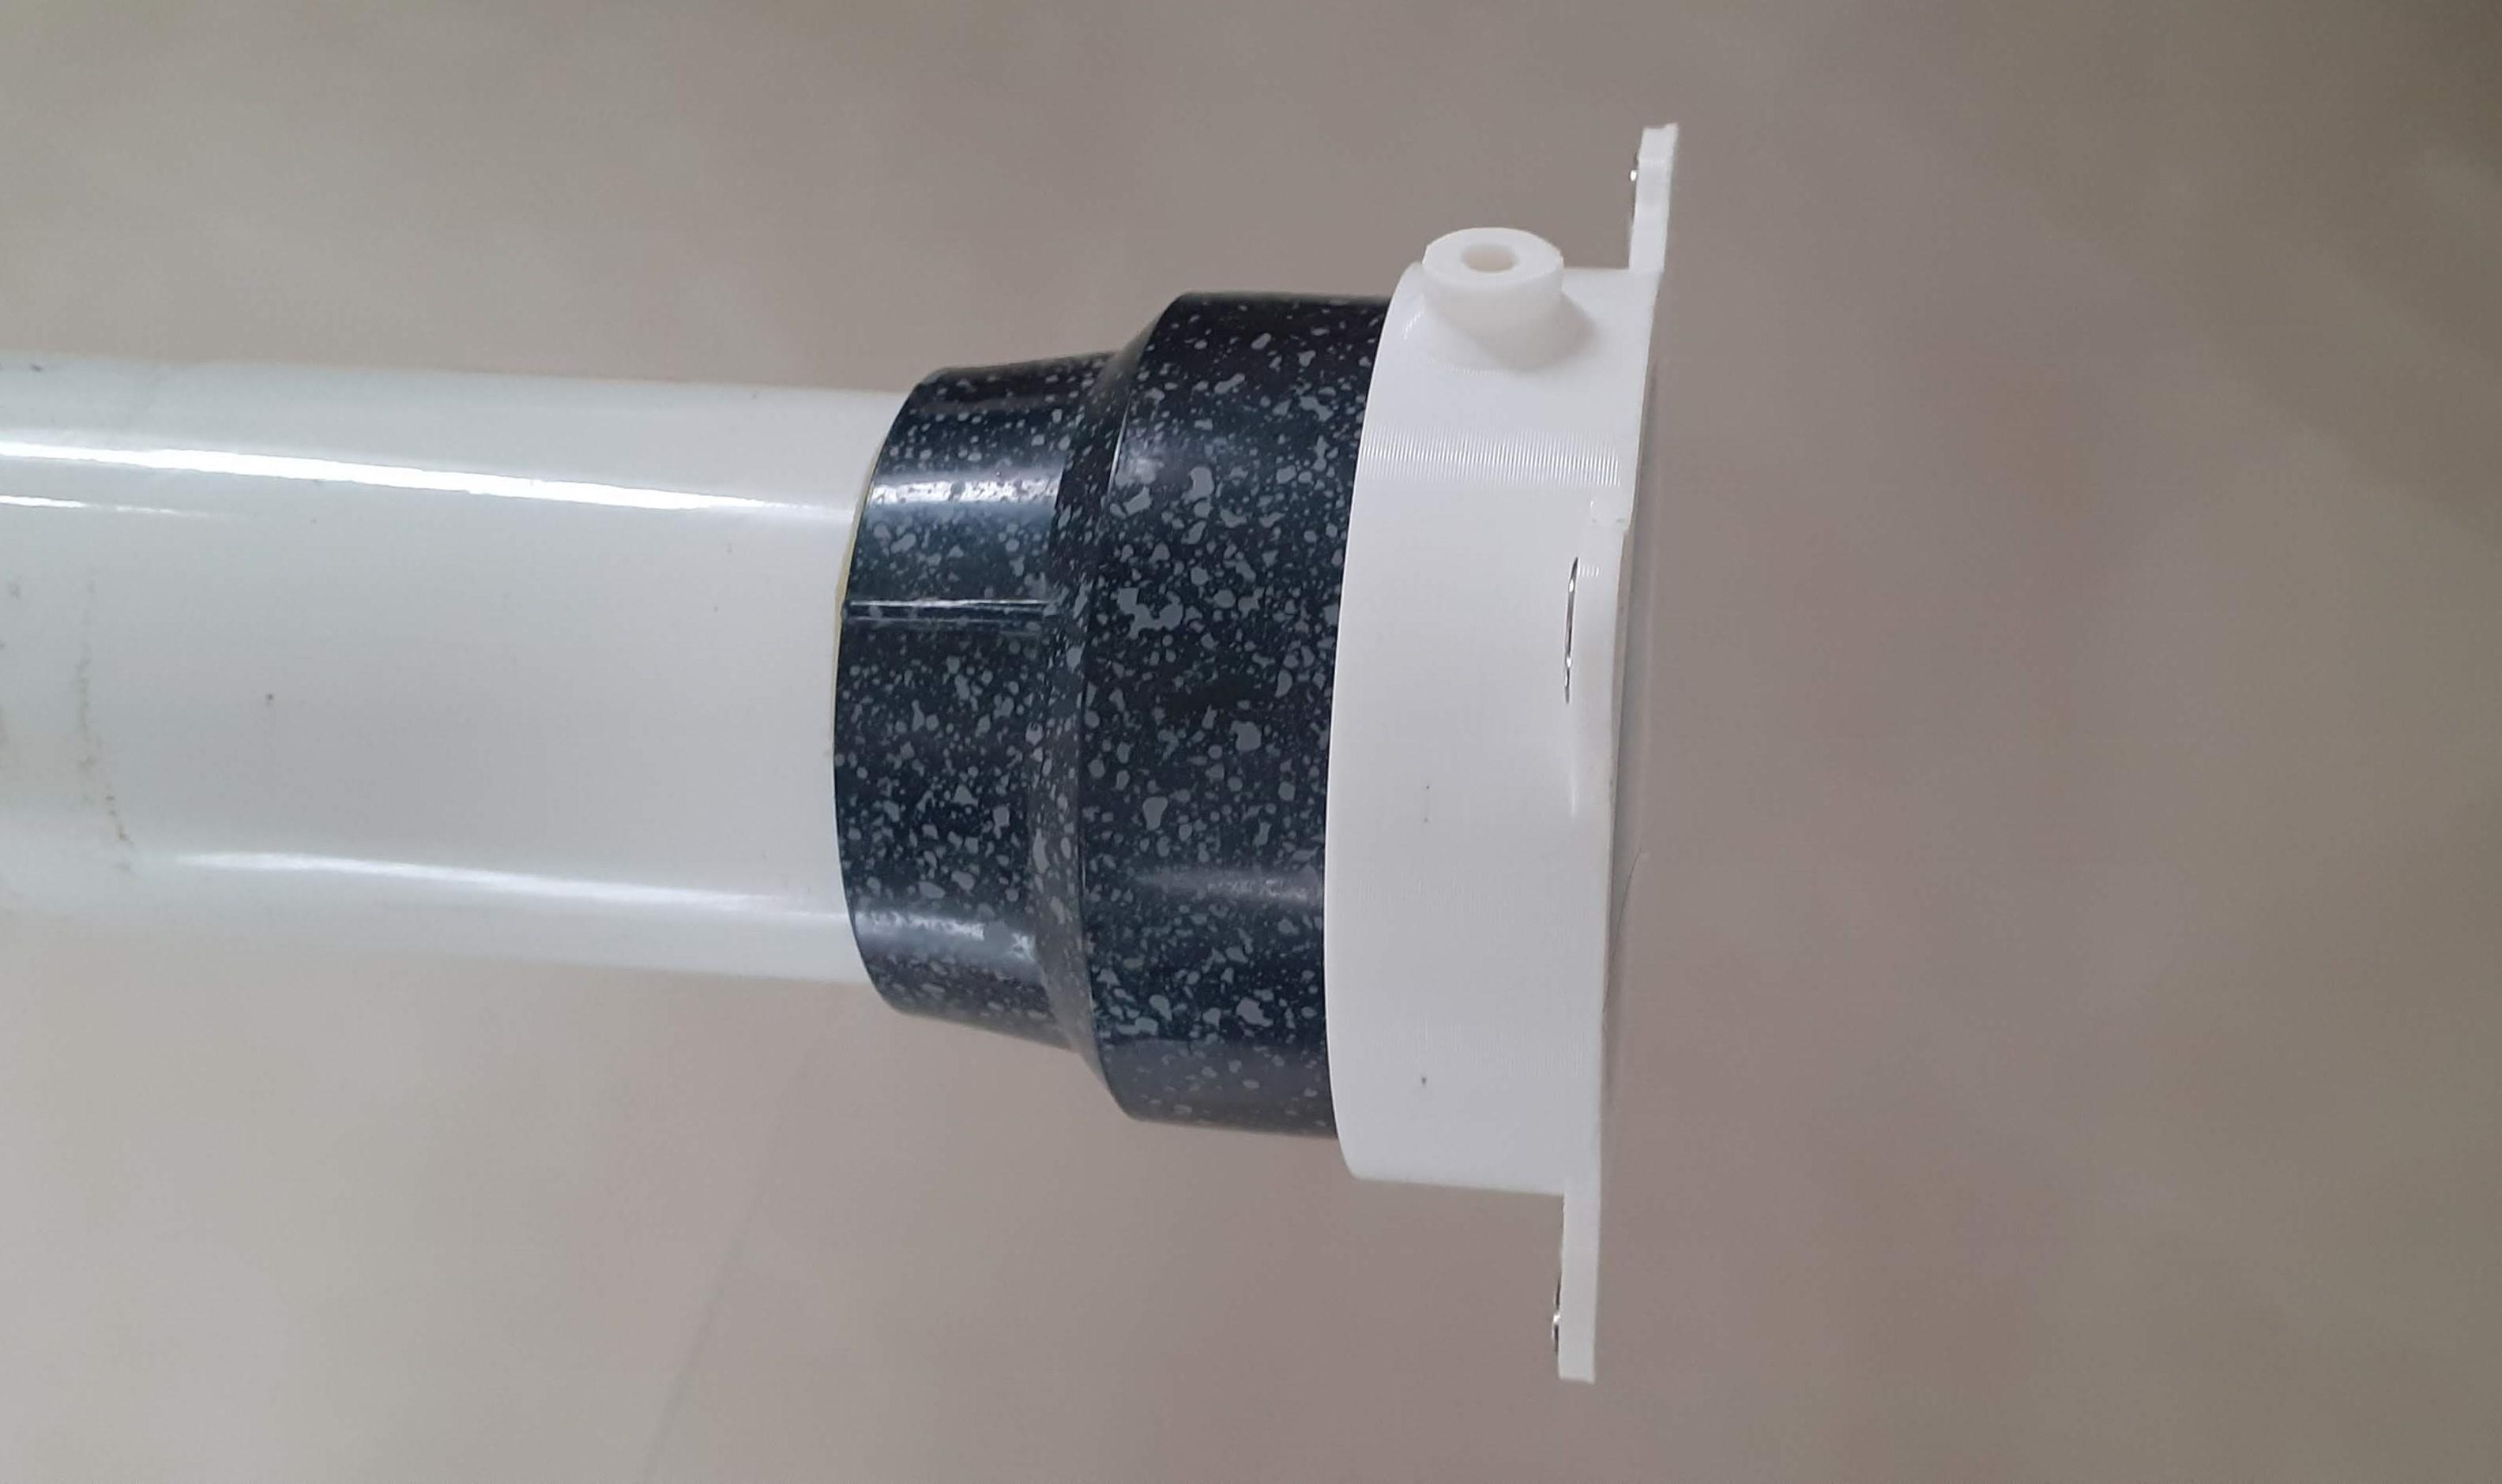
- The first Part will help a mylar filter attach to a telescope Head and another will attach to a telescope.
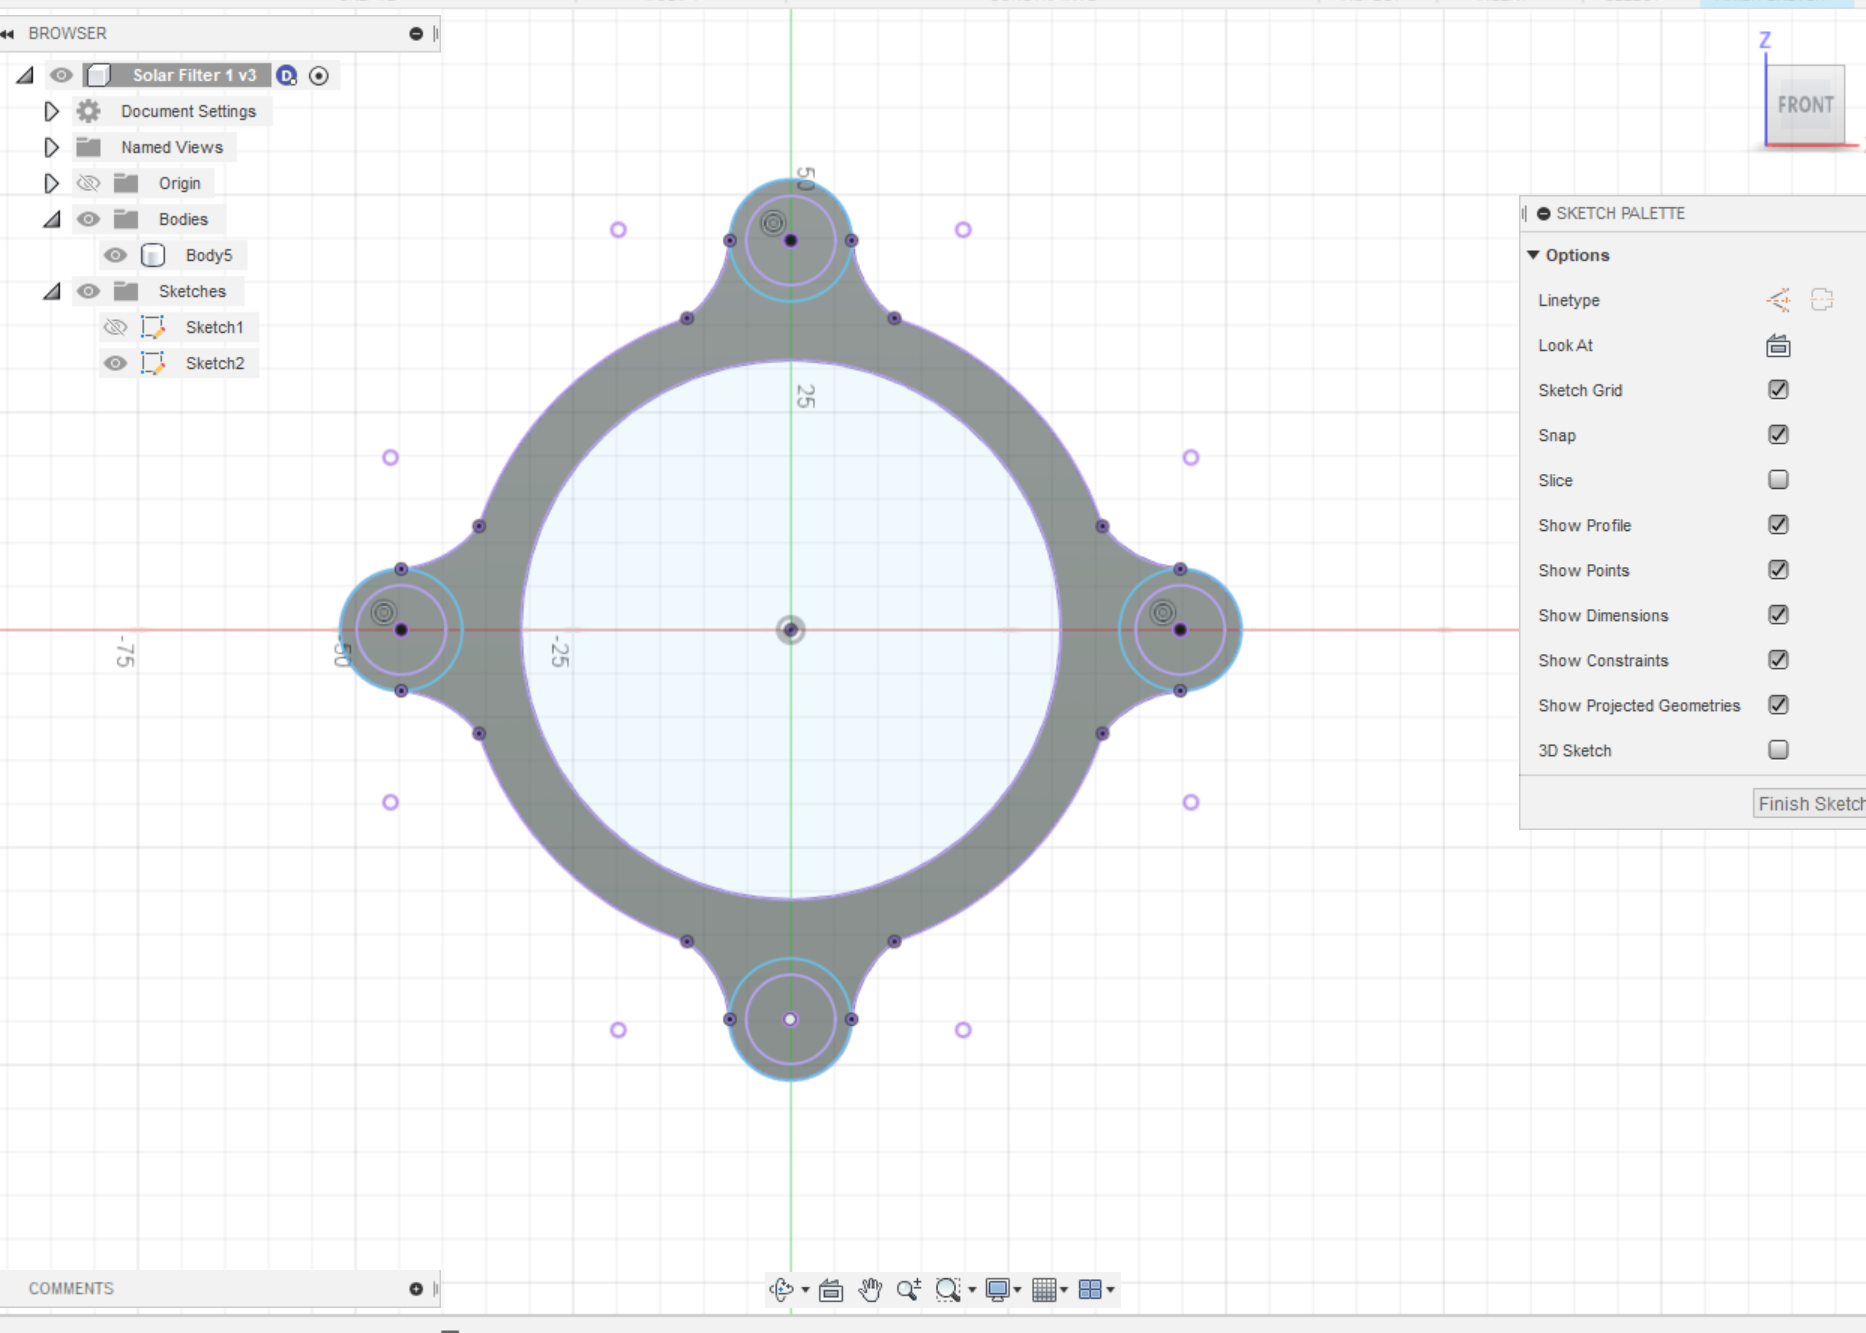
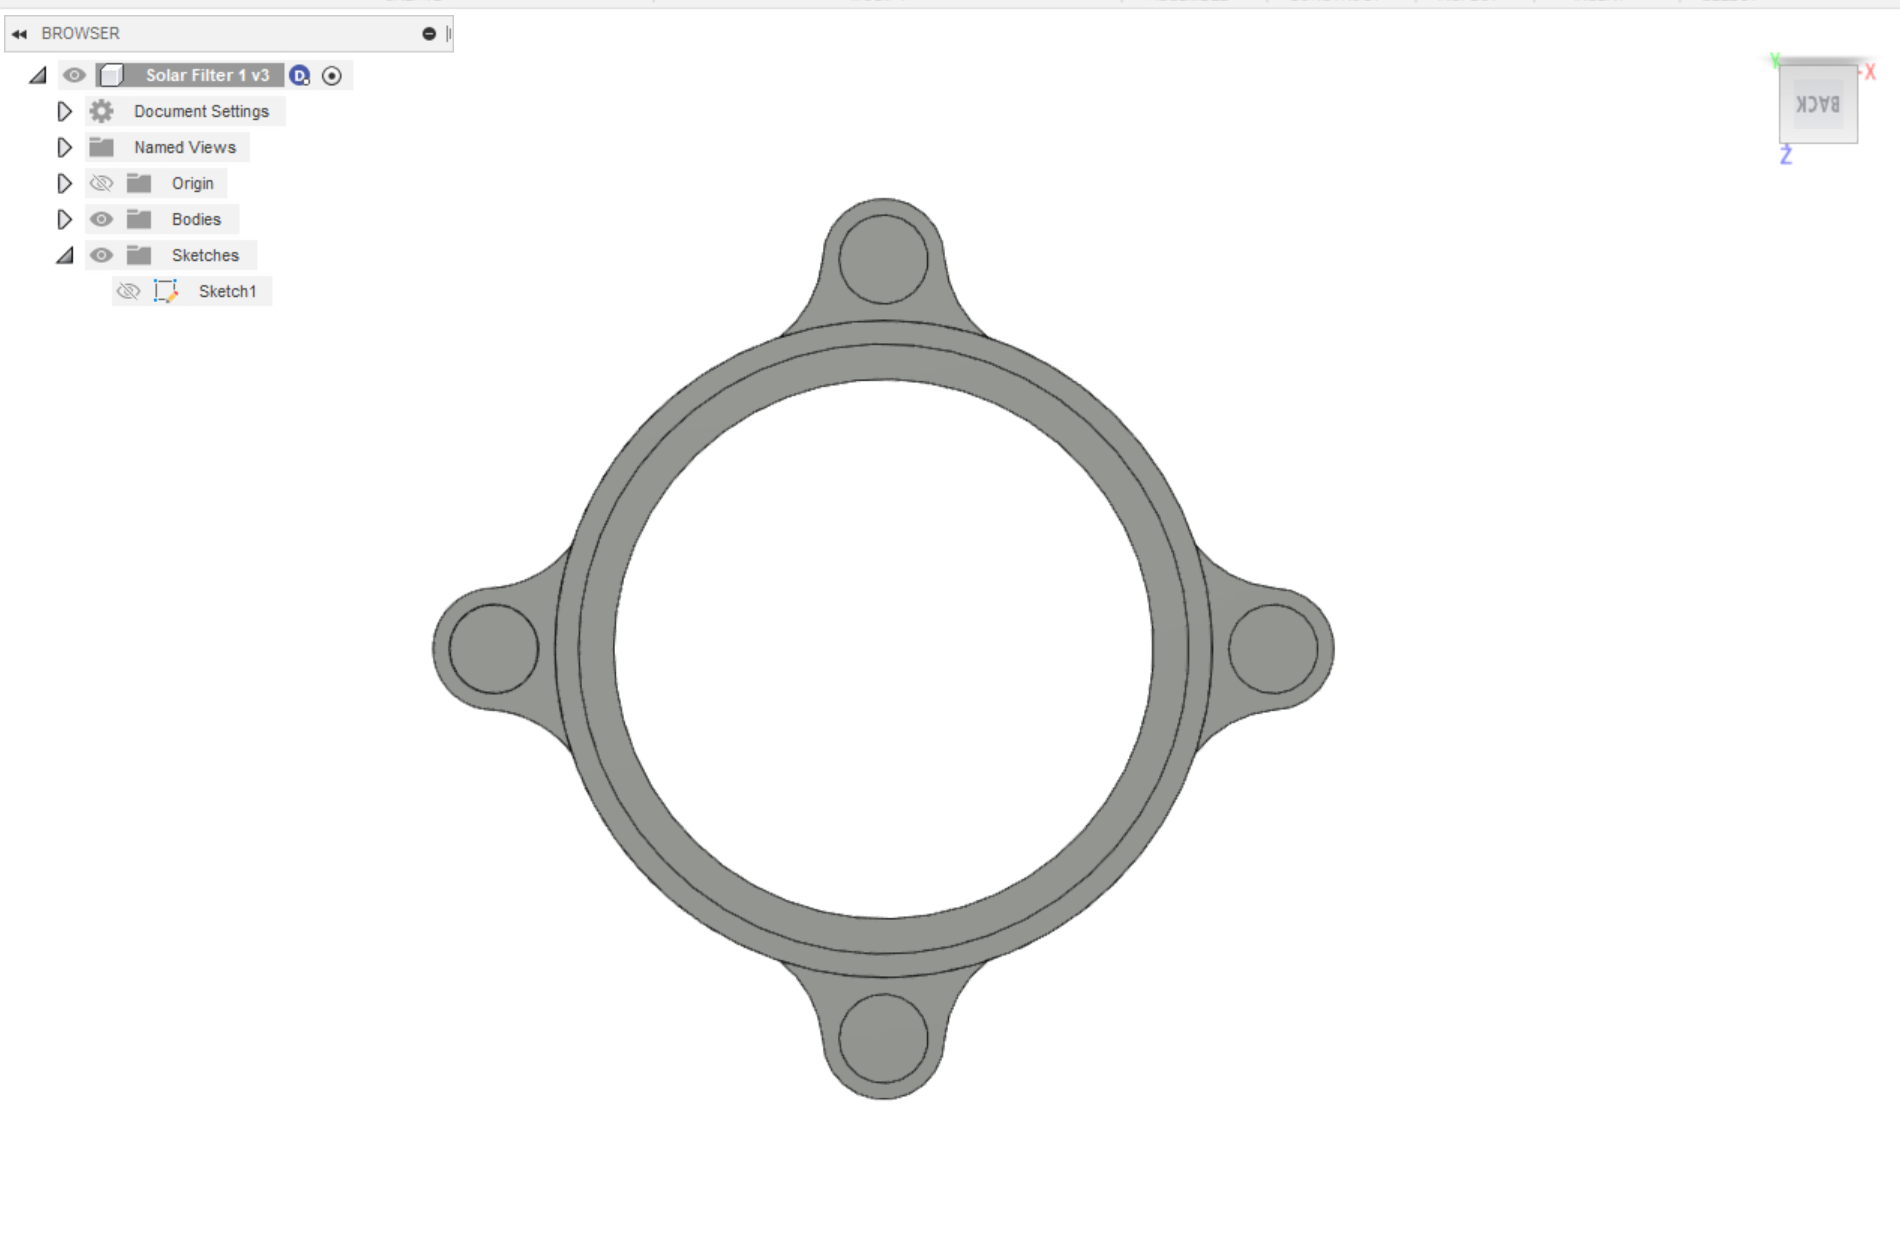
Design First Part Mylar Filter Attachment
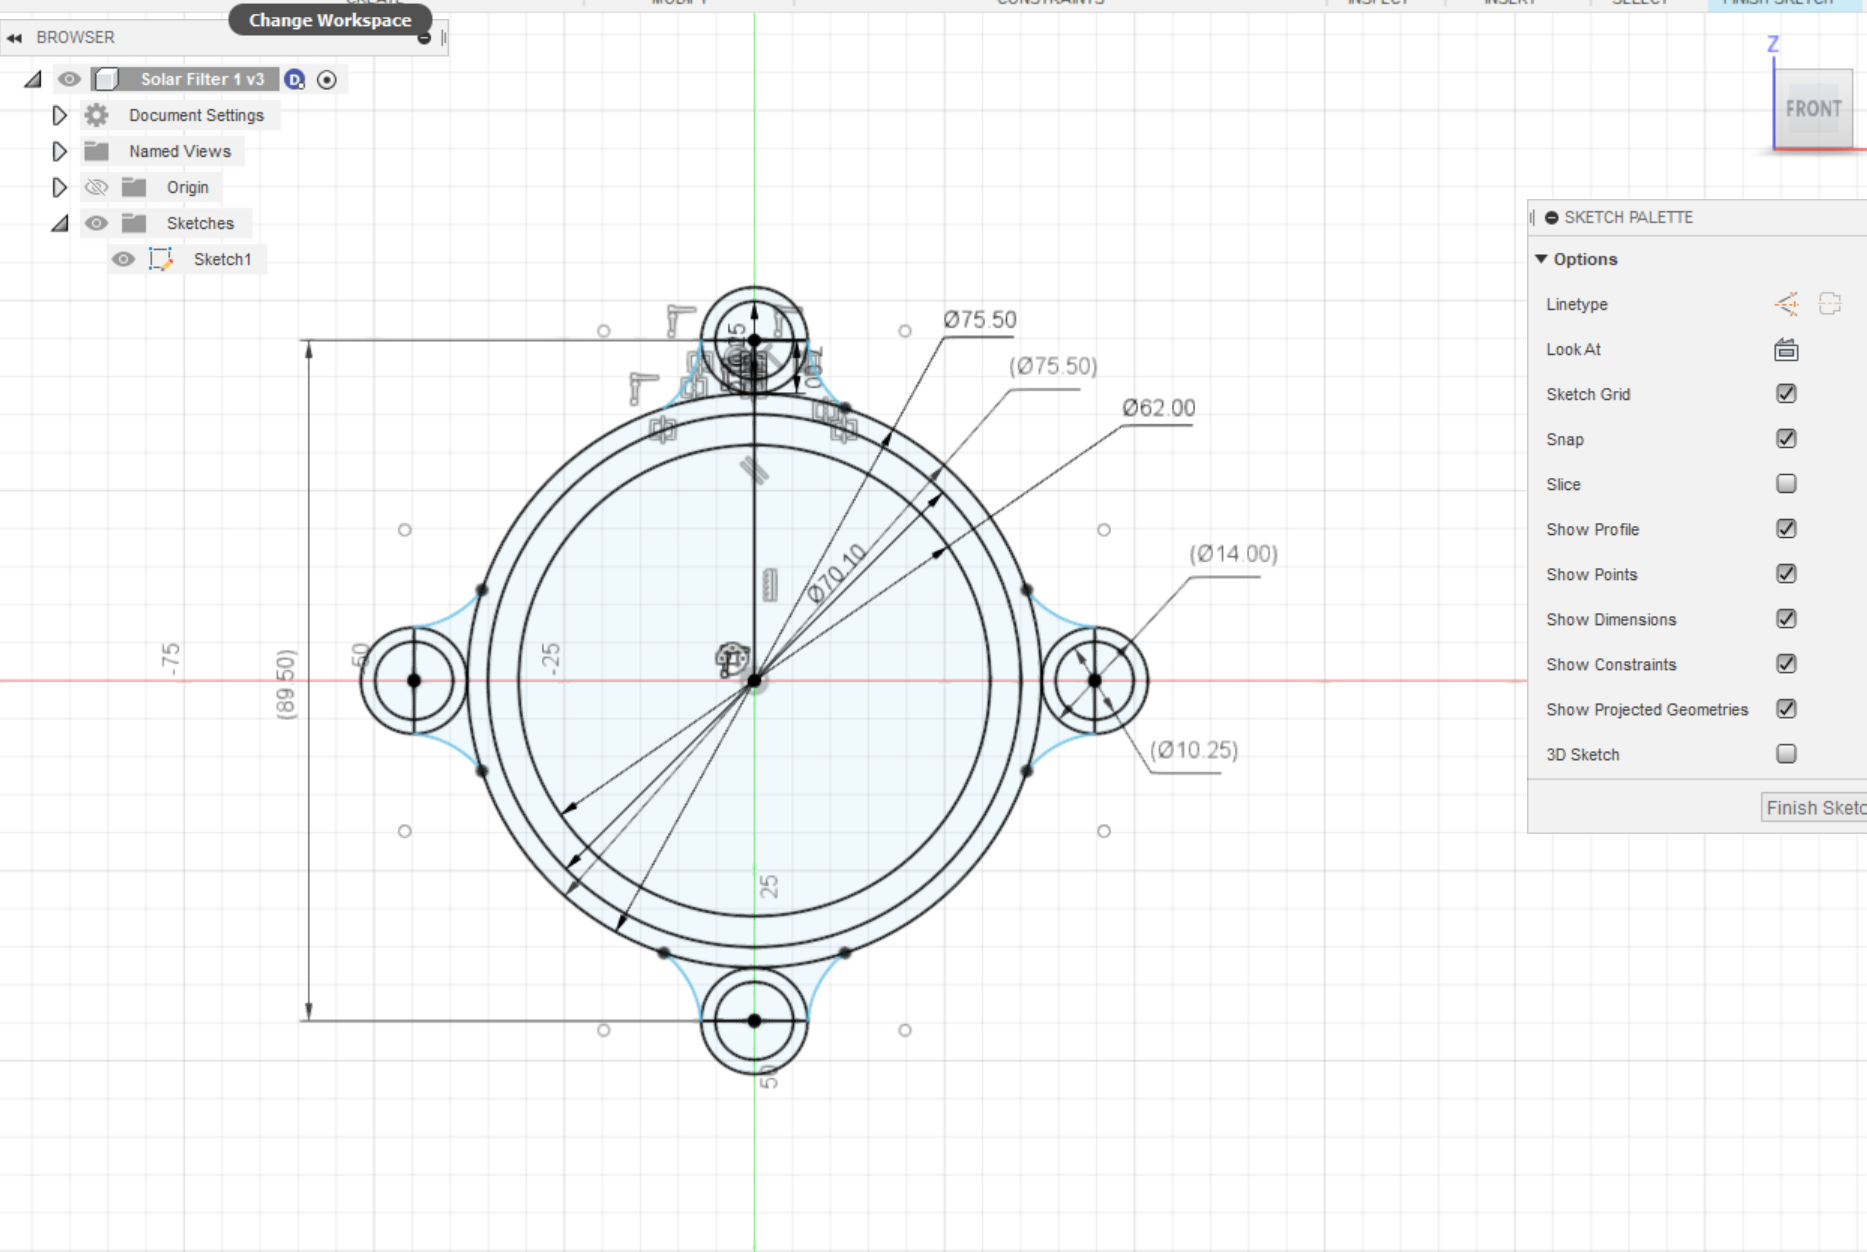

- First, draw Sketch on XY Plane. Draw a circle of 70mm.
- Draw another circle 75 mm for 2.5mm wall thickness of the part.
- Now we draw 4 circles for the magnet. Draw a circle 90 mm and draw 4 circles with 10mm diameter on circumference .draw 15 mm circle from each circle center.
- Extrude sketch 4mm to make a solid part. Extruded sketch 1.5 mm from another side with magnet circle selected.
Design 2nd Part Attach on Telescope
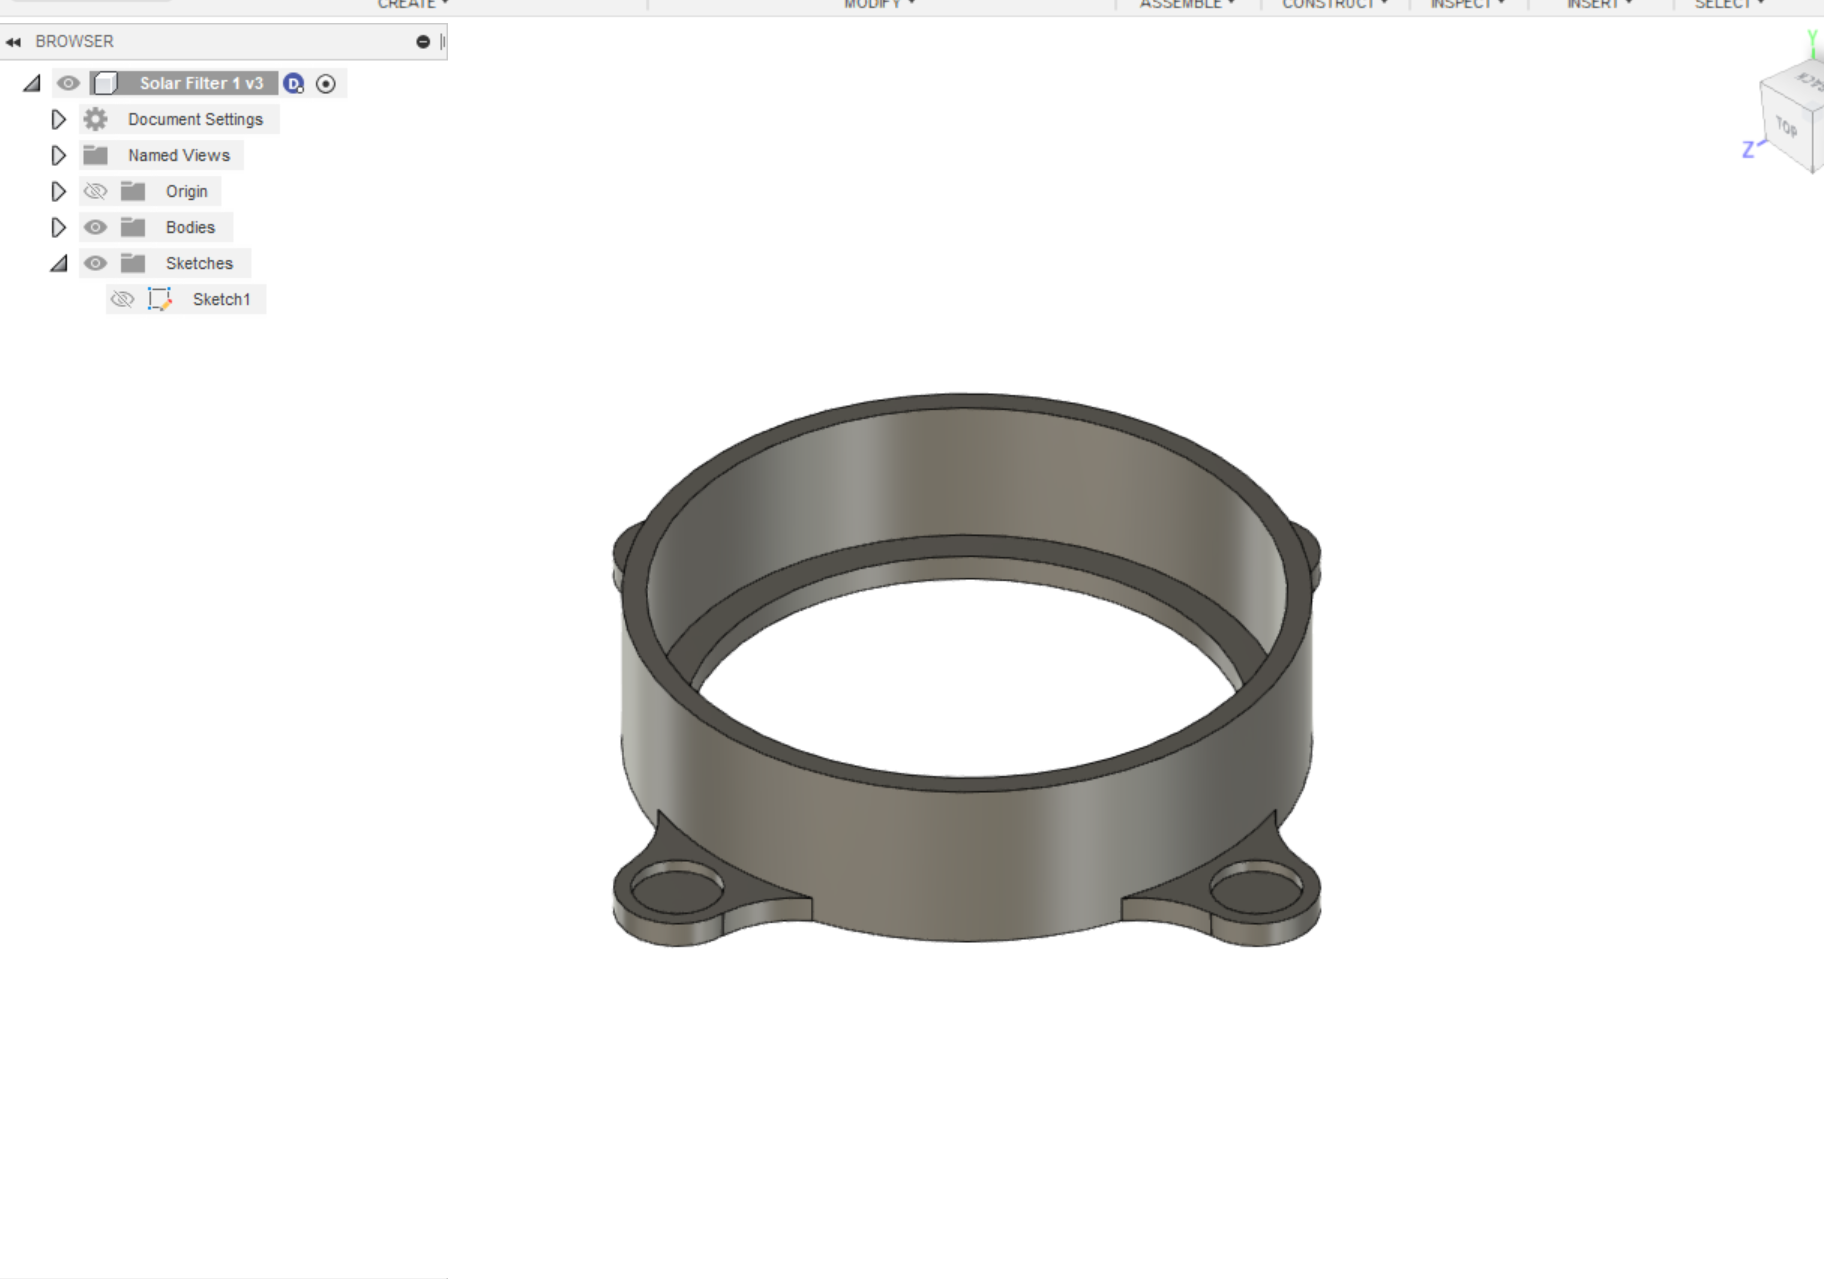
- For the 2nd part, make a 20 mm reference plane.
- Project same part sketch on Reference plane.
- Extrude sketch -1.5 mm with circle selected.
- Extrude sketch without circle select for 2.5mm.
- Select the last extruded part surface and sketch 75mm and 70 mm Circle.
- Extrude Select circle 16 mm to fit on Telescope Head.
- Also, you can add a tangential Screw to fit on the head.
3D Print Parts
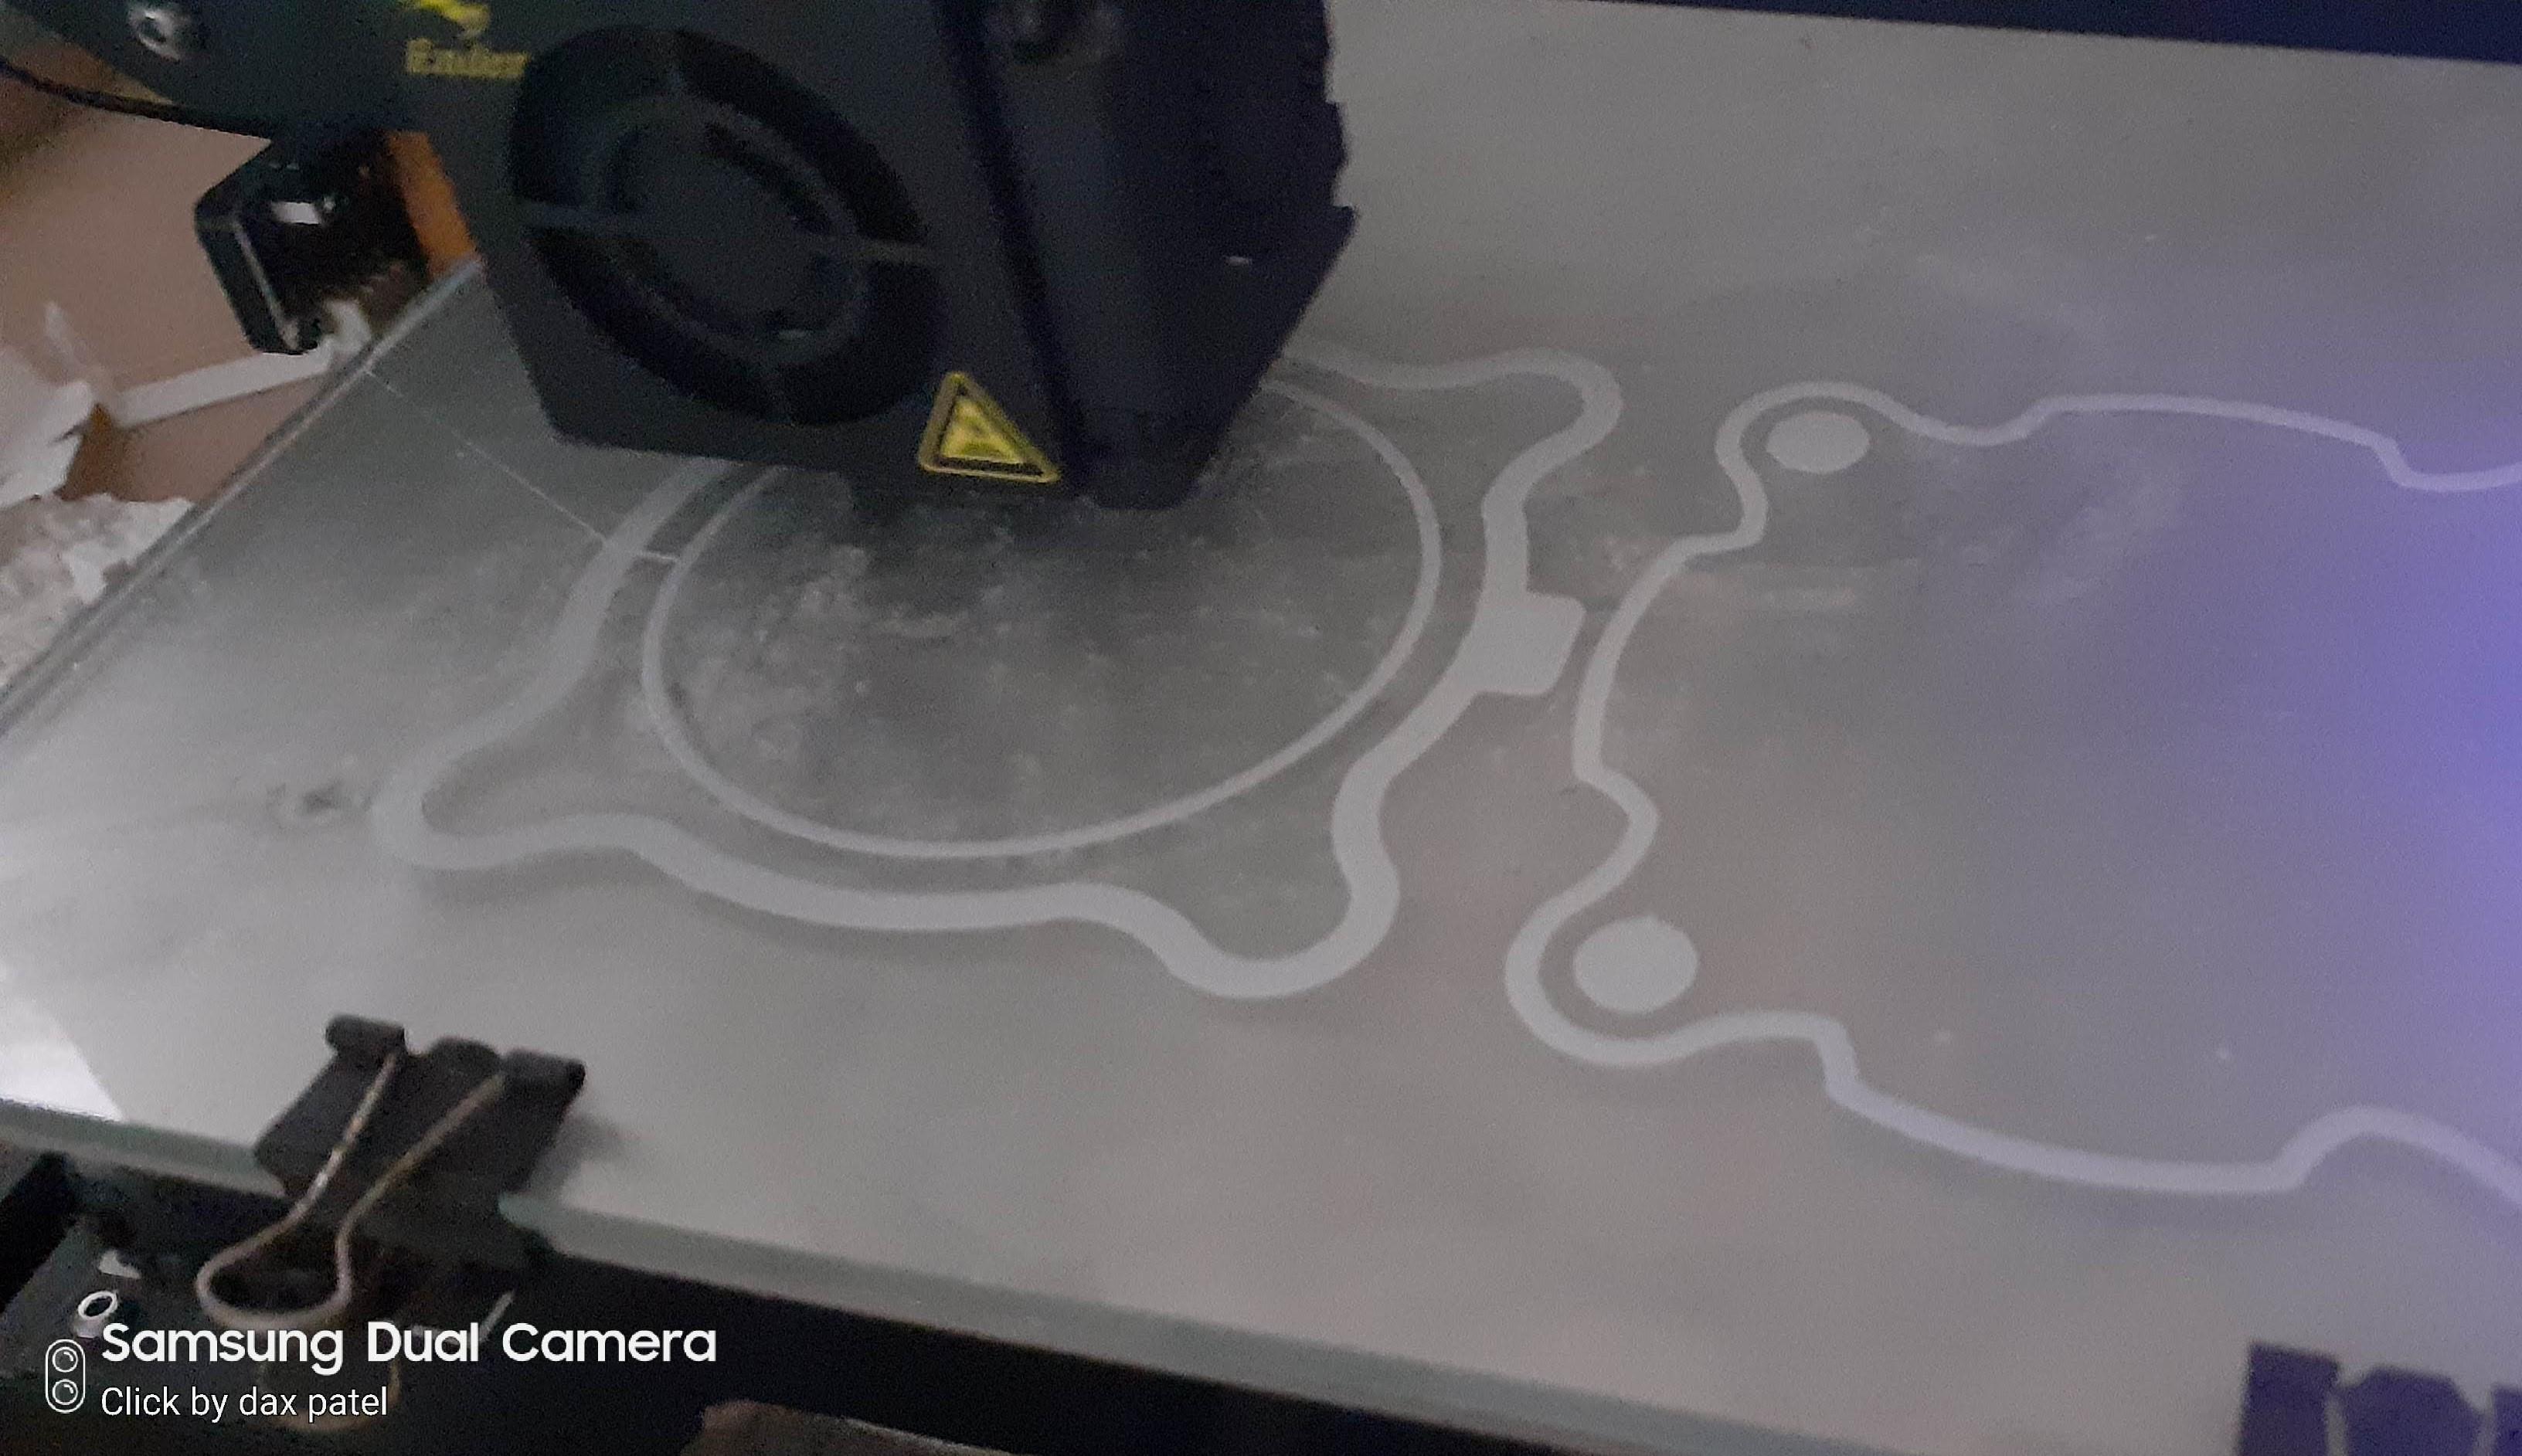
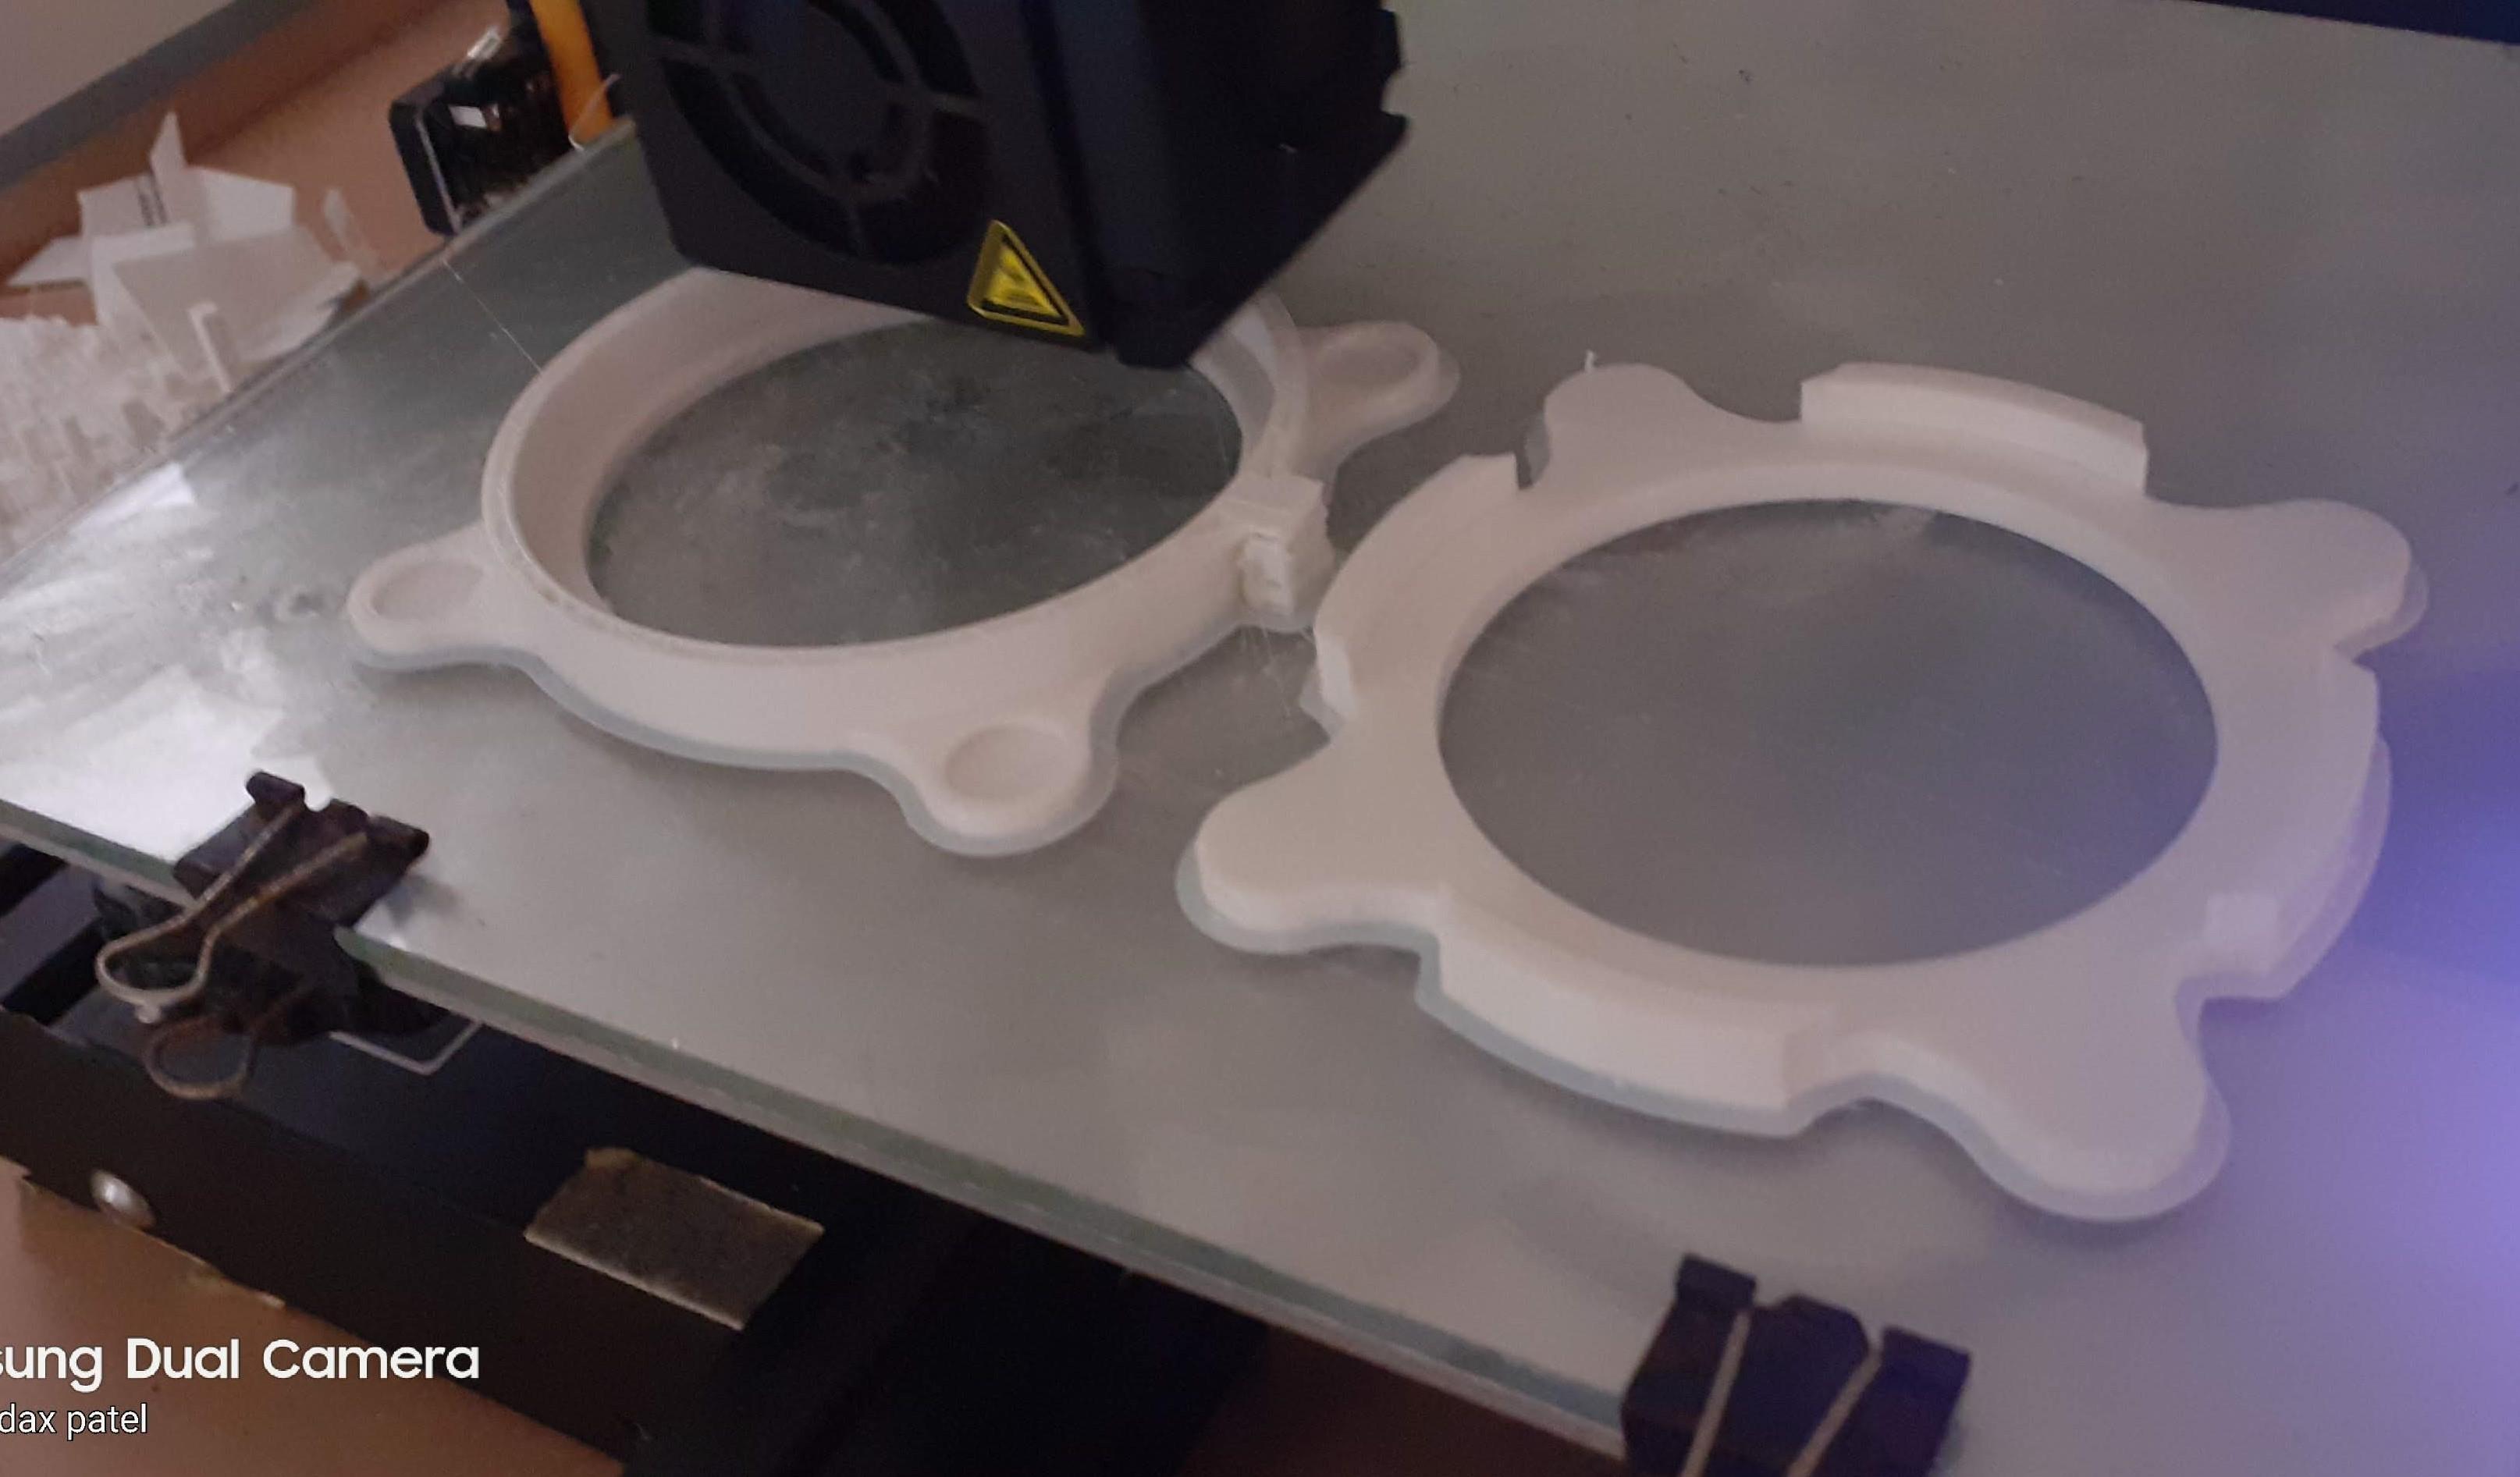
If you have the same Telescope as mine you will print the same mylar filter Holder Else you can make your own design as per the Dimension of your Telescope using my design as a reference.
Now it's time to 3D print our design. Export your design part as .STL or .3mf for 3D Print.
I have an Ender-3 3D printer and use Cura as a Slicer Software.
Use Blow Parameters for a Better print.
Layer Height: 0.2 mm
Infill: 20 %
Wall Count: 2
Material: PLA
Speed : 50mm/s
Support: Place as per your design
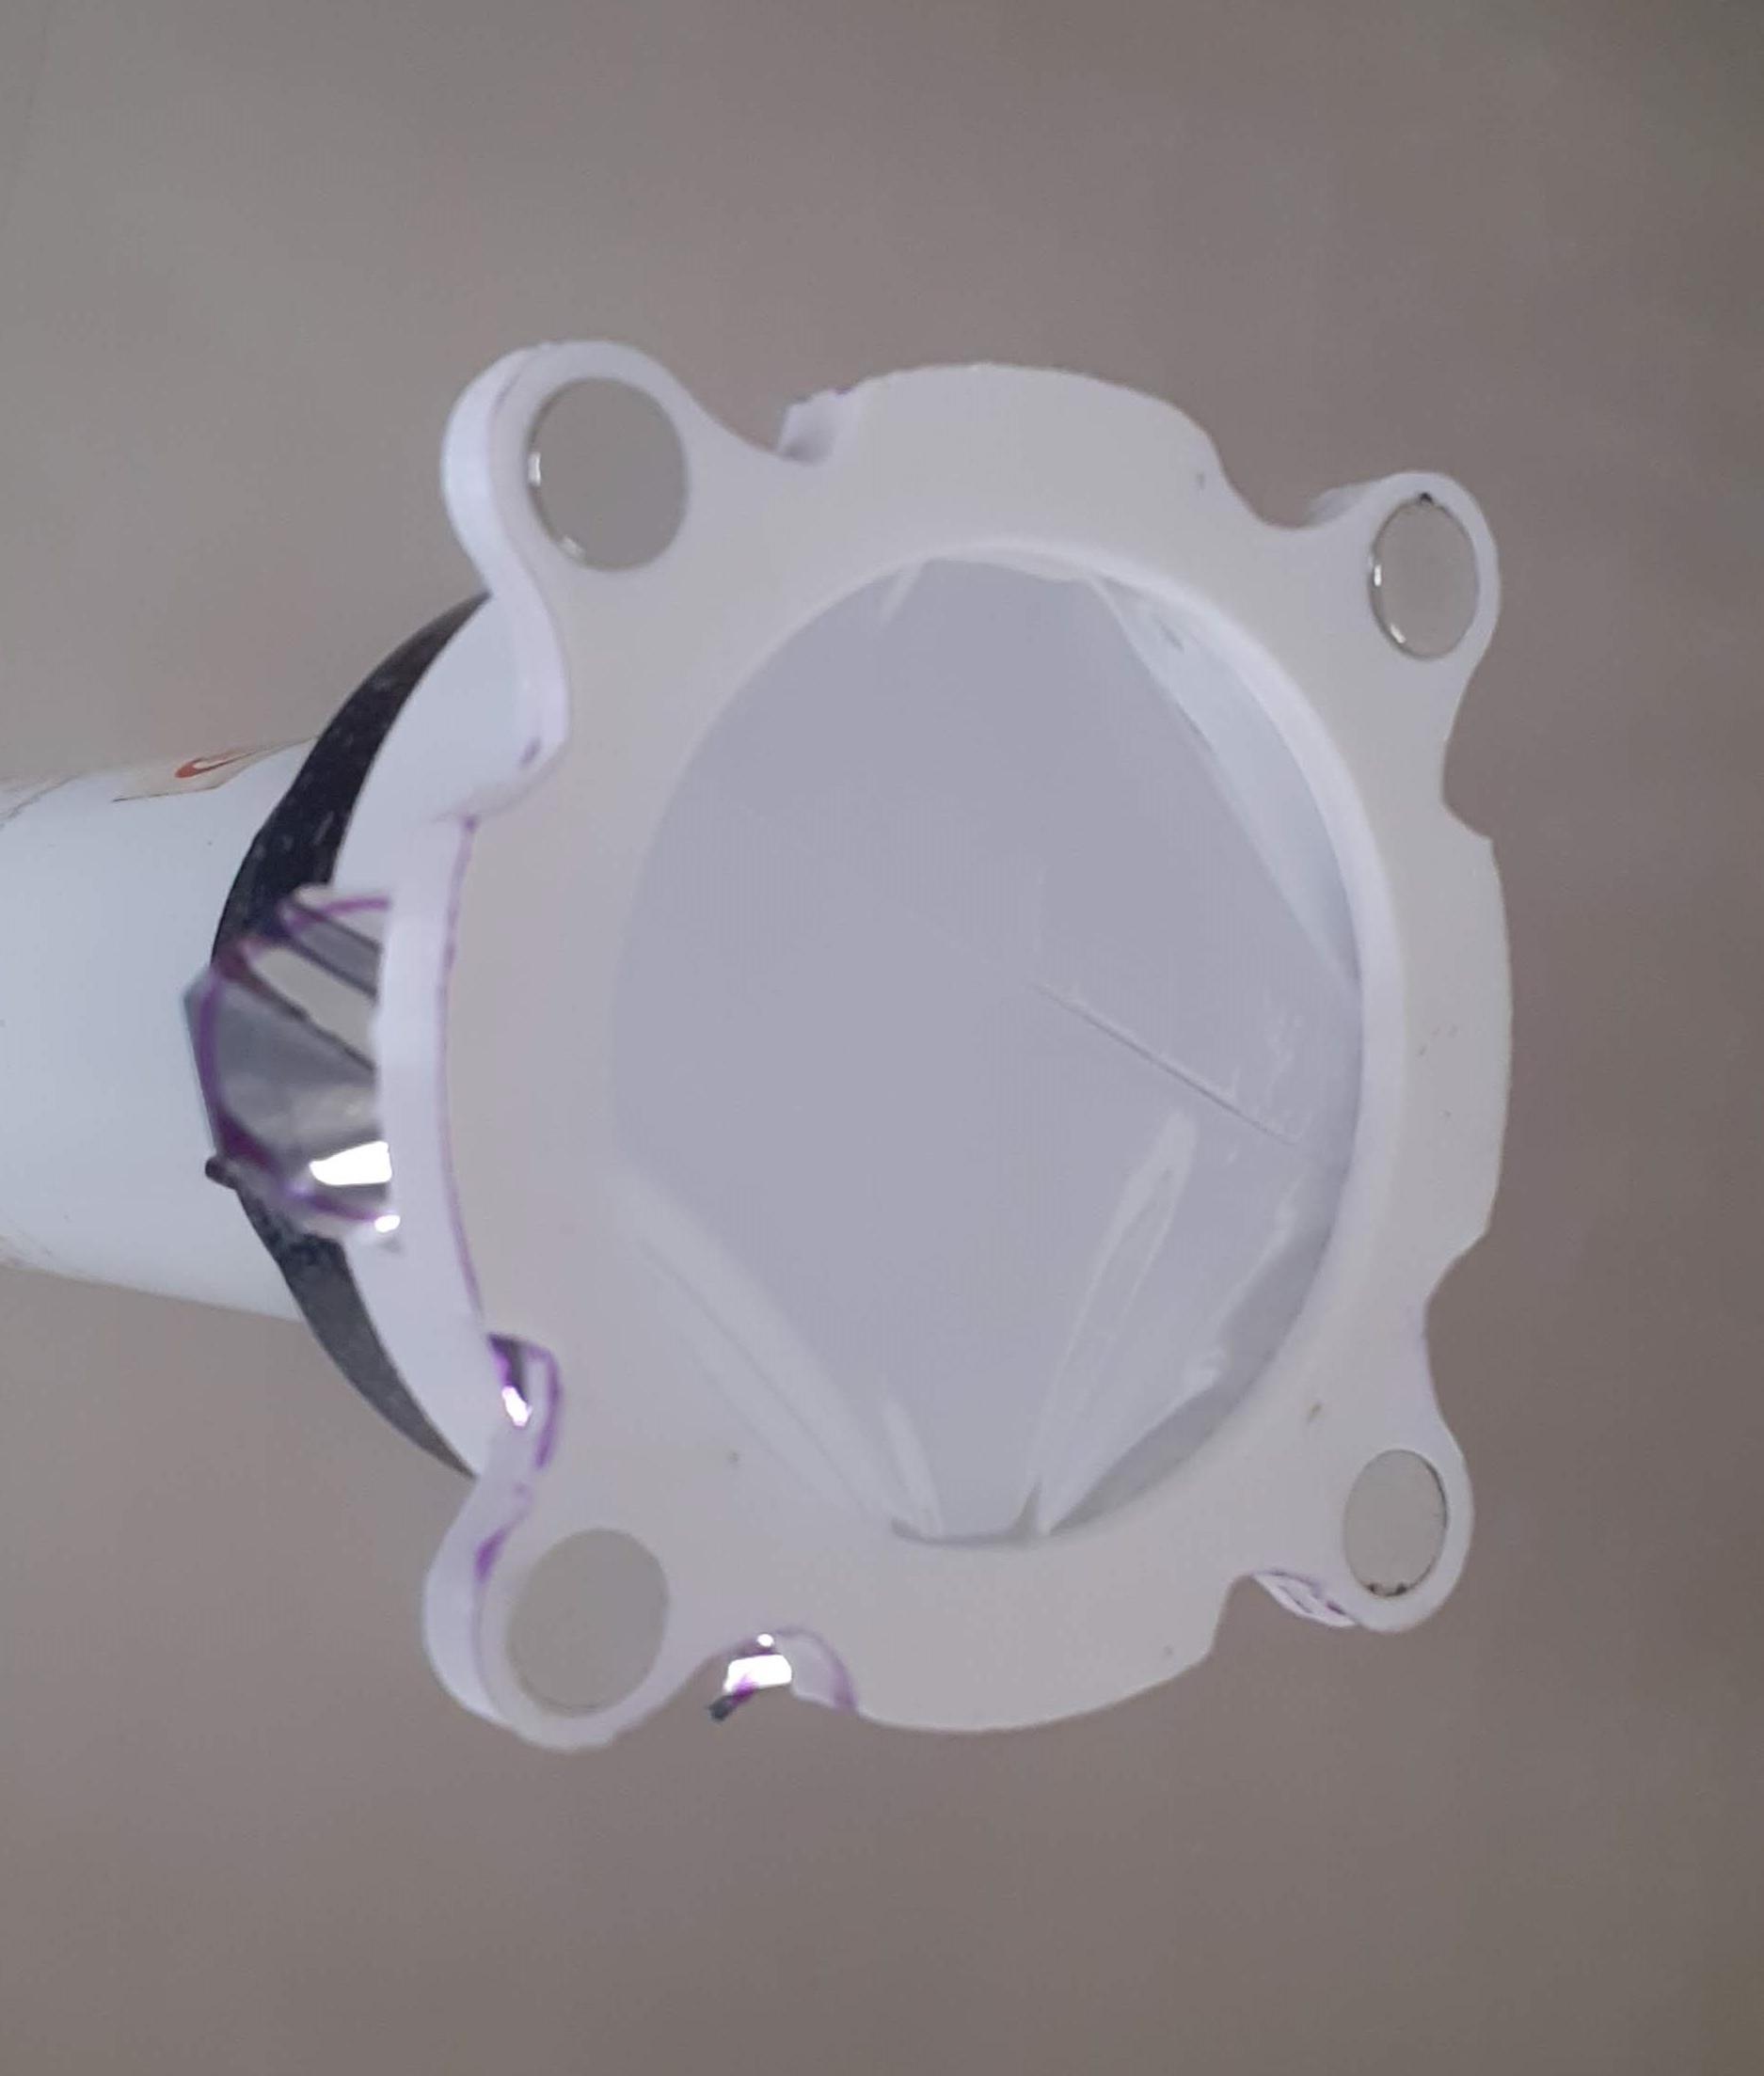
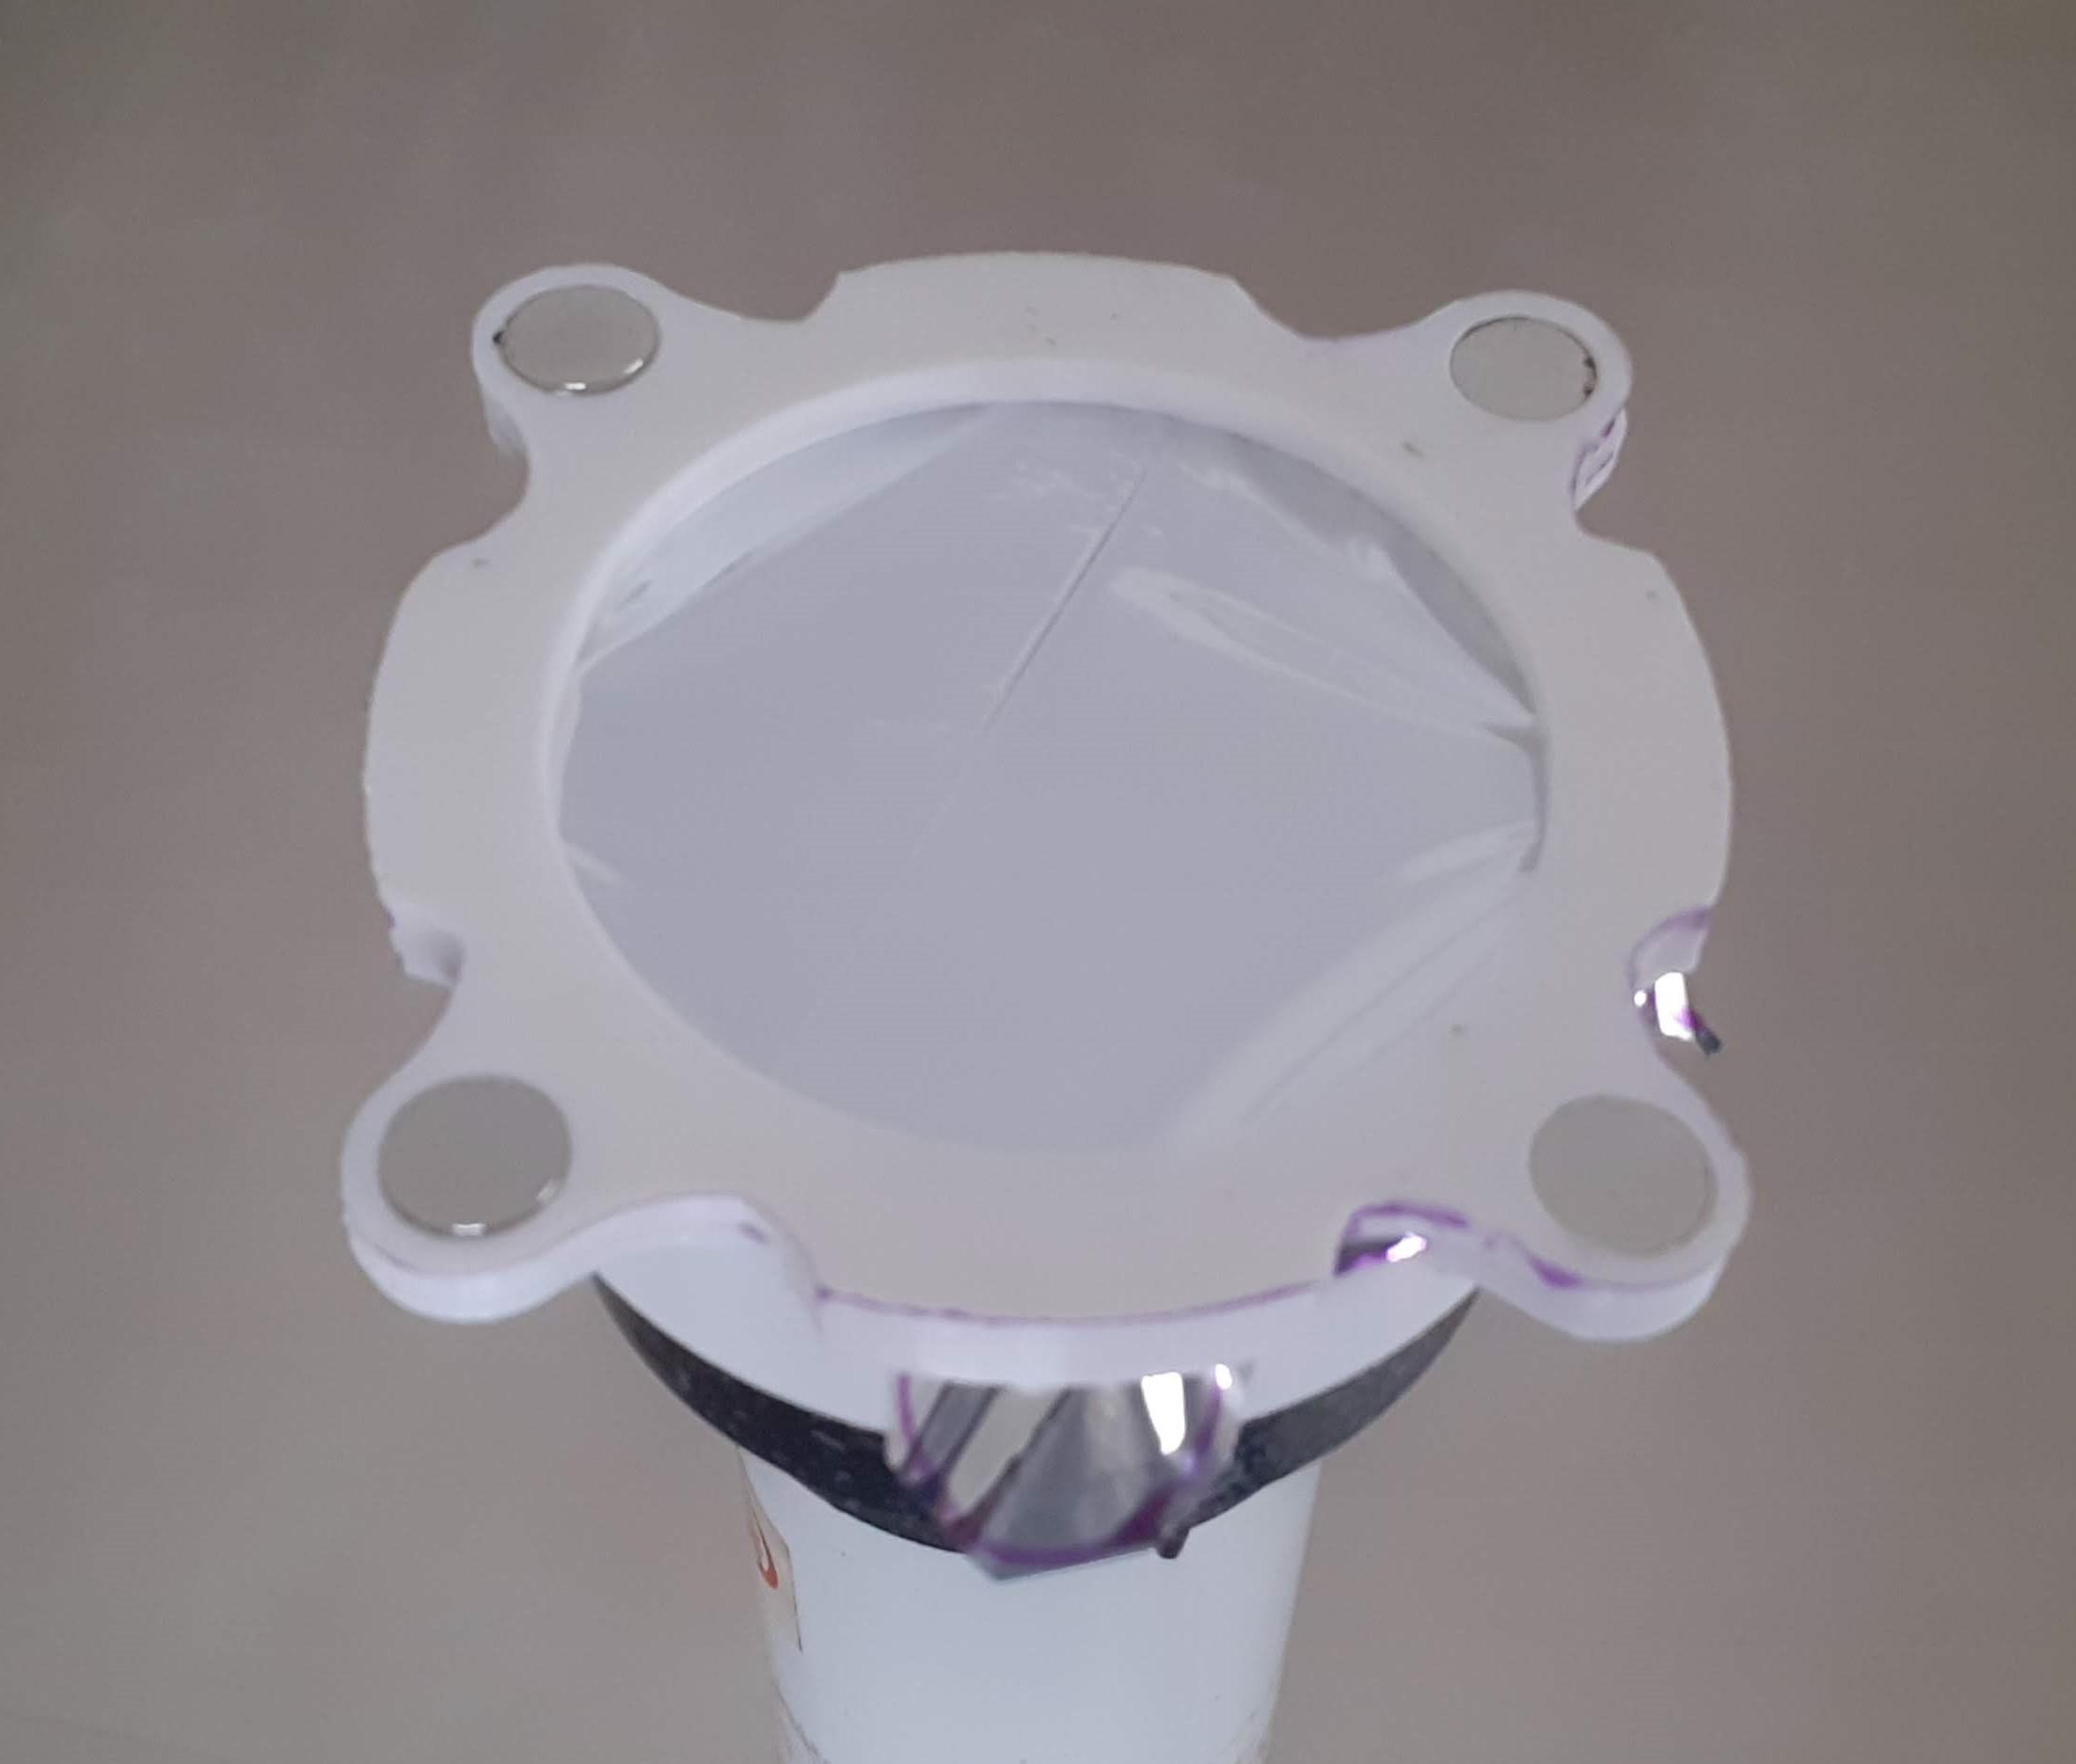
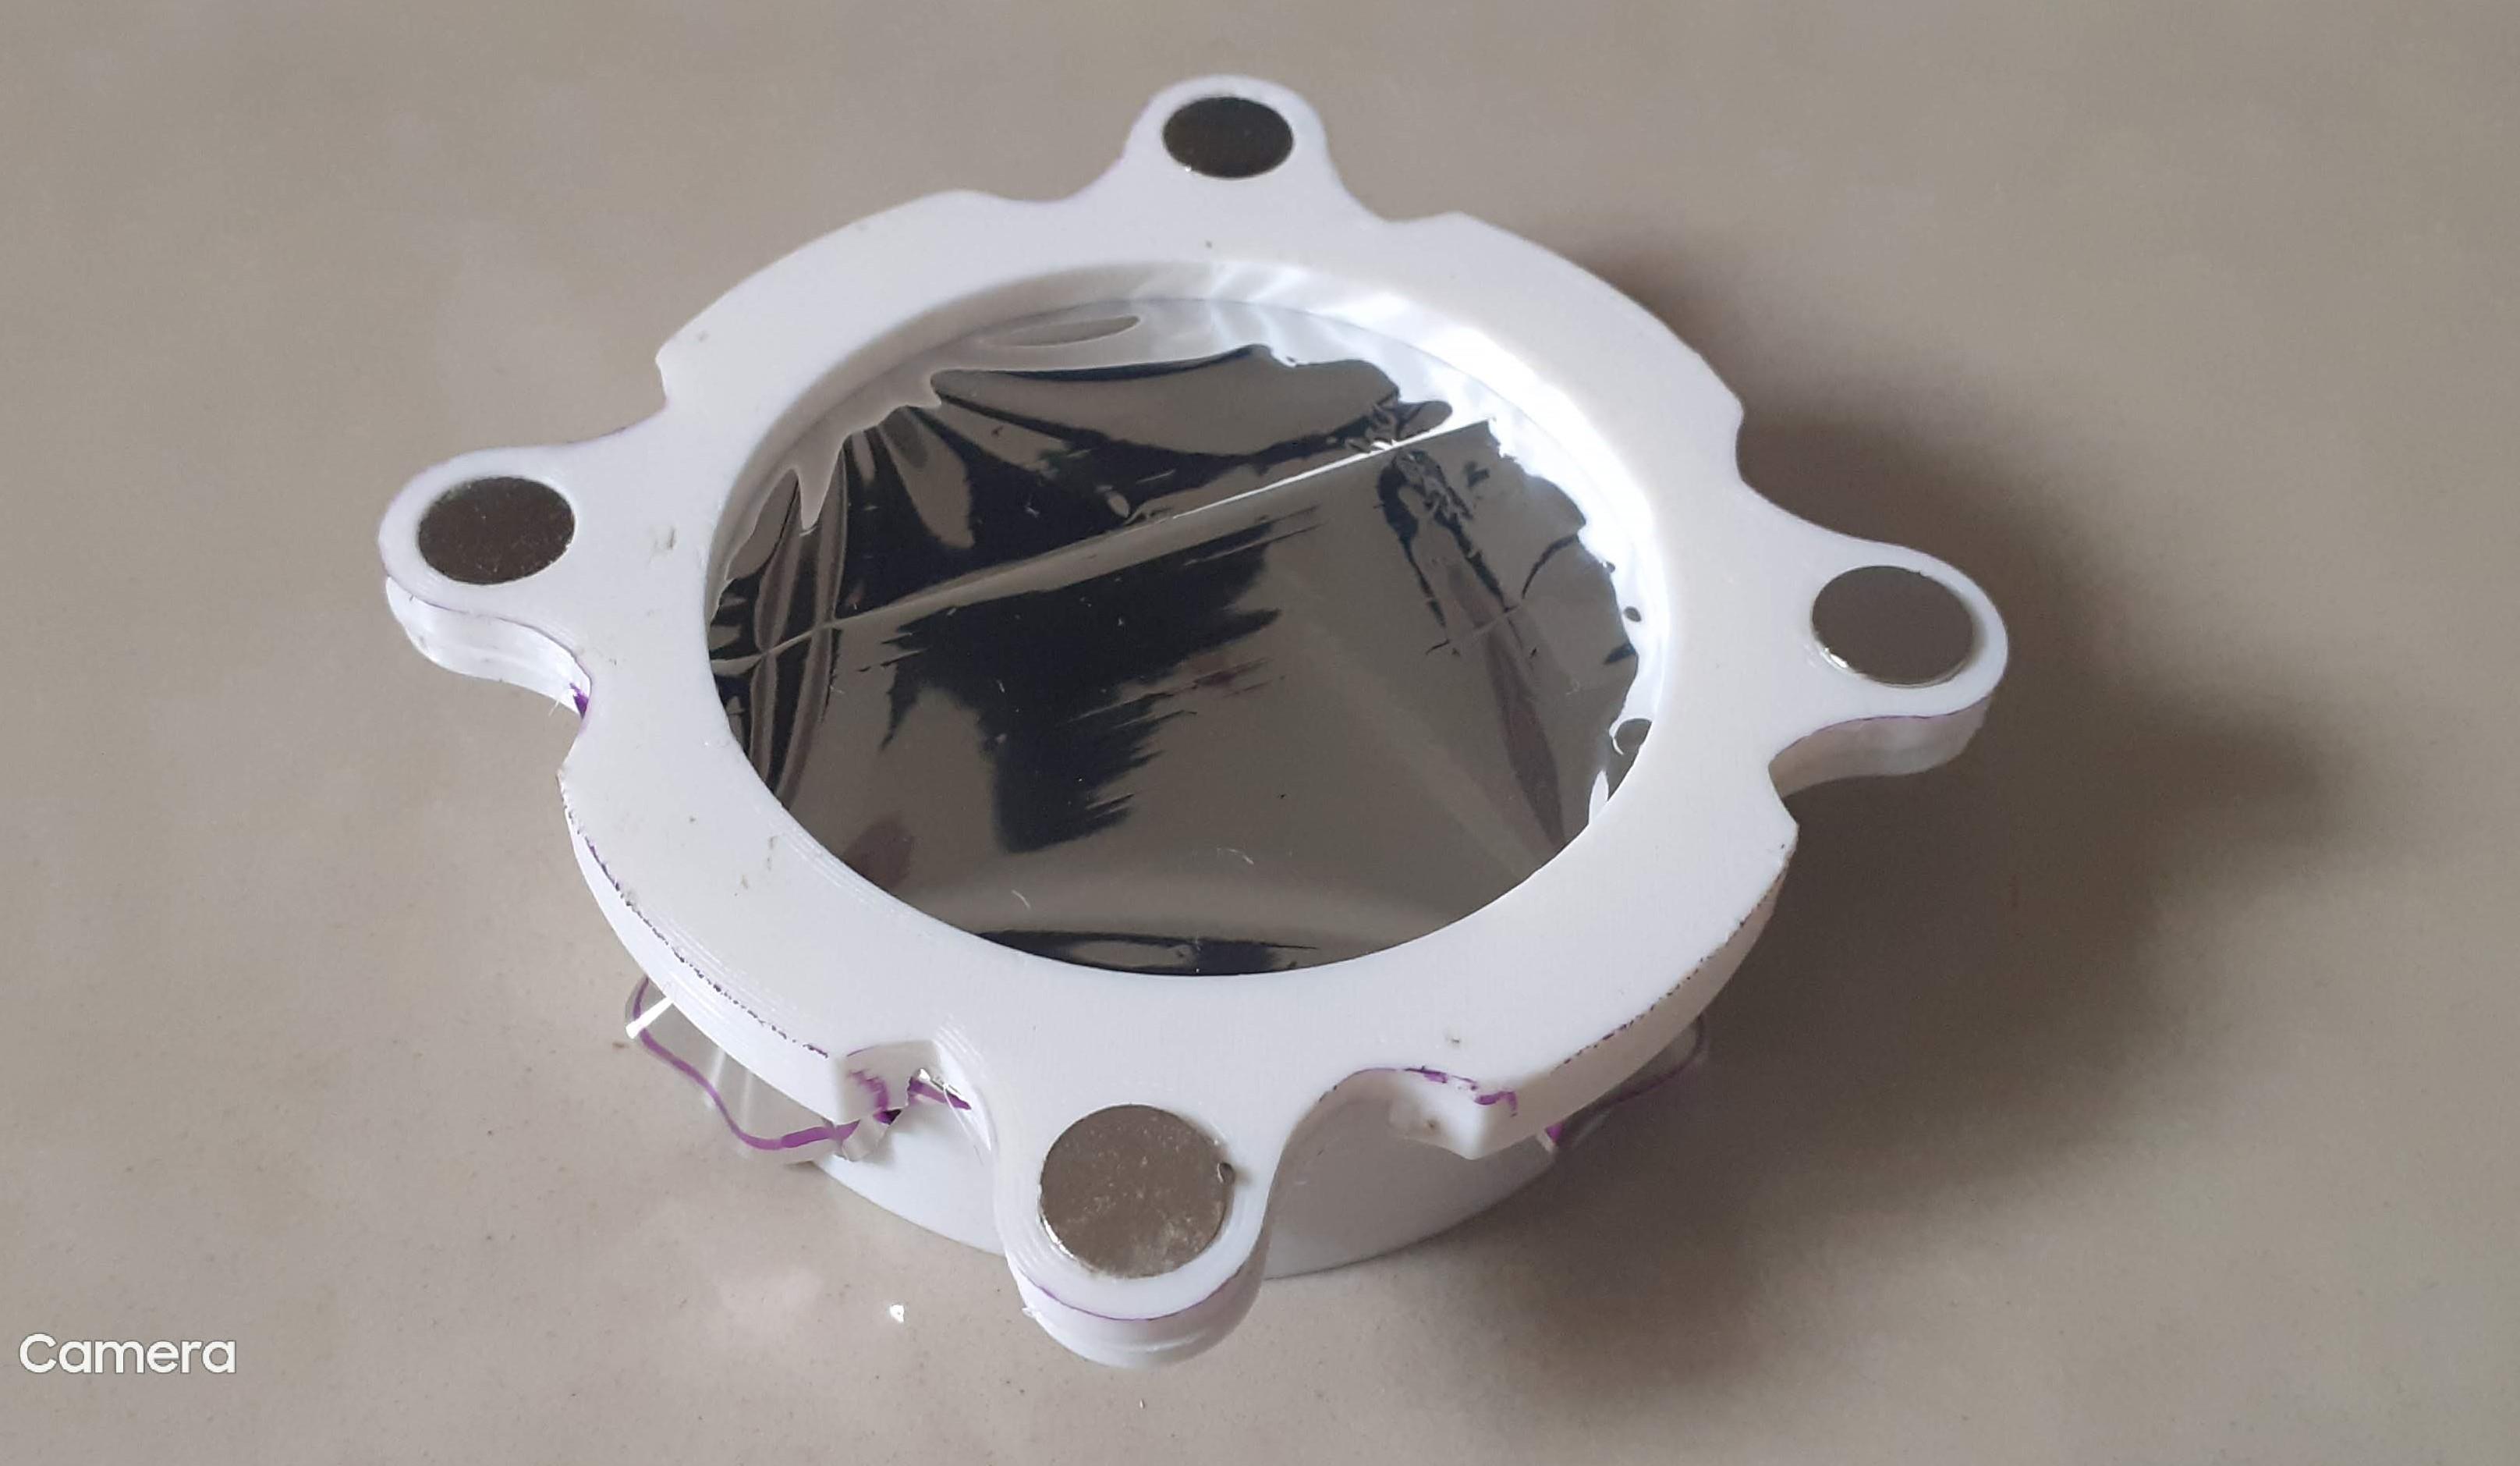
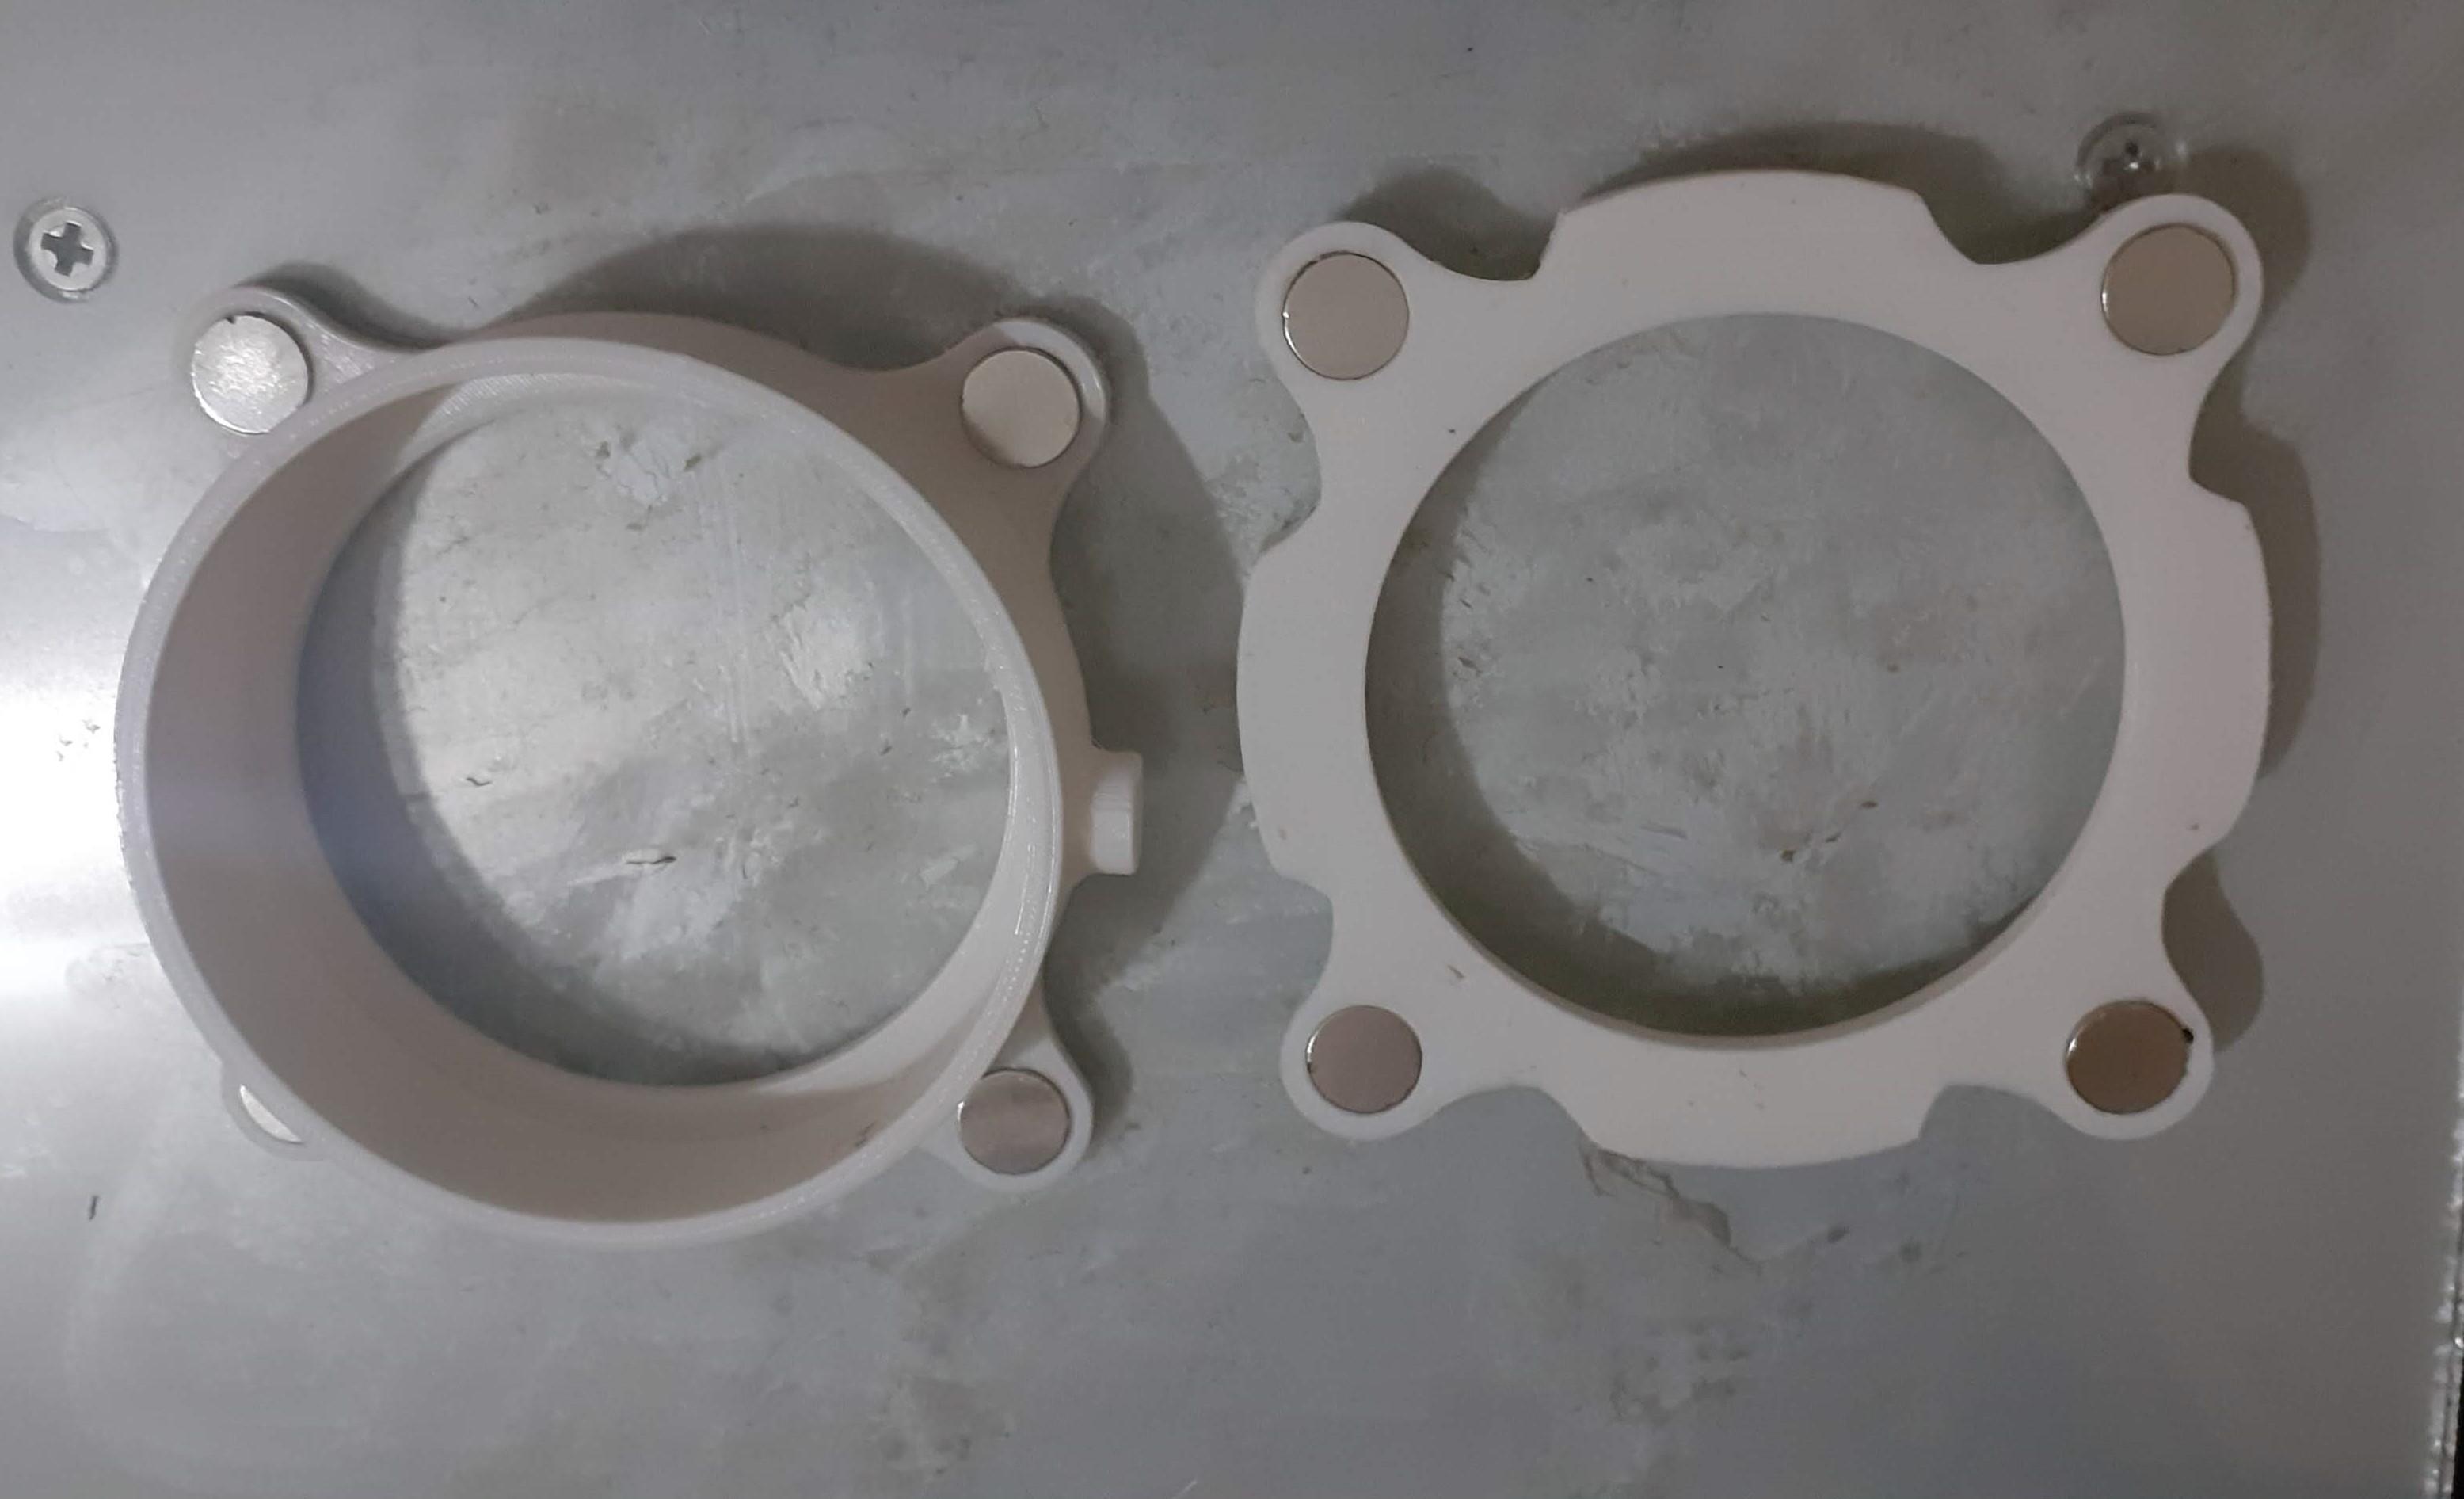
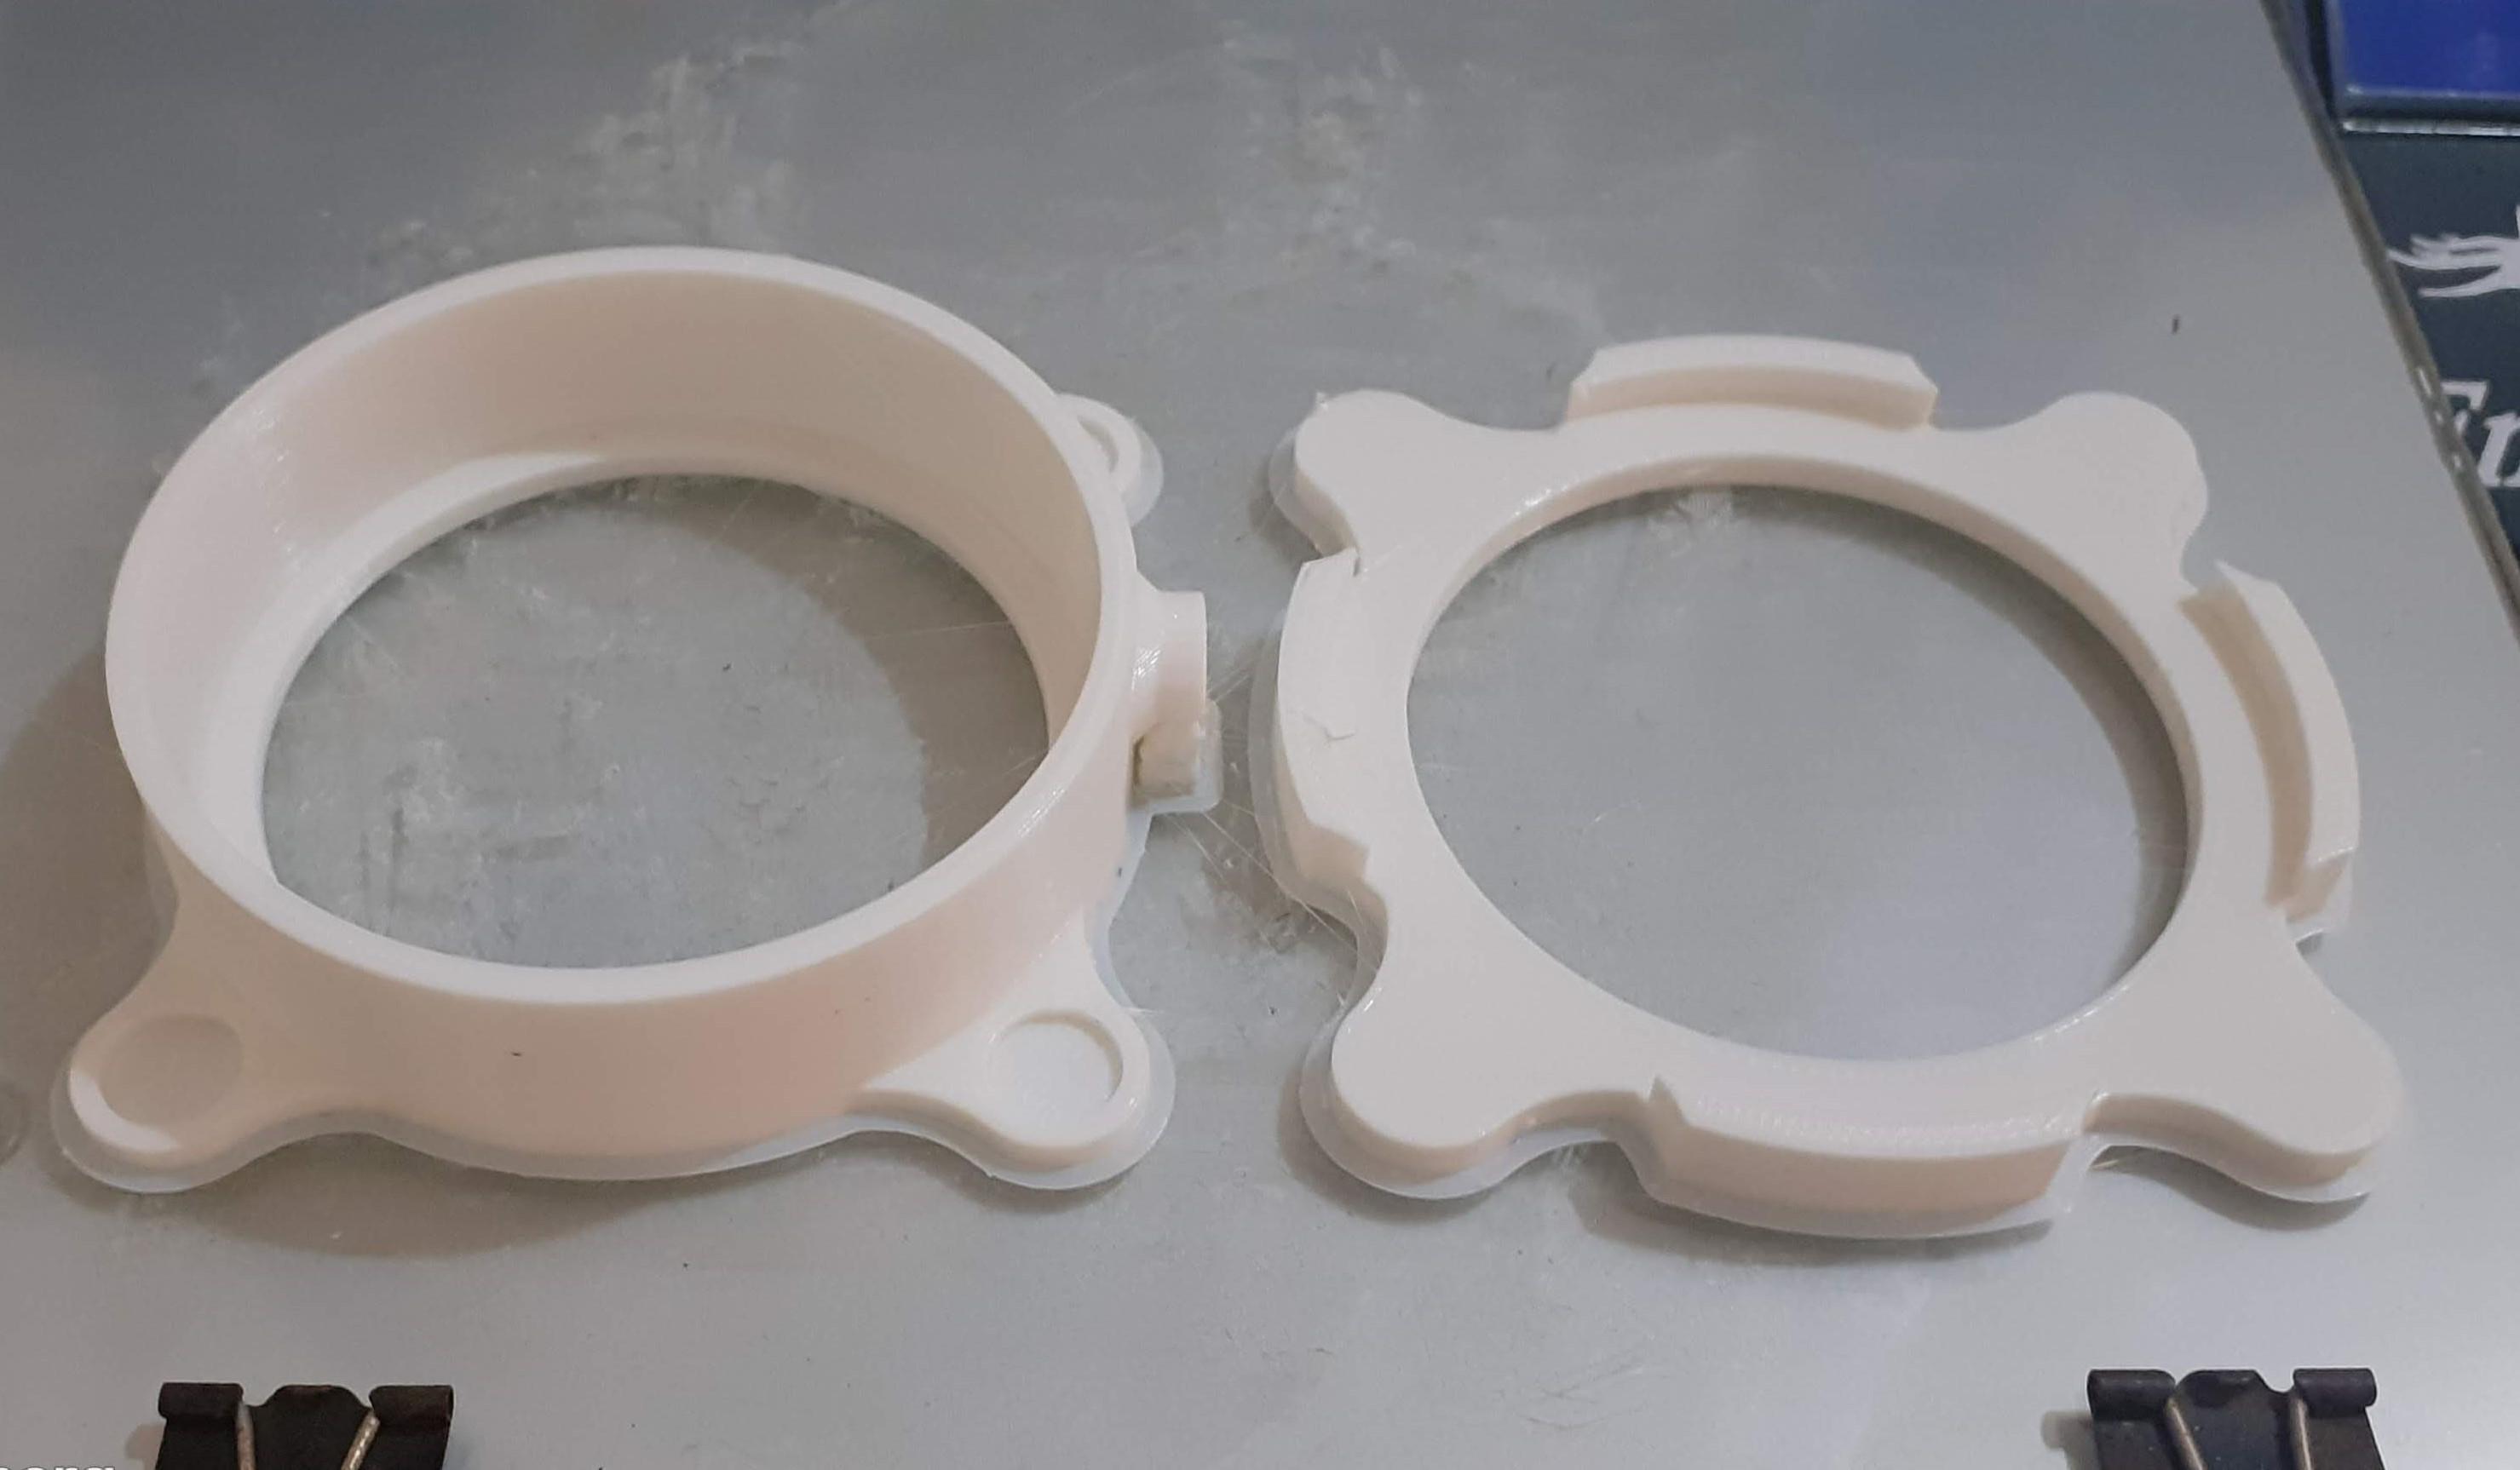
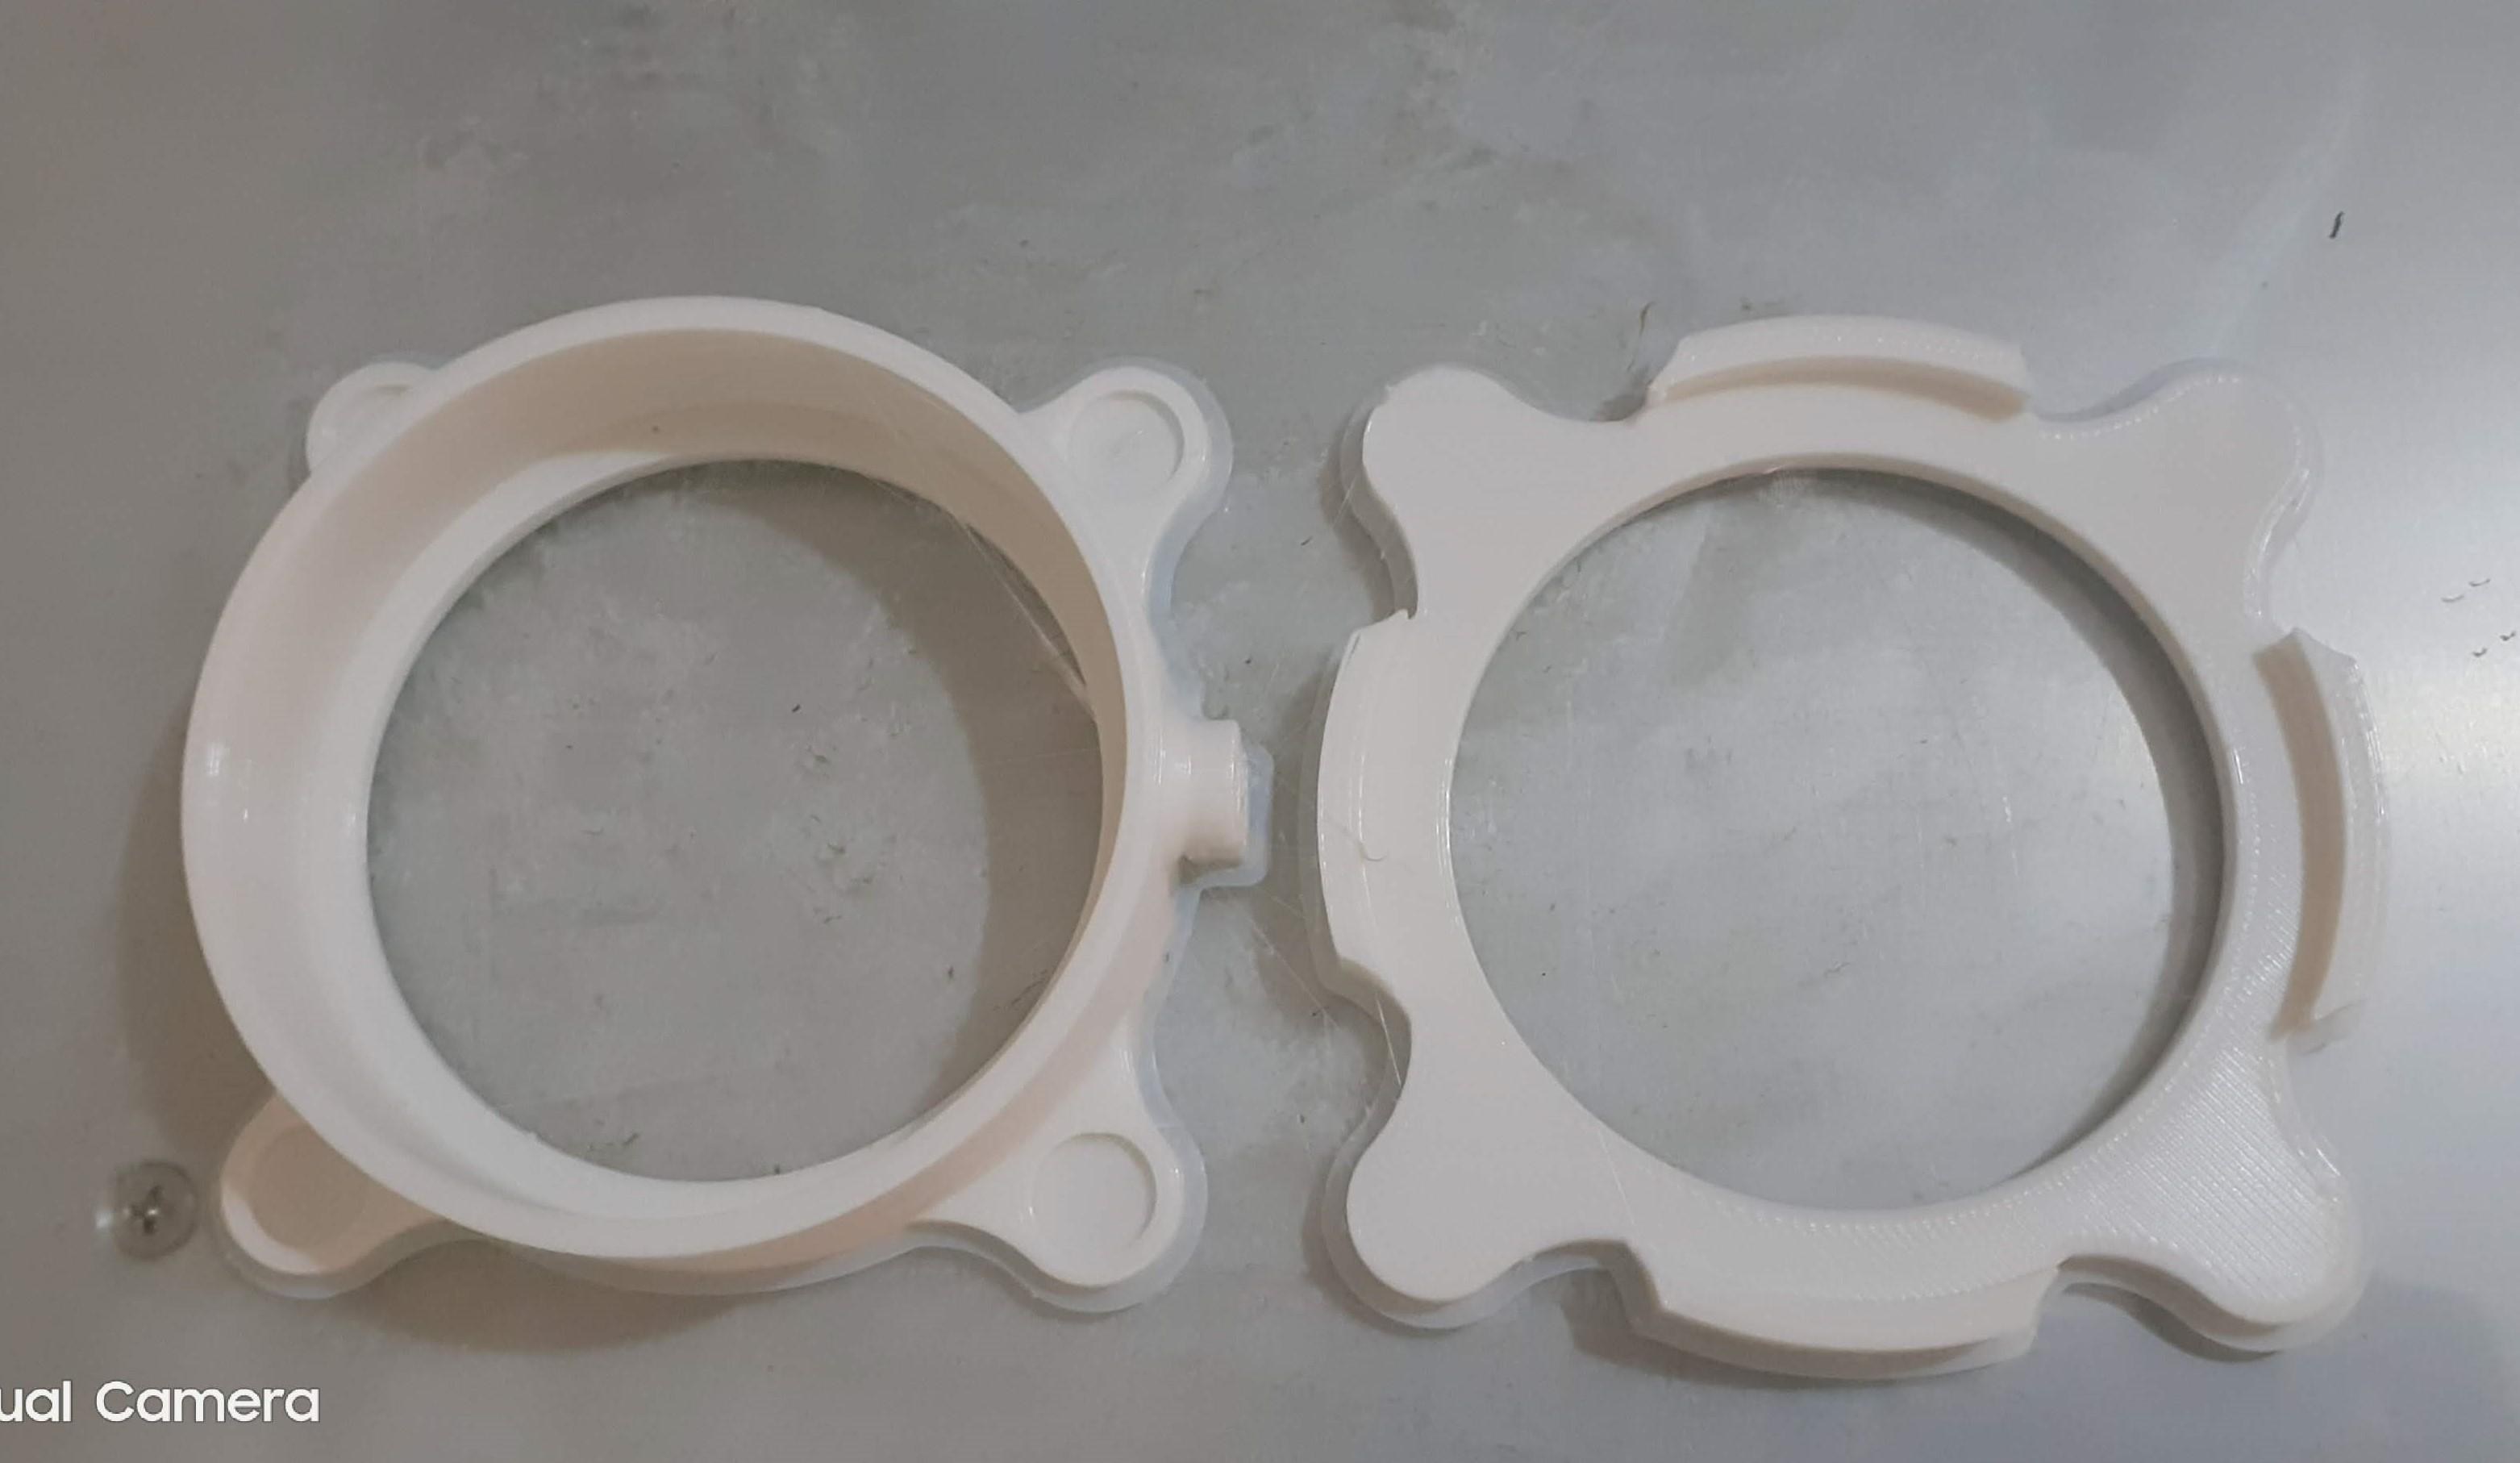
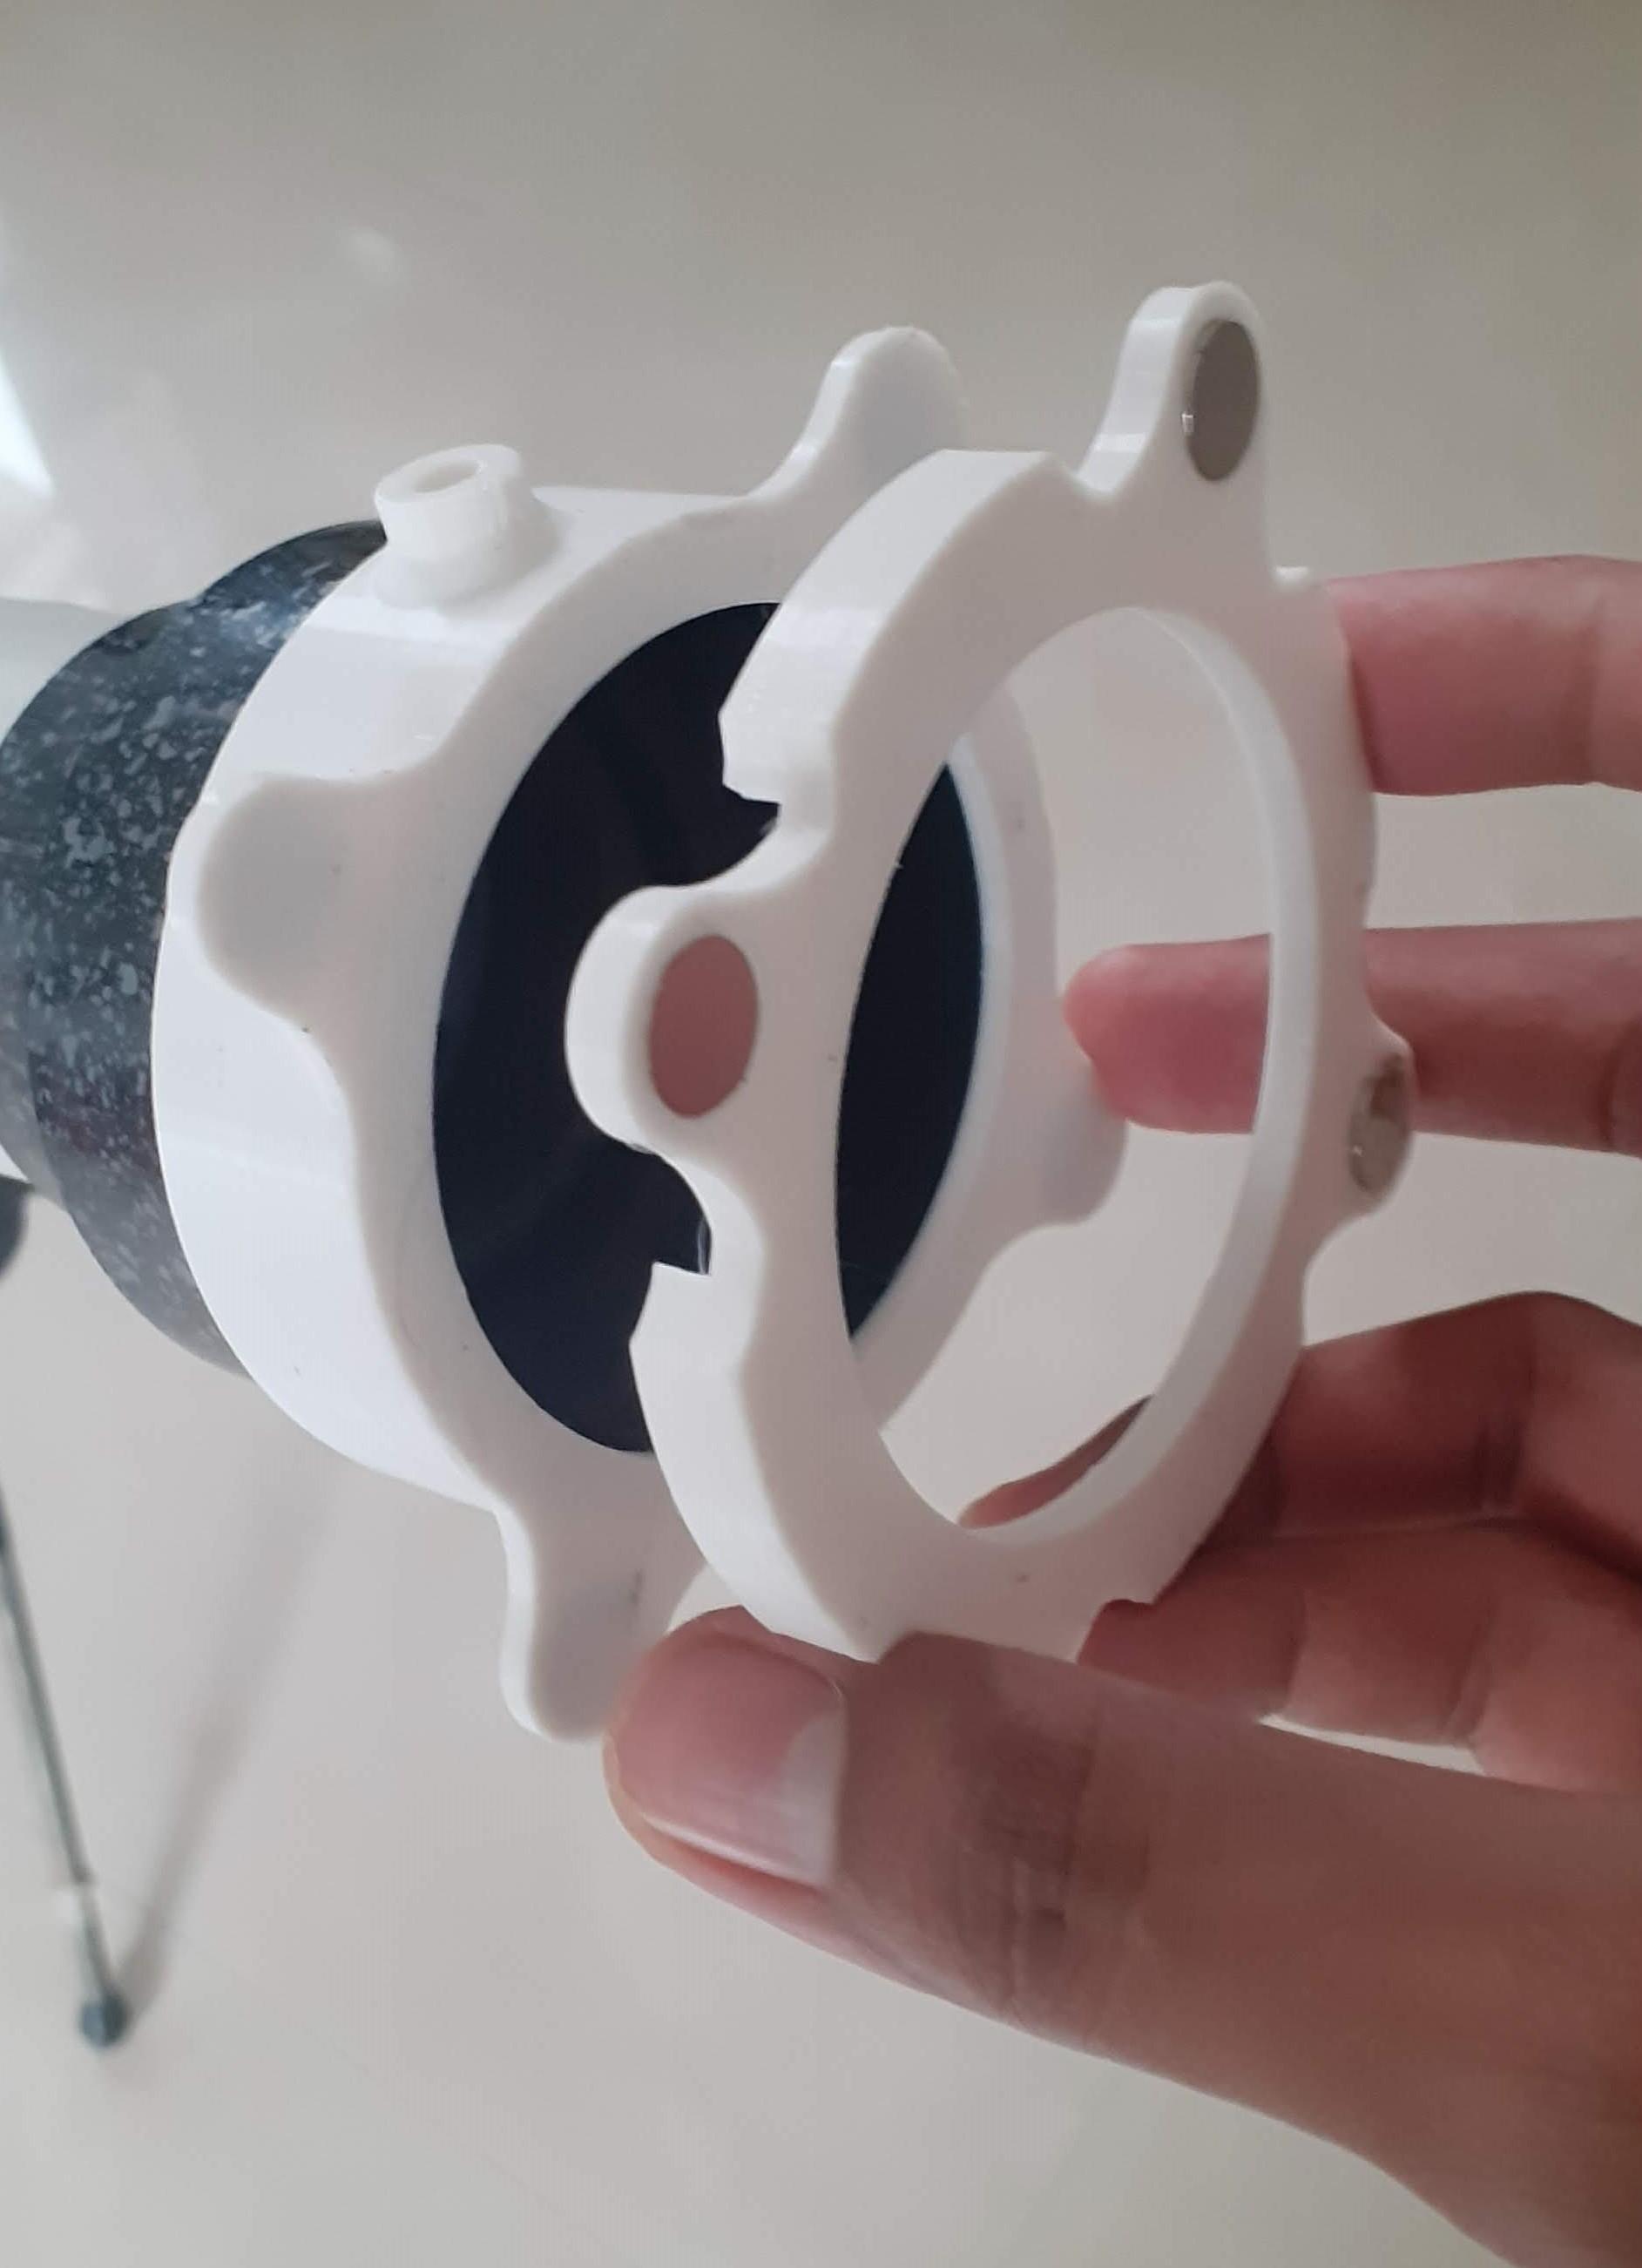
Assemble Magnets
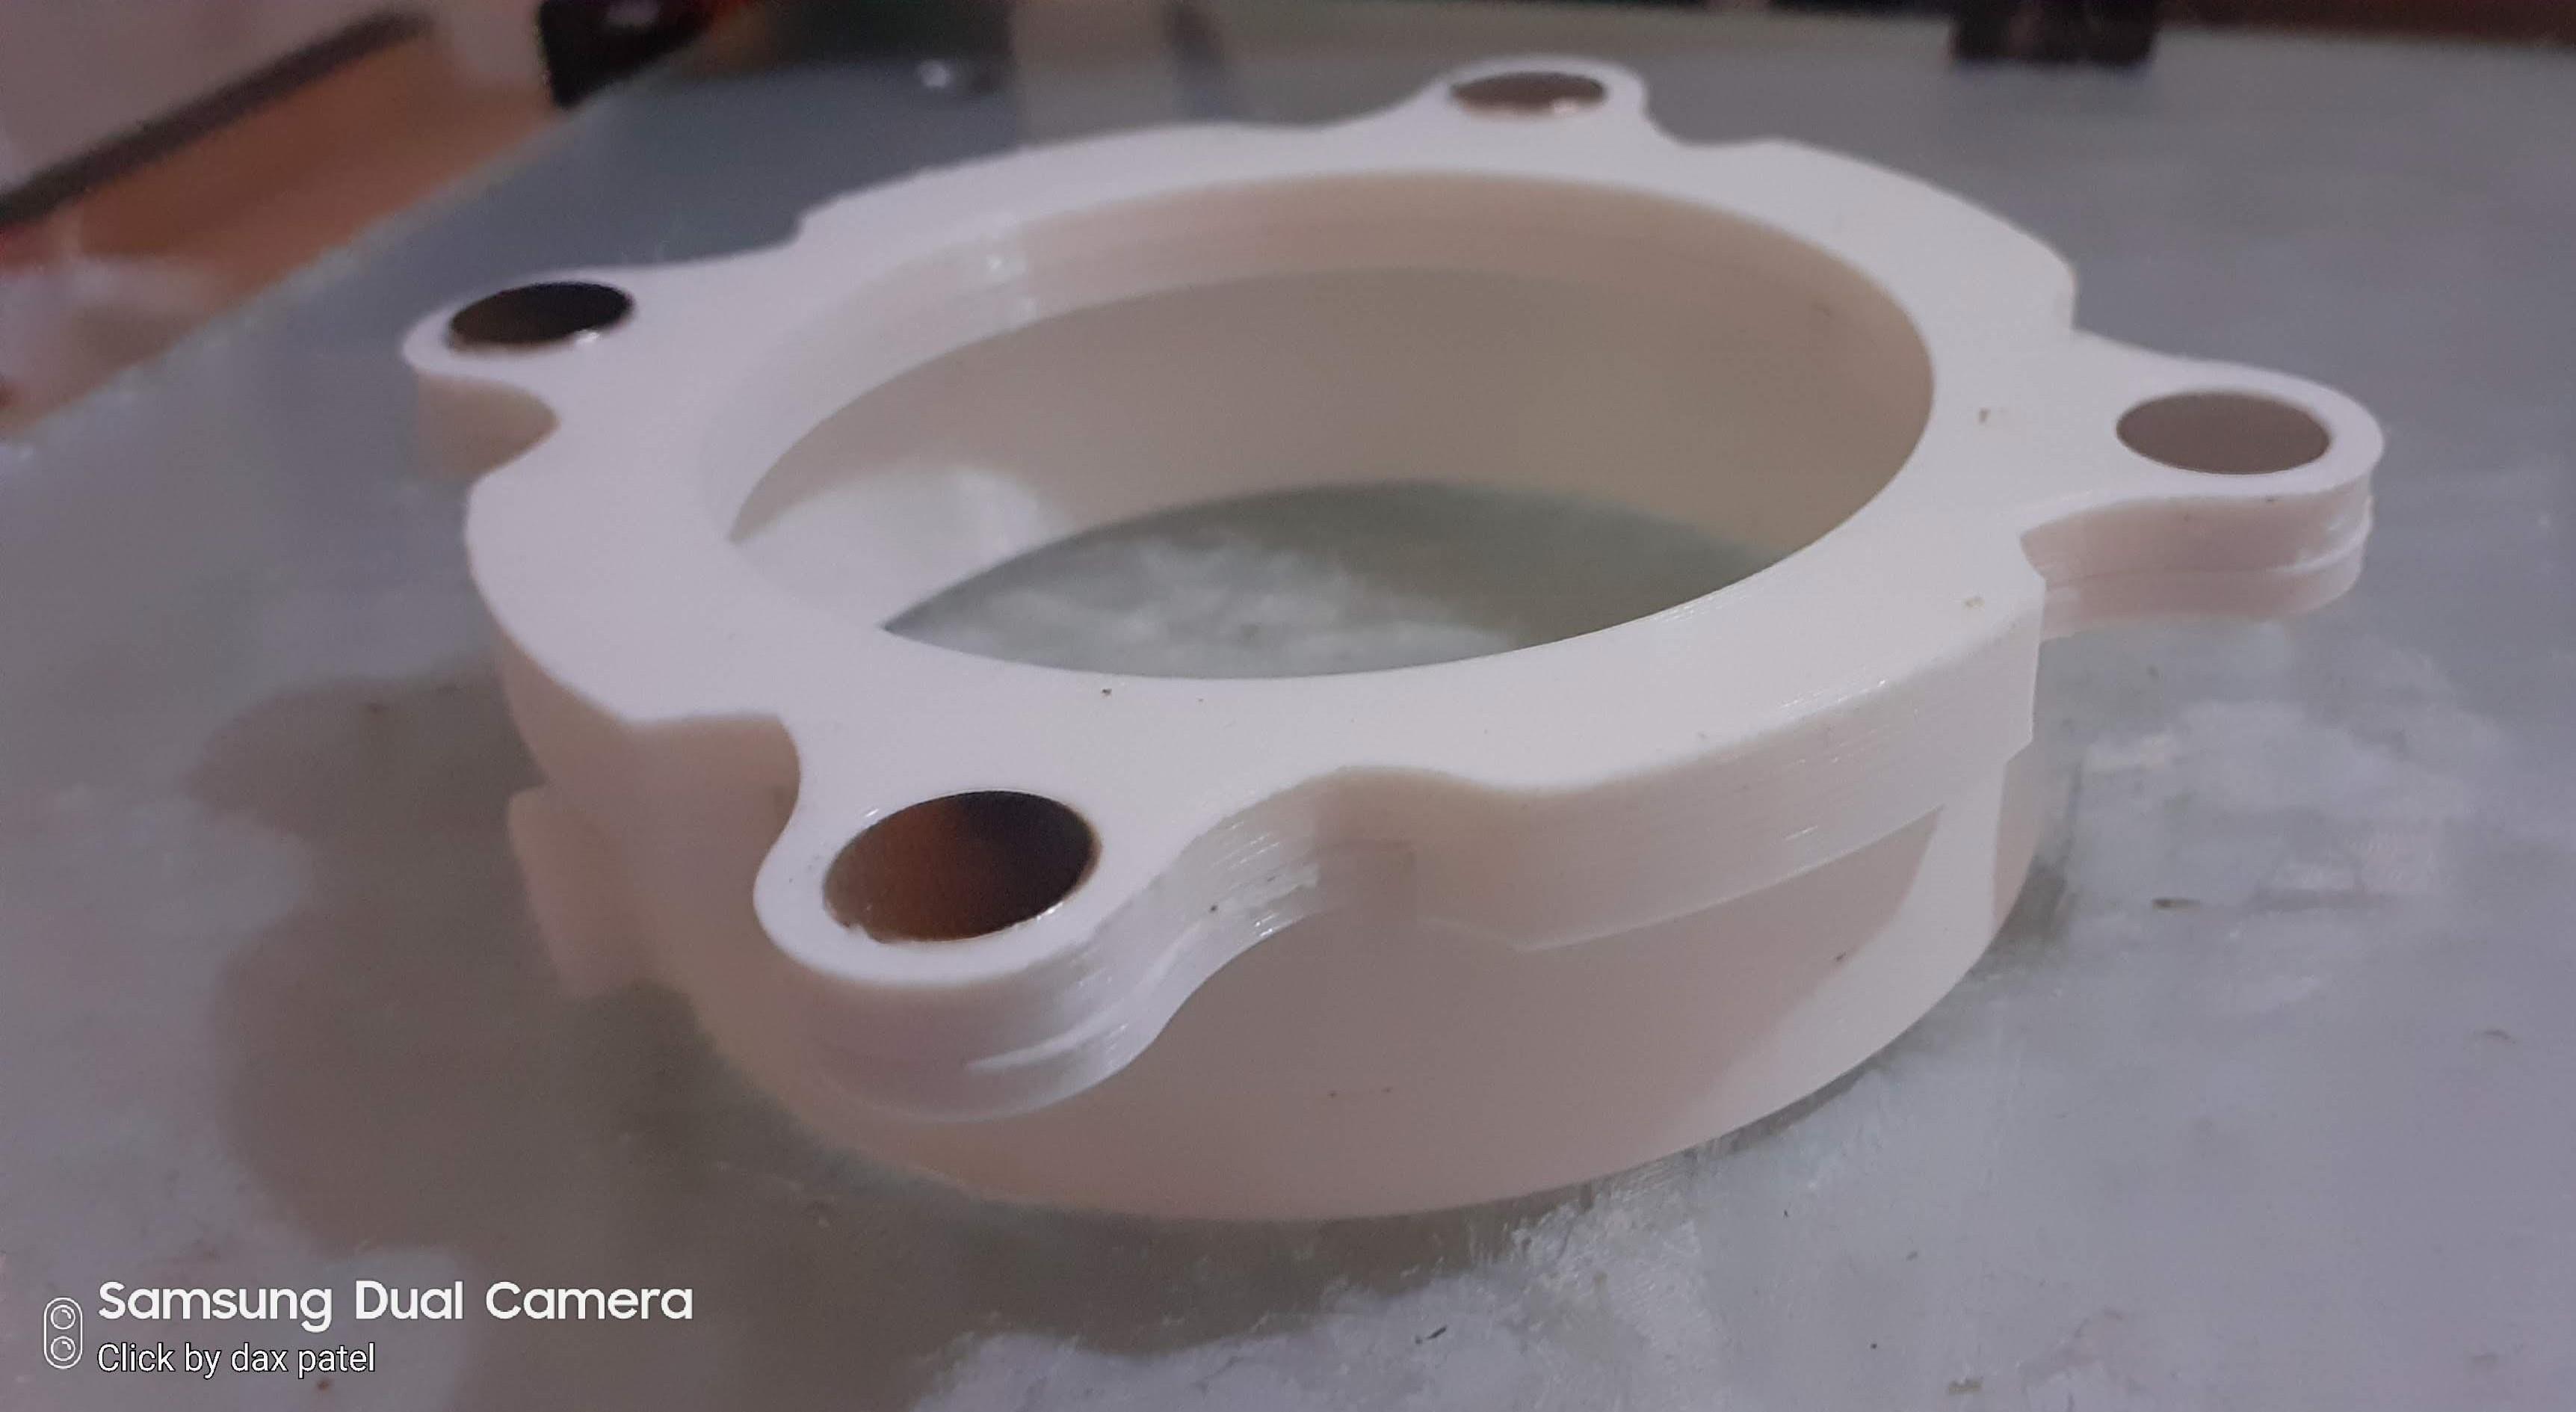
- After Print Takeout parts and Finish surface with Sandpaper if needed.
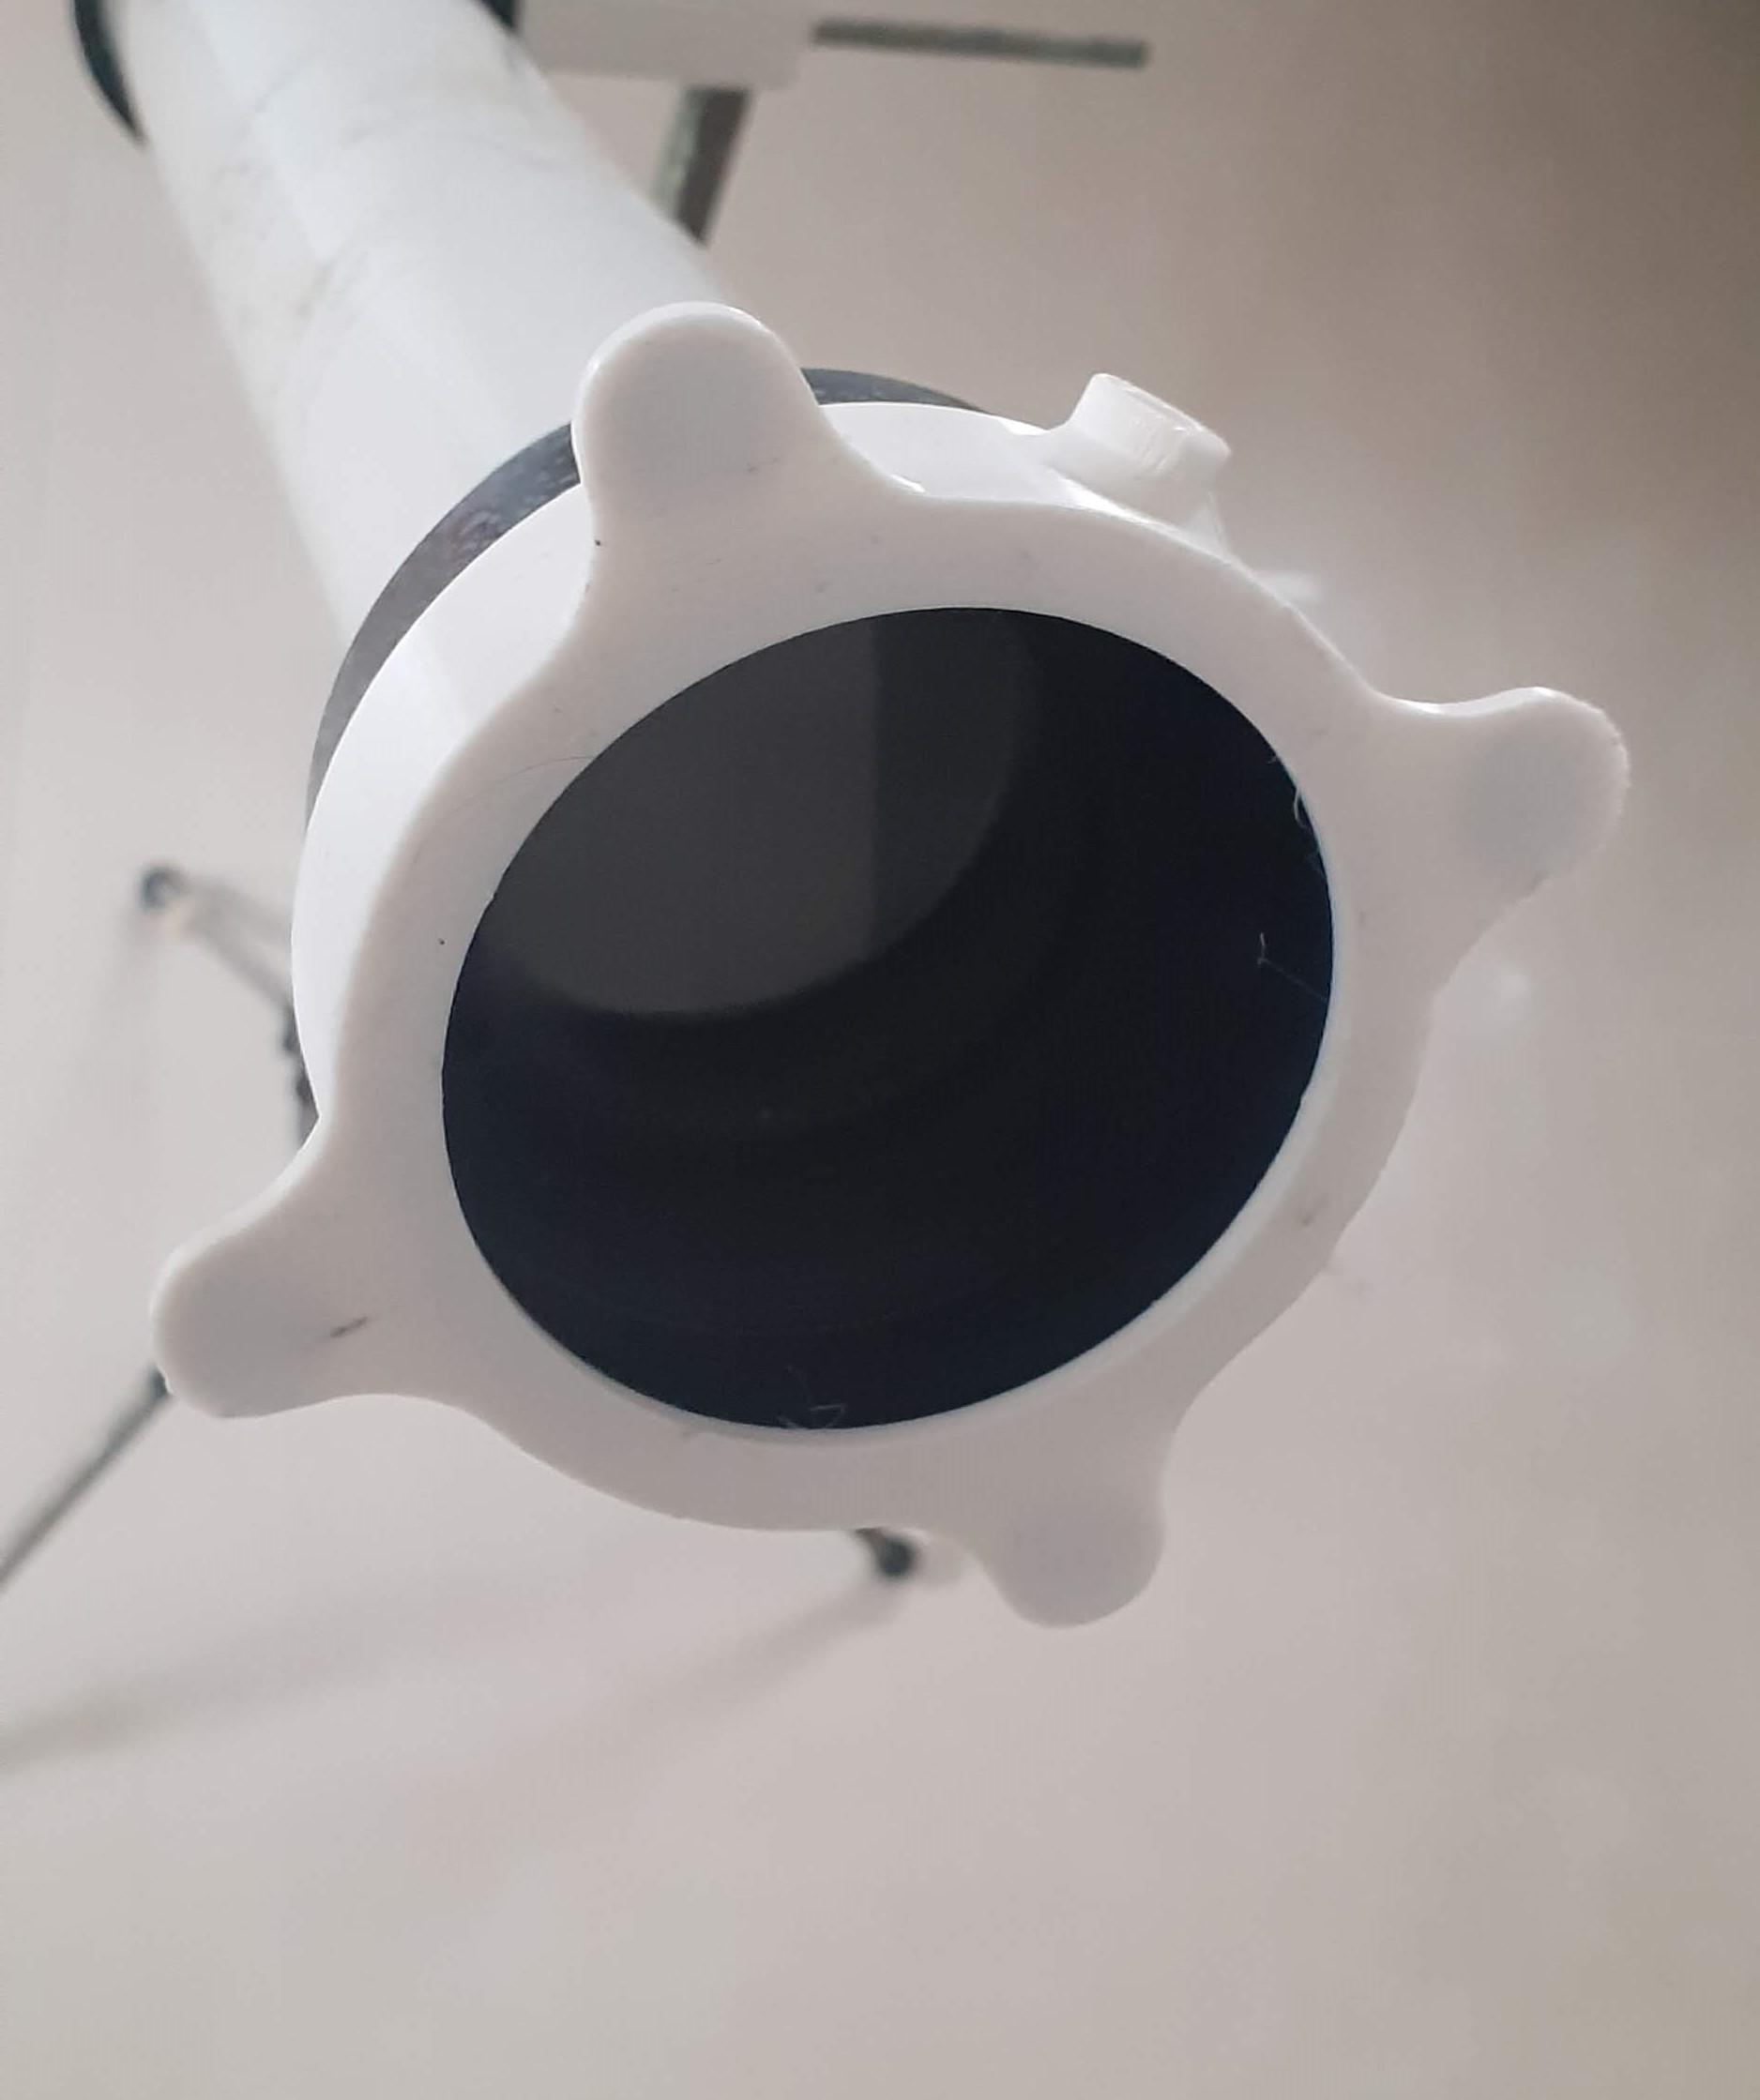
- Test that part with a telescoping head.
- Attach magnet on Magnet hole design inside 3d printed part using a Glue gun or Feviquick.
Cut Mylar Filter and Attach on Telescope.
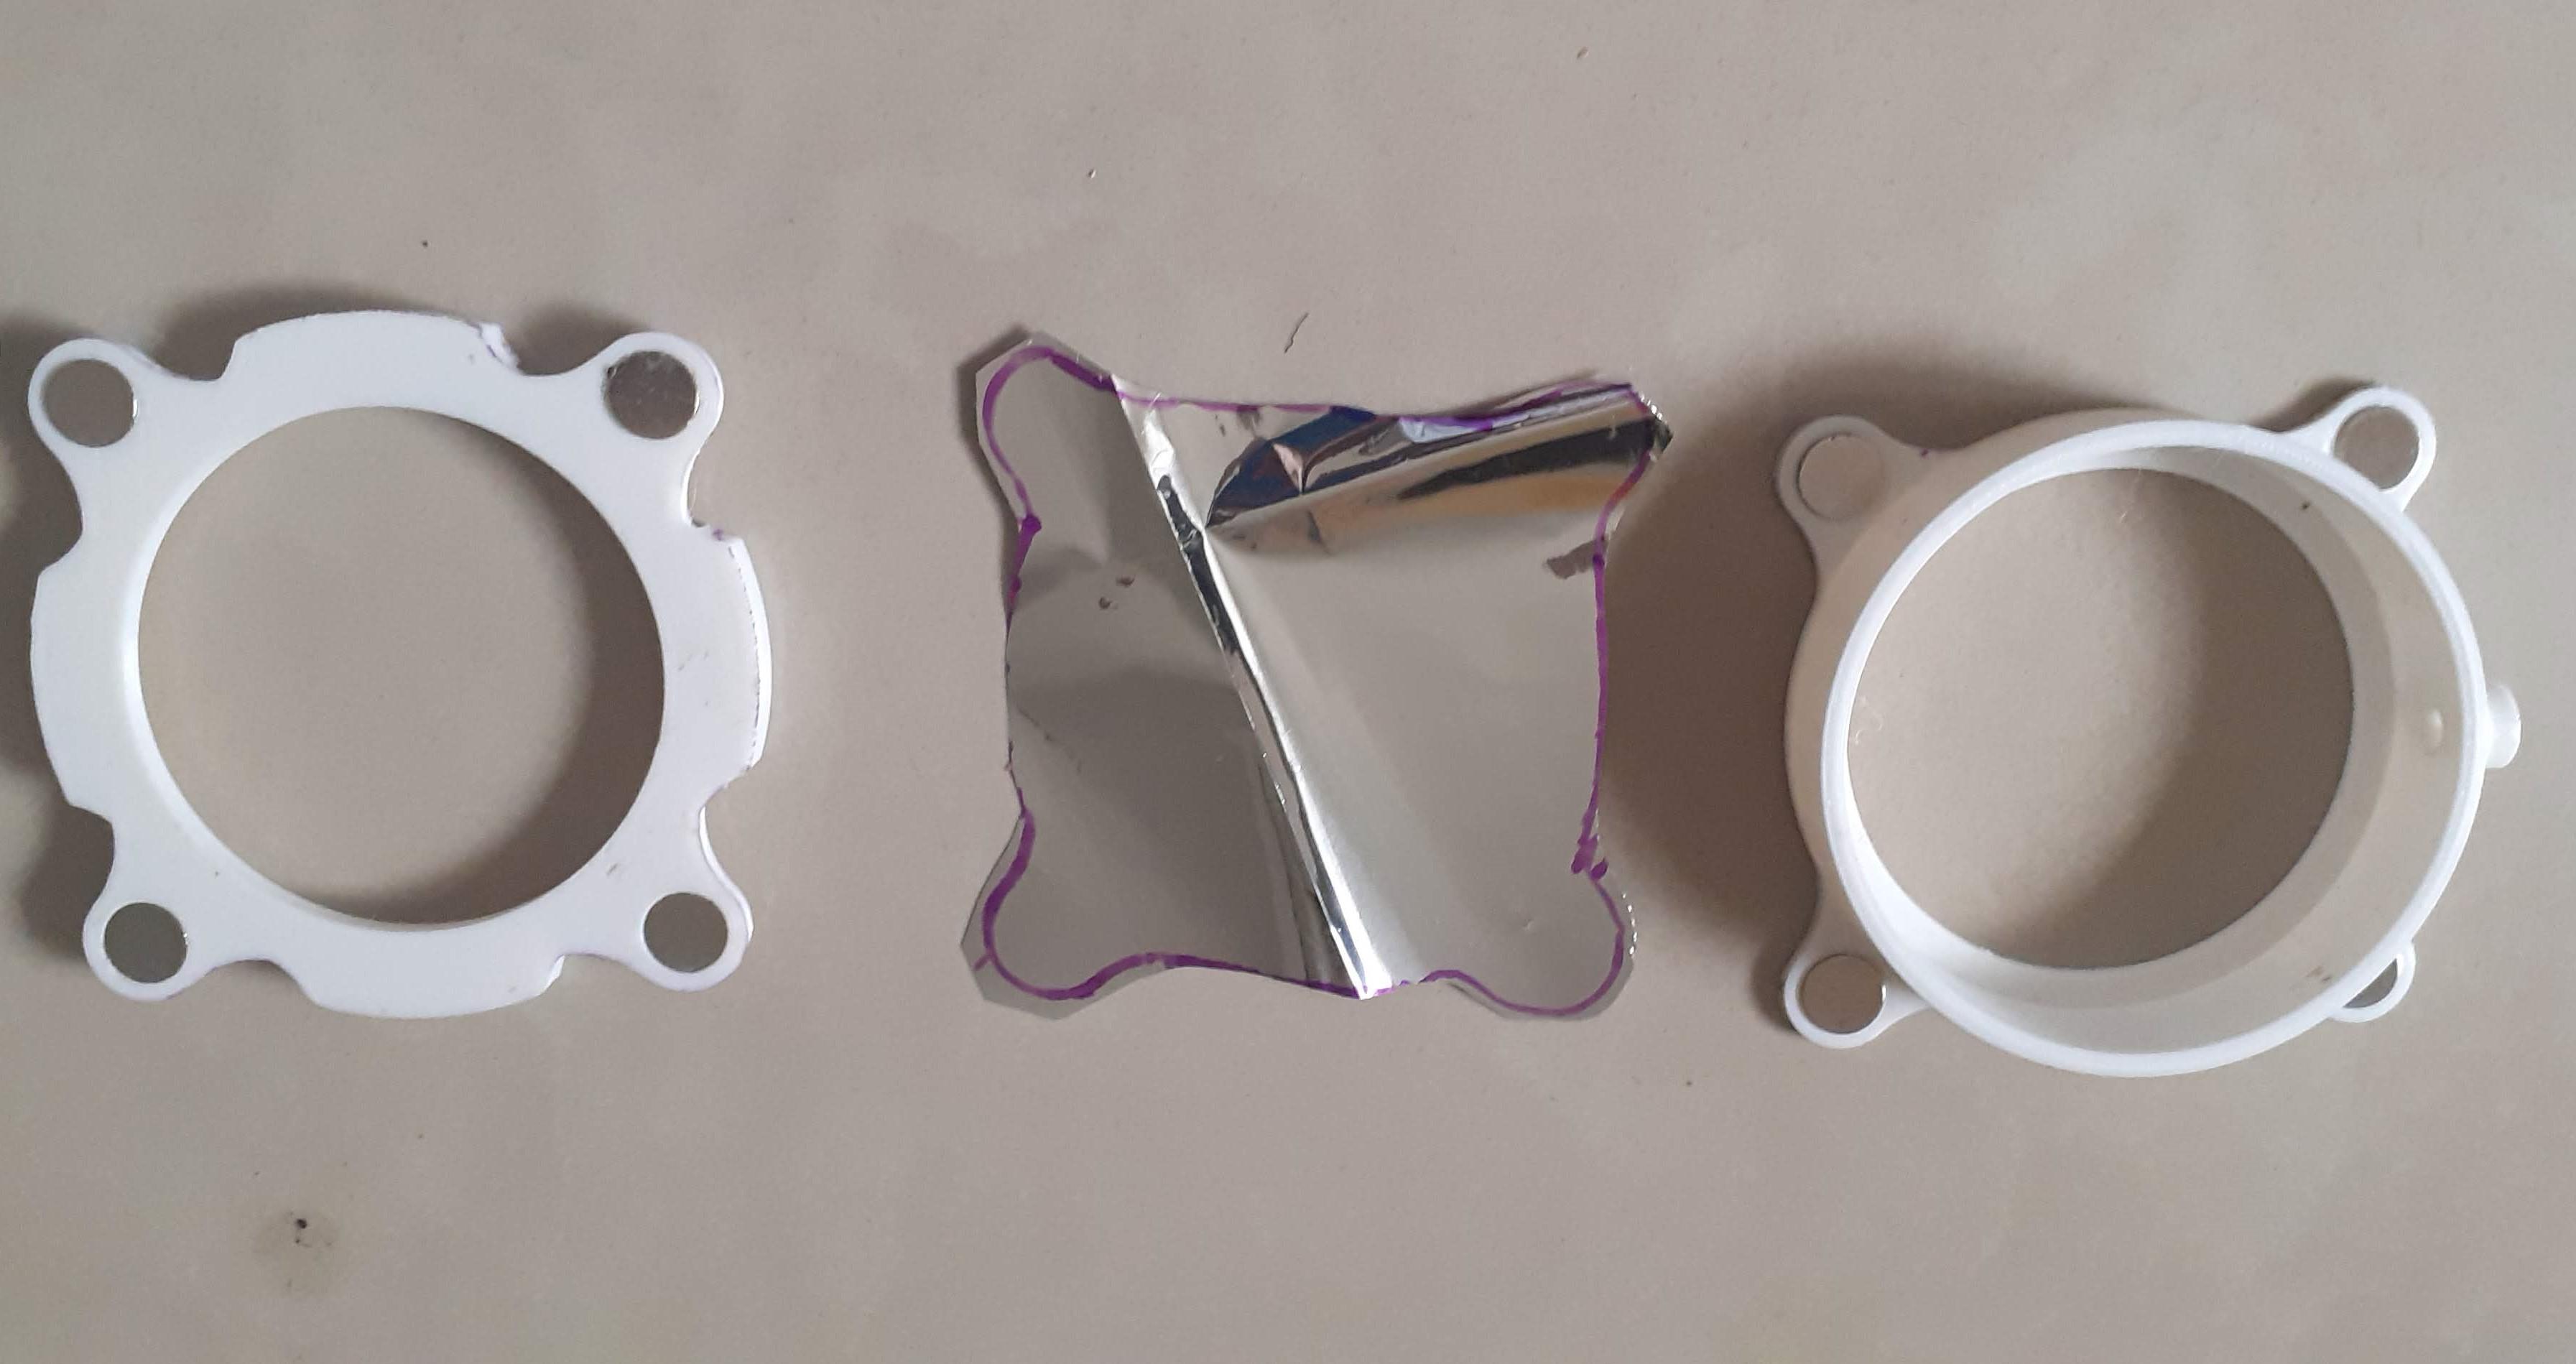

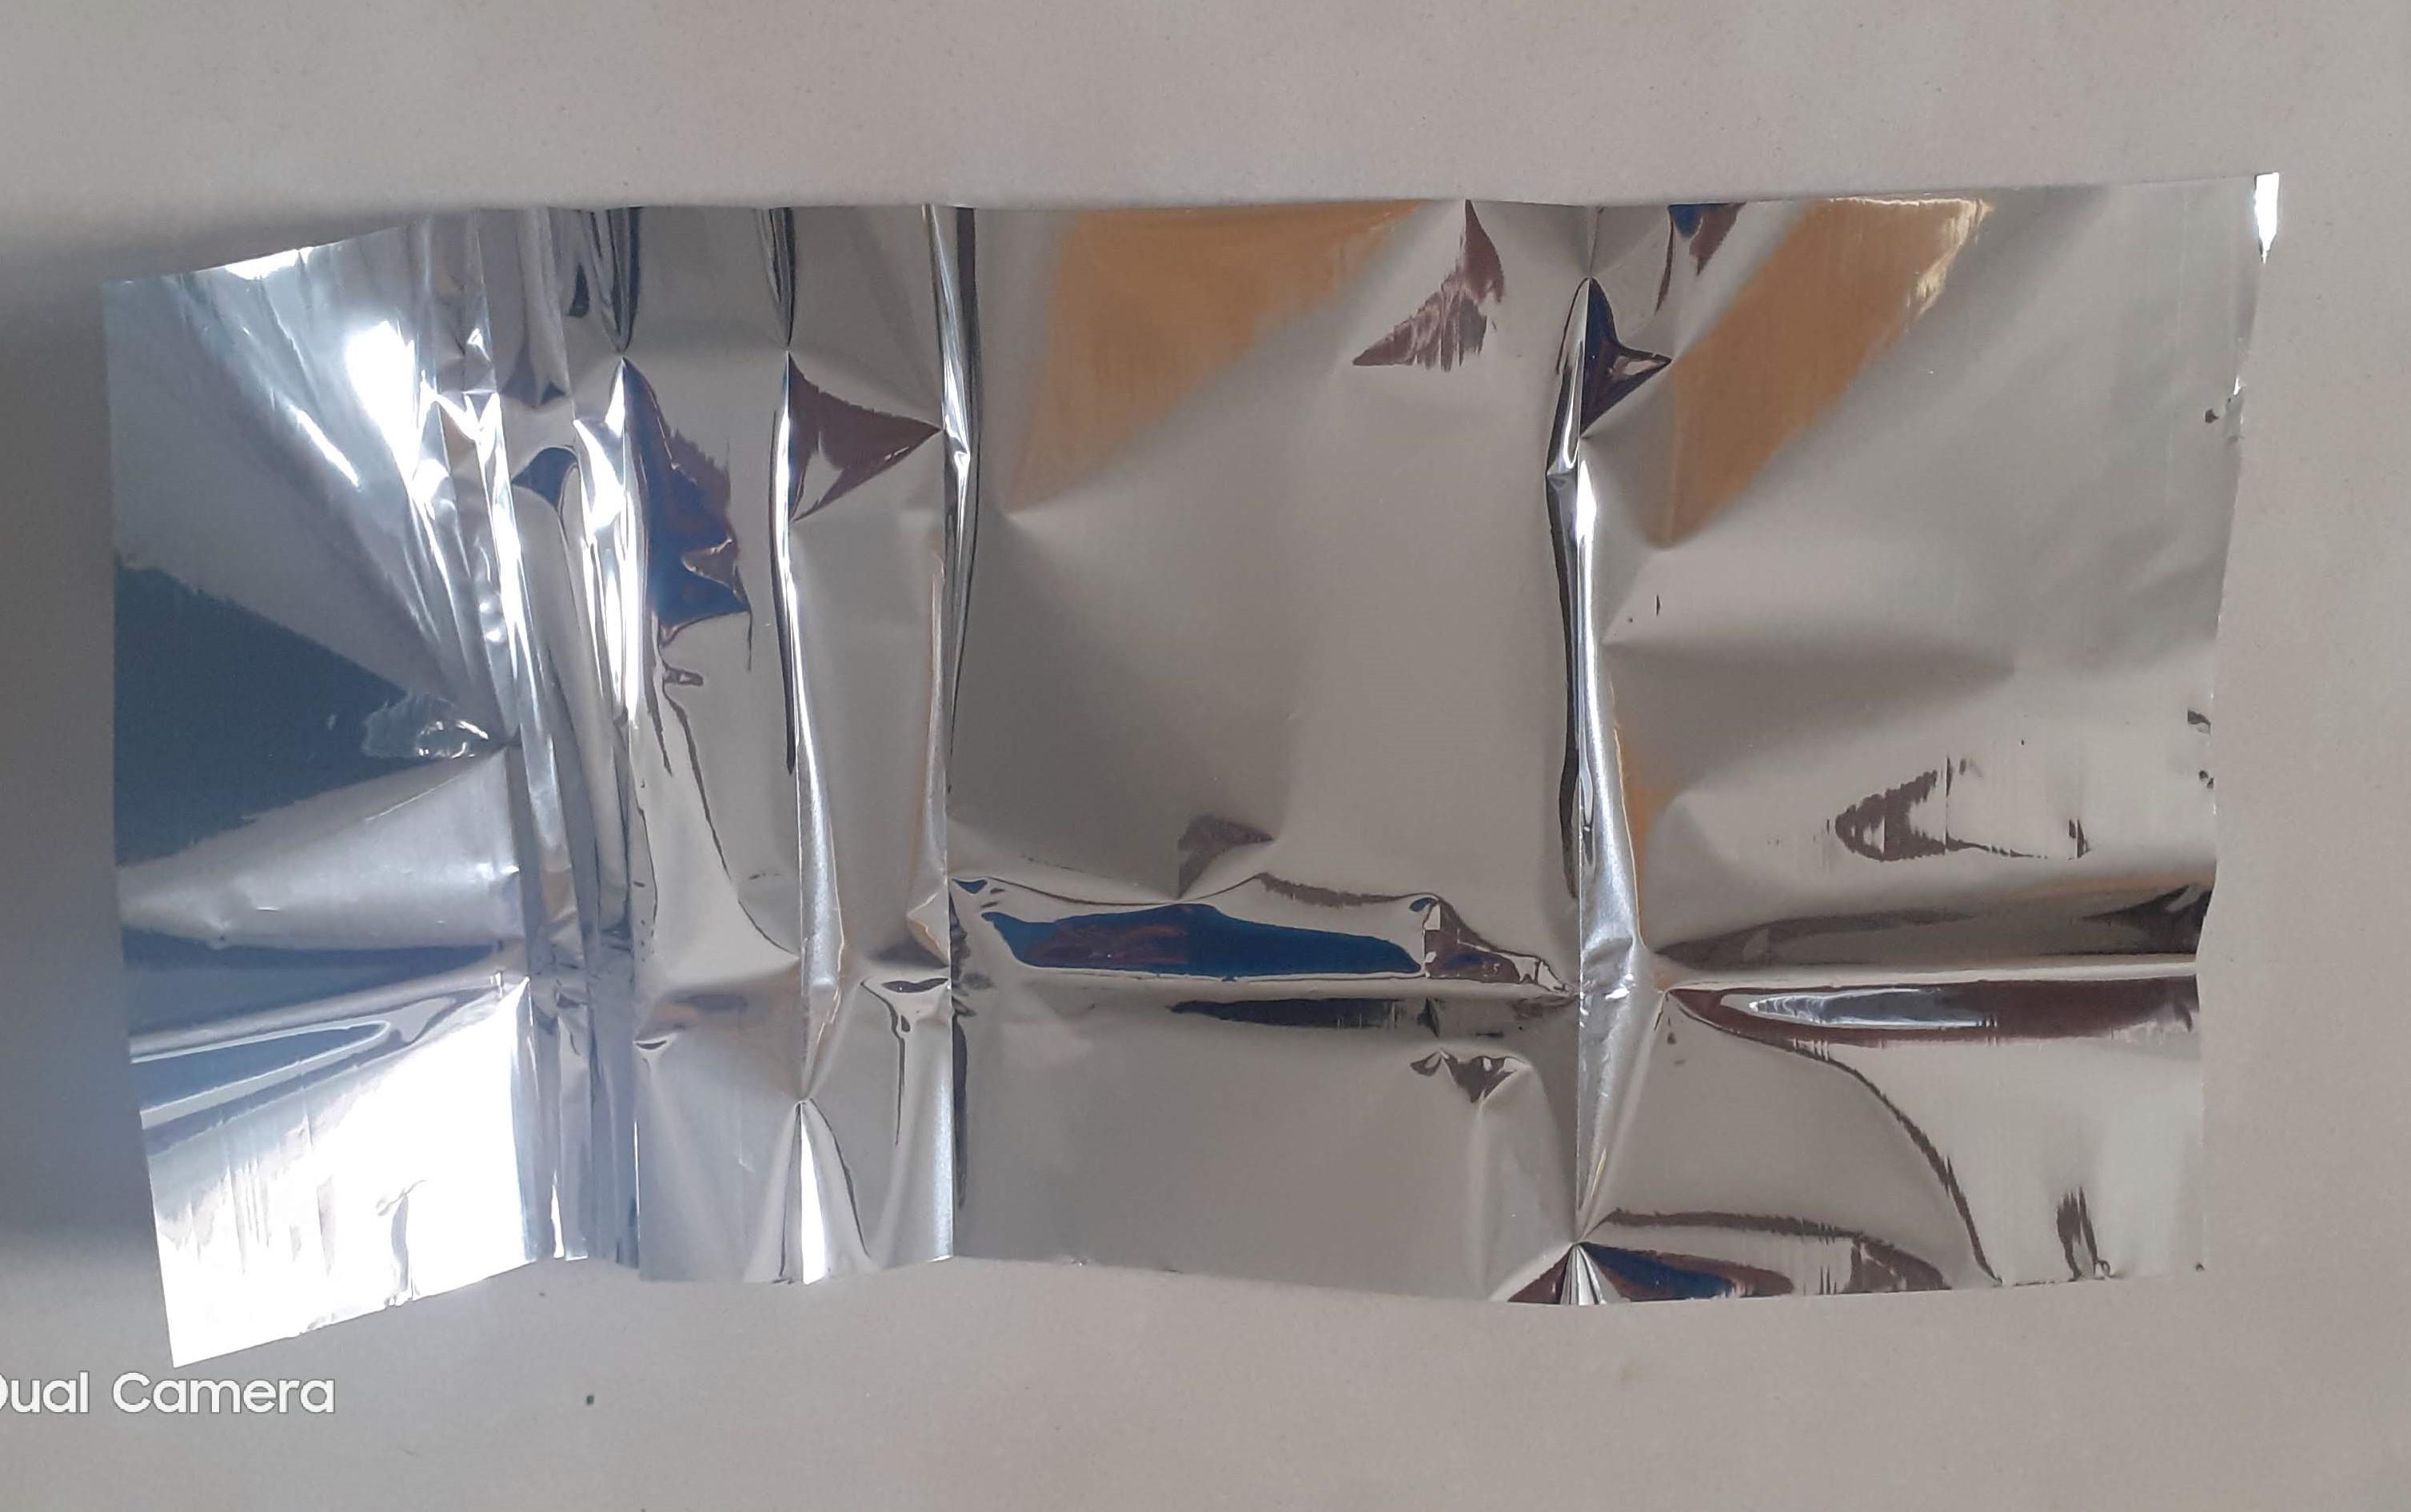
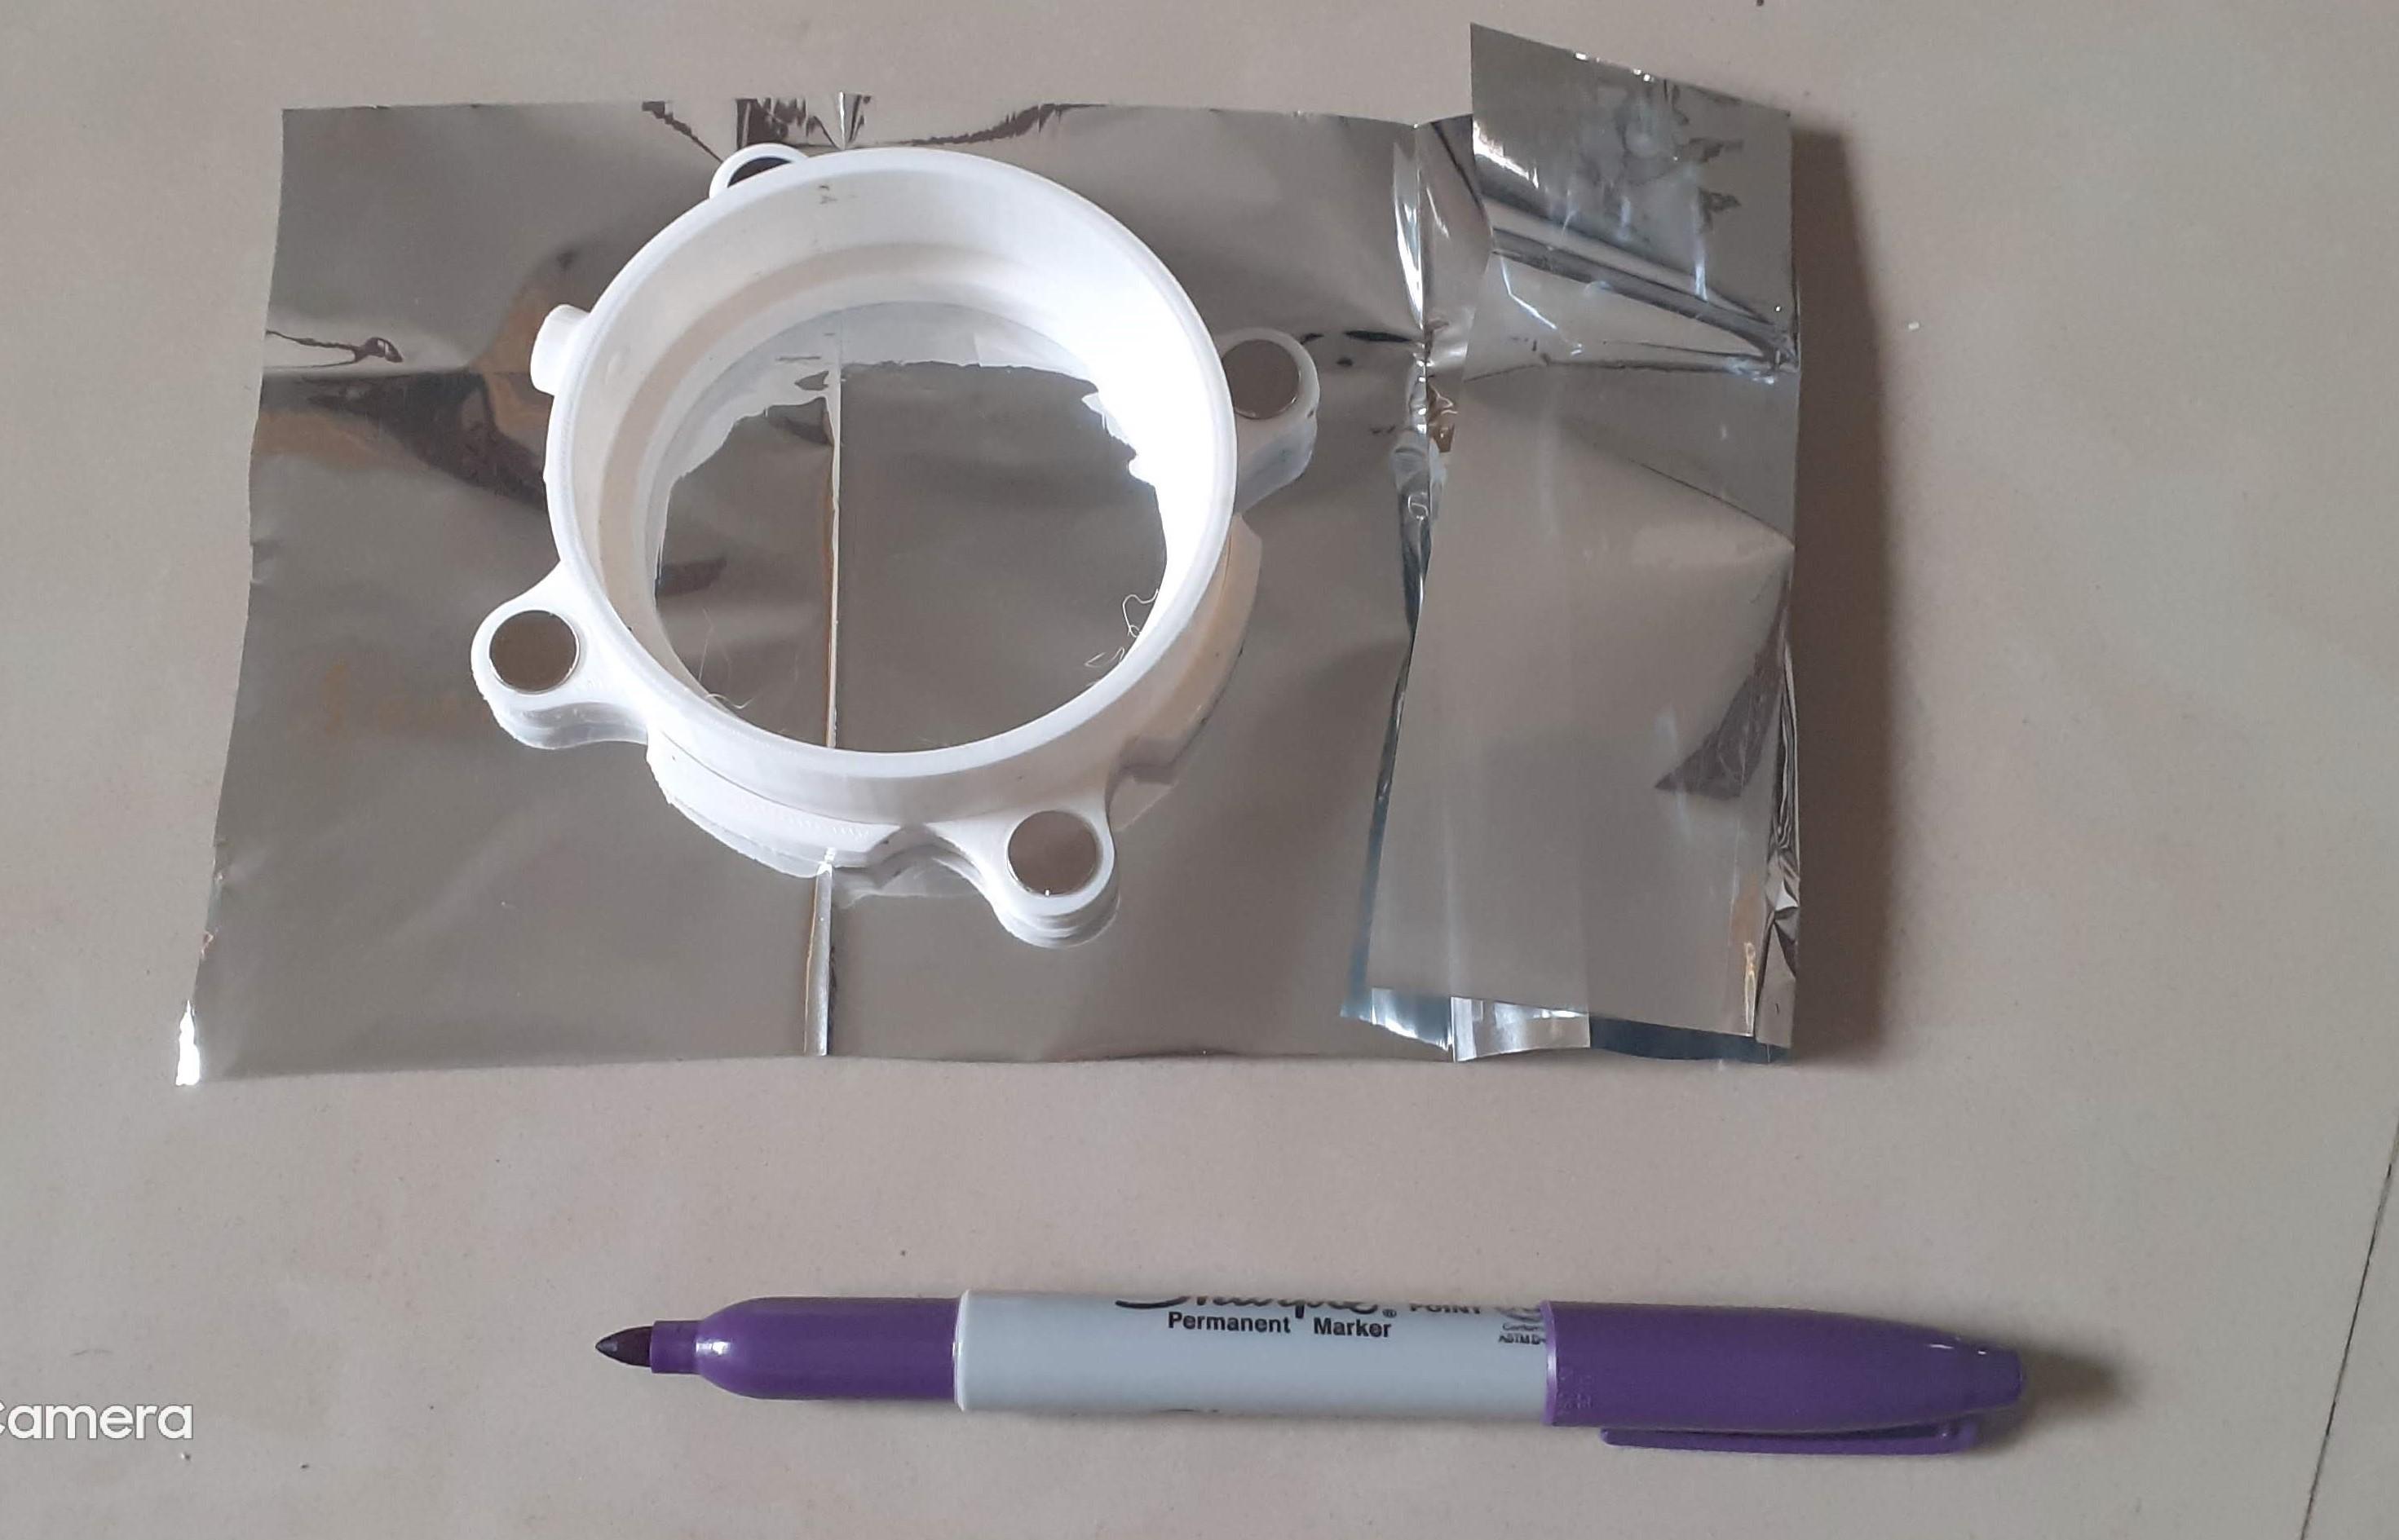
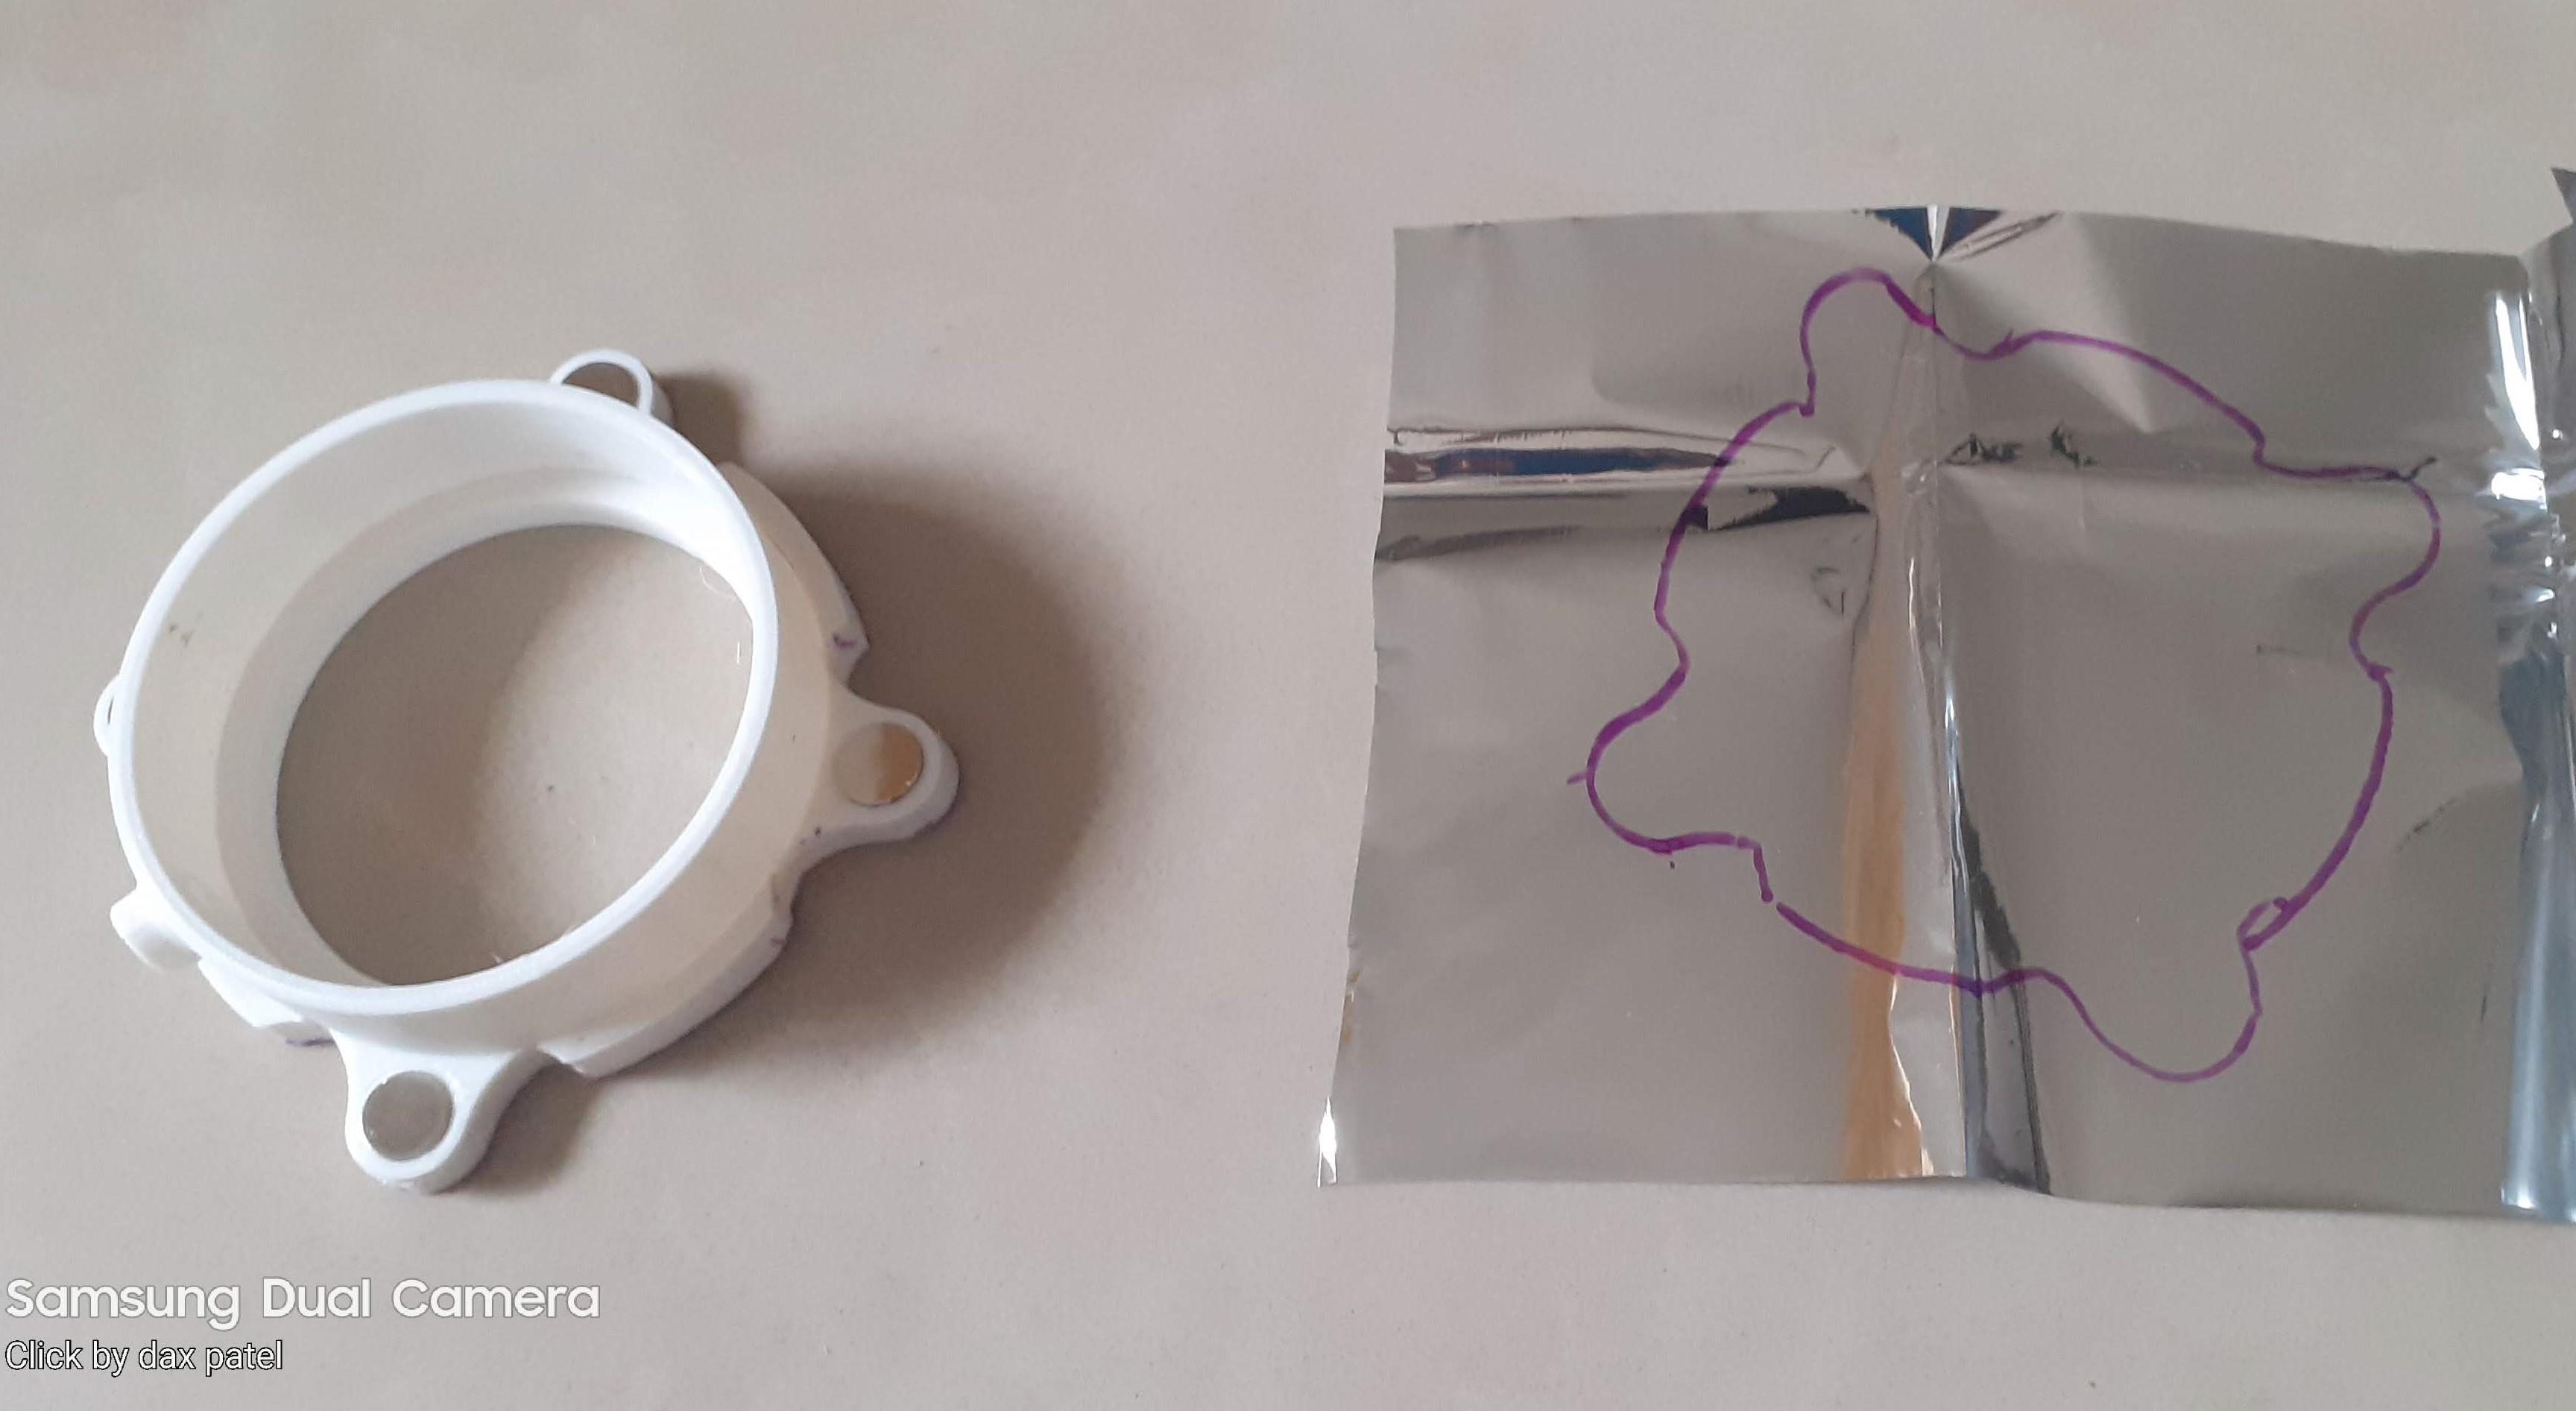
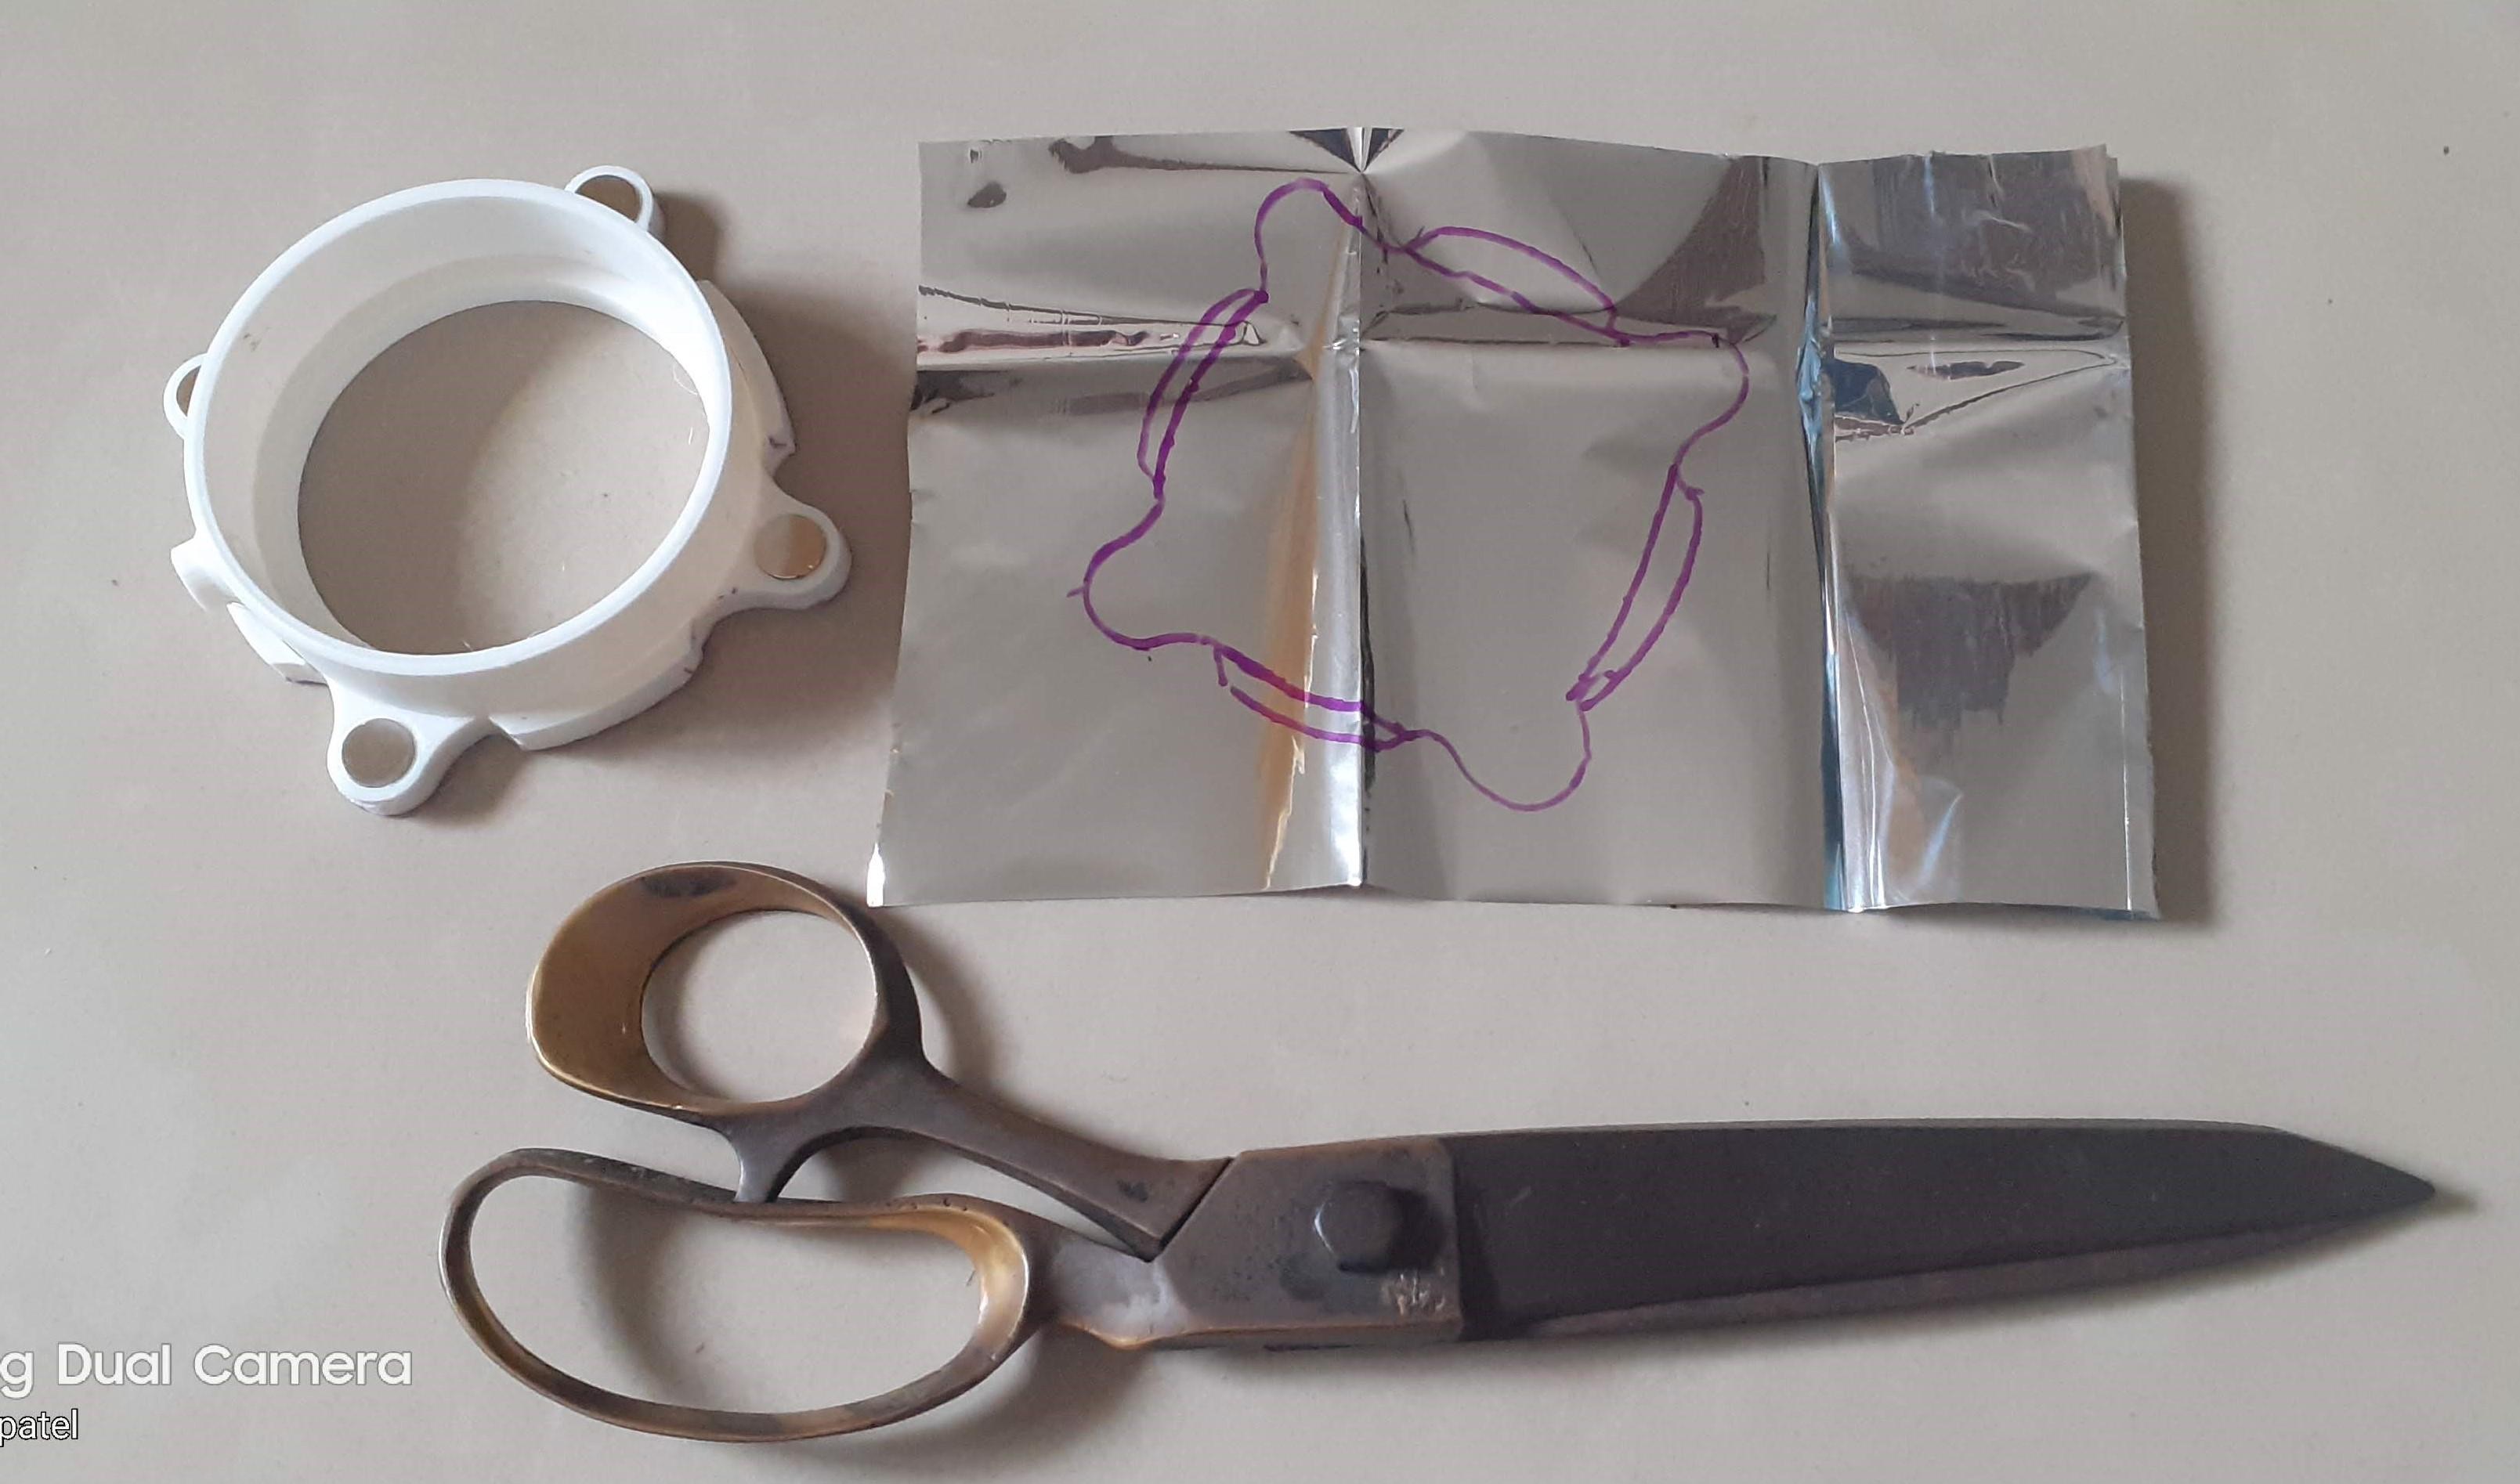

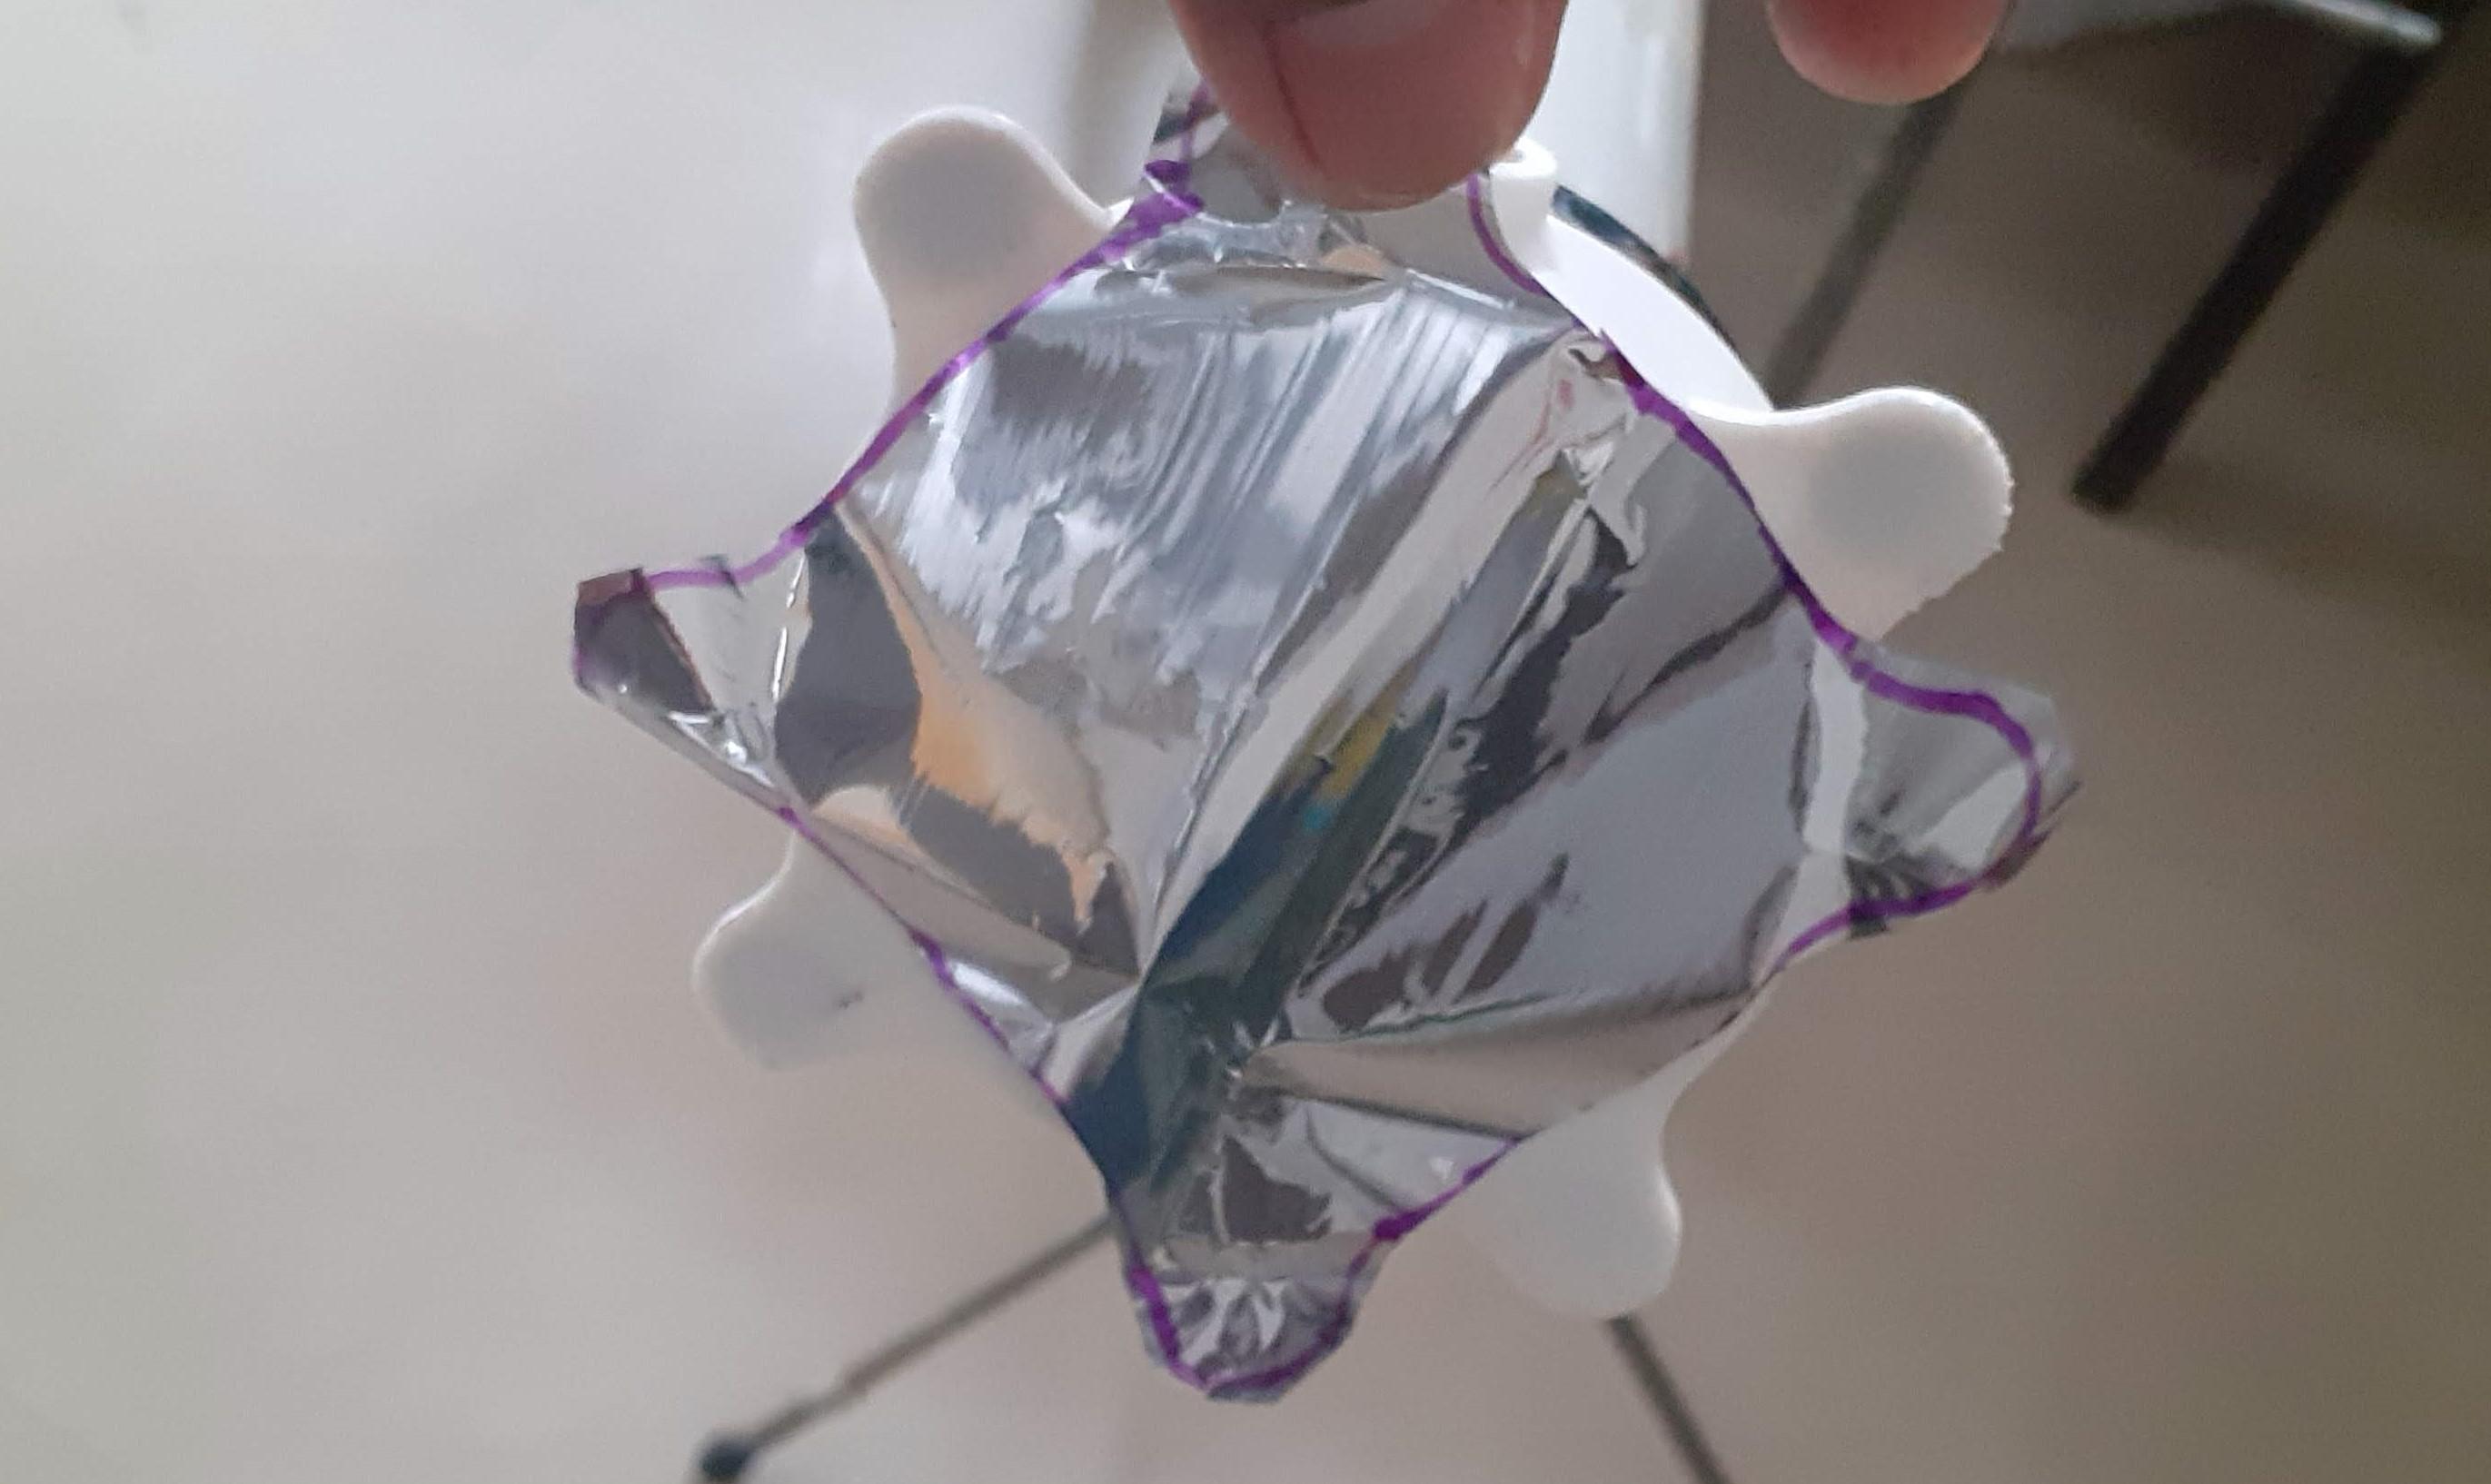
- Open the Mylar sheet and draw a 70 mm circle on it to place inside the 3D printed part.
- Cut Mylar with scissors.
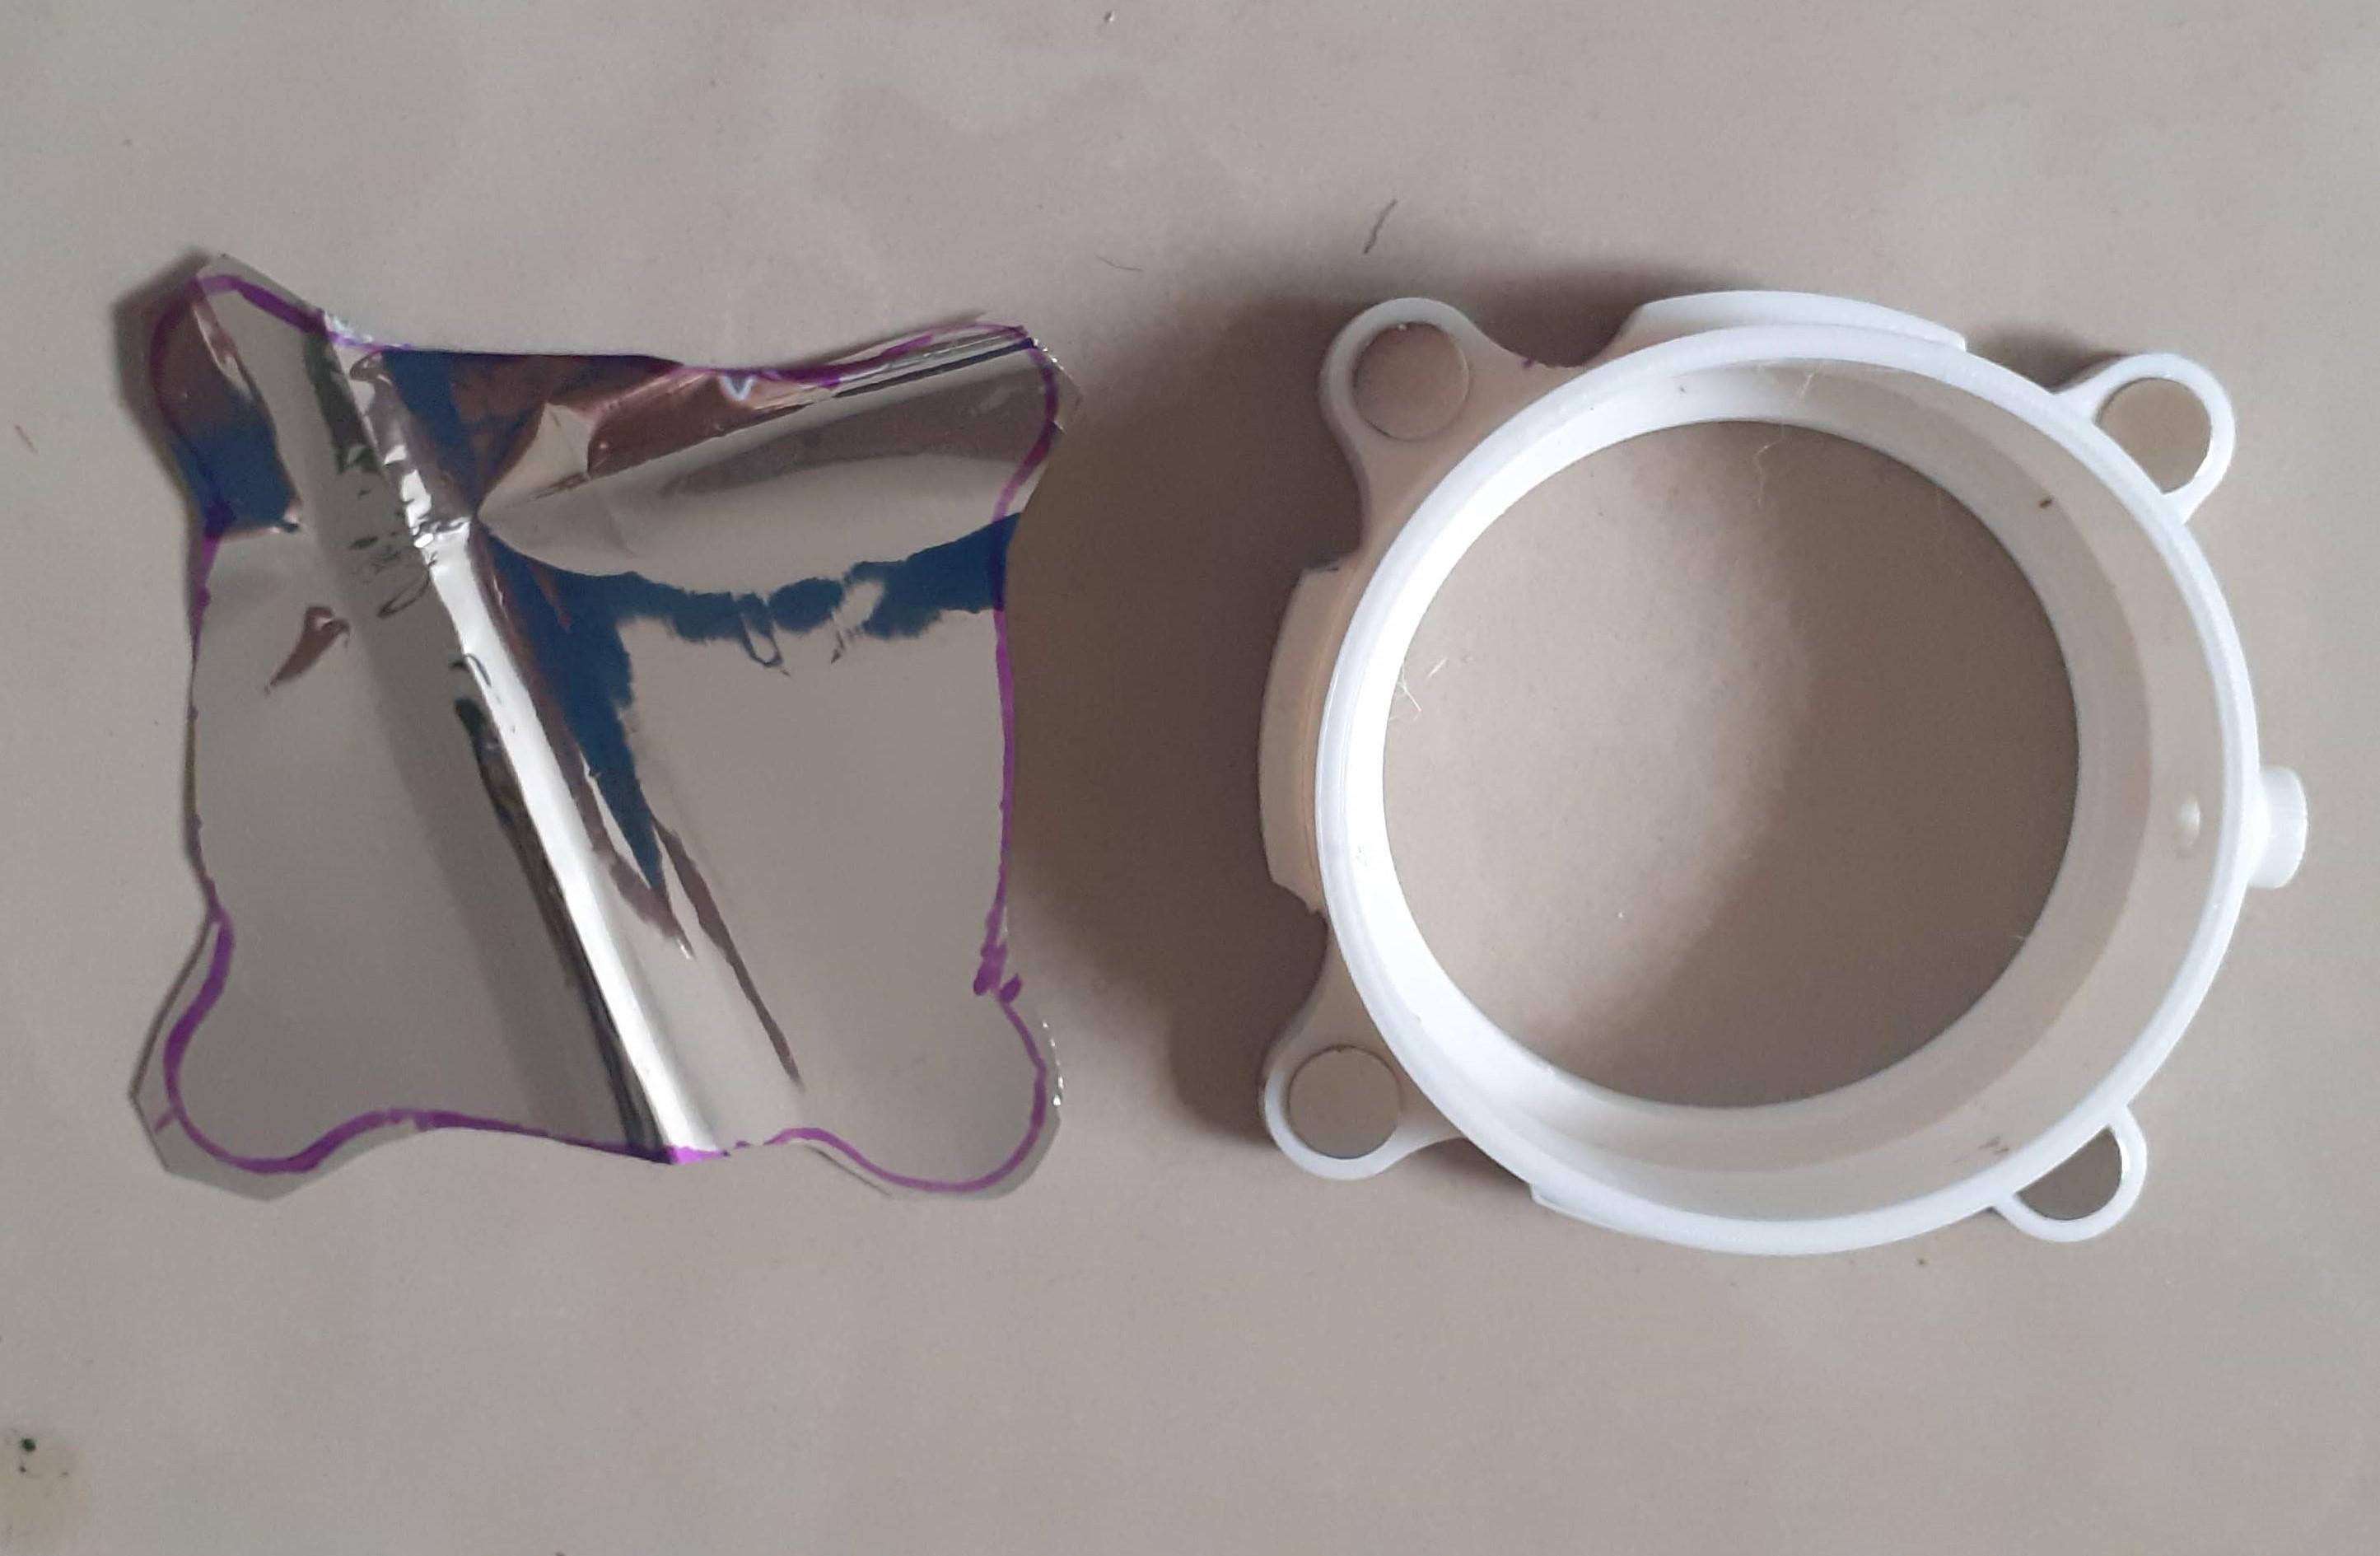
- Cut 2 pieces of Mylar sheet to place inside as Filter.
- Place that Cutout inside the 3d printed part and attach the 3D printed part to Telescope Head.
Testing DIY Mylar Filter.


Warning: Do not Directly point your telescope to the sun.it causes Blindness and irreversible Damage to the Eyes. This Filter is used to capture sun Activity using a mobile device with a telescope or use directly with a Camera. Don't look with the naked eye using this filter.
- First, attach a 2 Layer of Mylar filter and 3D printed part on Telescope then Test this filter without eyepiece and point toward the sun.
- Use your mobile to capture Sun Eclipse if Picture contains Low Light and exposure.
- you can not try to see directly with the naked eye.
- This Experiment works for me but you will Need the first test with a mobile device for low solar rays.
- Enjoy Simple hack to explore Space Events.
Images From My DIY Filter
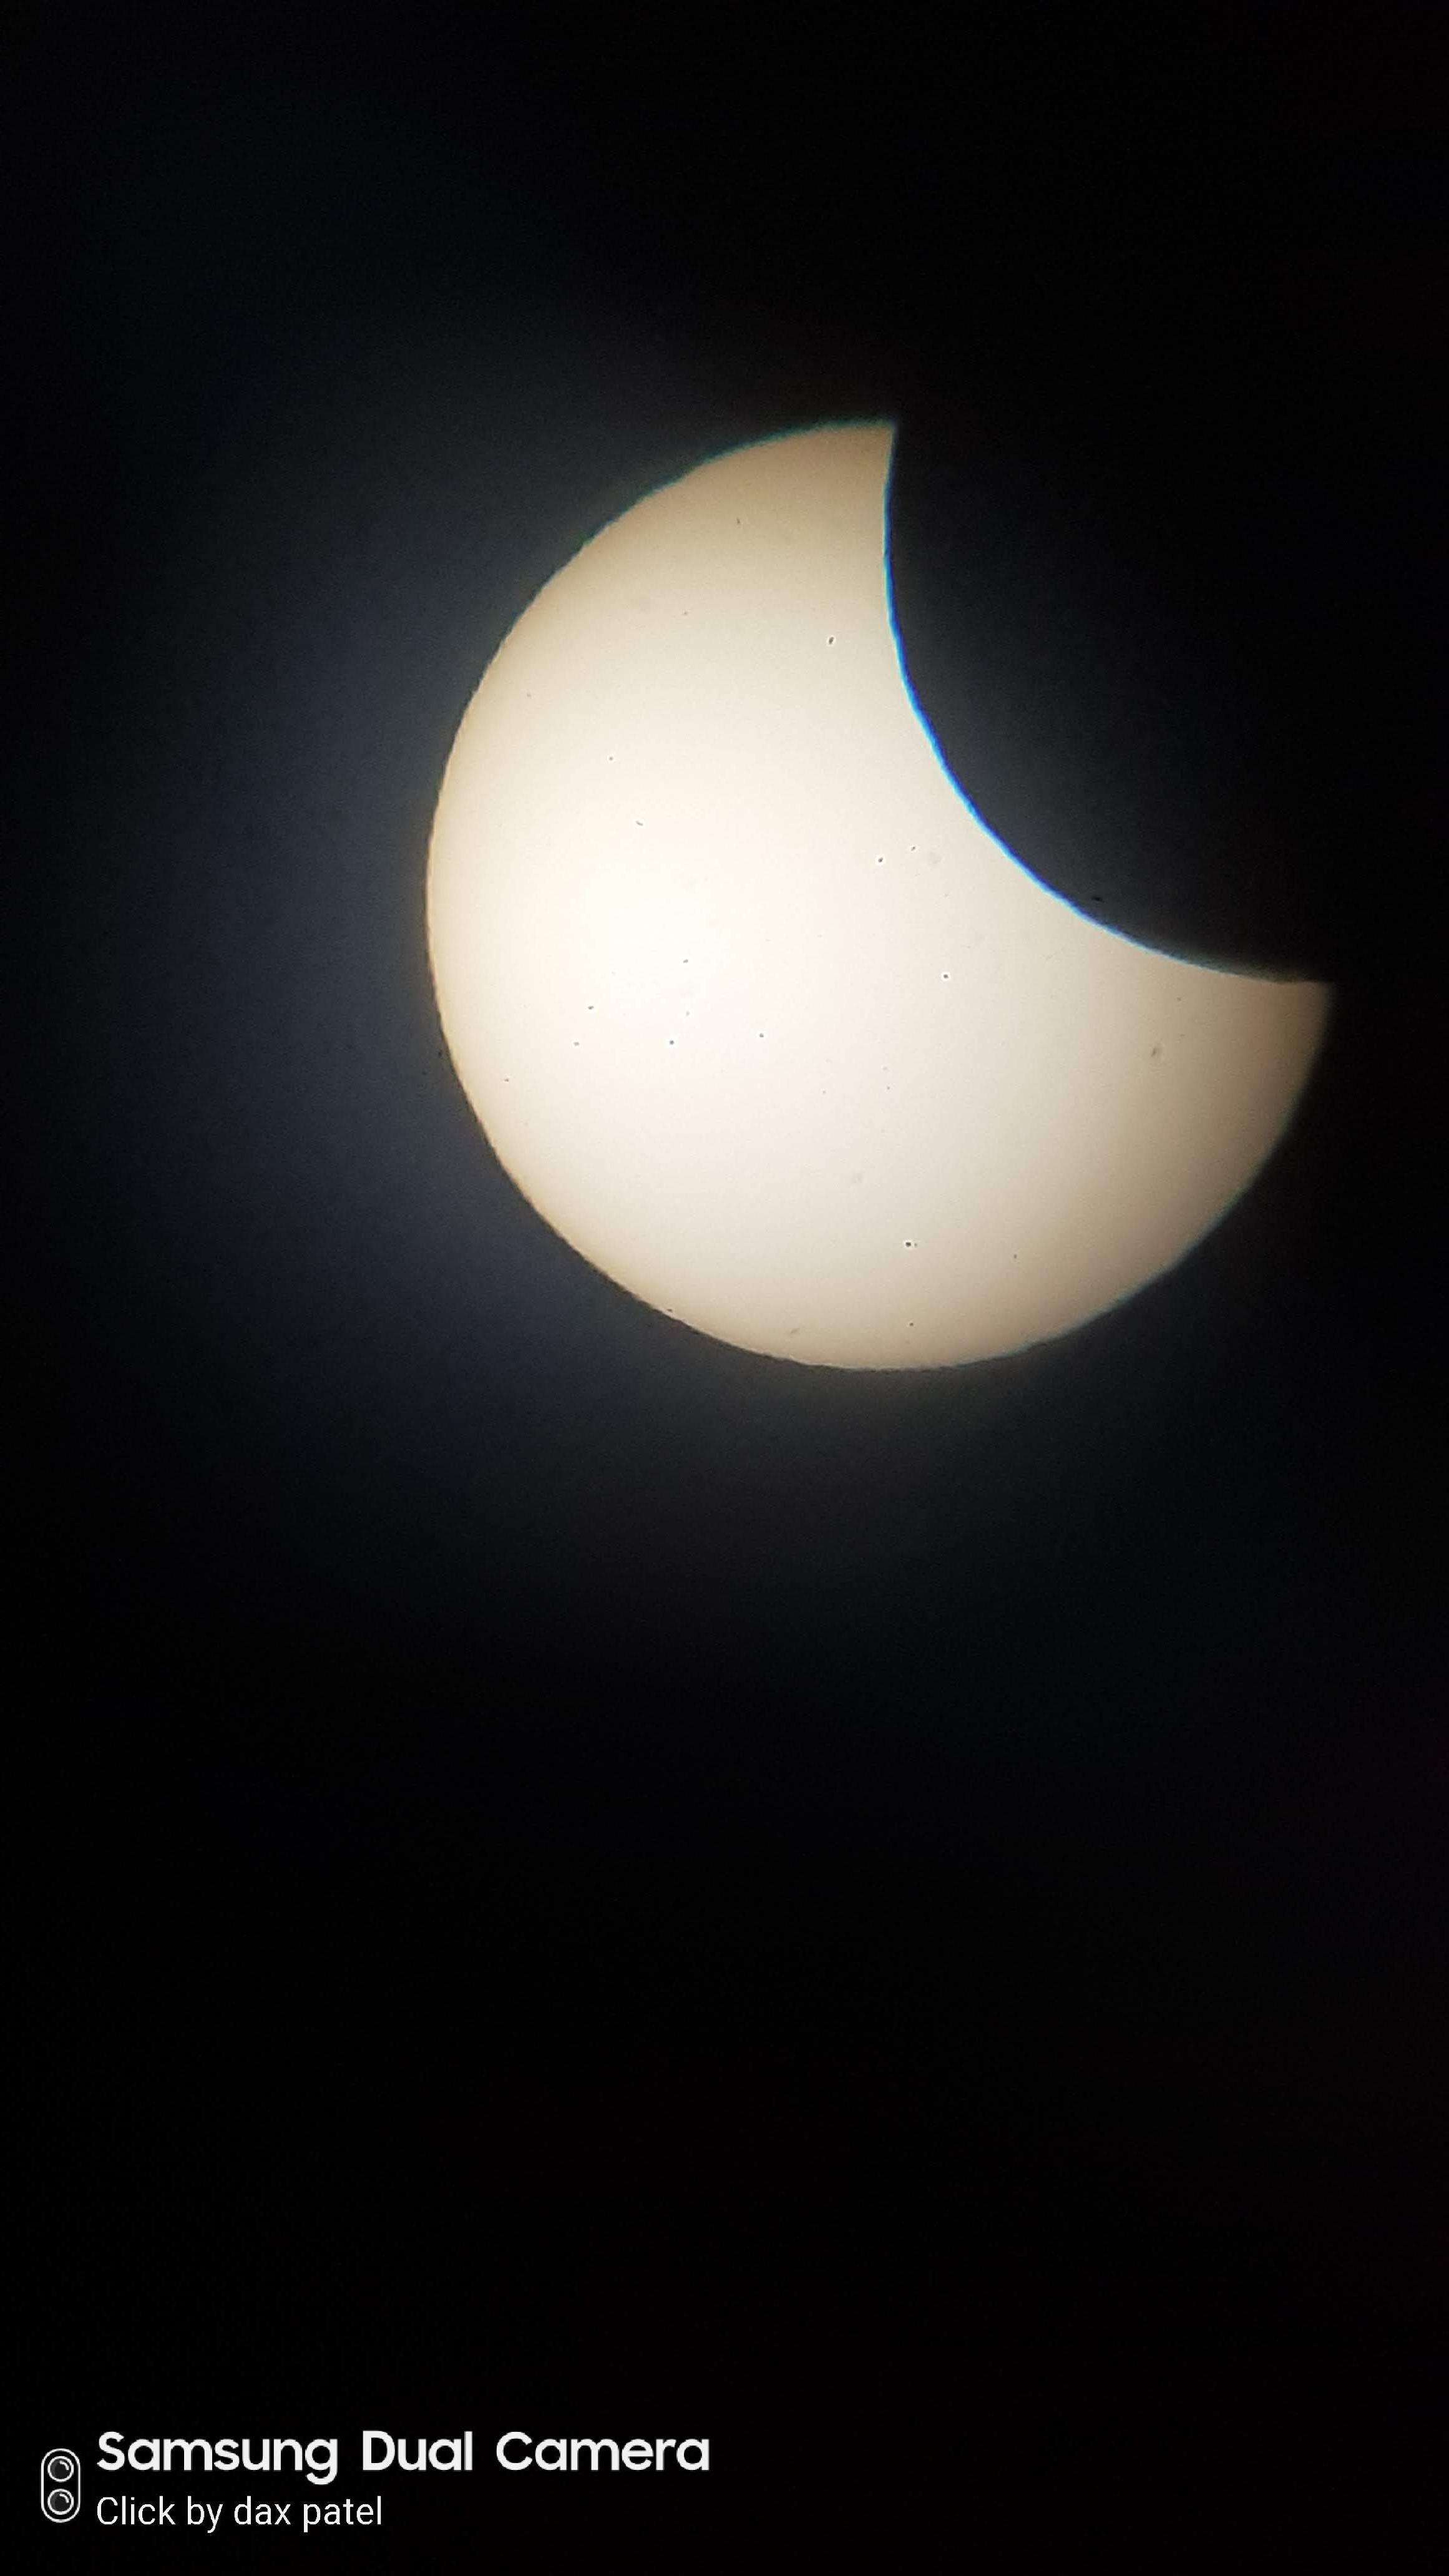
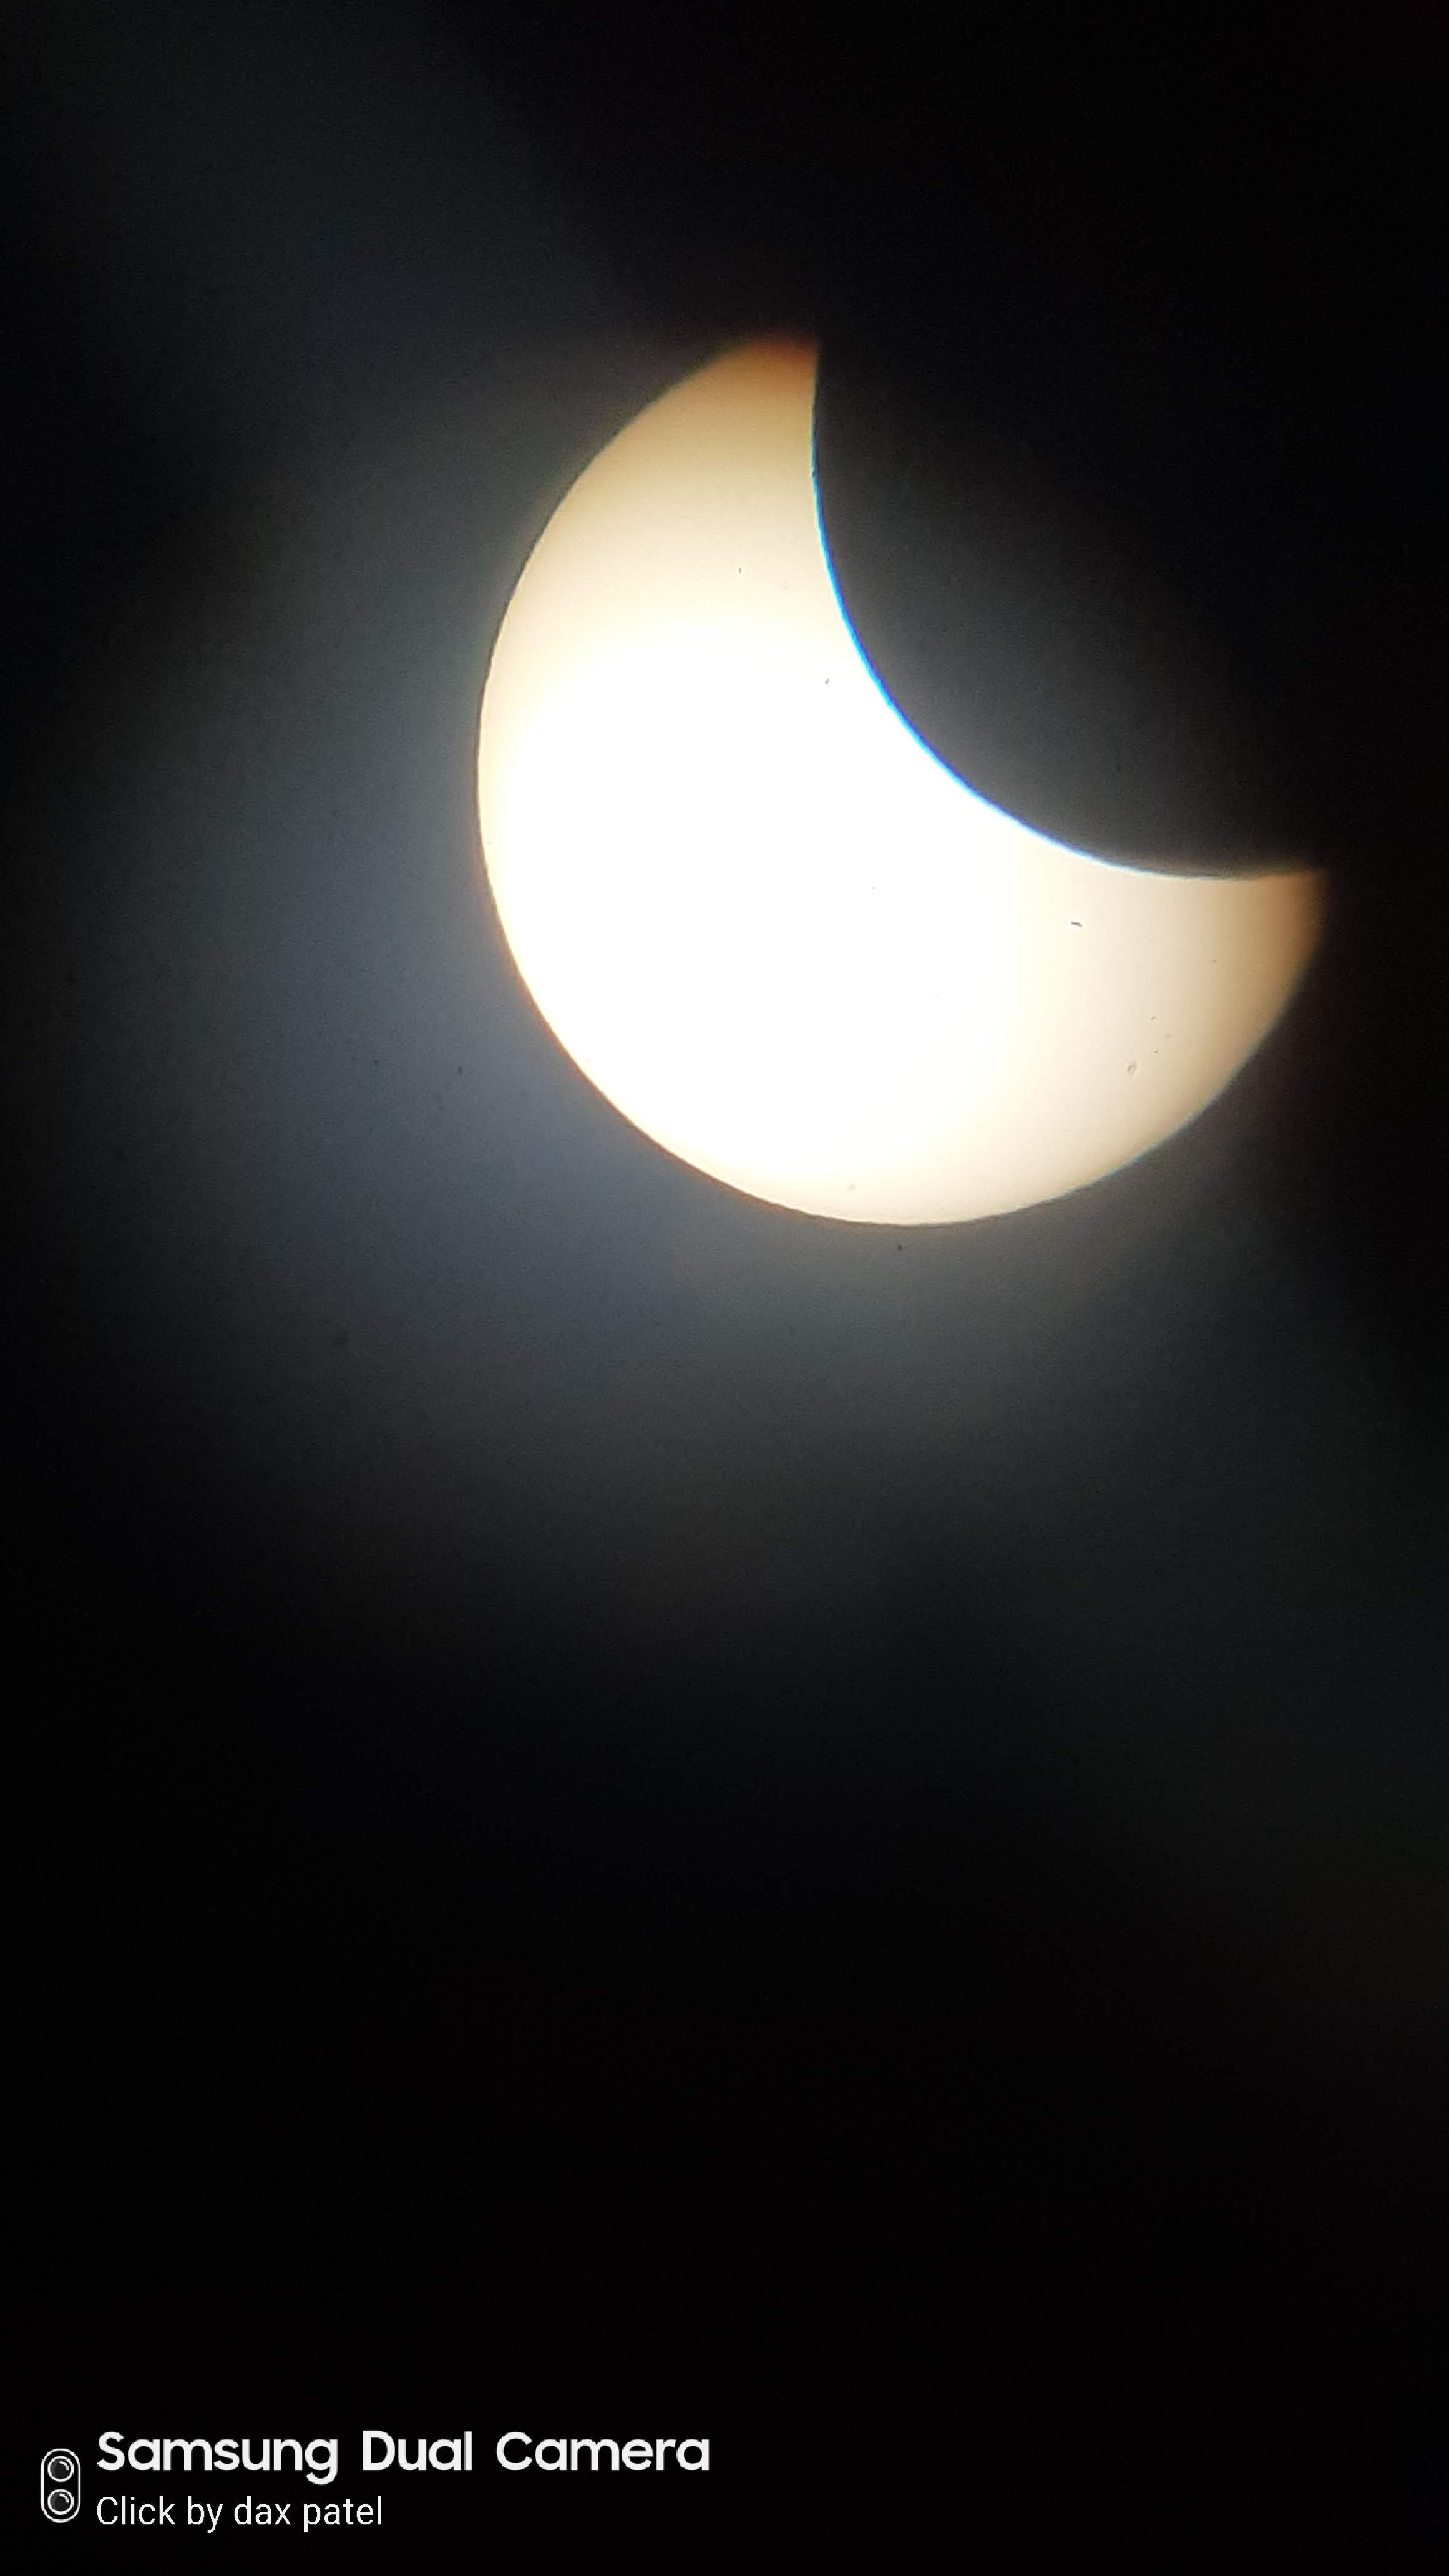
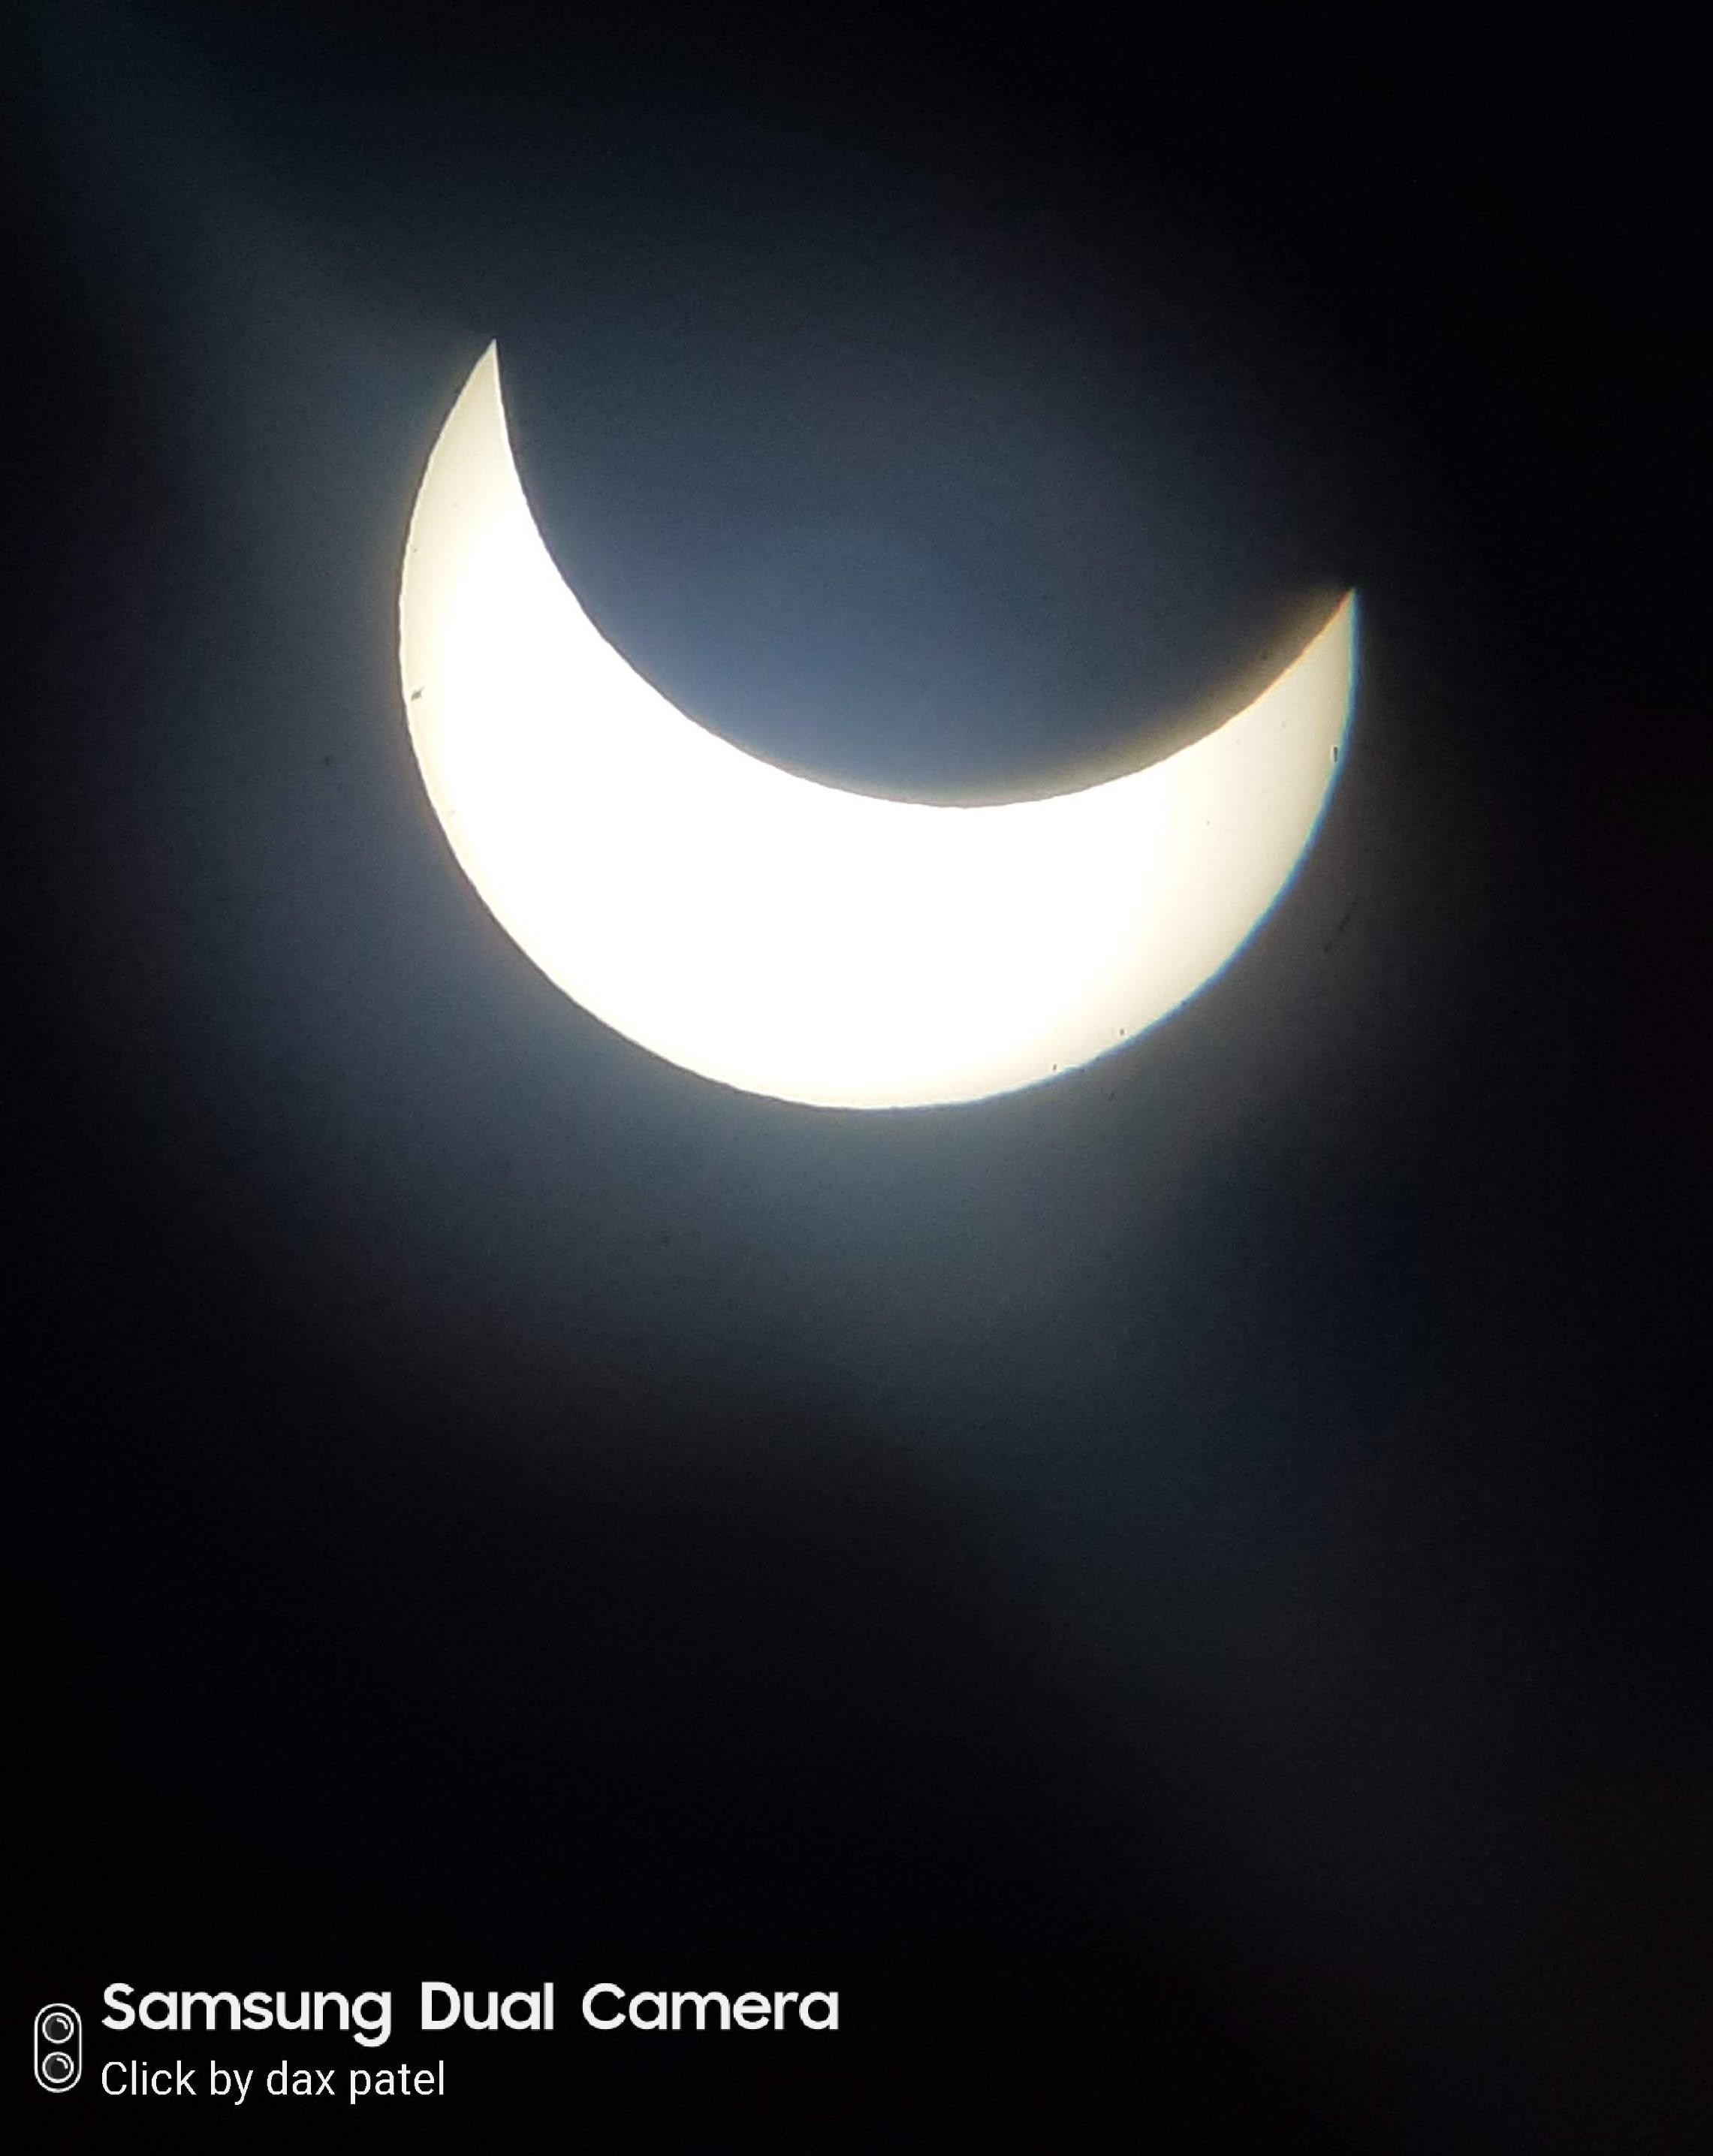
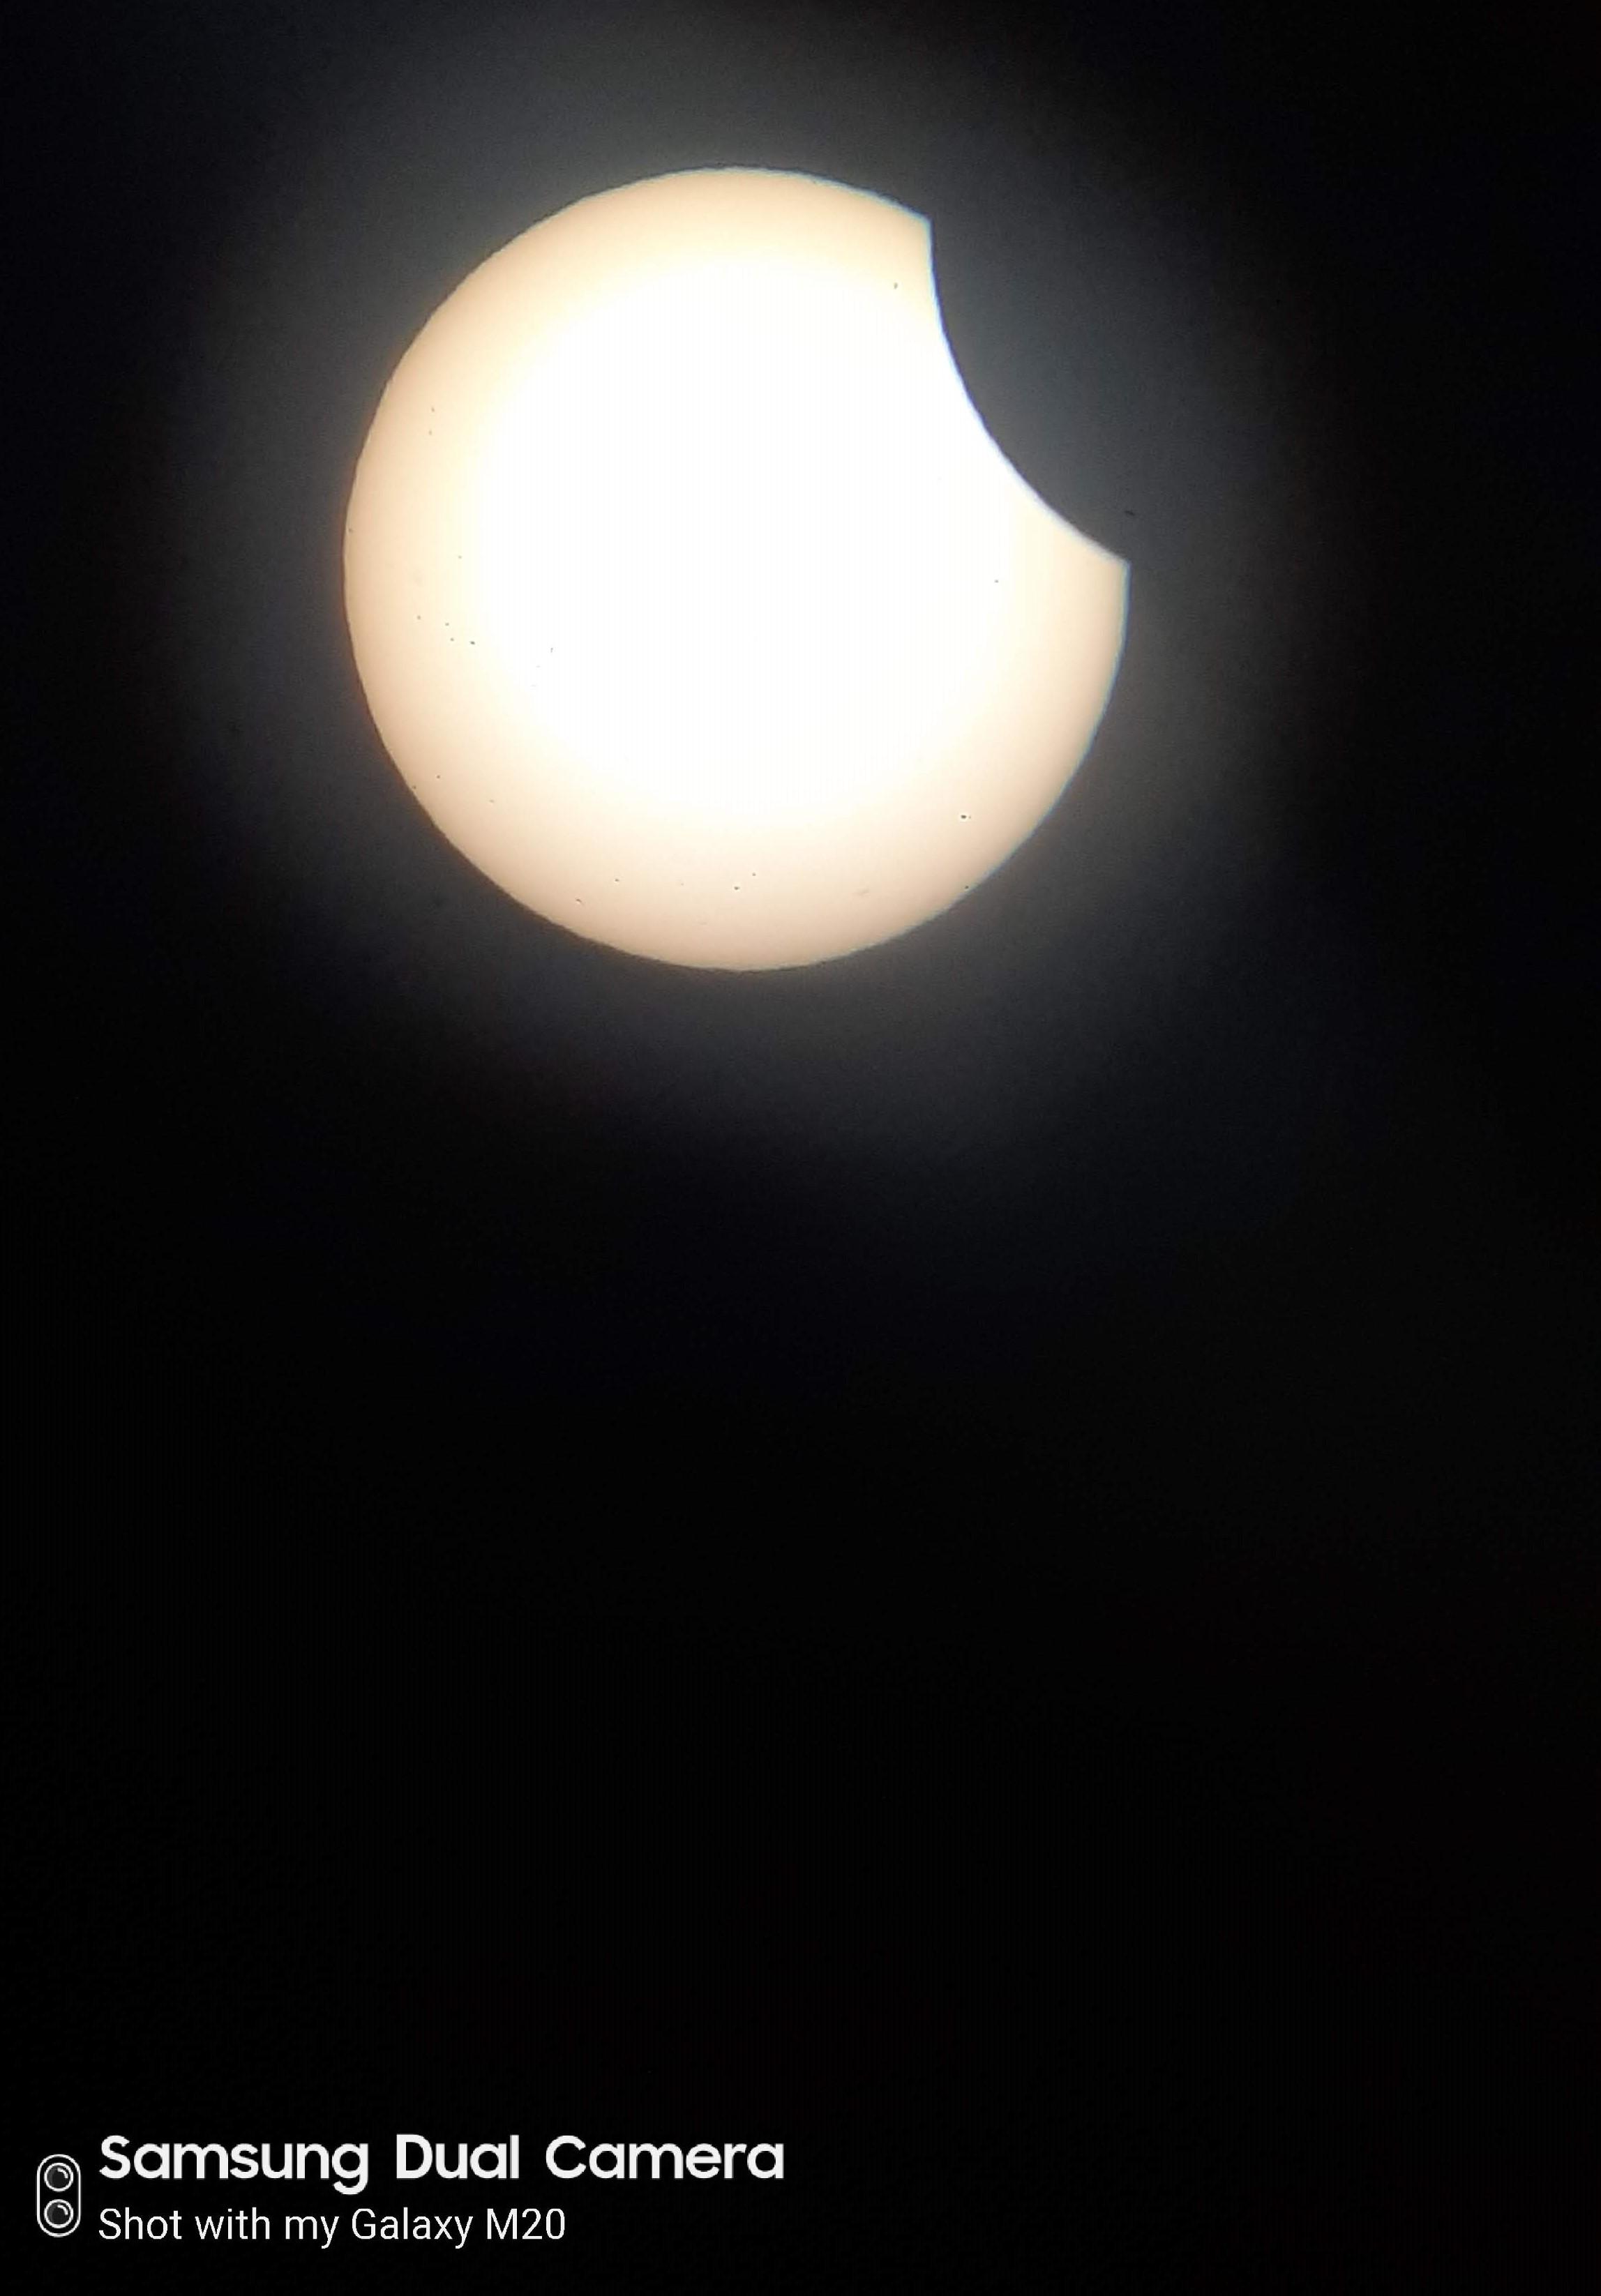
This is amazing after Results Come.
I Record Images through my mobile and it is Very Good and accurate.
Keep Share and Comment any Suggestions on this project.