DIY Smart Mirror
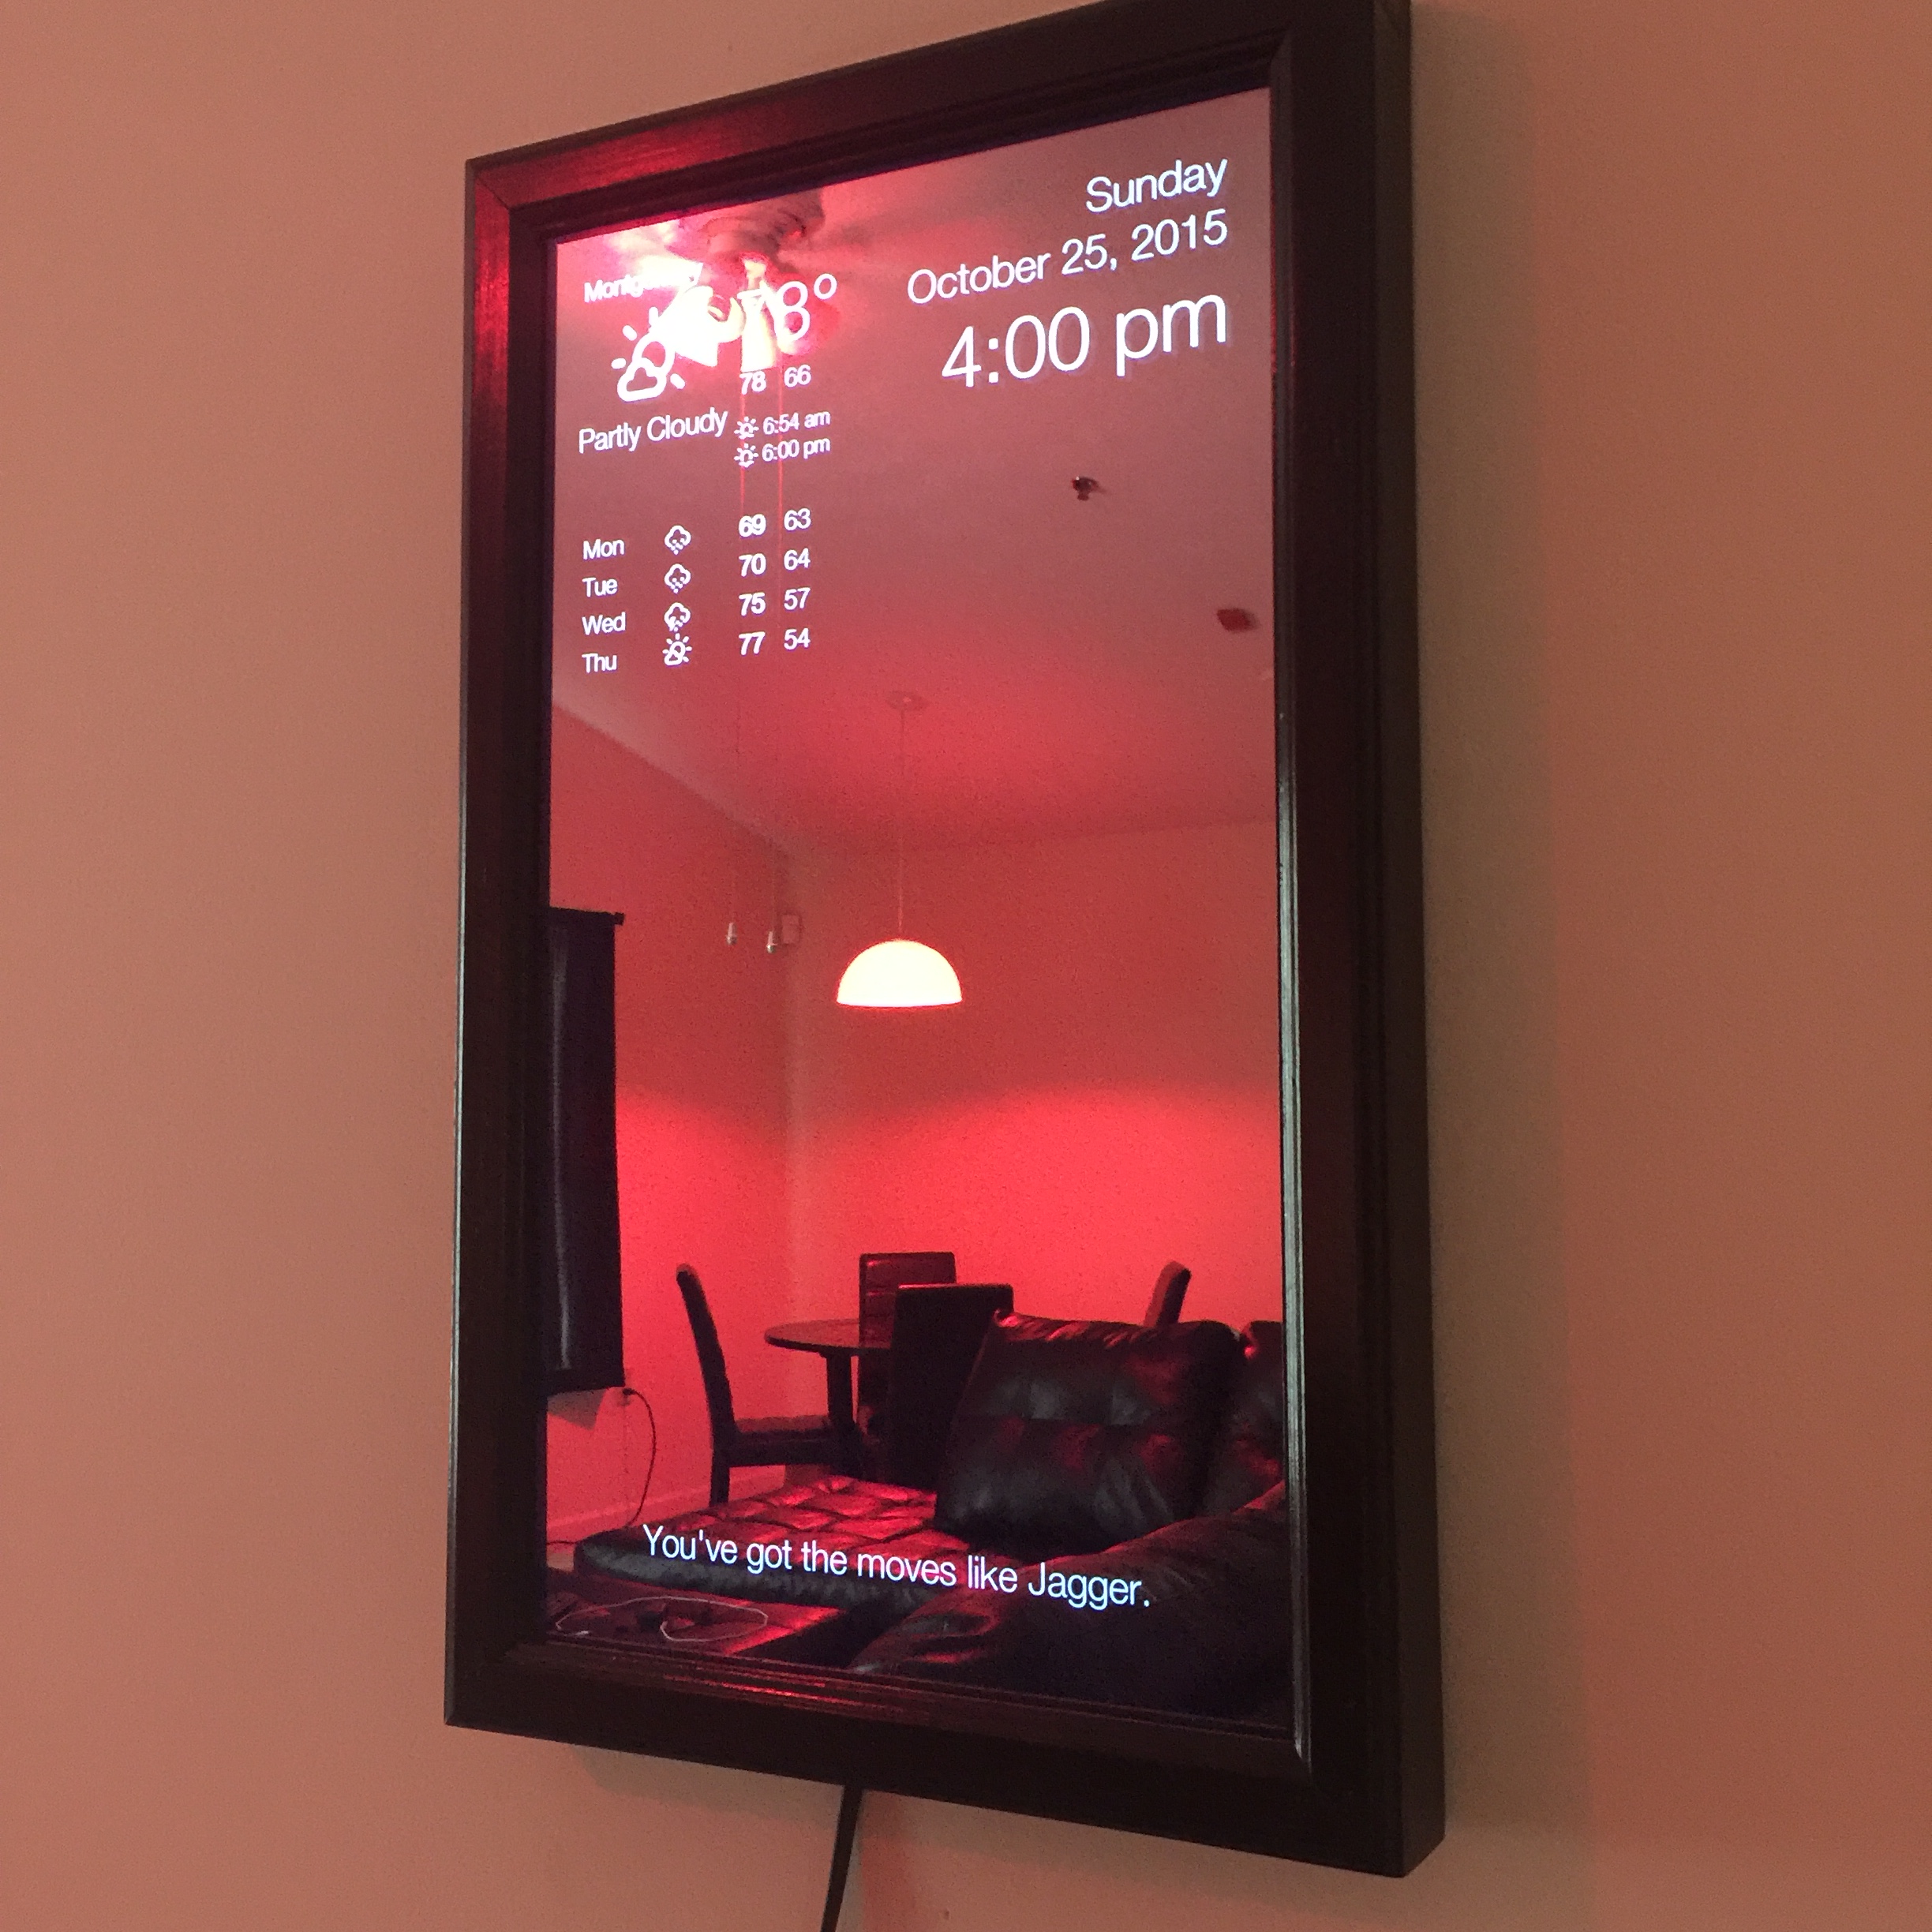
Materials Needed:
A Raspberry PI 2+ (I used a 3B)
Micro SD (8 GB+)
A monitor of some sort, to keep price cheap I used an old one
HDMI Cable or use a converter to HDMI
5v wall plug with micro usb cable.
Extra keyboard and mouse
A computer with microsd card reader or buy an adapter
Two way mirror
Extras:
I built a frame around my smart mirror using wood that I later spray painted. The size will completely depend on the size of mirror and monitor so I cant really use dimensions.
Getting Your Pi’s Operating System
Materials used in this step:
Raspberry Pi
Micro SD card
Mouse and keyboard
5v wall plug
Monitor
Micro SD card reader or computer
Information:
Plug the empty sd card into the computer, I got my card off this https://www.amazon.com/SanDisk-COMINU024966-16GB-microSD-Card/dp/B004KSMXVM. You have to install an operation system called NOOBS onto your raspberry pi, so on your computer go to this link https://www.raspberrypi.org/downloads/noobs/ and download the NOOBS Zip file. Once dowloaded, extract all the files and put them onto the SD card plugged into your computer. Eject the SD card or pop it out if you want to and put it into the Raspberry PI 2+. The port for the micro SD card is on the underside of the chip. Where a small piece of metal where the card goes in is connected flush with one side.
Booting the Pi
Materials needed for this step:
Same as step 1
Information:
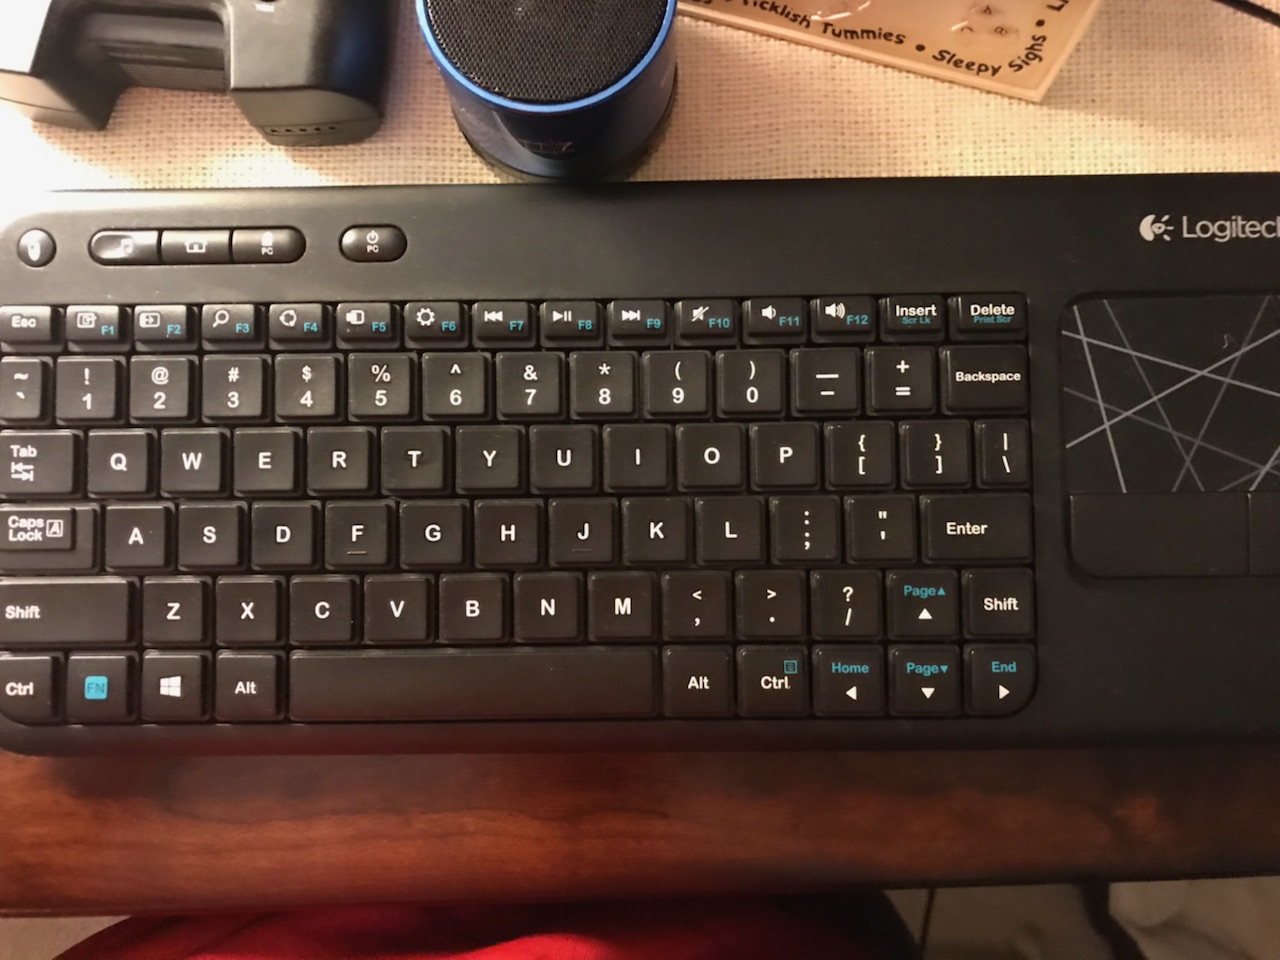
After the SD card has been inserted into the PI (it should go in smoothly don’t force) plug in the rest of the peripherals. Meaning, plug in the 5v power adapter, connect the monitor using the HDMI cord to the respecting port, and plug in the keyboard in mouse. I had a keyboard like the picture above that has a mouse built into the side. It ended up becoming really useful for configuring and navigating the PI. It is also a USB wireless keyboard which is a plus. After everything is plugged in your pi should start booting up on your monitor.
Installing on the Pi
Materials needed for step:
Same as step 2
Information:
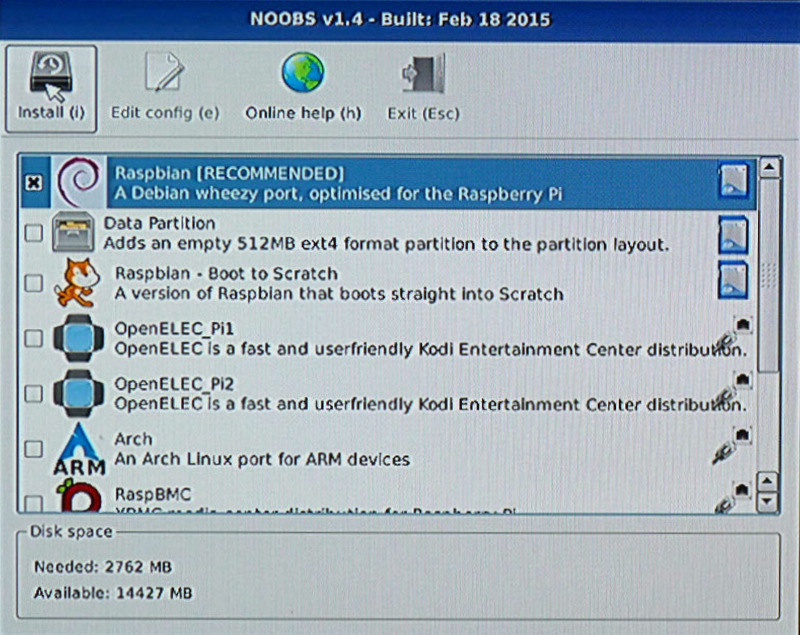
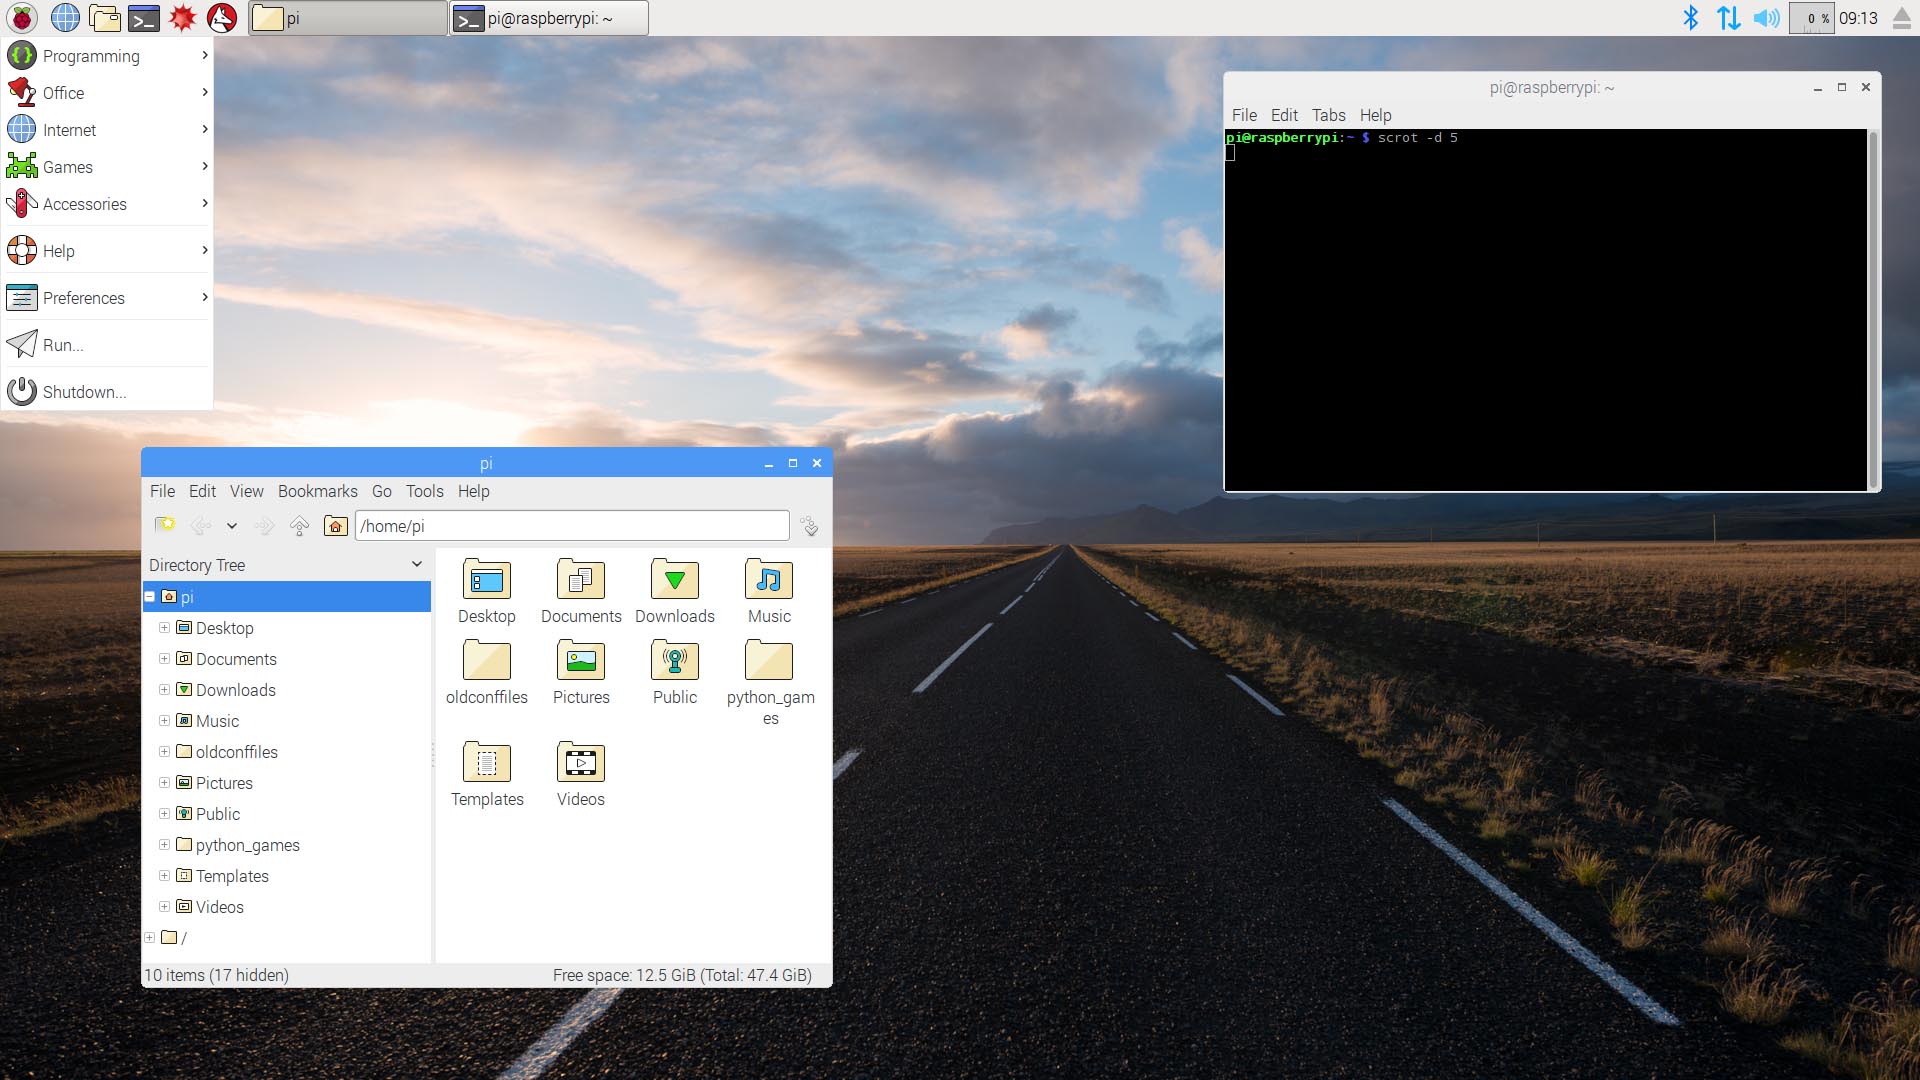
After the Pi is booted it should go to the install screen as well as a WiFi screen ect, where you can select Raspian, the default operating system (image 1). After roughly 10-15 minutes it should go to the Pi desktop (image 2). Now go to the console, the black icon on the top, and type the command bash -c "$(curl -sL https://raw.githubusercontent.com/MichMich/MagicMirror/master/installers/raspberry.sh)" to install MagicMirror.
Setting Up the Physical Design
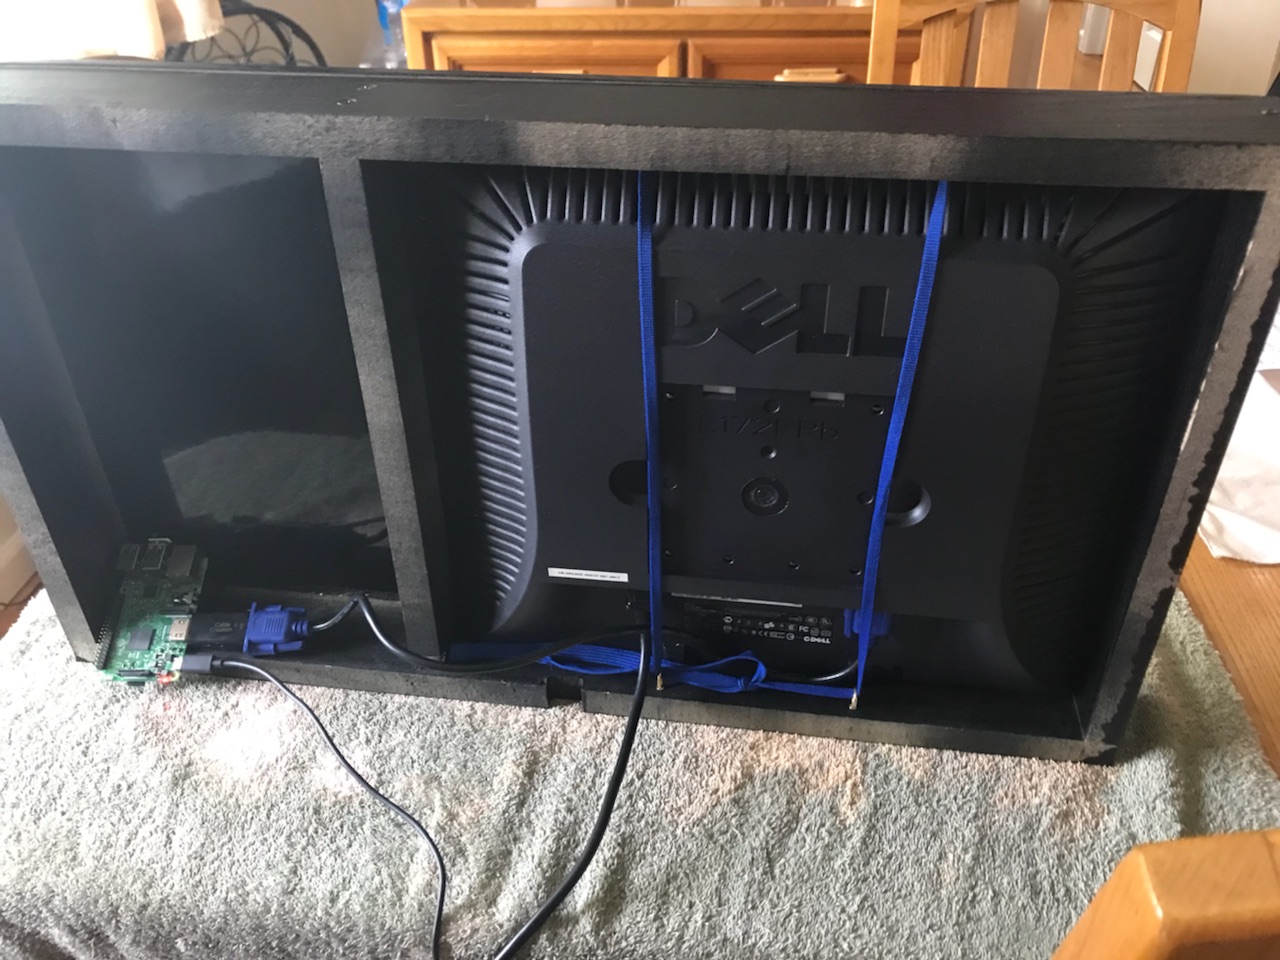
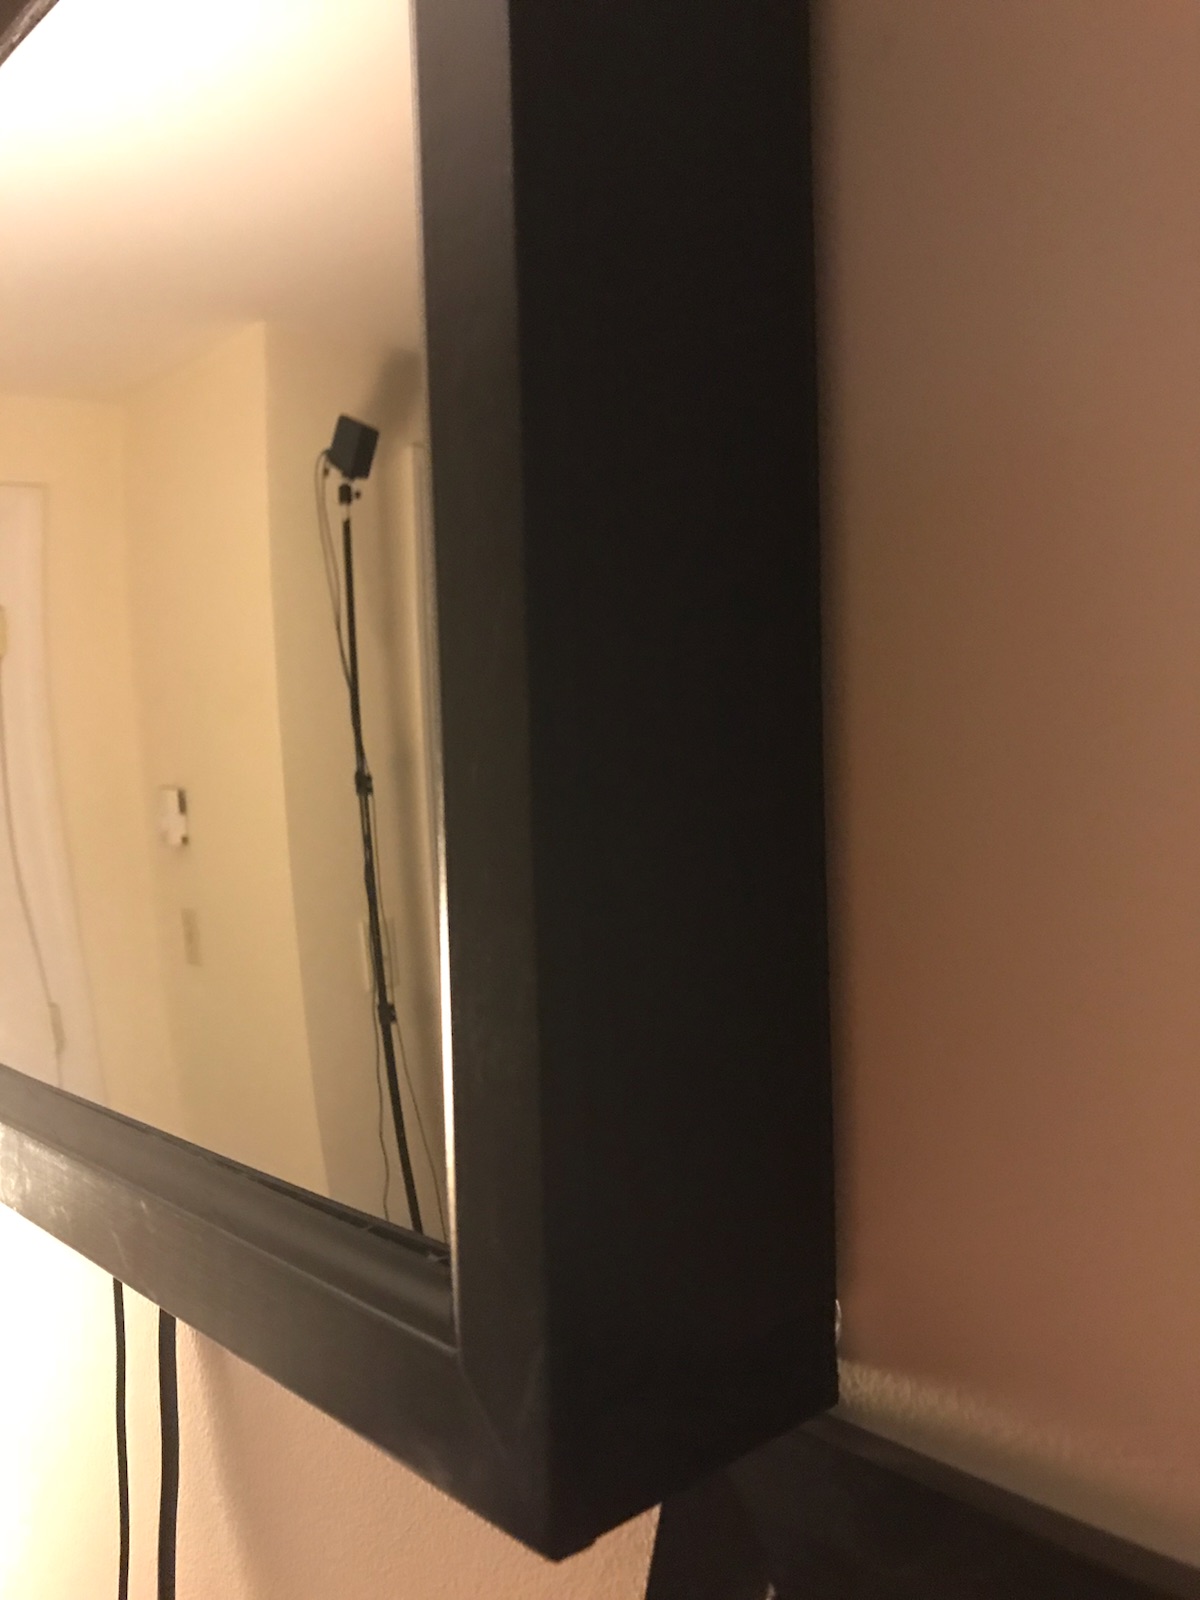
Building a frame is not required but would make the mirror look higher quality. What is necessary is the putting the two way mirror in front of the monitor to get the final effect. I got my mirror from here, https://www.amazon.com/12-Acrylic-See-Through-Mirror/dp/B01G4MQ3WQ/ref=sr_1_1?ie=UTF8&qid=1528924668&sr=8-1&keywords=two%2Bway%2Bacrylic%2Bmirror&th=1. The first image shows the back of the frame I built. On the left the cords go through the sides of the frame walls to the Raspberry Pi. On the right is where the monitor is, using the straps to hold it tight against the mirror in front of the monitor. Image two shows the side and front hanging on the wall.
Starting MagicMirror
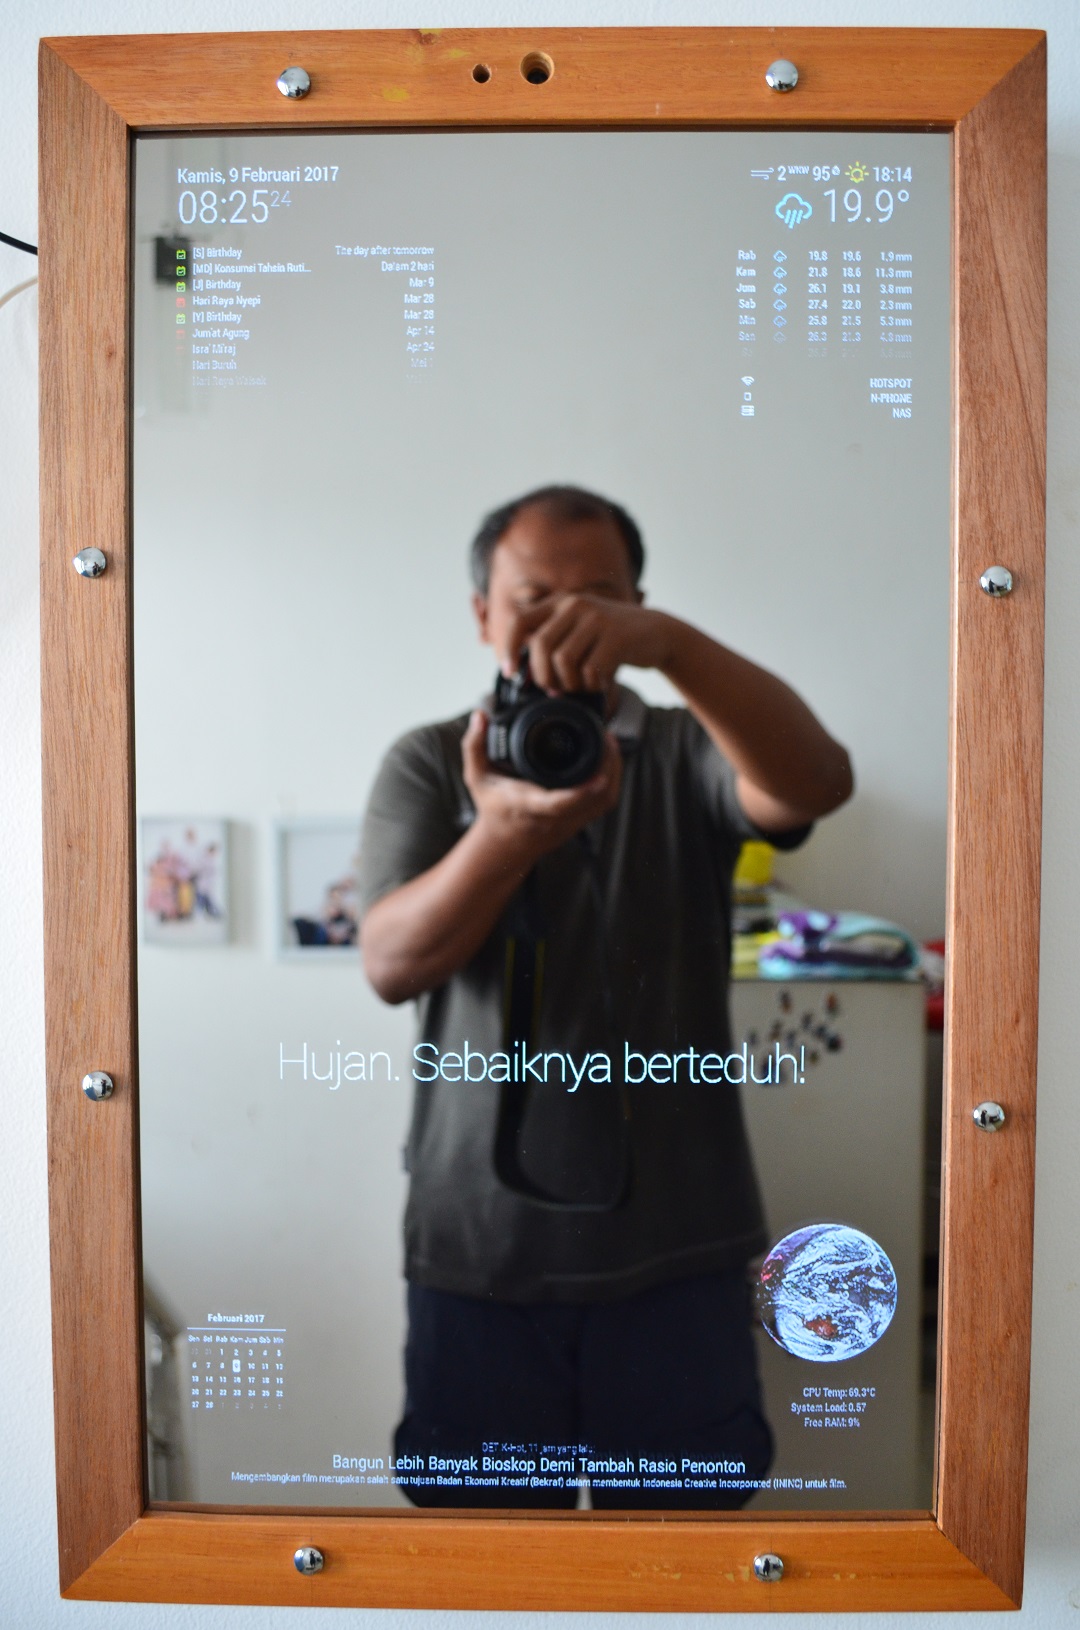
To start MagicMirror, all that is necessary is to open the console and type two commands:
cd ~/MagicMirror
npm start
After these commands have been run, it should boot to the magic mirror where you will see the final product. Control + Q to exit to the desktop. Make sure your connected to WiFi at all times.