DIY Smart Home Clock - OSC
by Donut Studio in Circuits > Clocks
1906 Views, 14 Favorites, 0 Comments
DIY Smart Home Clock - OSC

.jpg)
Welcome,
in this instructable we will show you how to create a simple smart home clock with a dot matrix display. The name OSC is short for "overengineered simple clock". The goal was to add multiple sensors and IoT functionality. However, the small Esp8266 Chip has limited pins, so only two sensors were added: temperature (DHT11), microphone (MAX4466).
A custom pcb was designed to simplify the wiring process and reduce the effort to replace broken parts. The repository contains everything to get started, from the code to the documents and stl files.
Supplies


Those are all the necessary parts for the clock:
- esp8266 wemos d1 mini
- dot matrix display (32x8 pixels)
- (optional) DHT11
- (optional) Max4466
- piezo buzzer
- 3x button (horizontal, 6.6 x 7.4 x 8.35mm)
- 4x 10k ohm resistor
- 220 ohm resistor (not shown in the pictures above)
- pcb(not shown in the pictures above, see step 3)
- connector pins
- plug-in bridge
- 2x M3 x 55 bolt
- 2x M3 nut
Features
.jpg)
.jpg)
Depending on the selected code, the clock has different features.
The source code without sensors (OSC) has the following features:
- connect to wifi (if failed it can work offline or create an access point and webserver where you can enter the data)
- update the time over the network
- download the weather data from weathermap.org (only if the key was entered and is connected to wifi)
- adjustable time, summer time, alarm, timer, brightness for day and night, sleepmode, microphone sensivity, text speed
- 12/24 hour mode
- wake up the clock from the sleepmode with a loud sound
- audio visualizer (the brightness of the display influences the electrical noise, lowest brightness is recommended)
- stopwatch
The source code without sensors (OSC_WITHOUT_SENSORS) has the following features:
- connect to wifi (if failed it can work offline or create an access point and webserver where you can enter the data)
- update the time over the network
- download the weather data from weathermap.org (only if the key was entered and is connected to wifi)
- adjustable time, alarm, timer, brightness, sleepmode
- 12/24 hour mode
The source code for the display panel (OSC_DISPLAY_PANEL) has the following features:
- creates an access point for the user to sign in (with password)
- creates an webserver for the user to changes the display settings (text, speed, etc)
- 5 precoded and 1 changable text
- turn the display on and off(mode/webserver) and select the text(up/down/webserver)
- displays the temperature and humidity on the webserver (! NEEDS DHT SENSOR LIBRARY AND DHT11 !)
Downloading the Project

You can find all the files at this github repository: https://github.com/KonradWohlfahrt/OSC-Clock-Project
Download the repository as a .zip by clicking on 'Code/Download ZIP'.
Now extract the files and you are ready to go!
Designing and Ordering the PCB
.png)
.png)

After the connections (can be found under 'documents/Pinout_OSC') of the clock were verified, we used EasyEDA to create the pcb with all the components integrated. The finished file can be found under 'pcb/Gerber_PCB_OSC_v2'.
With it you can go to any pcb fabrication company and order a few circuit boards. In my case I went to jlcpcb.com and bought five pcbs.
3D Printing the Case

.jpg)
.jpg)
.jpg)
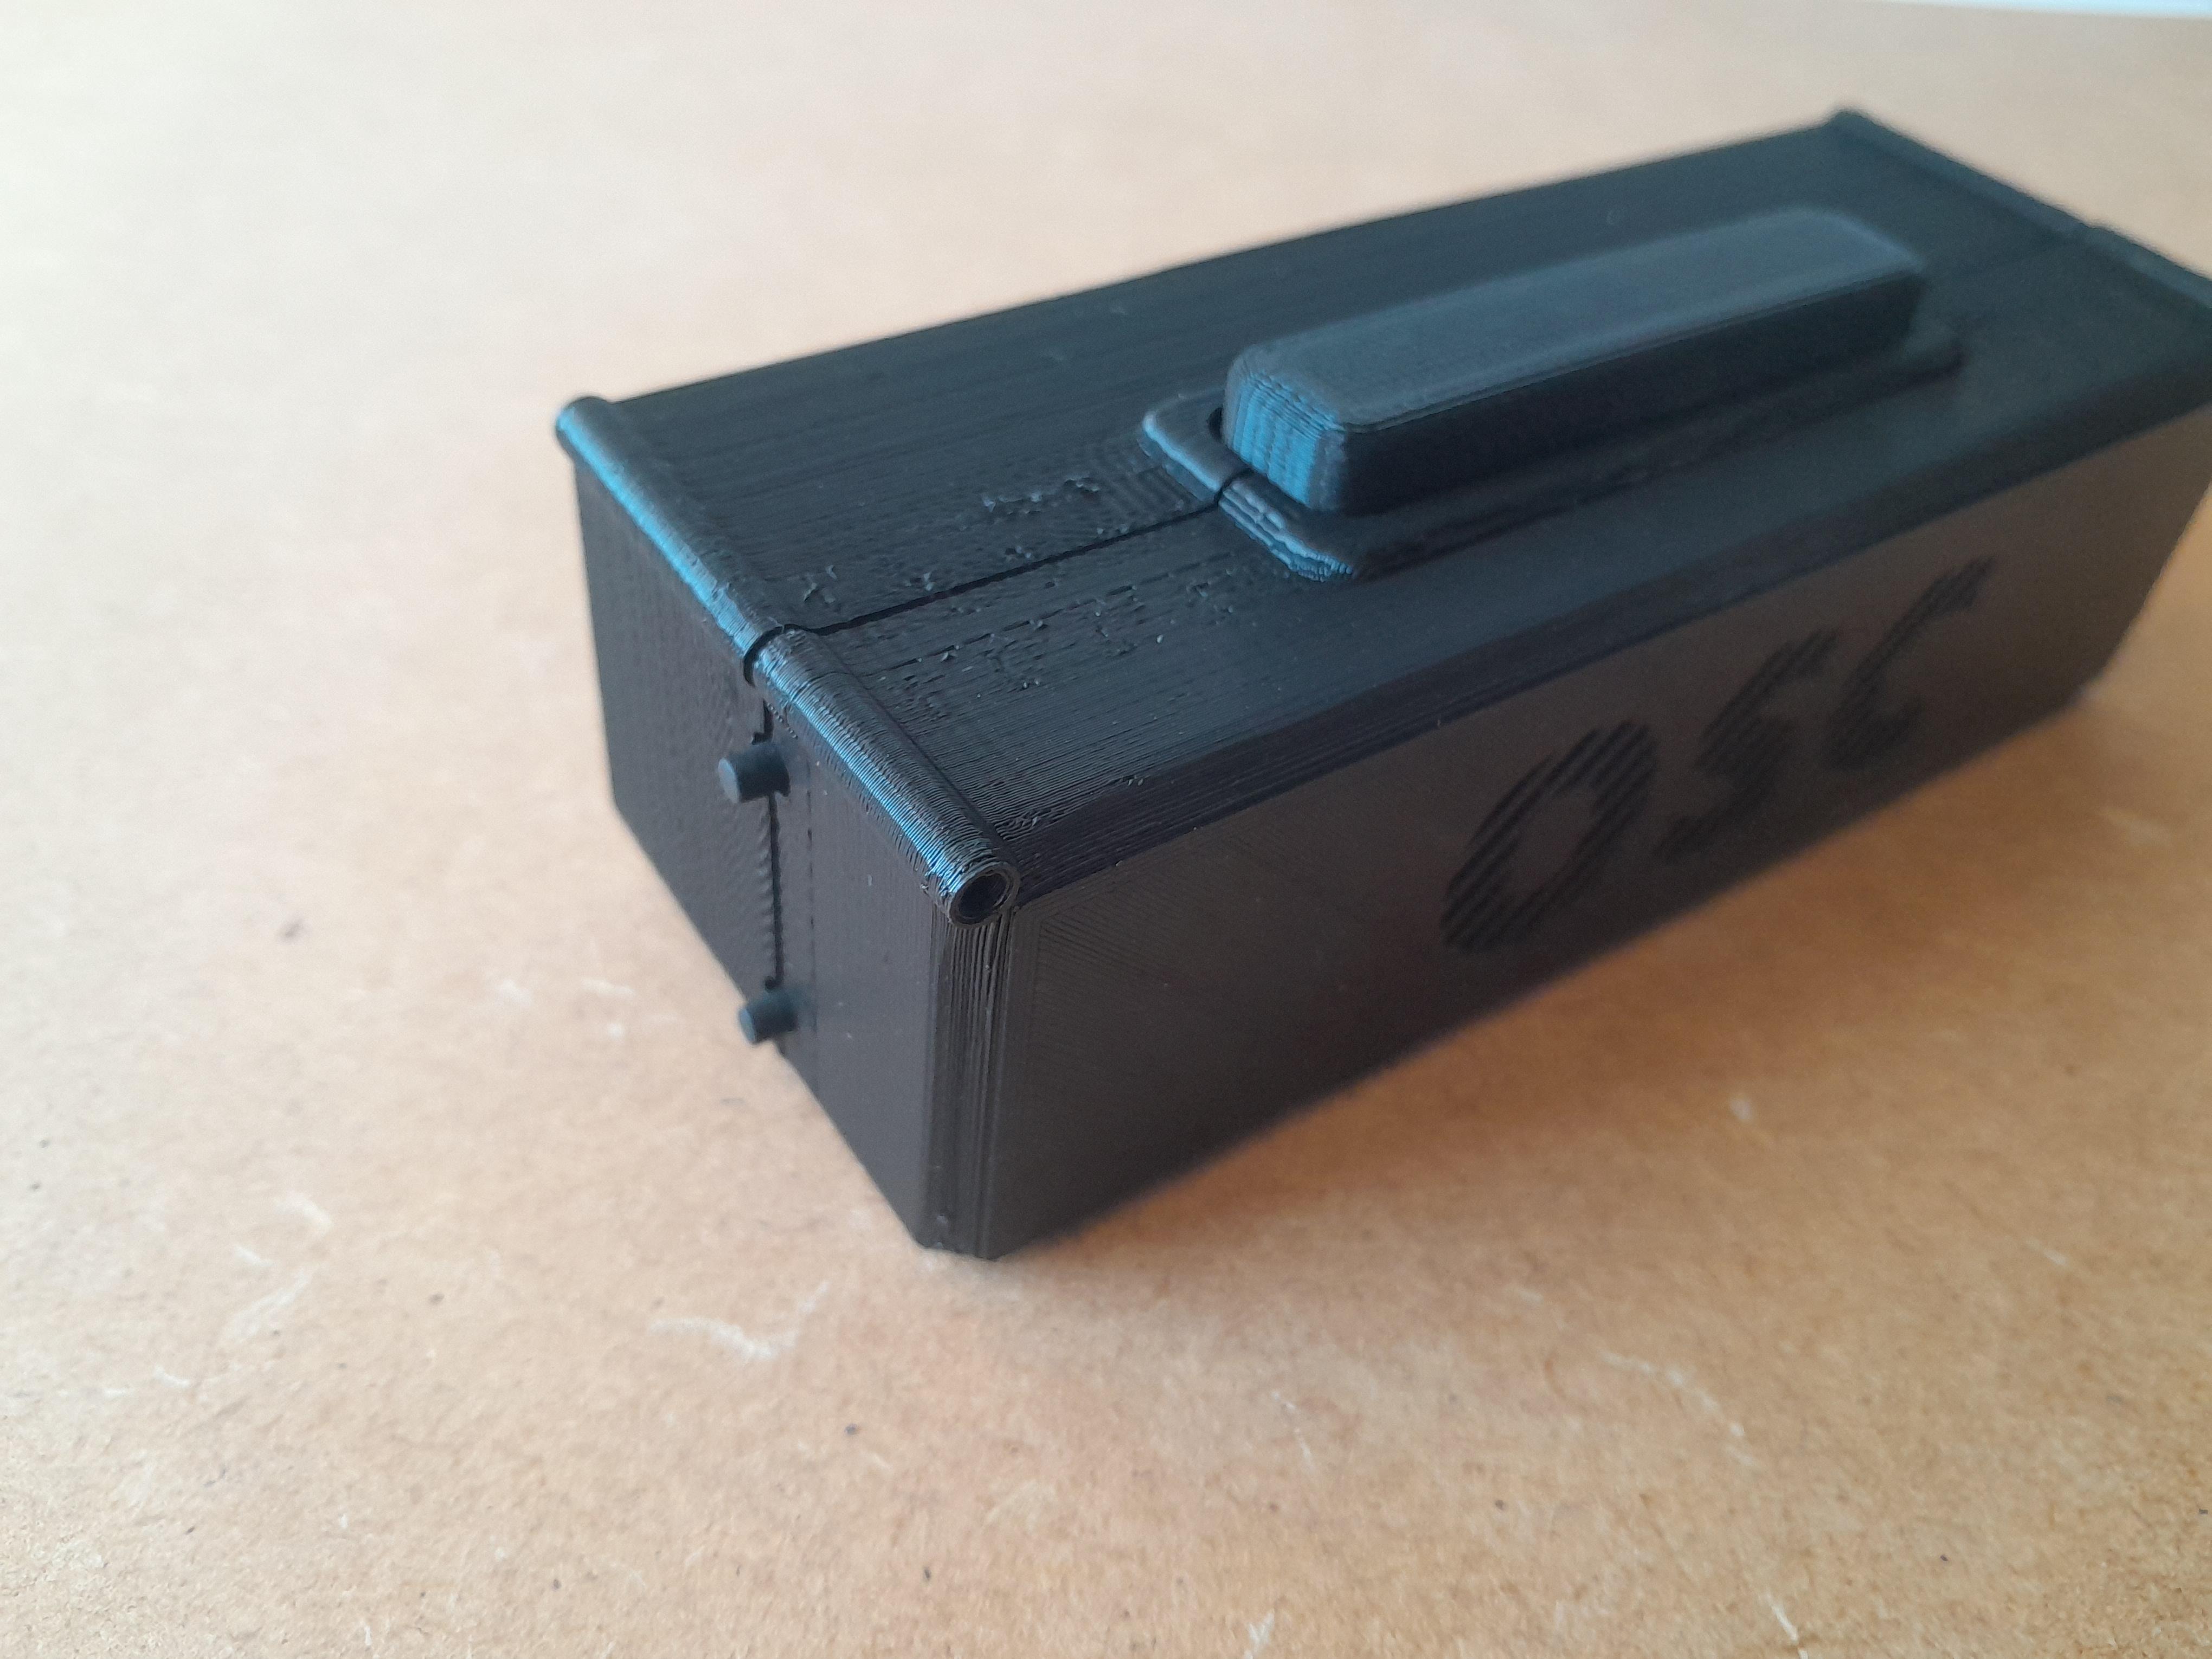
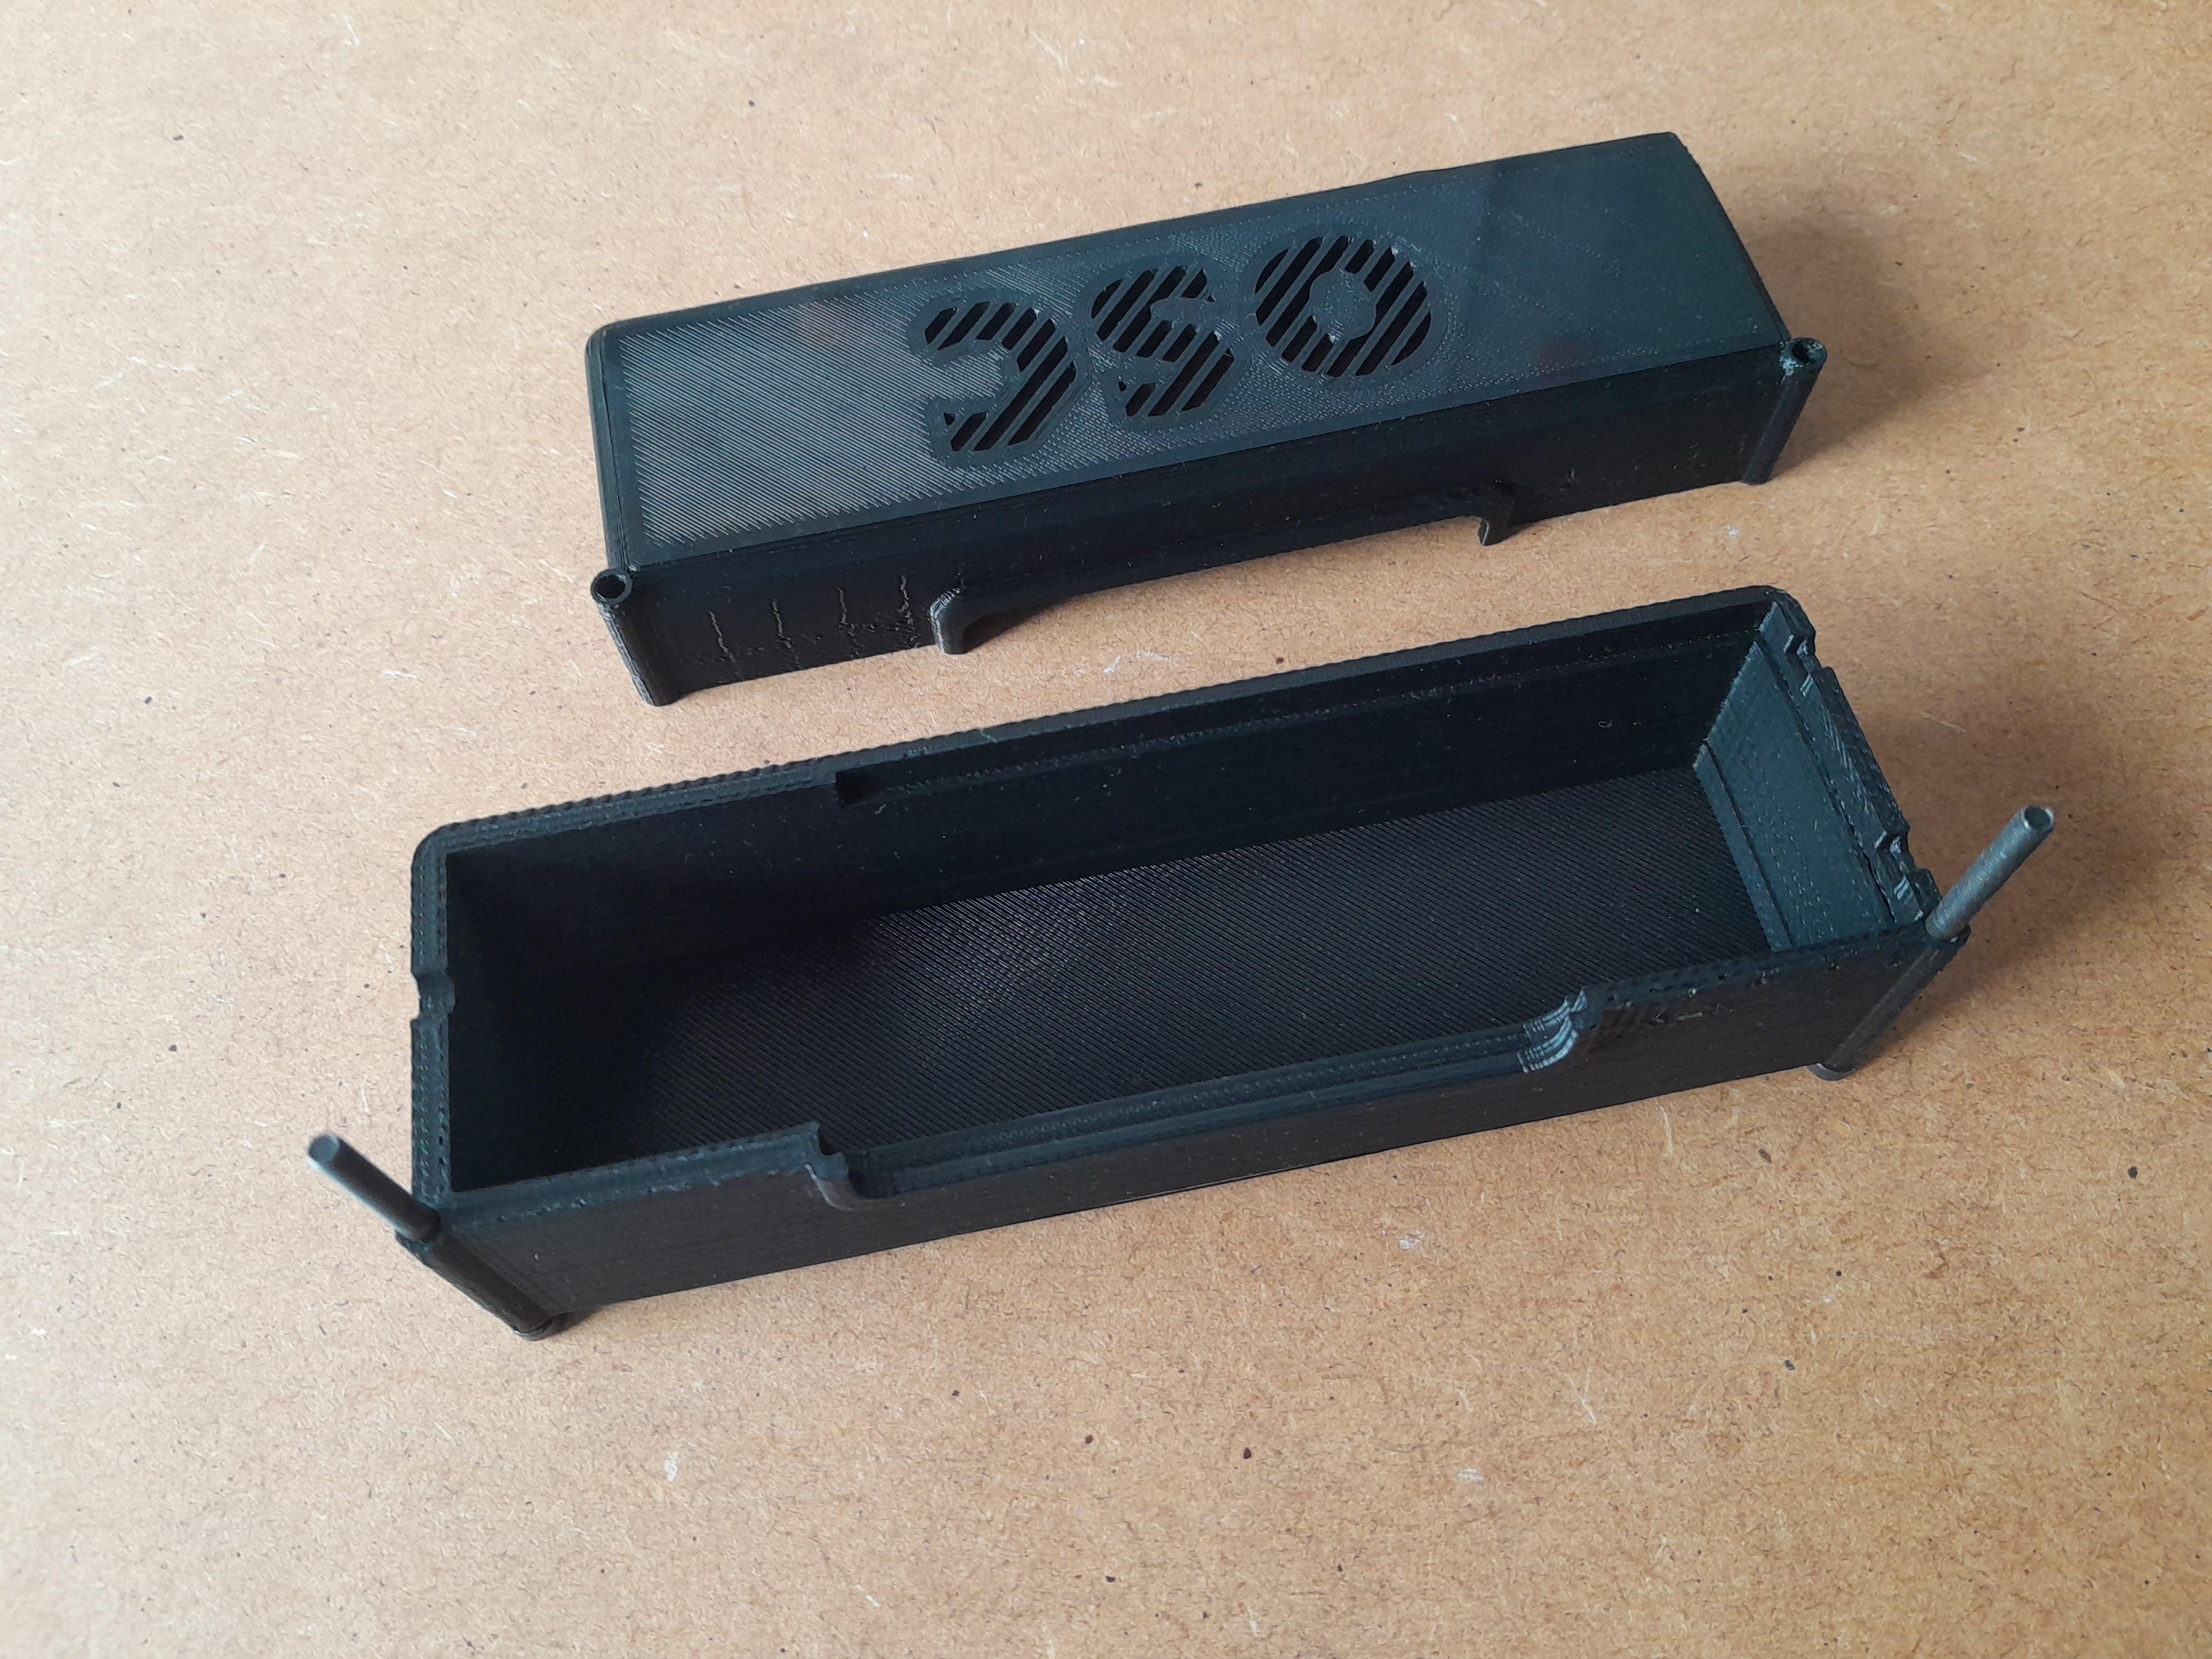
While you wait for the circuit board to arrive, you can start to print the case.
It was designed in Fusion 360 and exported as an stl to the 'stl/' directory.
NOTE: the old version (pictures) was removed due to some issues with other display sizes.
Recommended print settings:
- 15% infill
- 0.2mm
- no support
Soldering the PCB

.jpg)
.jpg)

.jpg)
There are many good soldering tutorials out there if you are unsure on how to assemble the components.
We recommend to start with the small components (resistors) and work your way up. Now, put the hot soldering iron (250-400°) on the pin where the components are already inserted and heat it up for one or two seconds. Then add tin and let it flow around the pin. Again after one or two seconds remove the iron and tin wire and repeat the process for the remaining pins.
On your matrix display you have to unsolder and then solder your own connector pins.
Installing the Libraries


With the hardware prepared, the only part left is to upload the code onto the chip. The source code for different versions can be found under the 'src' folder. If I got the time, I'll probably update the code and create new version.
First of all, in your arduino IDE go to the preferences and add this line to the 'Additional Boards Manager URLs':
http://arduino.esp8266.com/stable/package_esp8266com_index.json
Then open up the 'BOARDS MANAGER' tab and install the esp8266 boards.
Select the 'LIBRARIES' tab and search for those libraries and click install:
- MD_MAX72xx
- NTPClient
- ArduinoJSON (be sure to select v5.13.4)
- (optional if you'd like to use the temperature sensor) DHT sensor library
- (optional if you'd like to use the OSC source code/ audio visualizer) ArduinoFFT
The final three libraries were created by me and can only be installed by downloading the .zip file from the repositories and adding it to your libraries by selecting 'Sketch/Include Library/Add .ZIP Library...'.
After you've installed everything, open up one of the sketches you'd like to upload and connect your esp to your pc and select the port and programmer (LOLIN(WEMOS) D1 R2 & mini).
Changing the Code
.png)
.png)
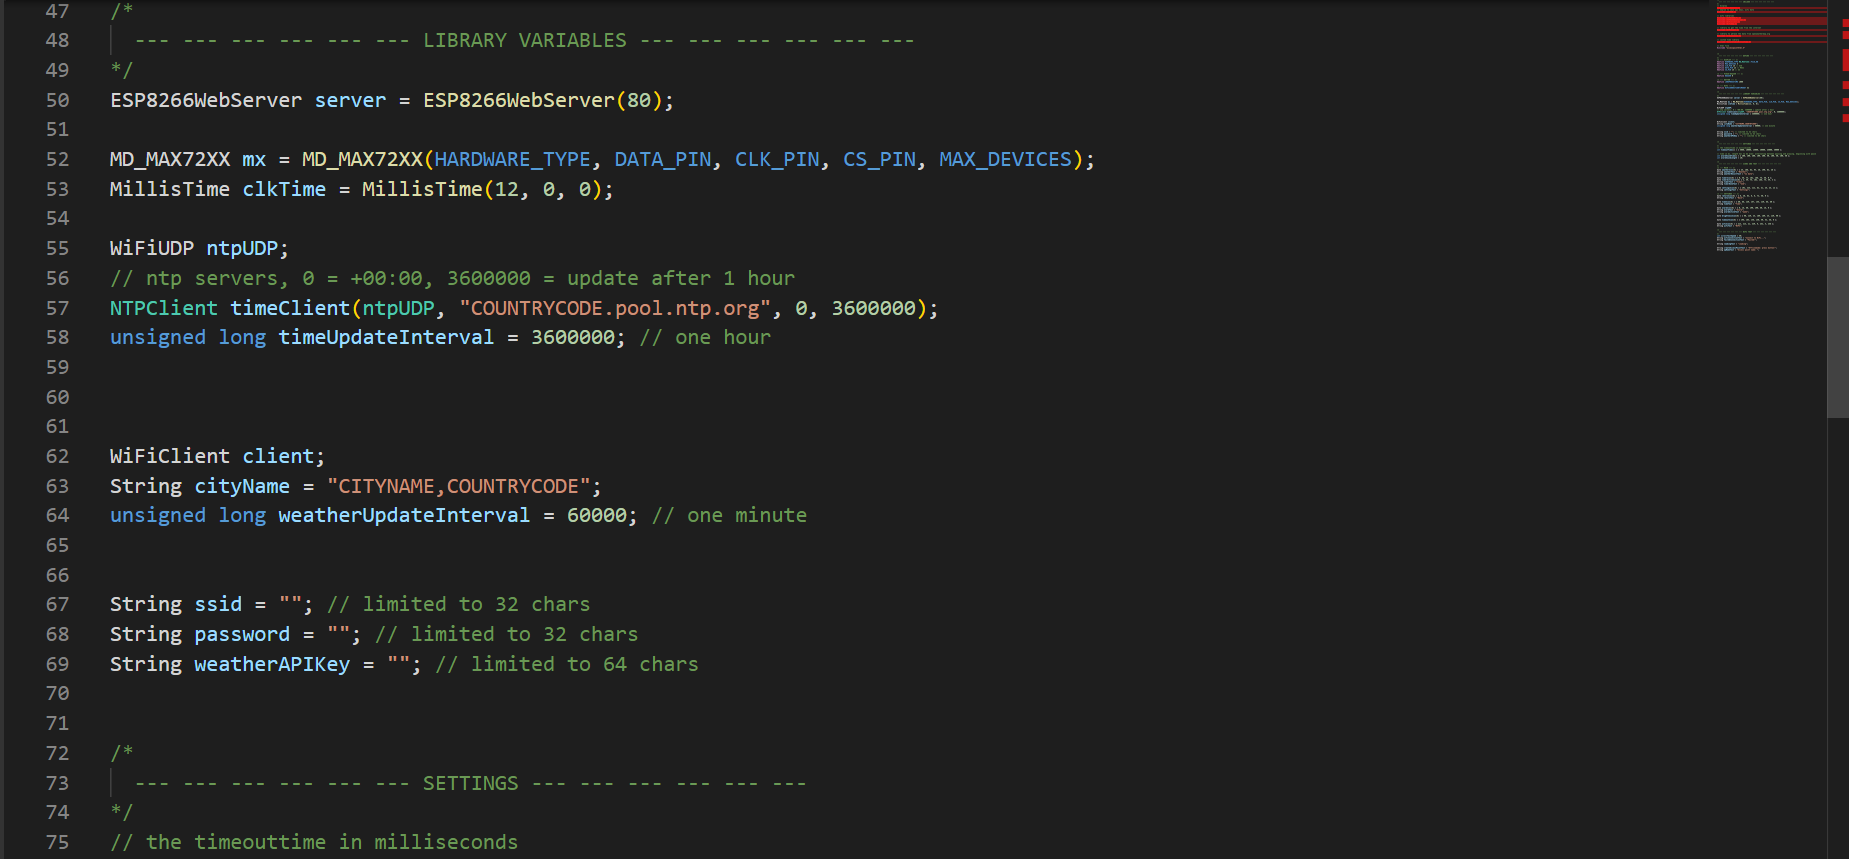
After uploading the code, the device may ask you to start in offline mode. Ignore this and wait a bit till the clock opens up an access point to connect to (connect your device of choice to the clock wifi). Then open the adress in your browser of choice and enter your wifi data, which will then be saved onto the eeprom of the chip (about 10.000 available writing processes). If you wish to download current weather data, create a free account on openweathermap.org and enter your api key too.
Once you verified that everything runs smoothly, you can start adjusting the code to your needs. Changing something in the preferences.h file can be done easily, while for the rest of the code it's necessary to know the basics of arduino programming.
Finalizing
.jpg)
Well that's it! If a connection is established, the clock will get the current time and weather data from the internet. Adjust the code to your wishes and have fun.
Thanks for reading our instructable, we hope you'll enjoy this small project and maybe enhance it in some way!
Cheers, Donut Studio and Pr0metheuz_!