DIY Smart Garage Door Opener + Home Assistant Integration
by MrDIYLab in Circuits > Microcontrollers
16355 Views, 16 Favorites, 0 Comments
DIY Smart Garage Door Opener + Home Assistant Integration
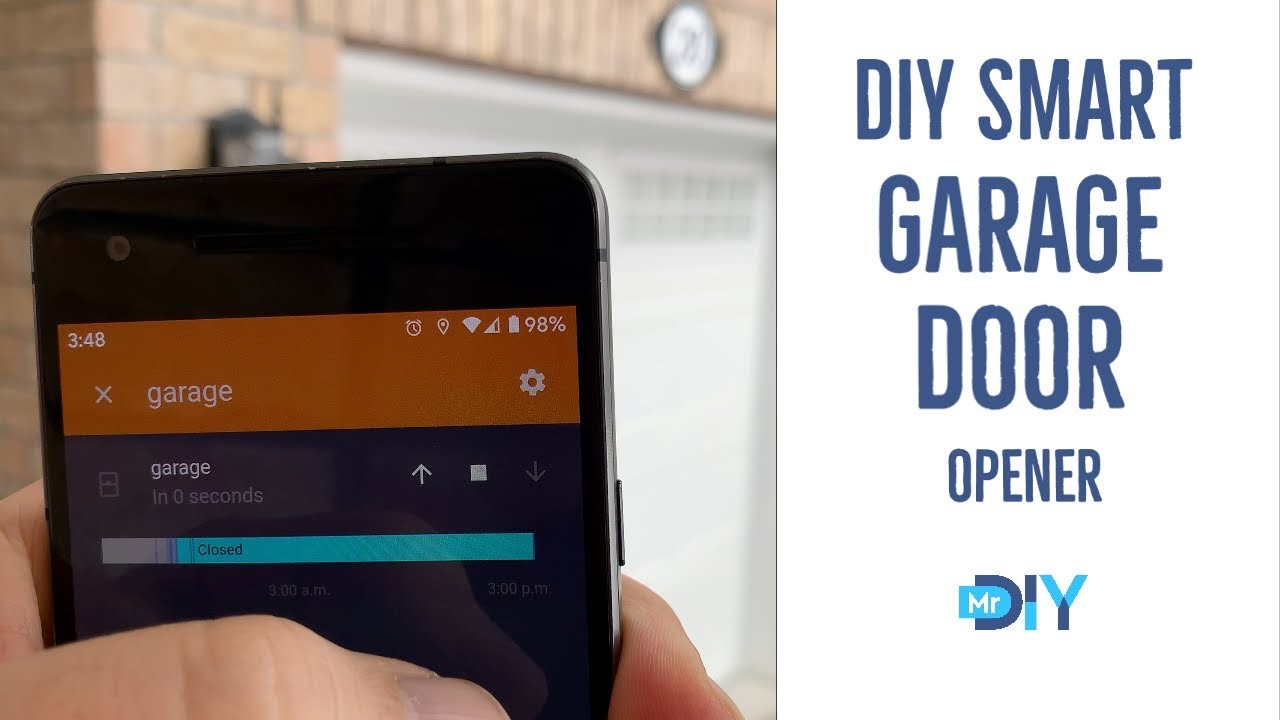
Turn your normal garage door smart using this DIY project. I will show you how to build it and control it using Home Assistant (over MQTT) and have the ability to remotely open and close your garage door.
I will be using an ESP8266 board called Wemos D1 Mini. New to ESP8266? Watch my Introduction to ESP8266 video first.
The video has step by step instructions that will guide you through the process. Feel free to add your questions in the comment section of the YouTube video if you need any futher assistance.
Order the Components
Amazon.com:
- Wemos d1 mini - https://amzn.to/3iJKqGd
- WeMos Relay Shield - https://amzn.to/38DNmj4
- Reed Magnetic Switch - https://amzn.to/3iIwM6l
- Electronics Project Box - https://amzn.to/3219zWX
AliExpress:
- Wemos d1 mini - https://s.click.aliexpress.com/e/_AEZGUP
- Relay Shield - https://s.click.aliexpress.com/e/_AUkEBH
- Reed Magnetic Switch - https://s.click.aliexpress.com/e/_Asv1Hz
Amazon.ca:
- Wemos d1 mini - https://amzn.to/3d8ekjB
- WeMos Relay Shield - https://amzn.to/39iJaEj
- Reed Magnetic Switch - https://amzn.to/2UsKH52
- Electronics Project Box - https://amzn.to/3ds1hee
Hardware
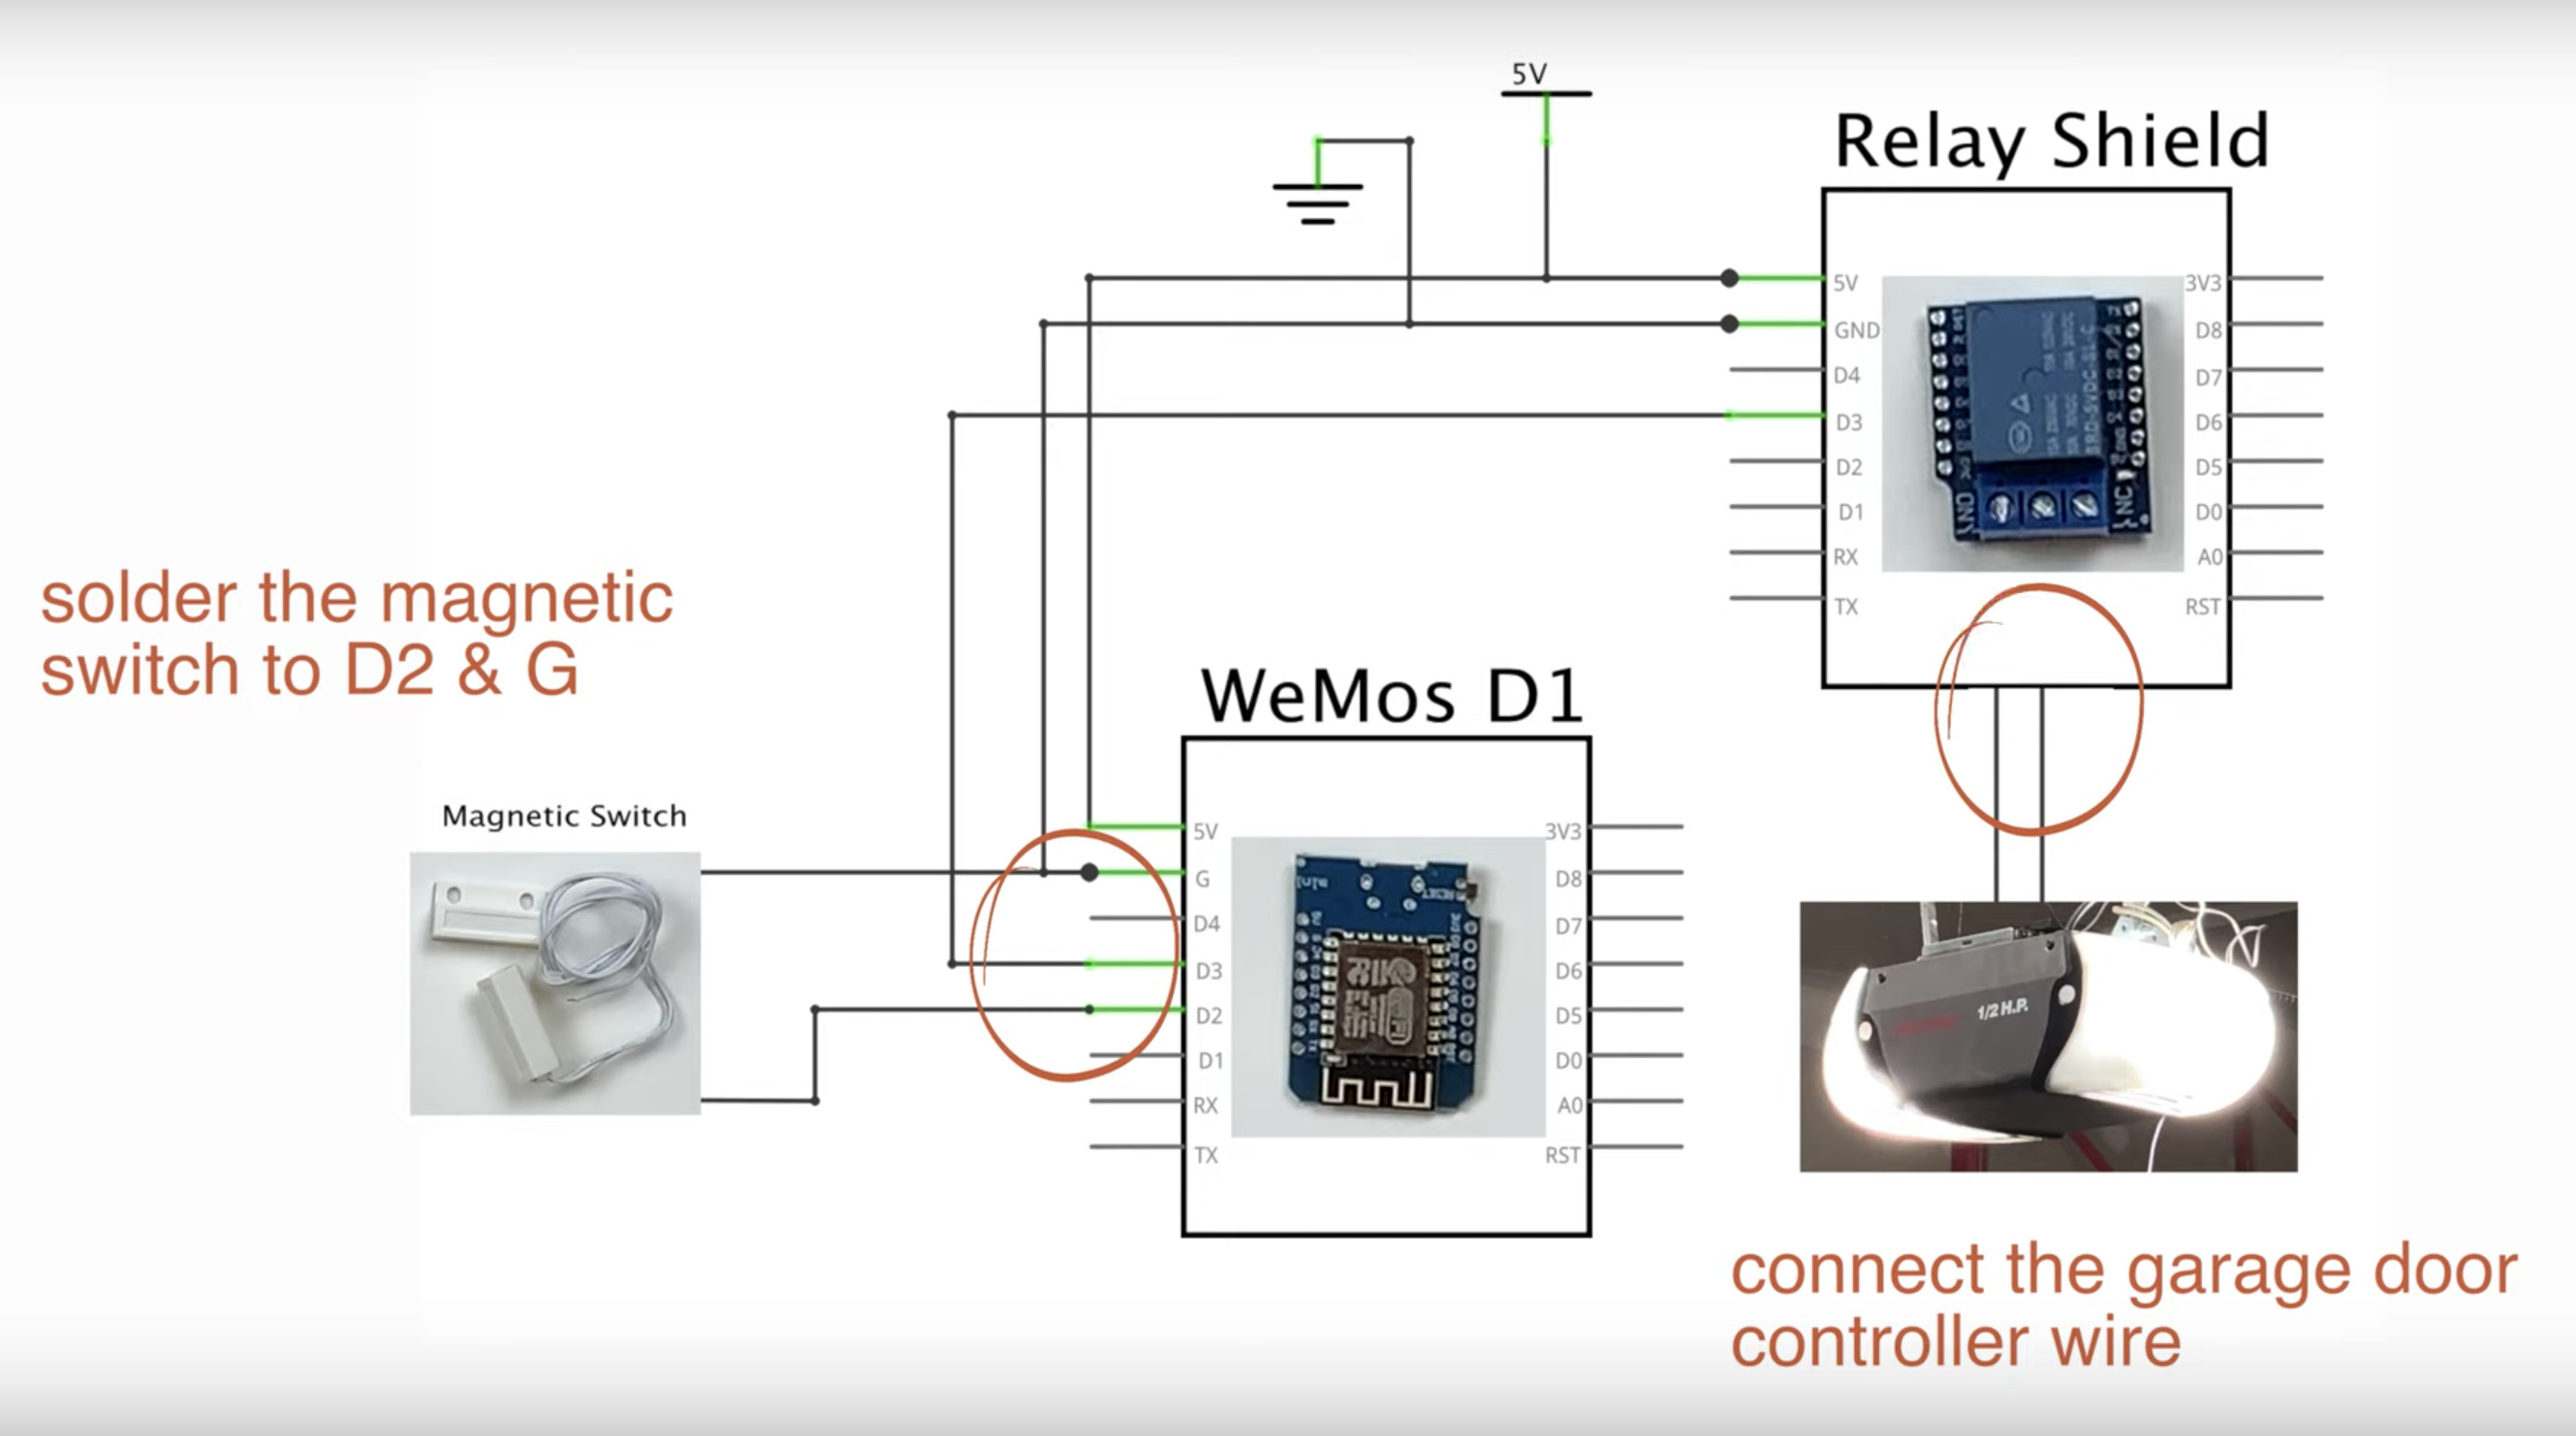
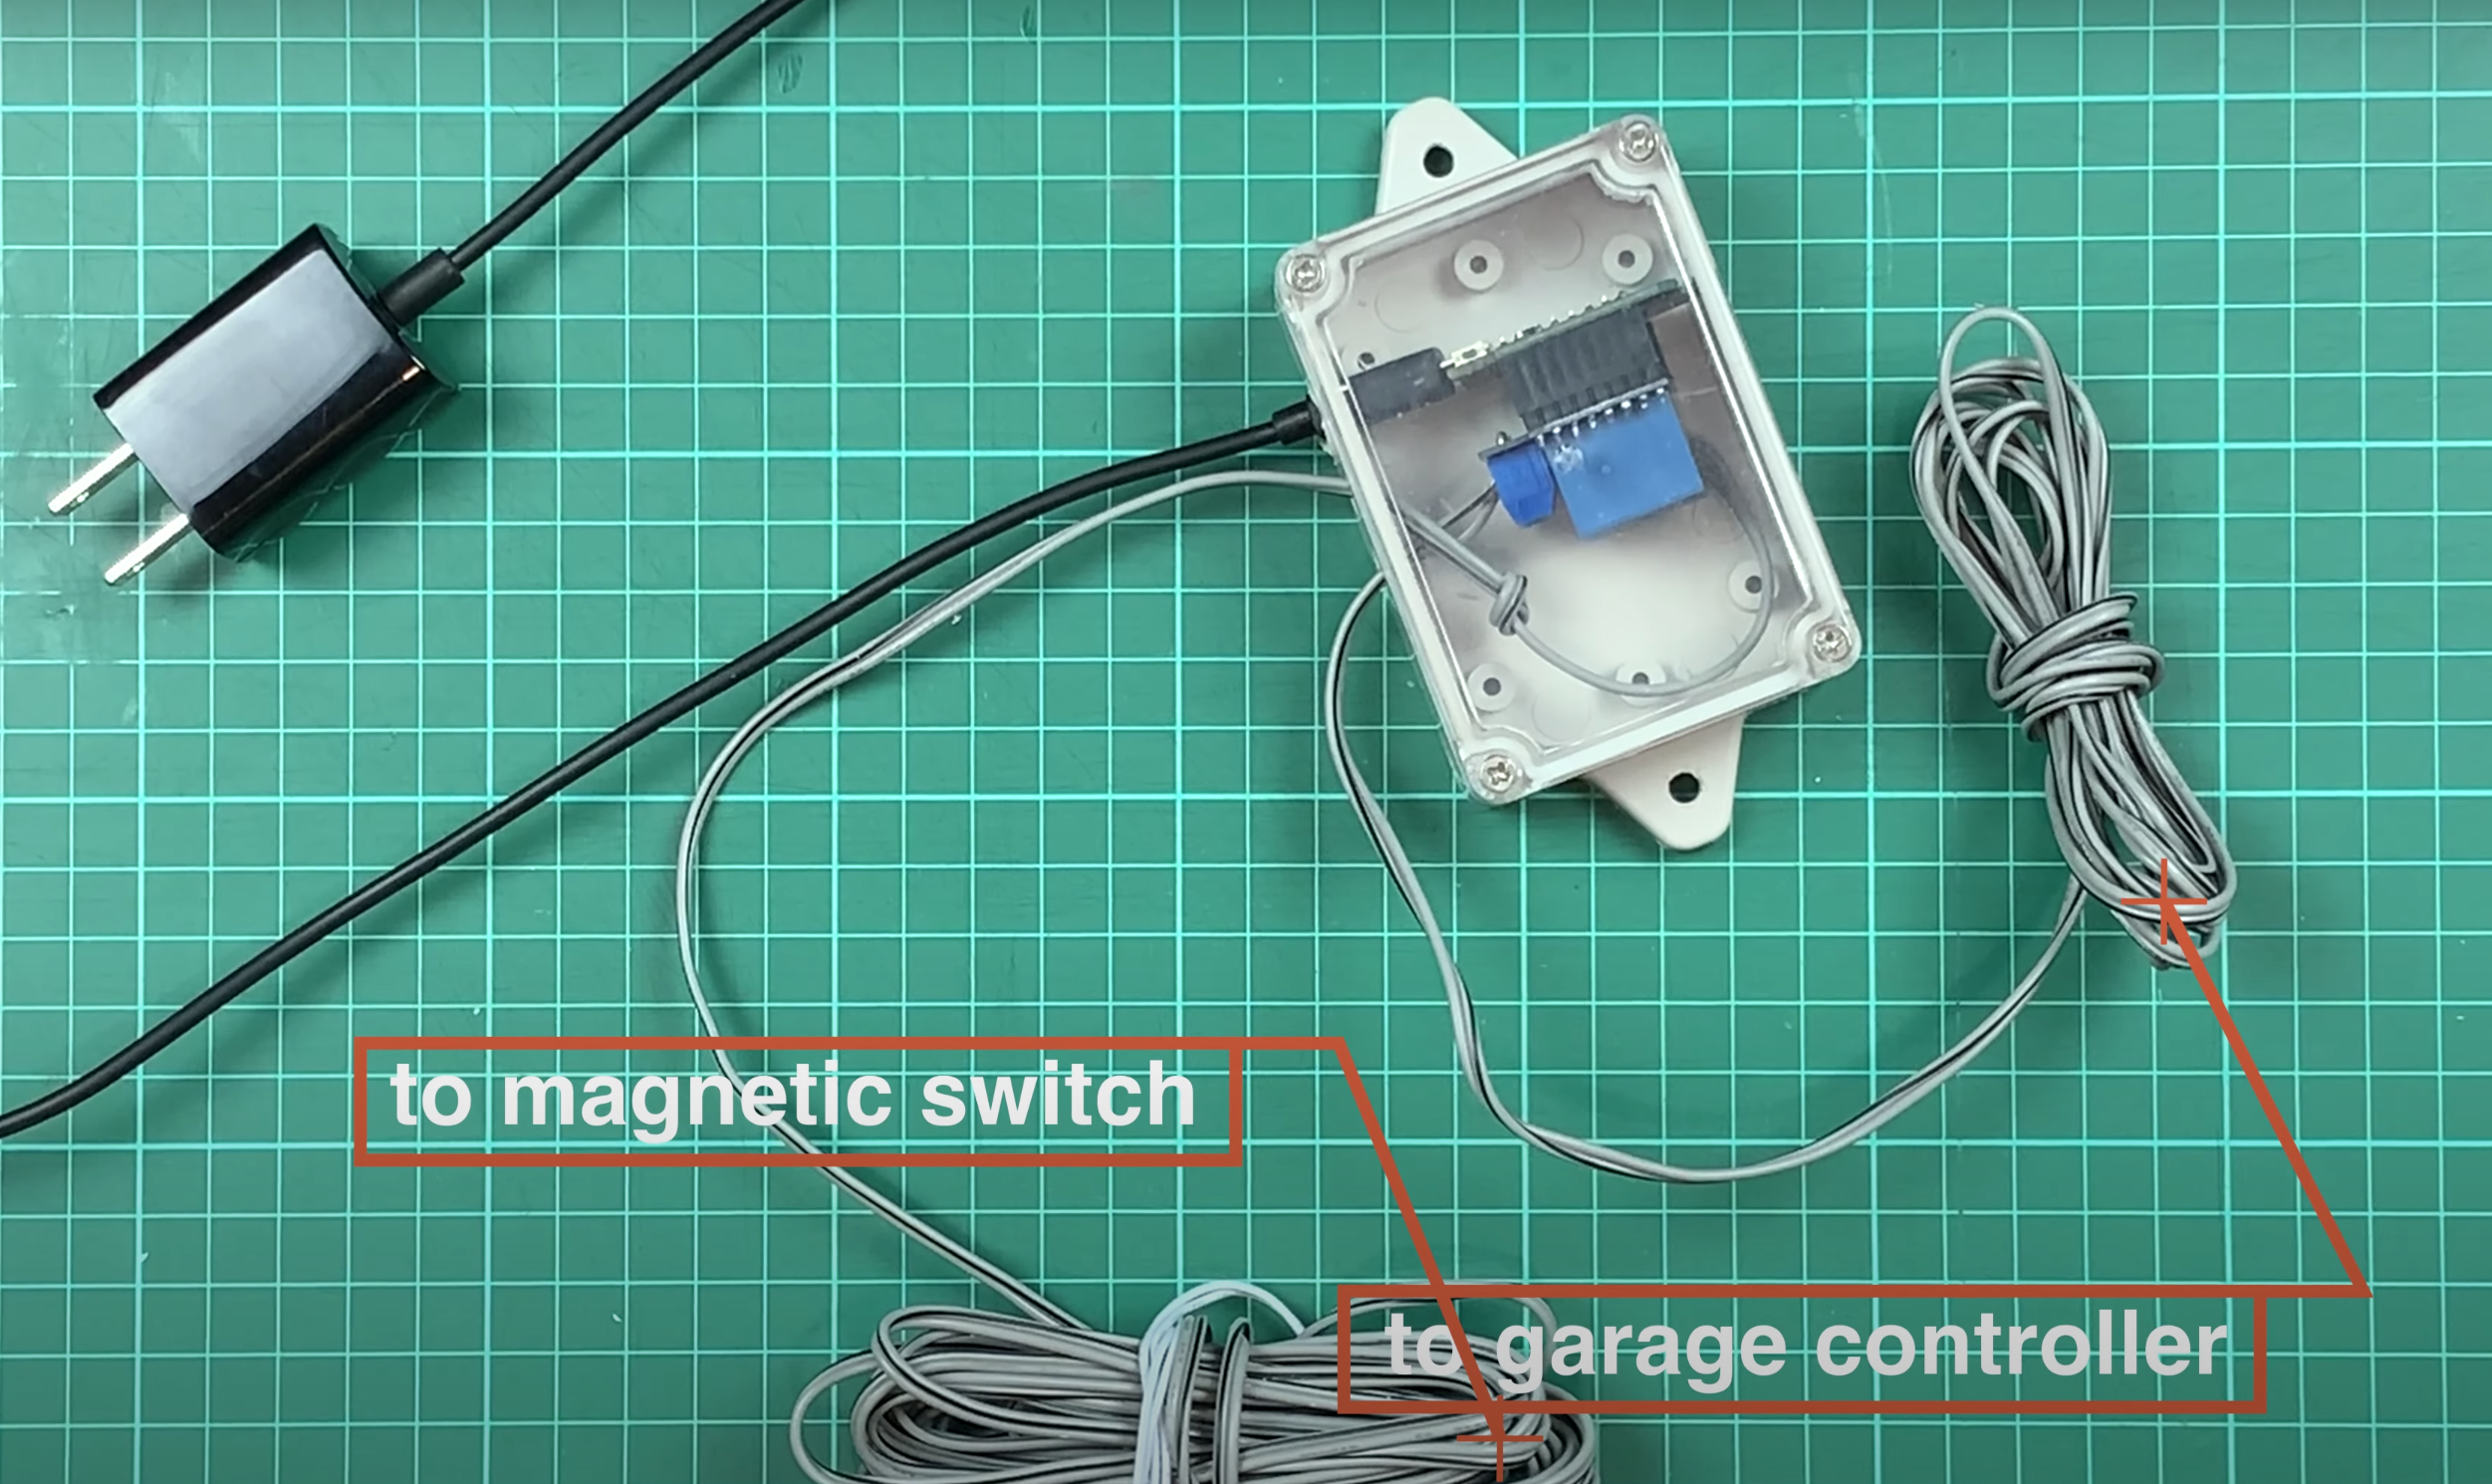
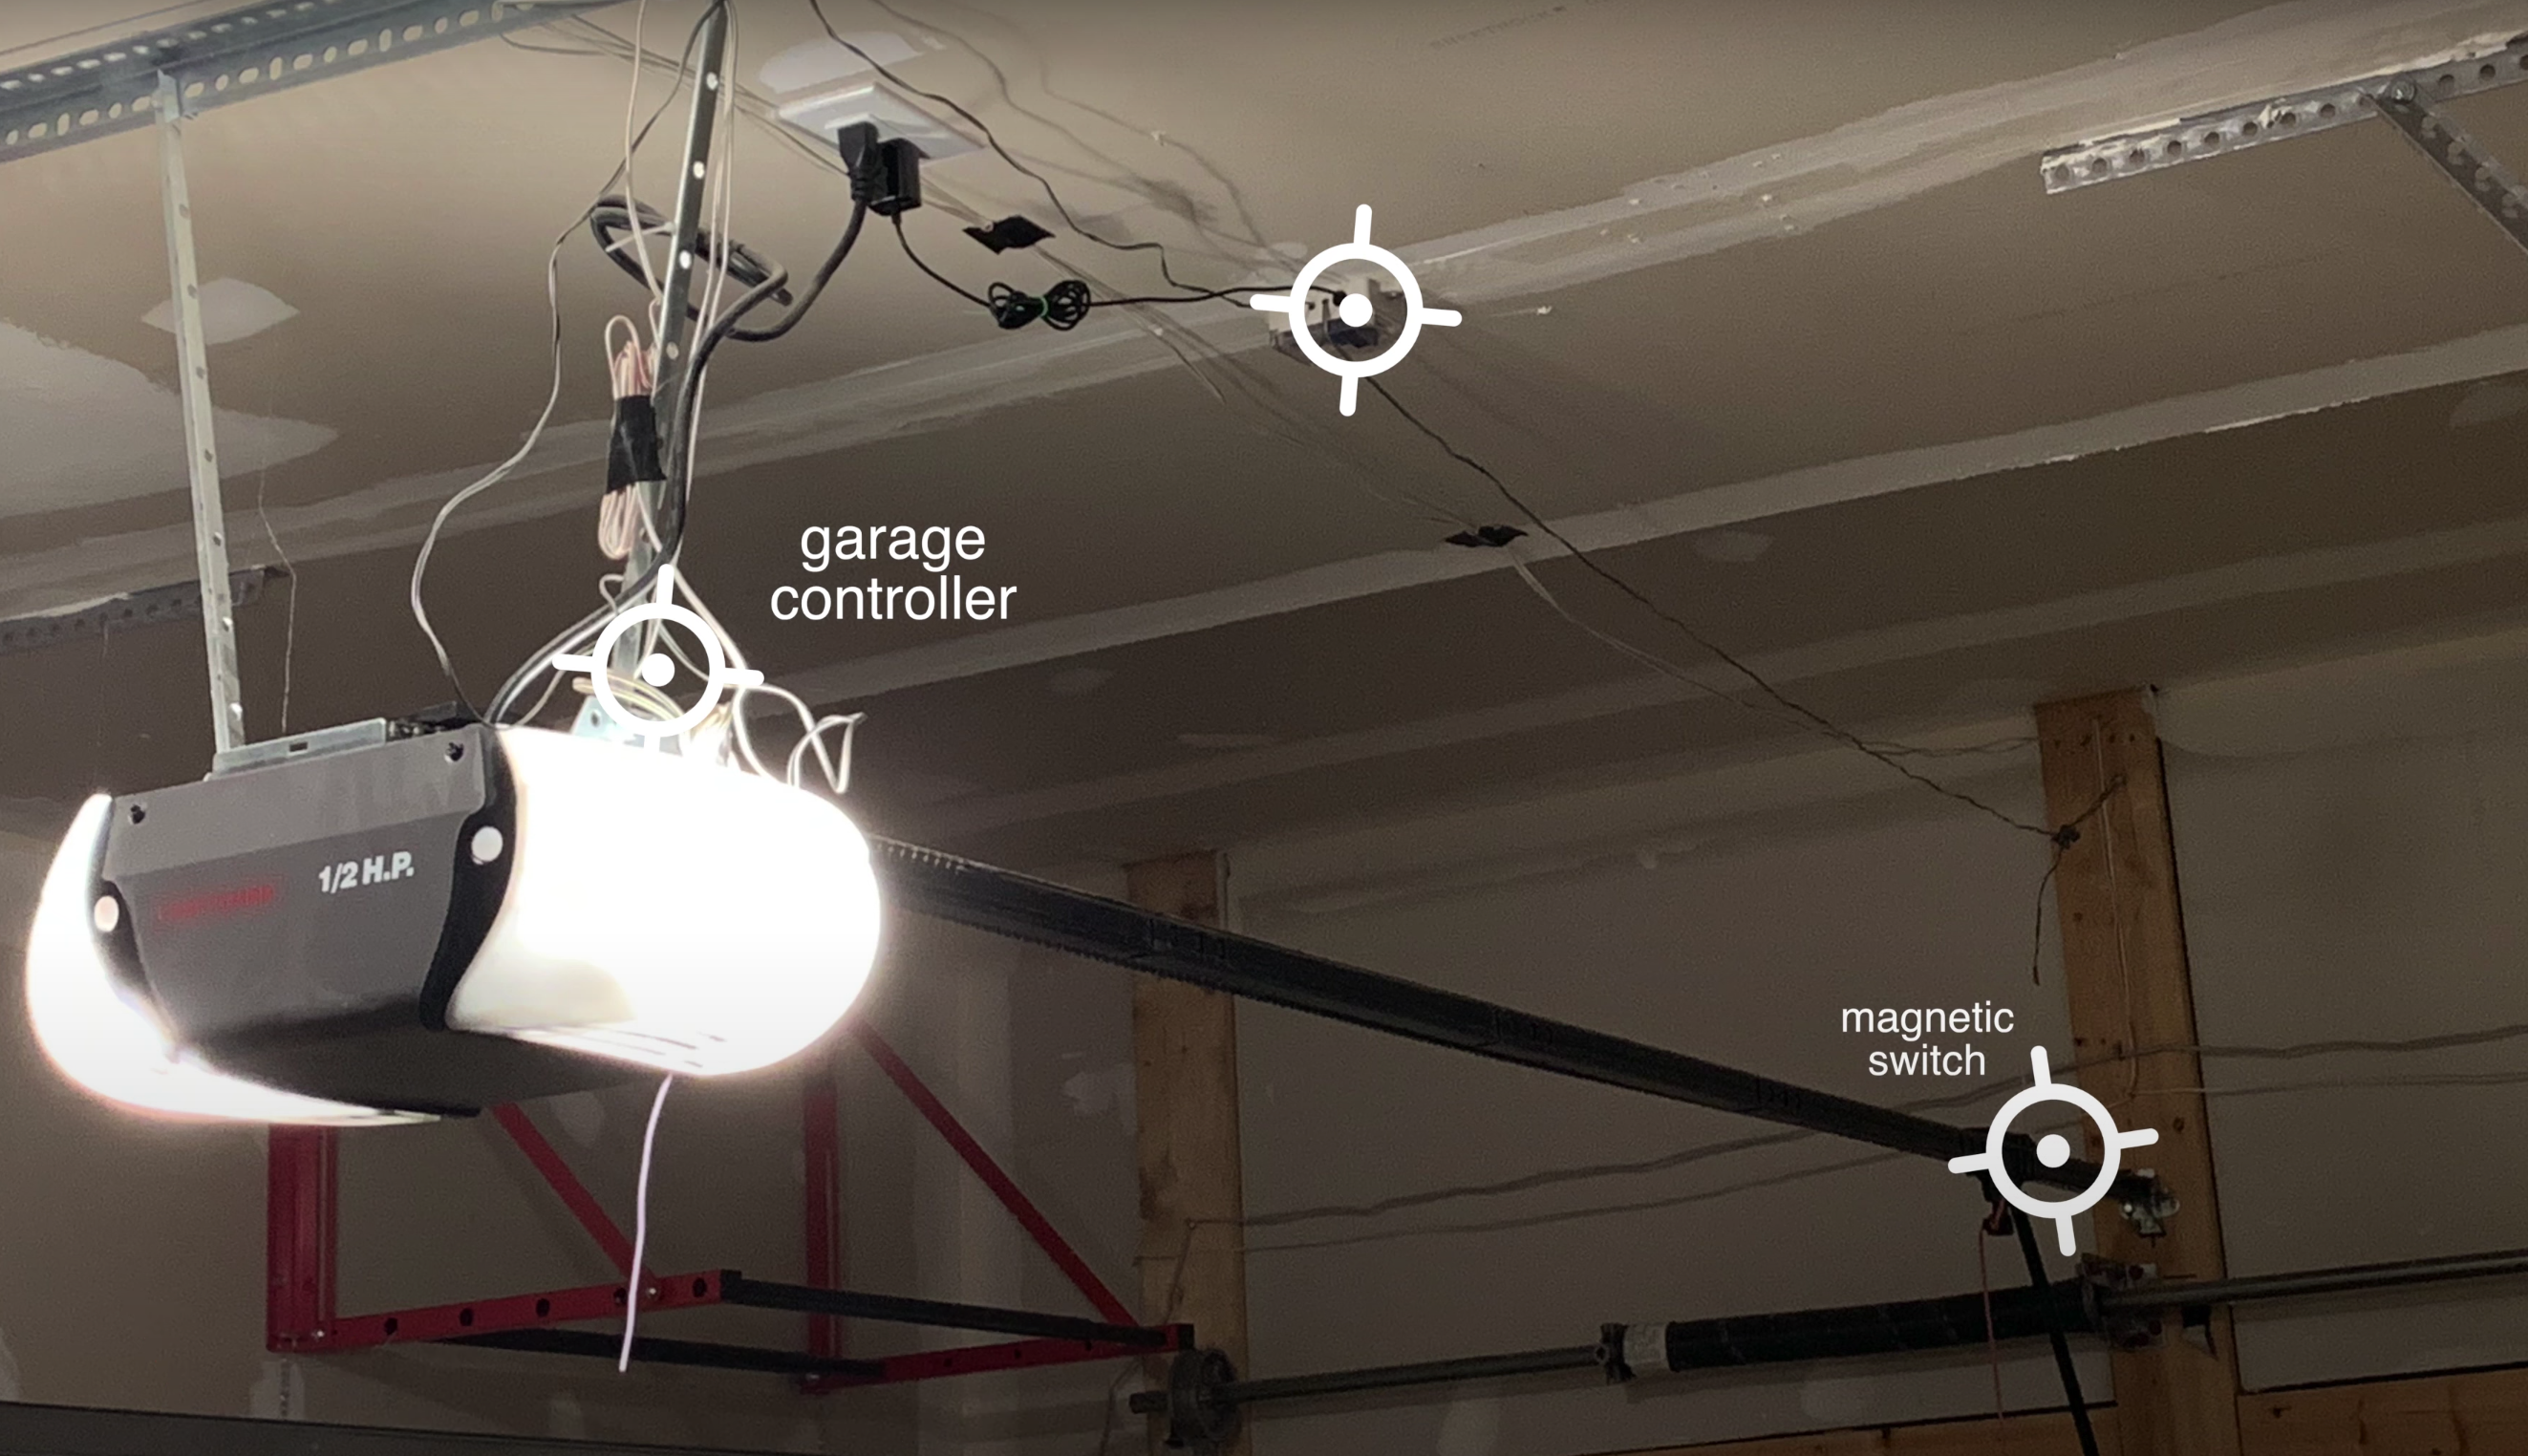
The relay simulates a garage door opener press and the magnetic switch checks the status of the cover ( open/closed).
The WeMos checks the status of the door and sends an update whenever the status changes. It also listens to an MQTT topic for open/close commands.
I ran into an issue of using port D3 which is mapped to the Programming port - which meant if the system boots and the garage door was closed, it would do into flashing mode. I changed that to port D2 which solved the problem. Lessson learned.
Software
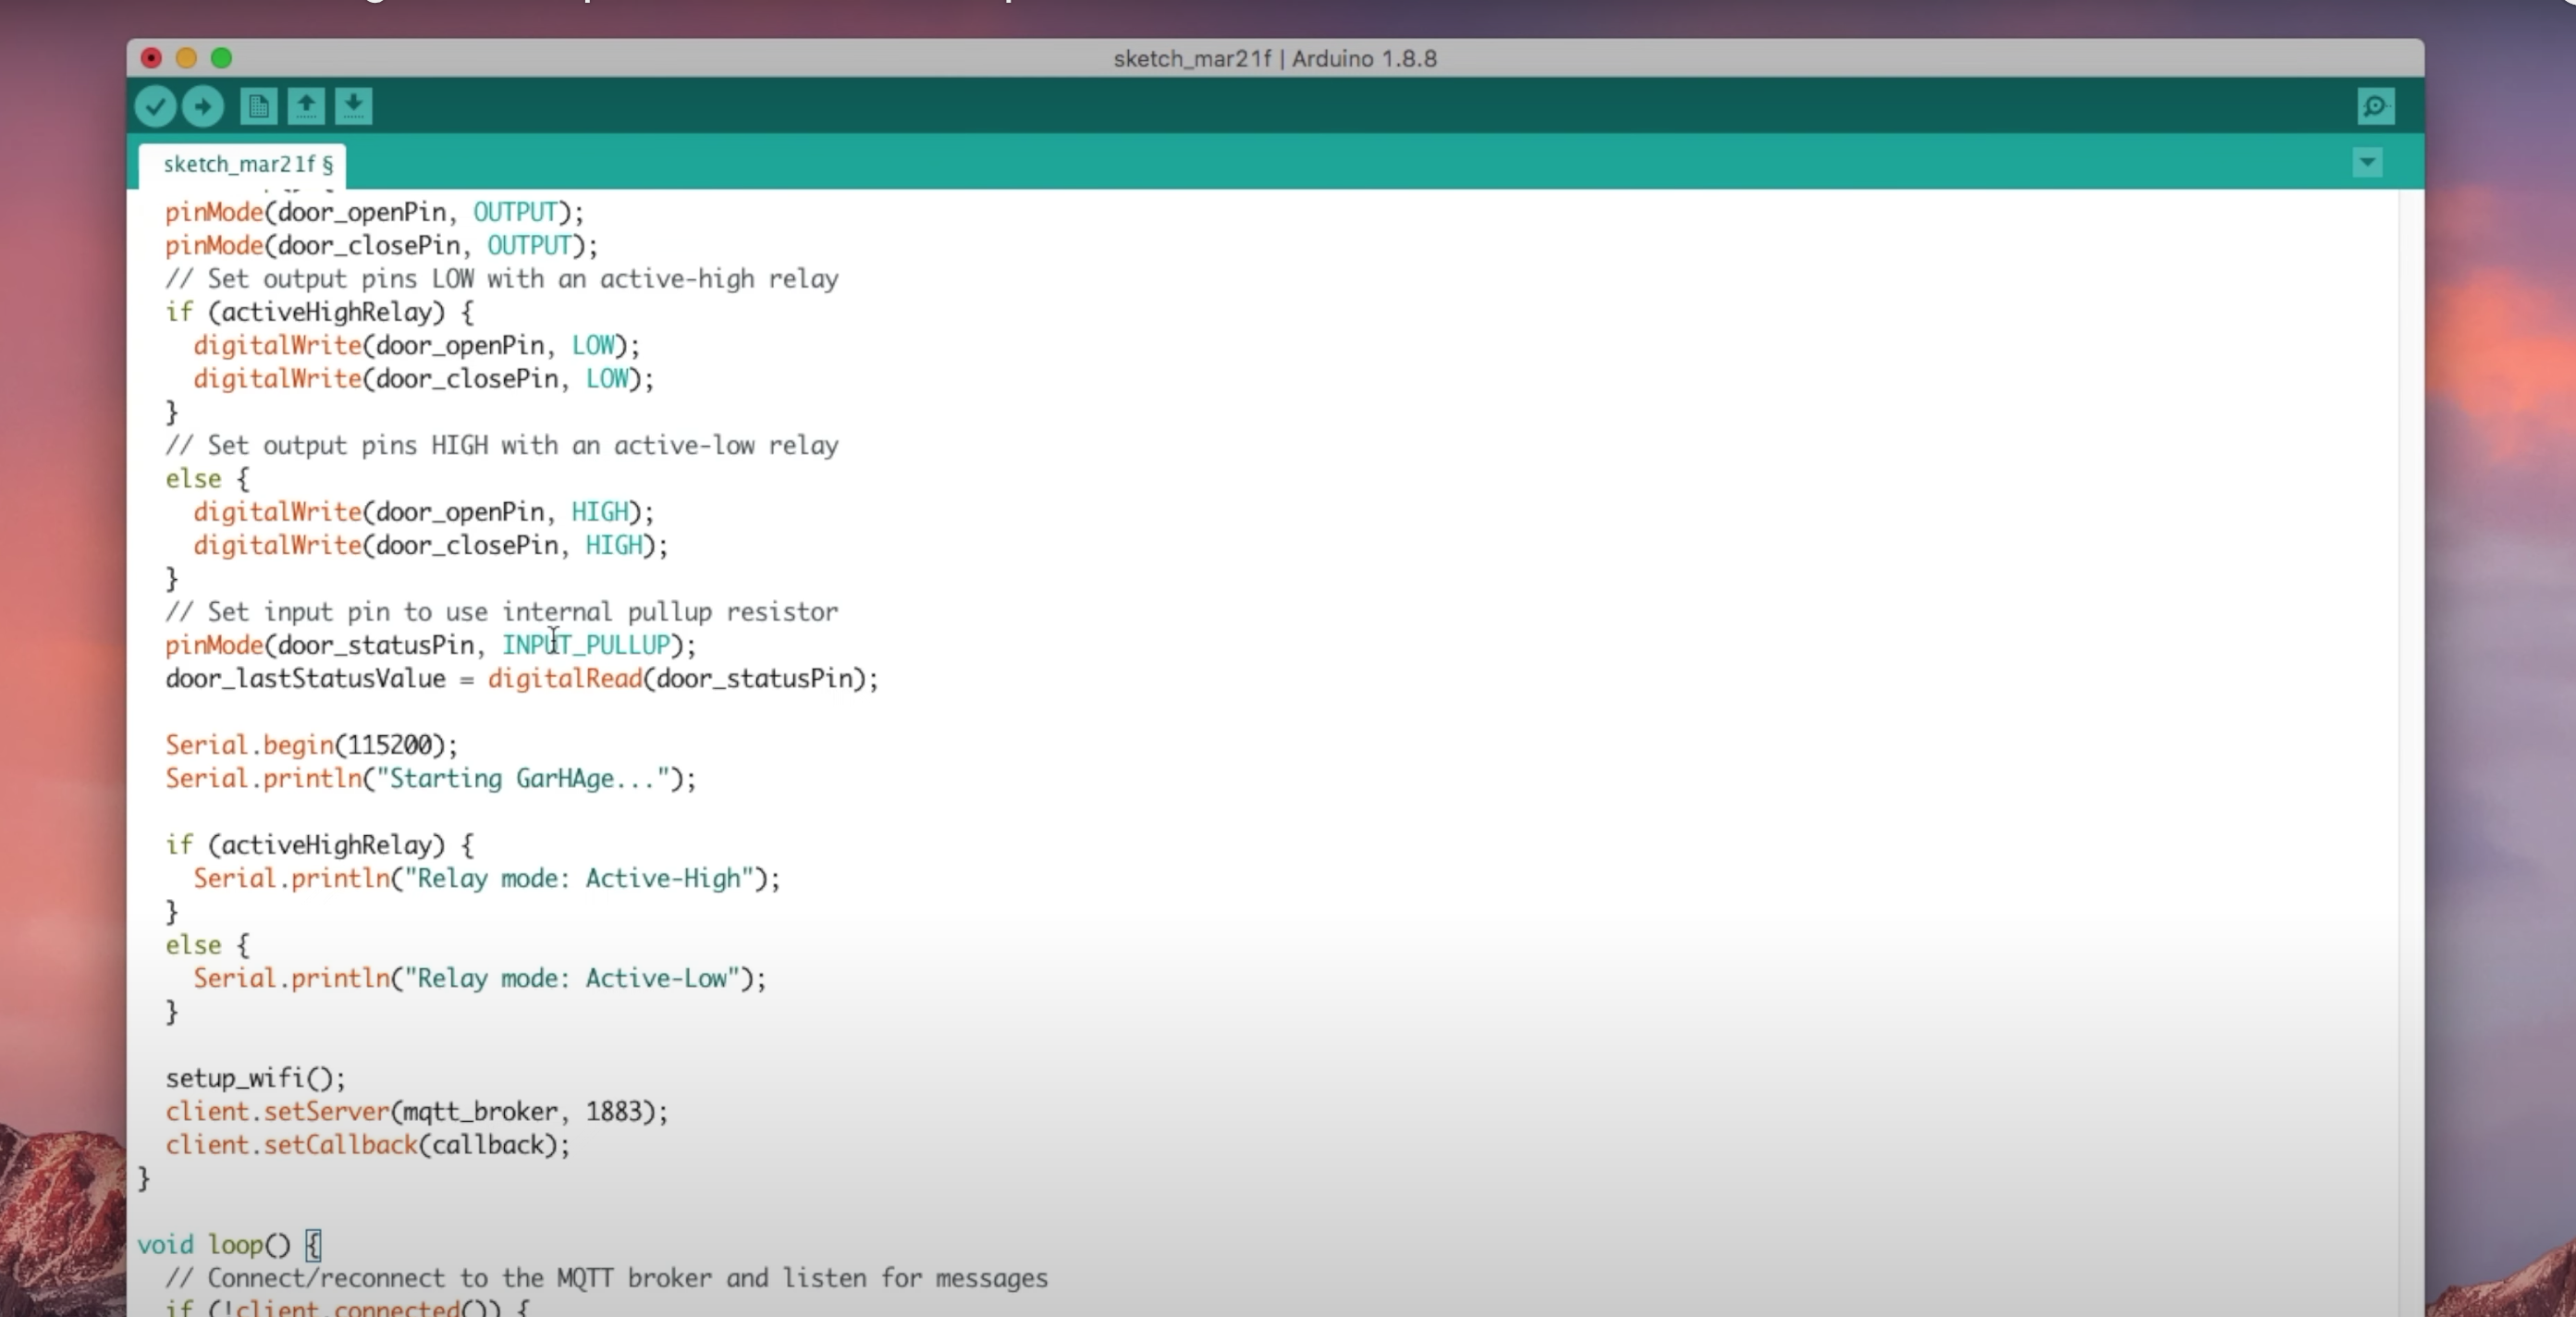
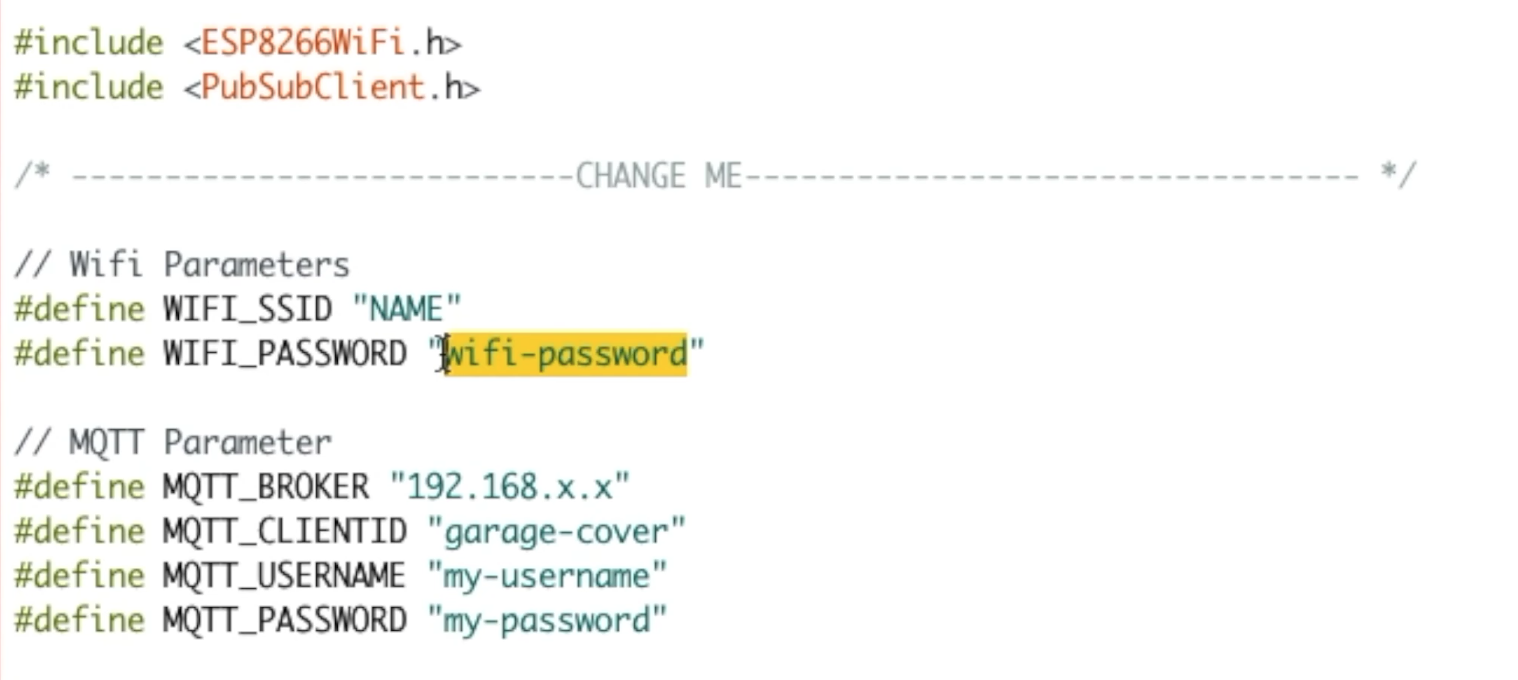
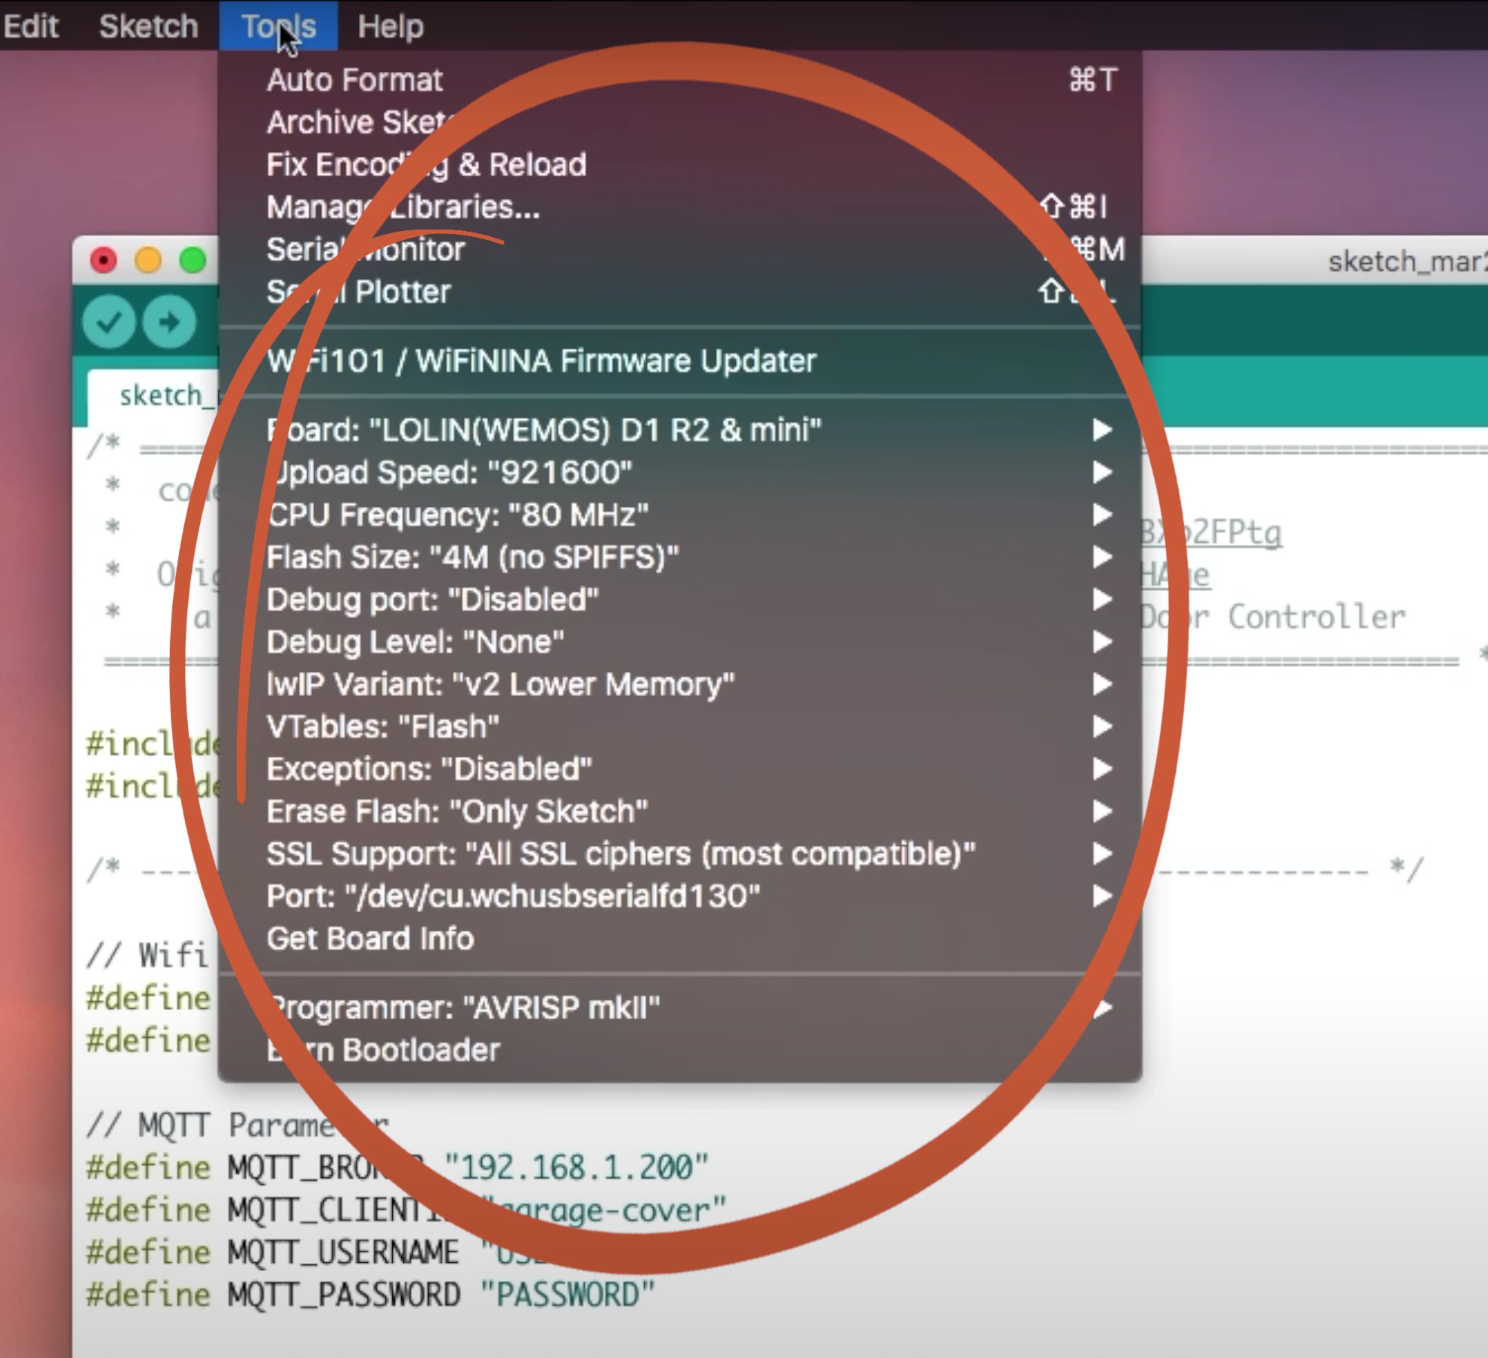
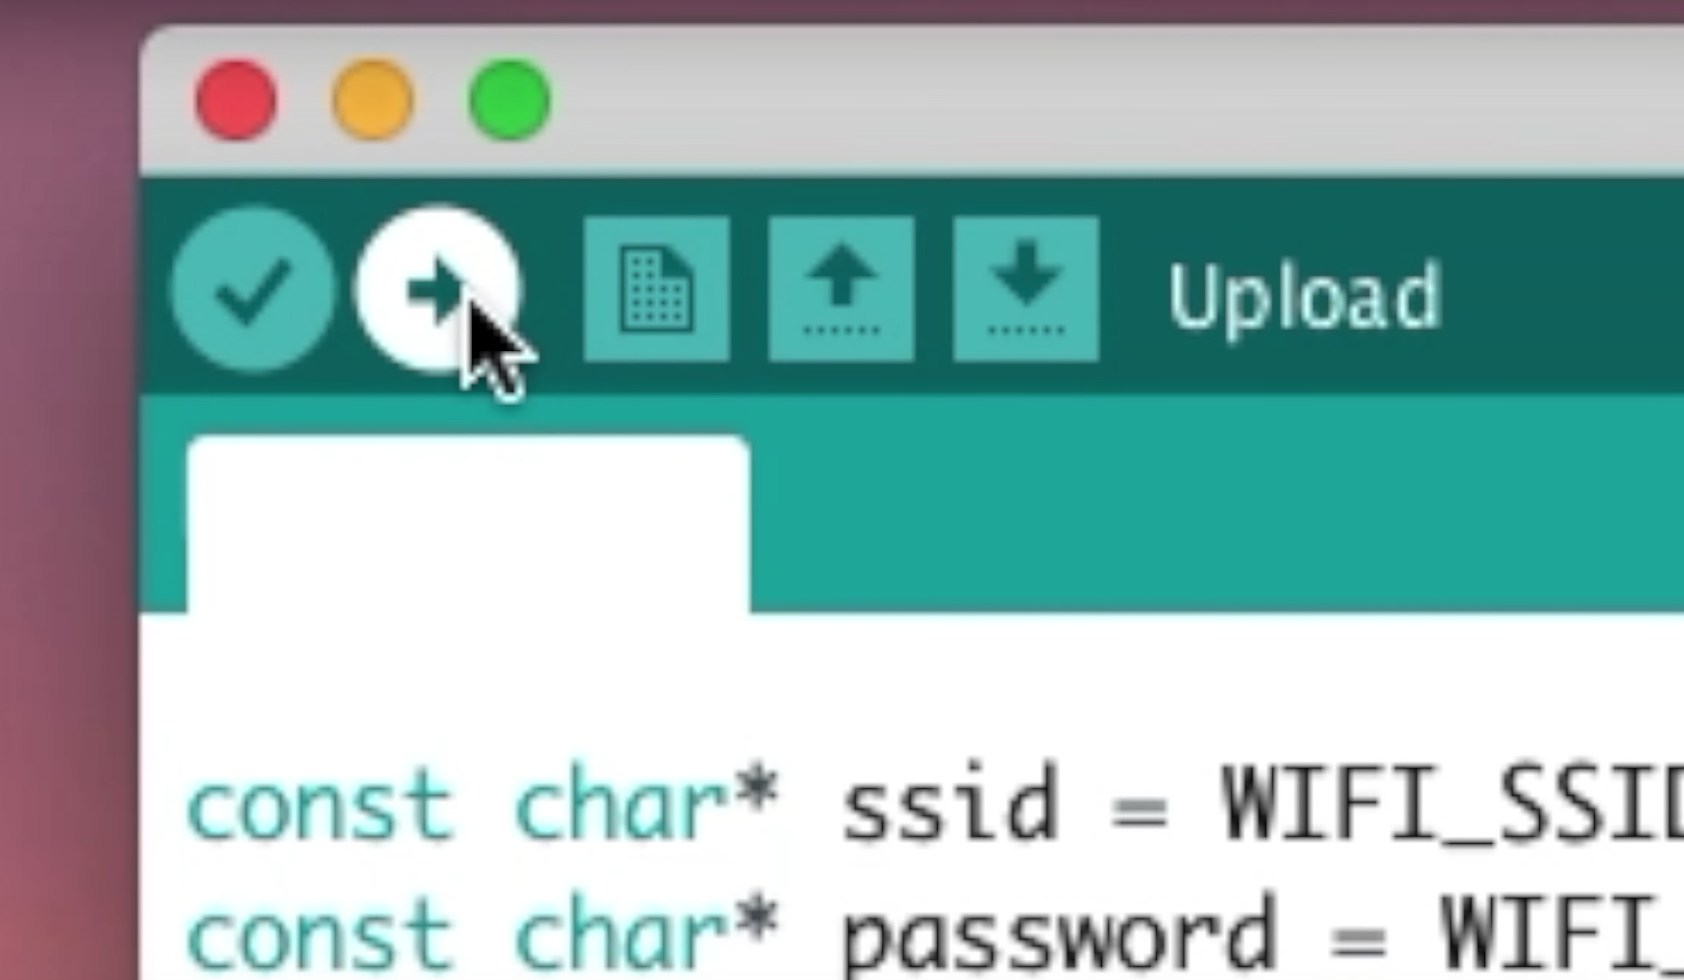
Connect the D1 mini to your computer, open the Arduino IDE, paste a copy of the code (attached here), change the configuration variables with your wifi and MQTT info and load the Wemos D1 Mini with the new firmware.
Downloads
Home Assistant
Back in Home Assistant open the configuration file and add a new sensor - the code is attached above.
After saving, restart home assistant for it to take effect. When it came back online, add the new garage sensor to the dashboard.
Downloads
Done
The integration is now complete. Your garage door opener is SMART!
If you found this useful, please consider subscribing to my YouTube channel - It helps me a lot.
If you are interested in supporting my work, you can check my Patreon page.
Much of the information contained is based on personal knowledge and experience. It is the responsibility of the viewer to independently verify all information.