DIY Safe Using Pattern Lock Shield
by MahmoudTolba in Living > Hiding Places
2603 Views, 33 Favorites, 0 Comments
DIY Safe Using Pattern Lock Shield
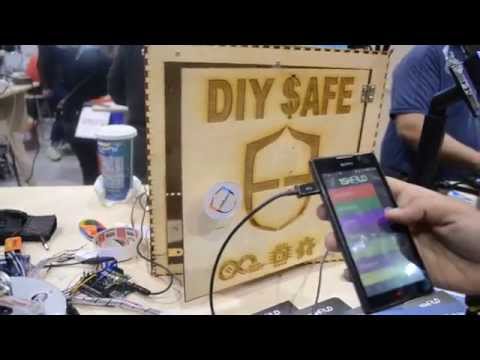
Simply this project is a DIY safe using Arduino & 1Sheeld.
I used one of the newest shields from 1Sheeld its Pattern Shield. Pattern Shield turns your smartphone to a secret pattern locker shield so Arduino can take actions by a certain patterns defined by user.
For more information please visit this link.
When you enter the correct pattern Arduino will open the door of the safe.
I used a simple mechanism to lock the safe using 2 servo motors to lock the safe and another servo motor to push the safe's door.
You can add alot of features to secure your safe such as if someone entered a wrong pattern, your smart phone send you a SMS message or update your twitter status or turn on your alarm system.
What Will You Need!
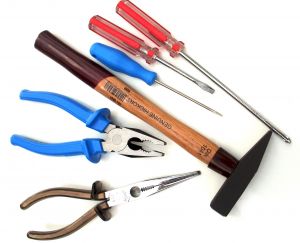
You will need some tools to fix the safe part such as:
1. Screwdrivers.
2. Pliers
3. Digital Multimeter
4. Copper spacers ( To fix the Arduino Board)
5. Double Sided Glue Tape
6. Nylon Cable Tie Belt
7. 3 x Small Hinge
Materials:
1. Plywood Sheets 3mm
2. Screws & Nuts
Electronics components:
1. Arduino UNO
2. 1Sheeld
3. Android Smart Phone
4. 3 x Servo motors
Mechanism & Frame Design

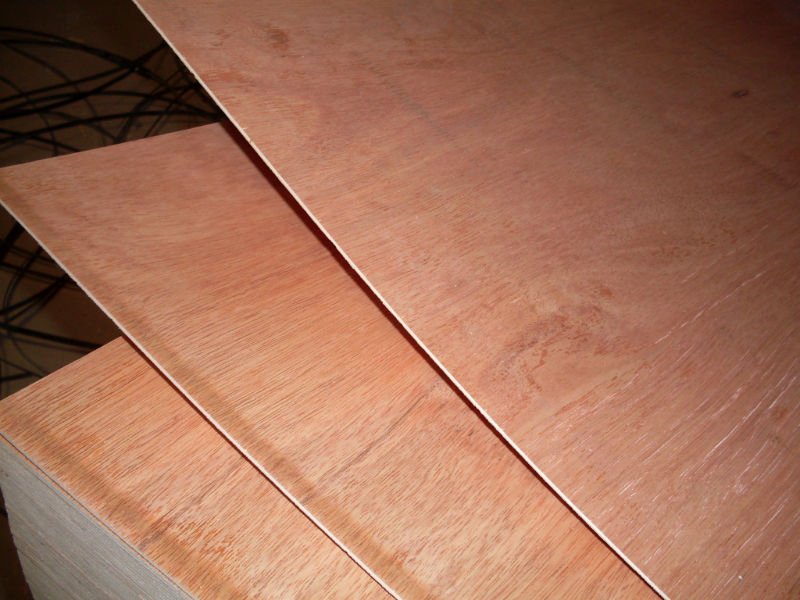
I made the box of the machine from plywood 3mm using BoxMaker this great software that you give it the dimensions and it will generate a PDF you can use to cut a notched box on a laser-cutter.
Unfortunately i found that this software has a bug at the last release that will make two parts from the box will not fit with the other parts, So please be careful.
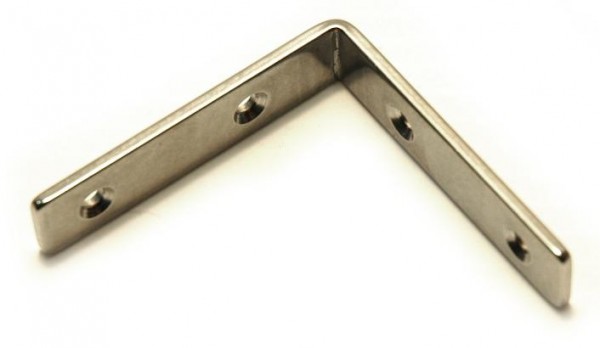
I used stainless steel angle brackets to fix the box sides.
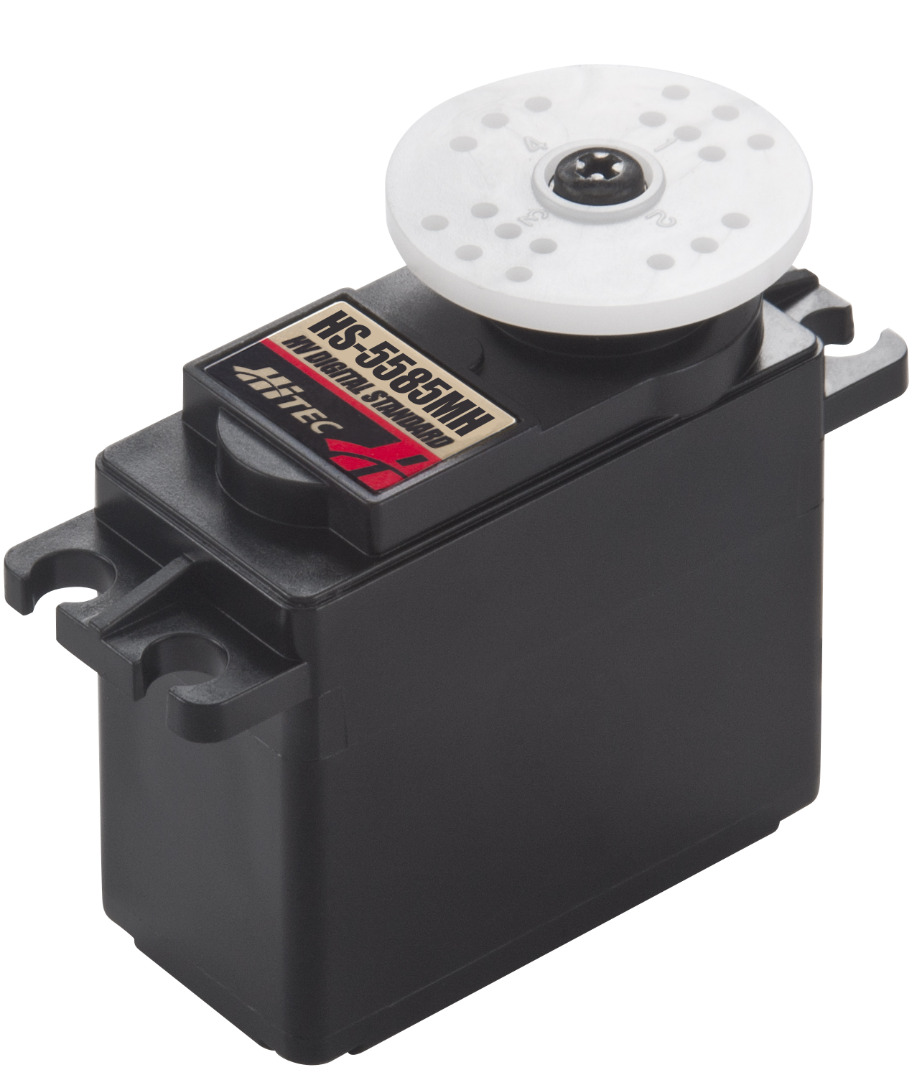
I used 2 servo motors to lock the door and a small servo motor to push the door when you want to open it.
Downloads
Mechanism & Frame (Fabrication and Assembly)
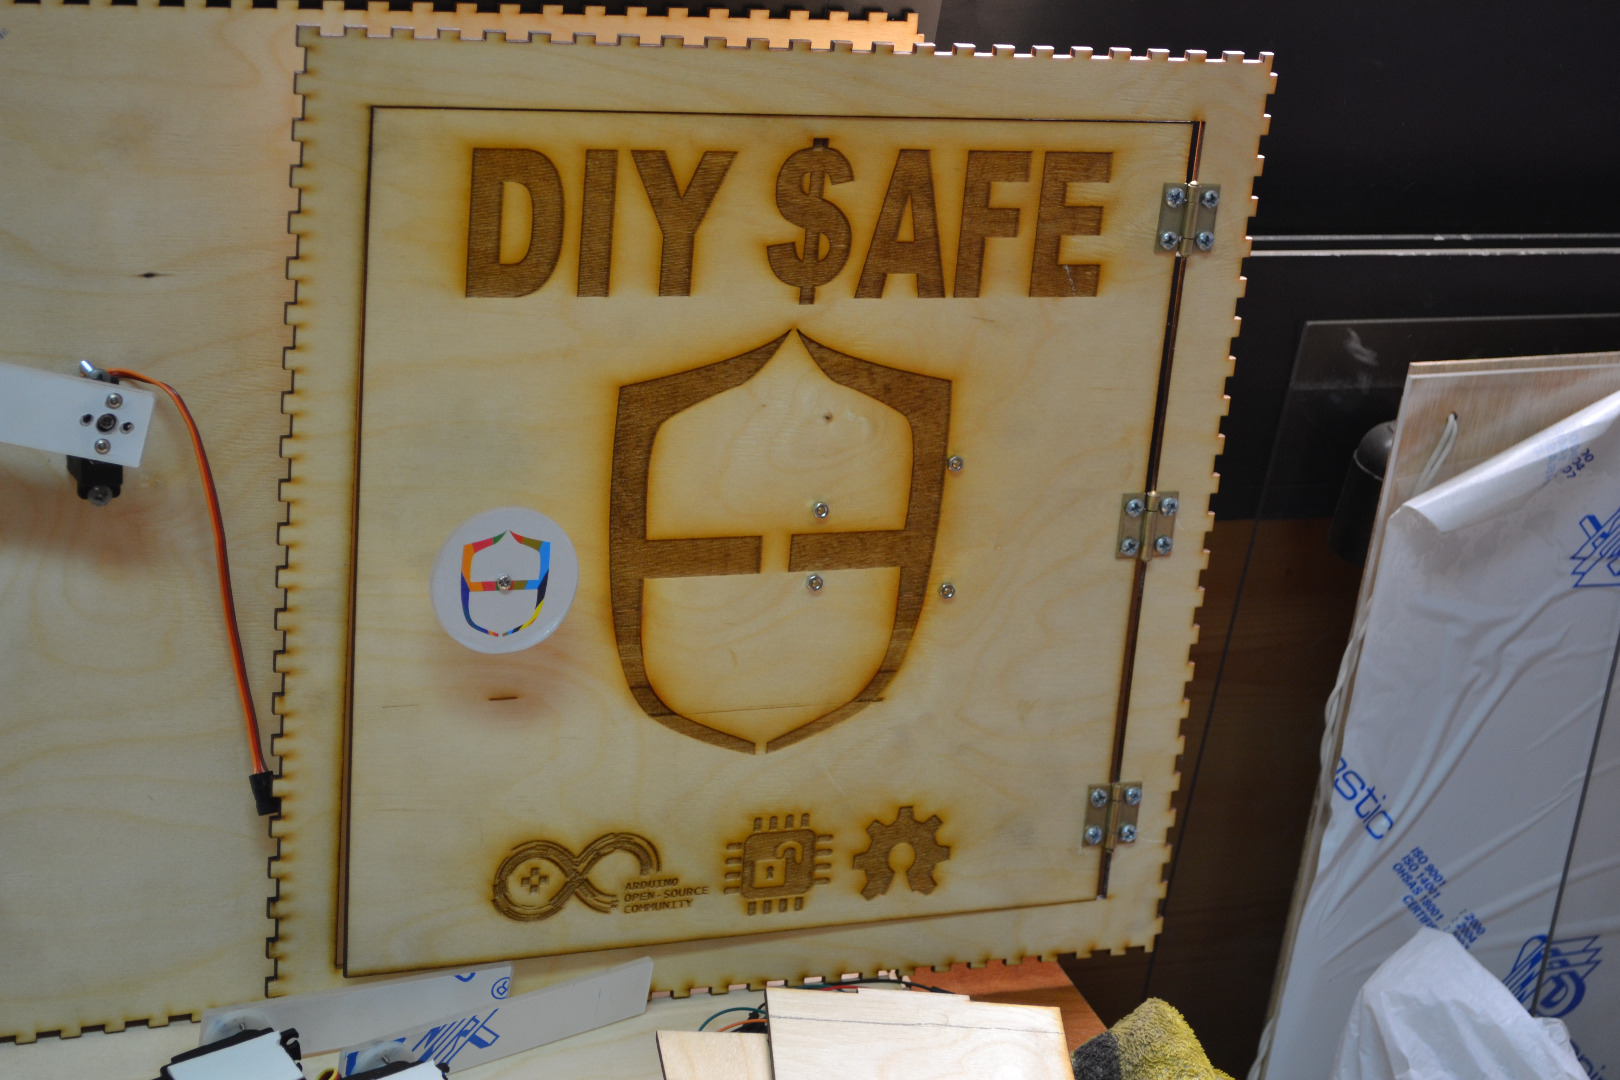
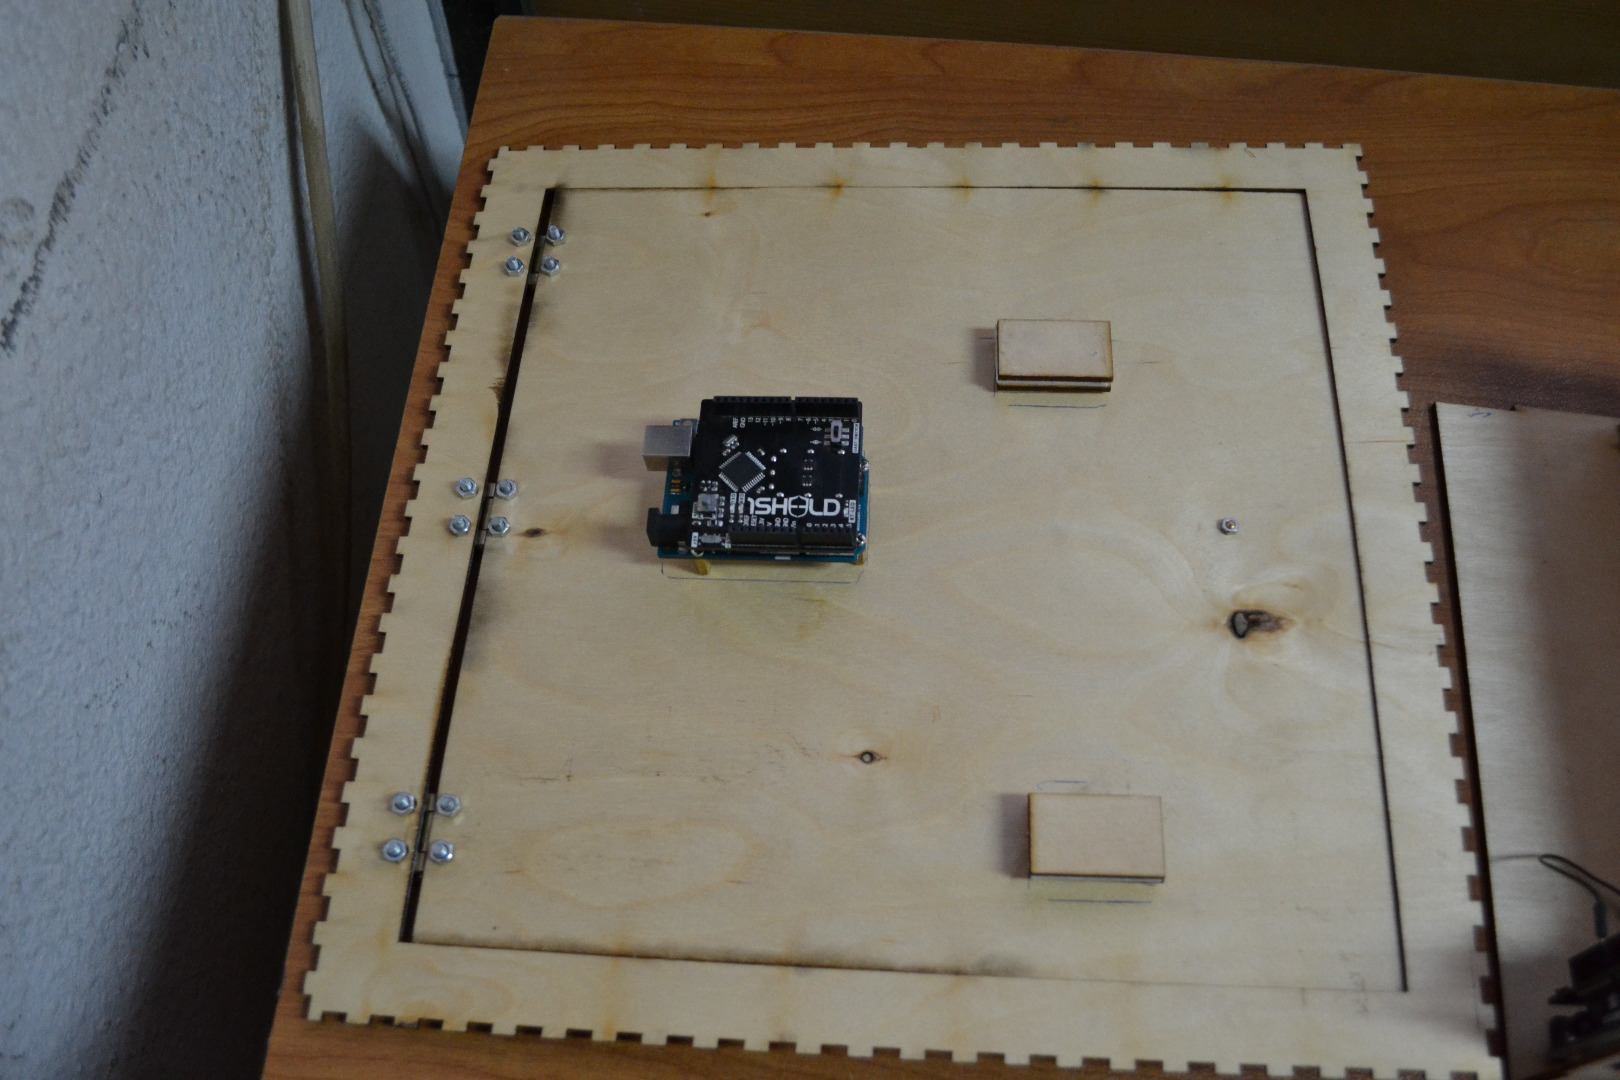
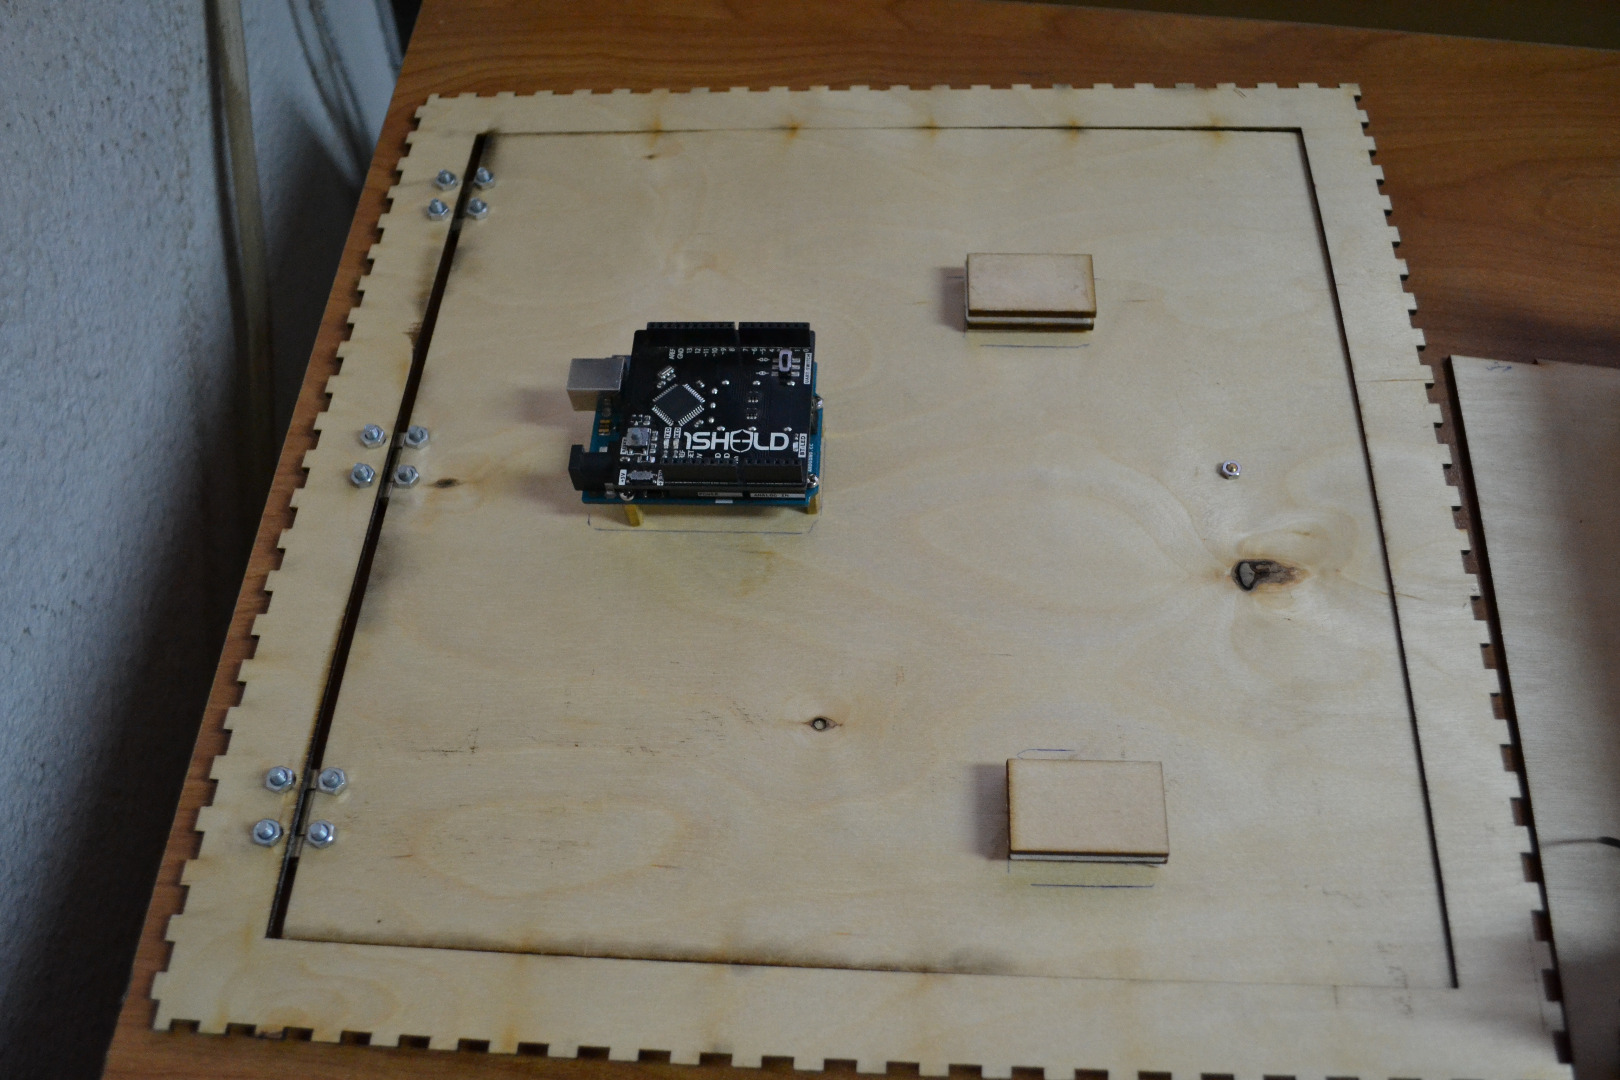
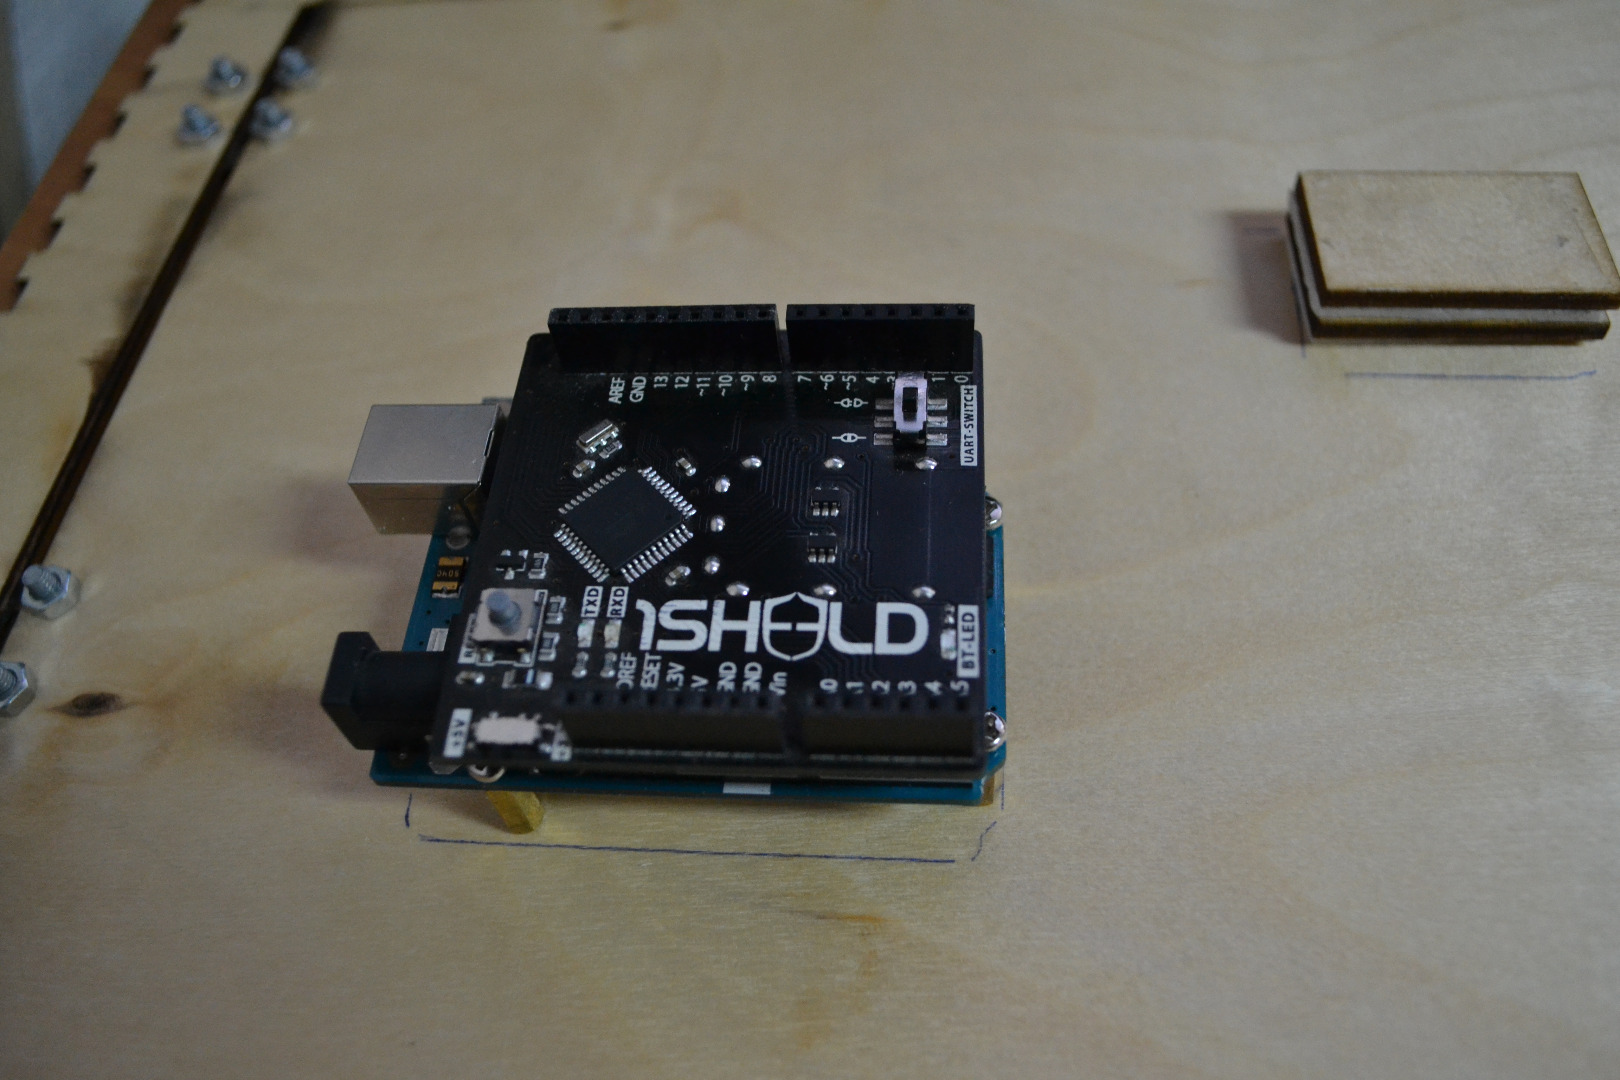
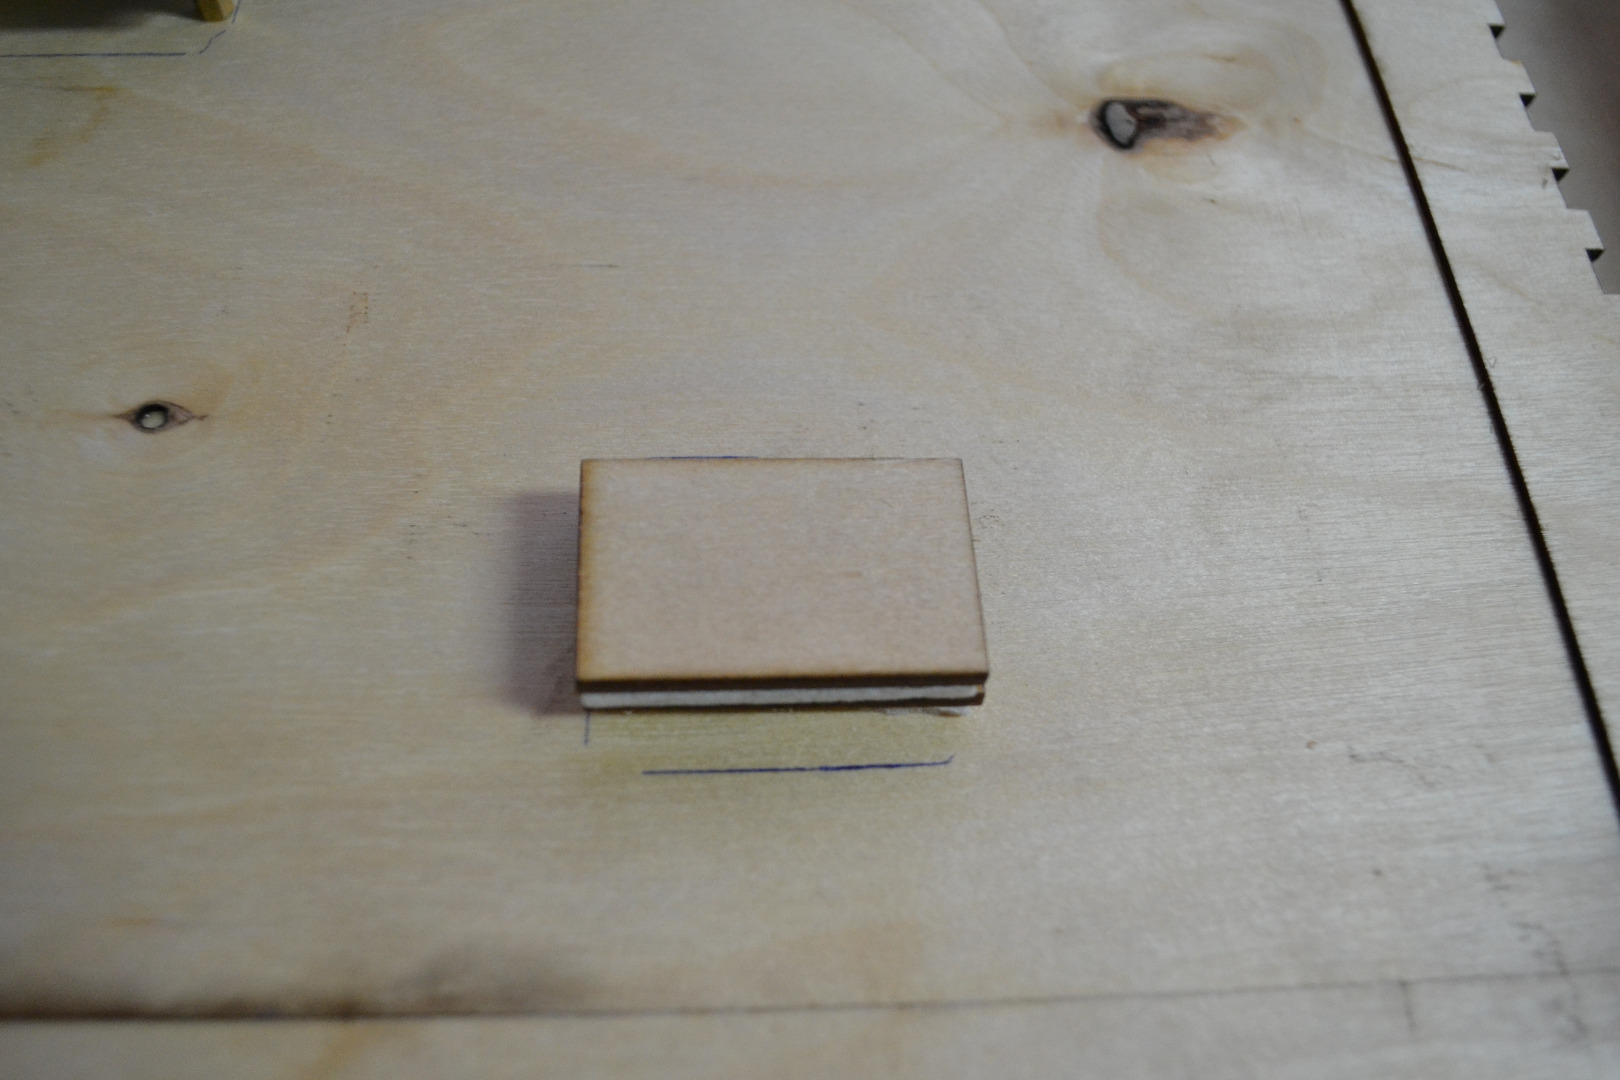
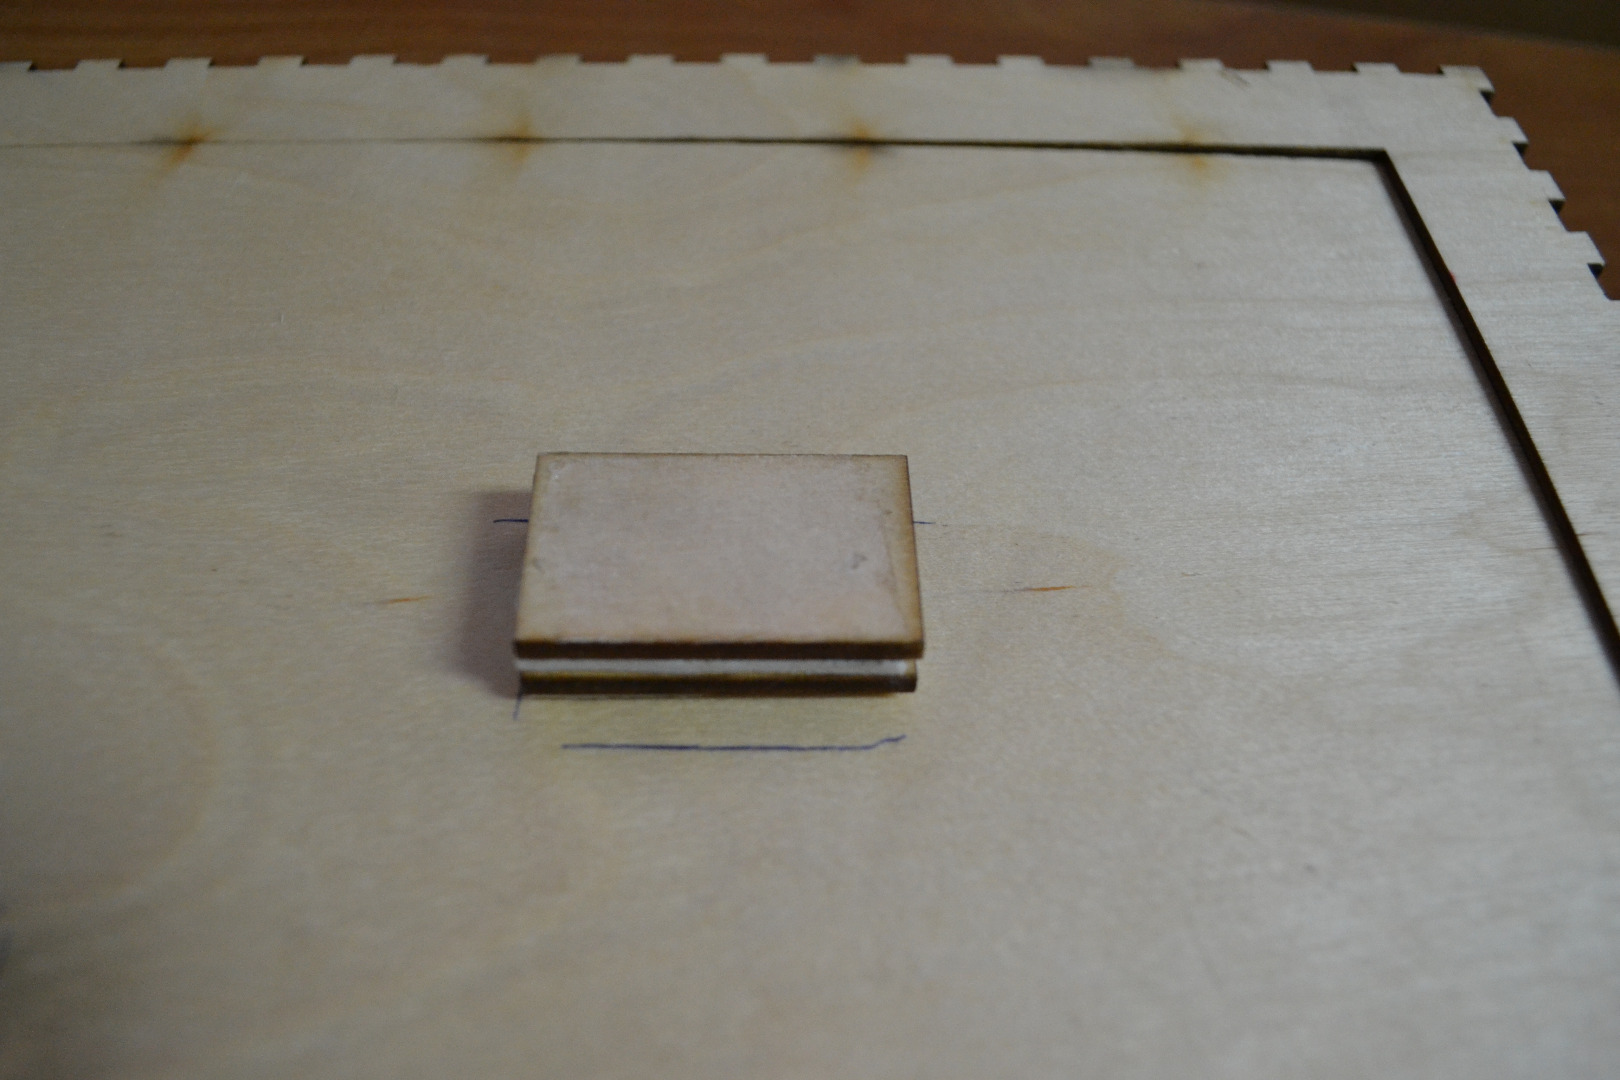
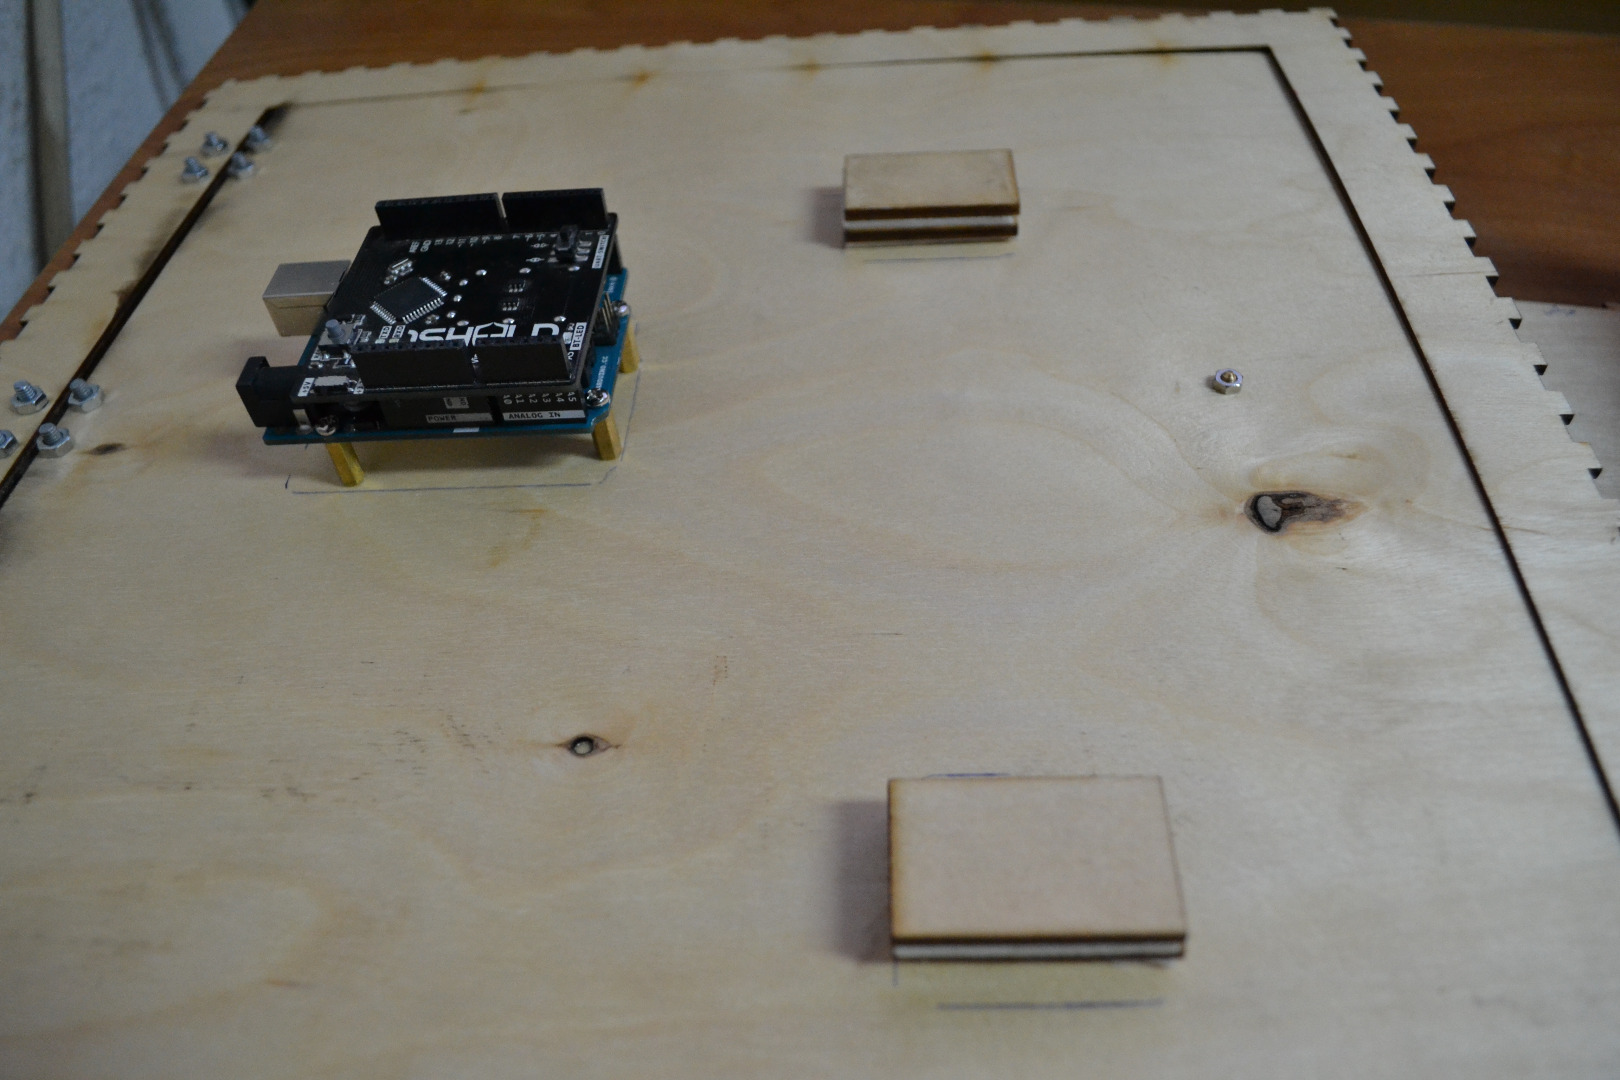
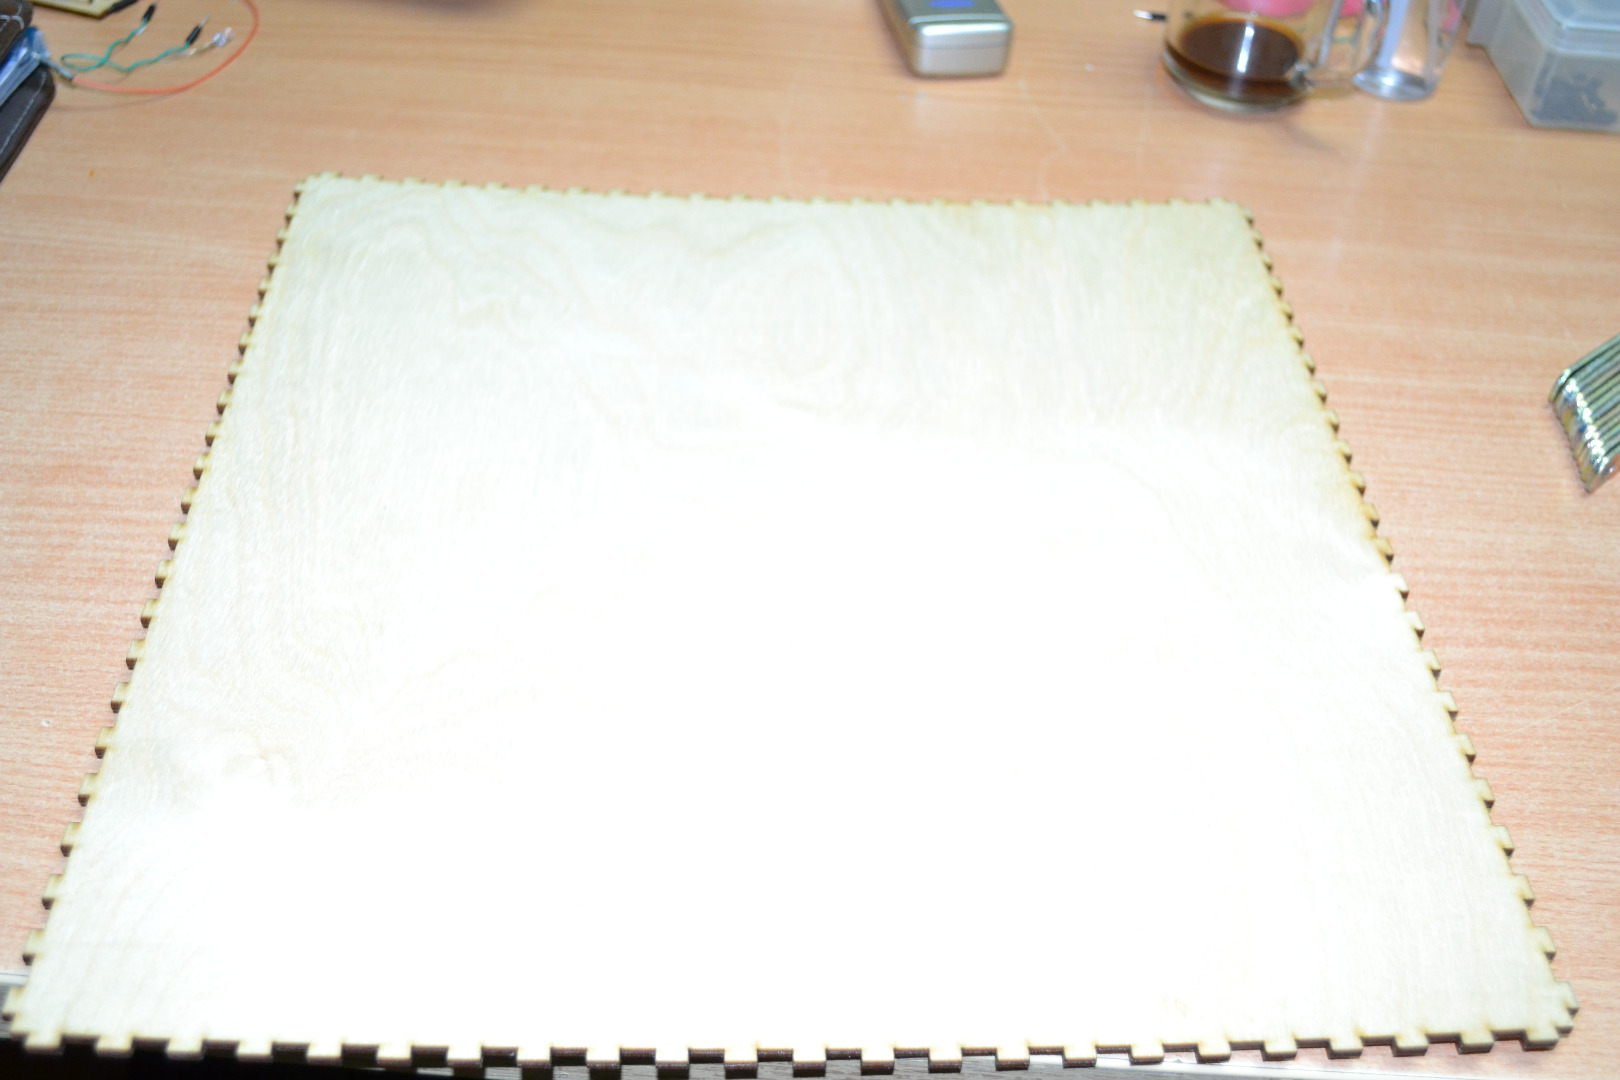
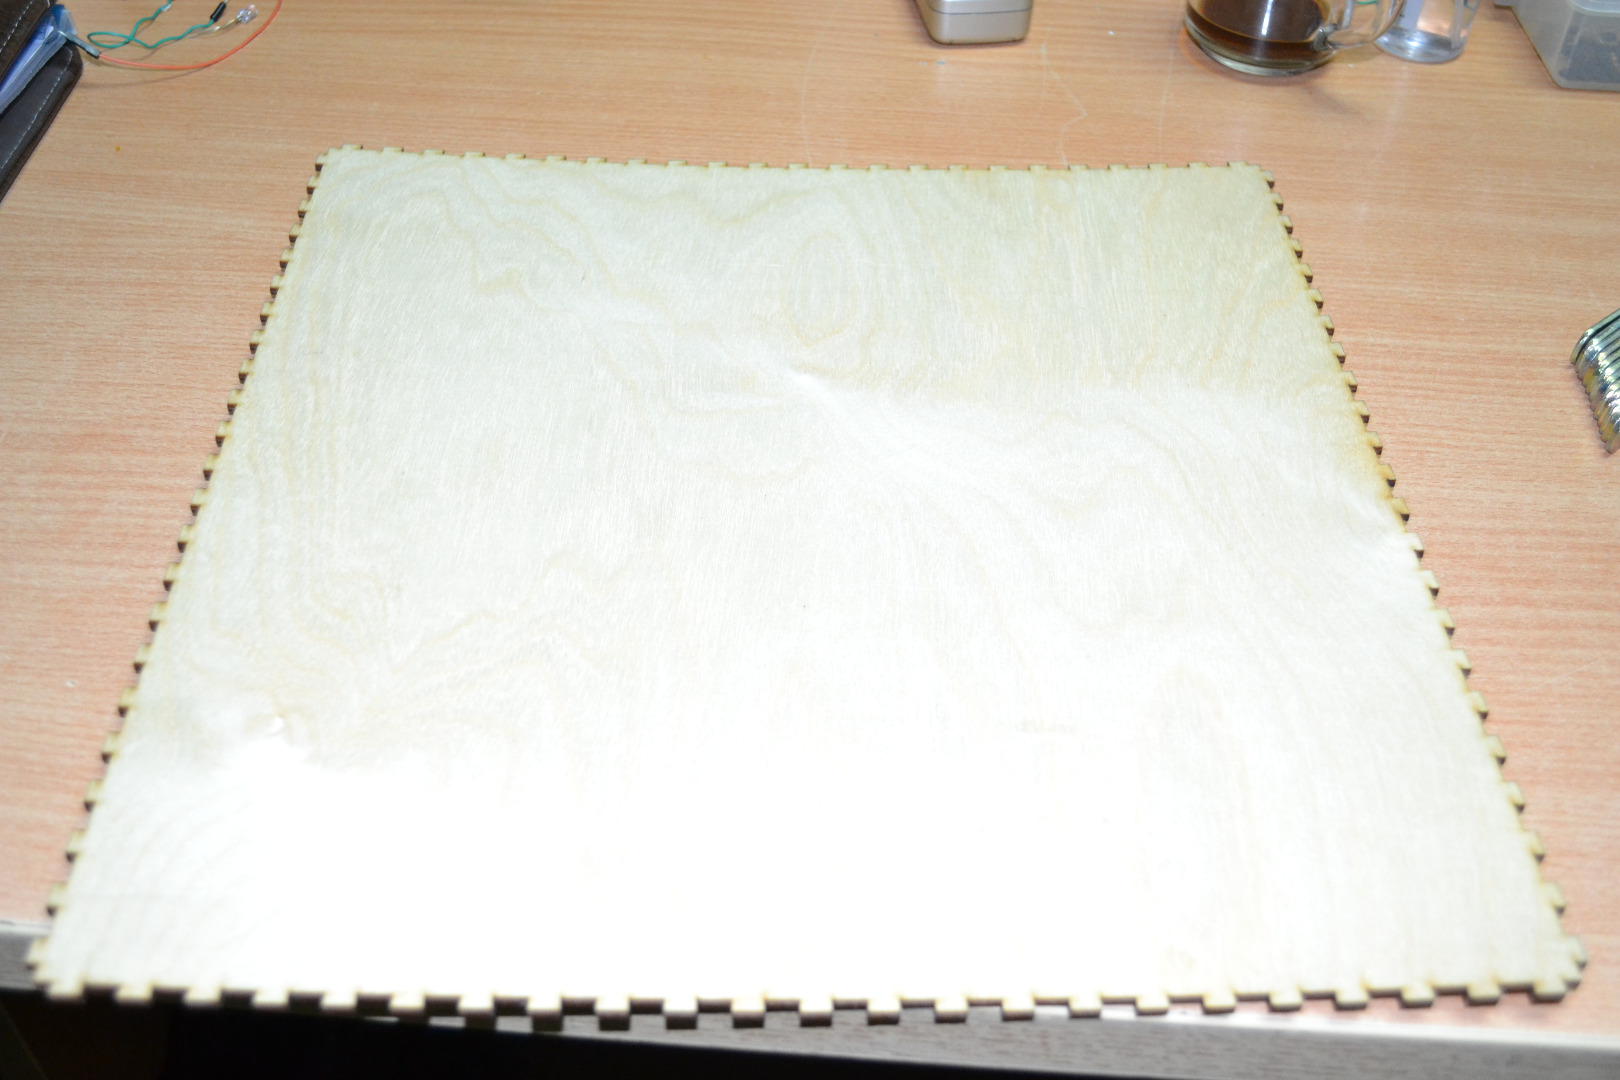
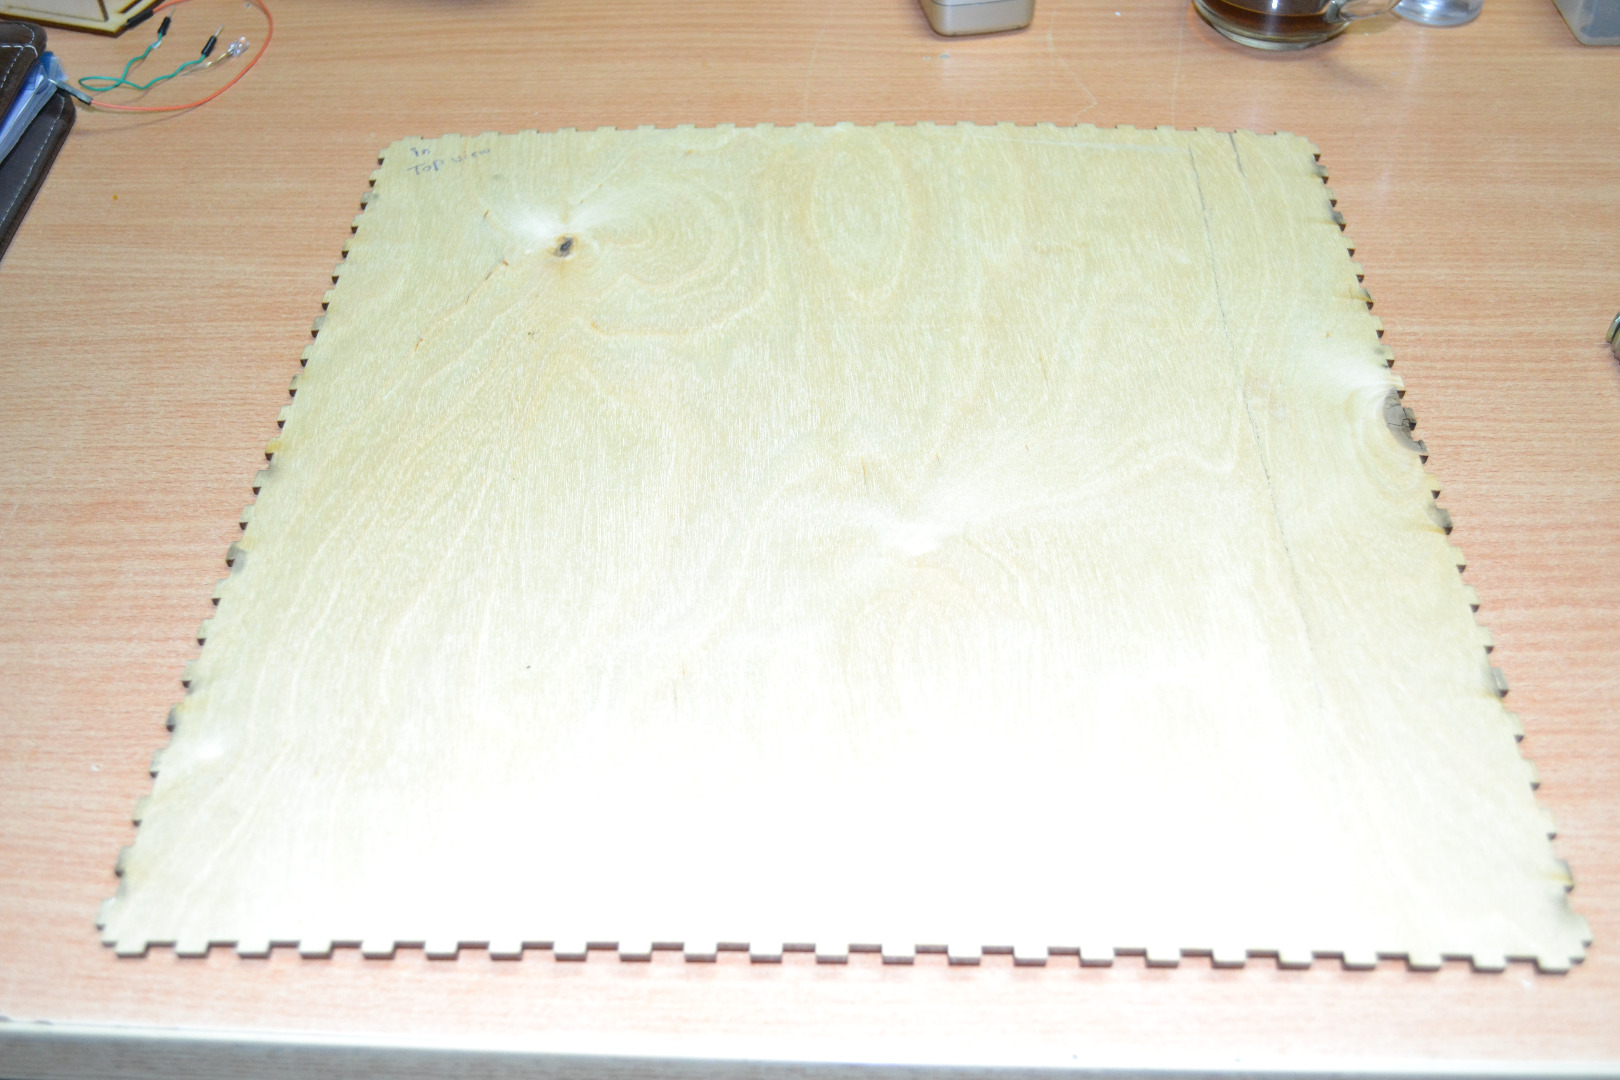
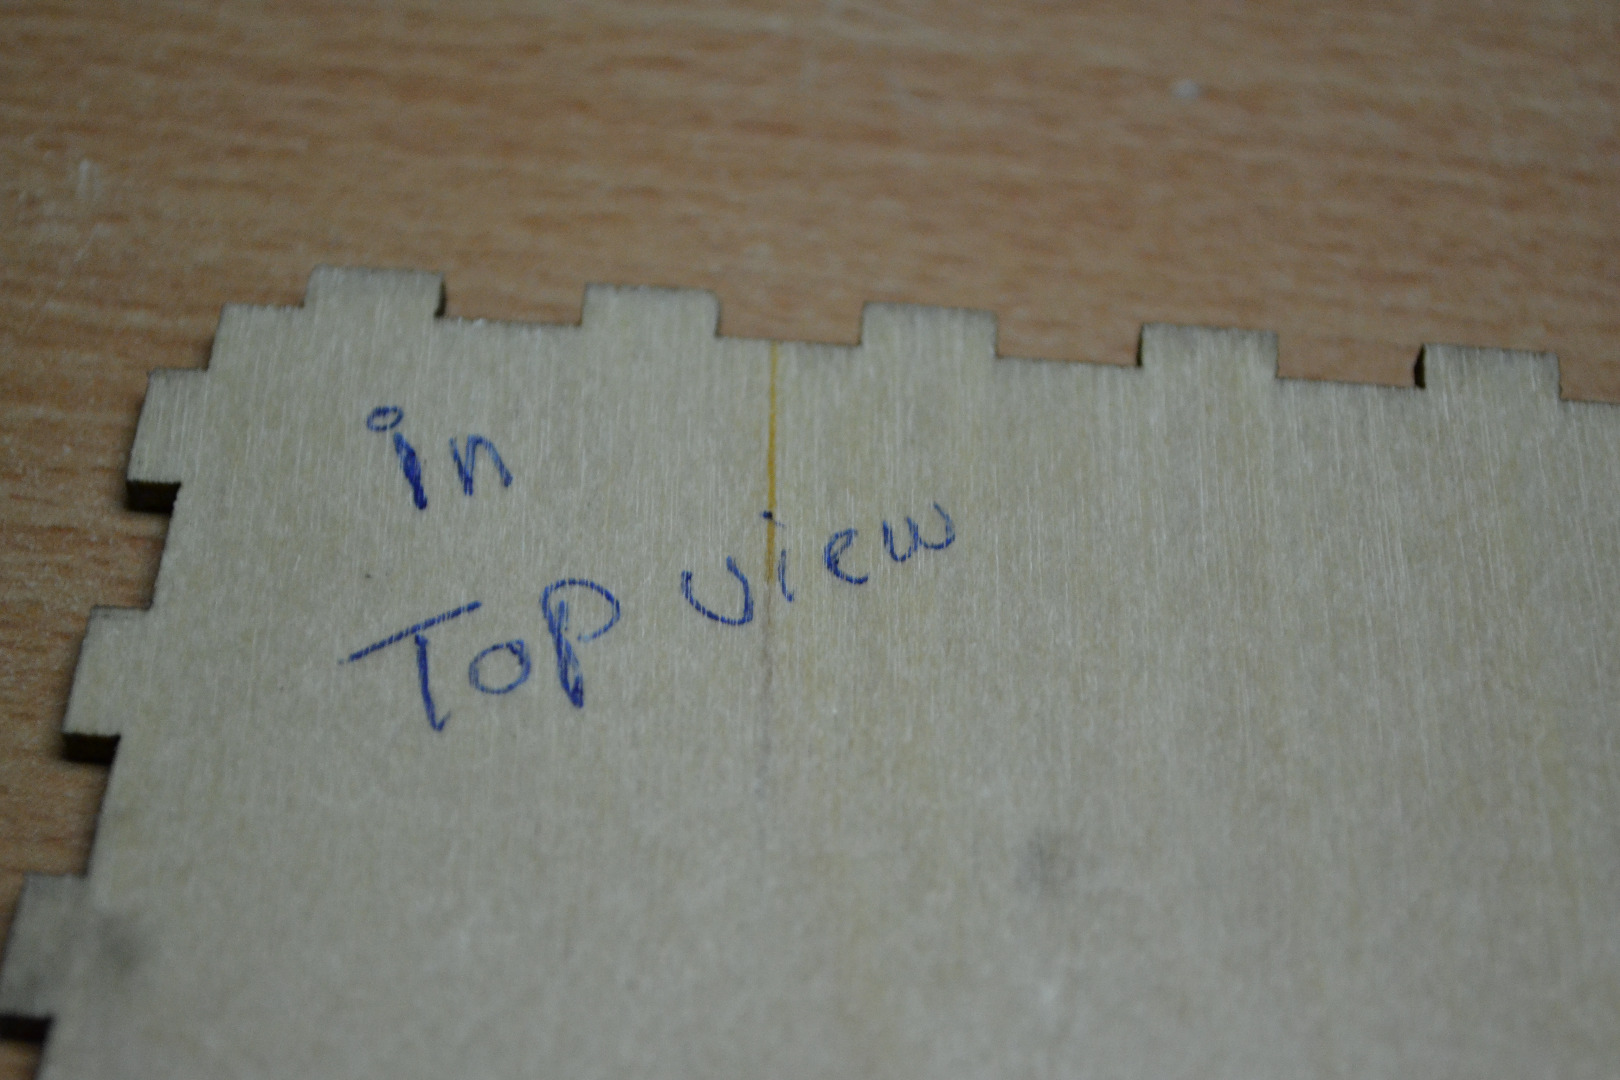
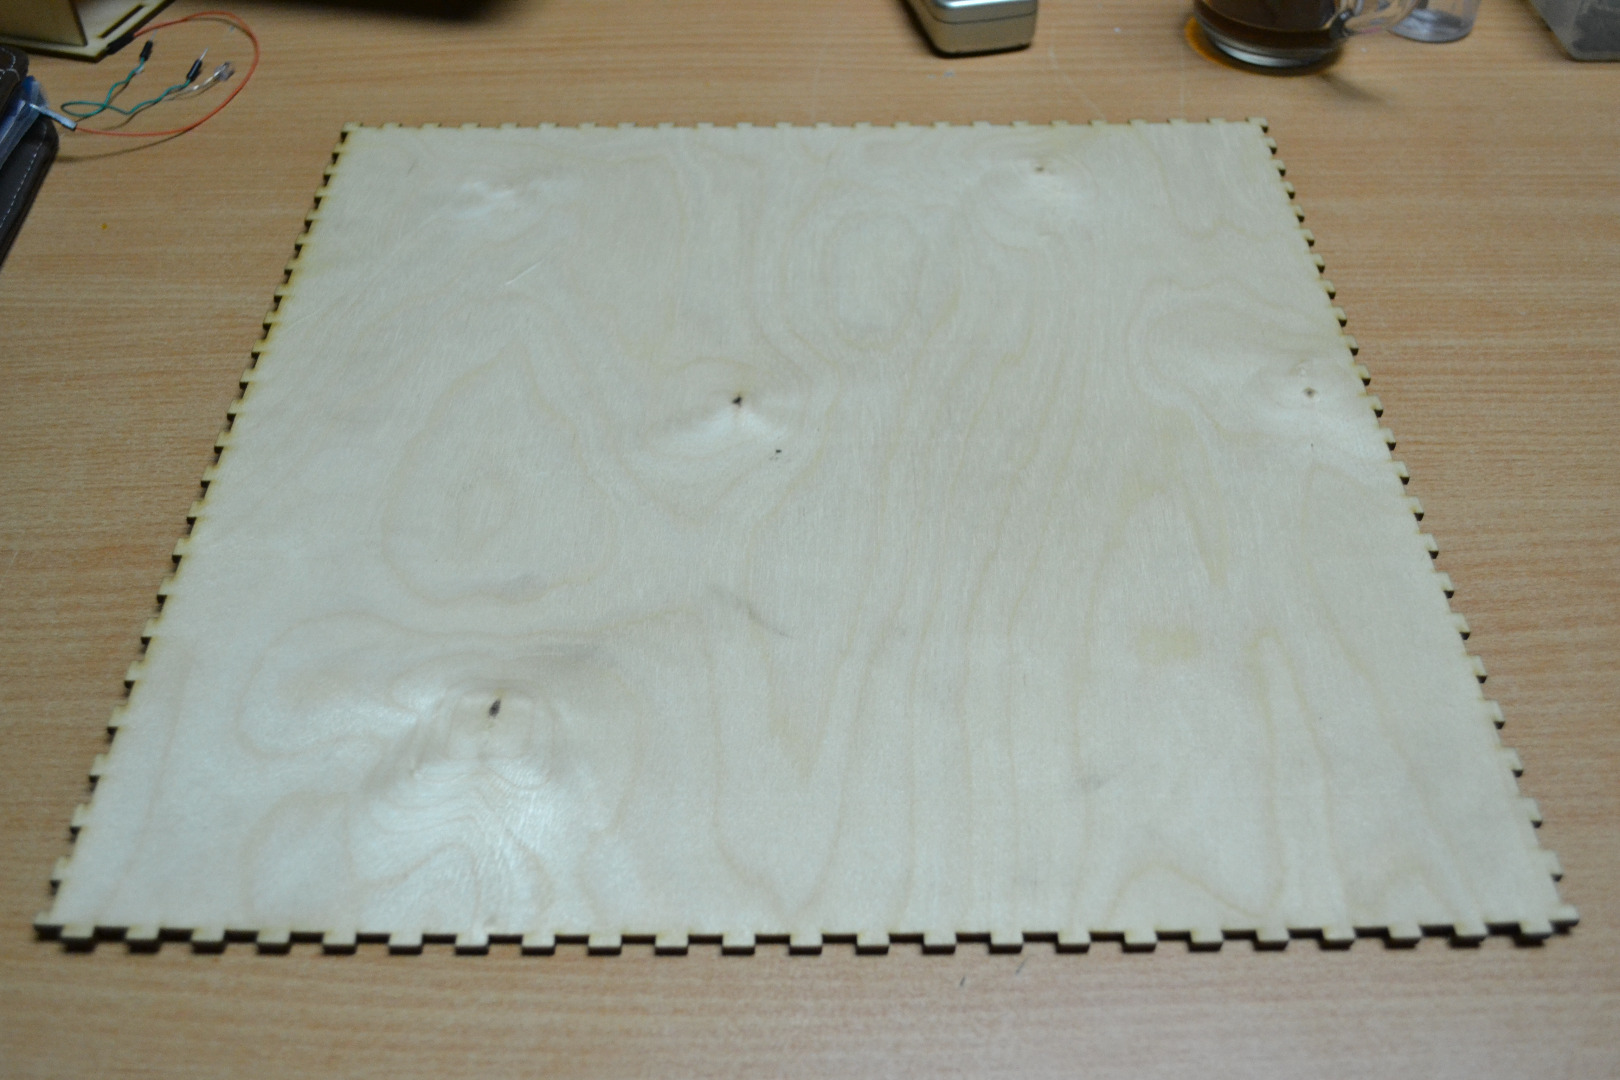
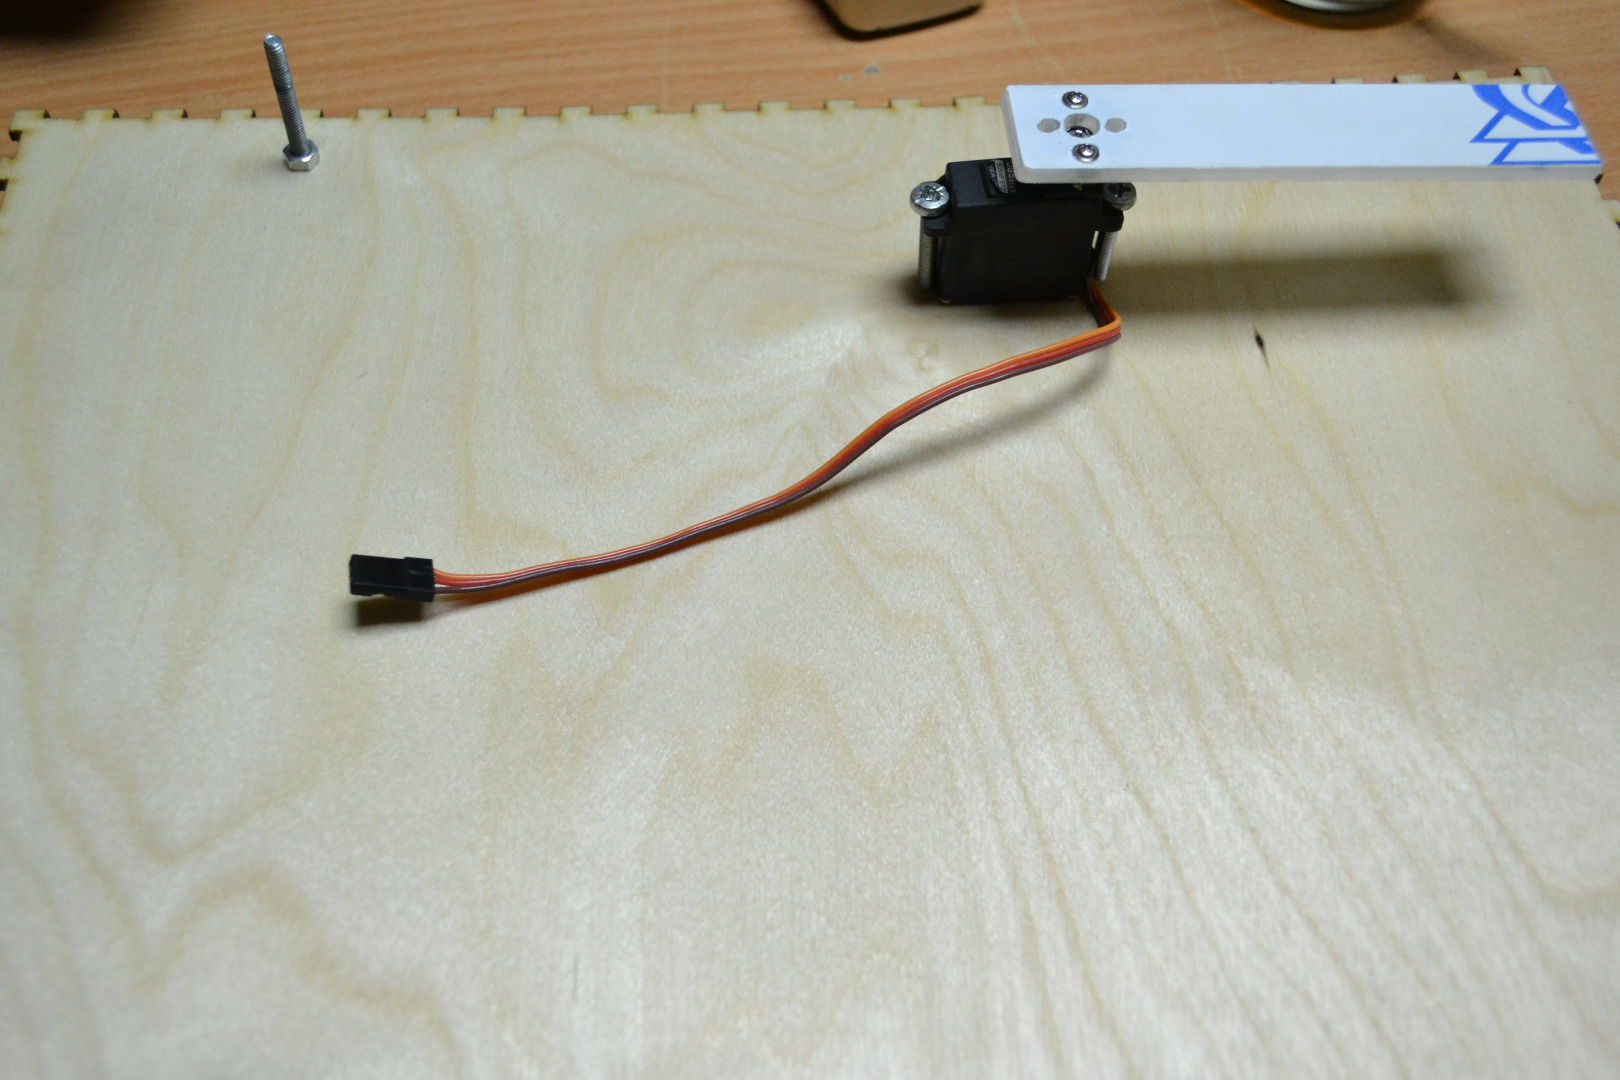
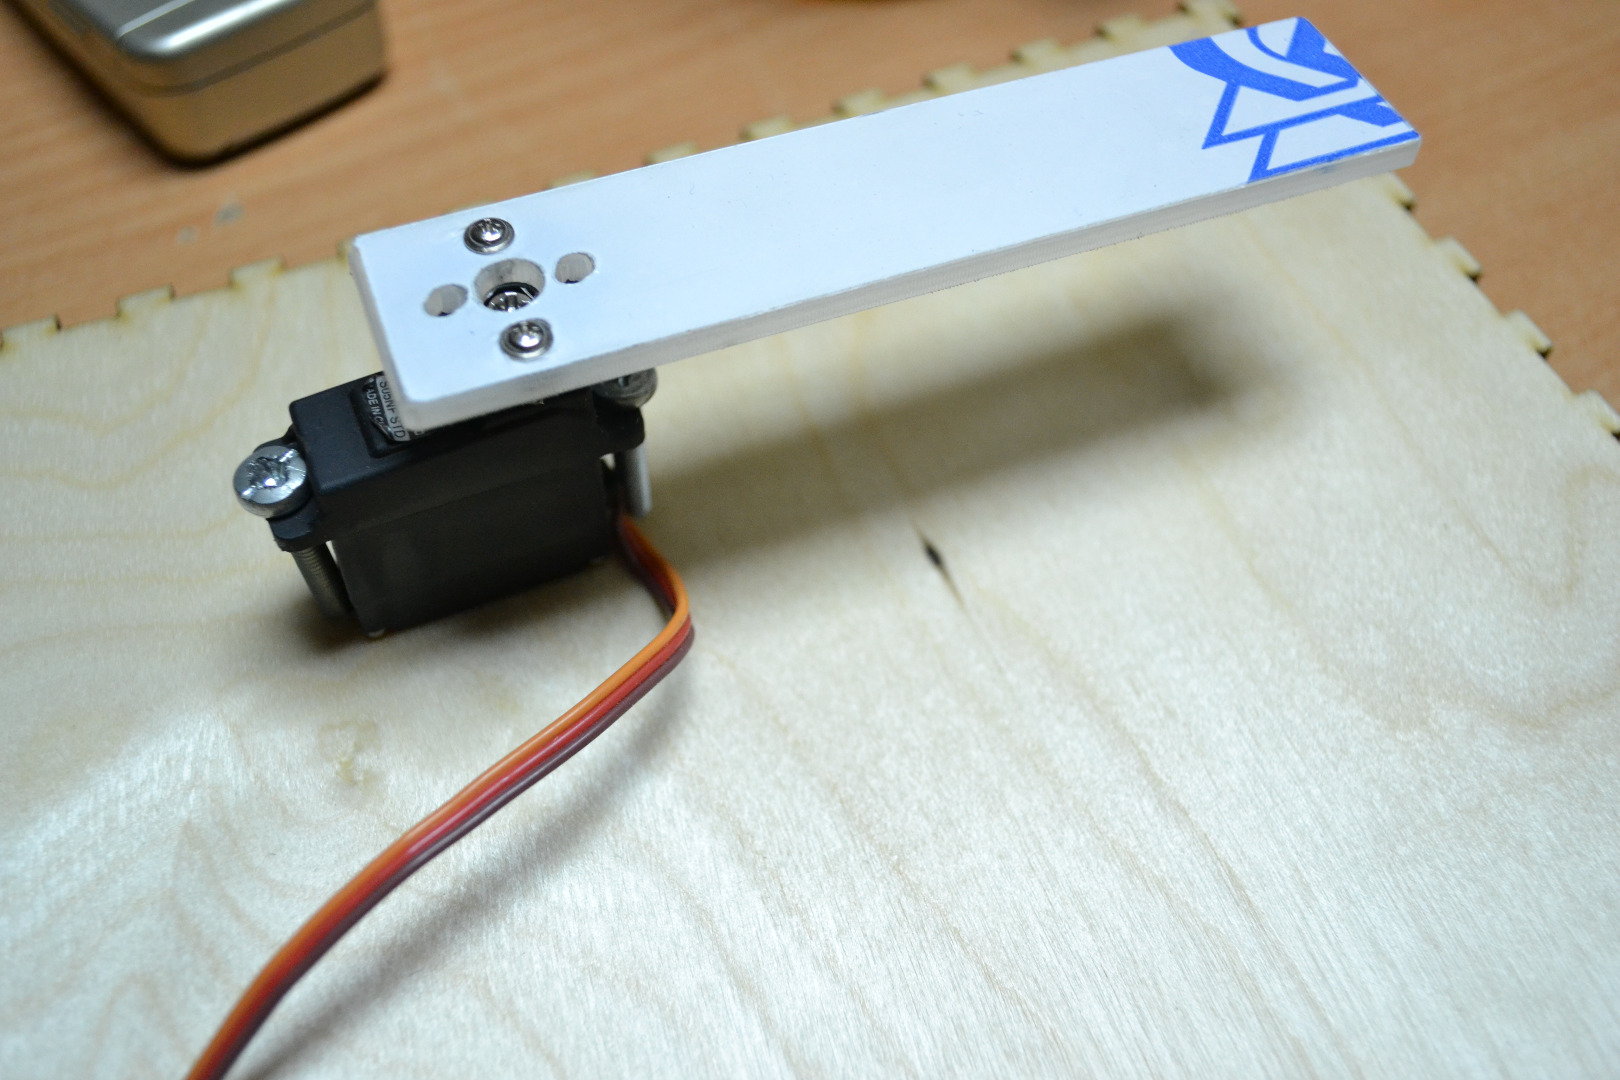
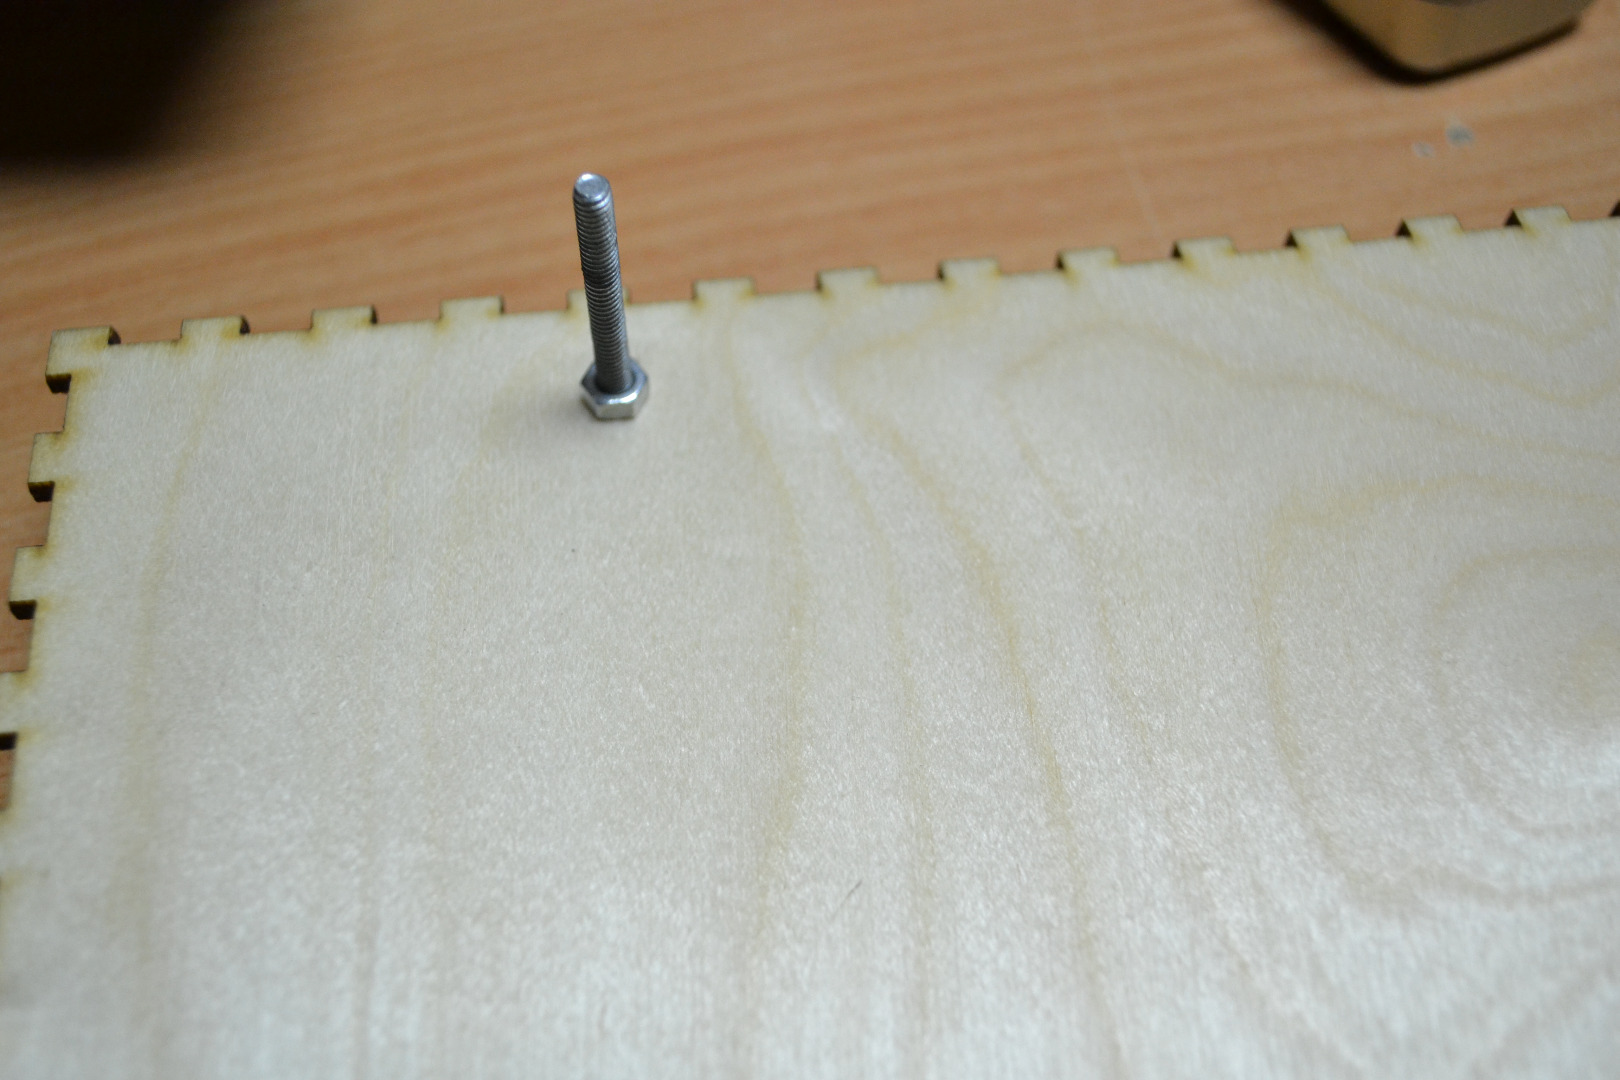
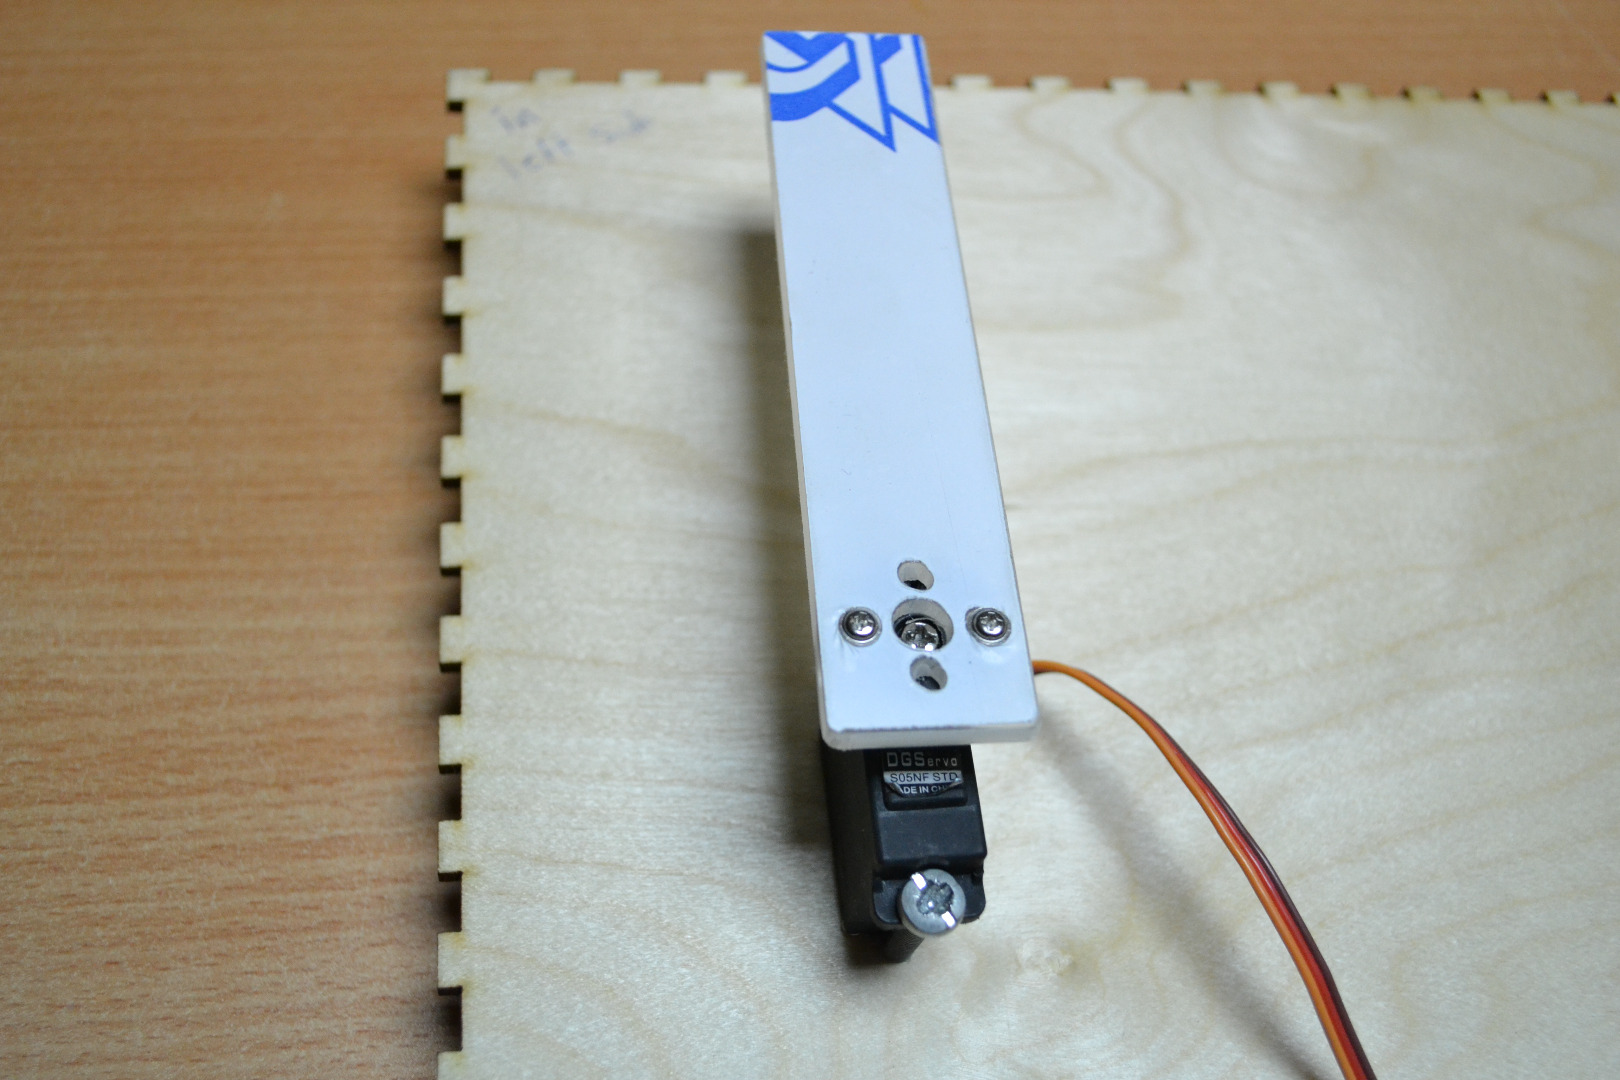
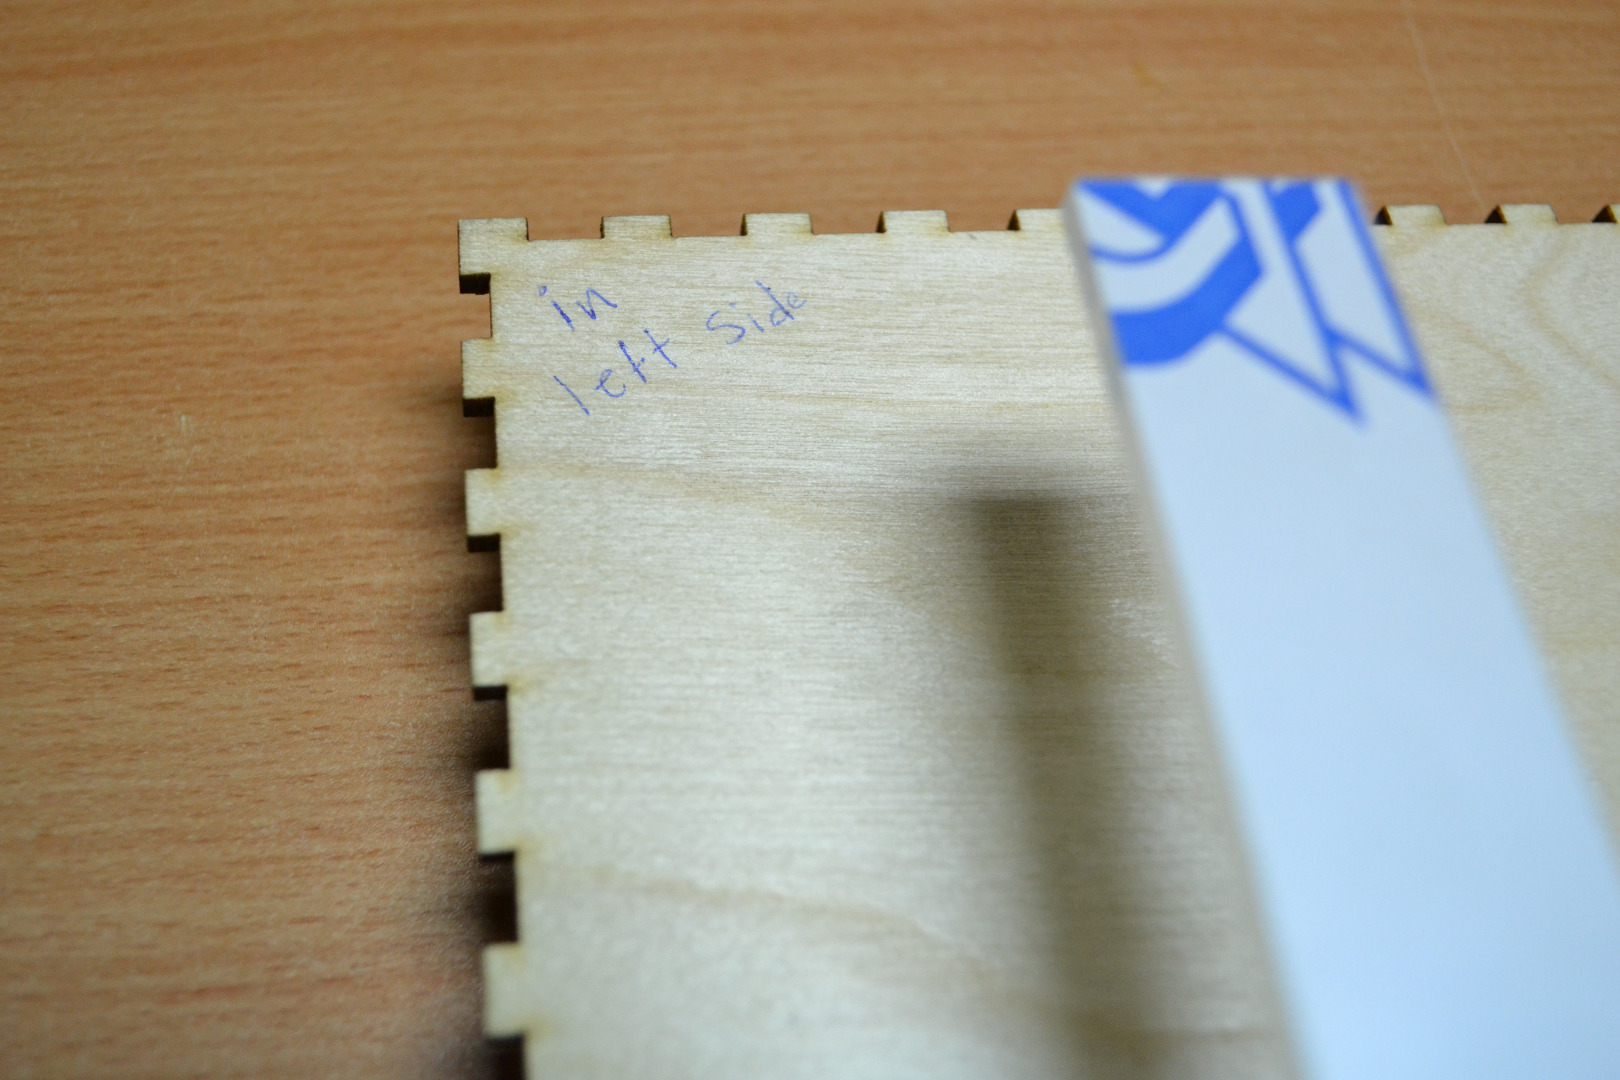
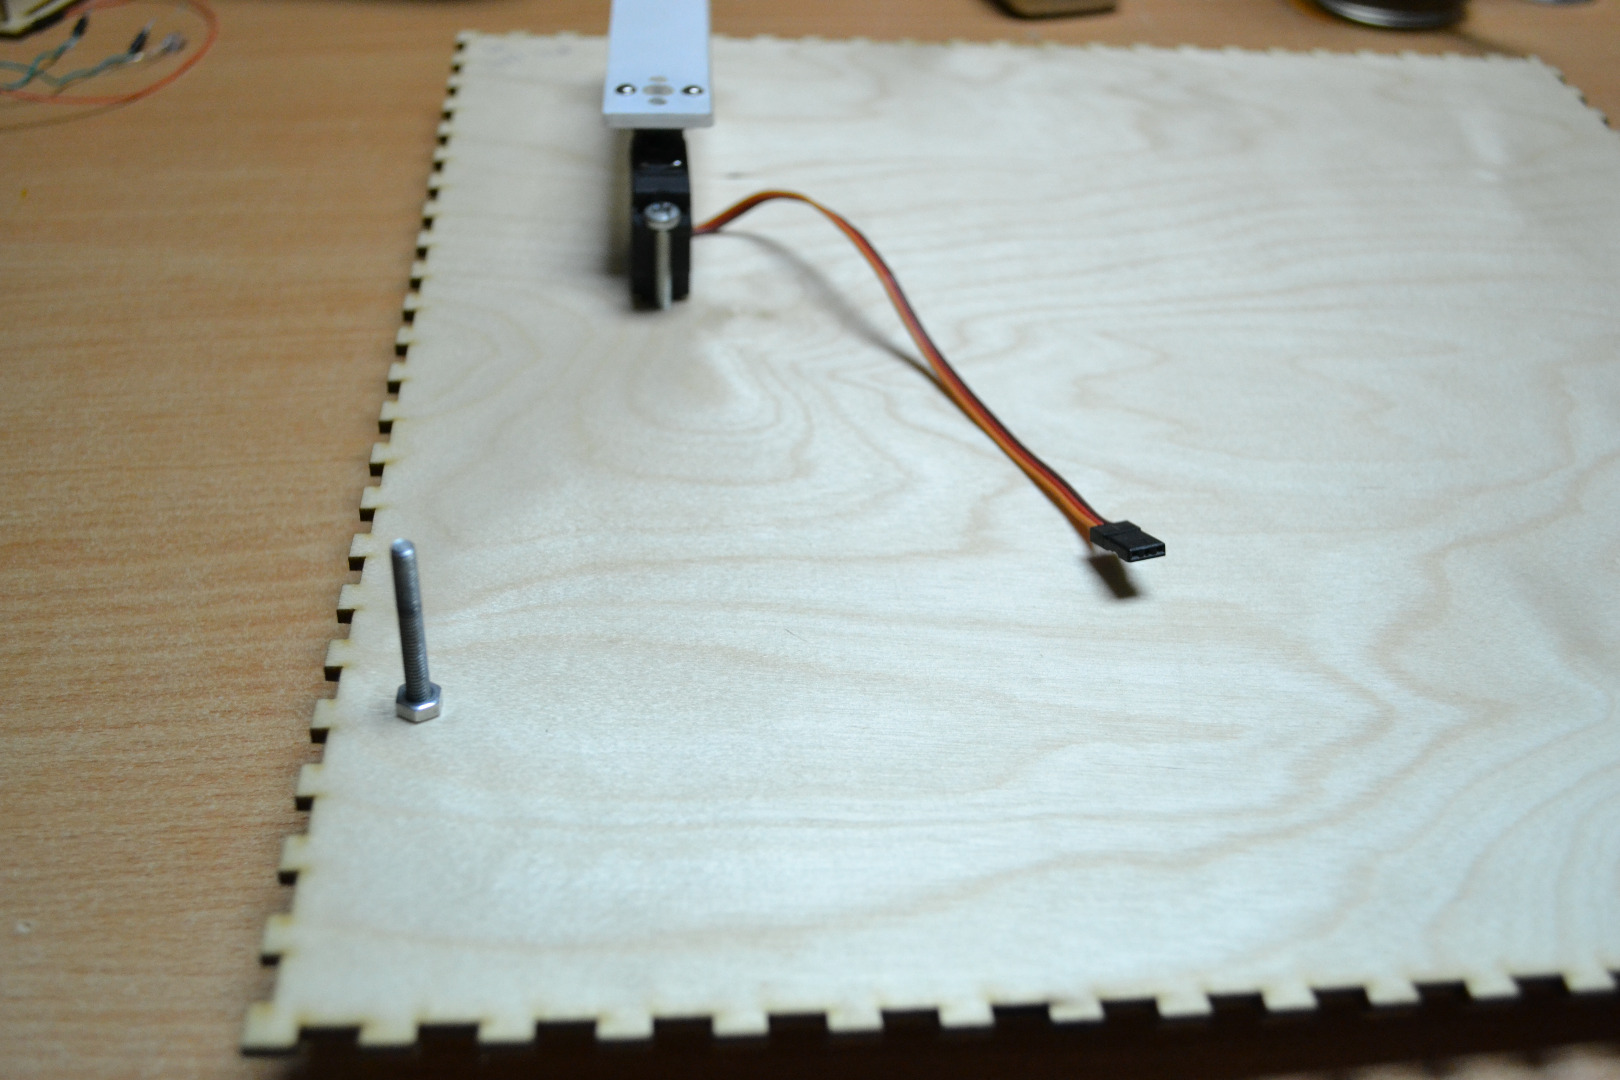
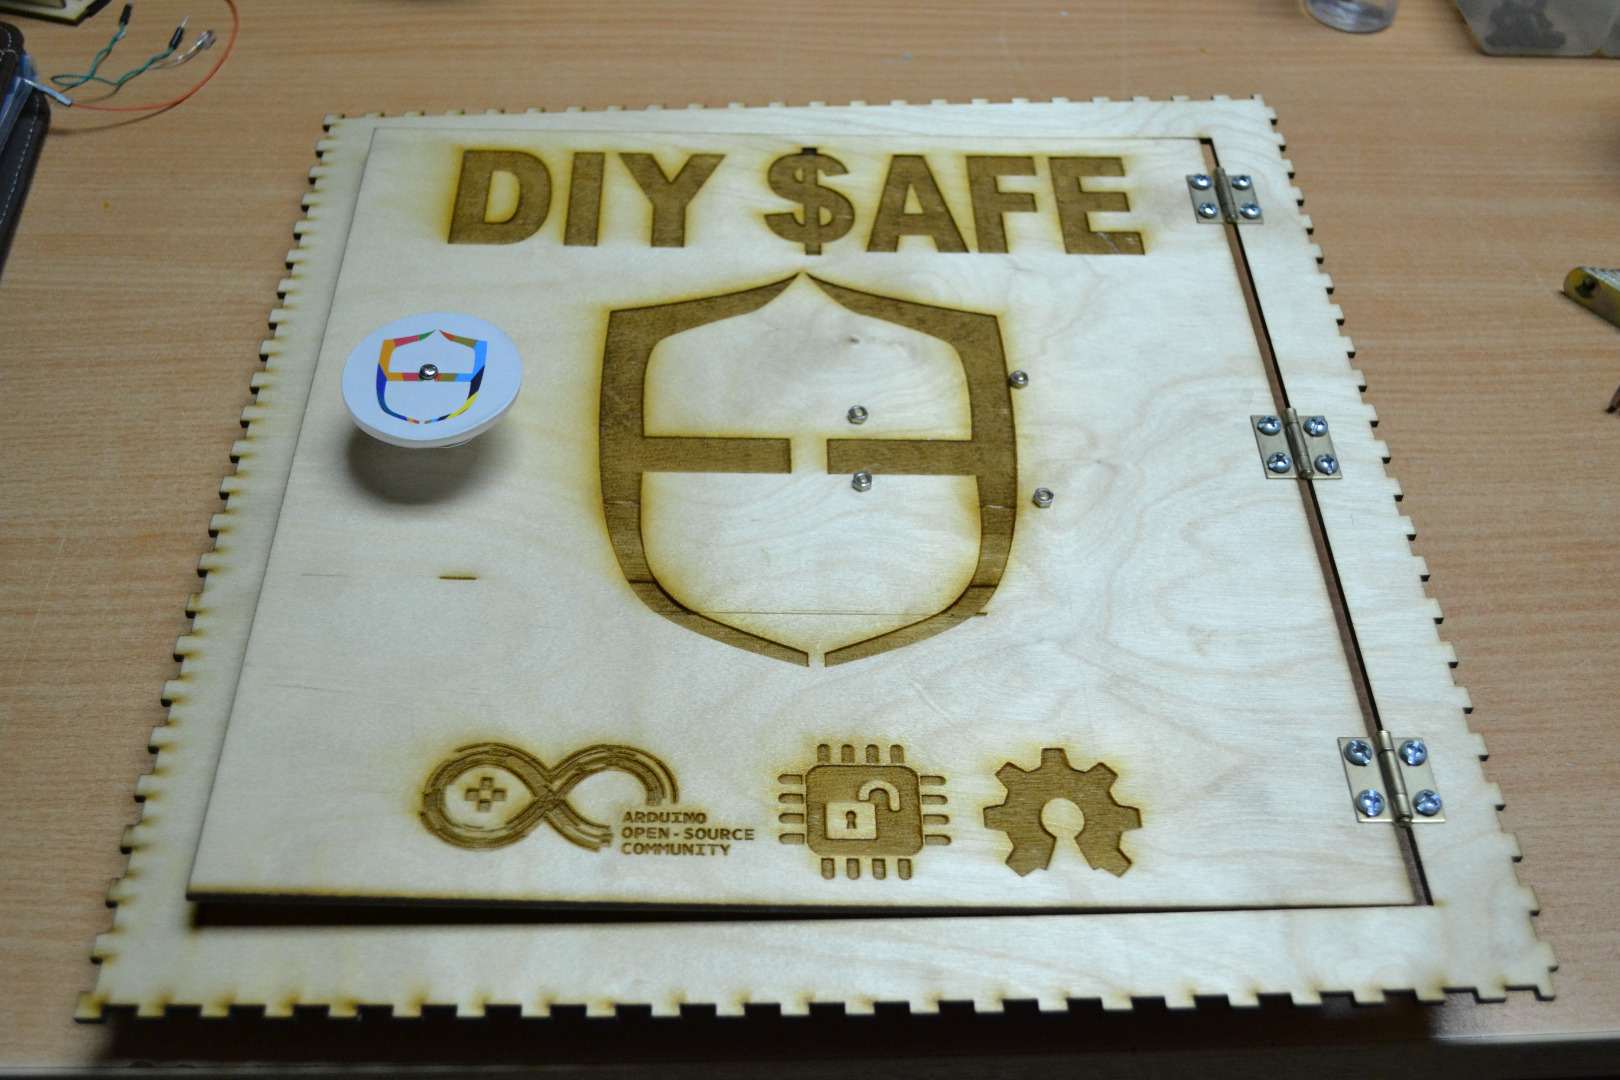
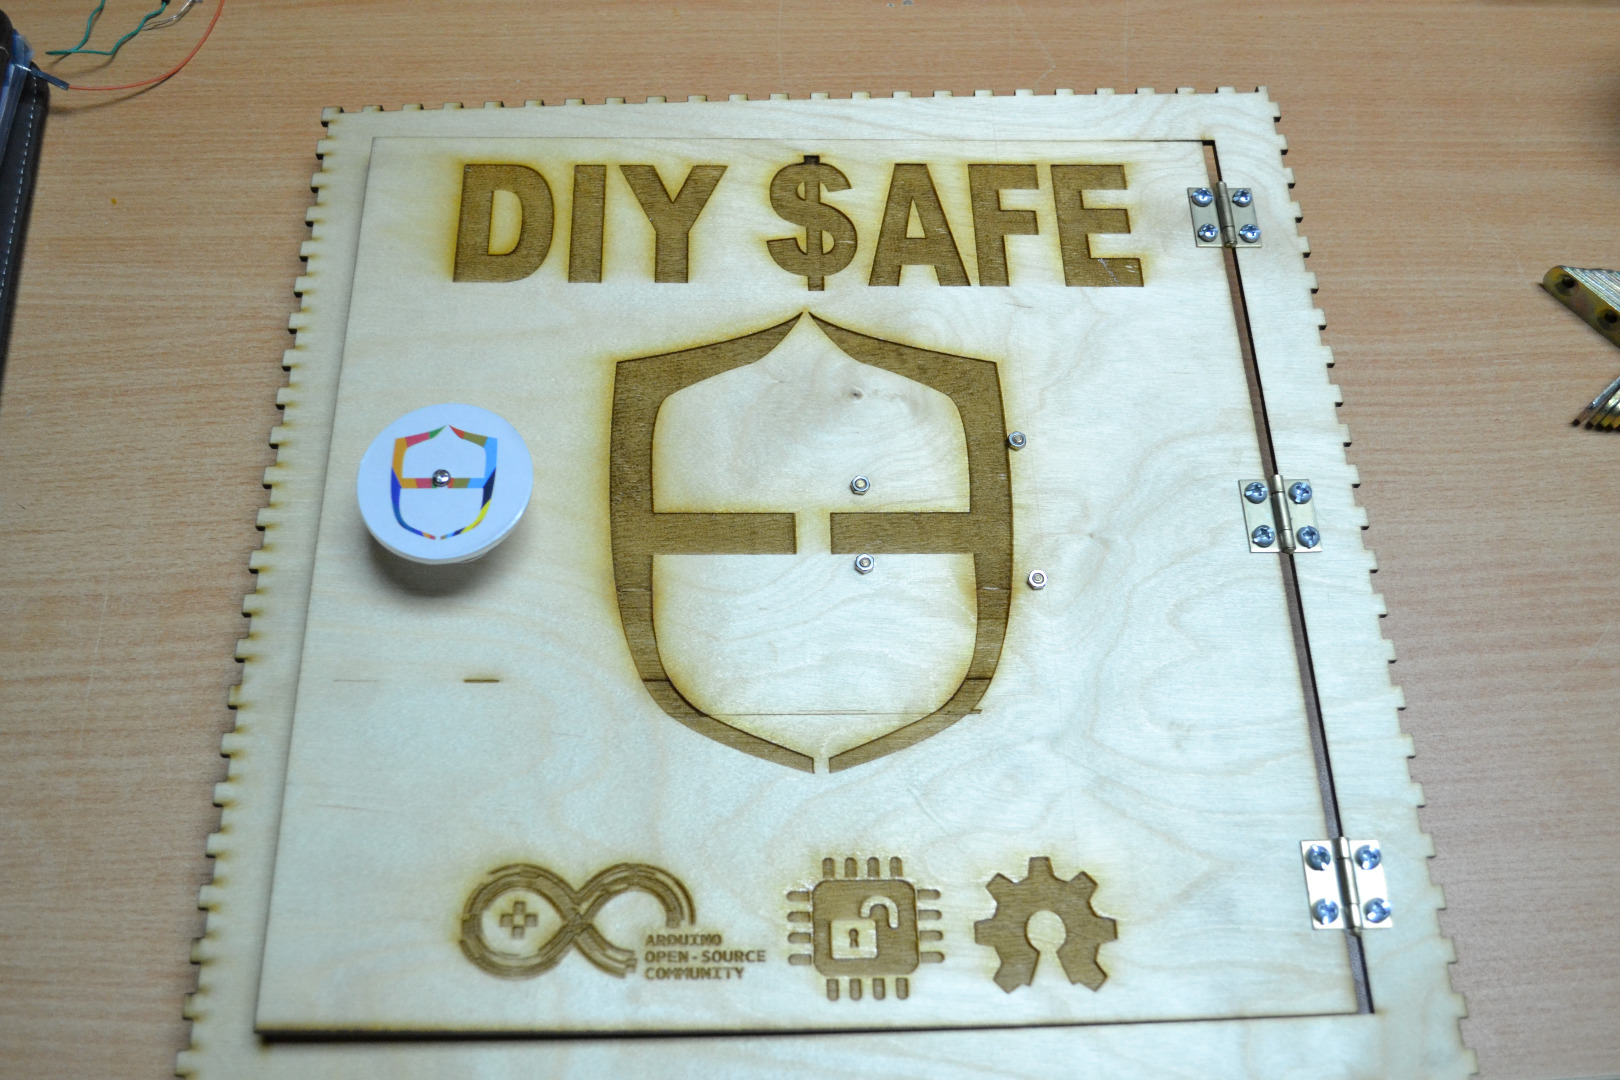
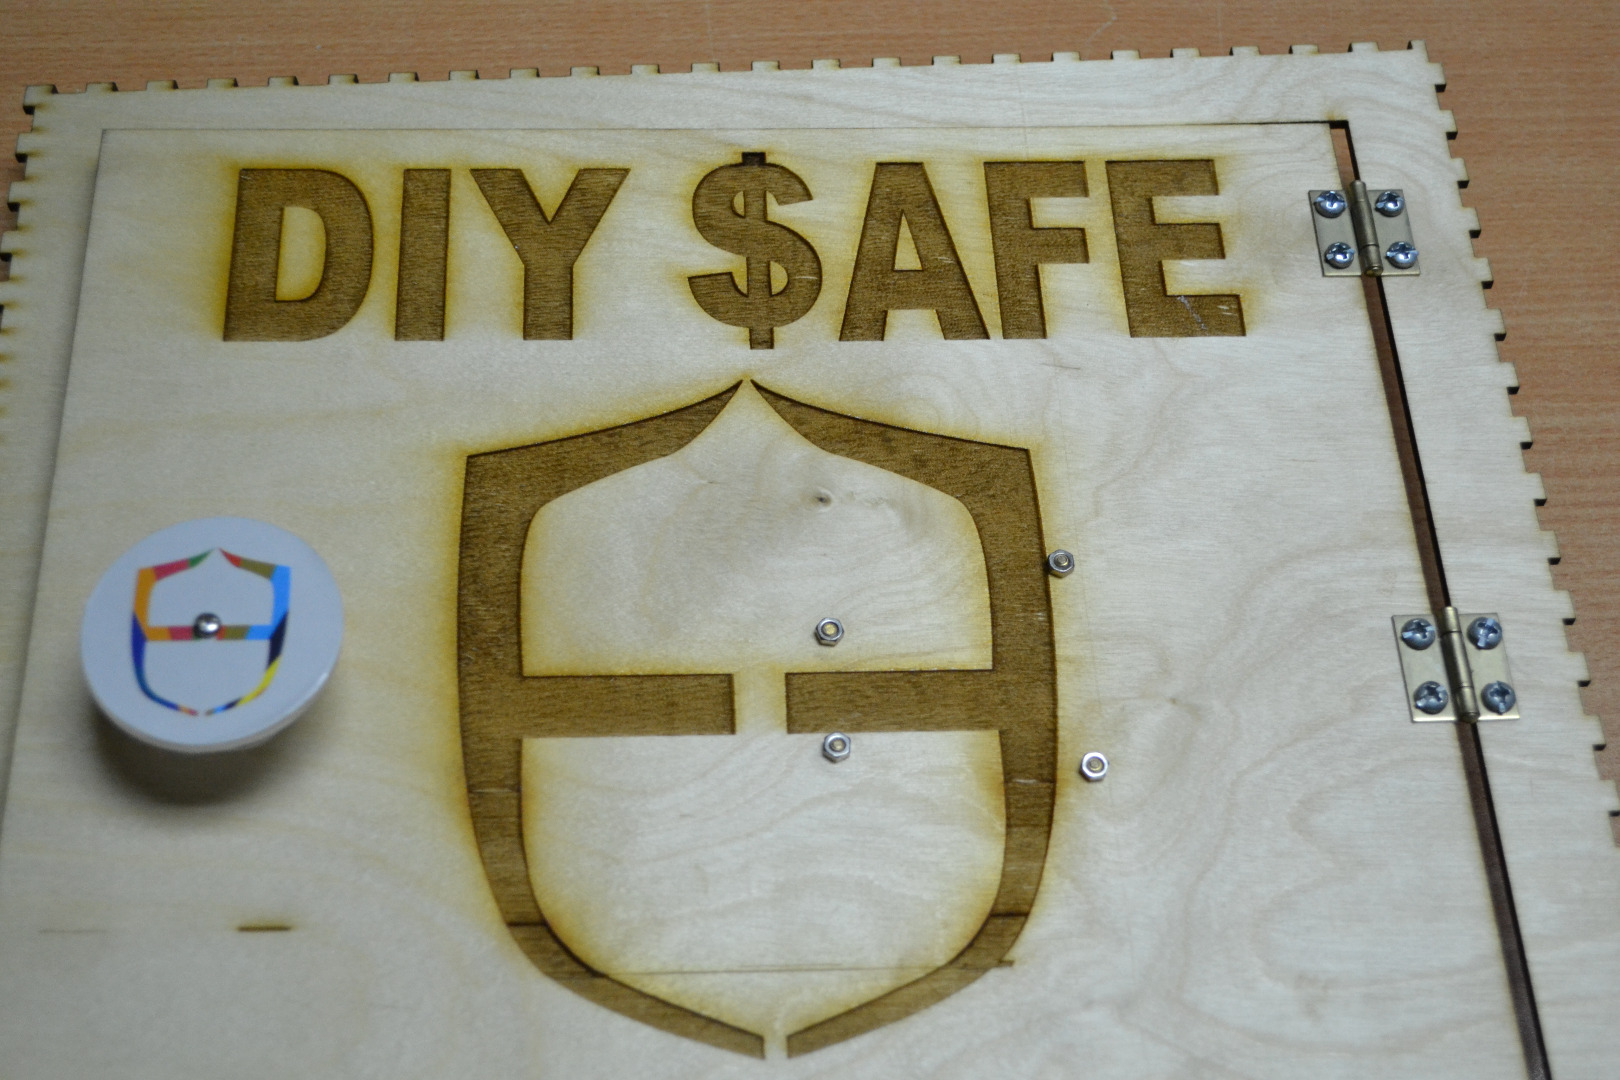
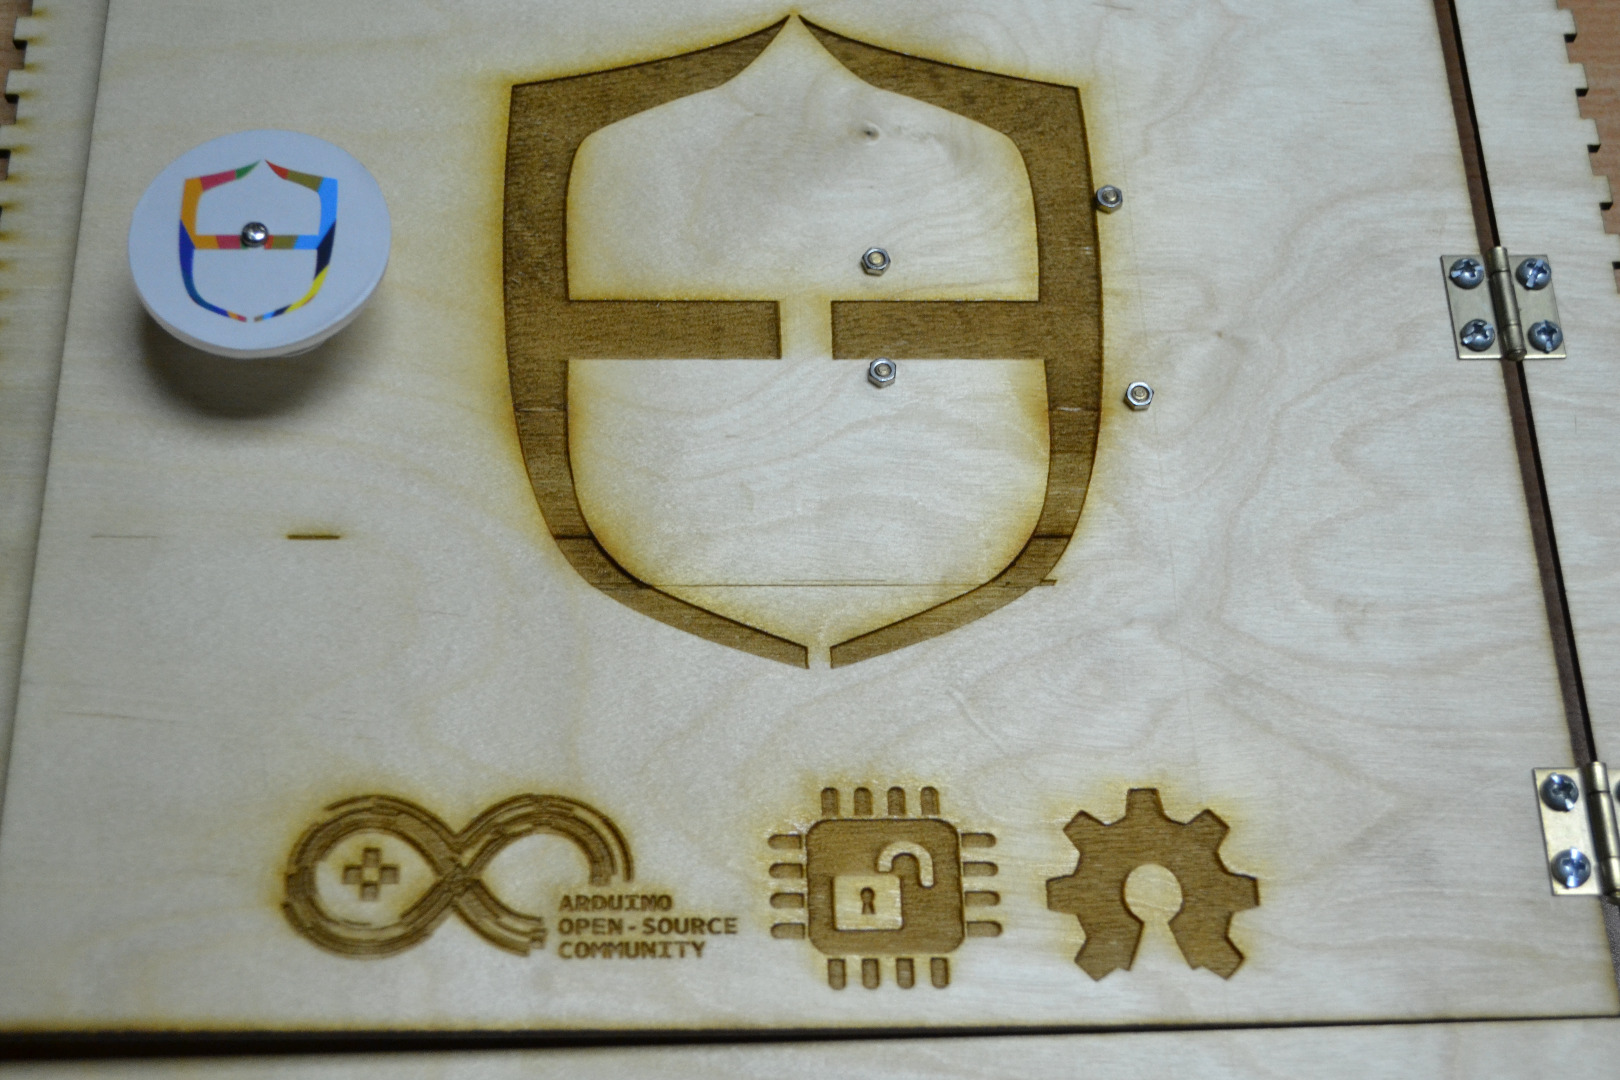
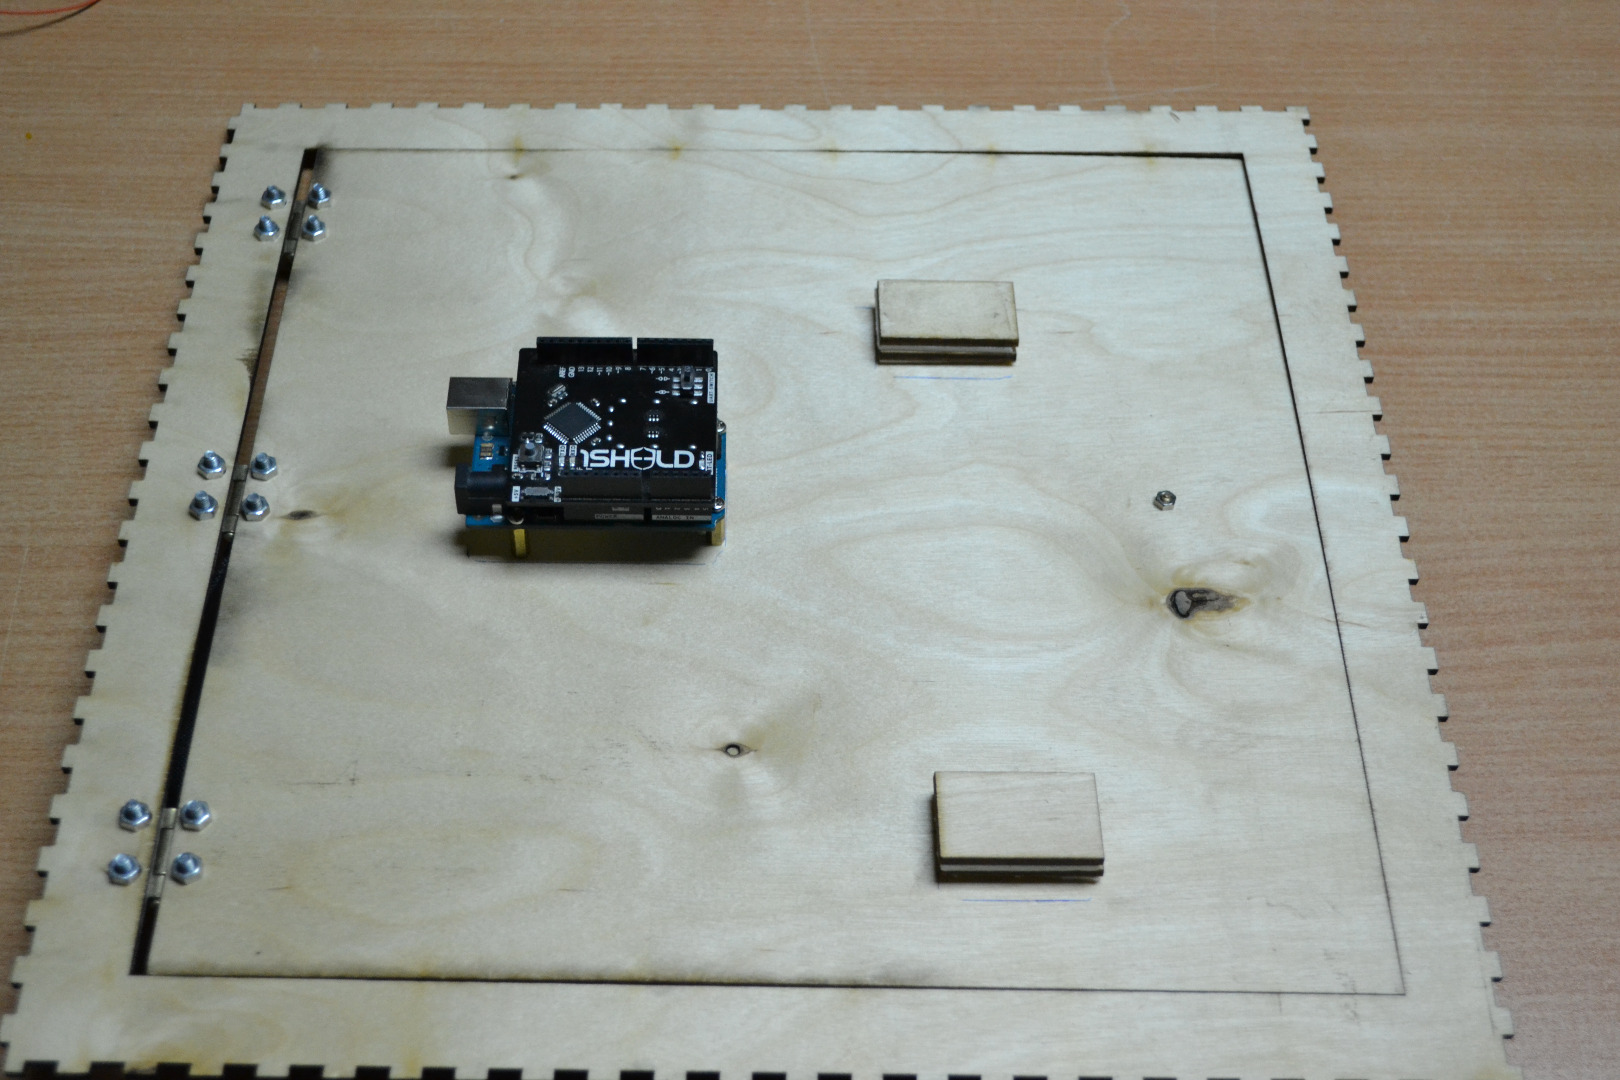
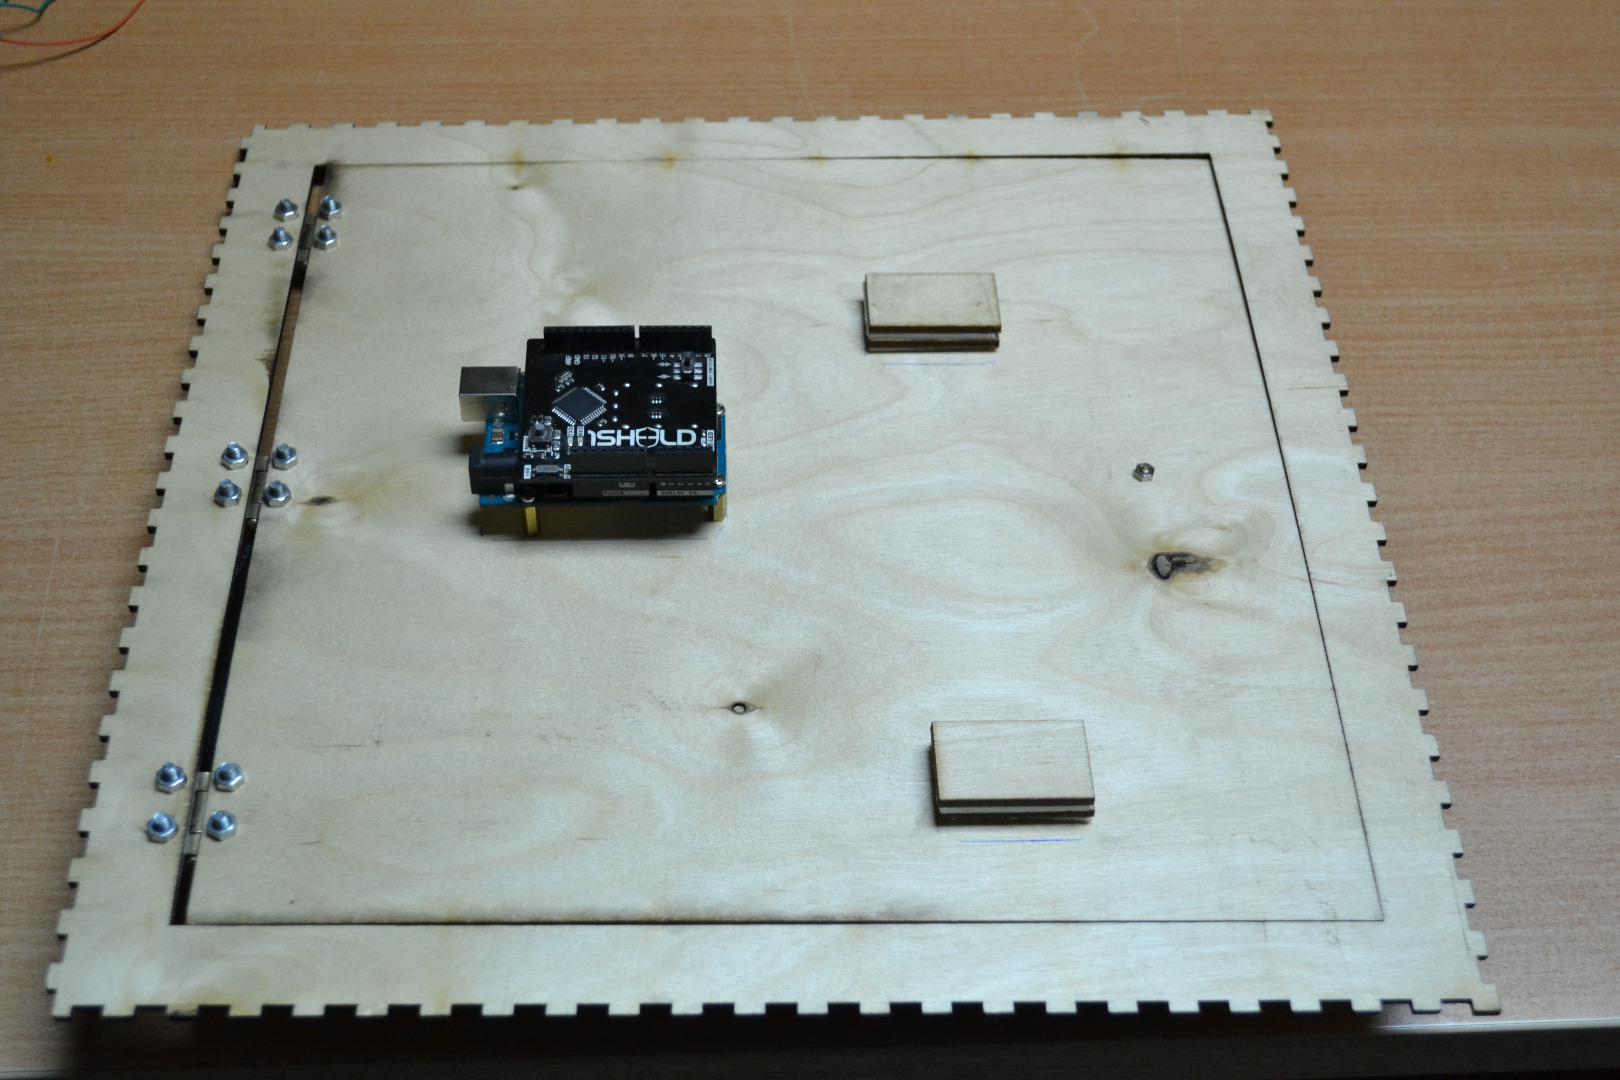
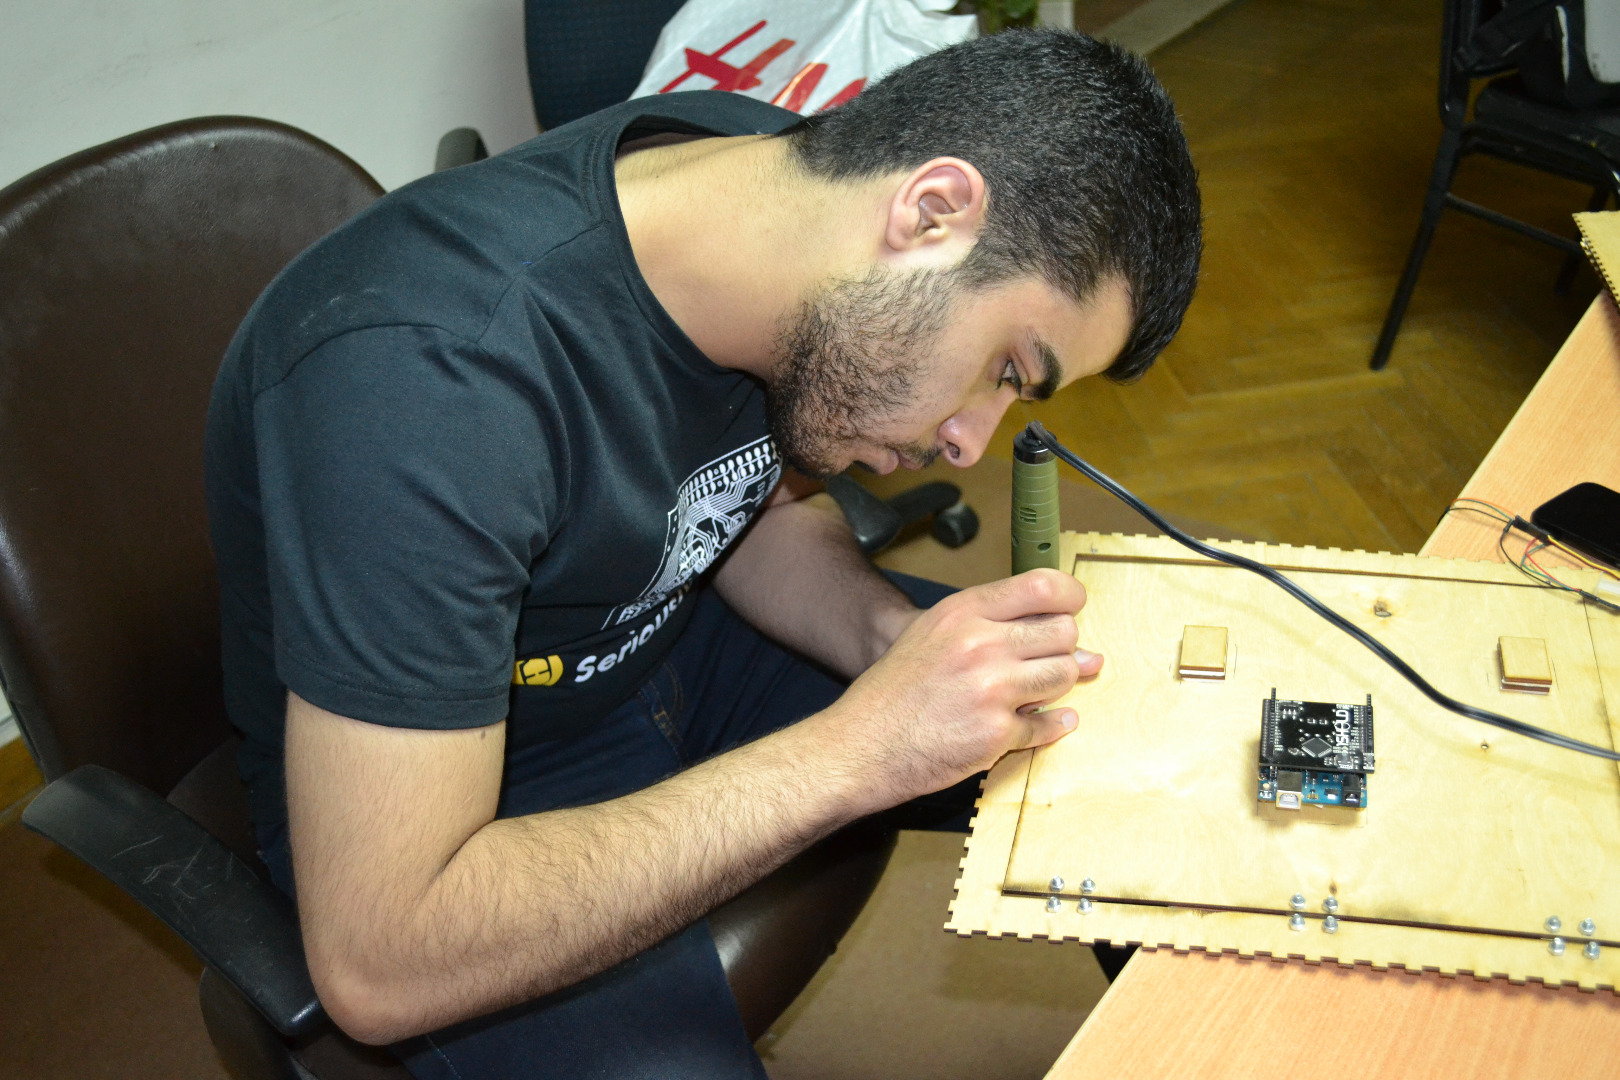
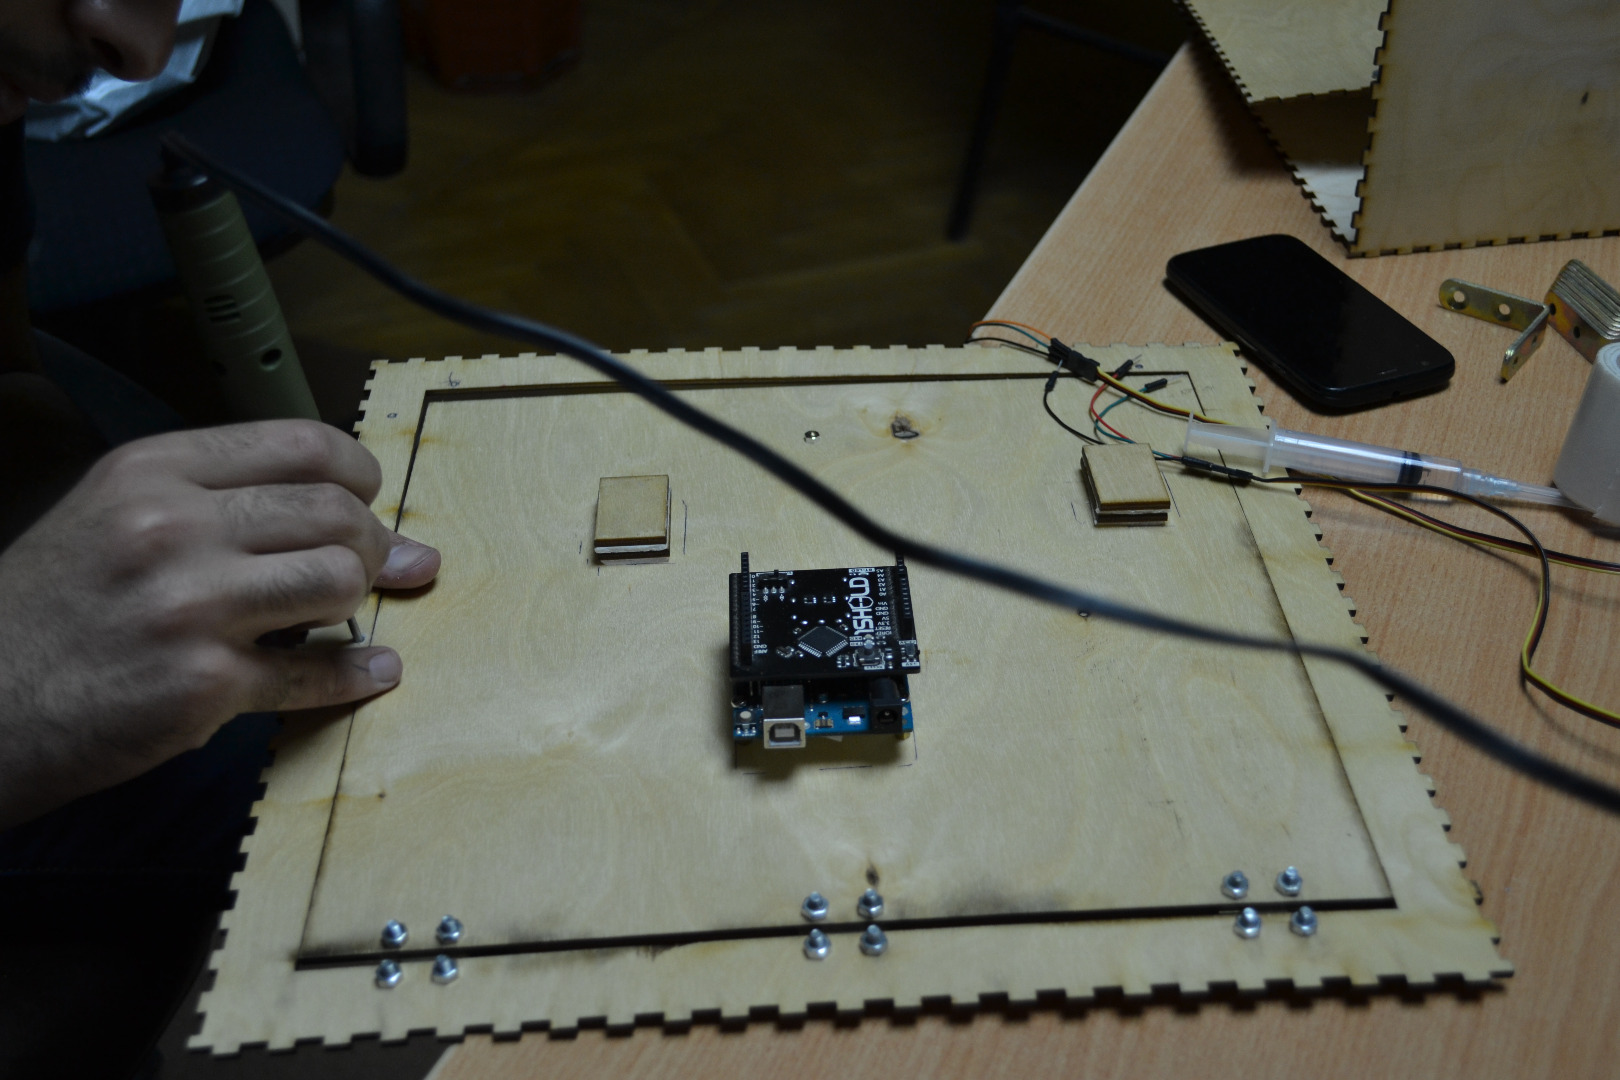
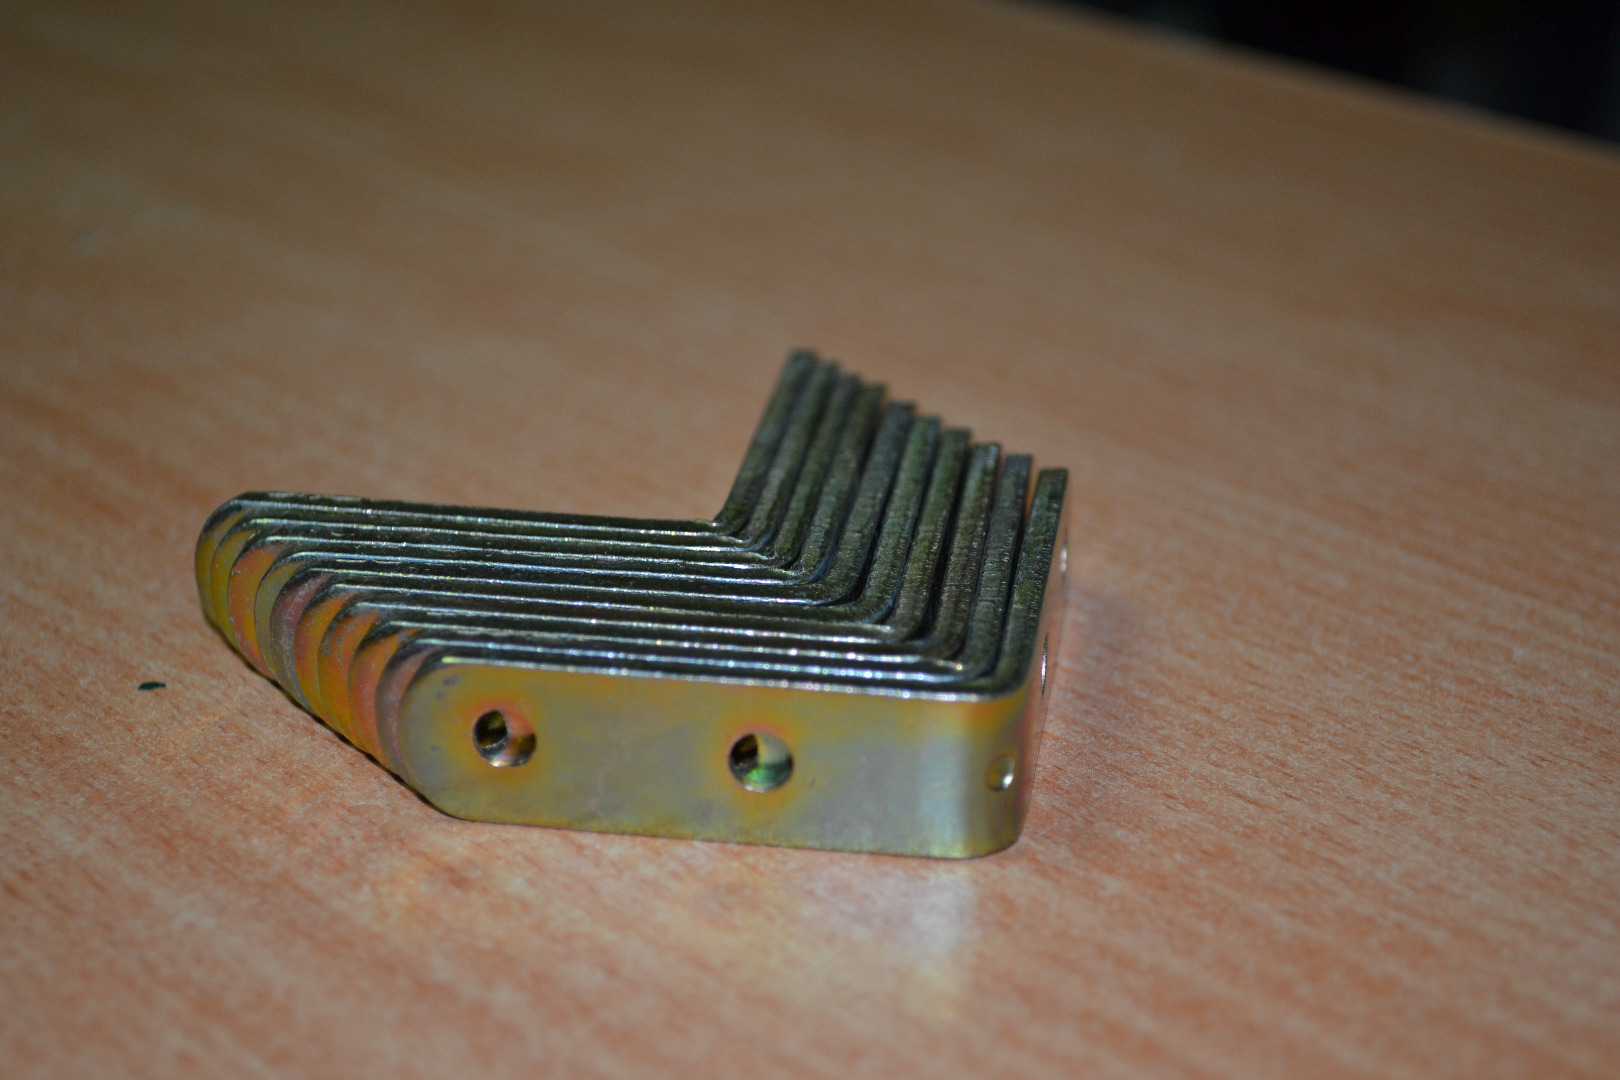
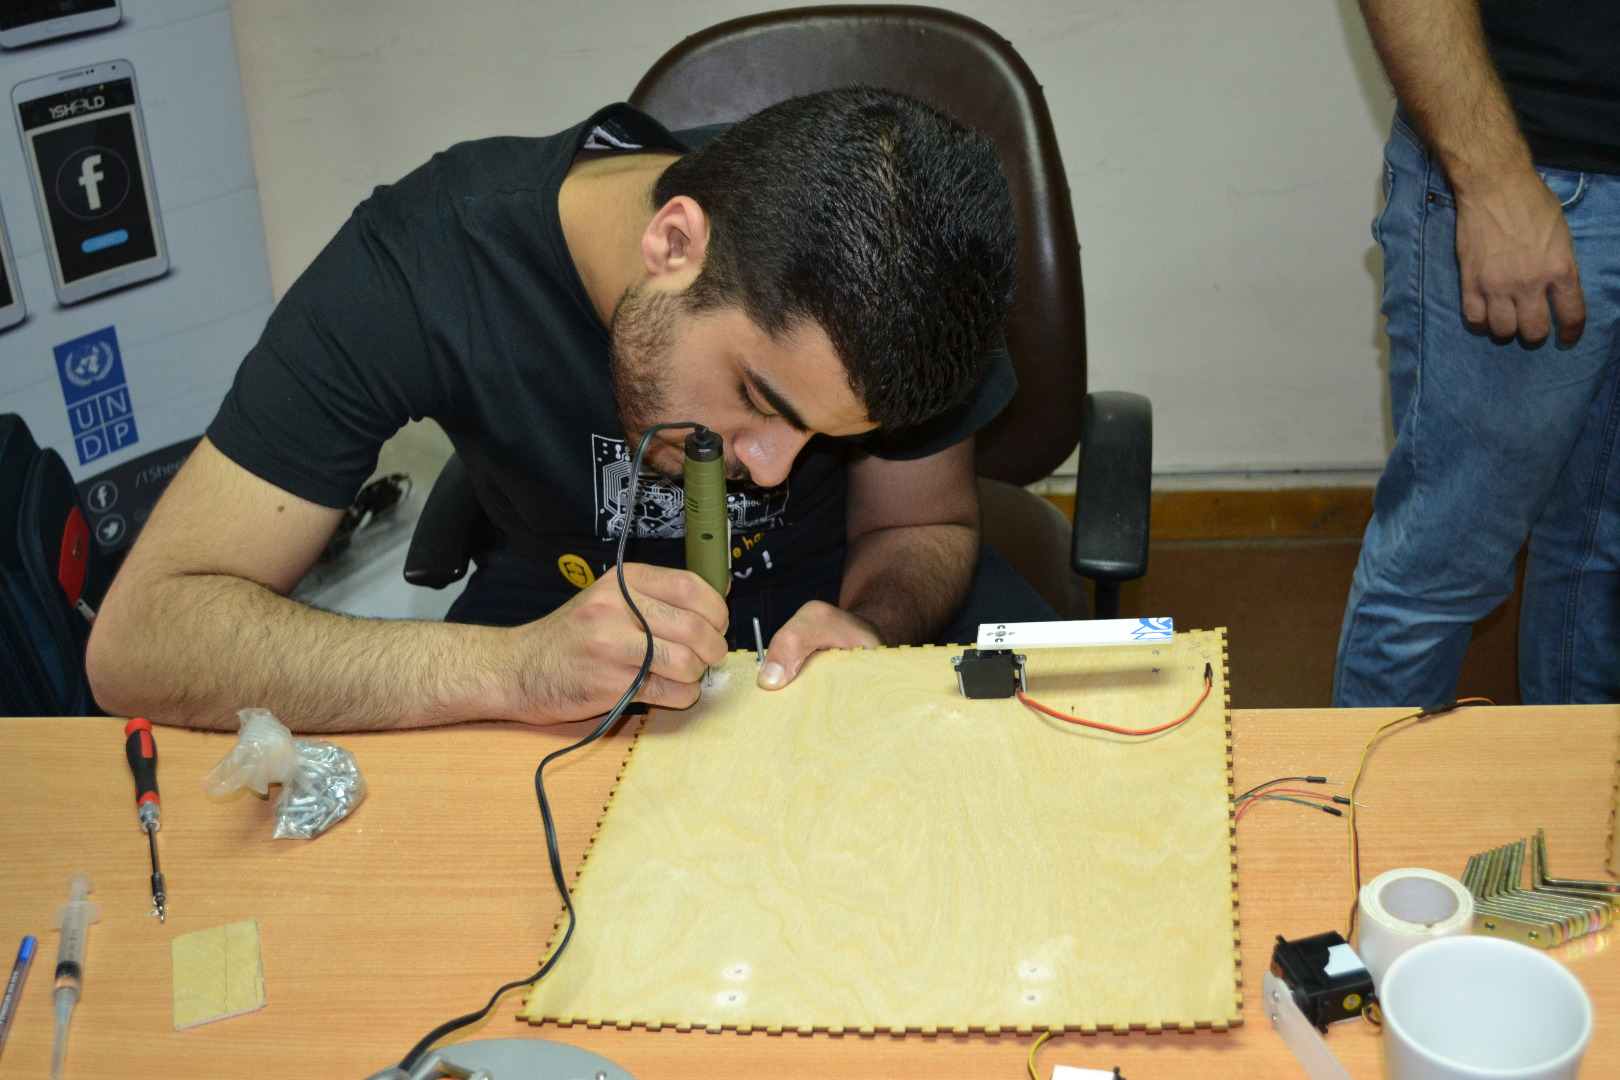
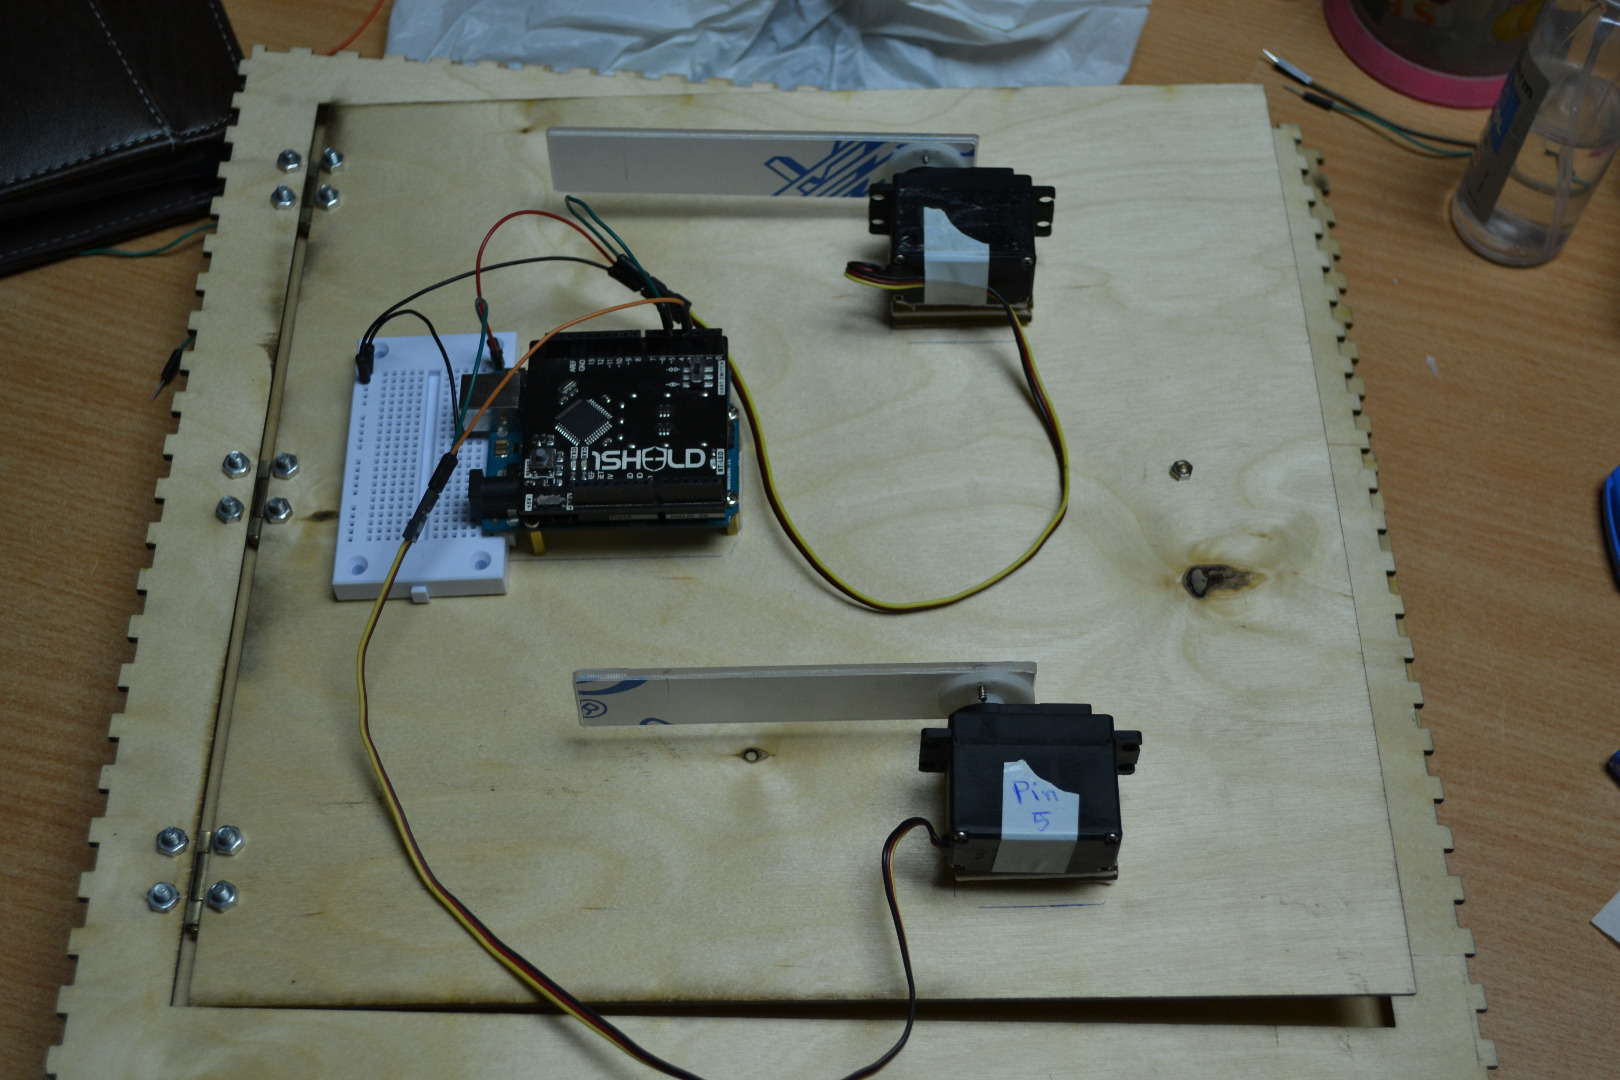
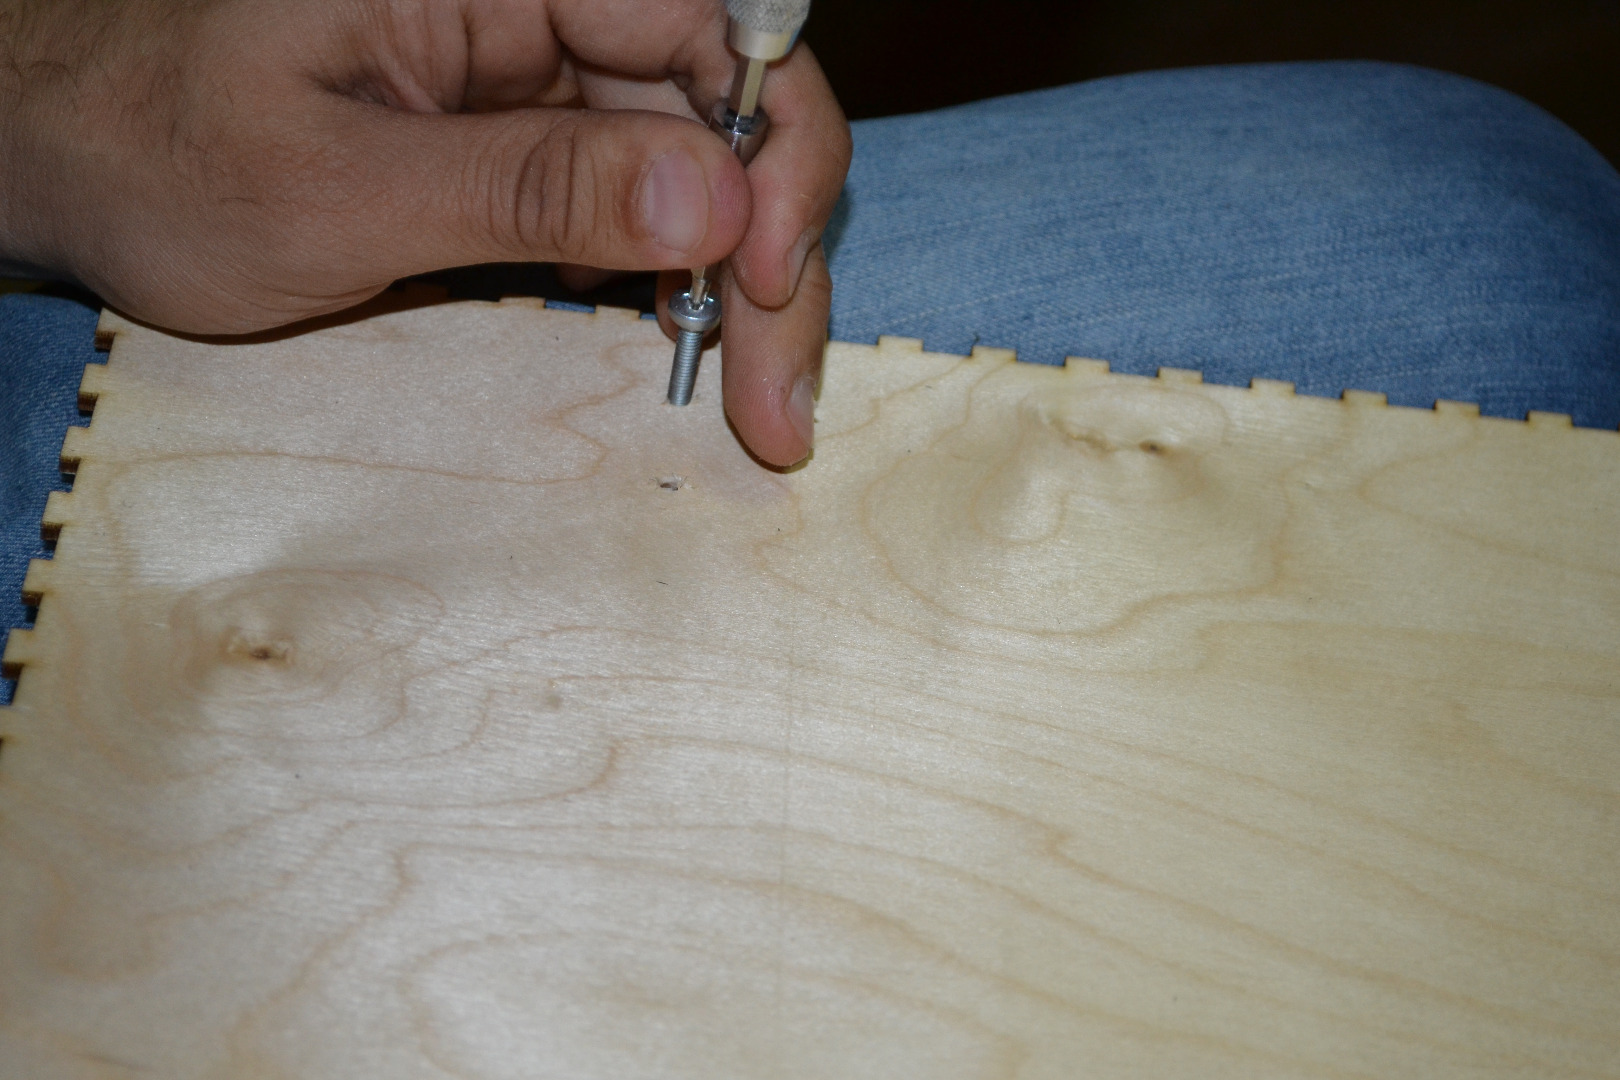
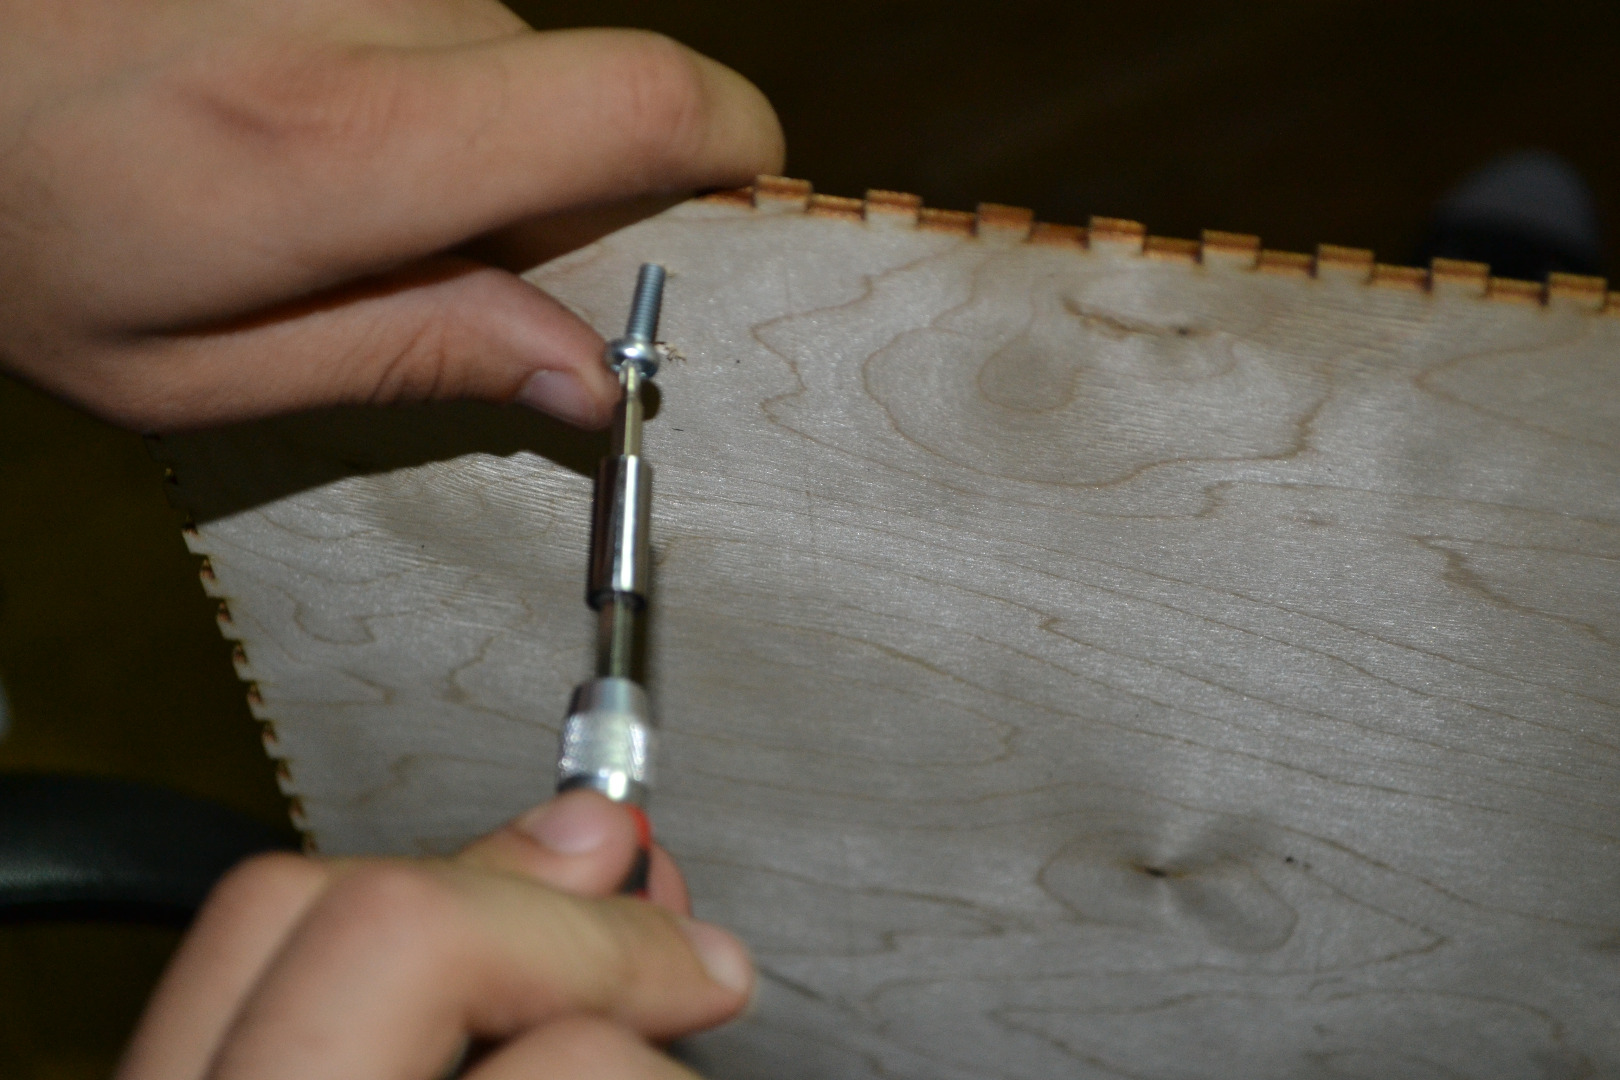
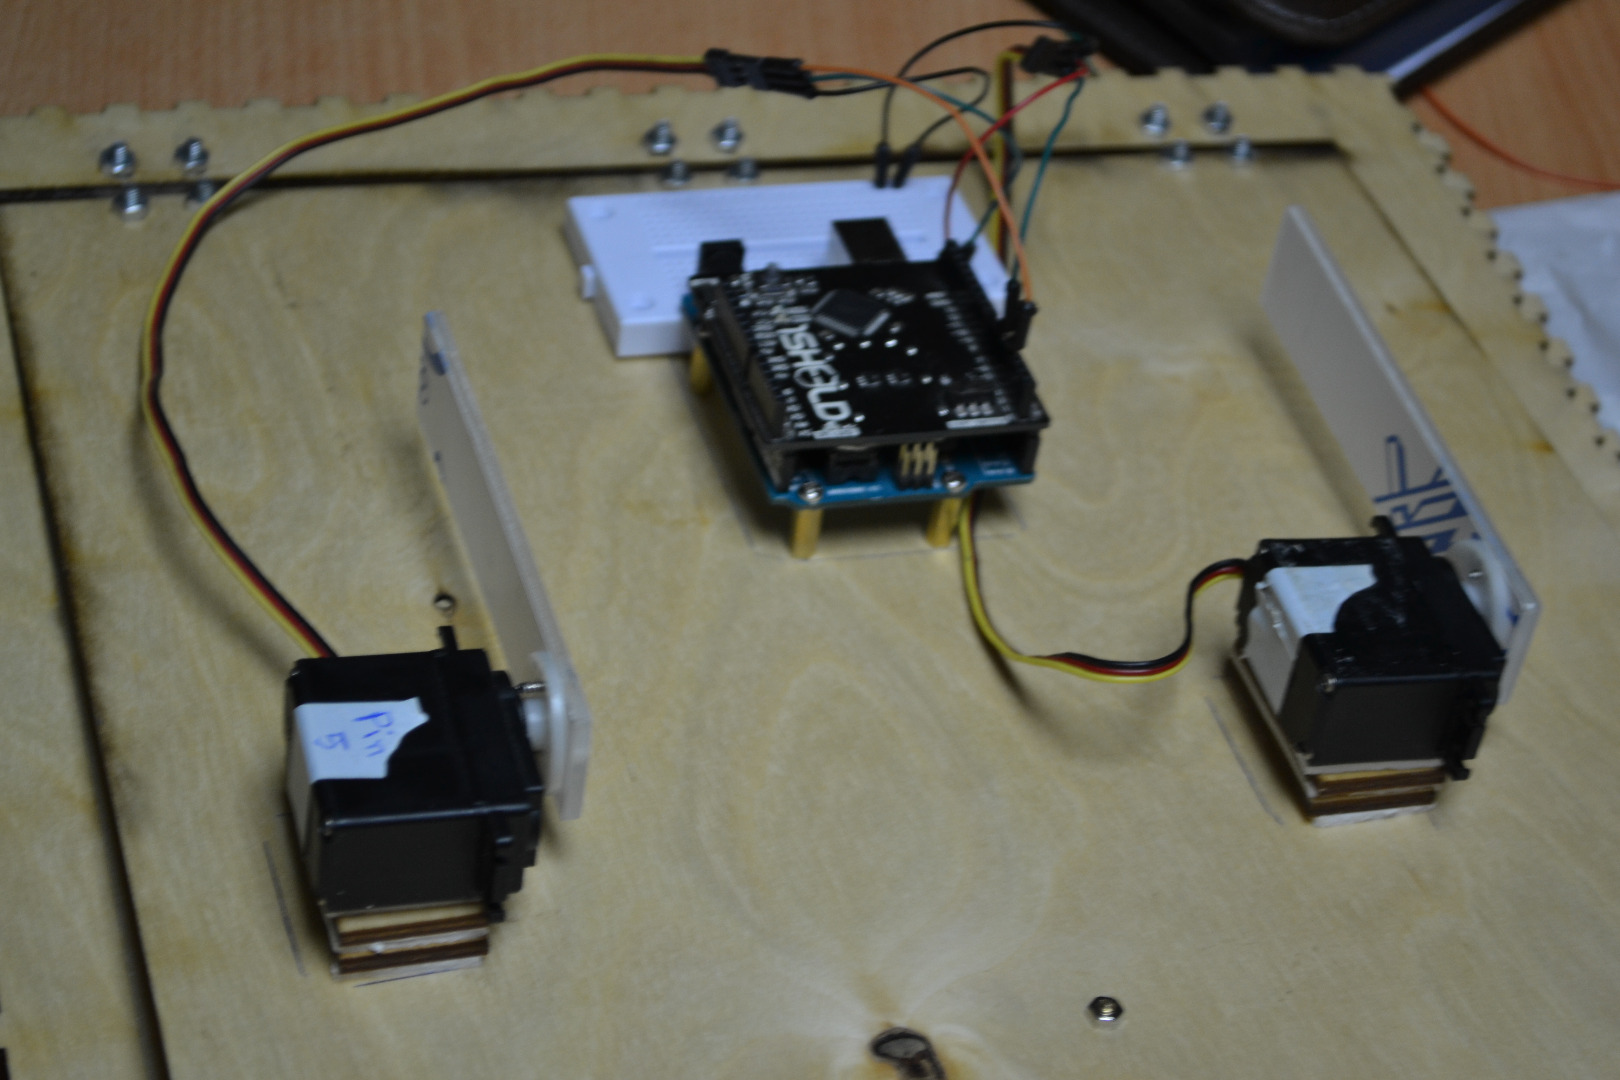
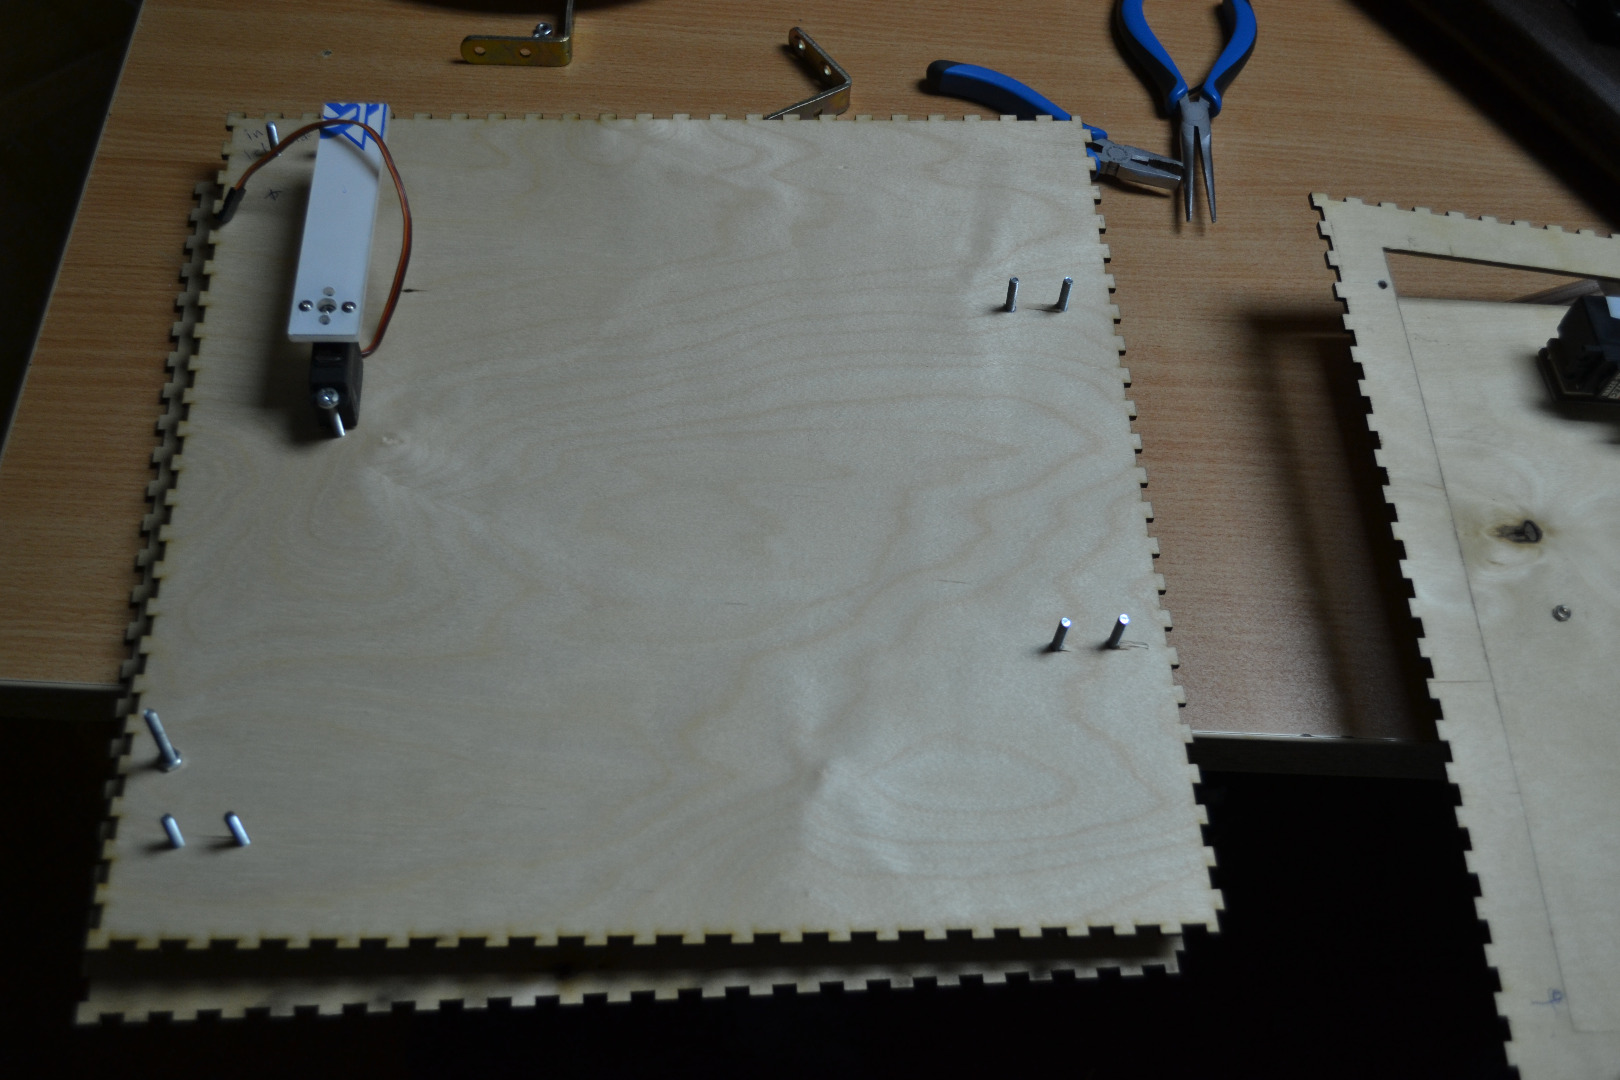
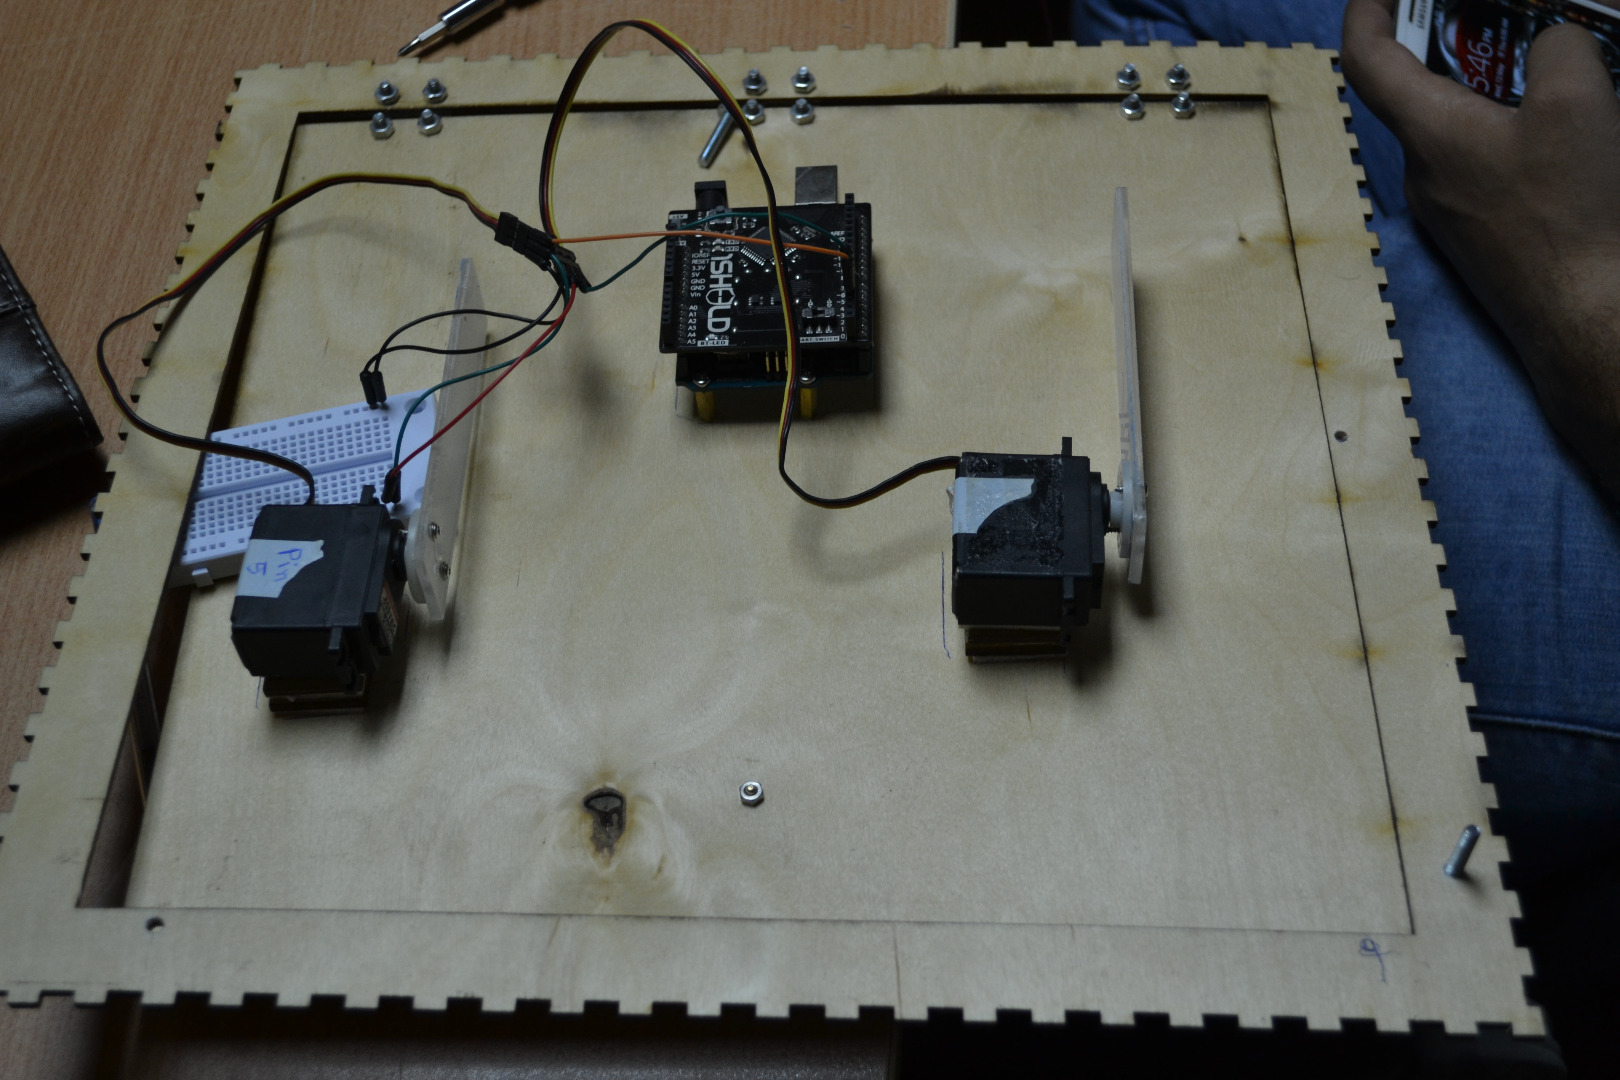
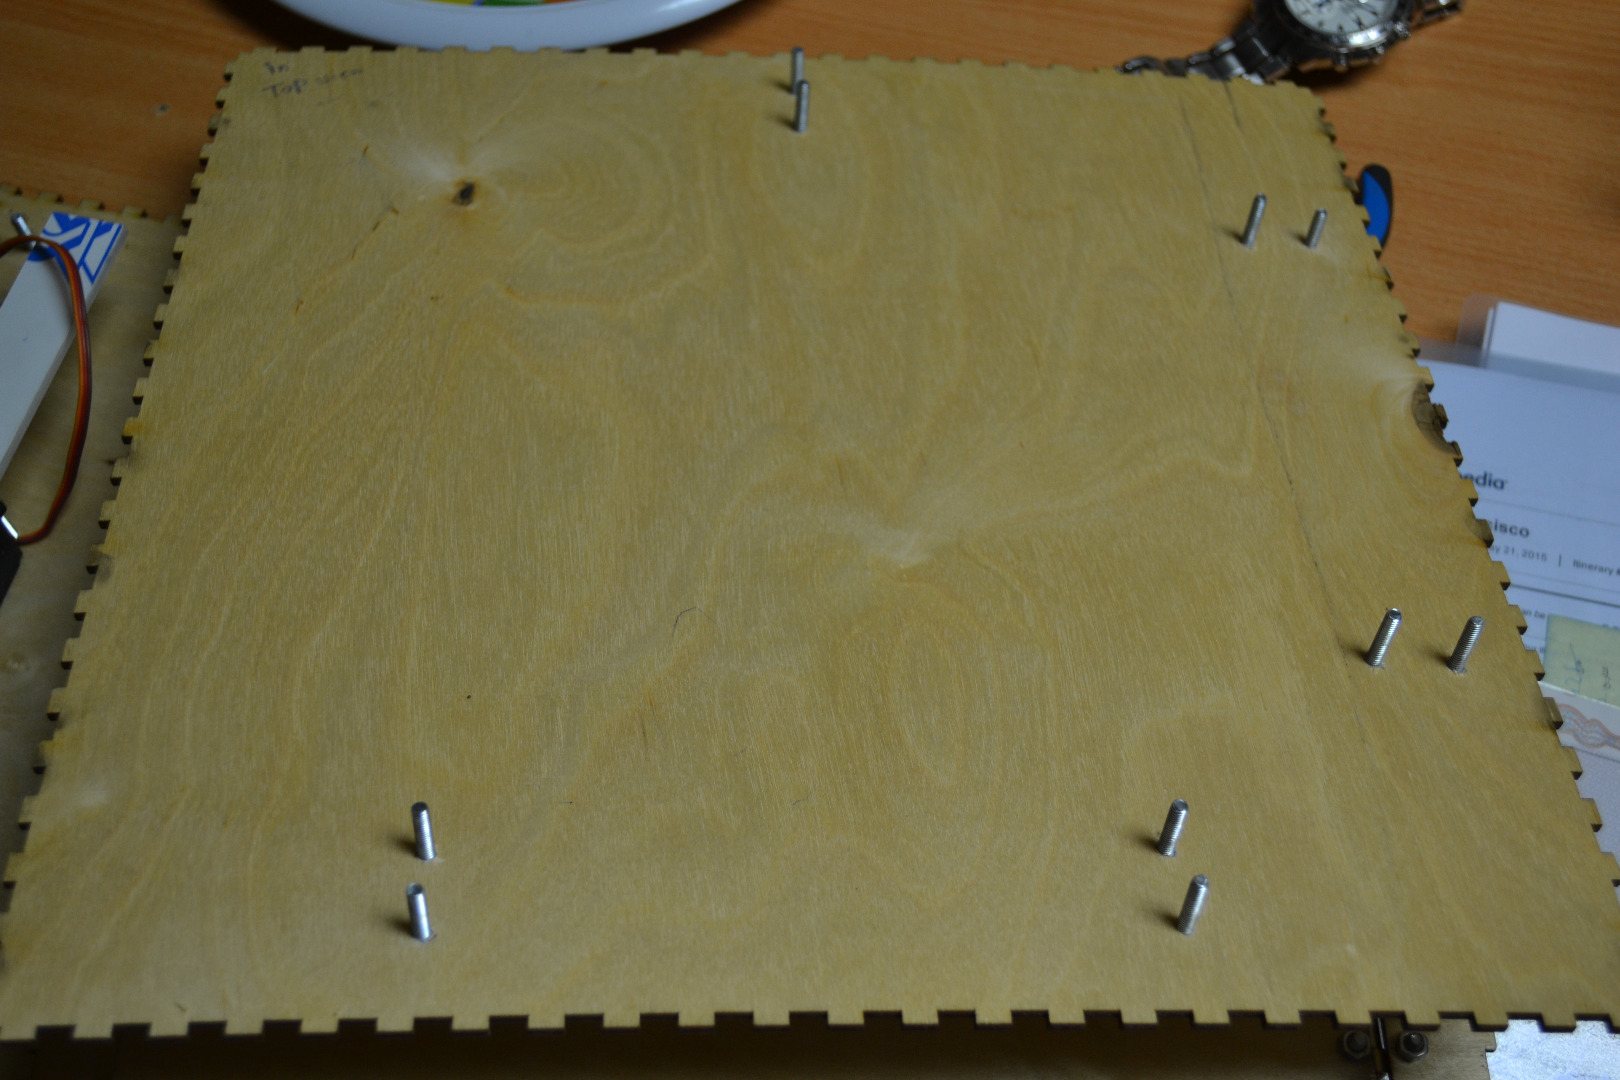
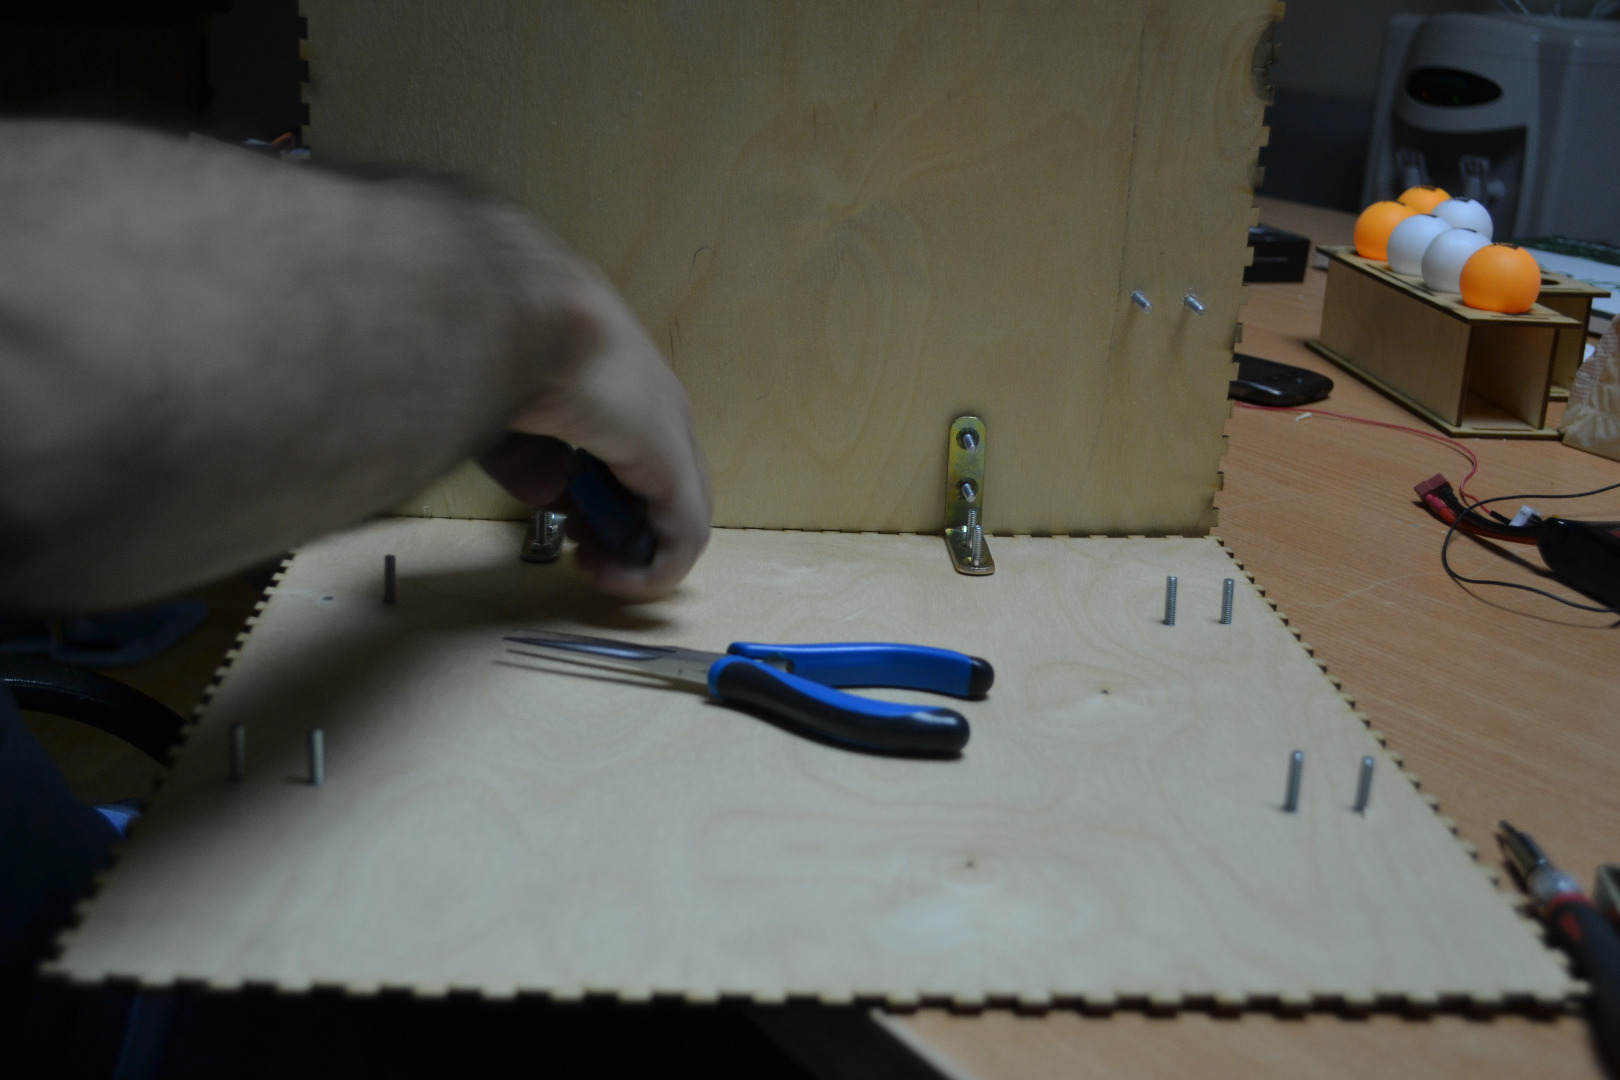
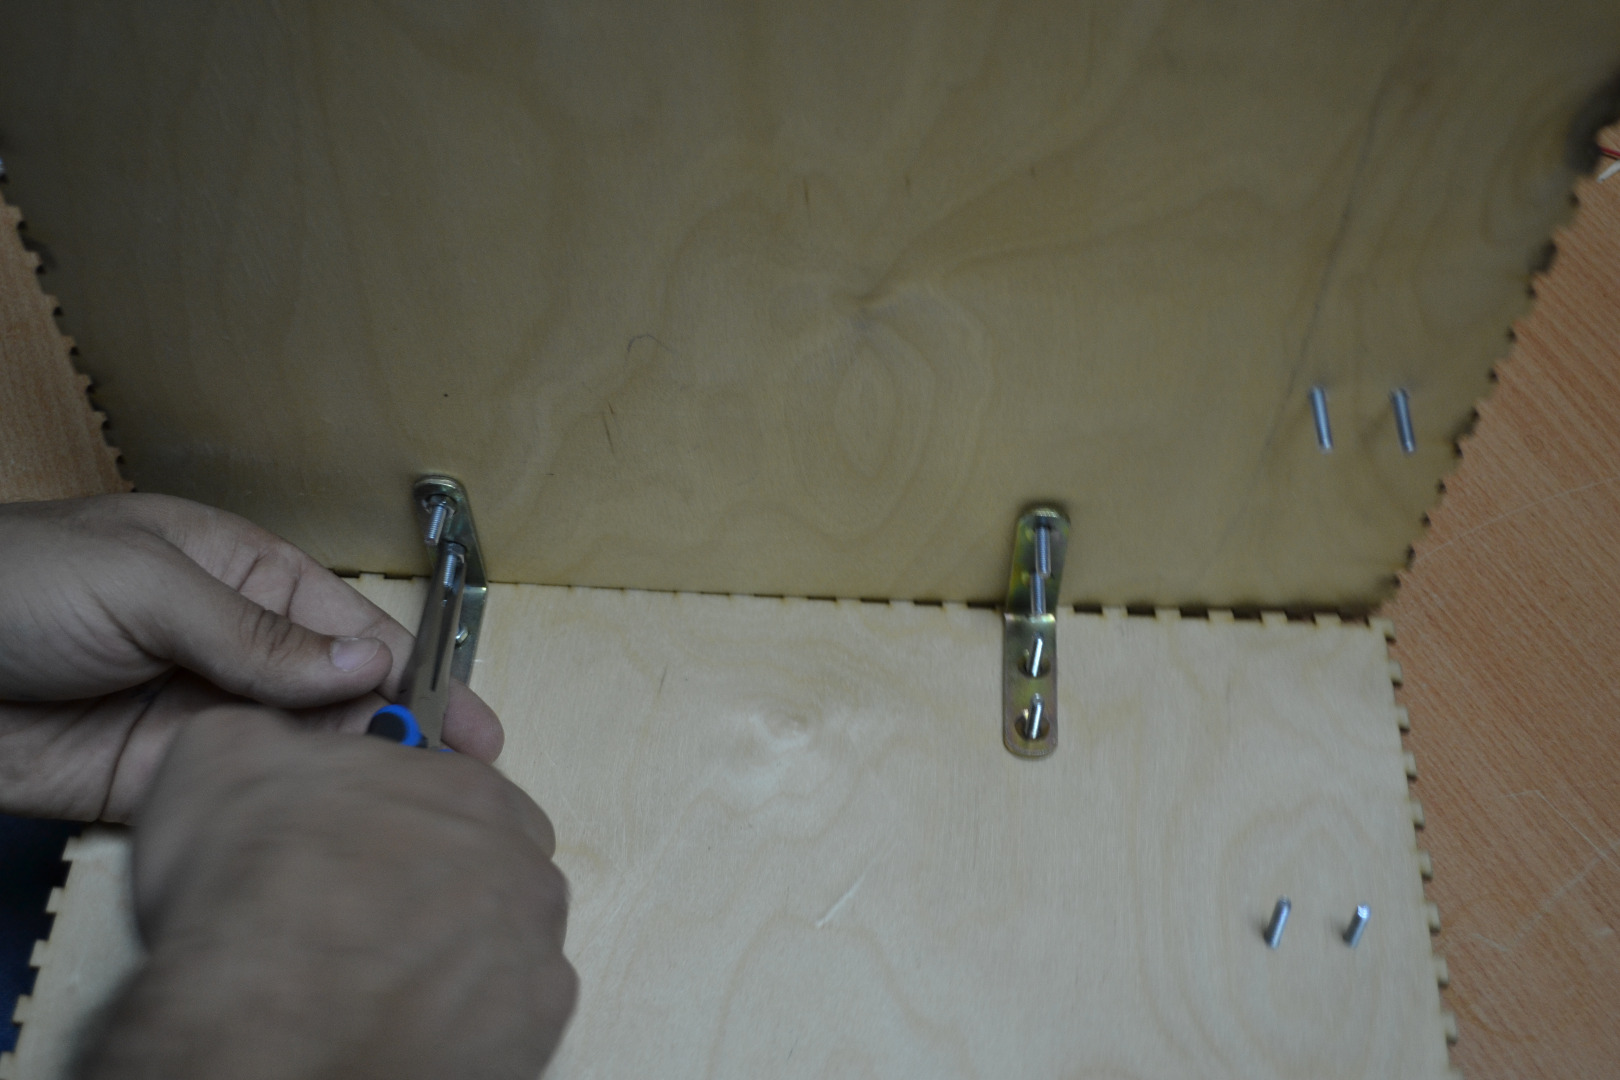
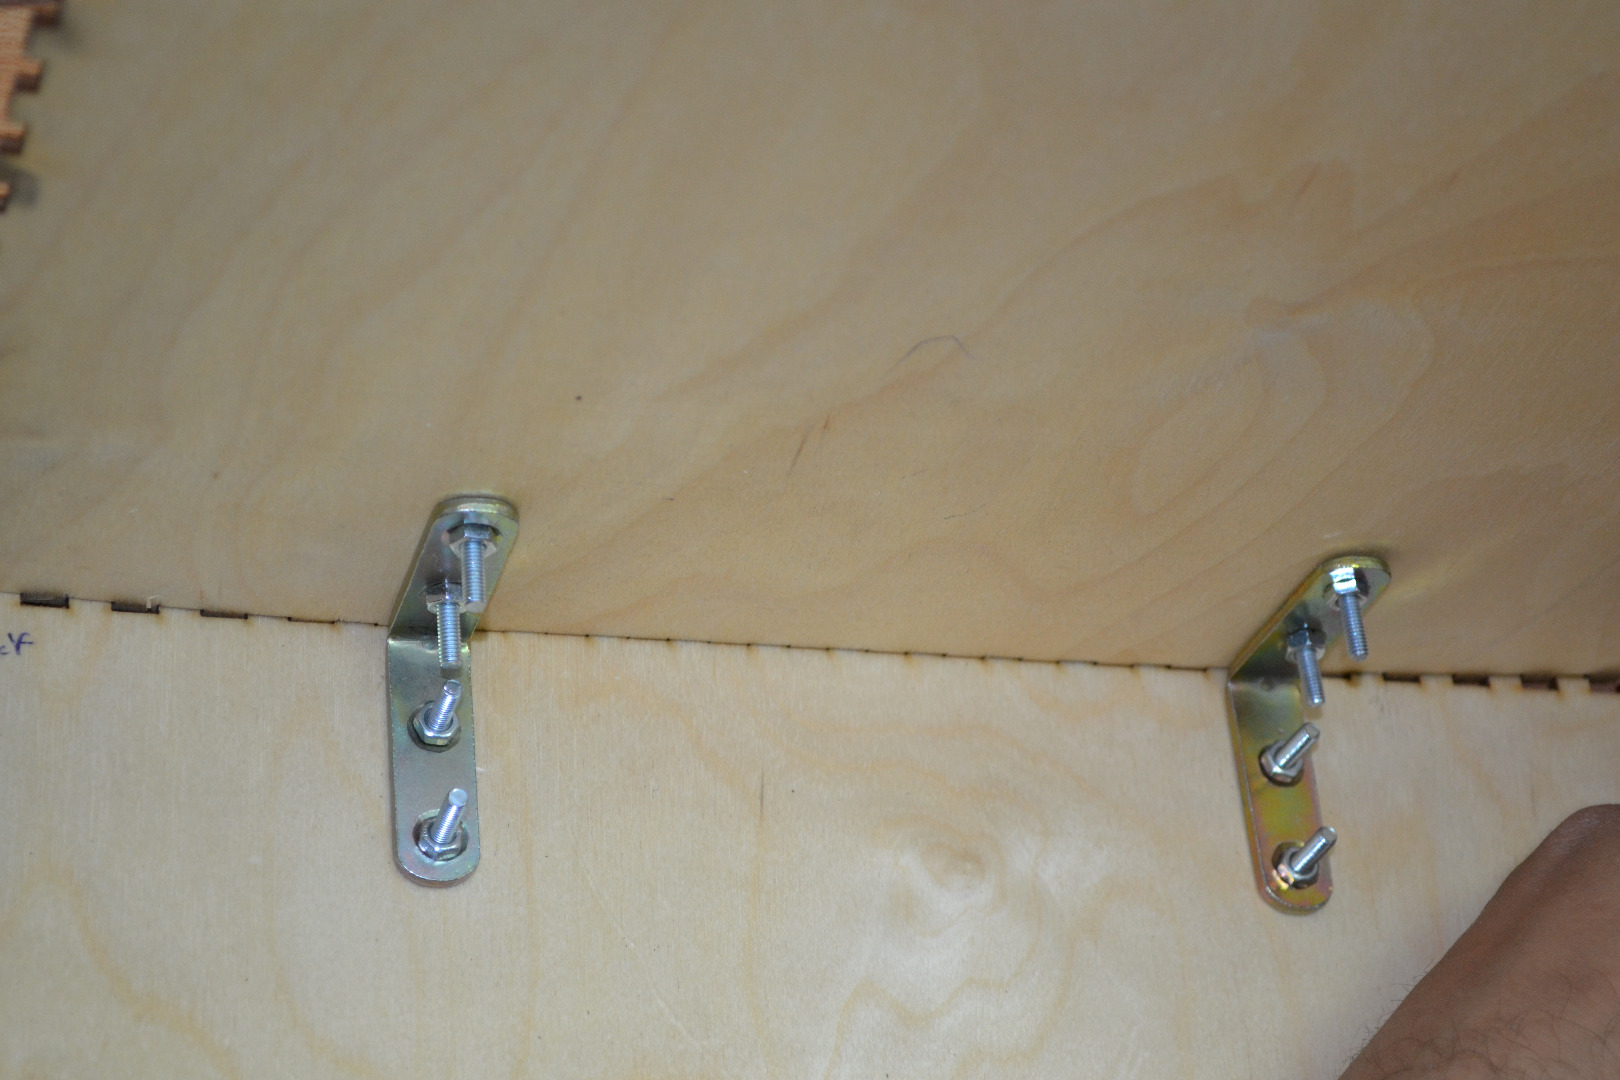
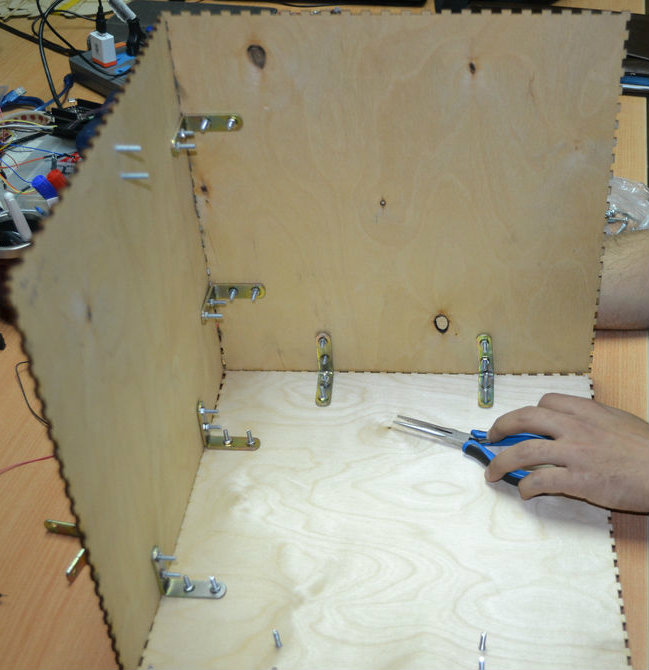
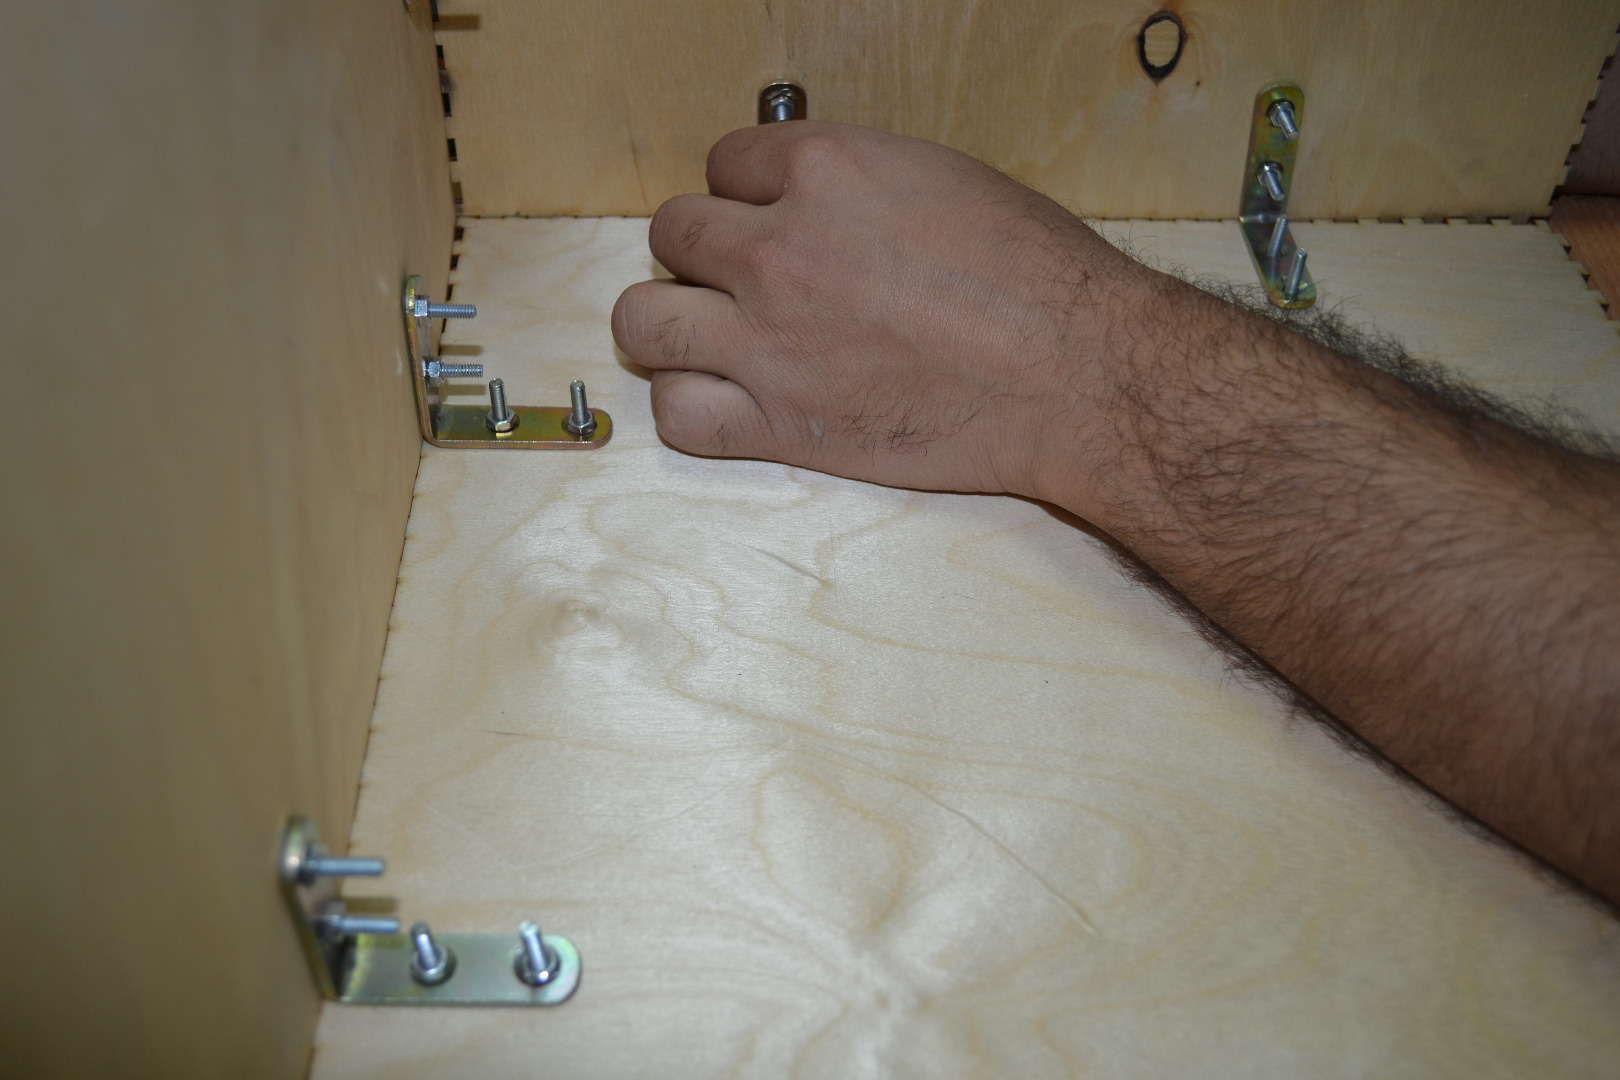
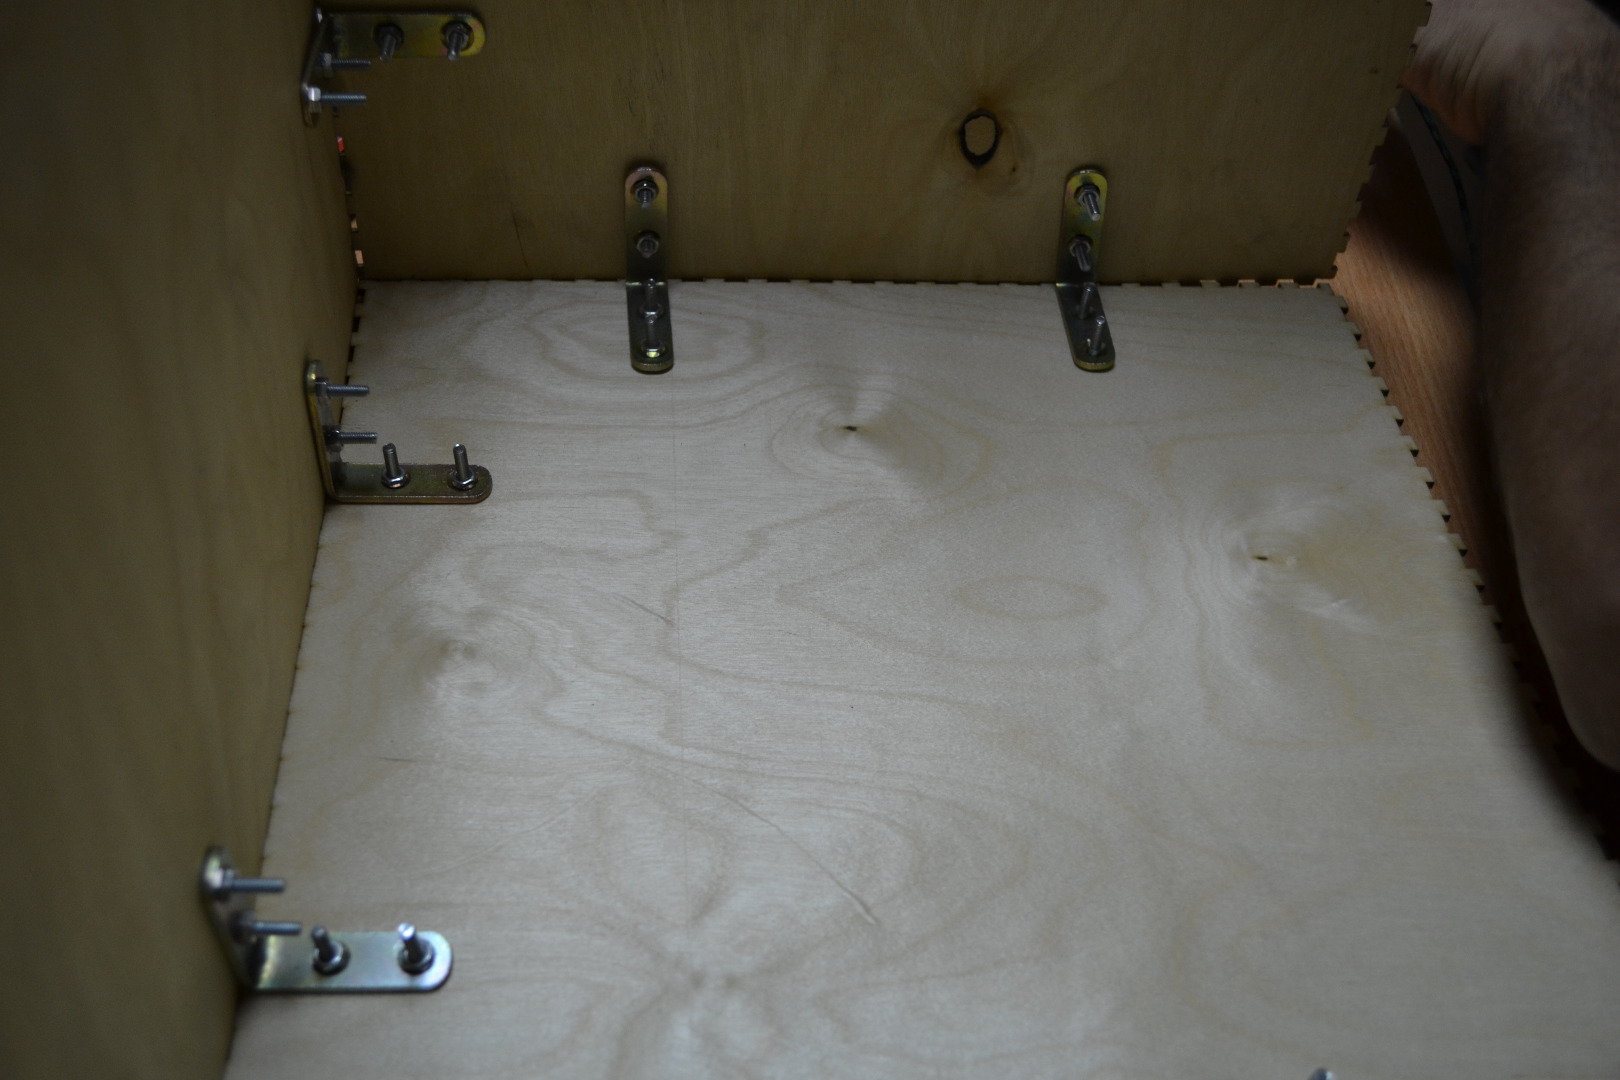
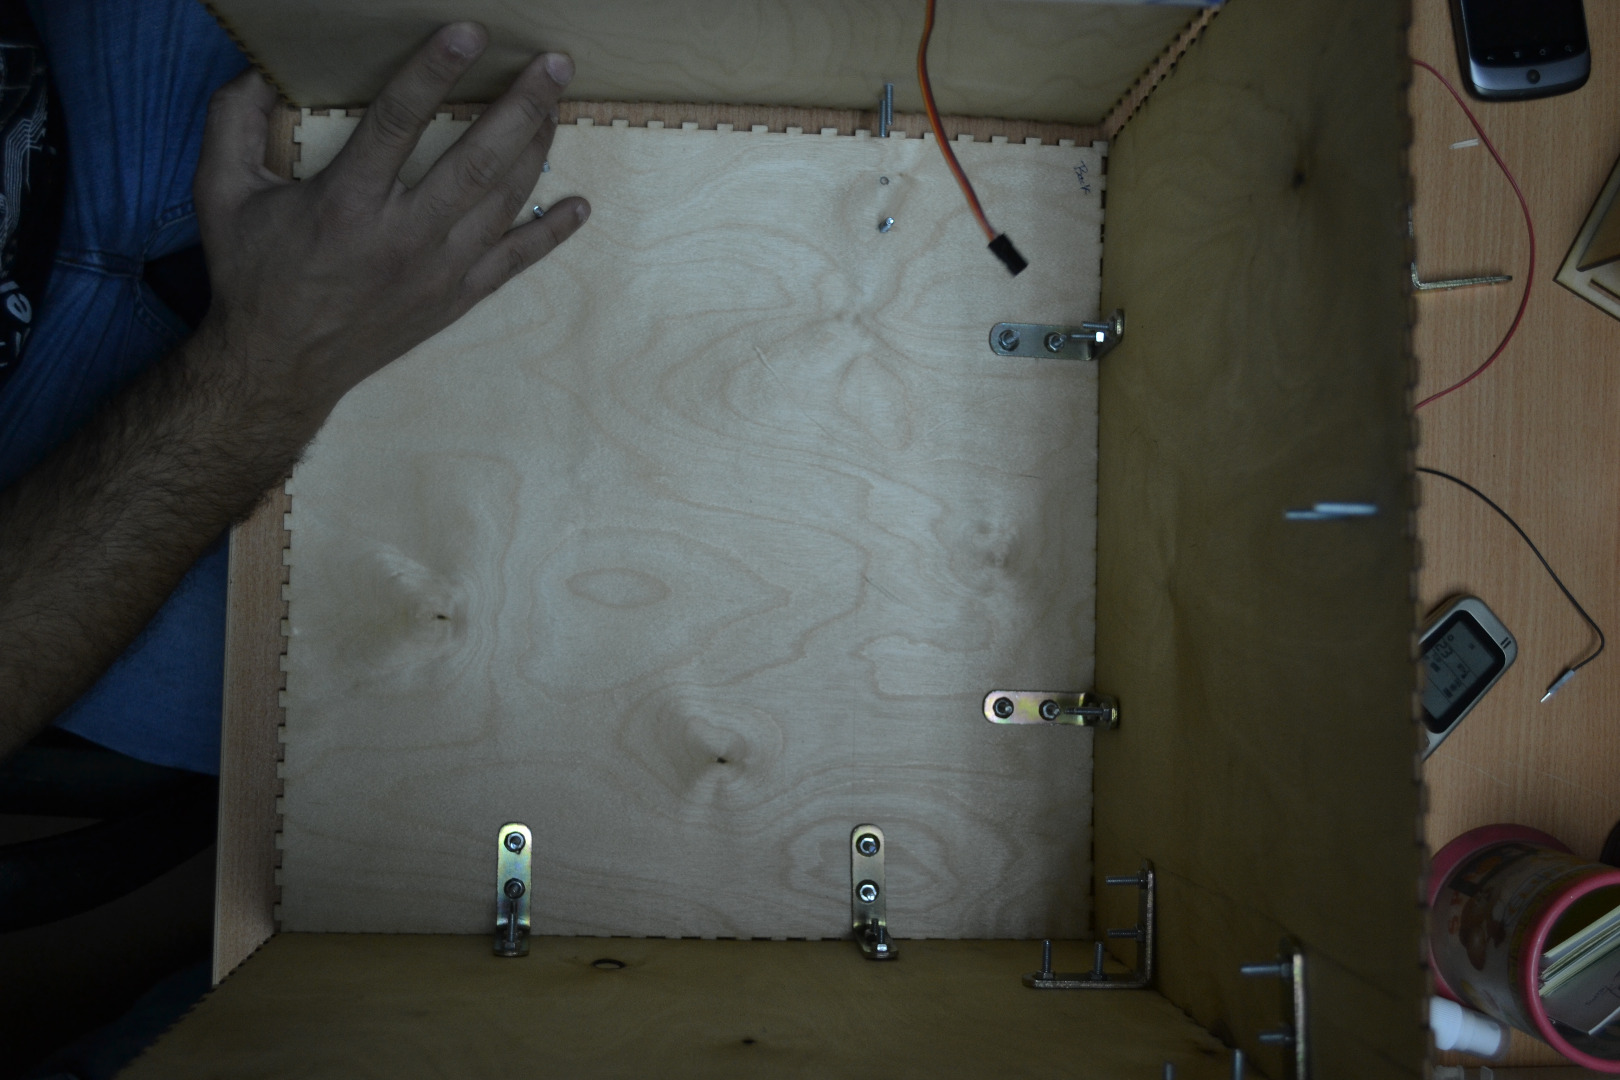
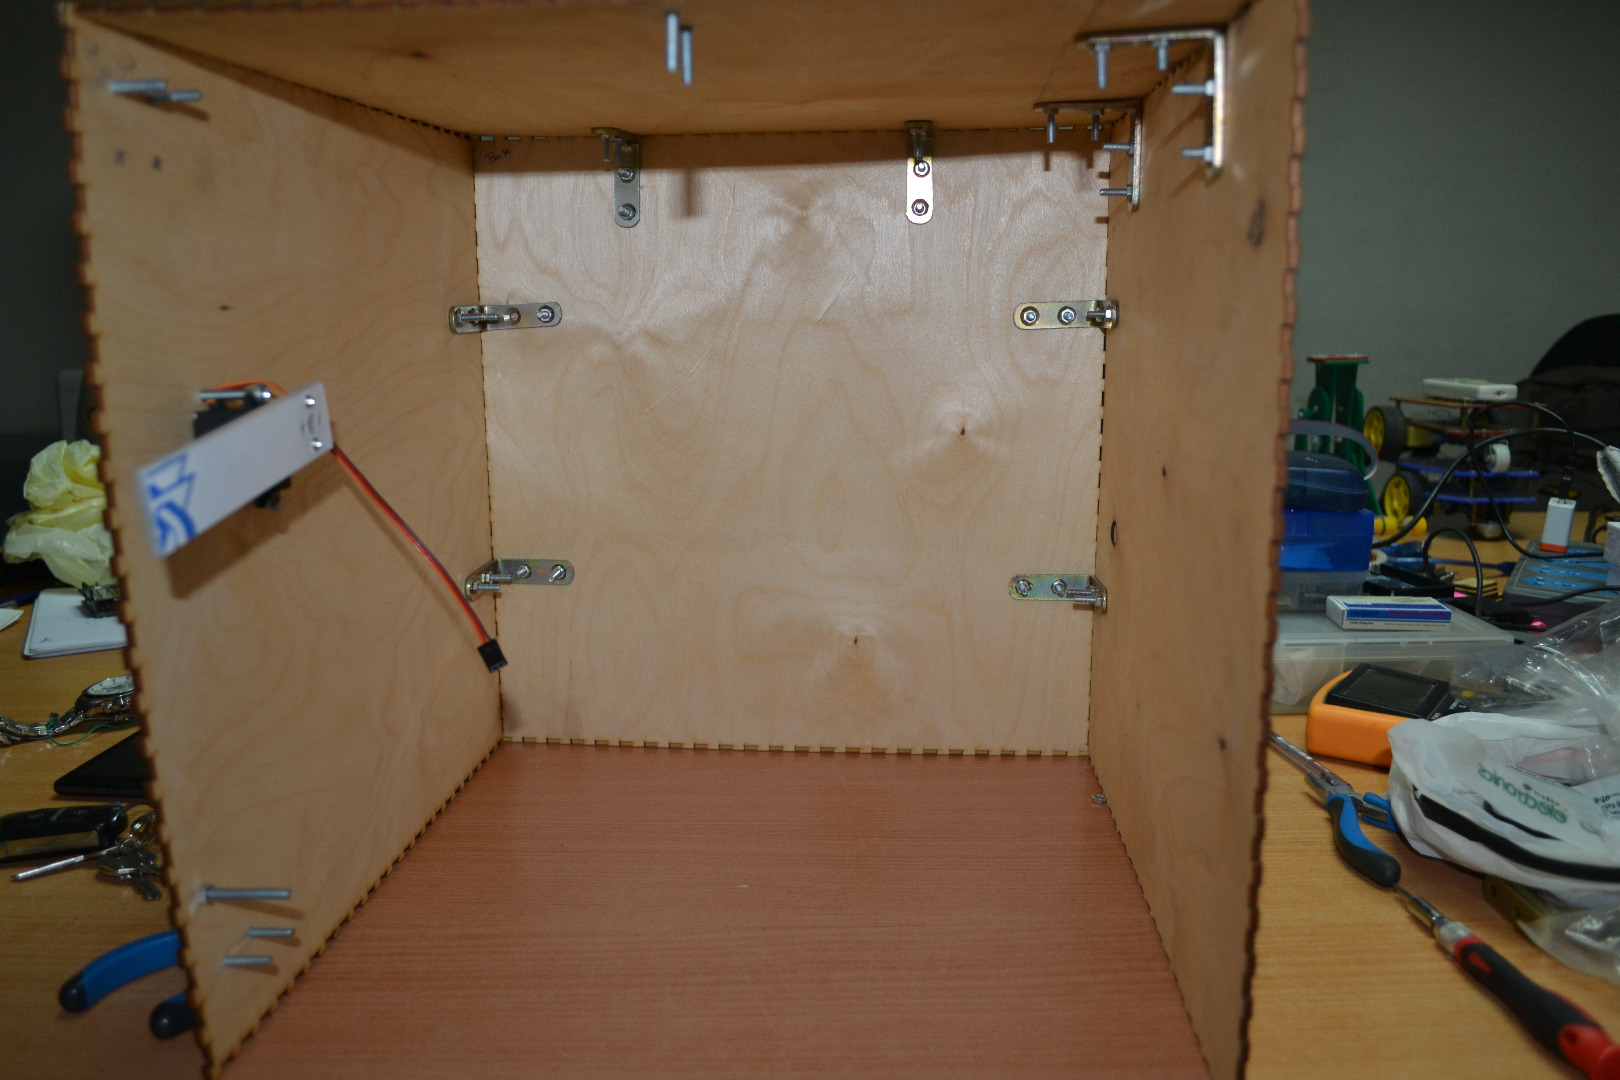
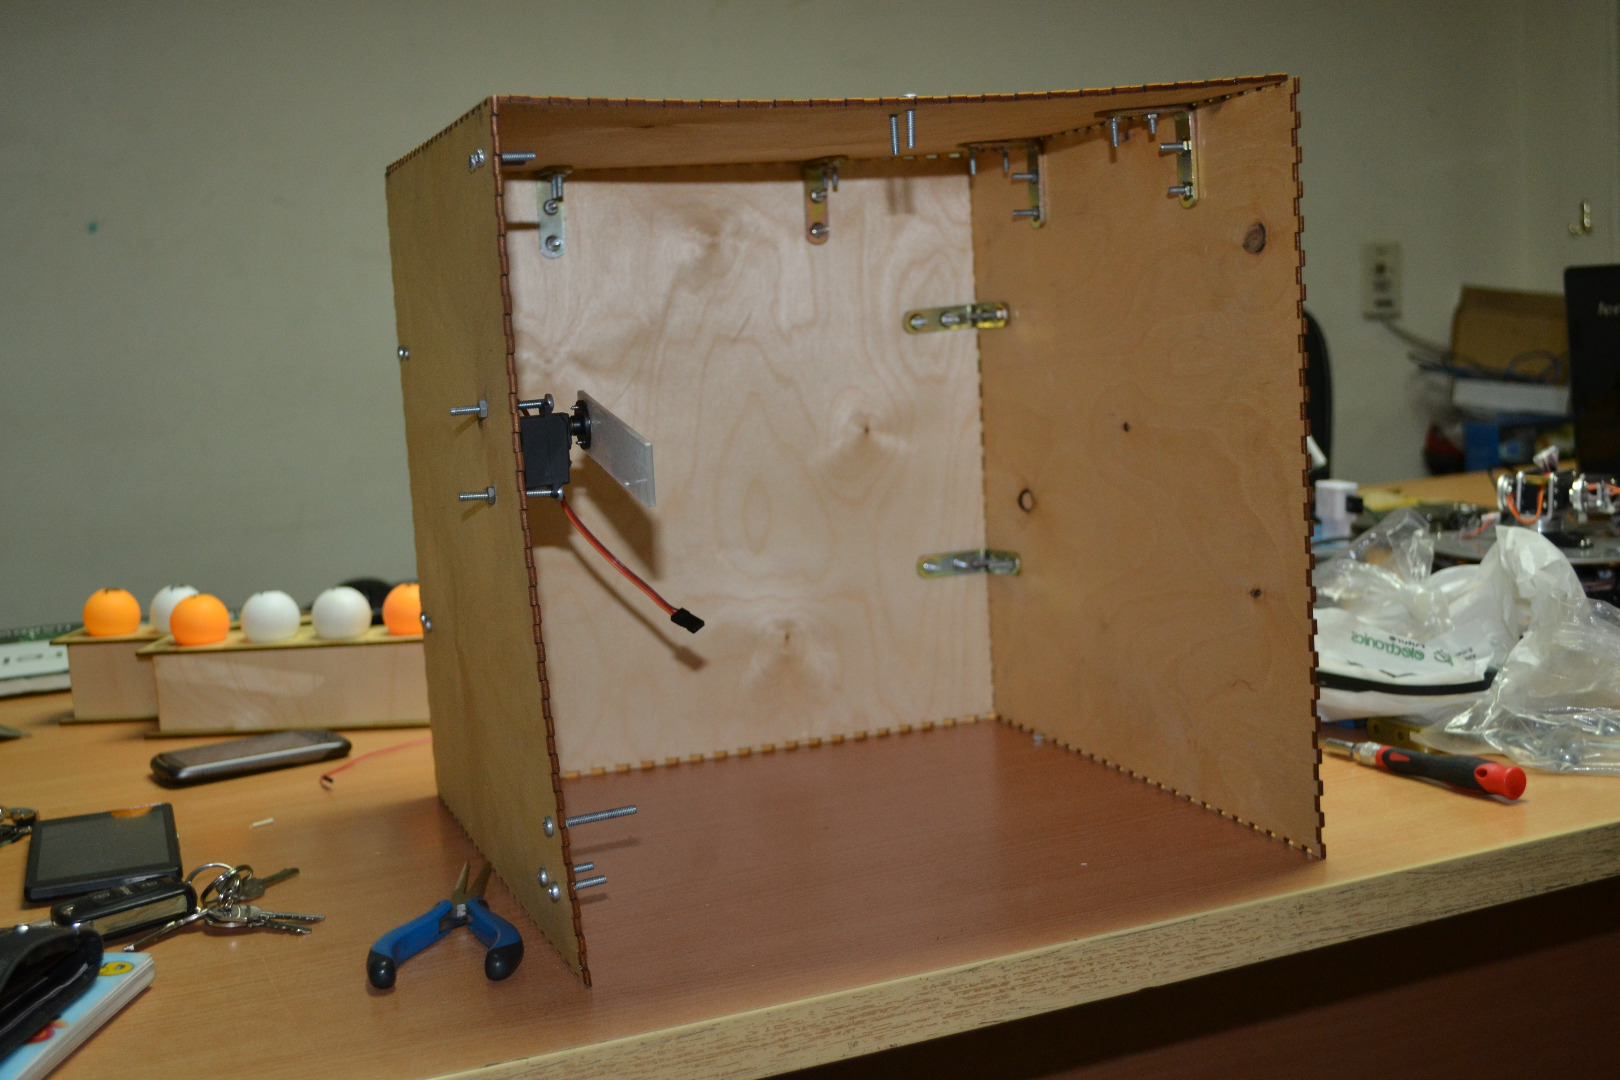
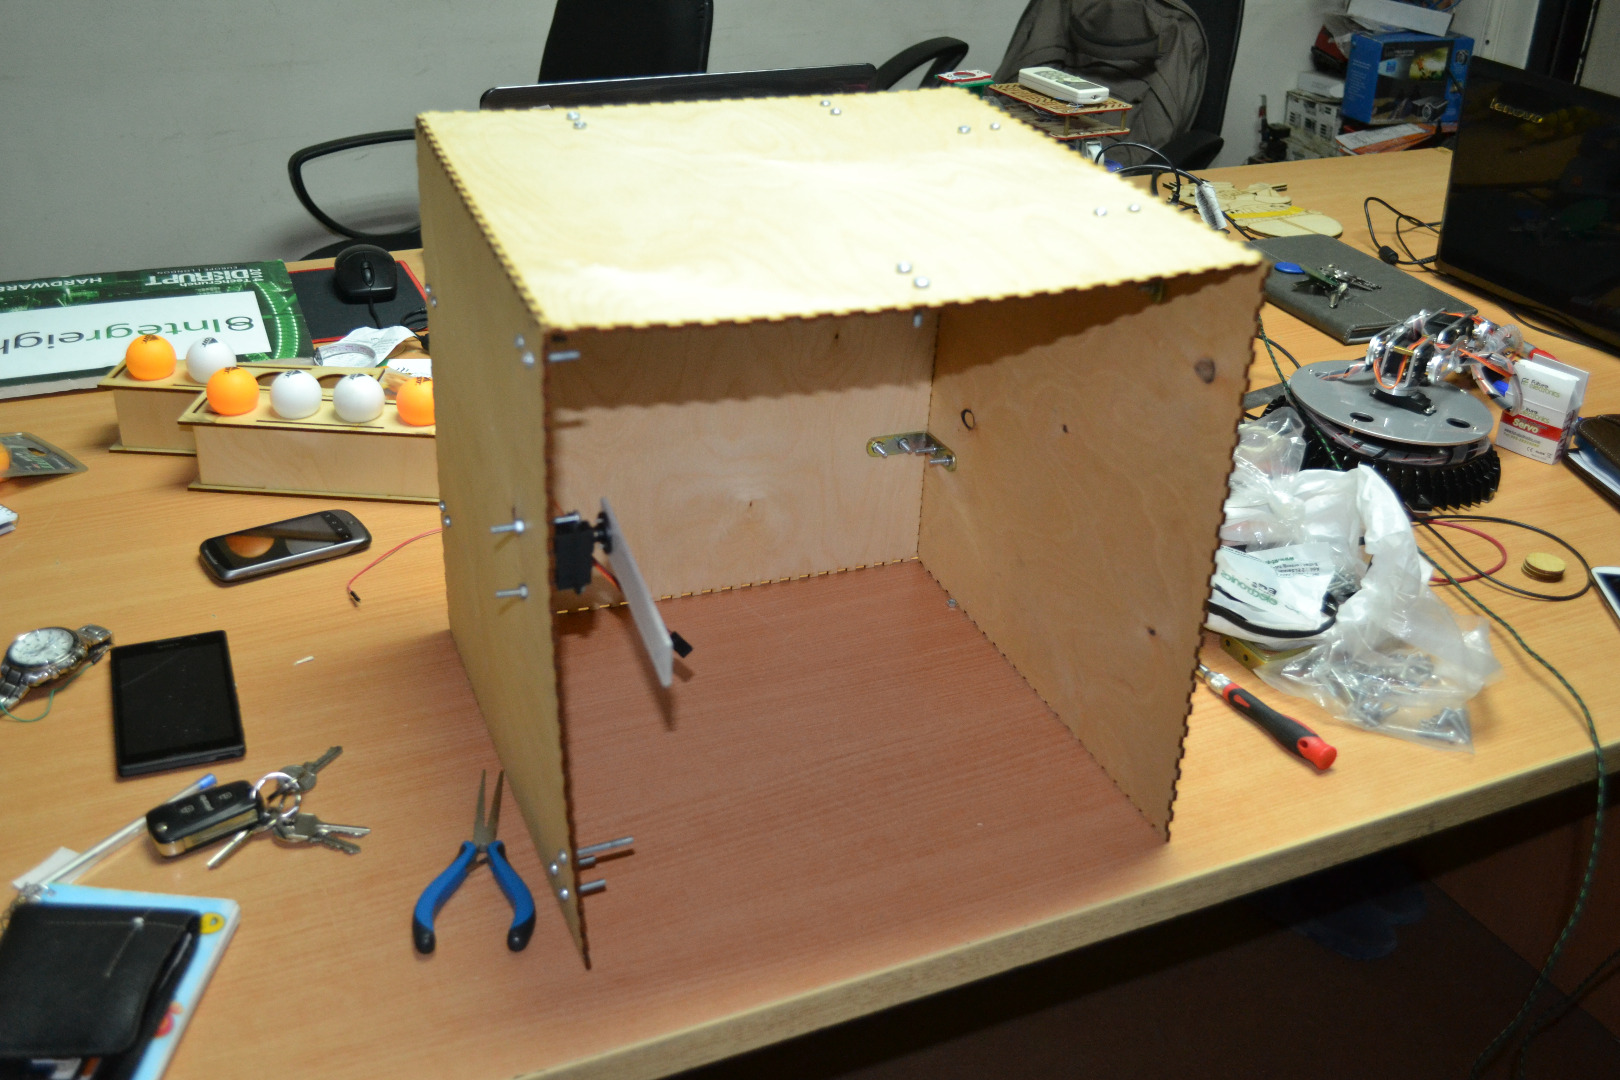
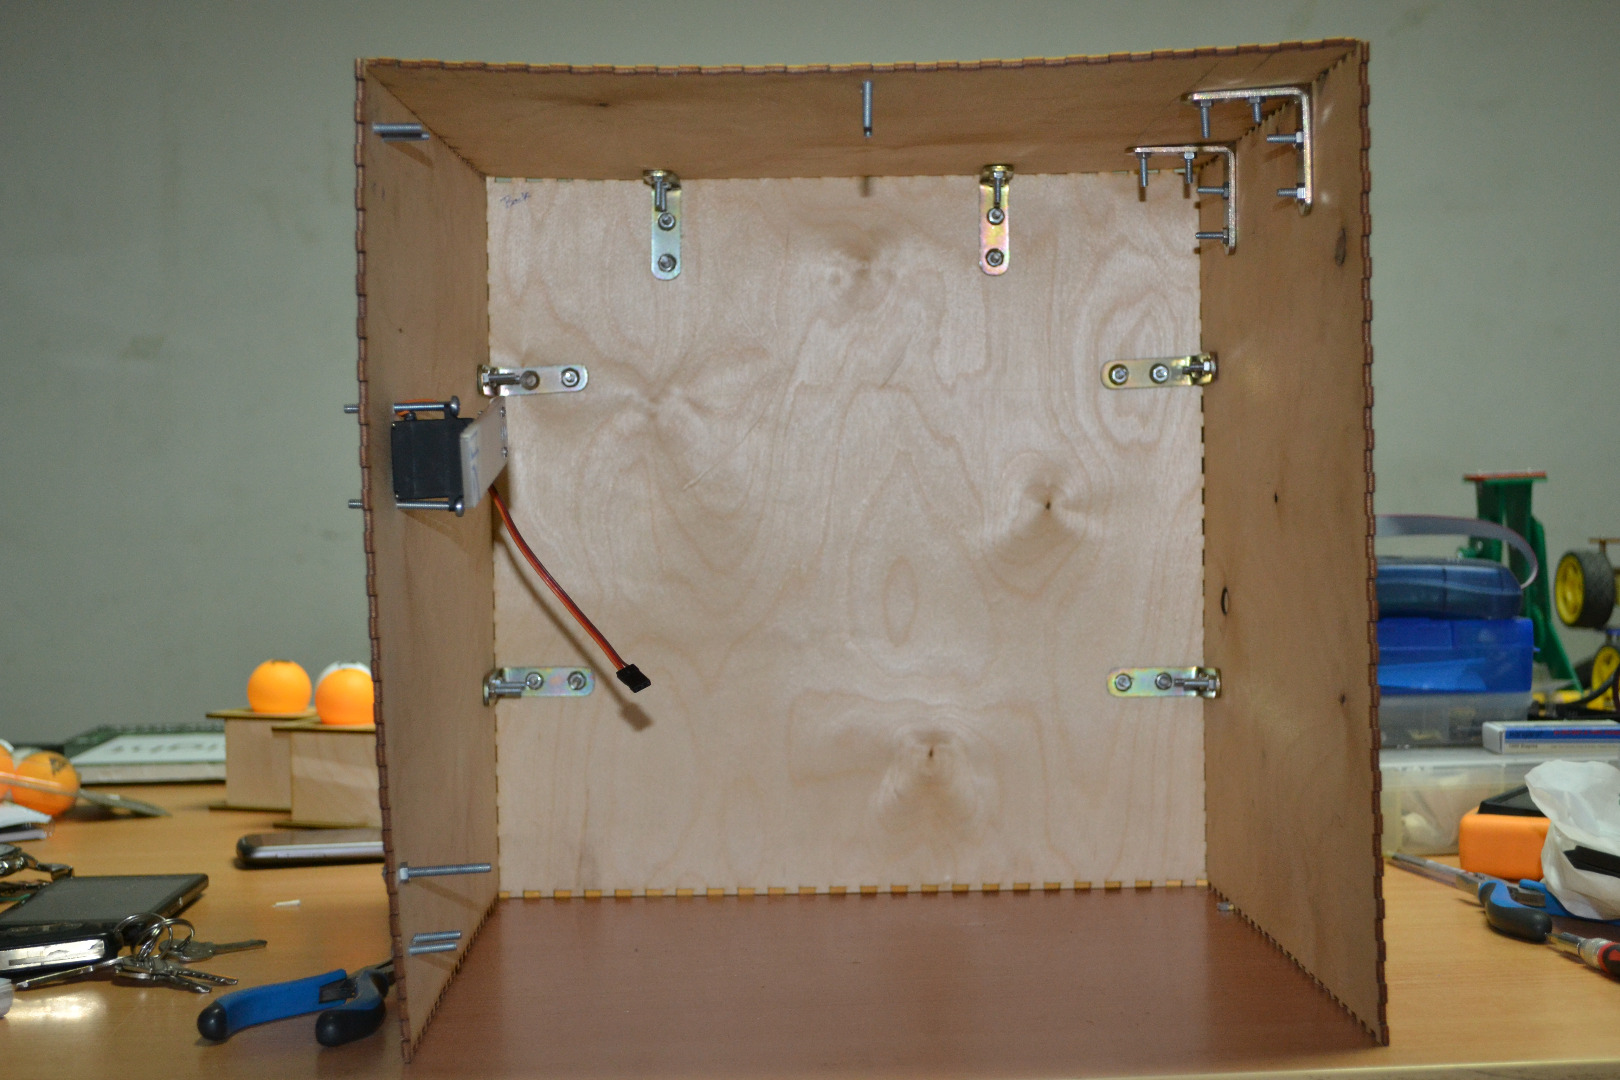
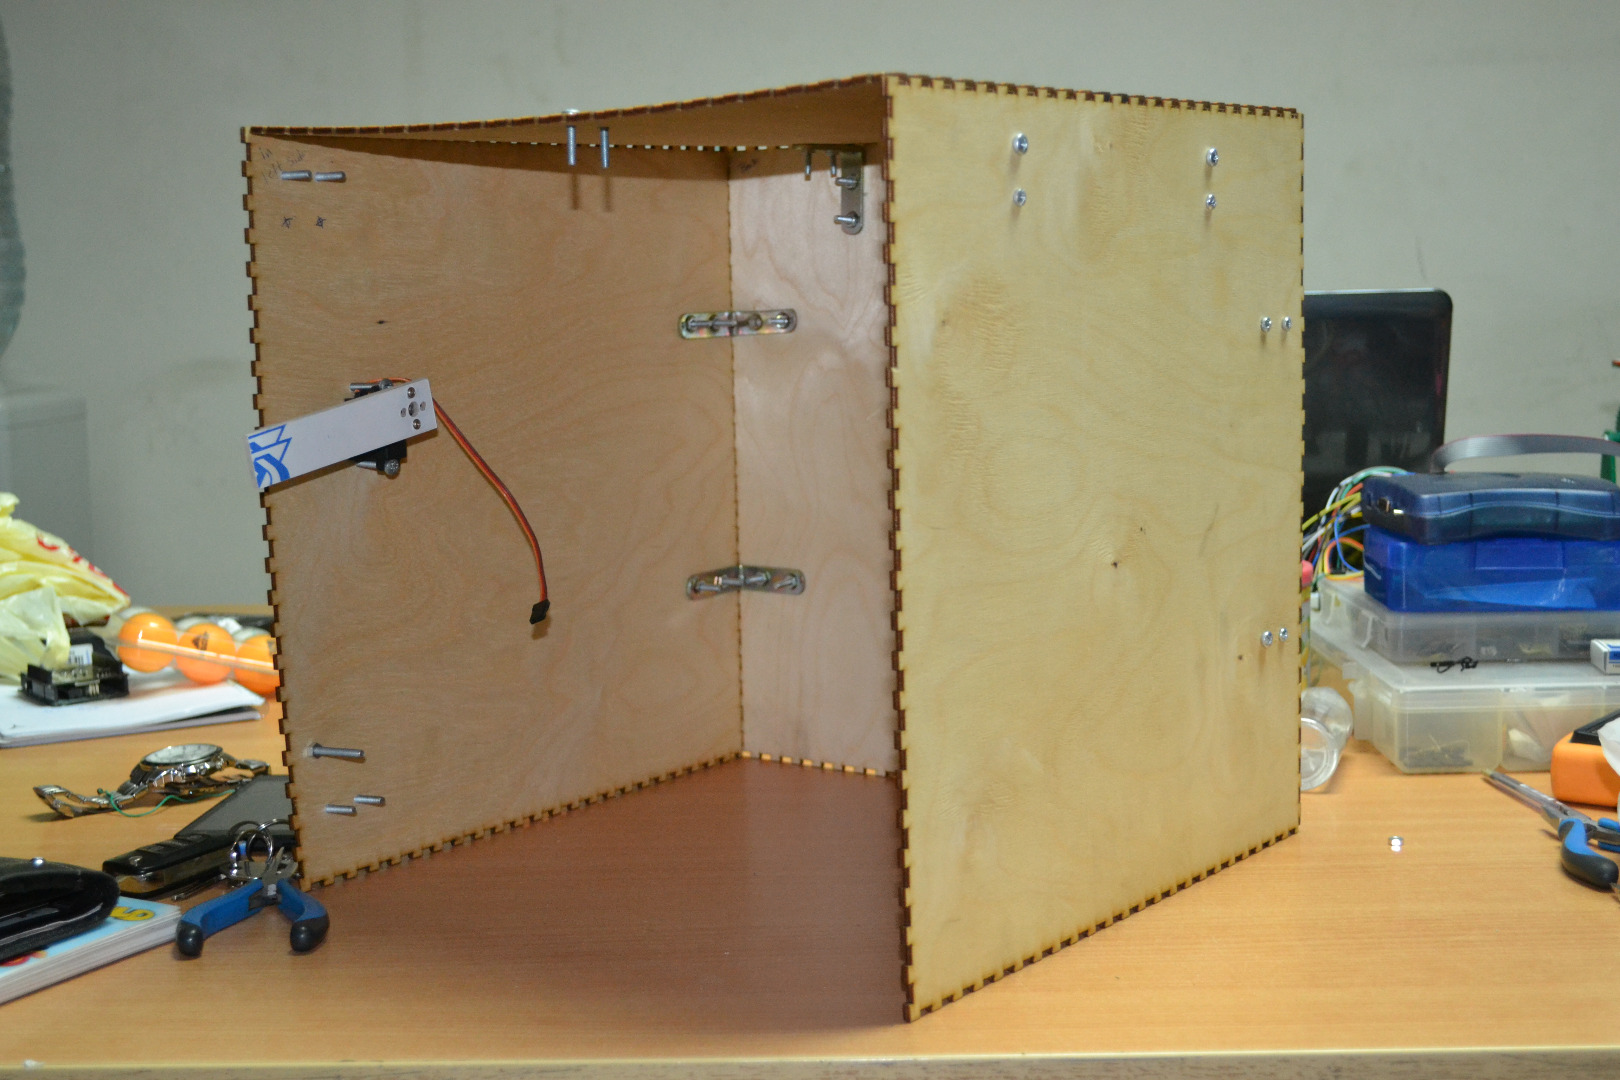
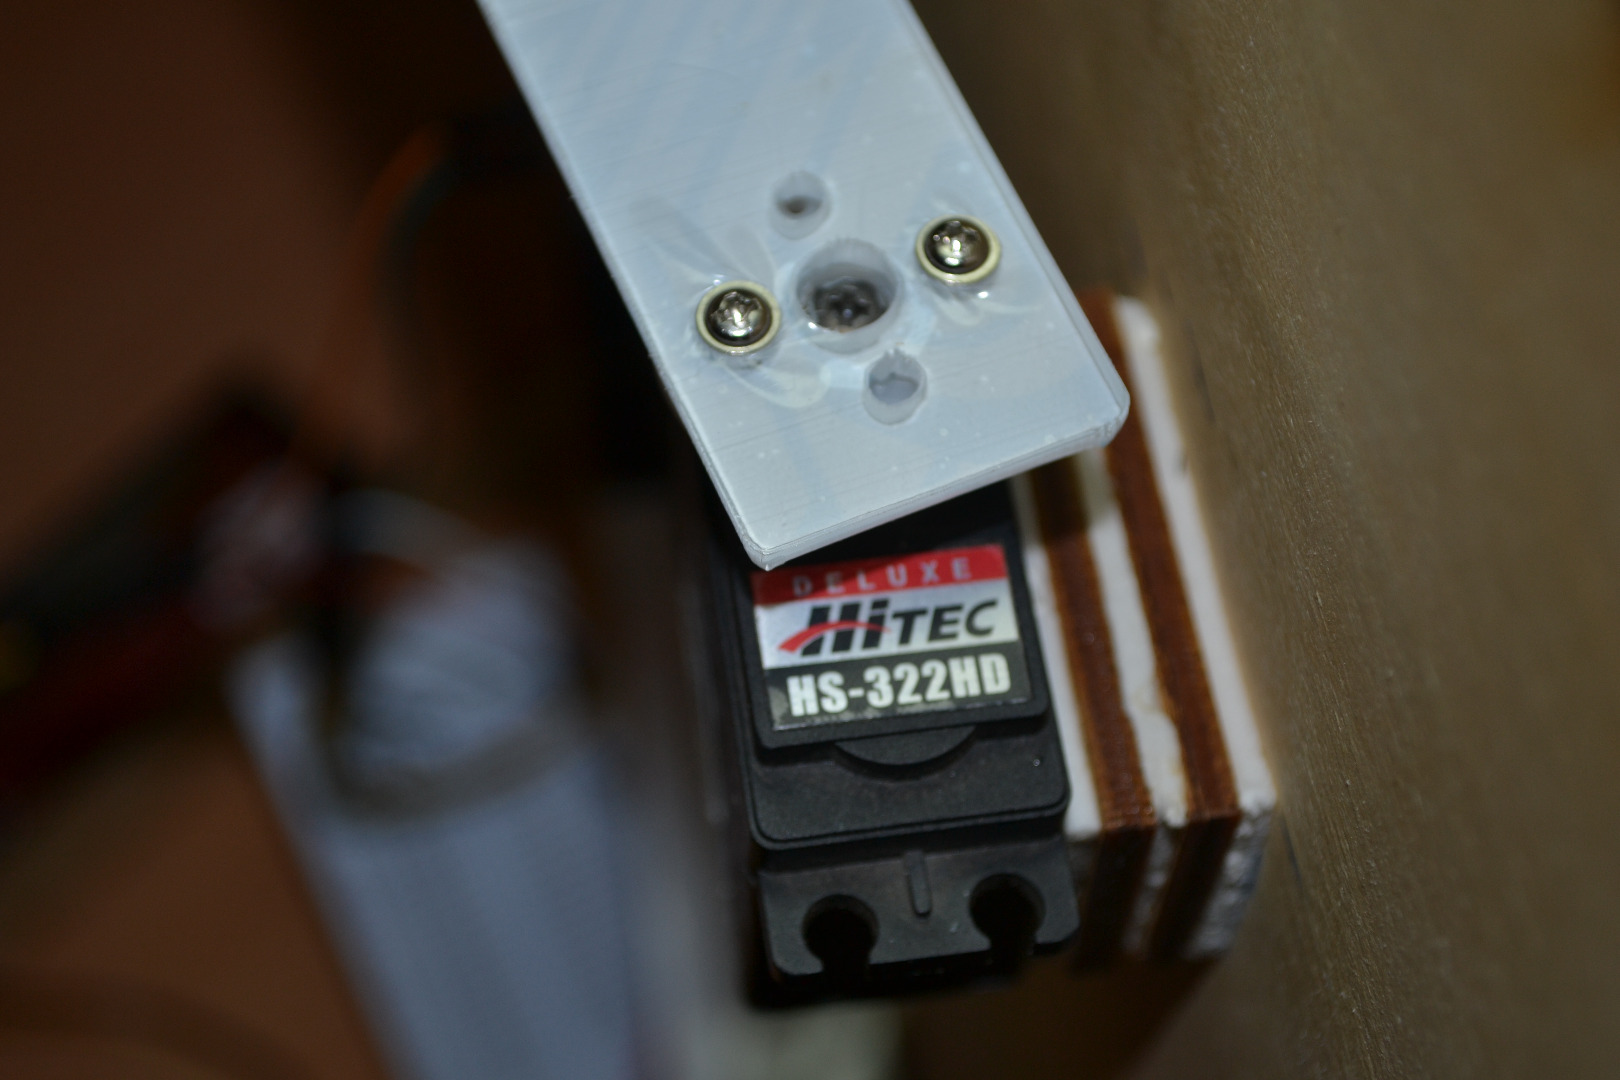
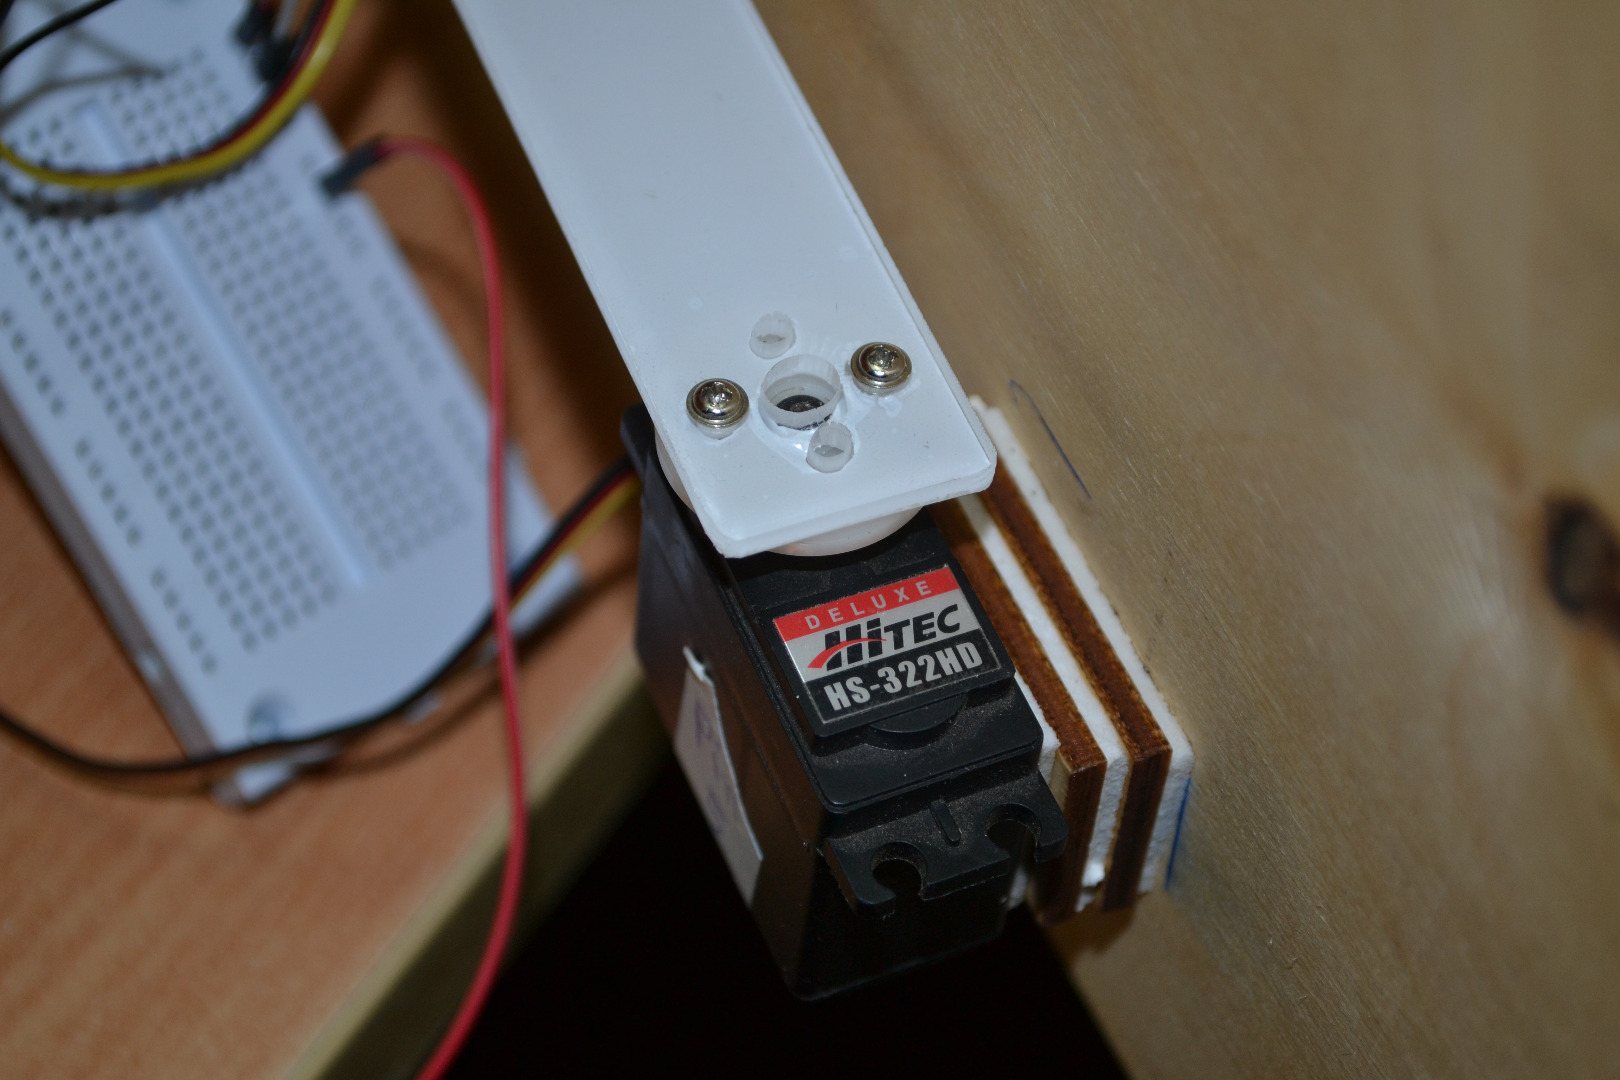
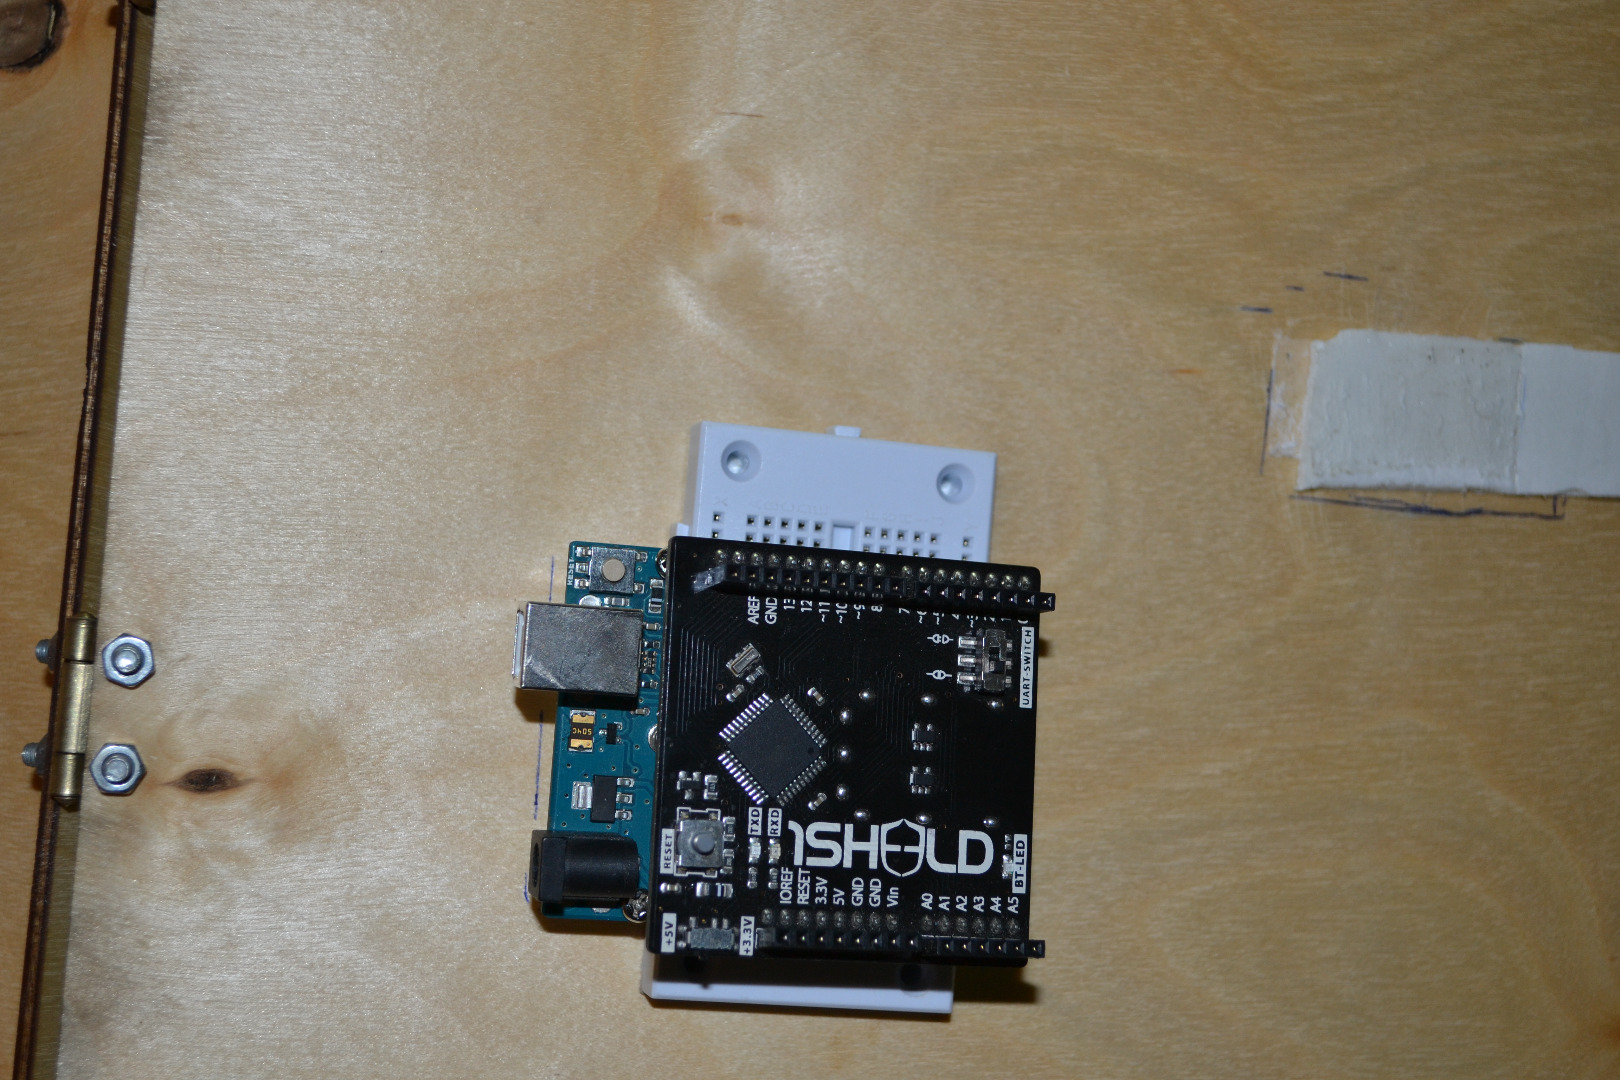
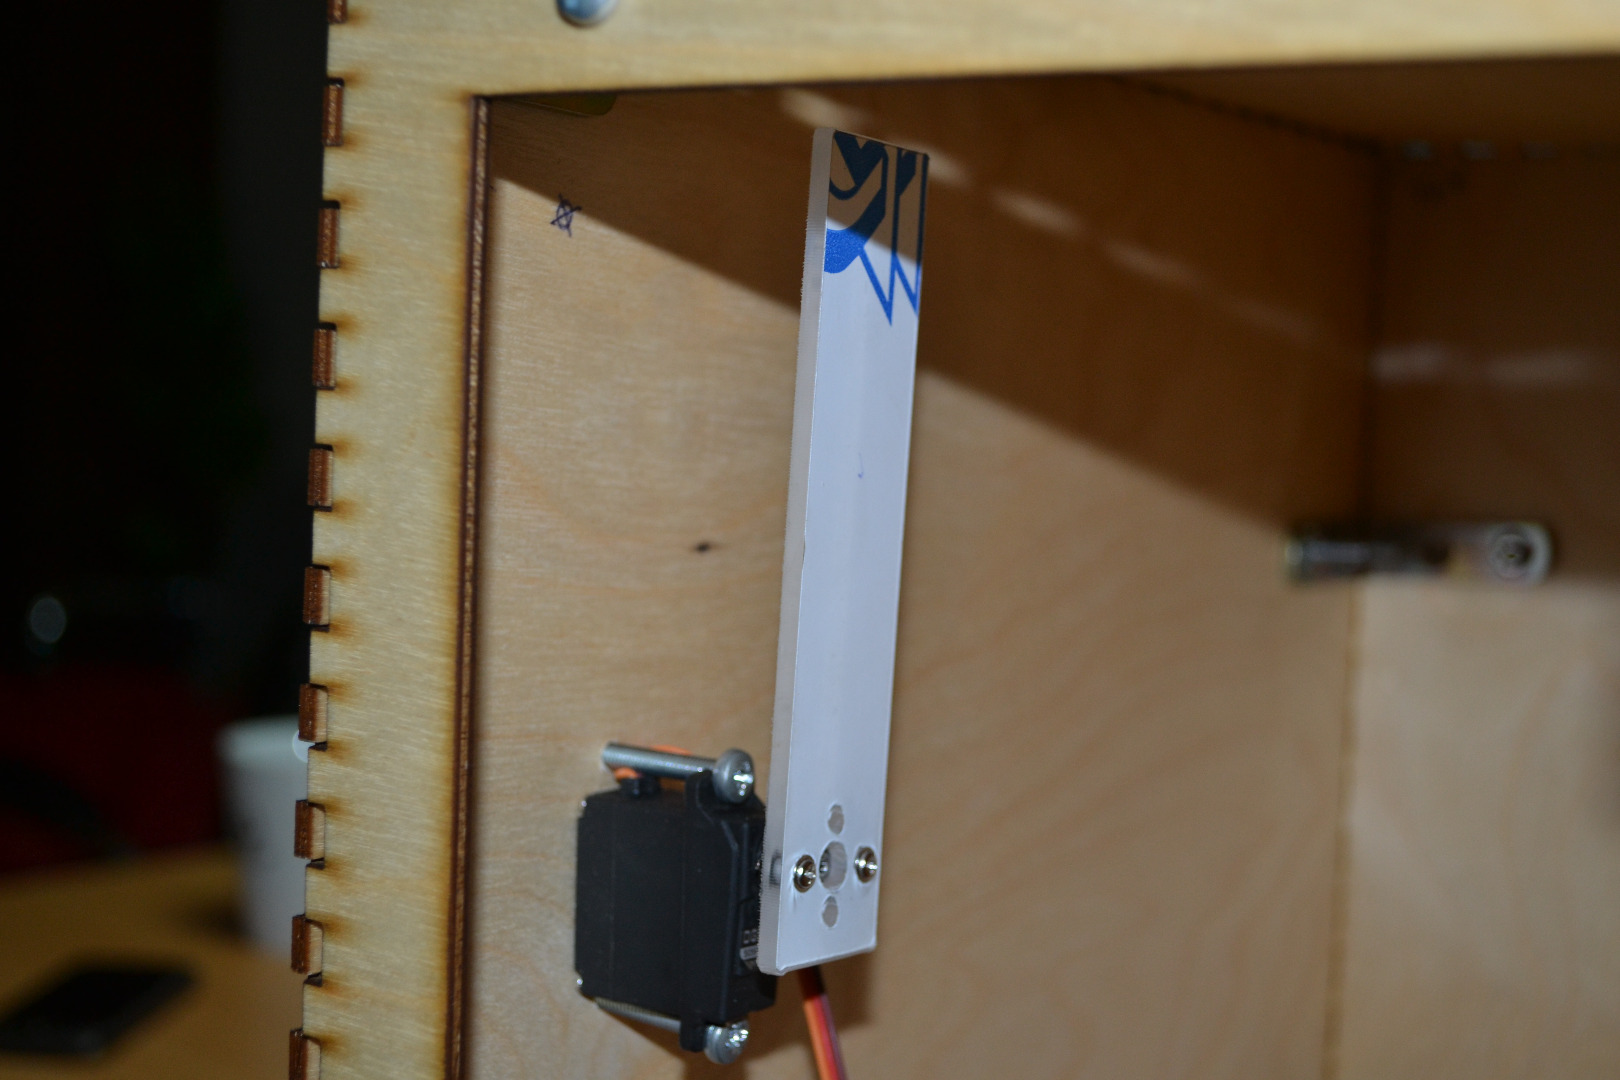
After cutting the plywood sheets using the laser cutter i found that there is a problem in fitting the parts of the box because of a bug in BoxMaker software so i used my driller to make some holes to fix the stainless steel angle brackets to fix the box sides.Then I used 3 small hinges to fix the door of the safe.
I used M4 Screws and nuts to fix the servo motors and Nylon Cable Tie Belts and double side glue tape to fix the servo motors to the safe door.
Finally, I fixed the Arduino and 1Sheeld using copper spacers.
Electronics & Arduino Code
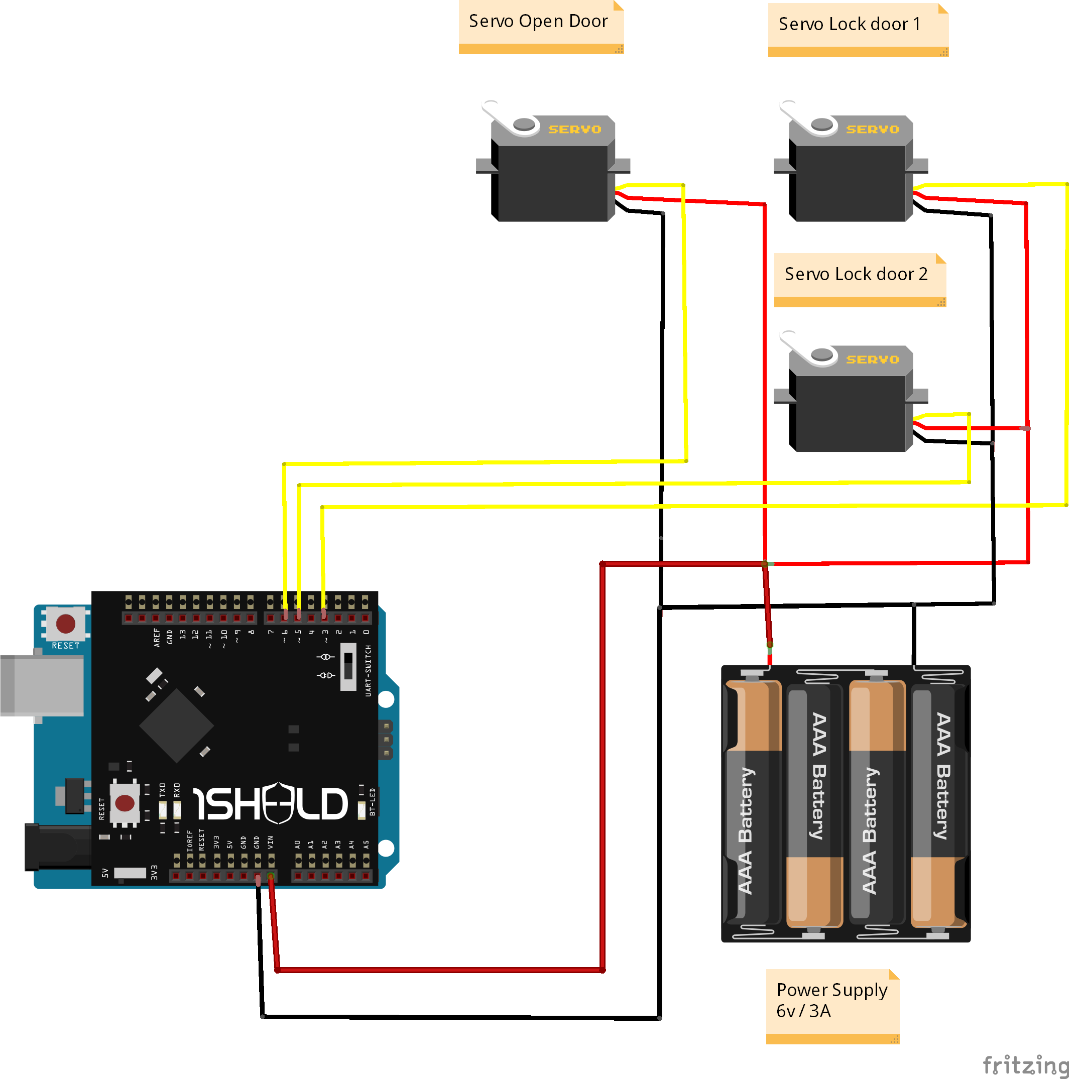
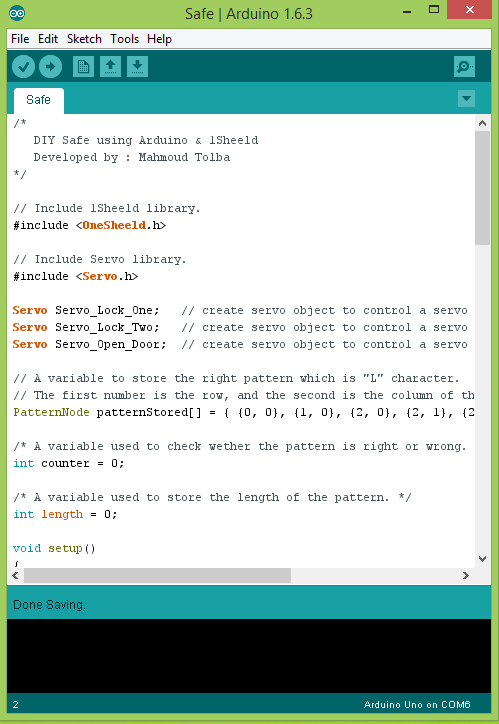
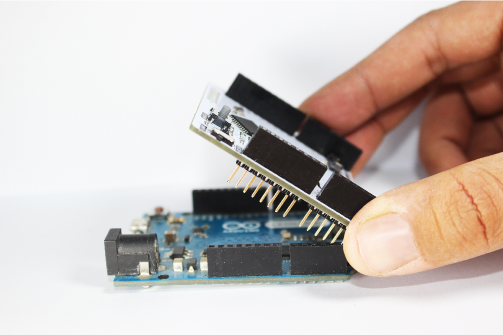
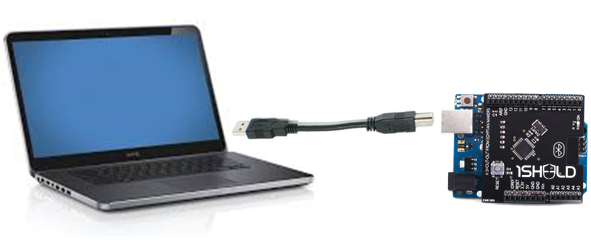
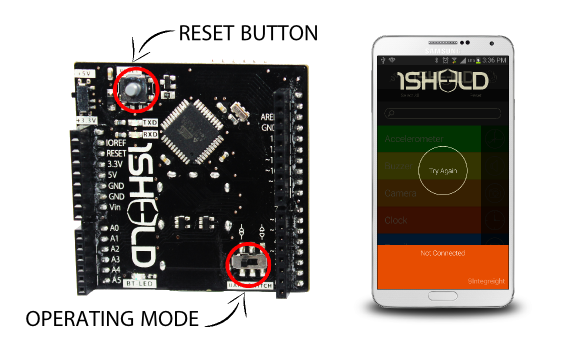
Step 1: Place your 1Sheeld on your Arduino board then plug the Arduino to your laptop or PC.
Step 2: Download 1Sheeld Application onto your smart phone. The app is available on the Google play store at http://1sheeld.com/app
Step 3: Download 1Sheeld library
Download OneSheeld library to your computer through this link
Step 4: Extract the folder, copy it, and paste it in your Arduino libraries directory.
Step 5: Open my Arduino Sketch ( you will find it in the attached files)
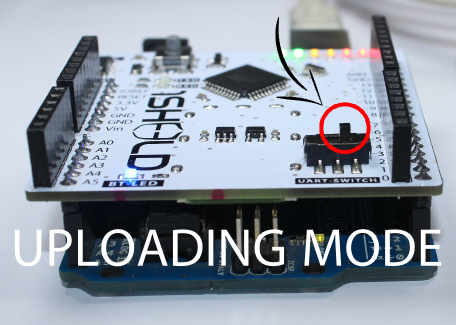
Step 6: Upload your sketch Hesre comes the most important part of the whole tutorial, switch 1Sheeld to the Uploading-mode (this is the switch labeled UART Switch on the board) before you upload your sketch to the Arduino board to avoid serial conflicts between 1Sheeld and Arduino, then press the Upload button in the IDE.
Upload mode is turned on when the UART switch is pushed away from the 1Sheeld logo.
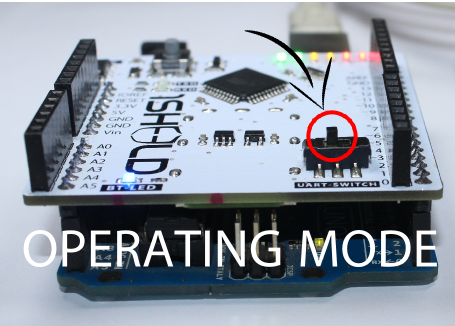
Once you have completed your upload you need to switch 1Sheeld back to the operating mode. Don’t forget! If you don’t switch the UART Switch back to the operating mode your project will not work properly as you will have no communication between 1Sheeld and the Arduino board.
Operating mode is turned on when the UART switch is pushed closest to the 1Sheeld logo.
Step 7: Use 1Sheeld Application
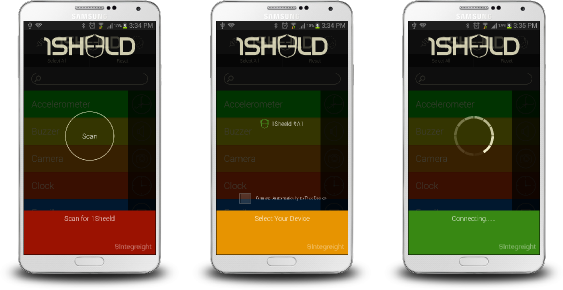
Open 1Sheeld application on your Android smart phone. The application will first scan over bluetooth for your 1Sheeld, it will take a few seconds and the phone will find it. Once it appears on your screen as 1Sheeld #xxxx, you will be required to enter the pairing code (the default pairing code is 1234) and connect to 1Sheeld via bluetooth.
NOTE: If you are having trouble please make sure the bluetooth is turned on for your Android phone and that the Android phone is close to your 1Sheeld.
Step 8 : Access Pattern Shield
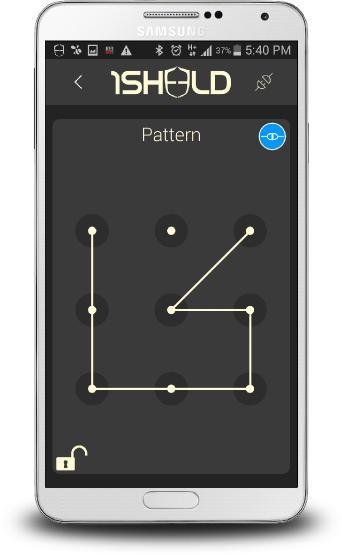
Select Pattern Shield from the shields list and press on the multiple shields icon at the top right of the app.