DIY RepRap 3D Printer

This is a 3d Printer that I designed and built for my 9th grade STEM class this summer at Tacha Academy. This printer uses parts from the Prusa mk3s, but runs different firmware, and uses a different controller. Most of the plastic parts are different as the printer is made of 20x20 aluminum extrusion.
Supplies
- 5 Nema 17 1.5 amp motors
- BLtouch
- E3D v6 all metal hotend
- 20x20 extrusion
- 4 8mm by 330 mm rods
- 10 8mm linear bearings
- 5M GT2 6mm belt timing kit link
- 2 8 mm by 330 mm 2mm pitch threaded rods, and 2 thread nuts
- 2 12v 40 by 40 box fan
- 12v blower fan
- Prusa mk3s extruder kit link
- prusa mk3s bed link
- Prusa mk3s bed carriage link
- Ramps 1.4 controller
- 5 A4988 stepper drivers
- Arduino mega
- Rep rap discount smart controller
- 12V 30 amp power supply
- 3 switches here is a full controller kit
- 5mm 3mm 4mm nuts and bolts
Downloads
Ramps 1.4 Controller Setup

The Ramps 1.4 is an Arduino based 3d printer controller that runs on a 12V DC power supply. Has six stepper motor ports, ports for x, y, and z switches, heated nozzle, part fan, bed , thermistor, and Z probe ports. The image provided is what I used as a wiring guide, I am using a 3D touch and wiring for witch is 3 pin connector to servo port1, and 2 pin connector to z switch port, and I used exclusively 12V fans (just connect the extruder head block fan, and case fan together). I also have the rep rap discount display controller adapter plugged in. I chose to run Marlin as my firmware. Linked below is the configuration file used. You will also need to install and include the U8glib library for certain lcds. After this you should be able to control all the electrical components for the machine.
Downloads
Designing the Printer
The printer that I based my own on was the Prusa mk3s as it is a popular printer with available parts I could use like a heated bed, and bed carriage. I decided to use aluminum extrusion as the frame for my printer and went with a 8 mm rod and belt design. The extruder also is very similar to the Prusa mk3s so I could use Prusa parts, but instead of the Prusa mk3s probe the extruder is designed to use a 3D touch sensor.
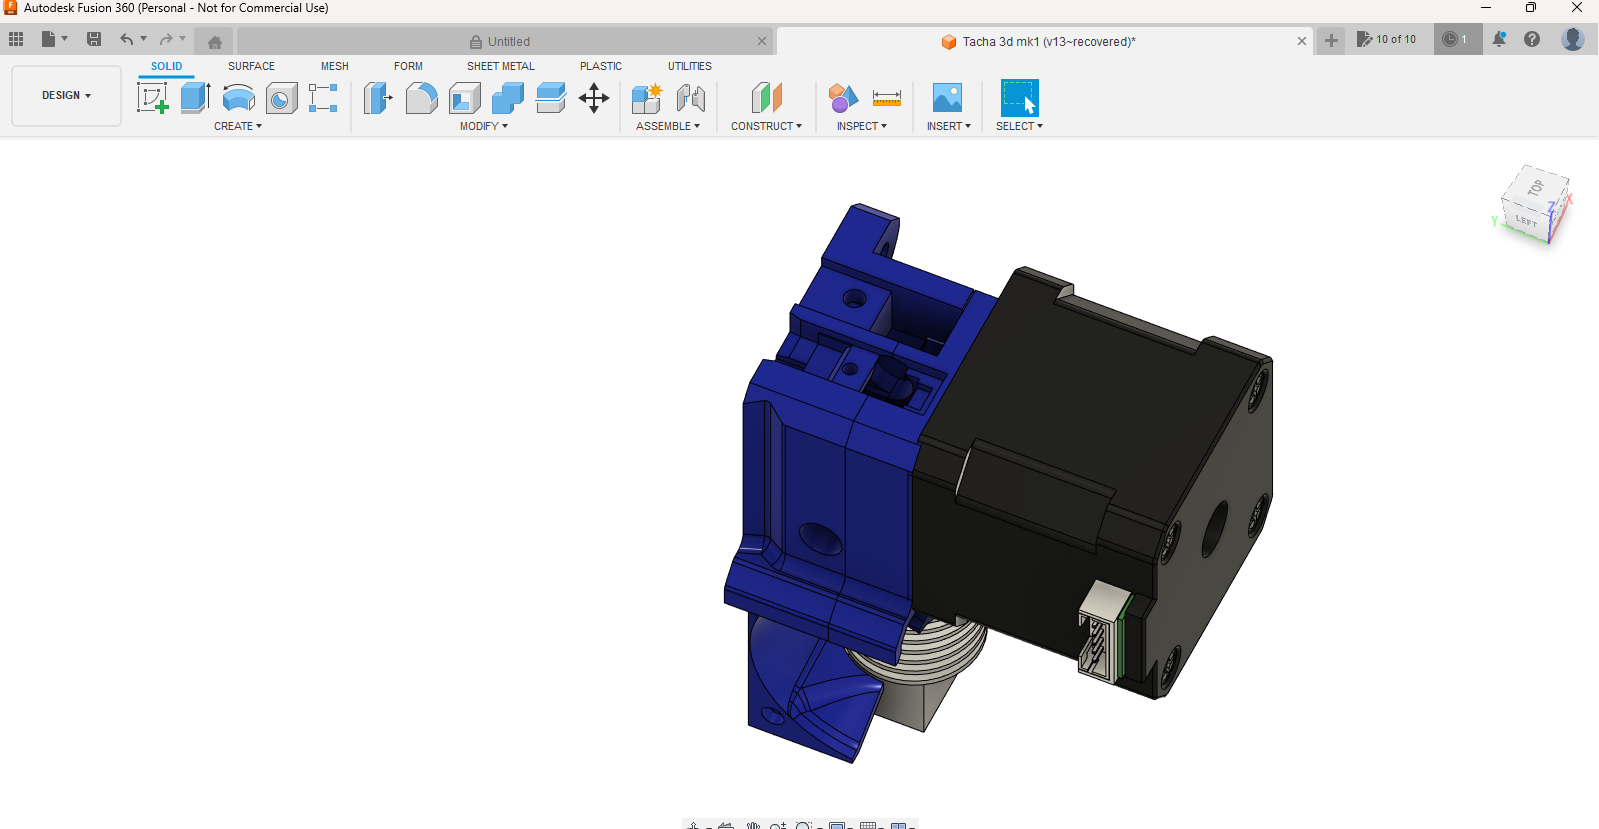
Assemble the Extruder
 6_29_2023 10_02_46 PM.png)
 6_29_2023 10_02_47 PM.png)
 6_29_2023 10_03_24 PM.png)
 6_29_2023 10_03_34 PM.png)
 6_29_2023 10_03_59 PM.png)
 6_29_2023 10_04_08 PM.png)
 6_29_2023 10_04_21 PM.png)
 6_29_2023 10_04_30 PM.png)
 6_29_2023 10_04_41 PM.png)
 6_29_2023 10_04_54 PM.png)
 6_29_2023 10_05_37 PM.png)
 6_29_2023 10_05_54 PM.png)
 6_29_2023 10_08_32 PM.png)
 6_29_2023 10_08_48 PM.png)
 6_29_2023 10_08_56 PM.png)
 6_29_2023 10_09_14 PM.png)
 6_29_2023 10_11_41 PM.png)
 6_29_2023 10_11_50 PM.png)
 6_29_2023 10_12_03 PM.png)
 6_29_2023 10_12_13 PM.png)
 6_29_2023 10_13_21 PM.png)
 6_29_2023 10_13_27 PM.png)
 6_29_2023 10_14_56 PM.png)
The extruder is probably the hardest part of the printer to assemble and consist of 6 plastic pieces, and a hot end 12V fan, stepper motor, part fan, and bearings. Assemble the extruder as shown.
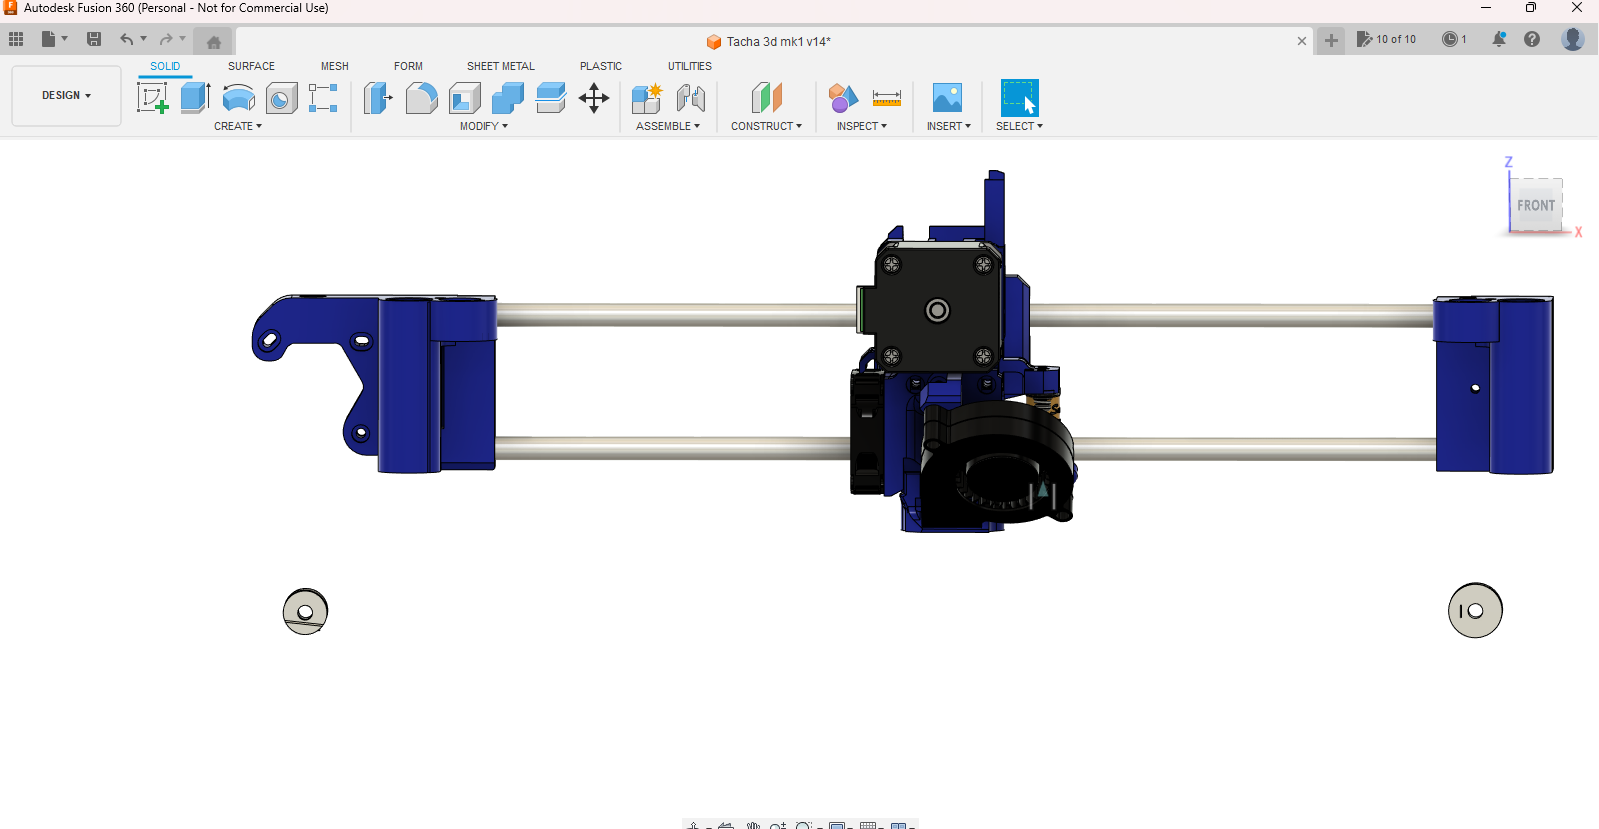
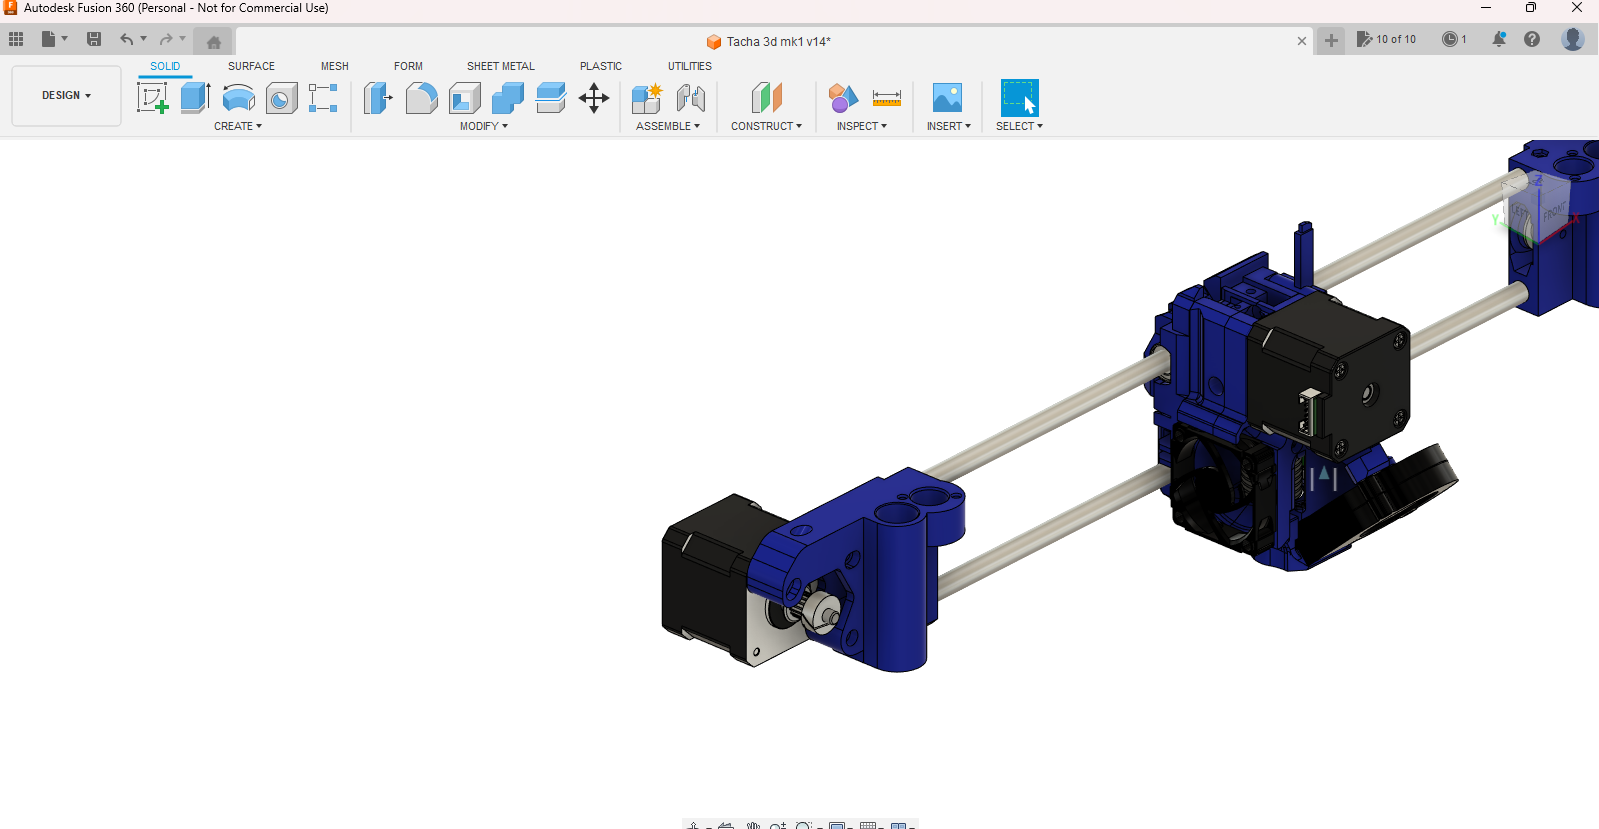
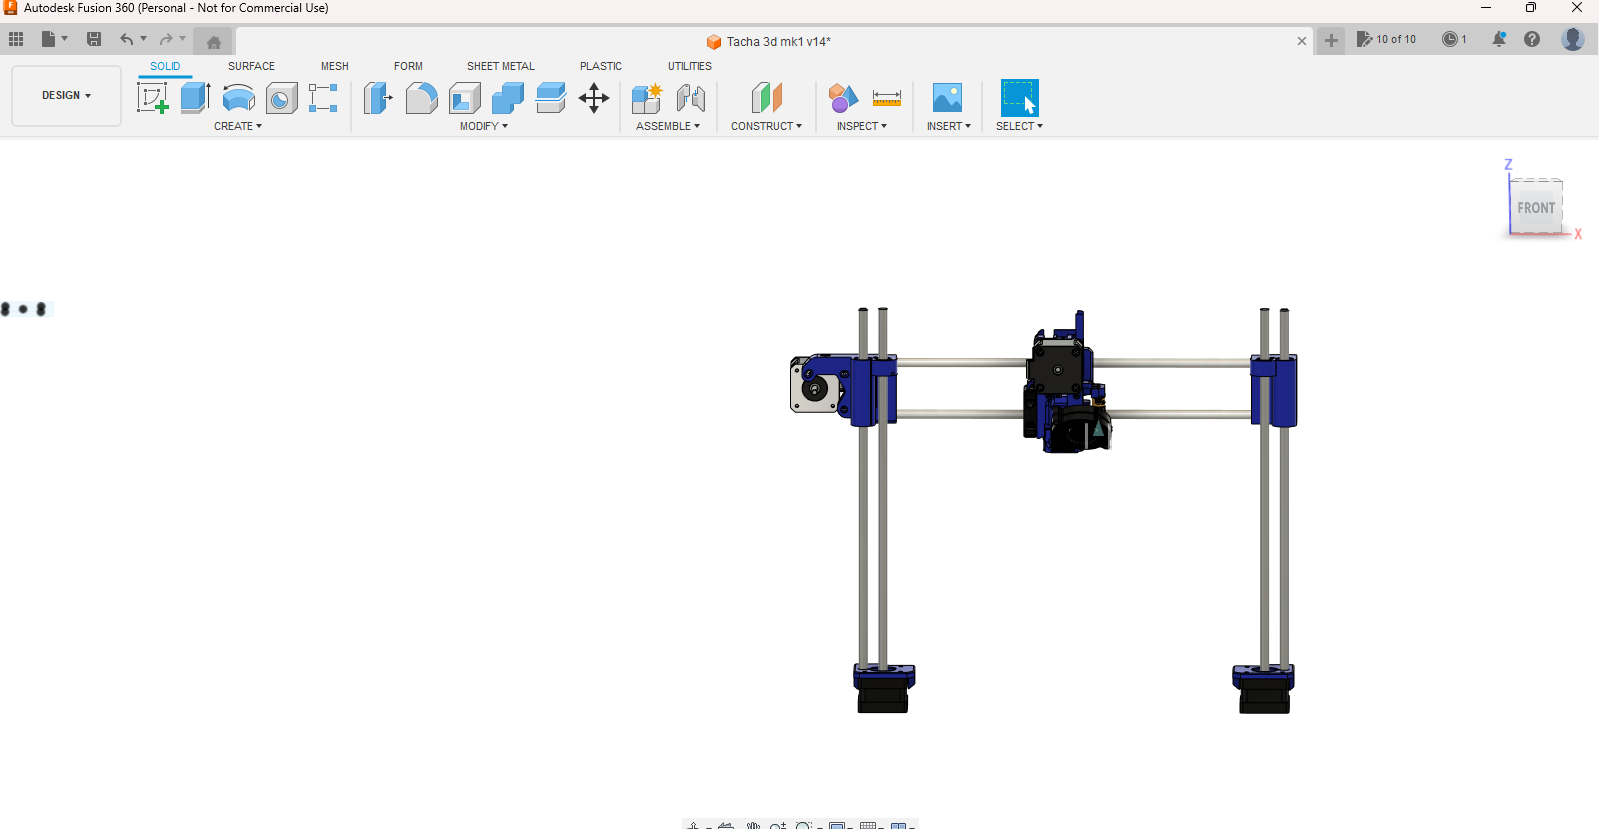
Assemble the X Axis
 6_30_2023 9_04_07 PM.png)
 6_30_2023 9_04_16 PM.png)
 6_30_2023 9_04_31 PM.png)
 6_30_2023 9_05_01 PM.png)
 6_30_2023 9_05_10 PM.png)
 6_30_2023 9_07_30 PM.png)
 6_30_2023 9_07_51 PM.png)
 6_30_2023 9_08_29 PM.png)
 6_30_2023 9_08_31 PM.png)
The X axis is far simpler than the extruder. Slide the extruder through 2 8mm linear rods. Then connect the rods to the motor holder piece. Next connect the belt holder piece. Then tap in the bearings, and screw in the 8 mm nuts. Finally slide the belt into the belt grooves onto the extruder, make sure there is not to much play in the belt. Images for assembly above
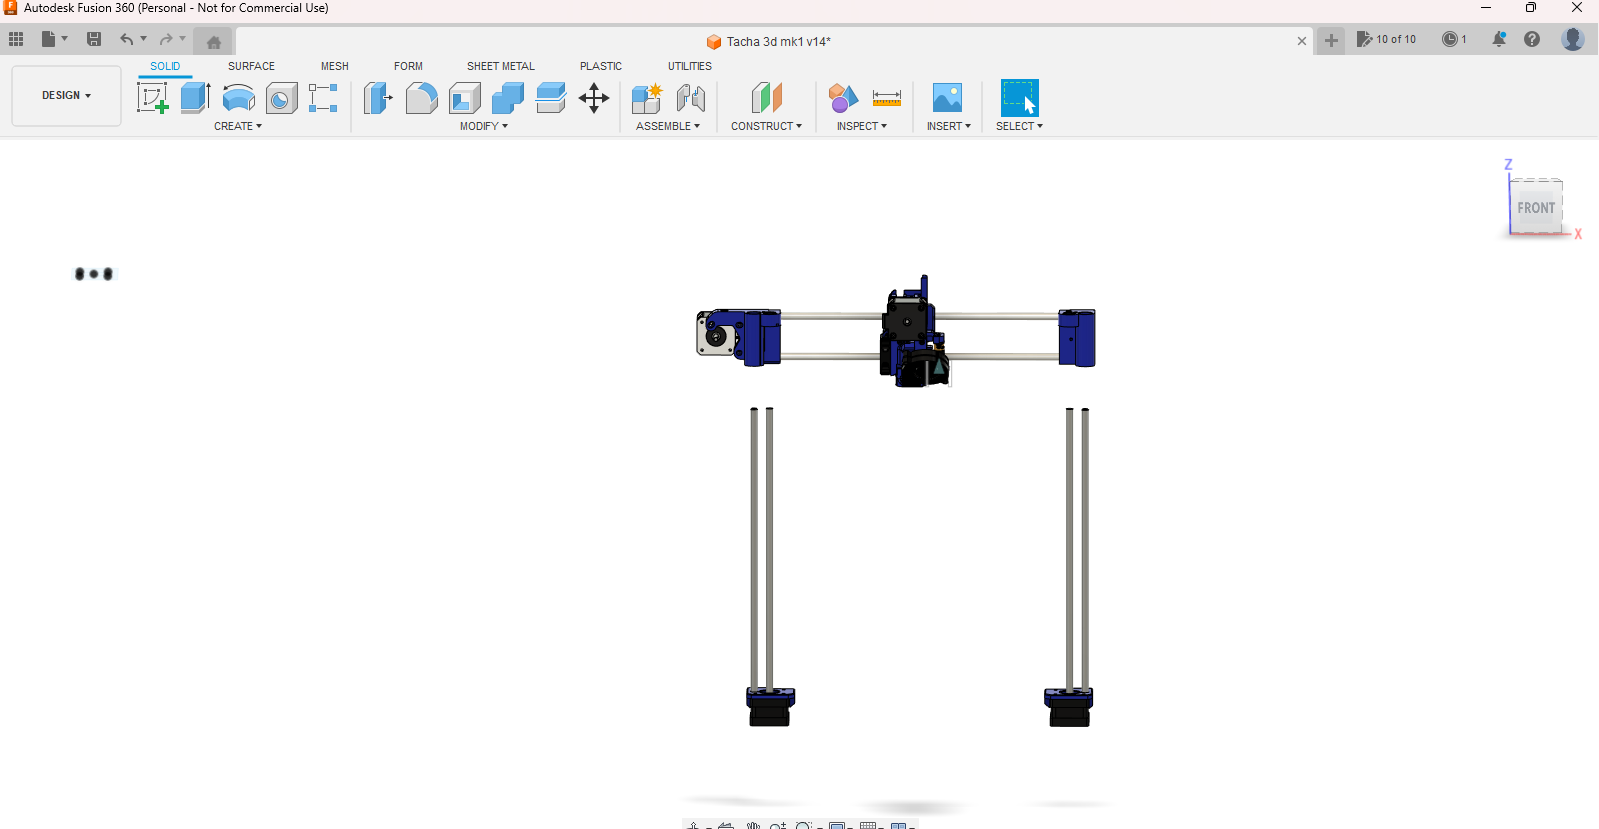
Assemble the Frame
 6_30_2023 9_14_04 PM.png)
 6_30_2023 9_15_46 PM.png)
 6_30_2023 9_16_27 PM.png)
The frame is rather simple to Assemble, use the images provided, and remember to place the 2 L brackets correctly.
aluminum piece sizes; three 330 mm, and two 375 mm.
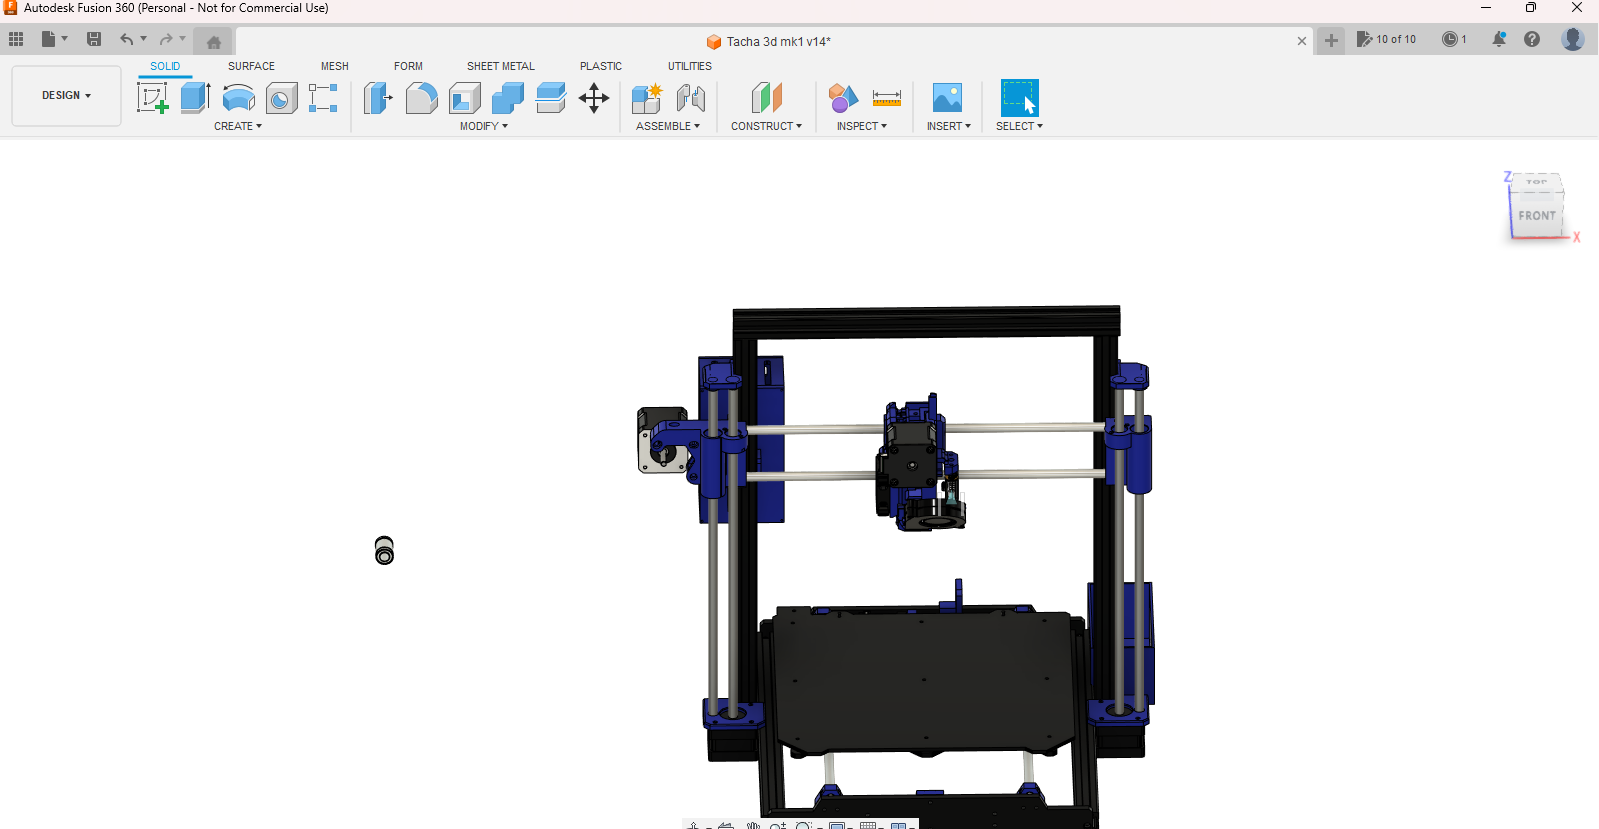
Assemble the Z Axis
 6_30_2023 9_19_49 PM.png)
 6_30_2023 9_19_56 PM.png)
 6_30_2023 9_20_12 PM.png)
attach the motors in there holders with the 8 mm threaded rods attached onto the frame. Then place the 8 mm linear rods into their slots in the motor holder. Next slide the X axis and extruder assembly onto the Z axis. Next attach the top Z pieces to the frame that hold the rods.
Assemble Y Axis
 6_30_2023 9_24_30 PM.png)
 6_30_2023 9_24_59 PM.png)
 6_30_2023 9_27_45 PM.png)
 6_30_2023 9_28_41 PM.png)
 6_30_2023 9_29_26 PM.png)
 6_30_2023 9_31_49 PM.png)
 6_30_2023 9_32_39 PM.png)
 6_30_2023 9_35_35 PM.png)
 6_30_2023 9_37_20 PM.png)
 6_30_2023 9_37_39 PM.png)
 6_30_2023 9_40_33 PM.png)
 6_30_2023 9_41_26 PM.png)
Attach the bed carriage to the linear bearings using U bolts or zip ties. Then attach the bet holder pieces and attach the belt. Then run the 8 mm linear rods through the bearing and snap onto the Y axis rod holder, and screw on to caps. Next run the belt through the Y belt holder and then attach it to the other belt holder on the bed carriage. Make sure everything moves smoothly.
Belts and Wire Management
two of the 4 axis on this printer are belt driven, meaning the belts need to be tighten to the appropriate amount. A good rule of thumb for tightening the belts is to have the belt feel as tight as possible without slowing down moving parts. As for wire management it really isn't here in this design and could really be improved on. Since wire management is a optional part to this build I didn't put cable covers and zip ties in the supplies, however I recommend you get some.
Slicer Settings
This printer should be fine to print with whatever PLA profile you have. However because of the BLtouch you'll need to go into machine settings and add the line G29 right after G28. So the auto bed leveling will be saved to the EEPROM and used during printing.
Results

This printer was able to print with decent quality considering the price, time, and that the printer is mostly 3D printed. I can't state enough to make sure that the belt is tight and that the wire going to the BL or 3D touch needs to be secure. Also, remember if you get the Prusa MK3S 24V heated bed that you'll need a 12 to 24 volt buck converter. This project fits well with what a Reprap printer would look and function like in the modern era.