DIY Reactive LED Backlight for Your Screen in 3 Steps
by Random Stuff We Make in Circuits > LEDs
1821 Views, 19 Favorites, 0 Comments
DIY Reactive LED Backlight for Your Screen in 3 Steps
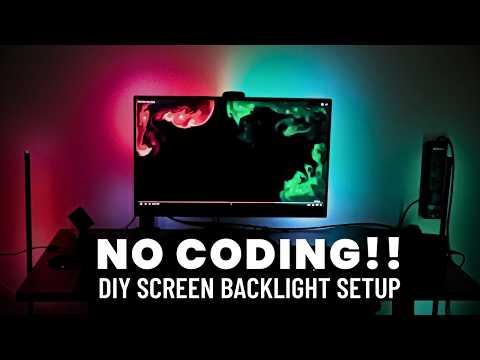
Enhance your viewing experience by adding a reactive LED backlight that changes colors based on what’s displayed on your screen. This simple, affordable project can be completed in just three steps without any coding knowledge. Let’s get started!
Supplies
- LED Strips (Addressable LEDs like WS2812)
- Custom Controller PCB (Design available)
- 3D Printed Casing (Design available)
- WLED Firmware (Open-source)
- SignalRGB Software
- USB Cable (For connection)
- Wi-Fi Network
- 5V 3A Power Supply (For LEDs and controller)
Hardware Setup
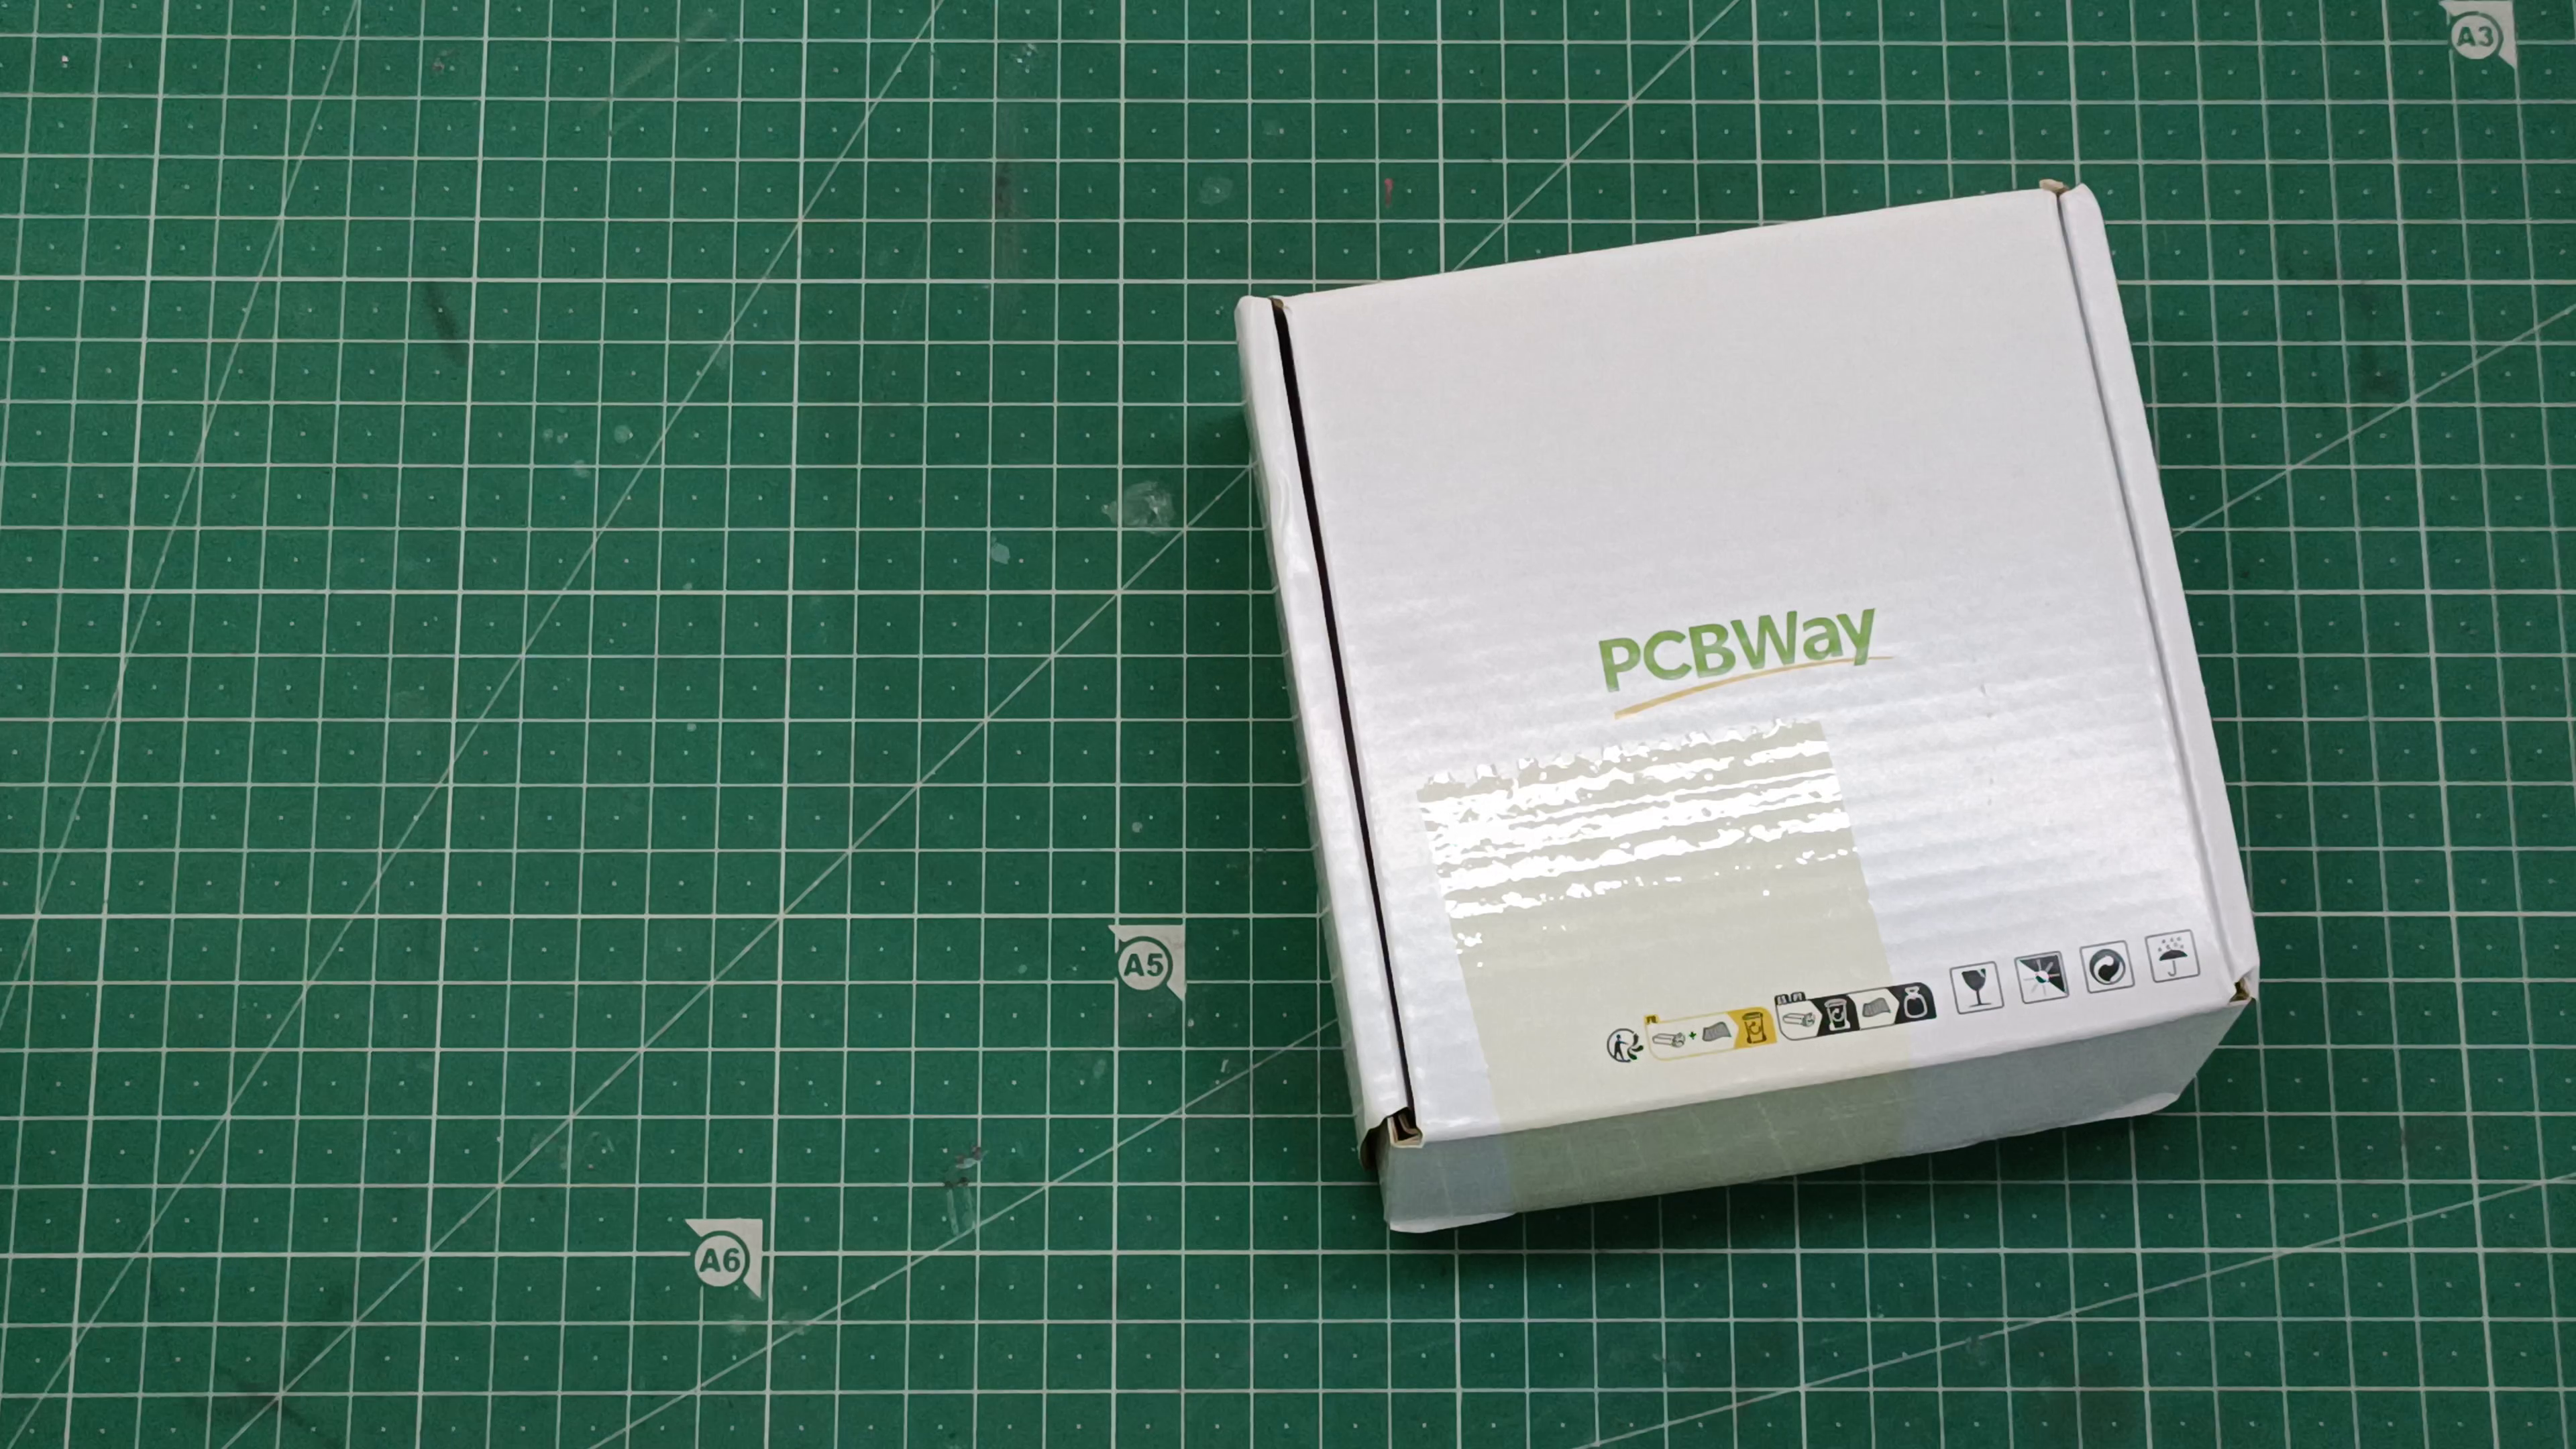
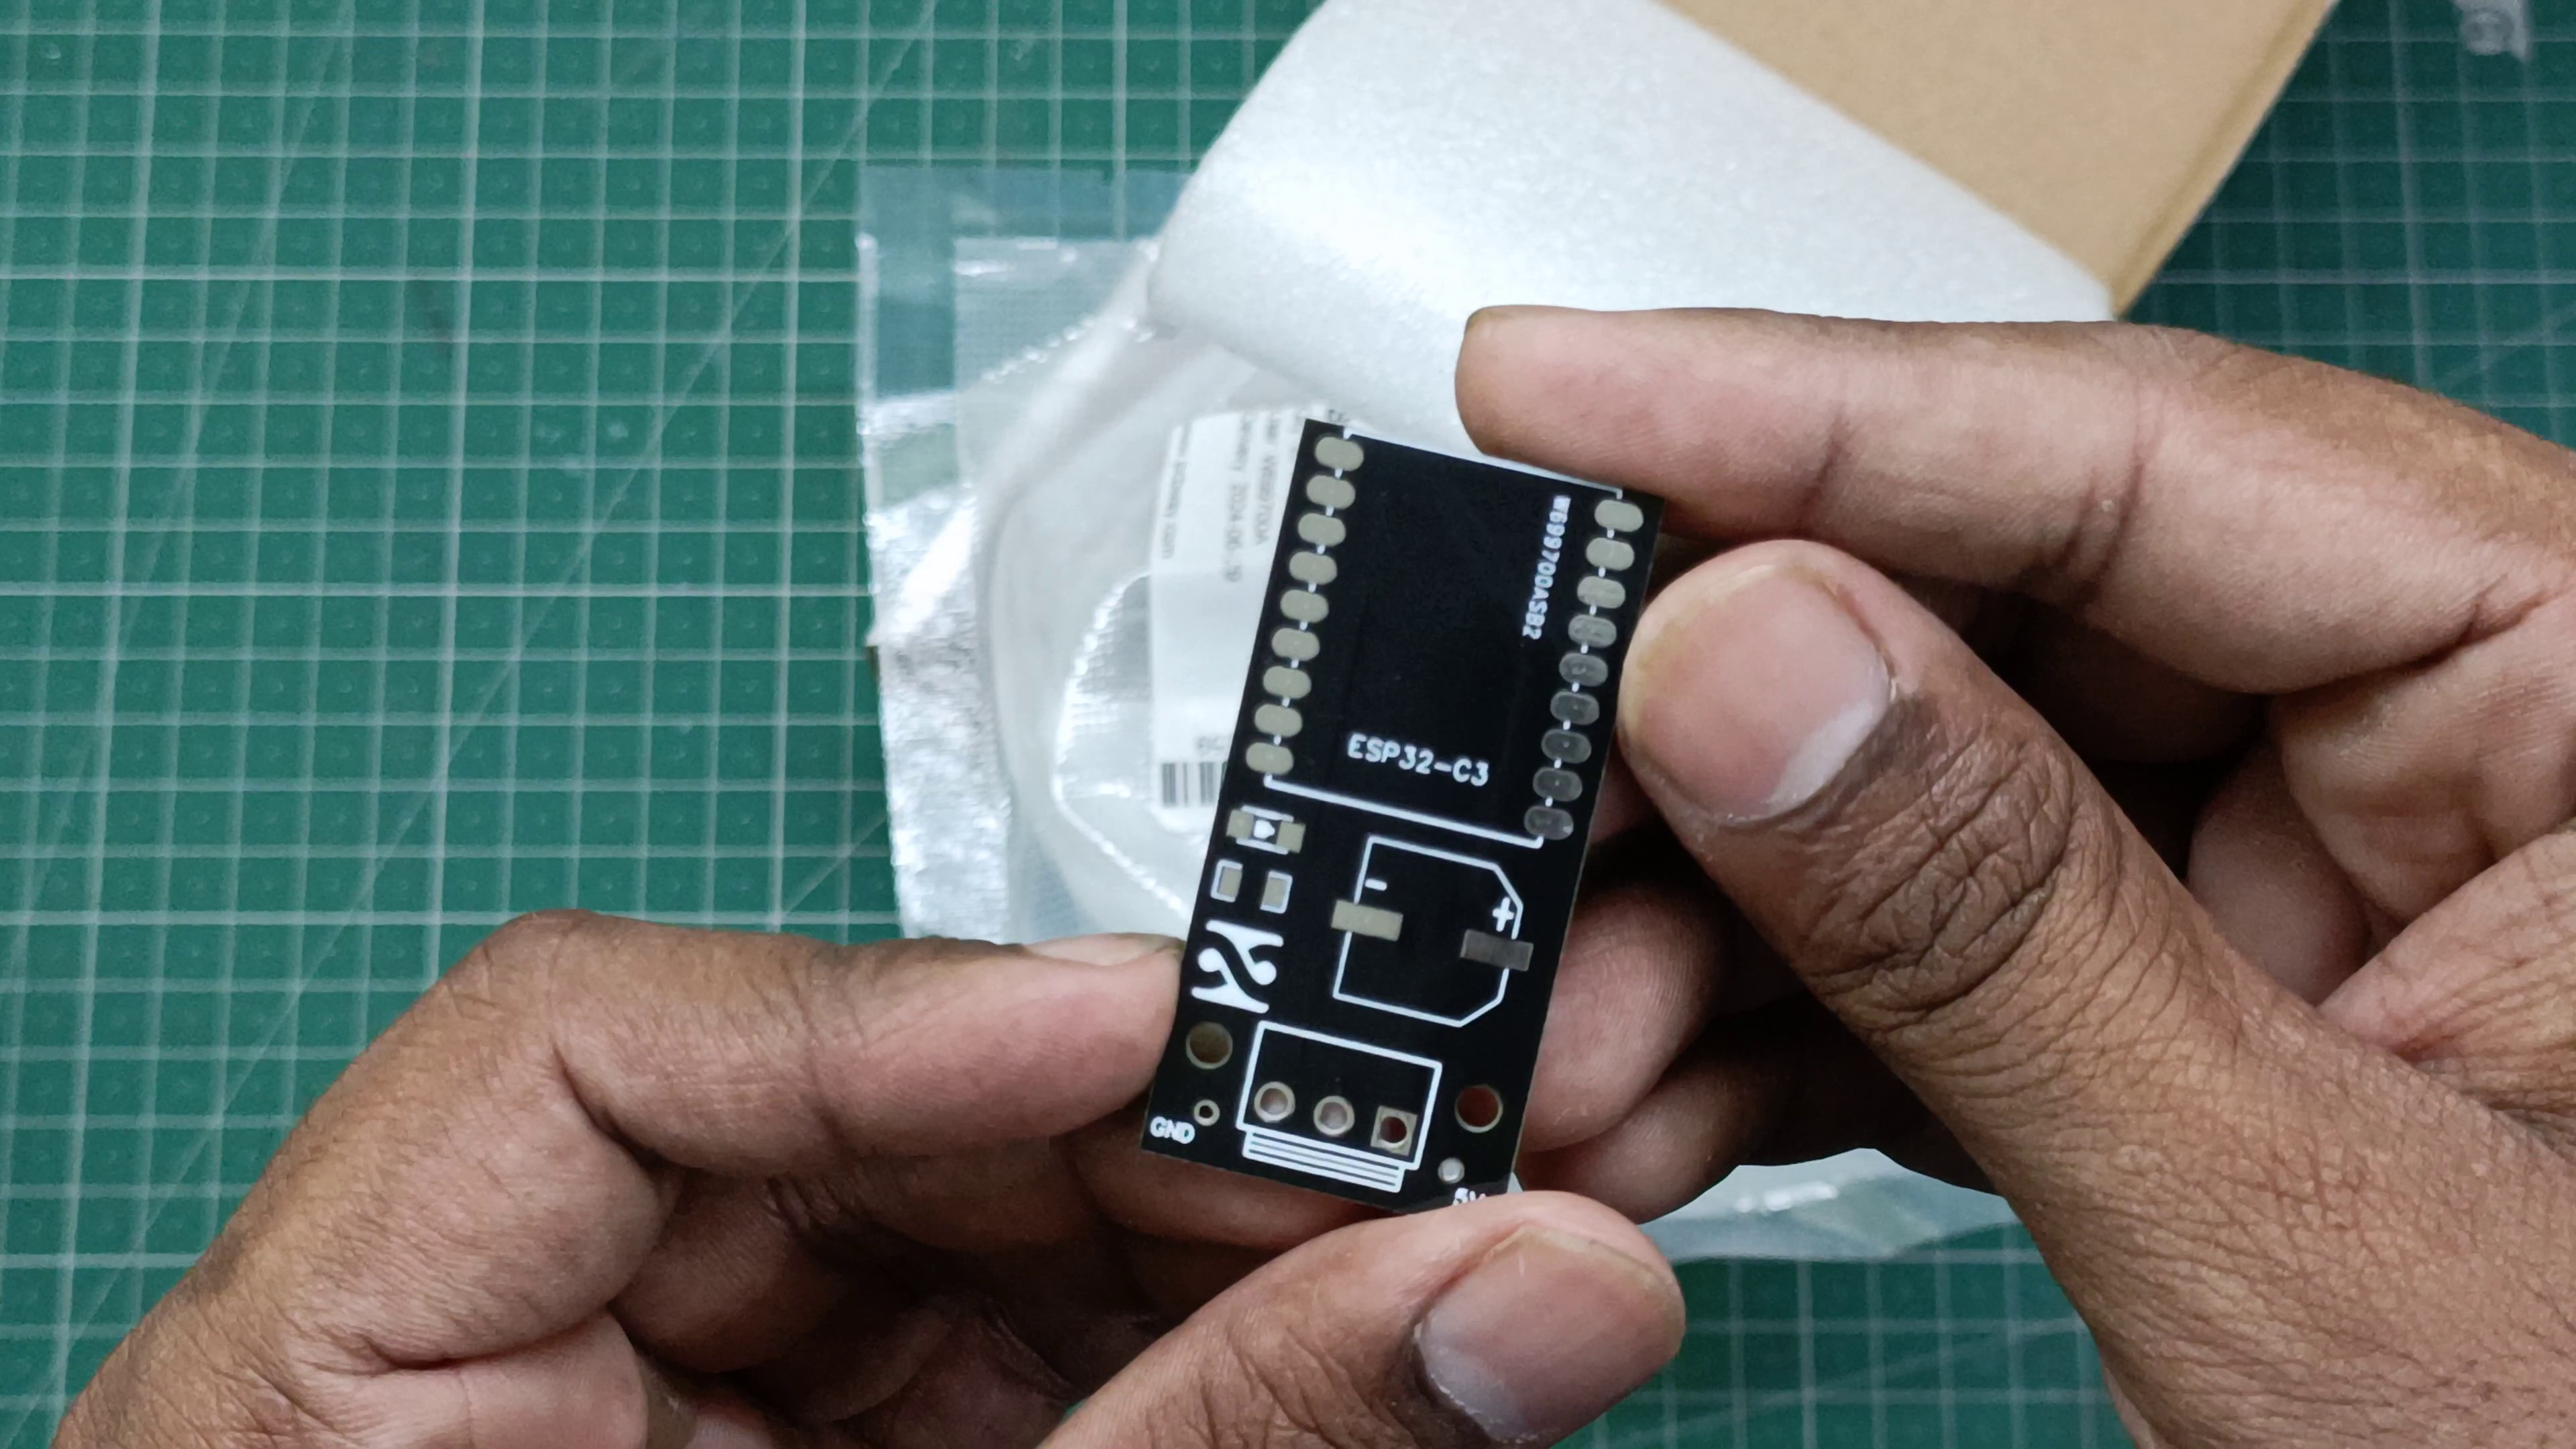
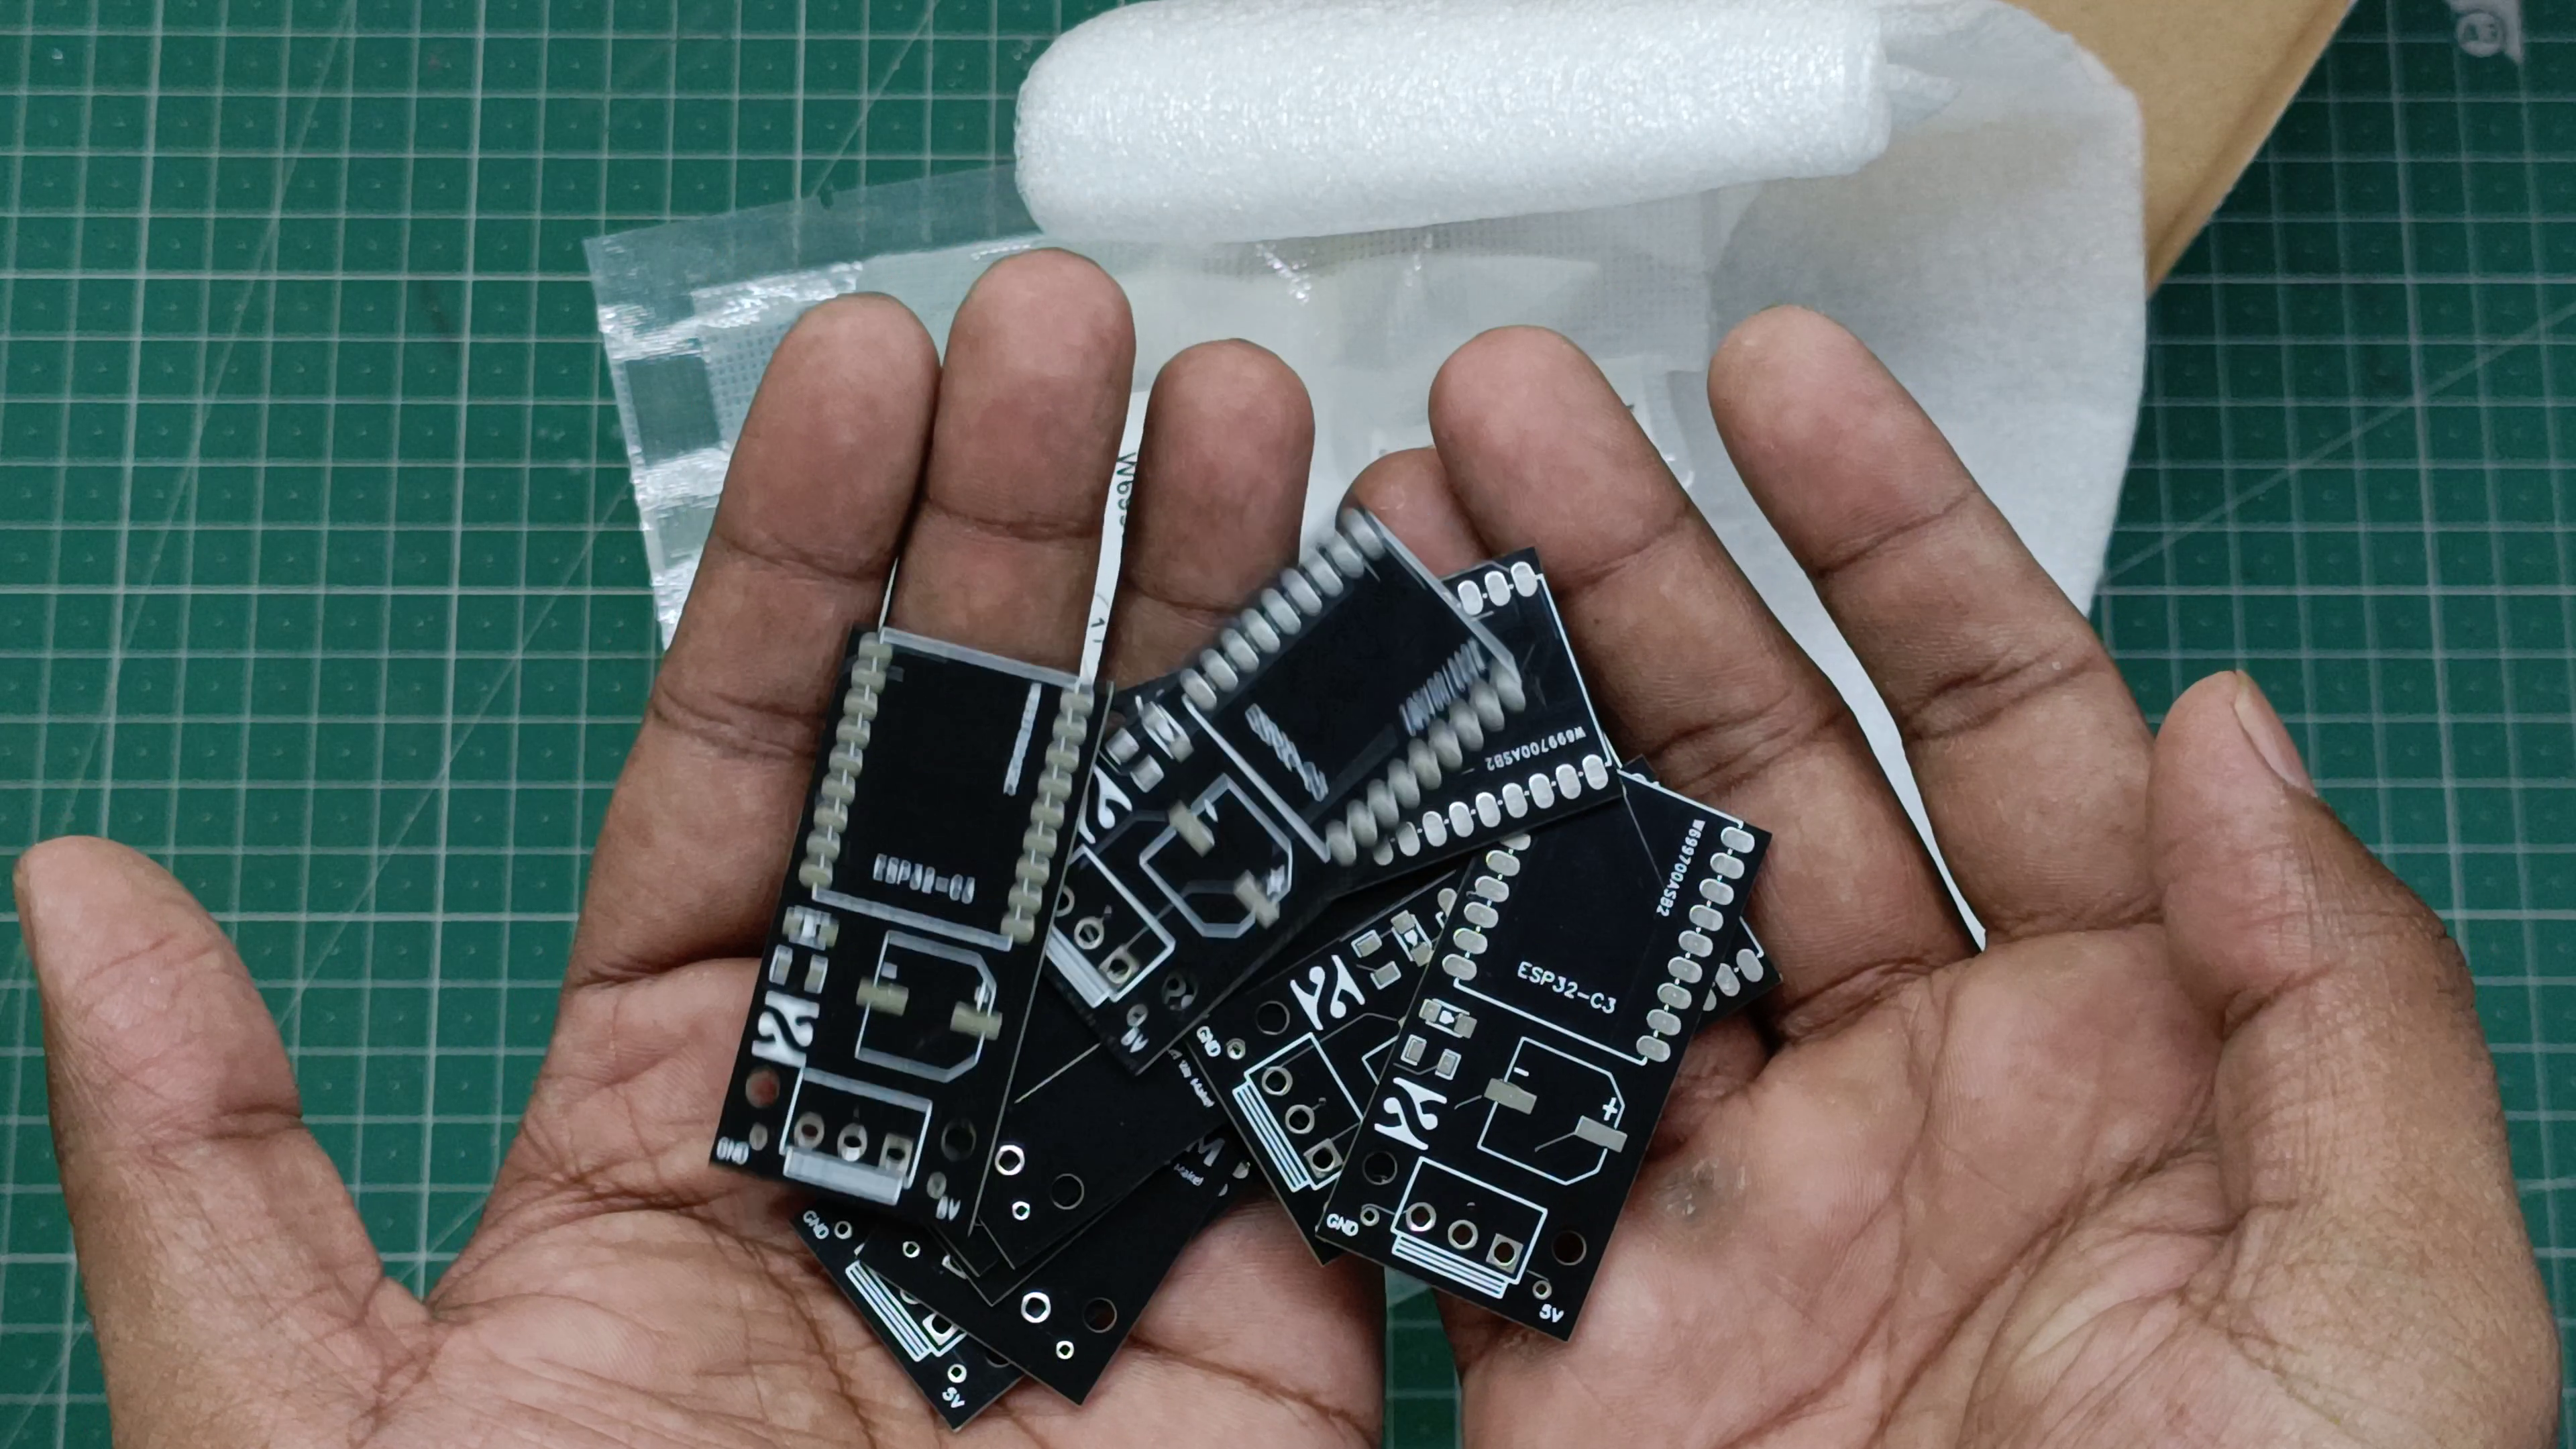
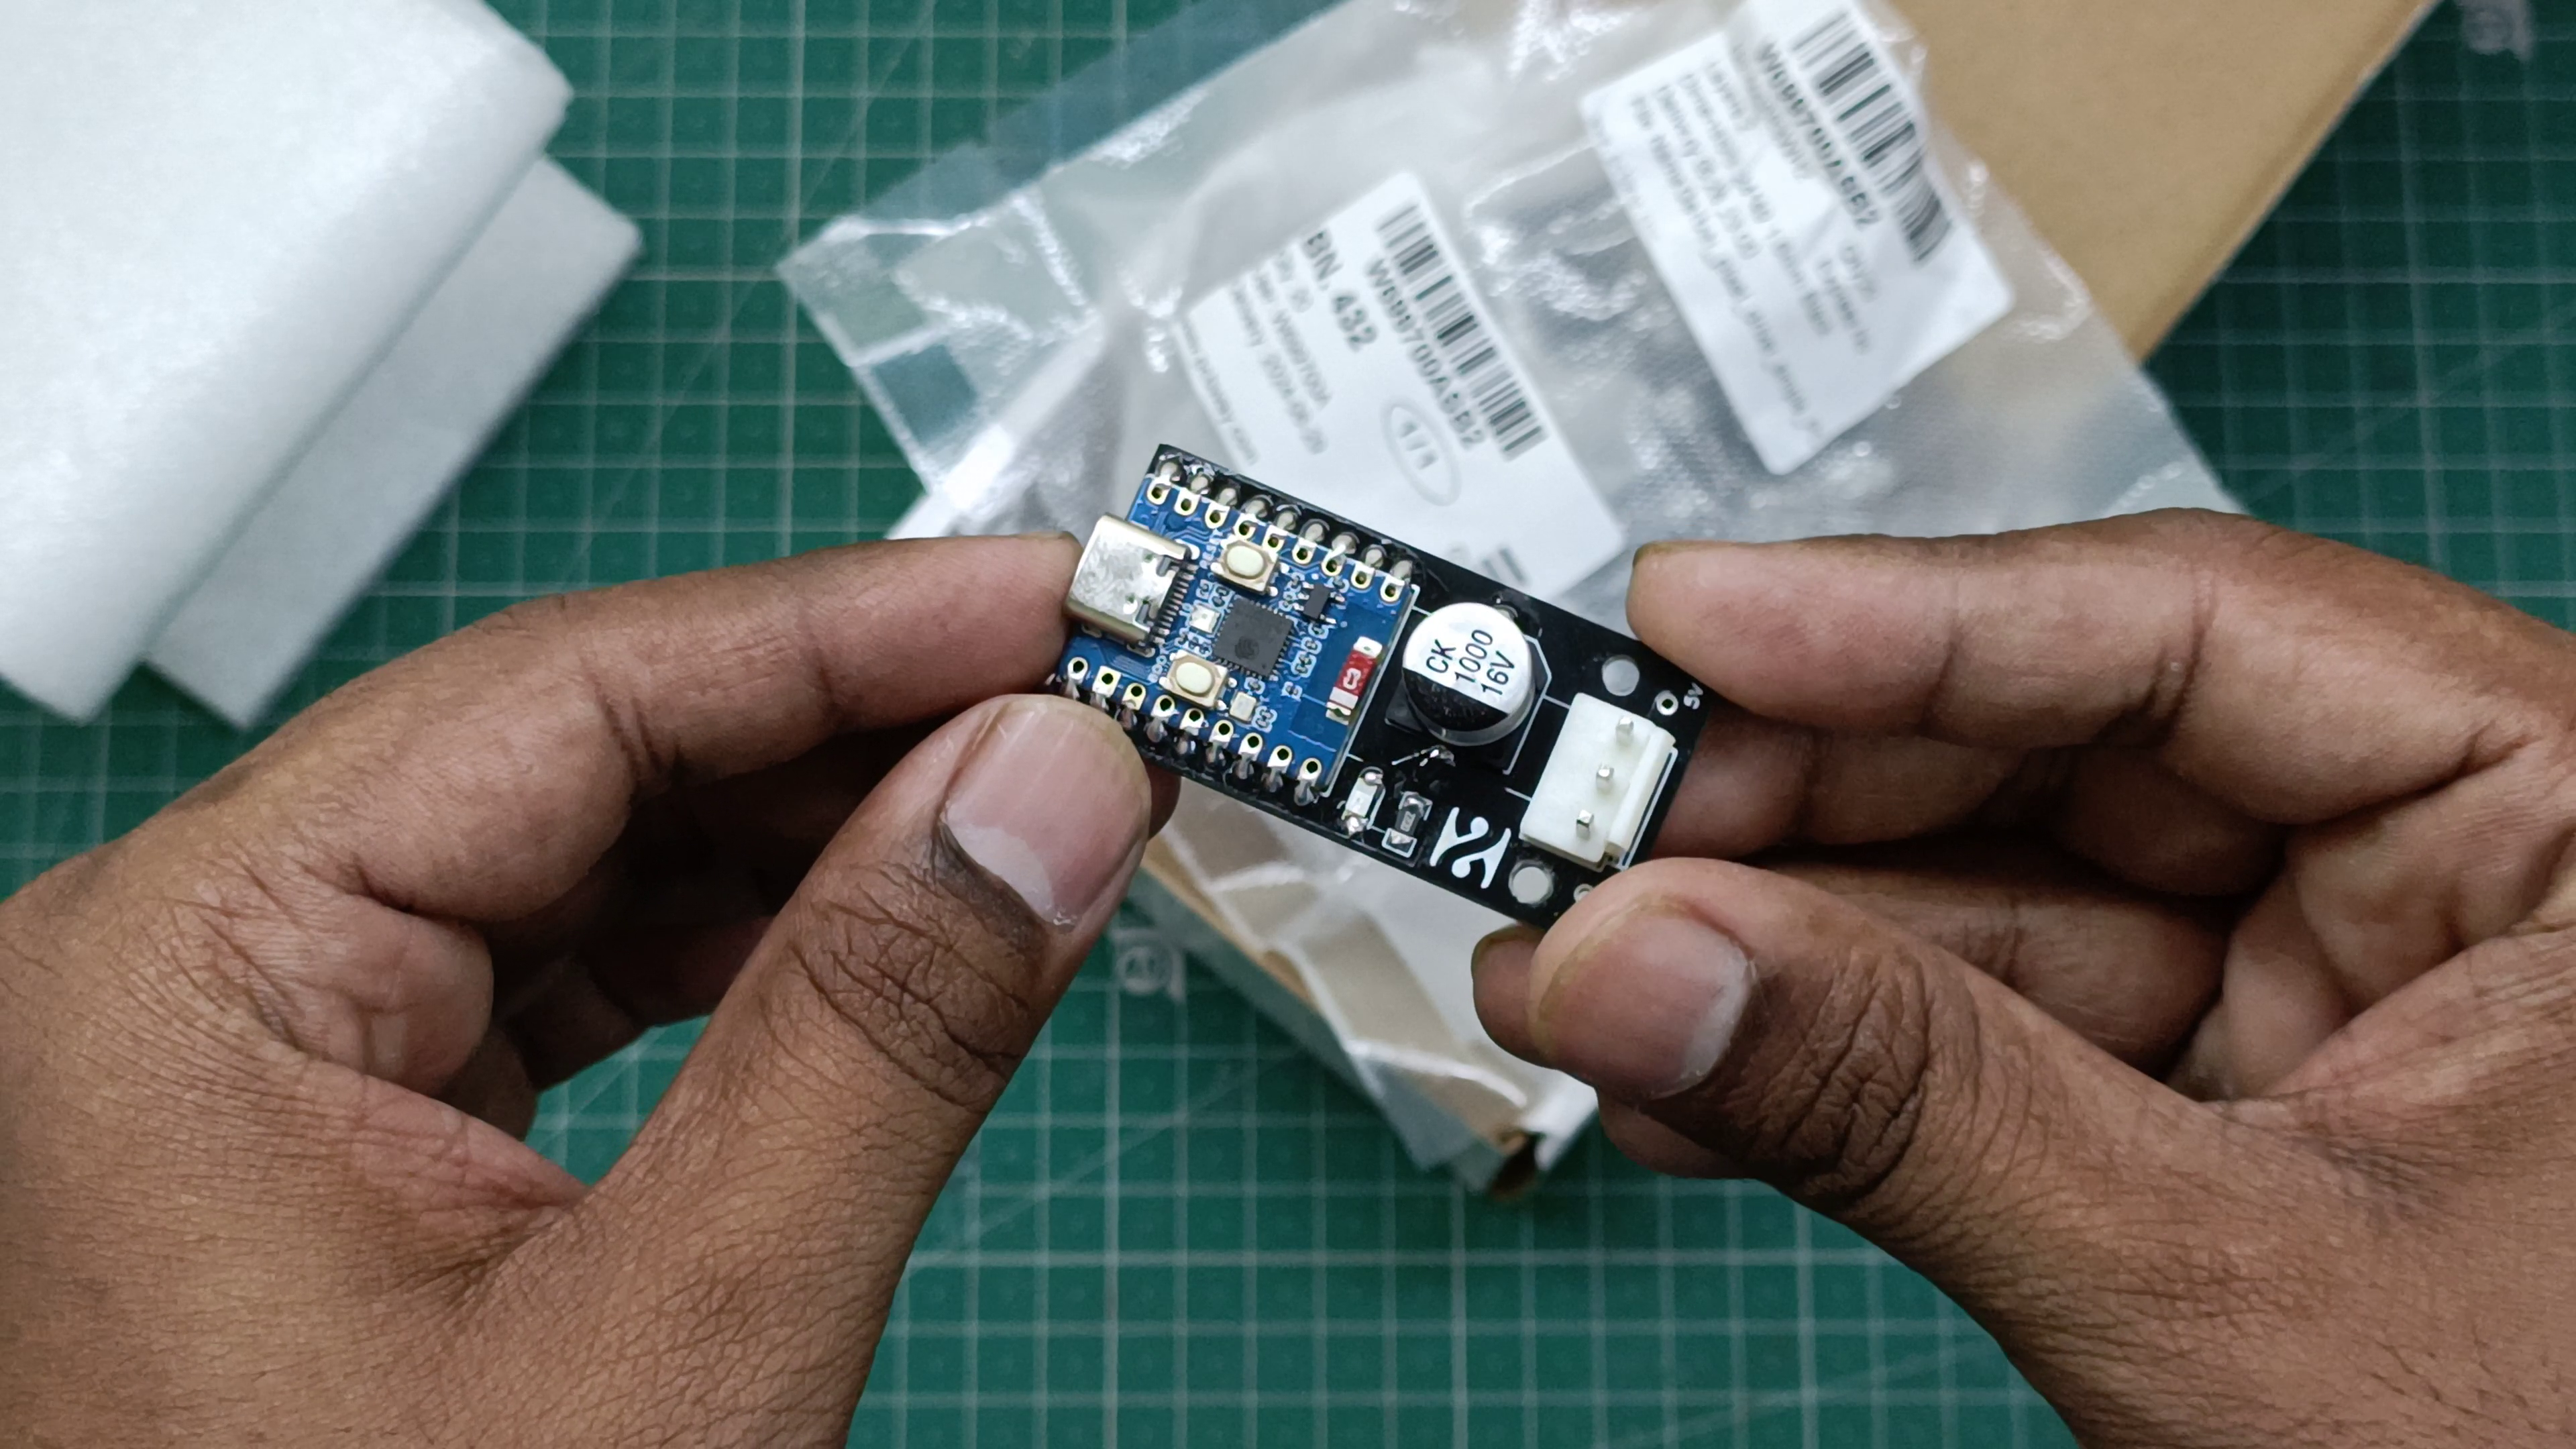
1.0 Print or order the PCB from PCBWAY
- Open this link - PCBWAY LINK
- Order your PCB from PCBWAY
1.1. Assemble the LED Strips
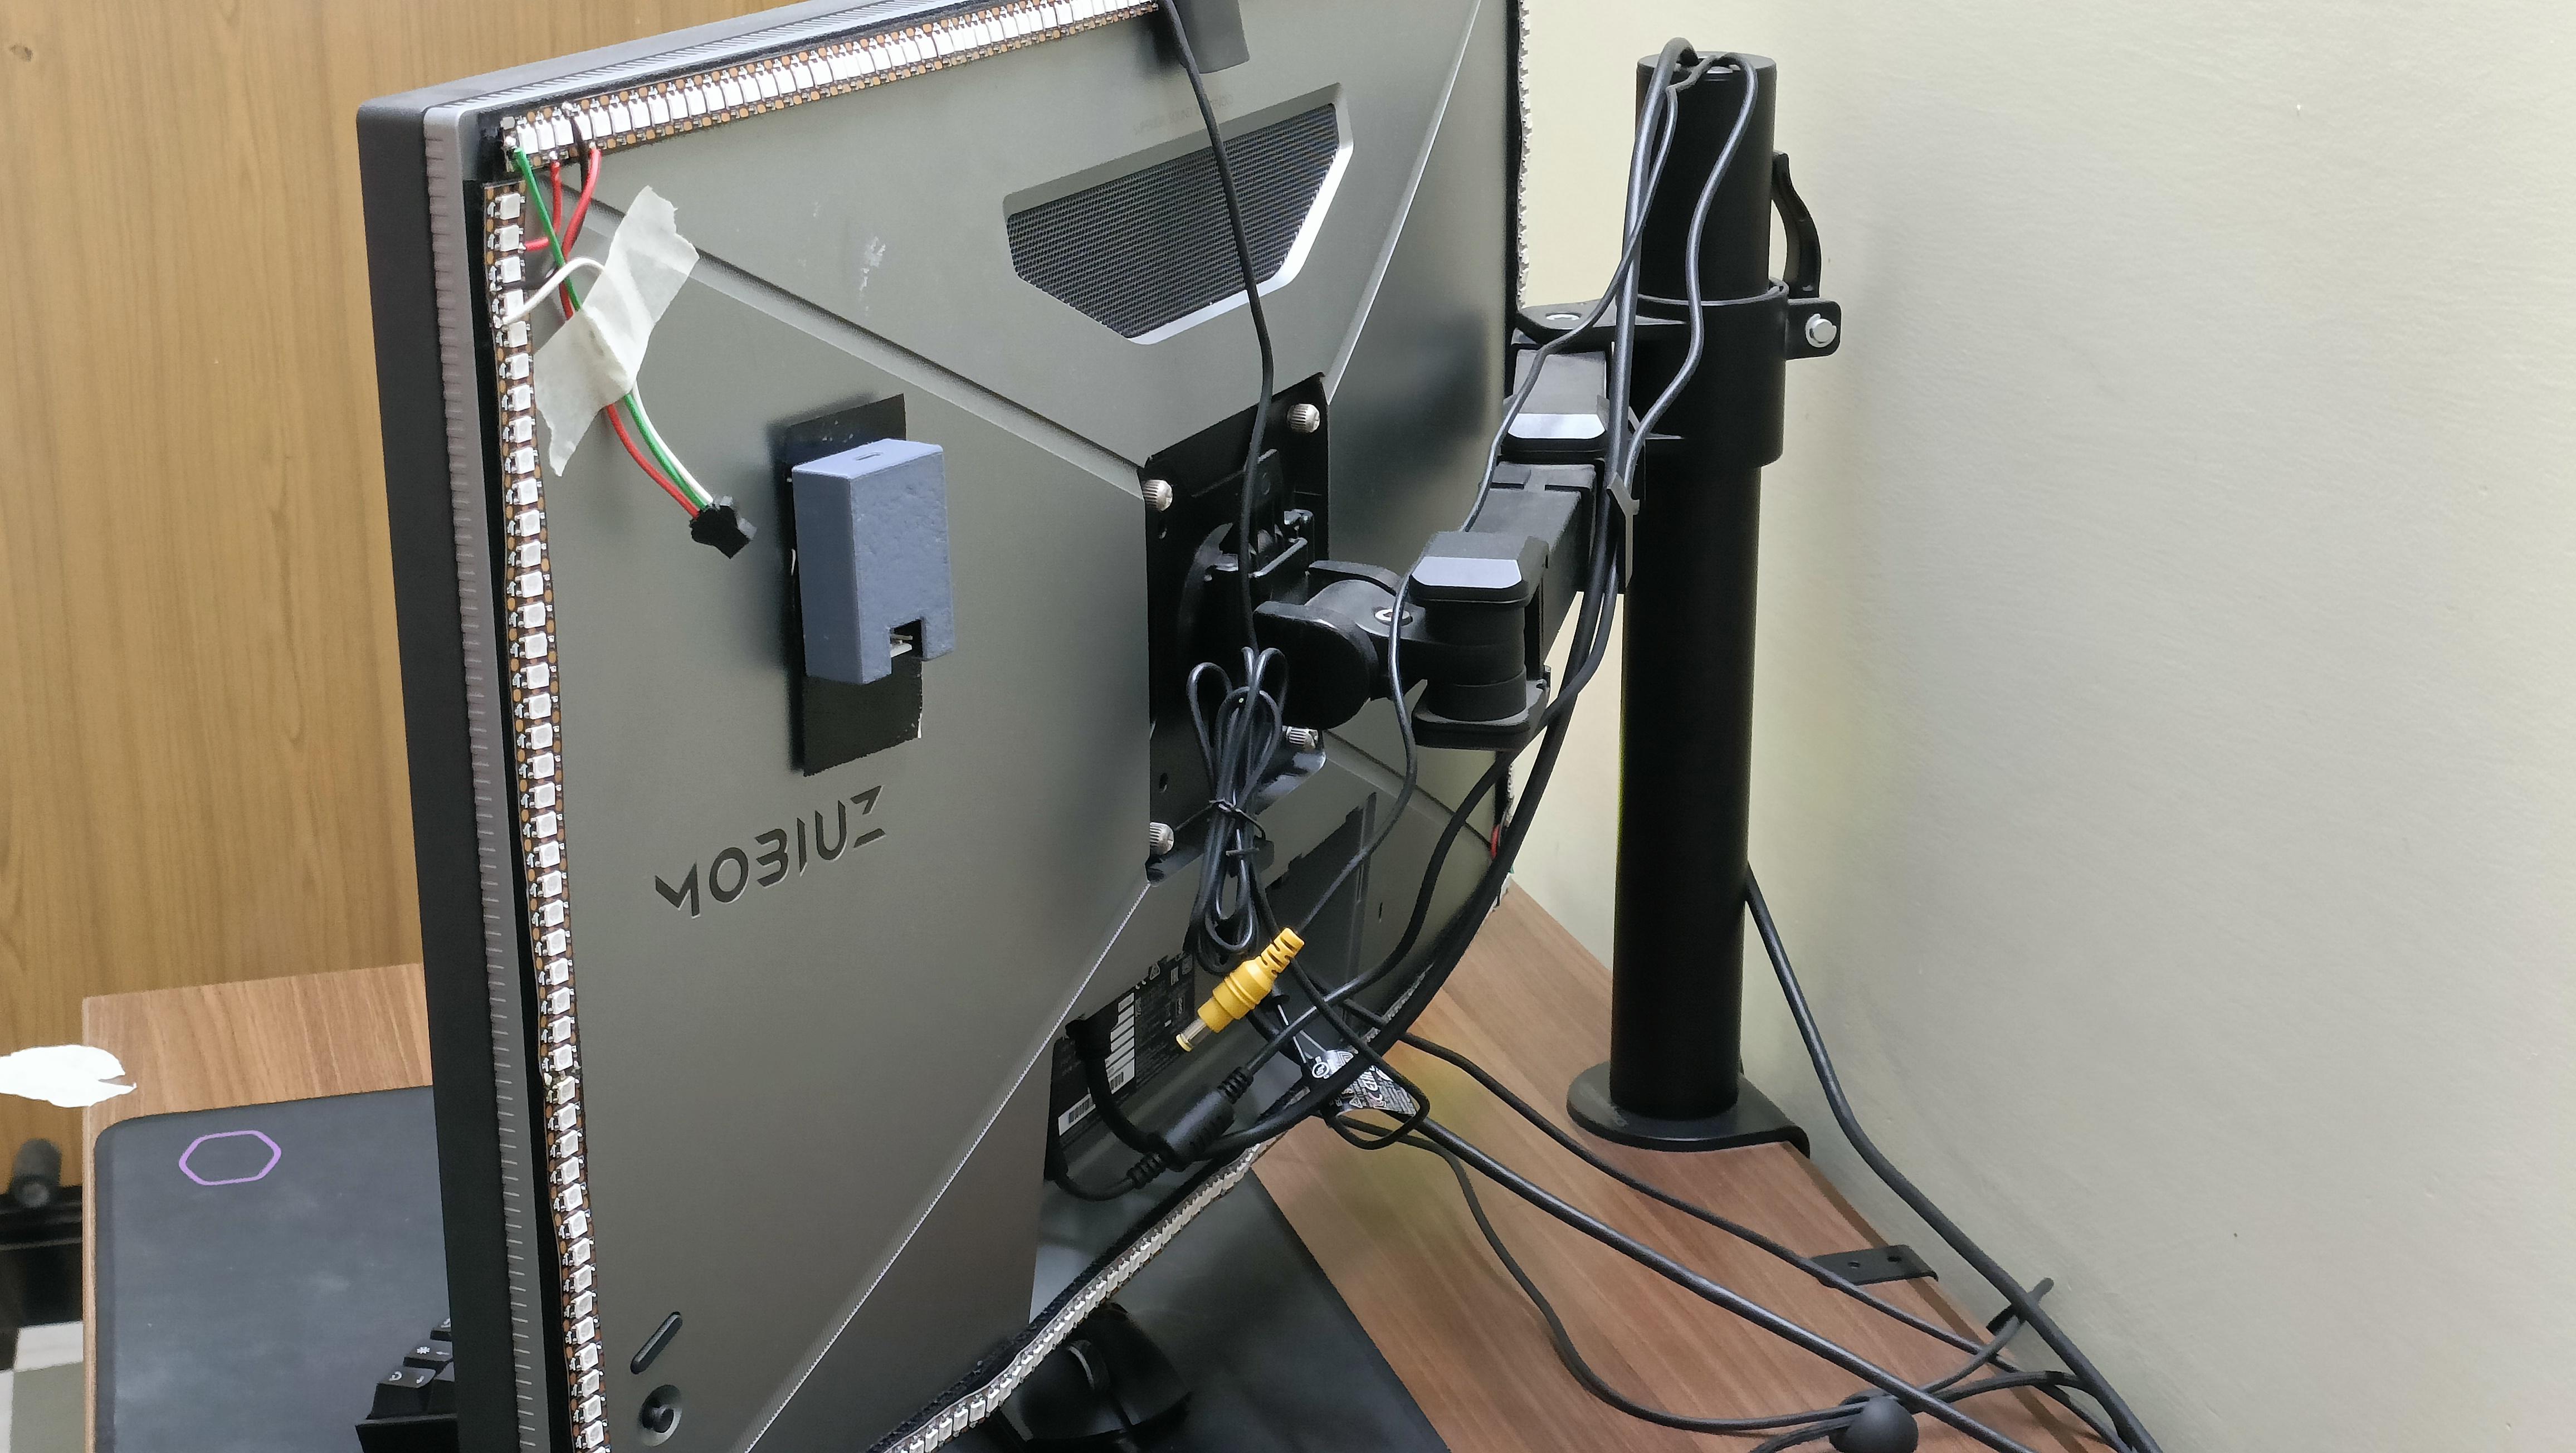
- Cut your LED strips according to the size of your monitor.
- Mount the LED strips around the back edges of your screen for an immersive glow. Ensure each strip covers the top, bottom, left, and right sides evenly.
1.2. 3D Print the Controller Case
- Download the STL files provided for the controller casing.
- 3D print the casing to house the custom PCB.
- Mount the custom PCB into the 3D-printed casing and position it on the back of your screen.
1.3. Connect LED Strips to the PCB
- Once the LED strips are mounted, solder the ends of each LED strip to the corresponding output pins on your custom PCB controller.
- Ensure connections are solid for both data and power lines.
Installing the WLED Firmware
.png)
.png)
.png)
.png)
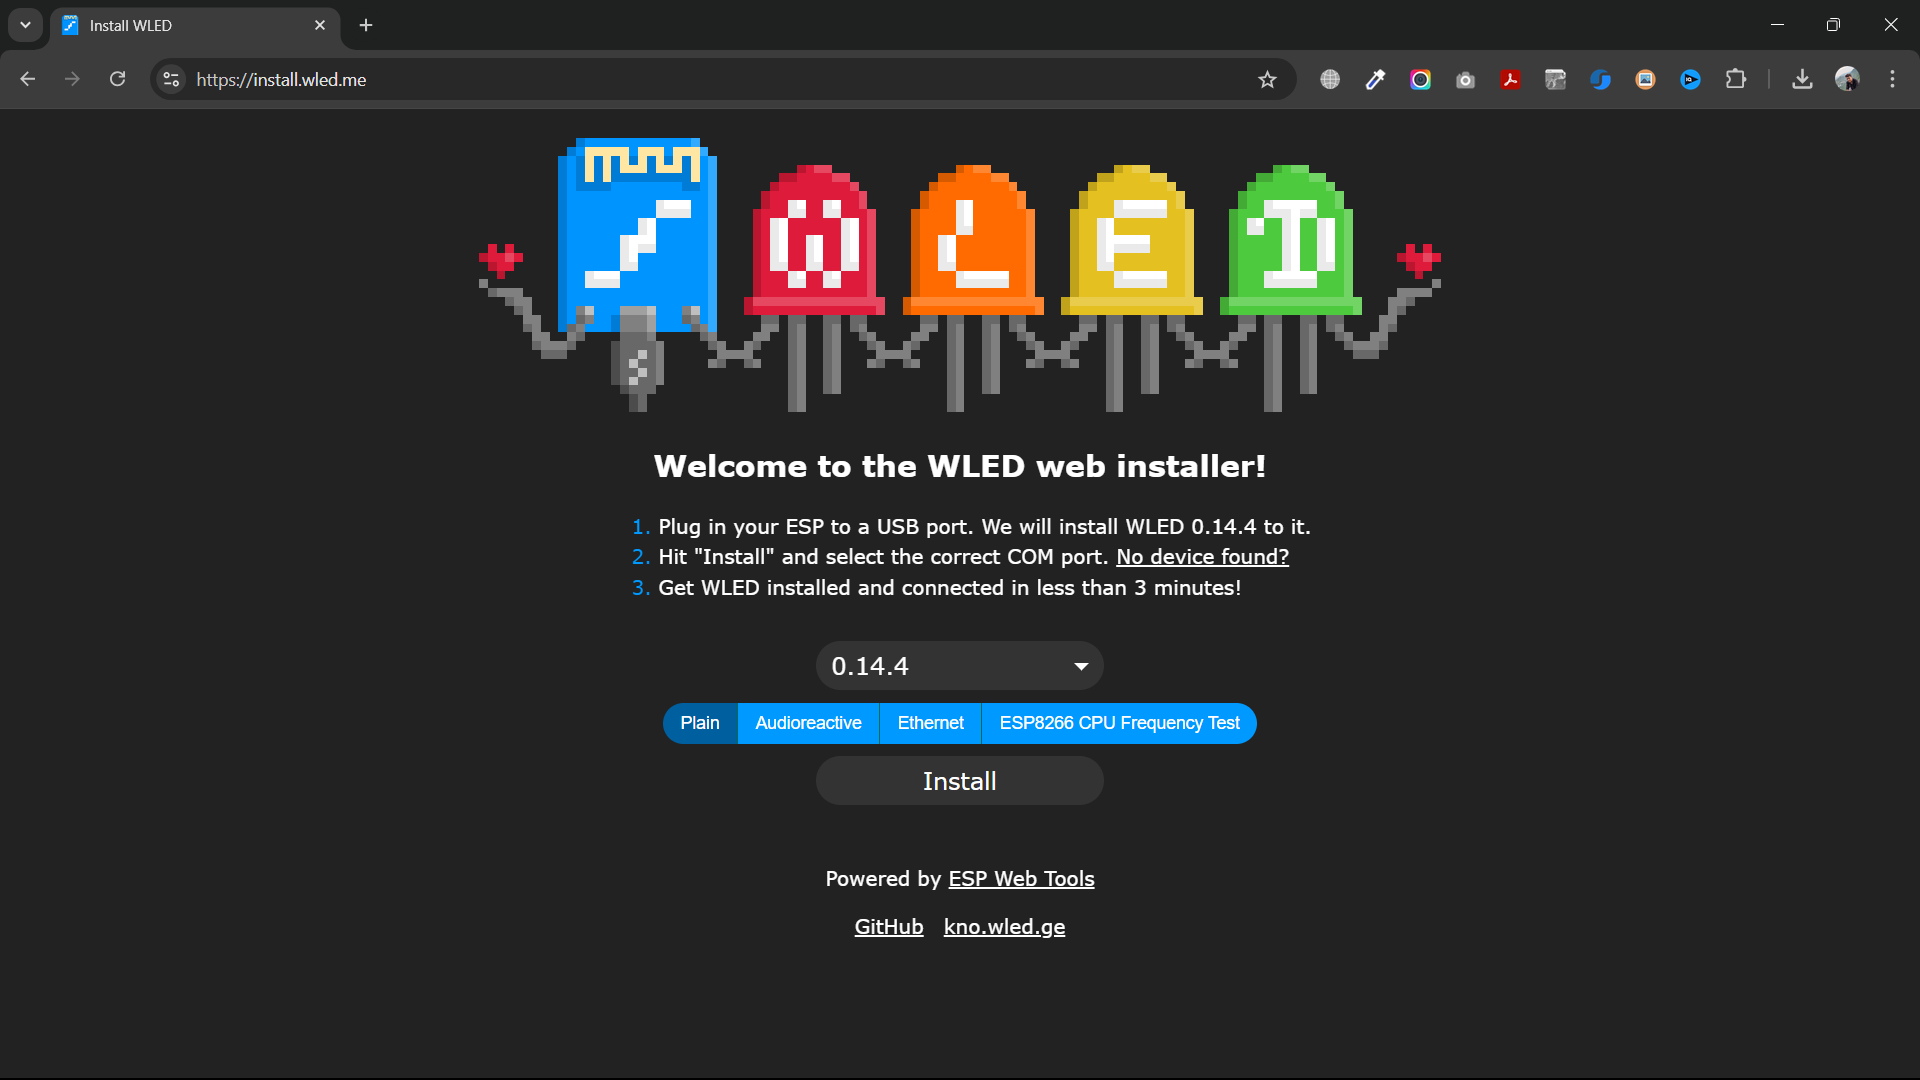
2.1. Download and Install WLED
- Open your browser and visit the WLED firmware website (install.wled.me).
- Connect the custom controller PCB to your computer via USB.
- Click Install to flash the firmware to the controller. This should take about 2 minutes.
2.2. Wi-Fi Configuration
- Once the firmware is installed, connect the controller to your Wi-Fi network.
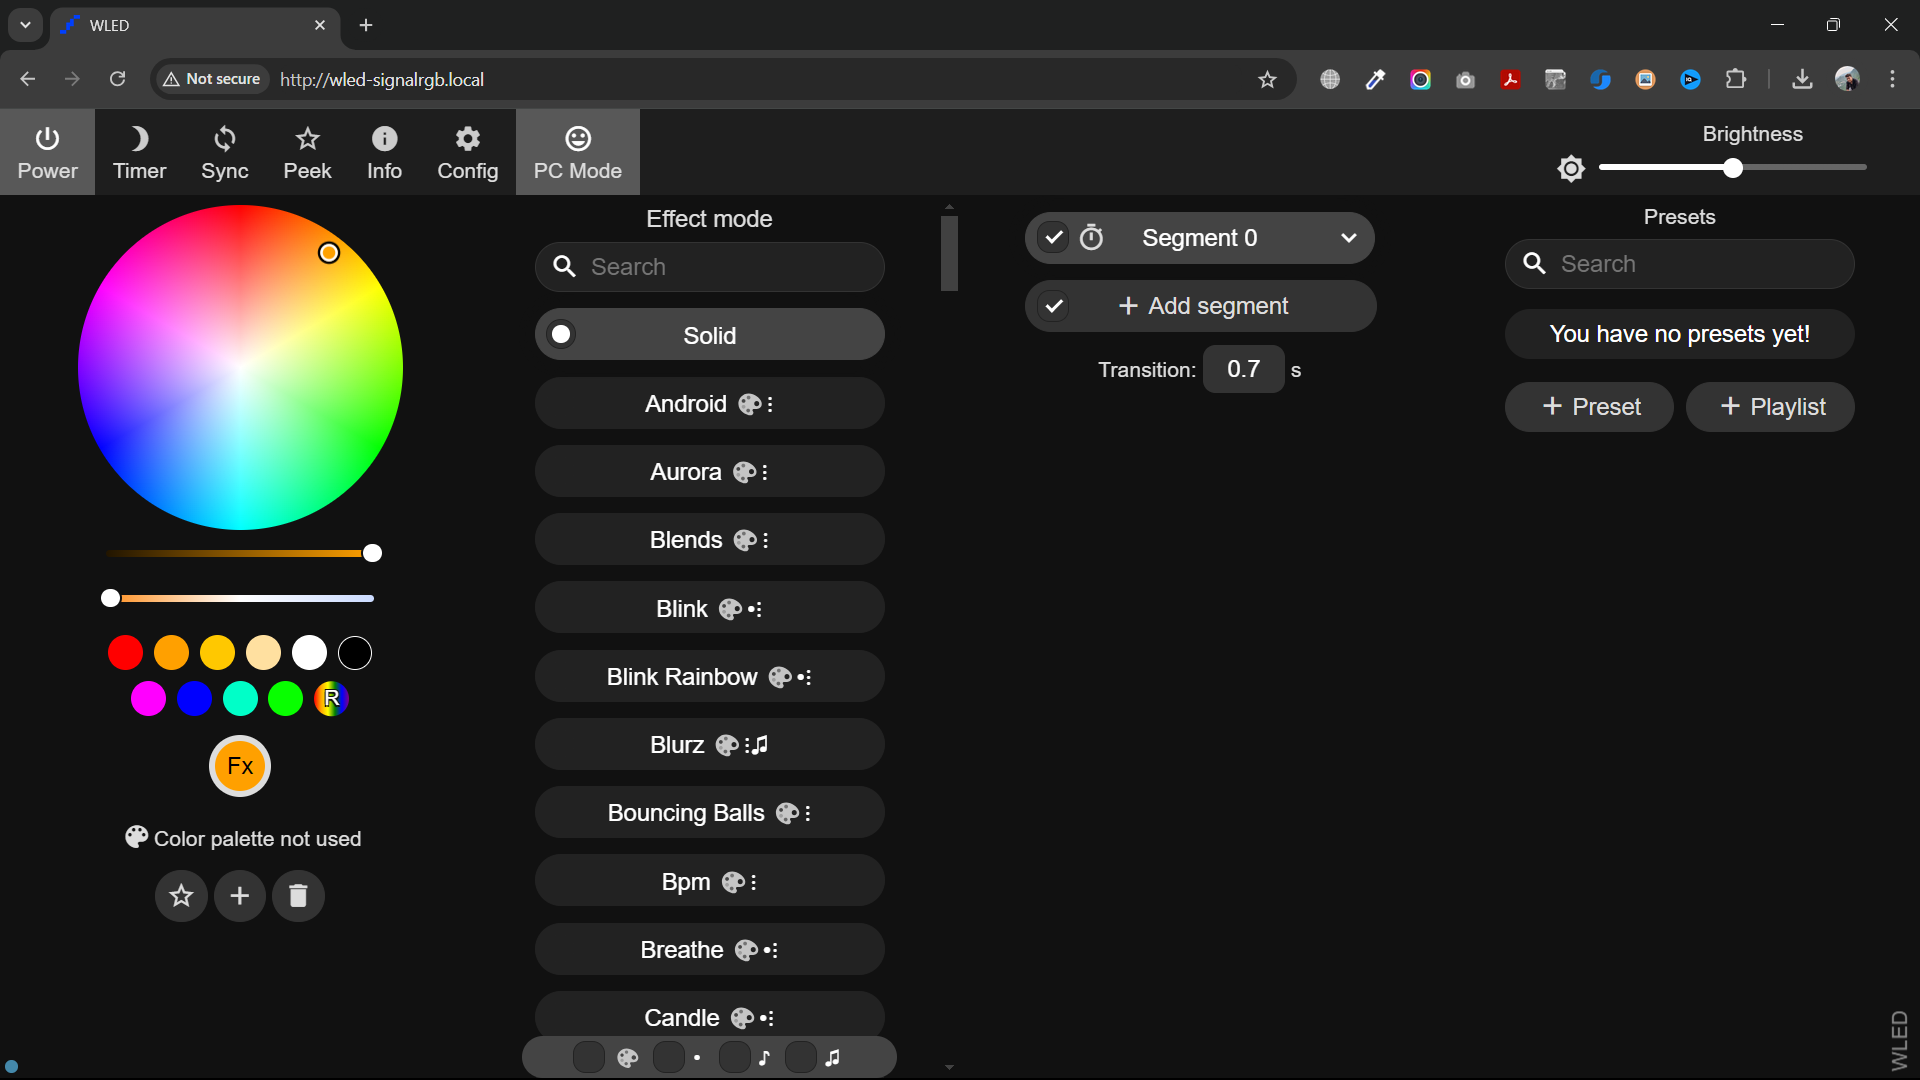
- Open the WLED device page in your browser by clicking Visit Device.
2.3. Configure Wi-Fi & LED Preferences
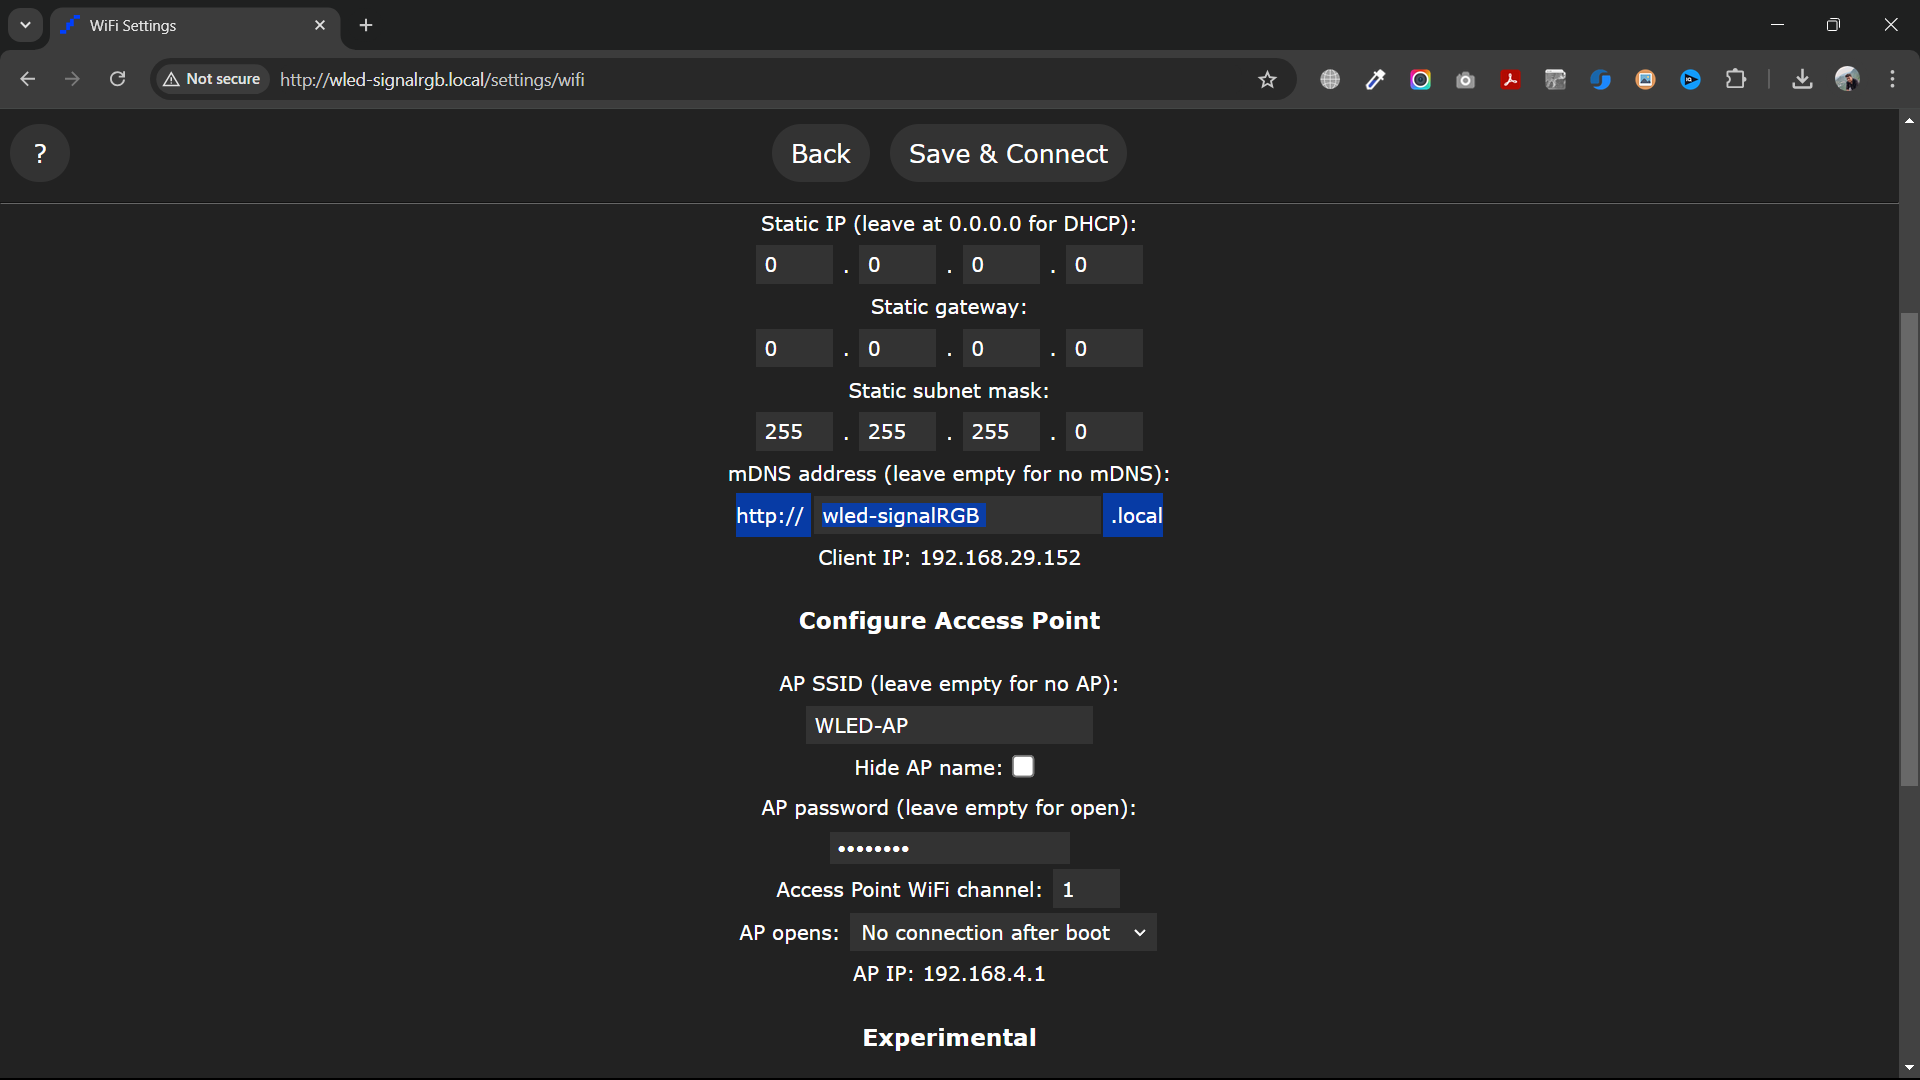
- In the WLED menu, navigate to Config > Wi-Fi Setup. Set up your Wi-Fi details and name your device.
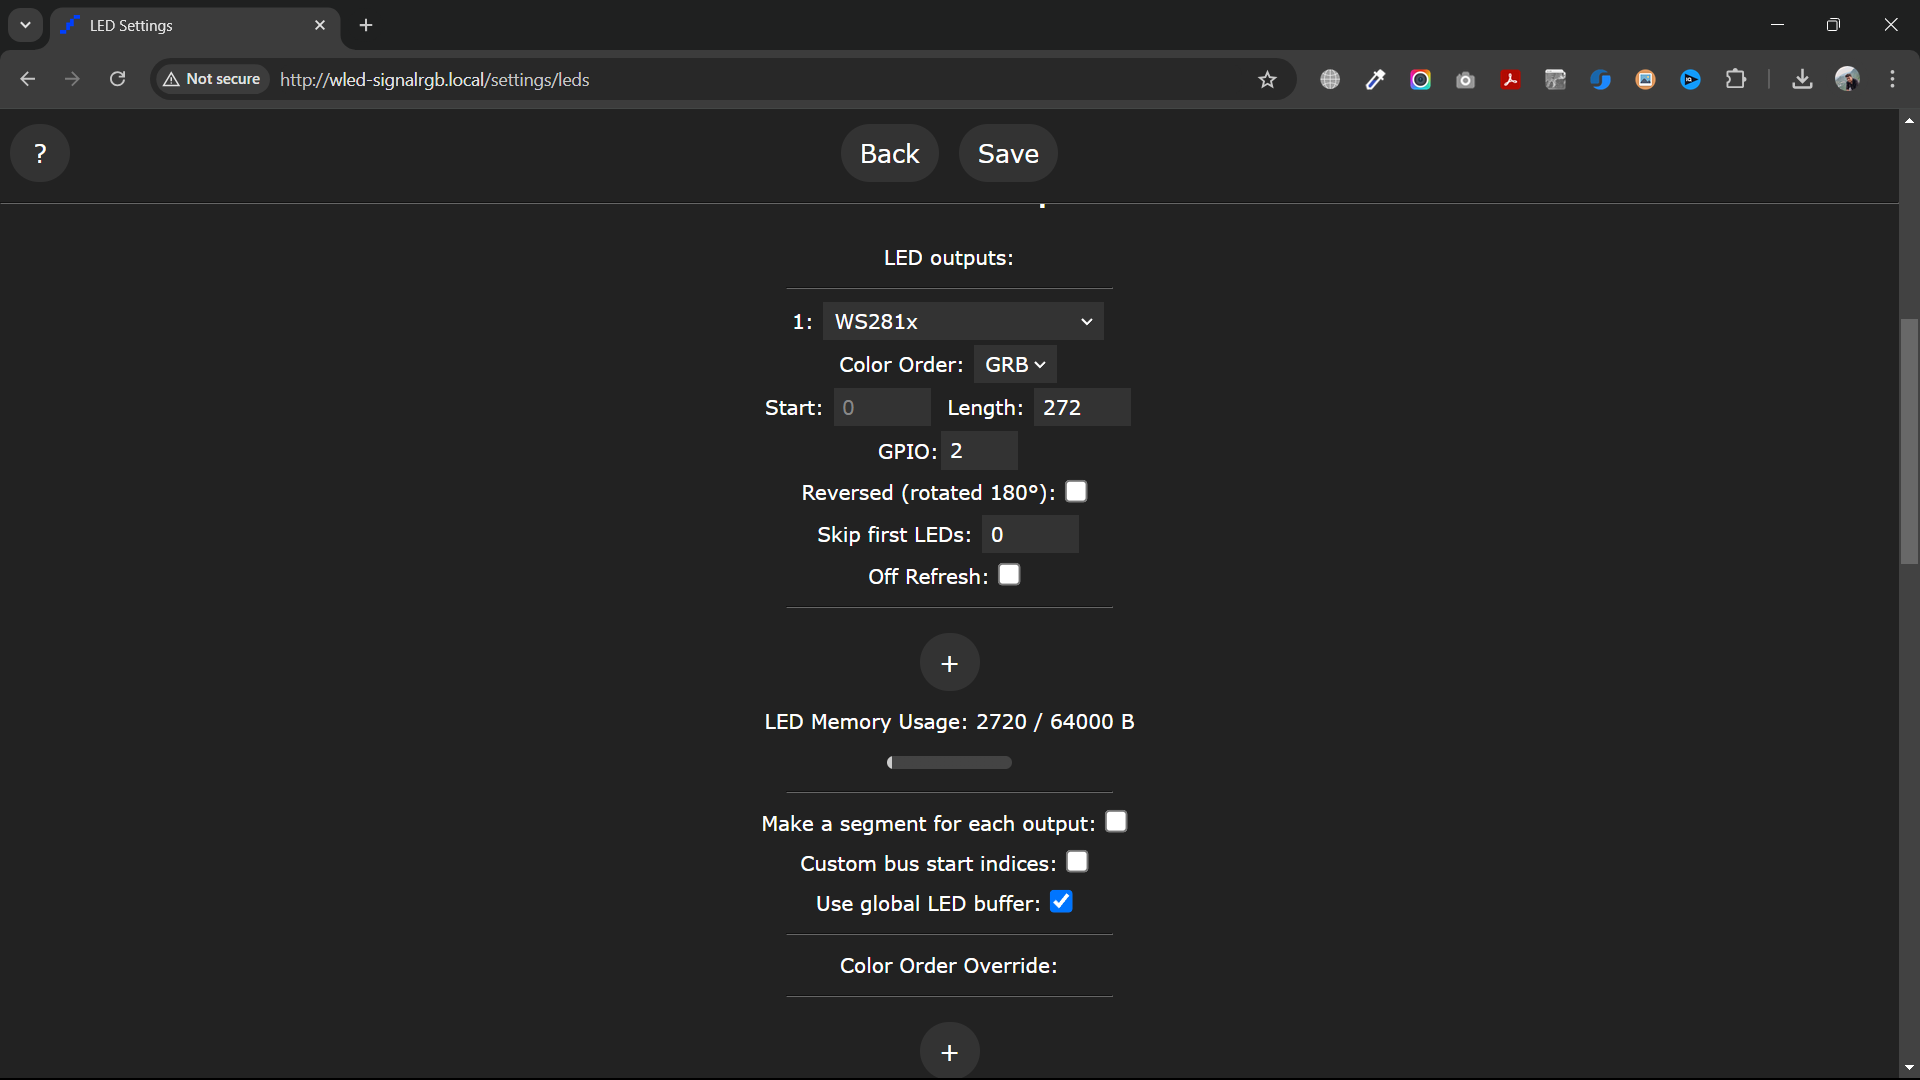
- Then, go to LED Preferences and input the number of LEDs connected to your setup. You’ll also need to configure the GPIO pin (2) used to control the LEDs.
- Click Save to finalize the setup.
Installing SignalRGB Software
.png)
.png)
.png)
.png)
.png)
3.1. Download SignalRGB
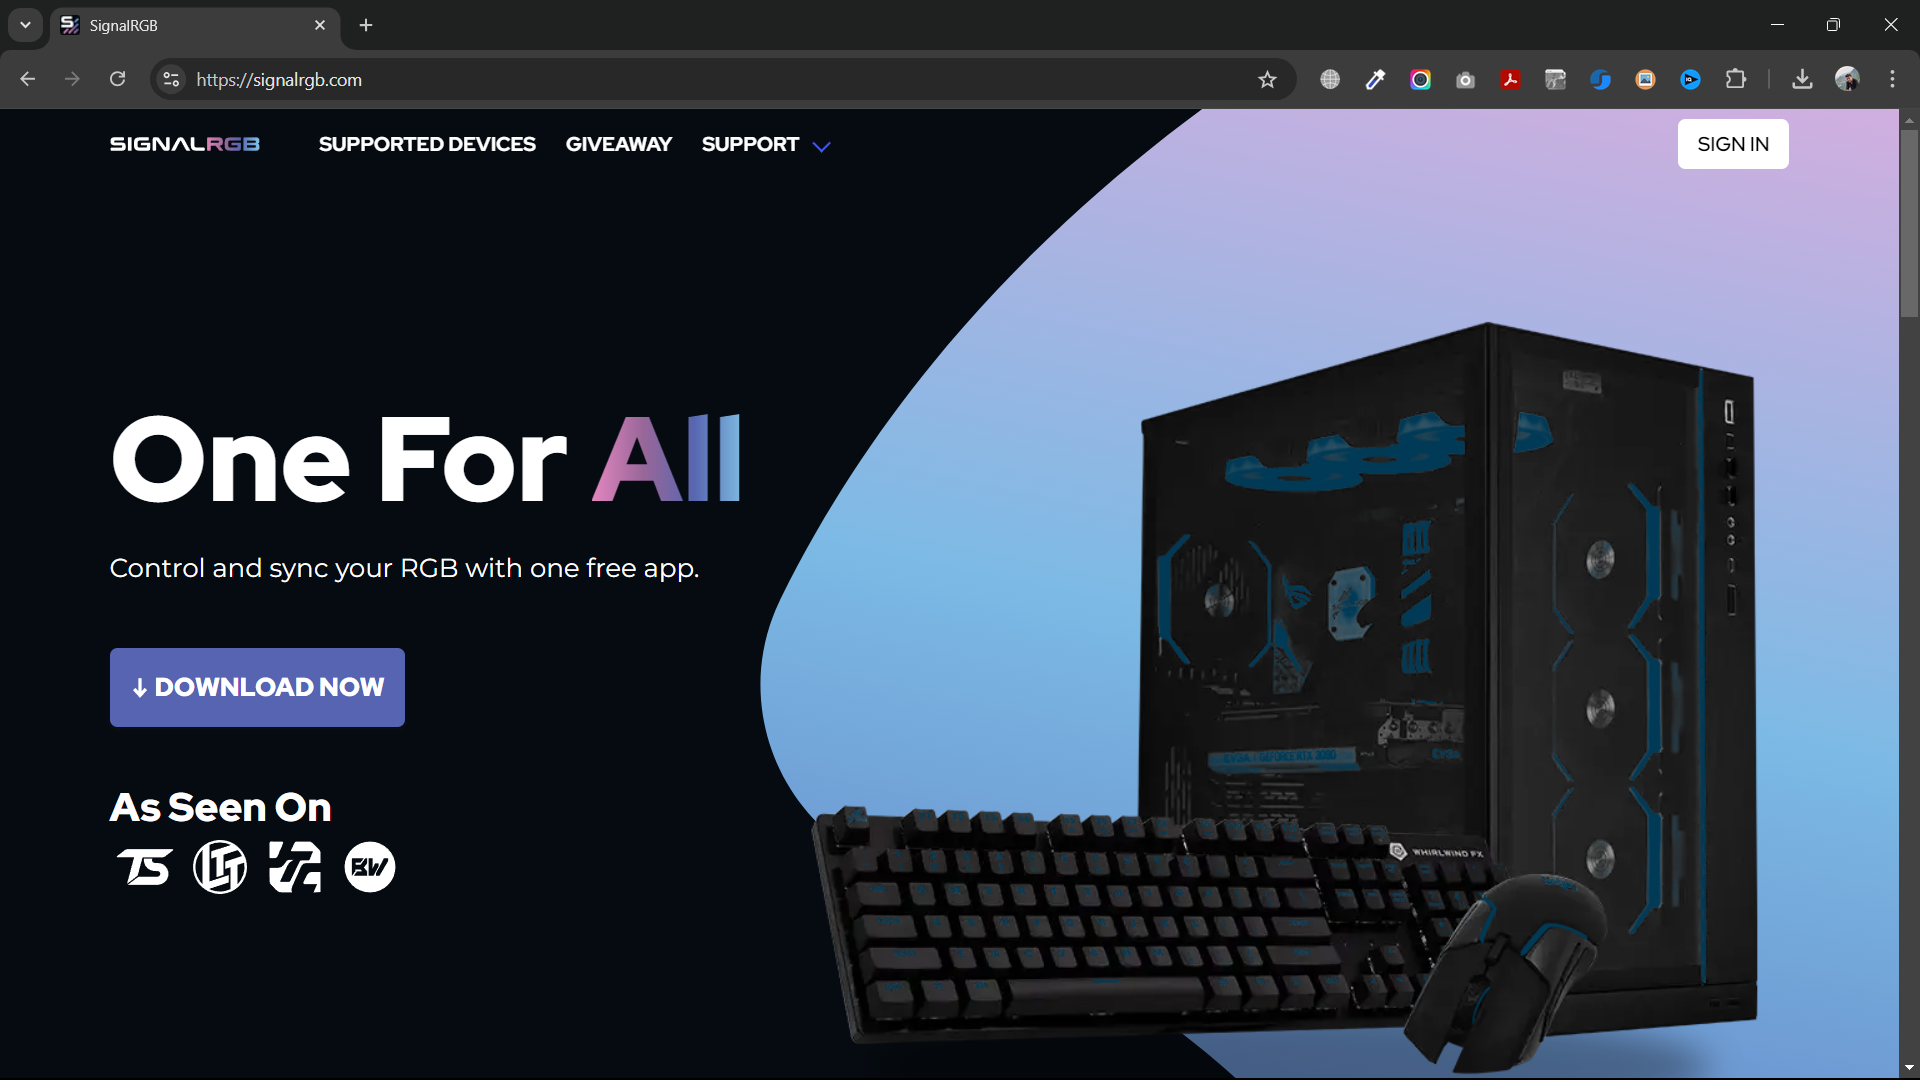
- In your browser, search for SignalRGB software and download the installer from the official site.
- Follow the installation prompts to install it on your computer.
3.2. Link the Device
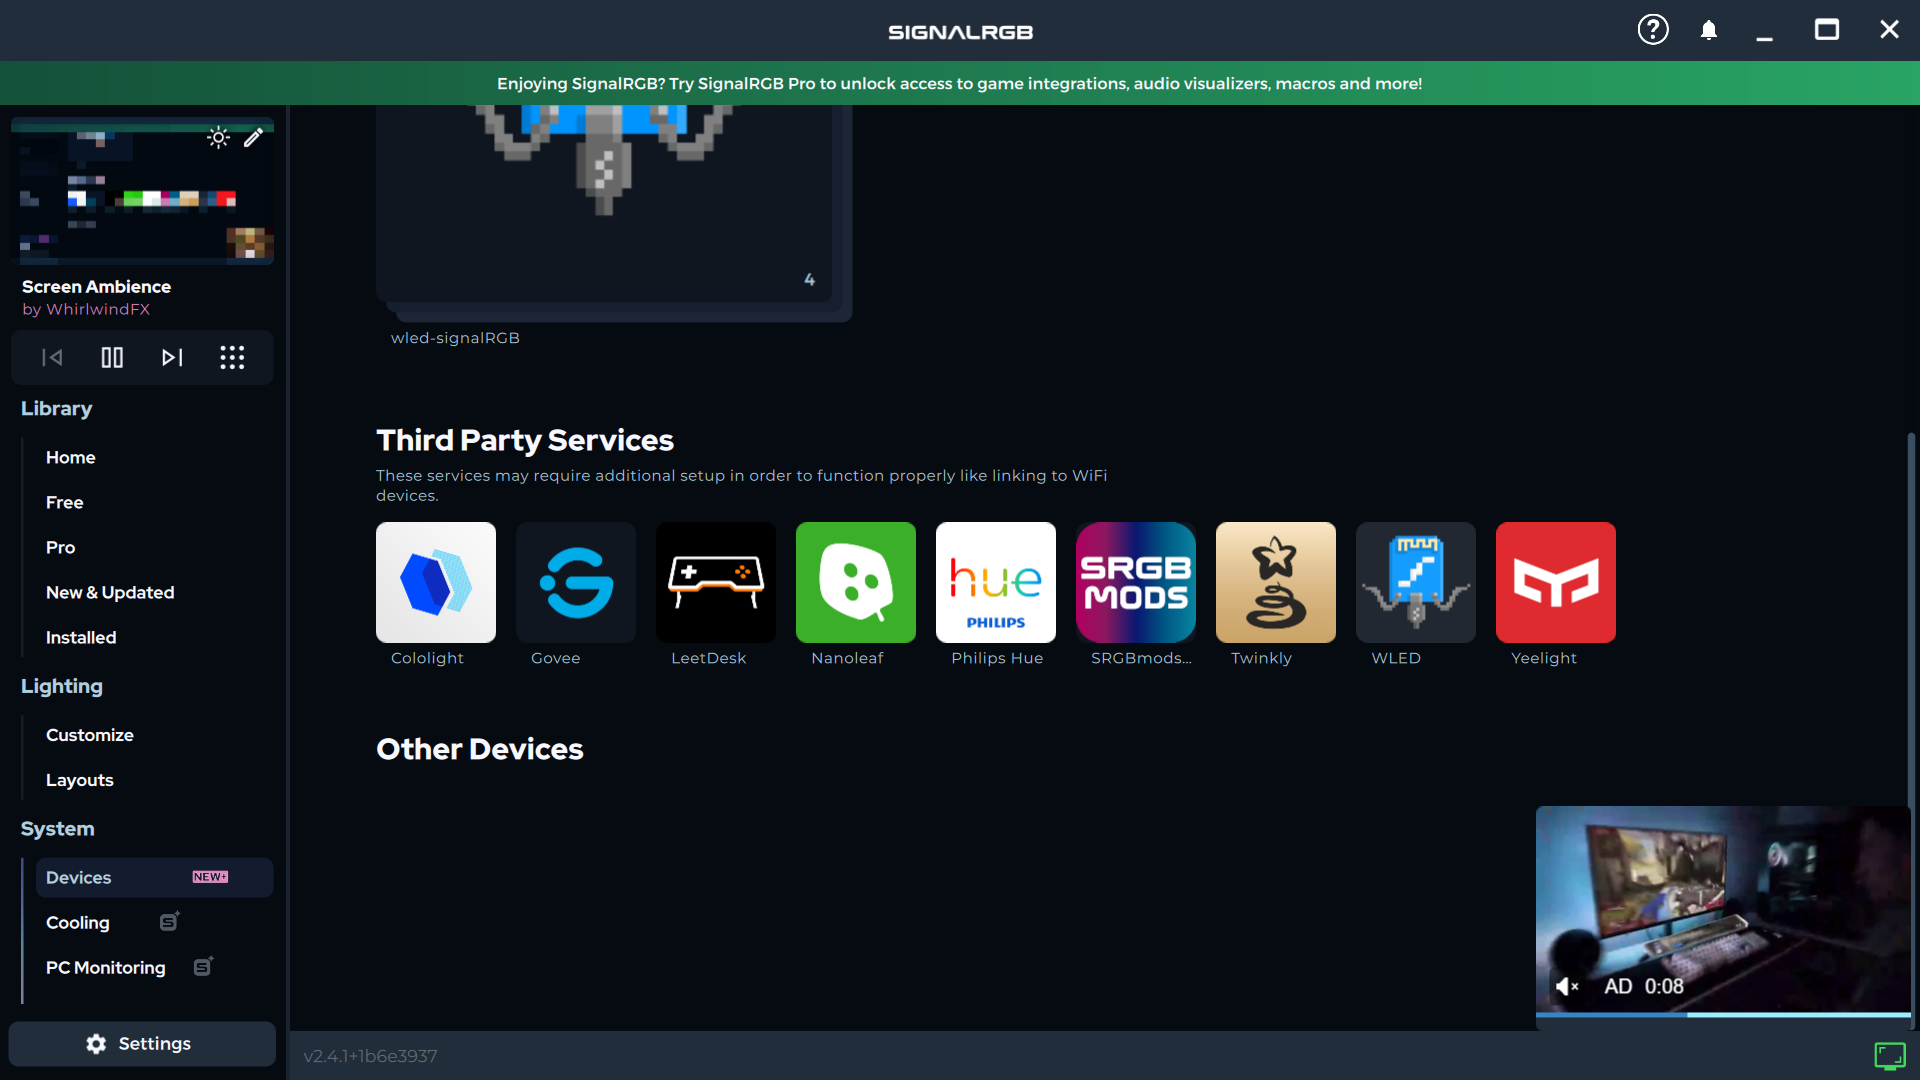
- Once installed, open SignalRGB, and go to the Devices tab.
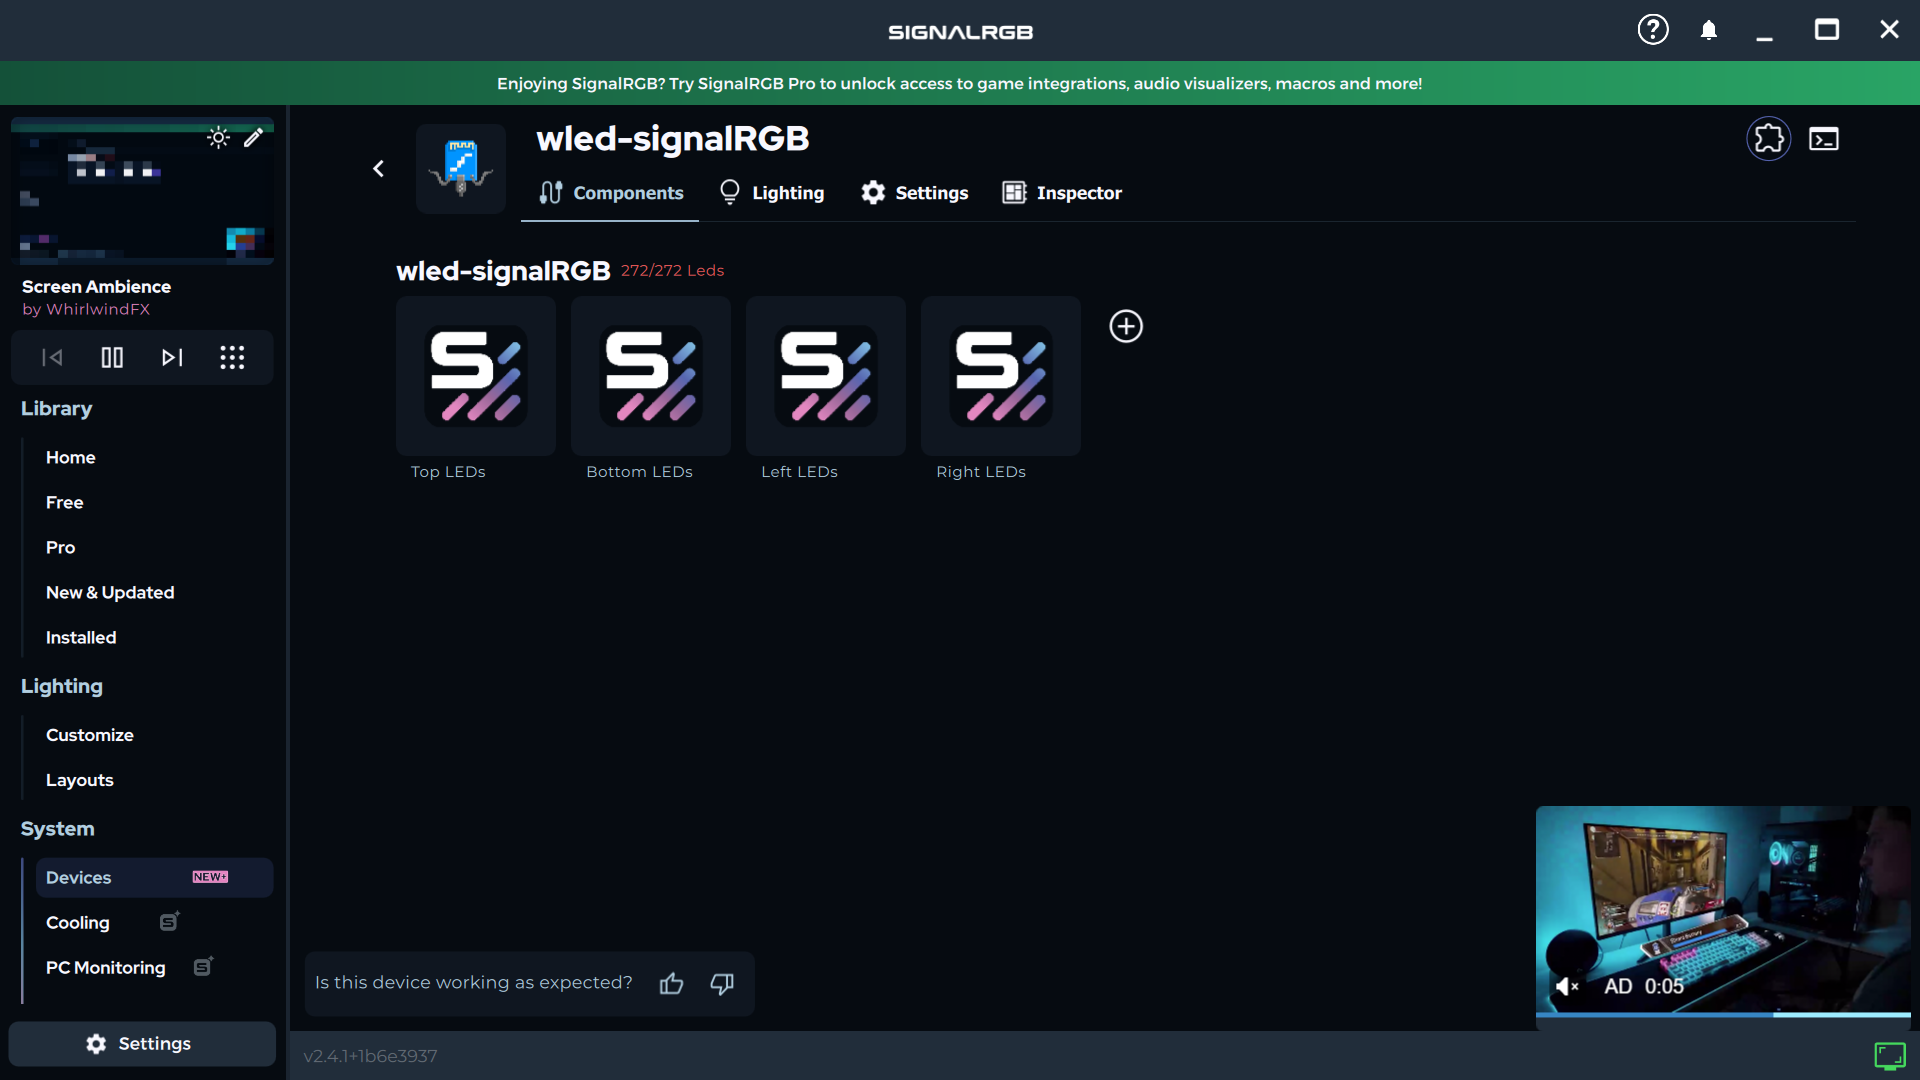
- You should see the WLED device you set up earlier. Click Link to pair the device with SignalRGB.
3.3. Configure LED Groups
- After linking the device, you’ll need to configure the LEDs.
- Divide the total number of LEDs into four groups:
- Top
- Bottom
- Left
- Right
- Enter the LED count for each group (this will vary based on your setup). Example: 86 LEDs on top and bottom, and 50 LEDs on each side.
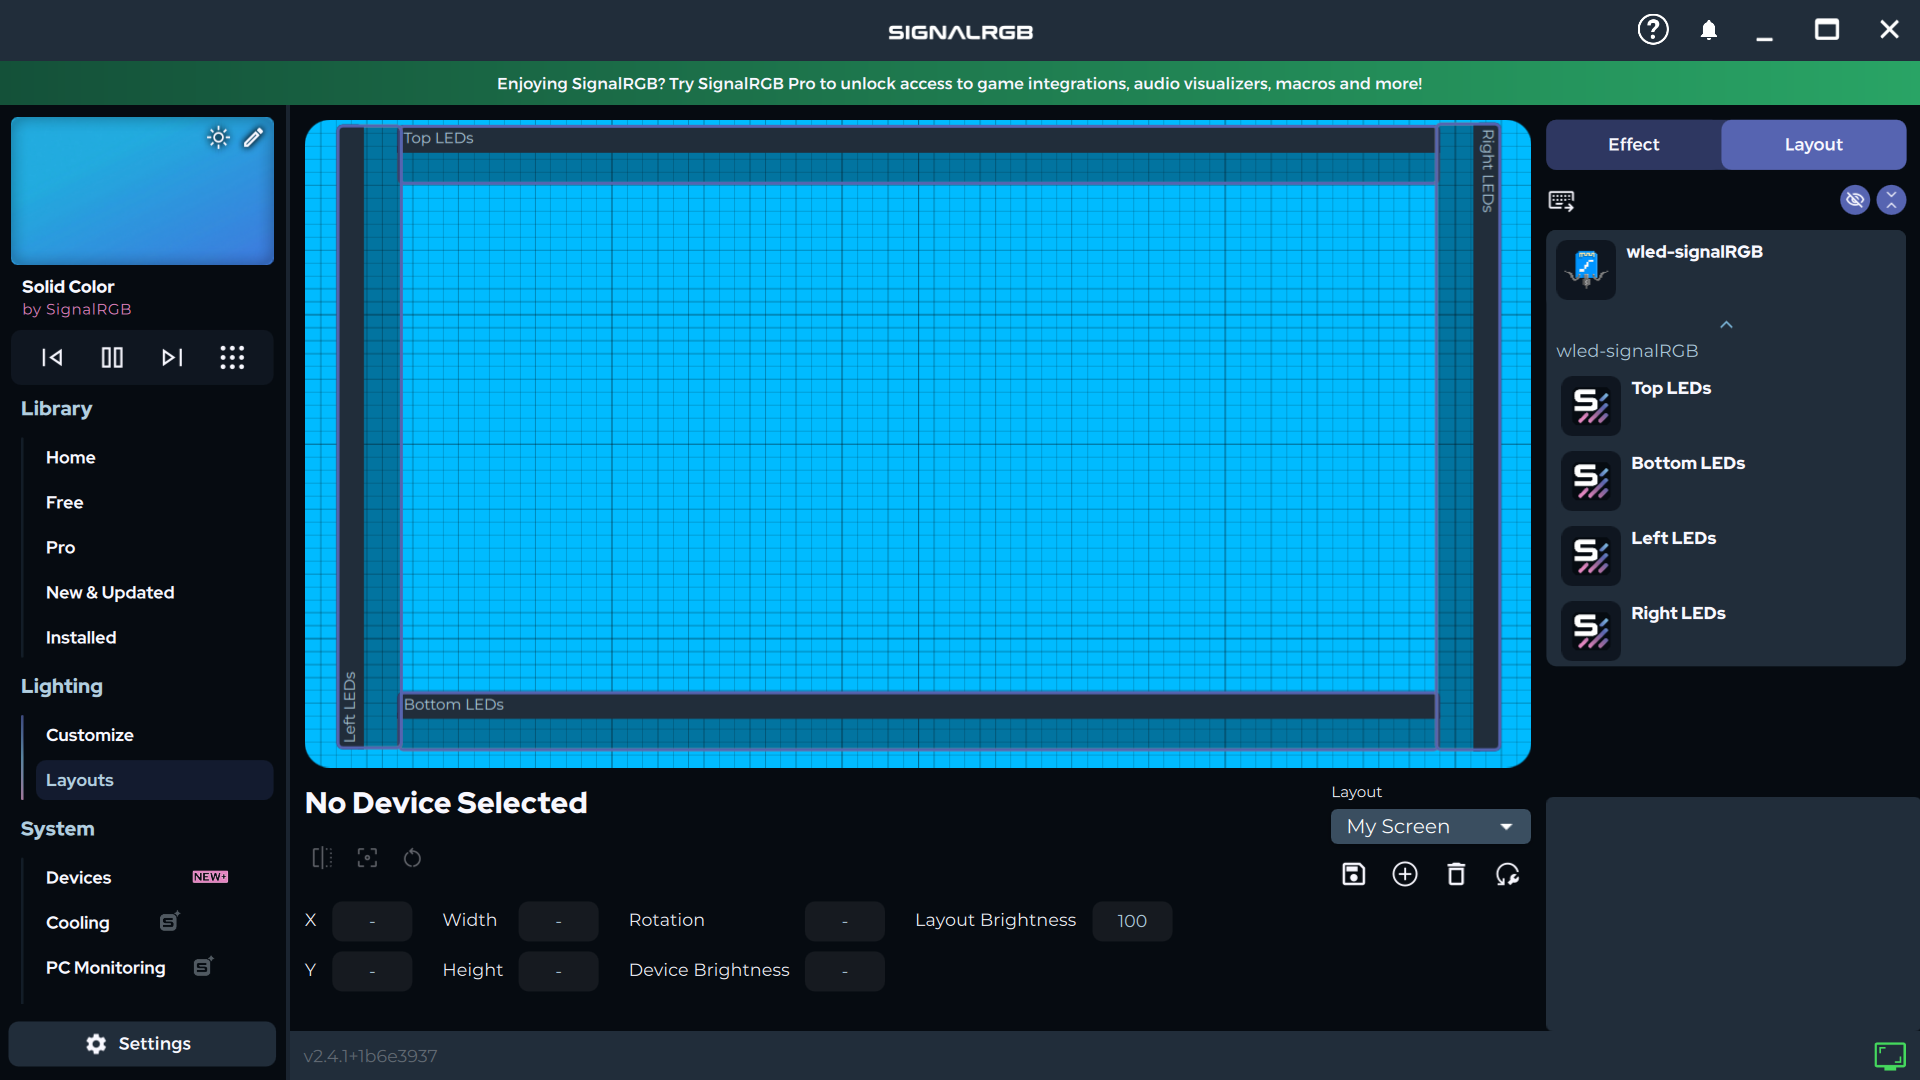
3.4. Set the Layout
- In SignalRGB, go to the Layout section and arrange the four LED groups corresponding to their positions (top, bottom, left, right).
3.5. Activate Screen Ambience
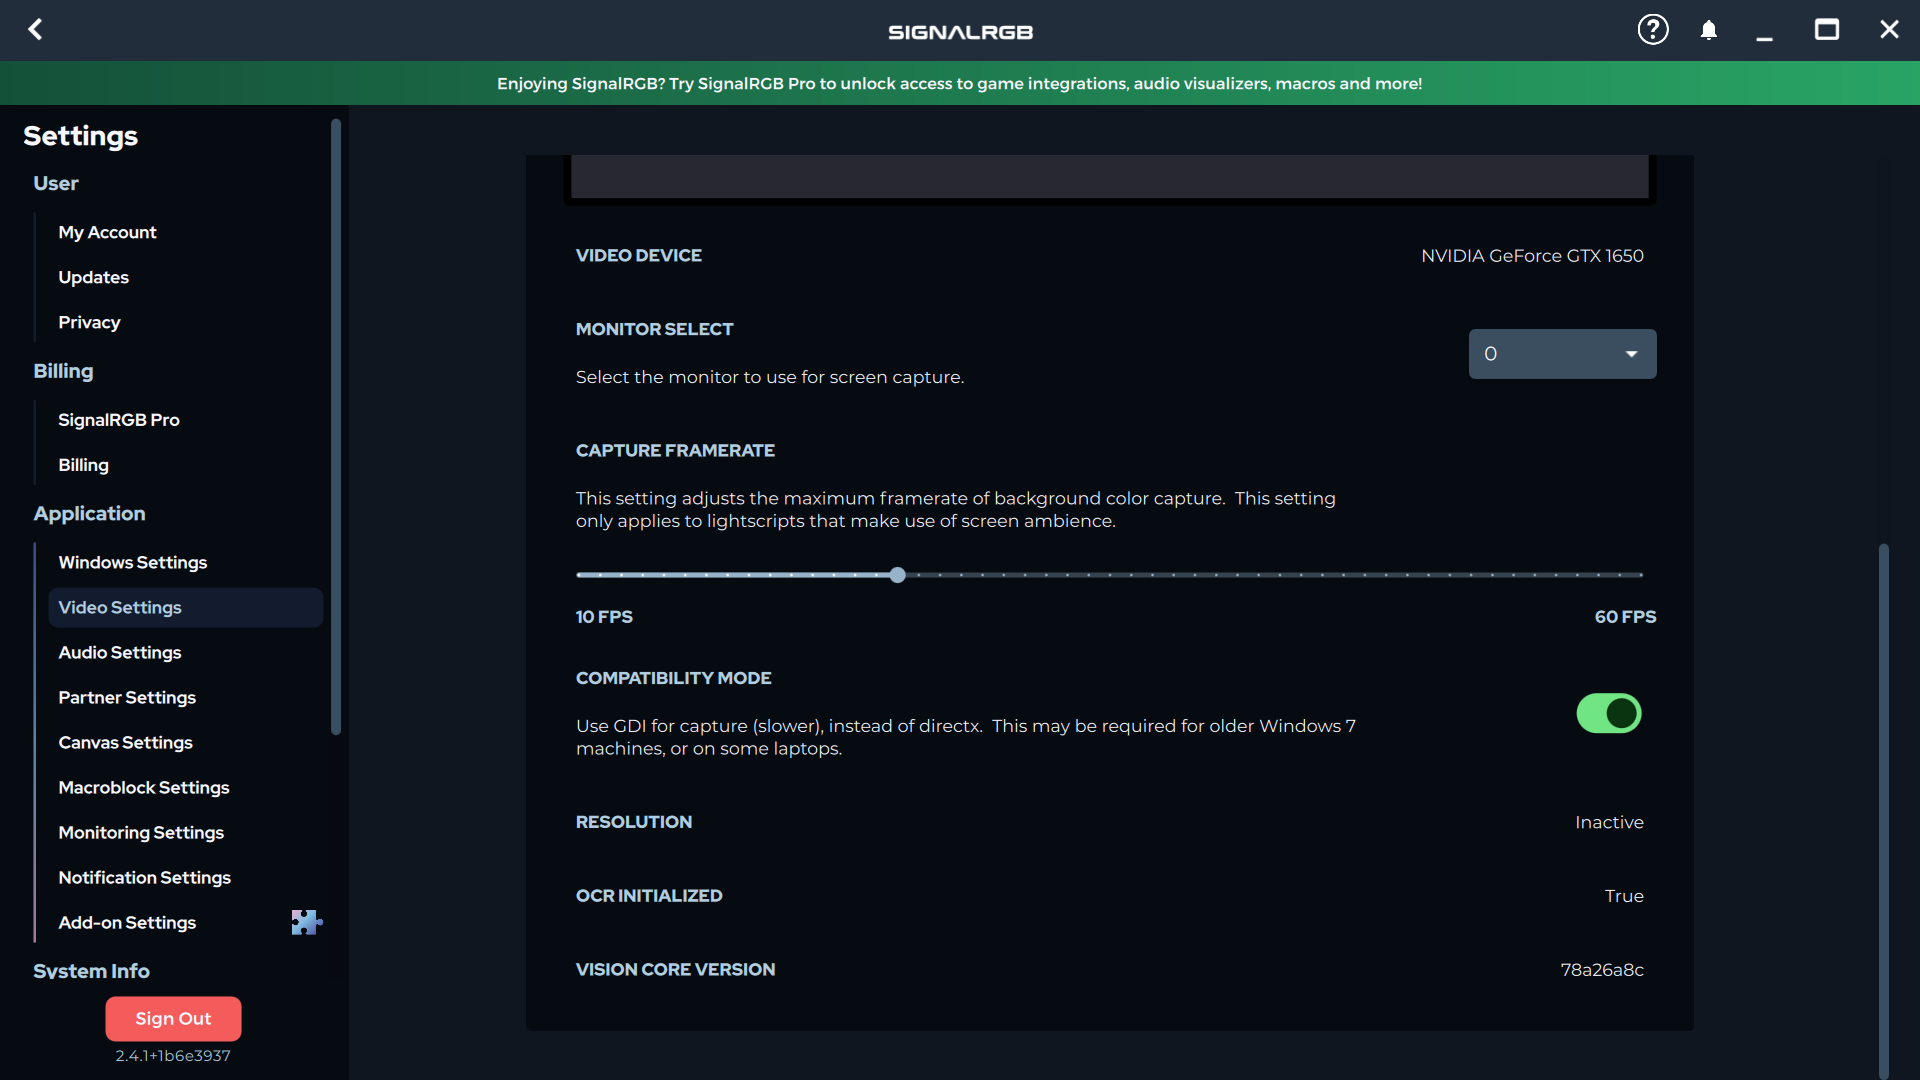
- In SignalRGB, select the Screen Ambience effect.
- If your system’s graphics card doesn’t support this feature by default, enable Compatibility Mode in the settings.
3.6. Test Your Setup
- Play a video or a game to test your reactive LED backlight setup. The LED strips will change colors in real-time to match the colors on your screen.
Conclusion
Congratulations! You’ve successfully built a reactive LED backlight for your screen. Whether you're watching movies or playing games, your screen will now glow with ambient colors for a fully immersive experience.
Make sure to like, share, and subscribe to our channel for more cool DIY projects!
We want to thanks PCBWAY for their immense support with this project. The Printing Quality of PCB was superb and we recommend their services for your projects as well.
Optional Enhancements
- Customization: Experiment with different effects and layouts in SignalRGB.
- Extended Ambilight: Add more LEDs or arrange them creatively to match larger screens or different devices.
Feel free to share your experience or ask any questions if you need further help!
Email: randomstuffwemake@gmail.com
Youtube: www.youtube.com/@randomstuffwemake
Instagram: www.instagram.com/random_stuff_we_make