DIY Power Supply Using LM317 | Lm 317 Variable Voltage Output
by Utsource in Circuits > Electronics
4146 Views, 4 Favorites, 0 Comments
DIY Power Supply Using LM317 | Lm 317 Variable Voltage Output
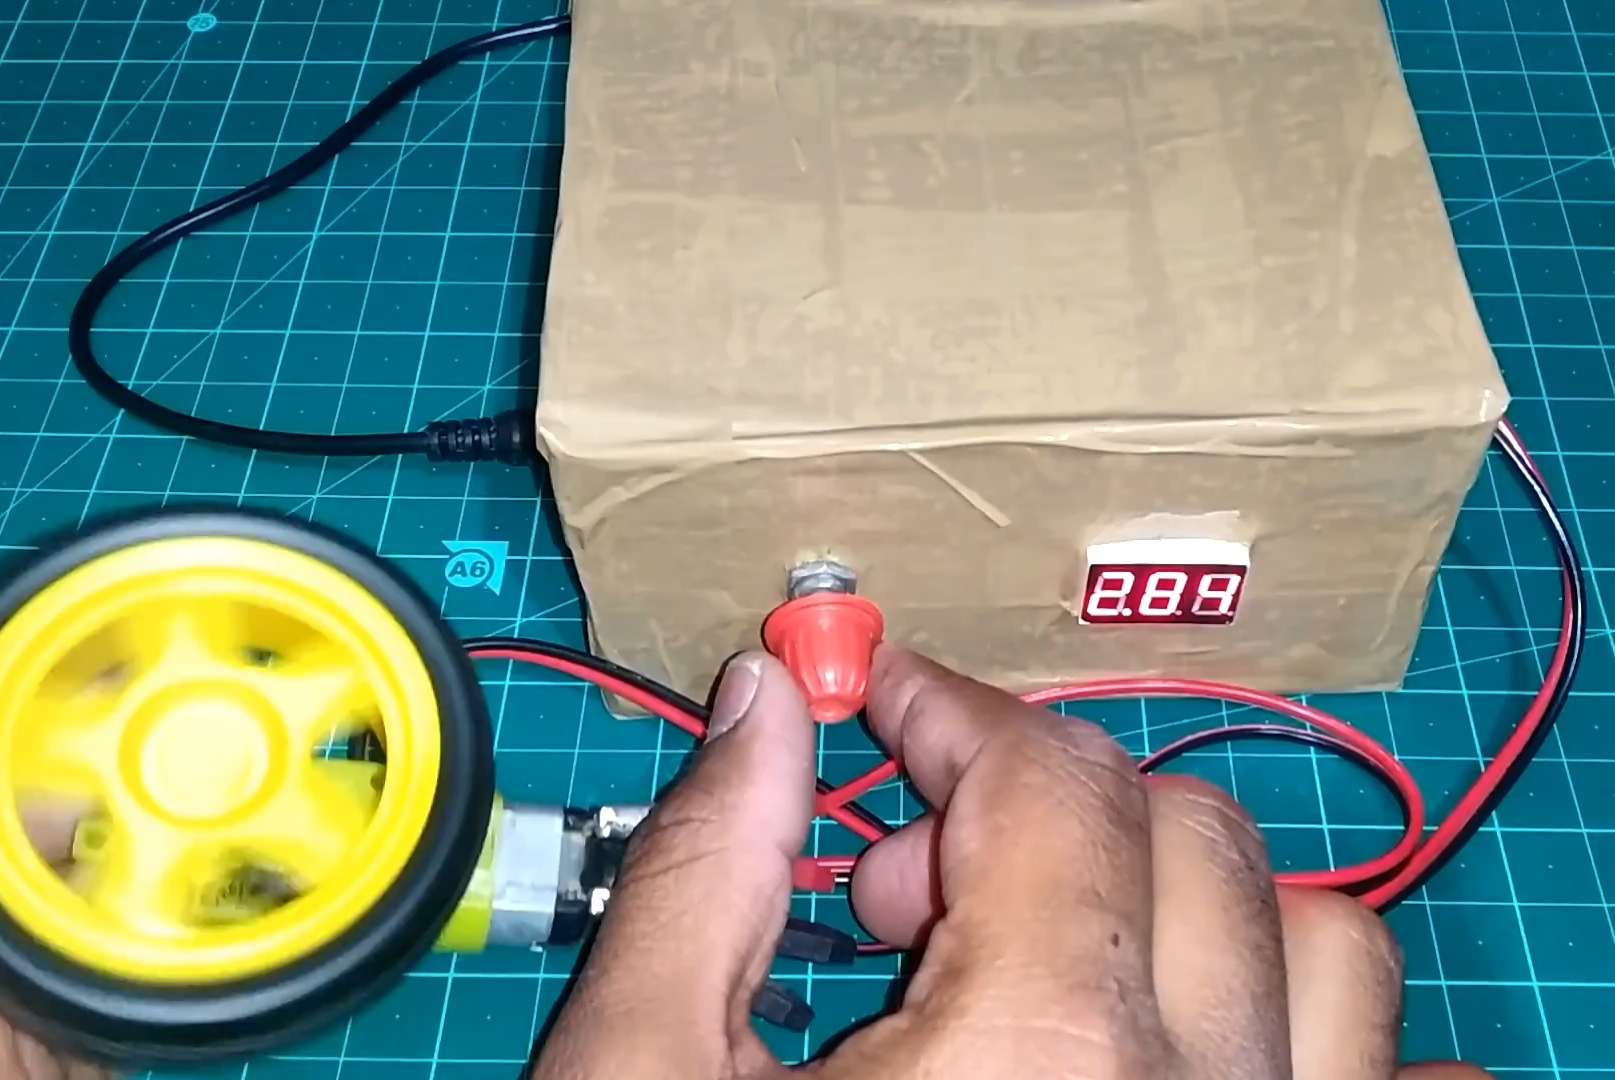
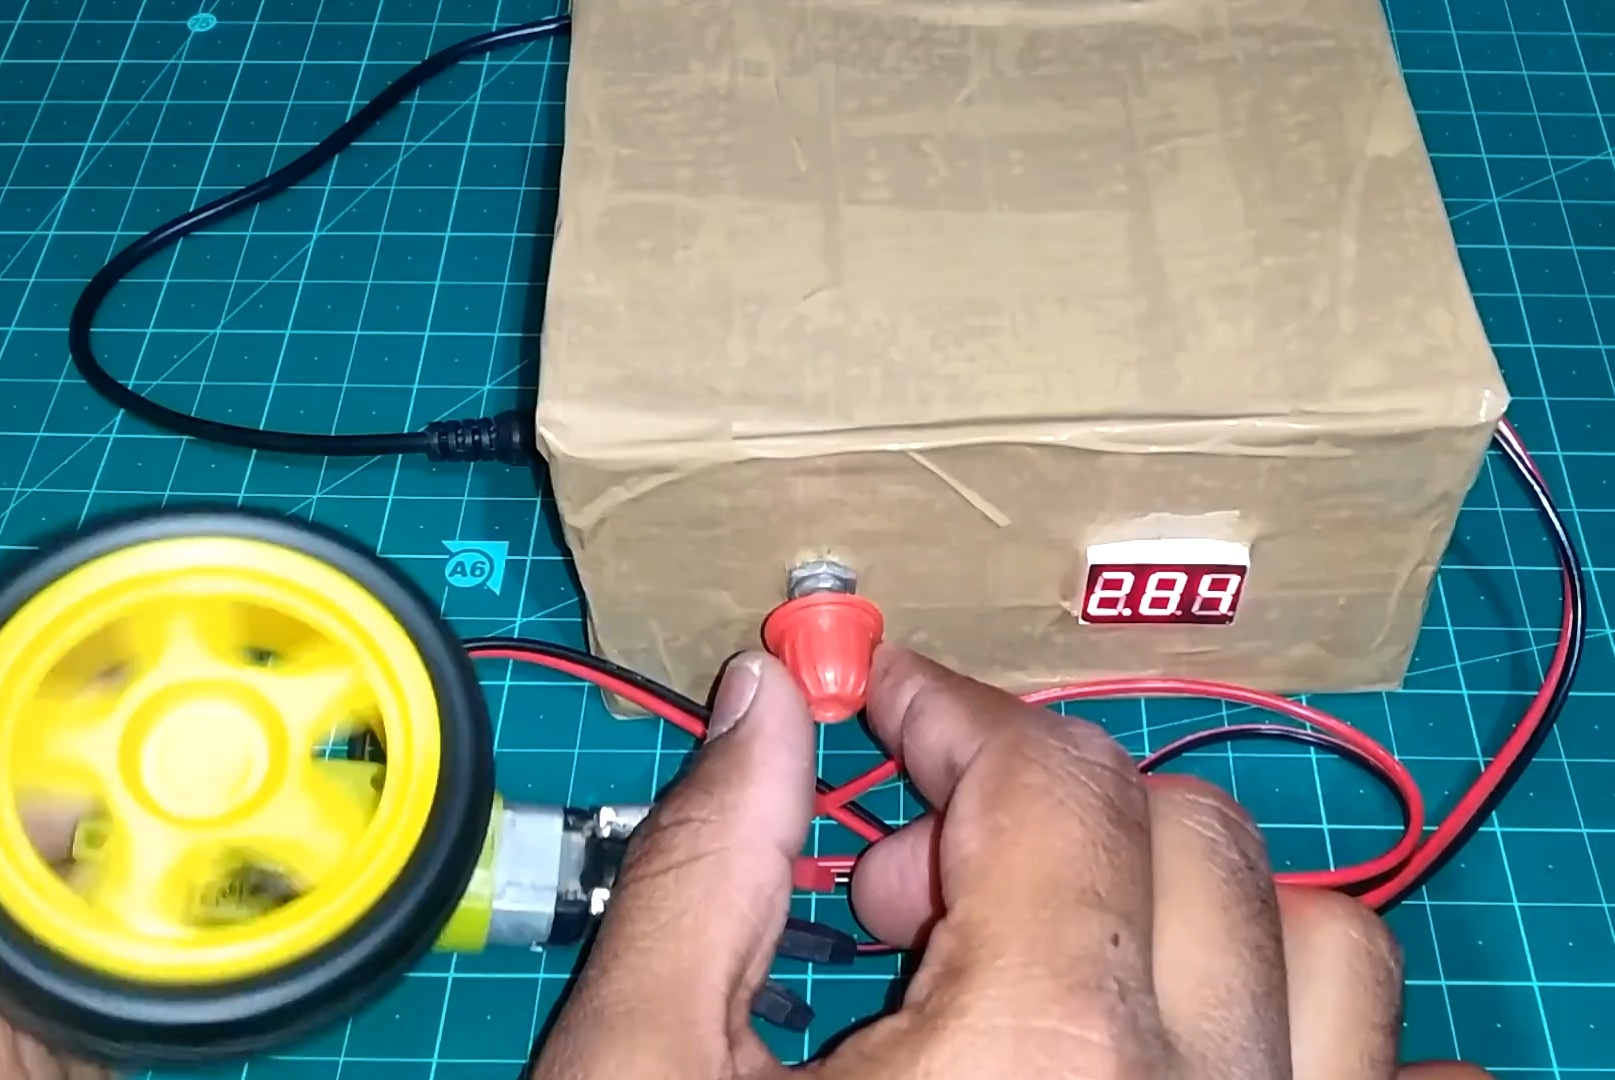
Today we will learn how to make a small power supply unit for your small projects.
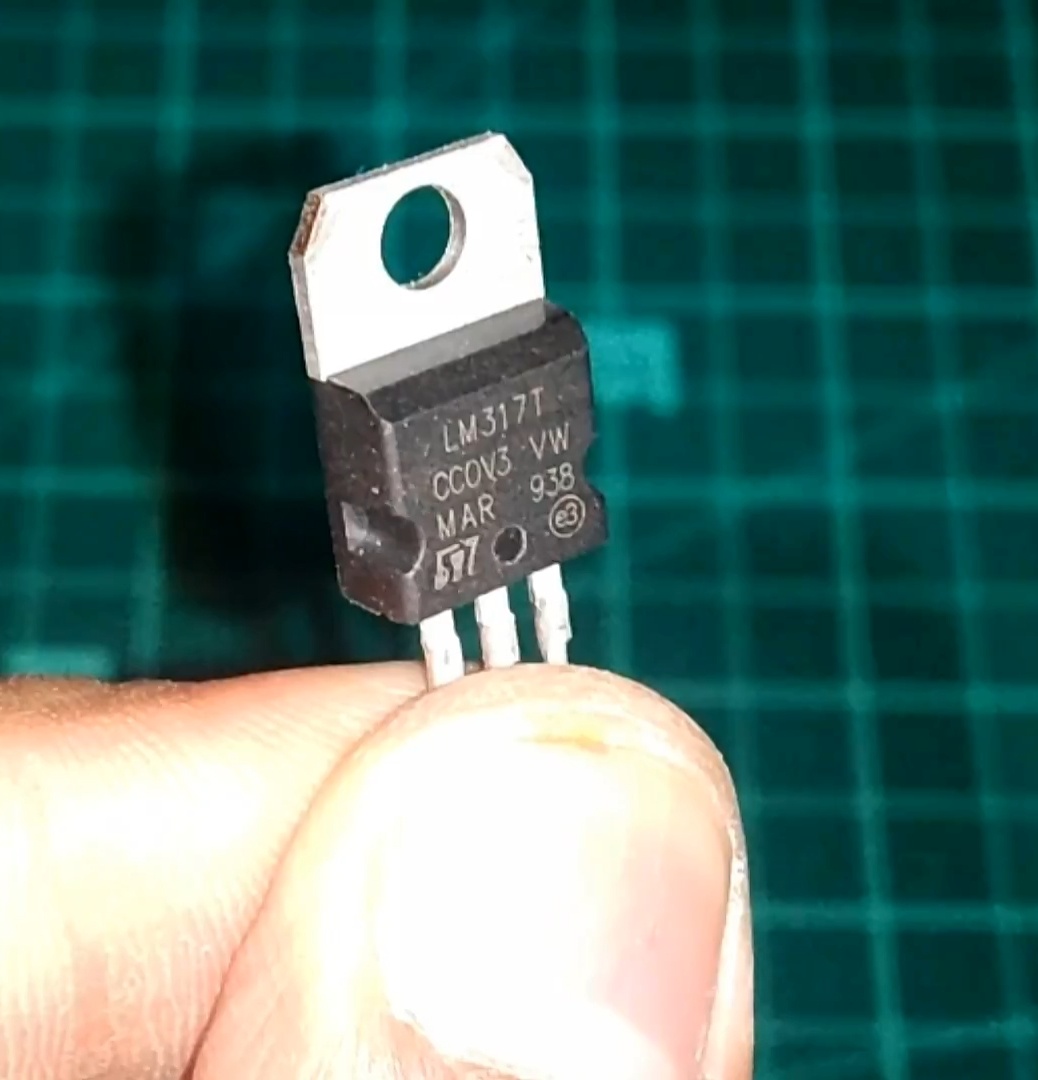
LM317 will the good choice for low current power supply.
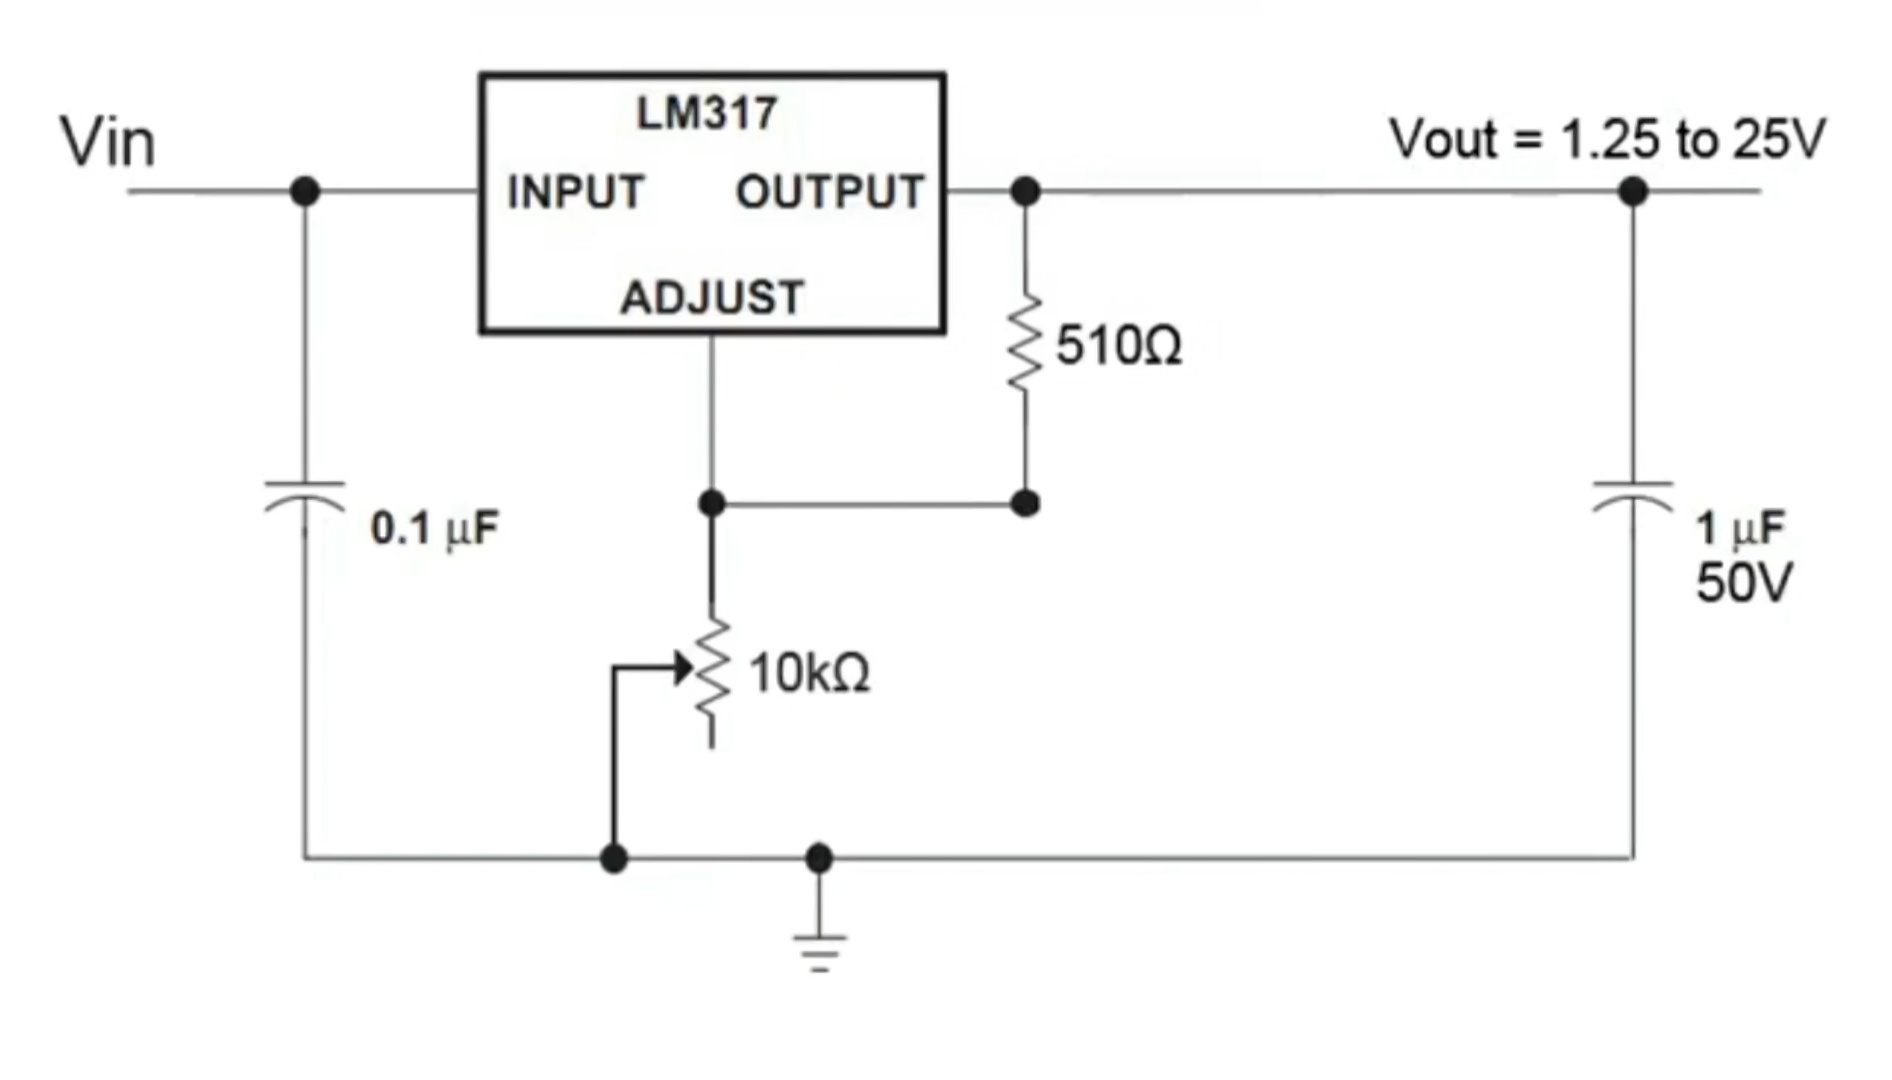
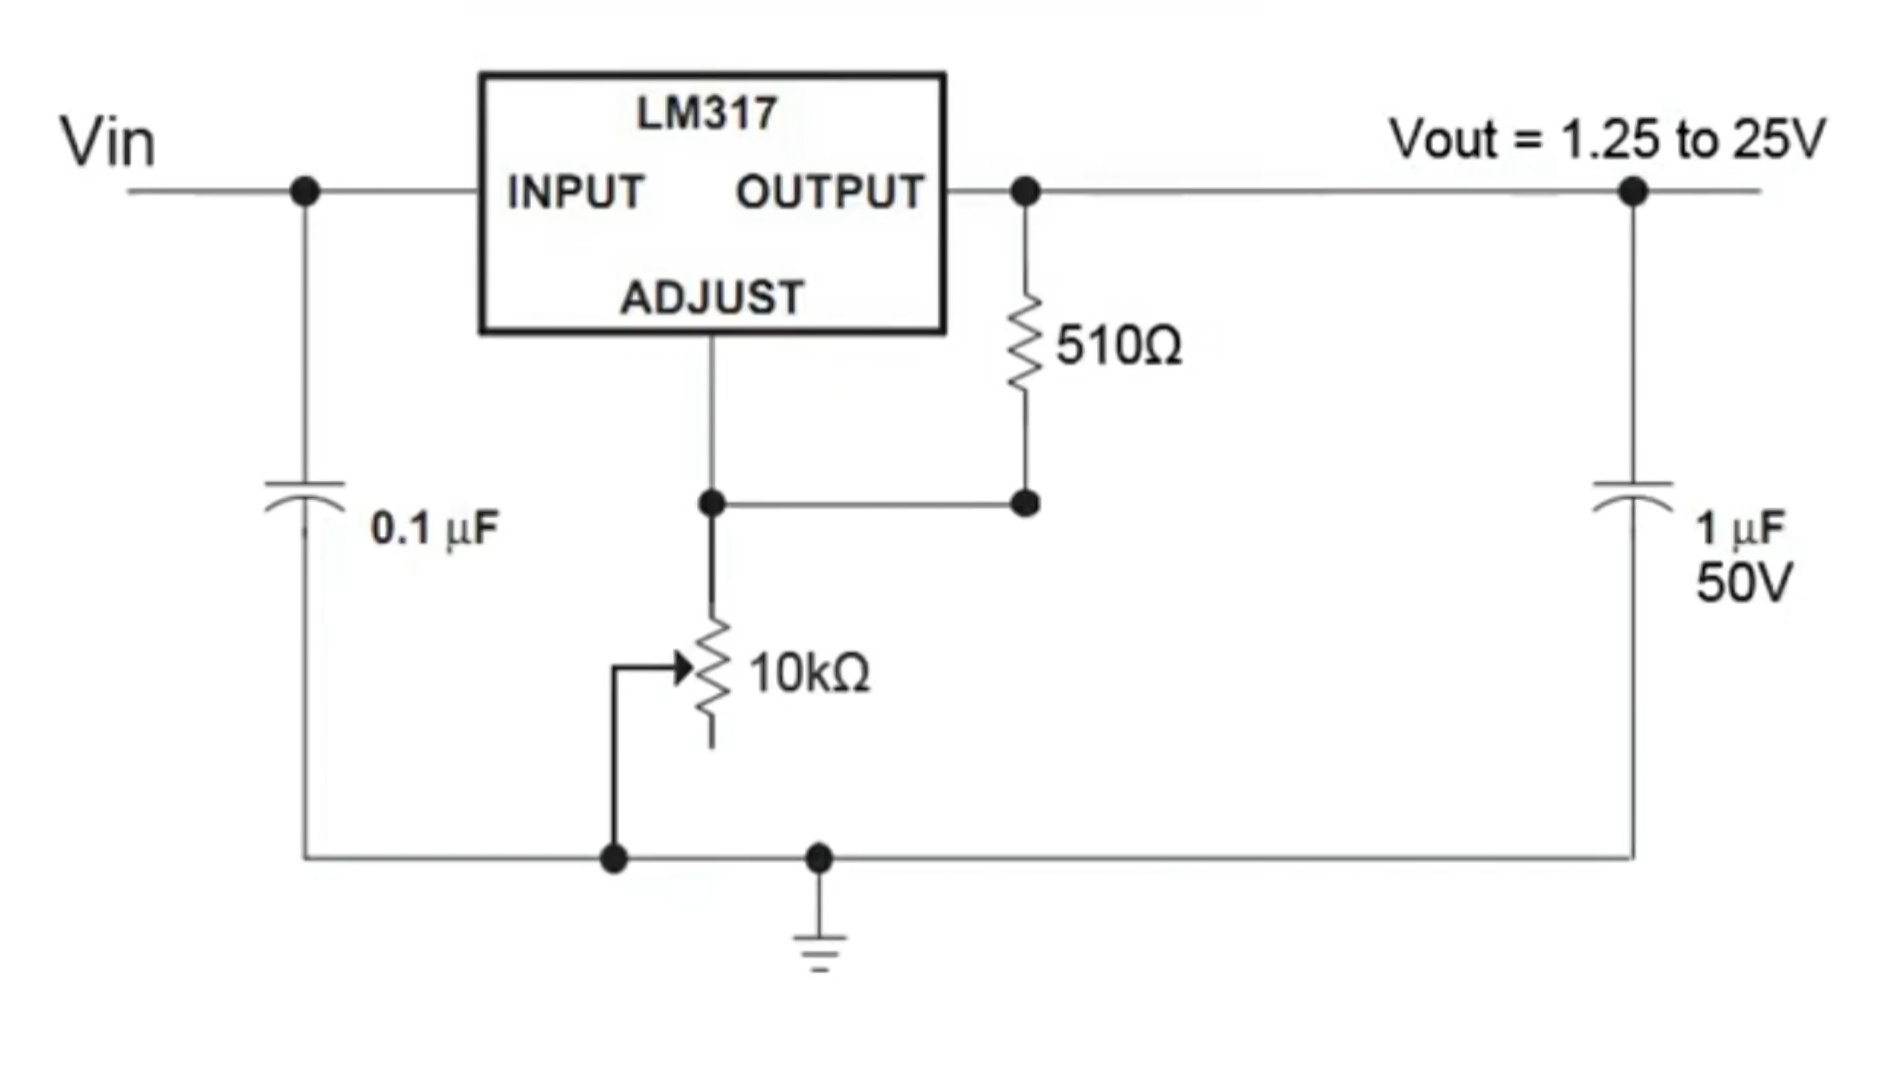
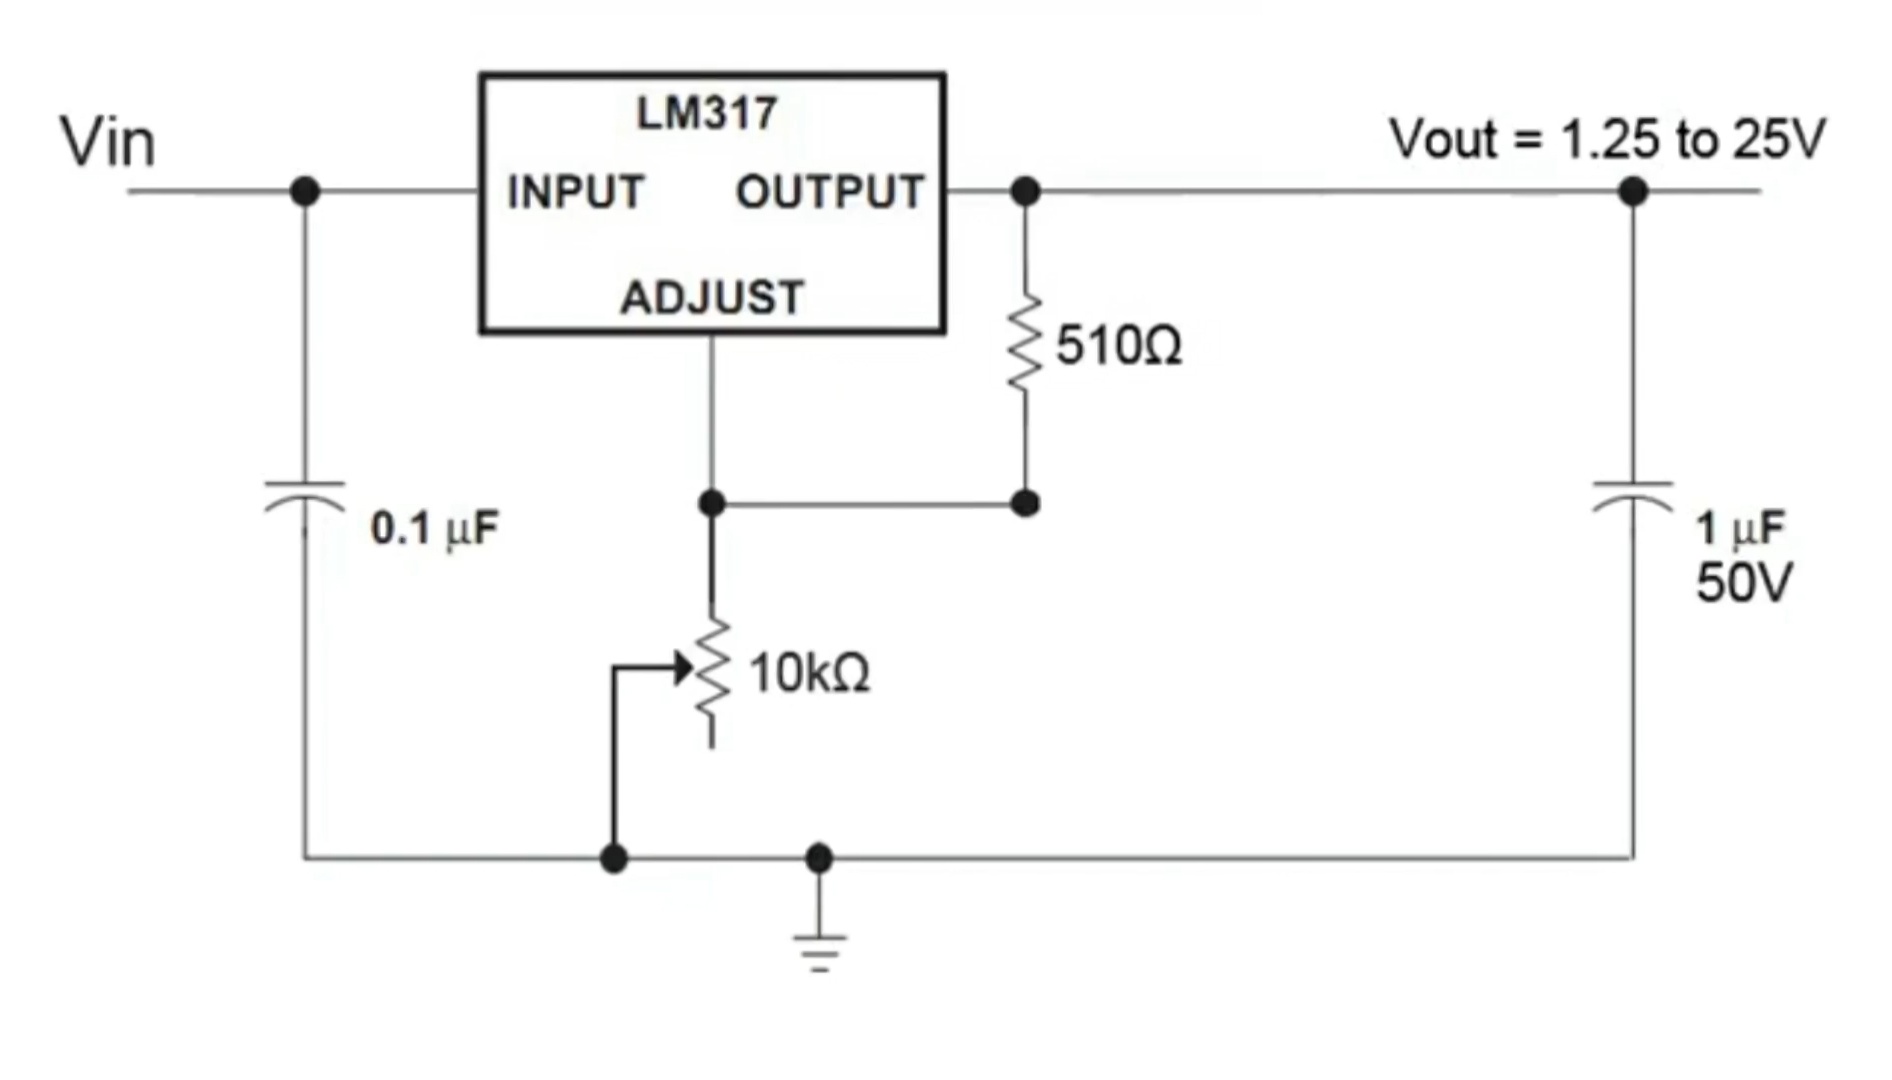
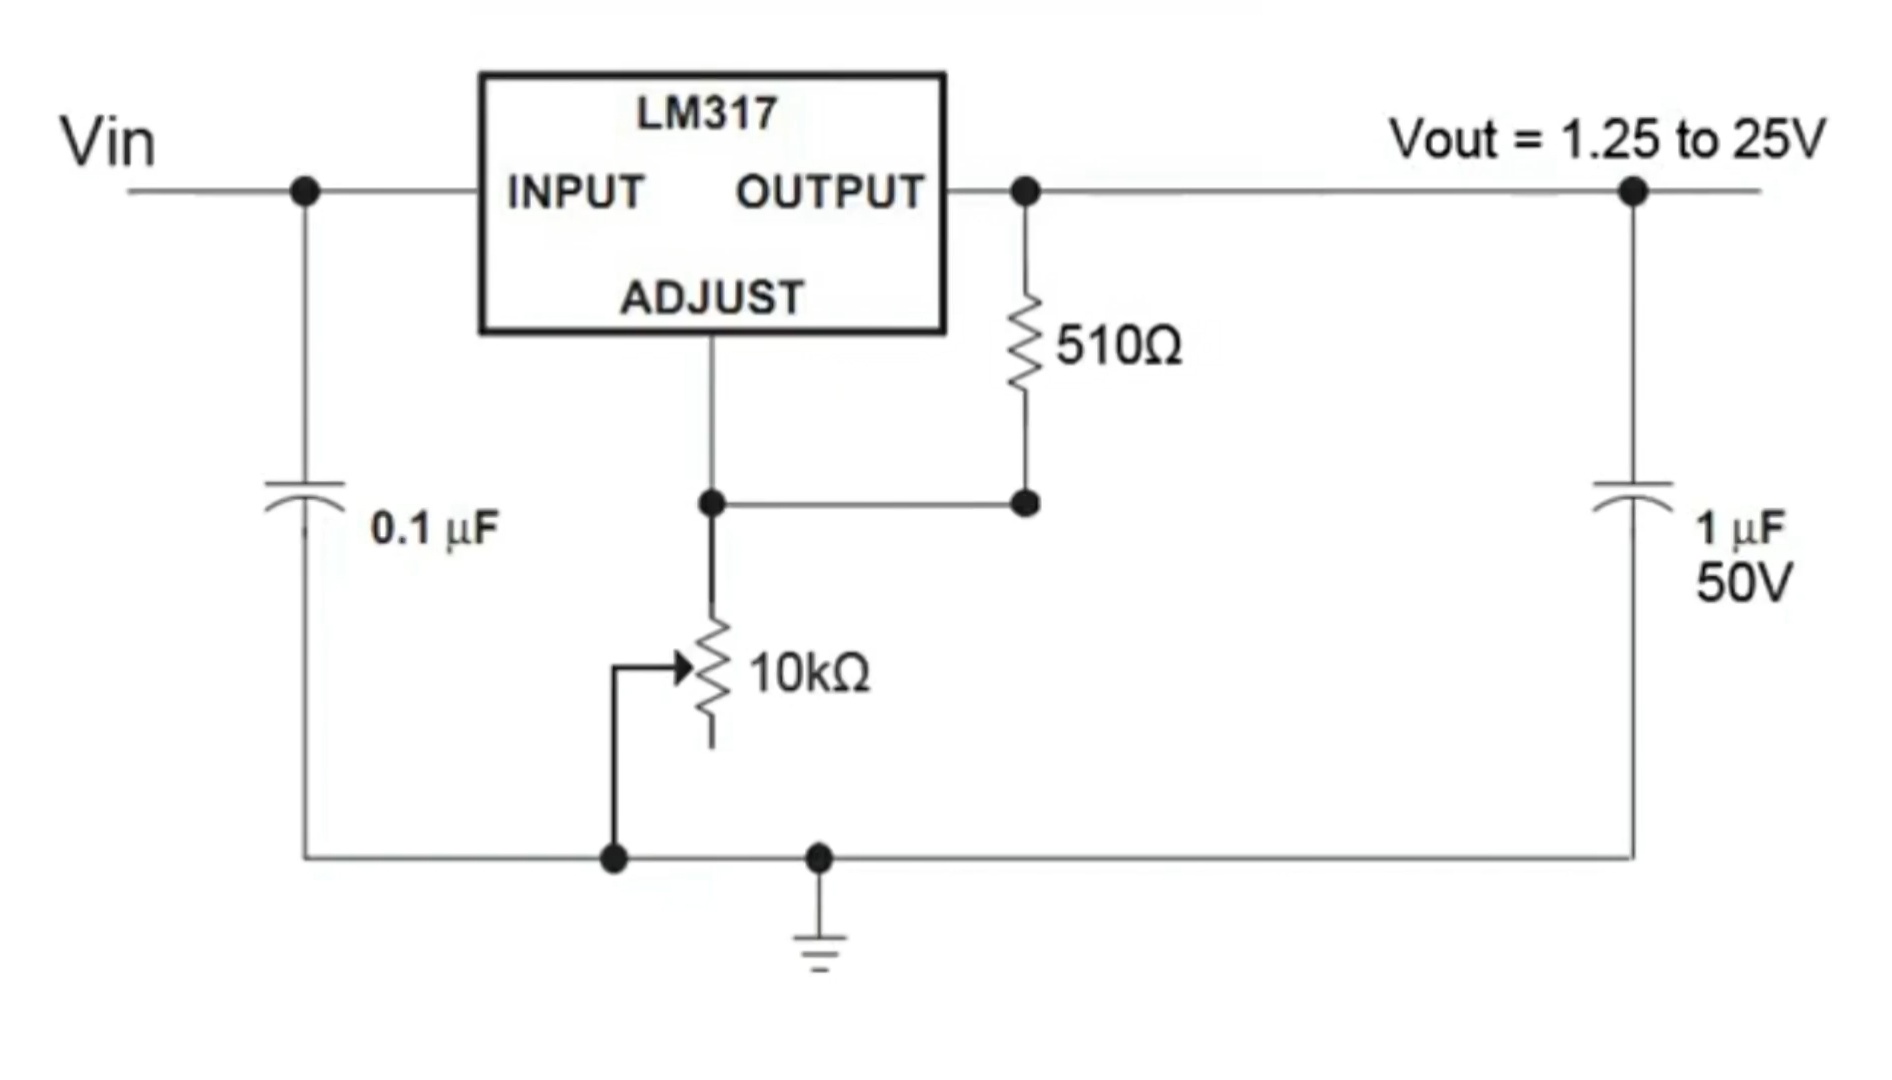
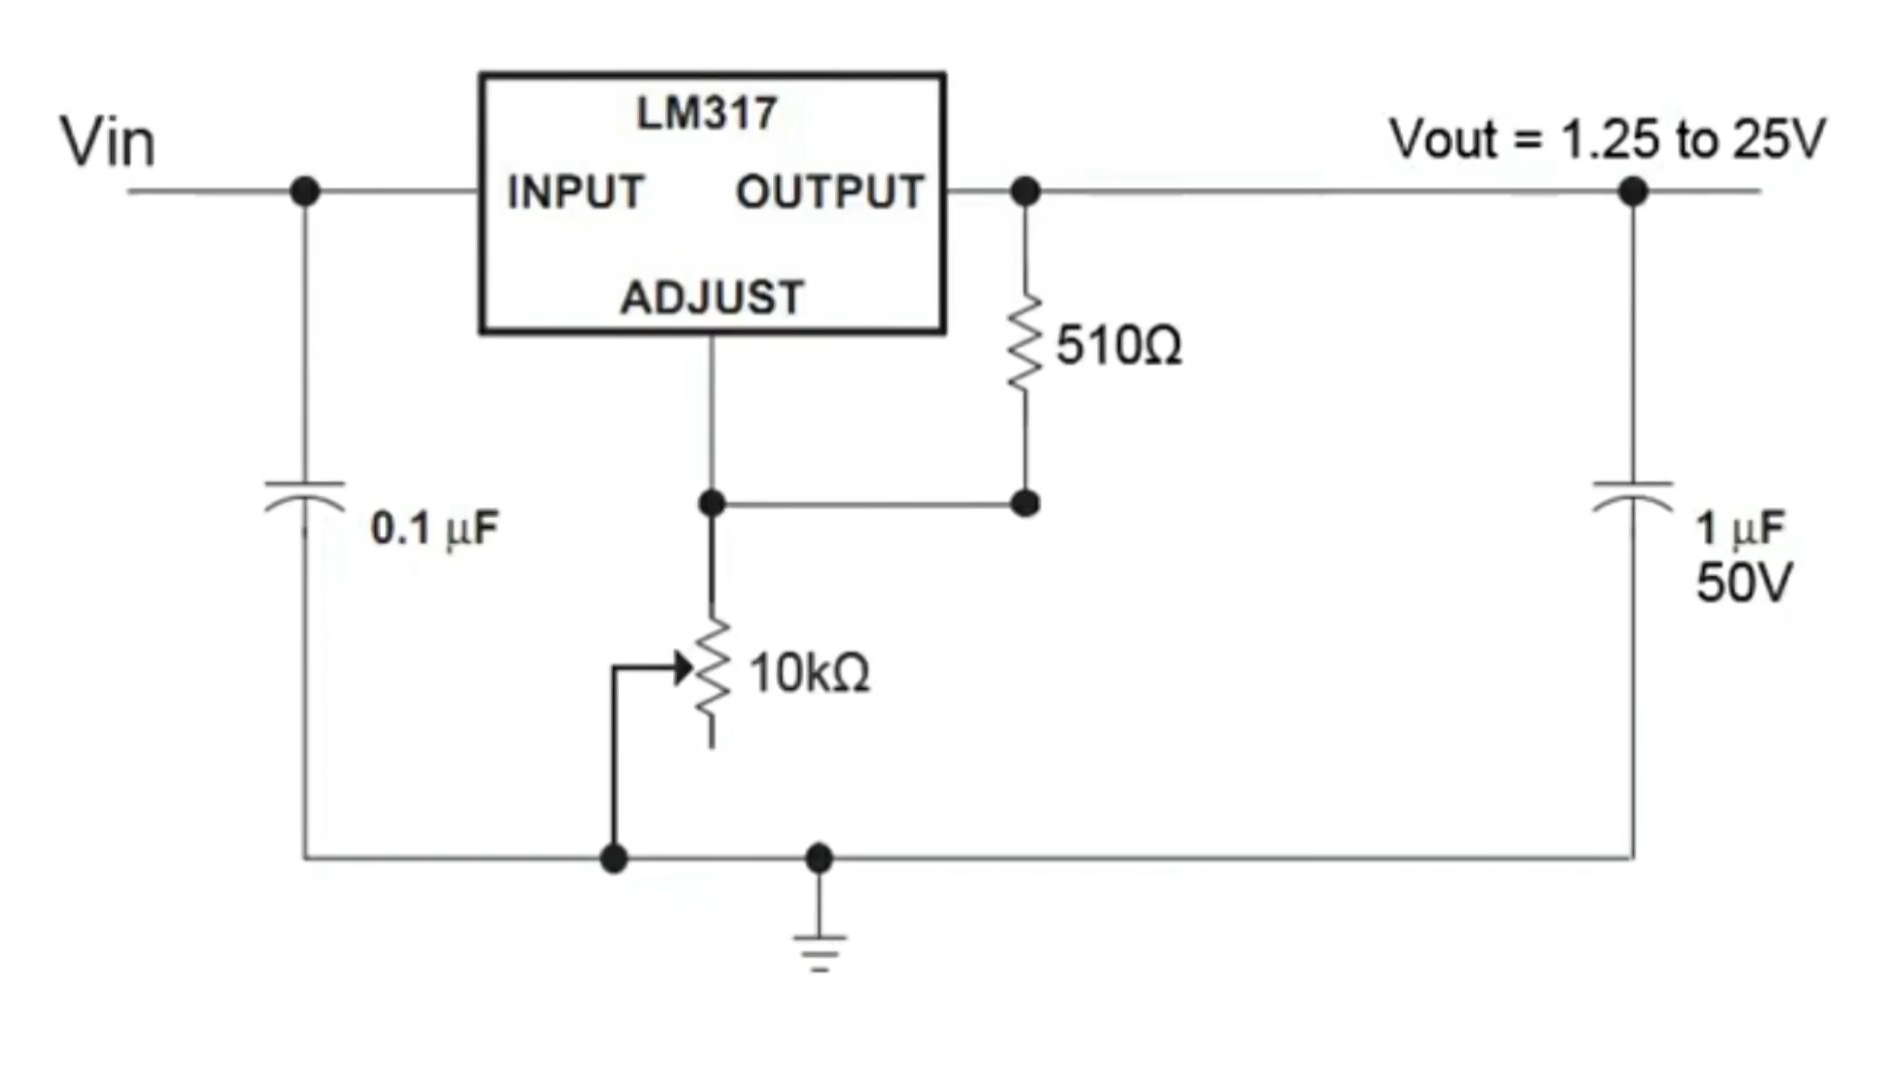
Lm317 provides variable output voltage which is depending upon the value of resistance is actually connected with it, so if it is a potentiometer then you can adjust the potentiometer and get variable Voltage, even you can get any fix Voltage as well by using a constant value resistor instead of potentiometer.
So let's start making a small lab bench power supply using LM317
Things You Need
.jpg)
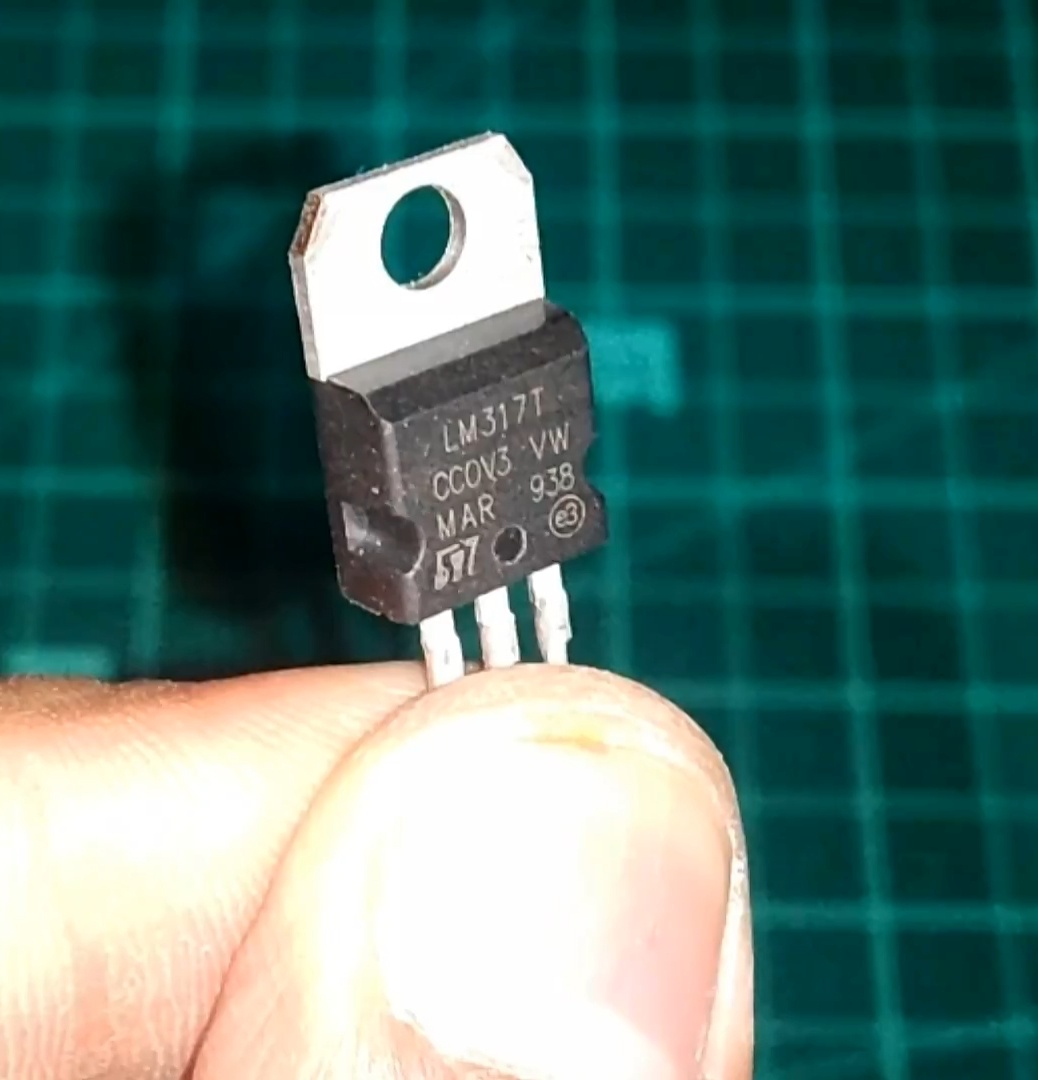
So for this project you will need following things :
1x LM317 ic : https://www.utsource.net/itm/p/1017254.html
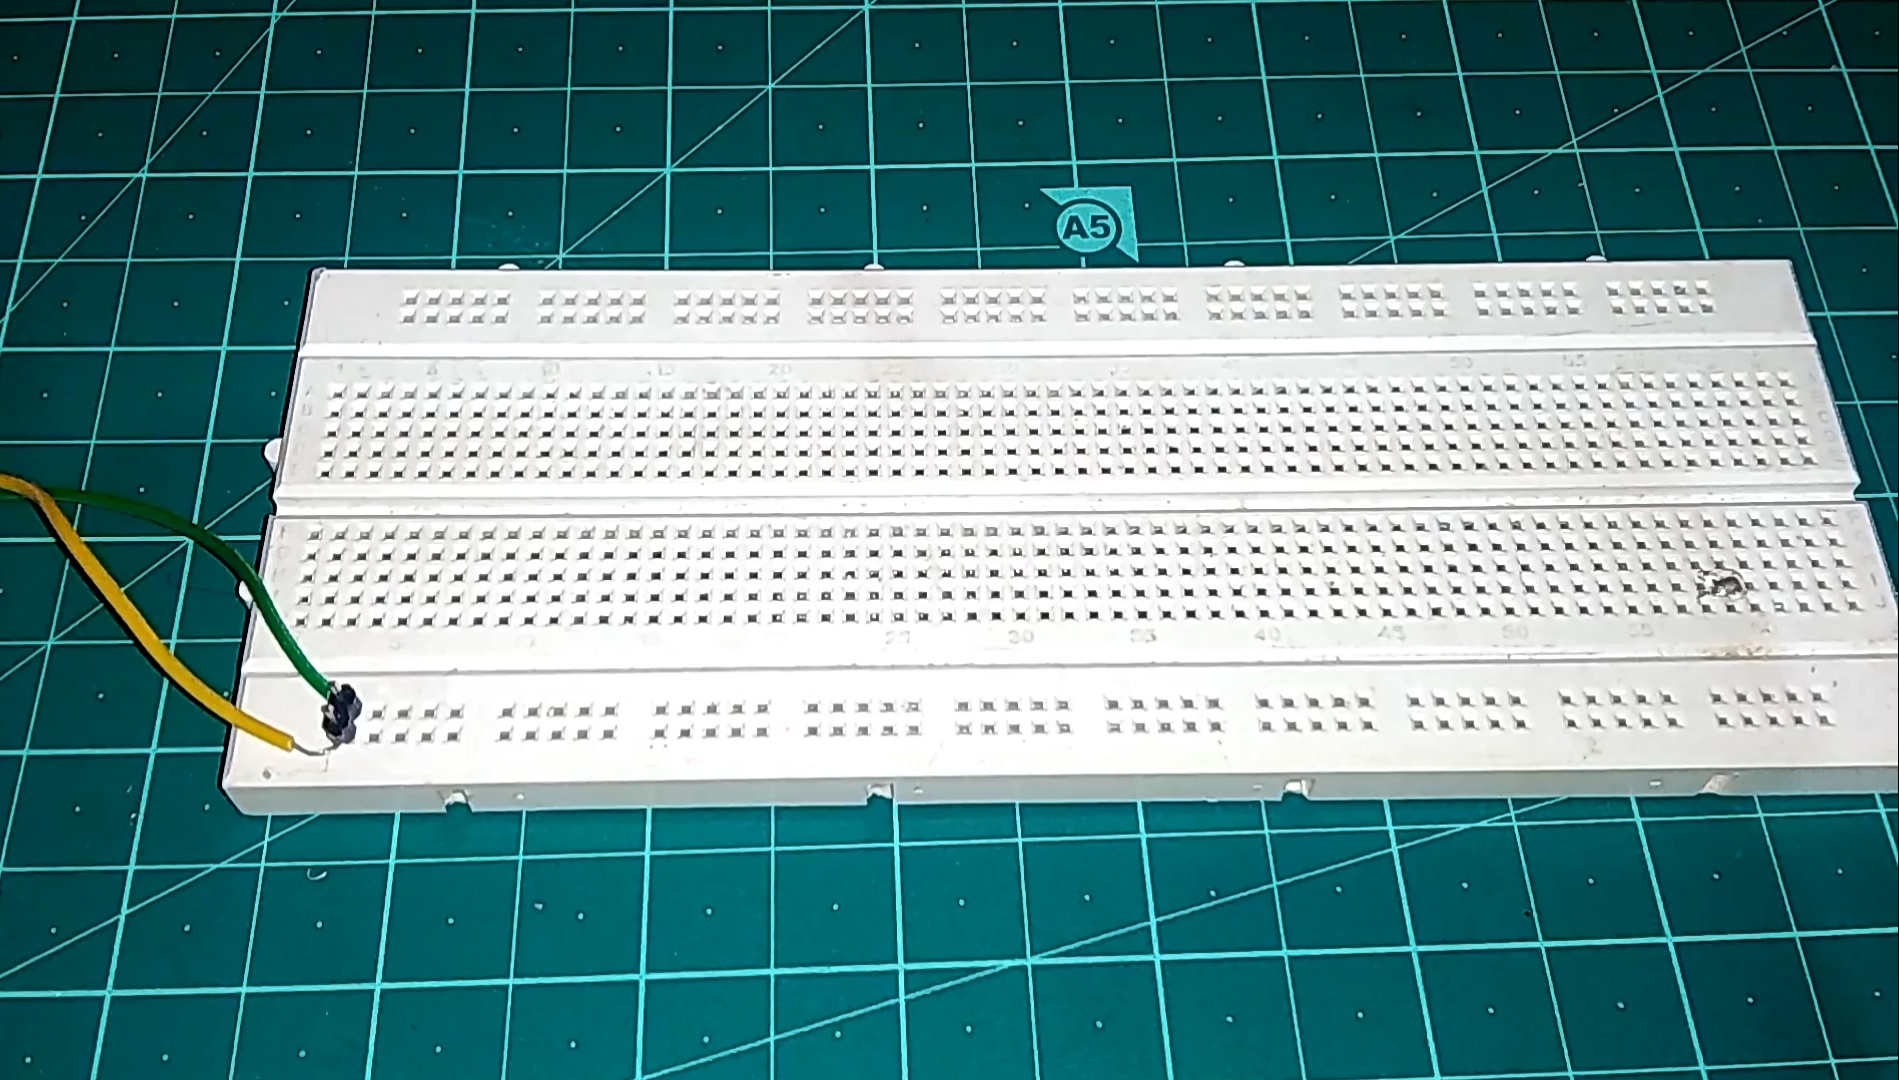
1x Breadboard : https://www.utsource.net/itm/p/8031572.html
1x 12v Power adapter/supply : https://www.utsource.net/itm/p/9221236.html
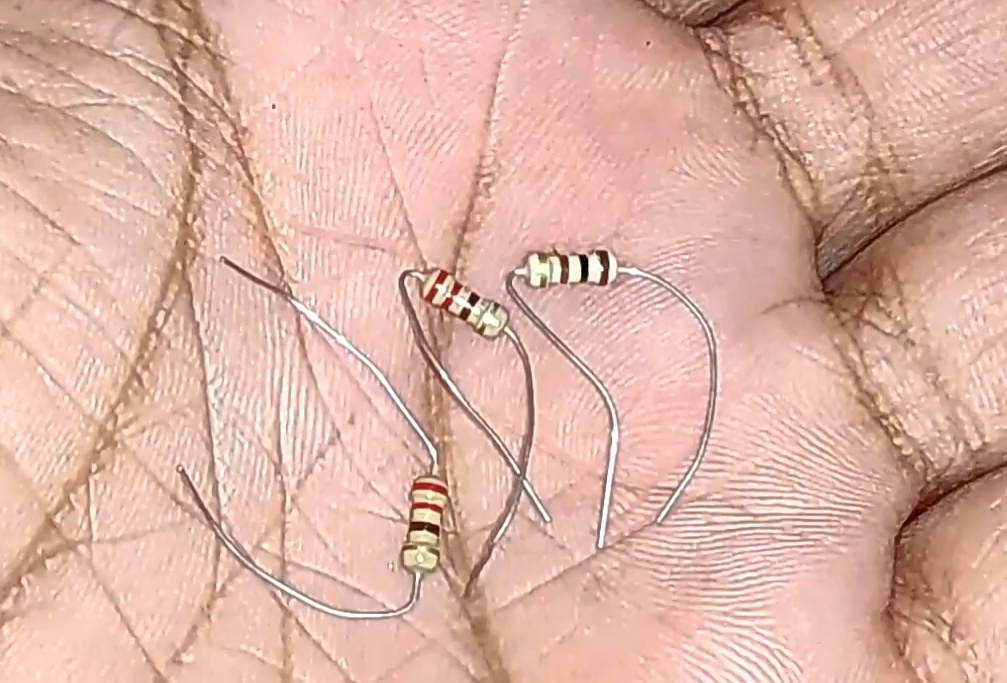
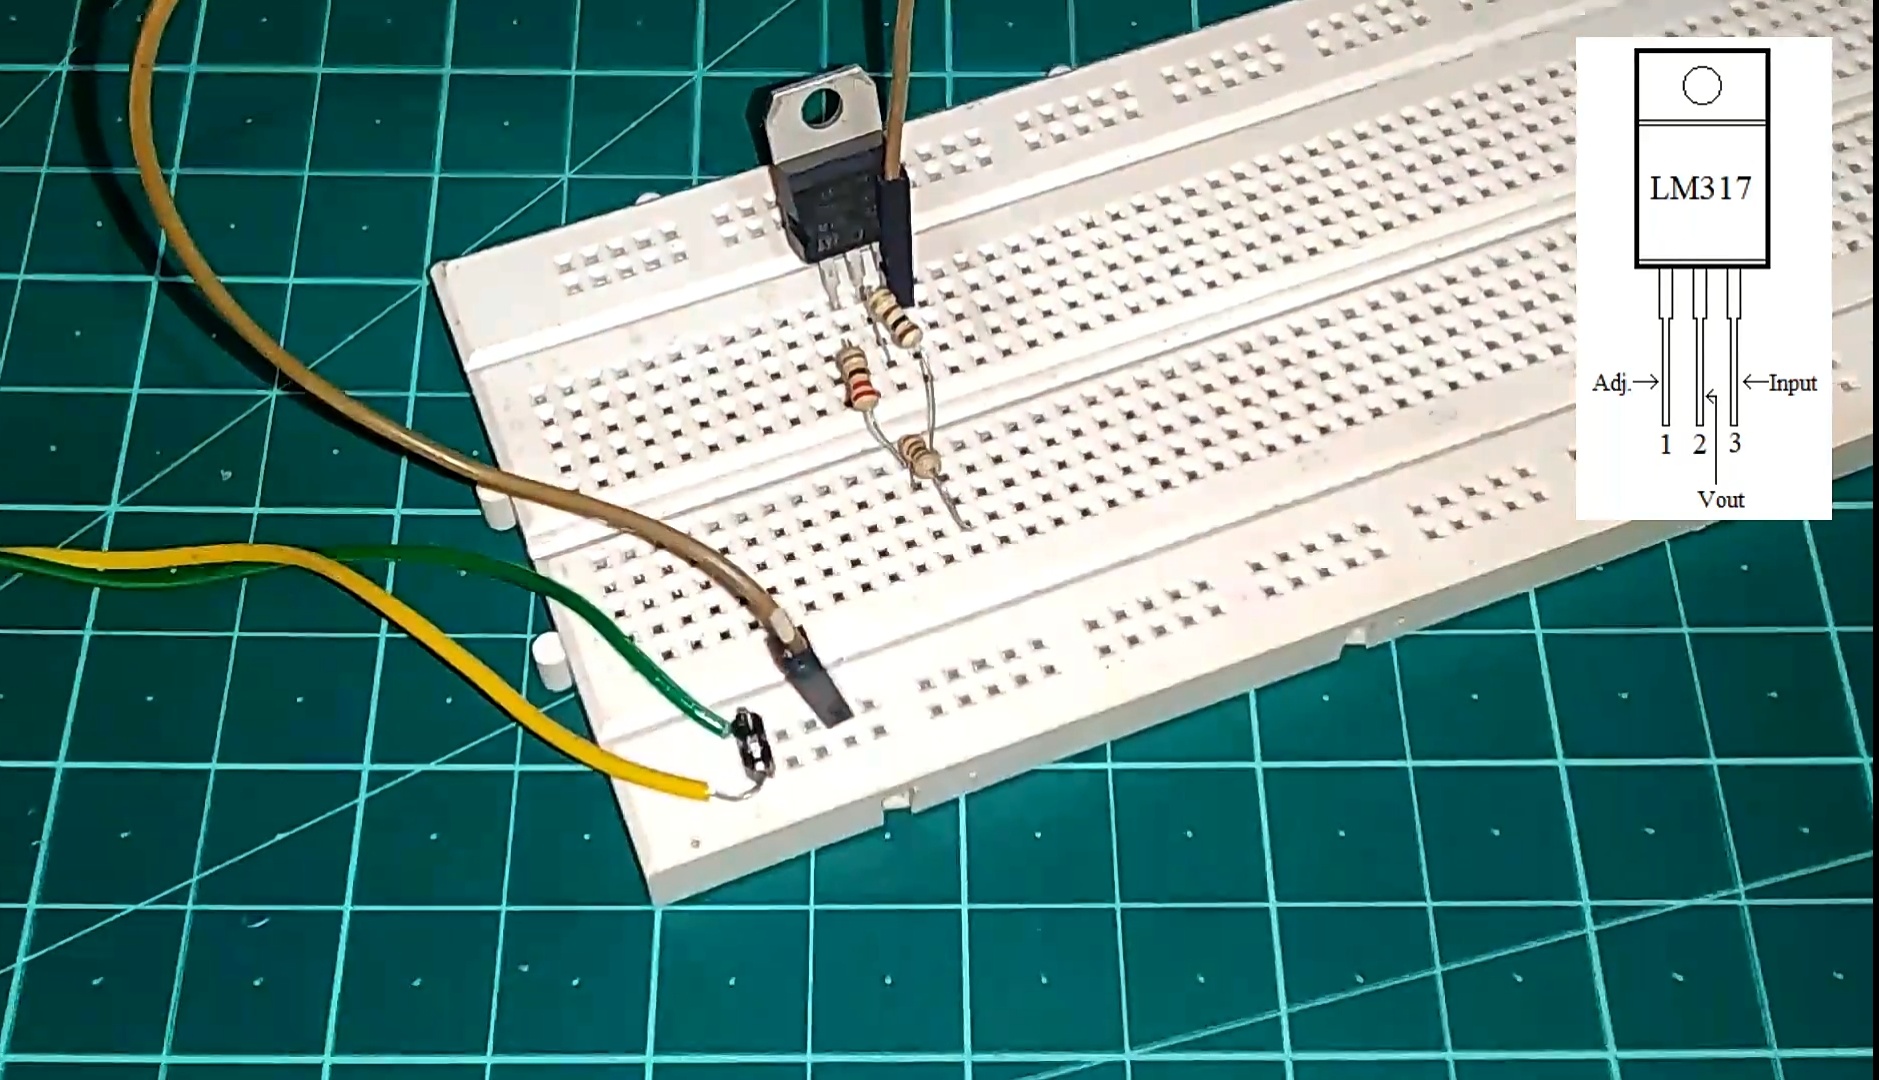
510 ohm Resistor or something equivalent to it ( i am using three resistor in series to make it 520ohm in total) :
https://www.utsource.net/sch/Resistor
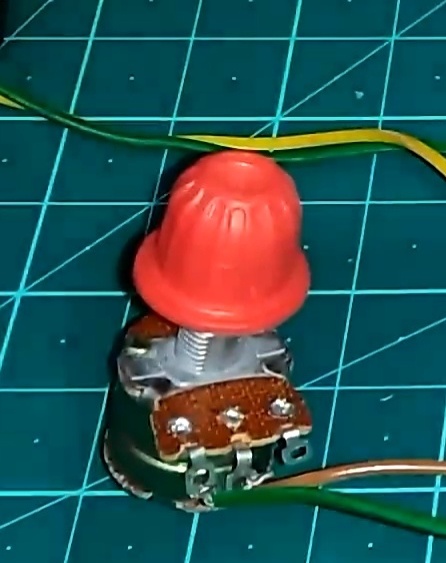
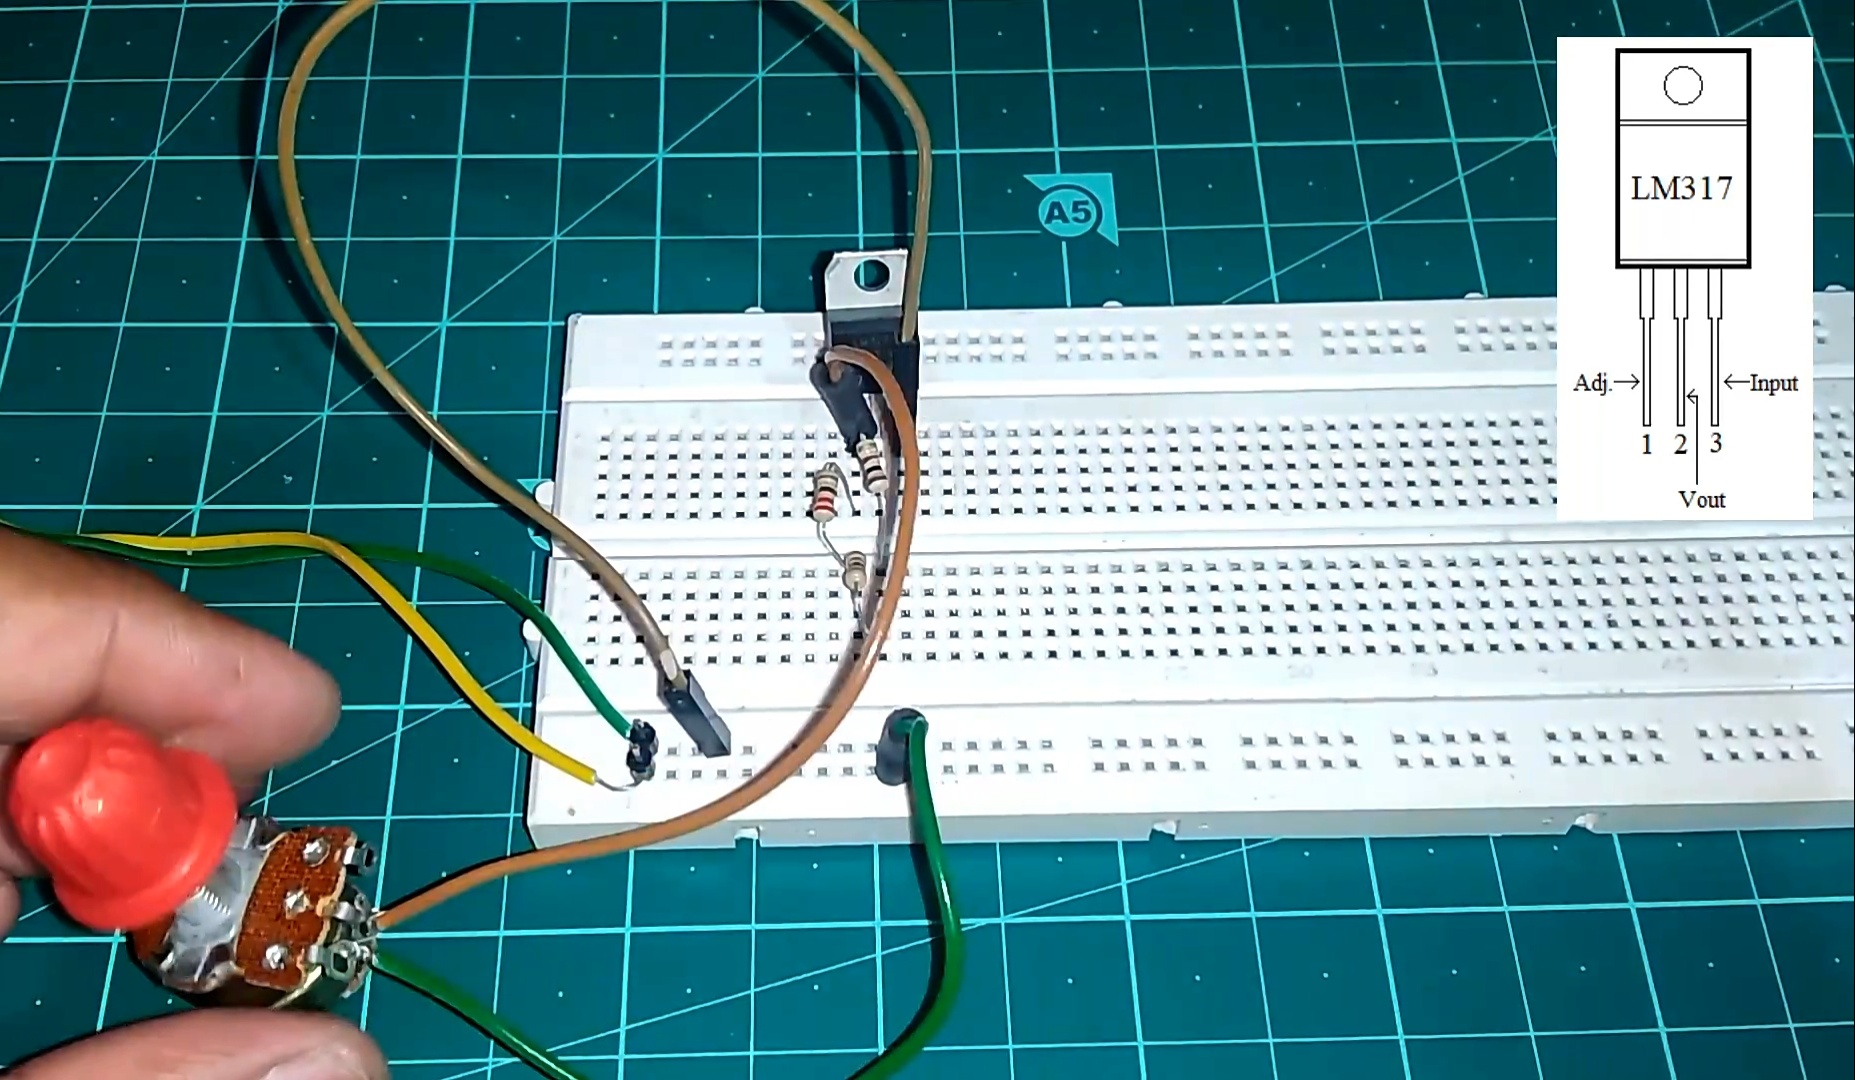
1x 10k potentiometer : https://www.utsource.net/itm/p/8038955.html
Few jumpers : https://www.utsource.net/itm/p/9221310.html
1x multipurpose PCB & tools to solder components on Pcb :
1x 0.1mF ceramic capacitor : https://www.utsource.net/itm/p/8036440.html
1x 1mF dyelectric capacitor : https://www.utsource.net/itm/p/8045304.html
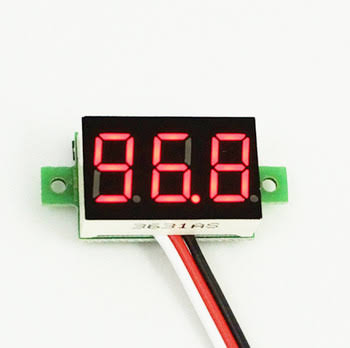
mini Voltmeter module : https://www.utsource.net/itm/p/8288401.html
Put Lm317 on Breadboard
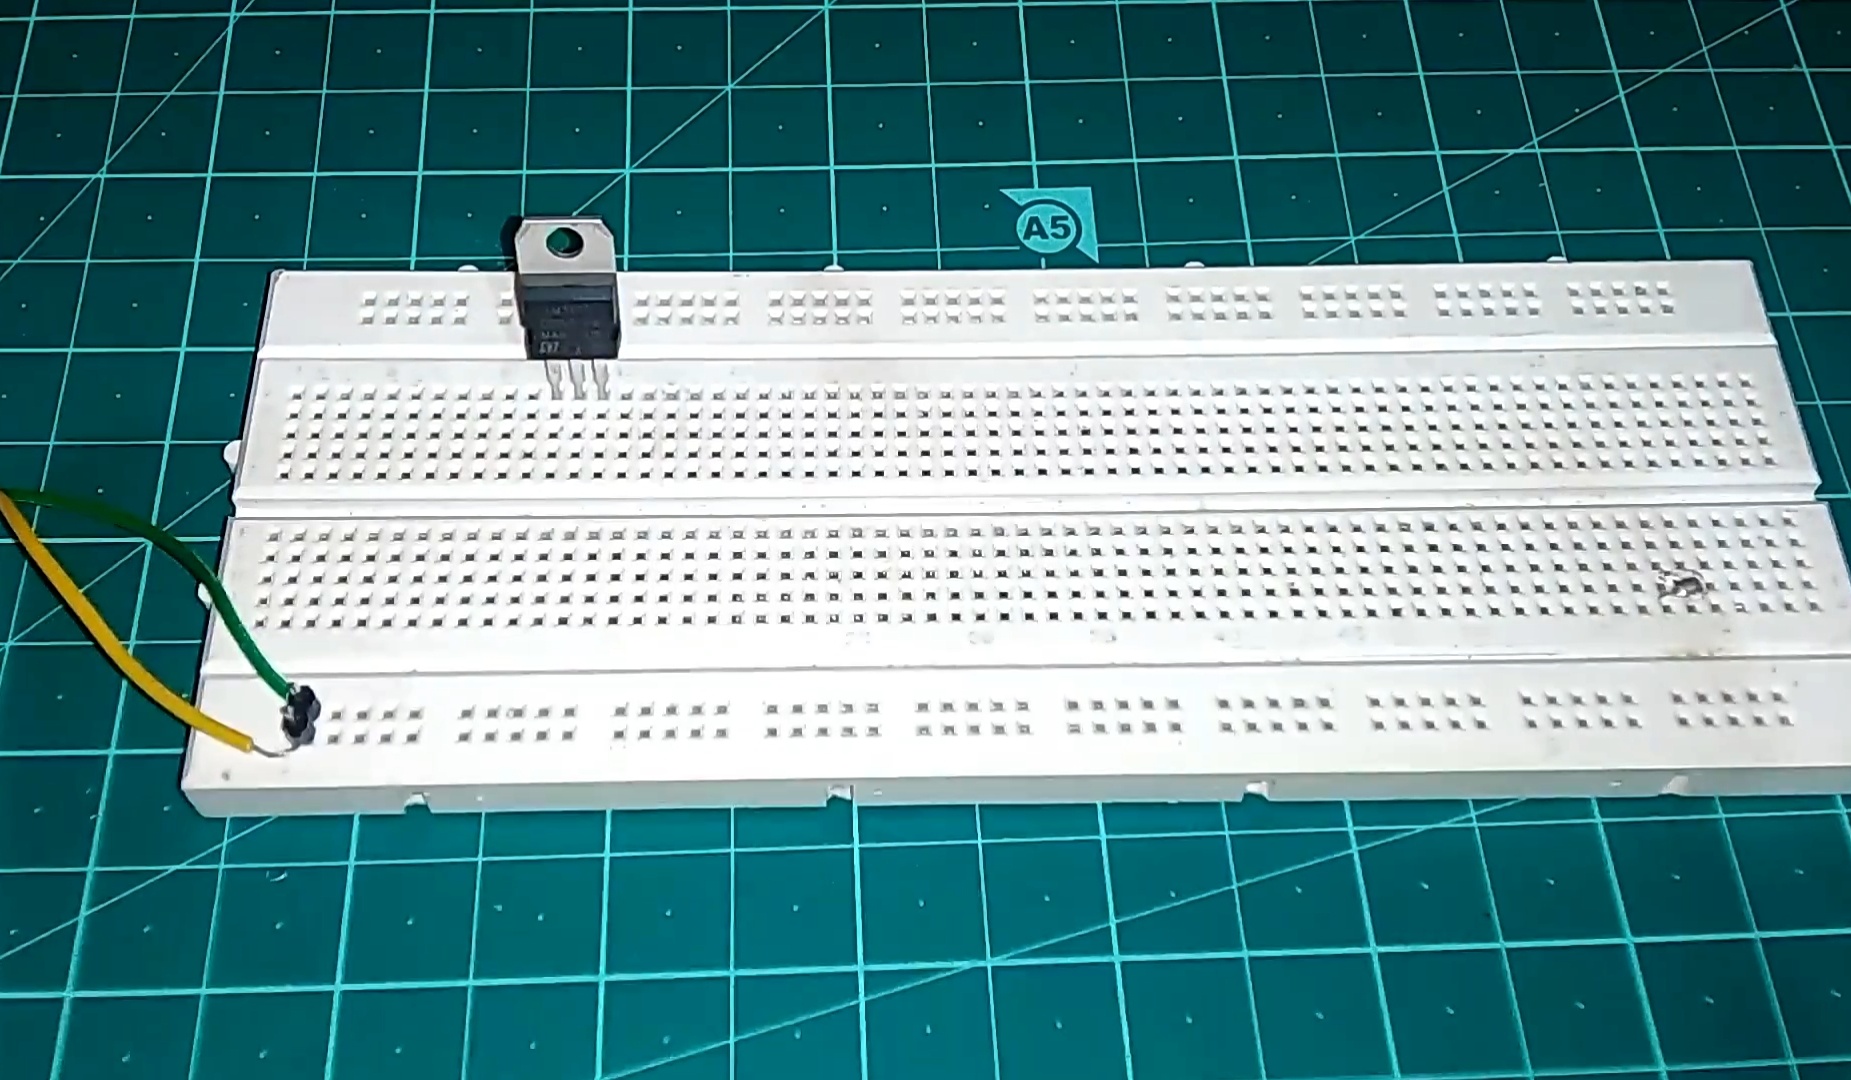
Put LM317 on the Breadboard and connect the power to the power rails of Breadboard, for me the green wire is +12v & yellow wire is GND.
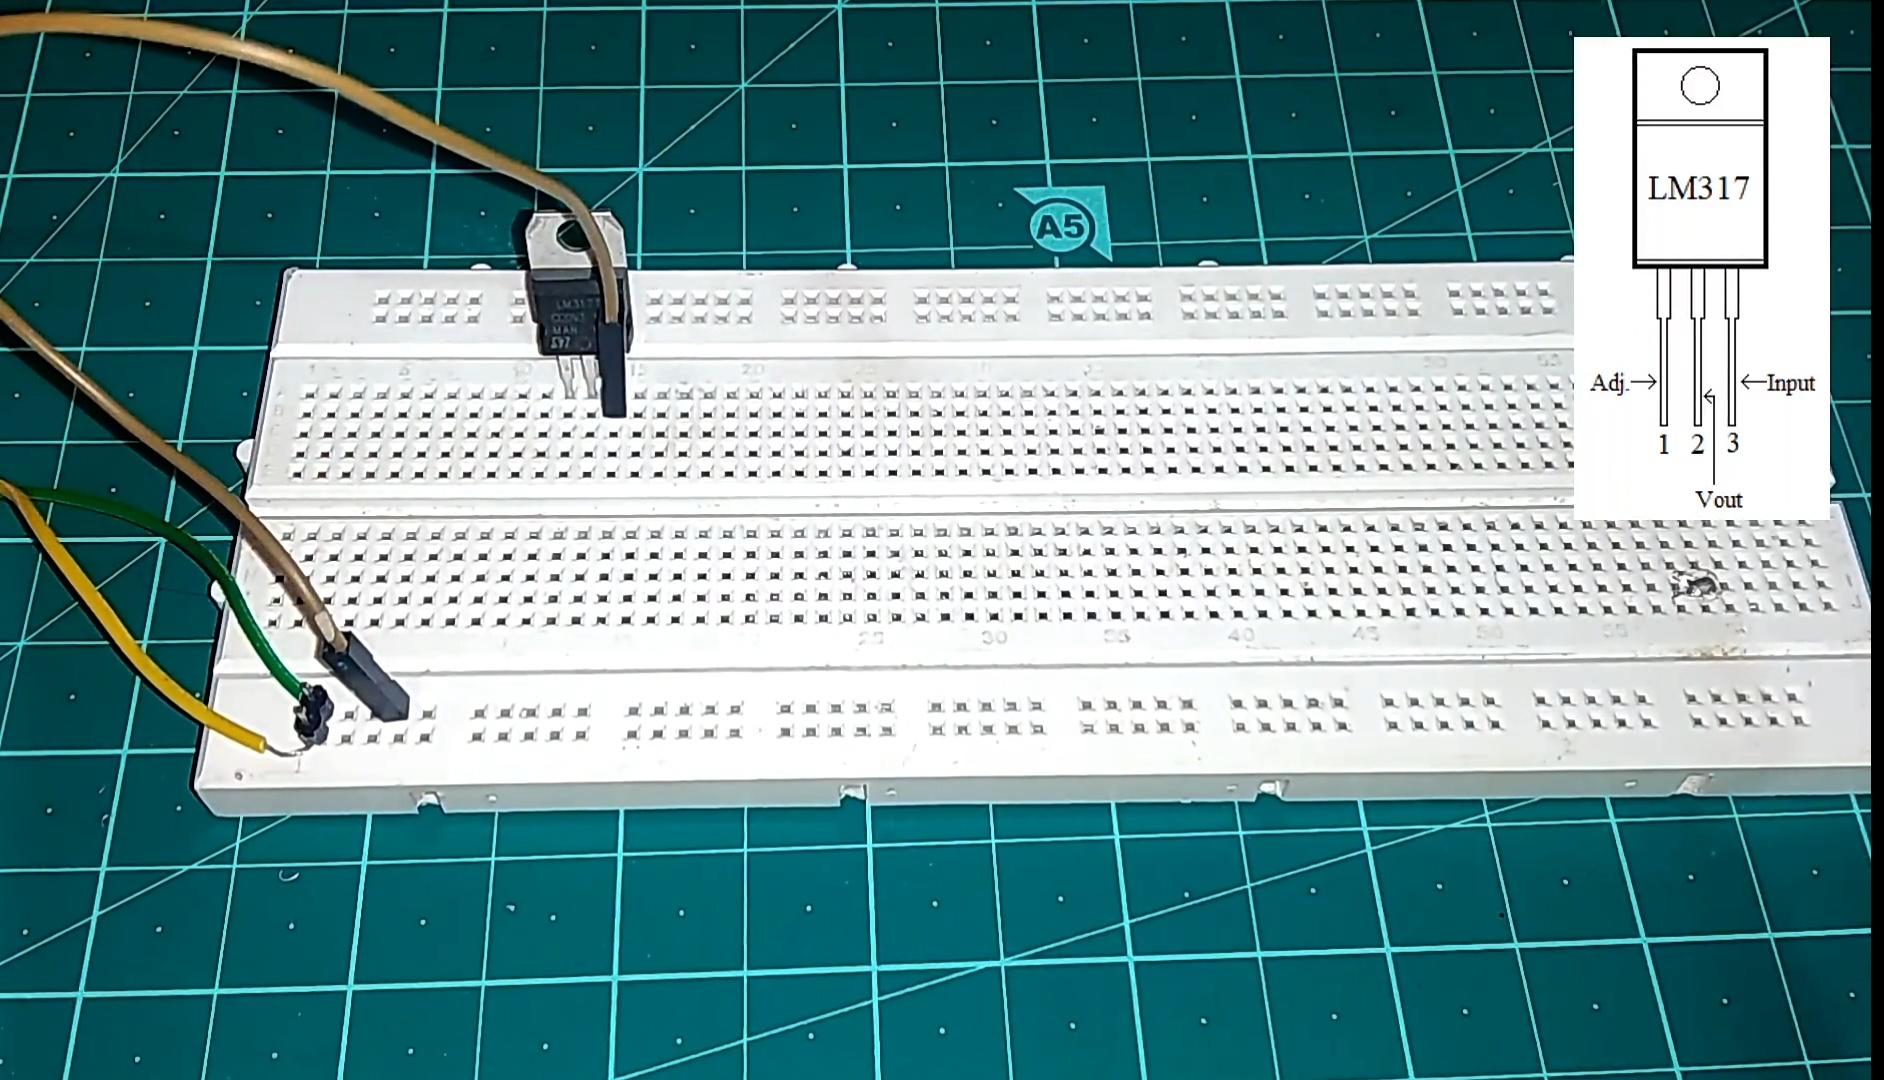
Connect Input to LM317
Connect Resistor
Connect Potentiometer
Connect 0.1uF Cap
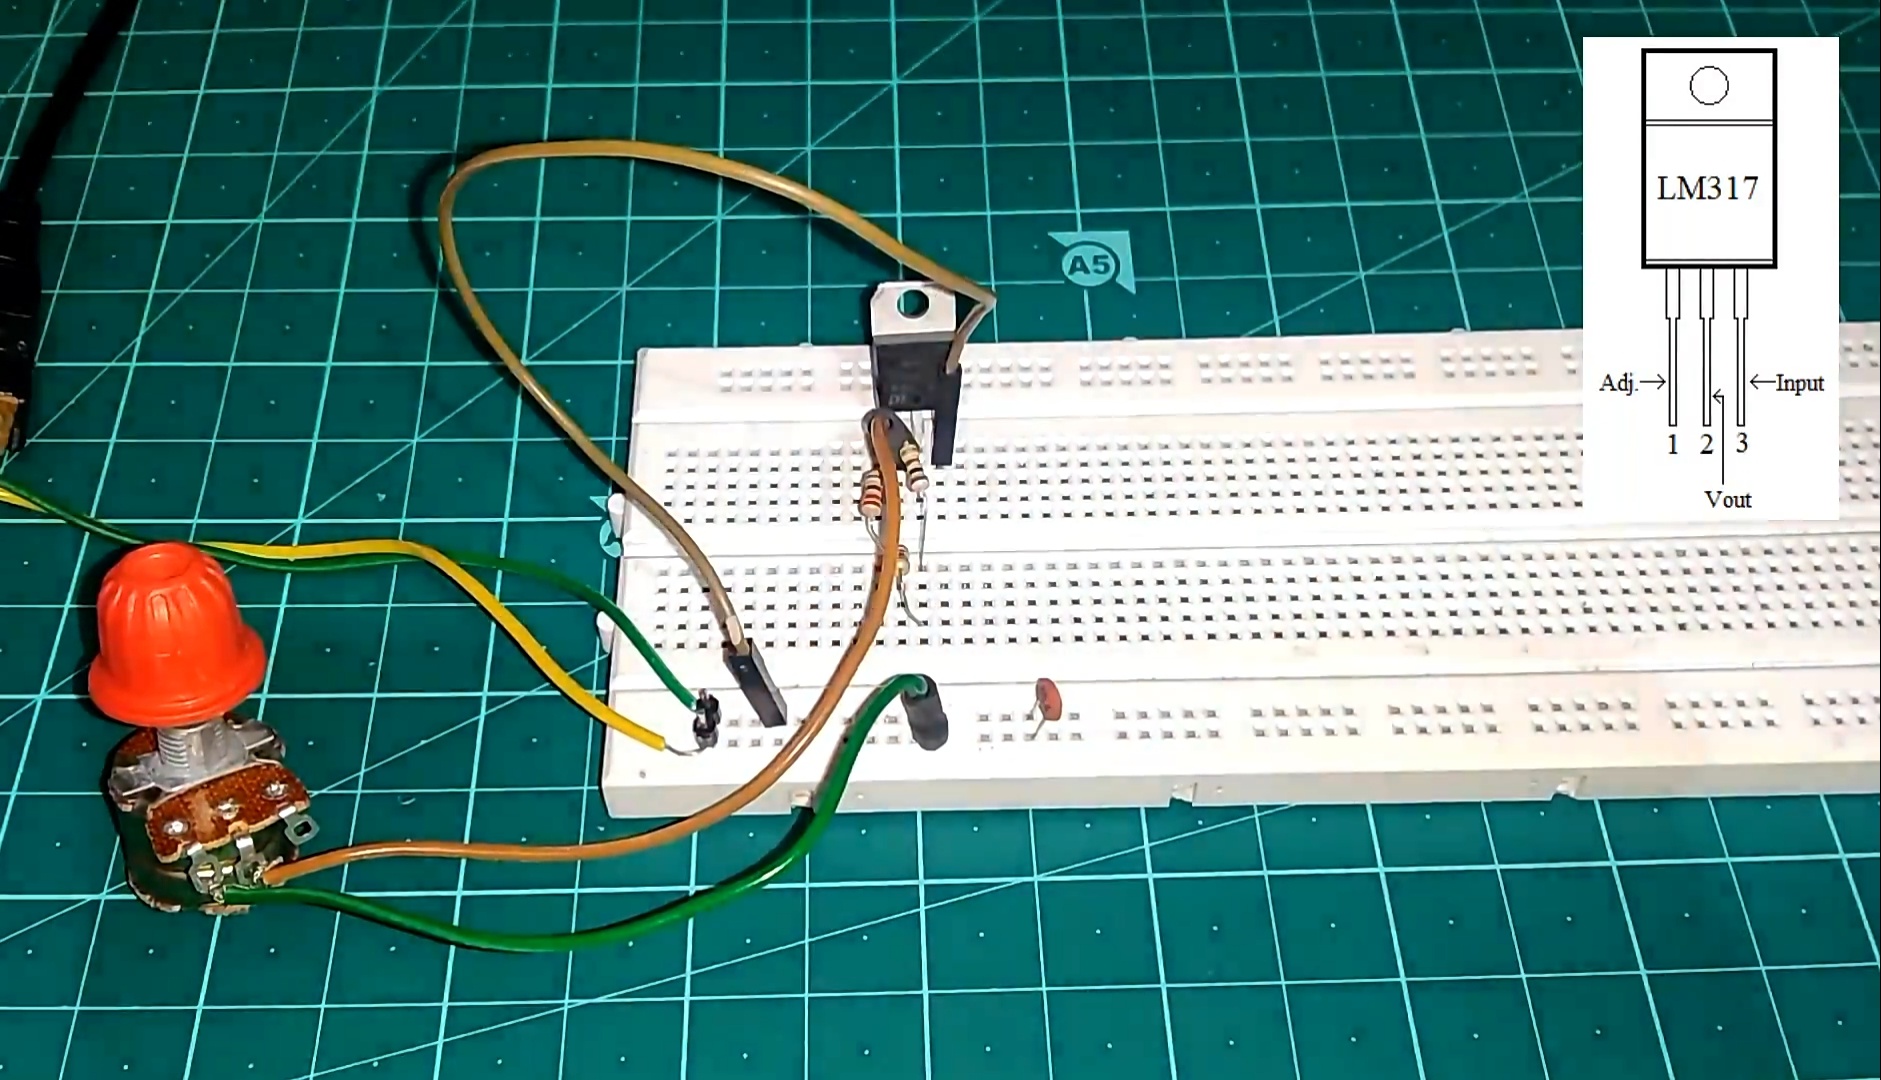
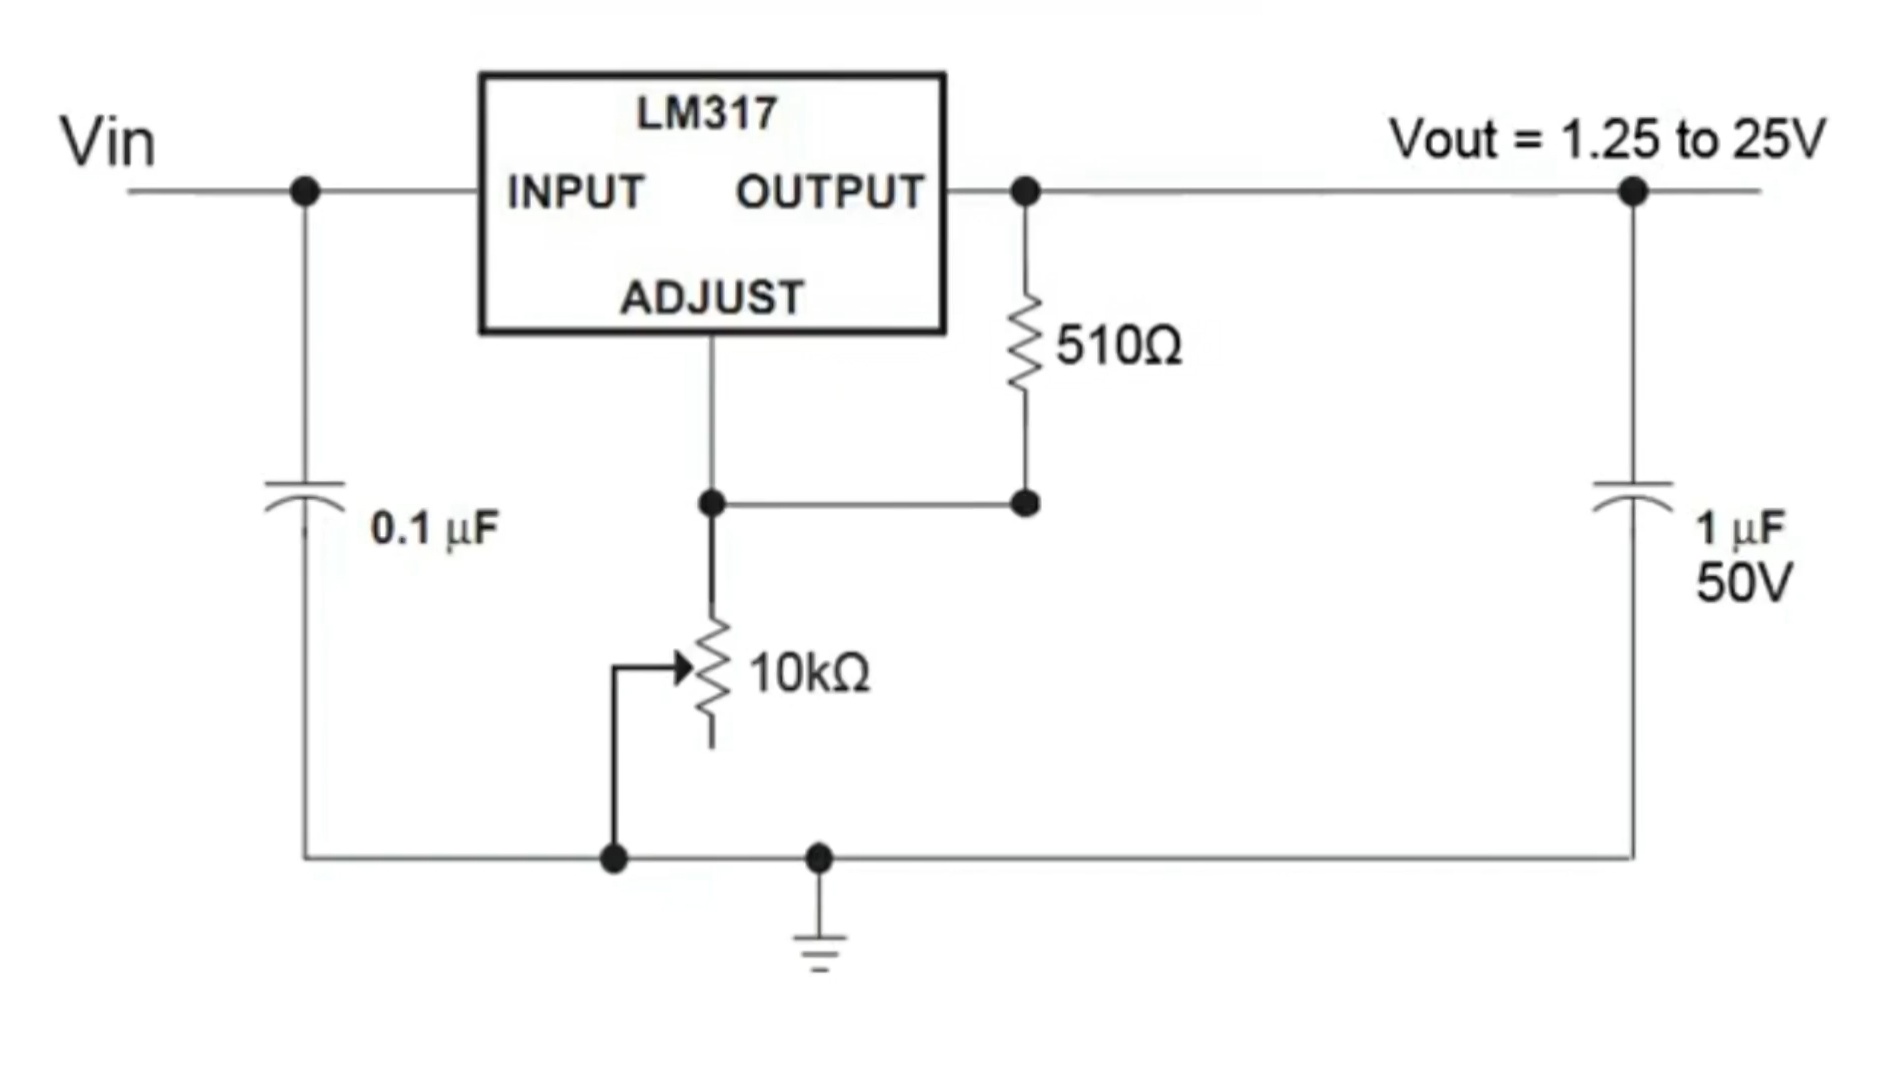
Note: capacitor is very important please don't miss it.
Add 1uF CAP
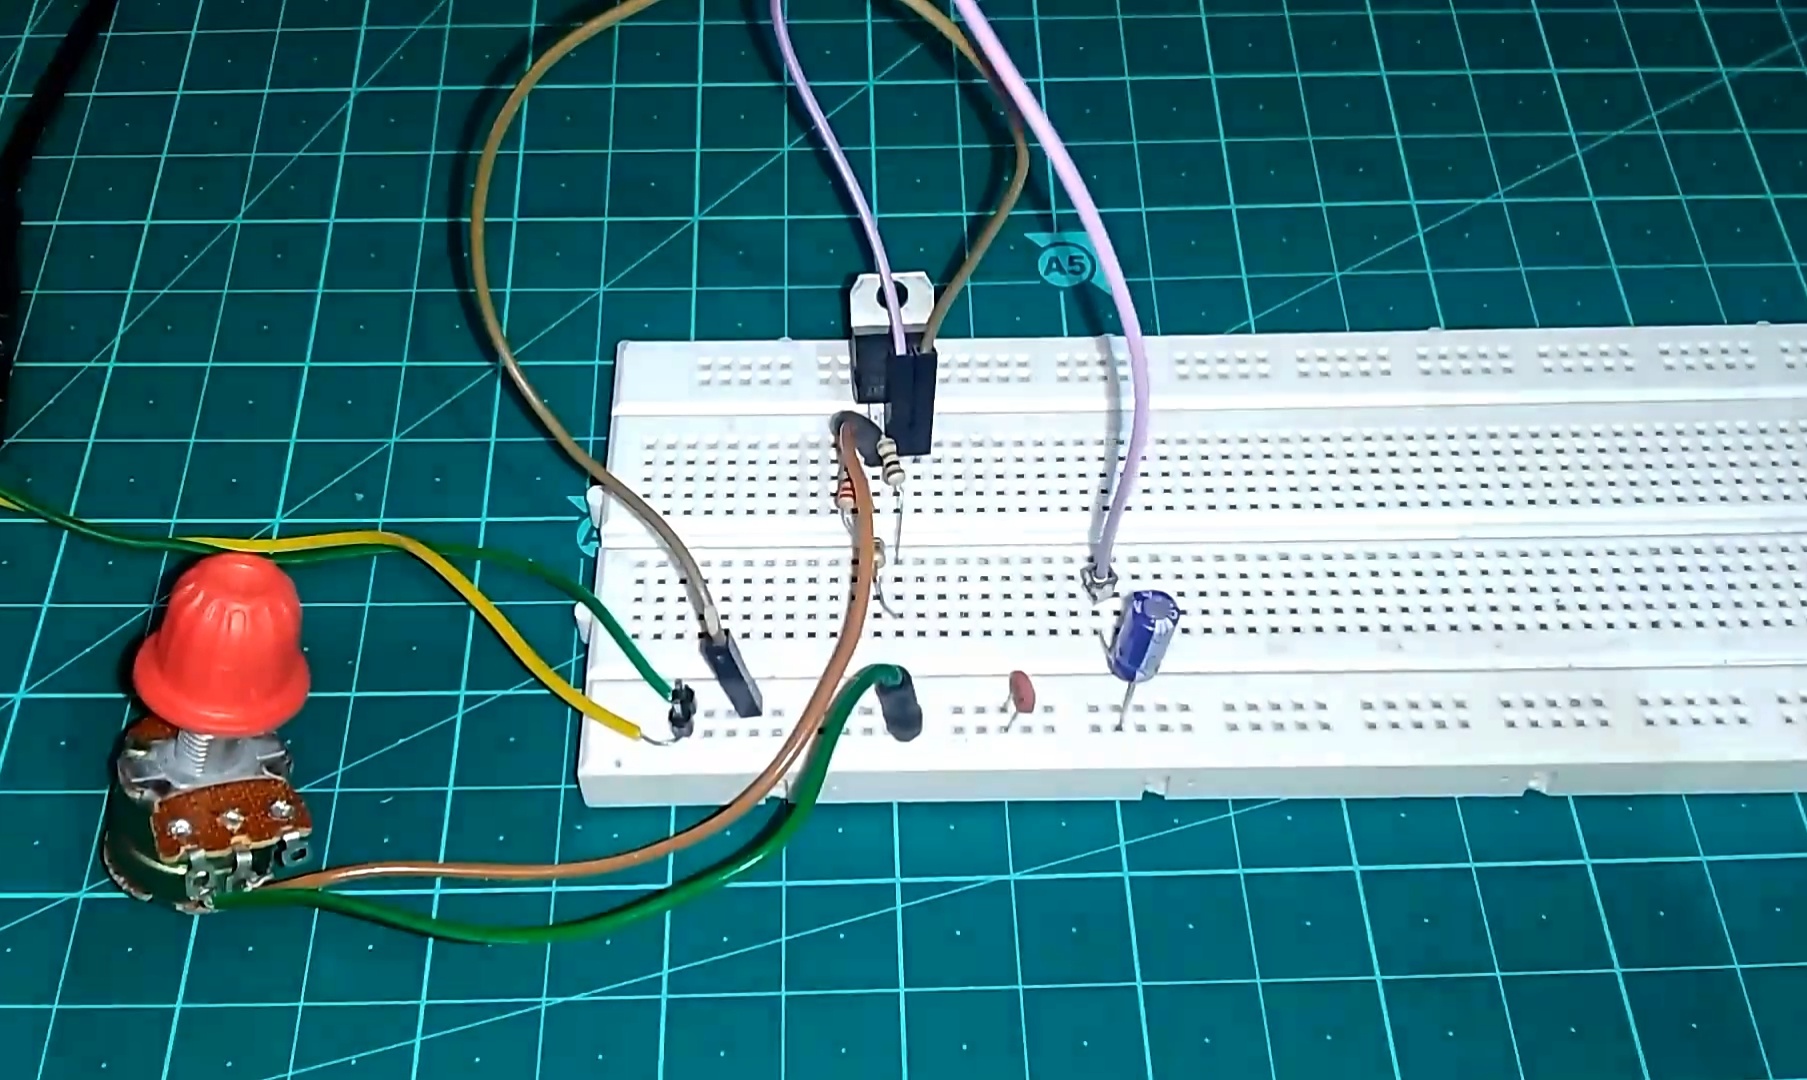
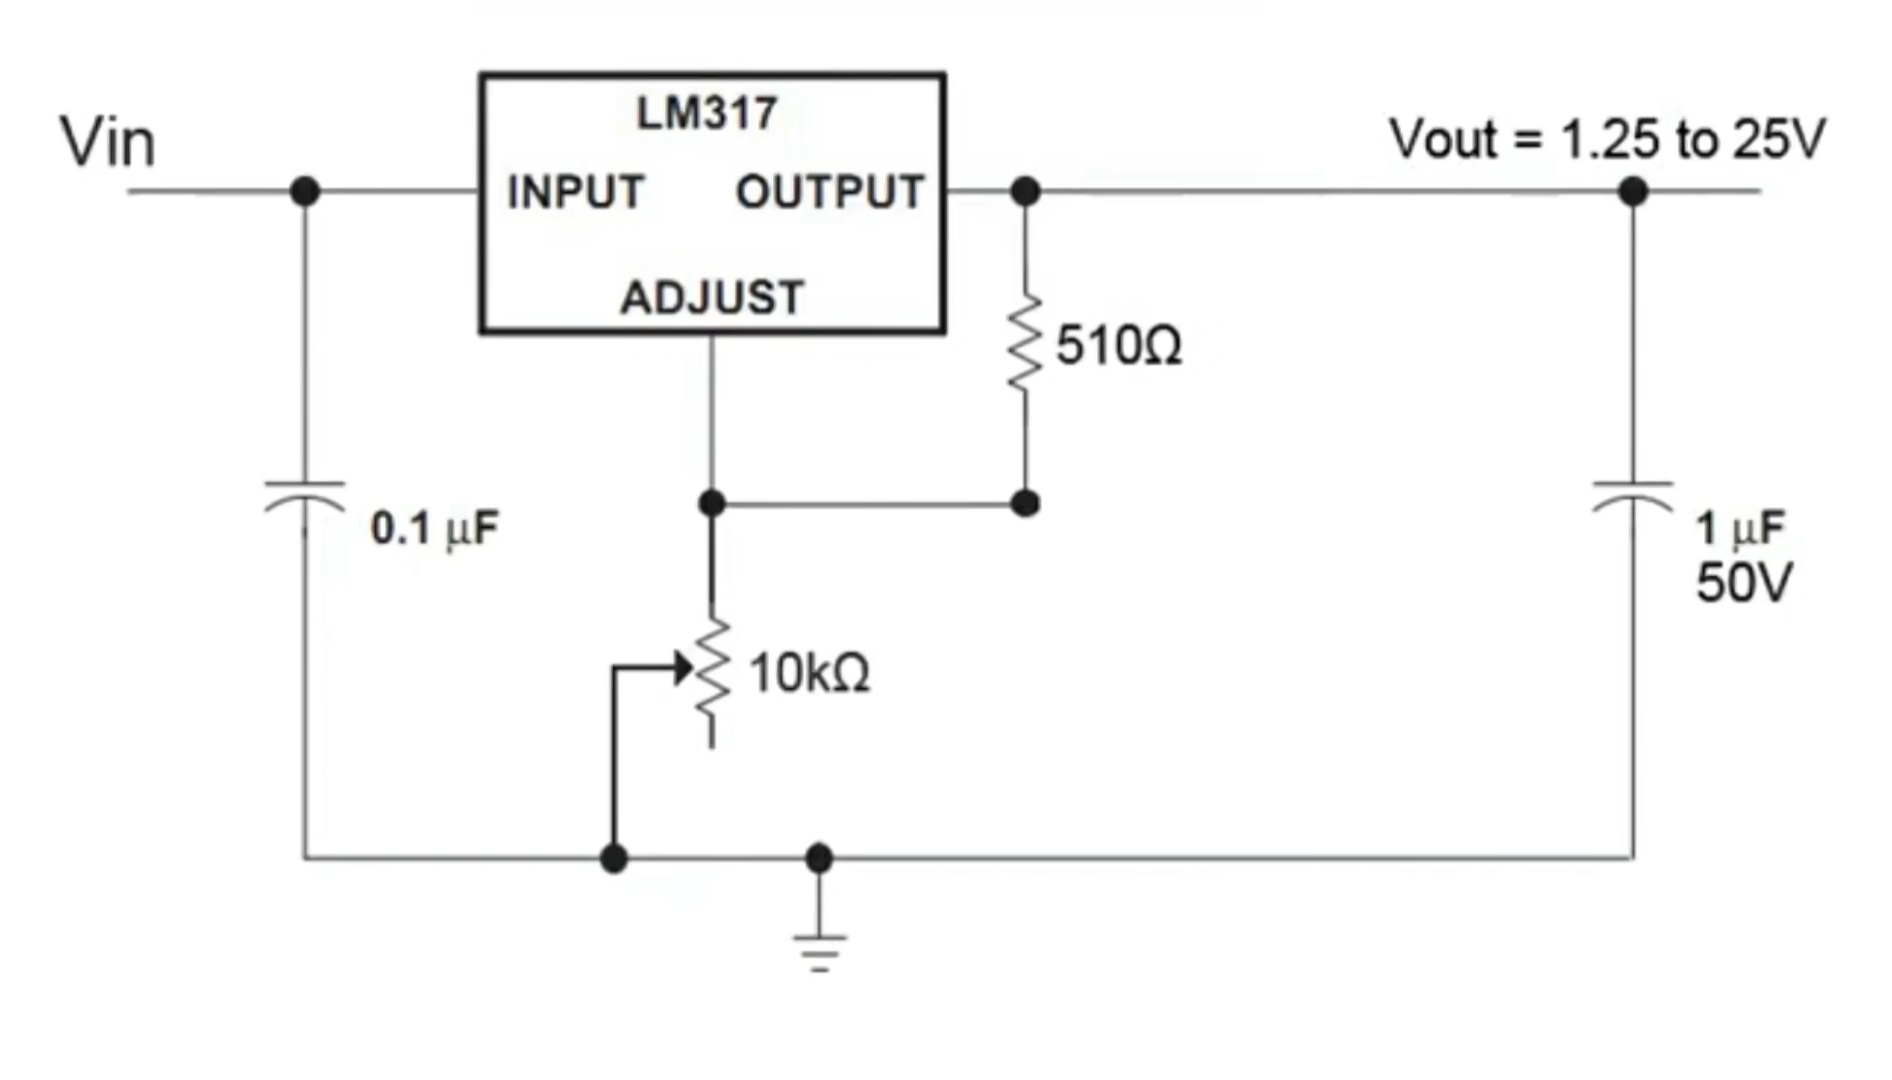
Getting Output
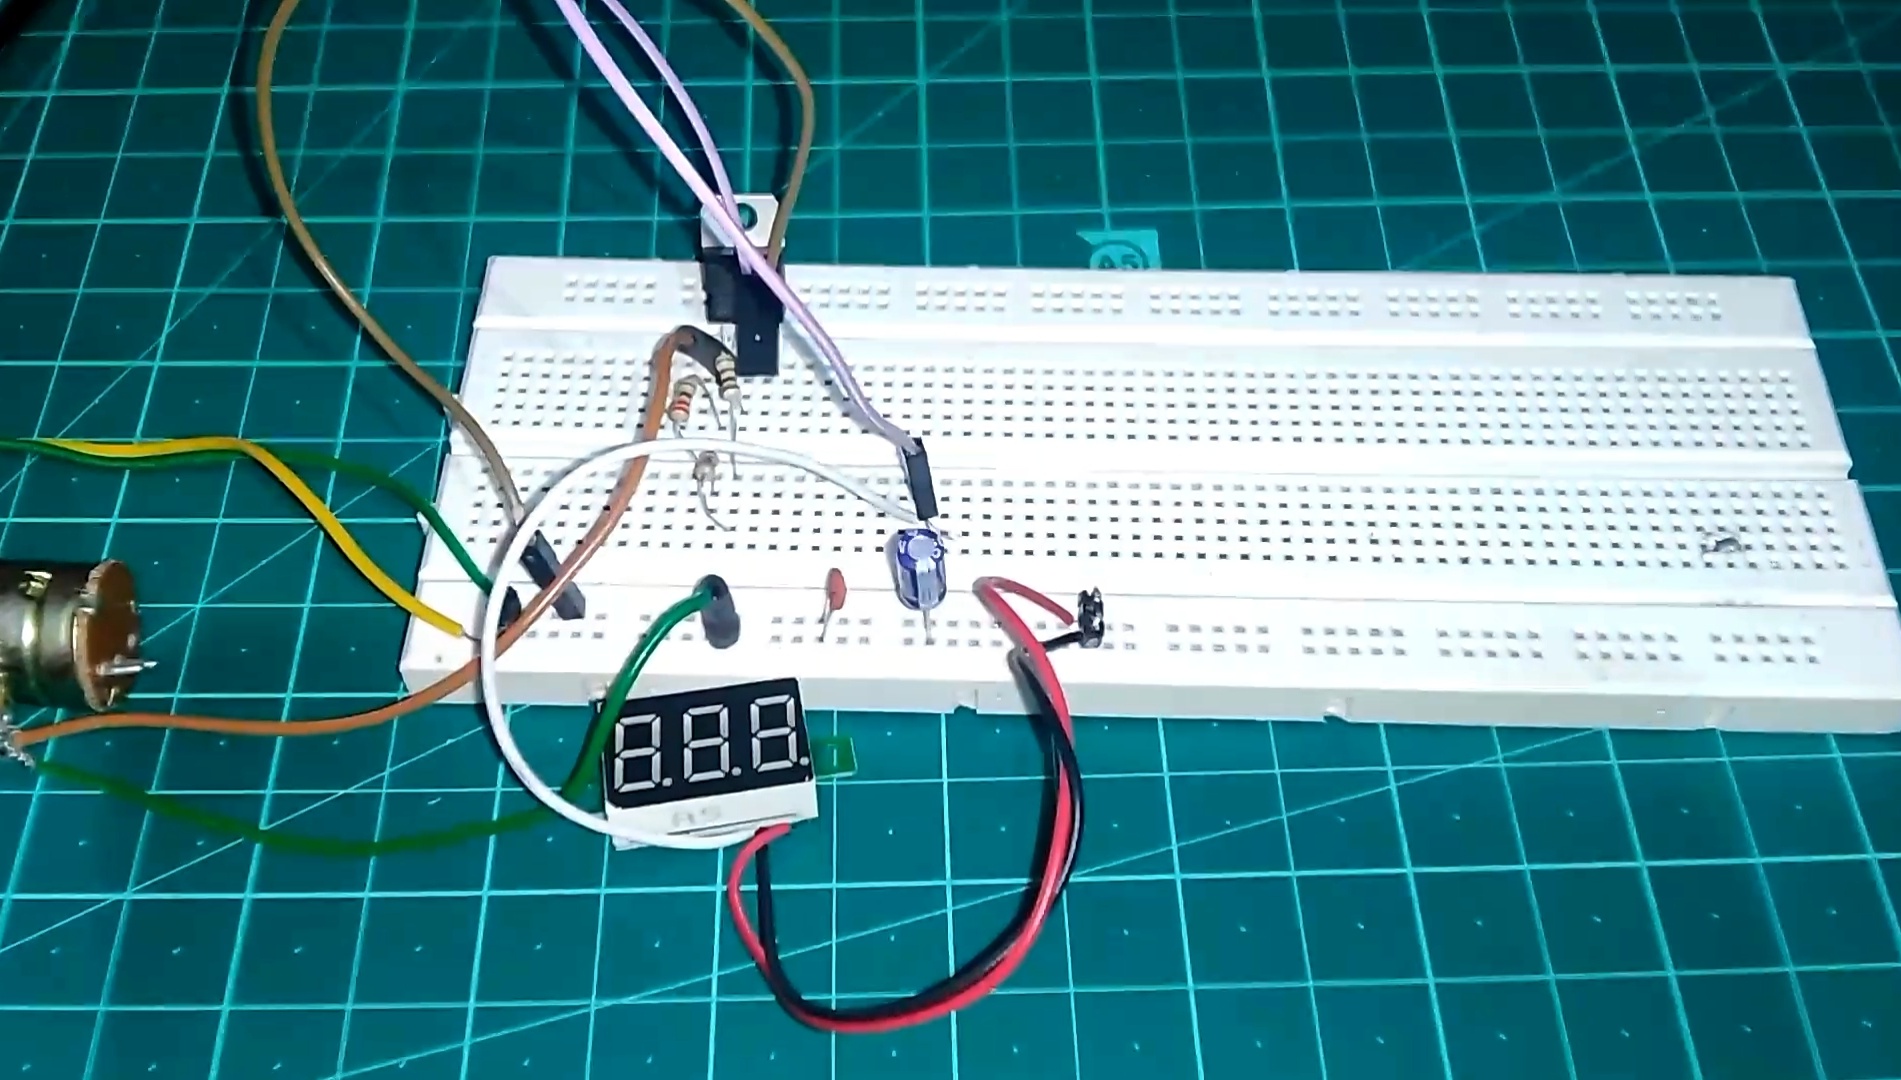
+Ve wires can be connected to pin 2 of lm317 ( out pin )
&
-ve (gnd) wire can be directly connected to gnd of the supply we are using.
So +ve & -ve wires we got , which are our variable Voltage output and when we regulate the potentiometer the output voltage will change according to that.
Add a Mini Voltmeter
.jpg)
So in this voltmeter there are three wires only ,
One is Vcc/+ve for power so connect to +ve of power supply
Other one is Gnd/-ve for providing gnd to voltmeter so connect it to gnd.
And please check the power requirements of your mini voltmeter before connecting, the one i had will work with 12 v .
And the other remaining wire is for sensing the voltage level so that wire will be connected to out (pin 2 on lm317) .
And some mini voltmeter even come with two wires so in that case you can skip the Vcc wire so it will have only gnd wire and sensing wire so connect those two only.
Check the Output
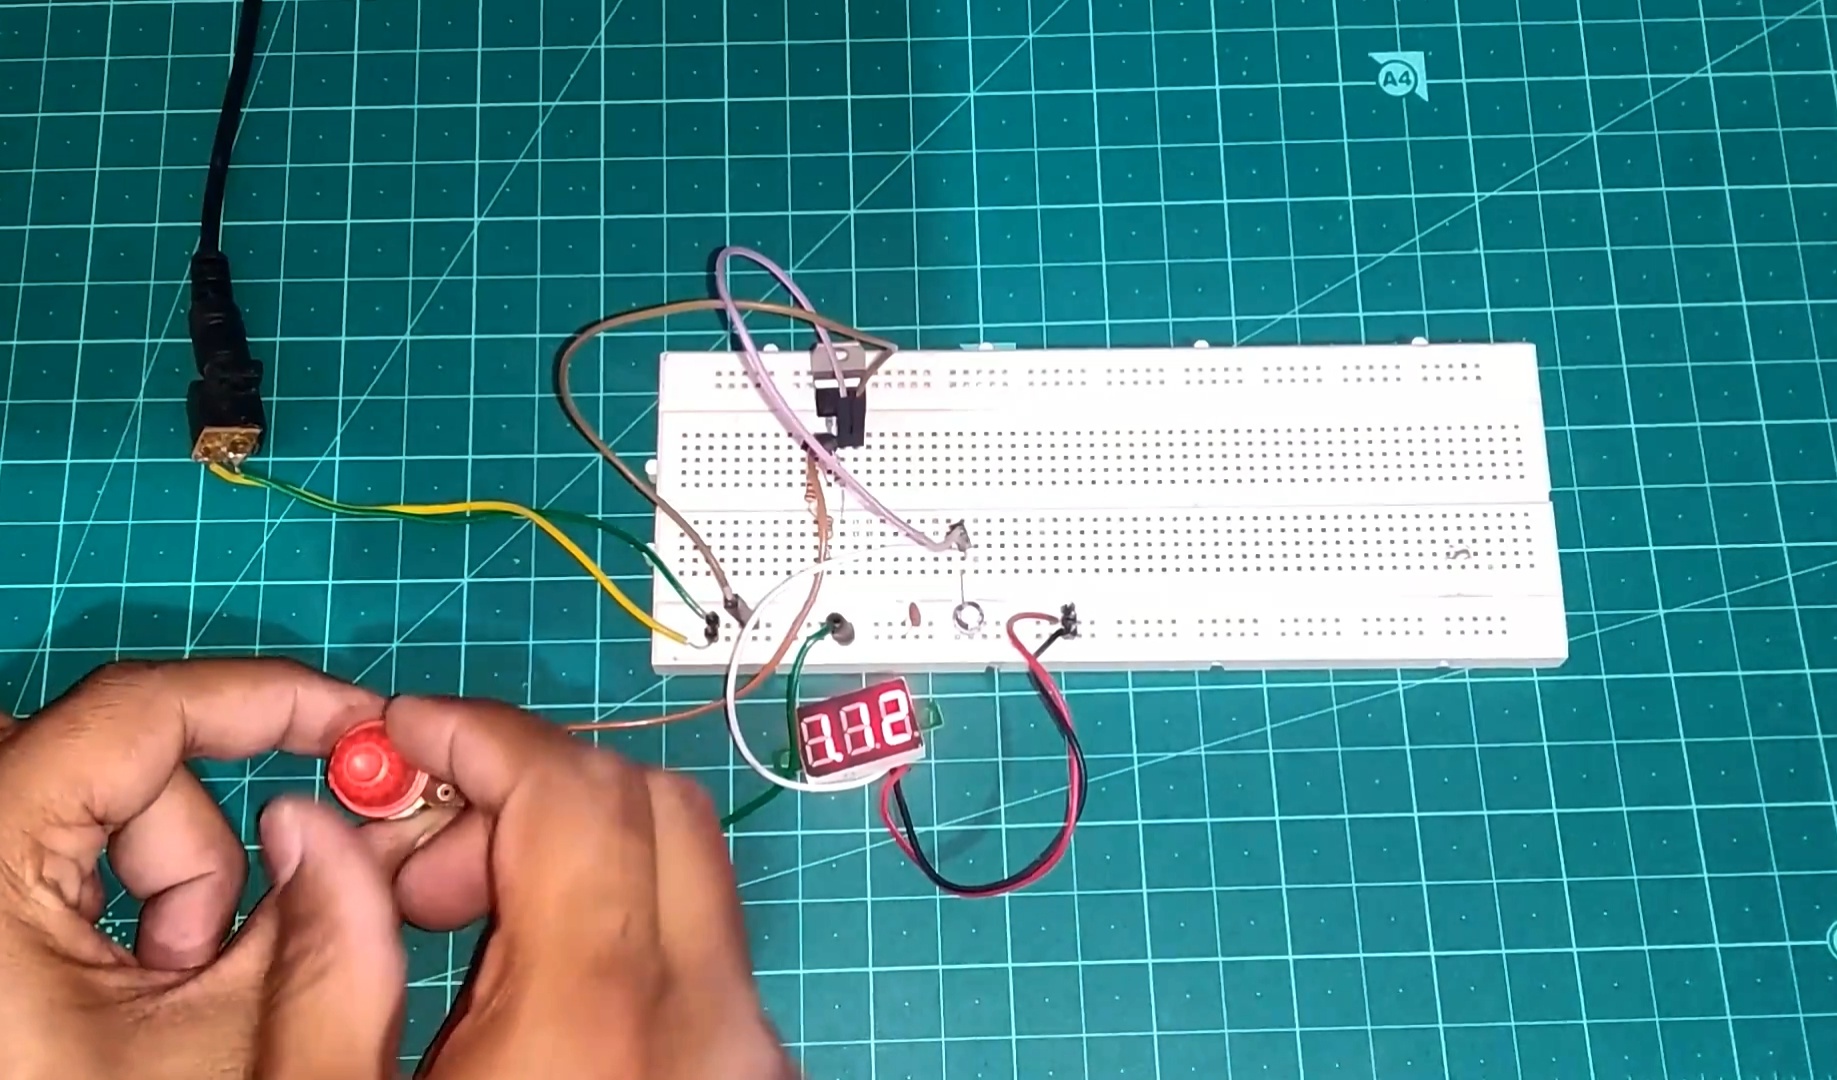
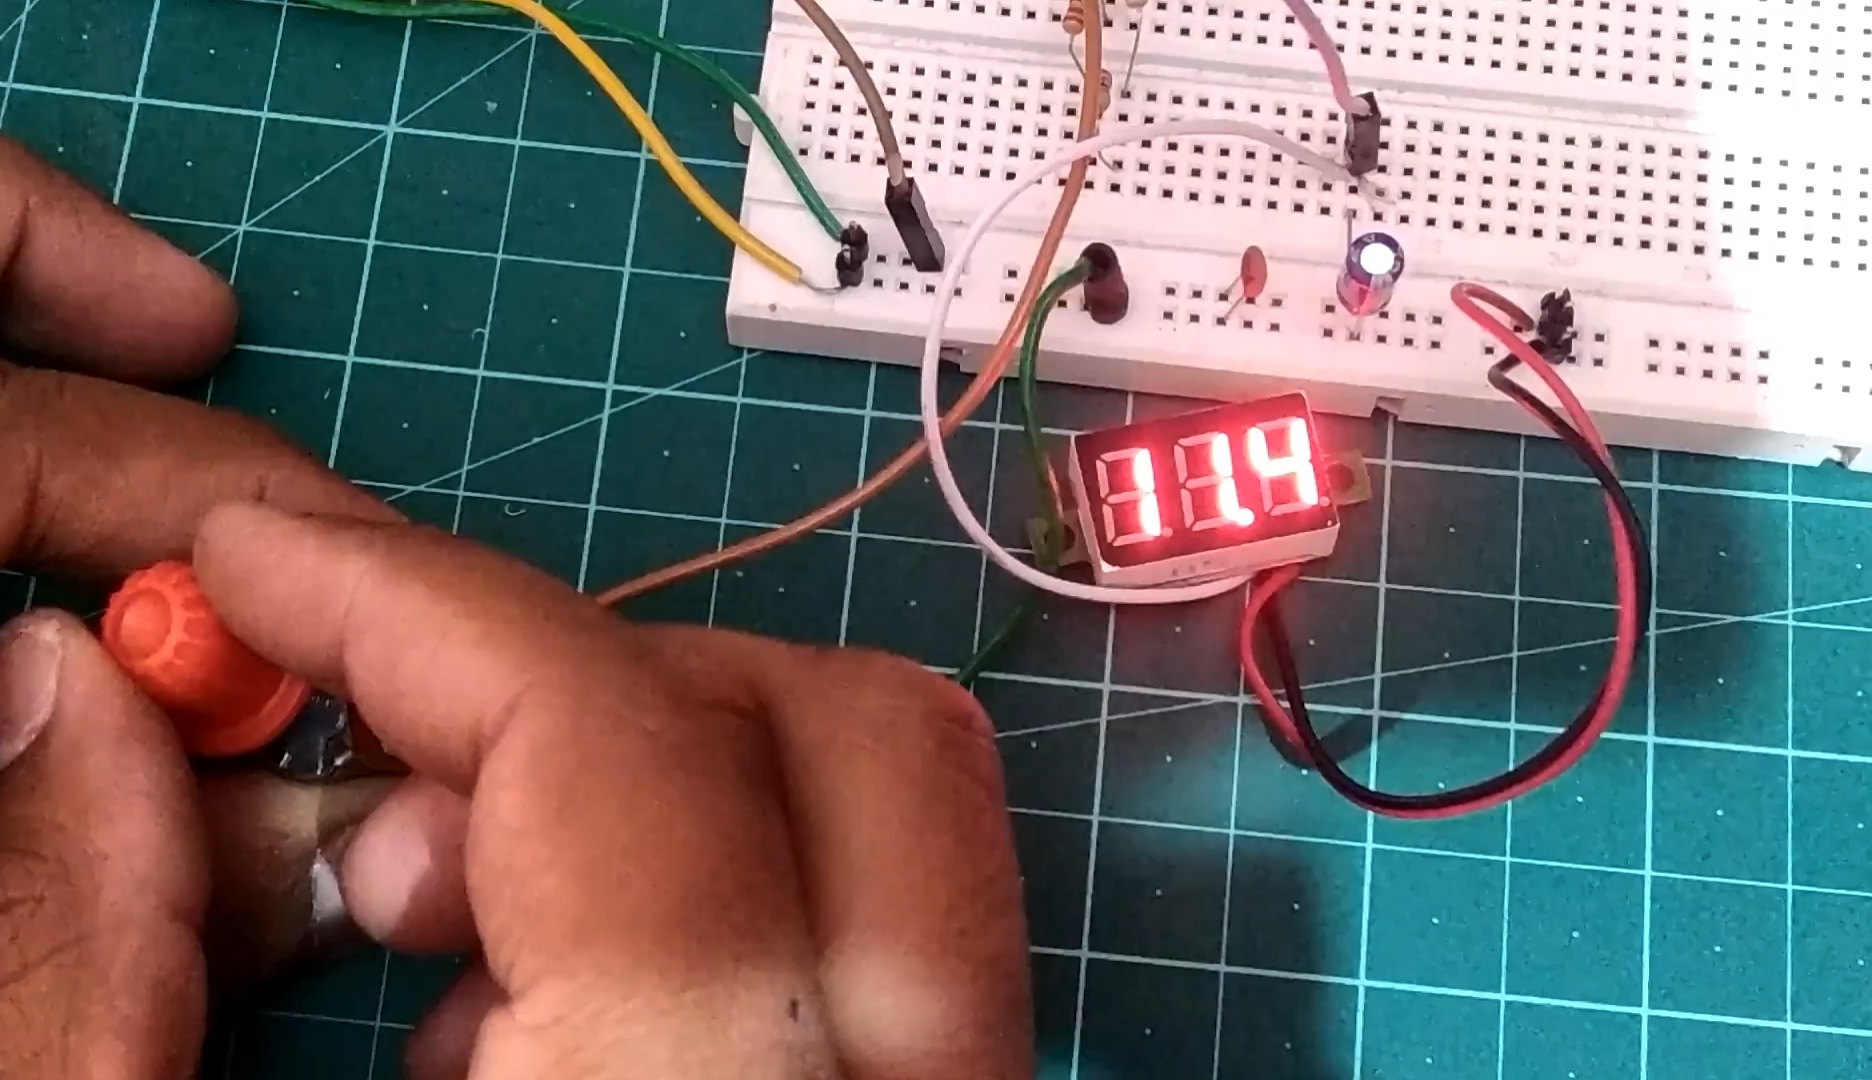
Even now you can use Out pin of Lm317 for output & gnd wire and together these will be used for any output device like Led, motor.
Create a Enclosure Box
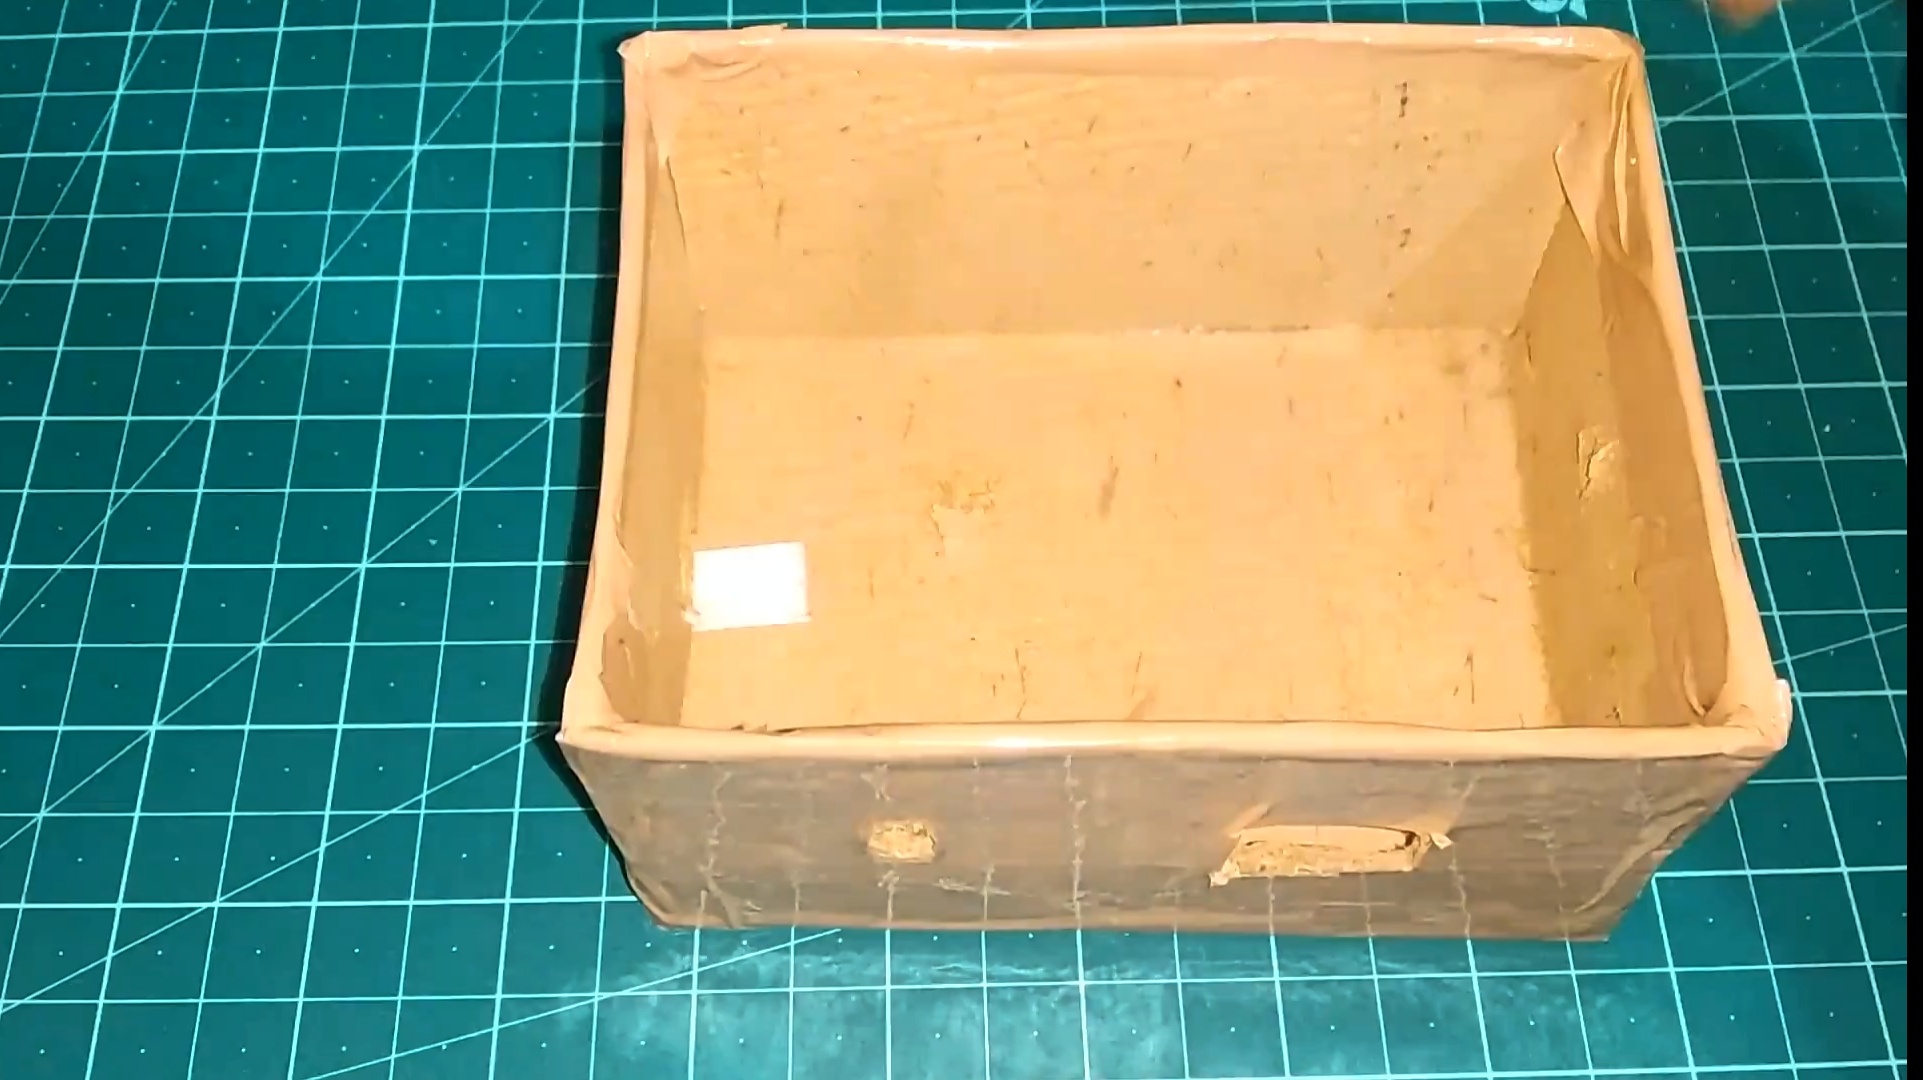
Create a enclosure box and put everything in it and take out only Vout & gnd wire for power and add holes of potentiometer & mini voltmeter , and add a knob to potentiometer.
Final Step
