DIY Pocket Notebook
by Claire Crafts Cottage in Craft > Books & Journals
246 Views, 5 Favorites, 0 Comments
DIY Pocket Notebook
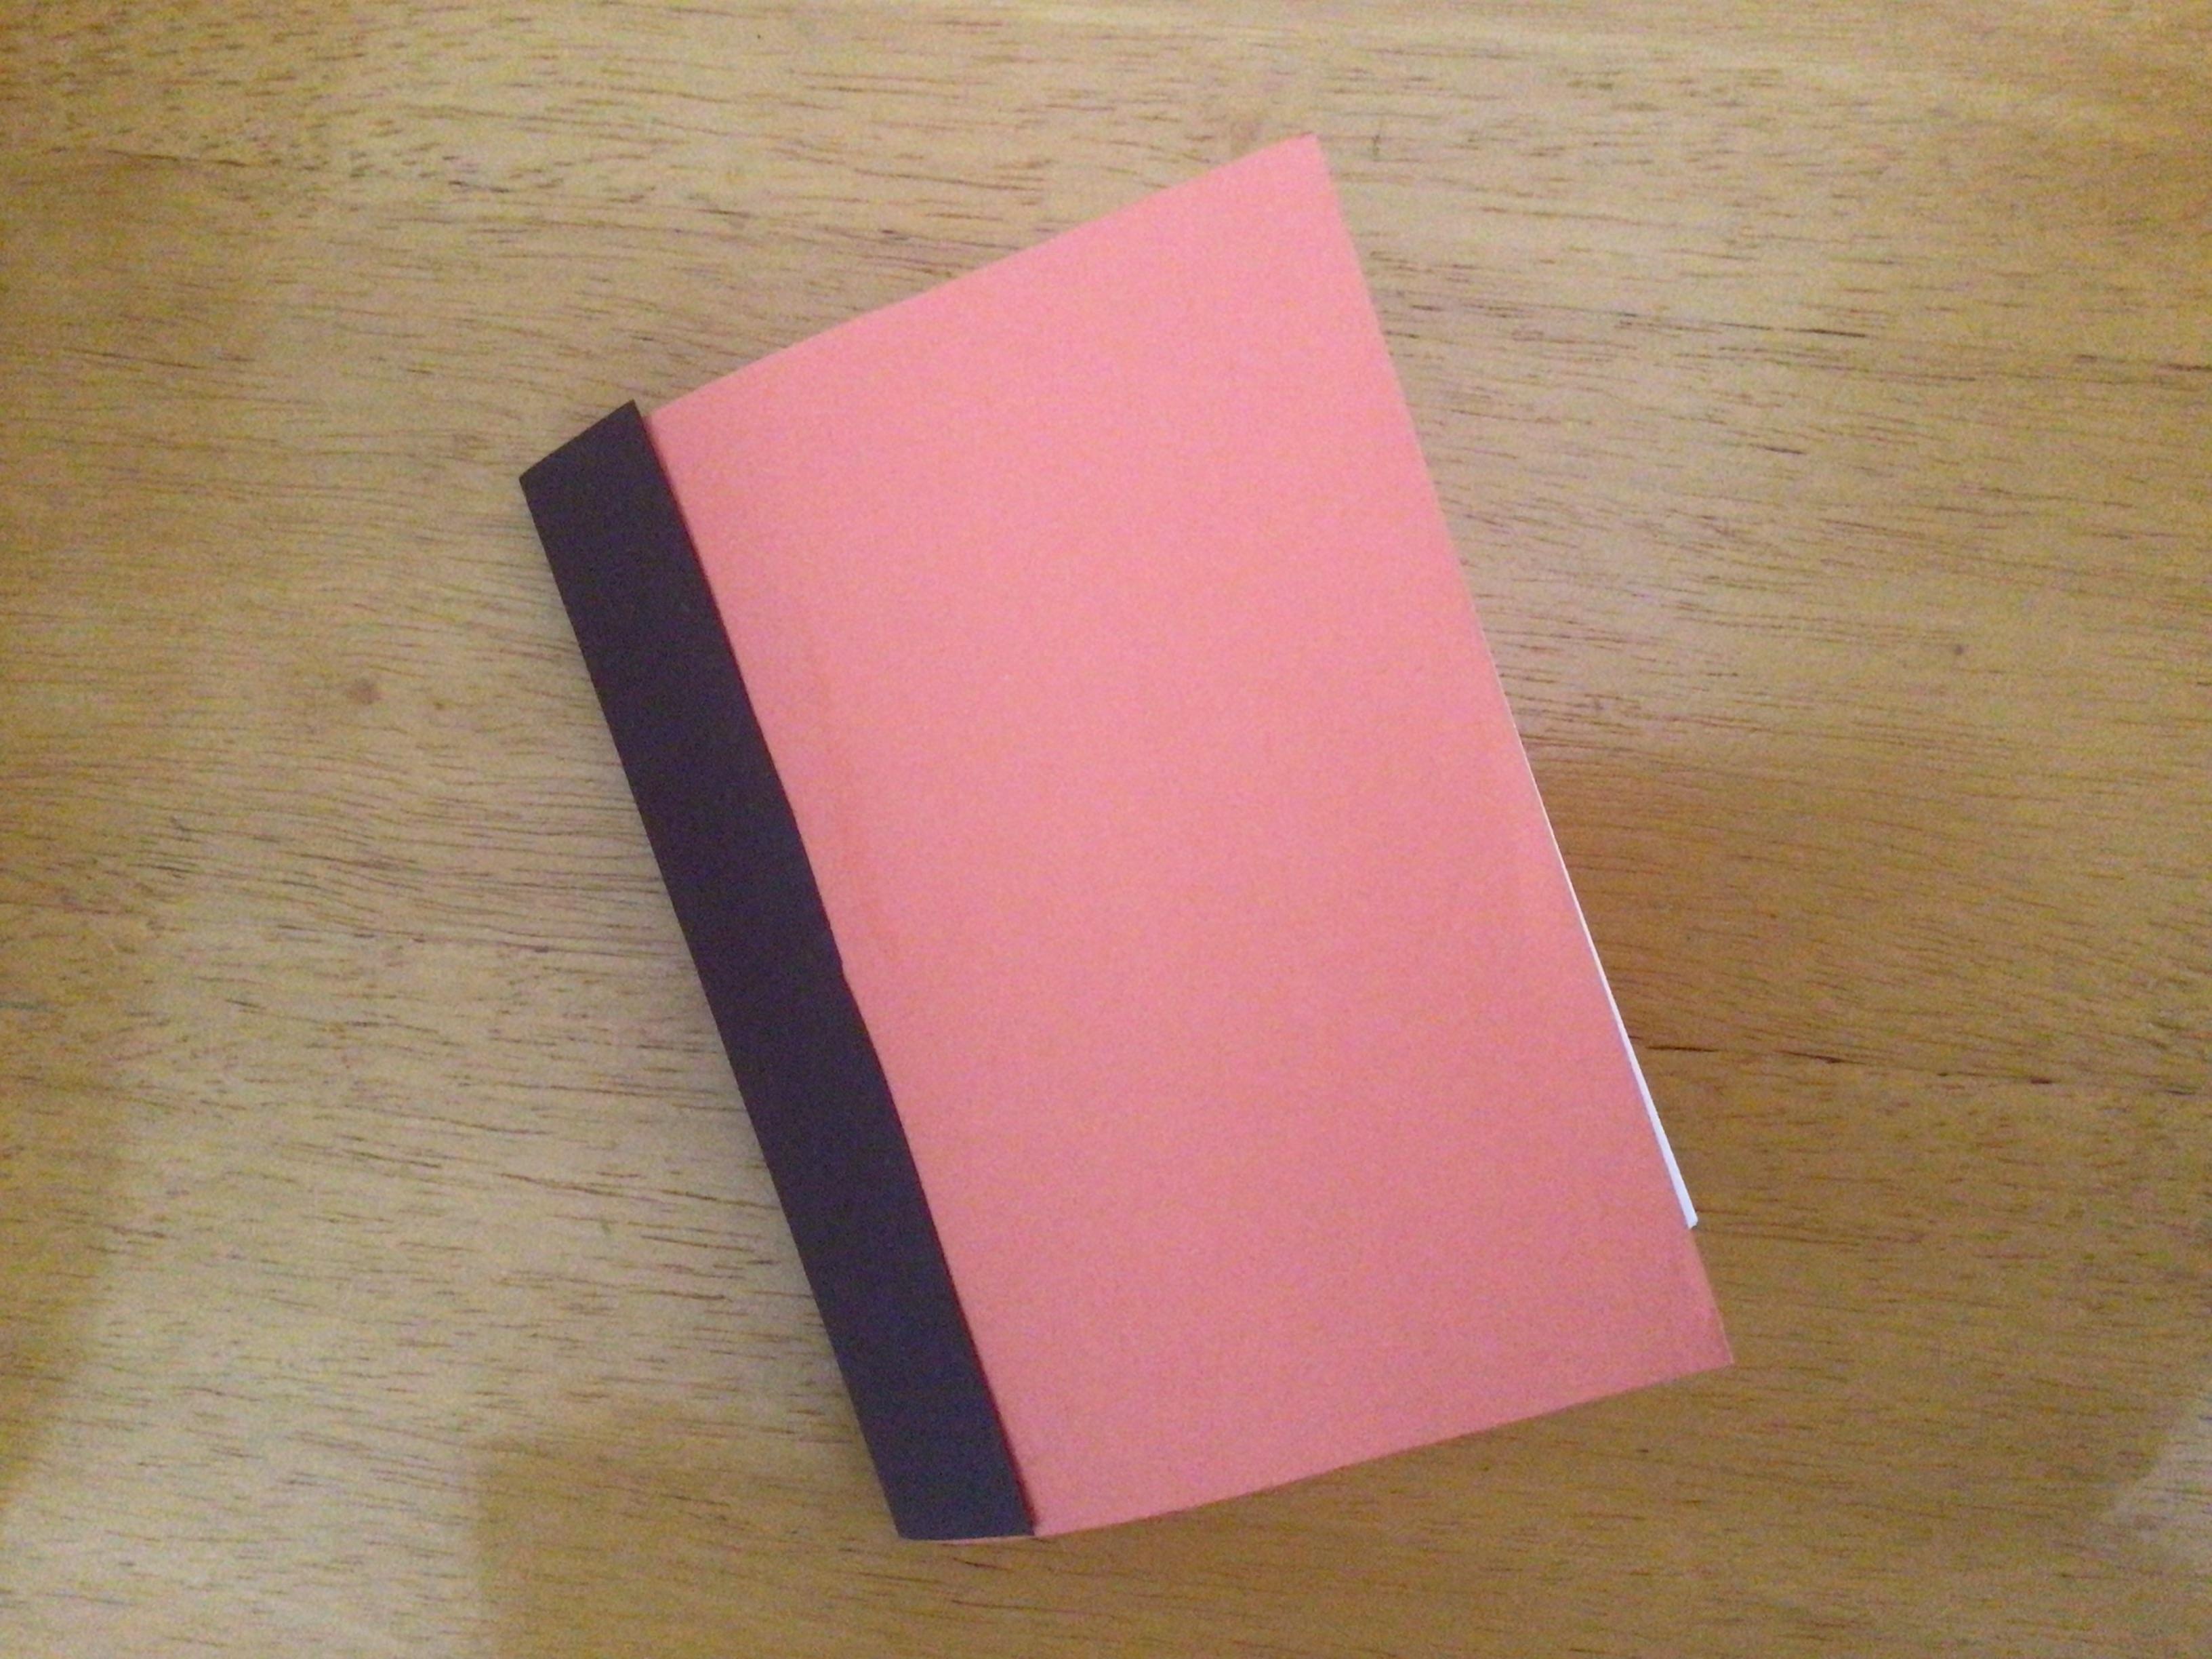
This notebook finishes as 5 1/2” x 4 1/4” large—the perfect size for your pocket! Grab your supplies and dive into this easy-to-follow tutorial.
Supplies
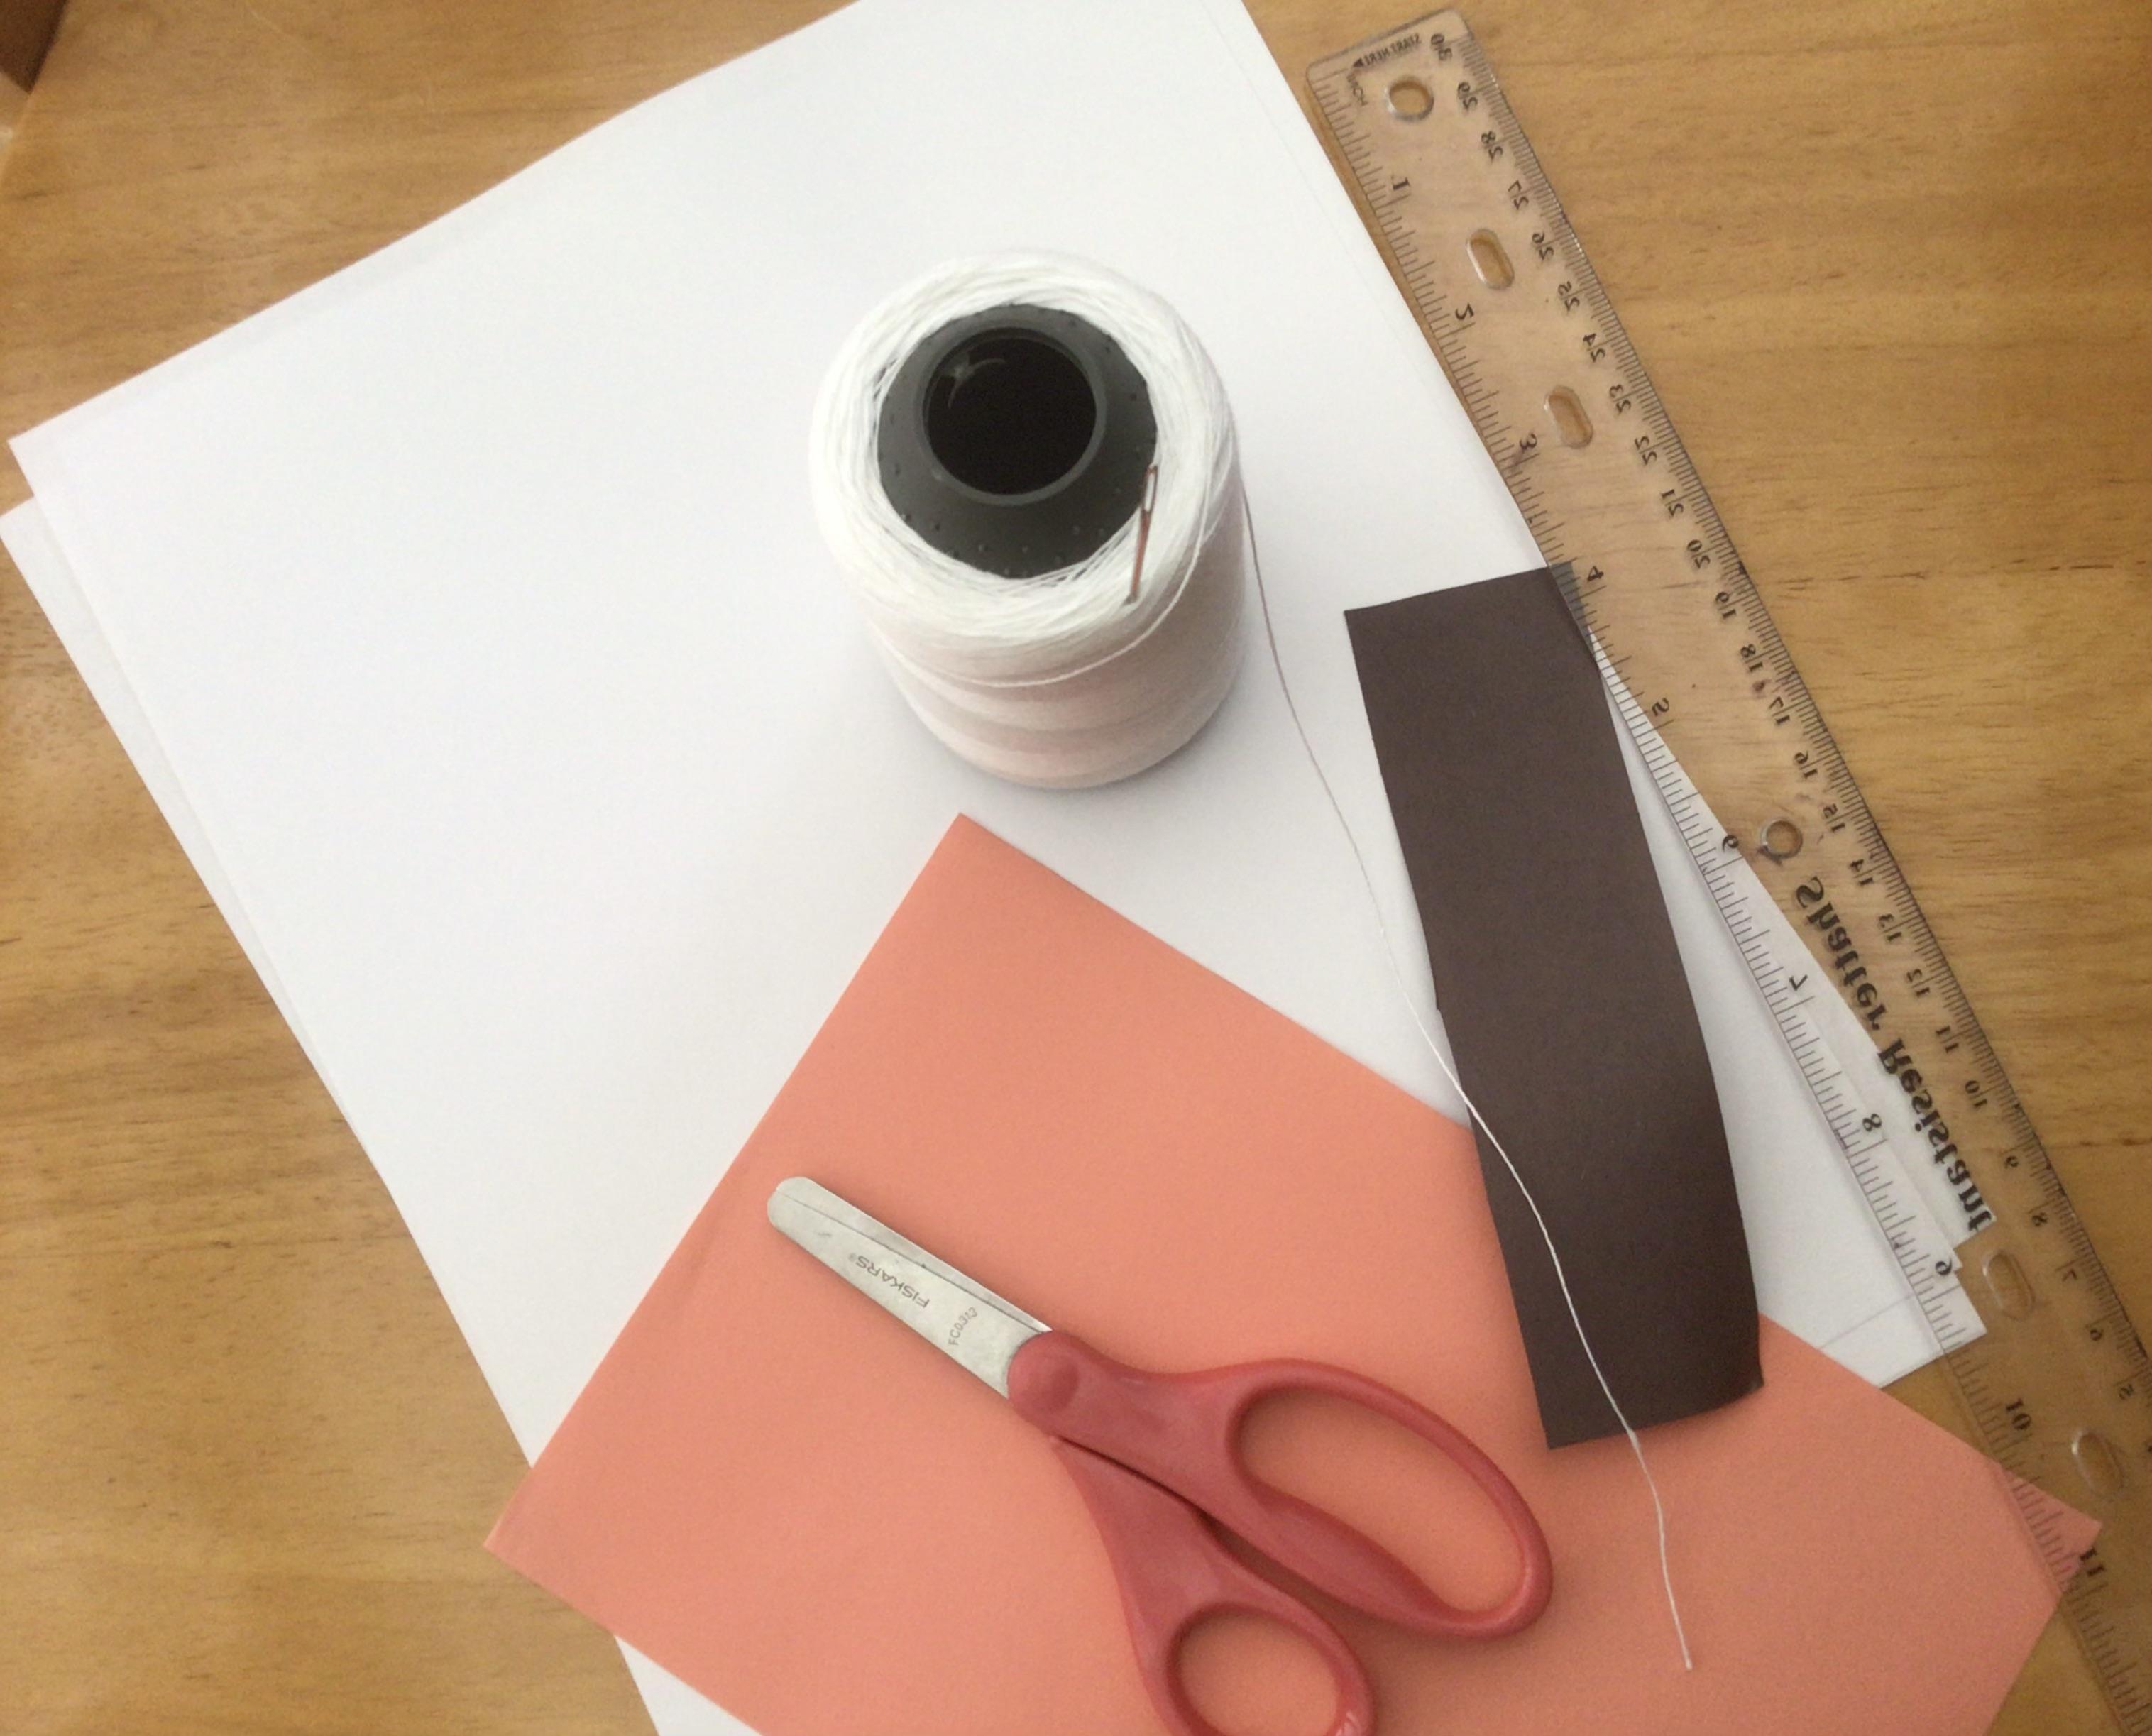
- 5 1/2” x 8 1/2” (letter paper half-sheet) colored or decorated paper for the cover
- Multiple pieces of letter paper (I used 5 for a 20-sheet notebook)
- Needle and thread
- Pencil
- Ruler
- Scissors
- 2” x 5 1/2” strip of paper for the spine
Make the Pages
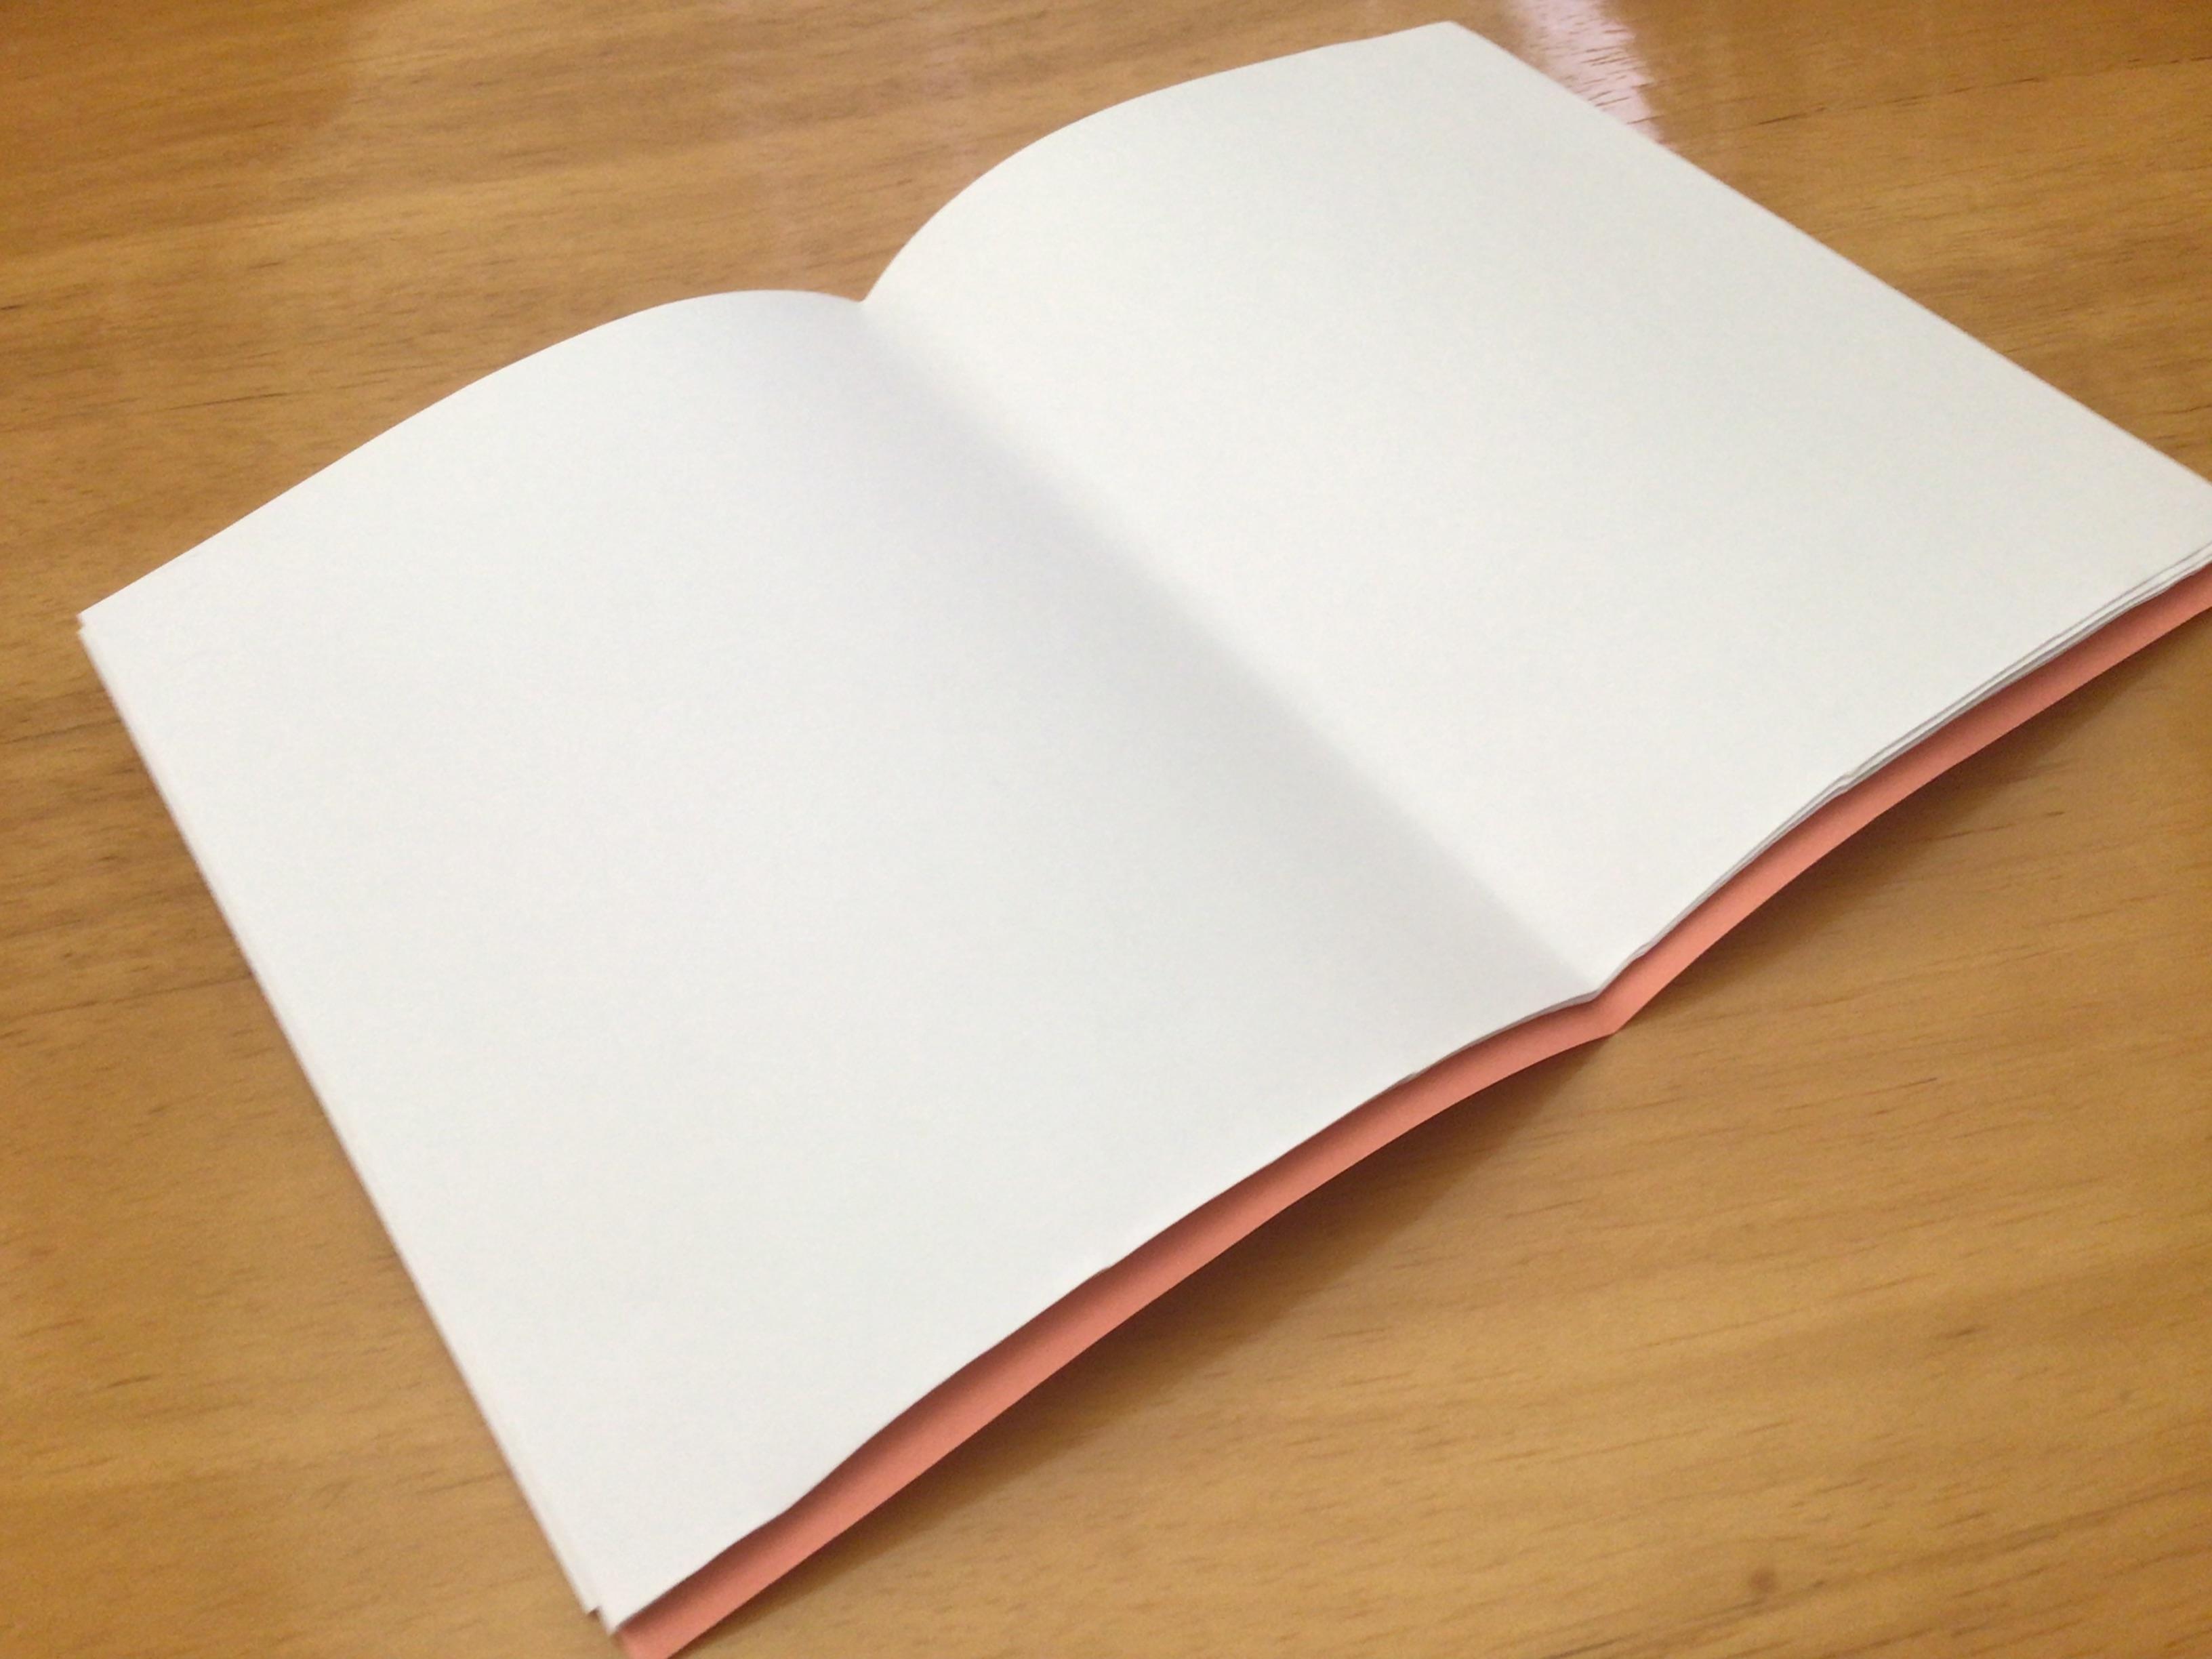
Fold the cover paper in half. Then fold the letter papers in half (hamburger) and cut along the fold line. Fold all the half-sheets in half again (hamburger). Then stack all the paper inside each other with the cover paper on the outside.
Poke the Holes
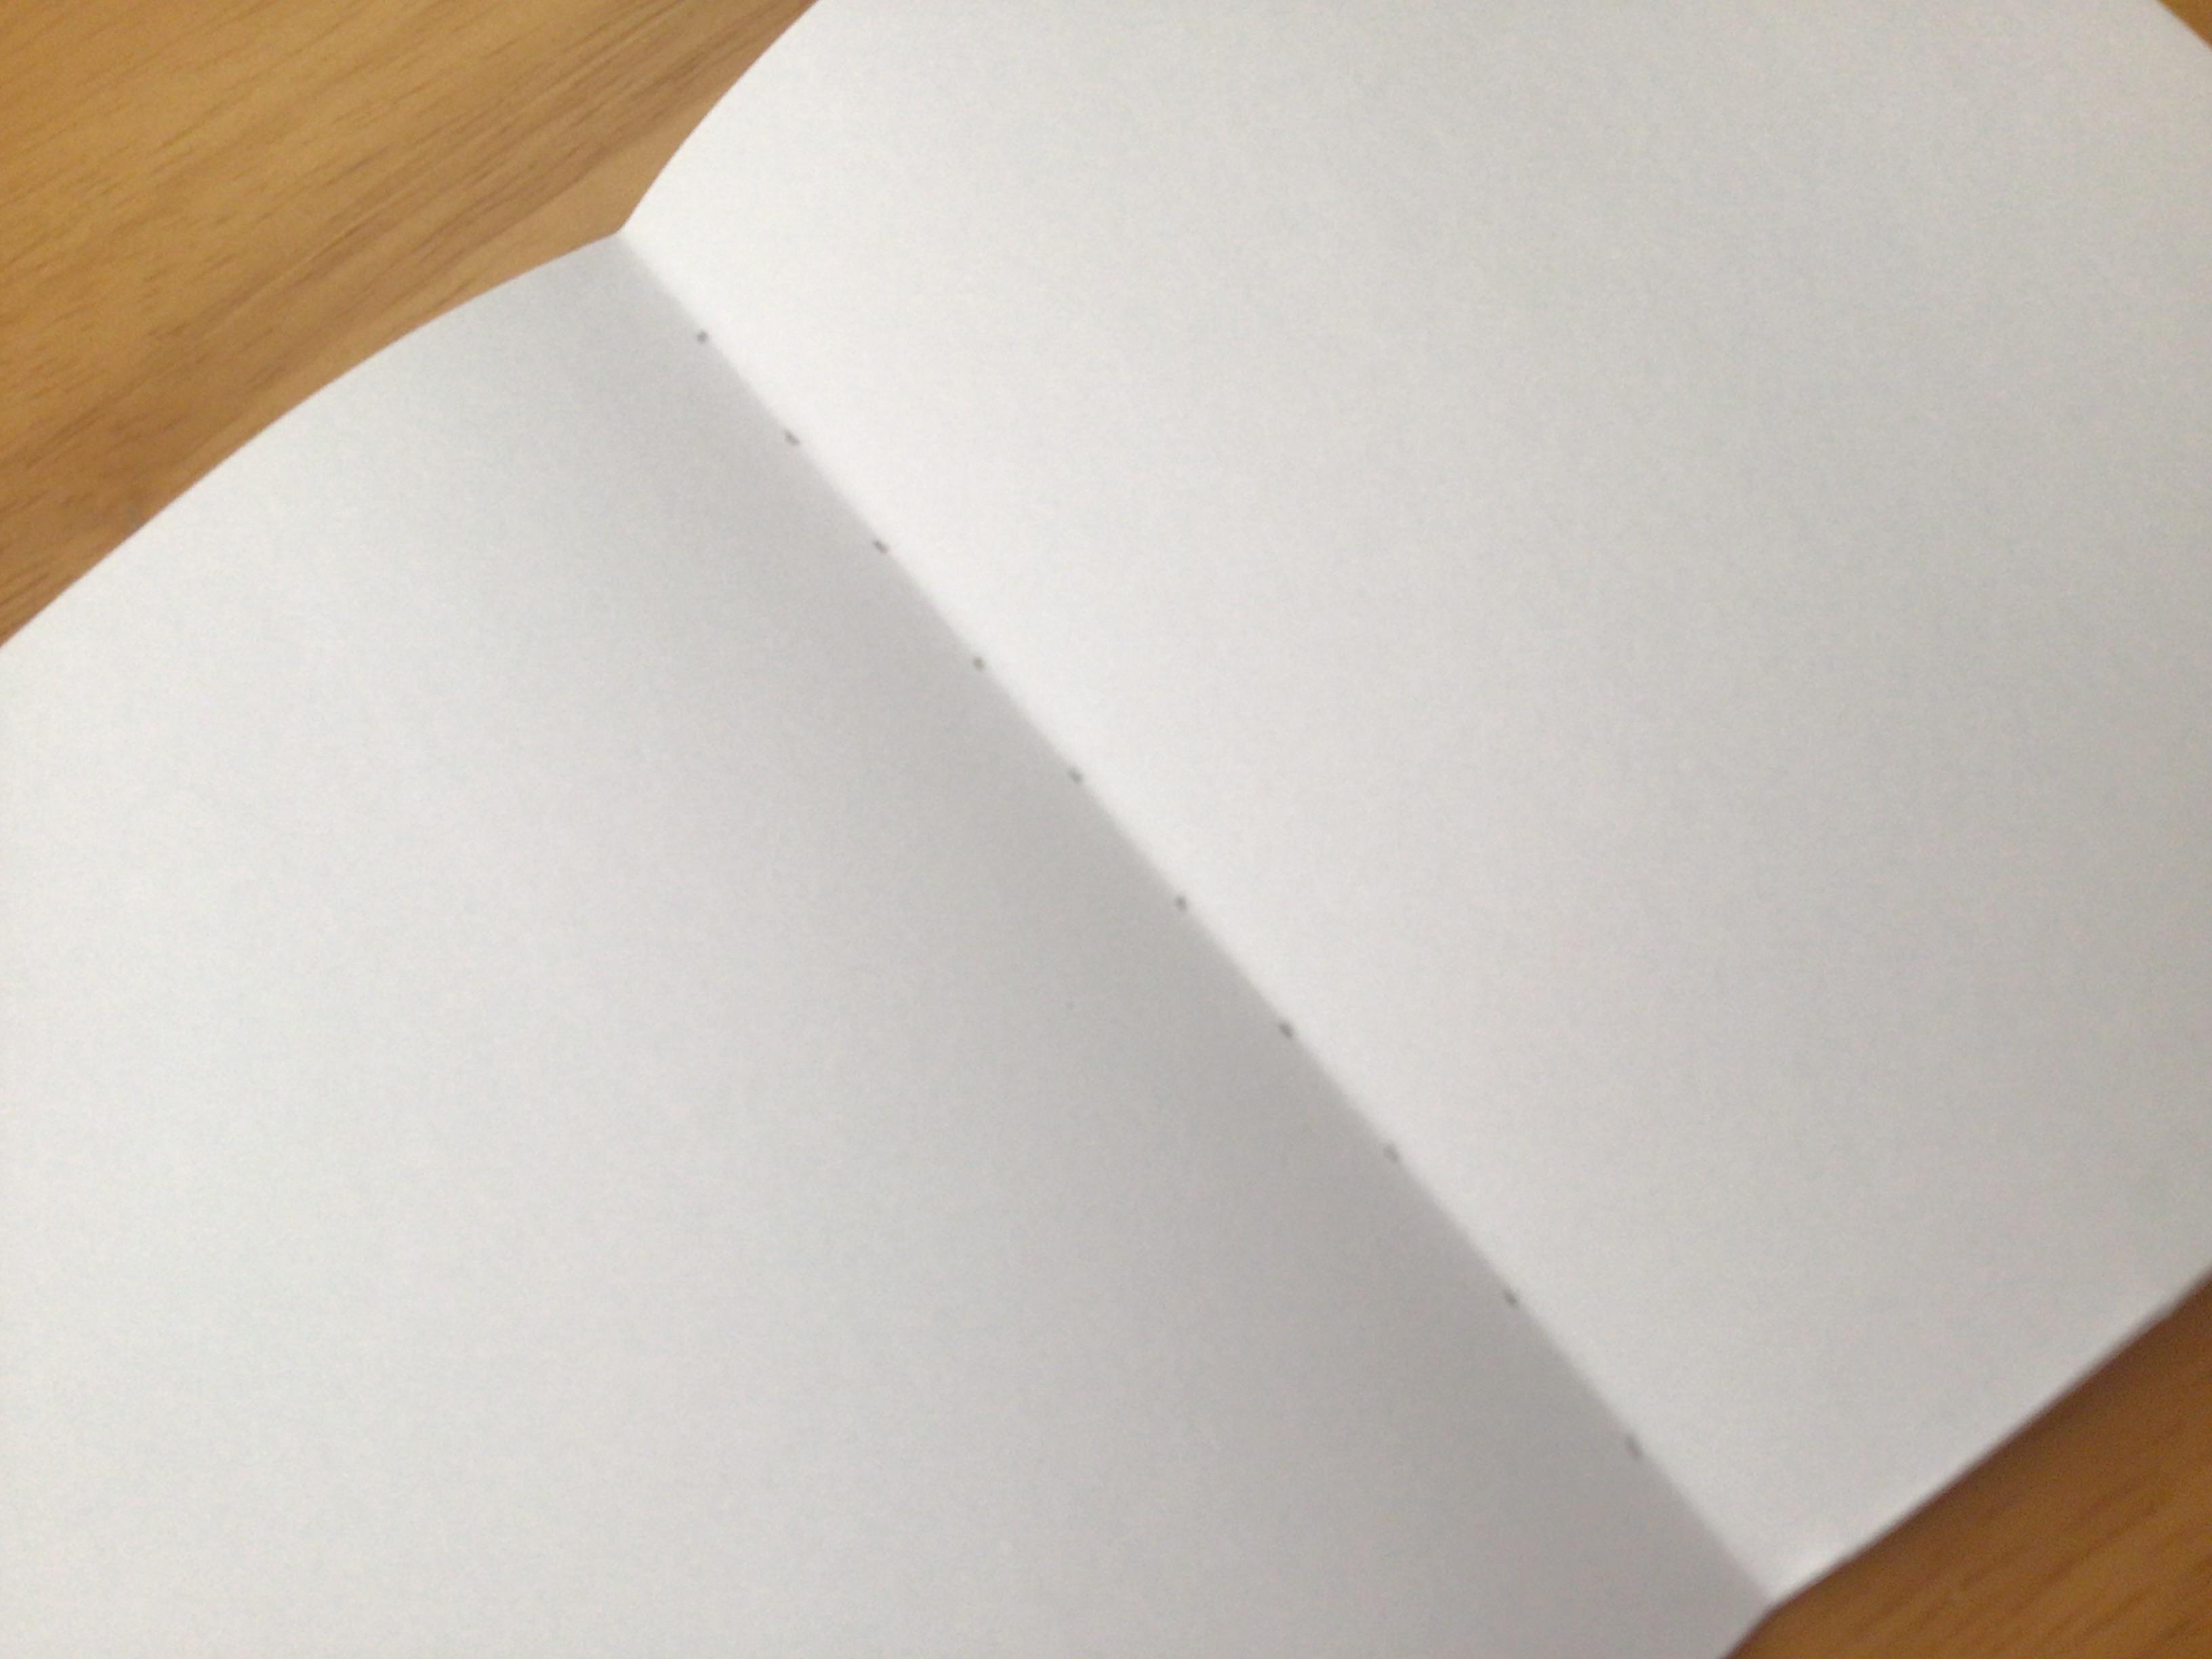
With your ruler and pencil, mark dots that are 1/2” apart along the center fold line. You should have 10 dots on total. Then take your needle and make tiny holes through all the papers. If you can’t make a hole through all the papers at once, split your stack into smaller groups and poke holes in them separately.
Bind the Paper
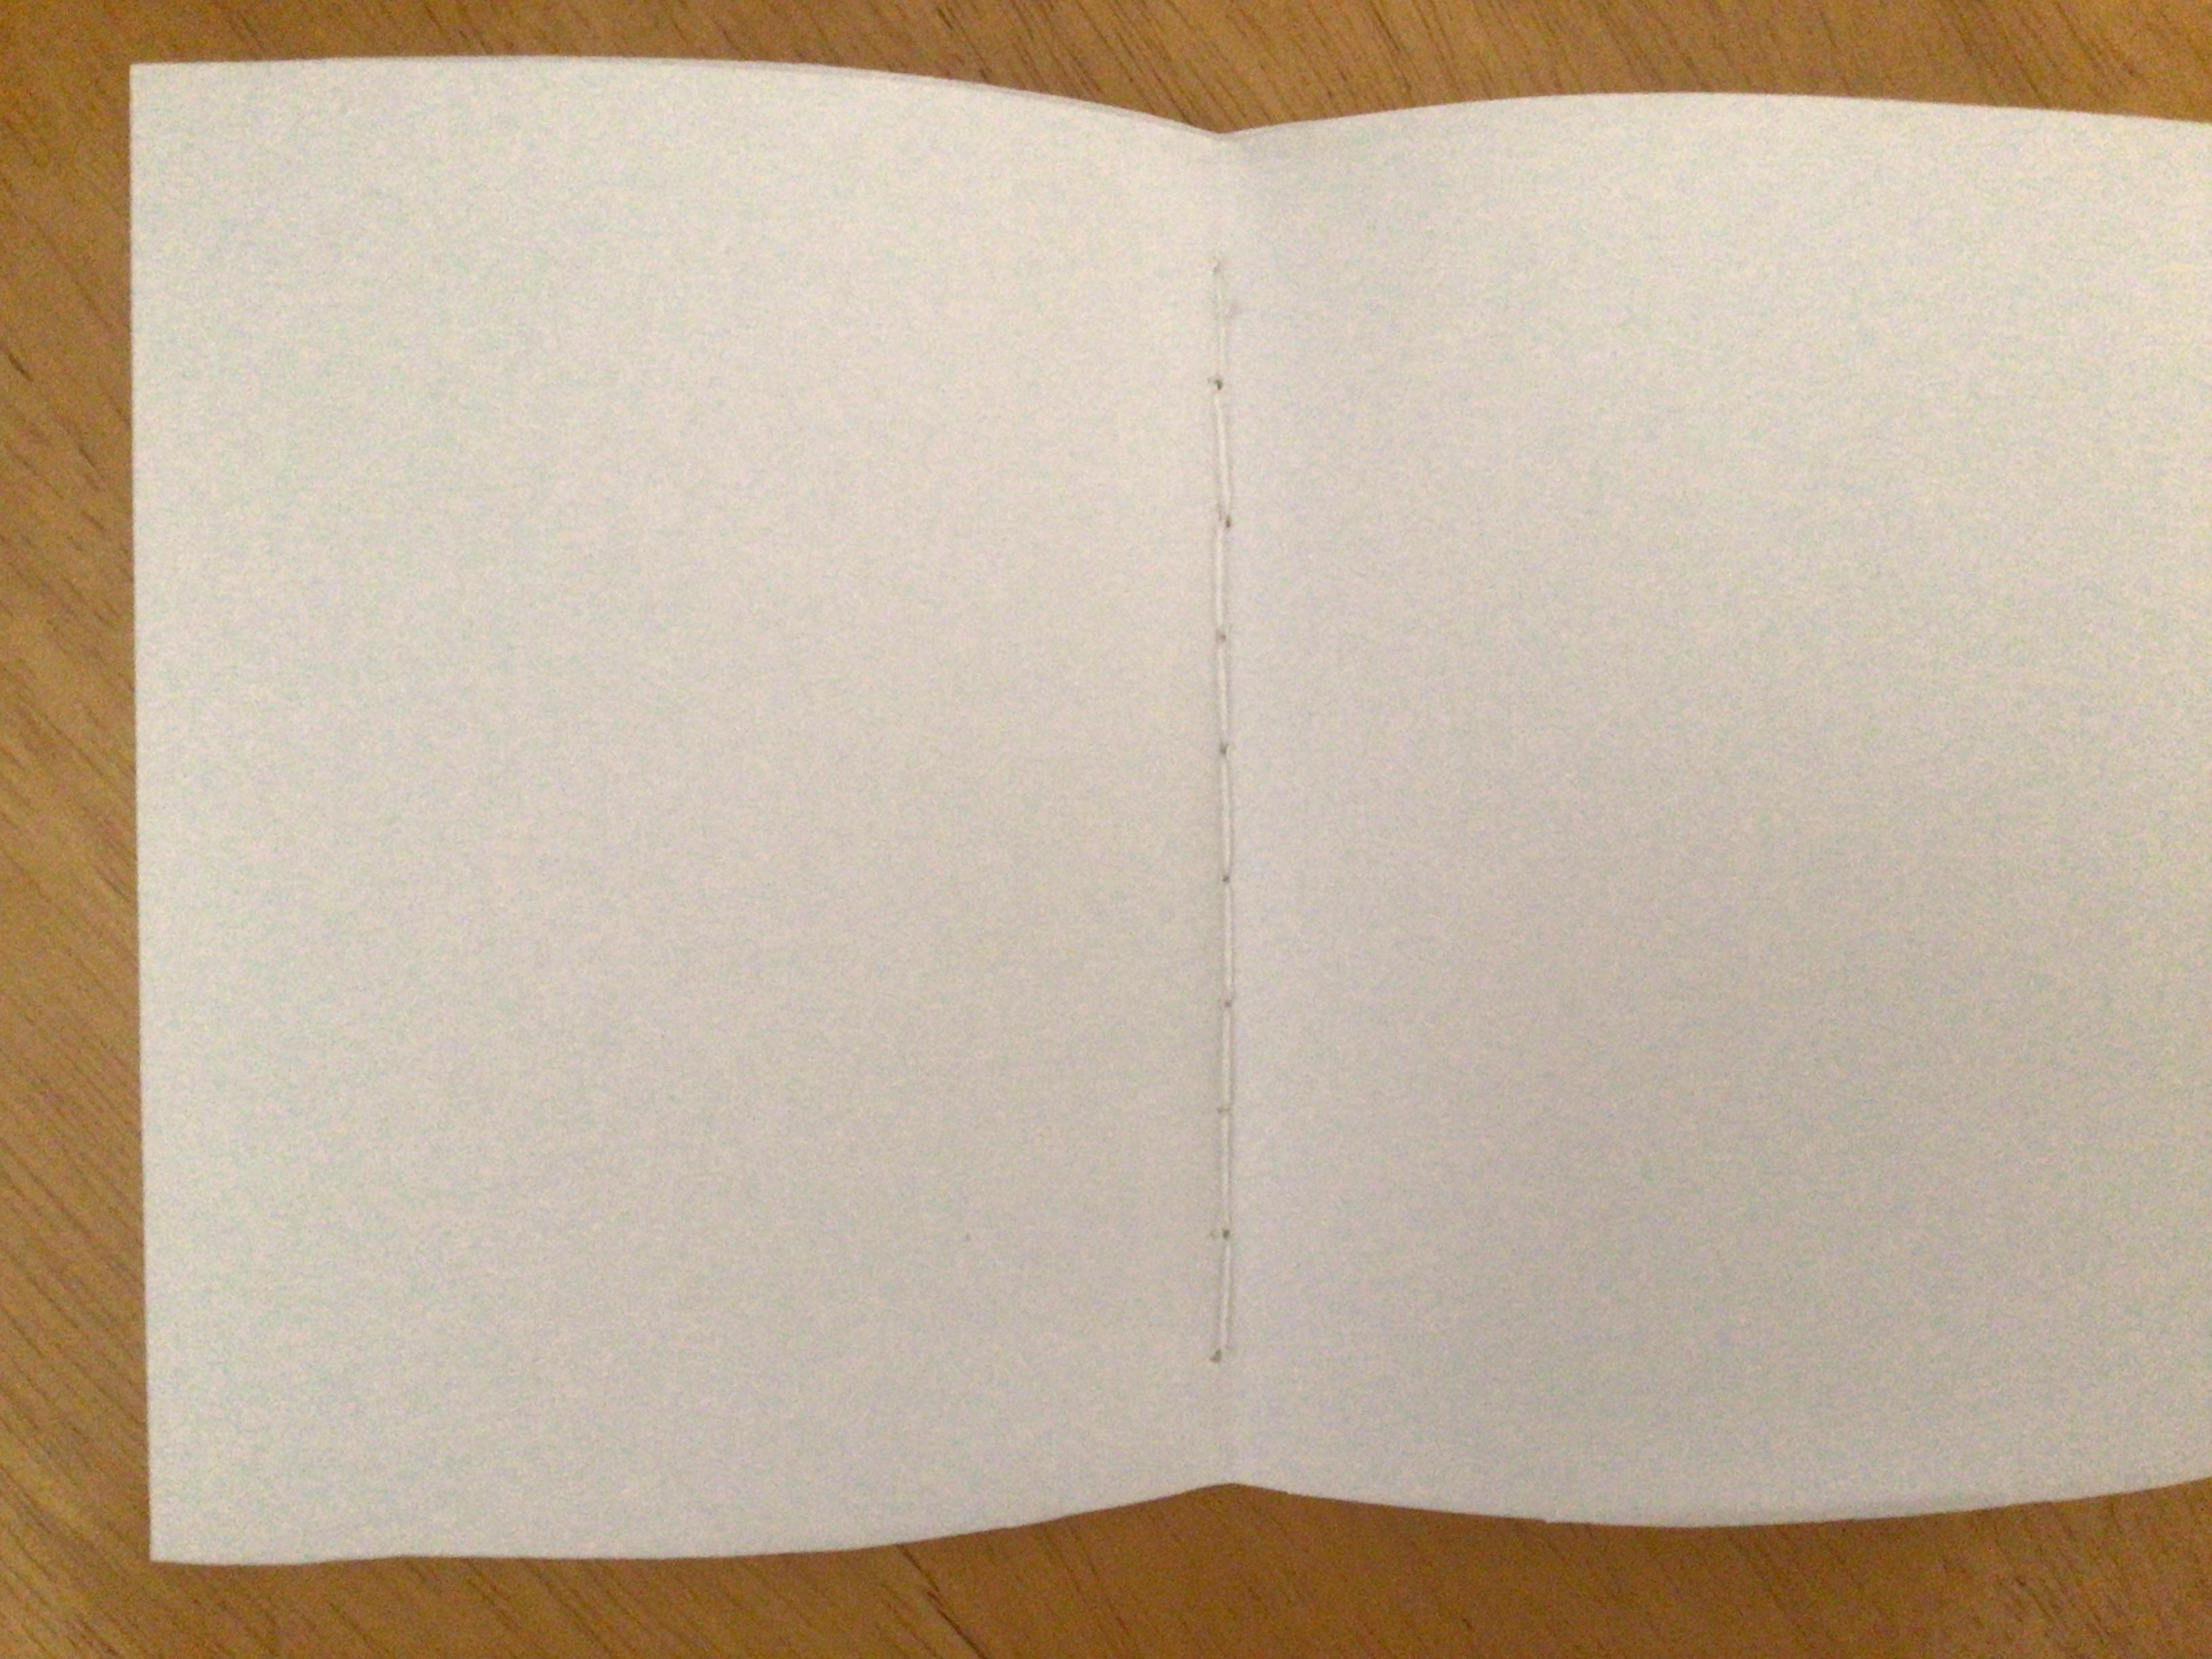
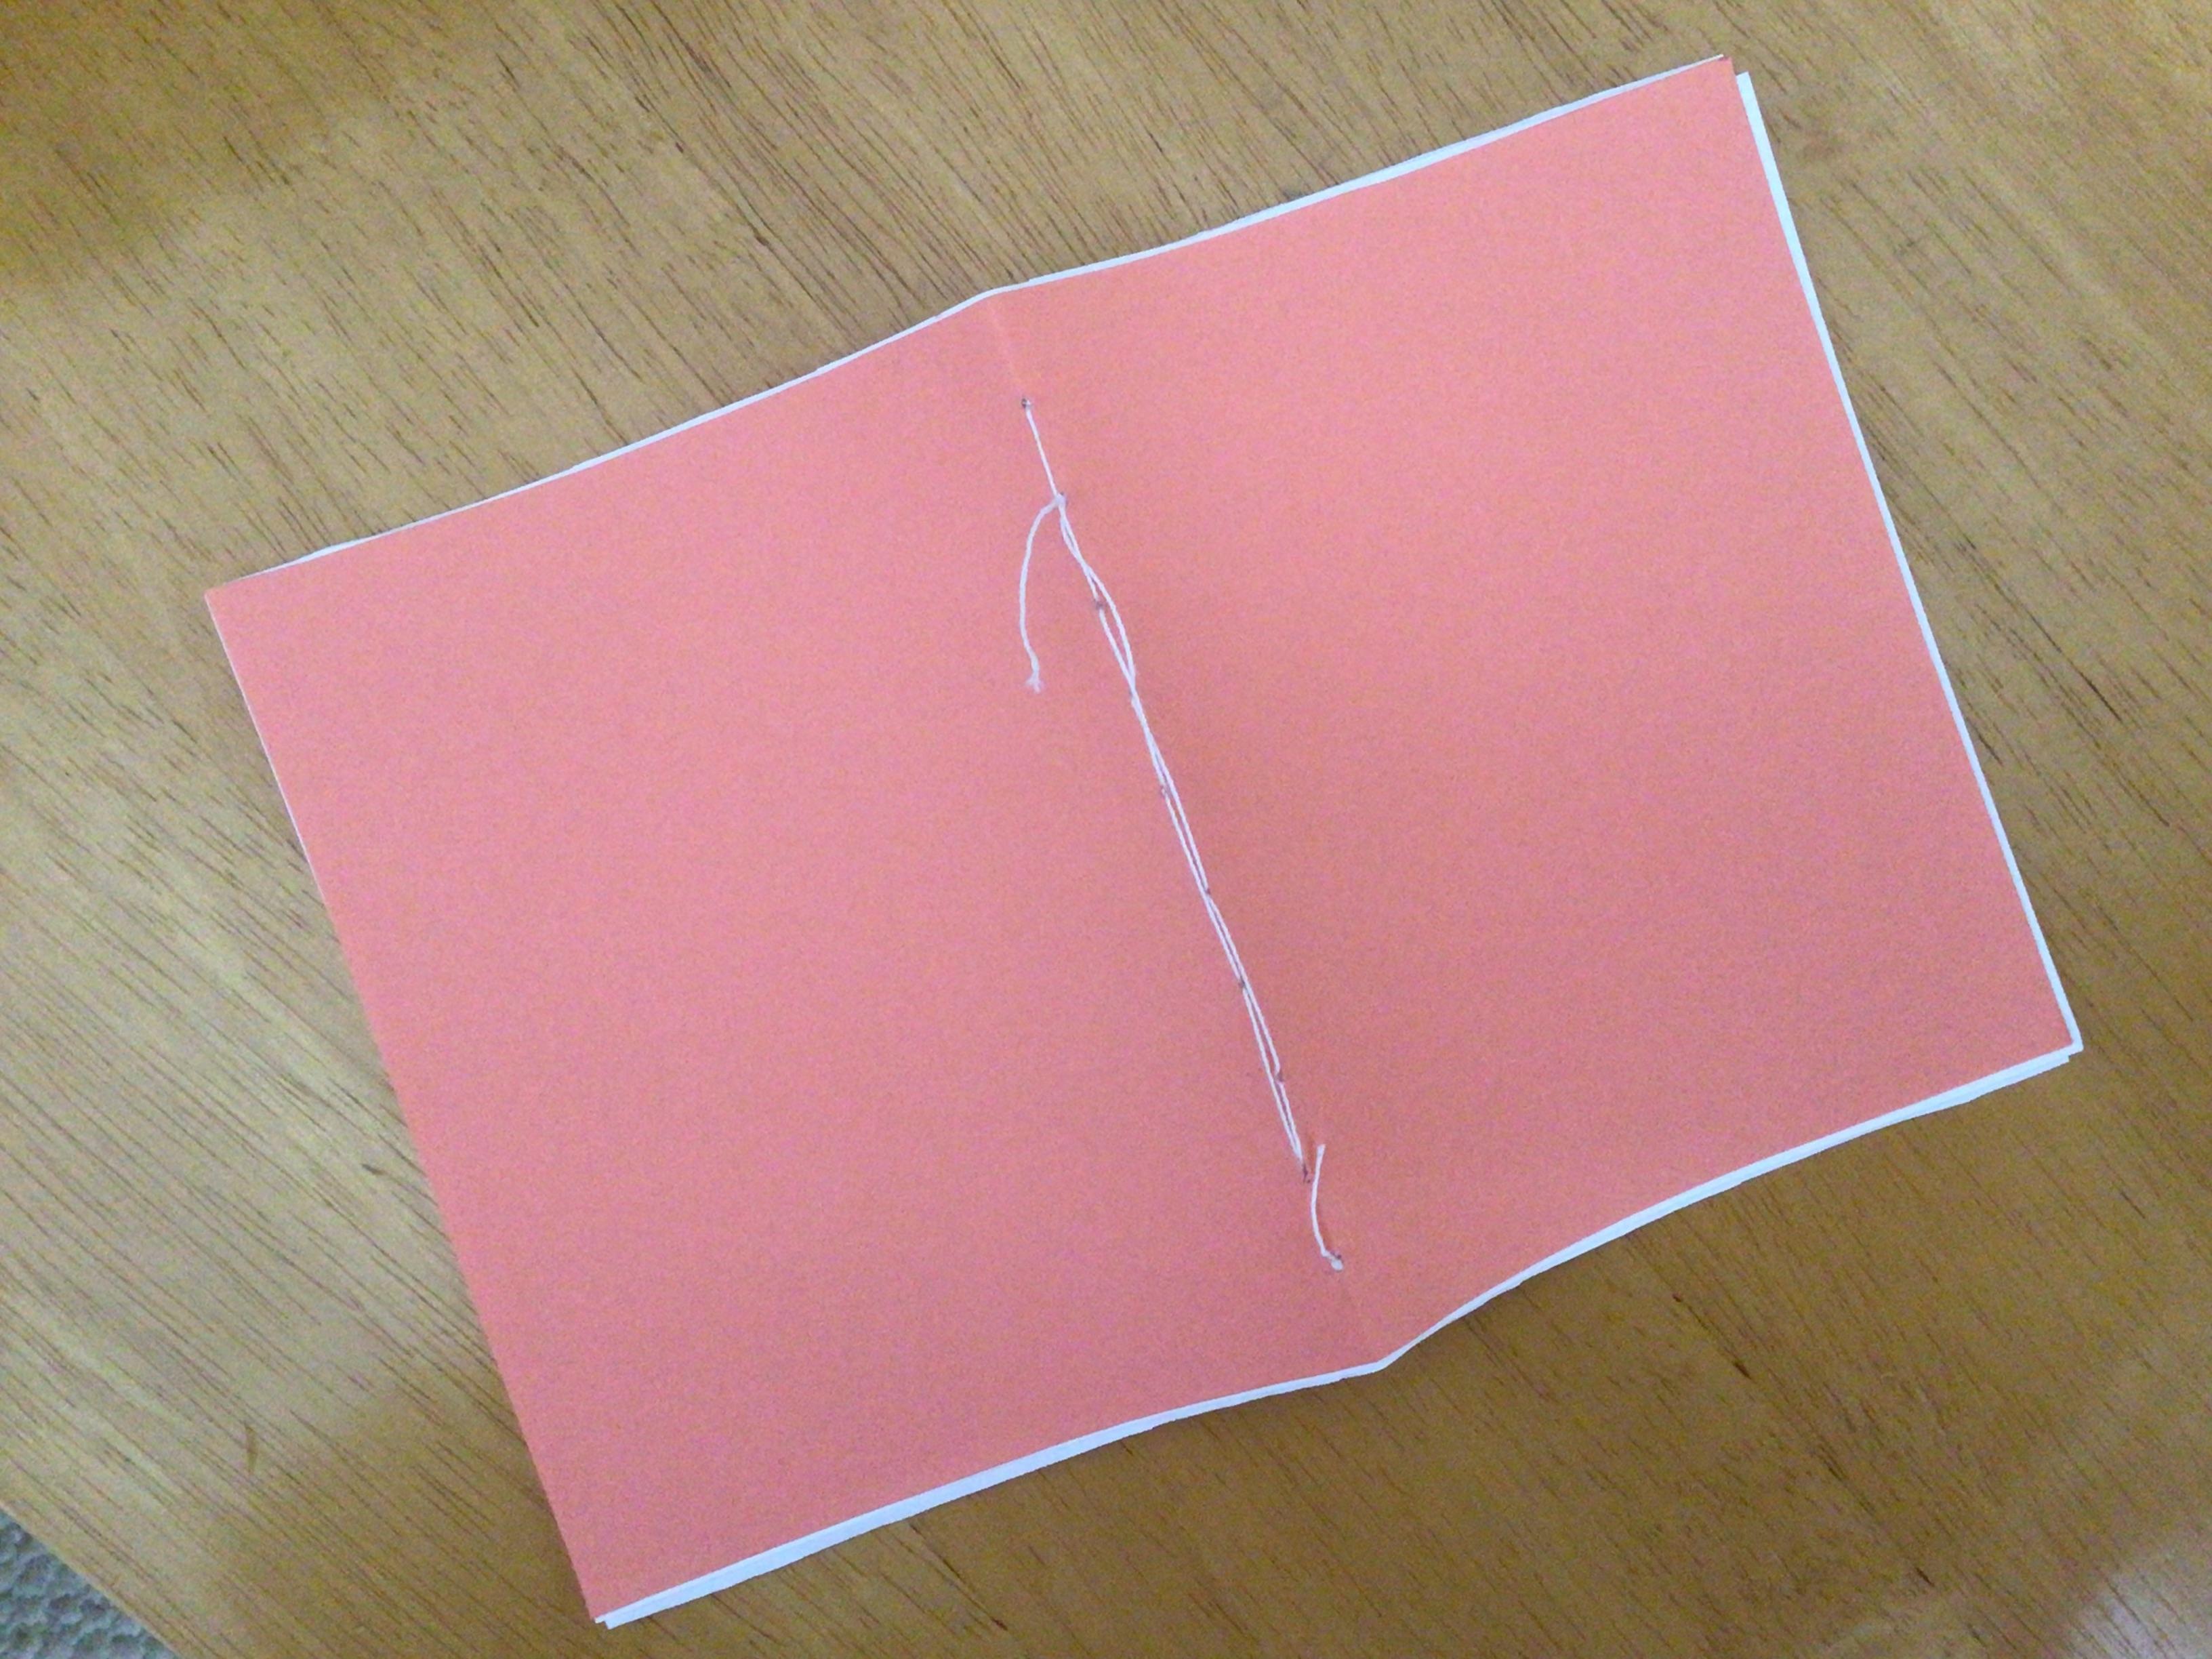
Cut a piece of thread about 15” long. Thread your needle and tie a knot at the end 1/2” from the end. Insert your needle into the first hole, entering from the outside in. Pull until you reach the knot. The 1/2” tail should be hanging from the outside cover.
Bring your needle through the 2nd hole, entering from the inside out. Then bring it through the 3rd hole. Put your needle through the 2nd hole again, then the 4th hole, then the 3rd hole. This is called back stitch. Repeat this pattern until you reach the last hole. Tie a knot and trim the end to 1/2”.
Add the Spine
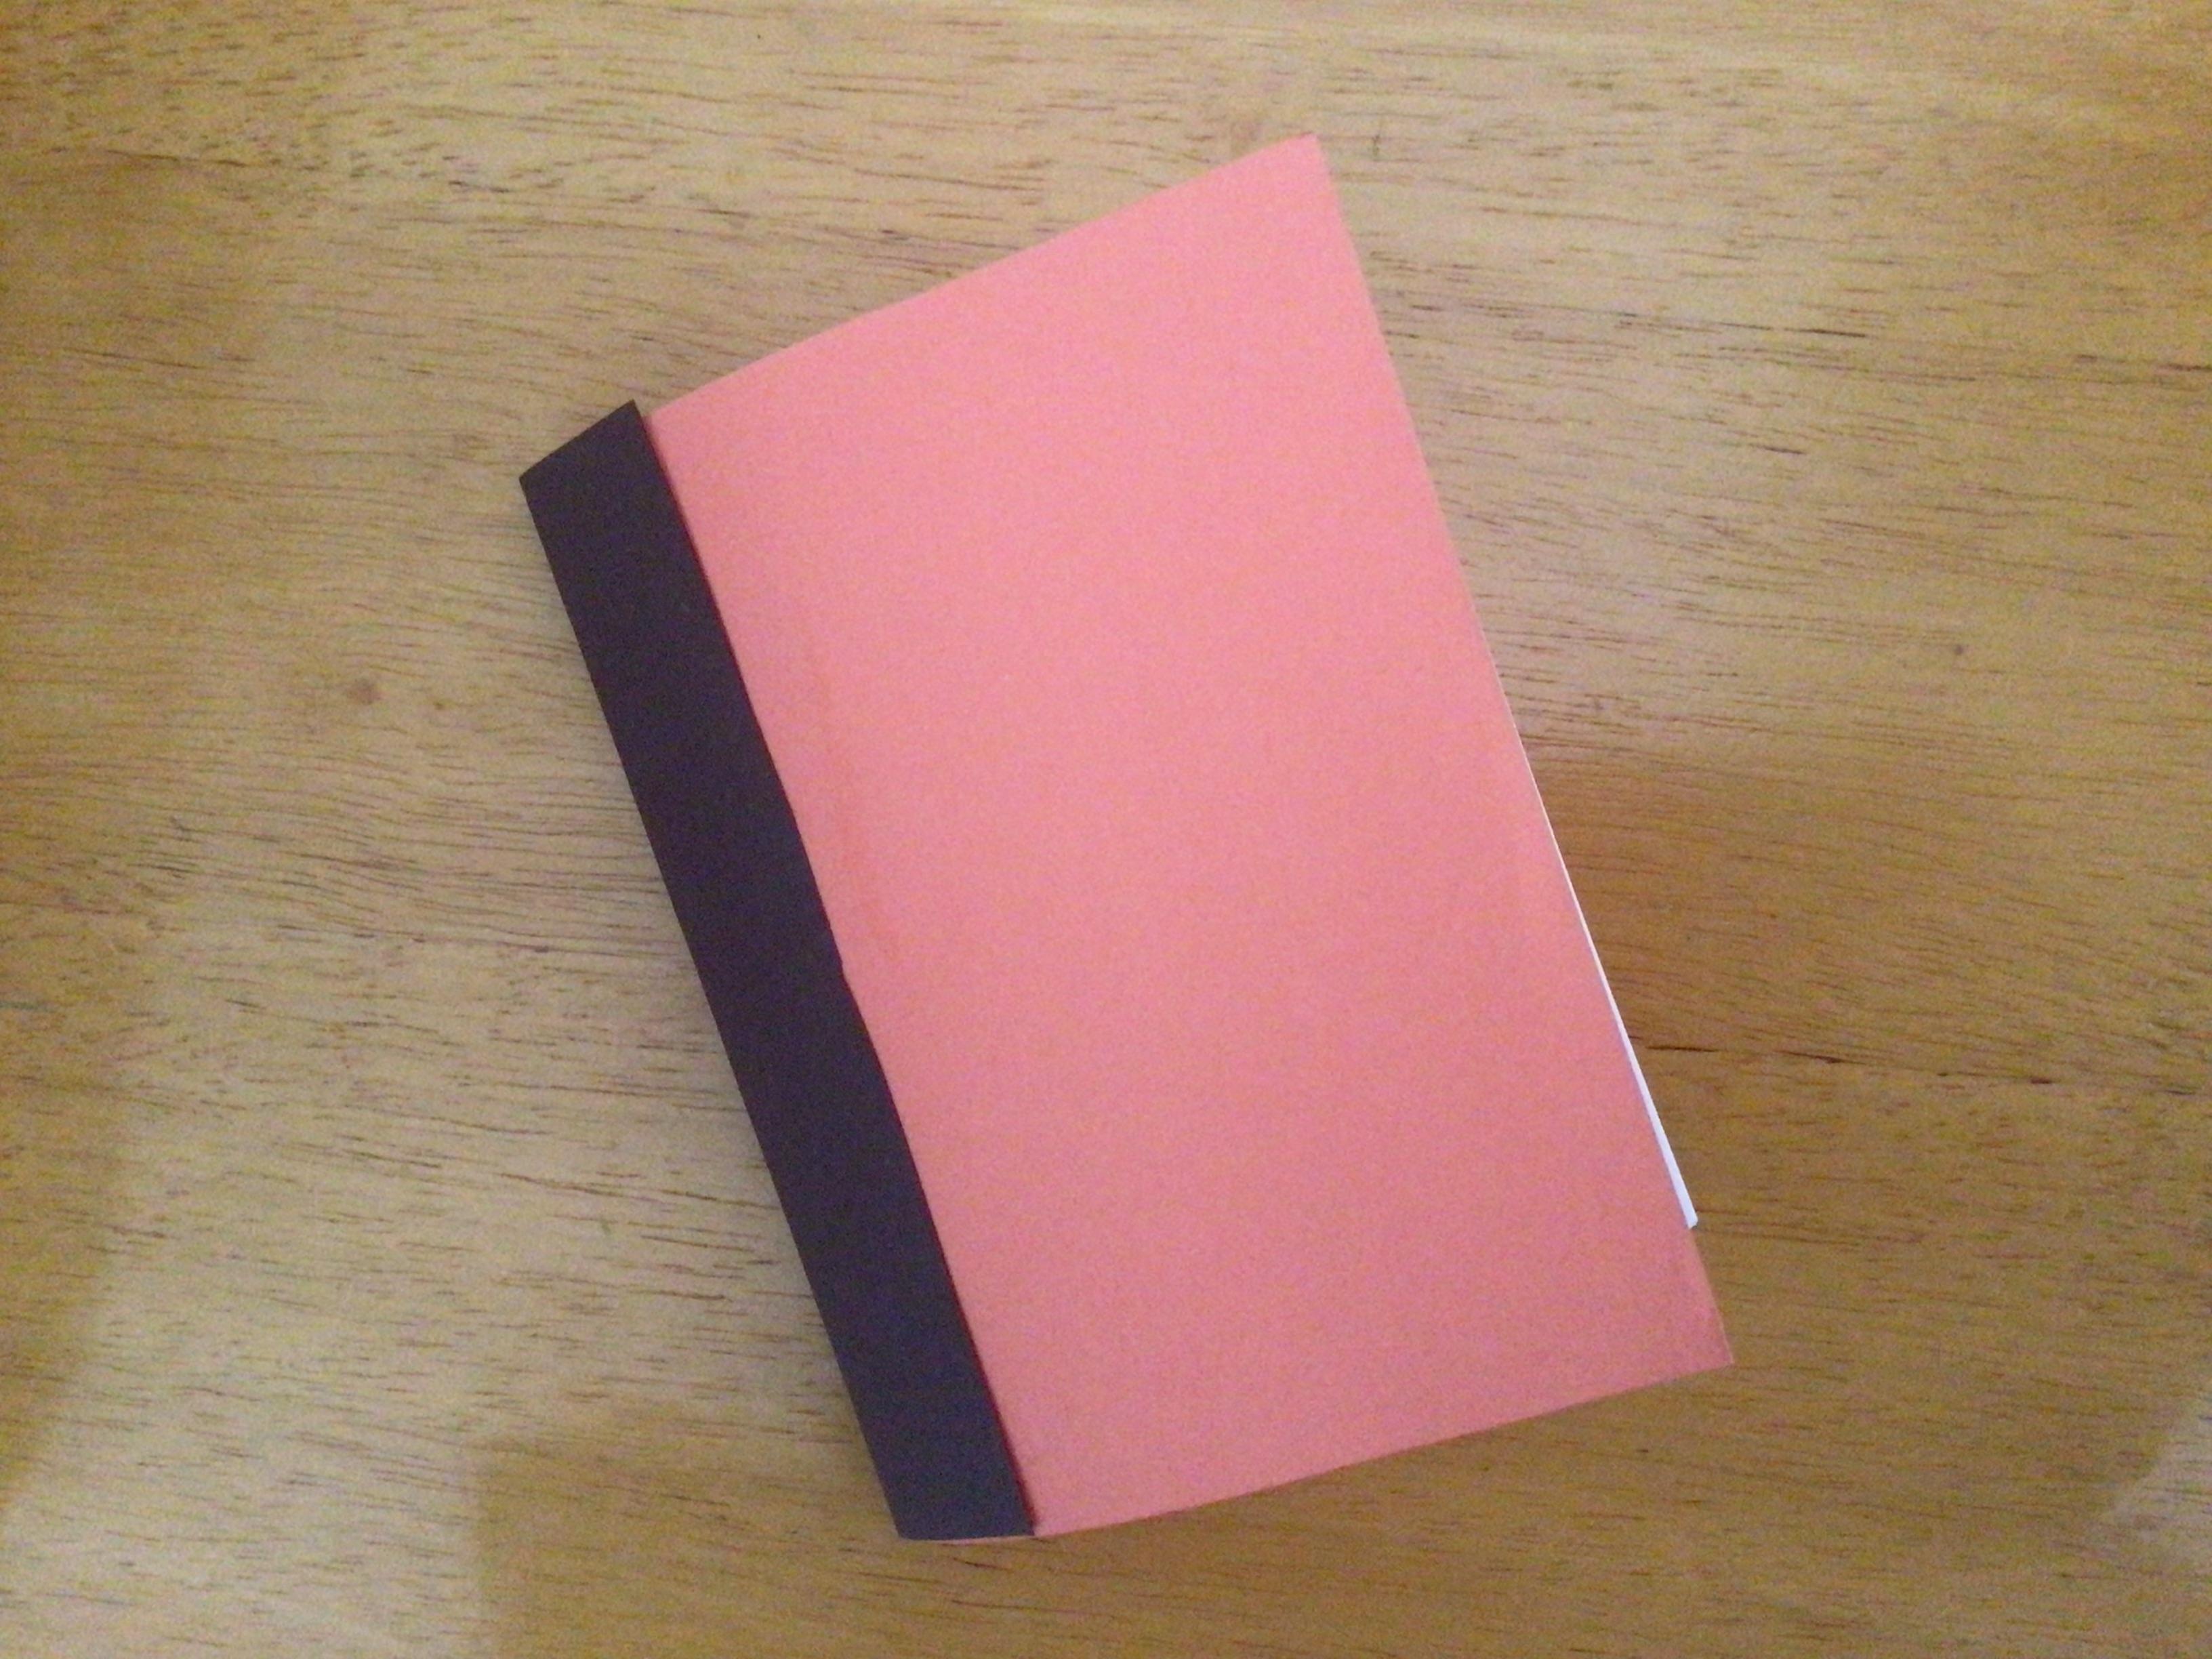
Put glue on the strip of paper and fold it over the bound edge of the notebook, hiding the stitching and tails you left from the last step.
Finishing Touches
Trim the pages of your notebook (if needed) and customize it! Add stickers, writing, or labels on your new notebook.