DIY Photo Frame

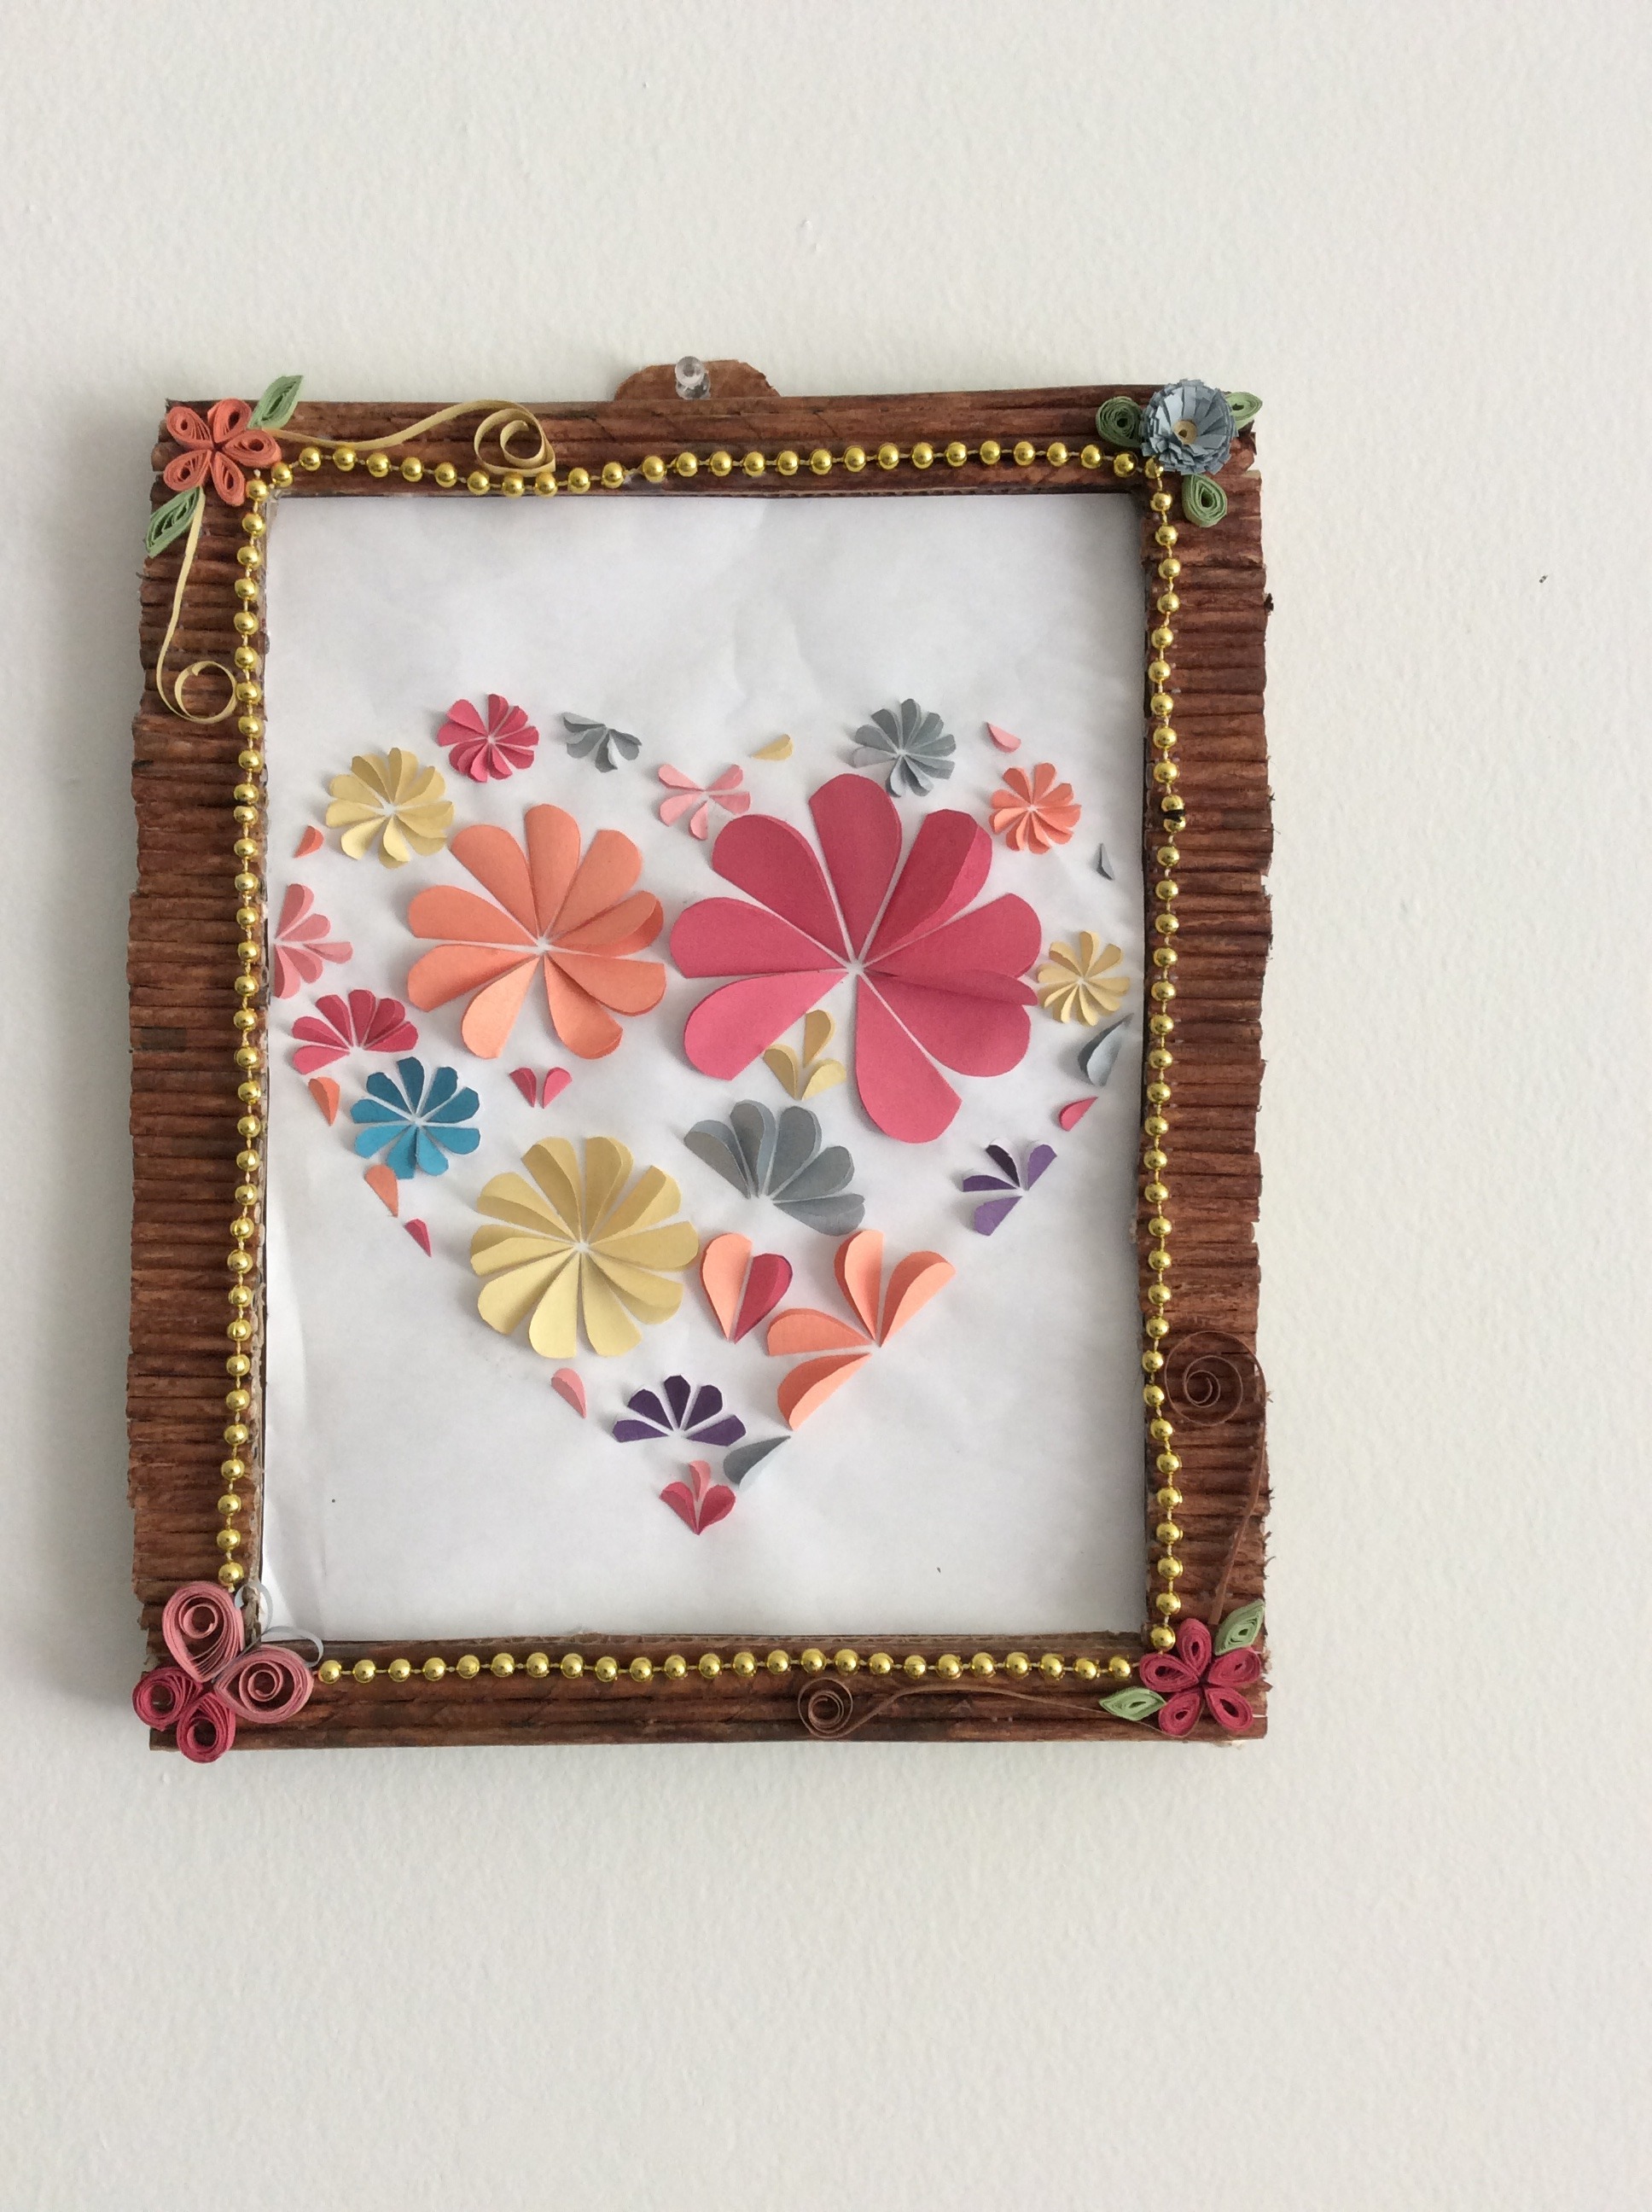
This DIY picture frame is so easy to make. It looks great and is such an affordable option, especially for framing large prints!
We can easily frame anything with our own picture frames, no matter how big or small!
The best thing about this DIY picture frame tutorial is that literally, anyone can do it! You do not need any power tools.
Follow the step-by-step tutorial to learn how to make your own.
Supplies
MATERIALS NEEDED
- Cardboard (cut from a cardboard box)
- Knife
- Pencil
- Ruler
- Newspaper
- Glue
- Decorative items (optional)
Steps to Make DIY Picture Frame
![Screenshot_20191011-120316[1].png](/proxy/?url=https://content.instructables.com/F8B/1KLA/K1HXAMUC/F8B1KLAK1HXAMUC.png&filename=Screenshot_20191011-120316[1].png)
Trace the length of the photo in a piece of cardboard
Mark 1.5 cm on all sides and cut off the excess cardboard.(piece1)
Now place the measured cardboard(piece1) over other cardboard(piece2) and trace it. => our bottom part of the frame is ready
Now cut the innerside of cardboard (piece1) => our top part of frame is ready
Take 3 pieces of cardboard , glue them on left , right and bottom sides of piece1 .
Now glue piece2 to piece1.
Our frame base is ready :)
It's Time for Creativeness

Take few news papers and glue them to the sides of the frame
Make news paper rolls and stick them over and trim of the excess rolls
decorate your frame as you wish :))
Once your frame is ready place the photo you like and hang them over :)
Note :
Picture frame molding can be expensive. It’s cheaper and so much fun to do it !!!!