DIY Pets Poop Scooper | 3D Printed at Home
by Creativitybuzz in Living > Pets
1972 Views, 18 Favorites, 0 Comments
DIY Pets Poop Scooper | 3D Printed at Home
.png)
A 3D printed poop scooper sounds like a clever and potentially eco-friendly solution for pet owners! You could design it to be ergonomic, durable, and easy to clean. Plus, using 3D printing allows for customization, so you could tailor it to different hand sizes or pet waste sizes. It's a creative application of technology to solve a common problem!
Supplies


.jpg)
Materials and Tools For making Poop Scooper
1) Prusa MK4 3d Printer https://www.prusa3d.com/product/original-prusa-mk4/
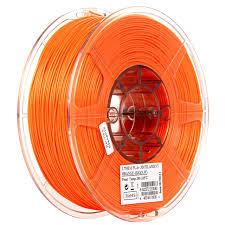
2) 1.75 mm PLA Filament ( Color as per your requirement )
3) 16 cm long 6mm steel Rod
4) 22 cm long 6mm Steel Rod
5) 5mm X 3 cm Bolt and Nut ( 4 pcs )
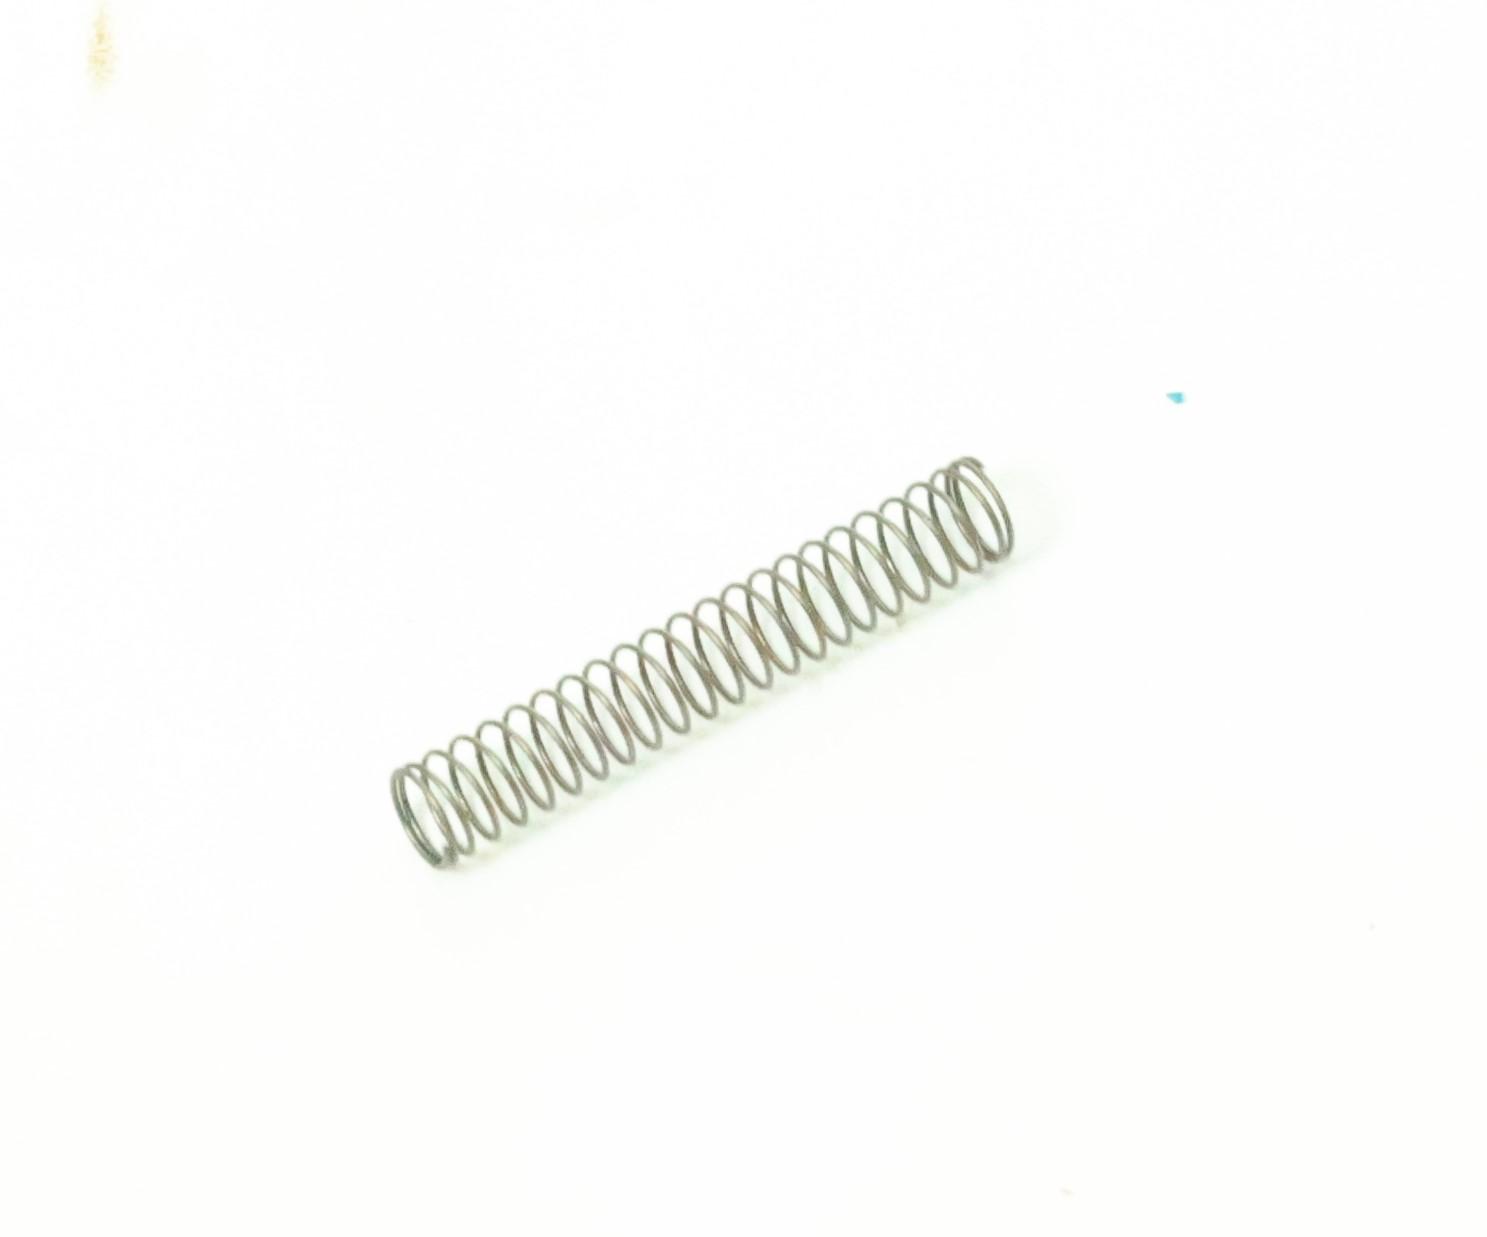
6) 7 cm long Spring
7) Glue
8) Support Remove tools like tweezer and Hobby knives.
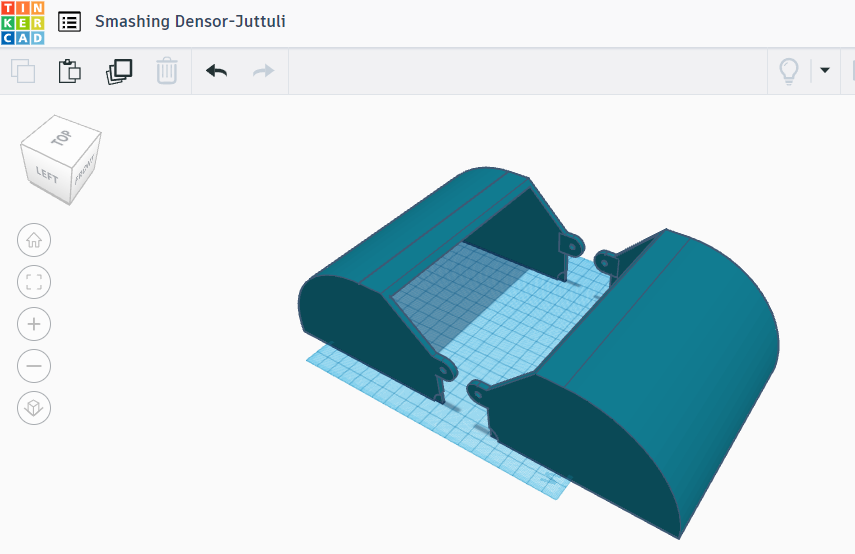
Make a Design in Tinkercad

.png)
.png)
.png)
.png)
.png)
.png)
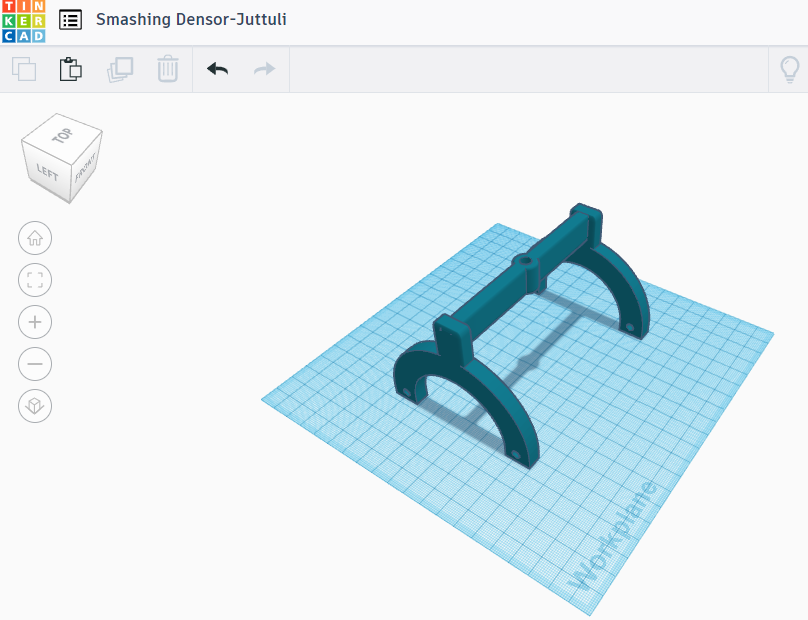
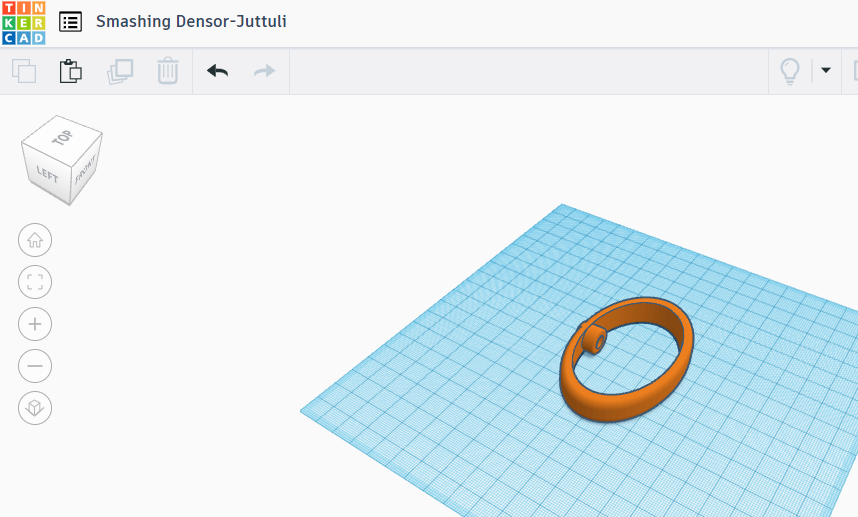
Creating a design for a poop scooper in Tinkercad can be quite straightforward. Here's a simple design:
- Handle: Start with a cylinder for the handle. Adjust its dimensions to make it comfortable to hold.
- Scooper: Create a flat, scoop-shaped surface that extends from the handle. You can use a combination of basic shapes like cylinders, boxes, and spheres to achieve the desired shape.
- Hinge: Consider adding a hinge mechanism so the scooper can open and close. This allows for easier cleaning and disposal of the waste.
- Supports: Ensure that the scooper has adequate support structures to maintain its shape and strength, especially if it's going to be 3D printed.
Remember to consider the size and weight of the scooper, as well as the material you'll be using for 3D printing is PLA.
If you choose not to create the design yourself, download the attached file and make the necessary changes.
3D Print All Parts


I use a Prusa MK4 3D printer to 3D print every part in two colors. Using any 3D printer you own, print all the parts according to your specifications. As seen in the images above, we require ten pieces.
Verify that every part is printed clearly and neatly.
Remove Support
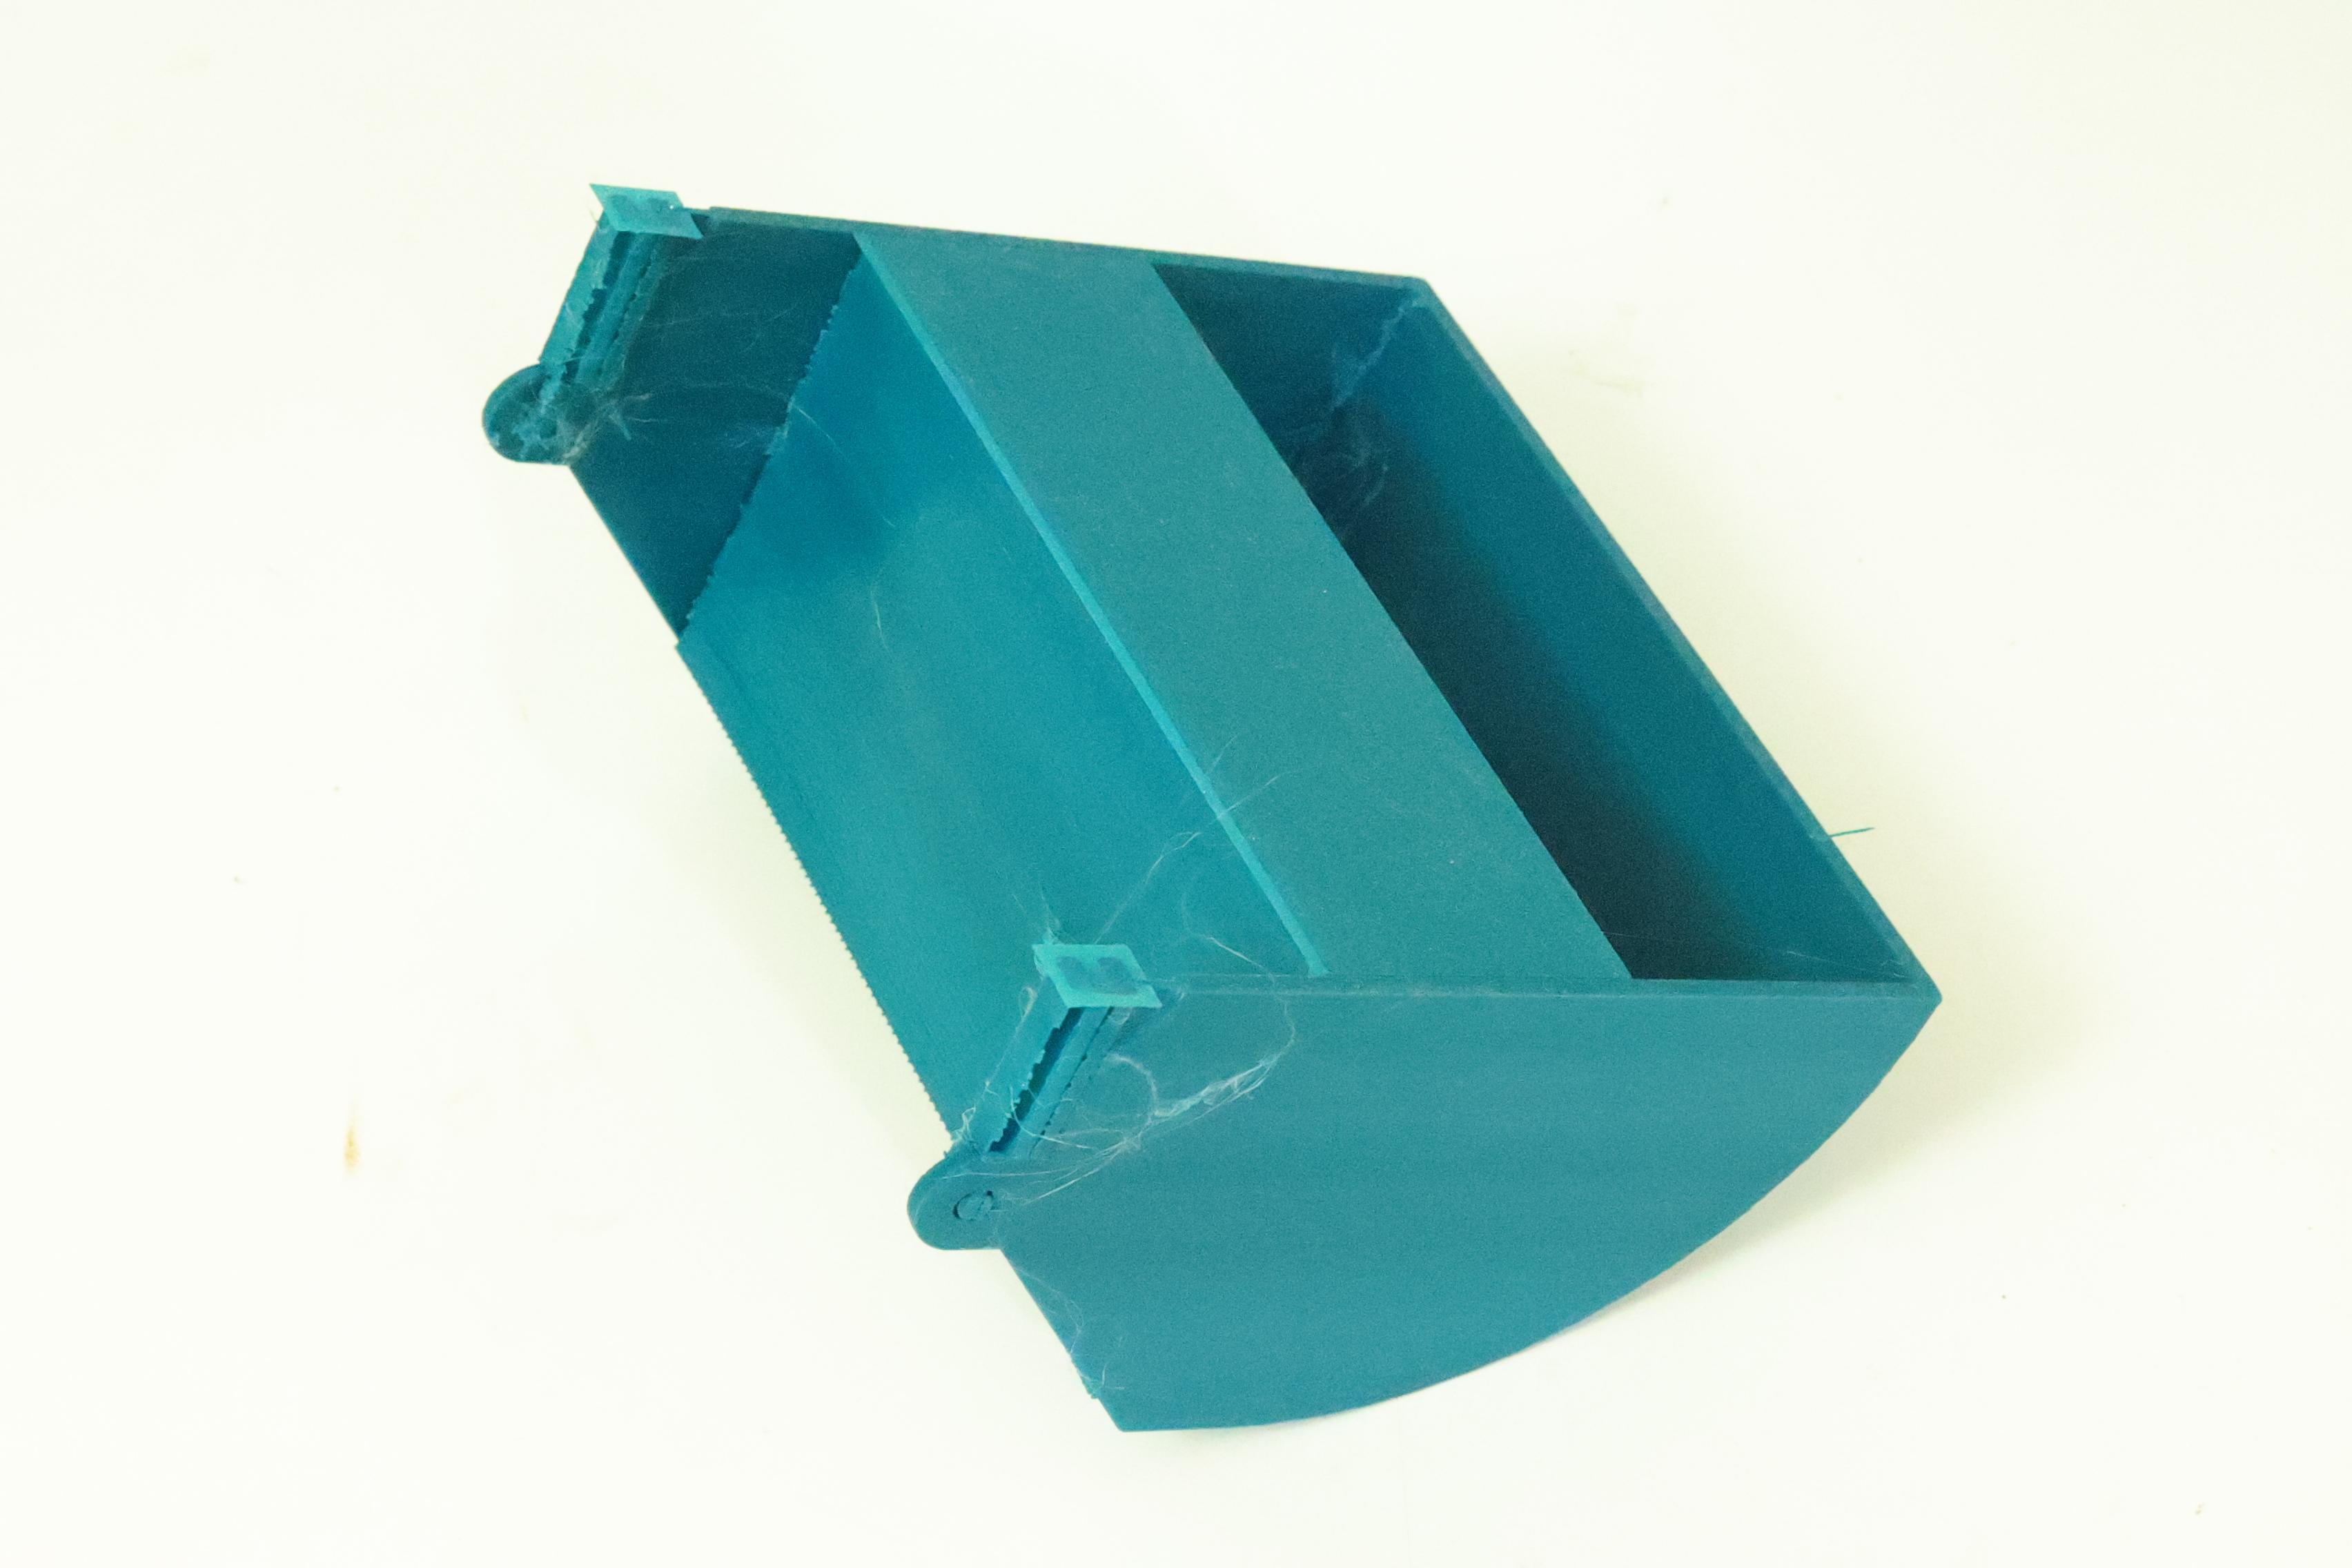
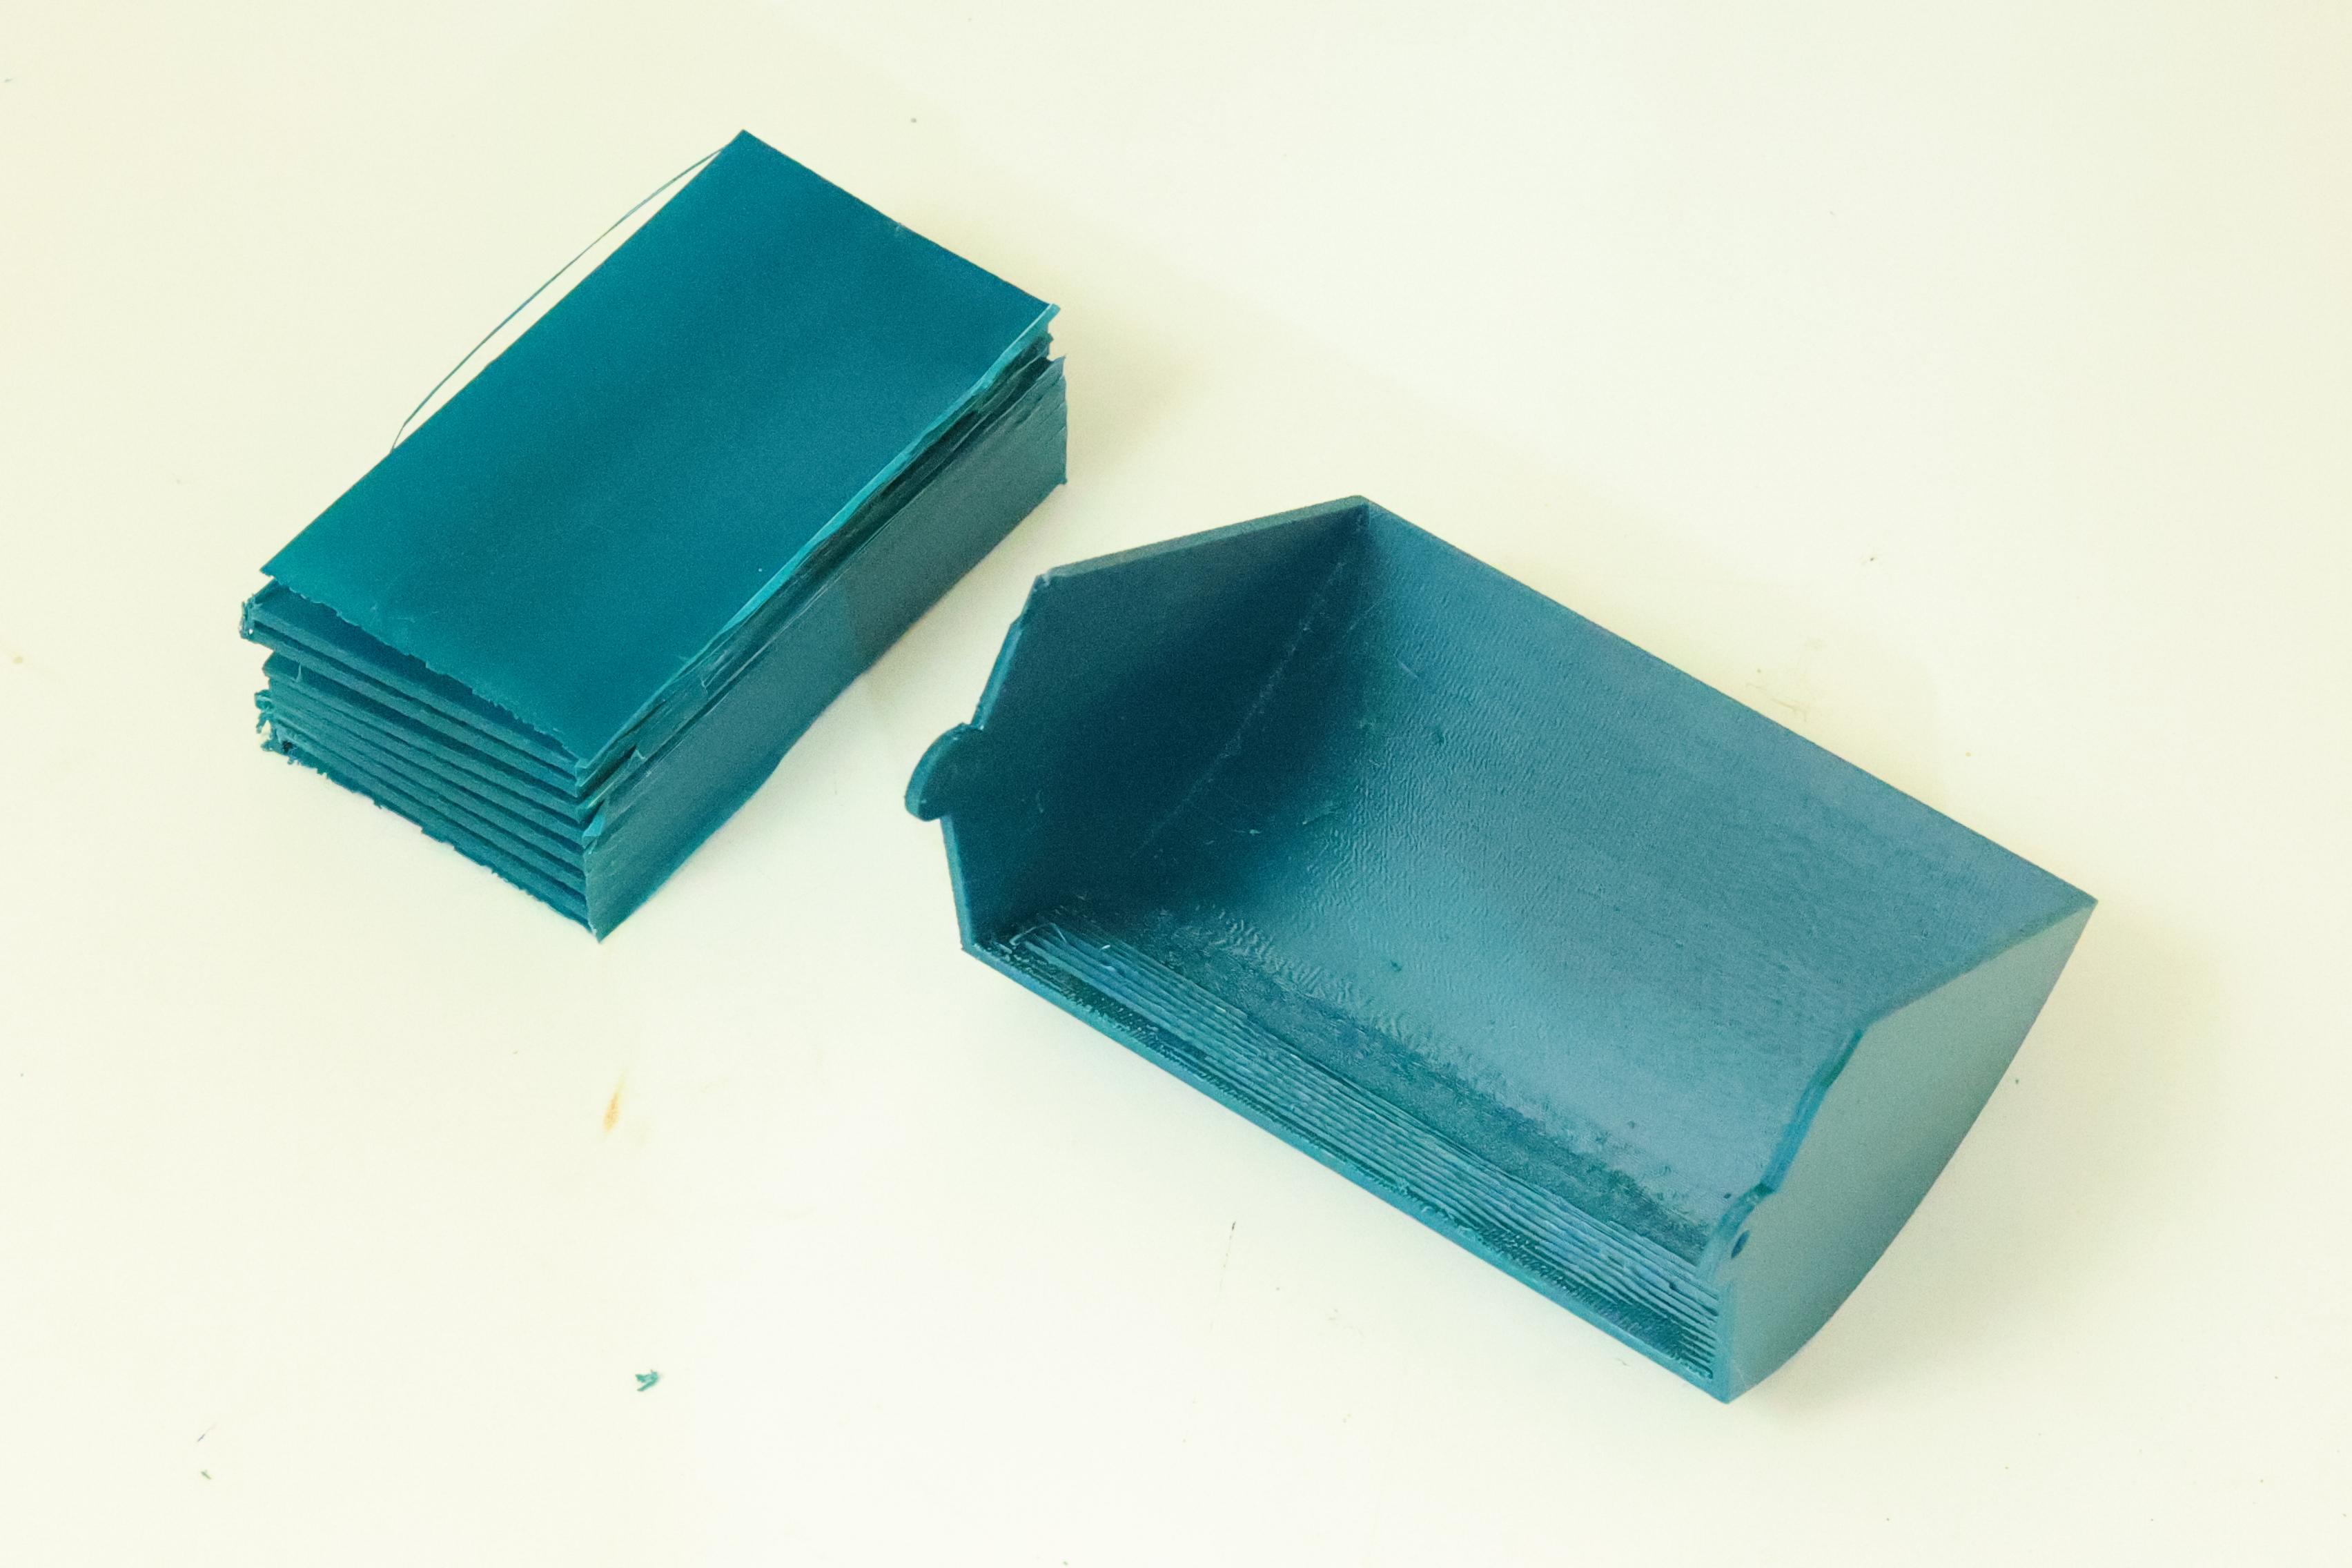
I make a support to 3d printing of bucket. Therefore, after 3D printing, this support must be removed.
Removing support material from 3D printed parts can be a bit tedious but necessary for achieving a clean final result. Here's a general process for removing supports:
Identify Support Structures : After 3D printing, identify the areas where support material was generated. This is typically underneath overhanging features or inside cavities.
Use Tools : Depending on the material and complexity of the supports, you may need different tools. Common tools include needle-nose pliers, tweezers, wire cutters, and hobby knives.
Remember to wear appropriate safety gear, such as gloves and eye protection, especially when using sharp tools.
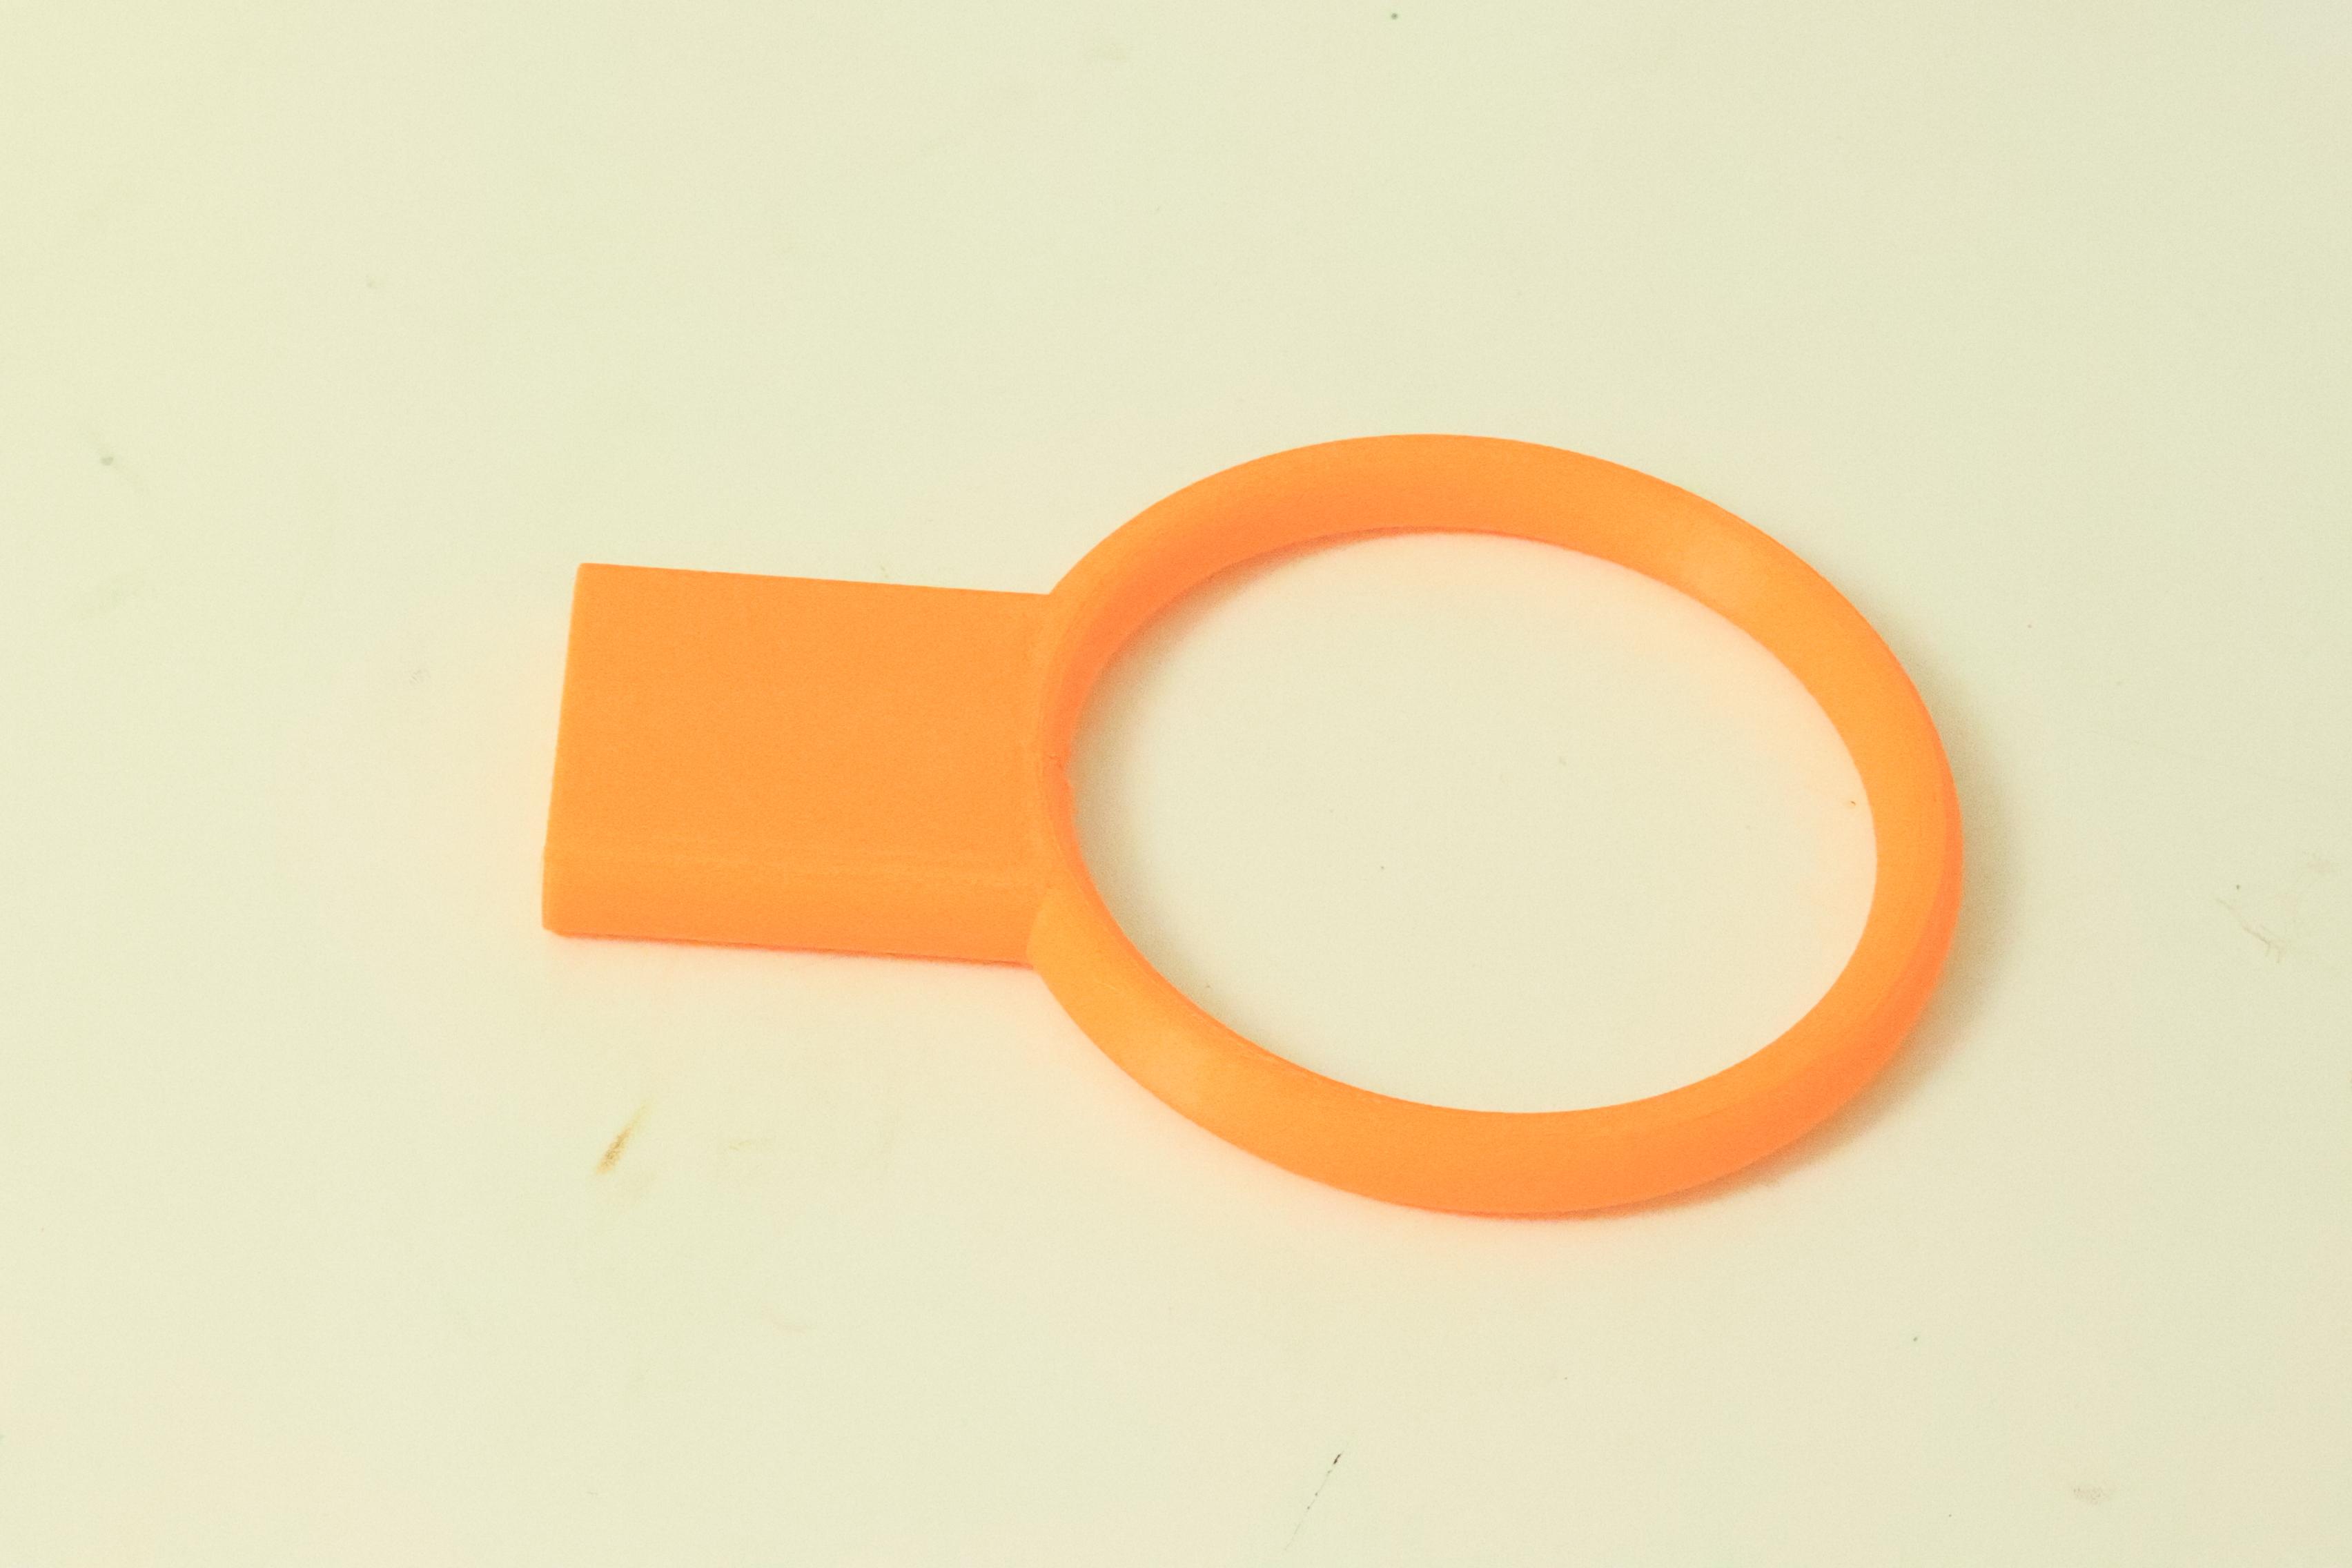
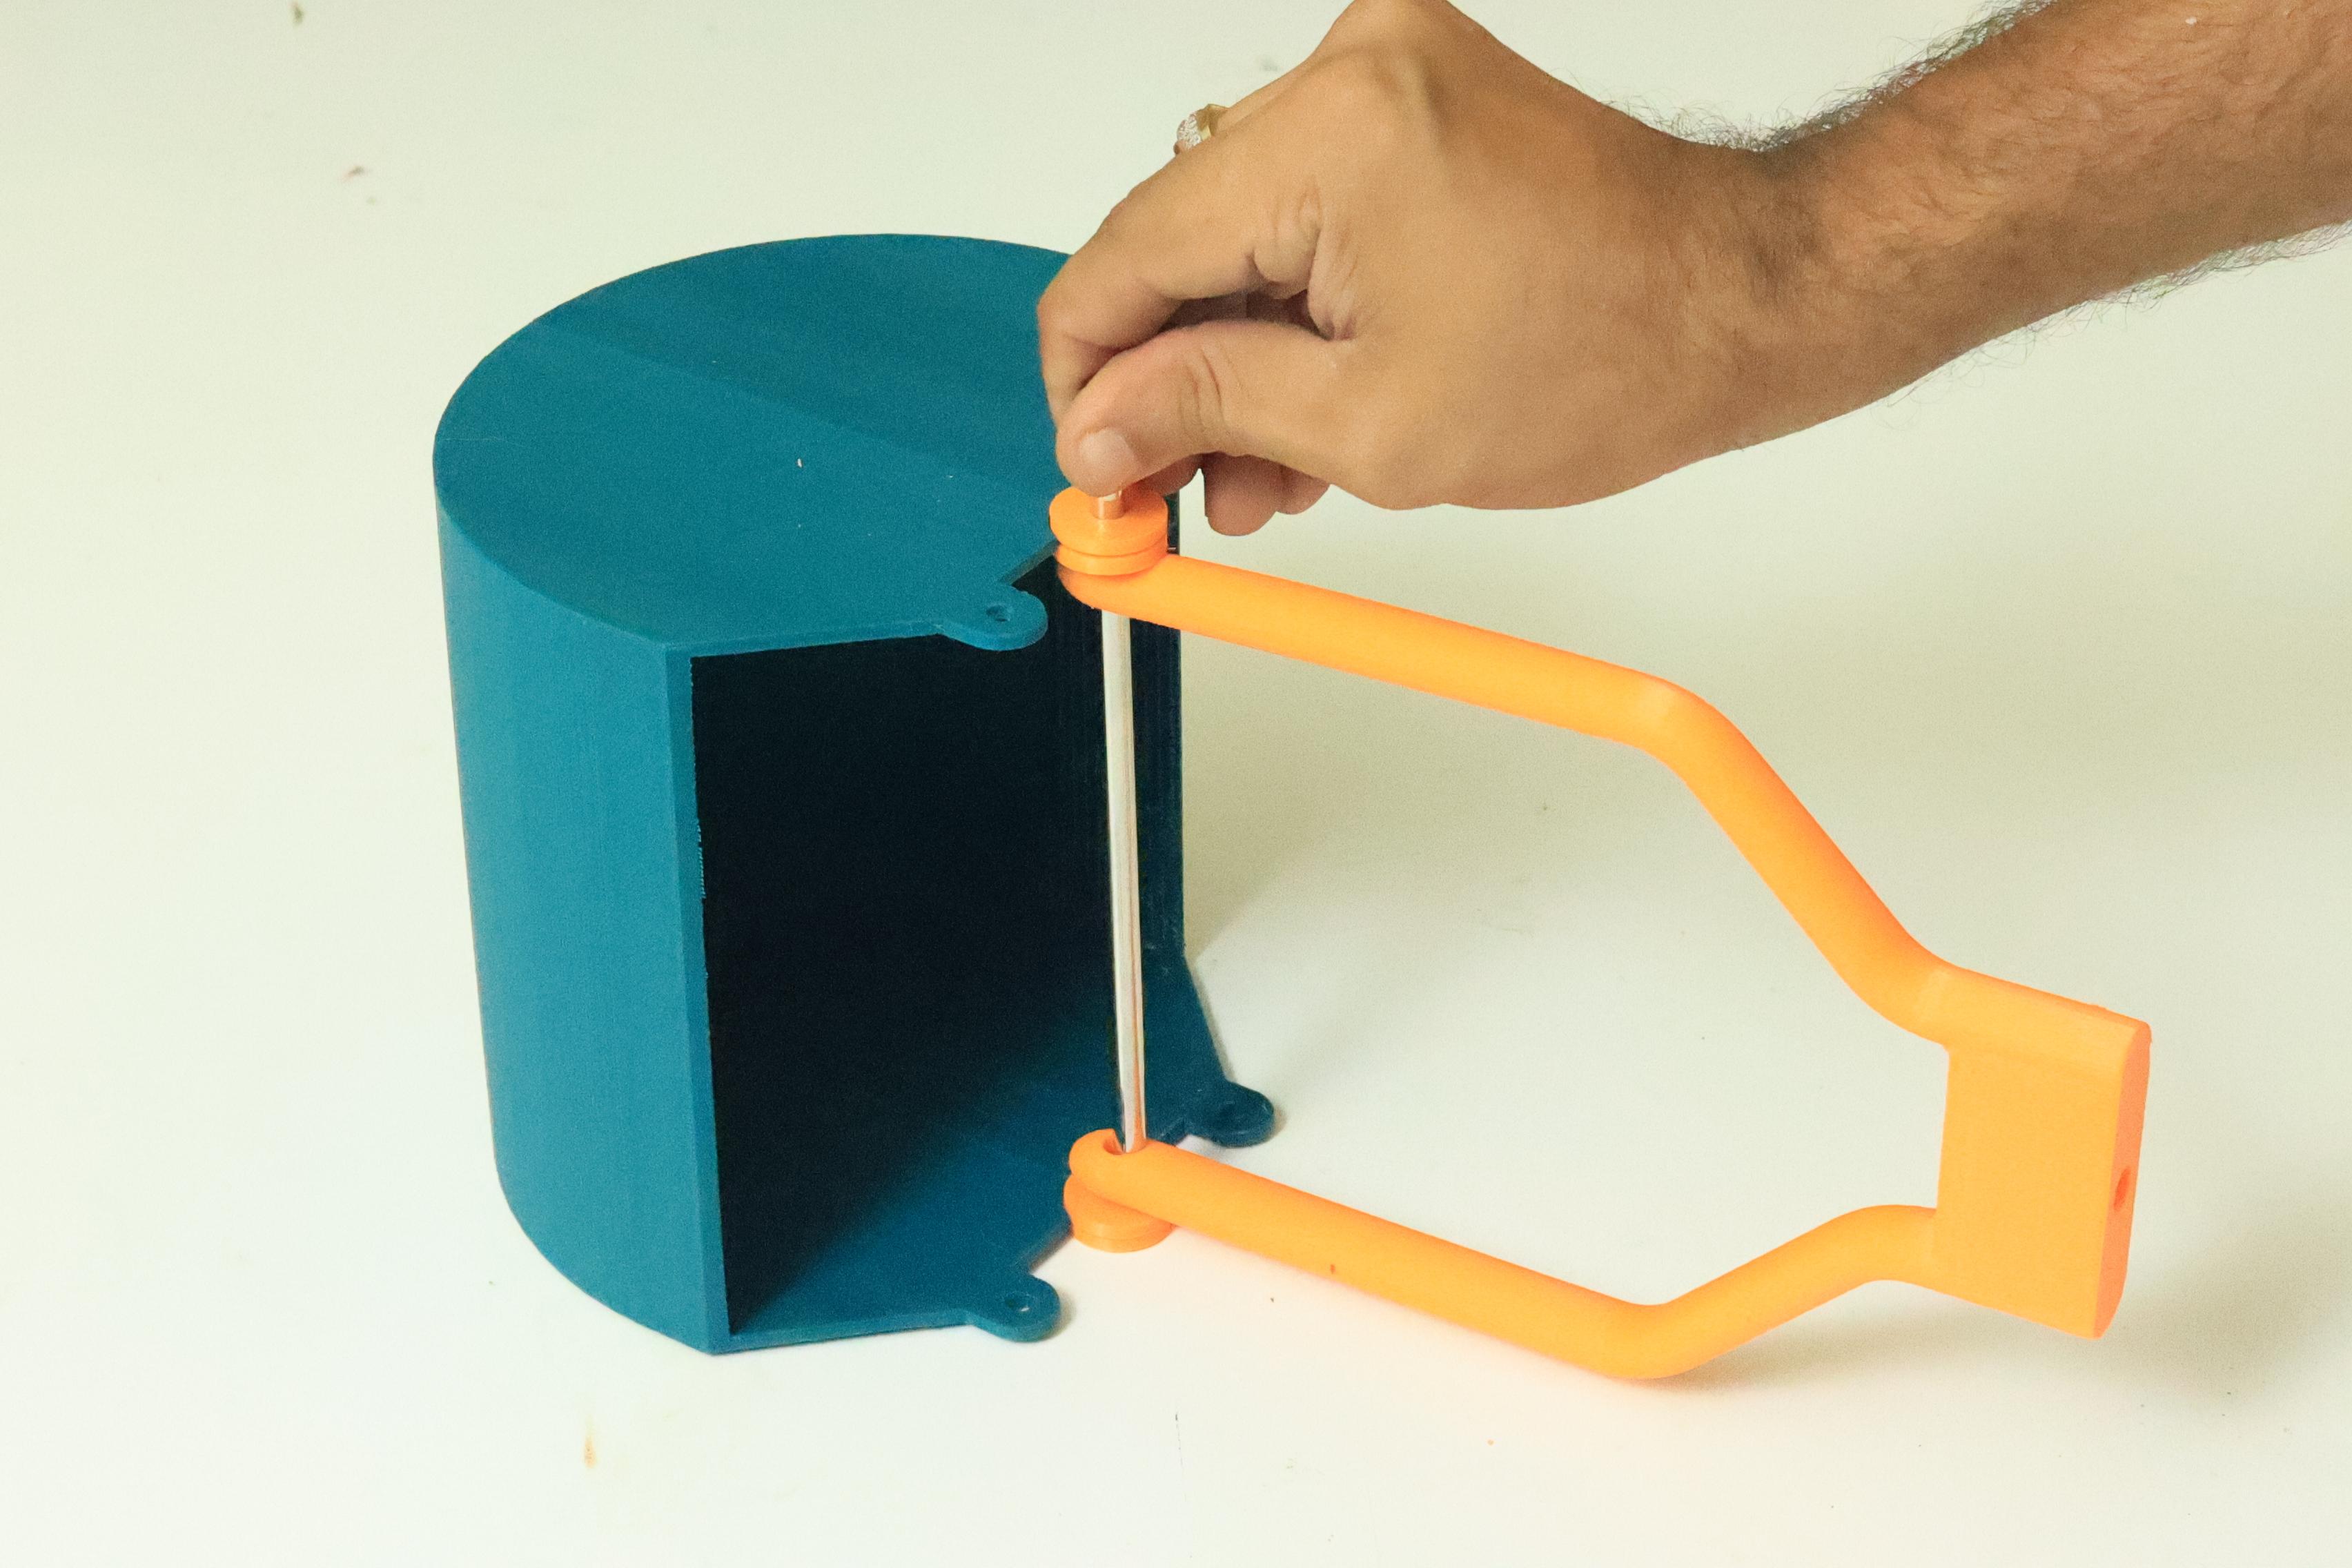
Make a Bucket


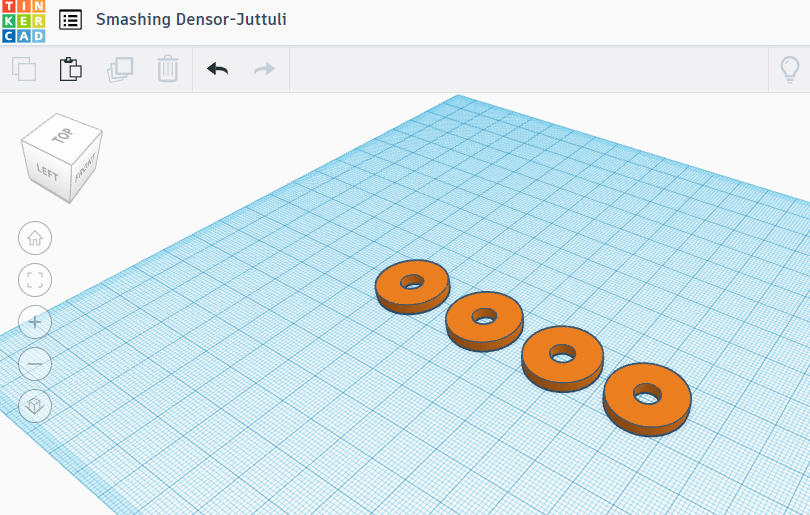
We require a stick hinge in order to create an open/close bucket mechanism. Place the 3D-printed washer in the corner of each bucket as shown in the images. Place both buckets as shown in the last picture.
Make sure the mechanism works as intended by testing and prototyping your concept. Based on the outcomes of your testing, make any necessary alterations or improvements.
Join Arm


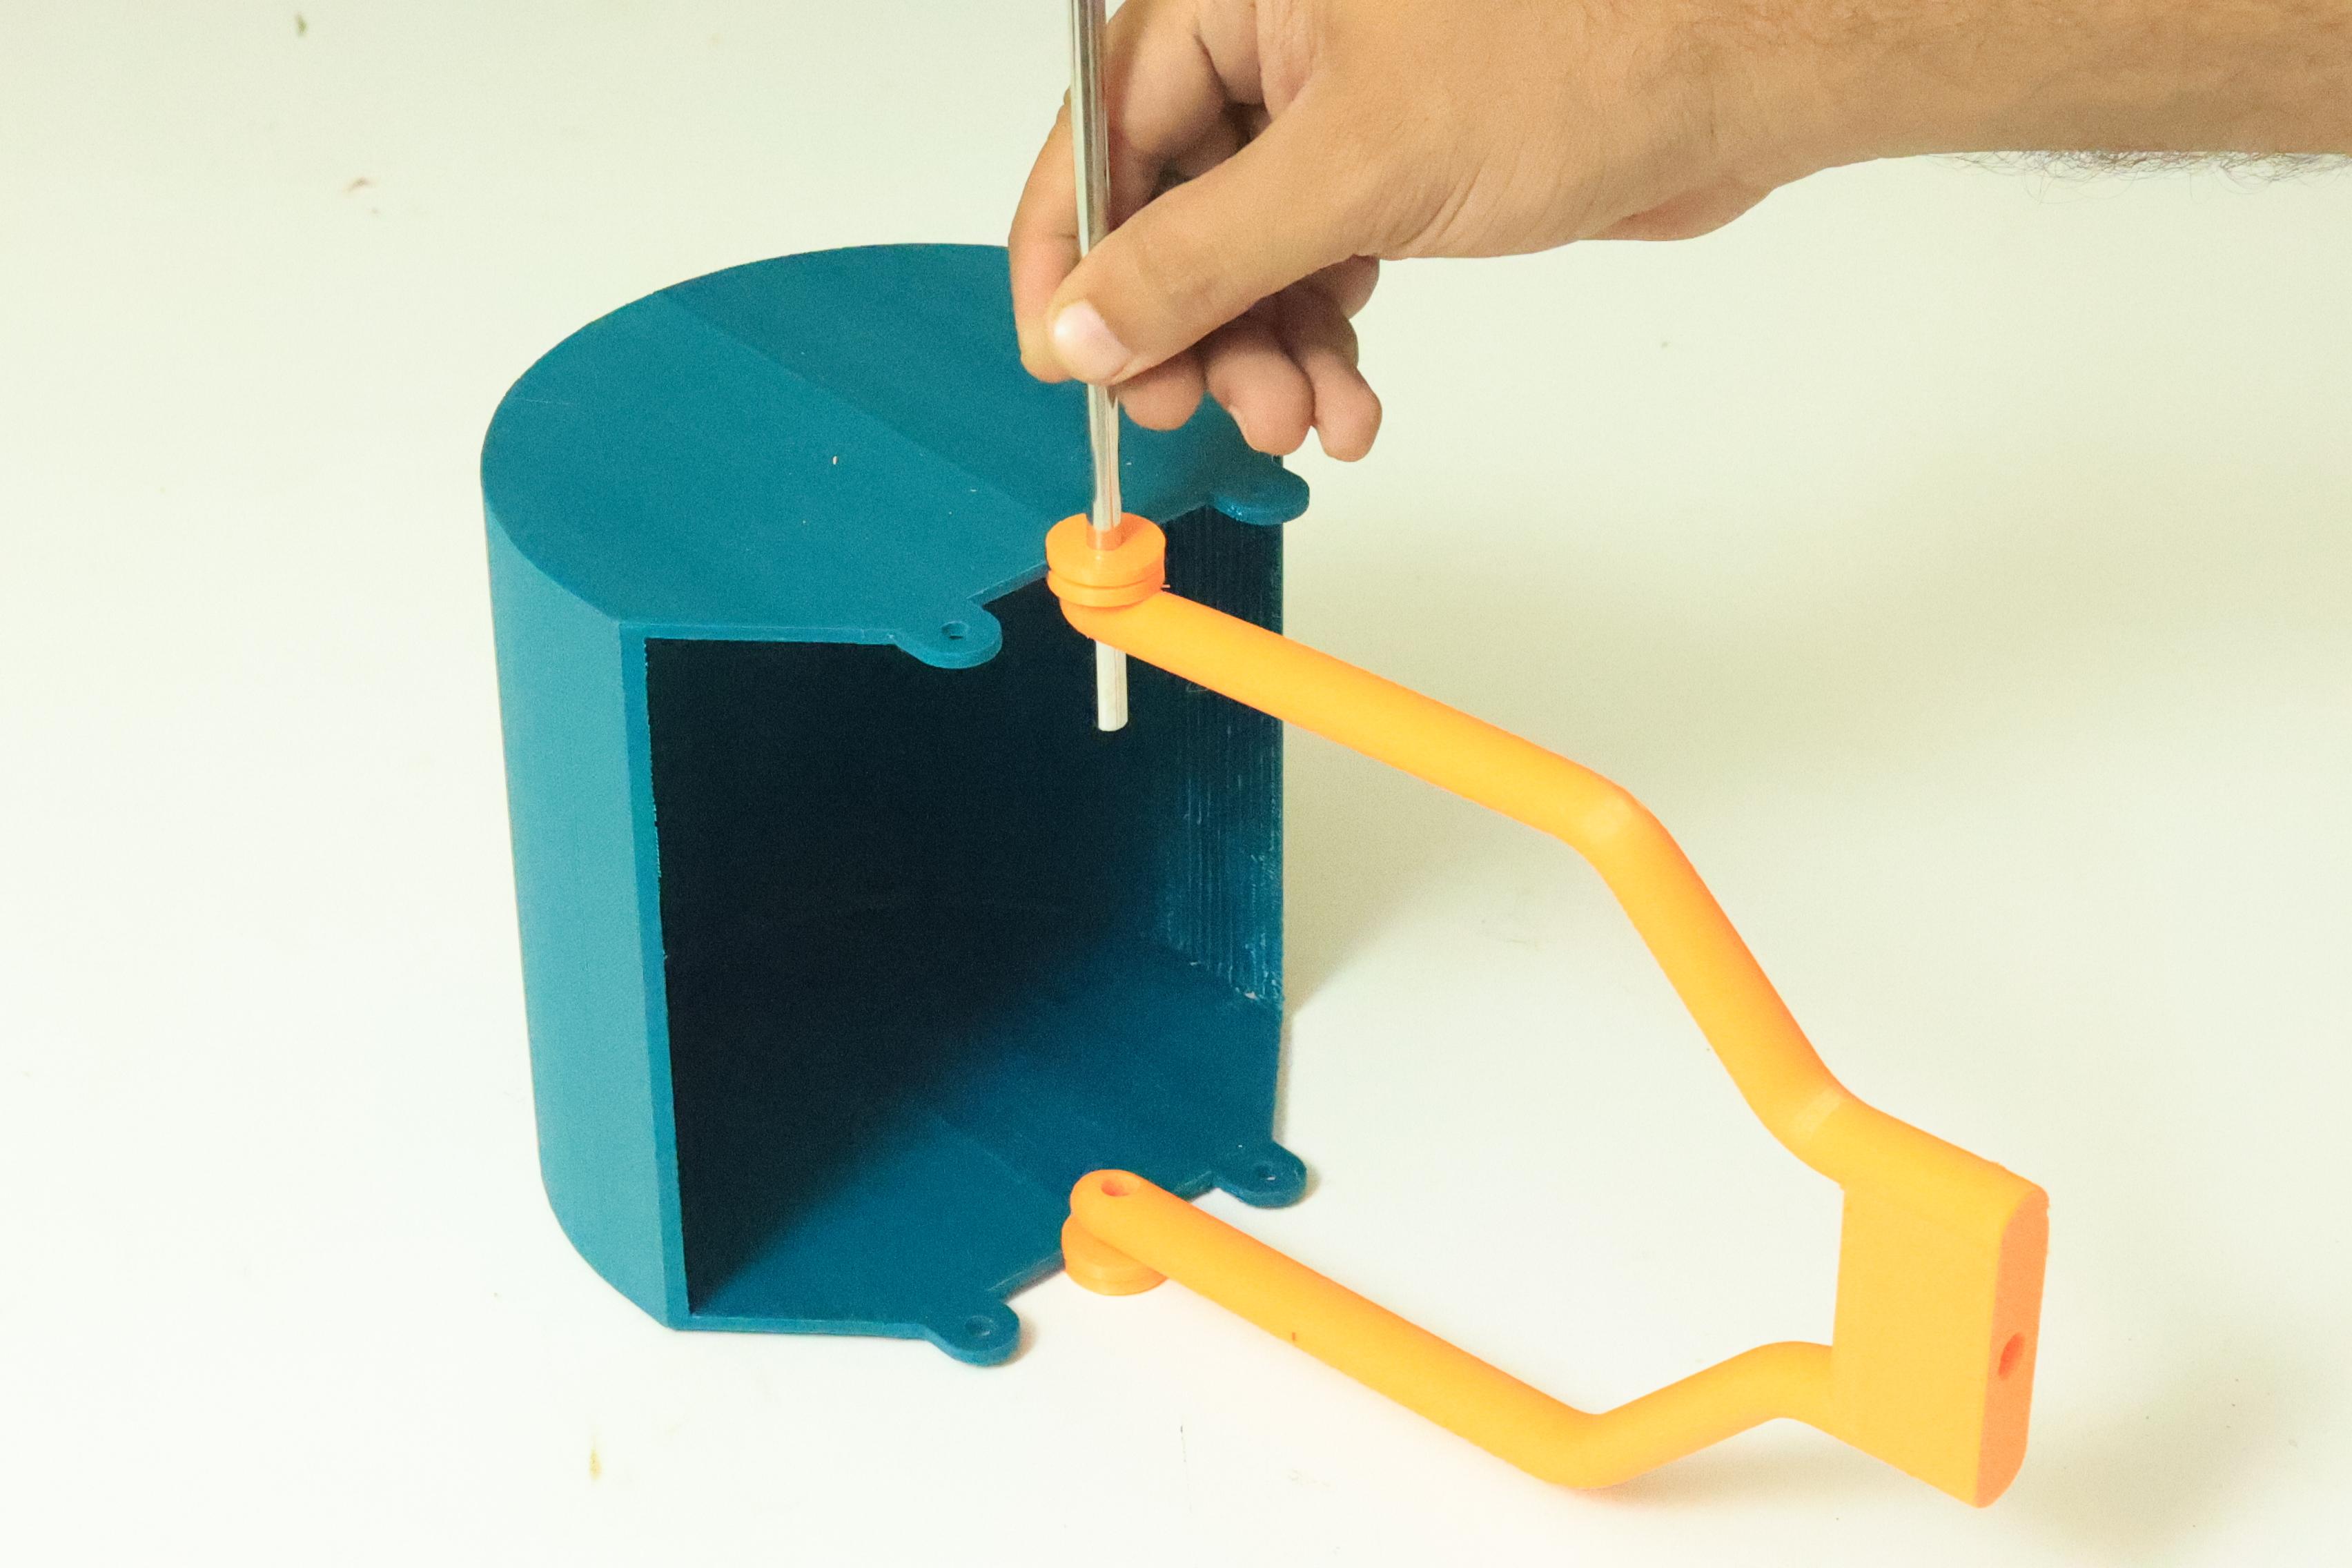


Due to the 3D printer's maximum working area, I divided my arm into two sections. The letter joins both parts.
Right now Take a 22-centimeter, 6mm steel rod with first arm. Position the arm in the middle of the 3D-printed bucket washer and insert a 6mm rod through the arm and washers.
You may now manually open and close the bucket by hand.
Join Bucket Side Link

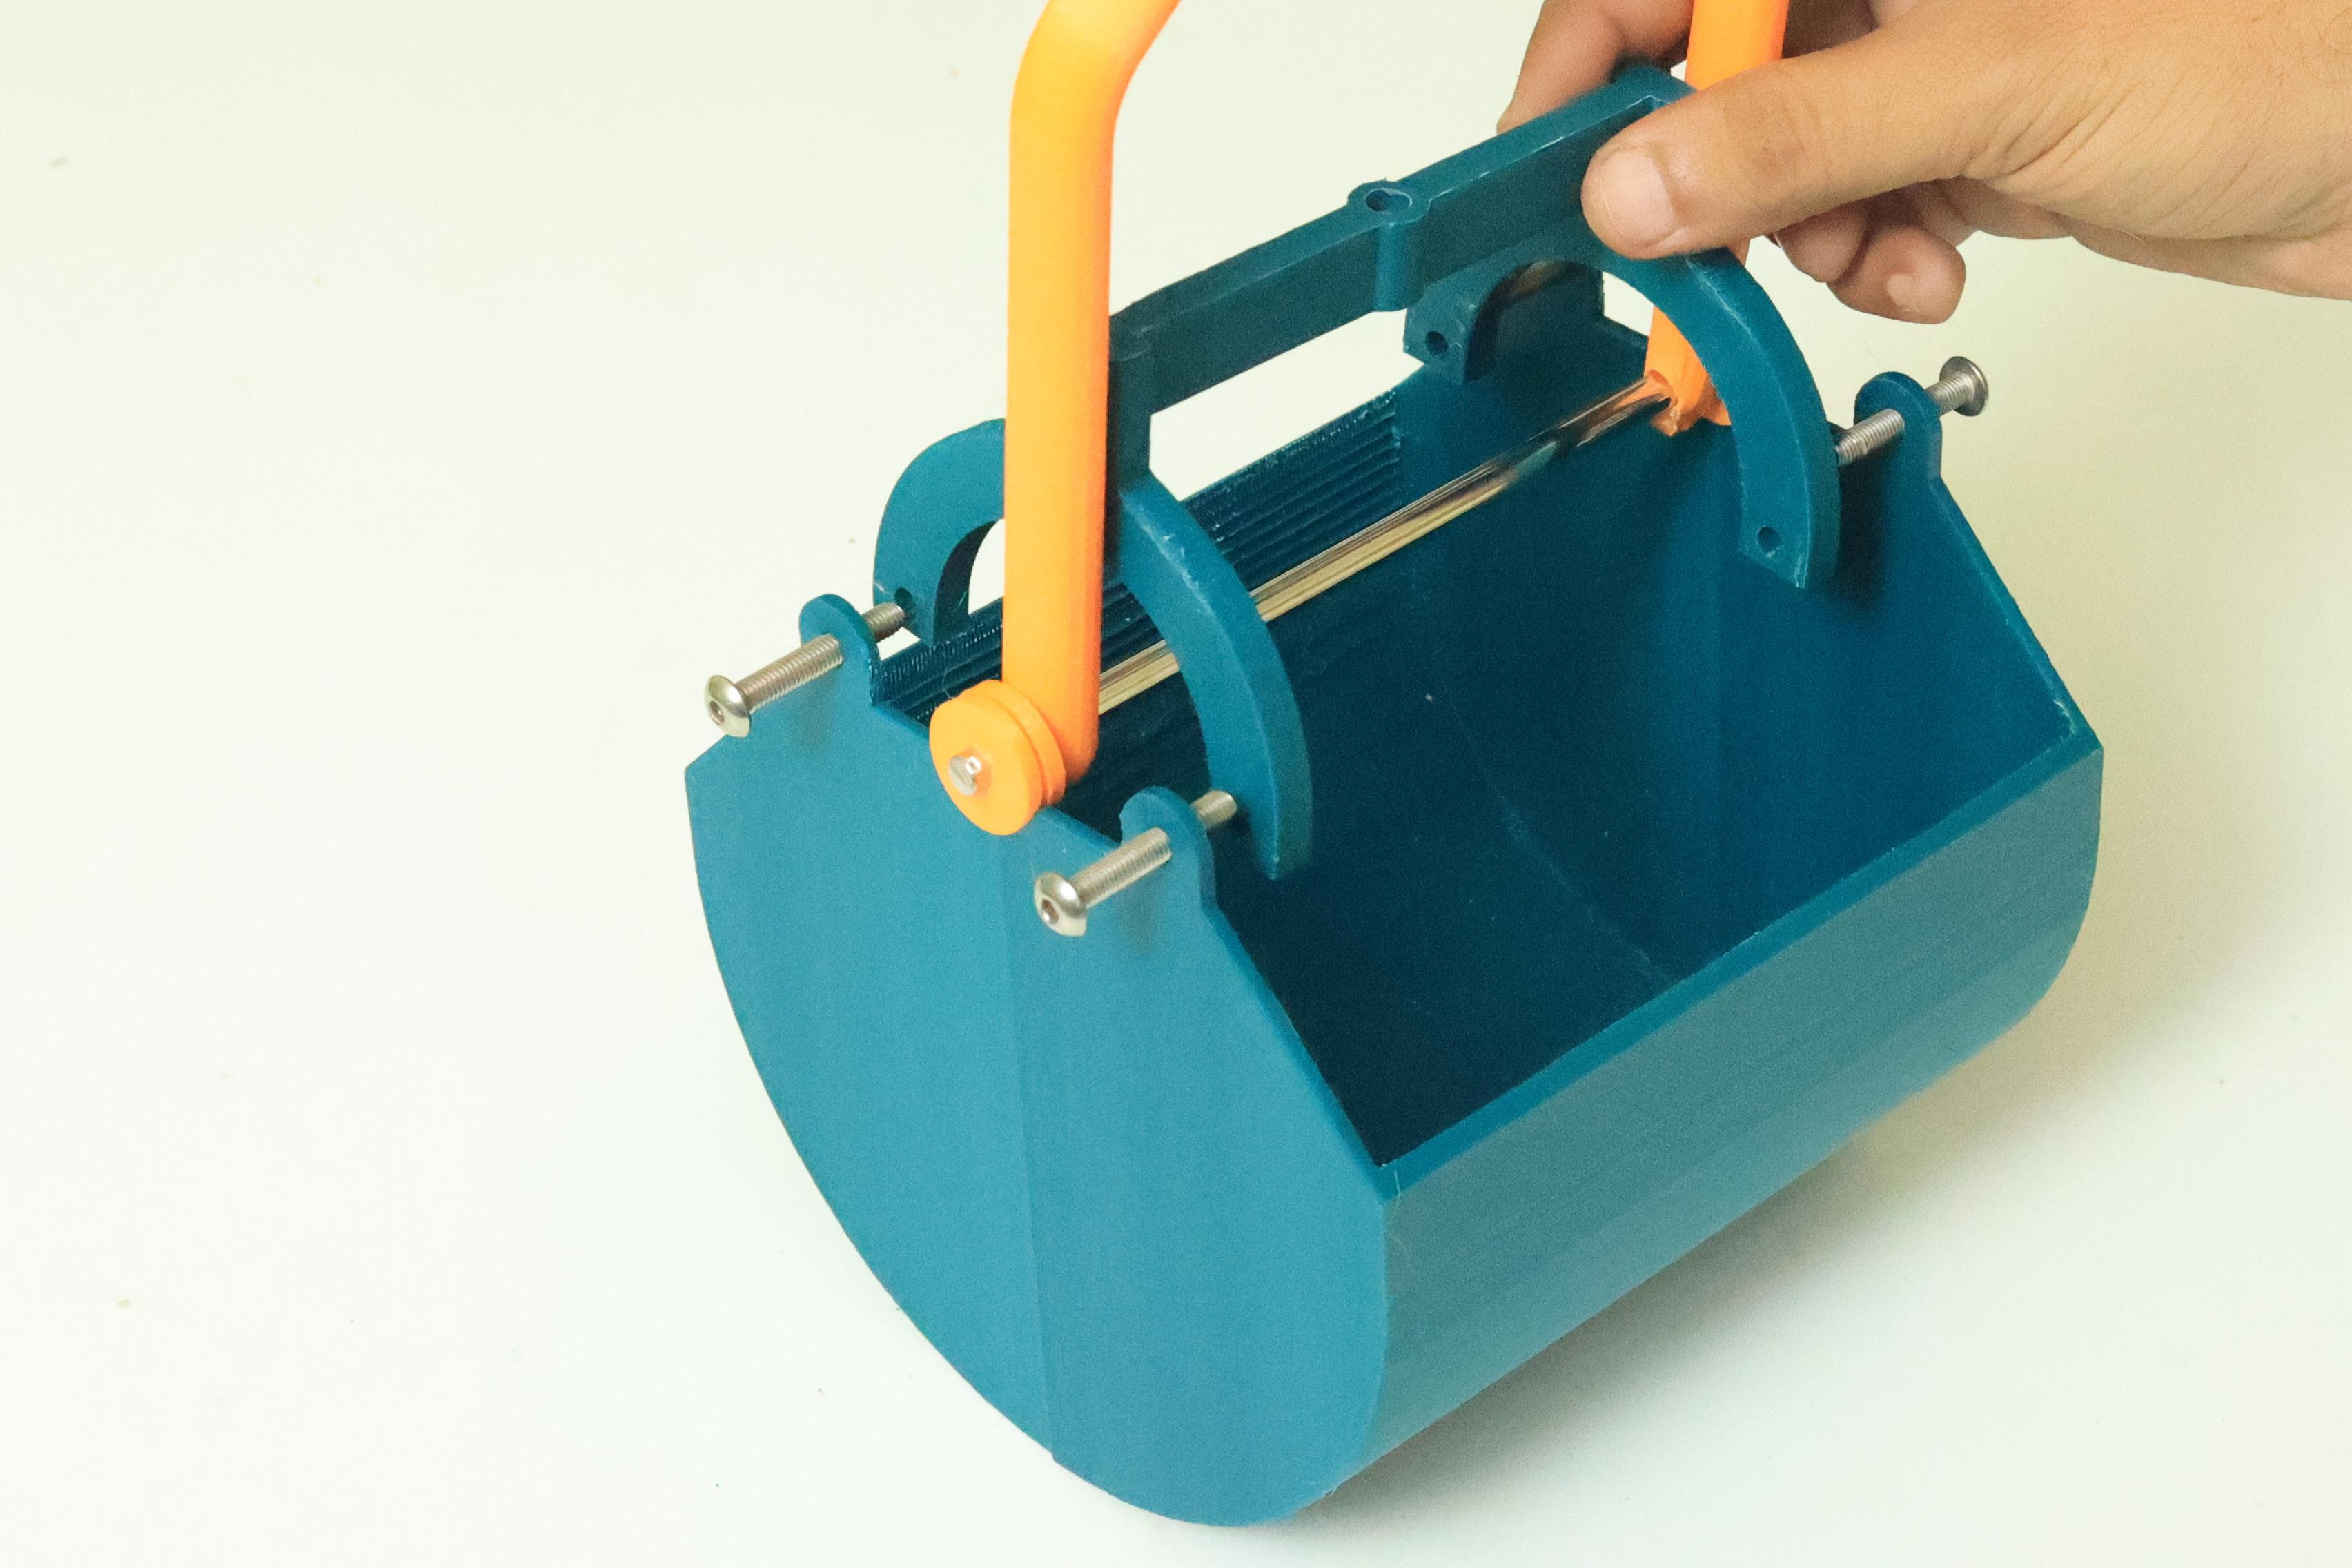
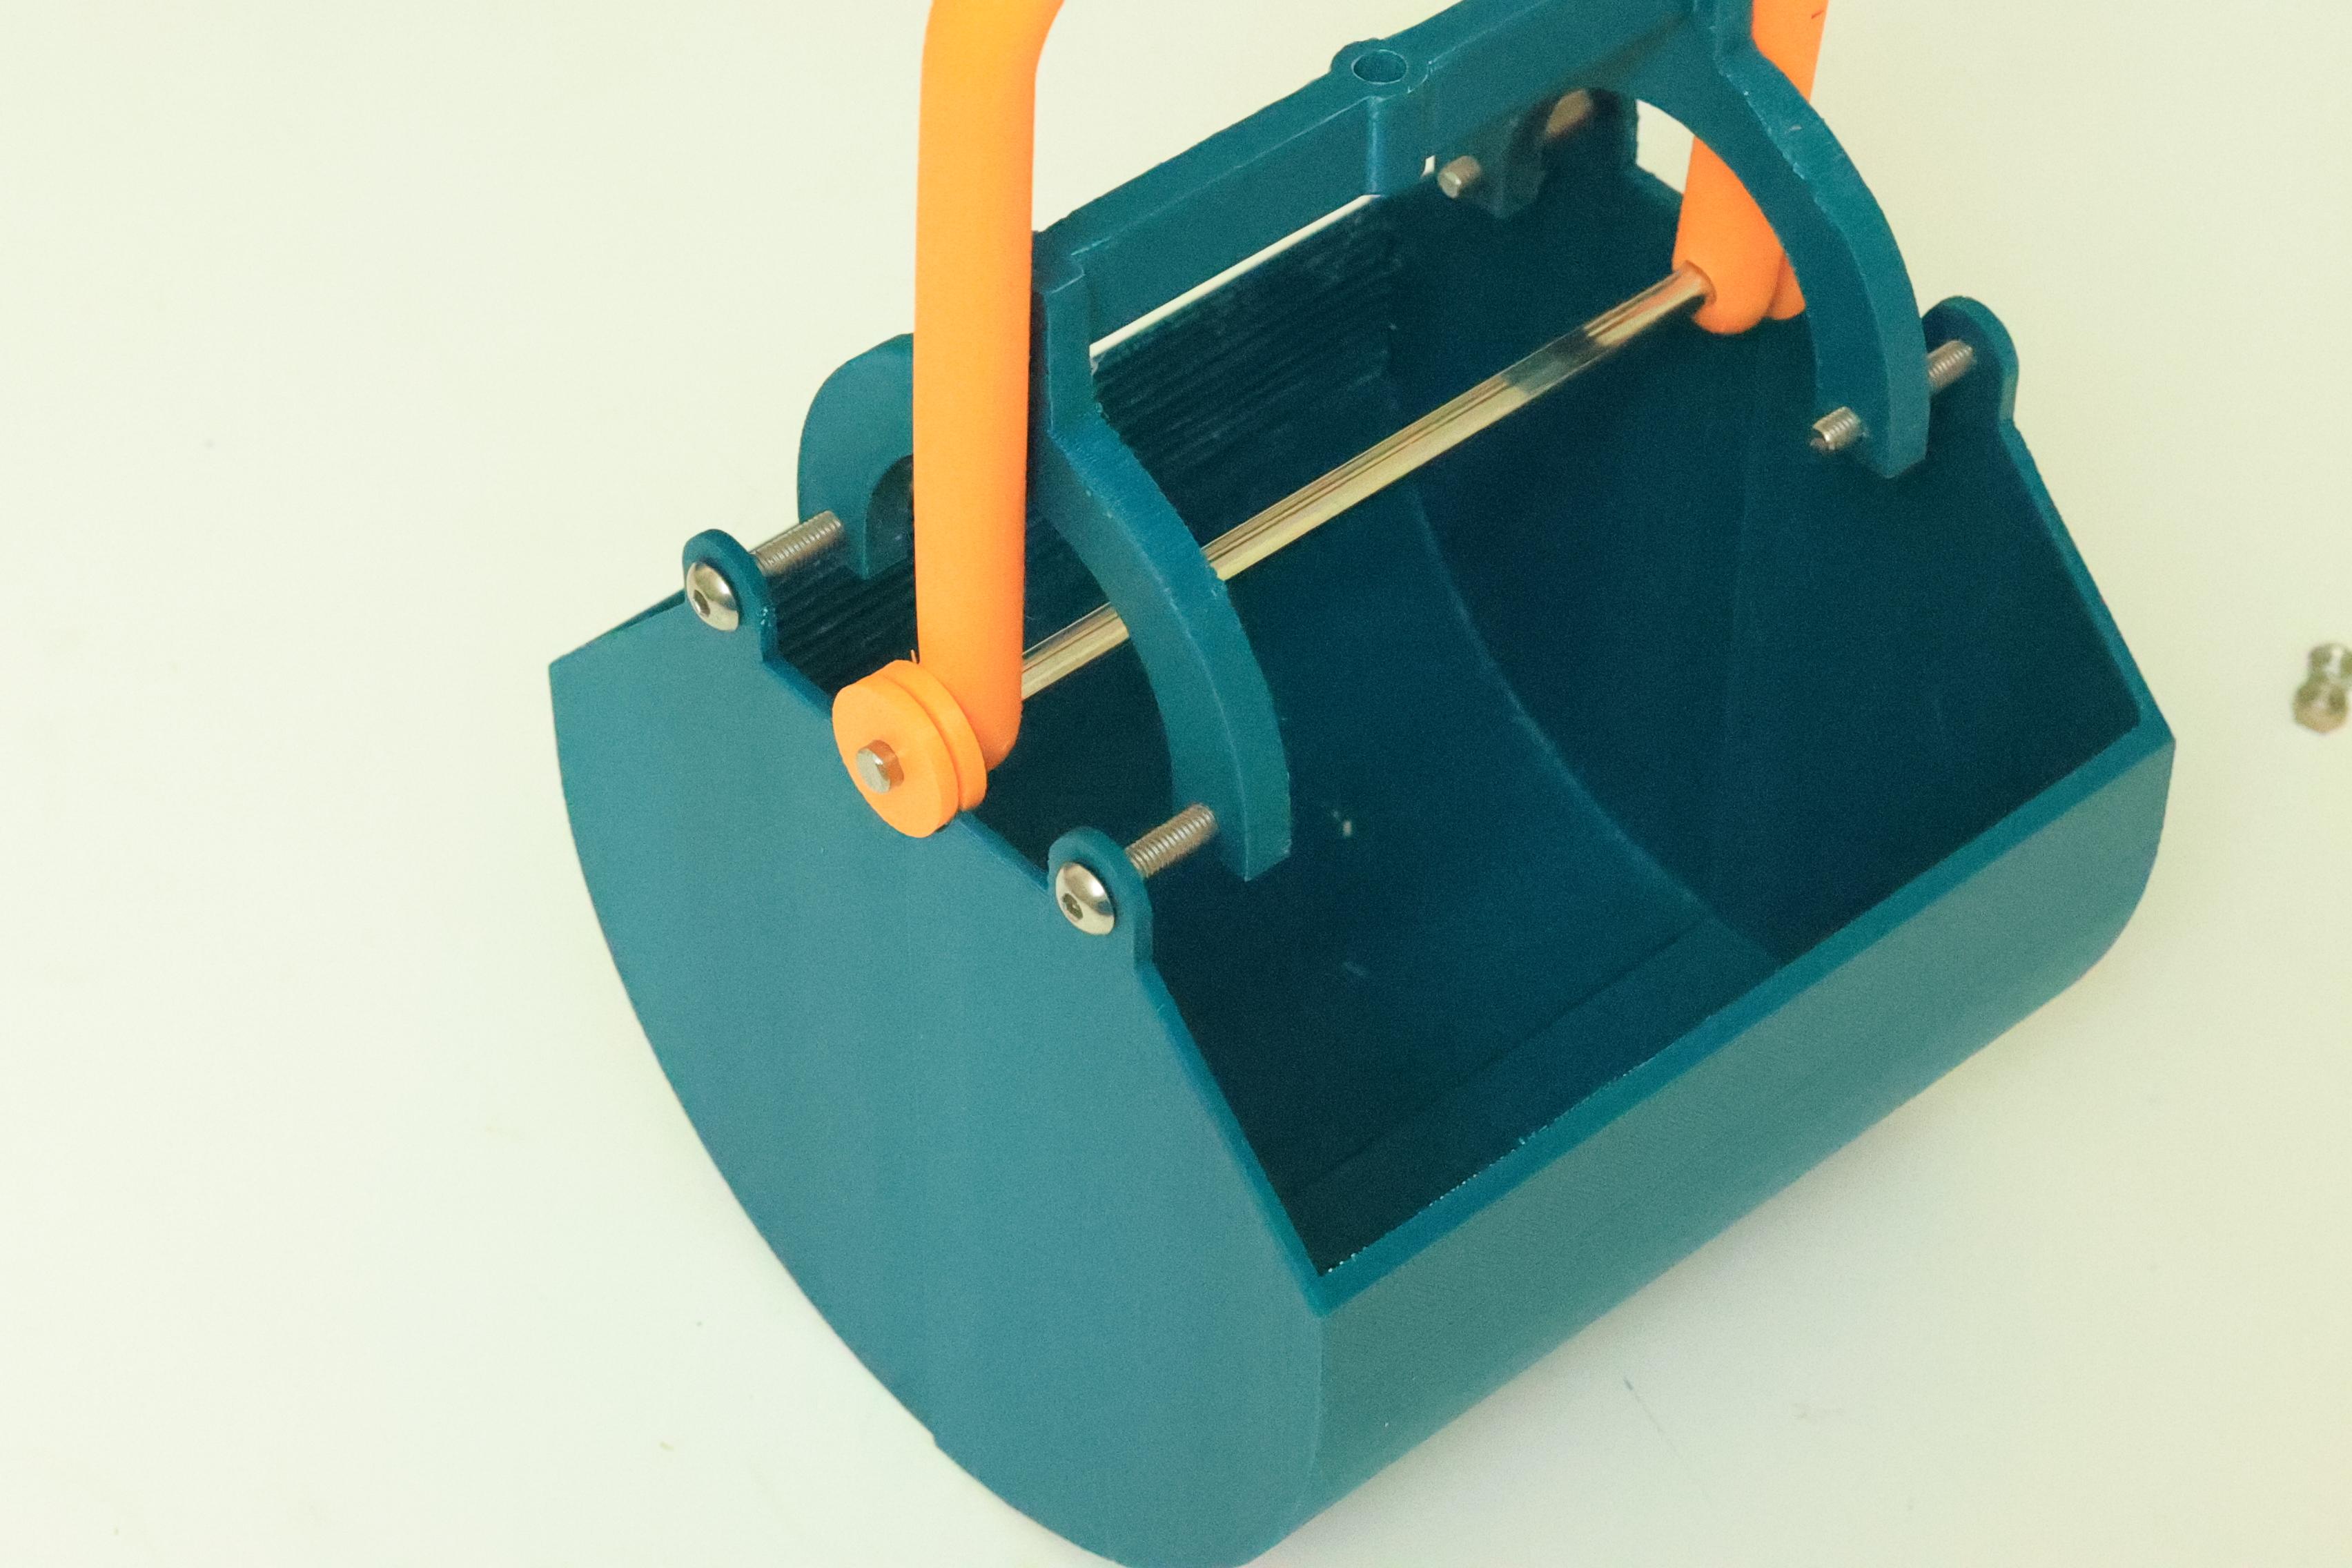

Take the 5mm bolt and the bucket side link now. As shown in the figure, pass all four bolts from the bucket hinge. After that, insert the 3D-printed bucket side link and tighten all four nuts.
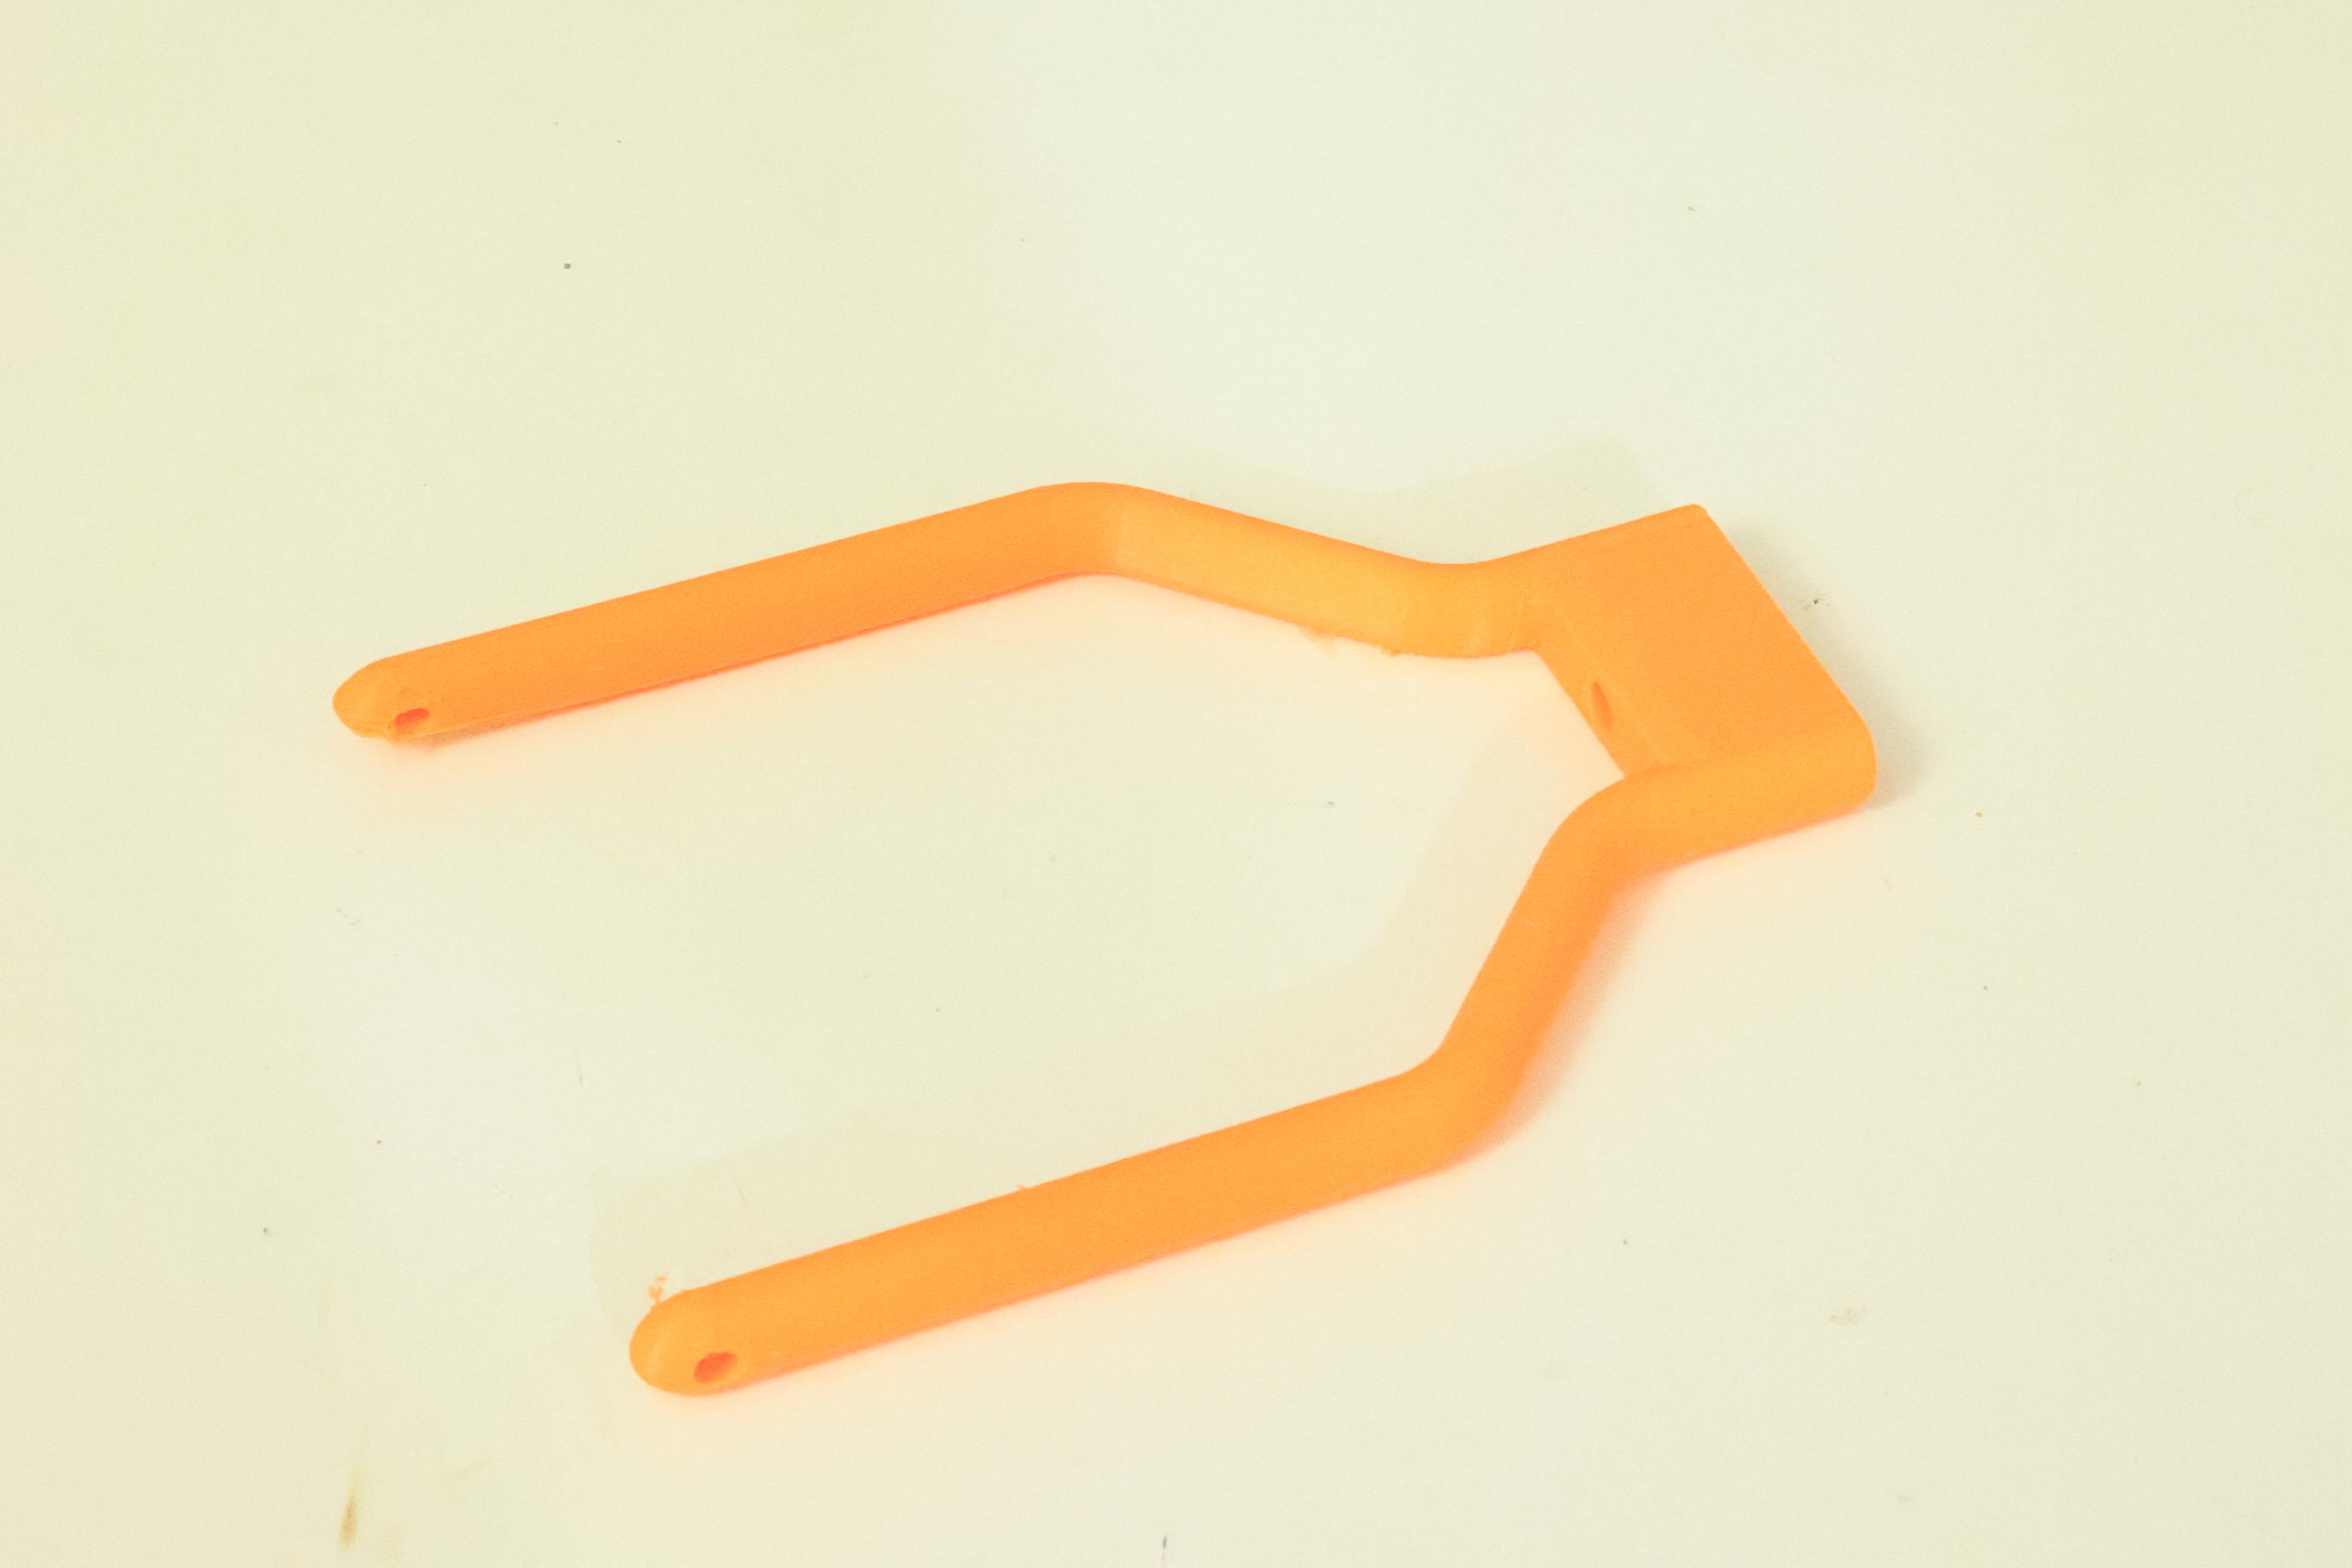
Make a Complete Arm

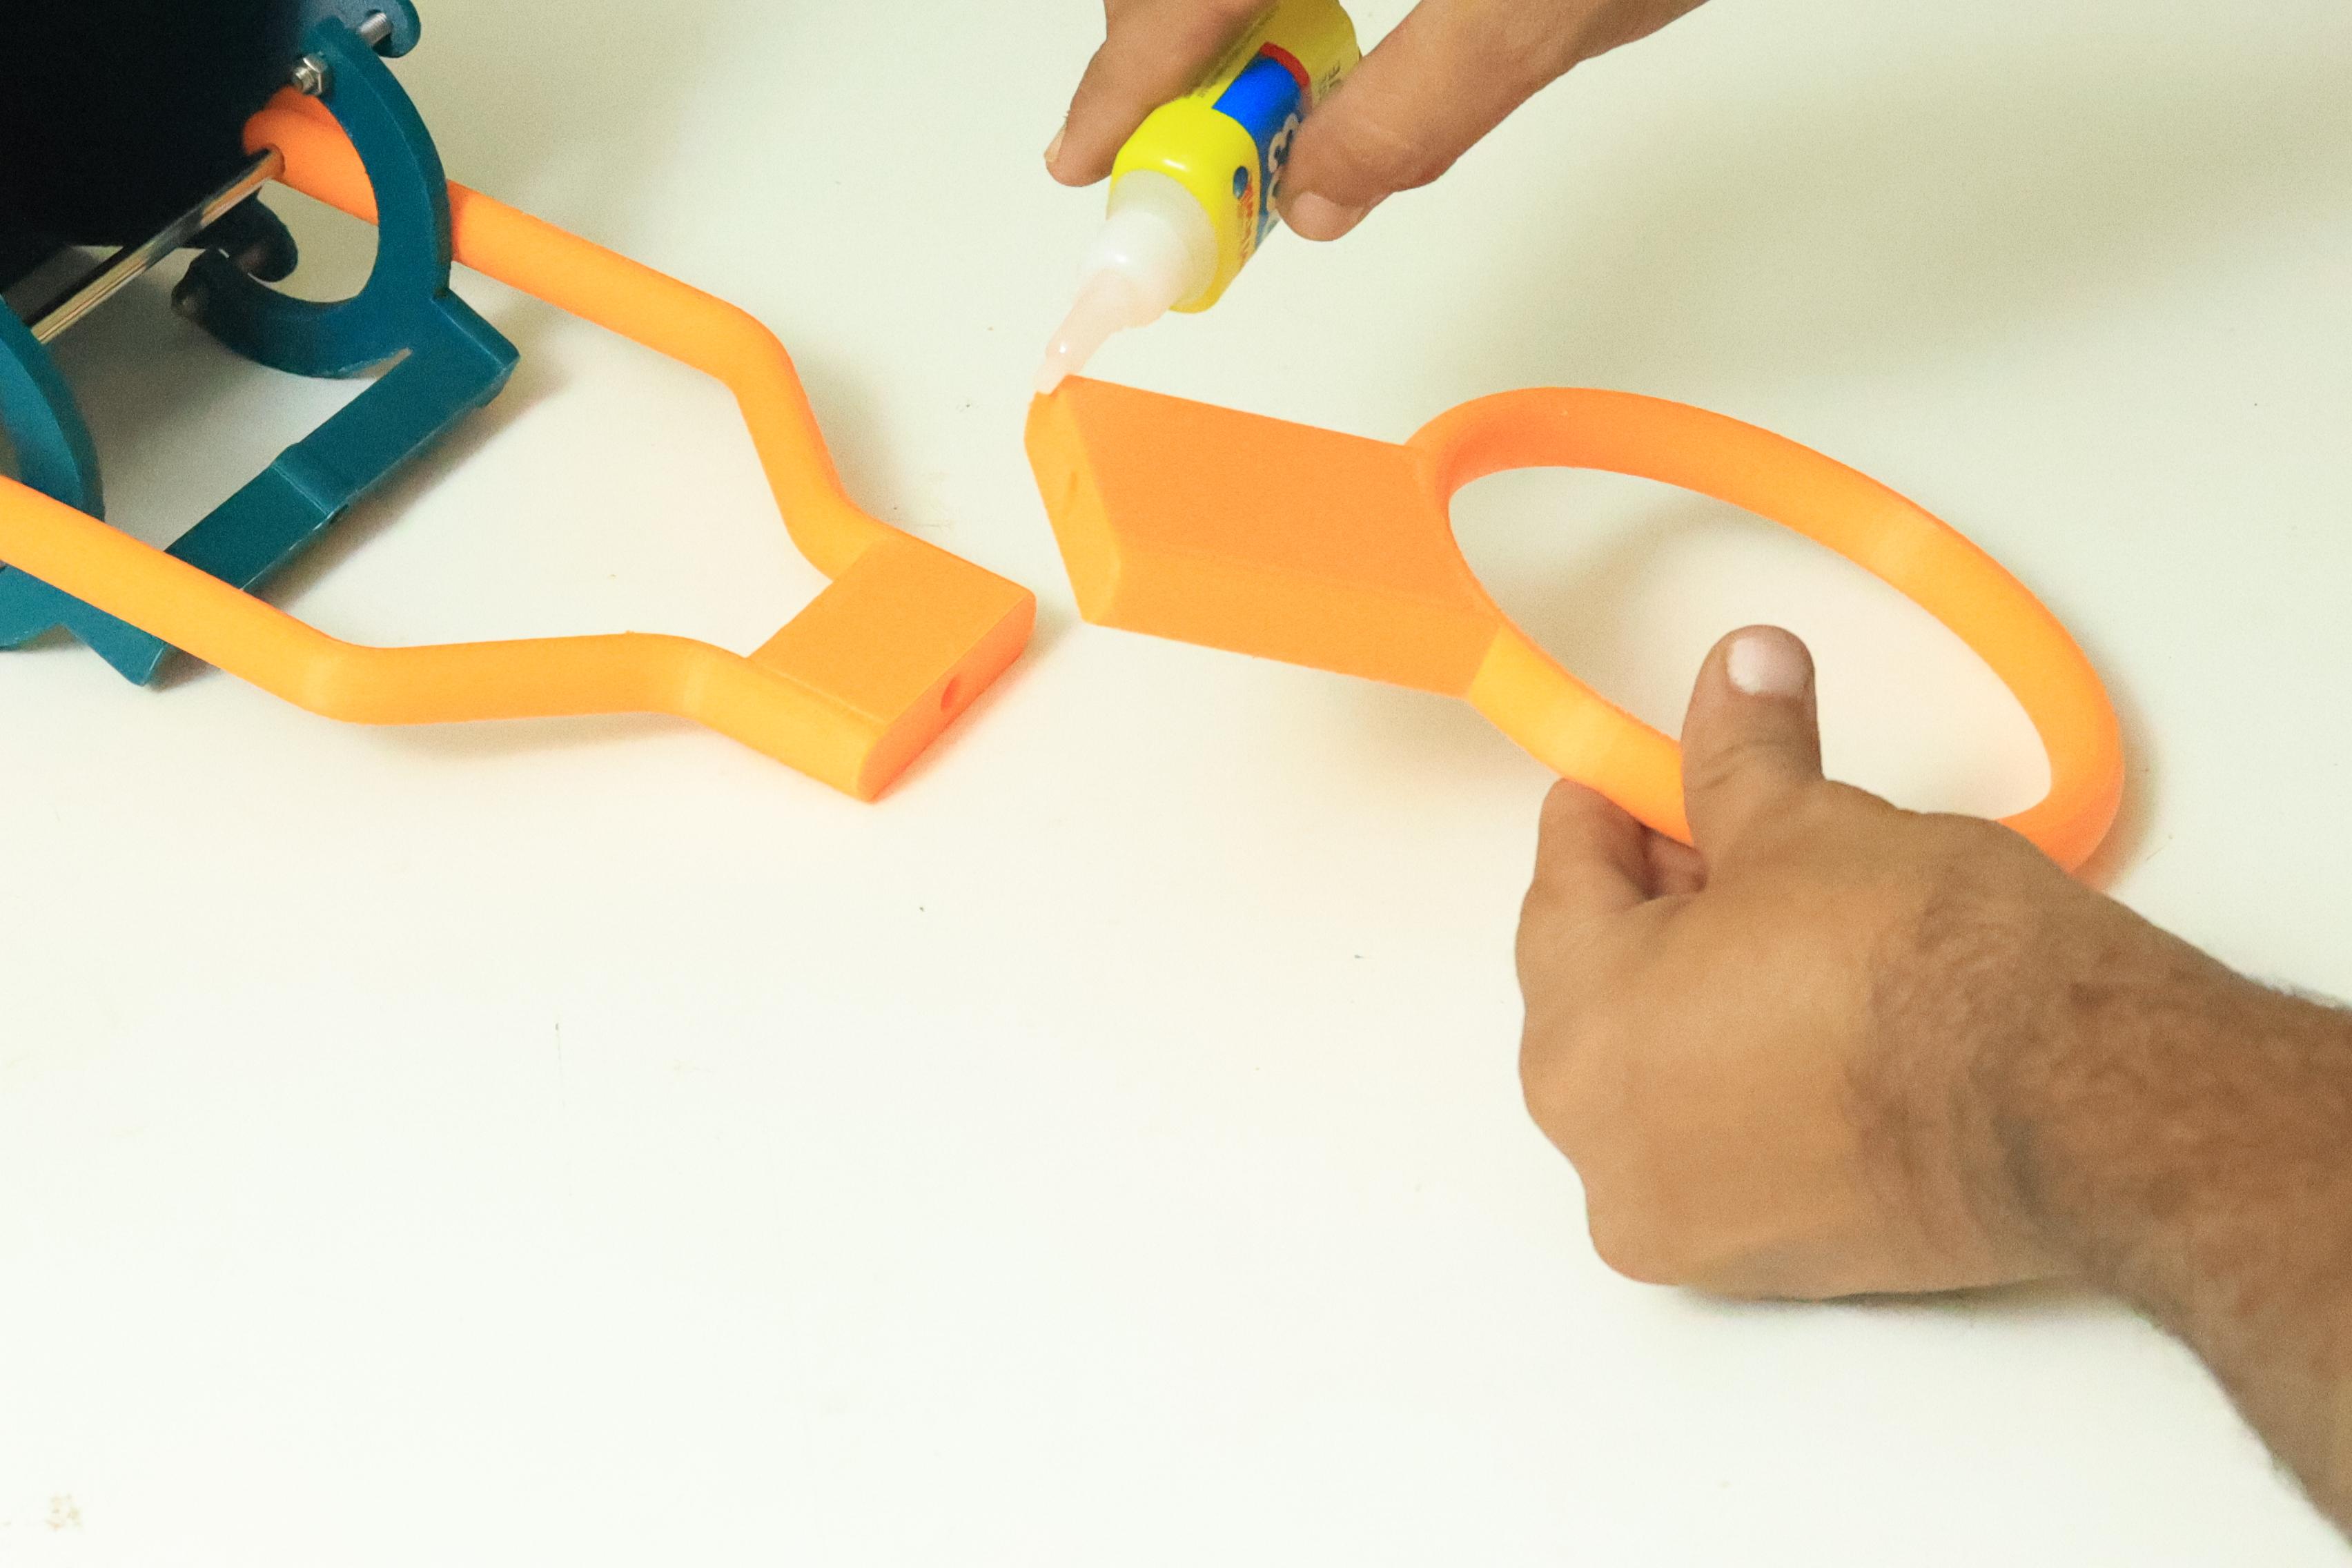
Now take the second arm and use glue to attach it to the first. The bucket arm for the push and pull mechanism is now finished.
Rod for Movement


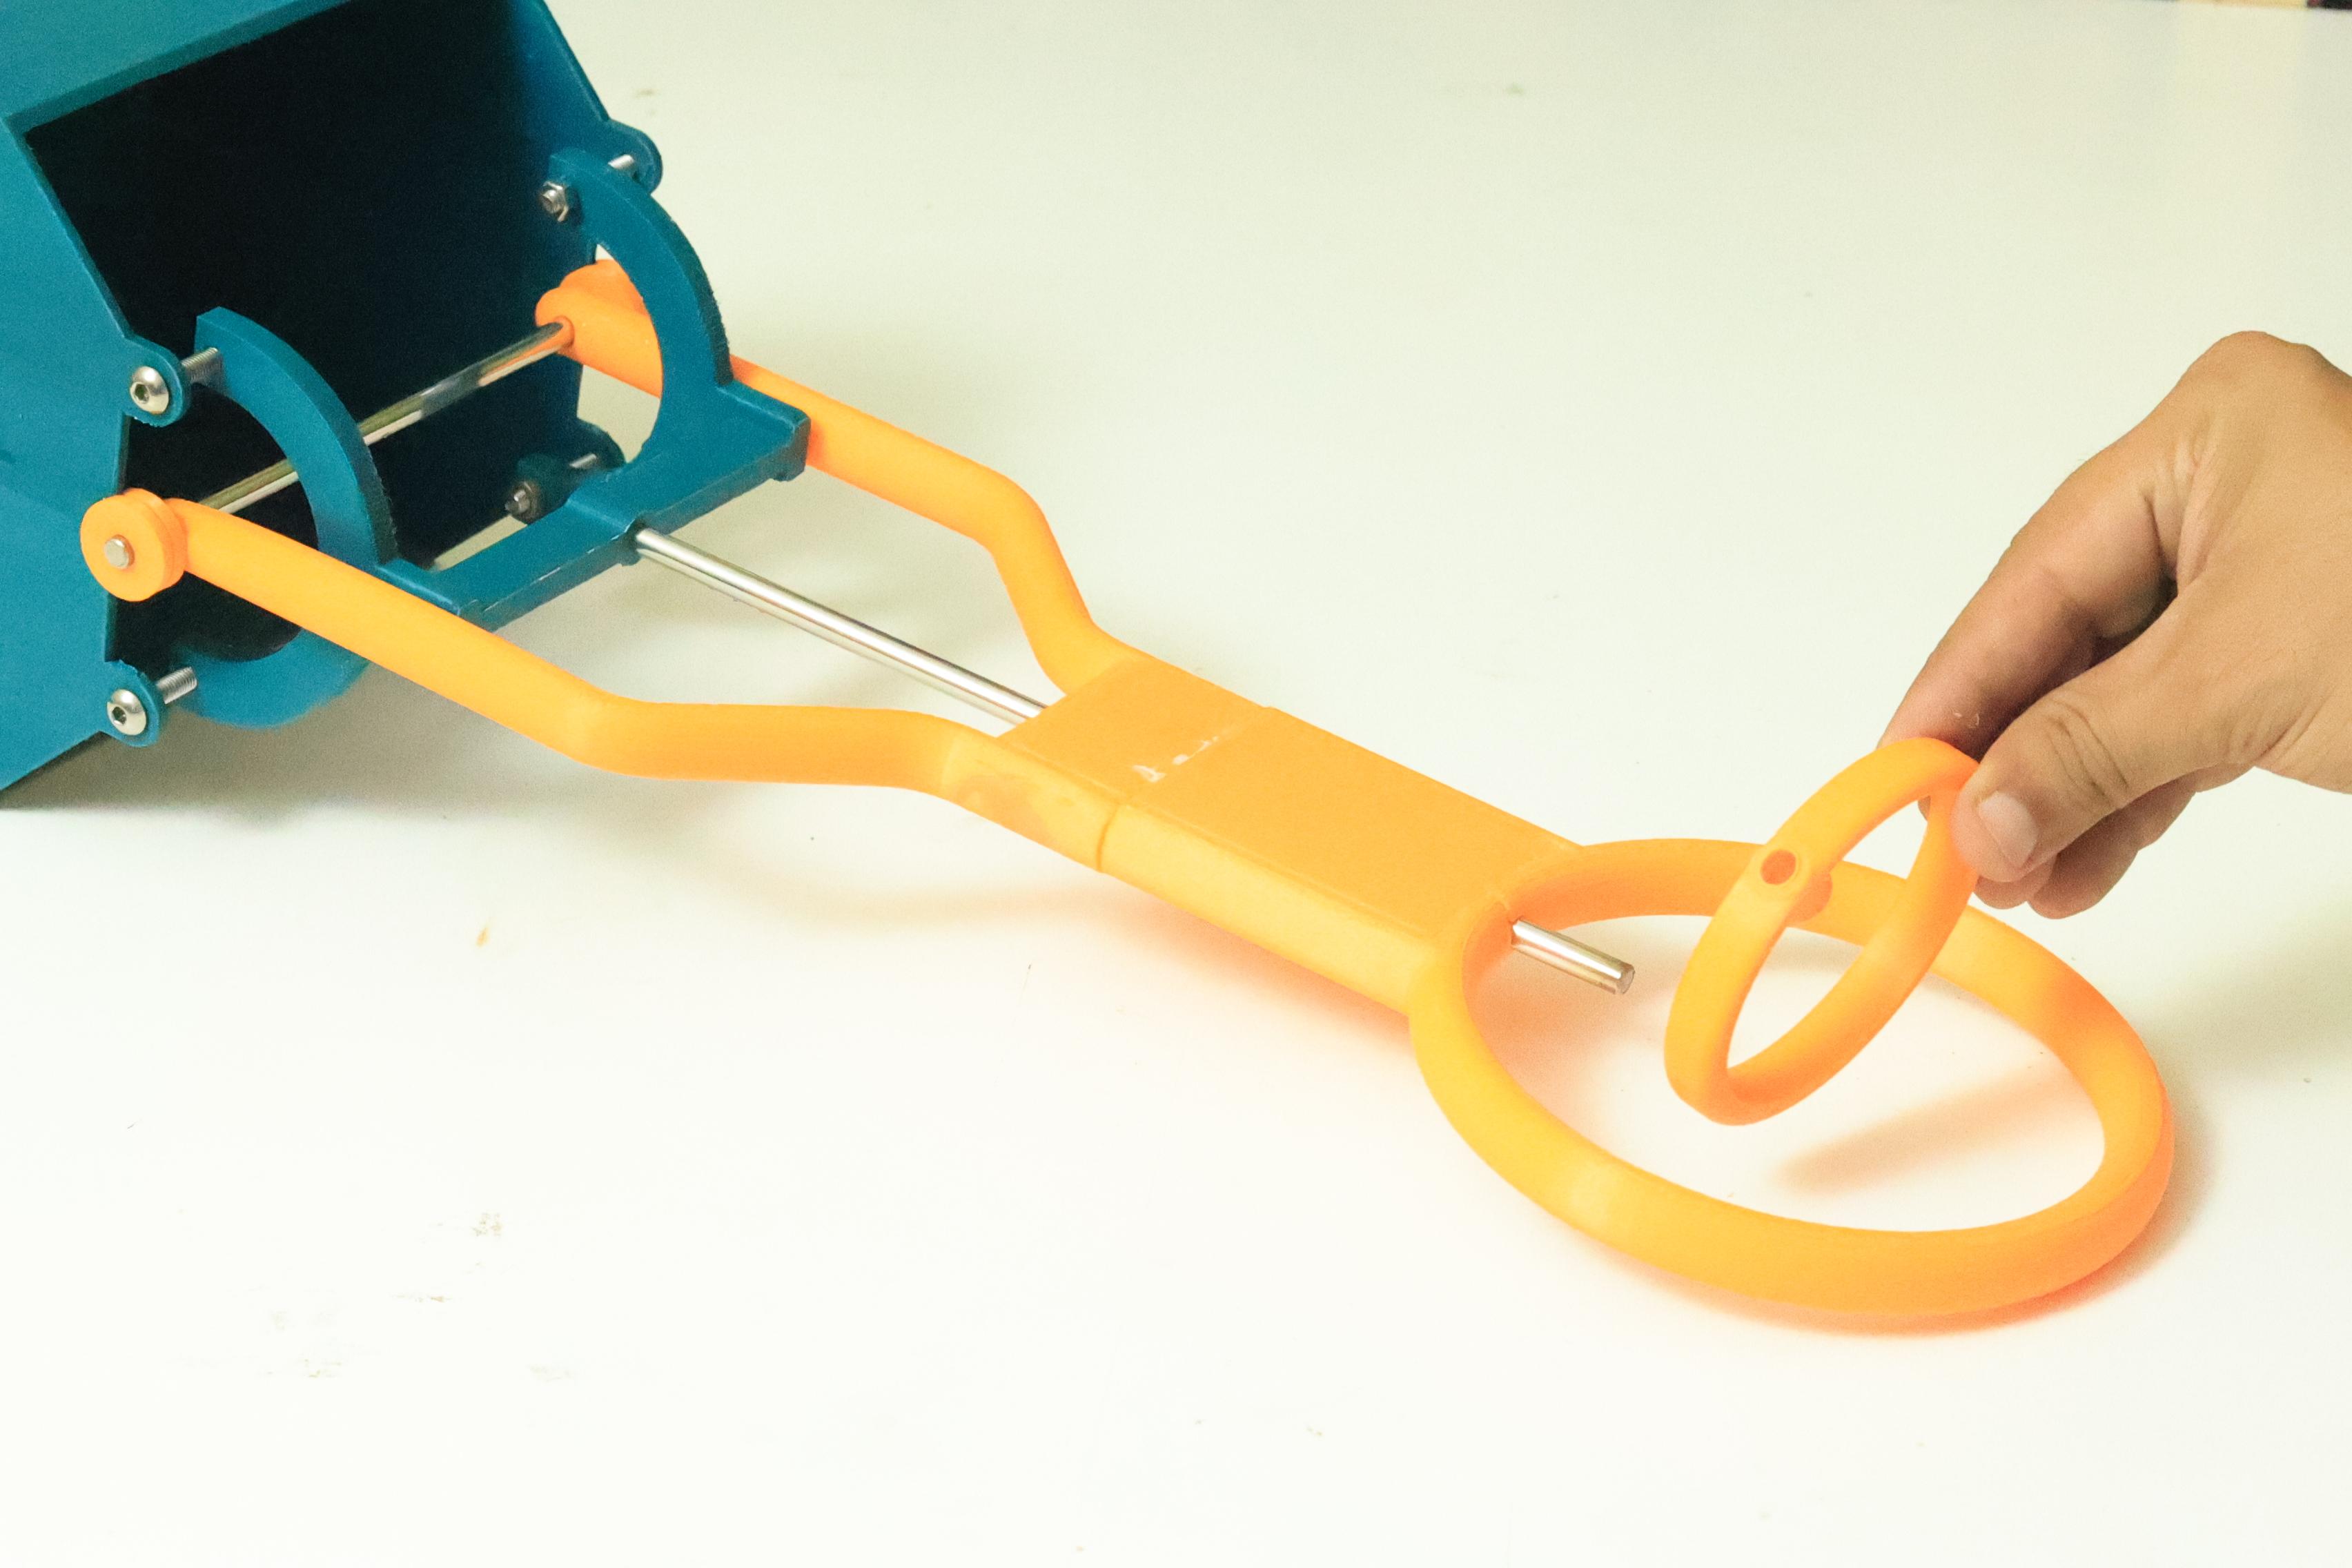

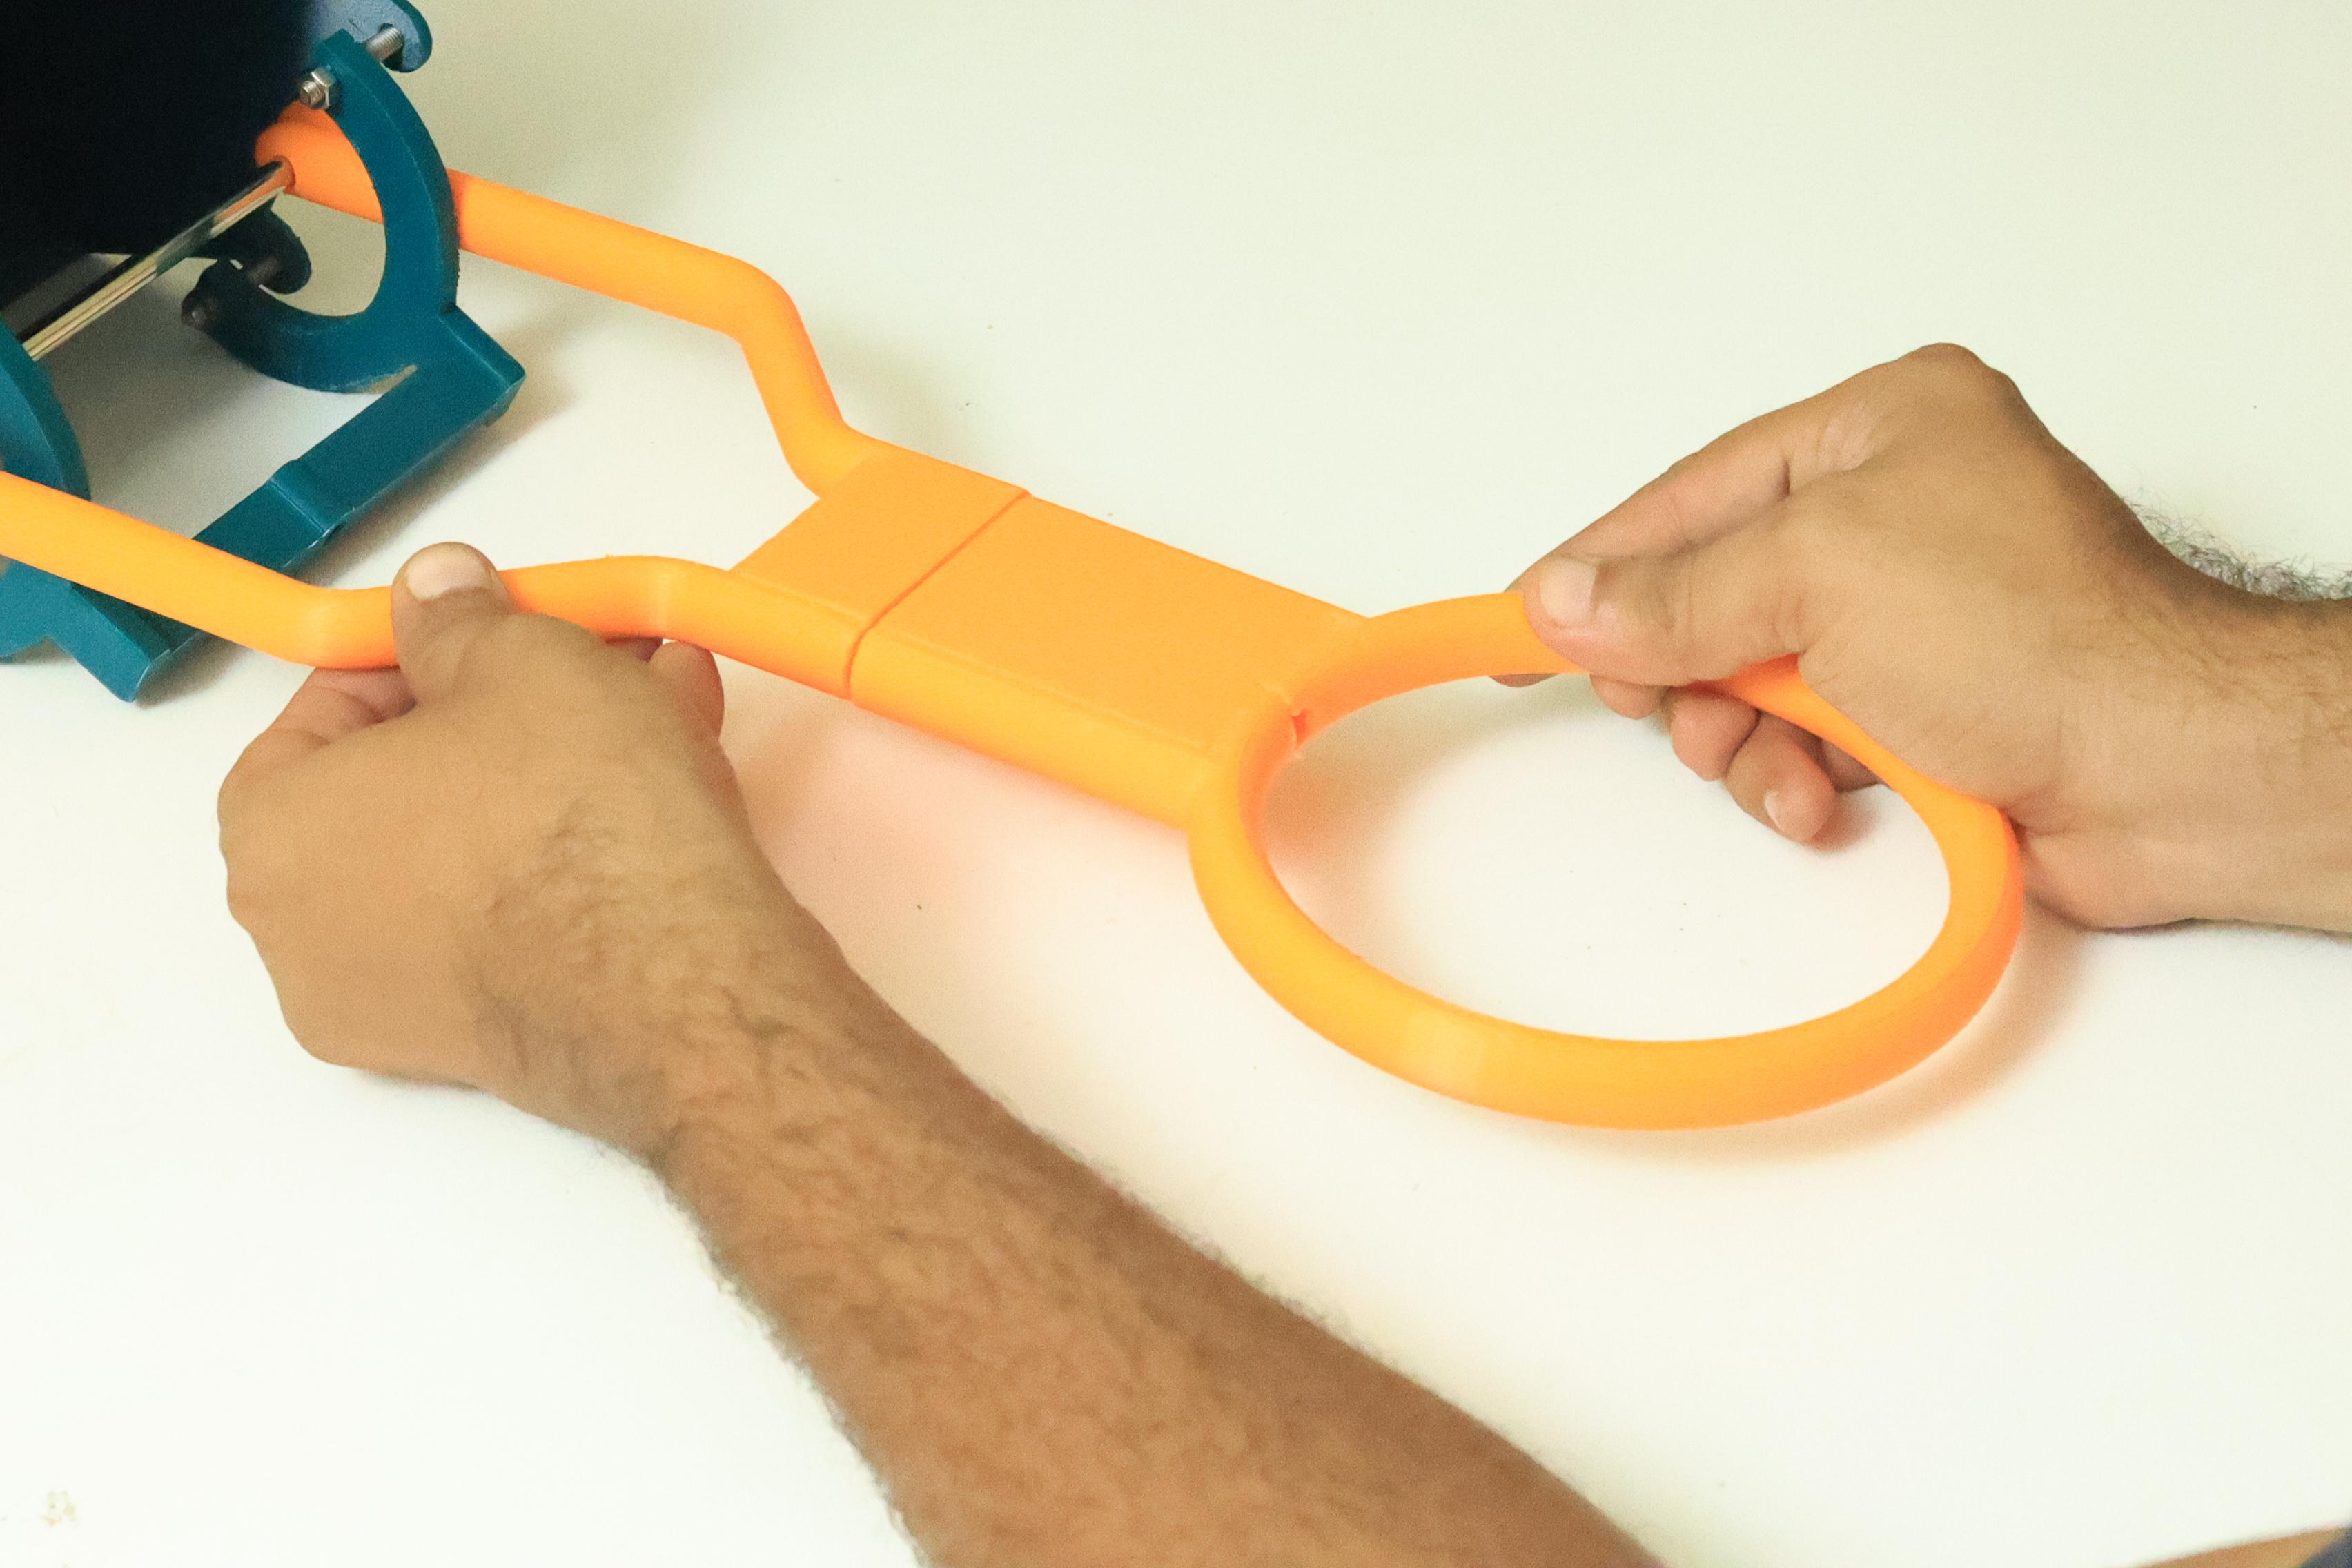
Attach a 22-cm steel rod to the bucket side link in order to open the bucket using the pull handle. In order to do this, pass a 6 mm steel rod from the arm's center to the bucket side link. The steel rod's opposite end is then attached to the handle that was 3D printed.
Attach Spring for Auto Release


We now need to pull the handle to open the bucket and push the handle to close it. However, I have an automatic bucket closure solution. Place a 7-centimeter spring between the bucket side link and the 6mm bucket steel rod.
To close the bucket without exerting effort on the handle, pull the handle to open it, let the spring expand, and then release the handle. The bucket automatically closes when the spring compresses.
The Hygienic Way to Remove Poop

