DIY Paper Notebook
by JindraSykora in Craft > Books & Journals
10130 Views, 143 Favorites, 0 Comments
DIY Paper Notebook
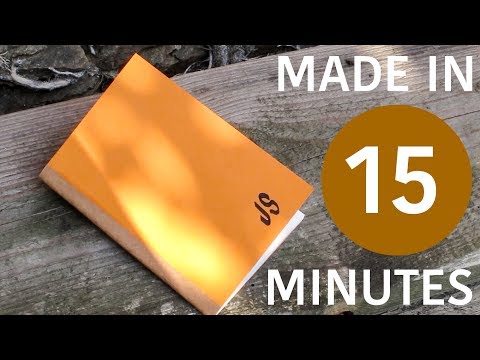
You can make a fully custom notebook in less than 15 minutes. All you need are a few basic tools and supplies. There are many ways to make a notebook but in my experience, this approach makes the most durable and versatile product. You can basically use any amount of pages and any material for the cover(provided that you are able to make holes for the stitching in the cover). Don't forget to make a beautiful and custom design on cover. :) See more here: http://sesitarna.cz/
Supplies and Tools

Tools:
- cutting board
- ruler
- sharp utility knife
- hammer
- leather punch
- needle
Supplies:
- office paper for the pages
- cardboard for the cover
- string
- paper tape(optional)
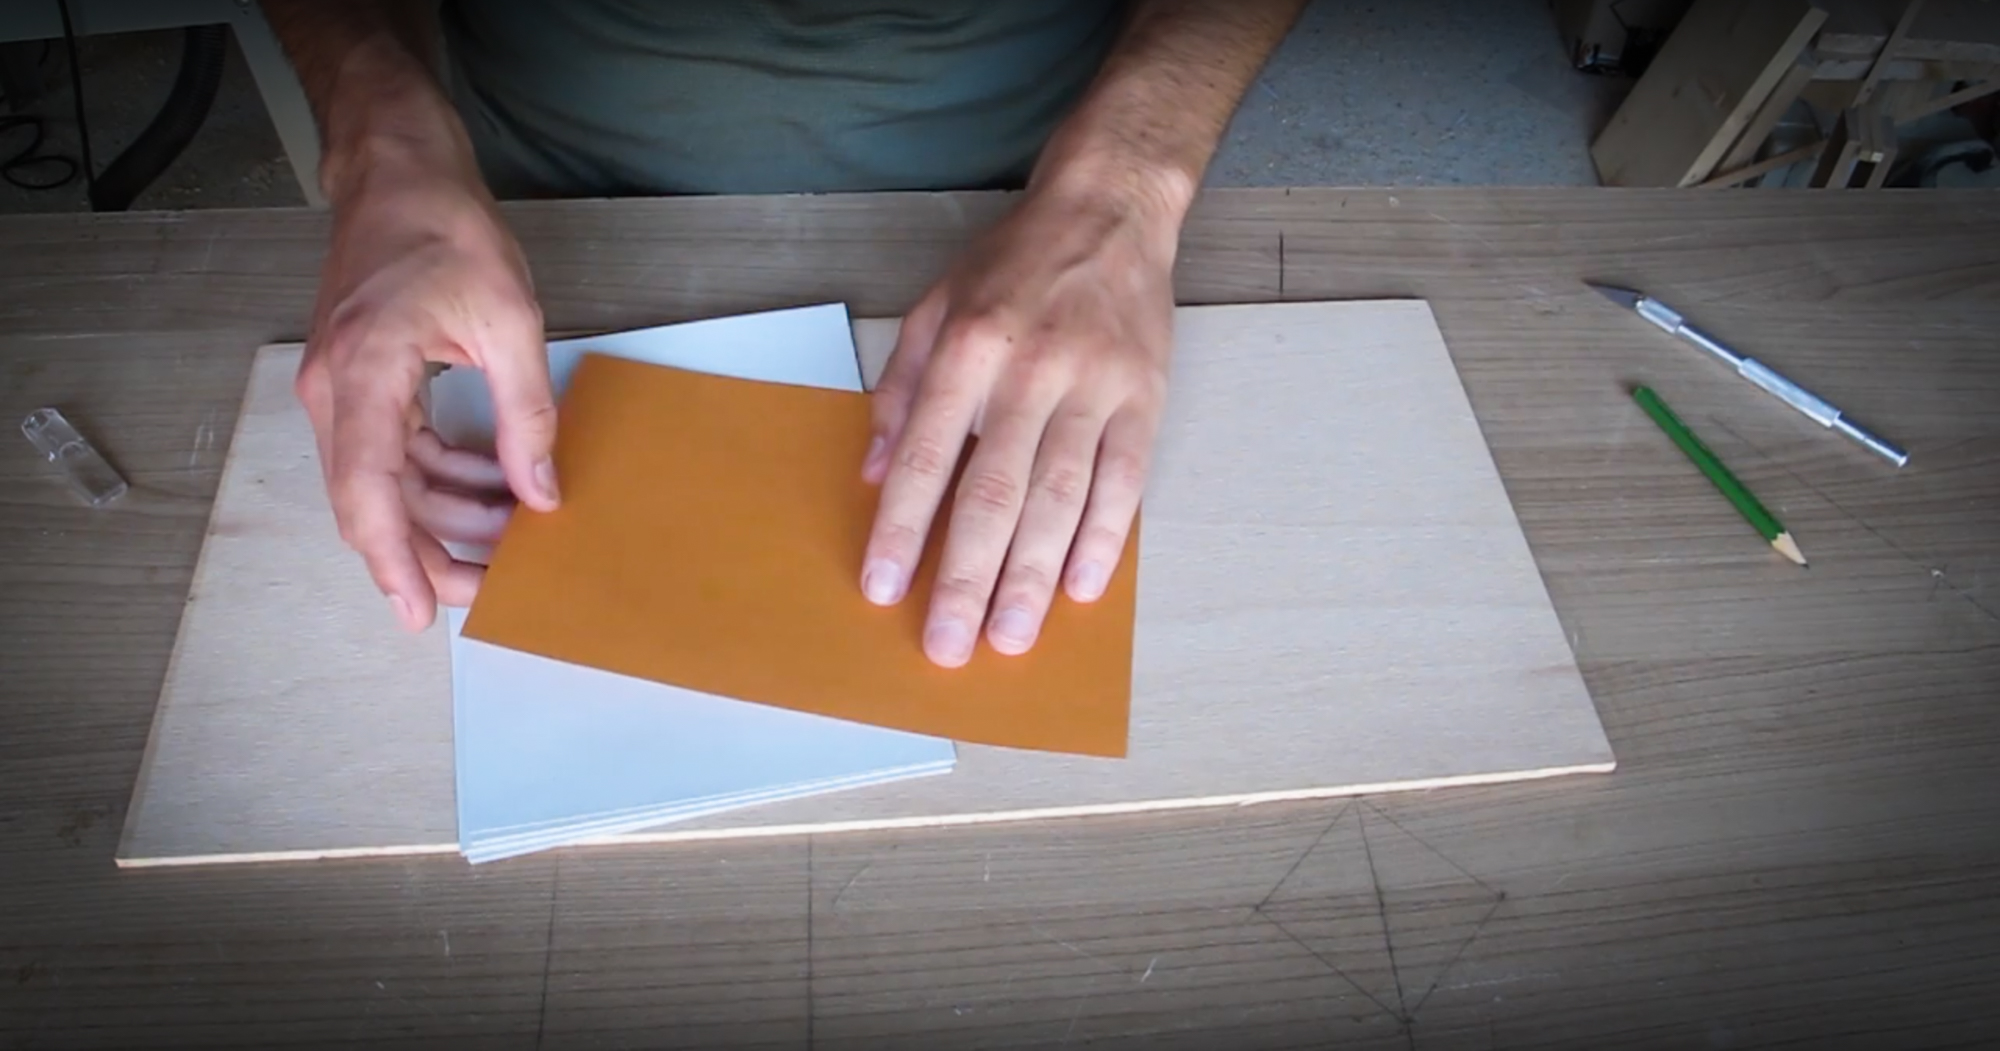
Once you have the tools and supplies you can start putting it together.
Cut Paper to Size
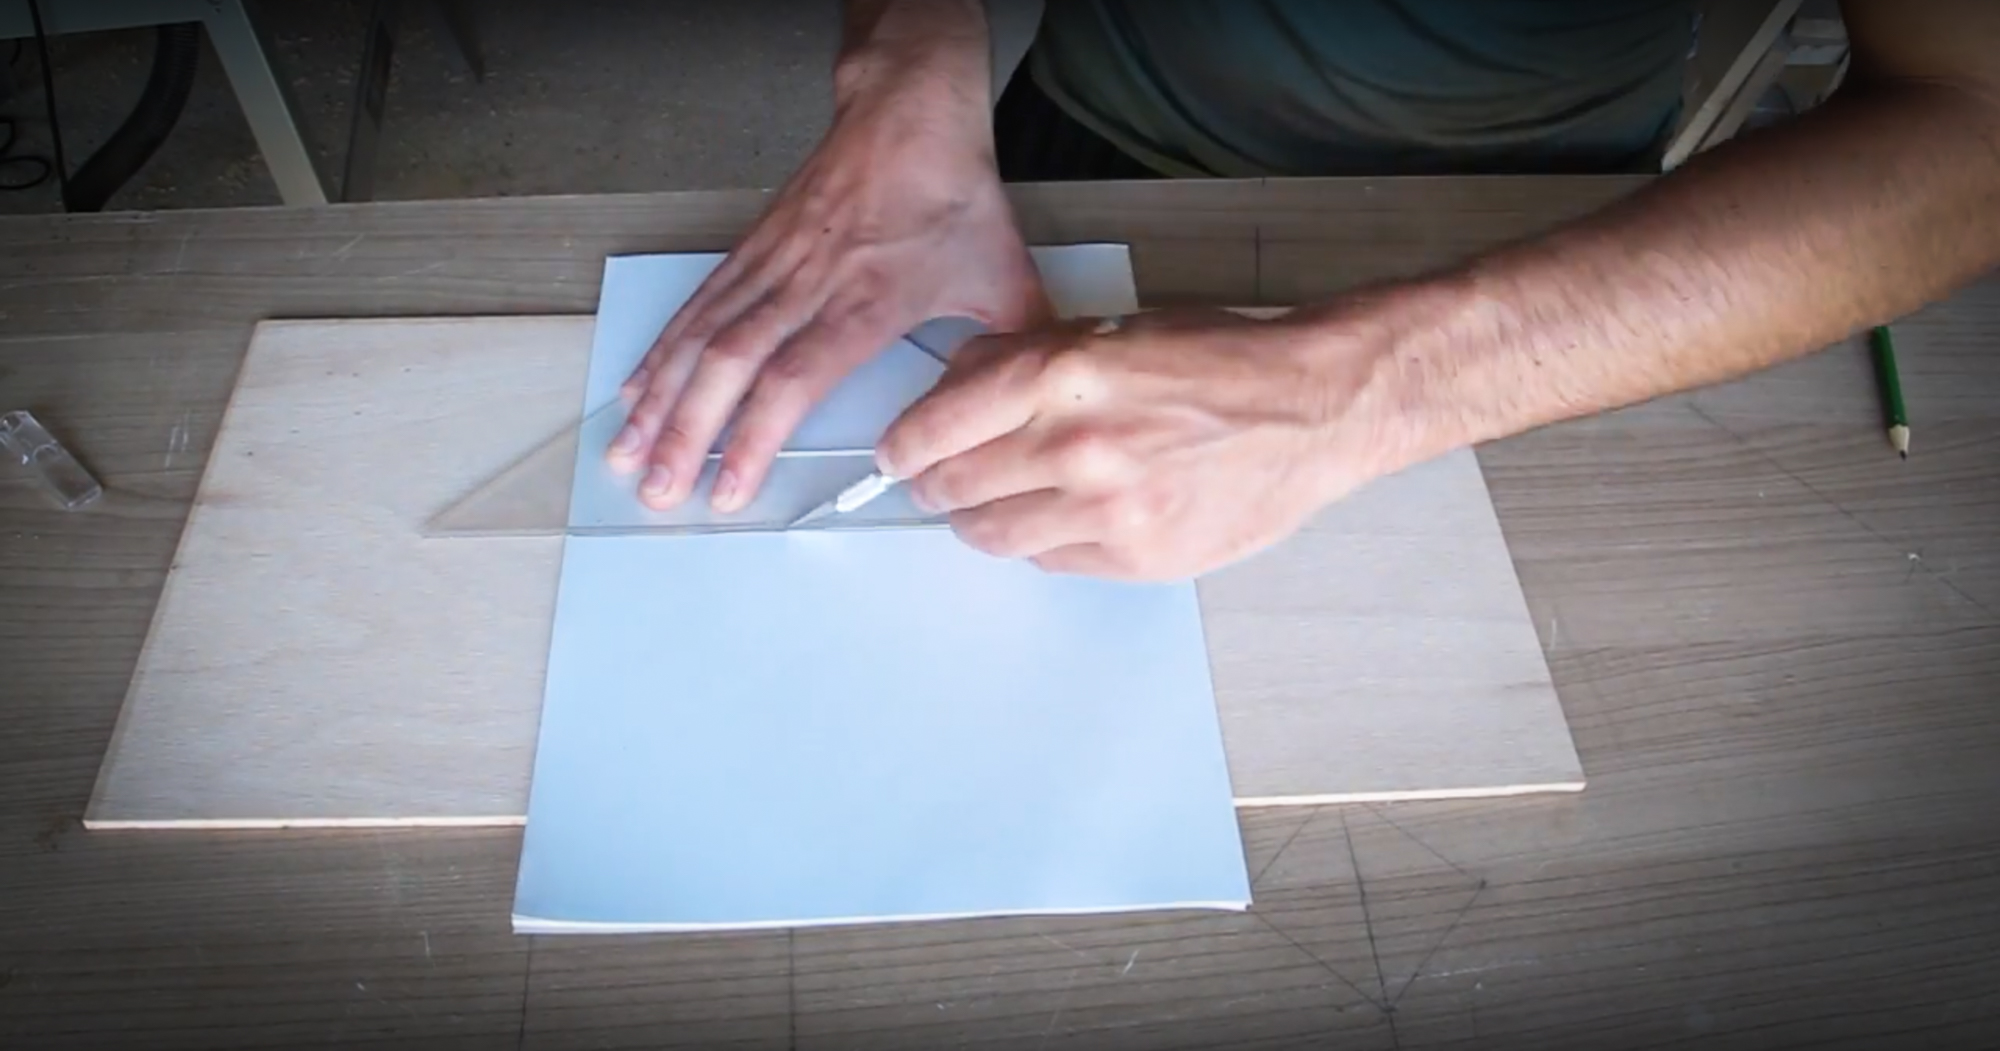
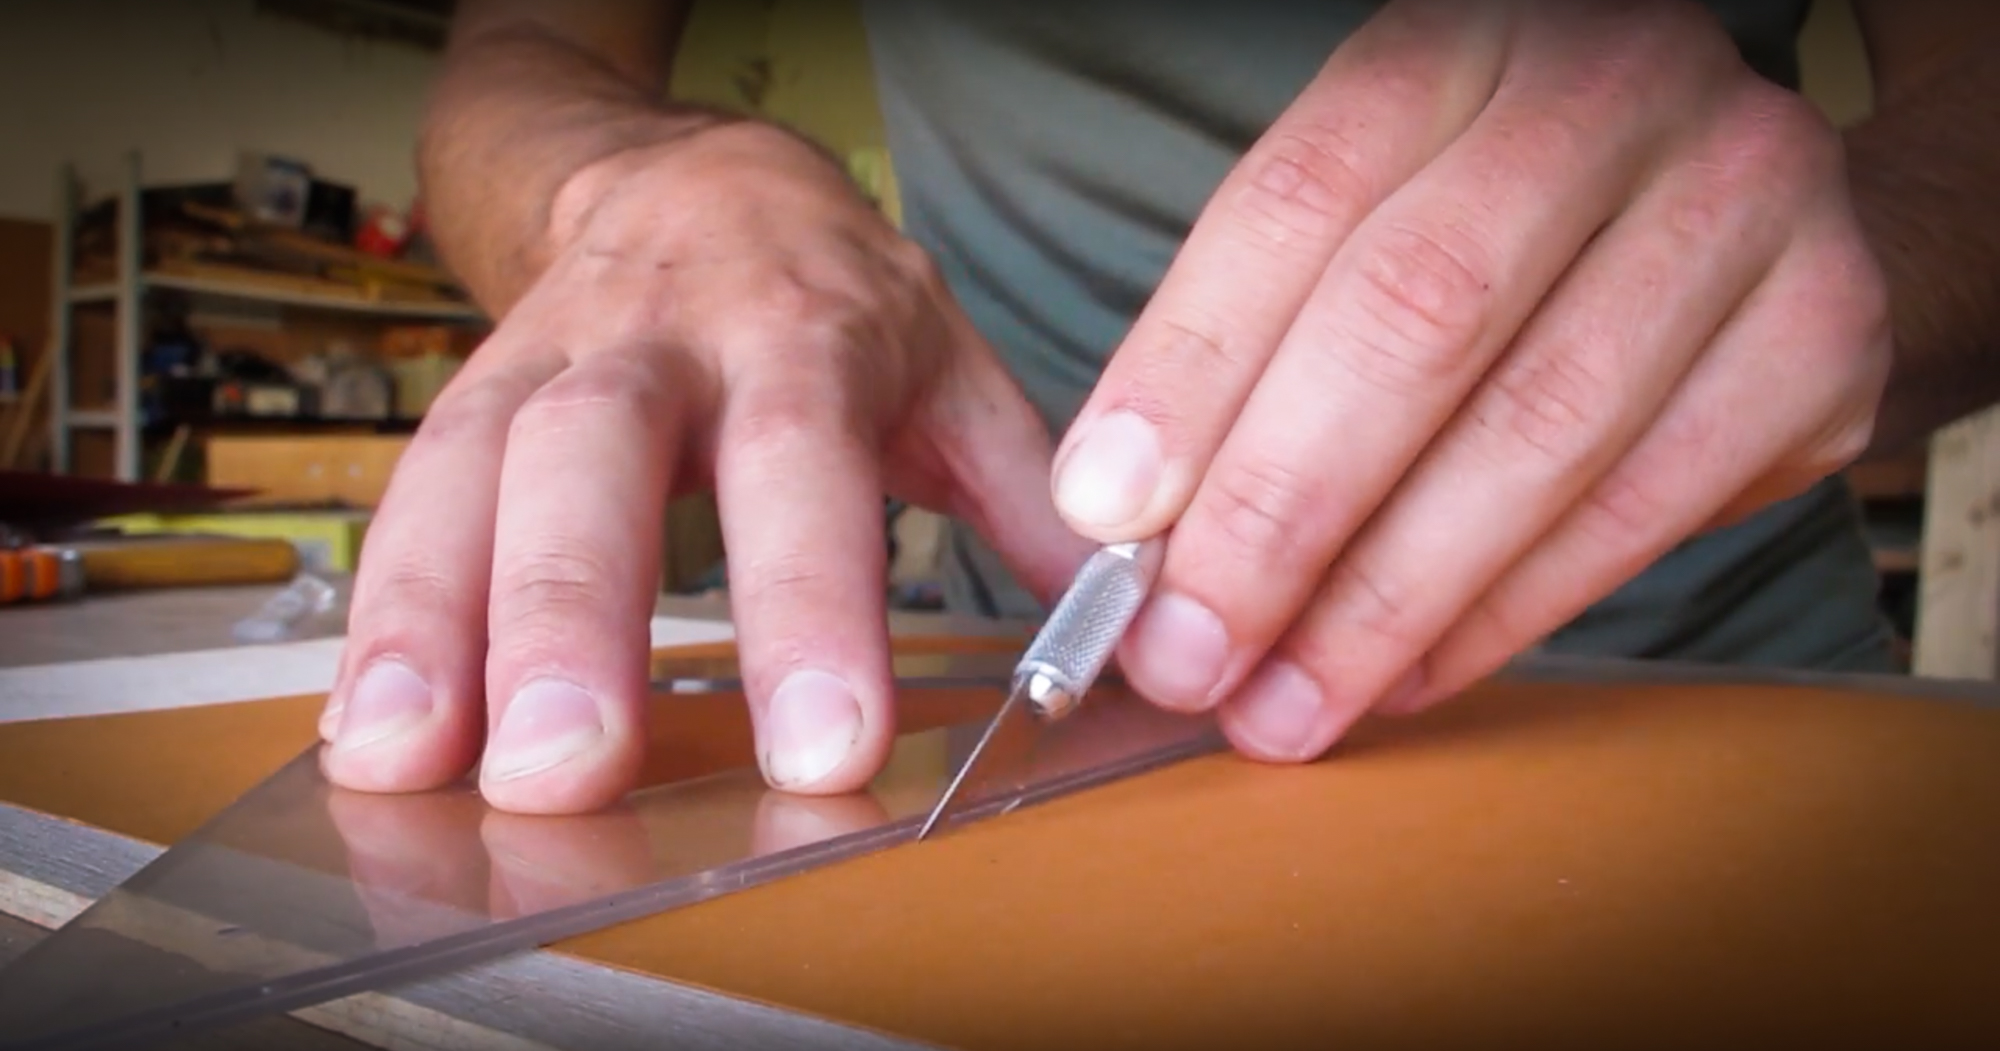
Firstly you cut the paper in size. I am just cutting regular office A4(297x210) paper in half. Therefore once everything is folded over I have A6(148x105 mm) sized notebook which fits my pocket quite nicely and is big enough for sketching as well as taking notes.
You can obviously make the notebook any size you desire.
Design Your Cover

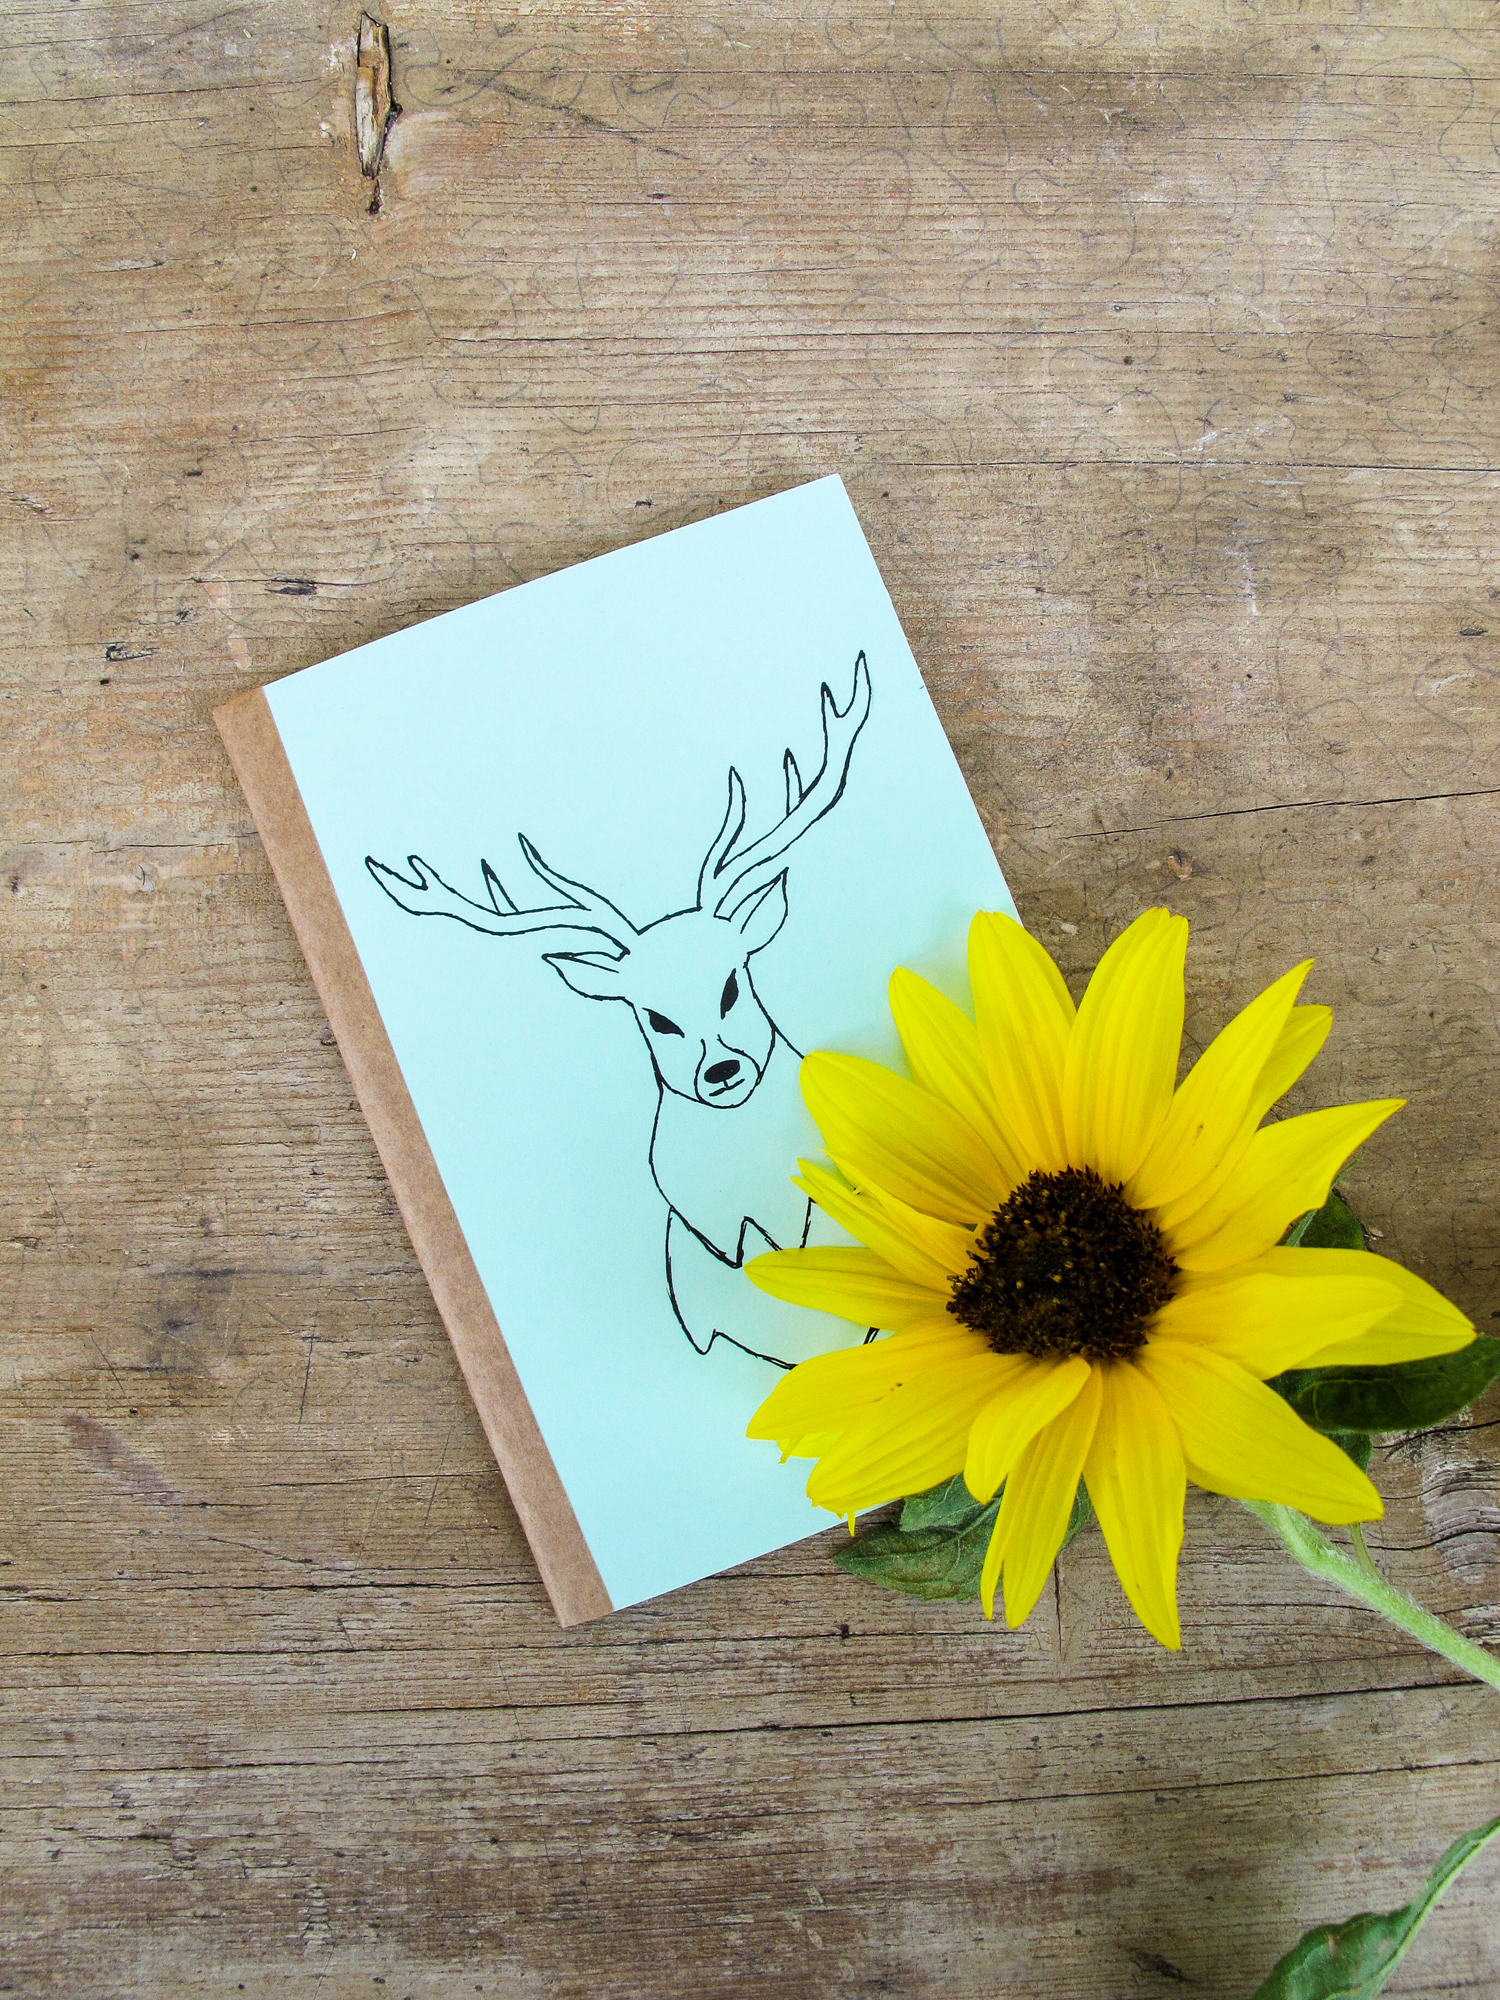
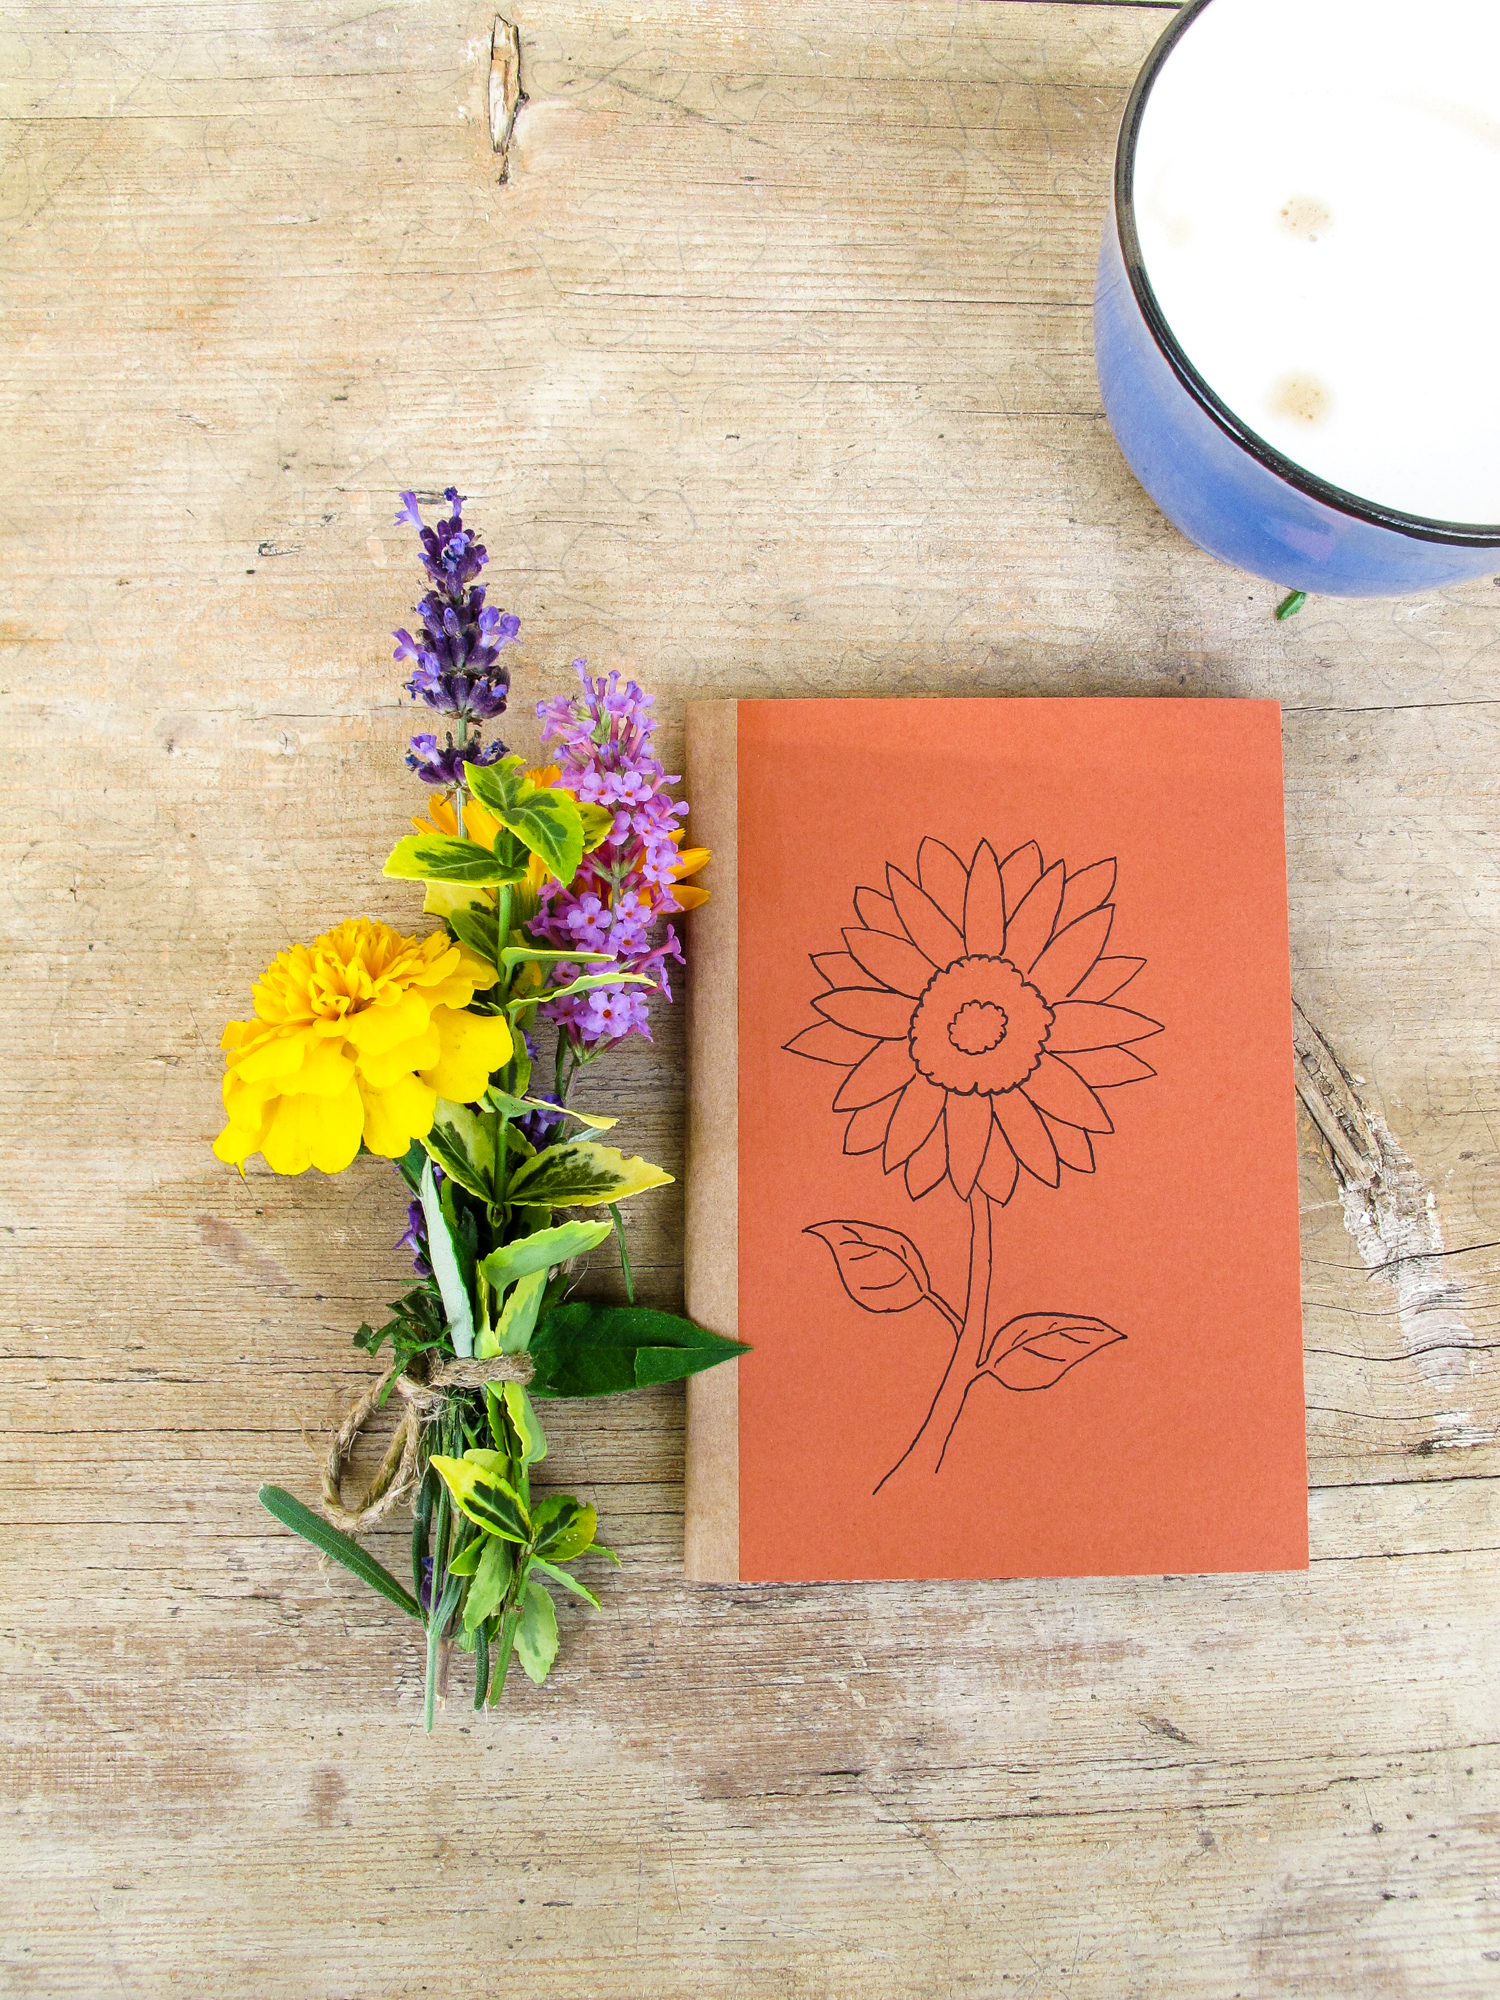
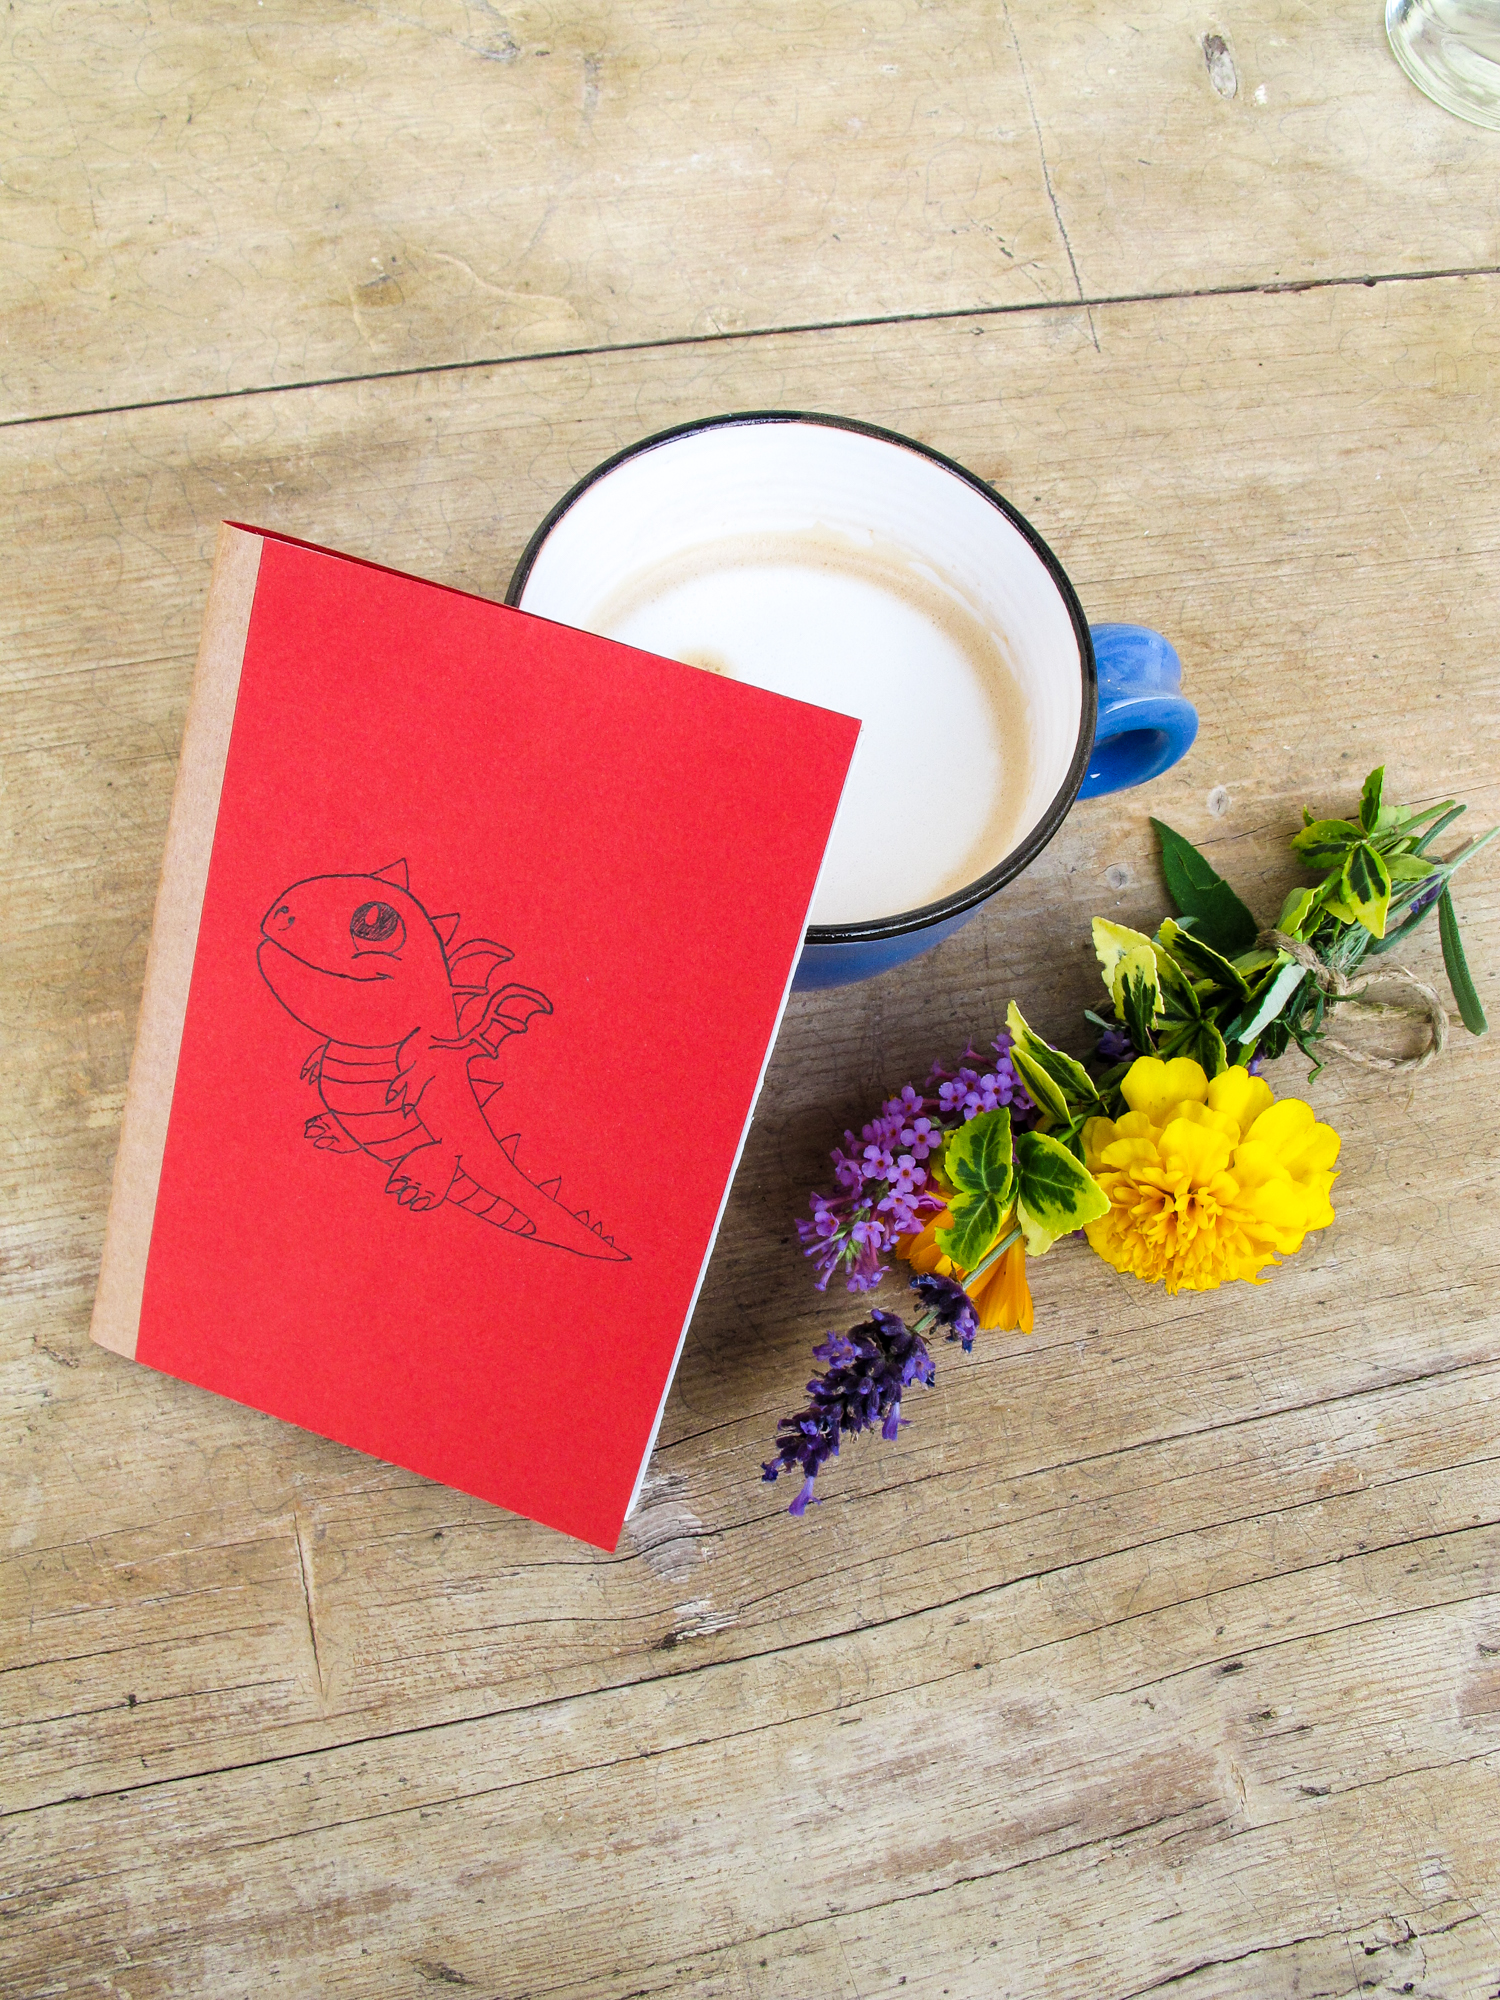
Before you stitch the notebook together you can put your drawing, print or anything on the cover. We usually draw sketches with Indian ink. But this time I just made a quick signature with a calligraphy marker. The sky is the limit here.
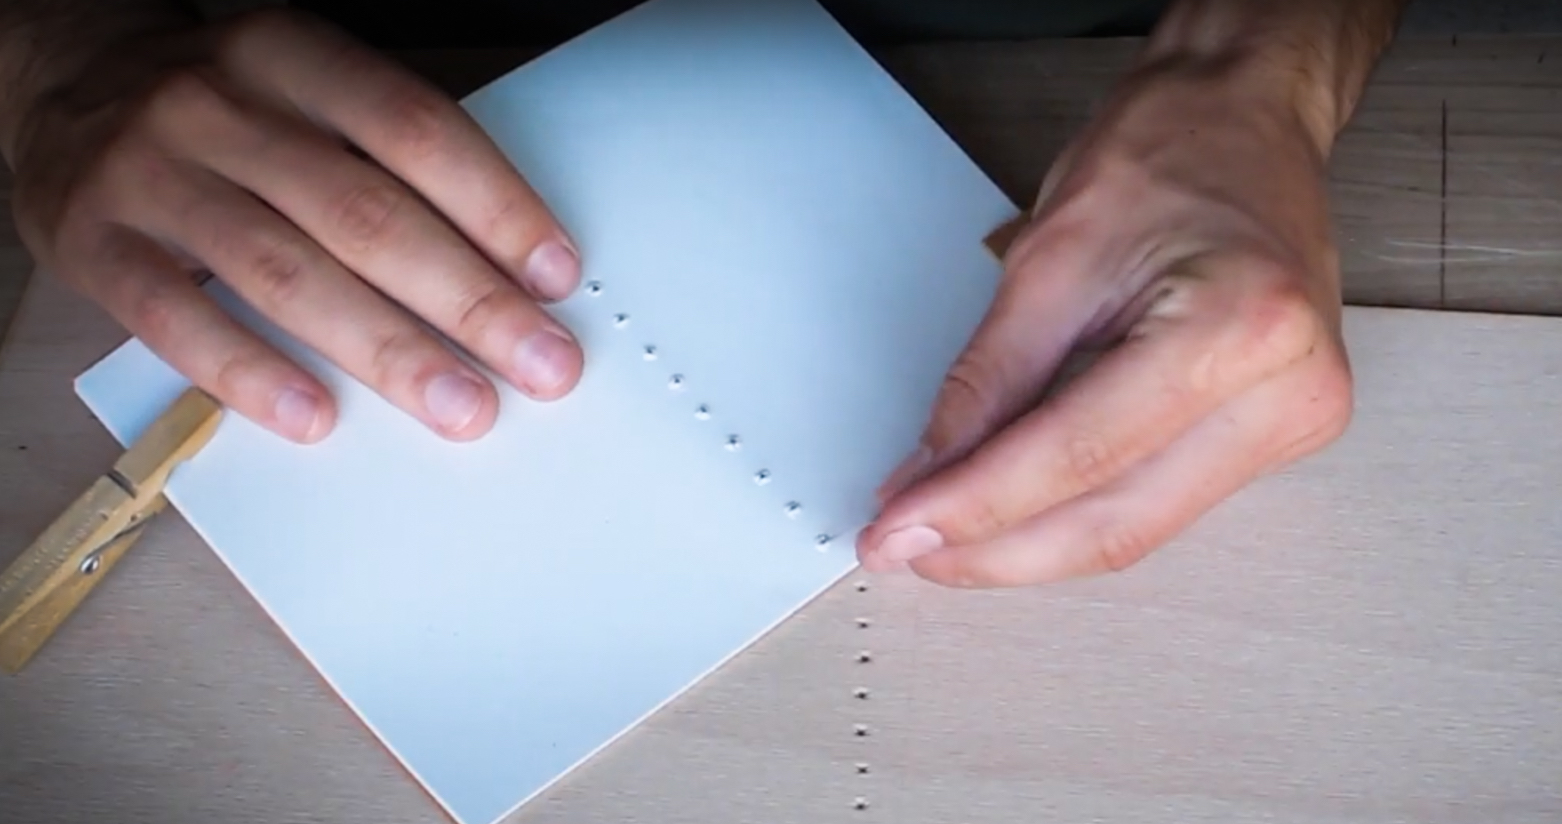
Punch Holes for Stitching
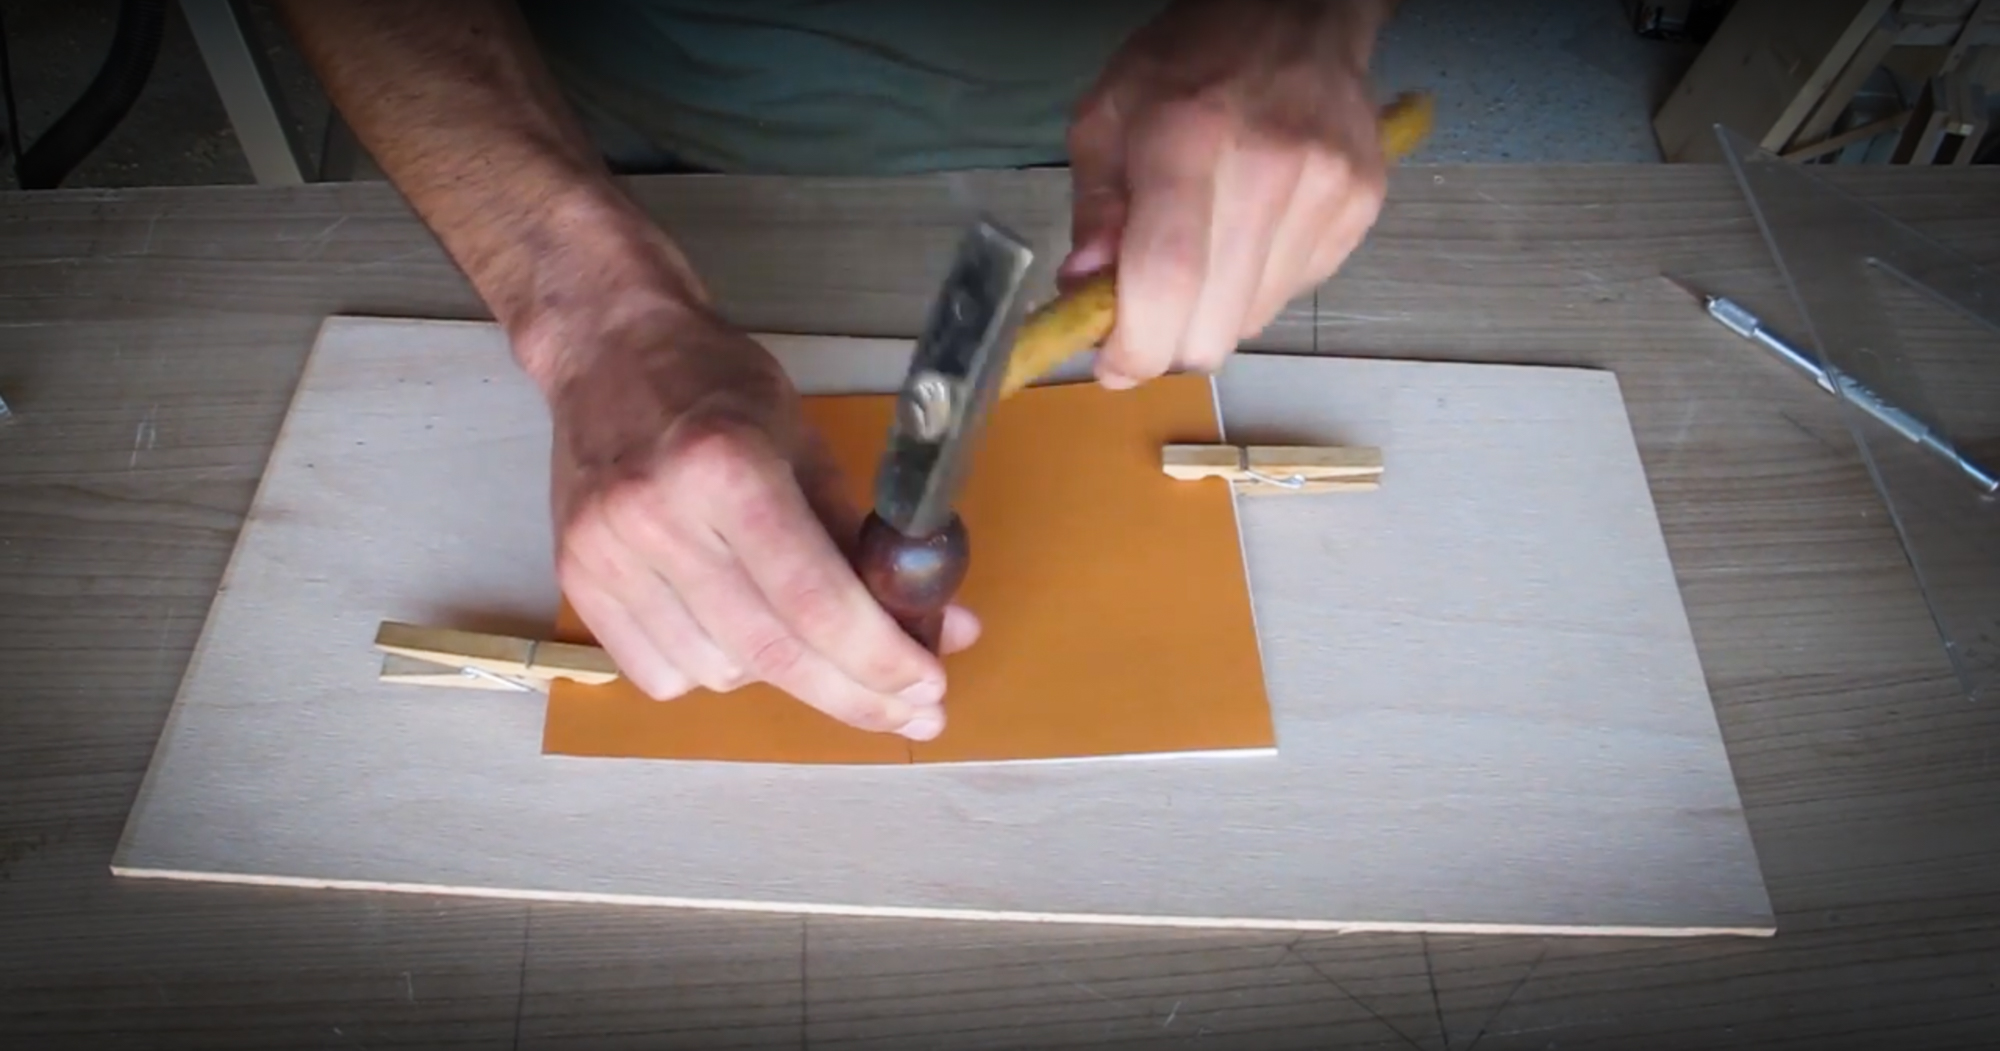
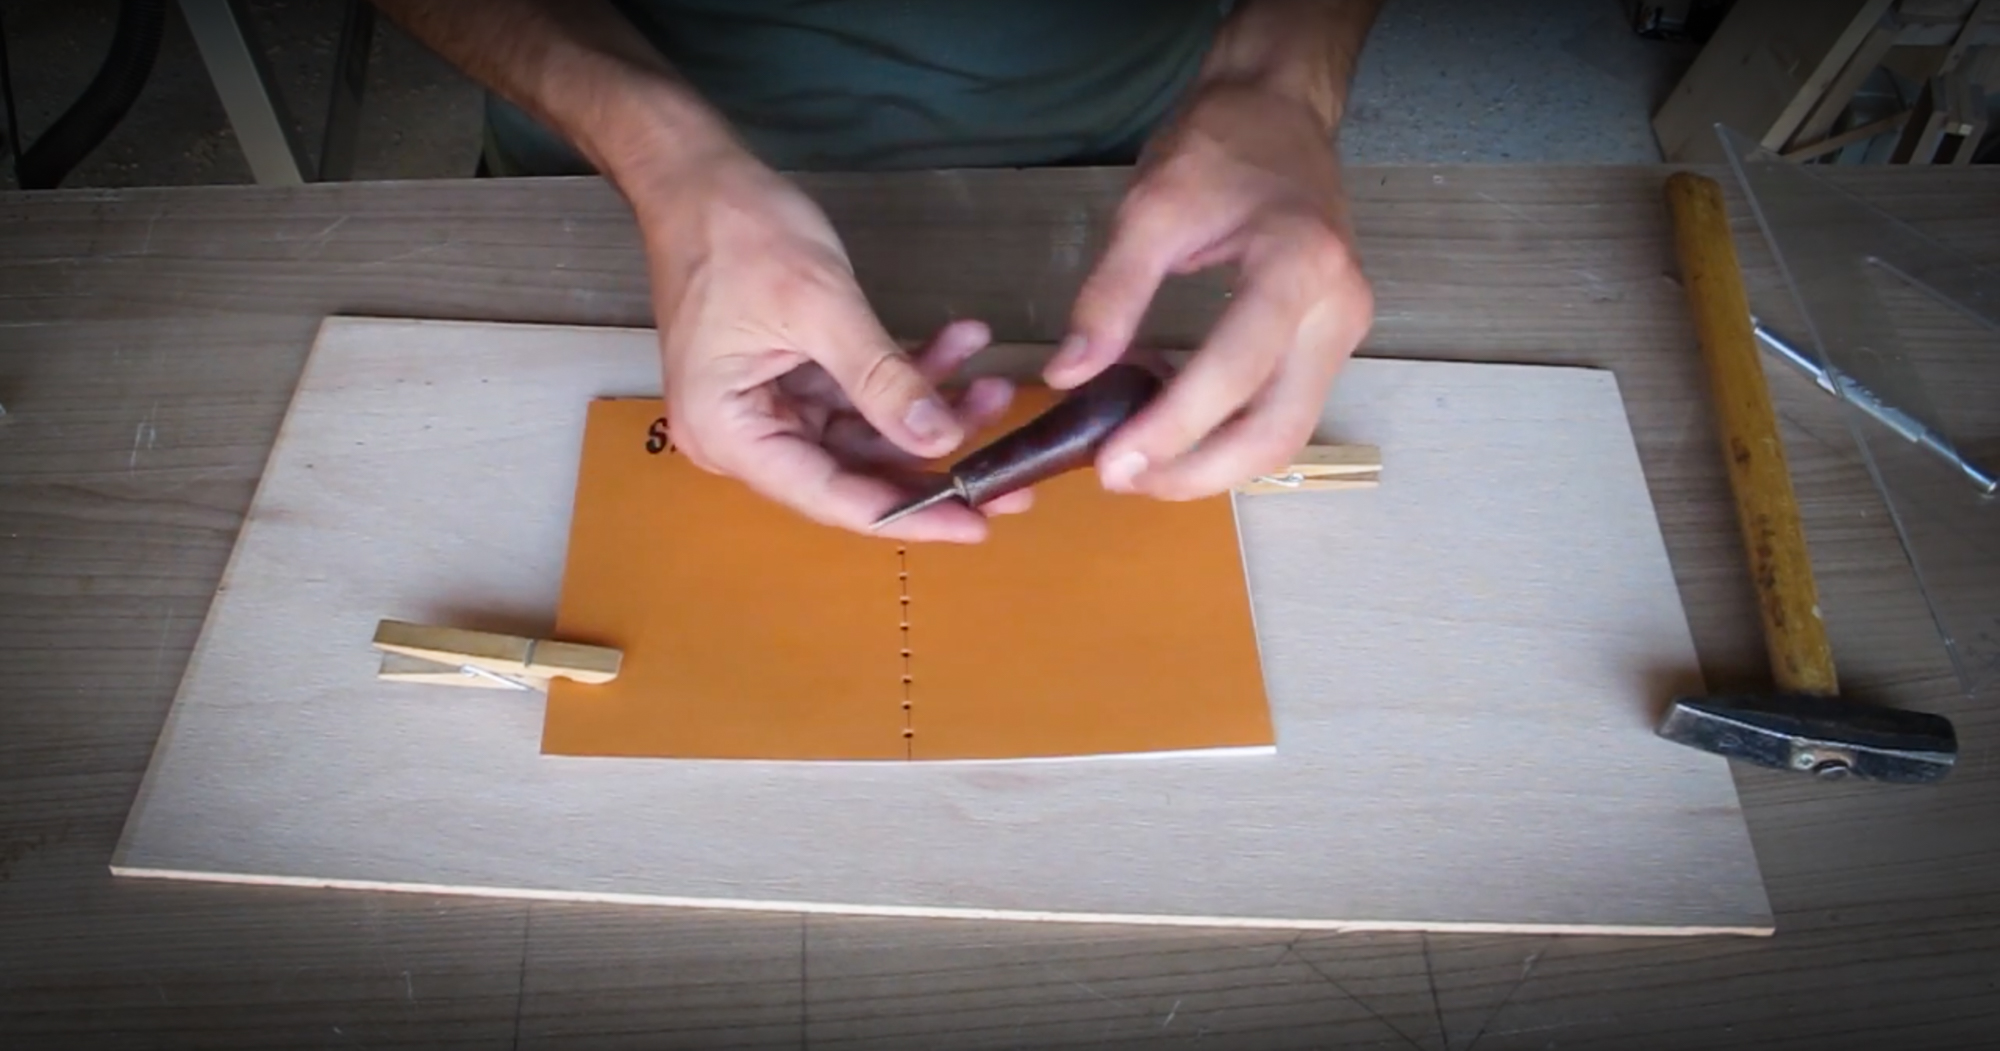
- Lineup pages with the cover.
- Markup the spots for the holes. Start 1 cm from the edge and set the holes 1 cm apart.
- Punch the holes through with a punch. What you need is basically a spike you can hit with a hammer. It is best to use something that will make for a circular hole(this will eliminate tearing).
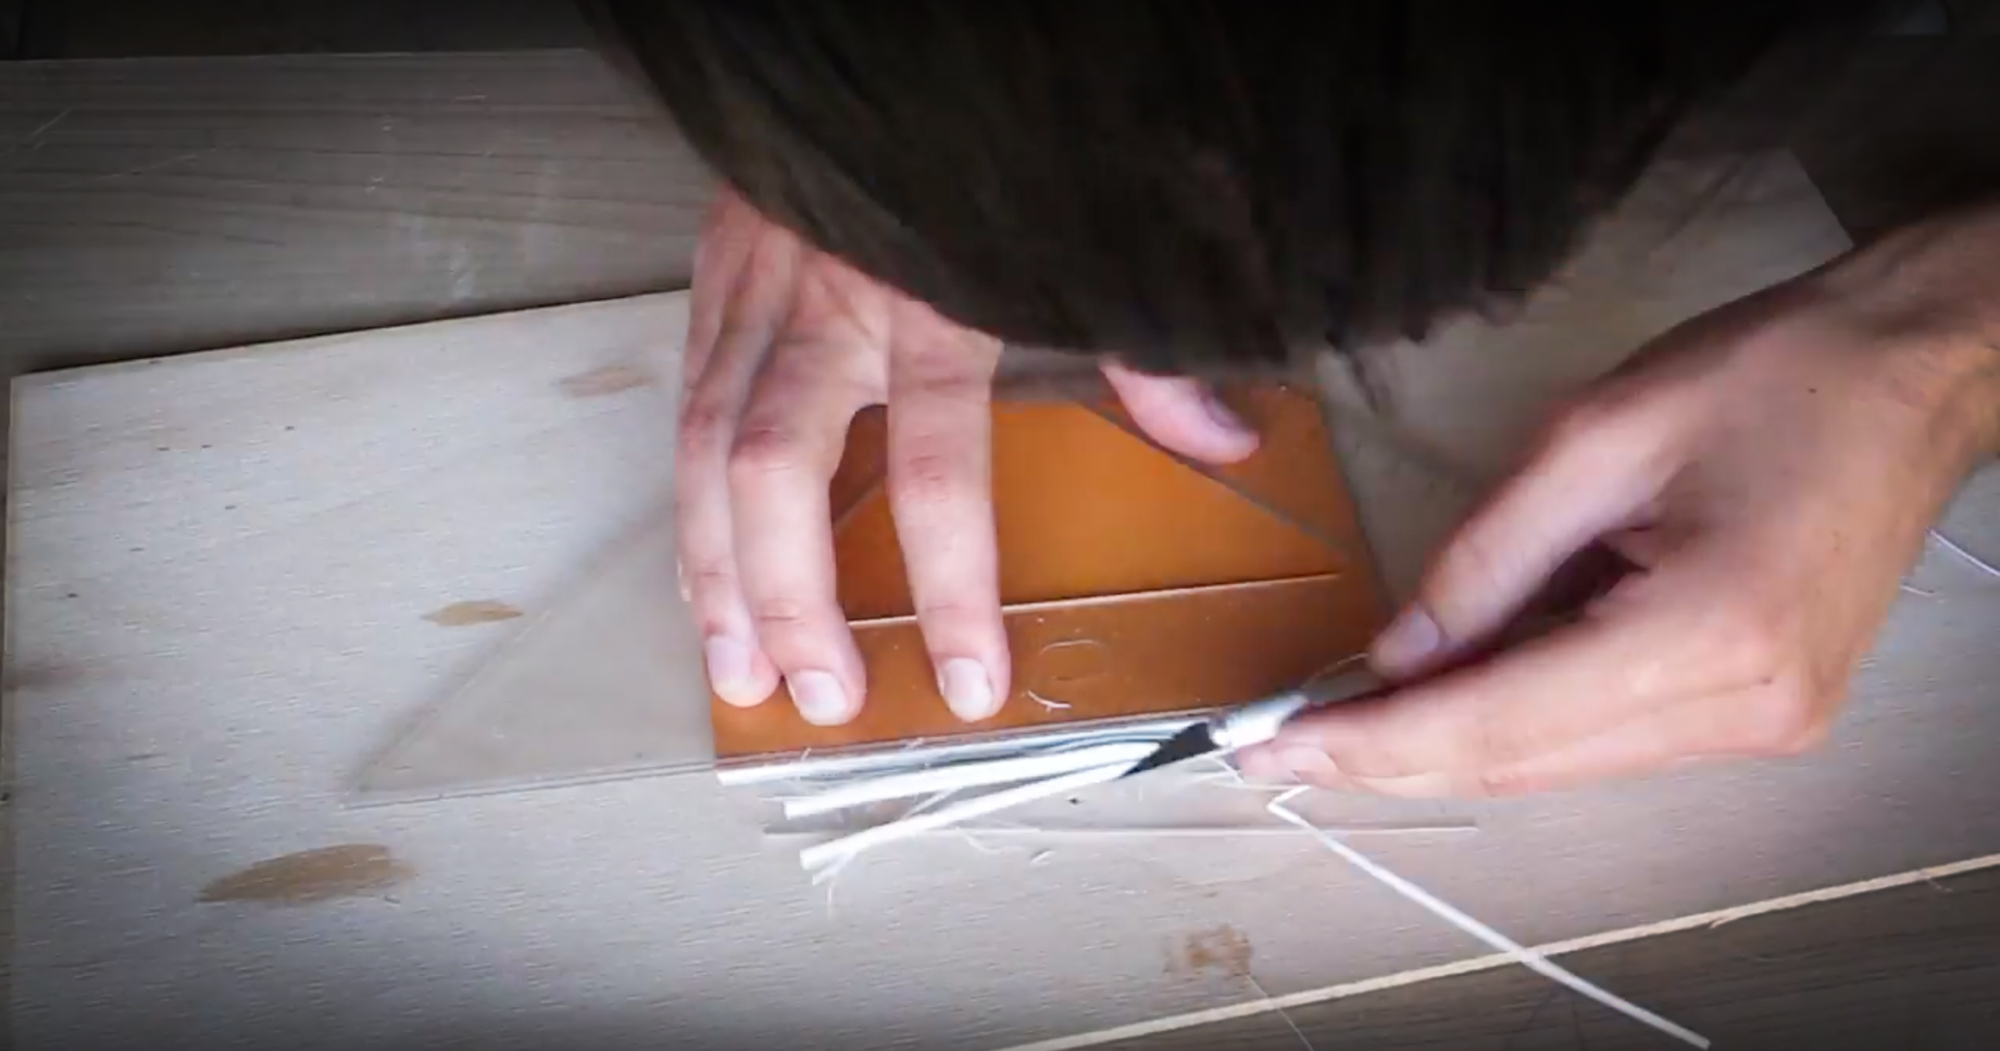
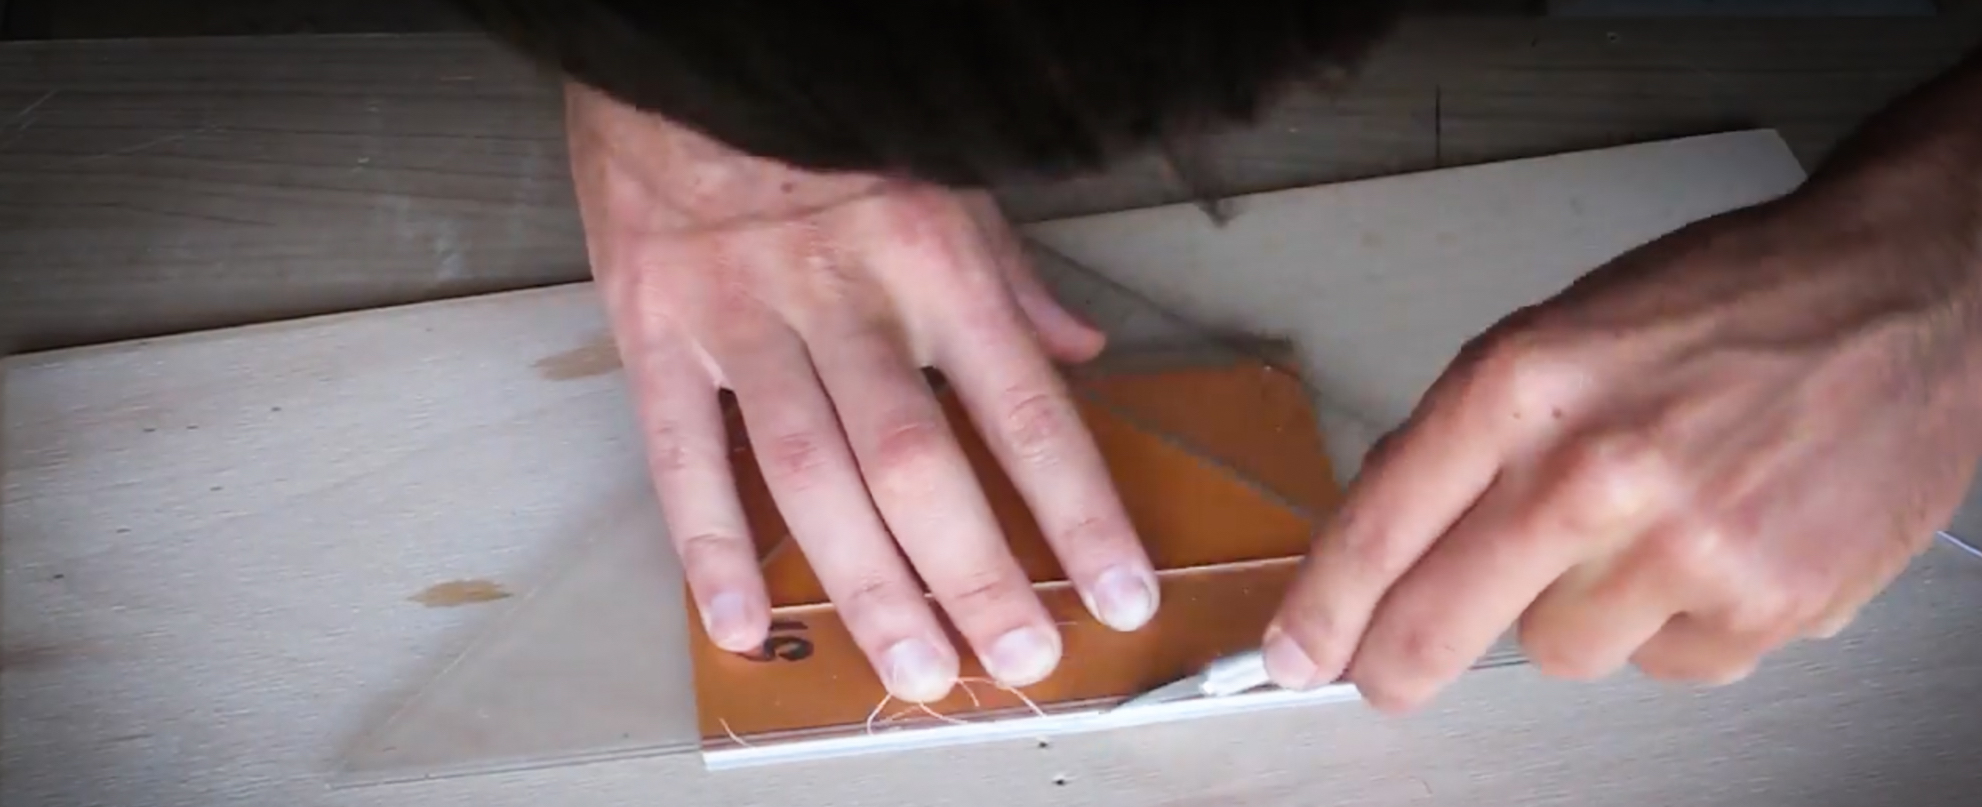
Stitching It Together
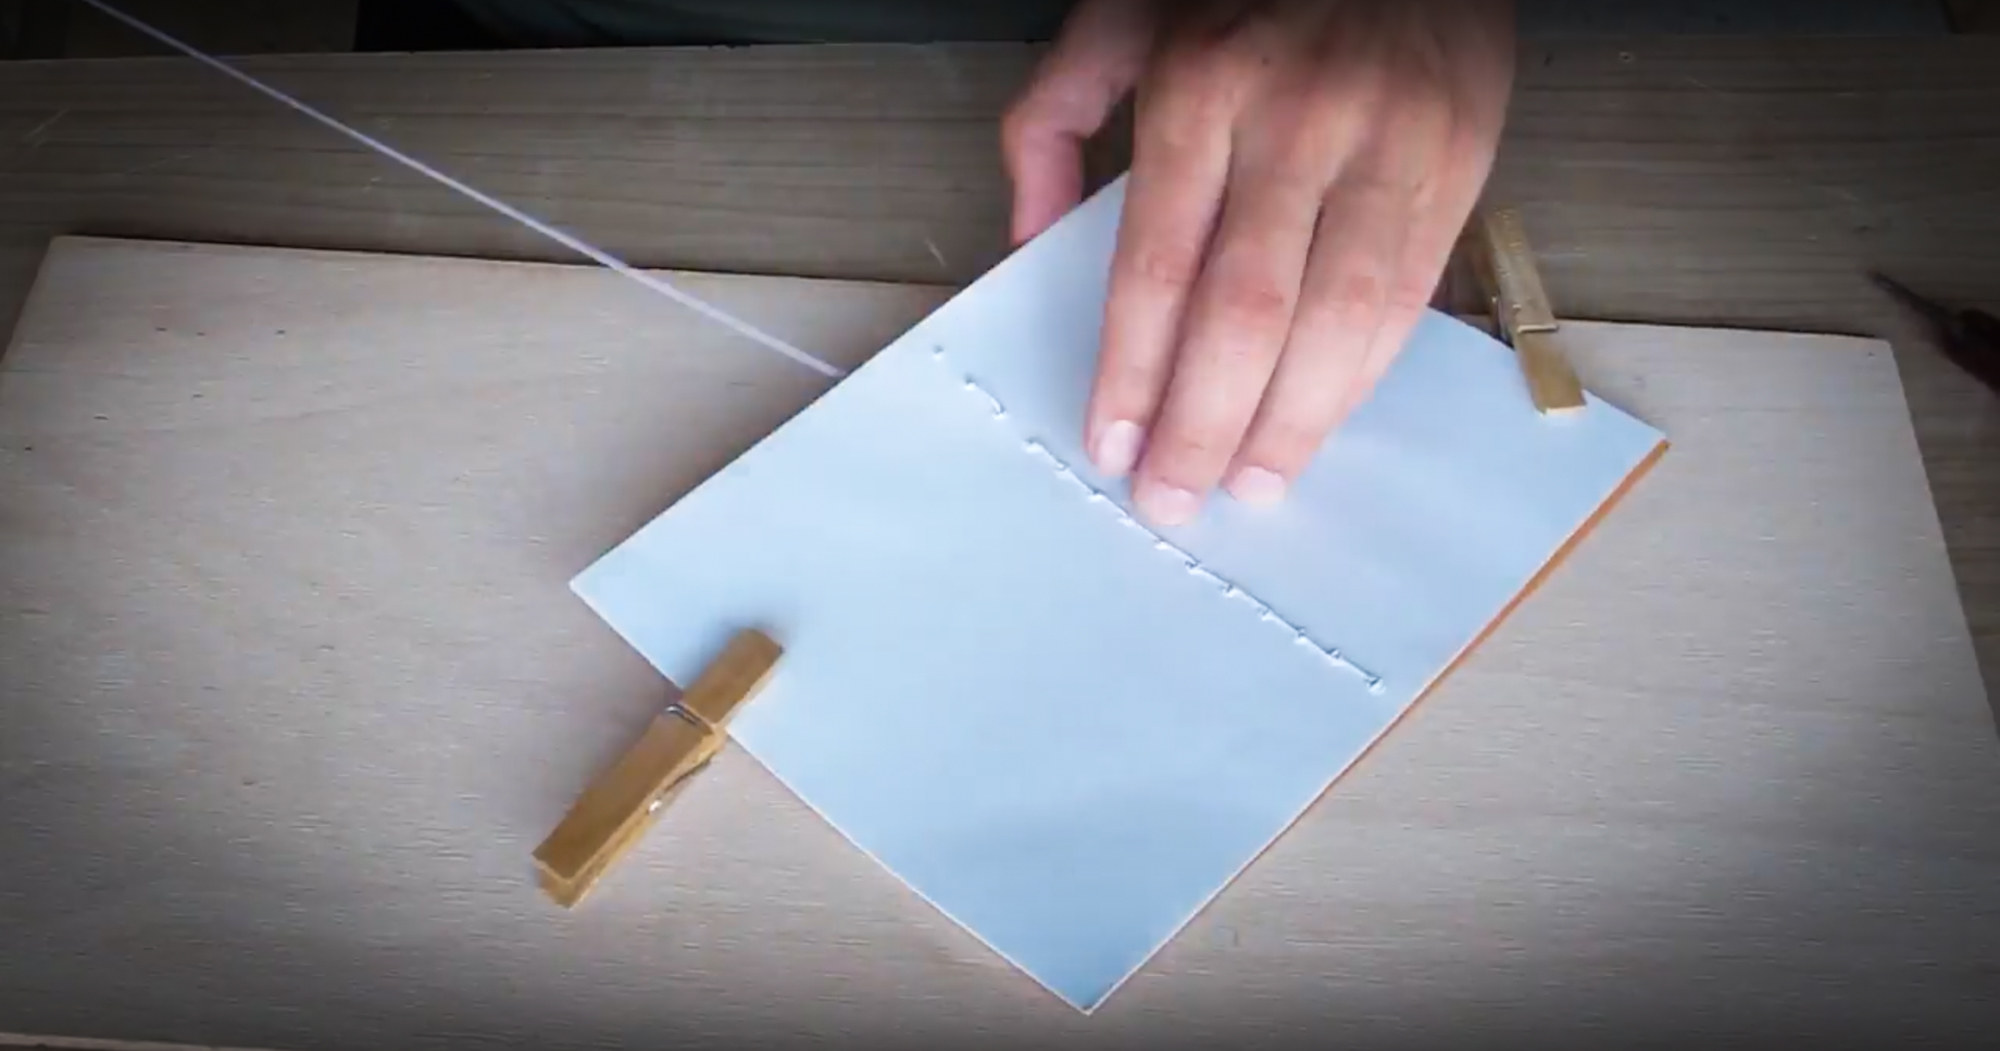
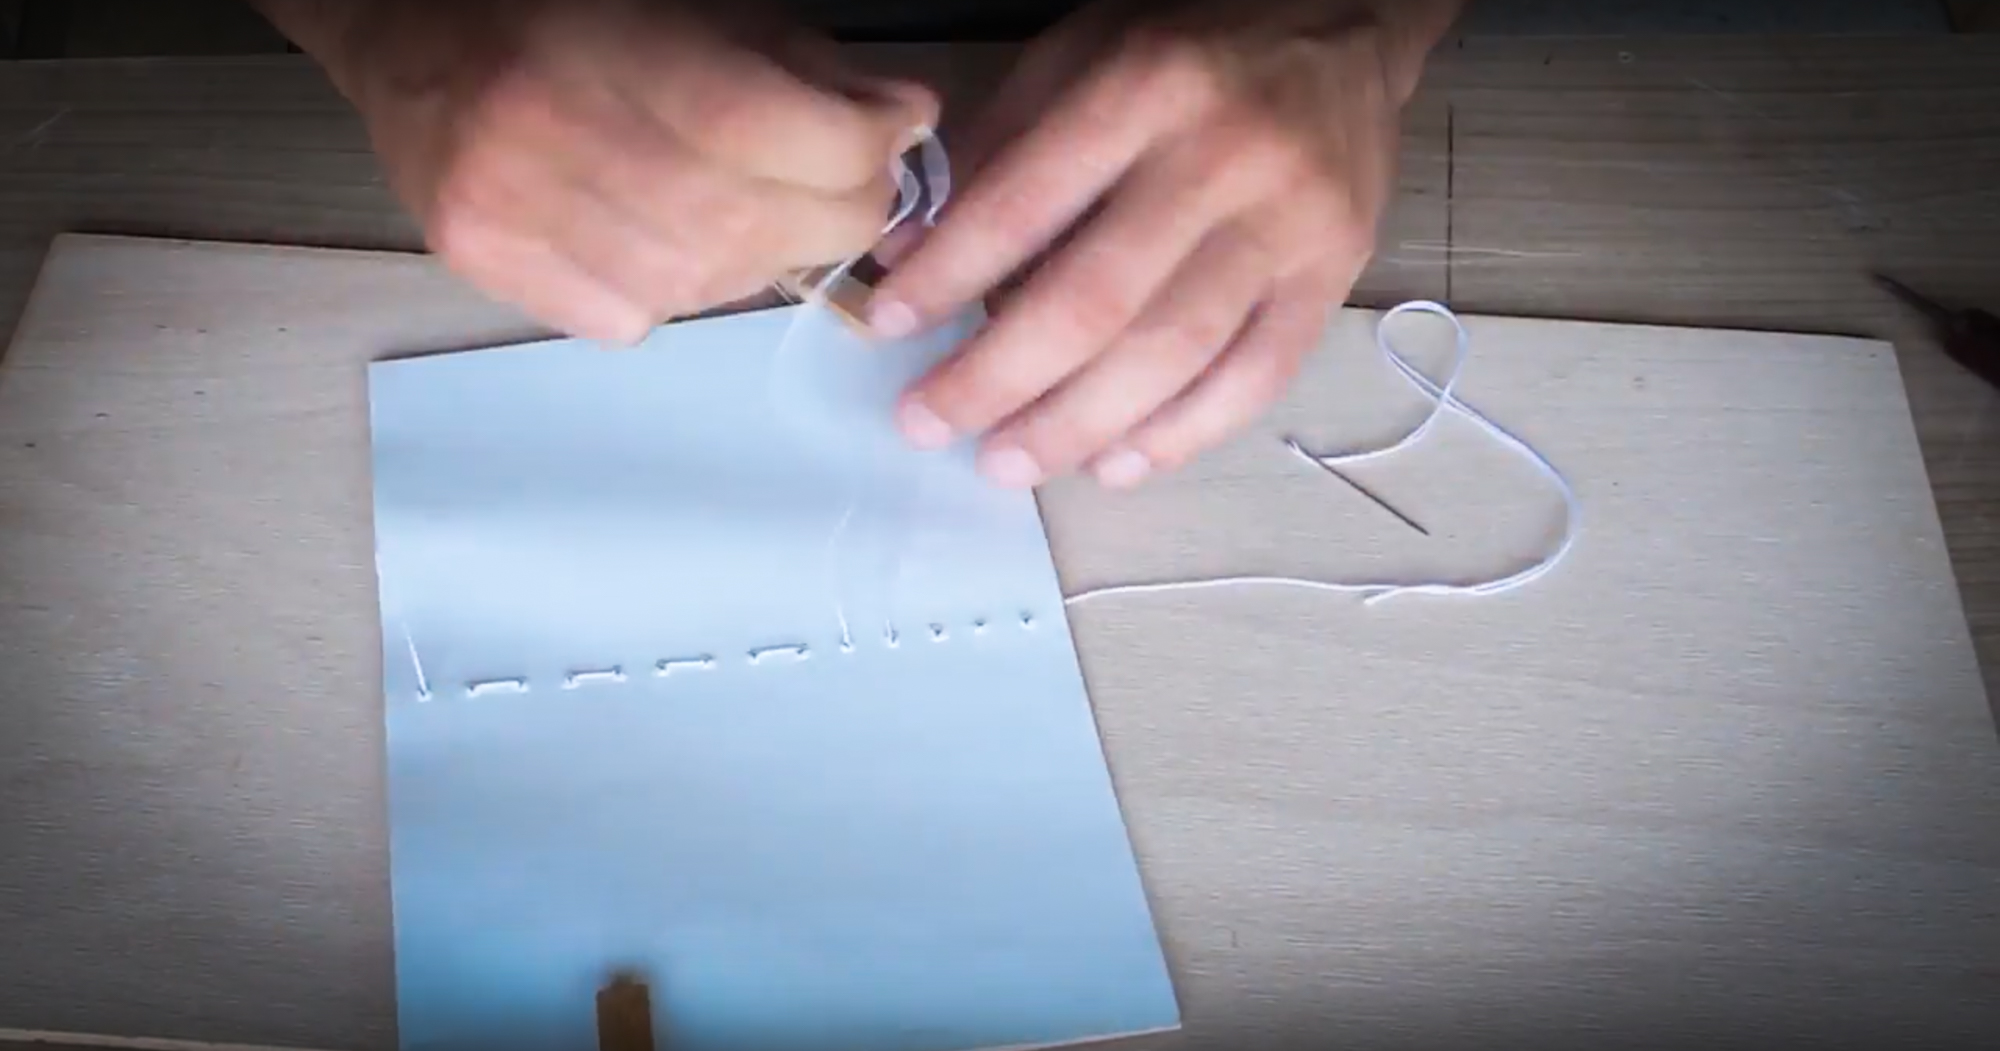
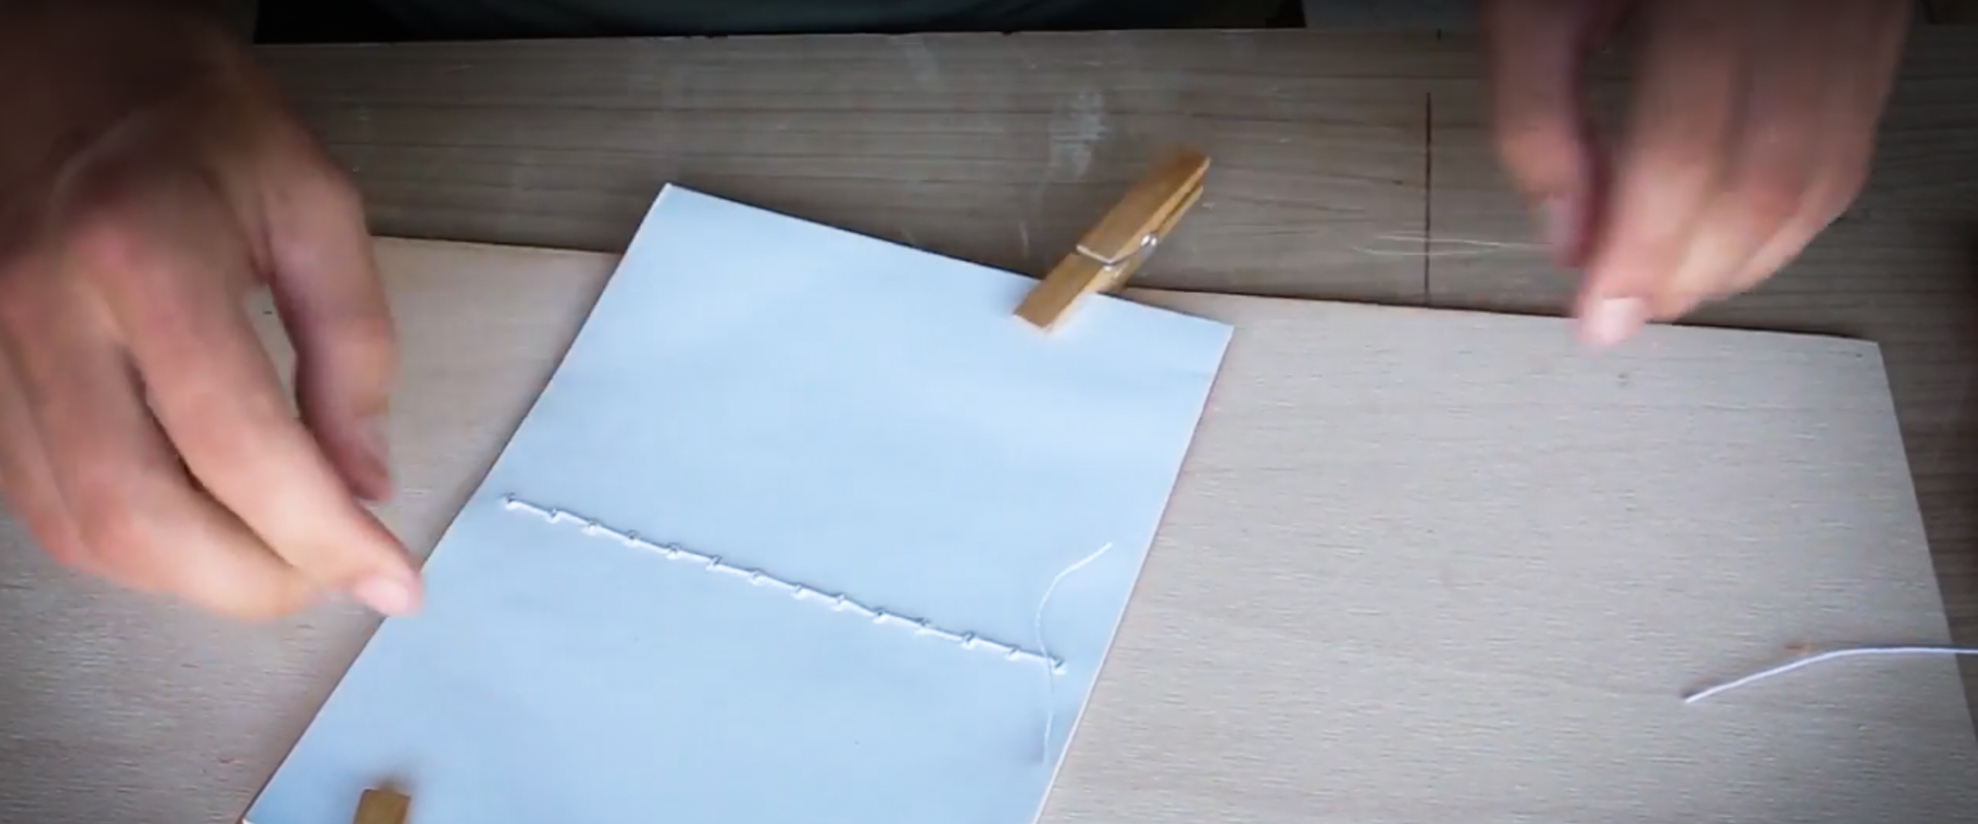
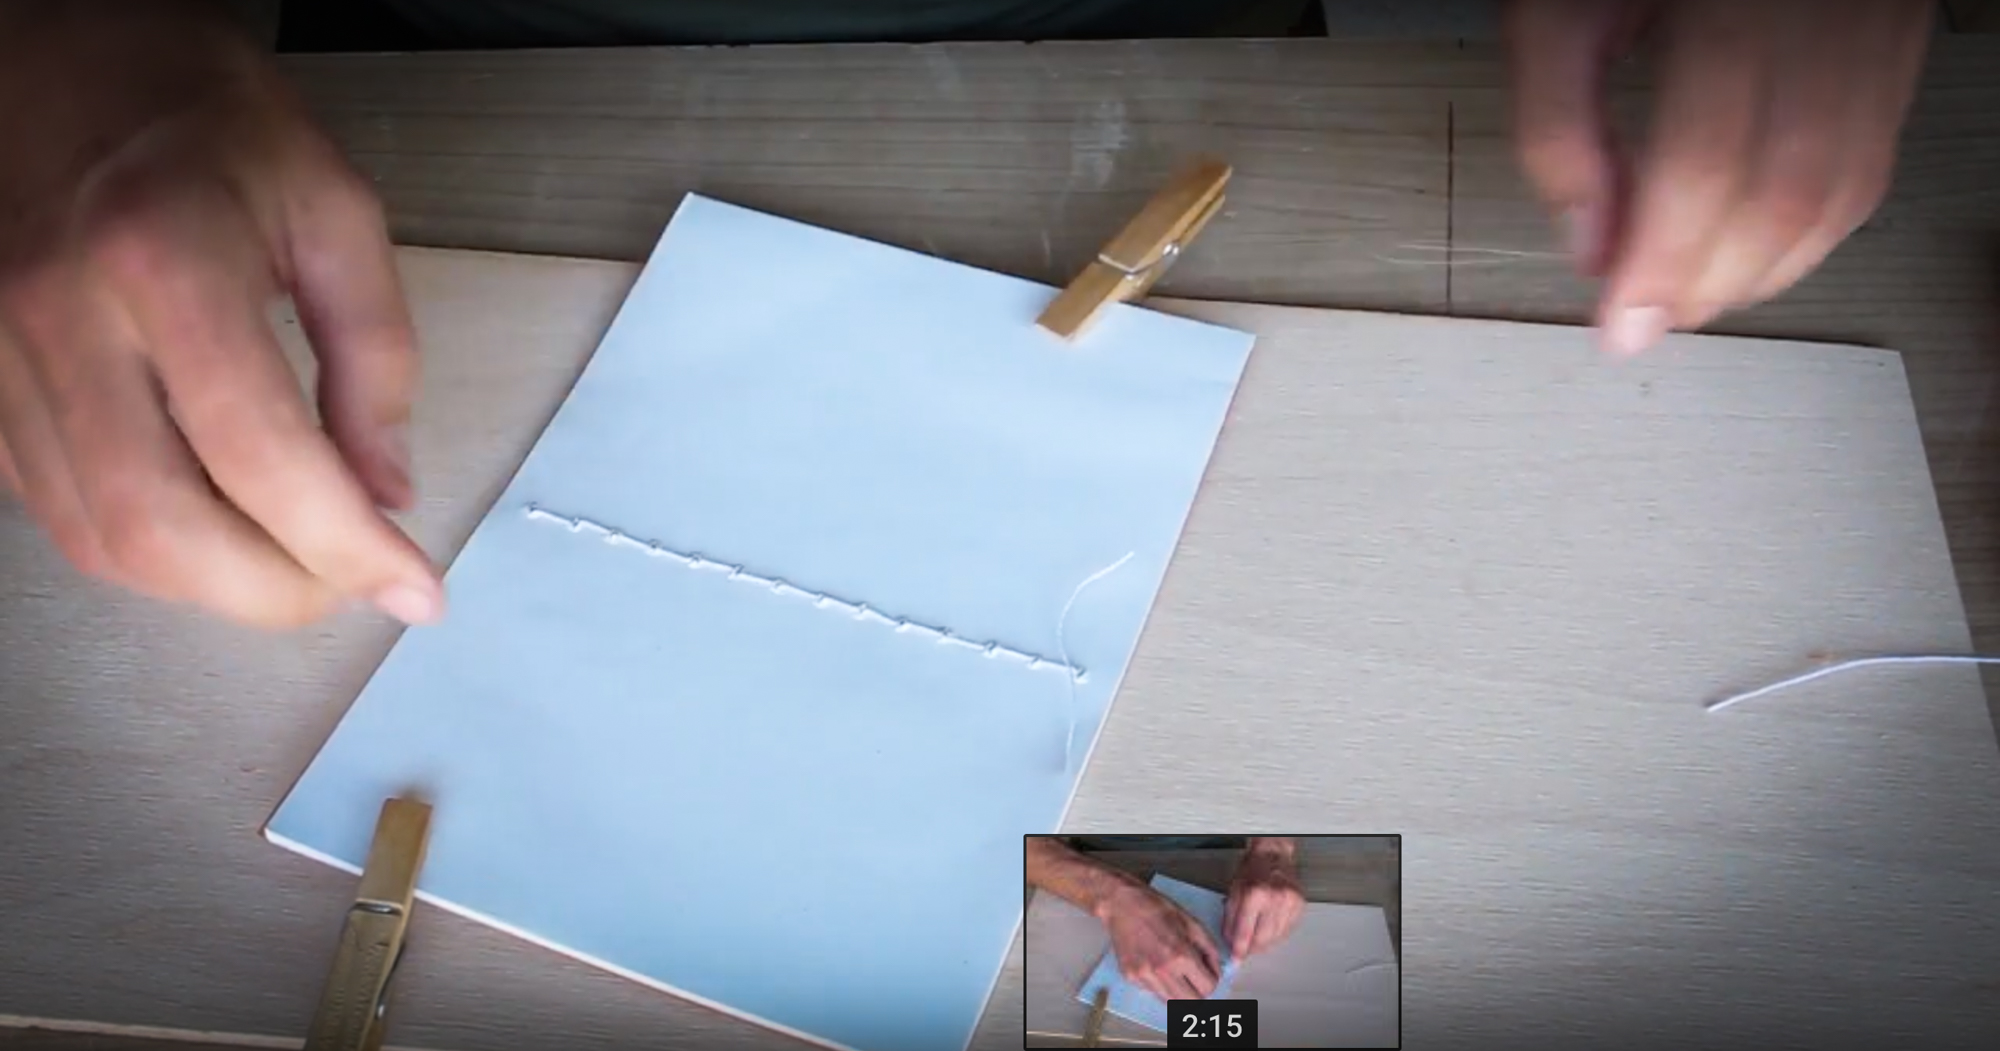
- Start stitching from the inside(at the bottom edge of the notebook) and leave few inches of the string at the beginning for making a knot.
- You are going to stitch all the way to the end and back to the beginning where tie a knot.
This makes for a nice, secure and very durable connection of the pages and cover.
Paper Tape(optional)

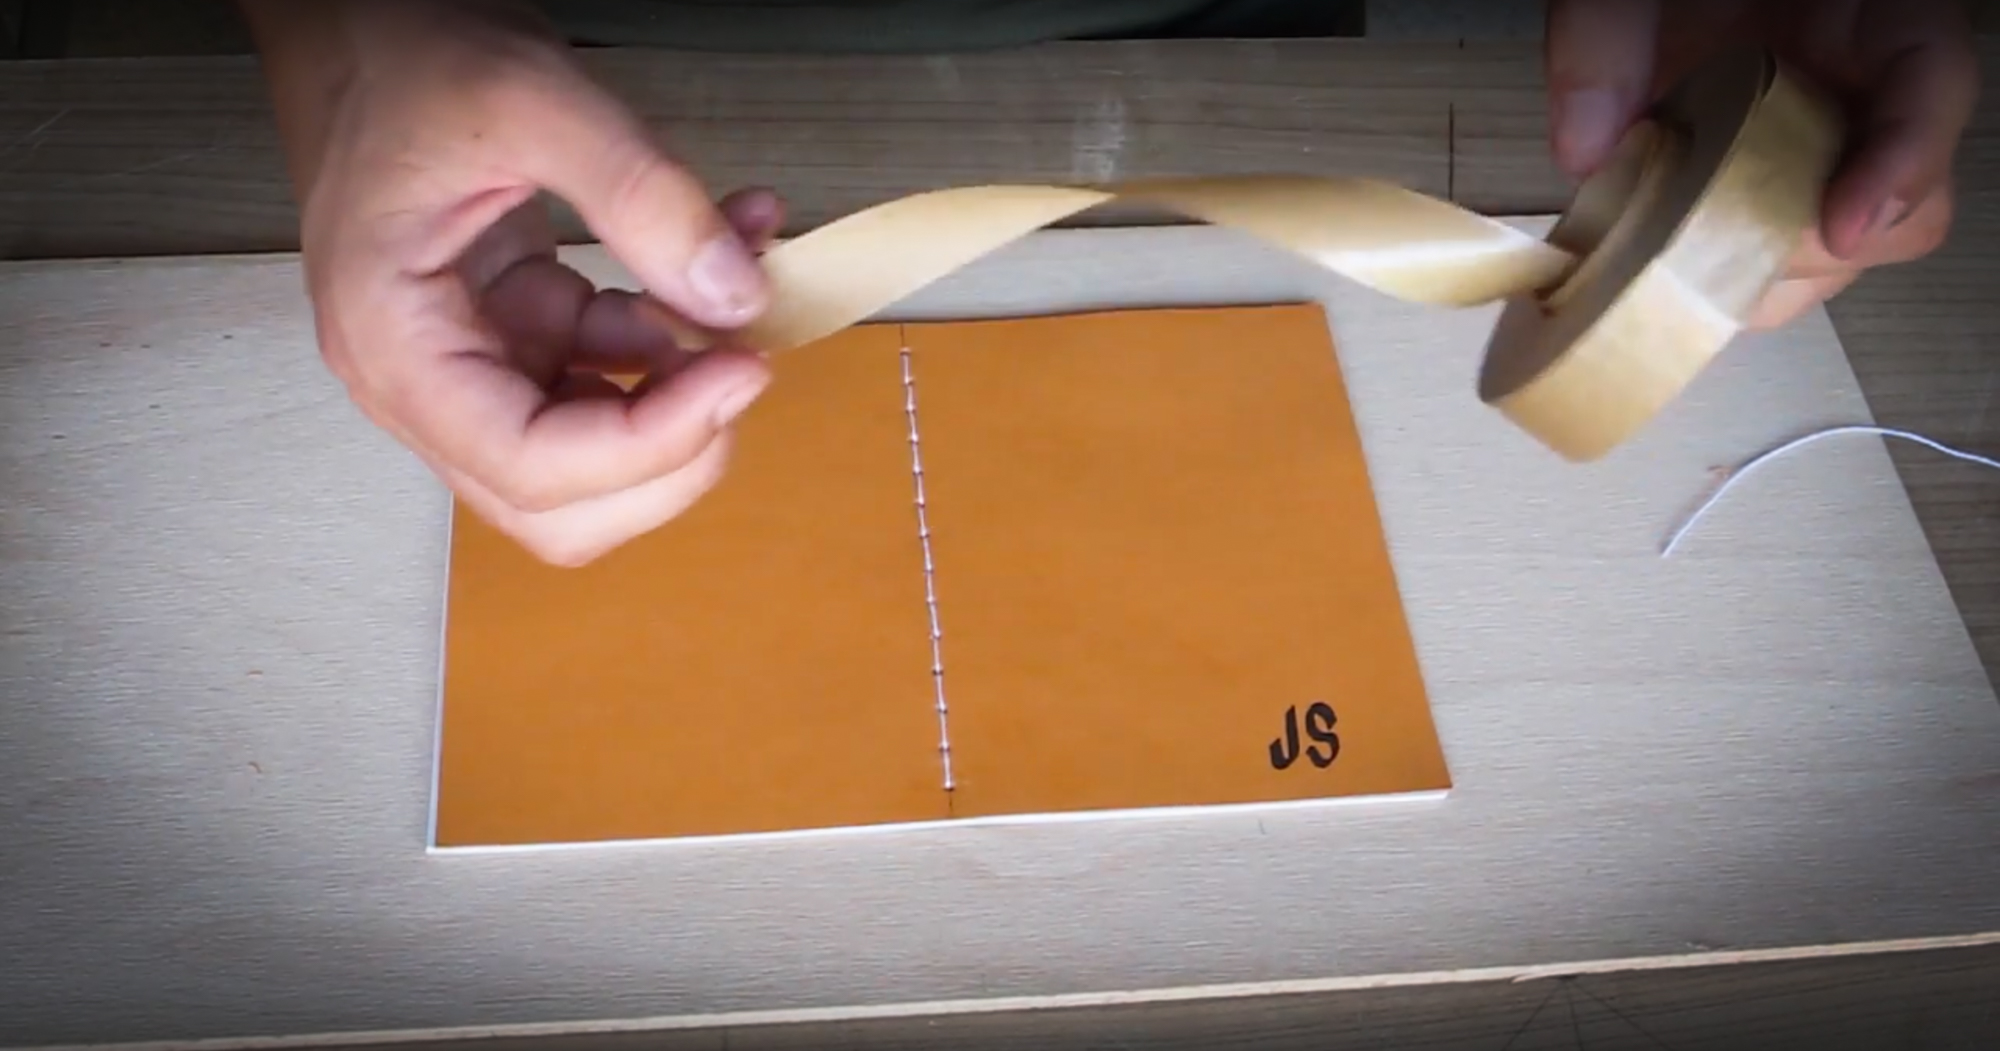
Optionally you can cover the spine of the notebook with the paper tape as you can see on the pictures. This is not necessary but it gives a nice final touch to the design of the paper notebook. :D
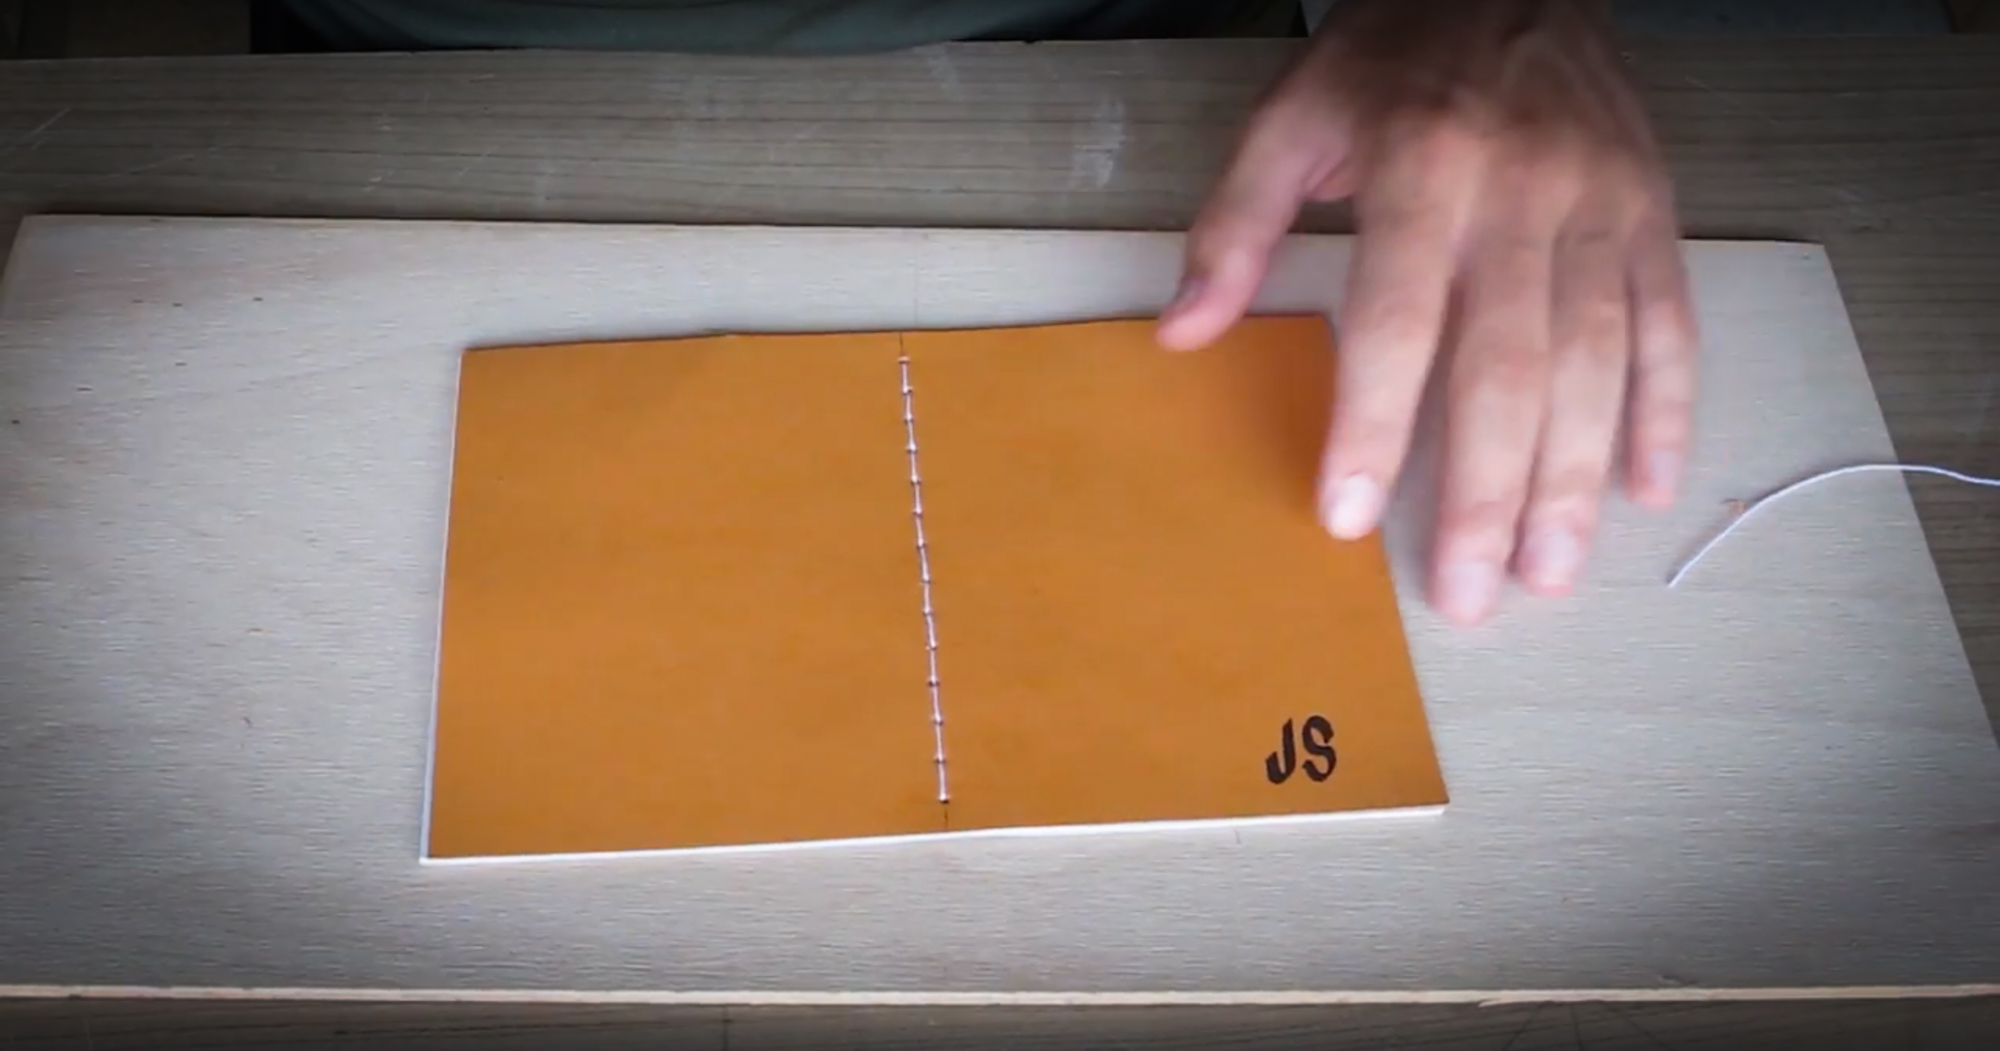
Cut the Excess Paper
Cut off the excess paper that will be sticking out in the middle of the notebook.
You Are Done

You have a perfect notebook. Just the one that fits you the best. You can make exactly the size you want the number of pages you want and the design you want. By this method, you will get an original, convenient and very durable notebook. Thank you for reading this far... :)