DIY "PC Usage Meter ROG Base" Using Arduino and Python
by _Boltz_ in Circuits > Gadgets
1374 Views, 14 Favorites, 0 Comments
DIY "PC Usage Meter ROG Base" Using Arduino and Python
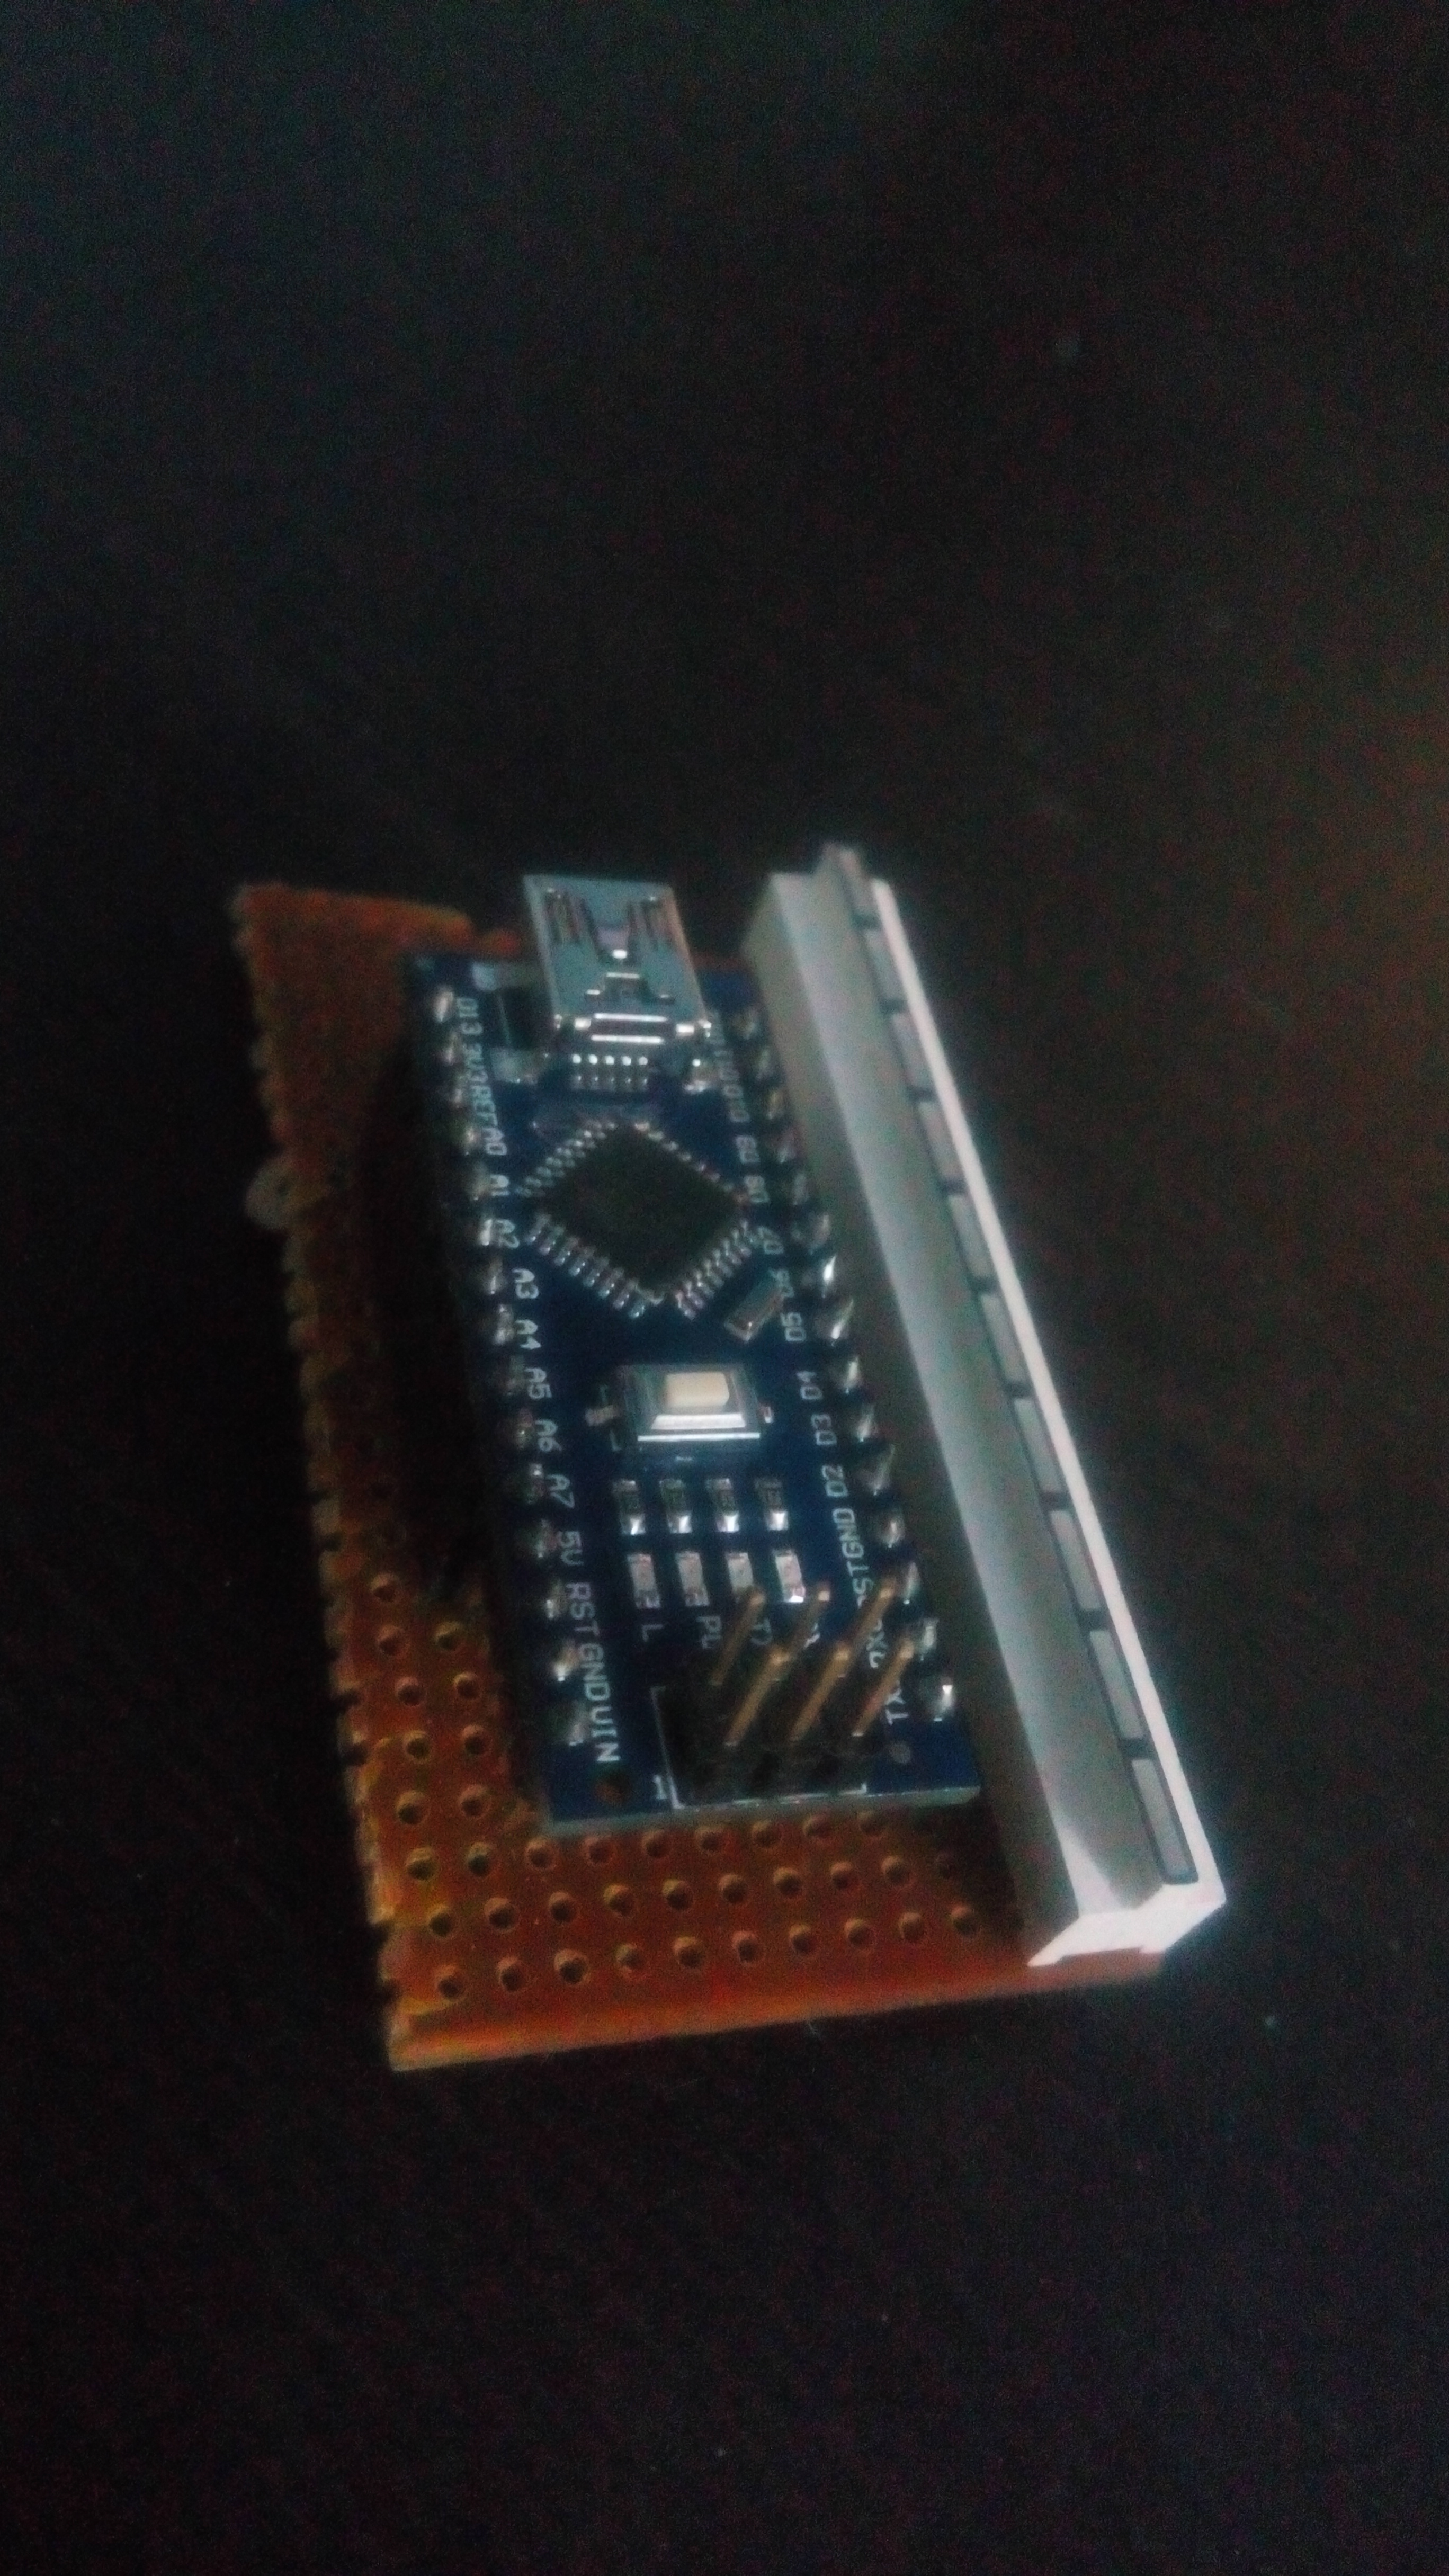
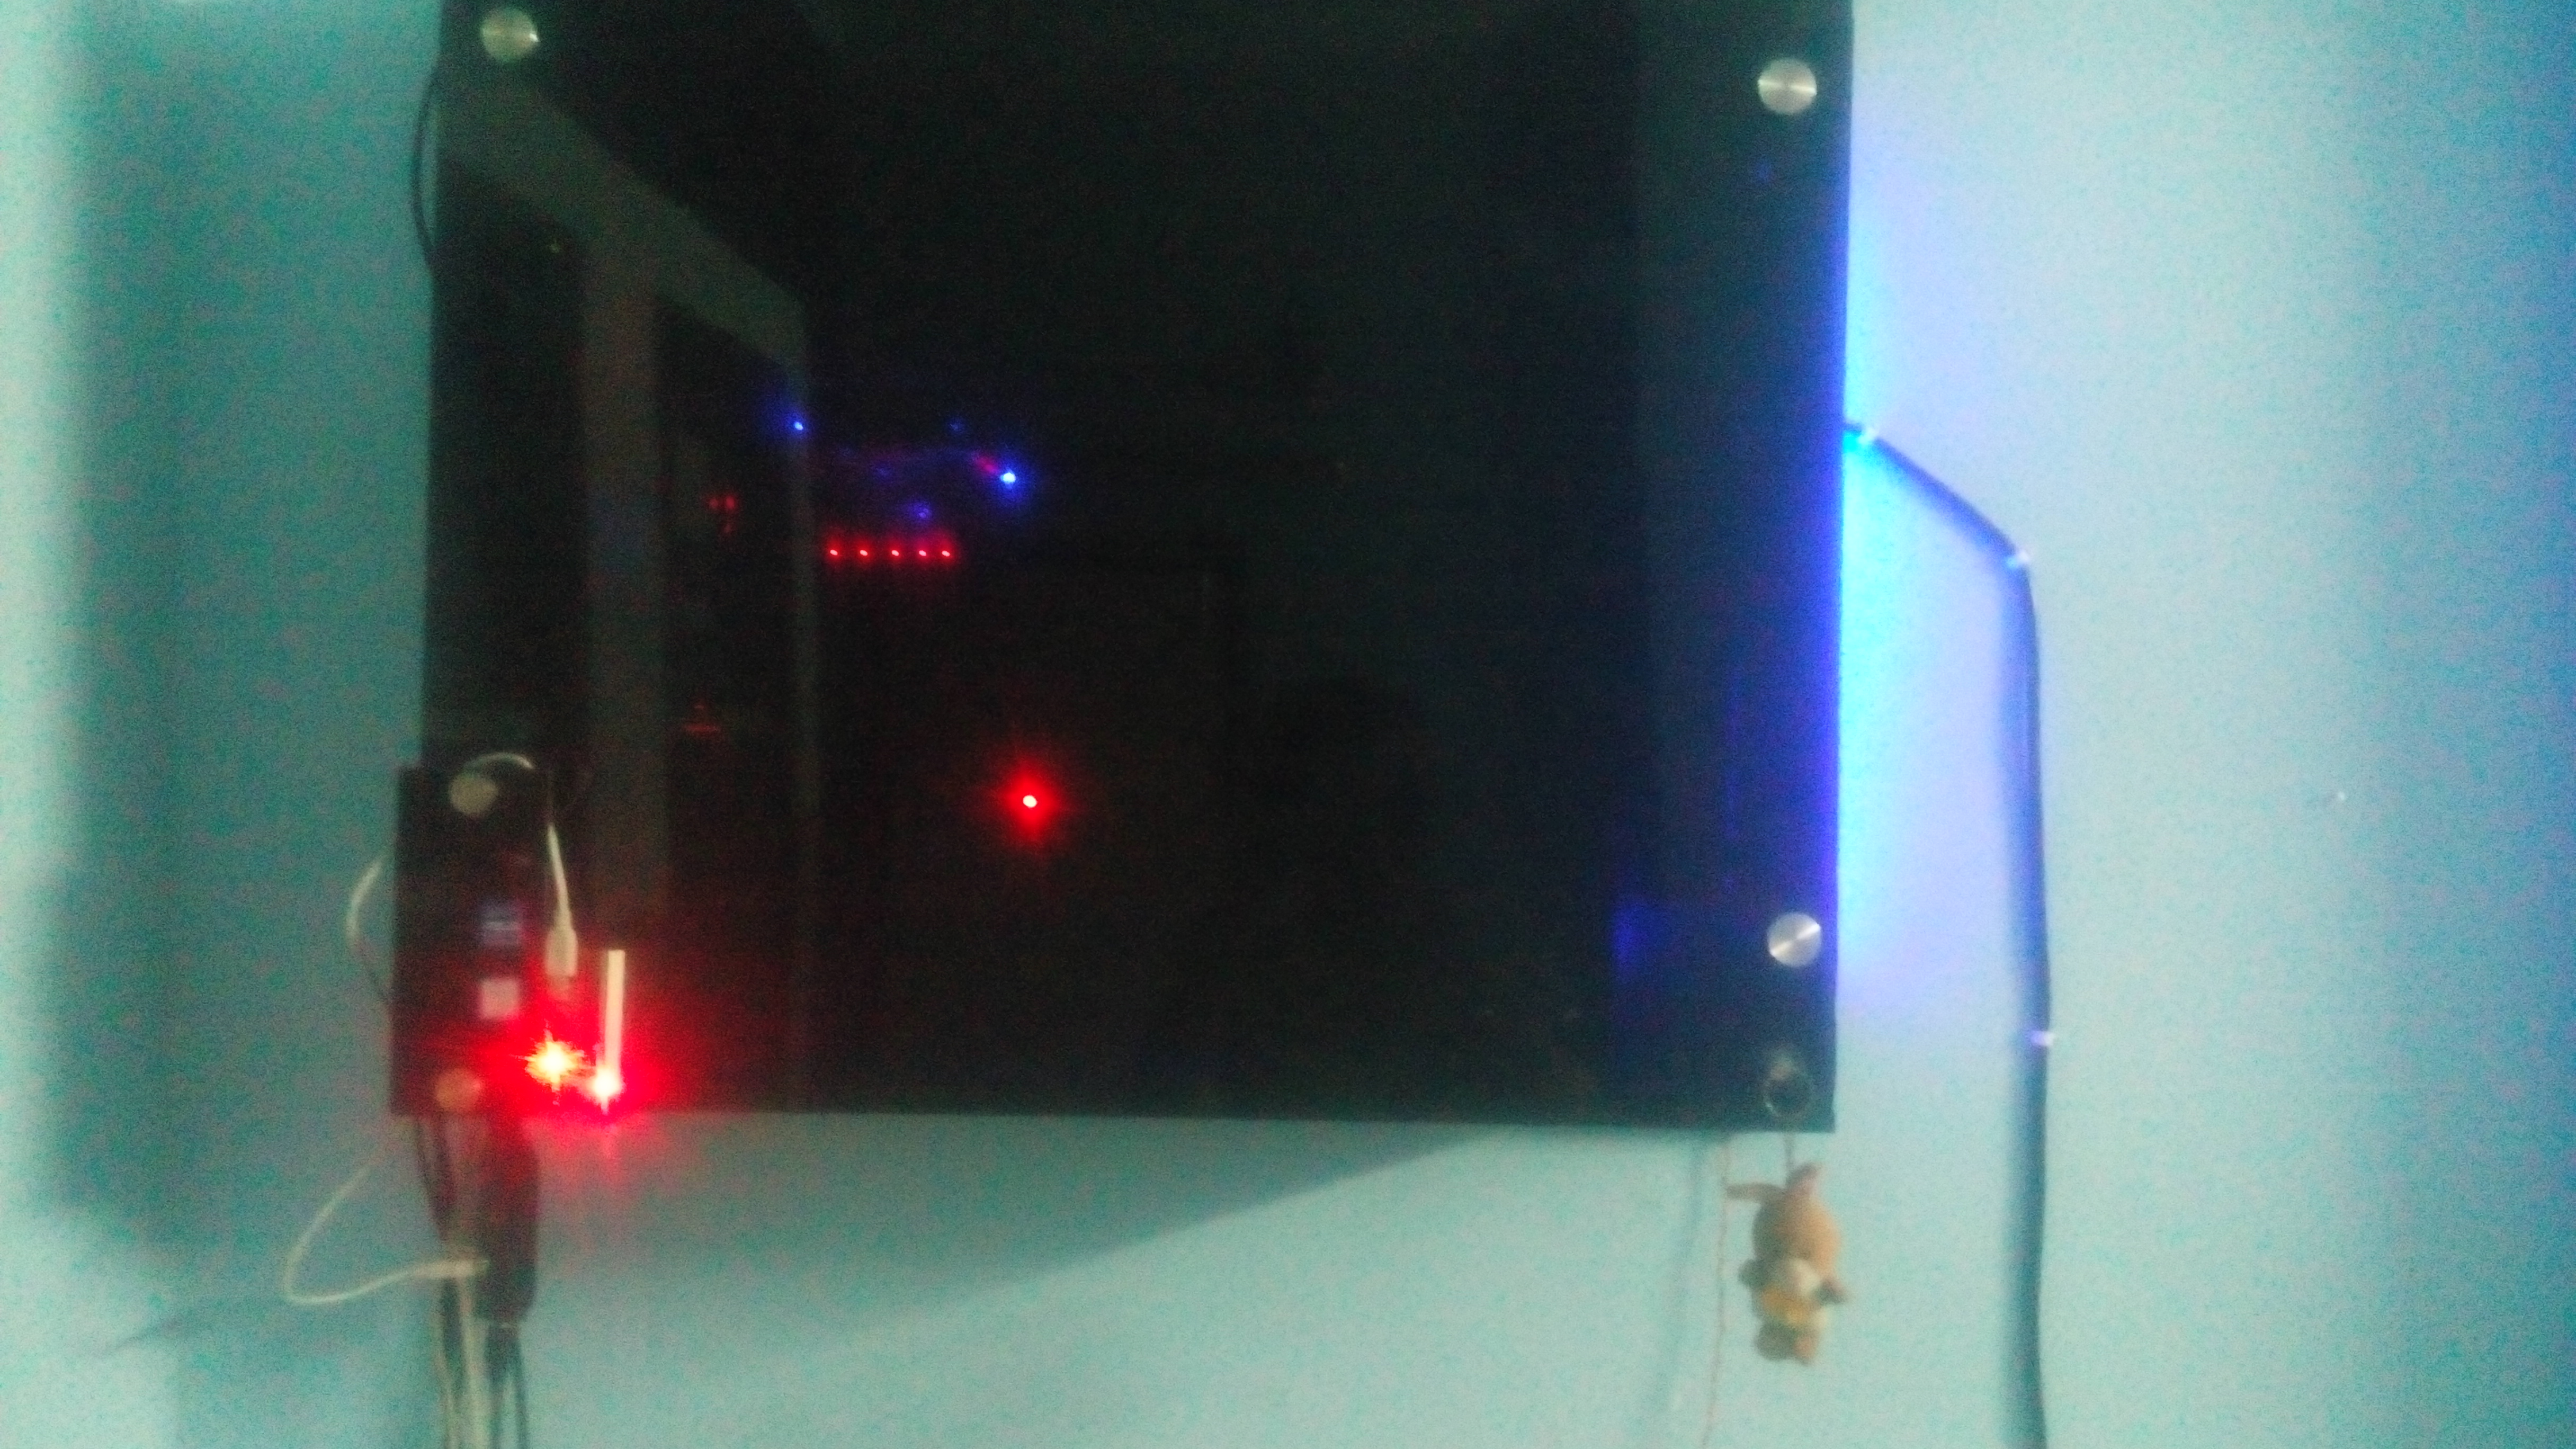
Hello Everyone,
I would like to clarify that this article was written by a non-native English speaker. Kindly bring any grammatical mistakes to my attention. Thank you for your understanding.
Please refrain from imitating any logos seen in the pictures, as they are copyrighted and should be respected.
Any suggestions or improvements are appreciated for this instructable and the equipment involved.
I cannot be held responsible for any damage caused to your devices due to cross-wiring, circuiting errors, or programming mistakes. Proceed with caution at your own risk.
Consider 3D printing a case for this project, if available.
Please press the heart icon to show your appreciation and help spread the love. Add this article to your favorites for future reference.
This project aims to create an external CPU usage meter. By using a few LEDs and an Arduino Nano, the necessary hardware can be built. With the Python program utilizing the "PSUTIL" library, CPU usage can be visualized. The program can be further modified to display additional system information such as RAM usage and CPU frequency.
I am currently working on making the computer program a background process, but assistance in this area would be appreciated.
Let's now proceed to browse the bill of materials required for this project.
Bill of Materials
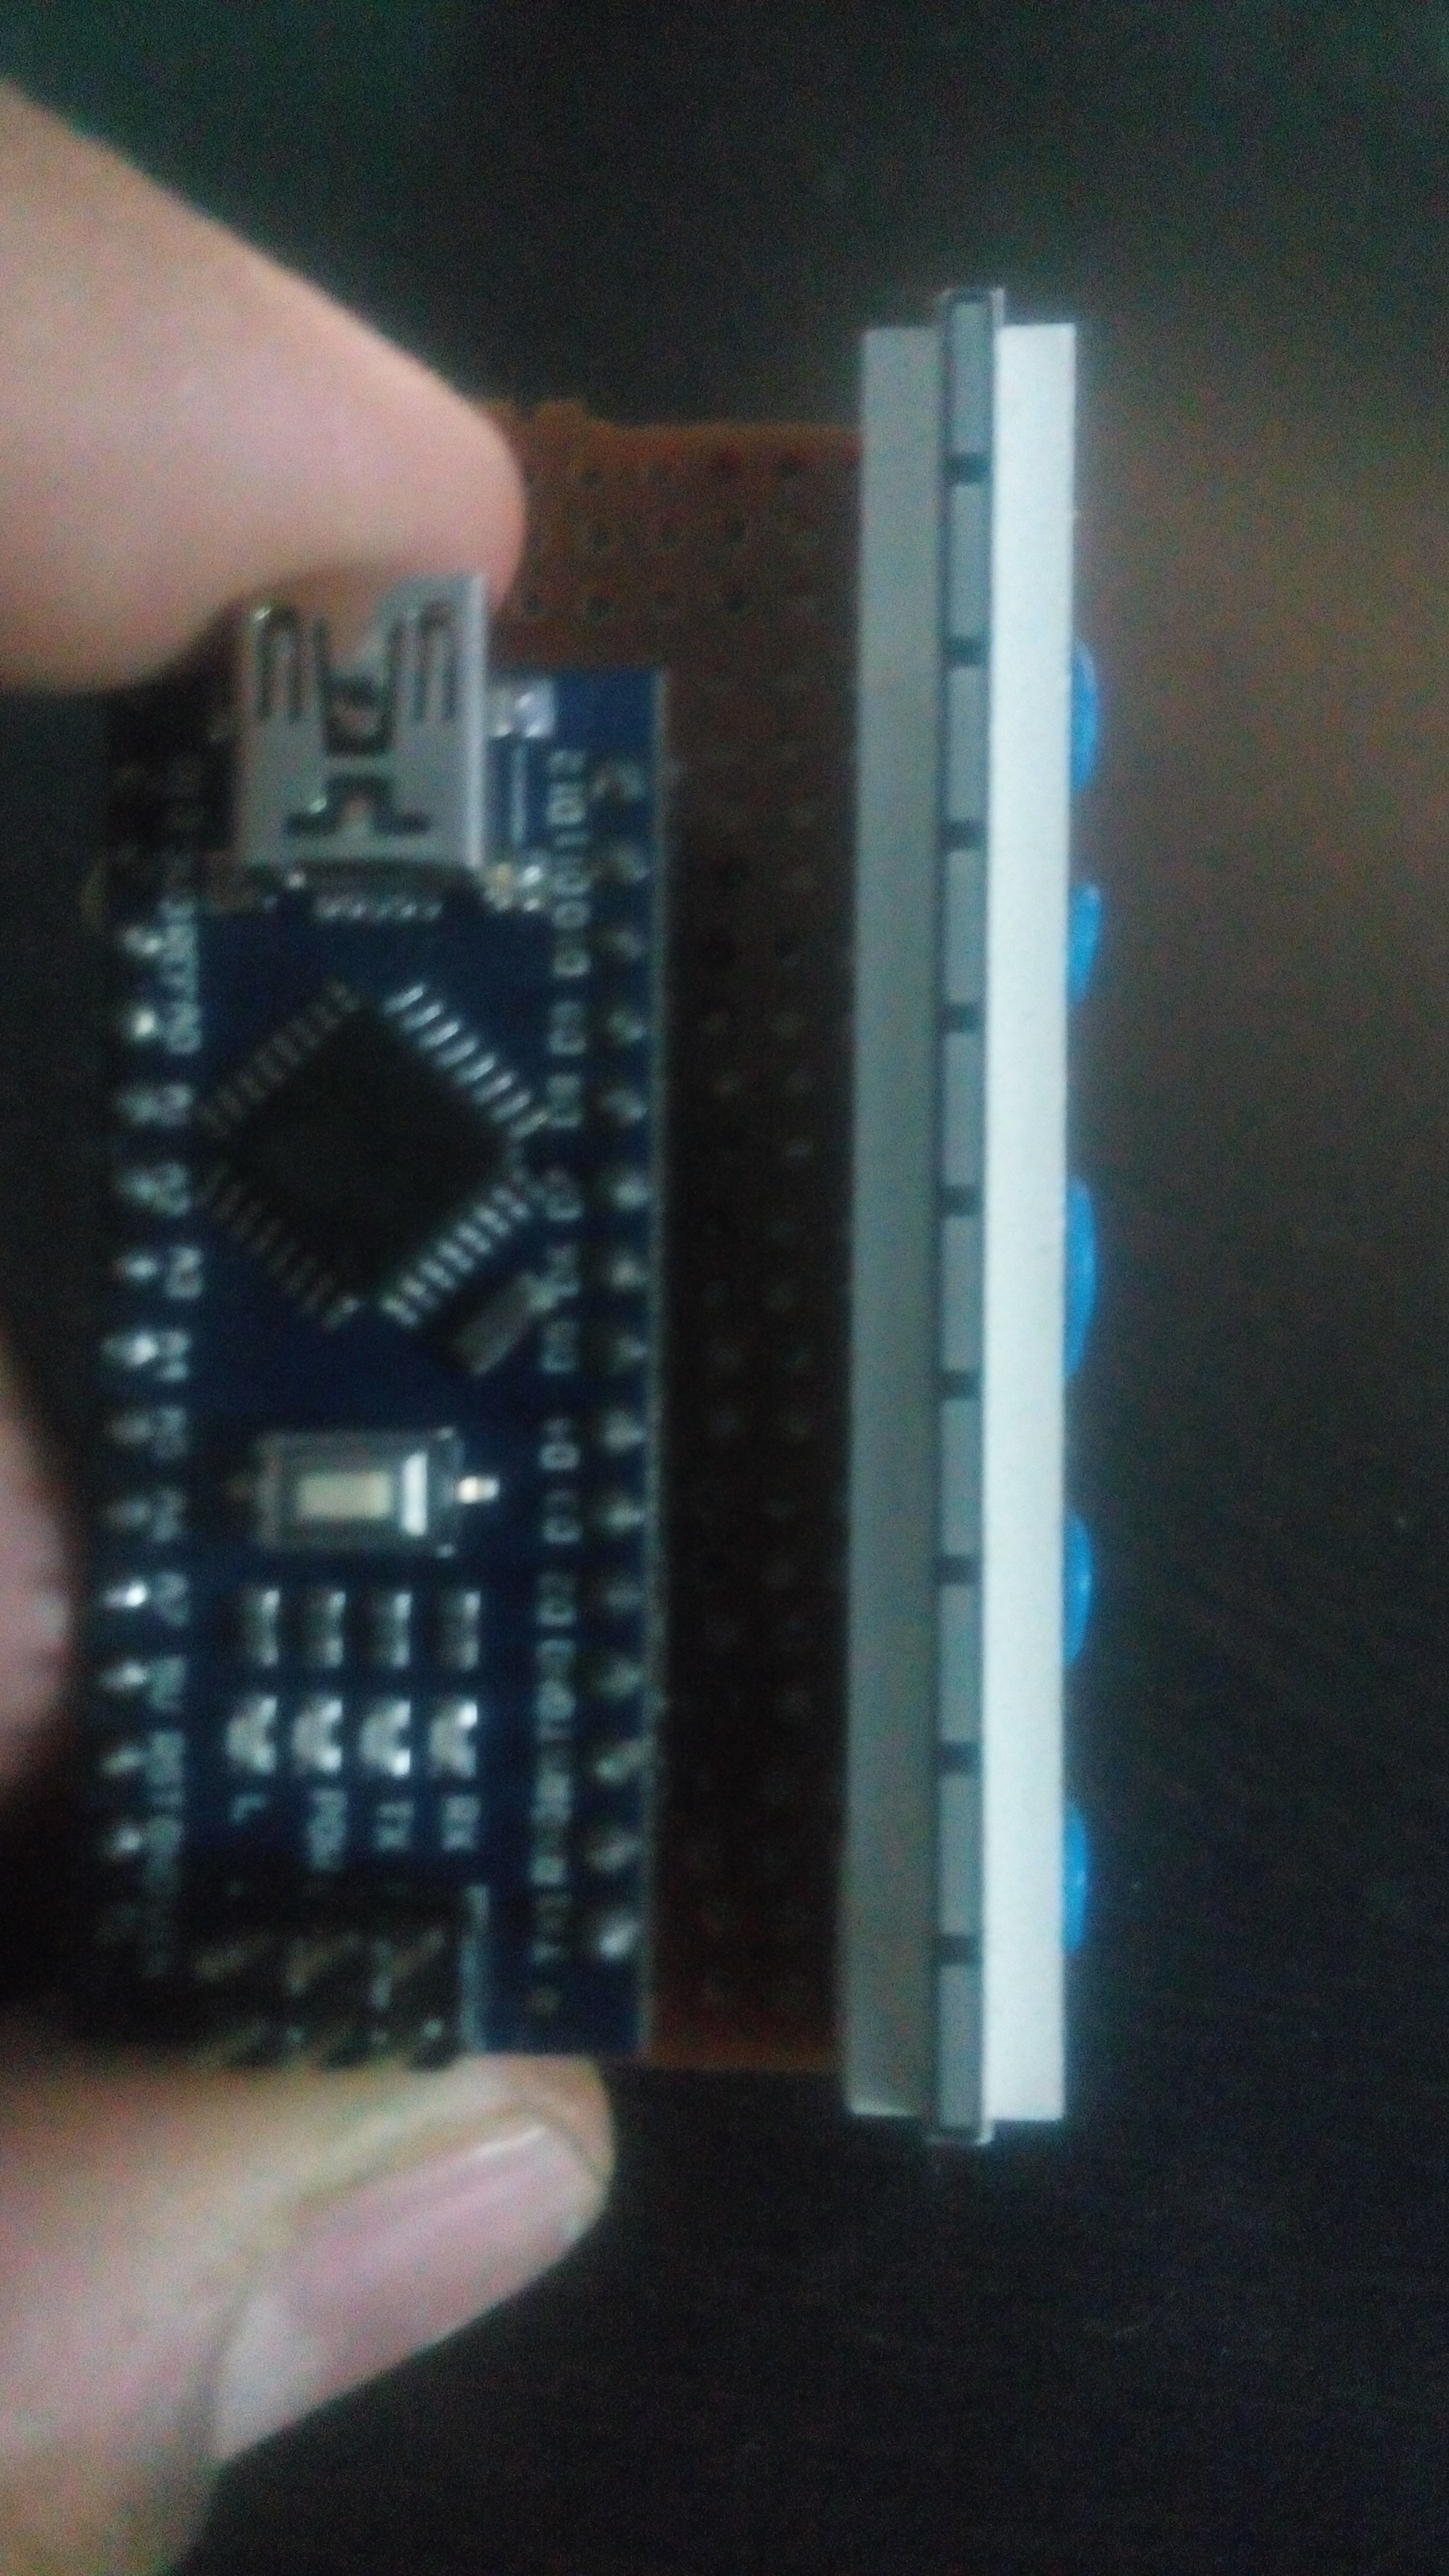
Bill of Materials:
- Arduino board (with Serial Module installed, or USB to TTL if using Arduino Pro Mini or Nano)
- LED Bar Graph or 10 individual LEDs
- Host machine
Making the Circuit.
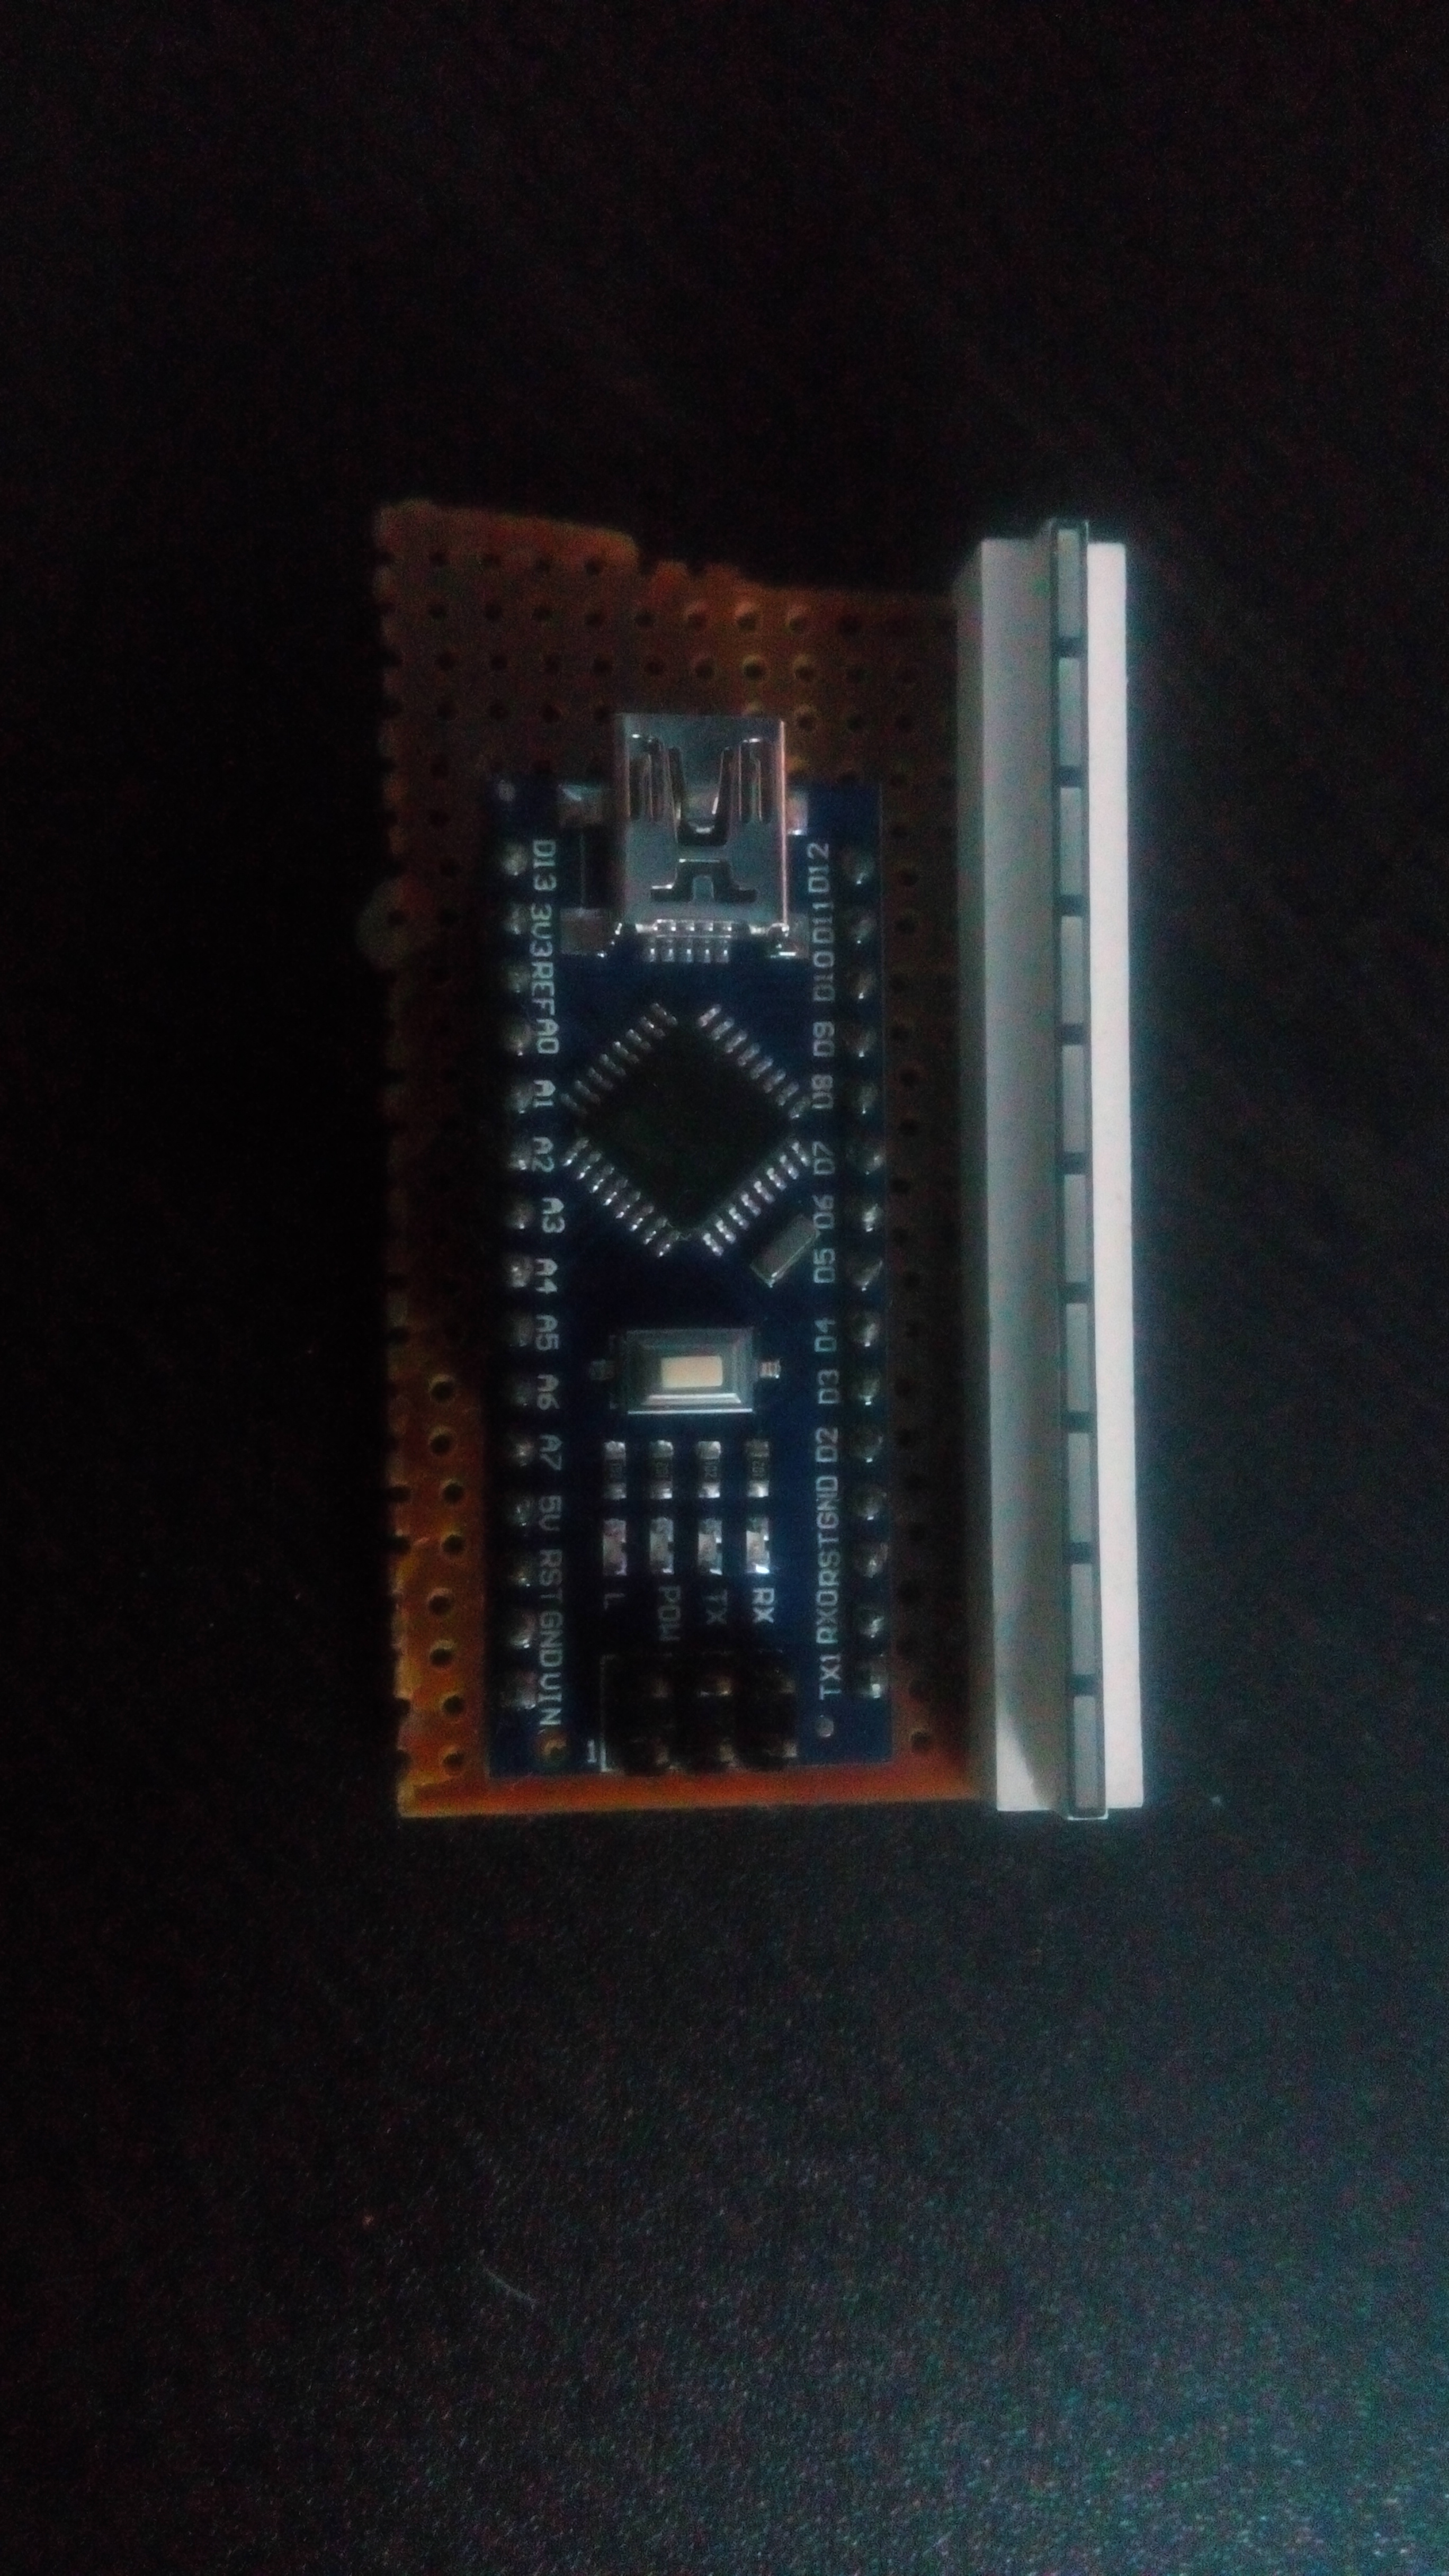
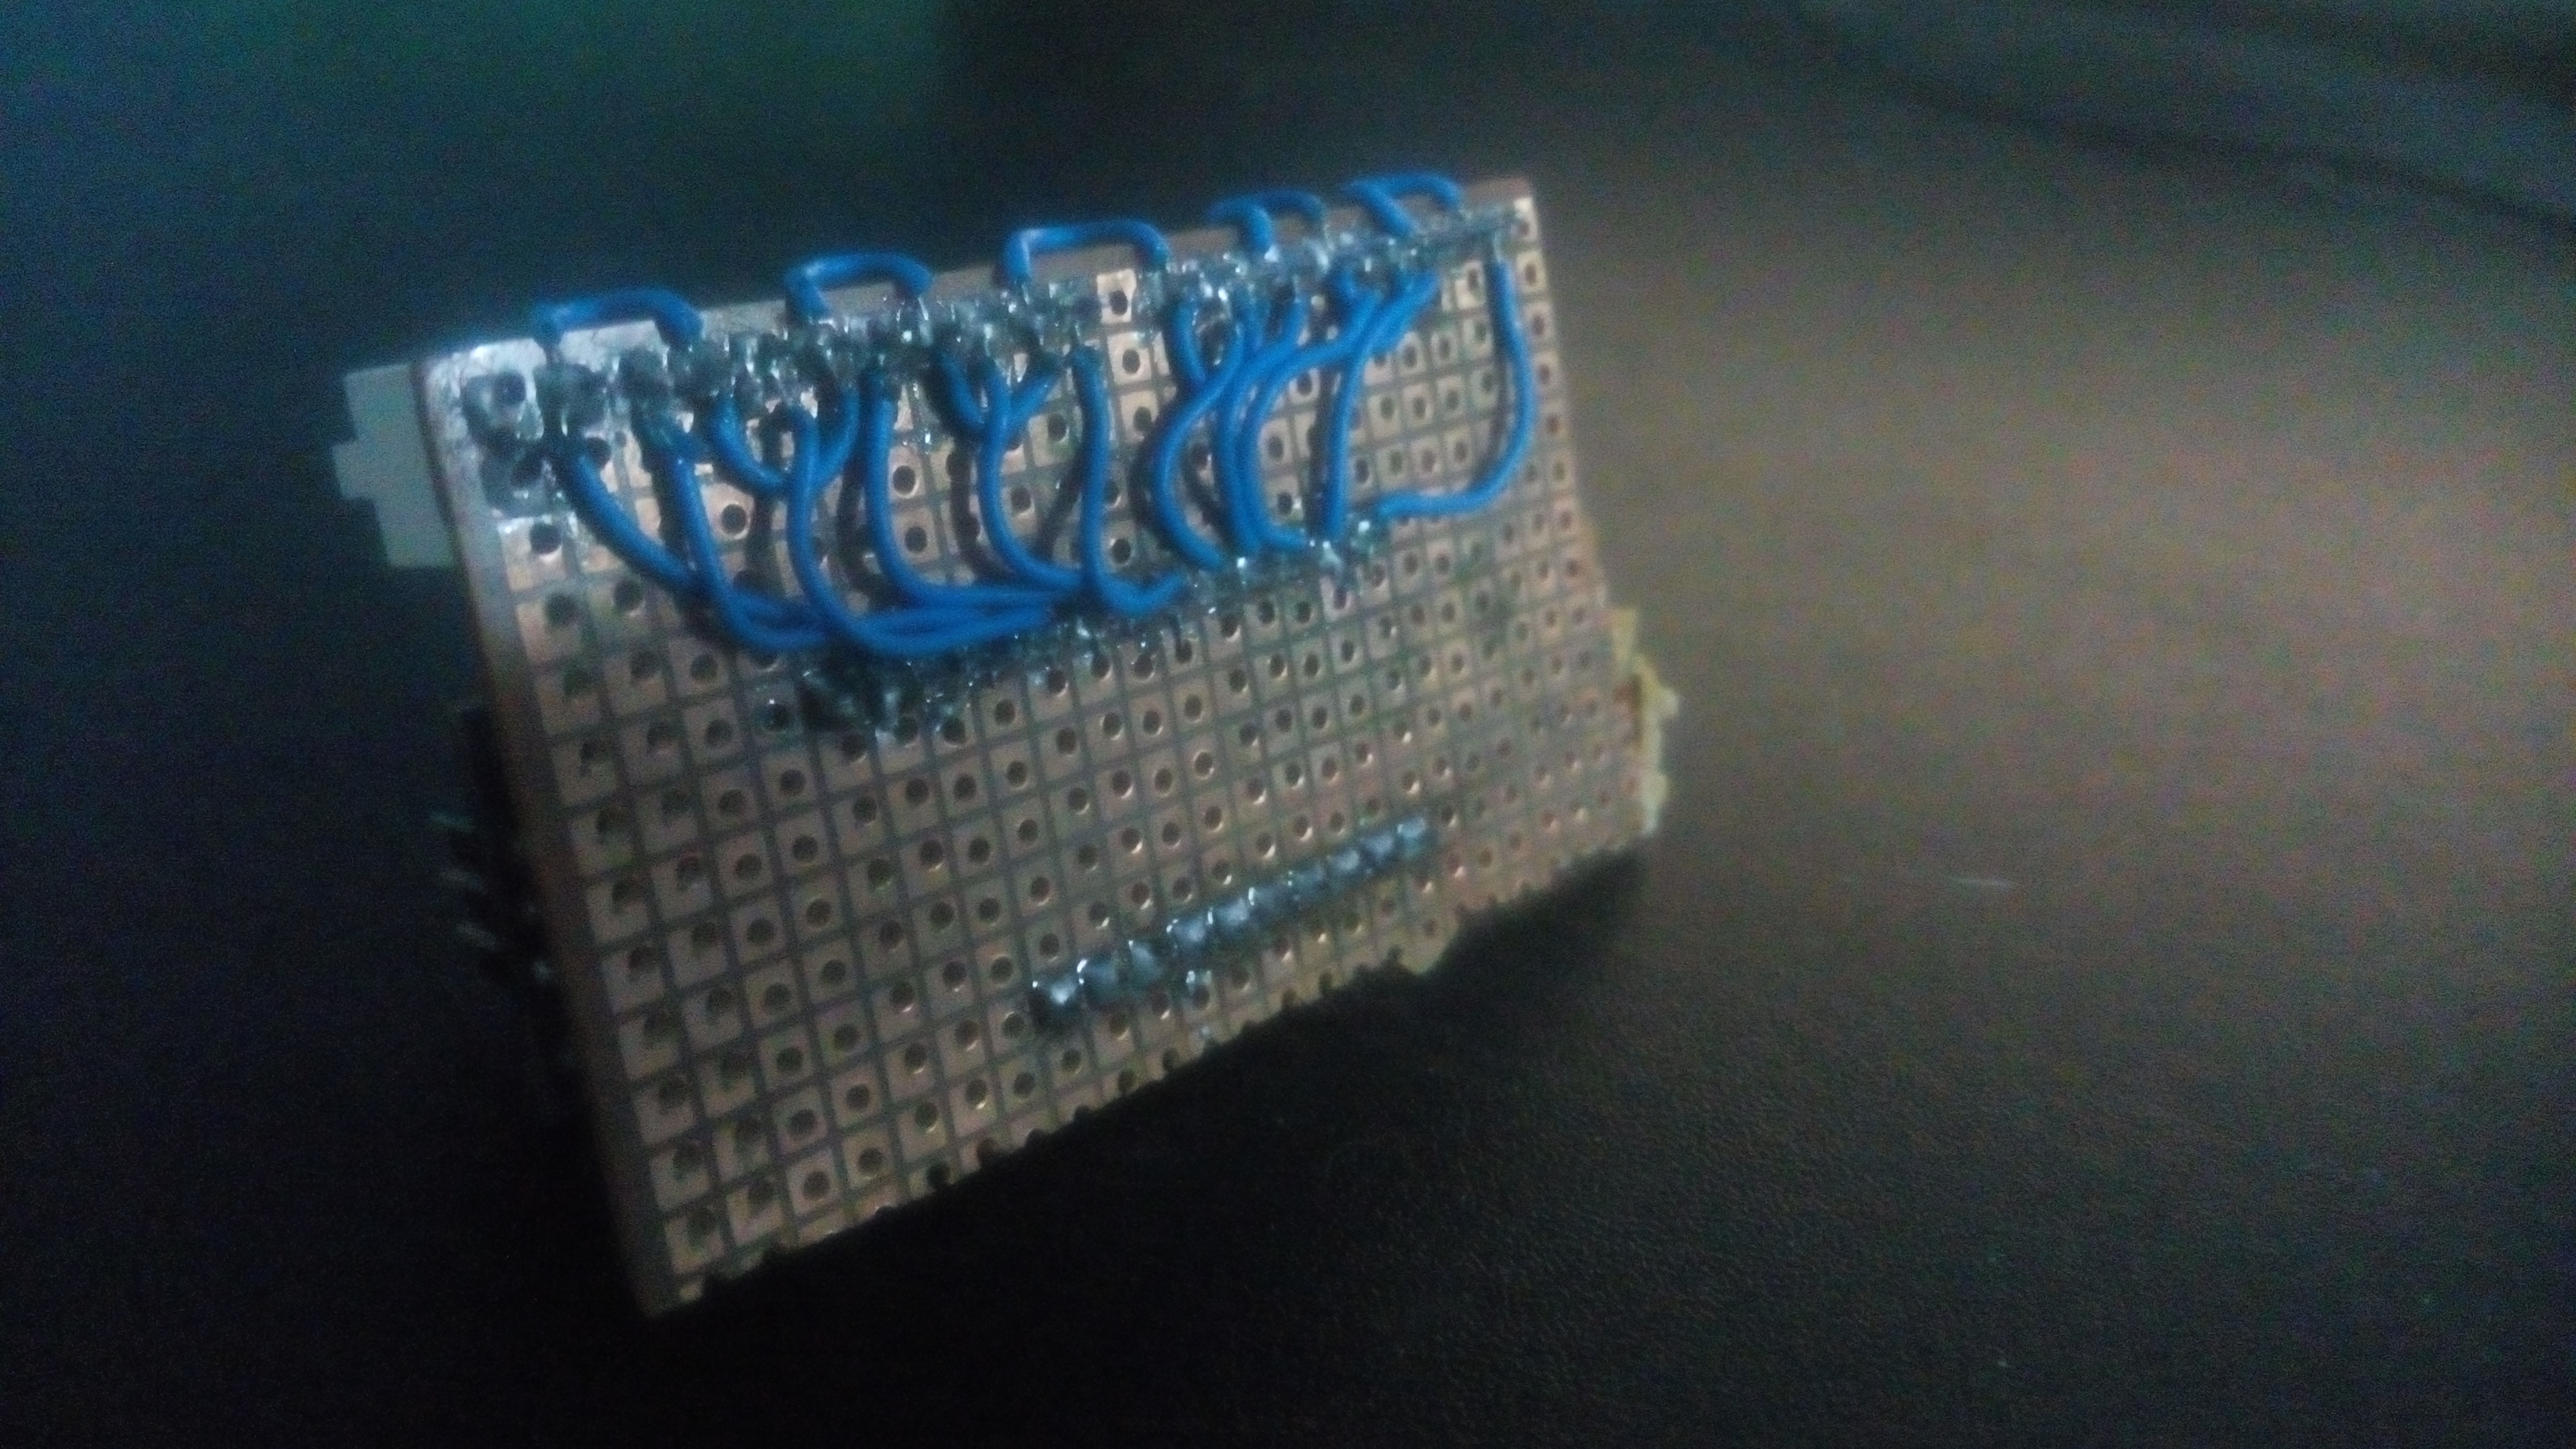
Instructions for LED Connections:
- Connect the LEDs to pins D3 to D12 on the Arduino board, ensuring that the cathodes (negative terminals) are connected together, as shown in the picture.
- It is crucial to add a 1k resistor in series with each LED. Please note that this is not depicted in the picture. Neglecting to include the resistors can lead to damaging the Arduino board, the LEDs, or both.
Make sure to follow these guidelines to avoid any potential damage.
Installing the Souls
To get started with this project, please follow the steps below:
- Begin by downloading the necessary software and sketches:
- Arduino Sketch and Host Program: [GitHub Link]
- Python: Download Python from the official website.
- PSUTIL Library: Download the PSUTIL library.
- Upload the Arduino Sketch to your Arduino board.
- Install Python on your computer.
- Install the PSUTIL Library by following the appropriate installation instructions. If you are unsure how to do this, you can search for tutorials on Google by entering "How to install Python library" for guidance.
- Download the Host Program.
- Hold down the Windows key and press "R" to open the Run dialog.
- Type "shell:startup" in the Run dialog and click OK.
- Copy and paste the Host Program into the Startup folder that opens.
- Copy the Host Program again.
- Paste a shortcut to the Host Program on your desktop for easy access.
By following these steps, you will be ready to proceed with the project.
One Last Ride
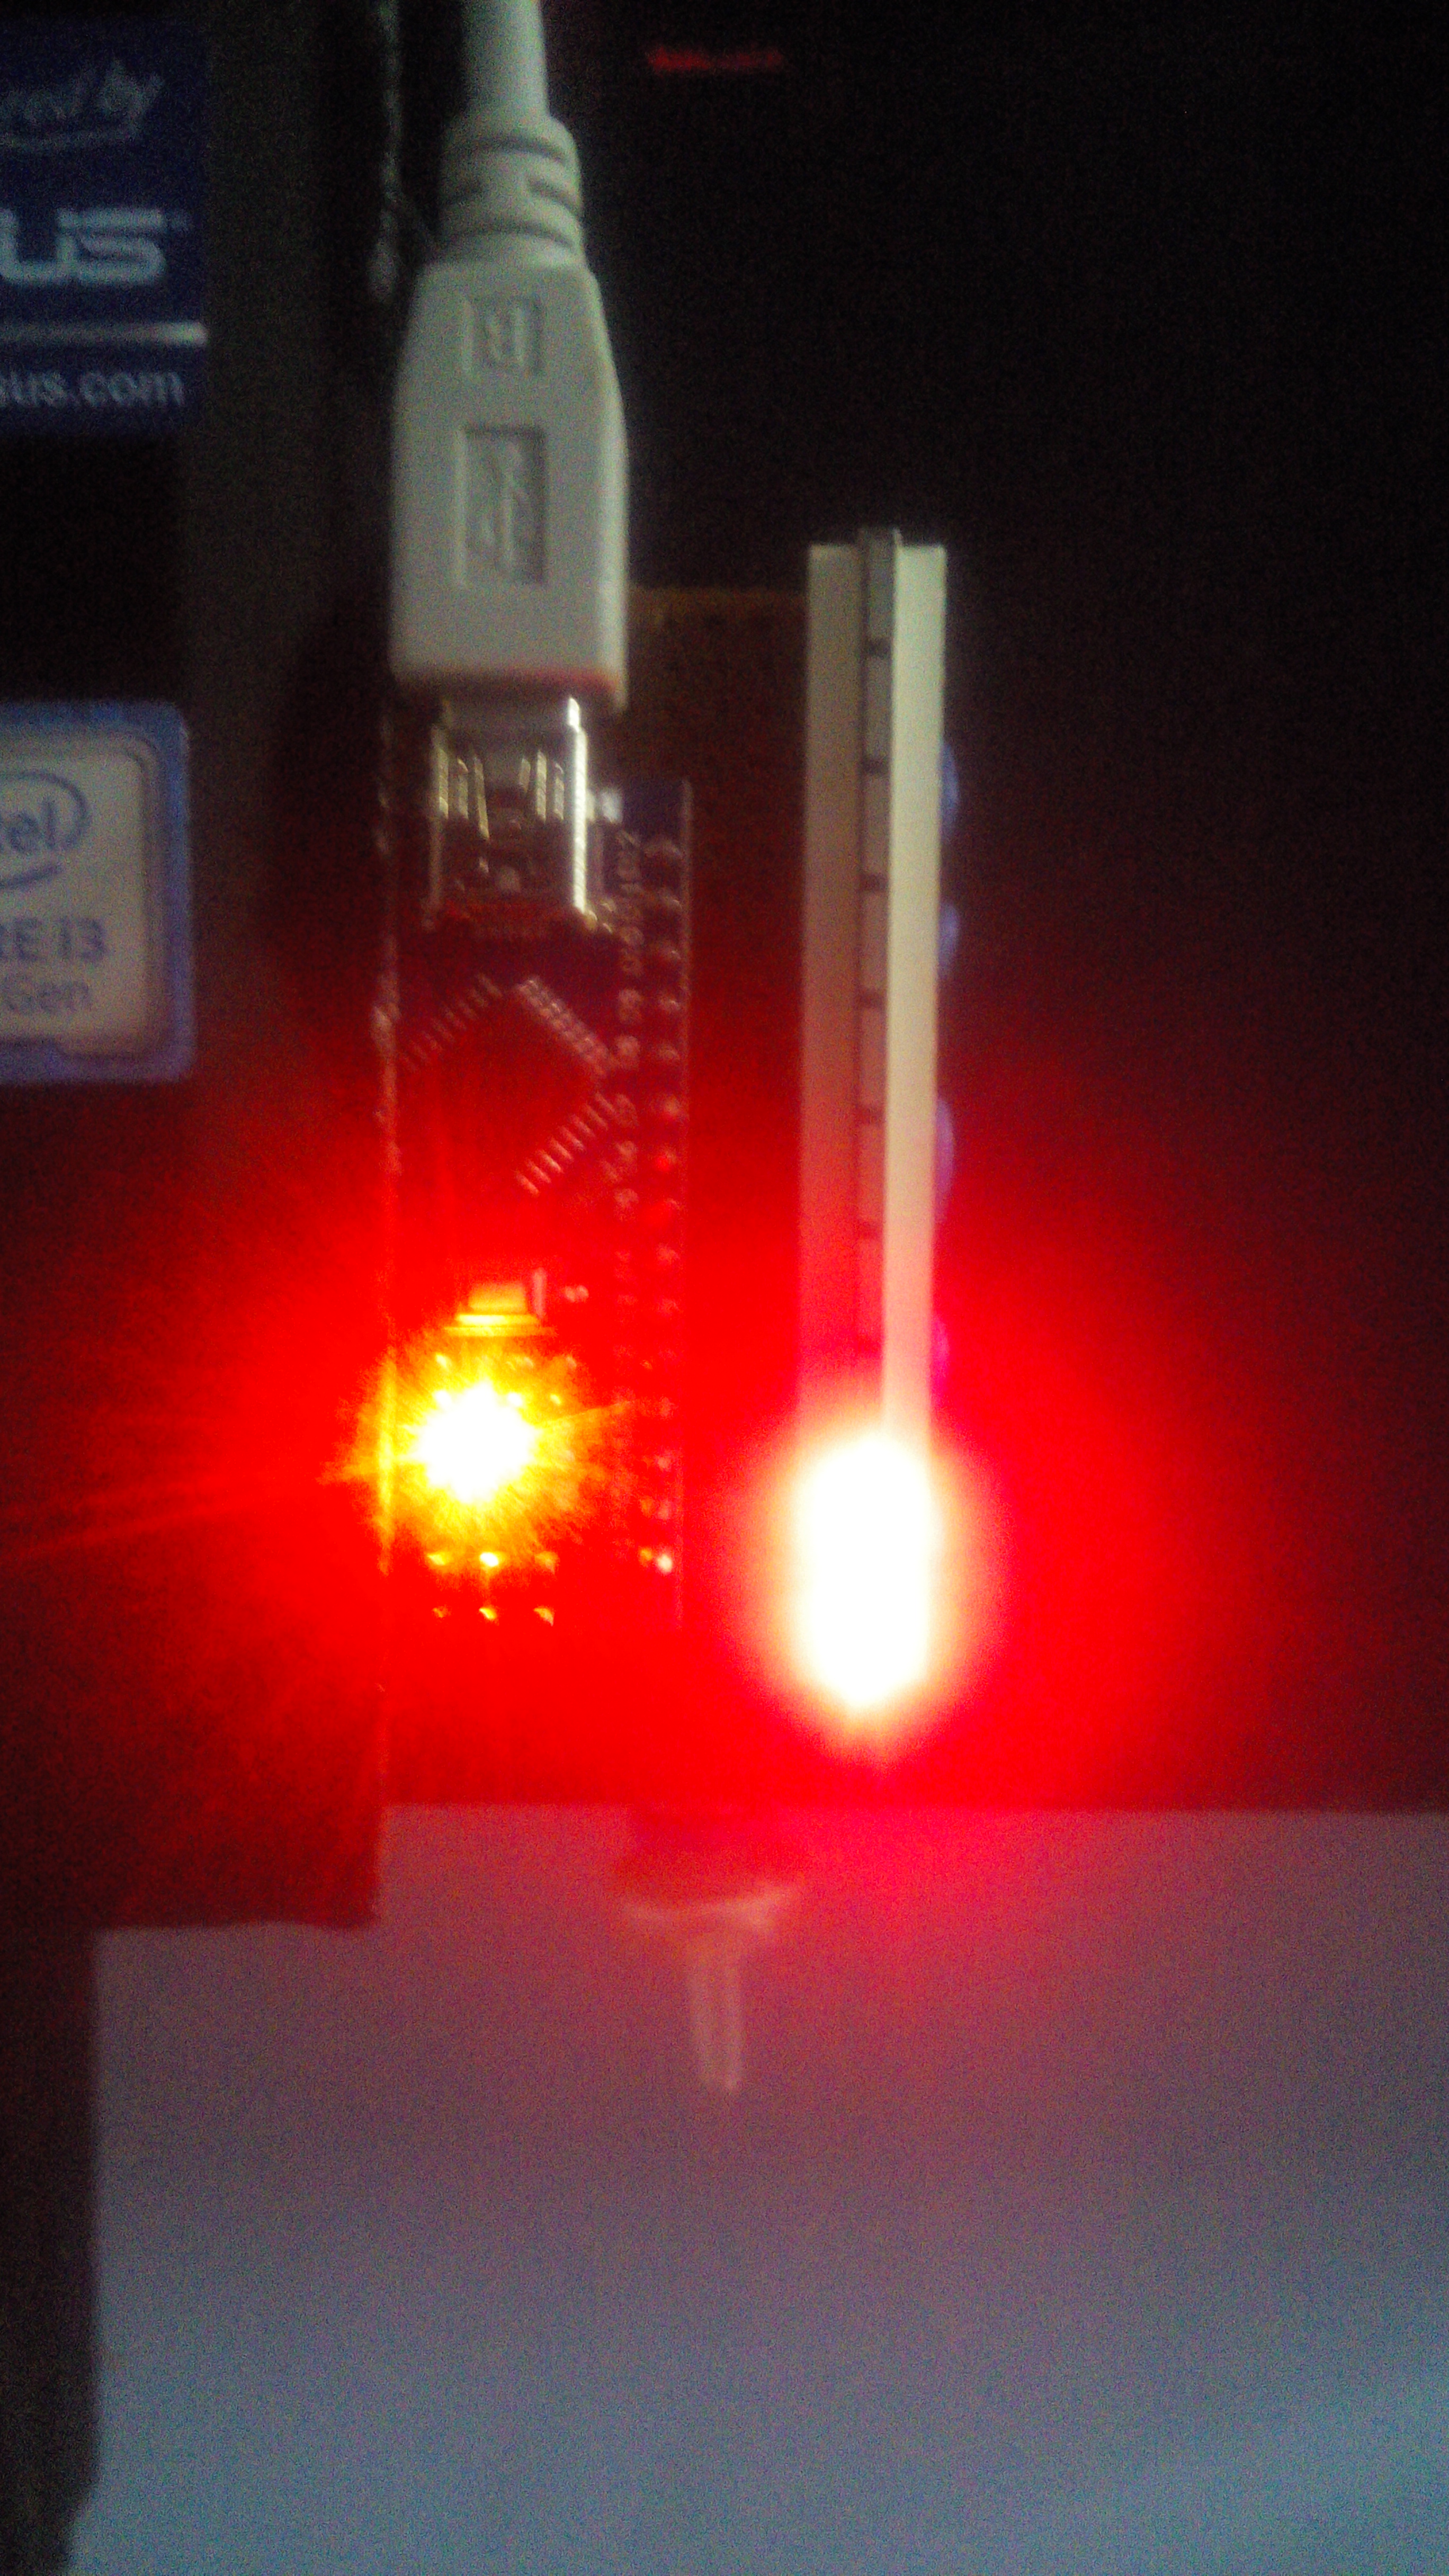
Please follow these additional instructions to complete the setup:
1. Plug in your Arduino board. Check if the serial port is set to COM2. If not, you can change it to COM2 by adjusting the settings in the device manager. Click OK once you have made the necessary changes.
2. Launch the Python program by clicking on the desktop shortcut. Once it starts running, it will automatically run on each boot. Please do not close the terminal window, even if it doesn't display any output. The program is still working in the background.
Now, you can enjoy the functionality of the project.
*******************************************
Additional Notes:
1. Feel free to install the project anywhere near your PC. You can consider covering it with a 3D printed case or use a Bluetooth module to make it wireless.
2. If you wish to upgrade the program to include other psutil functions, please refer to the Python program for guidance.
3. The Arduino Sketch may appear simplistic, but it is designed to prevent crashes caused by excessive RAM usage in for loops. This allows it to be used on Attinies and AVRs.
4. Remember not to close the terminal window. Even though it may not display any output, the program is still functioning.
5. I am working on developing a full version of the DIY ROG Base, which will include remote overclocking features and multiple bar graphs.
6. Contributions to the codes and other aspects of the project are highly appreciated.
*******************************************
By following these instructions and considering the provided notes, you will have a functioning setup. Enjoy your project!
Update Logs
************ Updates will Be Descripted Here***************
21/06/2017 - As Suggested by "rufununu" add a 1k resistor before each led in order to protect your arduino and leds.
***************************************************************