DIY Mini Filaments

As an author who loves to share ideas and models with others, I often face the challenge of photographing large filament rolls when showcasing my 3D printing materials. This problem inspired me to create a small filament roll model. Not only is it easier to display in photos, but it can also be used to make beautiful keychains for your lab's keys. The Big and Small contest provided the perfect opportunity to share this solution with all of you.
Supplies
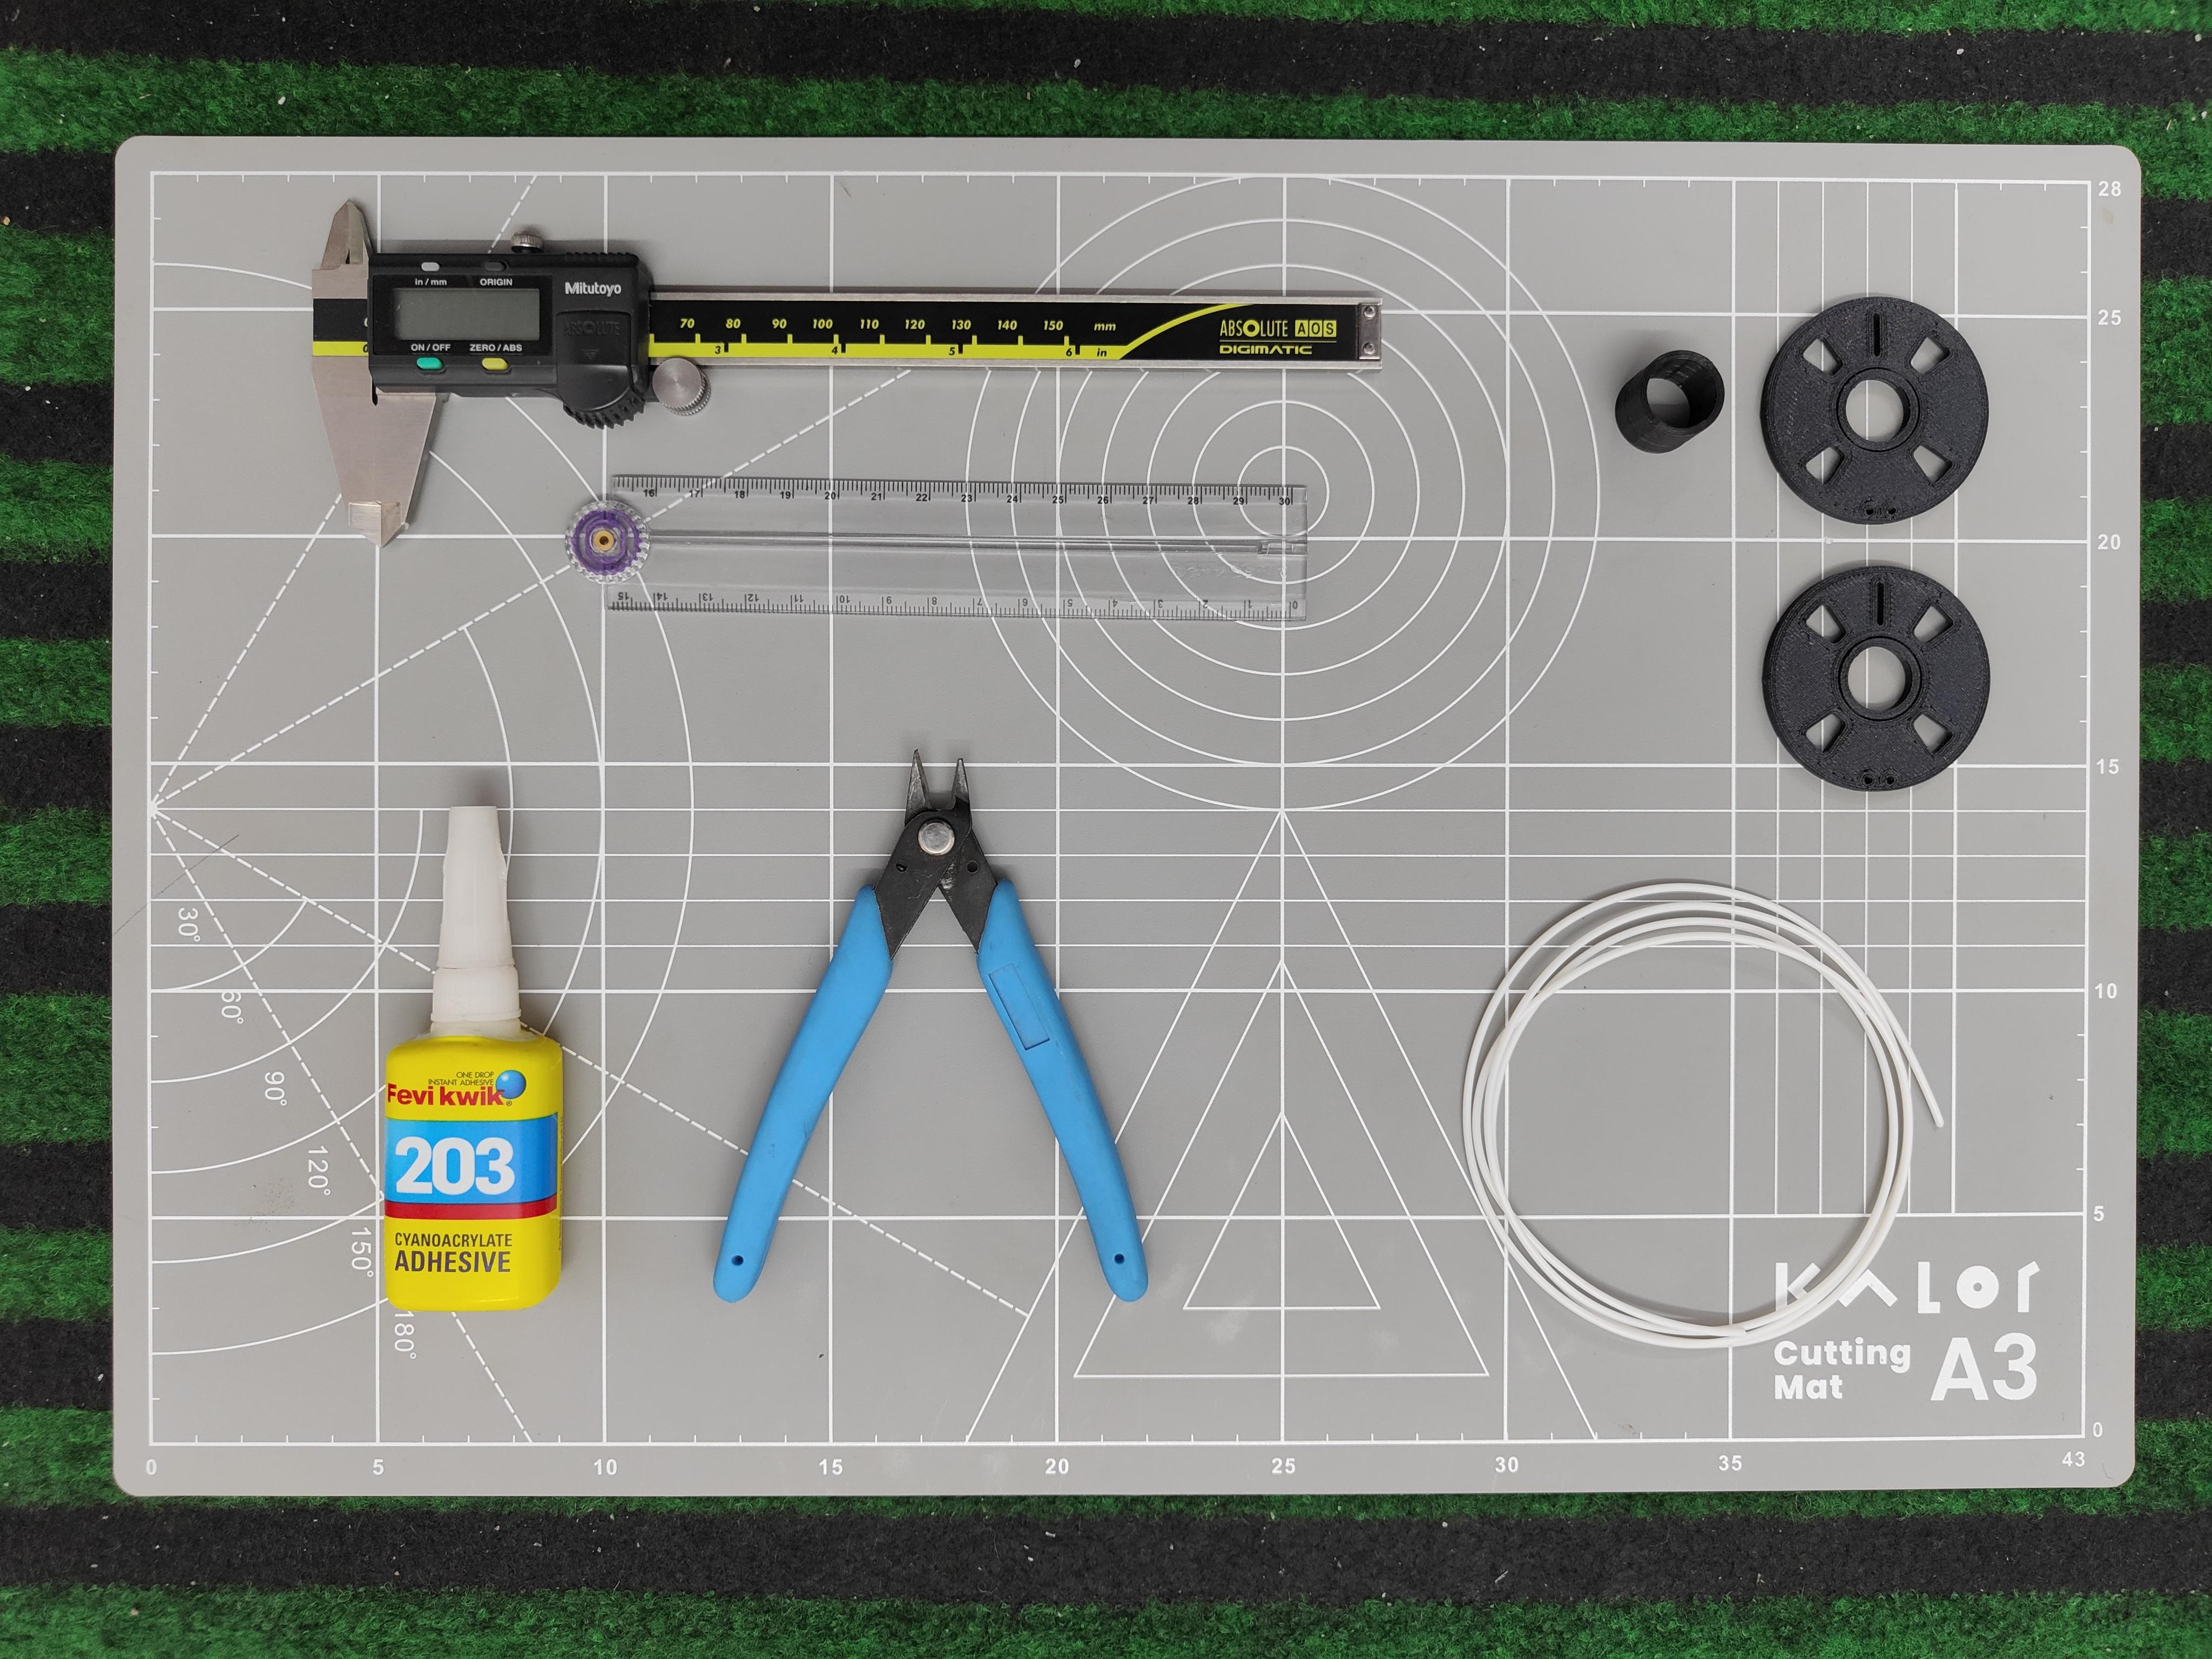
- Fusion 360 (or similar 3D modeling software)
- 3D printer
- Filament for 3D printing (or any color of your choice)
- Adhesive (e.g., glue)
- Pliers (for removing supports)
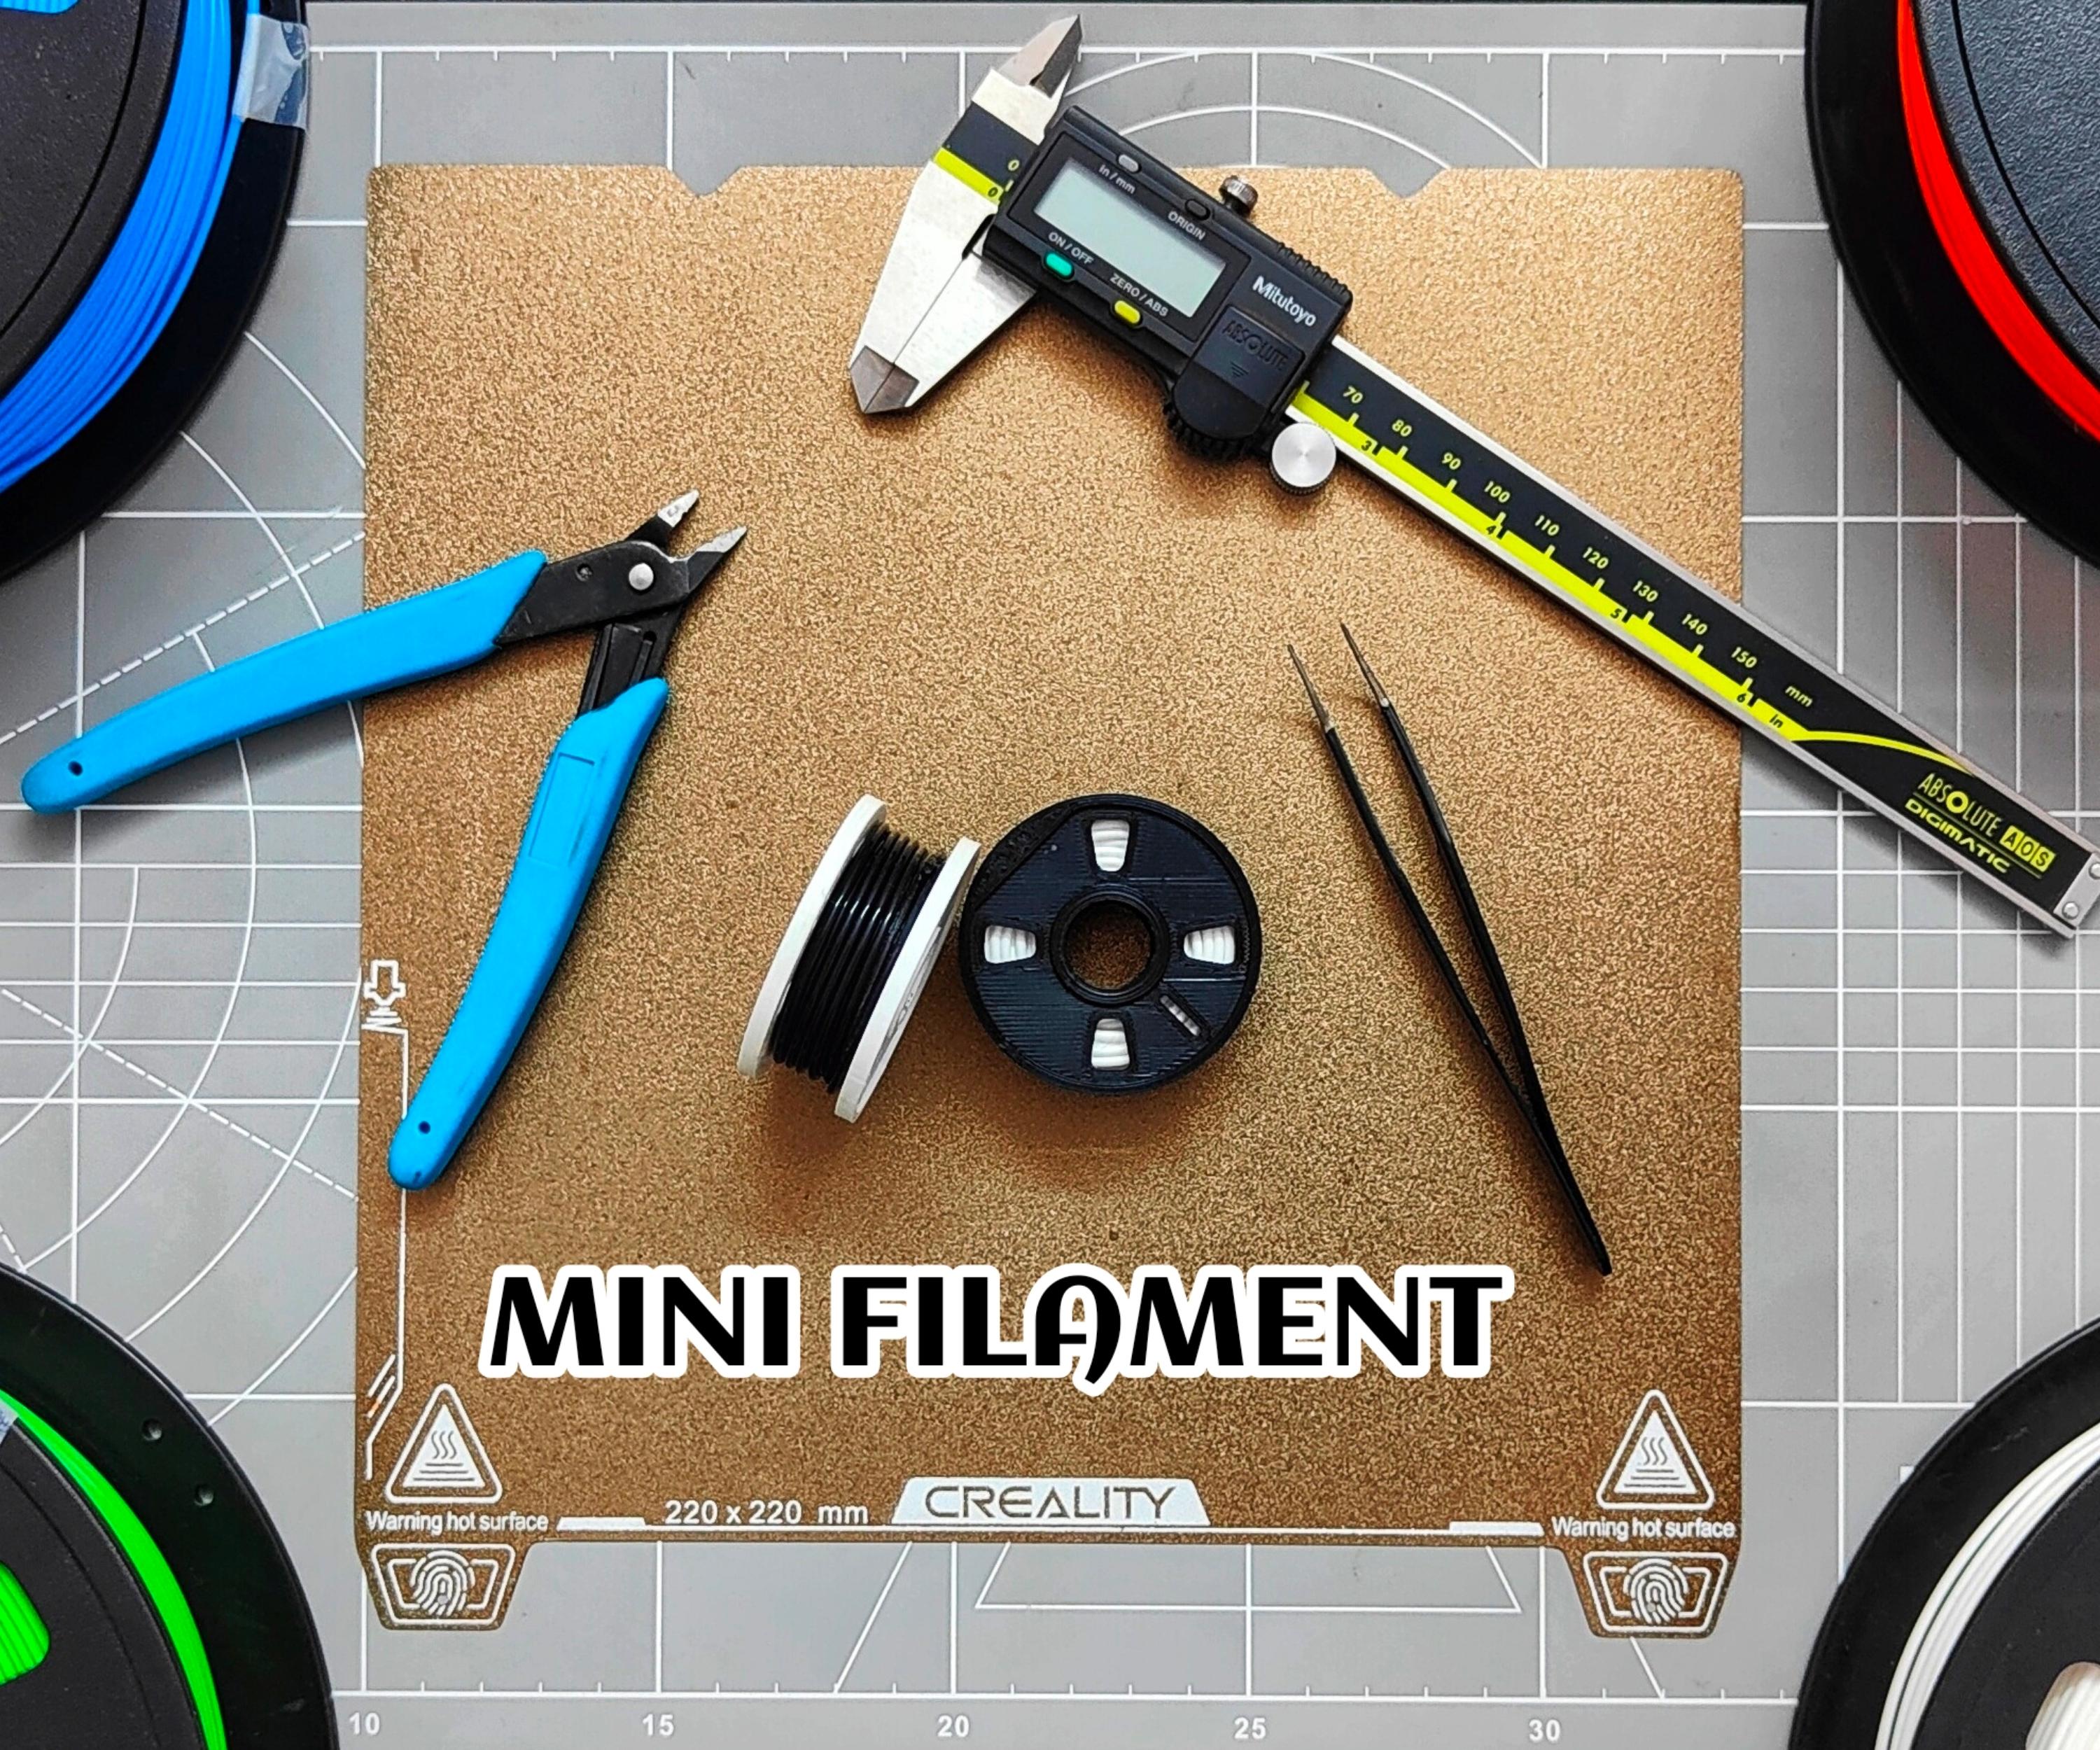
Measure the Original Filament Roll
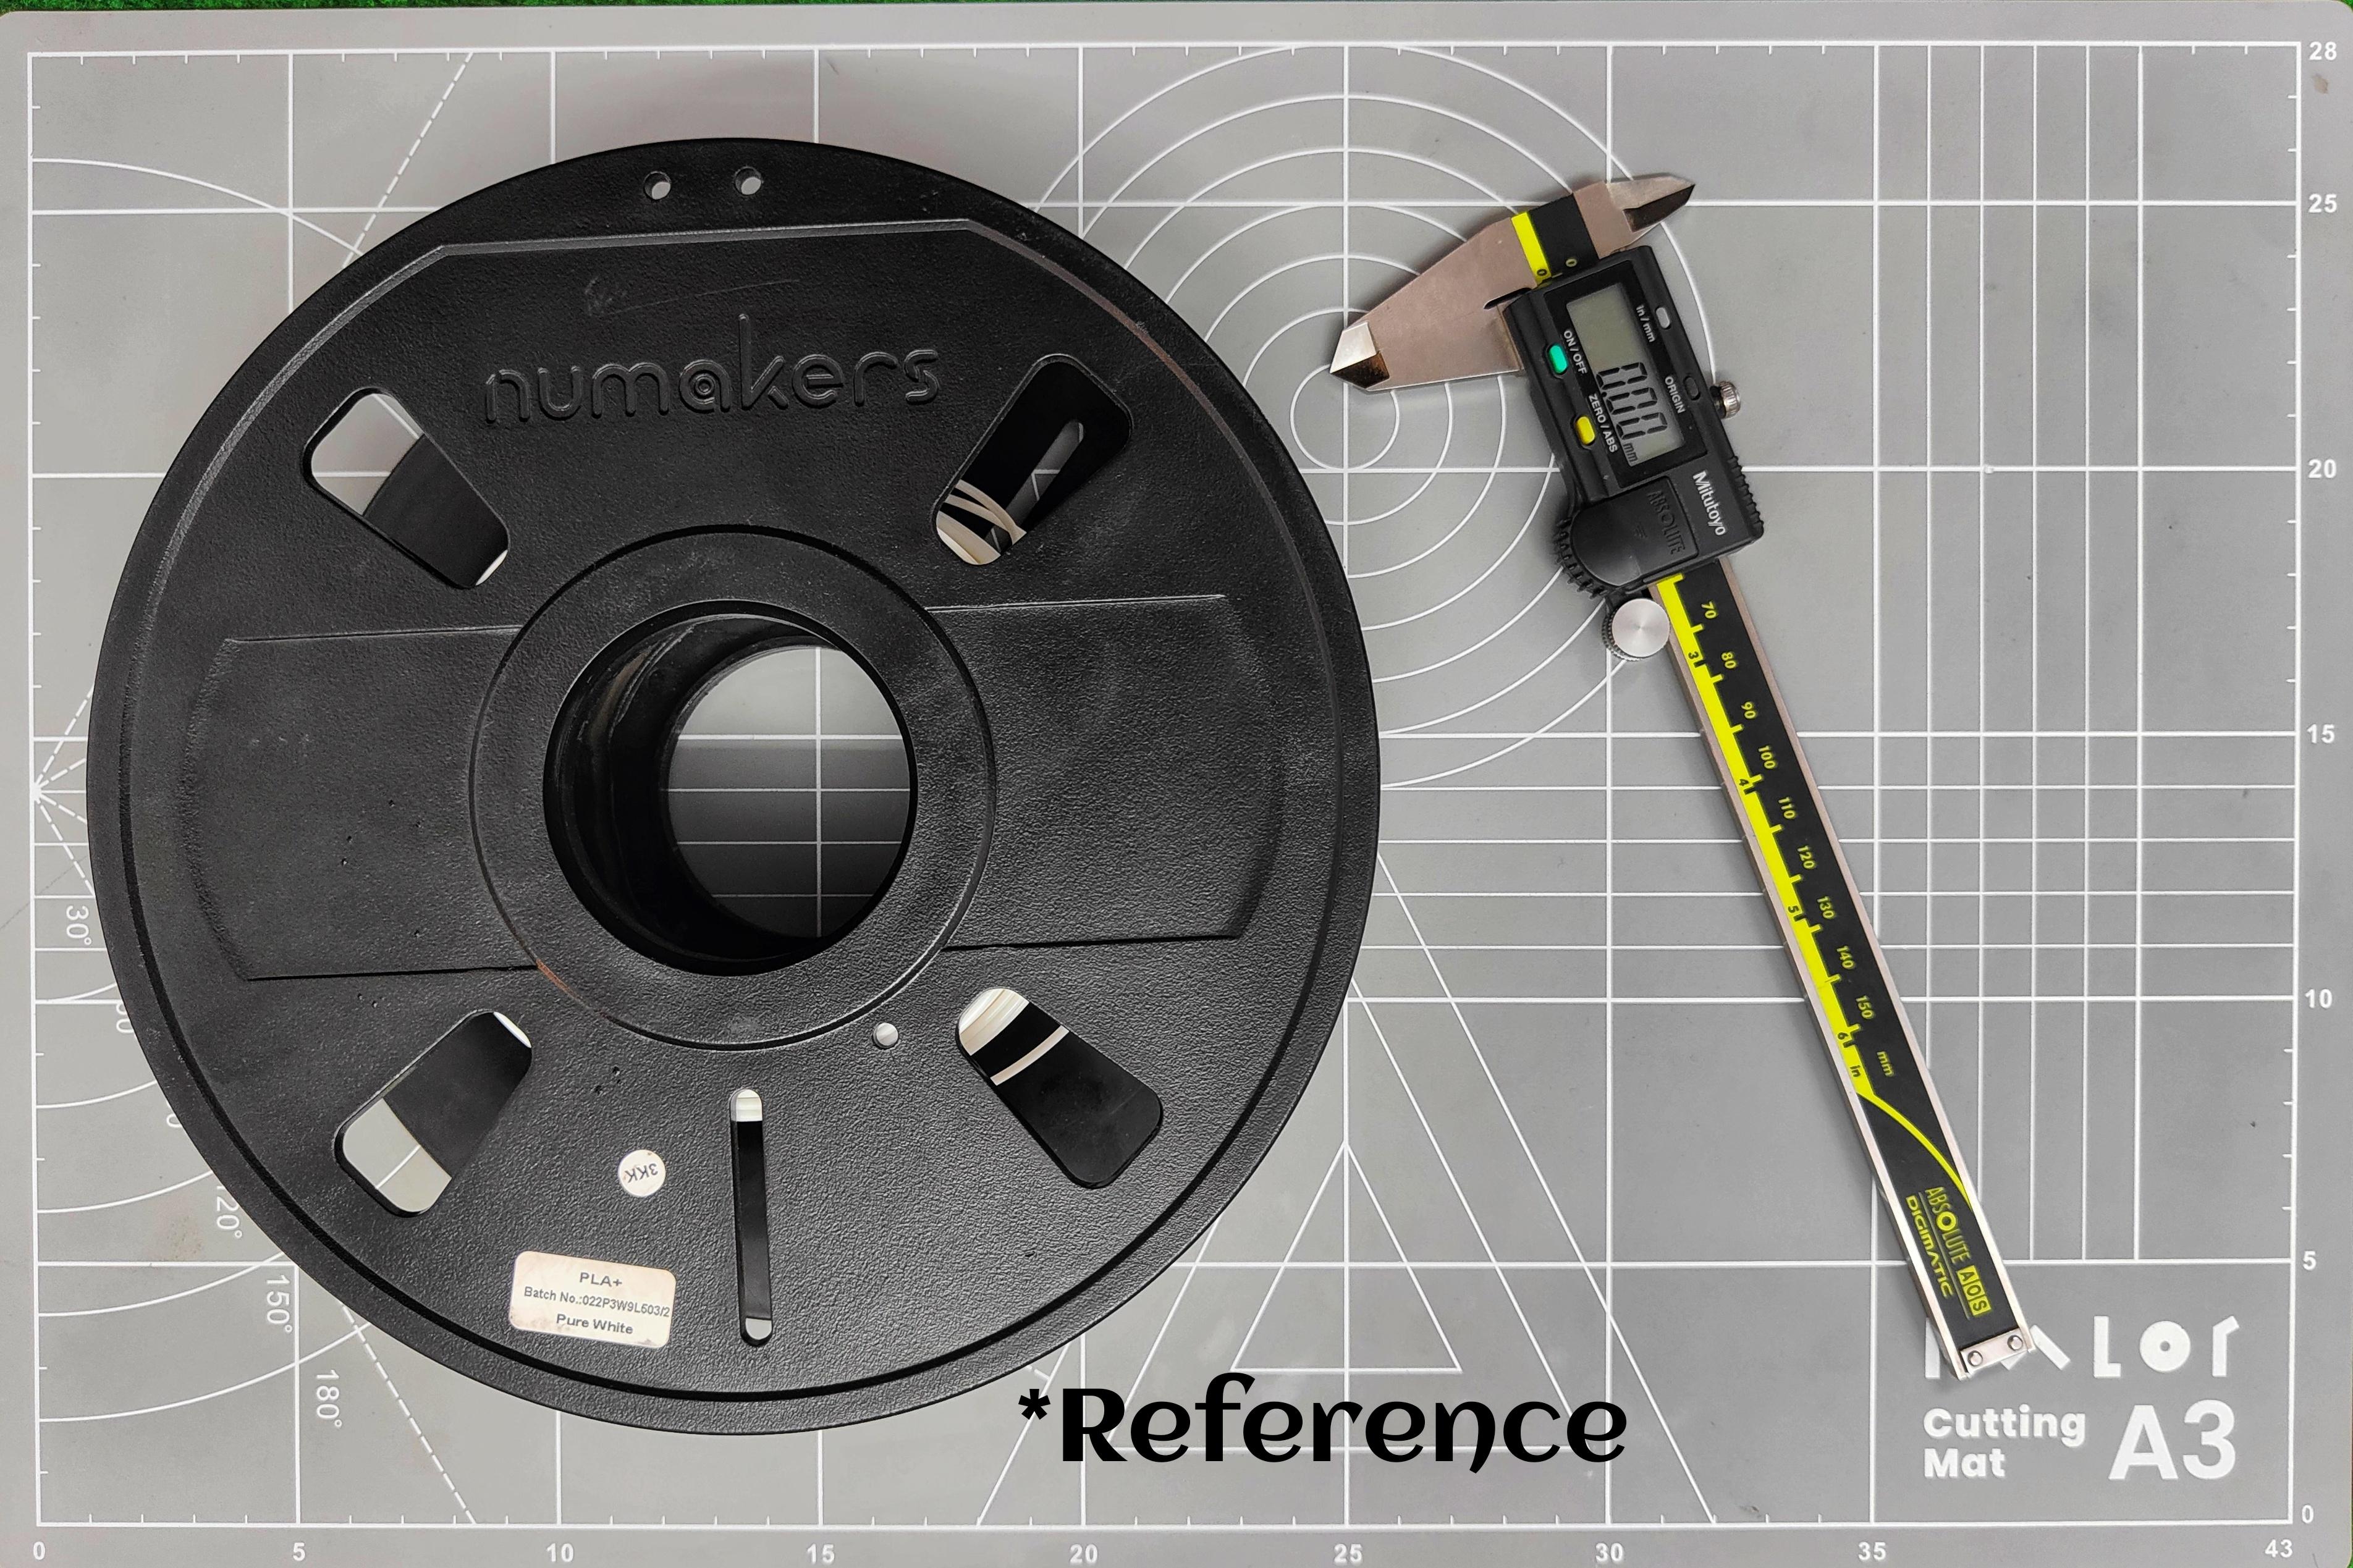
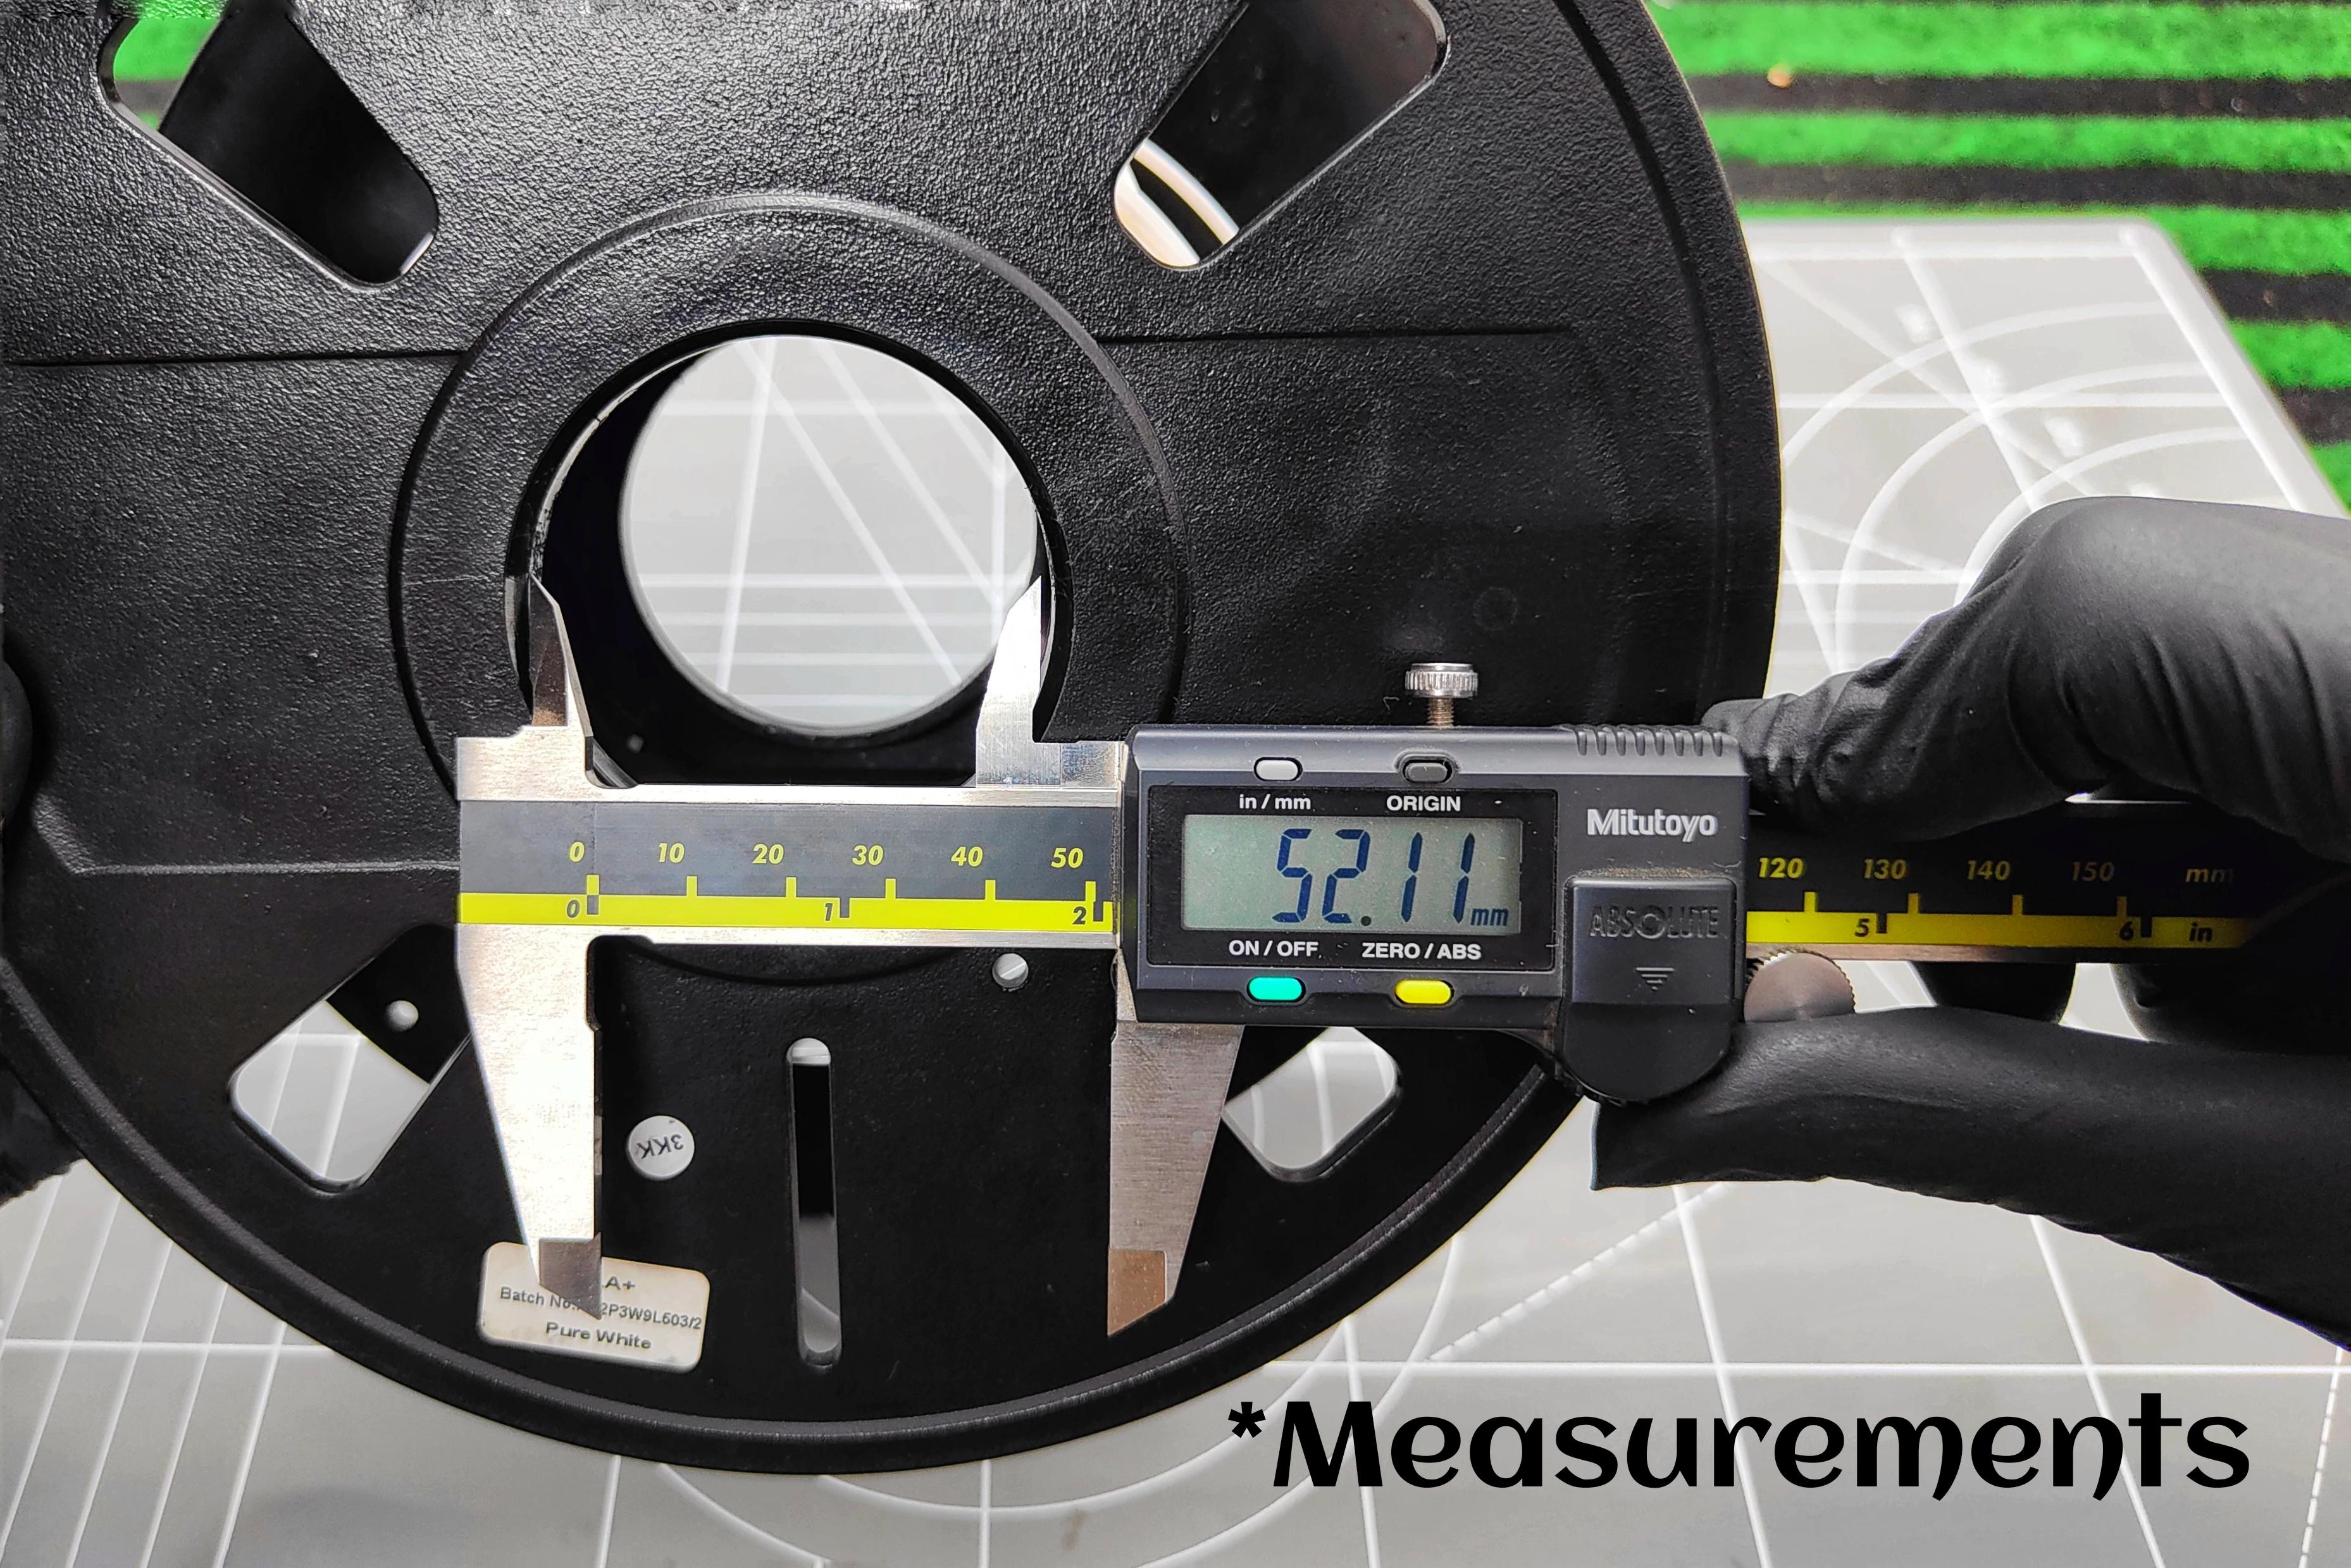
- Use a Caliper: I took precise measurements of every part and dimension of the original filament roll. This included the outer diameter, inner diameter, width, and any other relevant features.
- Sketch the Measurements: I drew a detailed sketch of the filament roll with all the dimensions labeled.
Create the 3D Model in Fusion 360
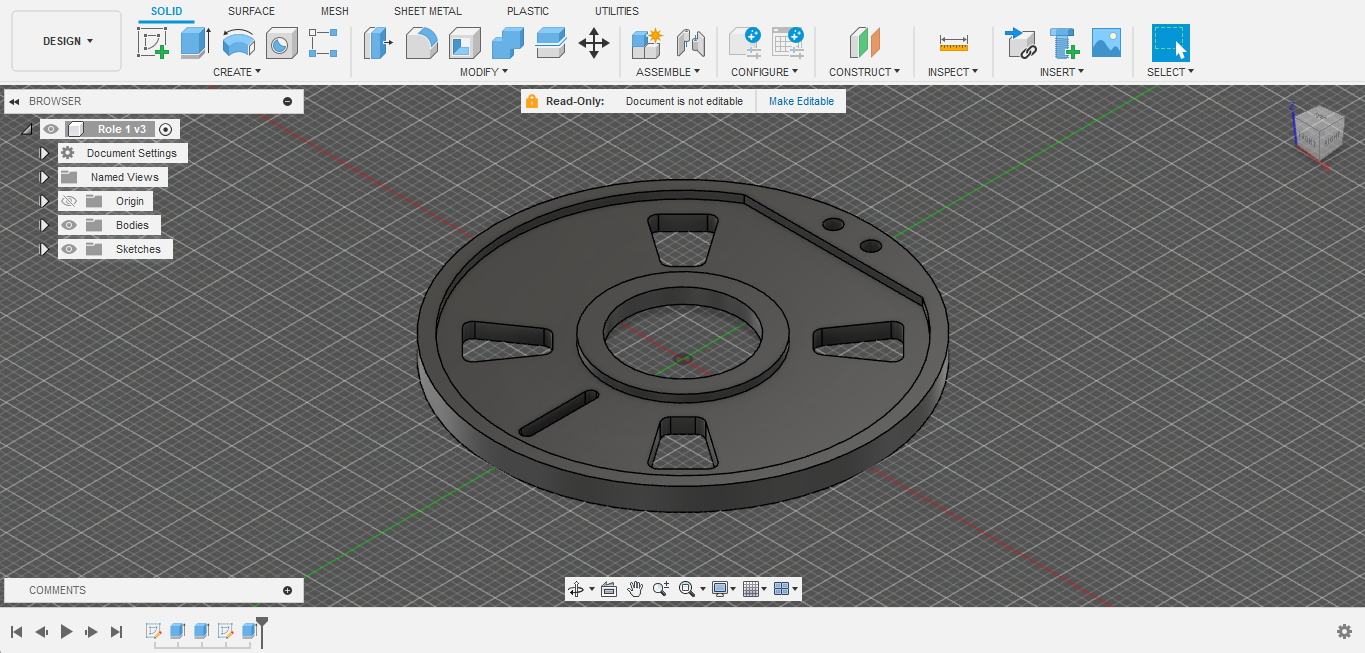

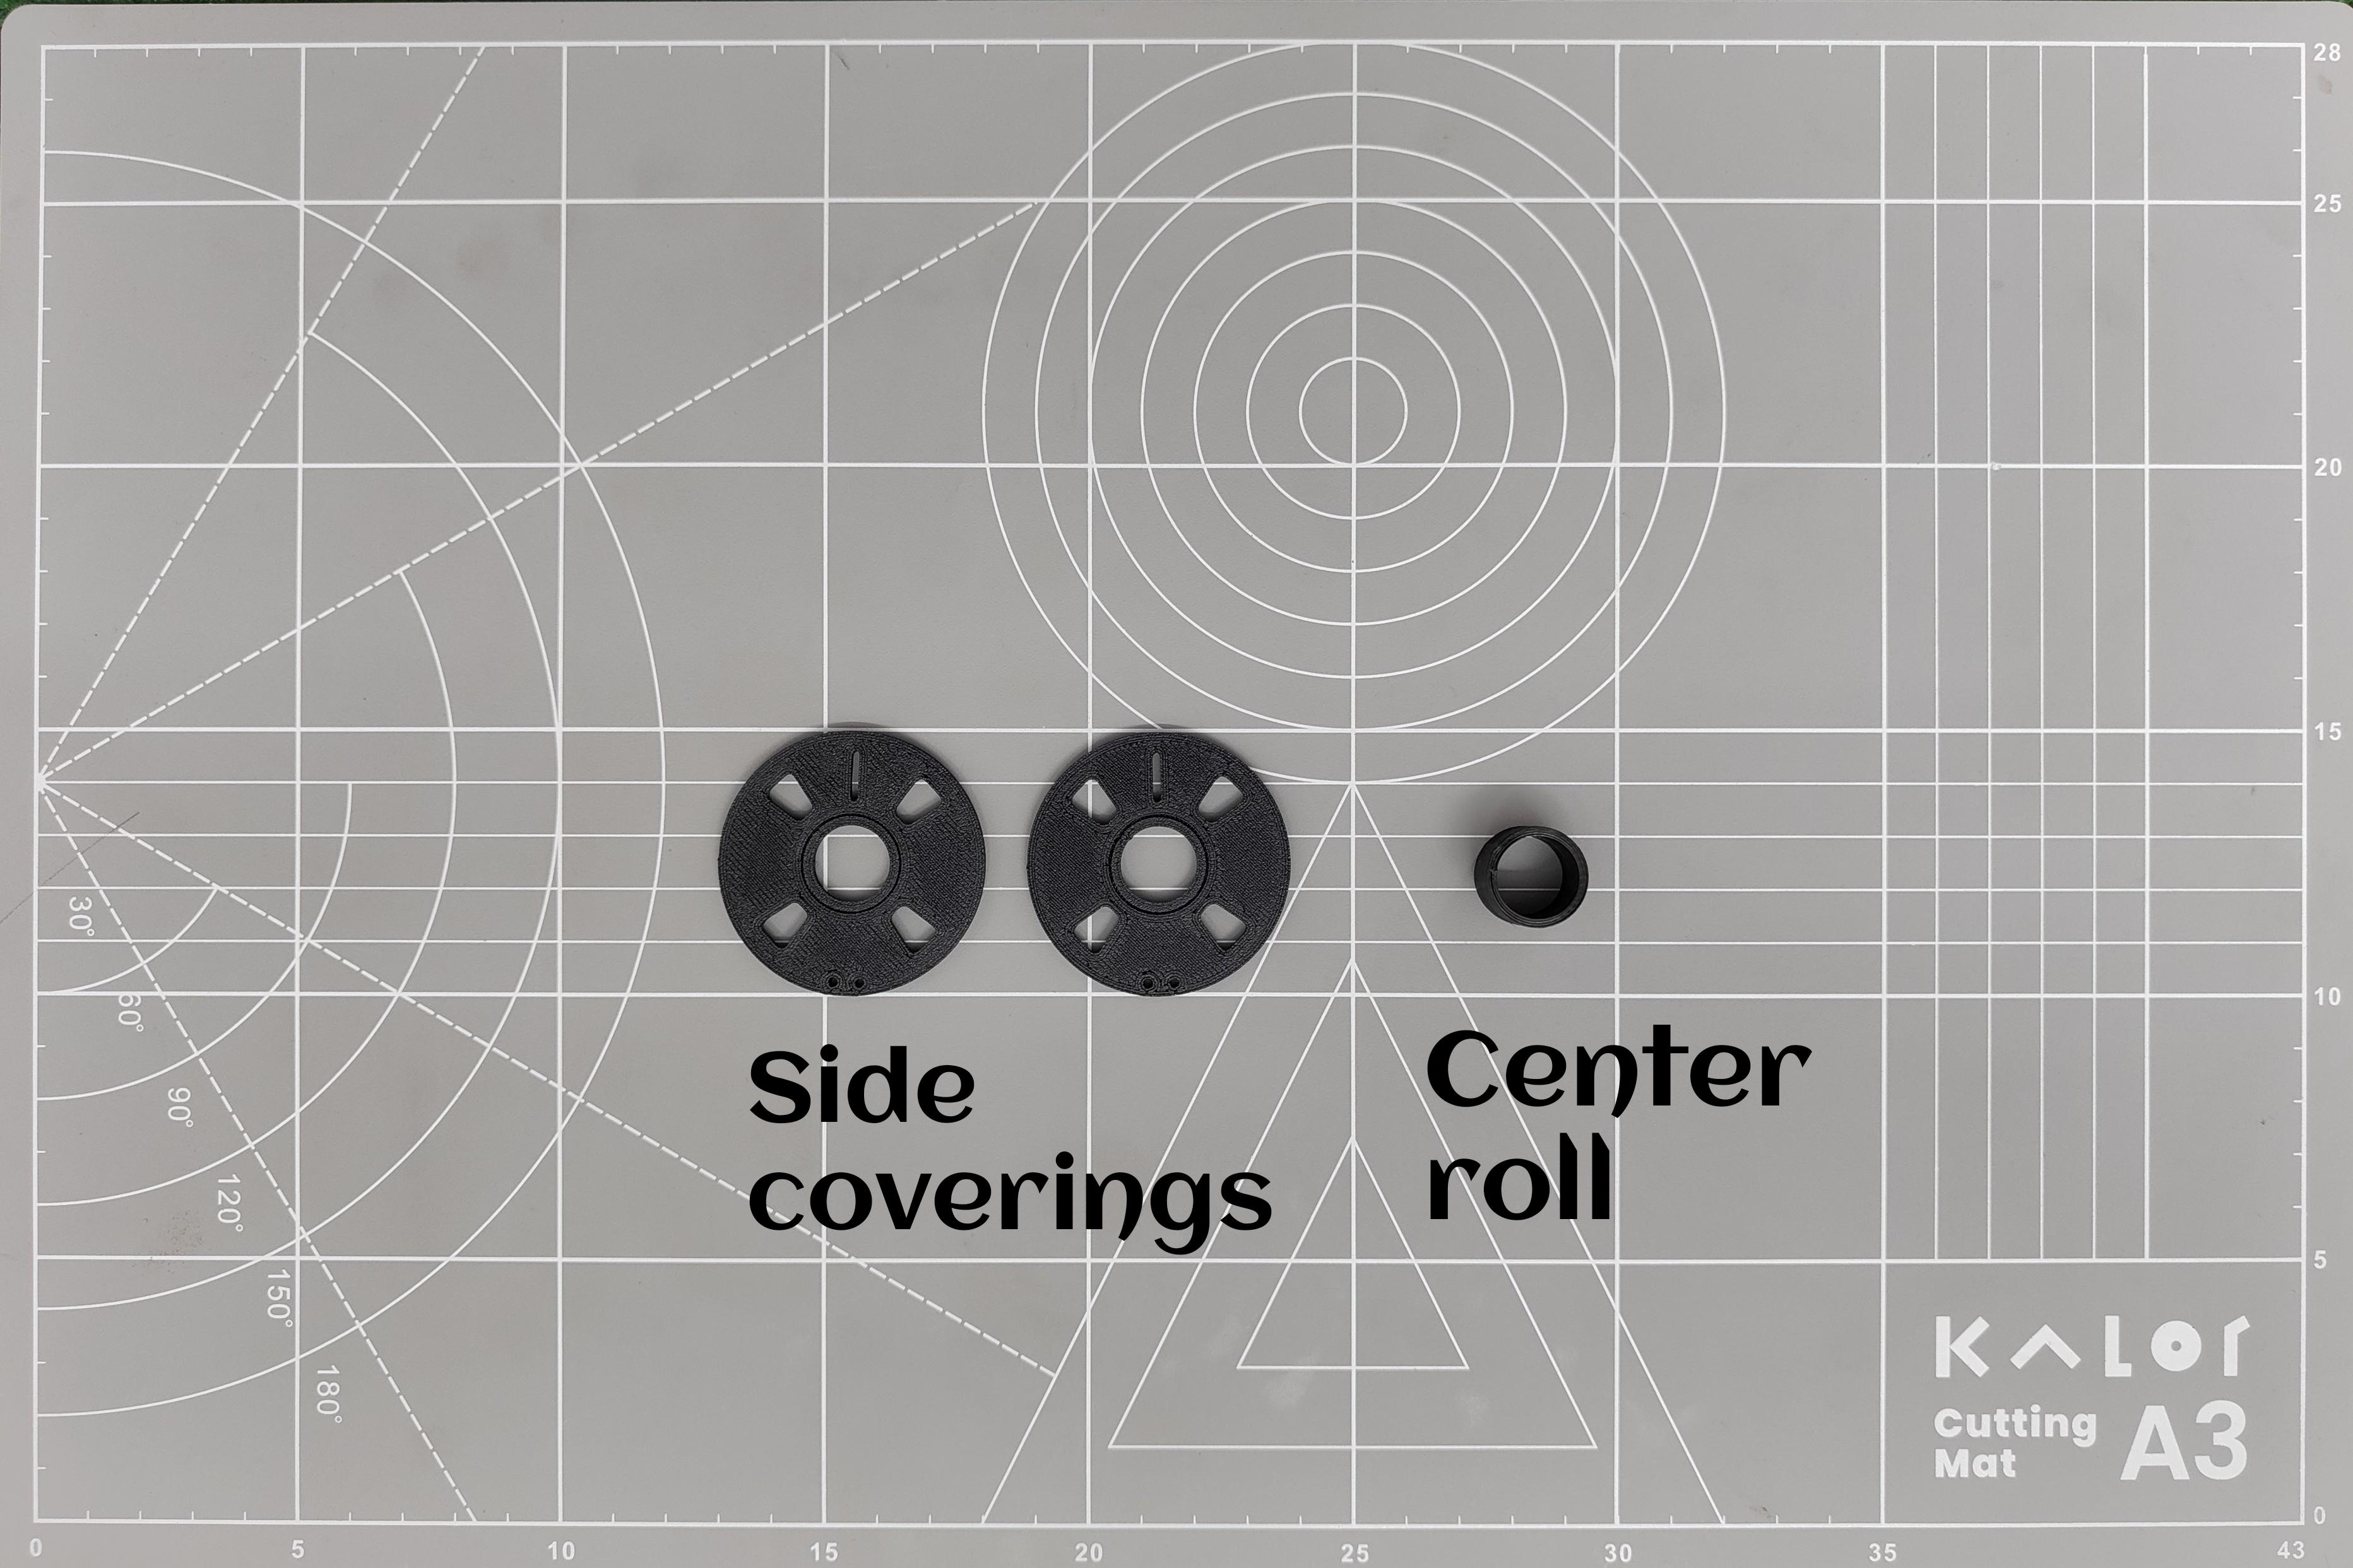
- Design the Parts: I created a 3D model of the filament roll in three parts using Fusion 360:
- 2* Side Coverings: These are the outer parts of the roll.
- 1* Center Roll: This is the part where the filament wire will be wound.
- Export the STL Files: Once the design was complete, I exported the STL files for each part for 3D printing.
- Access the Files: You can download the STL files for the three parts of the filament roll from the provided link.
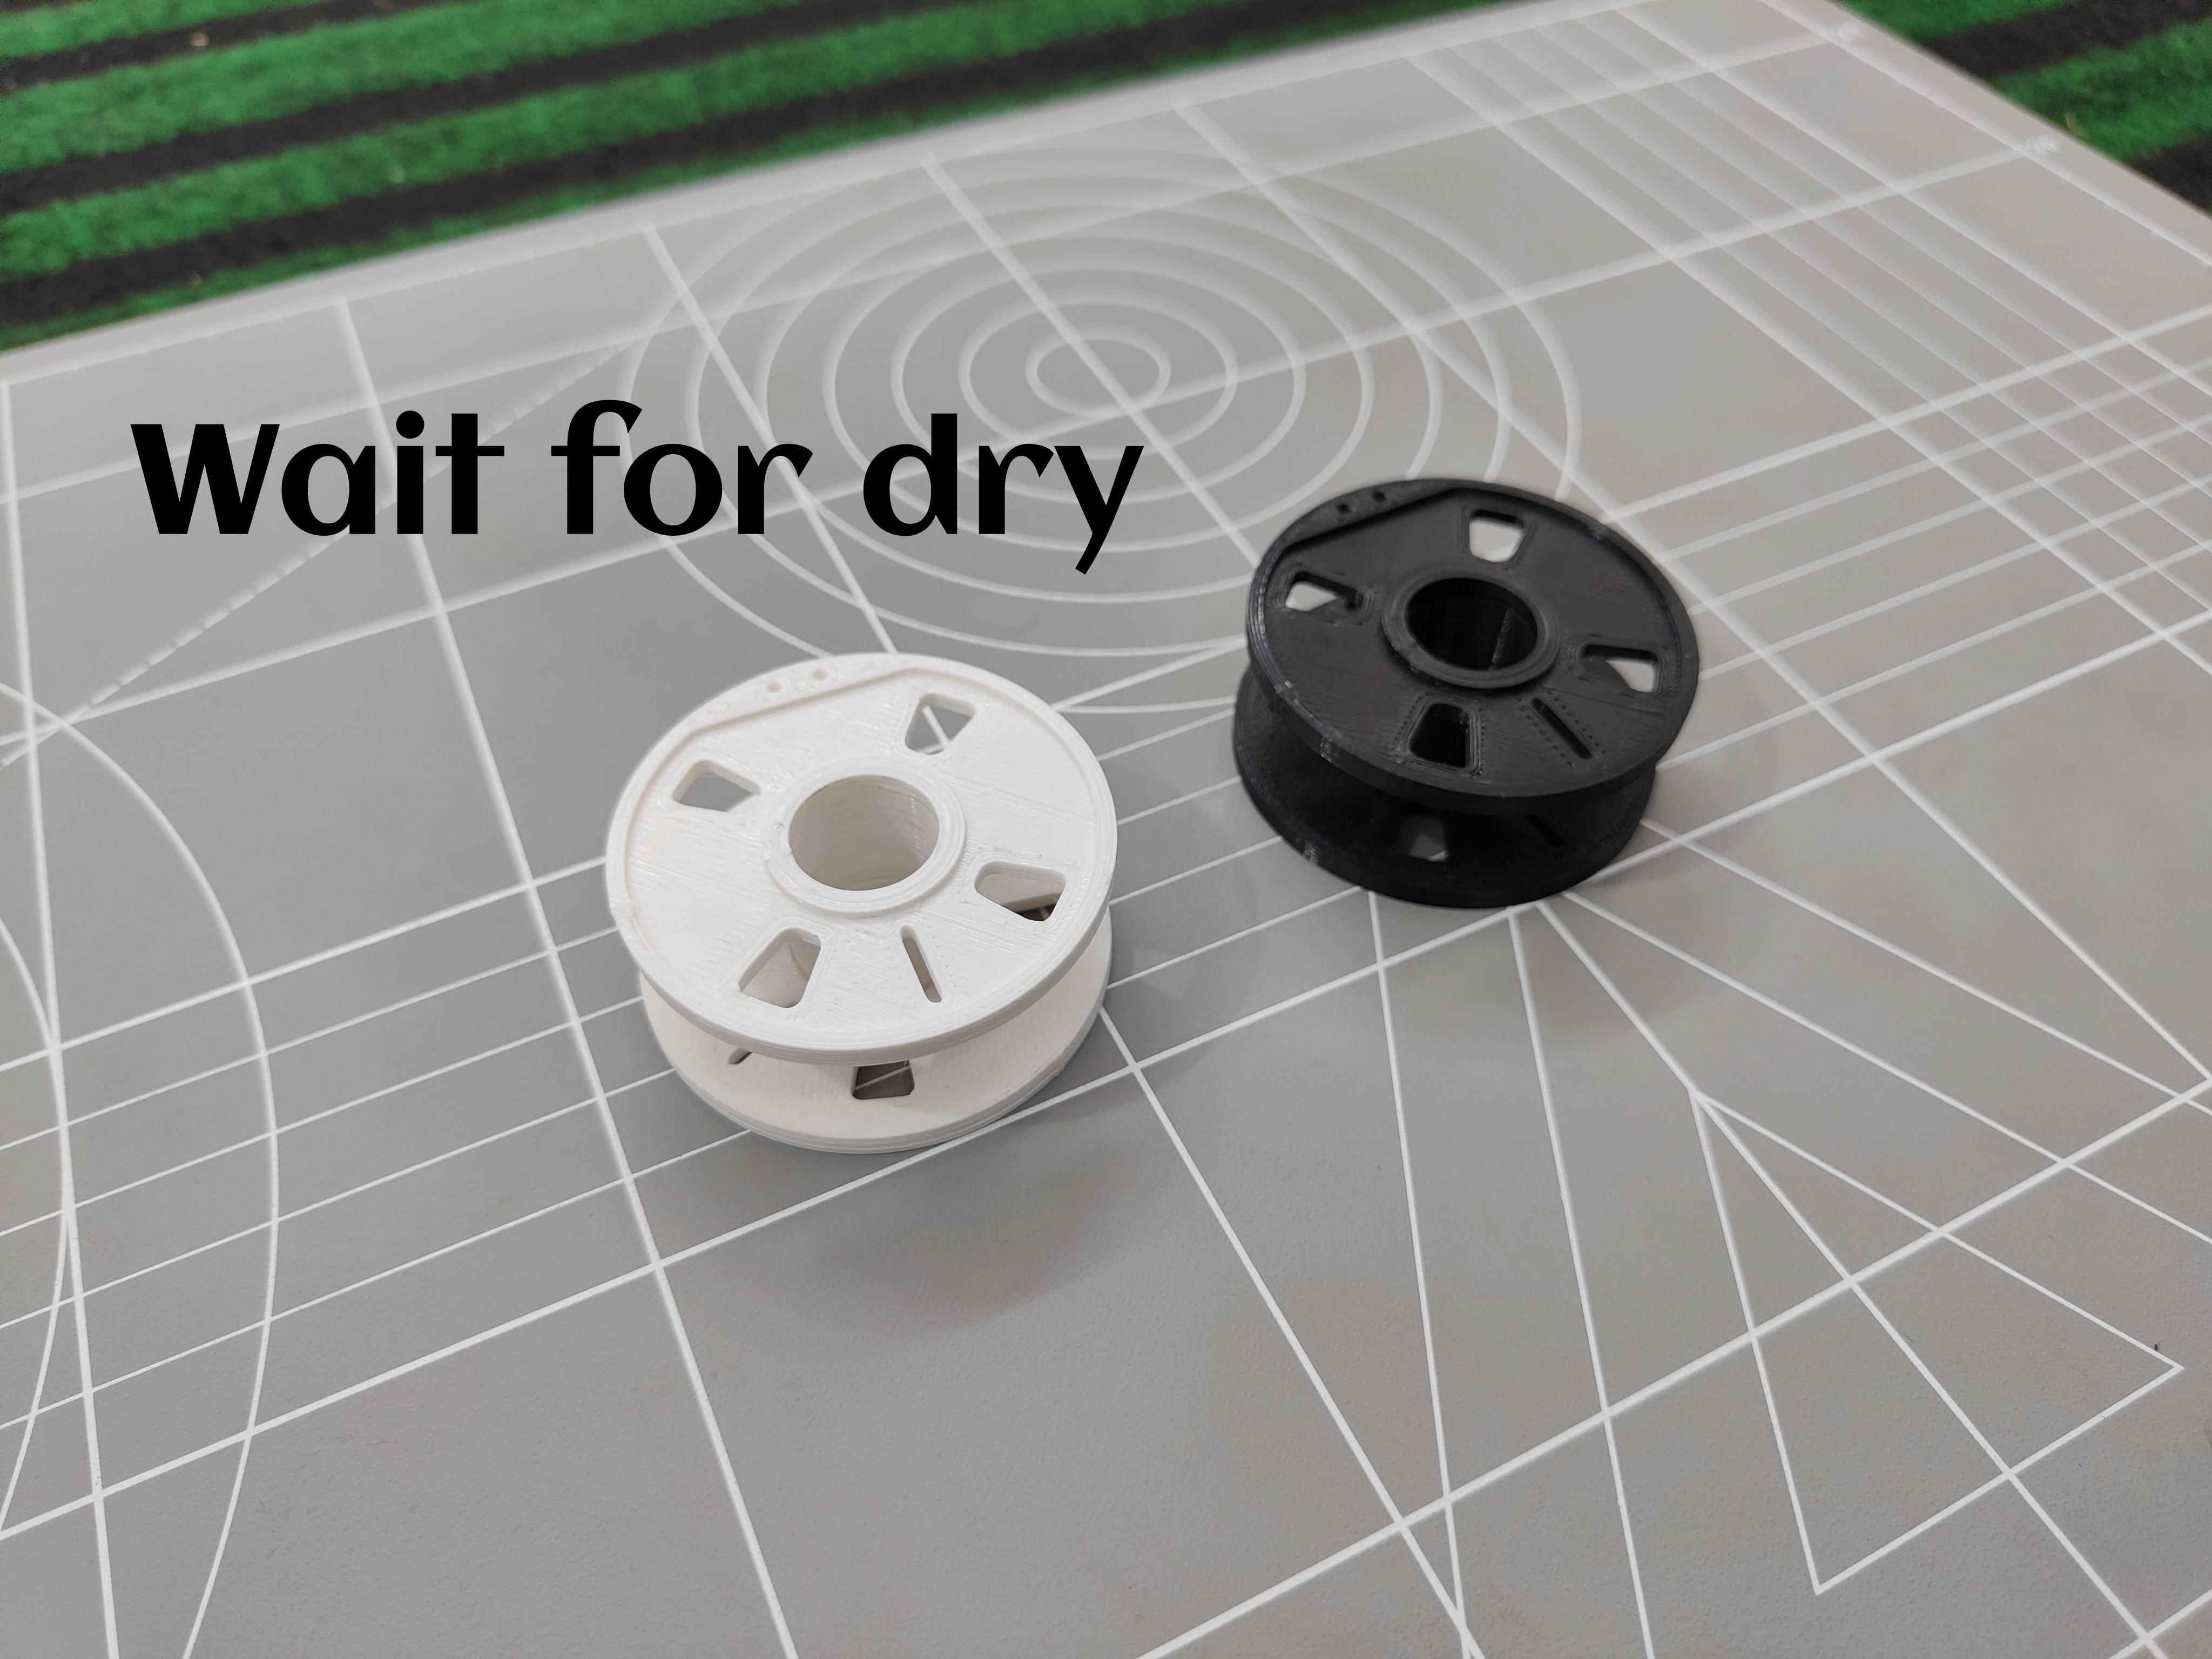
3D Print the Parts
- Set Up the Printer: I loaded my 3D printer with black filament. While black works best for this model, you can use any color you prefer.
- Print the Parts: I printed the two side coverings and the center roll. Use the provided STL files linked above and ensure your 3D printer settings are properly configured for optimal results.
Configuration : (for reference)
- Layer height - 0.2 mm (0.1mm is recommended)
- Infill density - 100%
- Print speed - 50mm/s
- Printing temperature - 230 C
- Printing material - PLA+
Prepare the Parts
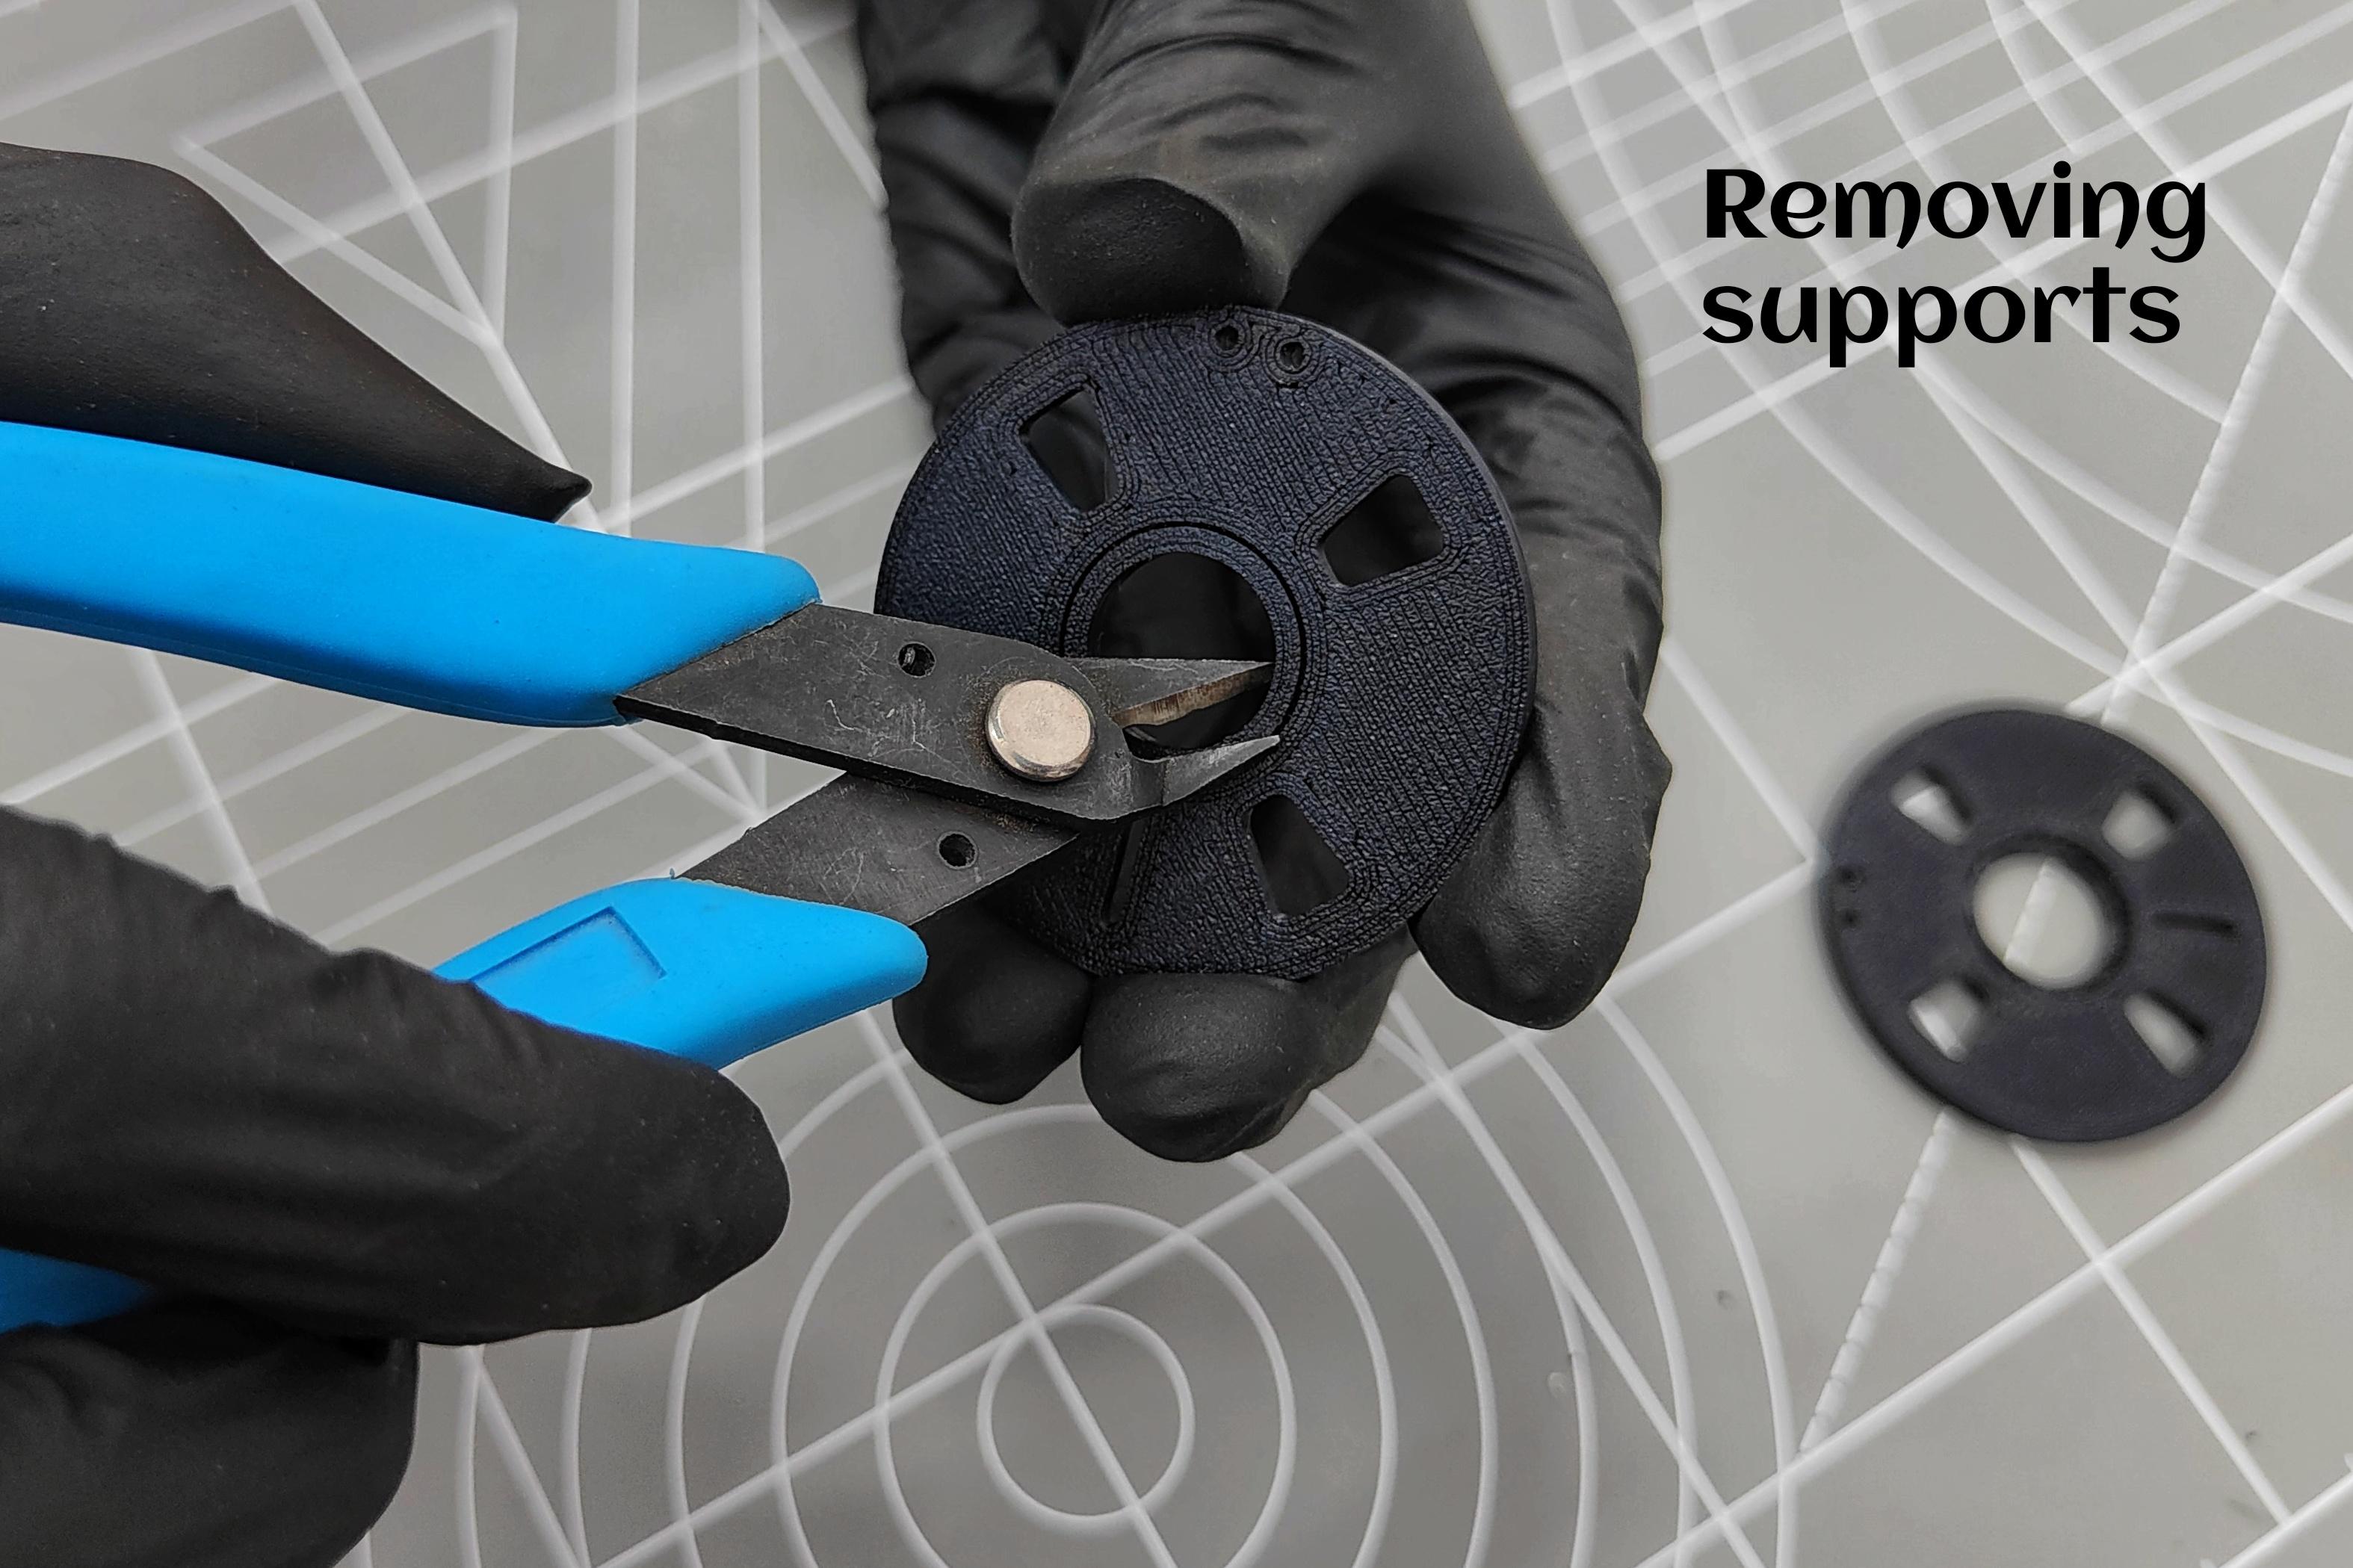
- Remove Support Pads: Carefully remove the support pads from both side coverings.
- Optional Sanding: Sand the parts if desired for a smoother finish.
Assemble the Model
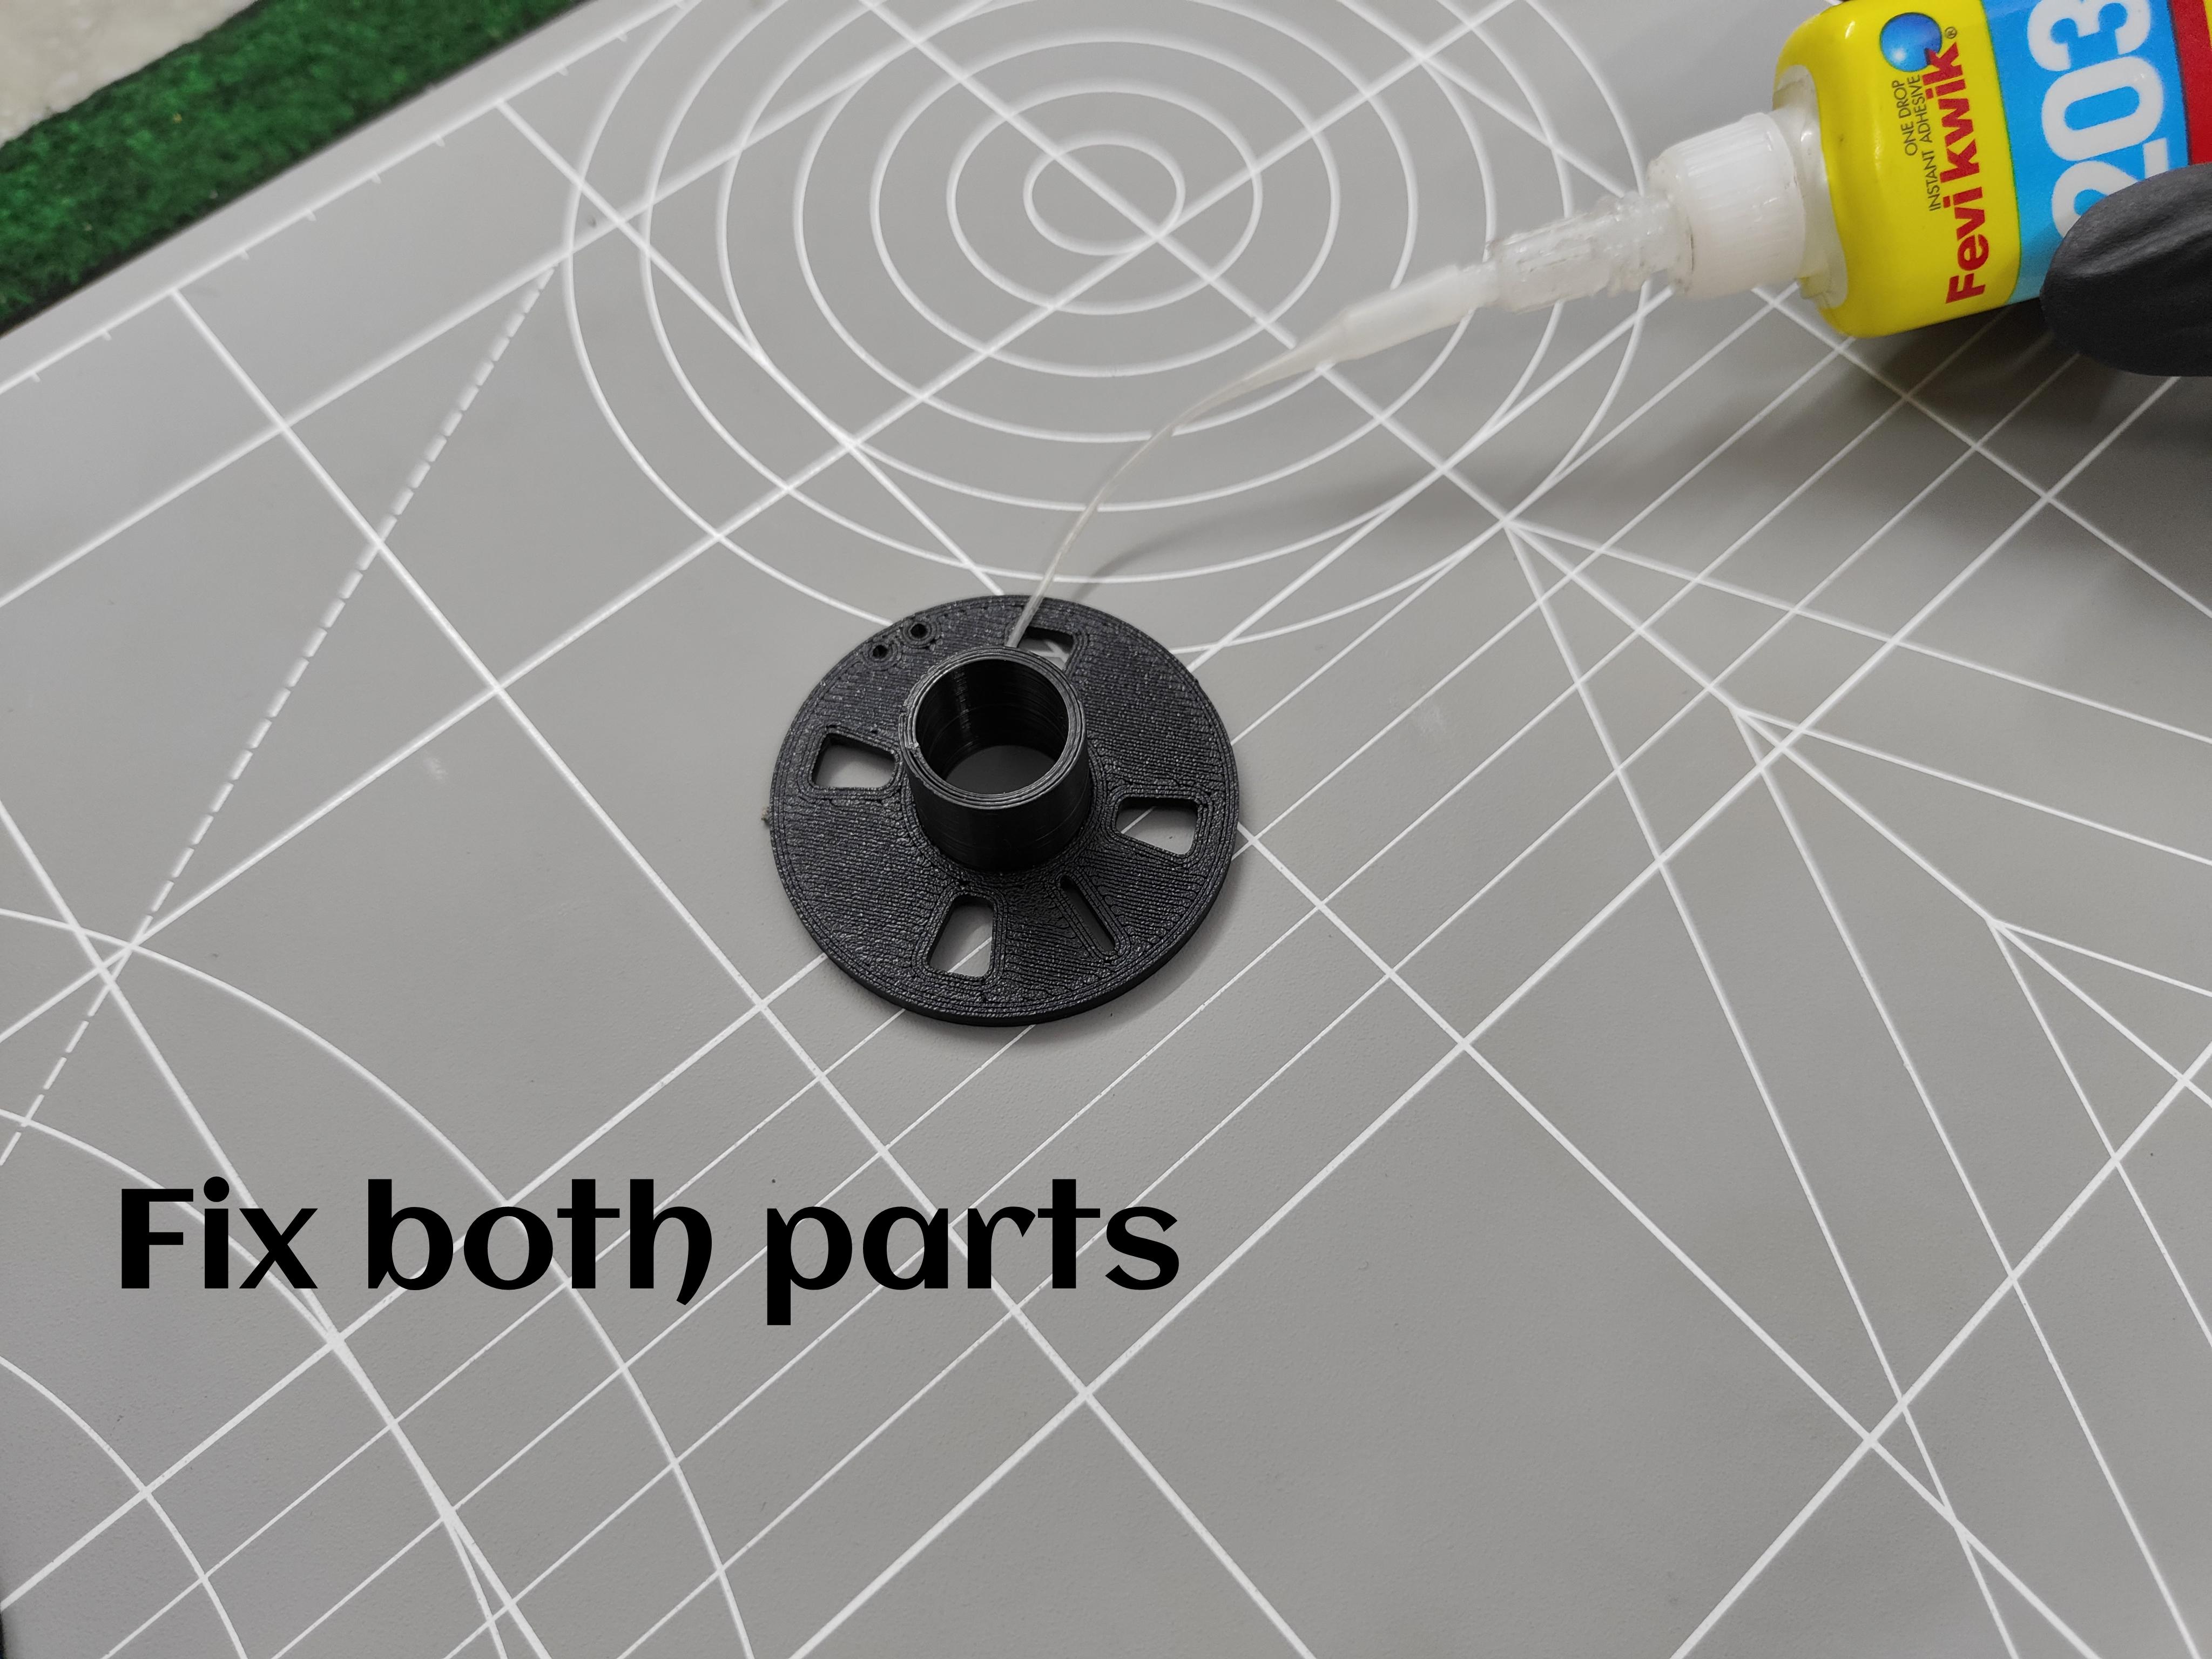
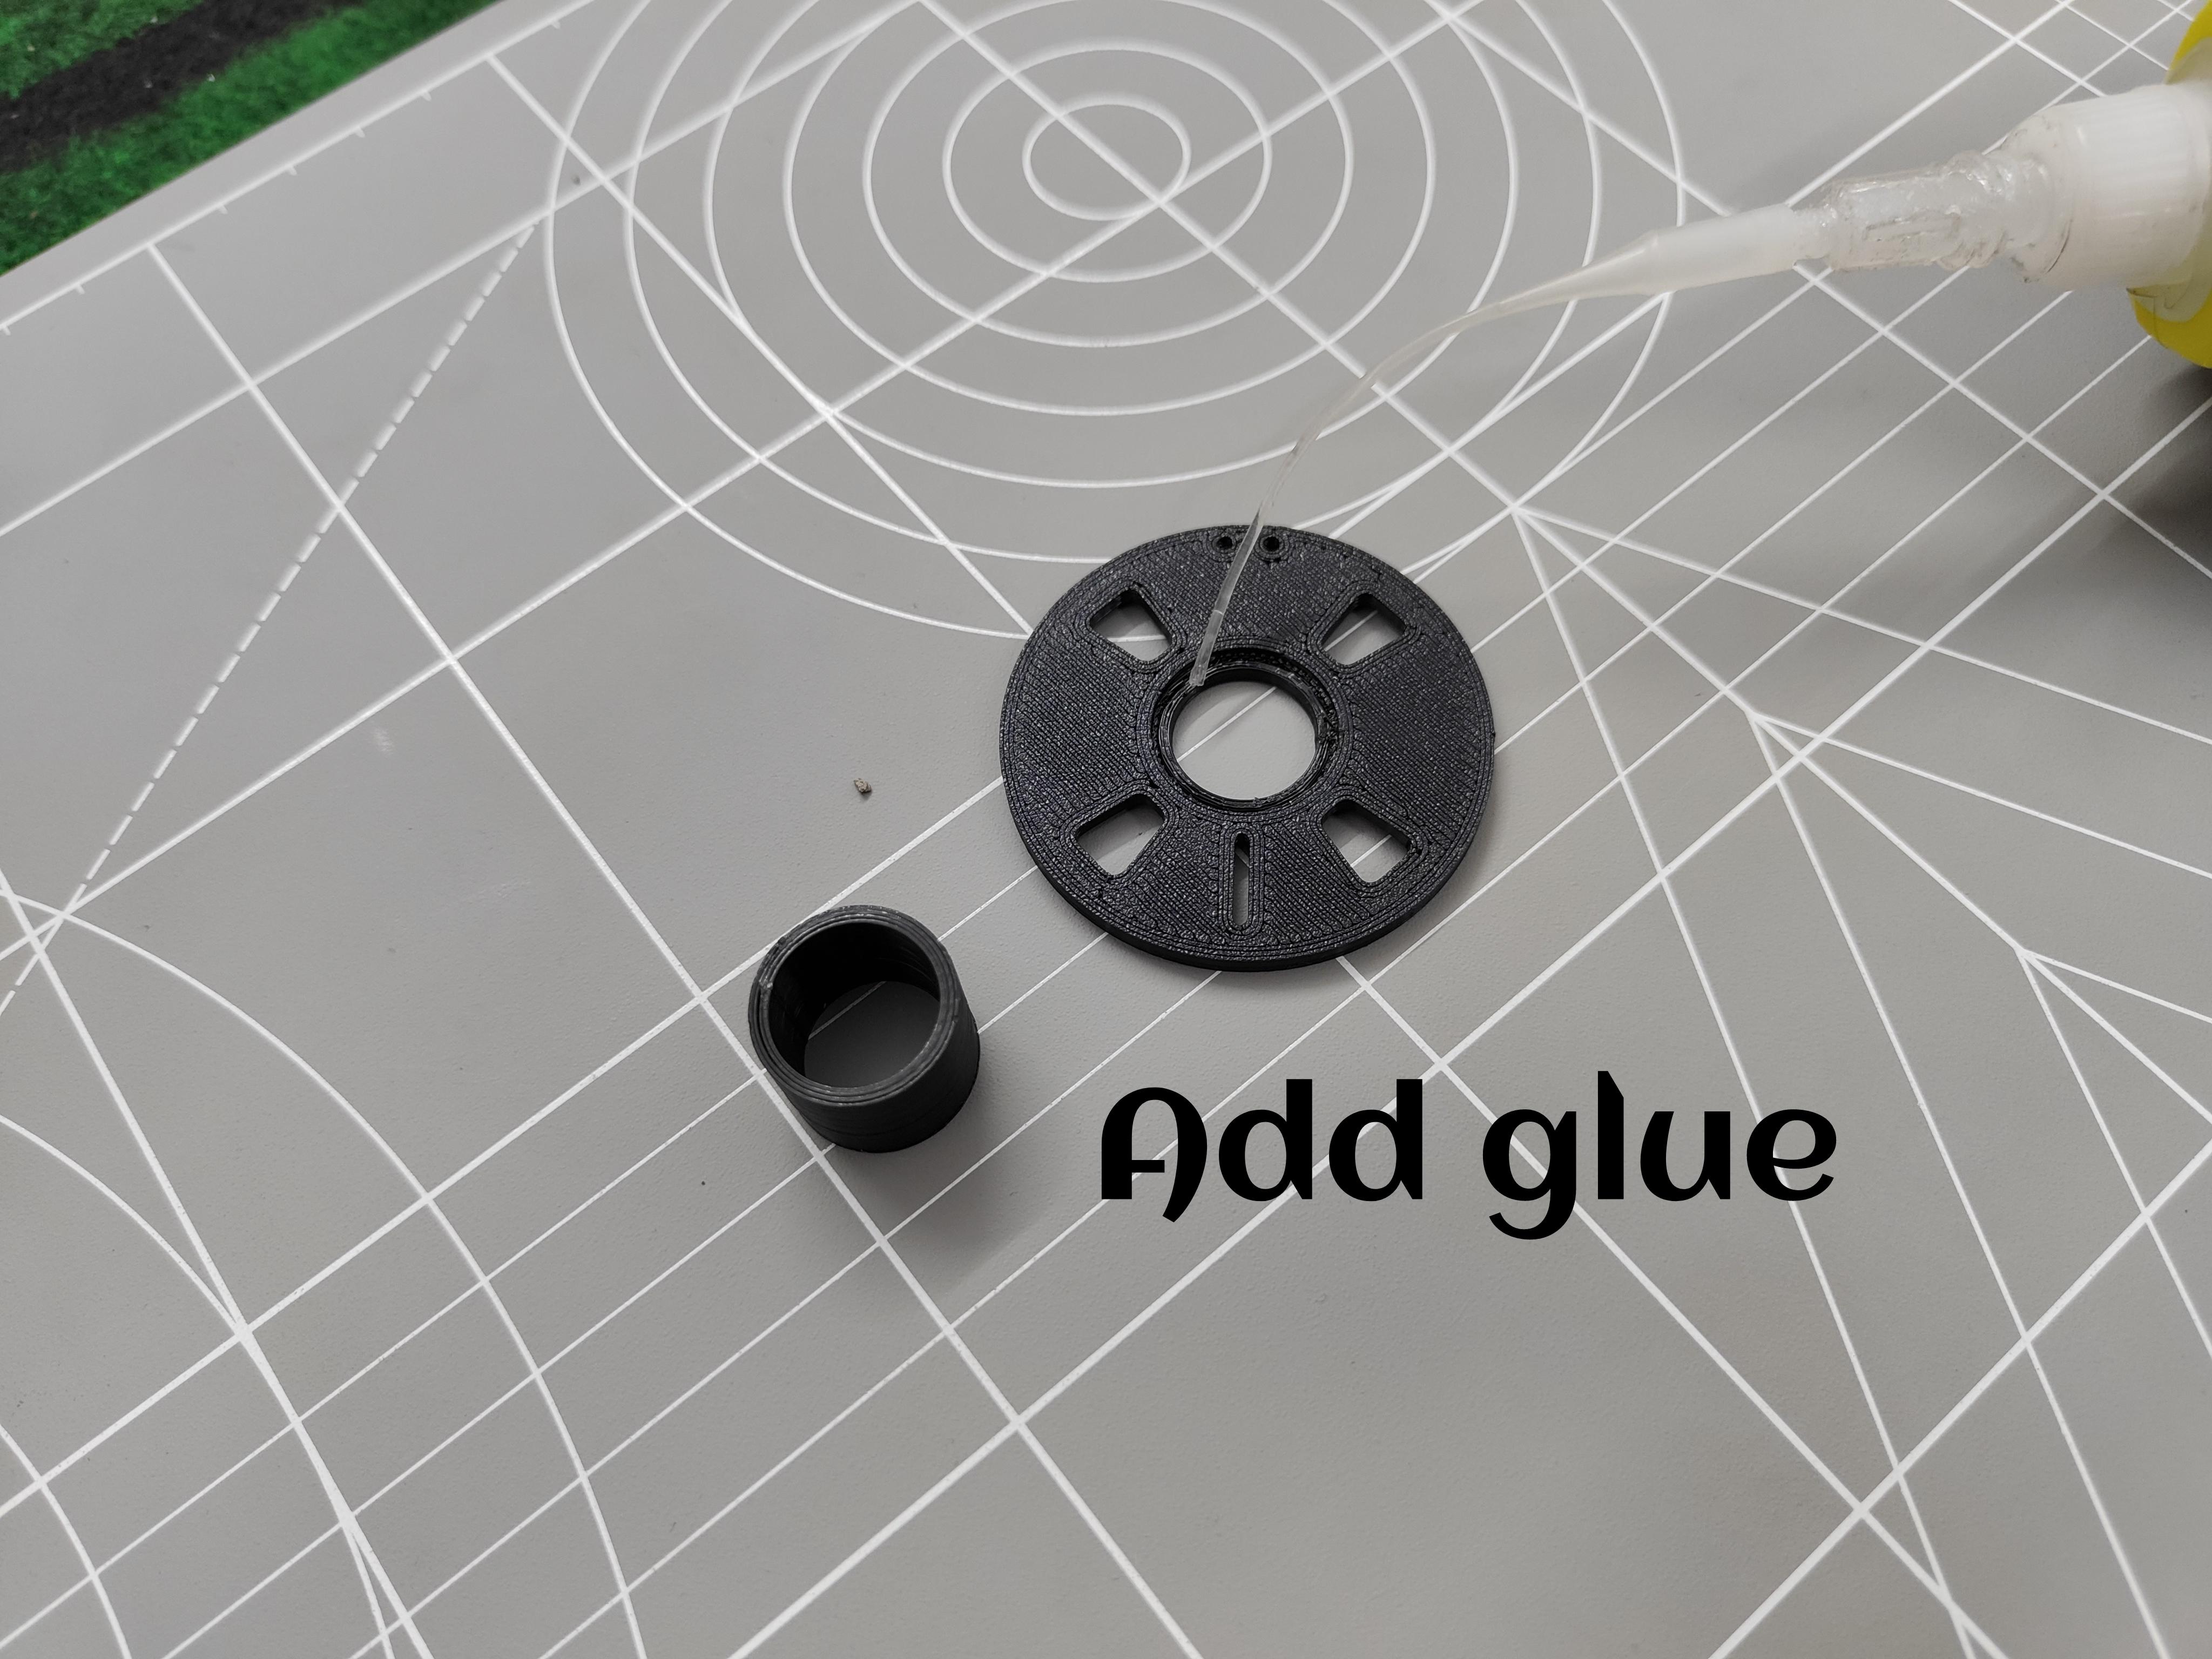
- Fit the Parts Together: A slot is designed in the side coverings to fix all three parts together. I aligned the slots and tabs on the side coverings with the corresponding parts on the center roll and clicked them into place.
- Use Glue: To ensure a tight fit, I used glue to securely attach all parts together.
Add the Filament Wire

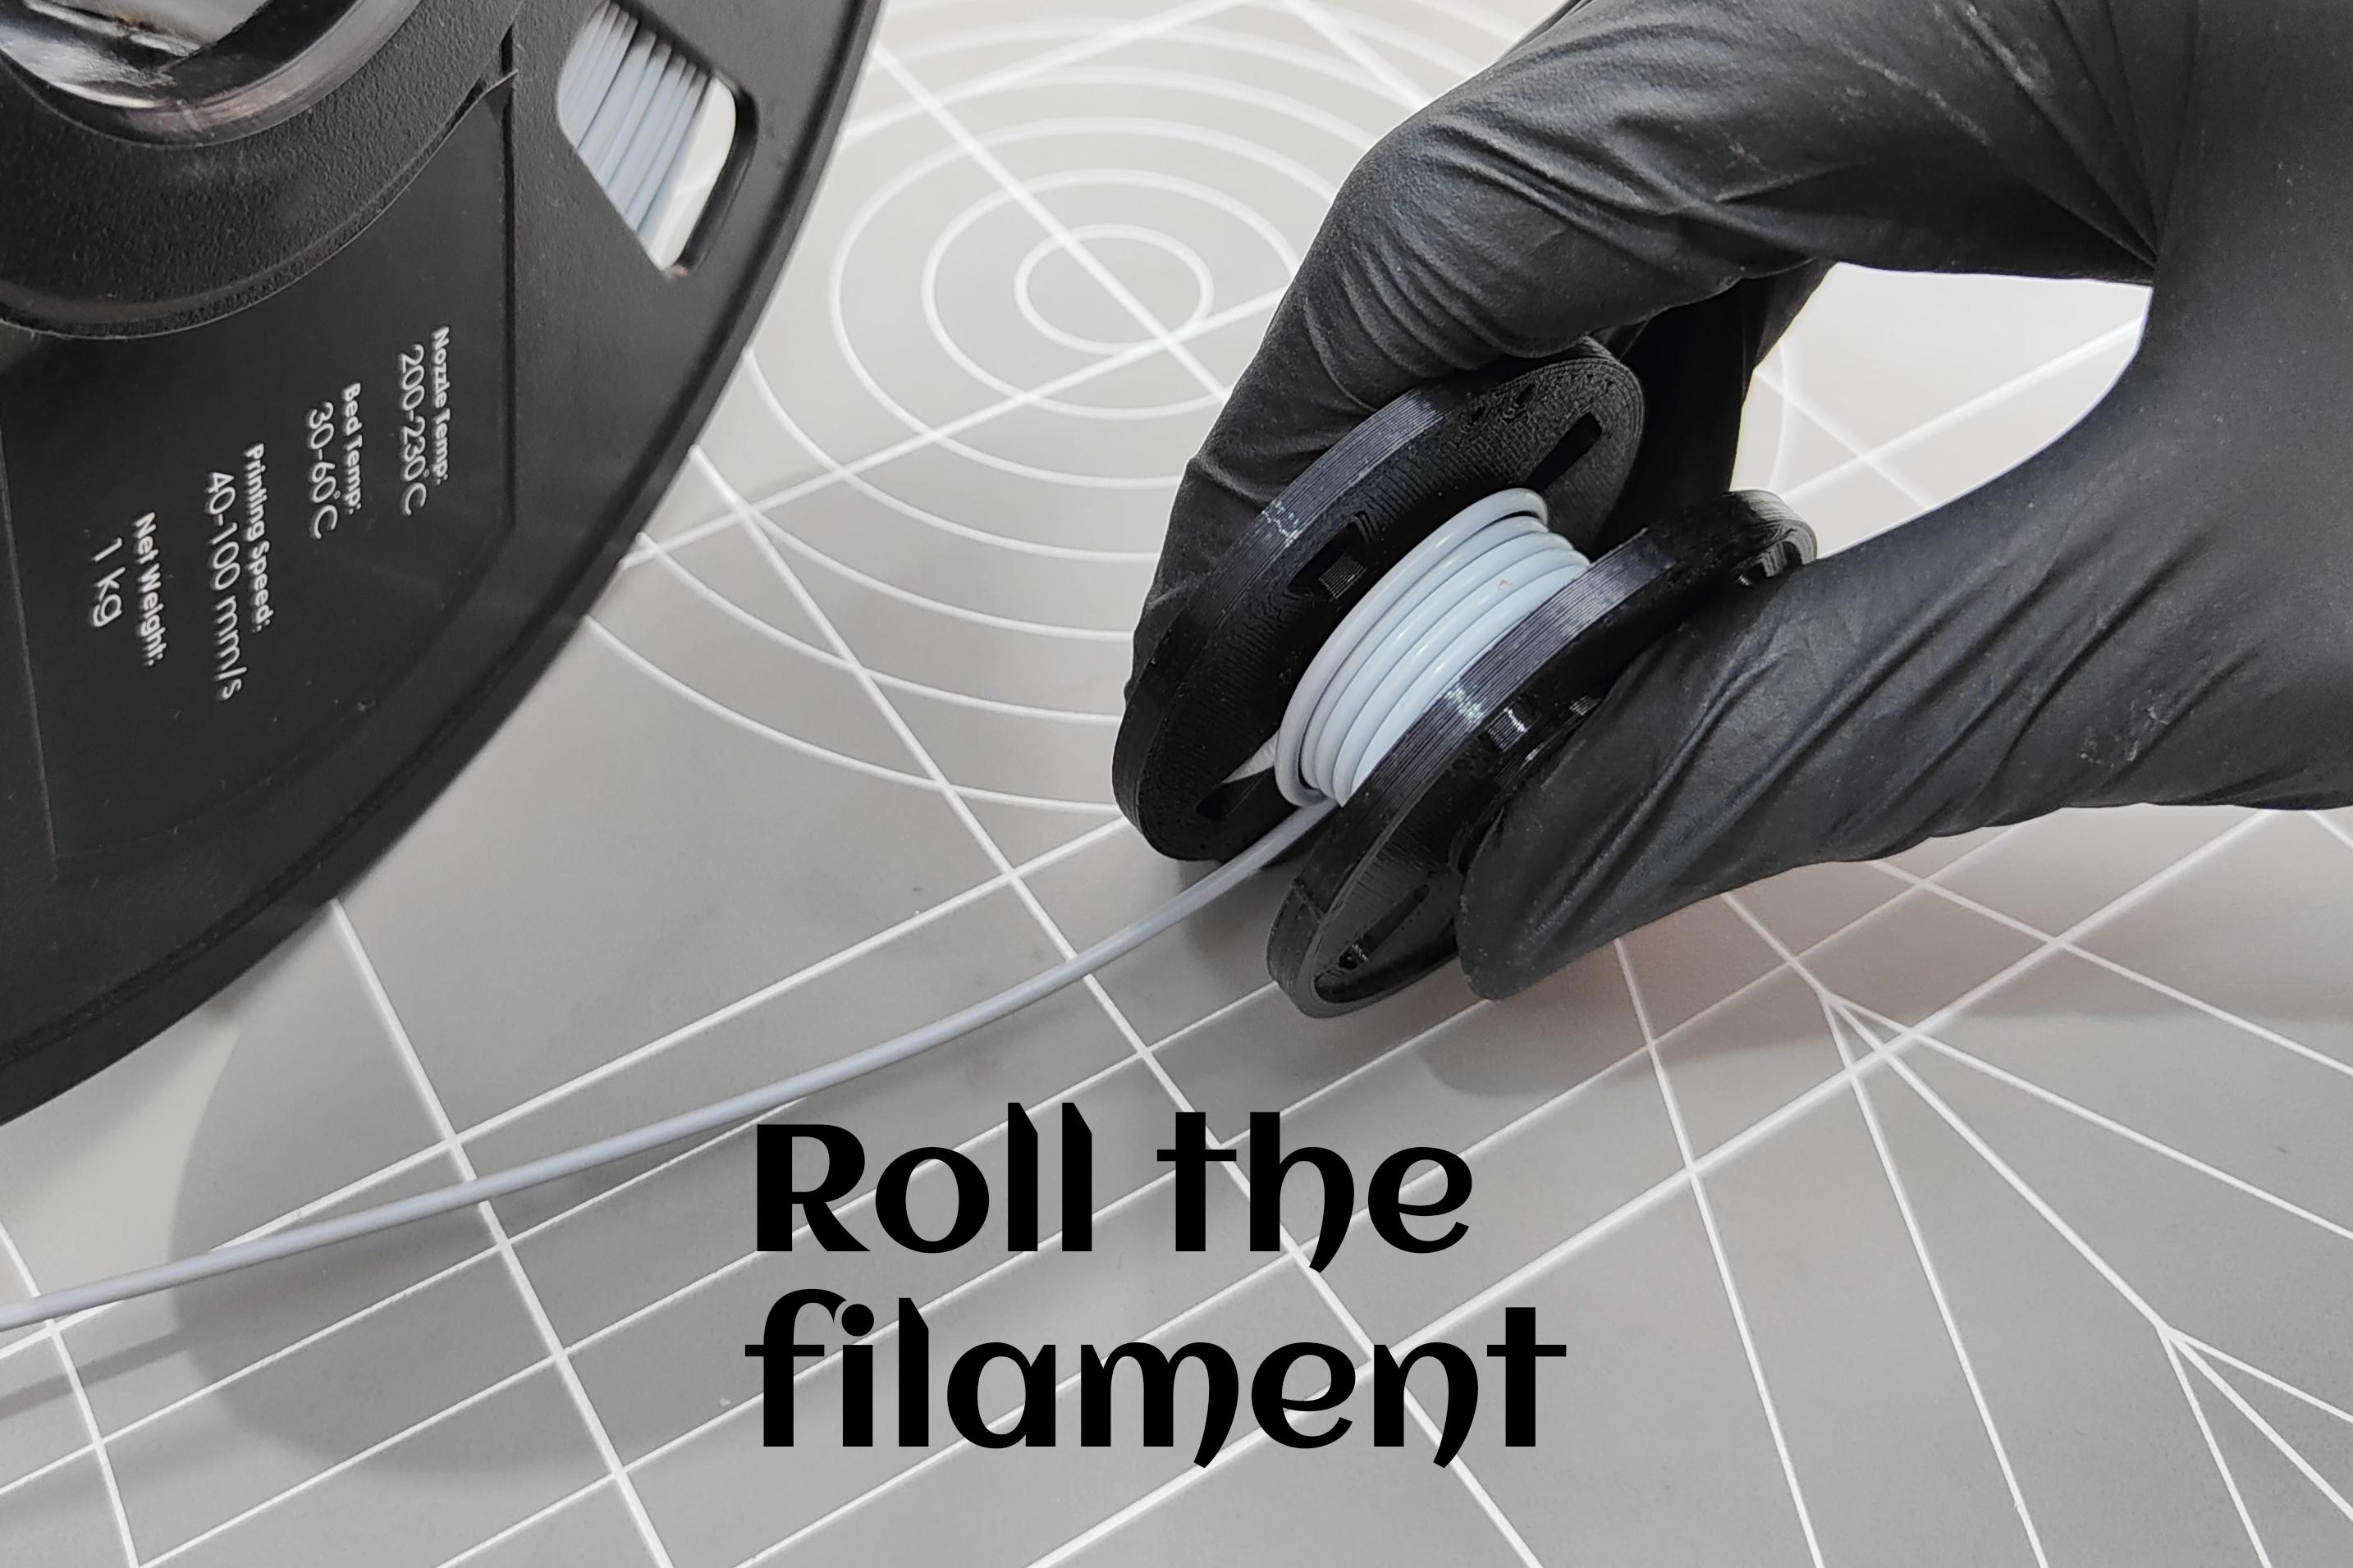
- Prepare the Wire: I took filament wire in multiple colors.
- Wind the Wire: I tightly wound the filament wire around the center roll, being careful to wind it evenly.
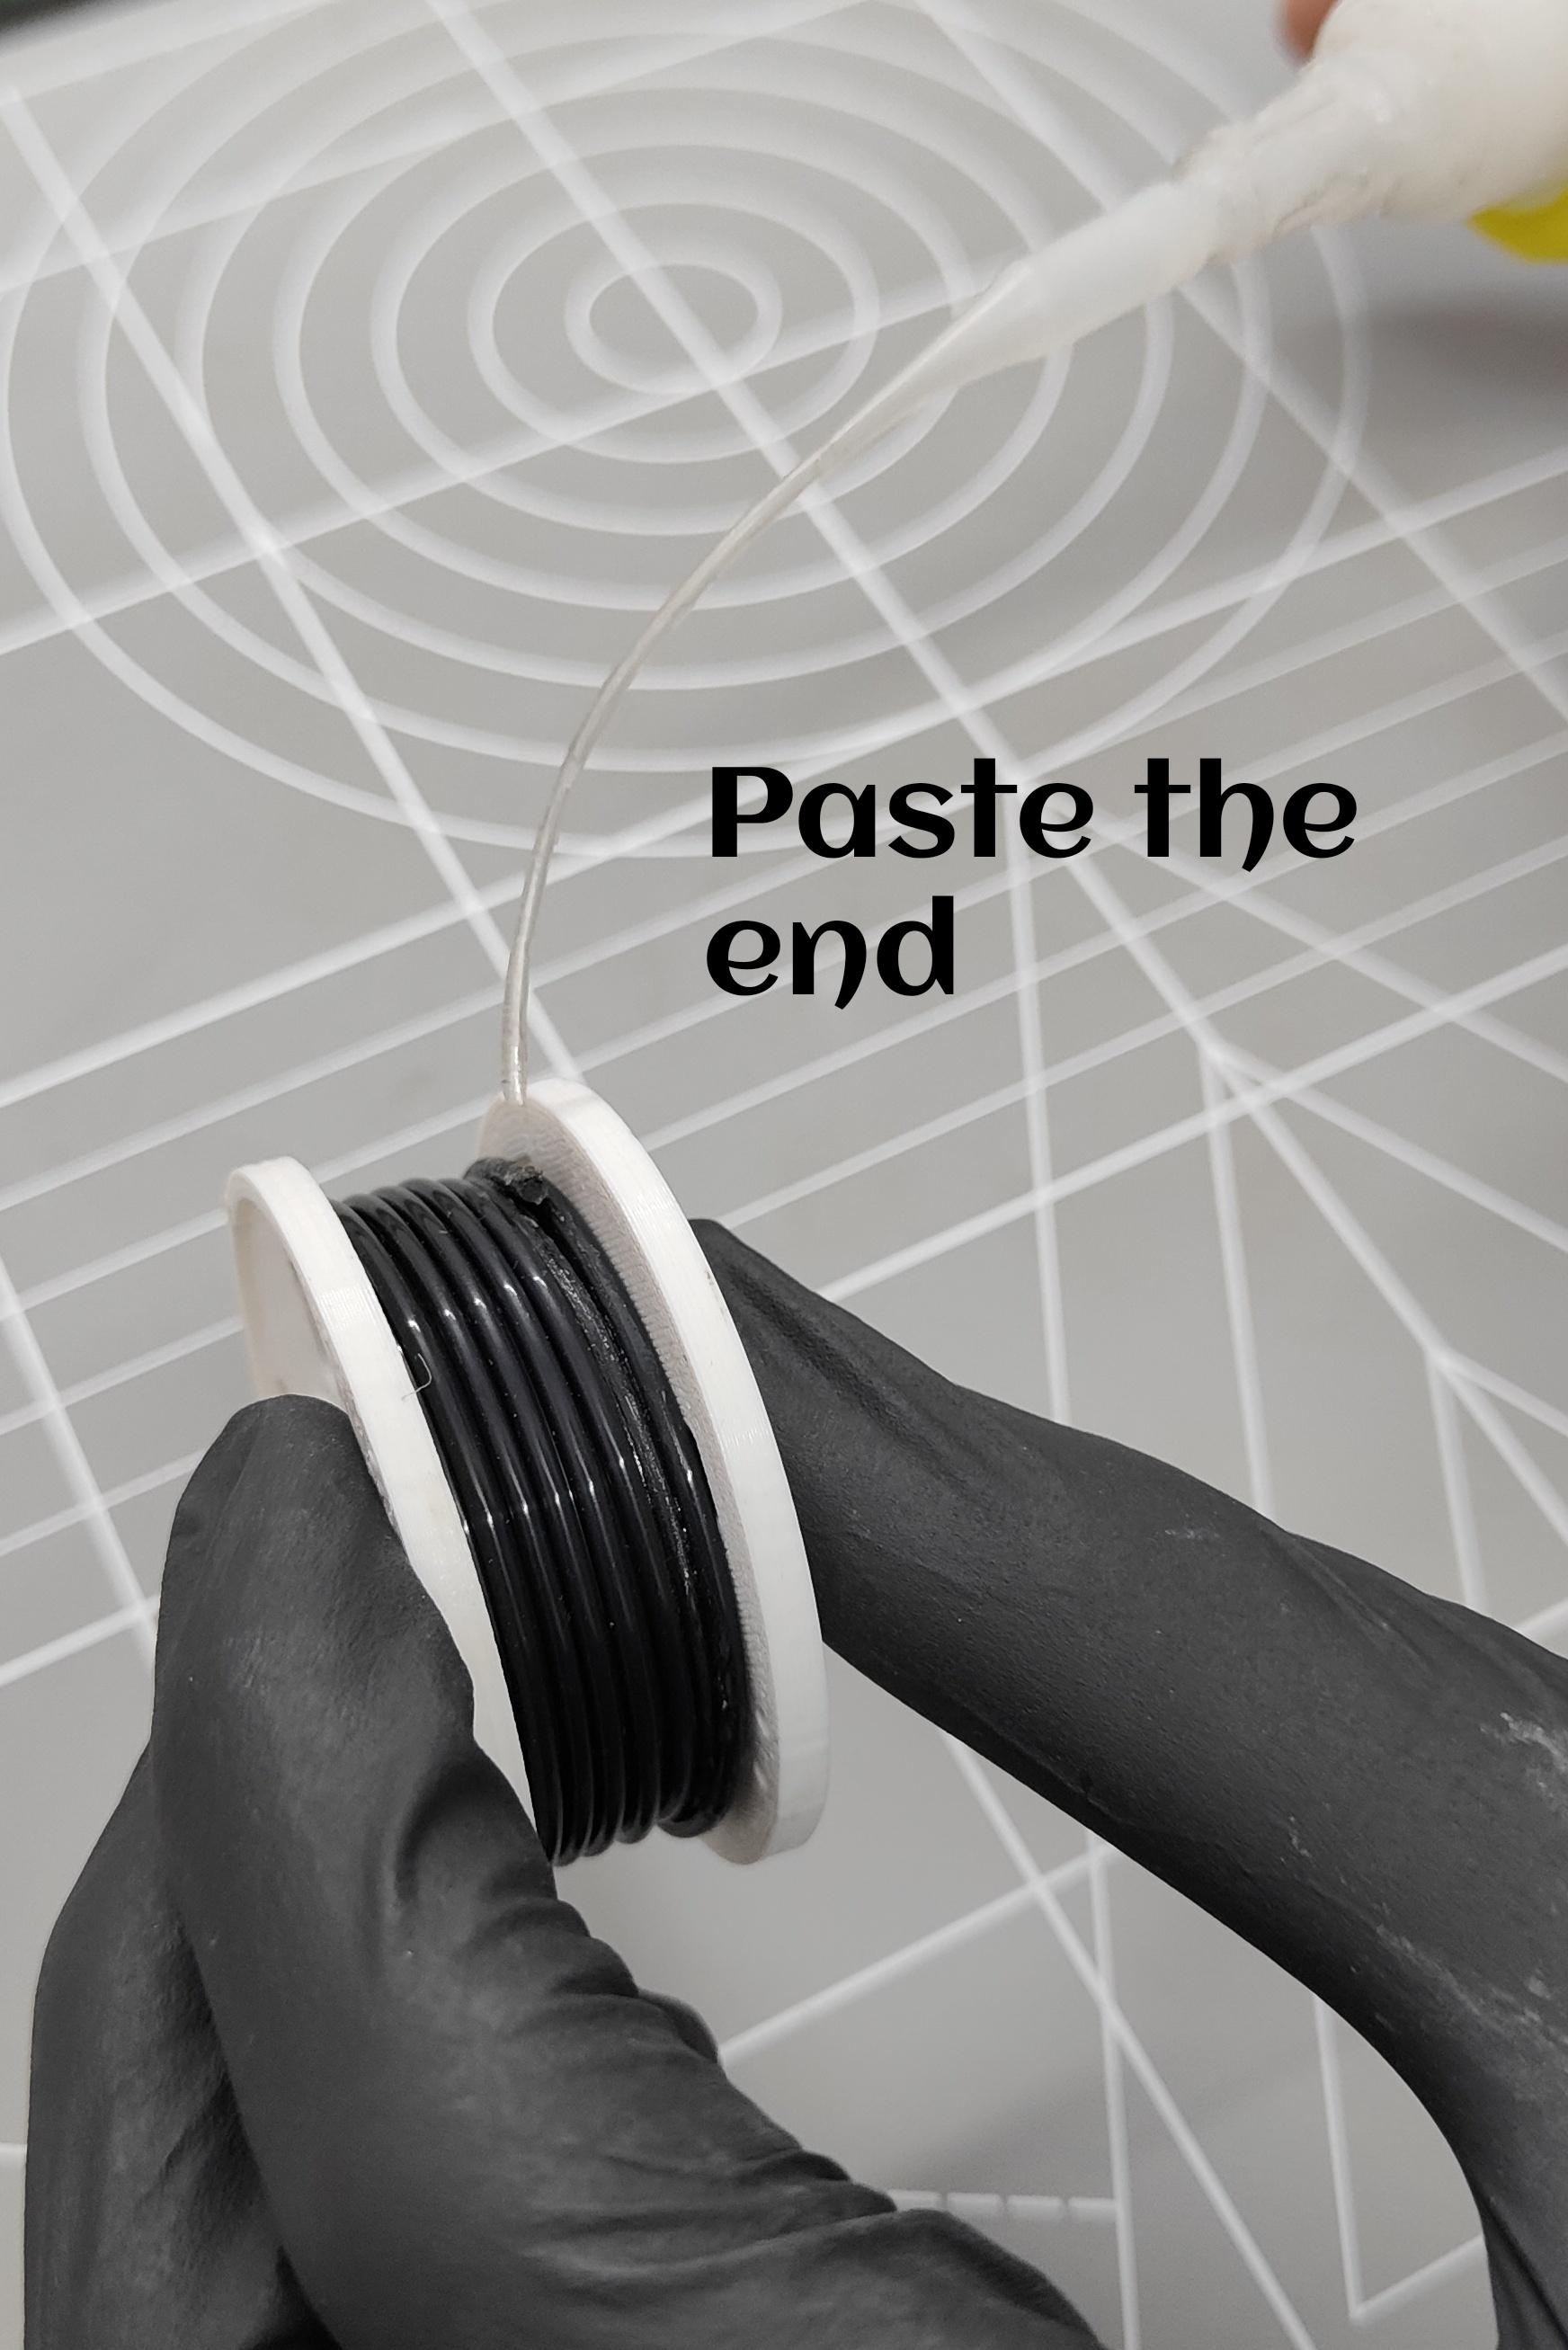
- Secure the End: I stuck the end of the filament wire to the roll with adhesive to prevent it from unwinding.
Final Touches
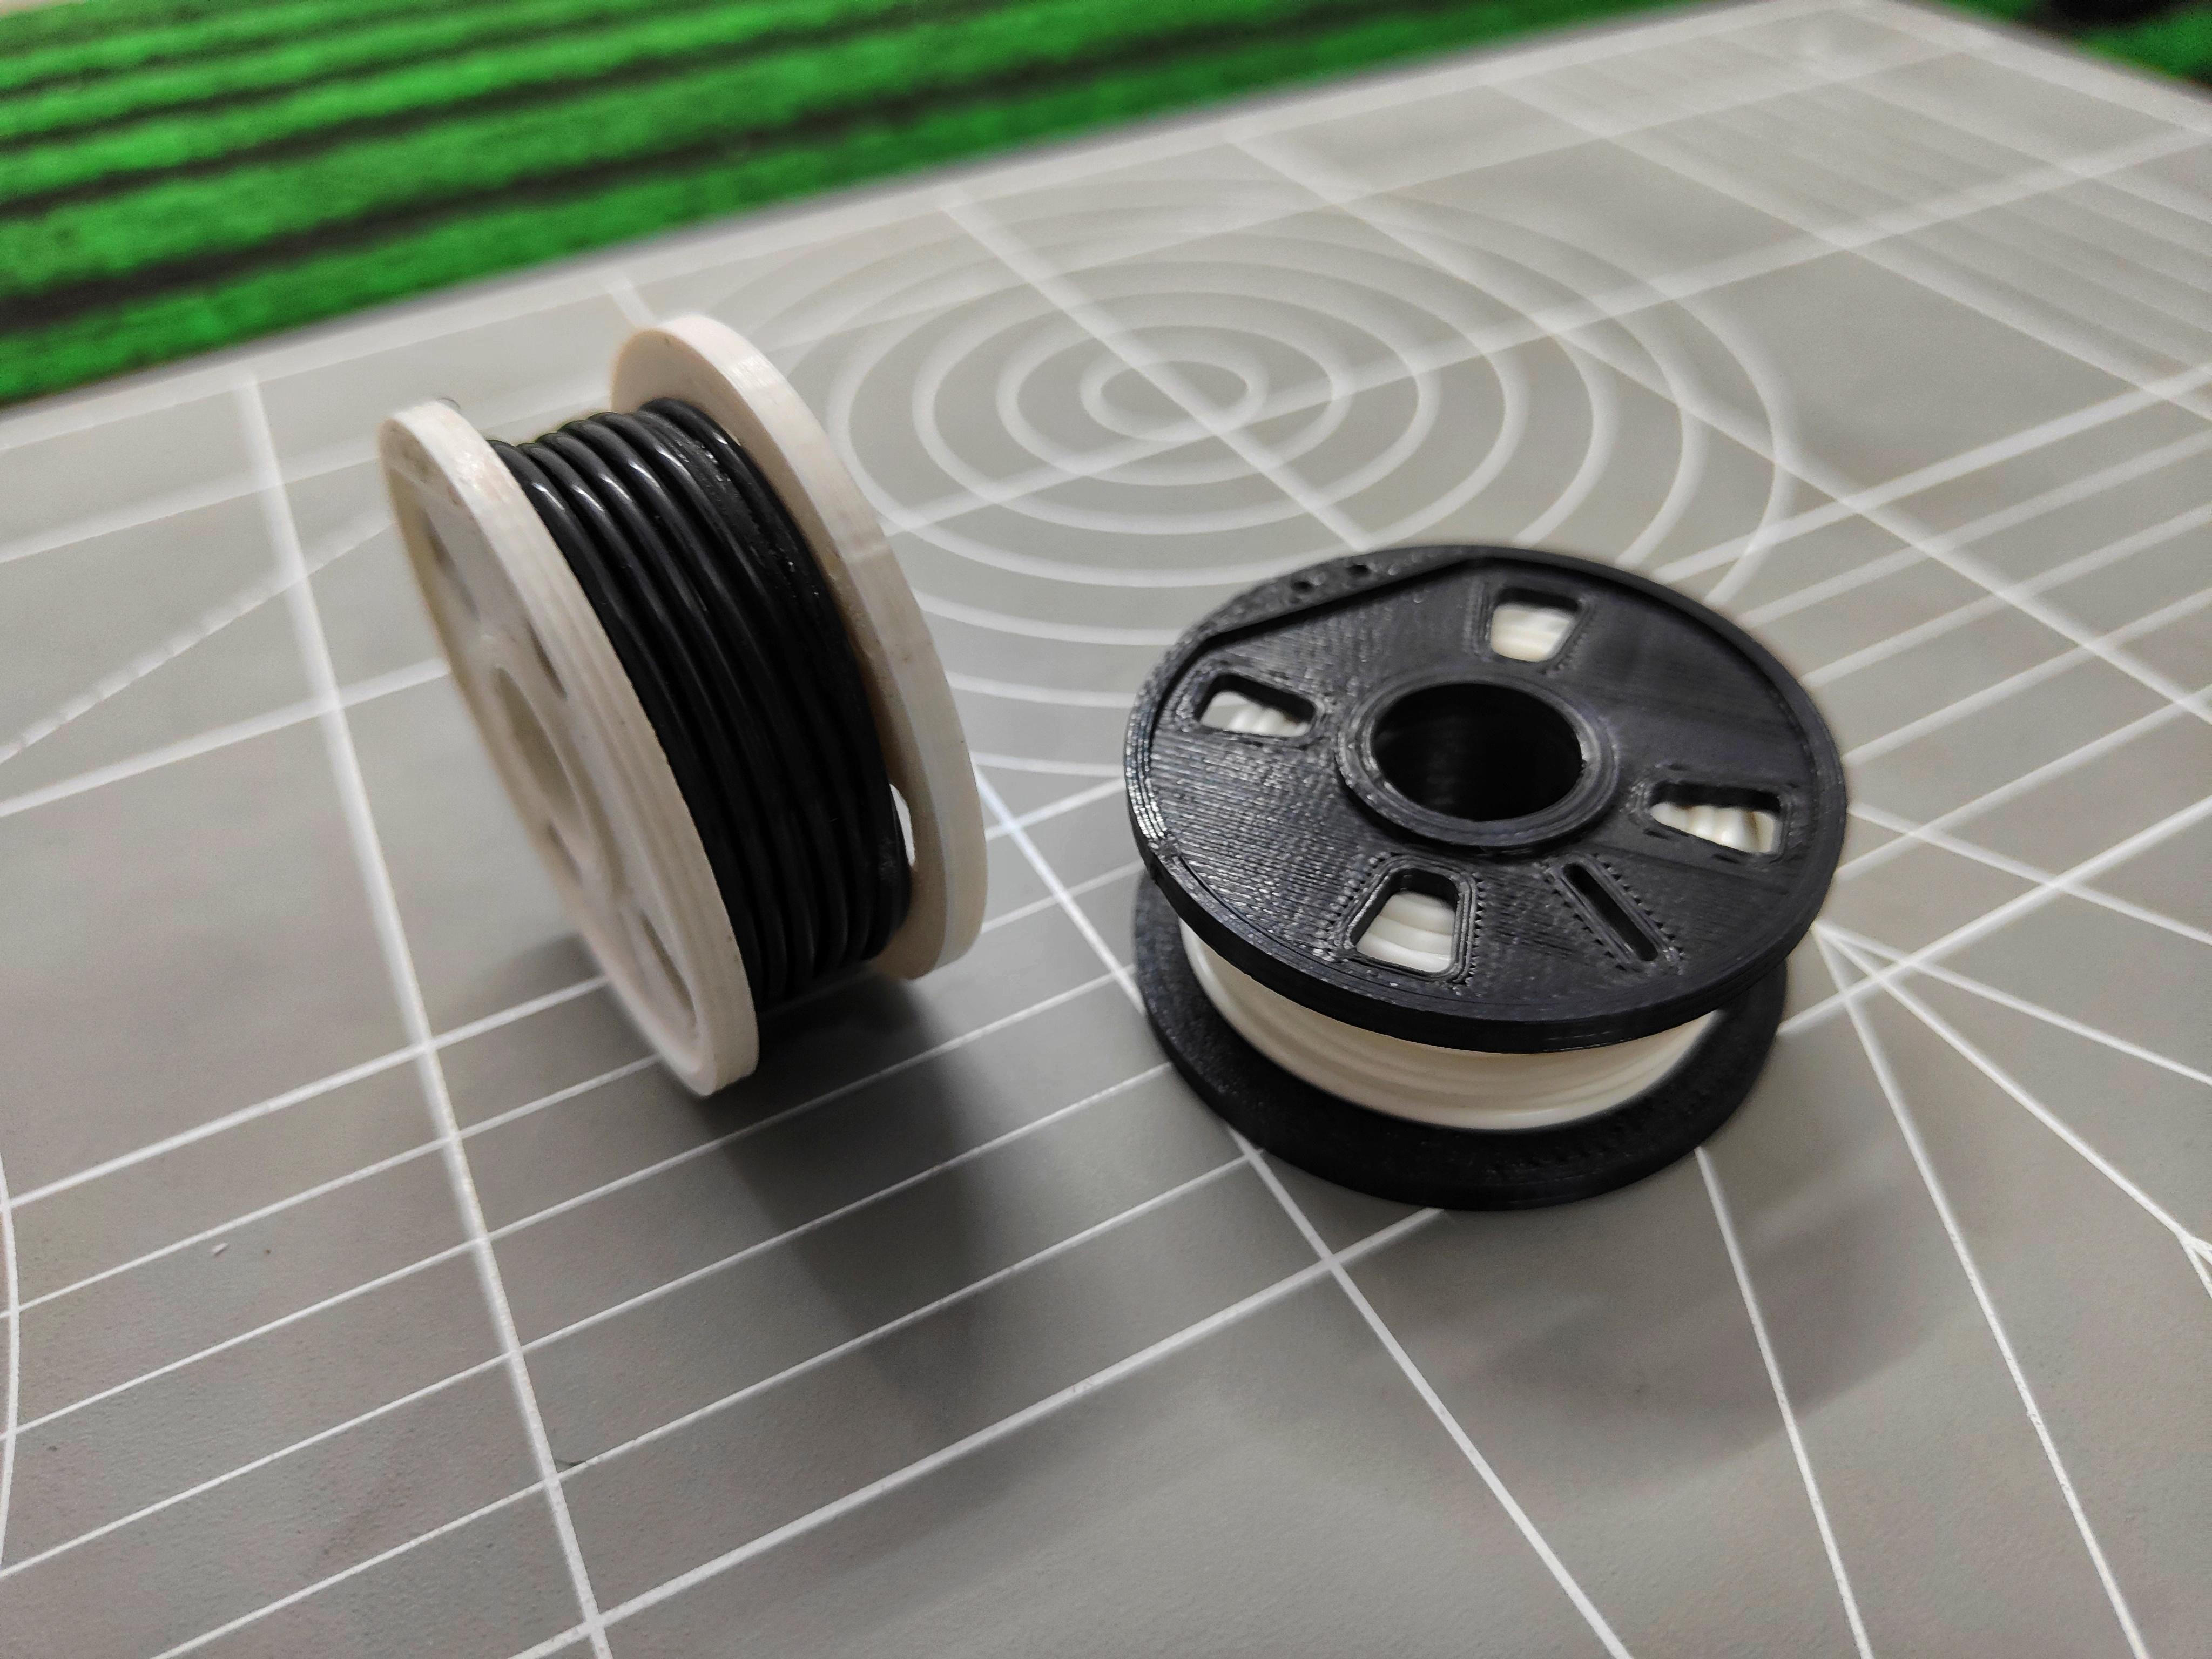
- Inspect the Model: I ensured that the filament wire was tightly wound and the model looked like a miniature version of a filament roll.
- Make Adjustments: I made any final adjustments needed to improve the appearance or functionality of the model.
Conclusion:
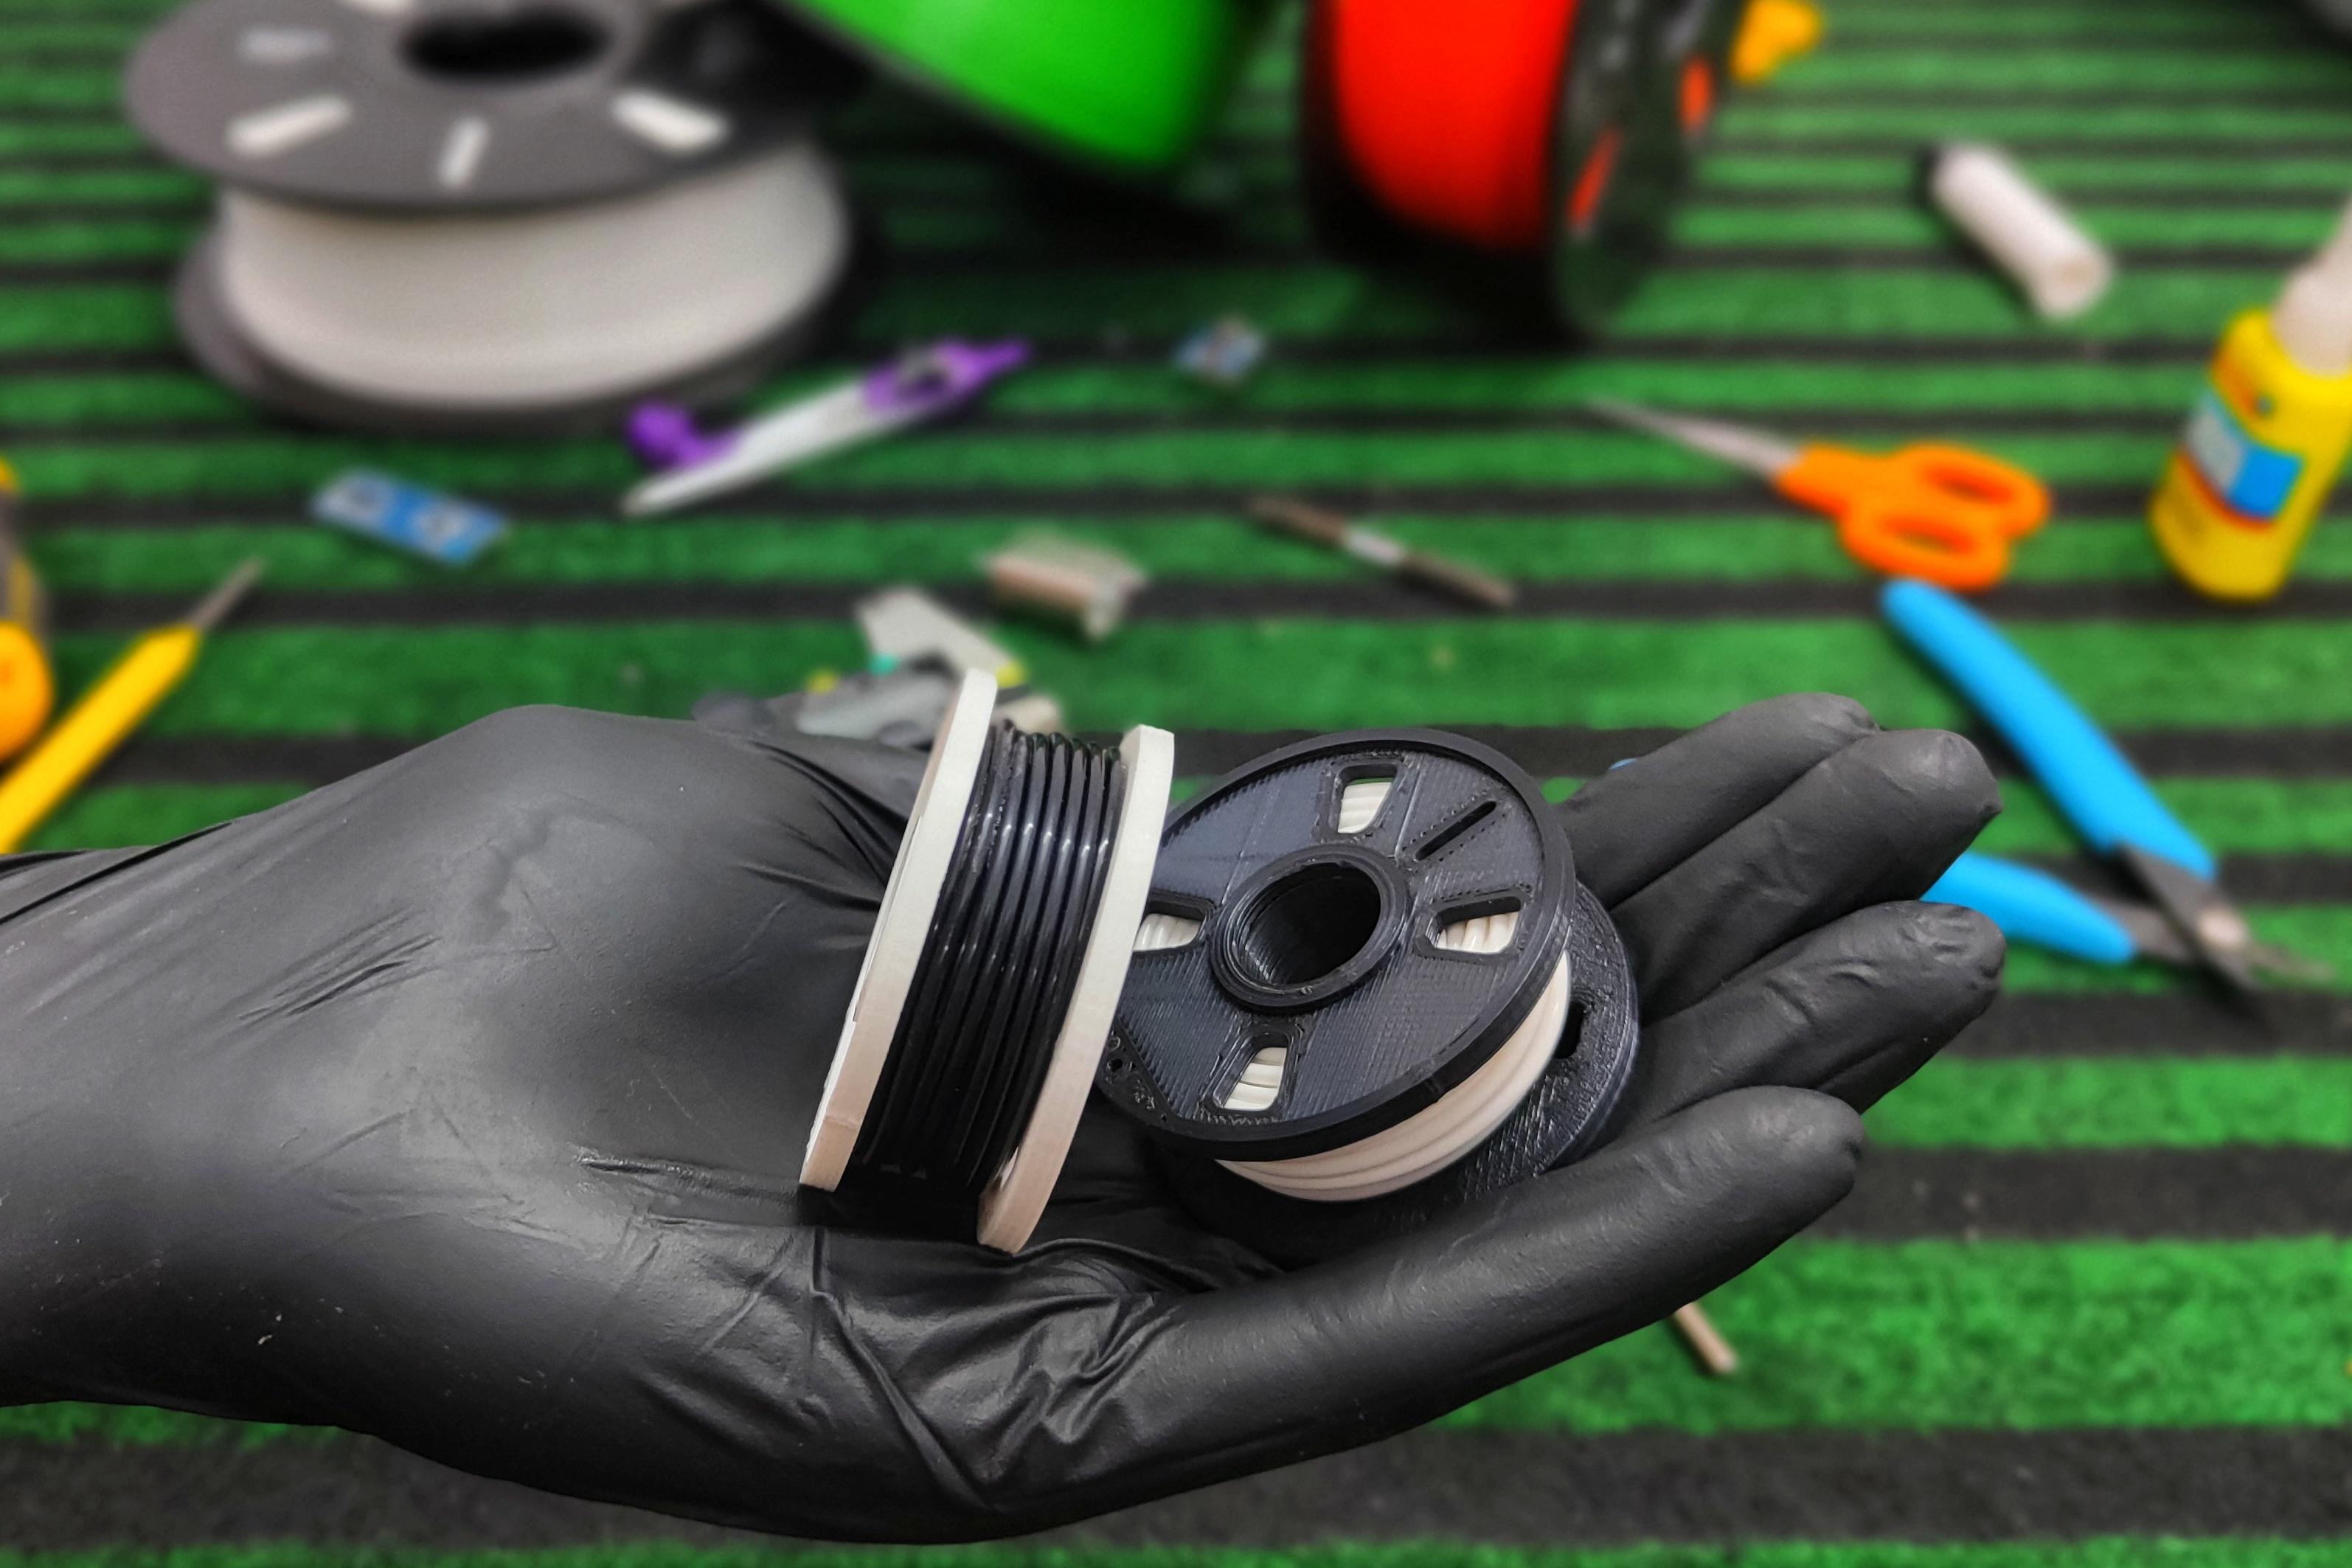
My miniature filament roll model is now complete! This instructable provides a detailed account of how I created the model, from precise measurements and modeling in Fusion 360 to 3D printing and assembly. You can follow these steps using the provided STL files to replicate my creation. This contest has given me the opportunity to share this solution, and I hope it helps others facing the same challenge. Additionally, you can use these miniature rolls to create beautiful keychains. Good luck :)