DIY Miniature Bookshelf in a Bell Jar: a Tiny World of Imagination!
by Rustickraft in Design > Art
2771 Views, 73 Favorites, 0 Comments
DIY Miniature Bookshelf in a Bell Jar: a Tiny World of Imagination!
.jpg)


Welcome to the world of miniature crafting, where creativity knows no bounds! In this project, we'll guide you through the steps to create a charming miniature bookshelf .
You'll learn how to cut and assemble sunboard pieces, paint the shelves to add character, and create adorable miniature books to place on the shelves. This project is a delightful way to showcase your skills and add a unique piece to your miniature collection.
So, gather your materials, unleash your imagination, and let's create a miniature masterpiece together!
Supplies
Materials:
- Sunboard (Foam board)
- Craft knife
- Ruler
- Pencil
- Paint and brushes
- Glue
- Toothpick
- Bell Jar
- Papers
The Structure of the Bookshelf


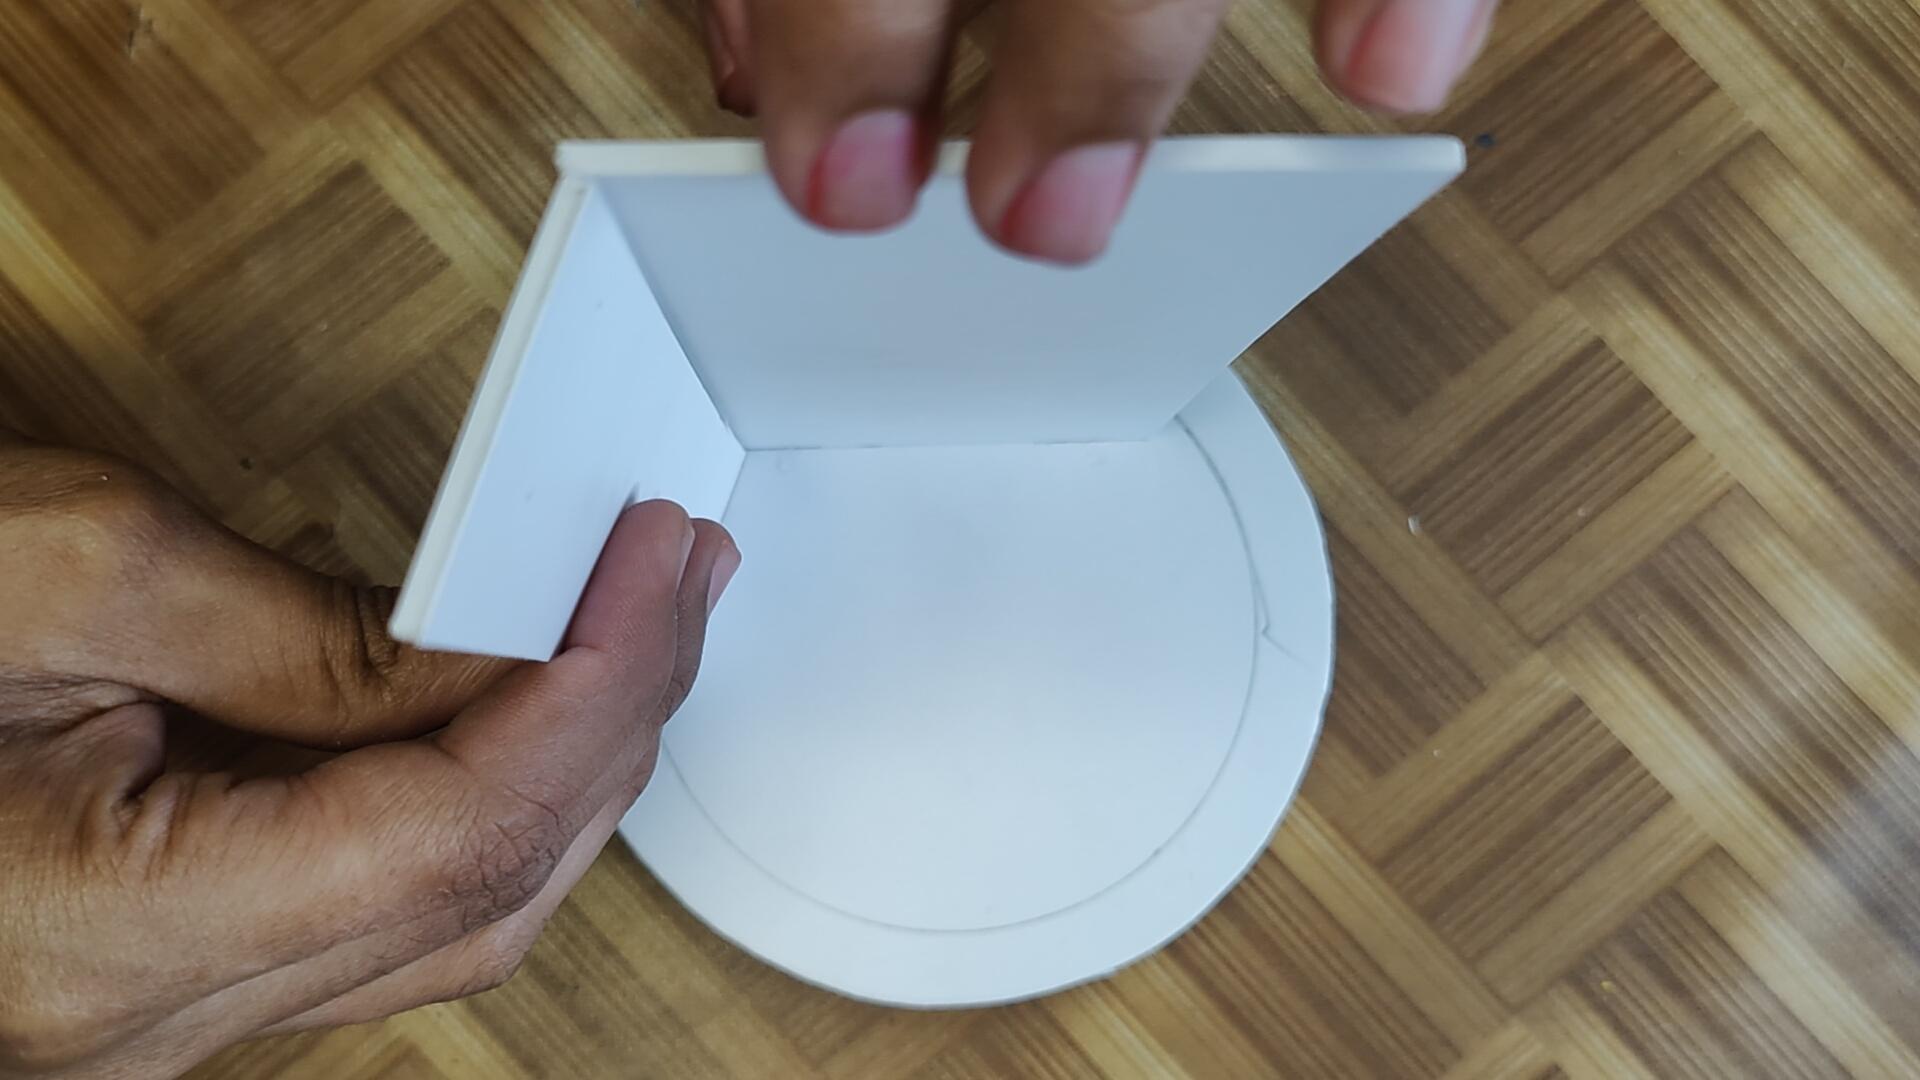
The first and most important step is understanding the form and structure of the bookshelf. The shelf will be embedded inside a bell jar, so the bell jar's diameter has to be our mark to fit the self.
- Cut the sunboard to the desired length and width.
- Sand the edges for a smooth finish if needed.
- Mark the positions for the shelves on the side pieces.
- Use a strong adhesive to attach the shelves to the sides.
Assemble the Sunboard Pieces


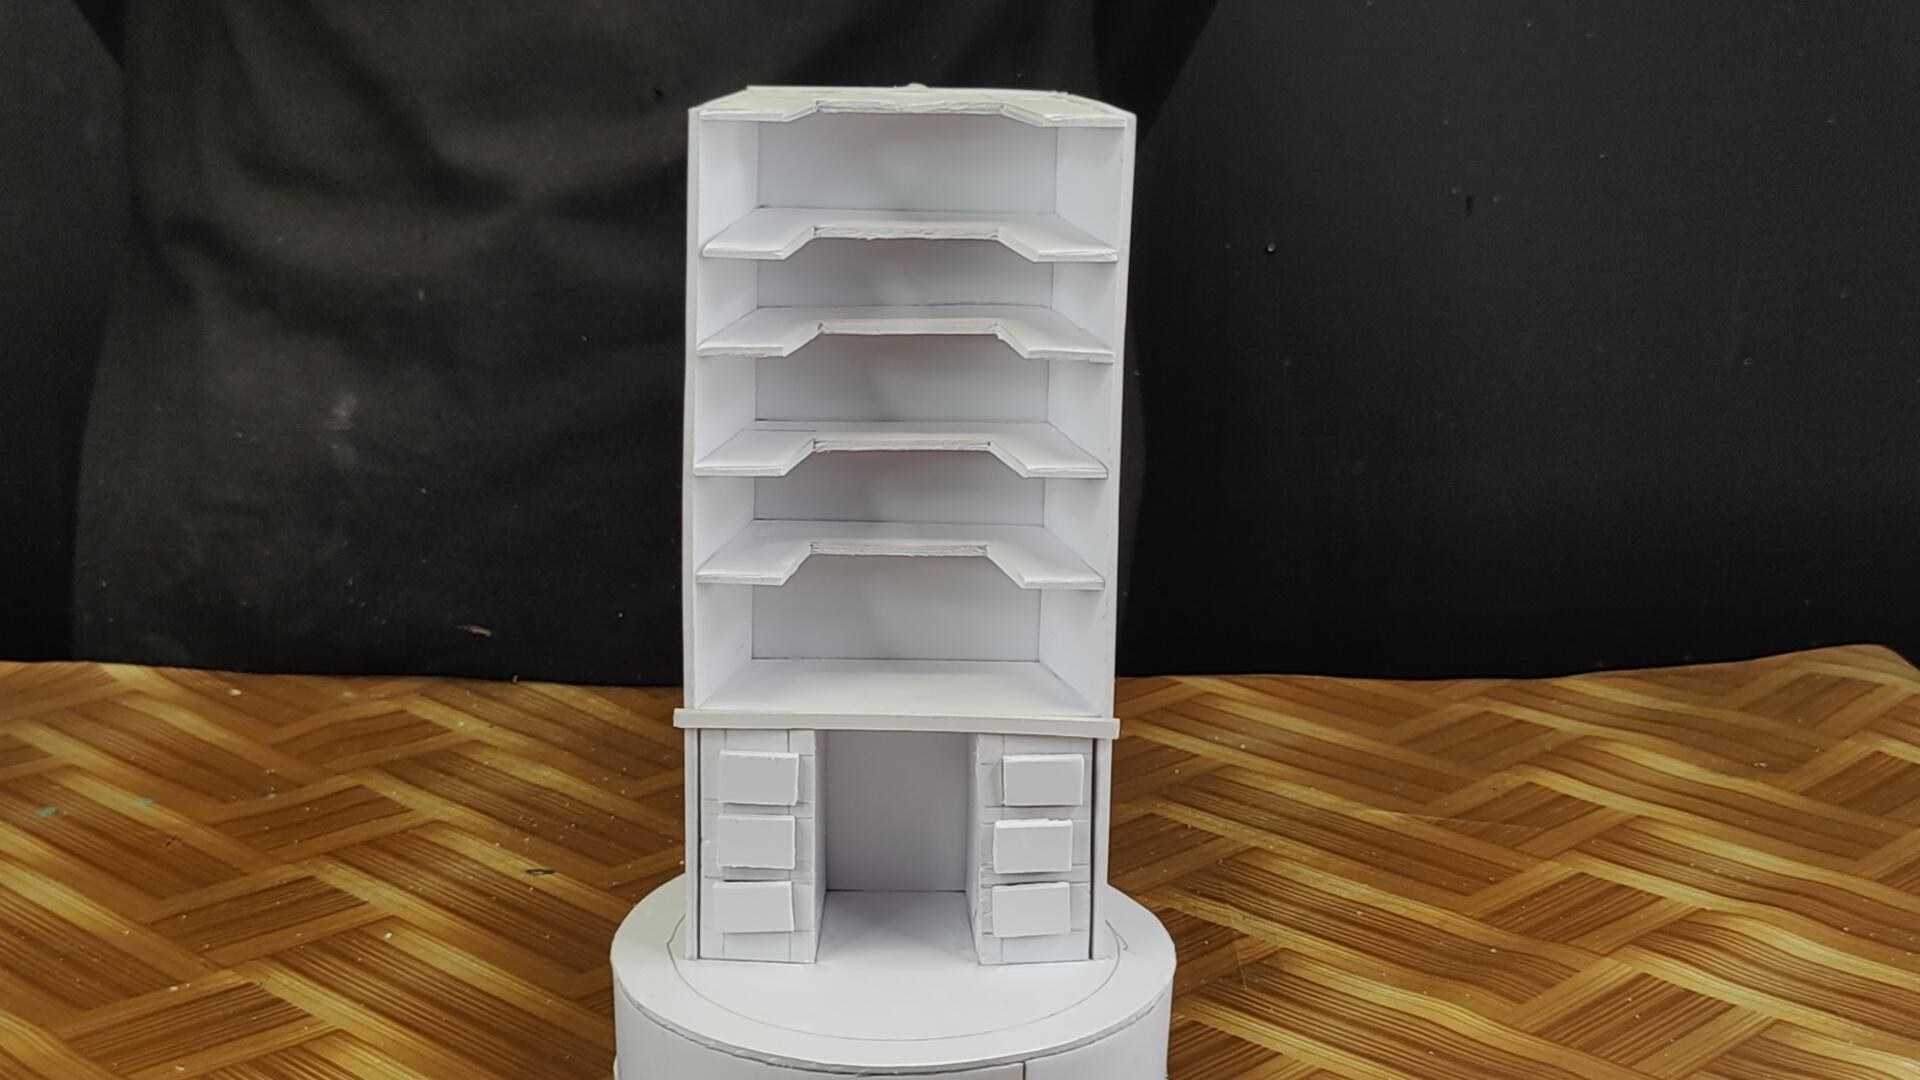
- Attach the top and bottom pieces to the assembled sides and shelves using adhesive.
- Ensure they are aligned properly and allow the adhesive to dry.
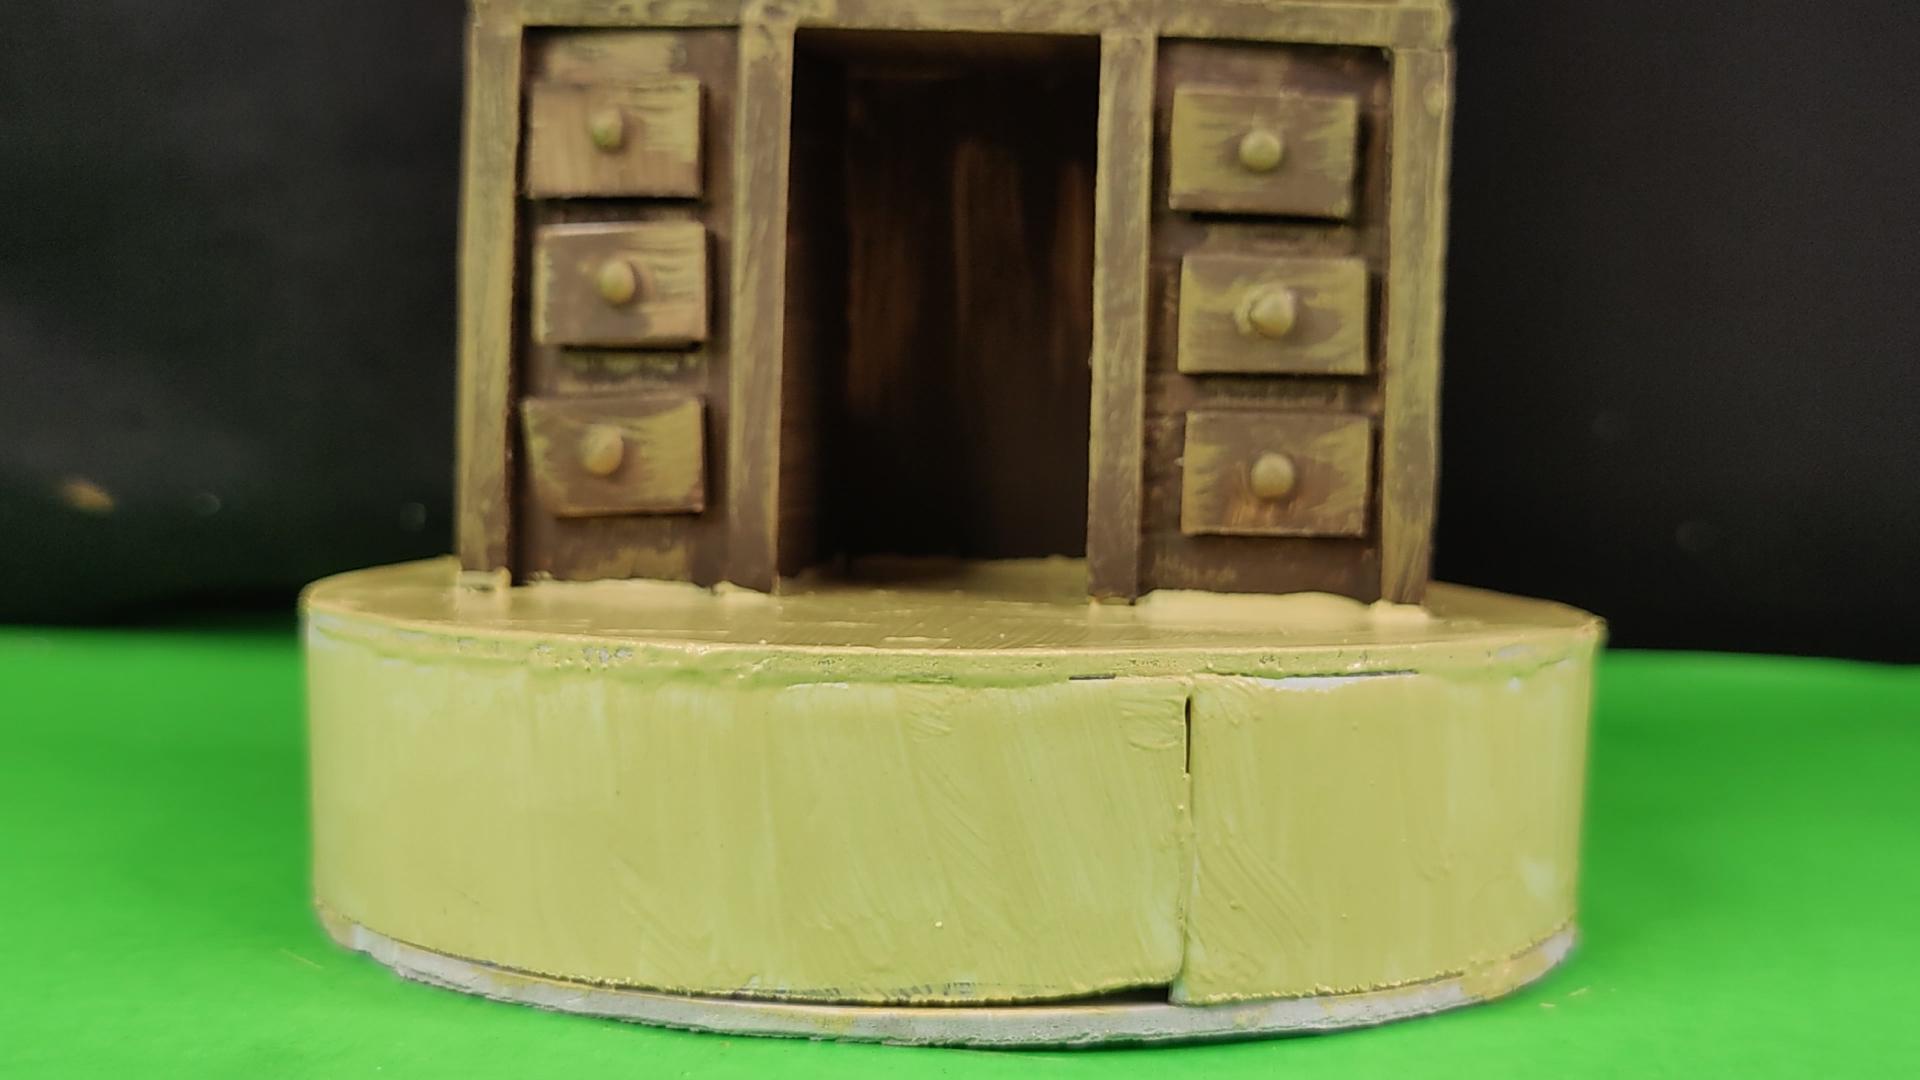
Making the Drawers


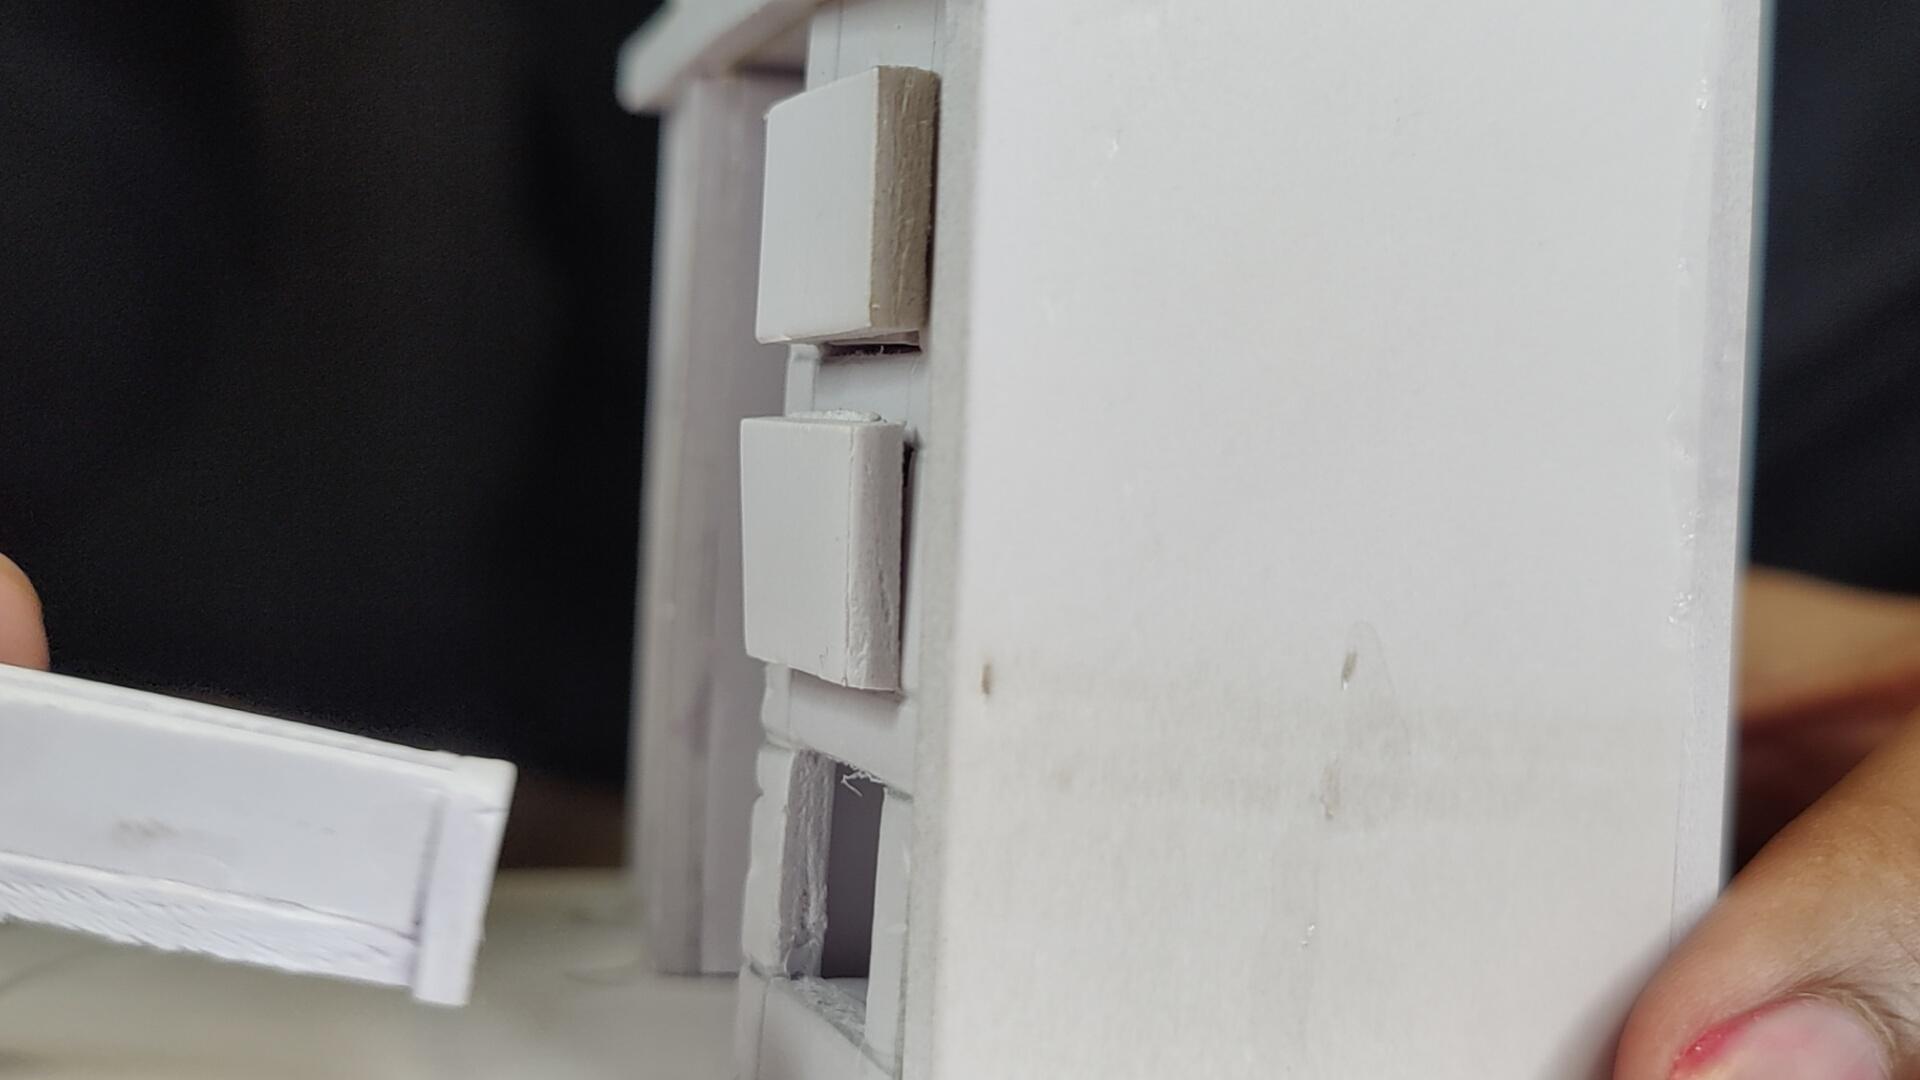


- Determine the size and number of drawers you want to create.
- Use a craft knife or scissors to cut the sunboard into pieces for the drawer fronts, sides, and backs. The size will depend on your design.
- Attach drawer pulls to the front of each drawer using adhesive.
Add the Side Panel


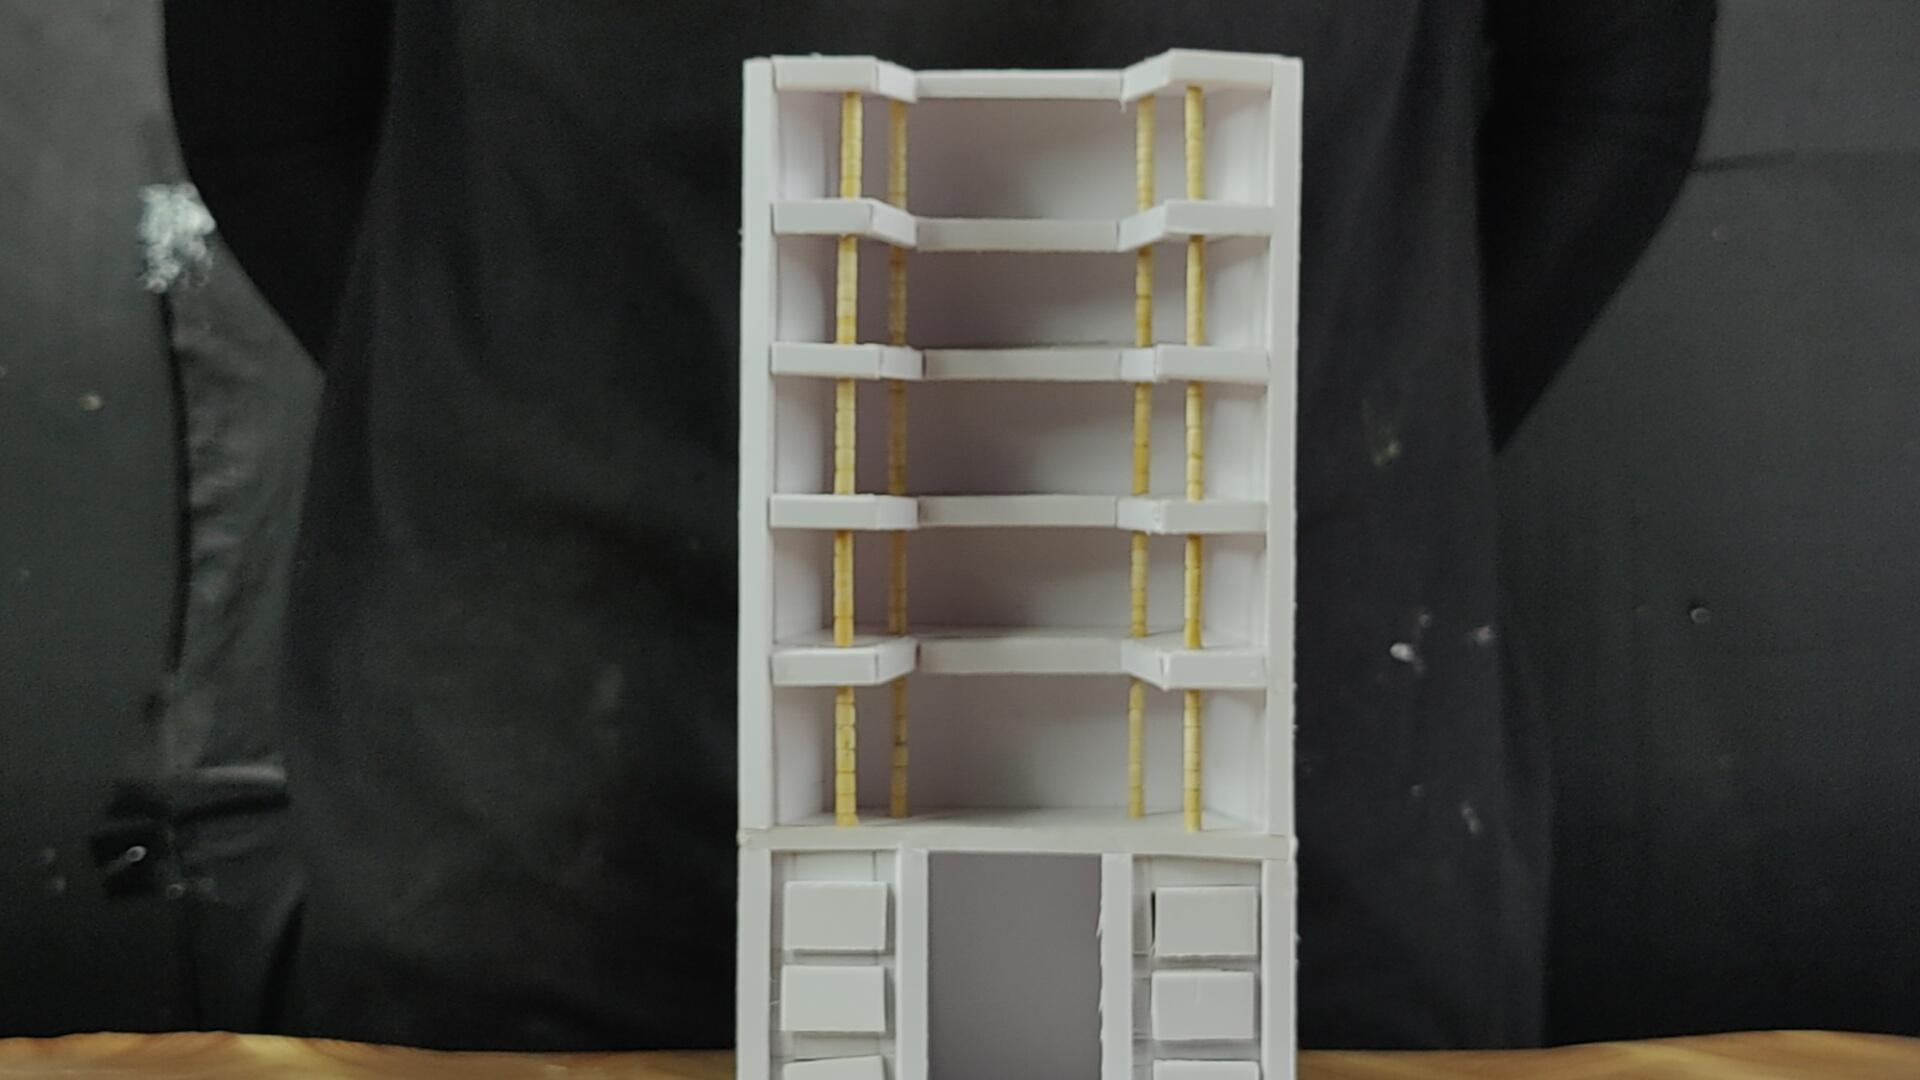
- Measure and cut the sunboard to it's desired height and width for the side panels.
- Position the side panels against the sides of the bookshelf structure.
- Use a strong adhesive to attach the side panels to the shelves and sides of the bookshelf.
- Press firmly and hold in place until the adhesive sets.
- Ensure the side panels are aligned properly with the edges of the shelves and sides of the bookshelf.
Create the Books


- Cut small rectangles of sunboard to serve as your miniature books.
- Fold the paper rectangles in half to create a cook cover. Crease the fold well to make the pages lay flat.
- Place the folded paper onto the sunboard cover, aligning the crease with the edge of the cover.
- Press down gently to adhere the pages to the cover
- Finally colour the covers of the booklets.
Making the Chair


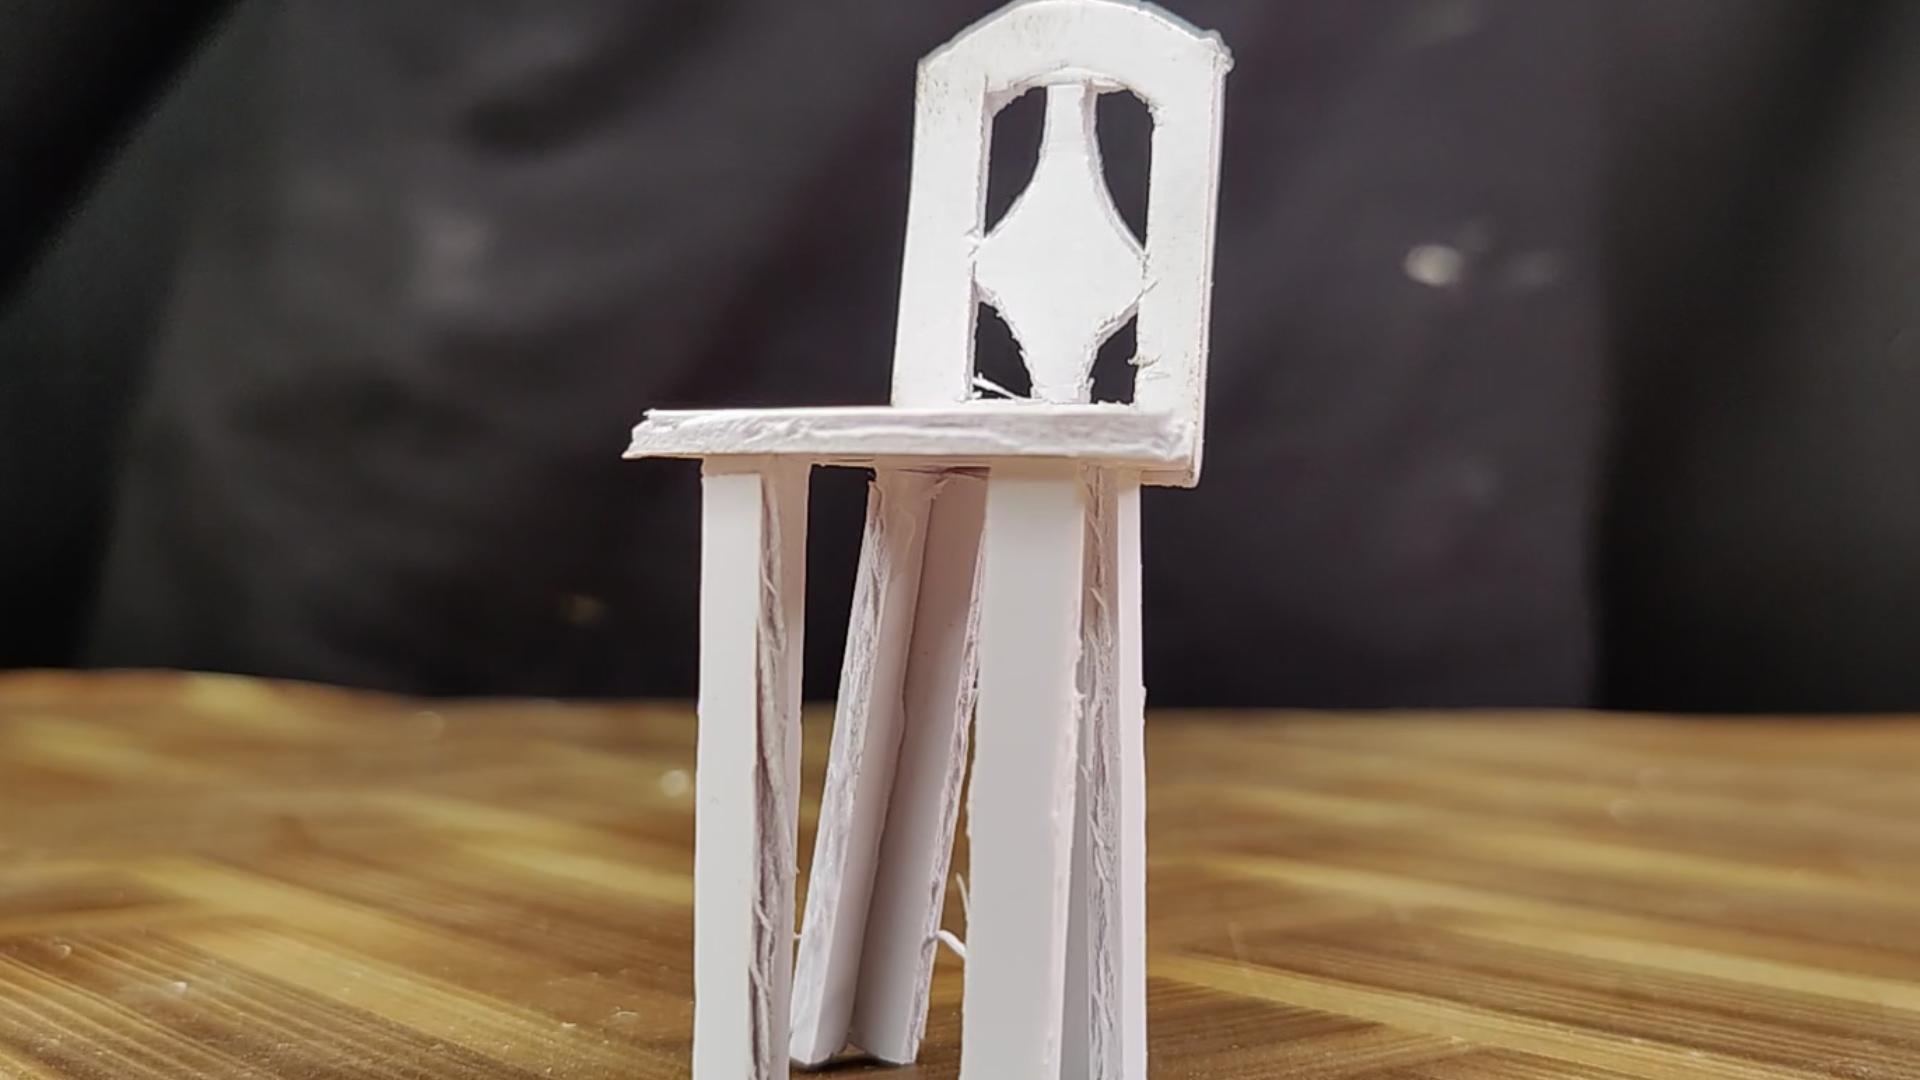


- Decide on the size and style of your chair. You can sketch a basic design on paper.
- Use a craft knife or scissors to cut the sunboard into pieces according to your design.
- You'll need pieces for the seat, backrest, legs, and other parts of the chair.
- Attach the legs to the seat using strong adhesive. Ensure they are evenly spaced and aligned properly.
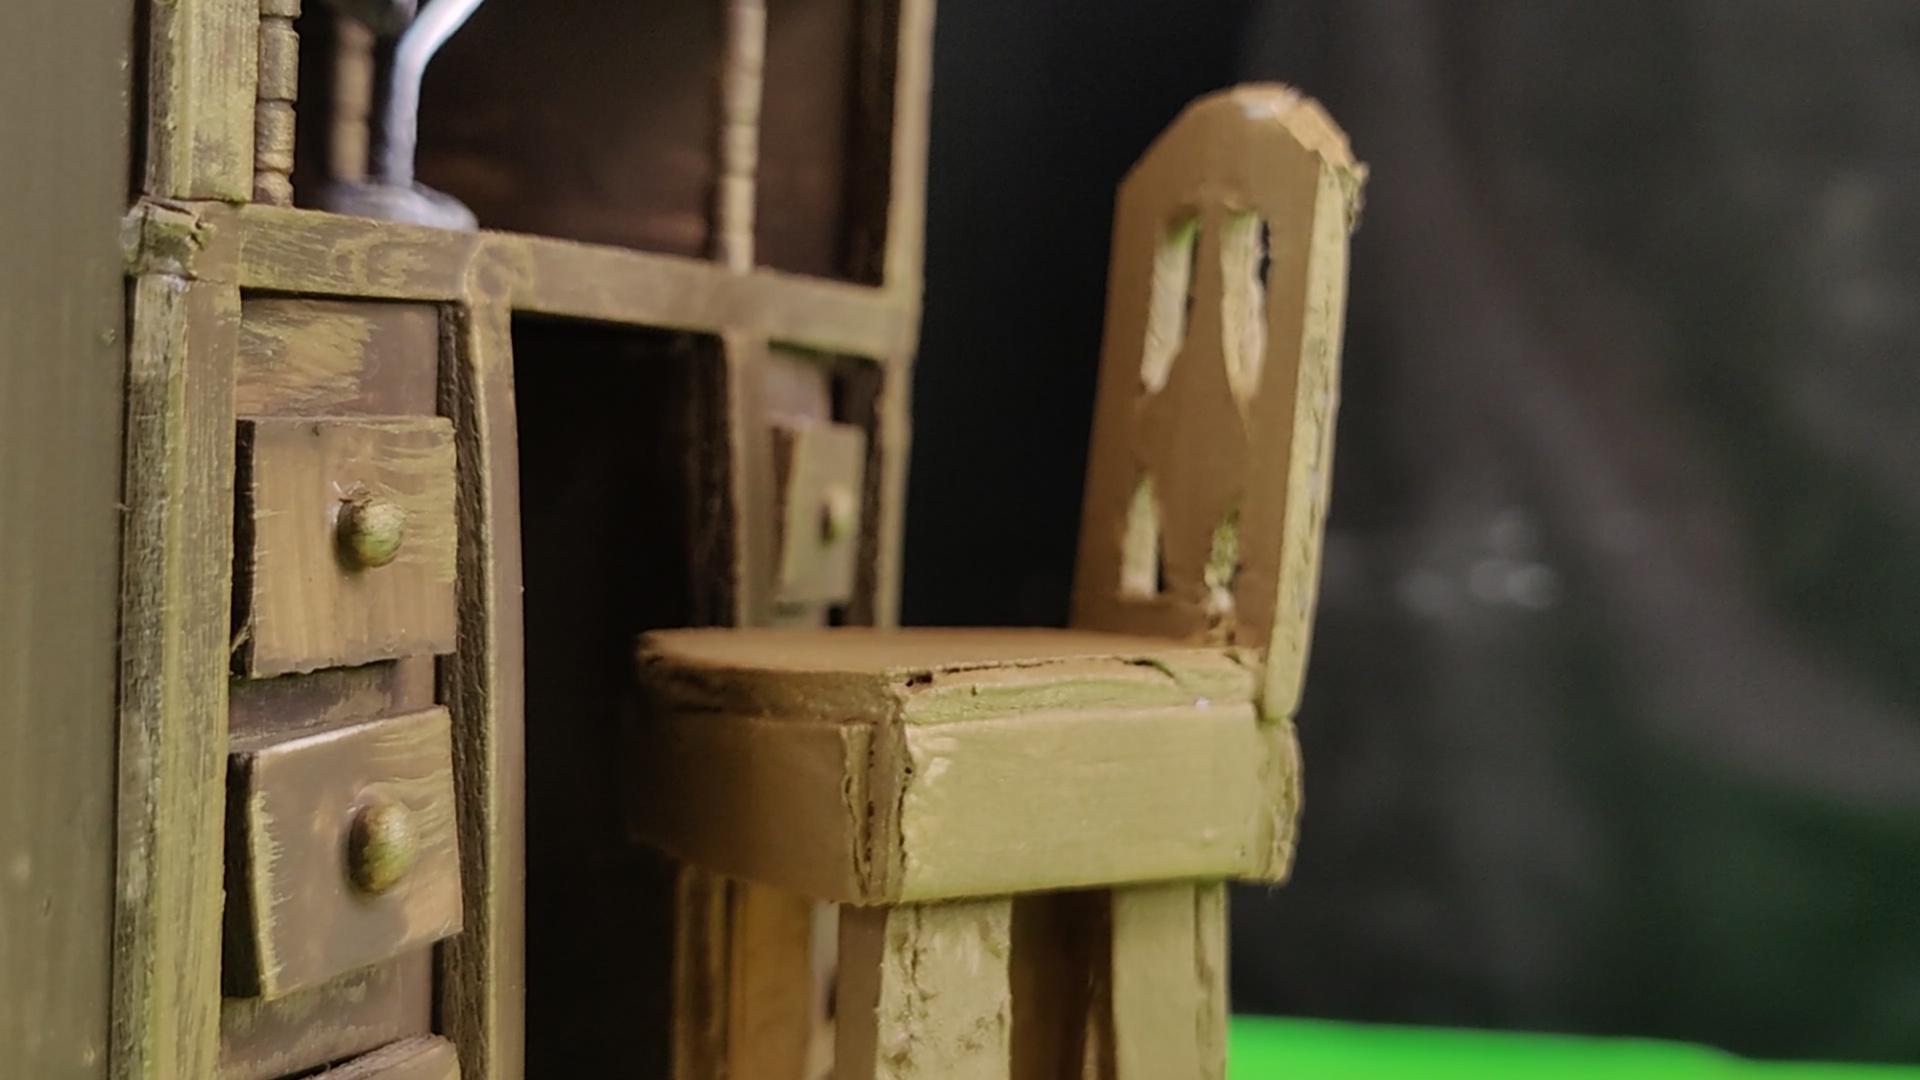
- Lastly colour the chair.
Paint the Shelf


- Cover your work surface with newspaper or a plastic sheet to protect it from paint spills.
- Select the acrylic paint colors you want to use for the shelves.
- Use a small paintbrush to apply a thin, even coat of paint to the shelves. You may need to apply multiple coats for full coverage, allowing each coat to dry before applying the next.
Place the Books on the Shelf


Placing the miniature books on the shelves of your sunboard bookshelf can add a charming and realistic touch.
- Begin by arranging your miniature books on the shelves of the bookshelf. You can stack them horizontally or stand them upright.
- Position the books so that they are evenly spaced and aligned on the shelves. You can vary the placement and orientation of the books to create a more realistic look.
- If you want to ensure that the books stay in place, you can use a small amount of strong adhesive to attach them to the shelves.
The Final Outcome
.jpg)

The final outcome of your miniature bookshelf with painted shelves and miniature books placed on them would be a charming and realistic addition to your miniature scene. Placing the books on the shelves in a varied and realistic manner can create a sense of depth and life in your miniature display. Overall, the final outcome would be a delightful miniature bookshelf that enhances the overall aesthetic of your miniature world.