DIY Mini Christmas Tree - Gift for the Young Makers at Home
by CJA3D in Living > Christmas
3992 Views, 49 Favorites, 0 Comments
DIY Mini Christmas Tree - Gift for the Young Makers at Home
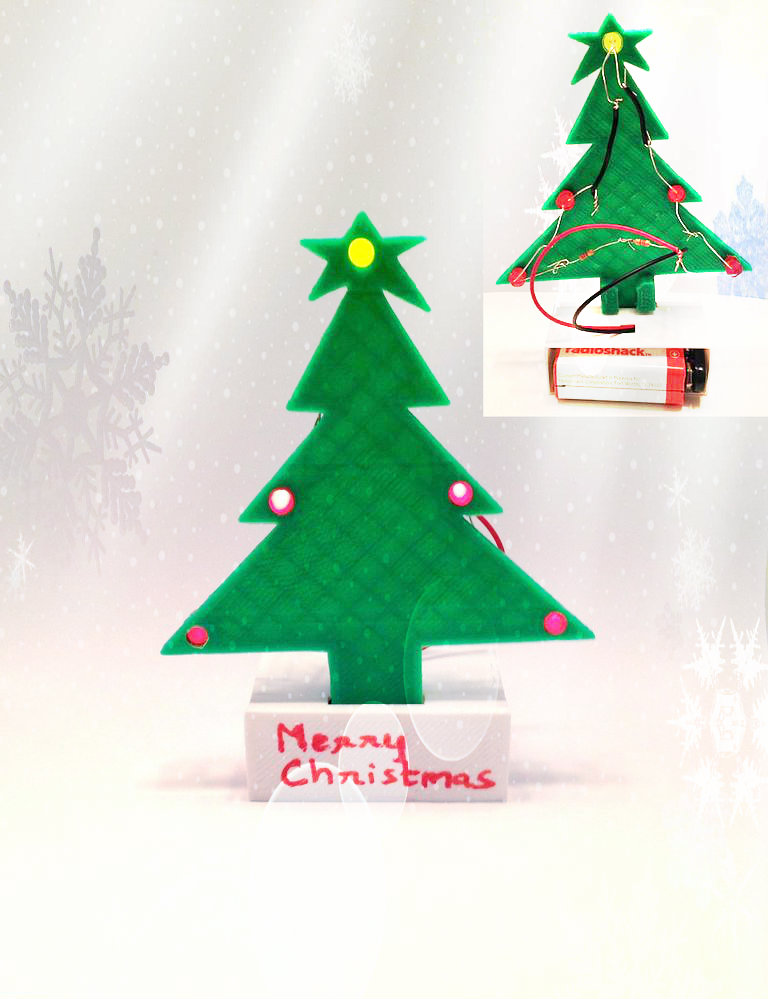

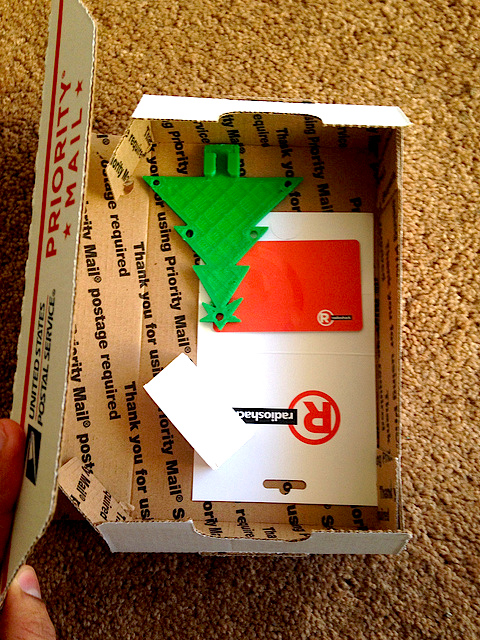
Gift the young makers in your family a 3D printed Christmas tree with a RadioShack gift card .I sent out the 3D printed parts to a couple of my cousins and friends who have kids between the age group of 11-15 year and a Radioshack gift card with circuit diagram and instruction to assemble the tree, hoping that this would generate some interest.
Now if you’re on this page and looking for a last minute décor item get to your local Radioshack and buy the electronic components listed in Step 1 and 3D print the STL files attached in Step2.
Here are the places that I could think of that you can place the Mimi Christmas tree
- Study table
- Your work area
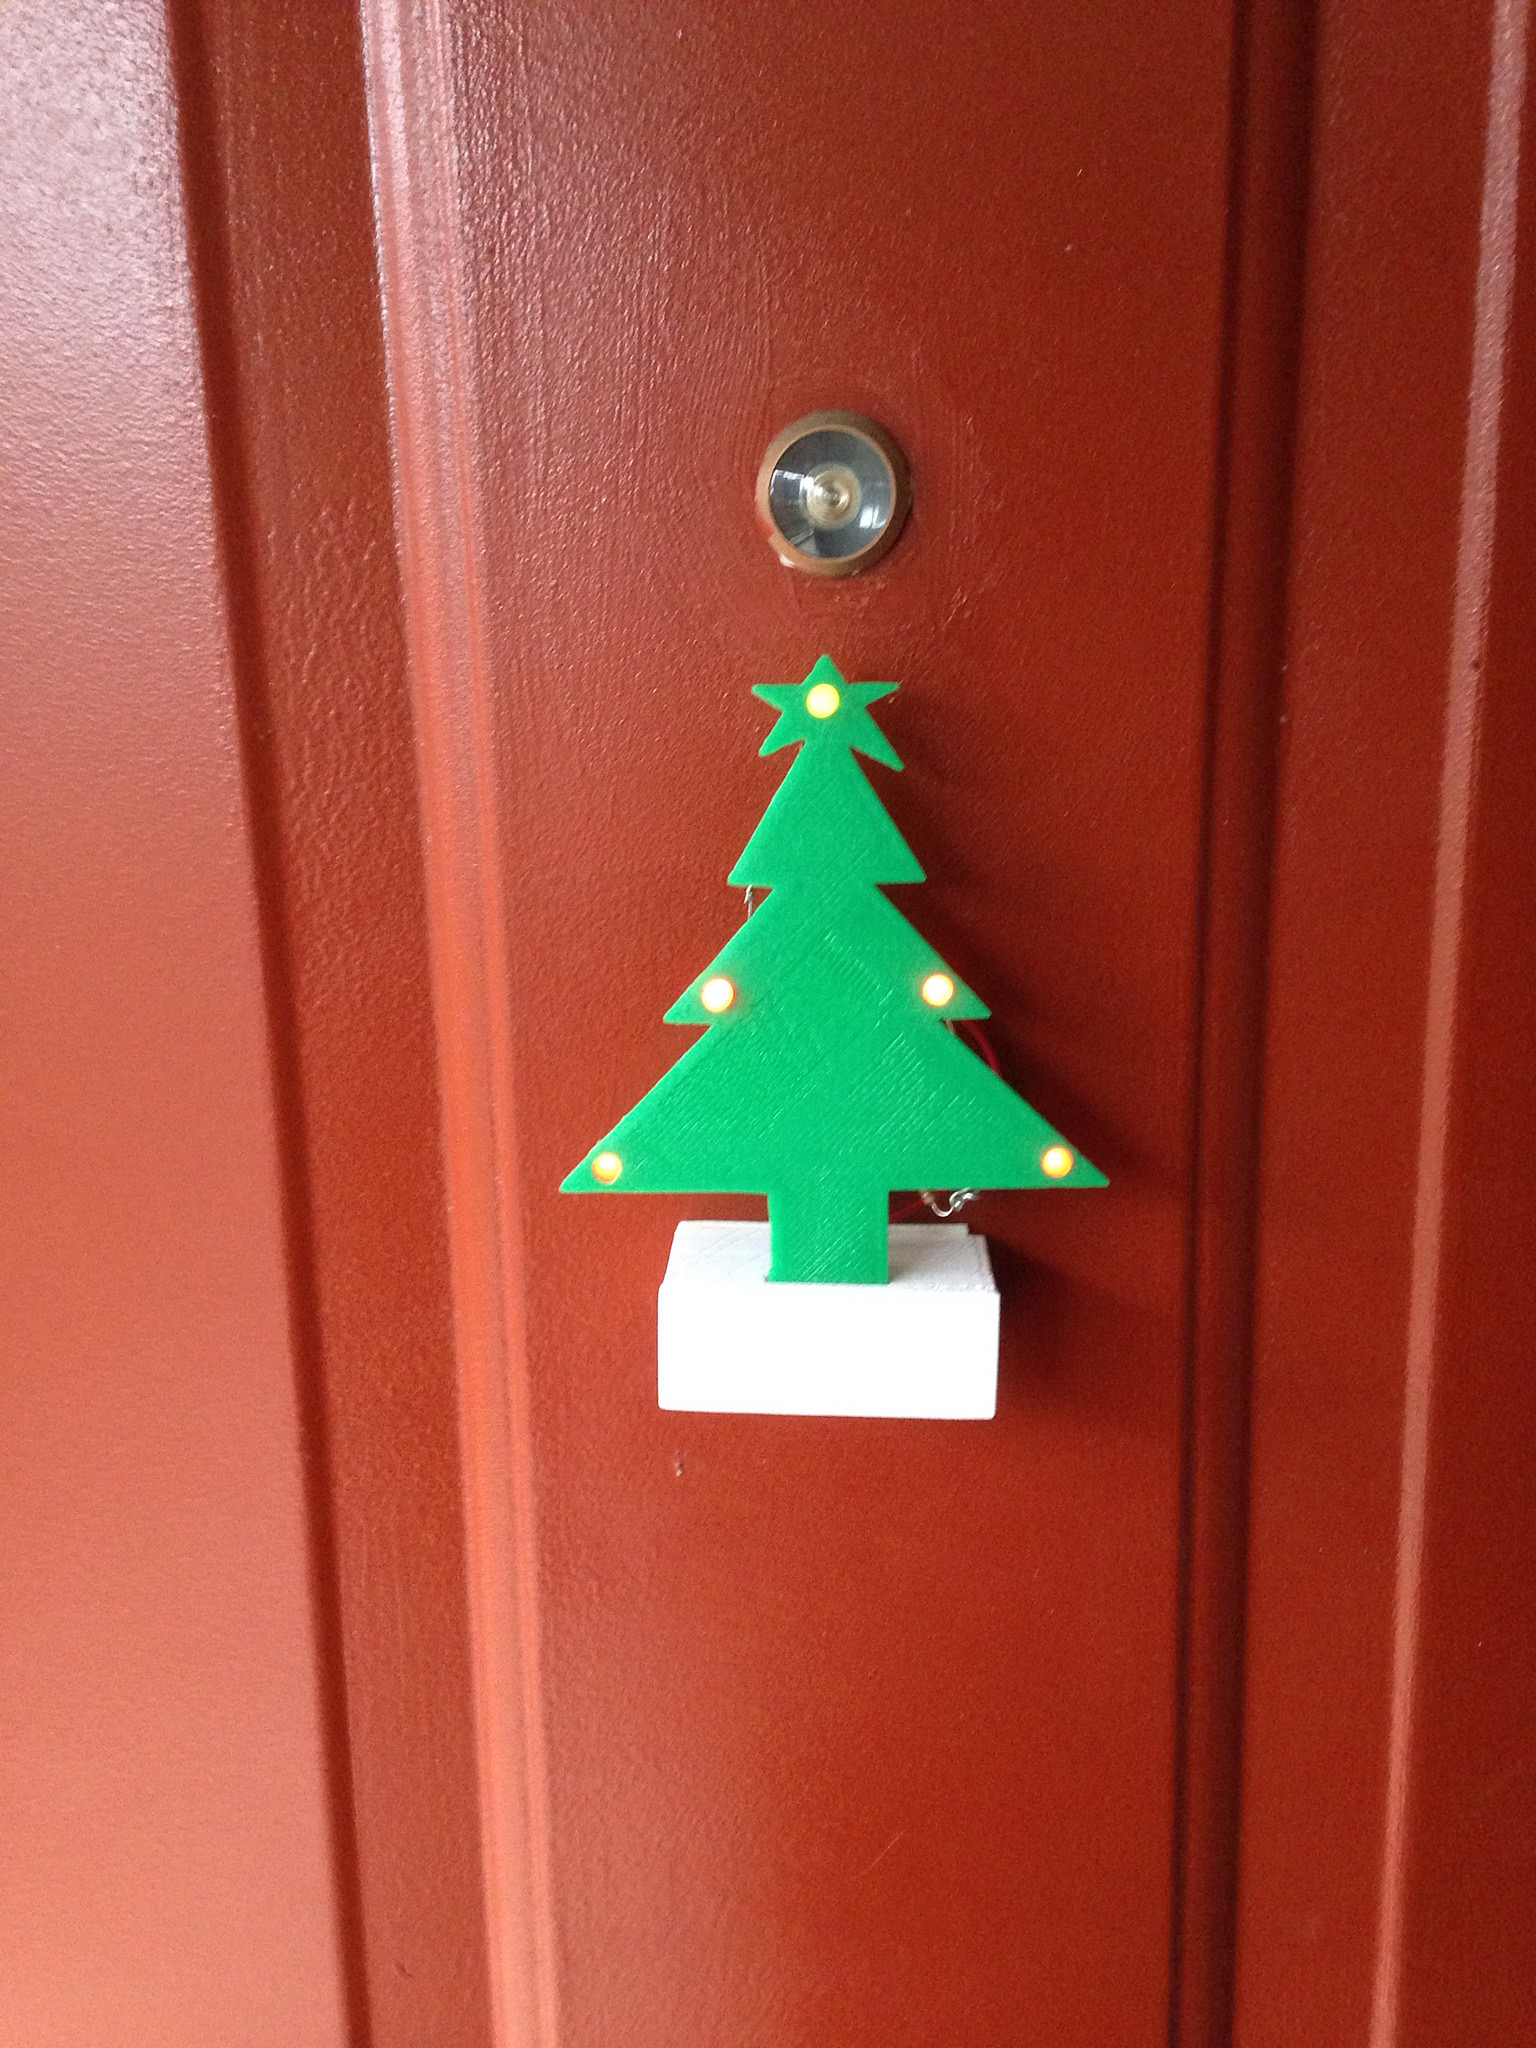
- Front door décor just below peephole
- At the side of your work Monitor
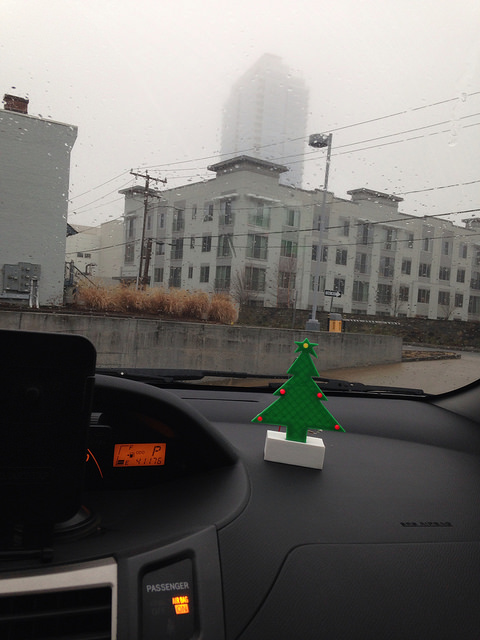
- On your car dash using double stick foam tape
Electronic Components You’ll Need
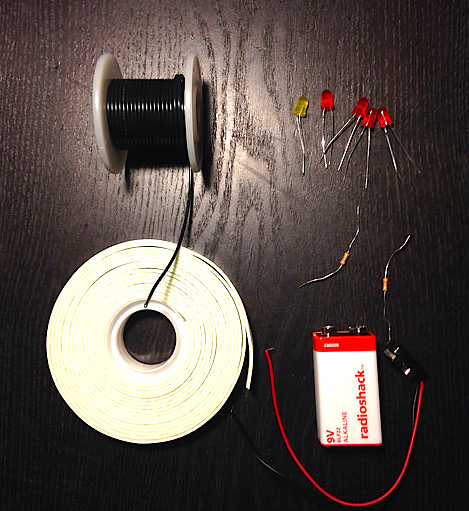
Here are the list of items that you'll need to add LED's to the 3D printed part.If you plan on sending out a Radioshack gift card you will need a minimum of 15$.
Double side Foam tape, depending on where you want to place the Tree
3D Printing the Files Attached
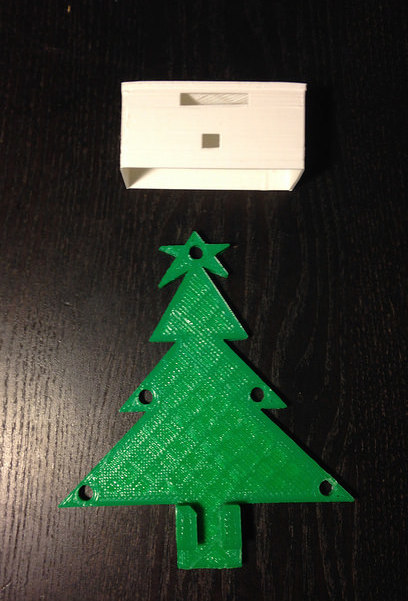
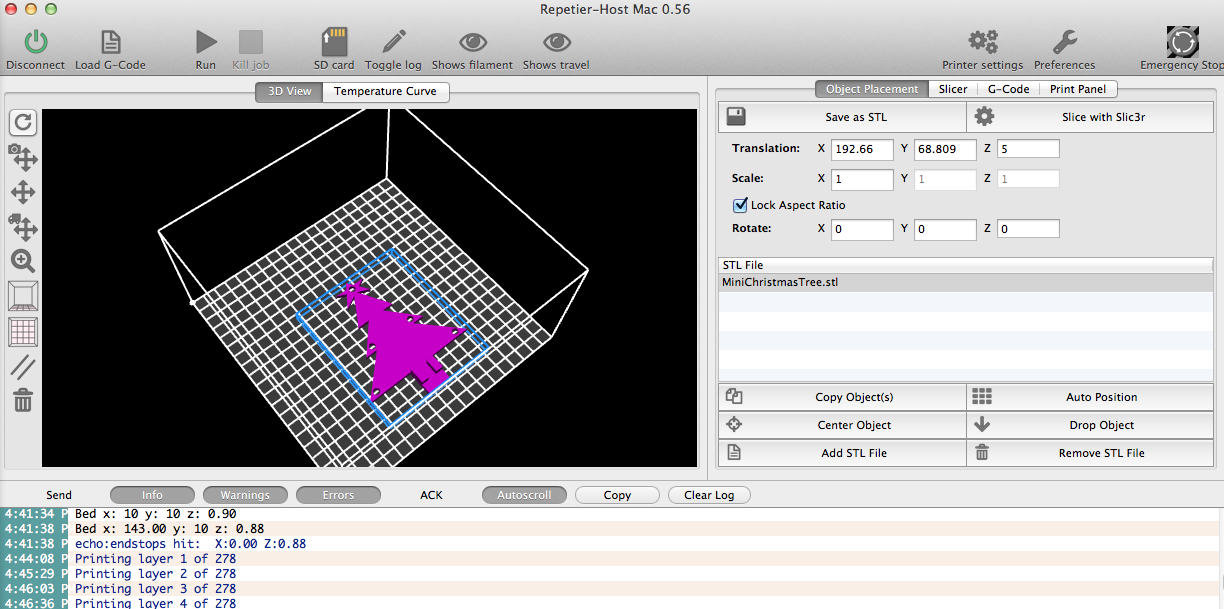
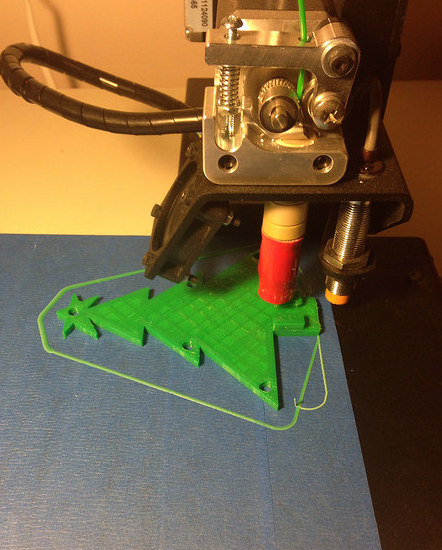
Download the 3D printing software that you printer supports, in my case I am using the Printrbot Simple Metal which use Repetier-Host as a software to
- Slice the STL files attached, which basically means cutting the part into various layers
- And send commands to the 3D printer while printing
Depending on your printer and it's setting
- MiniTree.stl file should take about 35-40 minutes to print
- BatteryBaseBox.stl should take about 25-30 minutes to print
Adding LED’s to the 3D Printed Tree Part
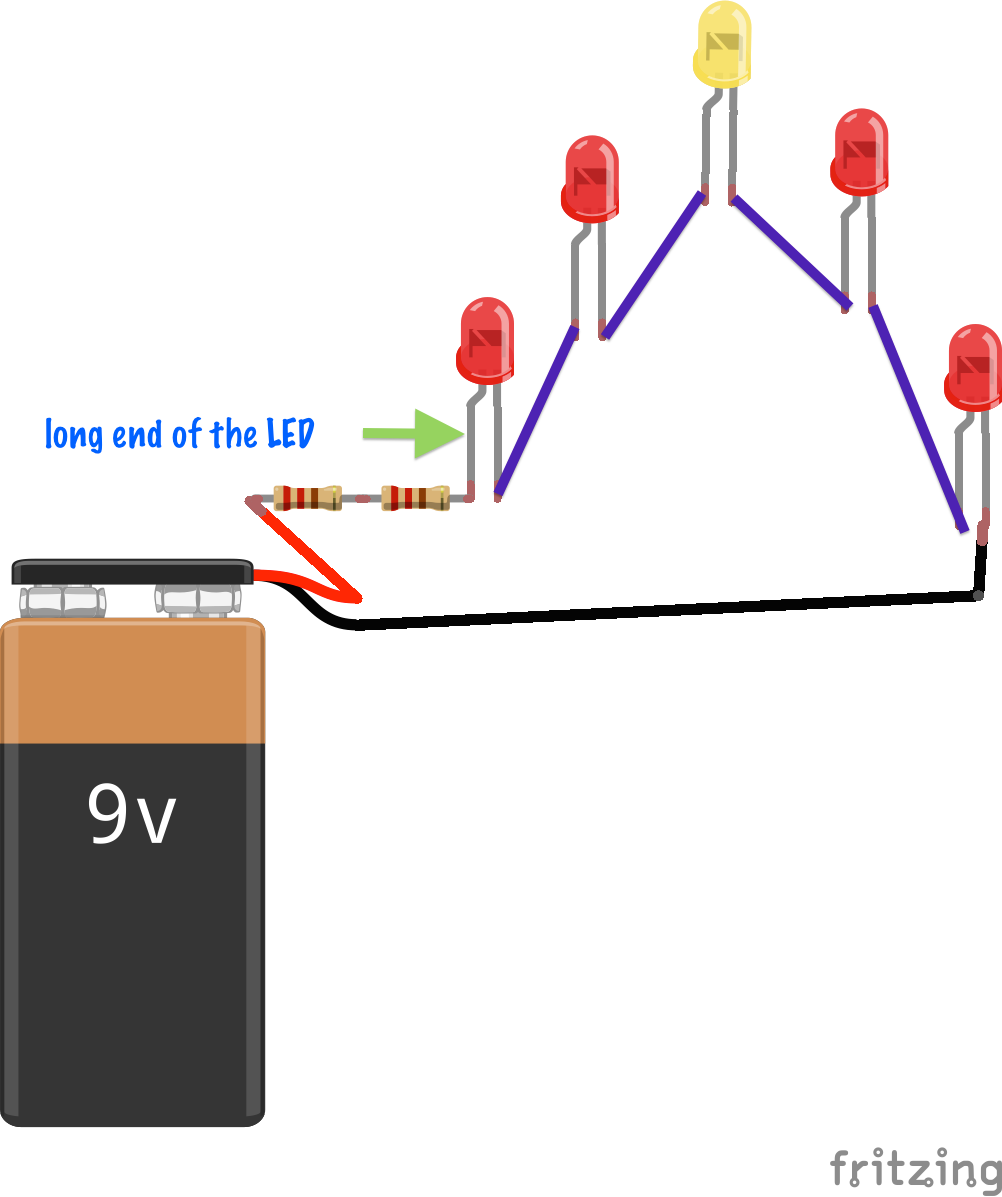
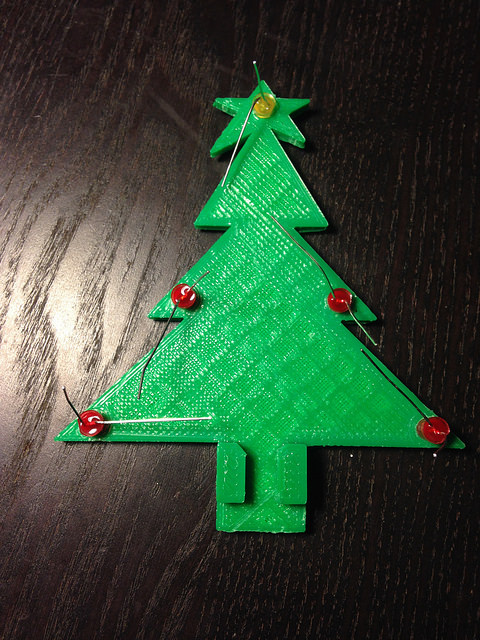
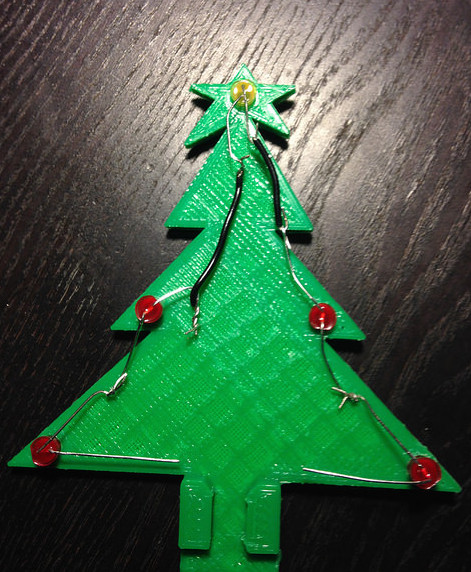
Press the LED's in the 3D printed Tree part and follow the circuit diagram attached.
Twist the LED ends again, connect the longer end of one LED to the shorter end of another LED.
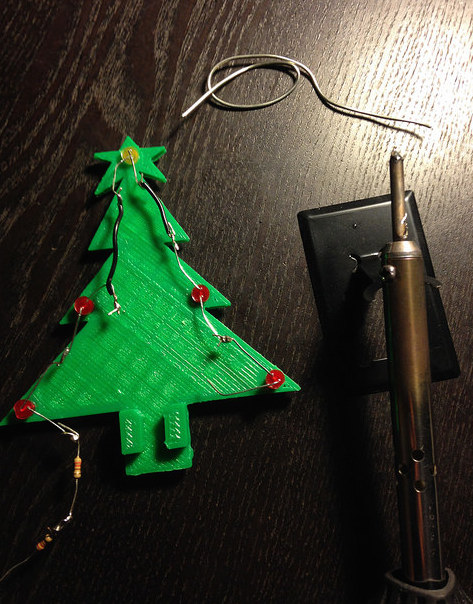
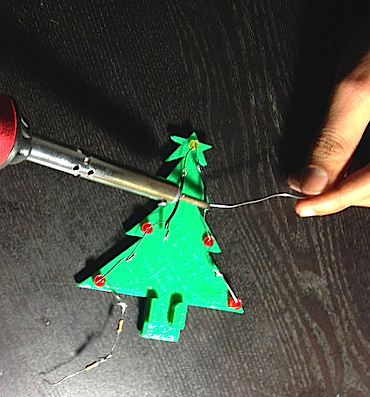
Use the Solder and a Soldering iron if you are comfortable using it to secure the joints.
Adding the Battery to the Base
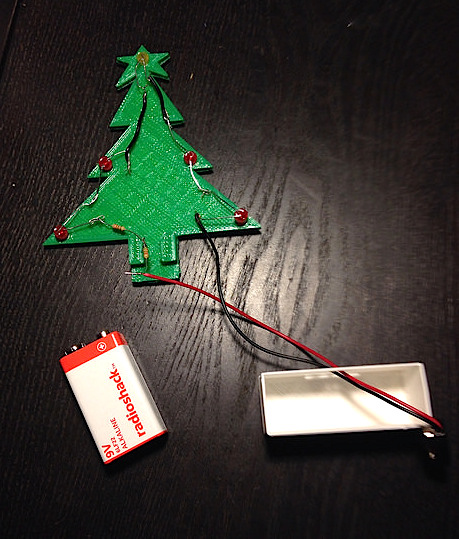
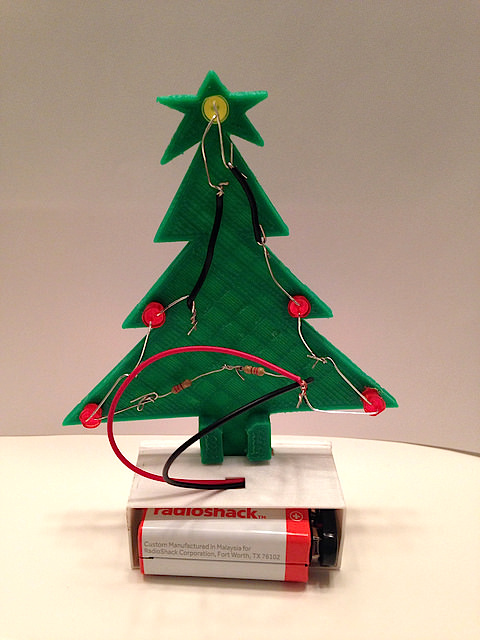
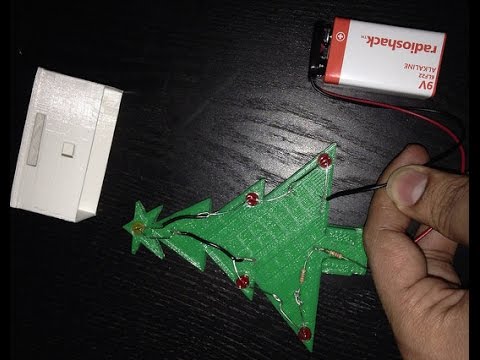
Now add the 9V battery to the base
Twist the two 220 ohms resistors together and connect it to the +ve terminal of the battery
Connect the -ve terminal of the battery to the shorter end of the LED's
Now twist the other end of the resistor and connect it to the long end of the LED's.
You should see the LED's glow!
Use double sided foam tape if you plan to stick the tree to a surface.
Soldering
.jpg)
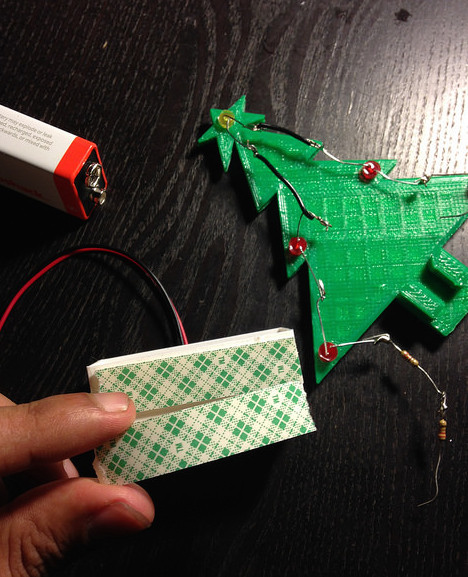
Now if you plan to put the Tree on your Car dash for the Holiday season, it would be a good idea to solder the components together as shown in the picture above(Note: Please ensure that this is not a distraction to the driver)
In addition use double stick foam tape to the bottom of the battery 3D printed part and you are good to go..