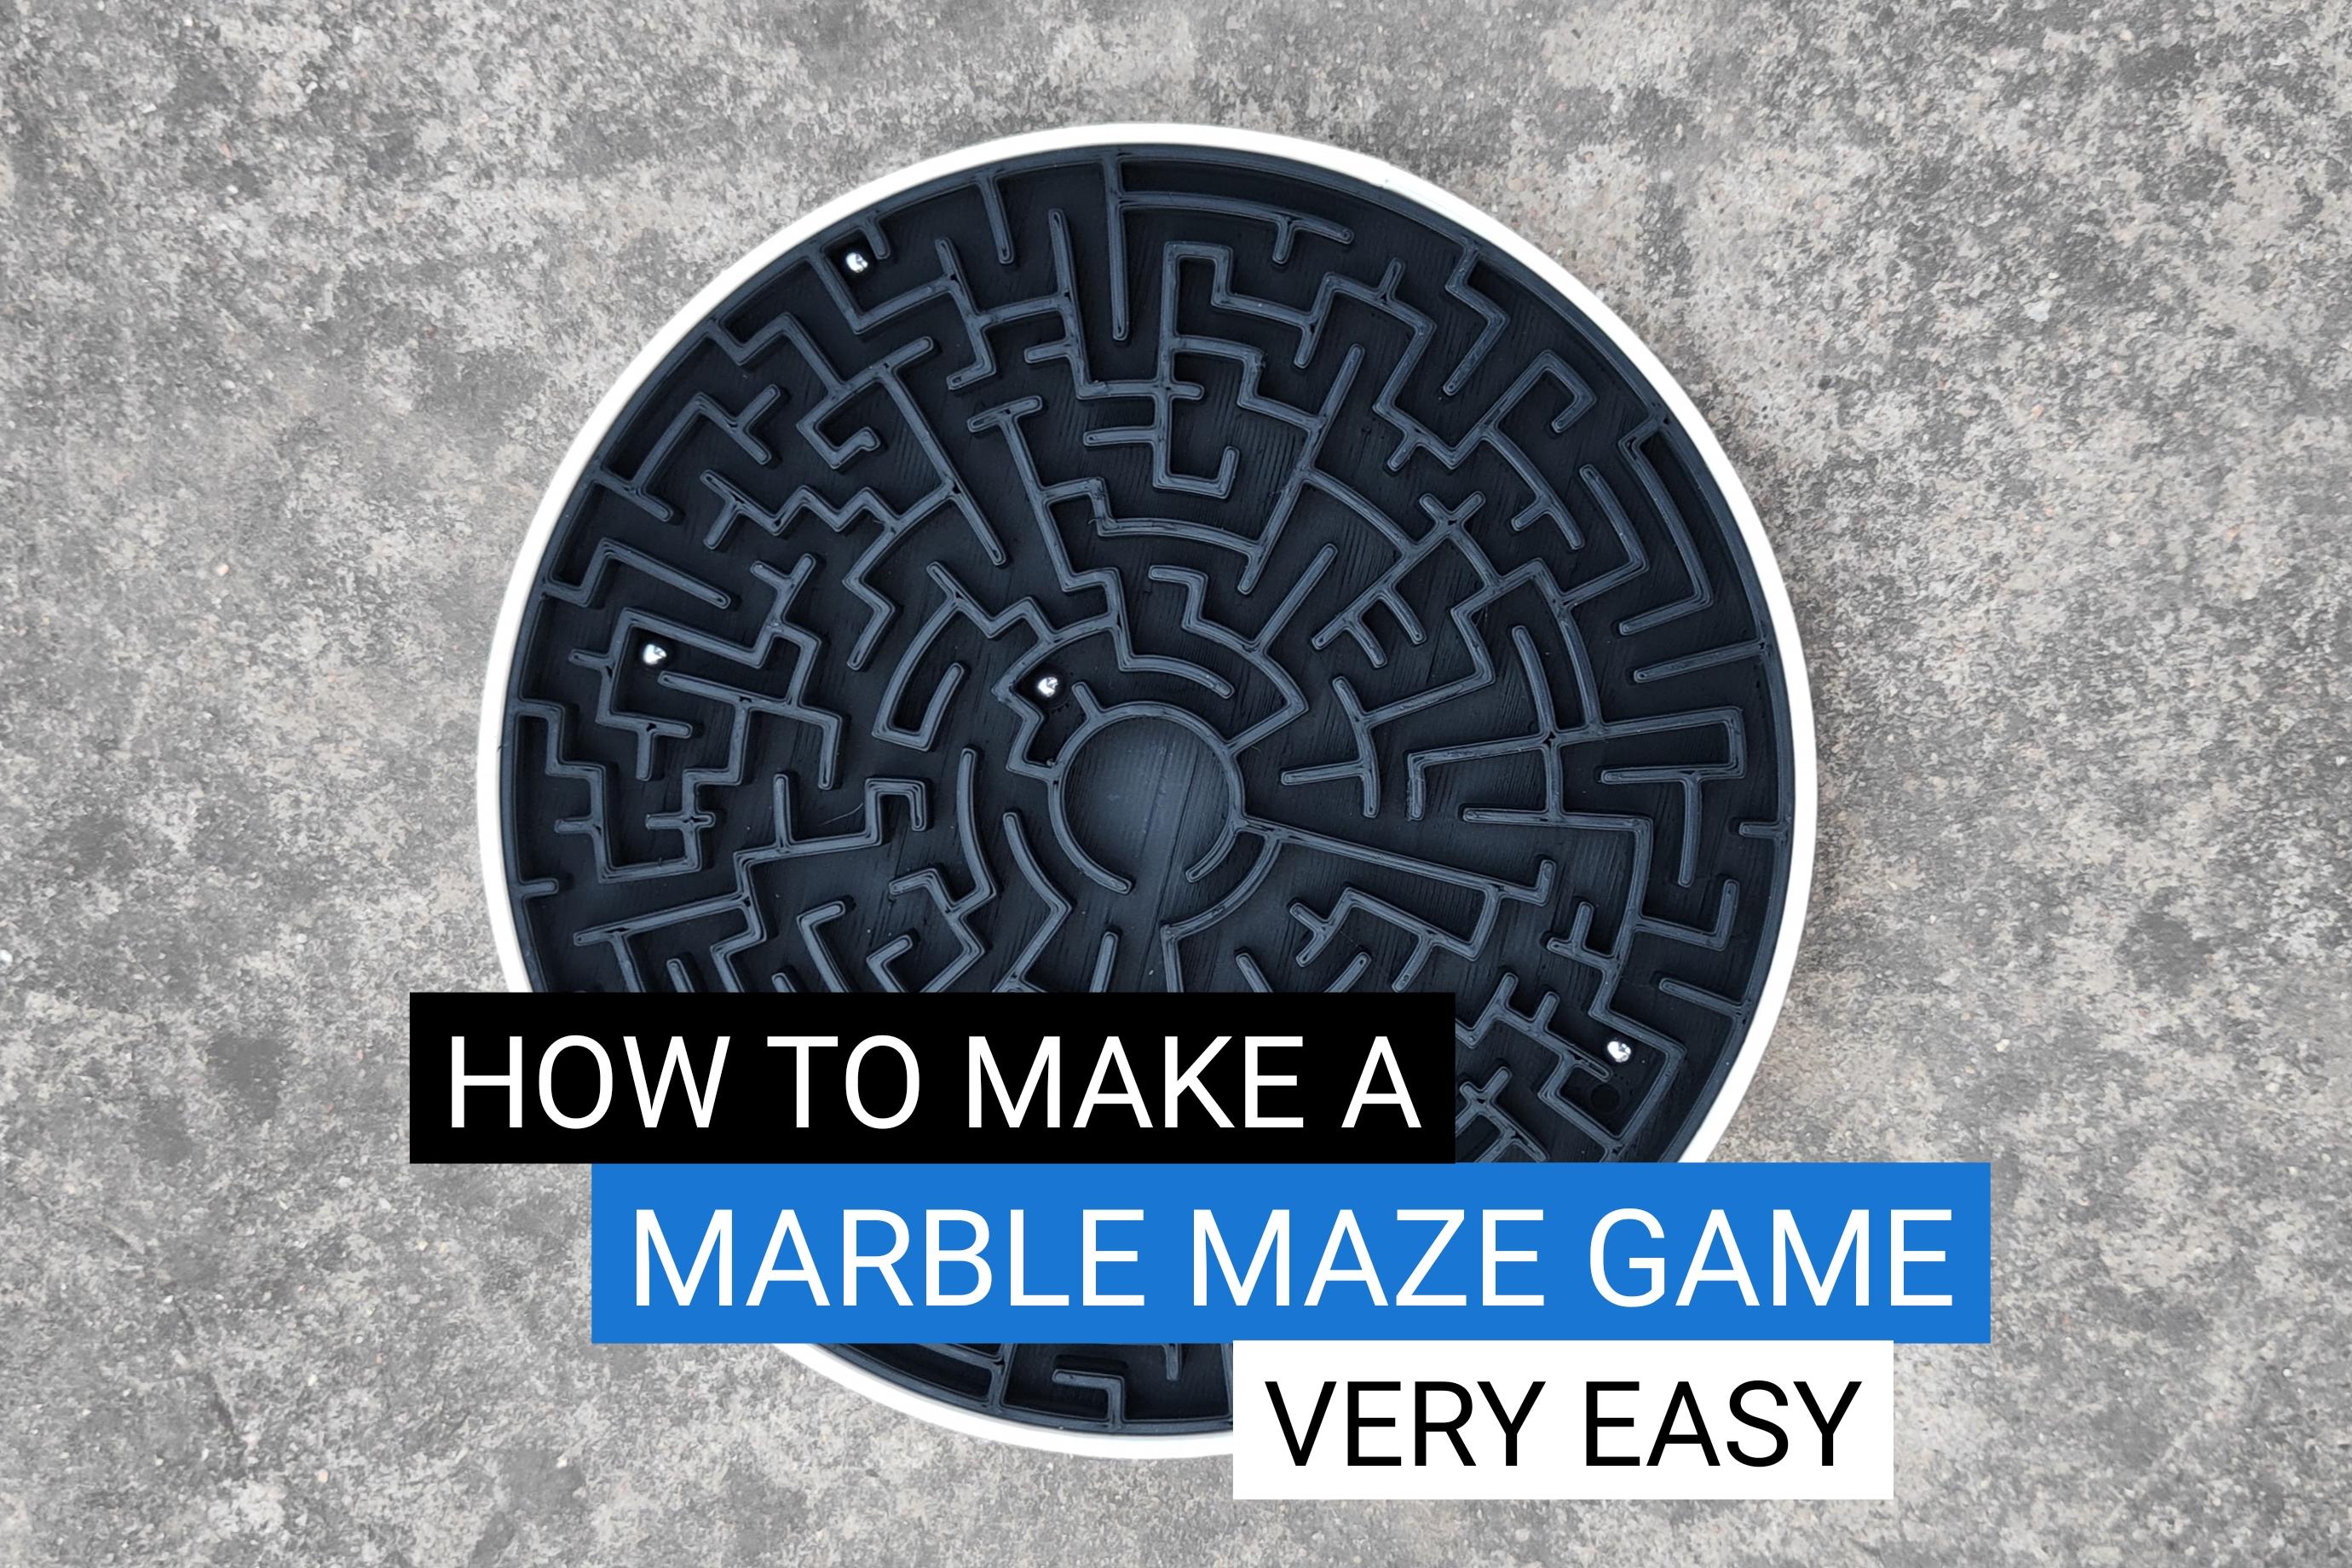
DIY MARBLE MAZE GAME
Introduction:
Welcome to the world of DIY marble mazes! In this guide, we'll take you through step-by-step instructions on how to create your very own marble maze game using Fusion 360, 3D printing, and some creative crafting. Get ready for hours of fun and challenge as you navigate the twists and turns of your custom maze.
Supplies
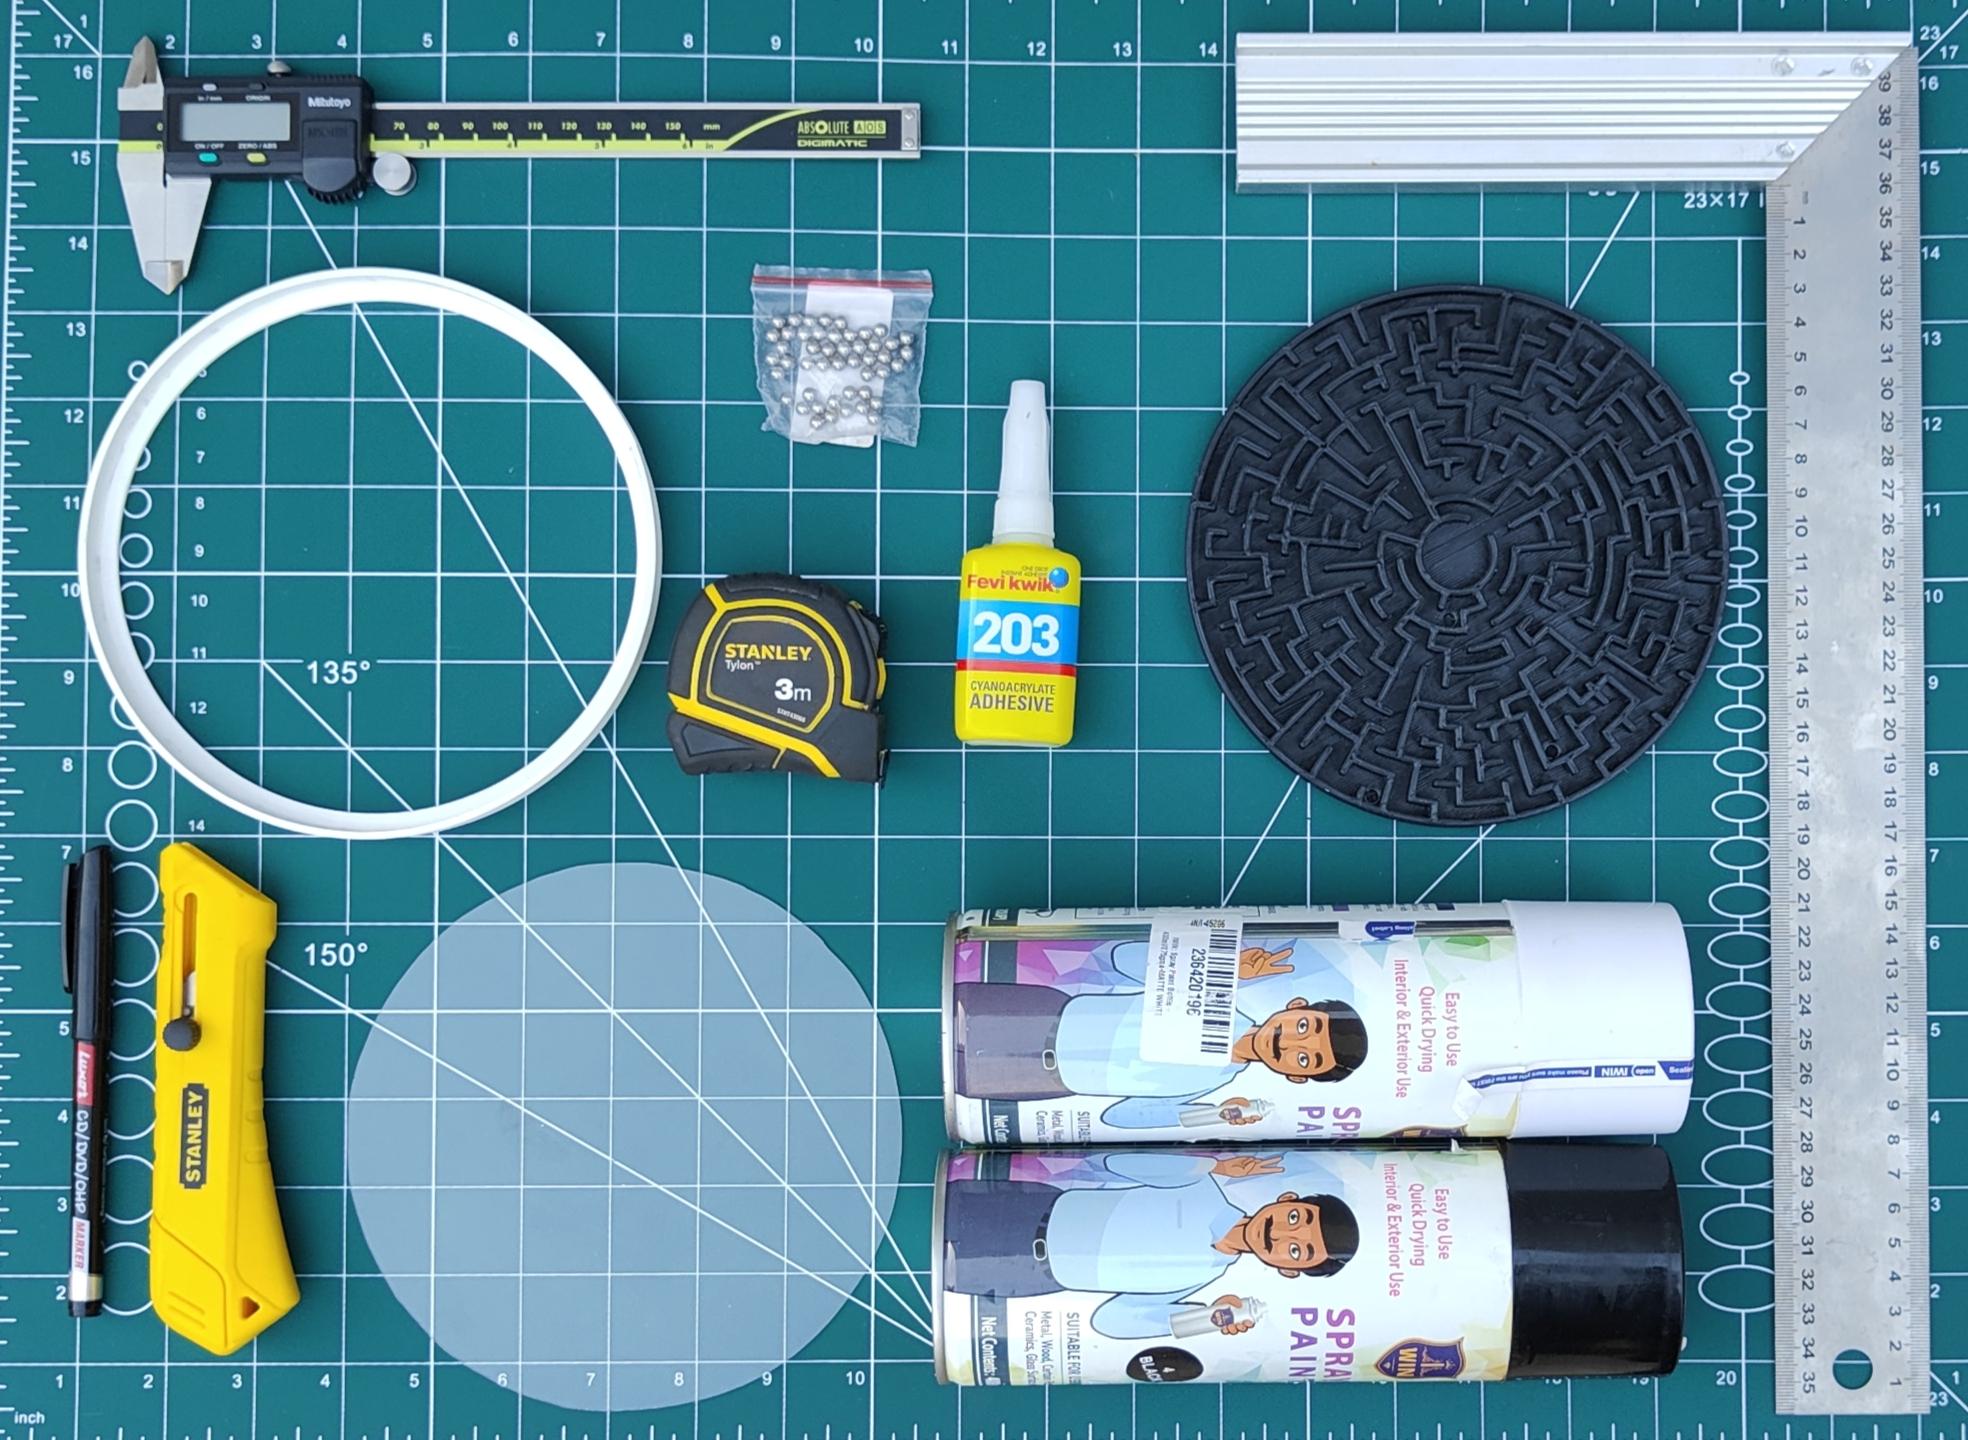
COMPONENTS:-
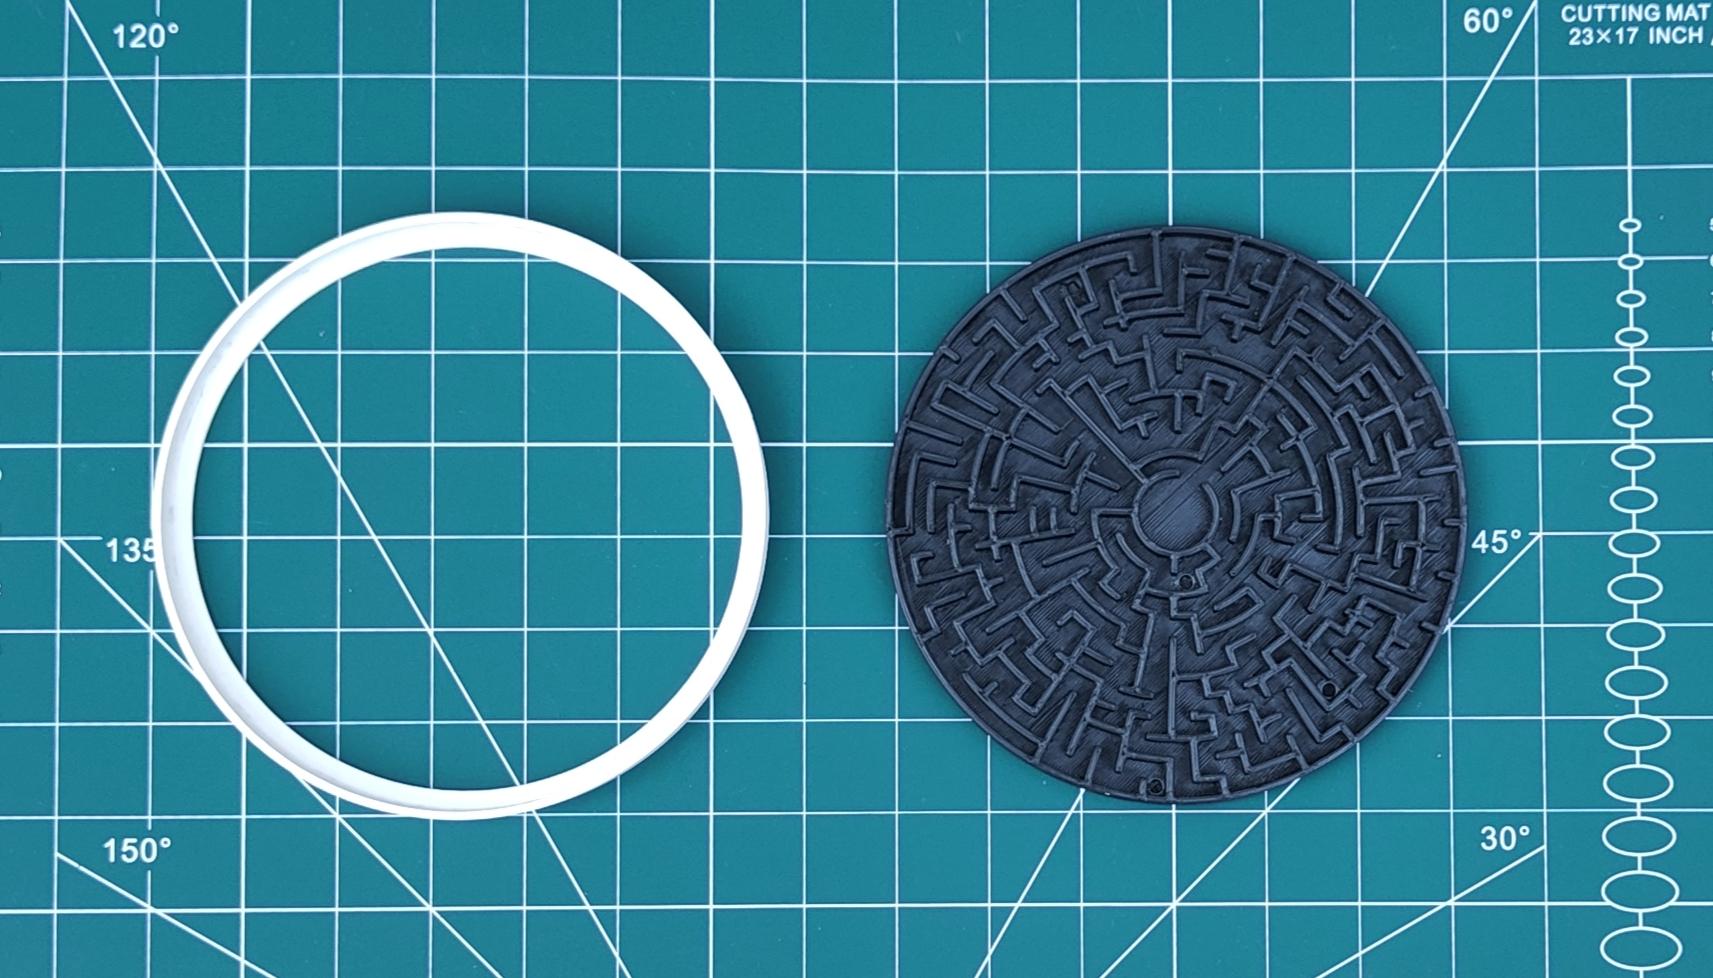
- 1* Acrylic sheet [16cm×16cm] (round)
- 1* Metal Marble [3mm]
- 1* Super glue
- 1* Black spray paint
- 1* white spray paint
- 1* Marker
TOOLS:-
- 3D printer
- Sheet cutter
- Measuring tape or digital caliper
SOFTWARE:-
- Slicer
Modeling in Autodesk Fusion 360

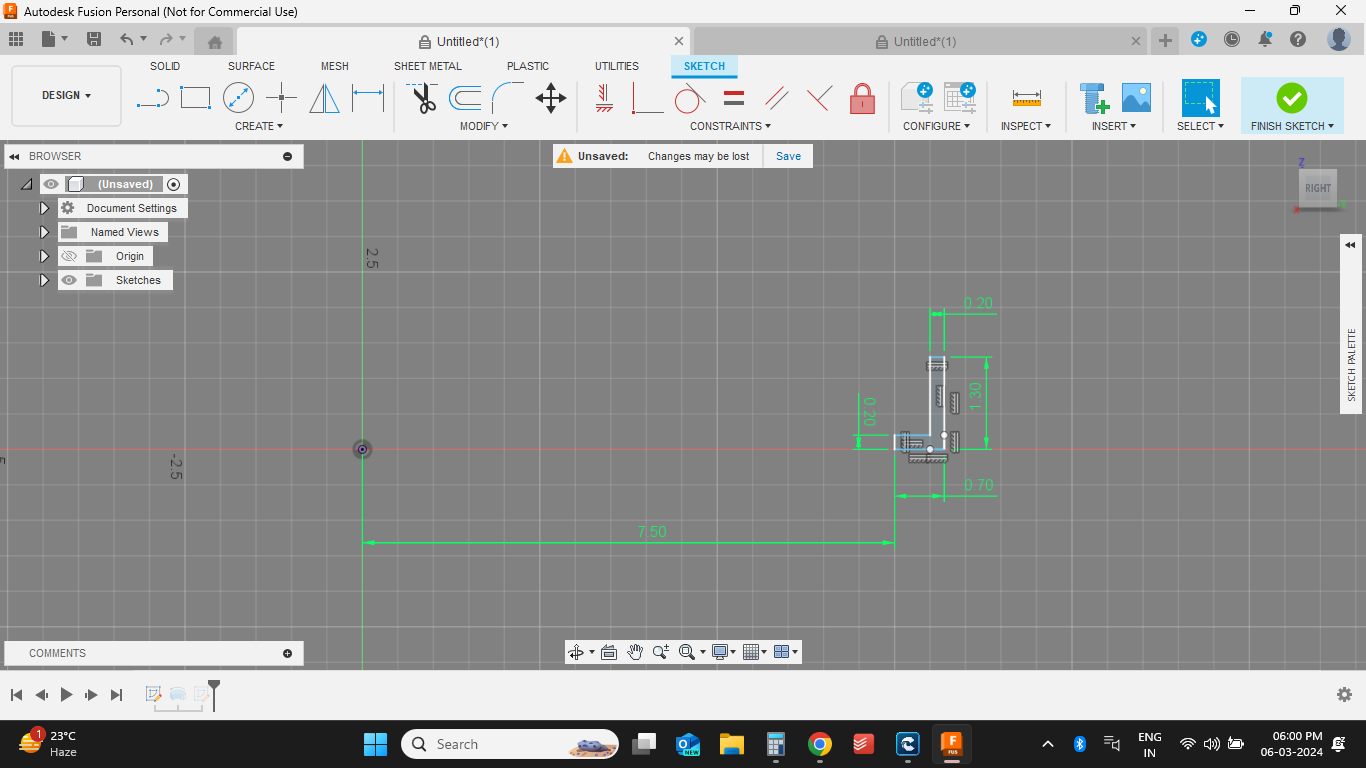
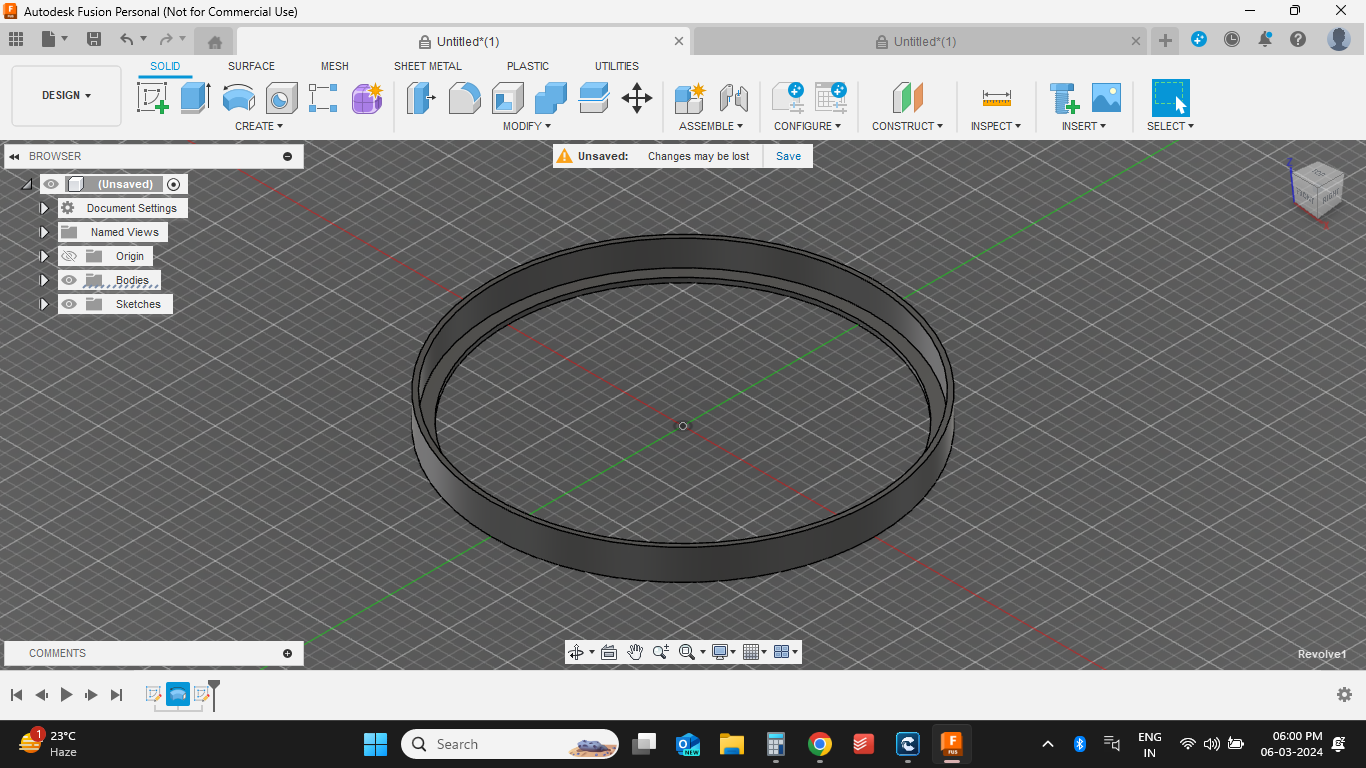
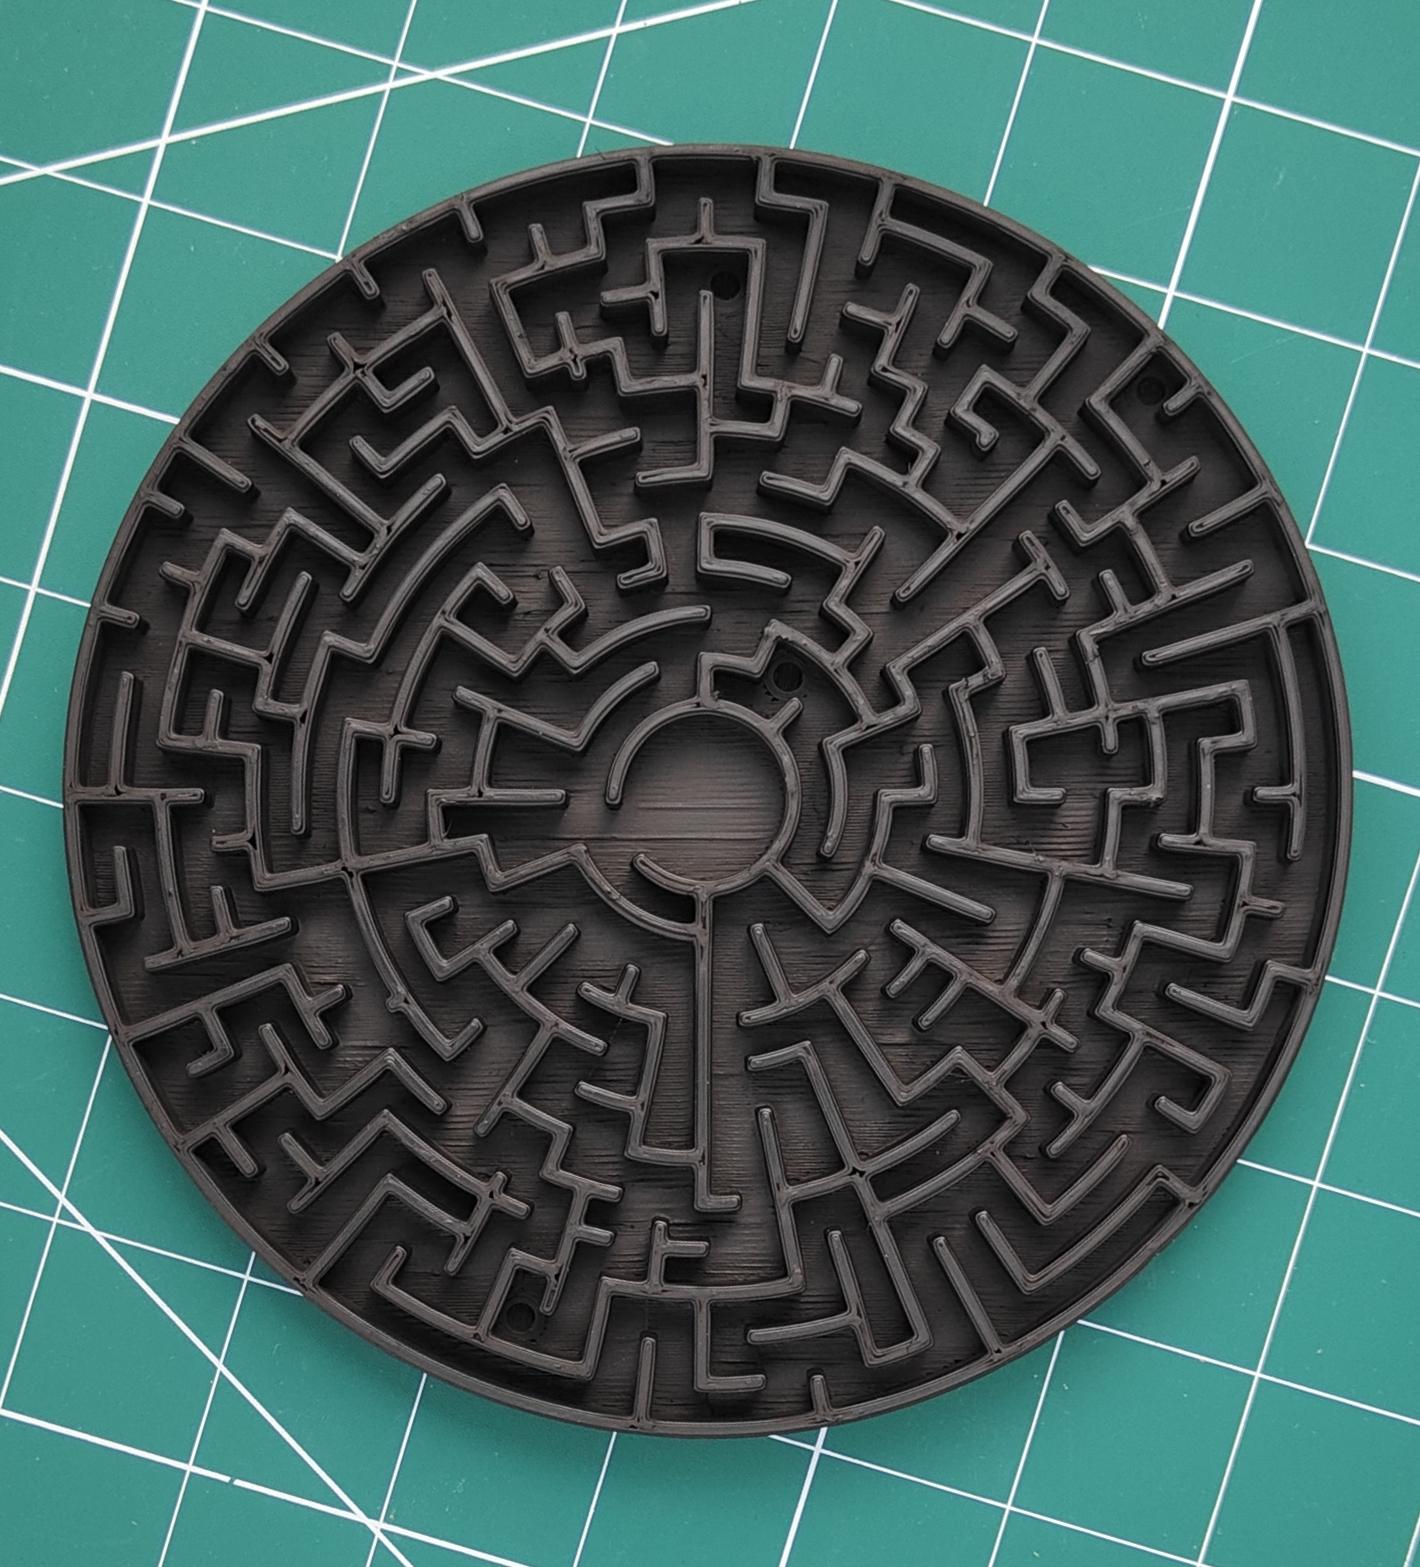
- Begin by designing the parts of your marble maze game. This includes creating the maze paths, walls, exit point, and ensuring the parts are sturdy enough to hold securely.
- Add features like covering or decorations for a personalized touch.
- Use Fusion 360's modeling capabilities to refine and optimize your designs for 3D printing.
- Once the designs are ready, export the parts as STL files.
STL files:-
3D Printing
- Load the STL files into your 3D printer software.
- Configure the printing settings (layer height, infill, etc.) for optimal print quality.
- Print both parts using your chosen filament.
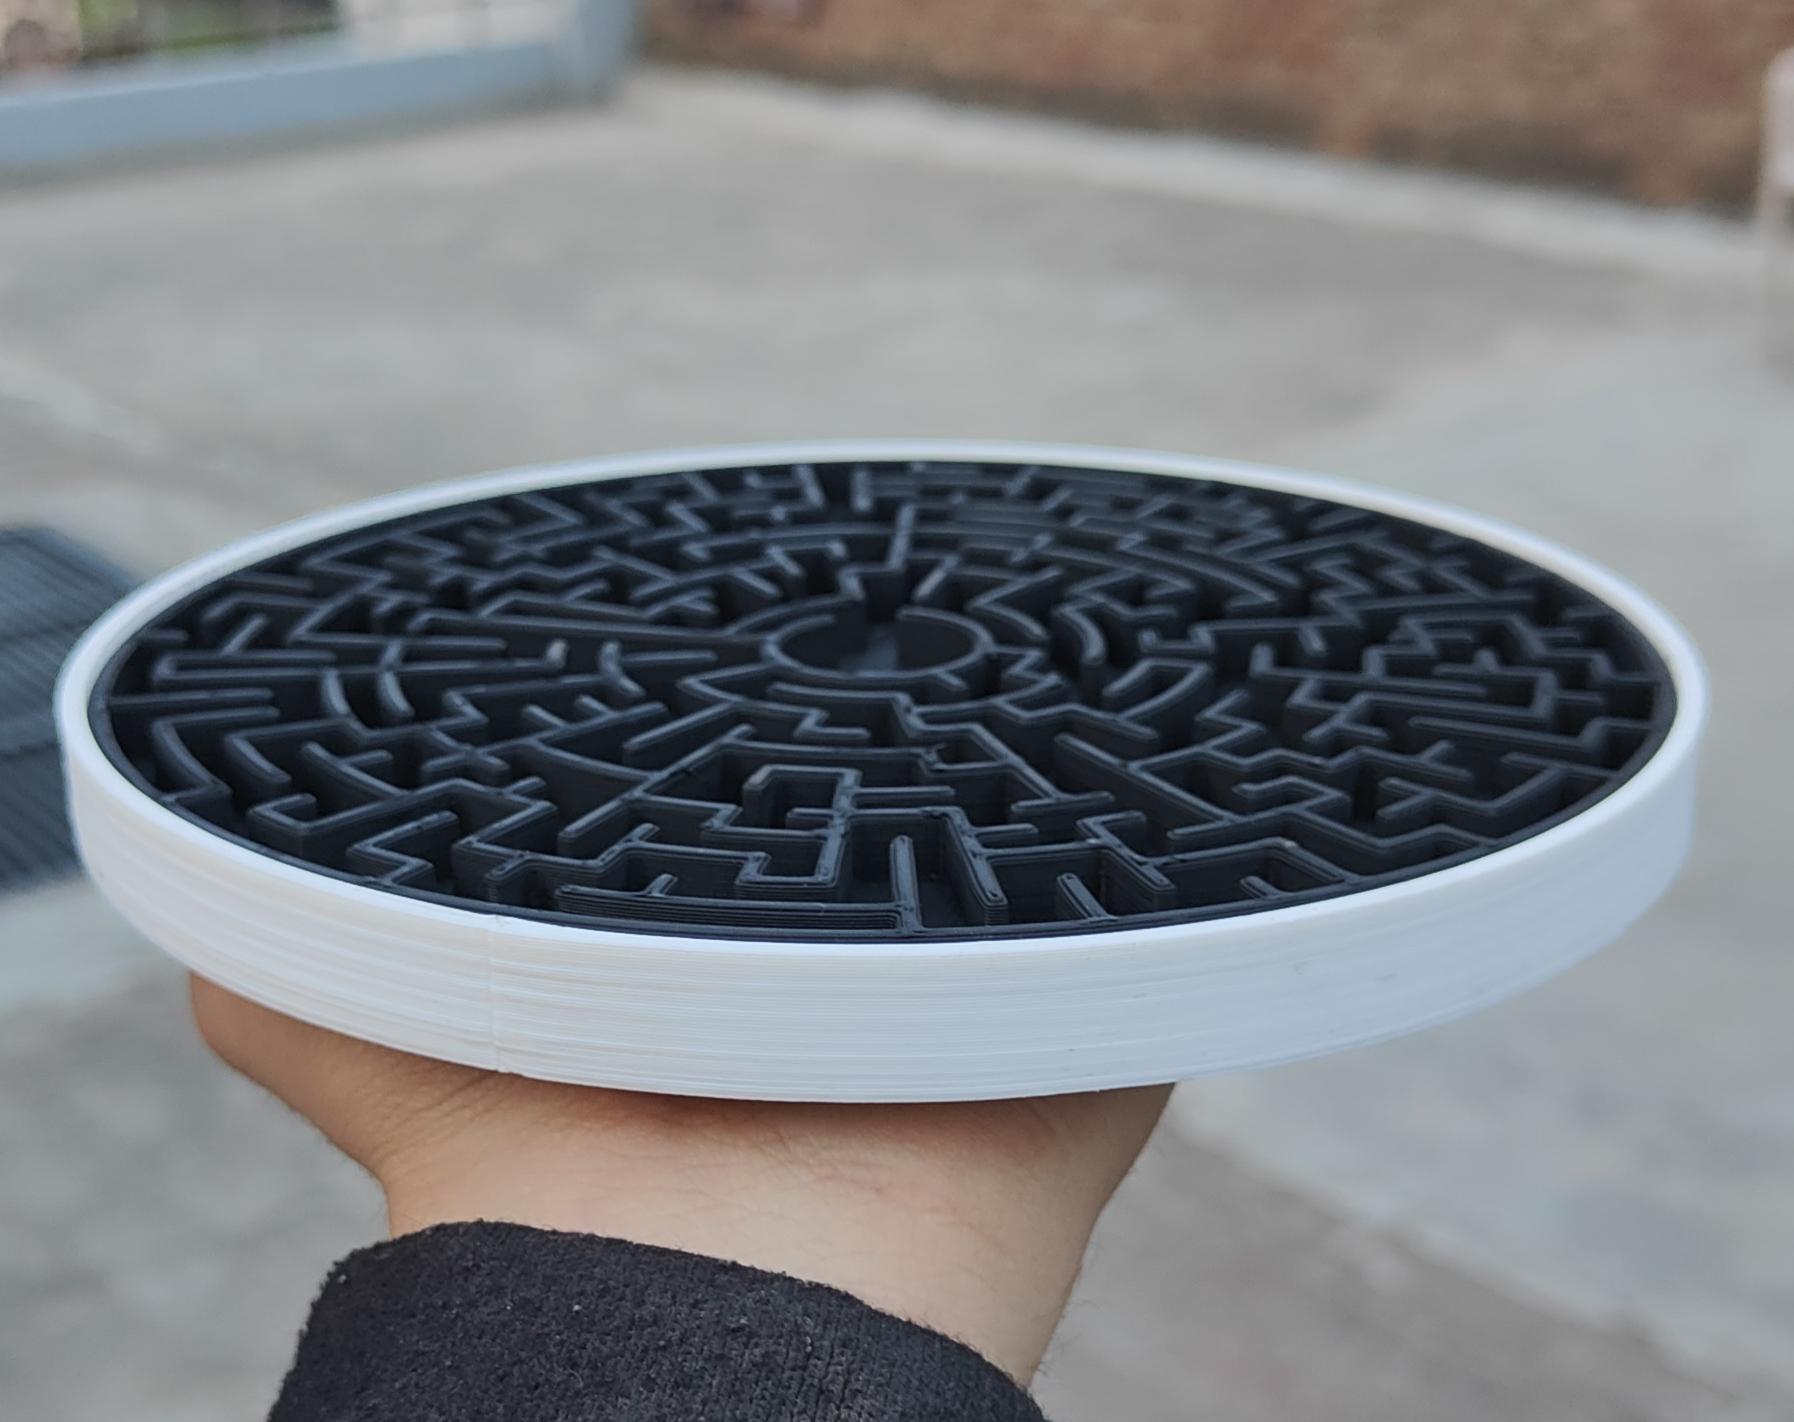
Painting the Parts
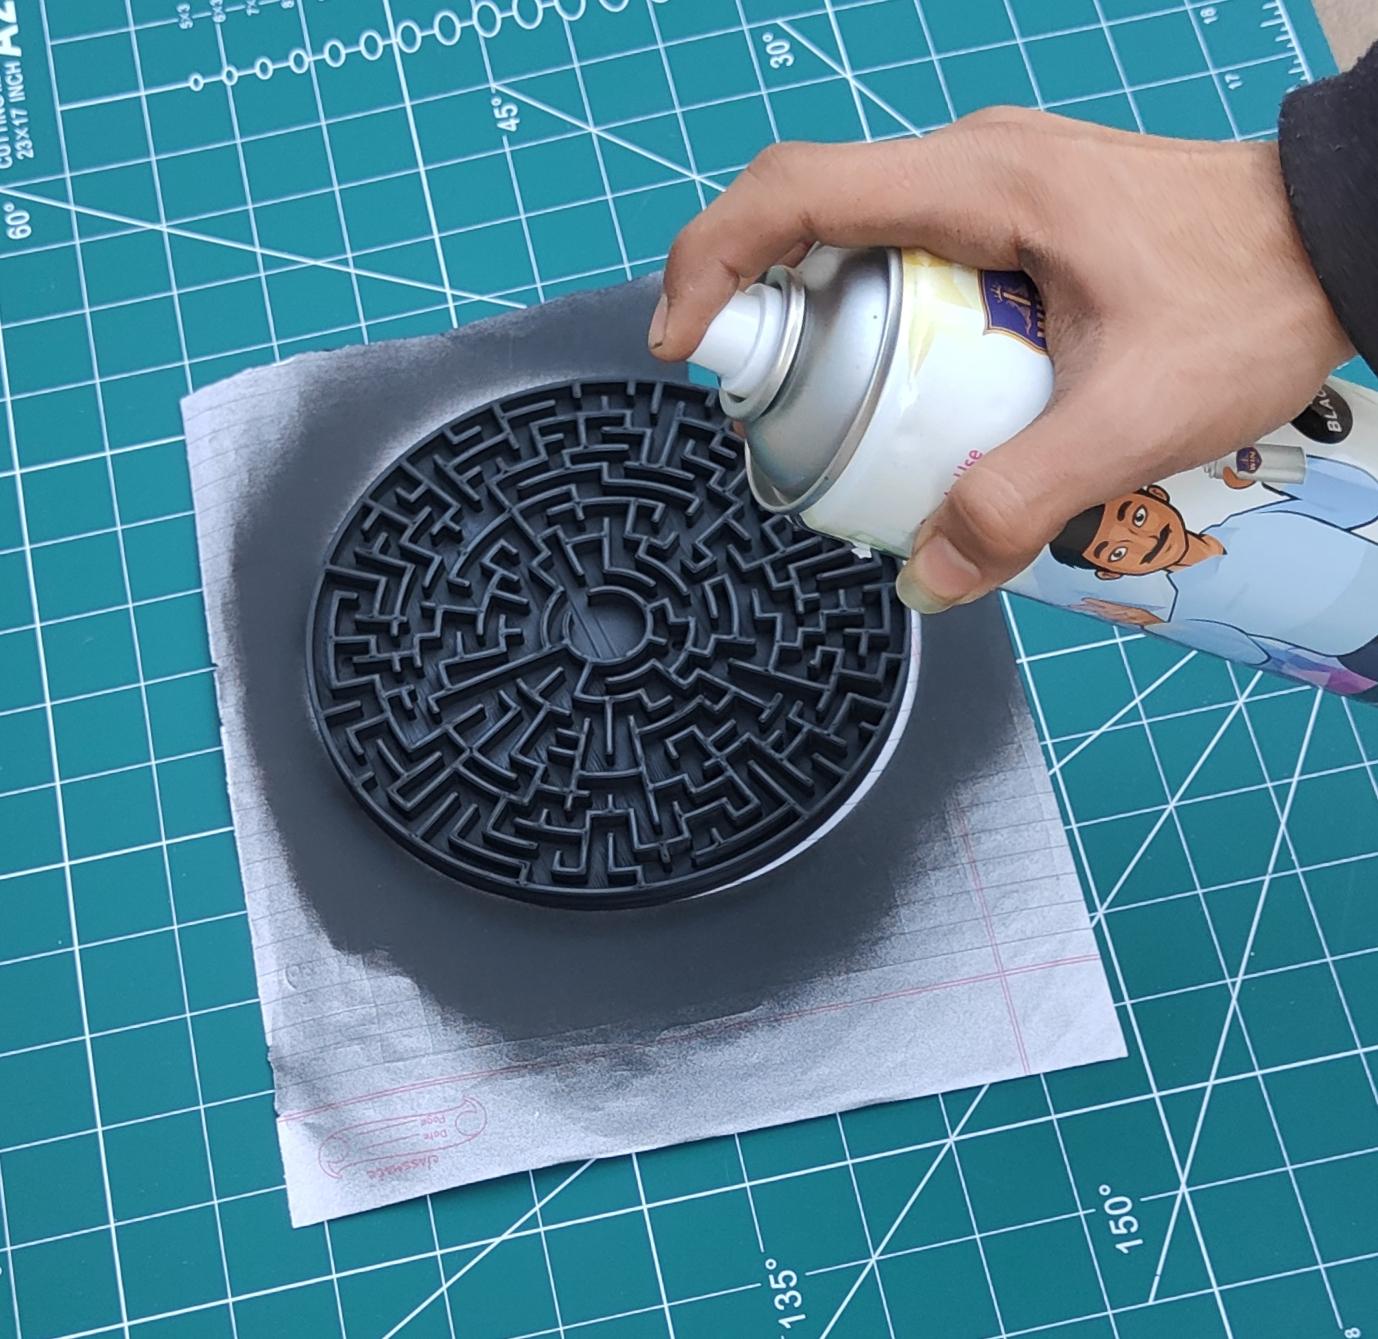
- Once the parts are printed and cooled, prepare a well-ventilated area for painting.
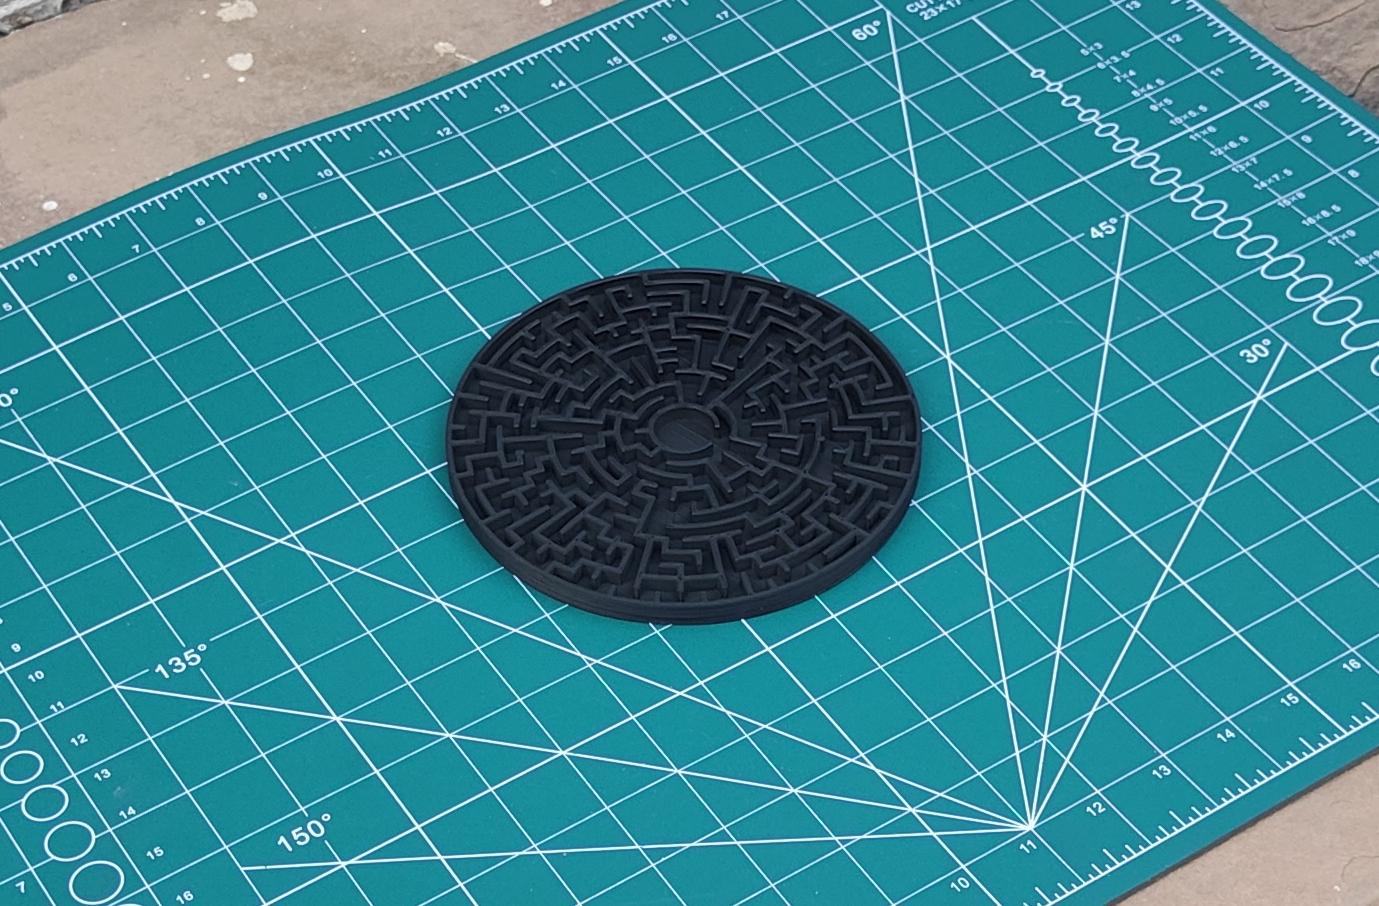
- Apply a primer coat if needed, then spray paint the parts in your desired color.
- Allow the paint to dry completely before handling.
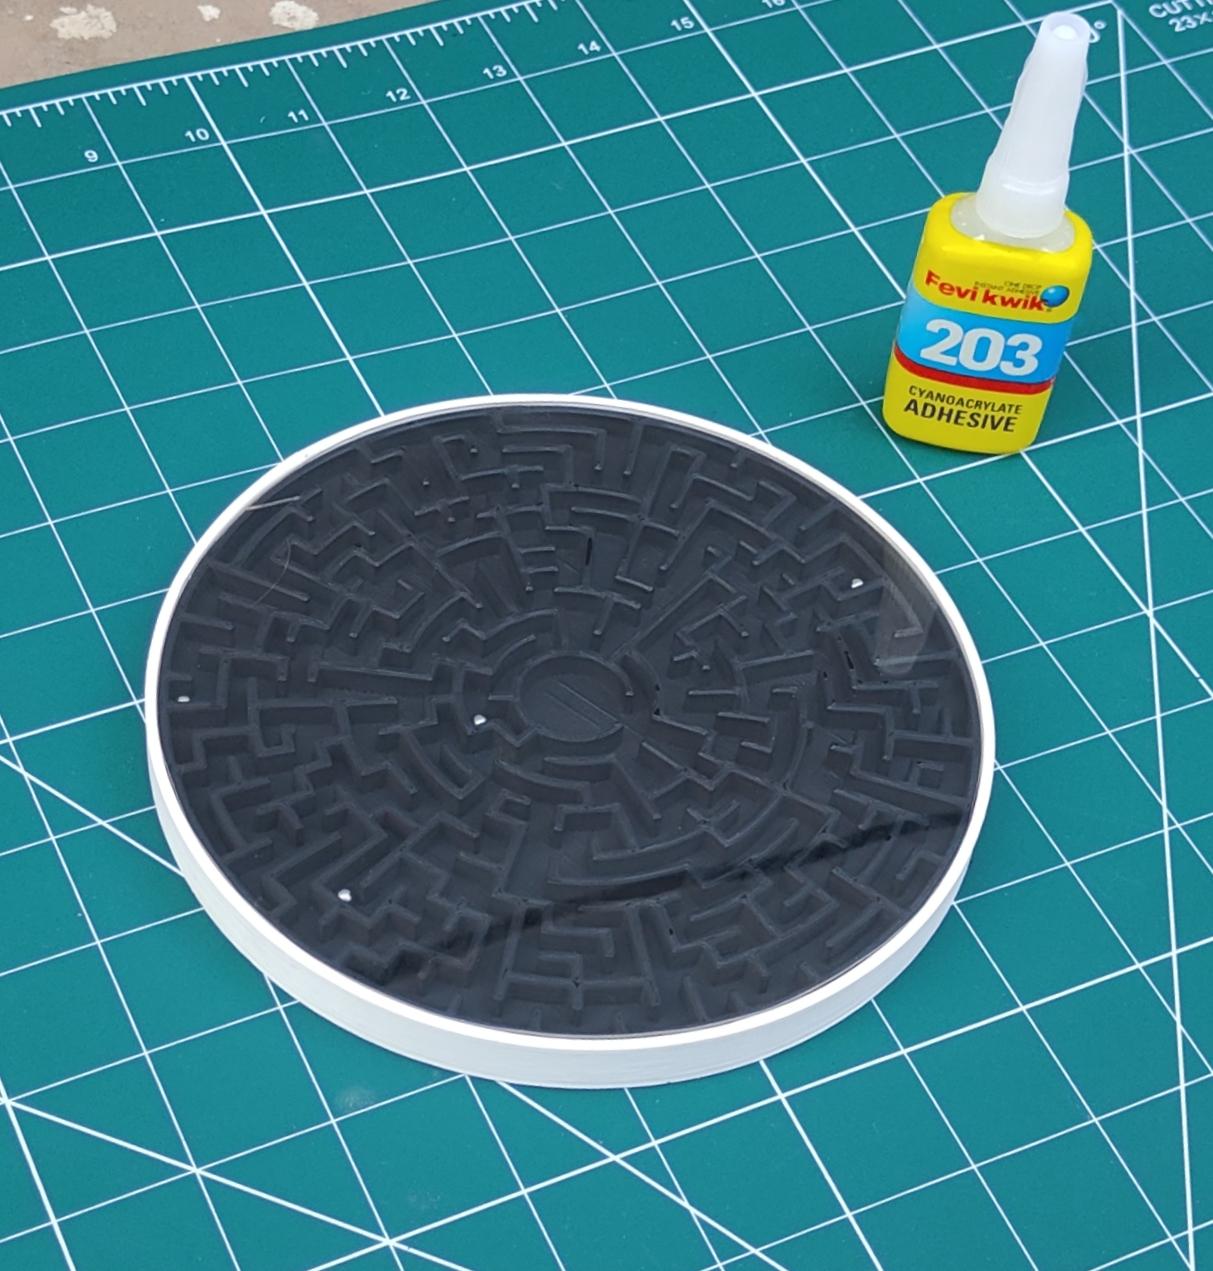
Assembling the Maze Game

- Carefully place the inner part inside the painted outer case.
- Ensure a snug fit and use glue or adhesive if necessary to secure the parts together.
Adding Metal Balls
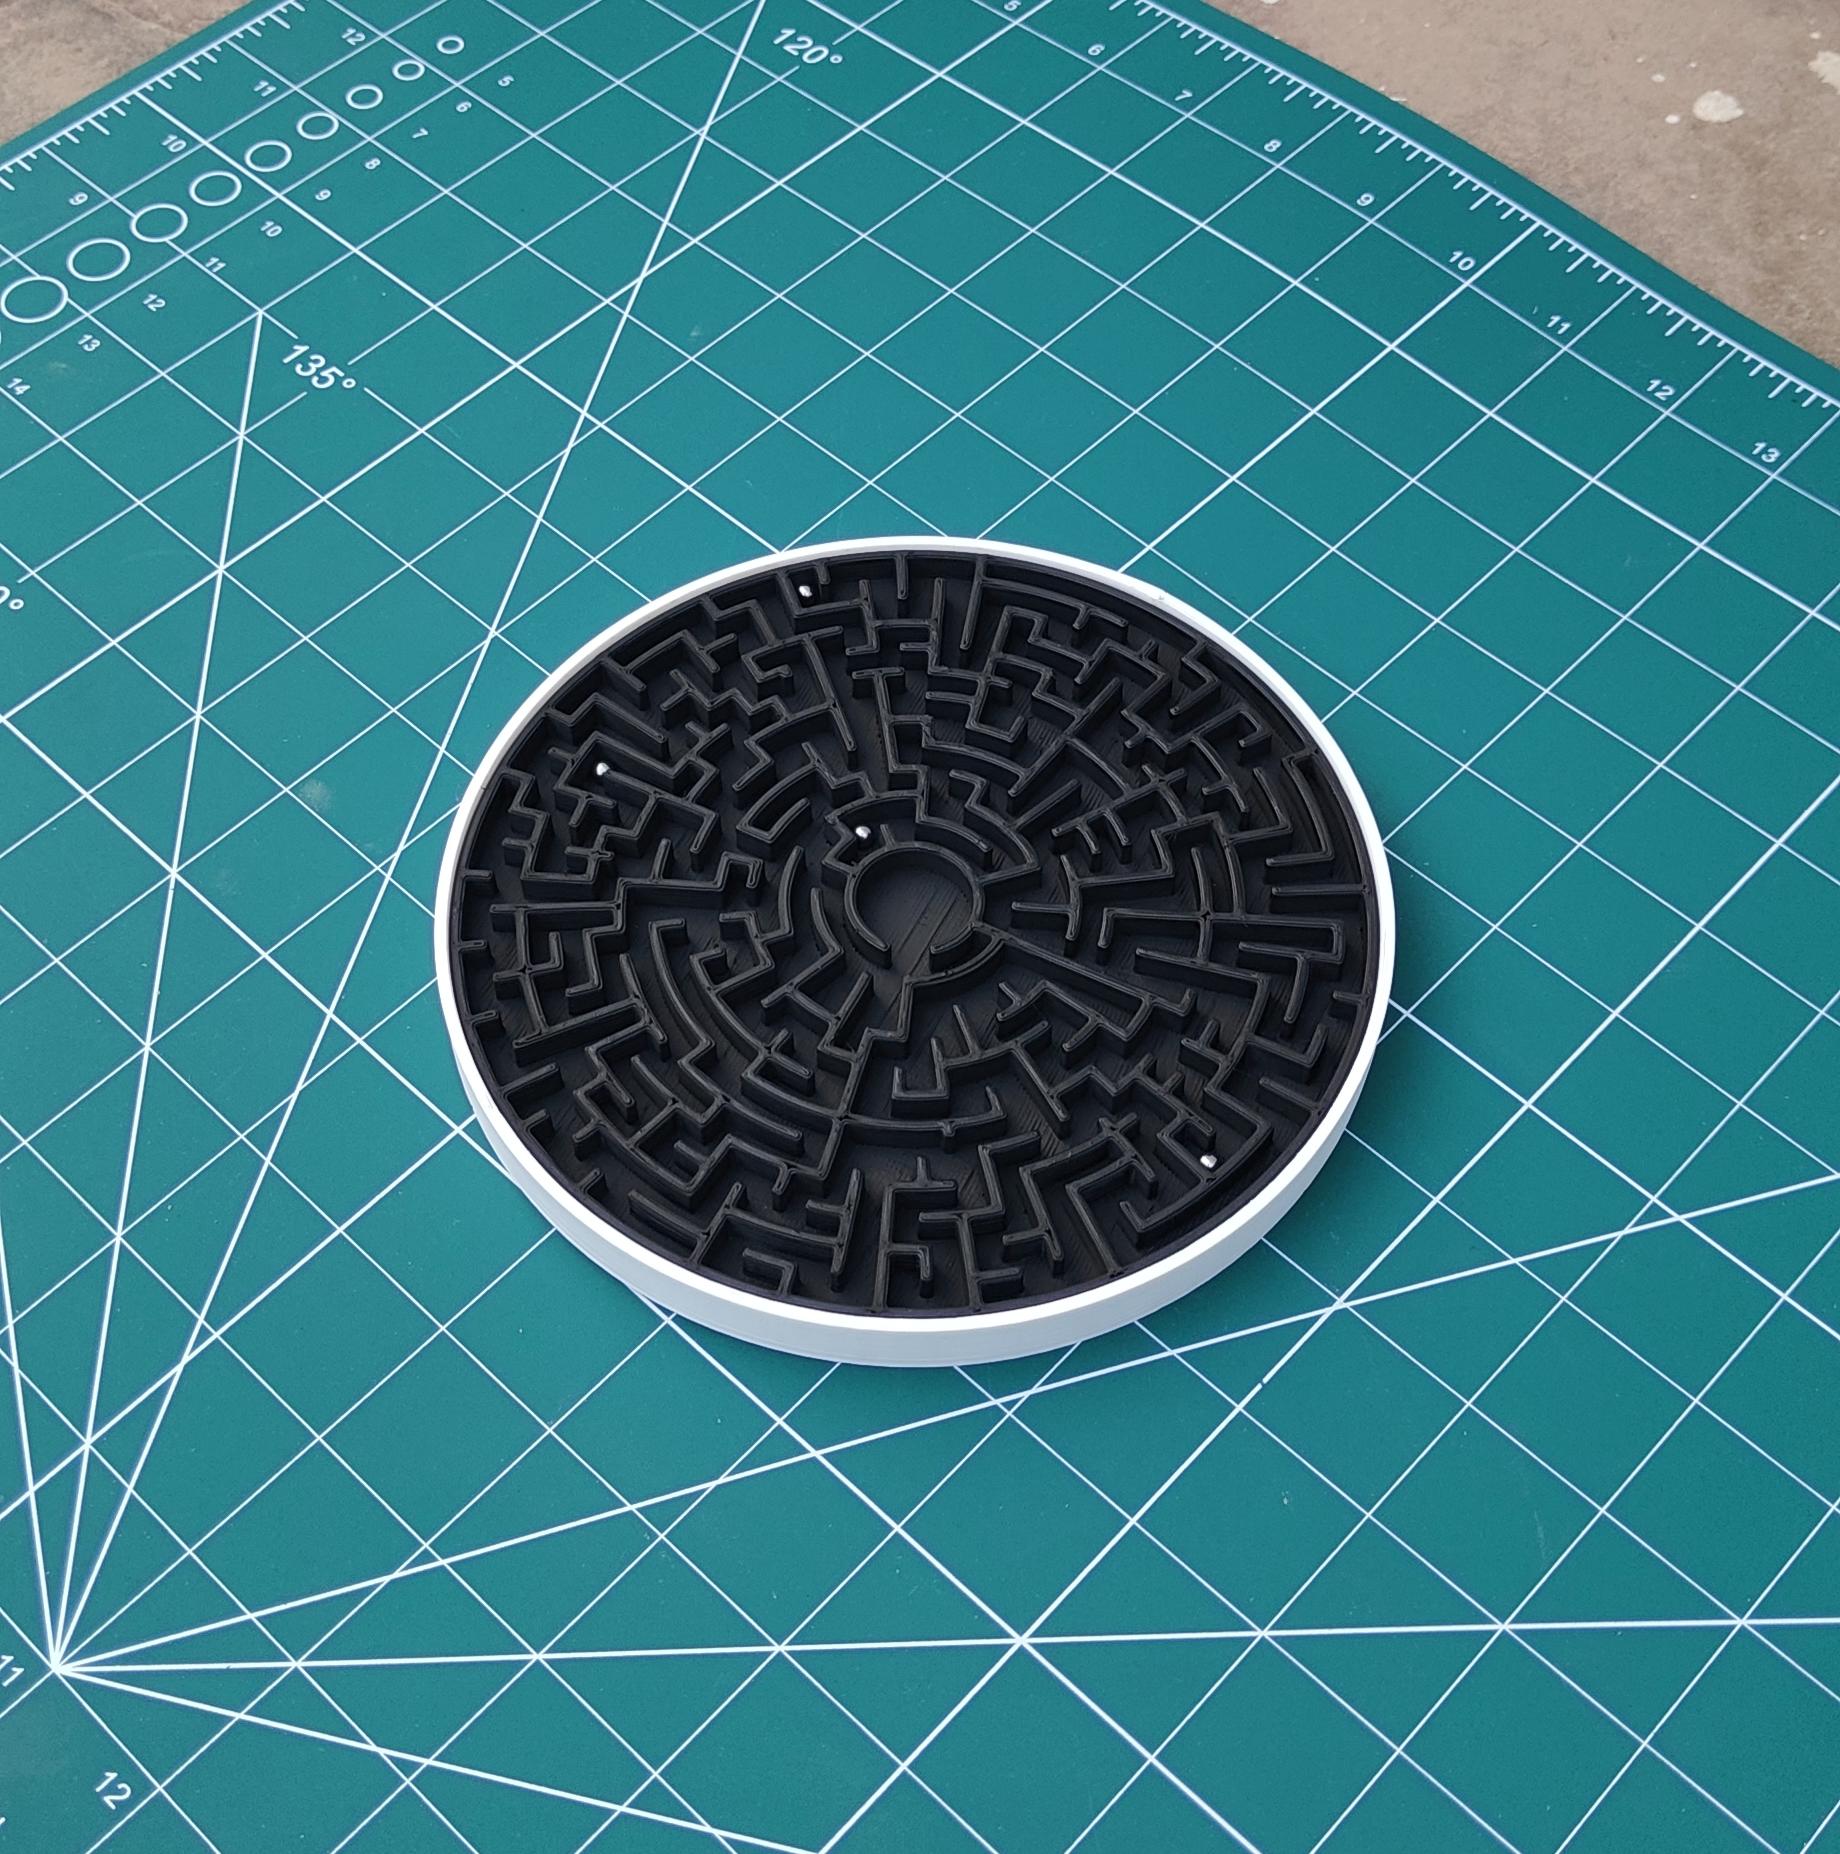
- Place the metal balls (marbles or bearings) into the maze paths through the designated entry point.
- Experiment with different ball sizes and quantities for varying difficulty levels.
Attaching the Acrylic Sheet
- Cut the acrylic sheet to fit the top of the maze game.
- Secure the acrylic sheet using adhesive or designing slots in the outer case.
Well Done
Congratulations on completing your DIY marble maze game! With Fusion 360, 3D printing, and a dash of creativity, you've crafted a fun and engaging activity for all ages. Get ready to roll and maze your way to endless entertainment!