DIY Longboard for Fun
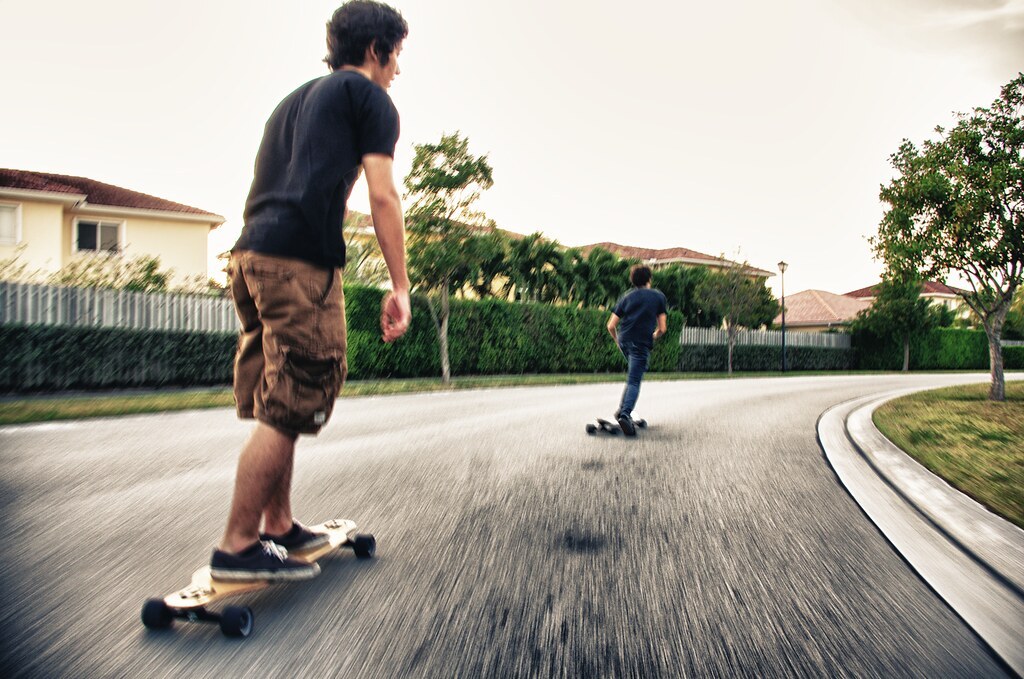
A list of tools and programs you may need are:
- SOLIDWORKS or equivalent CAD software
- VCarve Software or equivalent for laser-cutting
- Adobe Illustrator
- Hand Router
- Laser Cutter
- Drill Bit
- Hand Sander
-Clamps
Supplies
- 1 1/2 inch Baltic Birch sheet; at least 2 feet wide and 5 feet long
- Laser cut sheets
- Long board trucks and wheels
- Eight 6 & 1/2 mm screws
- Eight fitted Nuts for screws
- Spare 2 by 4 or equivalent wood for mounting
- Adhesive Grip Tape Sheet
- Epoxy Glue
Preparing the Sketch
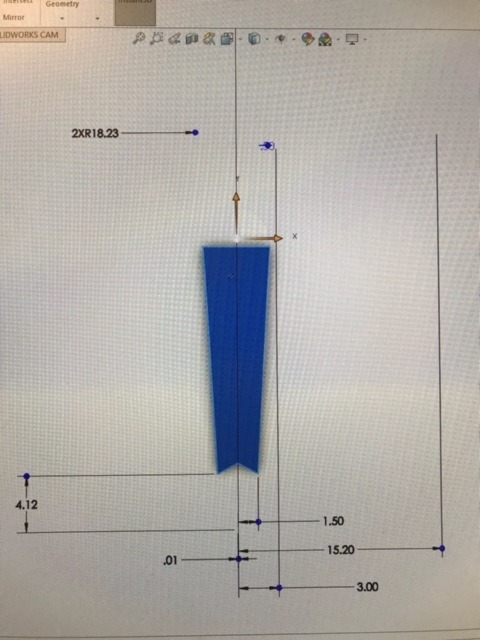
Open up a CAD program, such as SOLIDWORKS or equivalent to prepare a sketch for your longboard. You can be creative in this area to make your own unique design. I chose to make a Pin-tail longboard. Make sure the board you are sketching will fit the sized Baltic Birch sheet you have.
Separating the Sketch
Once you have a base sketch of what you want your board to look like, you are going to divide the sketch into three separate sketches. You need to do this because your entire board will not be able to fit onto most commercial laser cutters. Once you have the first sketch cut into 3 other sketches, make sure you save every file and name each part, such as "TopLongboard1" or "BottomLongboard1". Just choose something memorable.
Transferring the Sketches
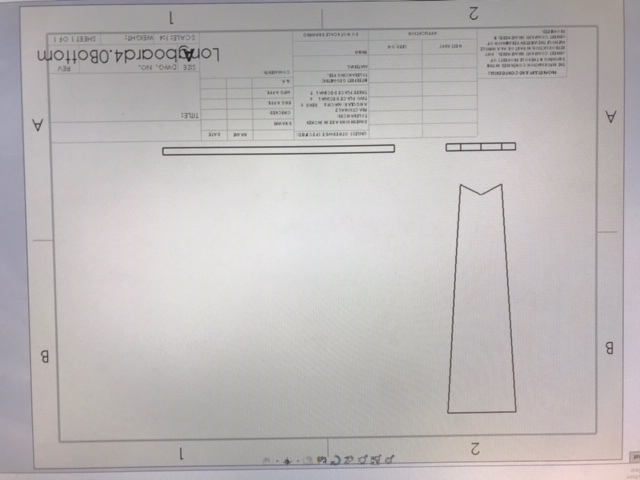
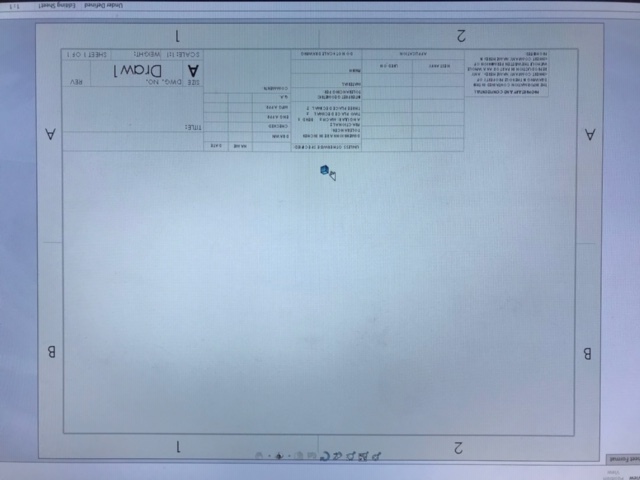
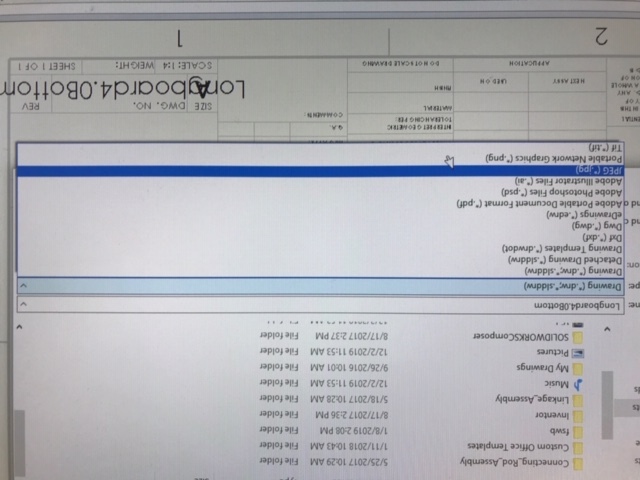
The next step is to make these sketches readable for the laser cutter. To do this, we start by taking each separate sketch file, and putting them on a SOLIDWORKS Drawing Template. Once you have the orthographic projection, you want to save the file as a Adobe Illustrator file. Your Drawing should look like this:
Using Adobe Illustrator
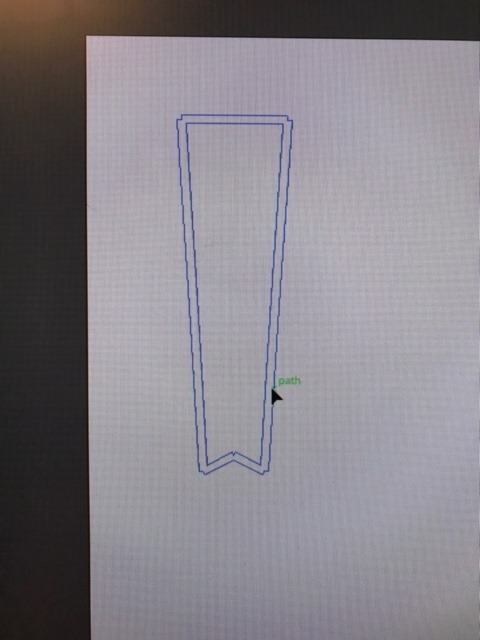
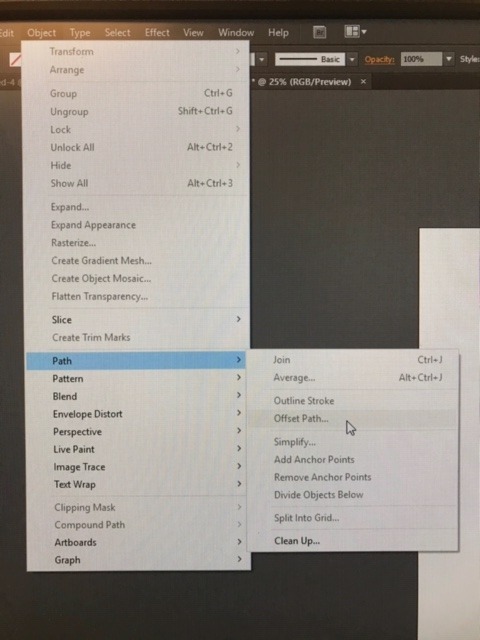
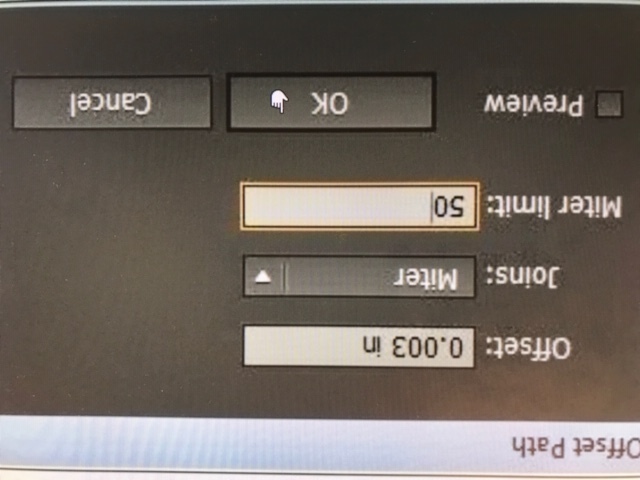
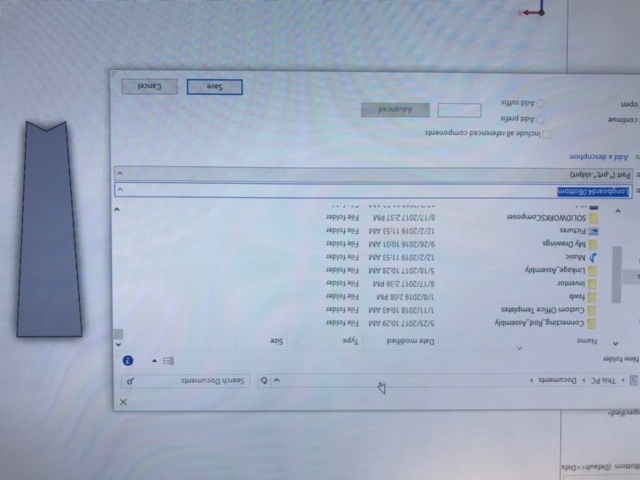
Now you have your saved Adobe Illustrator files. We do this so that we will be able to edit the picture in Adobe Illustrator how we want to, which isn't possible with a SOLIDWORKS file format. Open up the Adobe Illustrator files separately and for each file do this process. Select the object you are trying to cut, go to the task bar and select "object" then "path" then "join path" to connect any pieces. Next you do the same process but under path, you select "offset path". It will pull up a screen and your offset should be pretty small at about 0.003. Once you have completed that, delete your original sketch. Now you can save it as an a PDF file. This will allow us to open in it up in the laser cutter software.
Using the Laser Cutter and Putting Together the Template
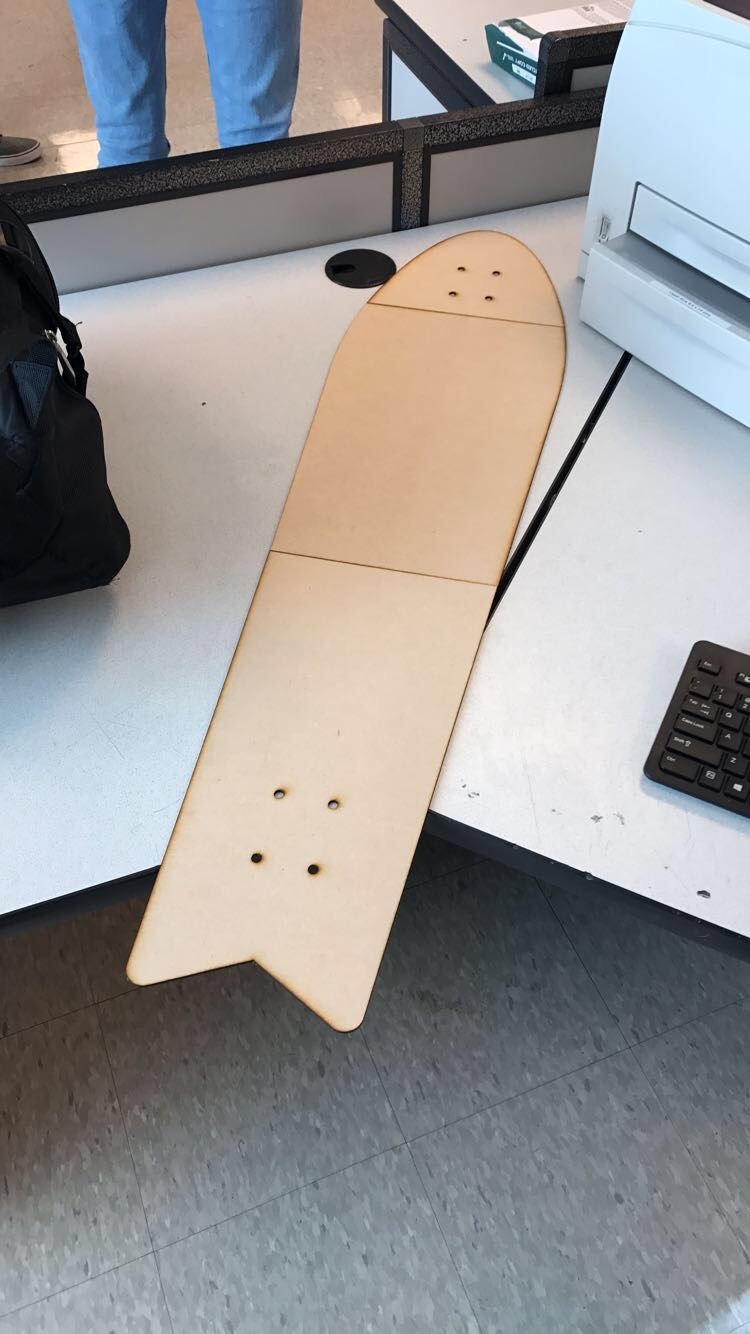
Now that you have your saved the images, you want to open them up in your laser cutter software. Set the settings so that it will cut all the way through the laser cut wood. Lastly,send the file to your laser cutter and cut the pieces! Each piece, dependent on your laser cutter and size of board, should take about 10-15 minutes per piece to cut. Now you should have 3 separate sheets that you can put together and have a to-scale template of your longboard. You will assemble this by taking a 2 by 4 piece long enough to extend over each piece, and then drill the board pieces into the 2 by to hold it together. This will also give you an extra piece to hold onto when cutting the board. It should look like this.
Cutting the Board Out
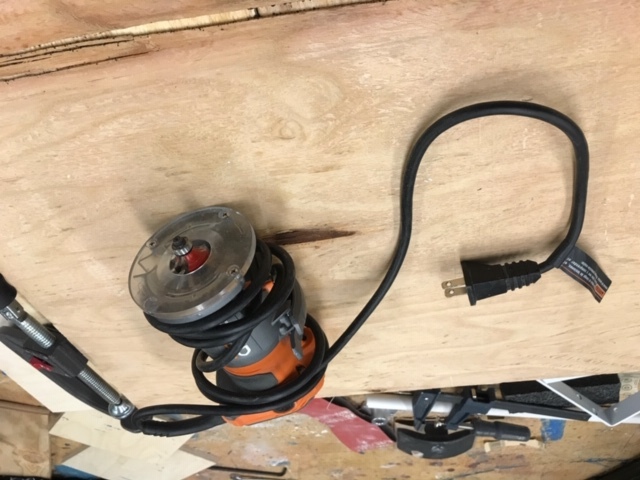
Get your Baltic Birch sheet. You want to mount the Baltic Birch to a place you can cut it. Once you have secured the wood with clamps, you want to lay the template on the sheet. You can drill the base plate screws in through here to create pilot holes for the trucks and wheels to connect. These are good measurement examples. Use these measurements to place the pilot holes. Once everything is connected and in place, take your hand router and cut around the template into the Baltic Birch sheet. Once you are done cutting, unscrew the template and you should have a fully cut longboard. It is normal at this stage for there to be slight jagged pieces of wood on the edges, we will sand those down in the next step.
Sanding the Board
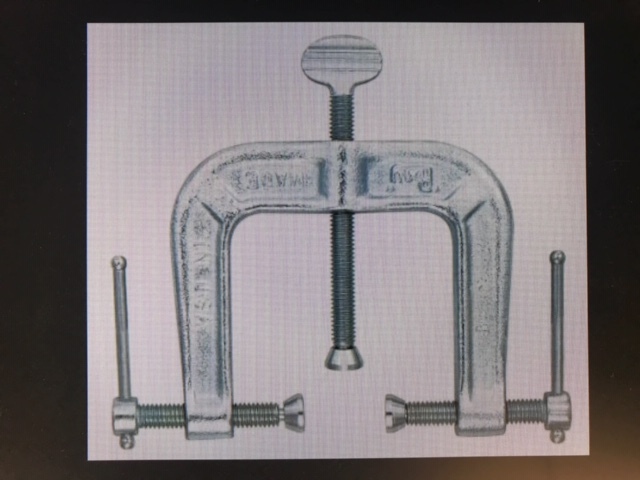
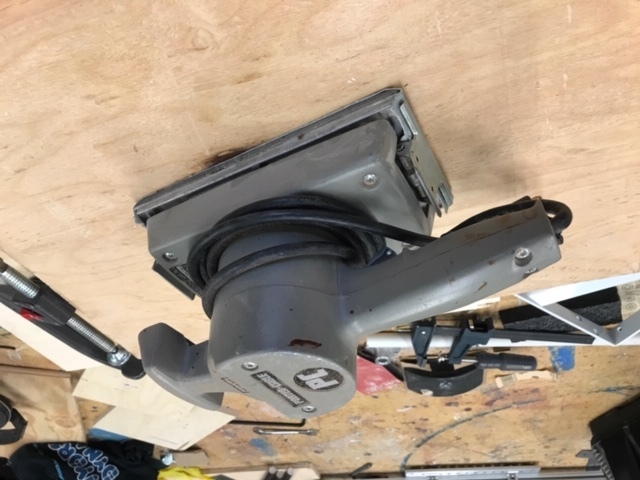
Now that your board is cut, you want to mount it sideways, preferably to a mount like this if you have one:
Once you have done that, you want to get your hand sander and sand the entire side of the board. Rotate and round it off to give it a cleaner and smoother look. You may need to sand it down a few times, but make sure not to over do it and affect the shape of your board.
Finishing the Board: Polyurethane

To start this step, make sure your polyurethane is set. Now clear the wood of any sawdust by brushing it. Apply the polyurethane one coat at a time to the bottom of the board or whole board, depending on how water-protective you want your board to be. Let it dry, and repeat. This is the most extensive process as you need to apply anywhere between 5 and 8 coats to water-seal your board. We want to do this that if we roll over a puddle, it doesn't warp the wood. Lastly, once the coats on the board are sealed, take your sheet of grip tape and lay it on the board
Finishing the Board: Grip-tape and Attaching the Trucks
Lay out your grip-tape on to your board. Adhere the grip-tape to the board prior to doing anything, so your sheet should be stuck to the board in the place you want. You want to take a bolt and rub against the edges of the board to get the outline, like in this image. It loosens up the grip-tape to make it easier to cut.
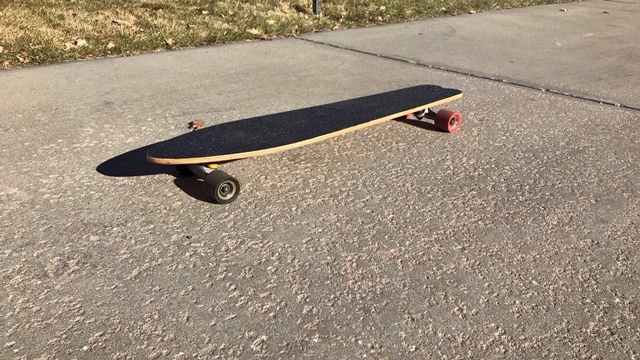
Once you have done that, cut around the board very slowly with the exact o knife using that white line creating from rubbing the edge as a guide. You should come out with a clean cut grip on your board. Now you can find the areas you drilled the pilot holes. Use a pencil to either push through or mark the locations of the holes in some way so you can countersink them. Use a Drill-bit to counter sink the holes for your desired screws in the marked locations. Once all 8 holes are bored, attach the trucks and the screws should be clean and flush with the grip tape. I would choose a dark screw that matches the color of your grip tape so it looks even more clean made. That's It! Now your board should be ride-able and should look something like this: