DIY Lithium LiFePo4 12v 18 Amp Battery
by Steve Willson Kujur in Circuits > Electronics
11407 Views, 58 Favorites, 0 Comments
DIY Lithium LiFePo4 12v 18 Amp Battery
.jpg)
Hey! everyone My name is Steve
Today I’m Gonna show how I build this 12V 4S3P LiFePo4 Battery Pack With BMS and Balance Charging
Let's Start
Features
.jpg)
.jpg)
.jpg)
Total Output Power
- 18000 mAh @ 12.8V
Input Power " Charging "
- 9000 mAh Constant Current
- 14.6v Constant Voltage
Built-in Protection
- Over Load Protection
- Short Circuit Protection
- Over Heat Protection
- Low Voltage Protection
- Over Voltage Protection
- Cell Balancing
Note - Please see the images for better understanding
Thing I've Used
.jpg)
.jpg)
.jpg)
.jpg)
.jpg)
.jpg)
.jpg)
LCSC
- XT60 Female - http://bit.ly/2I8J7jn
Banggood
- 32650 Battery -
- 32650 Holder - https://ban.ggood.vip/SSXb
- BMS -
- XT60 Connectors - https://ban.ggood.vip/SSXb
- Kapton Tape - https://ban.ggood.vip/SSXb
- Nickel-Plated Steel Strip - https://ban.ggood.vip/SSXb
- SUNKKO 787A+ Spot Welder - https://ban.ggood.vip/SSXb
- BMS Silicone Wire - https://ban.ggood.vip/SSXb
- Black Silicone Wire Cable - https://ban.ggood.vip/SSXb
- Red Silicone Wire Cable - https://ban.ggood.vip/SSXb
Amazon
- 32650 Battery -
- 32650 Holder - https://amzn.to/2unclYj
- BMS -
- XT60 Connectors - https://amzn.to/2unclYj
- Kapton Tape - https://amzn.to/2unclYj
- Nickel-Plated Steel Strip - https://amzn.to/2unclYj
- SUNKKO 787A+ Spot Welder - https://amzn.to/2unclYj
- BMS Silicone Wire - https://amzn.to/2unclYj
- Black Silicone Wire Cable - https://amzn.to/2unclYj
- Red Silicone Wire Cable - https://amzn.to/2unclYj
Aliexpress
- 32650 Battery - http://bit.ly/31tlScB
- 32650 Holder - http://bit.ly/31tlScB
- BMS - http://bit.ly/31tlScB
- XT60 Connectors - http://bit.ly/31tlScB
- Kapton Tape - http://bit.ly/31tlScB
- Nickel-Plated Steel Strip - http://bit.ly/31tlScB 7
- SUNKKO 787A+ Spot Welder - http://bit.ly/31tlScB
- BMS Silicone Wire -
- Black Silicone Wire Cable - http://bit.ly/31tlScB
- Red Silicone Wire Cable - http://bit.ly/31tlScB
Note - Please see the images for better understanding
LiFePo4 Battery
.jpg)
These are really high-quality FBTech 32650 Cells this cells can easily get you 2000-2500 Cycles these are rated for 3C I’ve Personally Capacity Tested these cells and the result 100% what they are Rated for and I got 6000mAh
I love this Chemistry LiFePo4
Note - Please see the images for better understanding
Sponsor

Today's Article is Sponsored by lcsc.com
They are the Largest Electronics Components Supplier From China Ready to Ship within 4 Hours and they ship World Wide
Wiring Diagram

Note - Please see the images for better understanding
Assembly
.jpg)
.jpg)
.jpg)
.jpg)
.jpg)
.jpg)
.jpg)
.jpg)
.jpg)
.jpg)
.jpg)
.jpg)
- Make sure all the batteries are at the same voltage and same capacity
- Now Assemble the holders
- Now put one by one cell into the battery holders
- Now use Kapton tape to tape it all
Kapton Tape - it is used to avoid the heat basically it is a heat resistance tape
Note - Please see the images for better understanding
Welding
.jpg)
.jpg)
.jpg)
.jpg)
.jpg)
.jpg)
For Welding, I Used Spot Welder don't use soldering Iron It may damage your battery
- Now cut down the Nickle plated strip tape at the Right Length
- First, make a pair of 3 parallel battery as shown in the picture
- and then connect all the 4 pair in series
- This connection is called 4S 3P
- You can also see the connection diagram above
4S - Stands for 4 Series
3P - Stands for 3 Parallel
Note - Please see the images for better understanding
Battery Management System
.jpg)
.jpg)
.jpg)
.jpg)
.jpg)
.jpg)
.jpg)
.jpg)
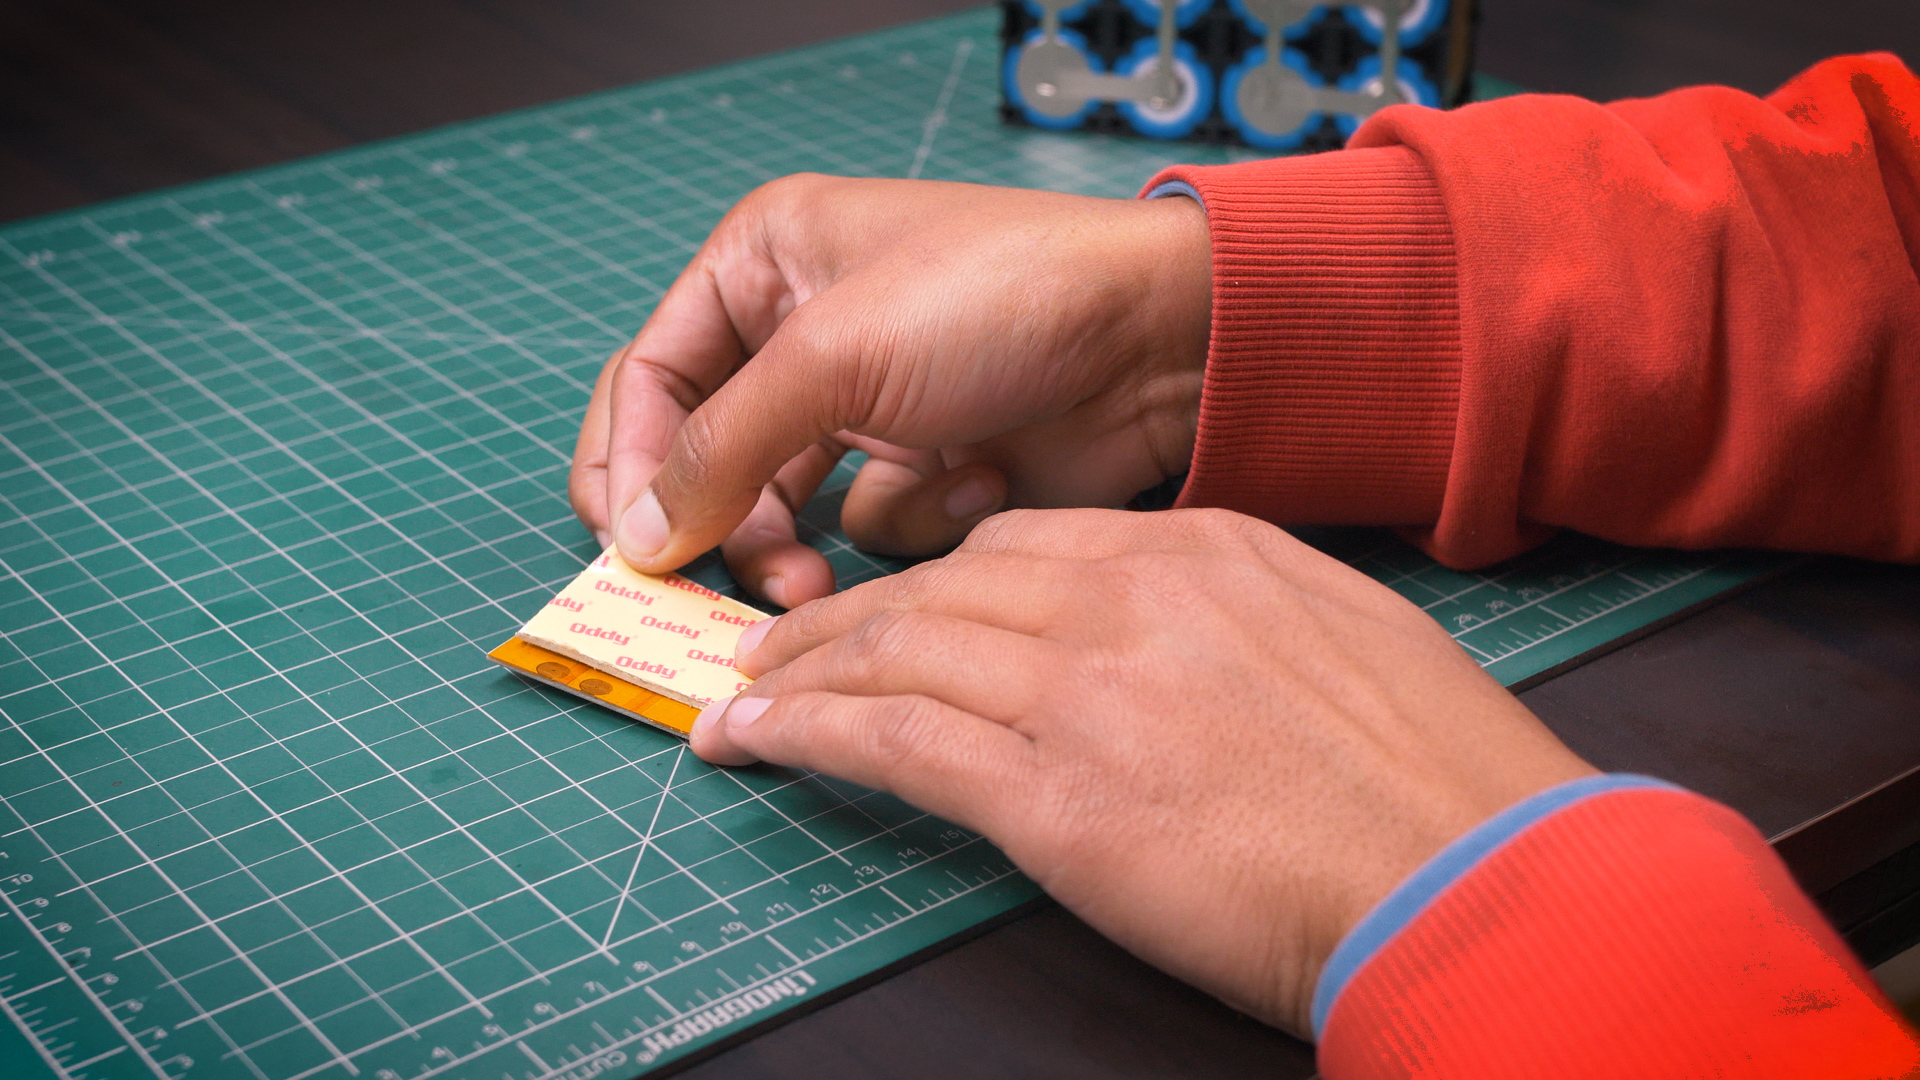
To insulate the BMS From Battery I used 2-3 layer of Kapton Tape and Dual Sided tape
Note - Please see the images for better understanding
BMS Wiring
.jpg)
.jpg)
.jpg)
.jpg)
.jpg)
.jpg)
.jpg)
I used 22 AWG Silicone wire and cut it to the right length and soldered wire according to Wiring Diagram and used XT60 As Output
Note - Please see the images for better understanding
Finished
.jpg)
.jpg)
.jpg)
.jpg)
.jpg)
The Battery Has Been Finished I used a 55 Watt Car Headlight Bulb H4 to Test It and it Glows Very Bright
That's all for today guys!
You Just Made It
Thank you for visiting my Instructables Stay tuned for next Projects