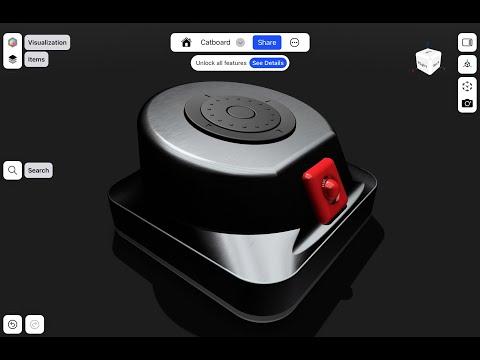
DIY Left Hand Trackball With Adafruit ANO Encoder
by khôiv3 in Circuits > Arduino
348 Views, 2 Favorites, 0 Comments
DIY Left Hand Trackball With Adafruit ANO Encoder

This project originates from the process of using Google Sheets and other applications. I tried using it in MS Excel but it was not effective. Therefore, it might be useful for you to use them in common applications.
Supplies
Parts
- 1 x QT Py RP2040 Adafruit
- 1 x ANO Directional Navigation and Scroll Wheel Rotary Encoder Adafruit
- 1 x Adafruit ANO Rotary Navigation Encoder to I2C Stemma QT Adapter Adafruit
- 1 x Trackball Breakout Pimoroni
- 2 x STEMMA QT / Qwiic JST SH 4-pin Cable - 100mm Long(or 50mm) Adafruit
Hardware
- M2.5 Socket Head Screws Amazon
- 4 × 4mm
- 4 × 5mm
- 4 × 6mm
- 4 x 3M Bumpon Adhesive Rubber Cushions(8mm) Amazon
- 12 x M2.5 Heat-Set Inserts Amazon
Tools
- 3D Printer, PLA filament (For print the mouse's case)
- Soldering Station (For install heat-set inserts)
- Ginelson Mini Router (For cut heat-set inserts off) Amazon
3D Printing & Assembly

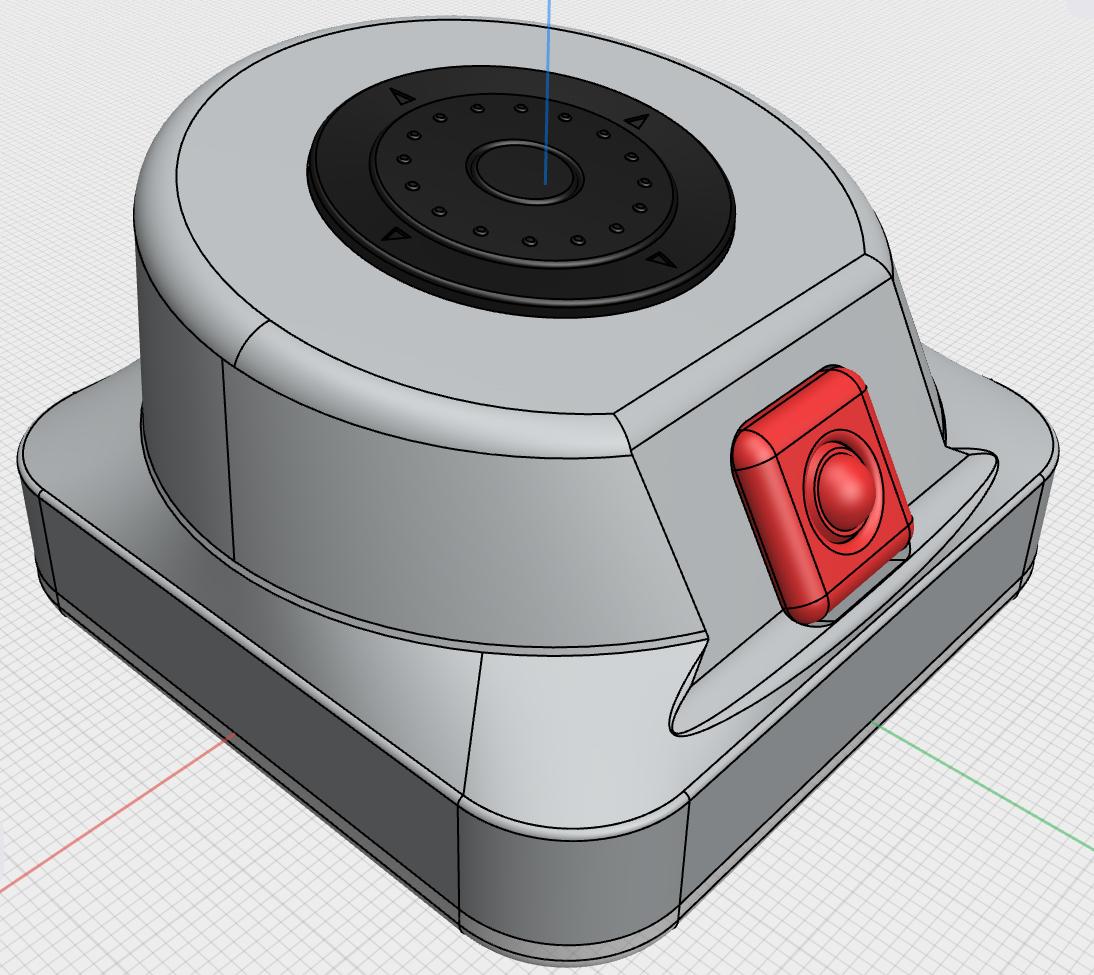
You can download .stp from Step folder on my github
Once you have completed the 3D printing, install the heat-set Inserts into the designated positions.
Note: In this design, the wall on the Trackball side is quite thin, so you need to shorten the heat-set before assembly it.

Then connect each parts as below diagram

Software

First thing is to get the Adafruit QT Py RP2040 working in the Arduino IDE. You can follow this guide if you never done this before.
Once the board is working properly you can open the Arduino sketch located here and install the required libraries in your environment.
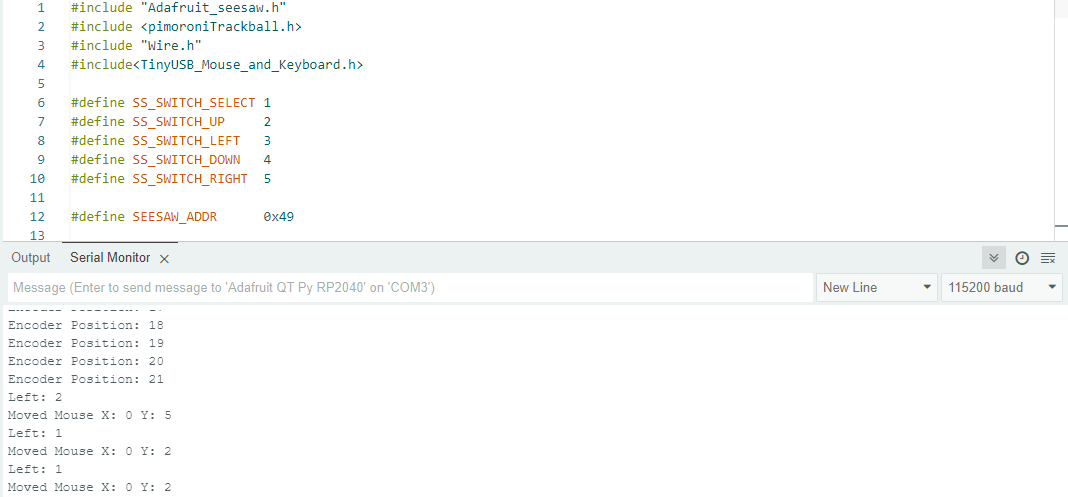
In order for the sketch to compile you will also need to change the USB stack to from Arduino to TinyUSB. You can read more on how to do that here.
Once the board flashed successfully you can unplug, open the serial console and plug it back in.
Functions
- The functions on seesaw ANO module include:
- Moving up, down, left, or right using the navigation buttons.
- Selecting an option with the middle button.
- Scrolling vertically or horizontally using the encoder(Switching between modes by holding the middle button for about 1 second).
- The same thing with Pimoroni trackball breakout module:
- Moving mouse pointer.
- Scrolling vertically or horizontally(Switching between modes by press trackball for about 1 second)
FAQs
- The "TinyUSB_Mouse_and_Keyboard.h" library might not be available in the Arduino IDE. You can download it from here
- The "pimoroniTrackball.h" library can be downloaded from here
- The default address of the Seesaw is 0x49, and the Pimoroni Trackball Breakout is 0x0A. If your board is not configured this way or you are not using a STEMMA QT Cable, you can check the I2C port using the following steps:
- Install the "Adafruit_TestBed.h" library in your environment.
- Open the I2C_scan.ino example from this library.
- Upload the code to your board.
- After uploading, open the Serial Monitor to check the address of each board.
- You can check the events from each board using the original code provided here.
- The first time you compile the sketch, if the Arduino terminal displays something like the following issue, please check if your Arduino USB Stack is set to "Adafruit TinyUSB".
- You can refer to this project if you encounter other issues.
