BASIC DIY HOME AUTOMATION
by Ady Hafetz in Circuits > Raspberry Pi
414 Views, 7 Favorites, 0 Comments
BASIC DIY HOME AUTOMATION
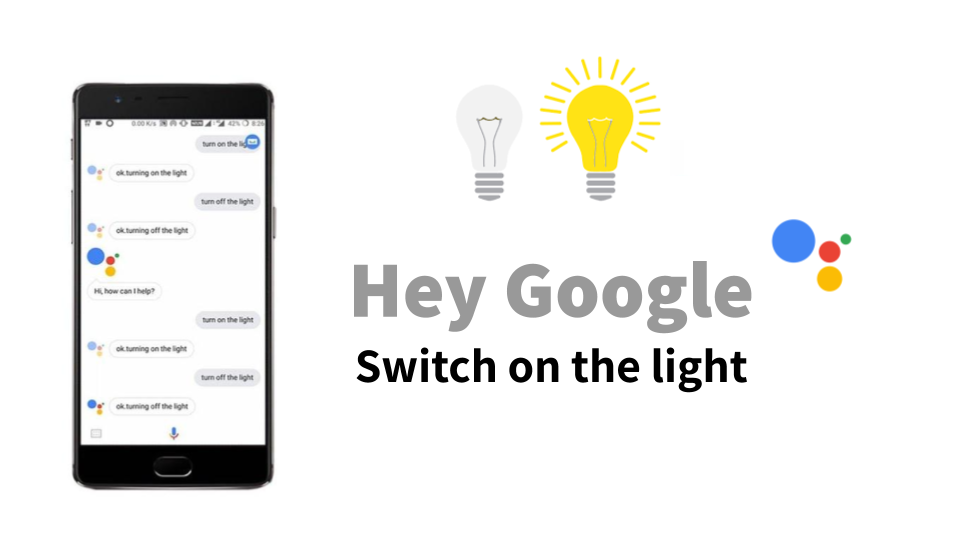
As we all know, Home Automation is widely used by people nowadays. But to have that kind of system, it will cost a lot of money. So, why don't we make it by ourselves at home.
Lets get started
Tools & Parts
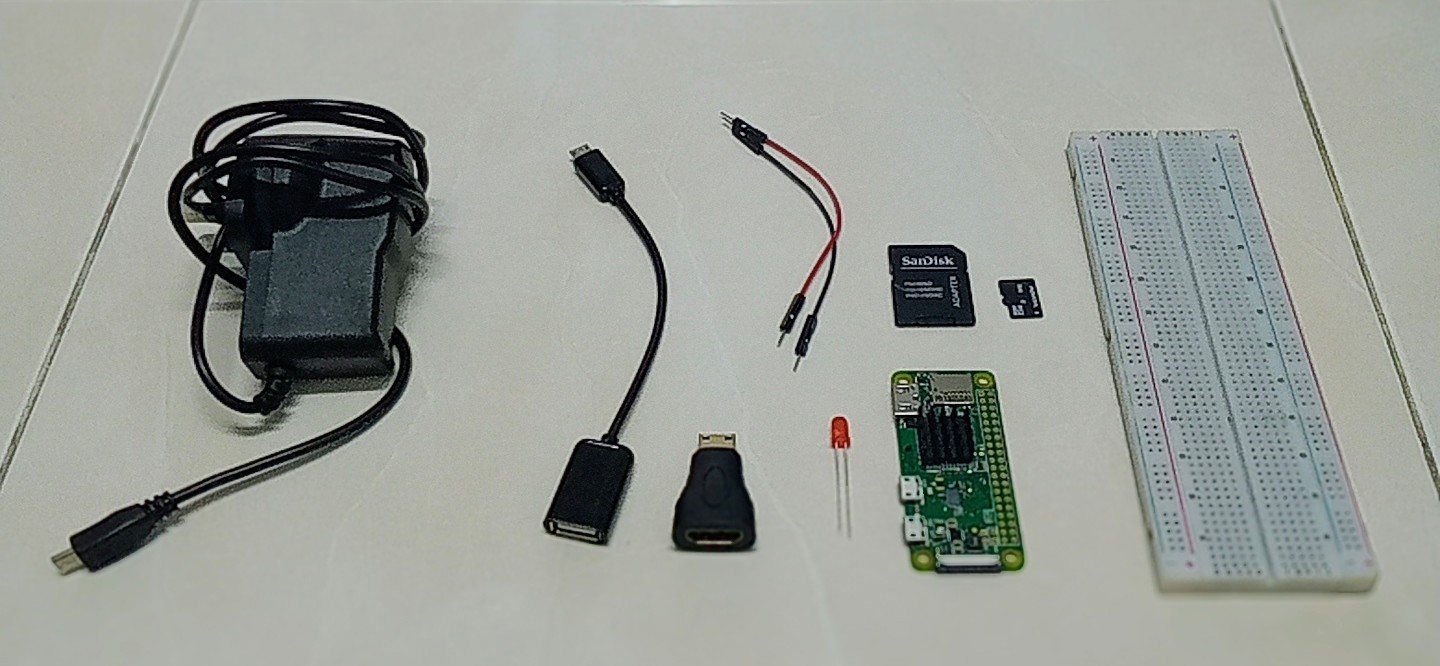
HARDWARE :
Rapberry Pi Zero W (or any type of Raspberry Pi)
Micro SD card (4GB and above)
Micro SD card reader
Light Emmiting Diod or LED (for testing)
Jumper wire
Breadboard
5v power supply (to power up Raspberry Pi)
A Working Laptop
SOFTWARE:
Raspbian Buster Lite https://www.raspberrypi.org/downloads/raspbian/
Particle Web IDE https://www.particle.io/
IFTTT https://ifttt.com/
Balena Etcher https://www.balena.io/etcher/
Setting Up the Raspberry Pi
.png)
.png)
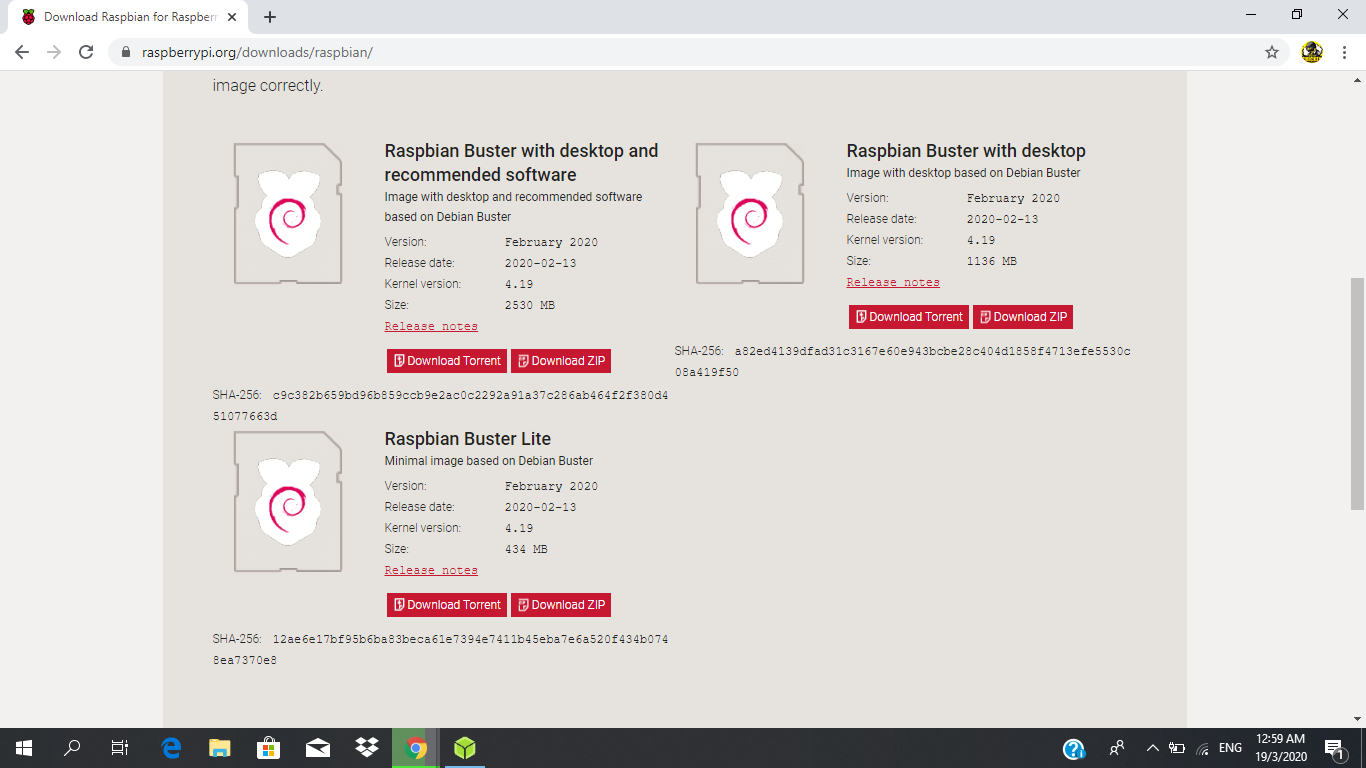
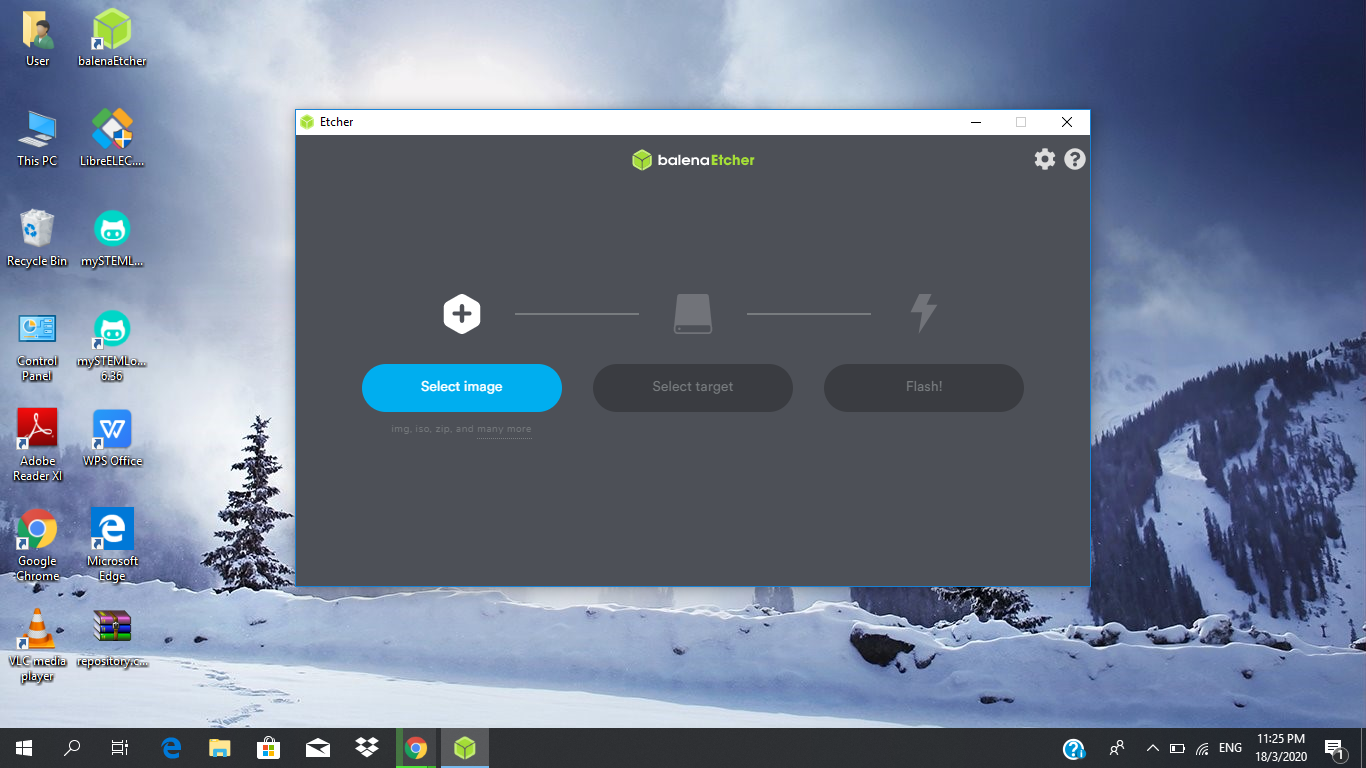
Firstly, download the Raspbian Buster Lite and Balena Etcher (to flash the Raspbian image in the Micro SD Card). After the installation finished, open the Balena Etcher and select the Raspbian Buster Lite image than flash it into the Micro SD Card. The flashing process just take a few minutes. After the flashing process is done, plug in the Micro SD Card into the Raspberry Pi.
Programming the Raspberry Pi
.png)
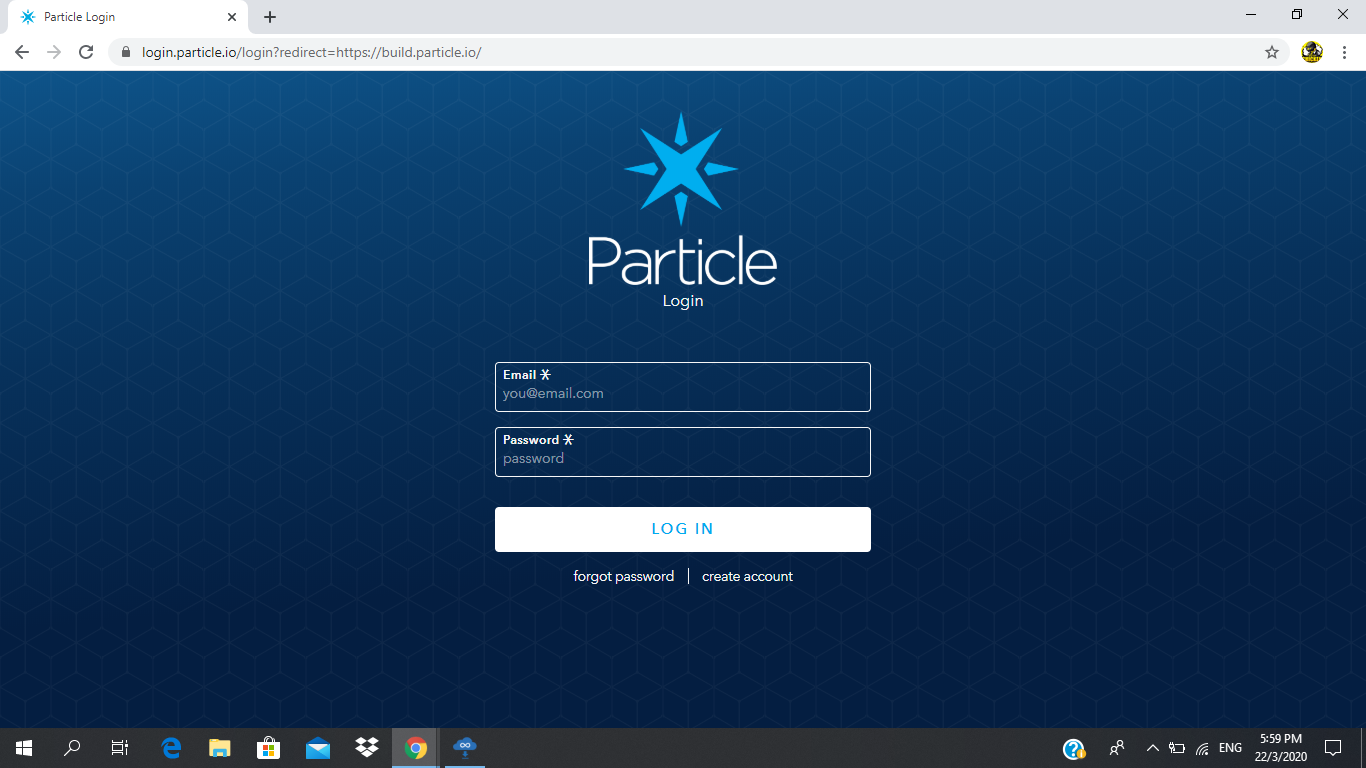
Firstly, sign up in Particle web IDE. Then, plug in the Raspberry Pi to the monitor (this is for first boot only) and power it up. The Raspberry Pi will booting up and request the username and password. So the username and password is set as:
Username : pi
Password : raspberry
You can change the username an password by enter following command:
sudo raspi-config
Select option 2, and follow the instructions to change the username and password.
After that, you need to make the Raspberry Pi to auto login for the next booting as we want to use the Raspberry Pi headless. So to do this enter the following command:
sudo raspi-config
Scroll down to Boot Options and select Console Autologin. Then exit the configuration menu and reboot.
Done with the username and password, Now, time to setting up WIFI. Again enter the following command:
sudo raspi-config
Select the Network Options item from the menu, then the Wi-fi option. On a fresh install, for regulatory purposes, you will need to specify the country in which the device is being used. Then set the SSID of the network, and the passphrase for the network.
Proceed to the next step, you need to install Particle.io program in the Raspberry Pi. this can simply be done by enter the following command (DON'T IGNORE THE SPACES IN THE COMMAND):
bash <( curl -sL https://particle.io/install-pi )
Once the Particle.io program has installed, you'll be prompted to enter your Particle username and password to link your Pi to the Particle Cloud - You'll also have the opportunity to give your Pi a name that it will appear as in the Particle Cloud. With that complete you'll be able to log in to build.particle.io and see your Pi listed and displayed as "online."
Create a Particle App
.png)
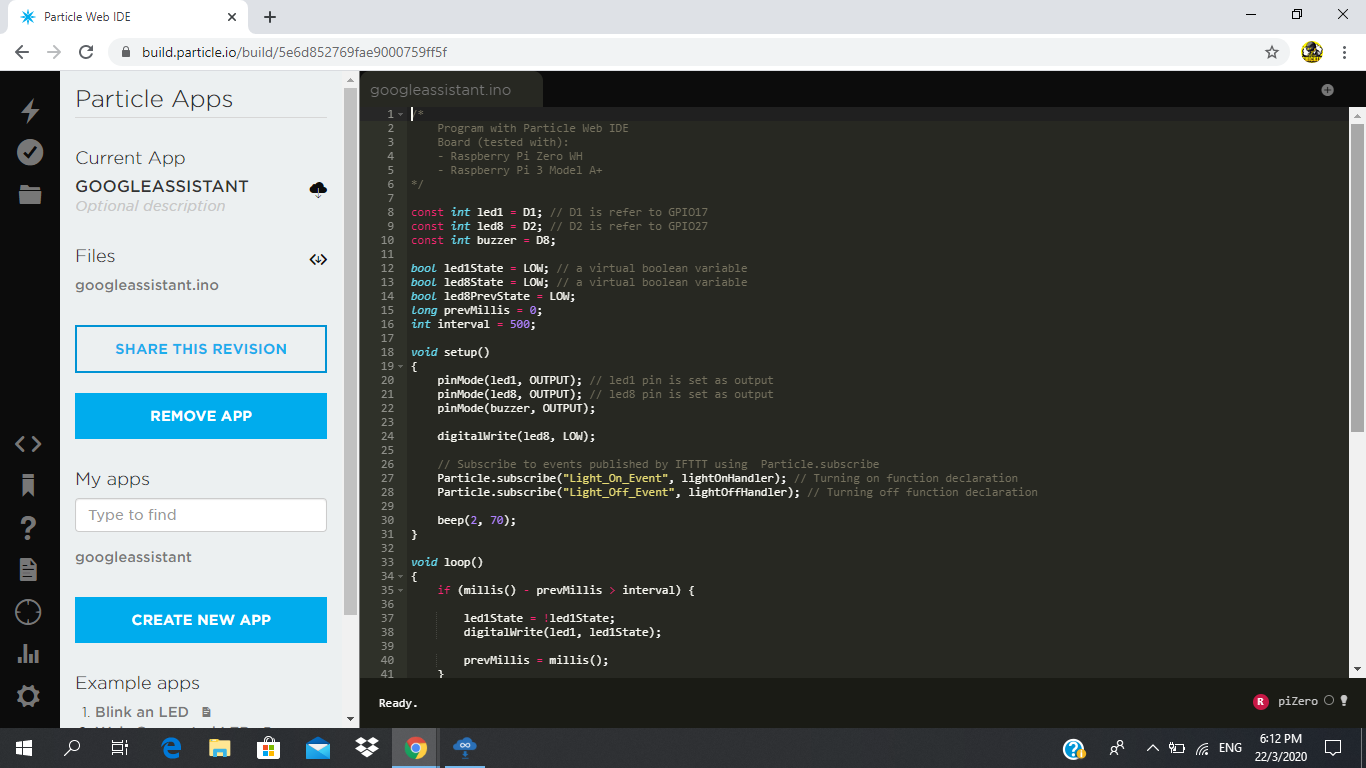
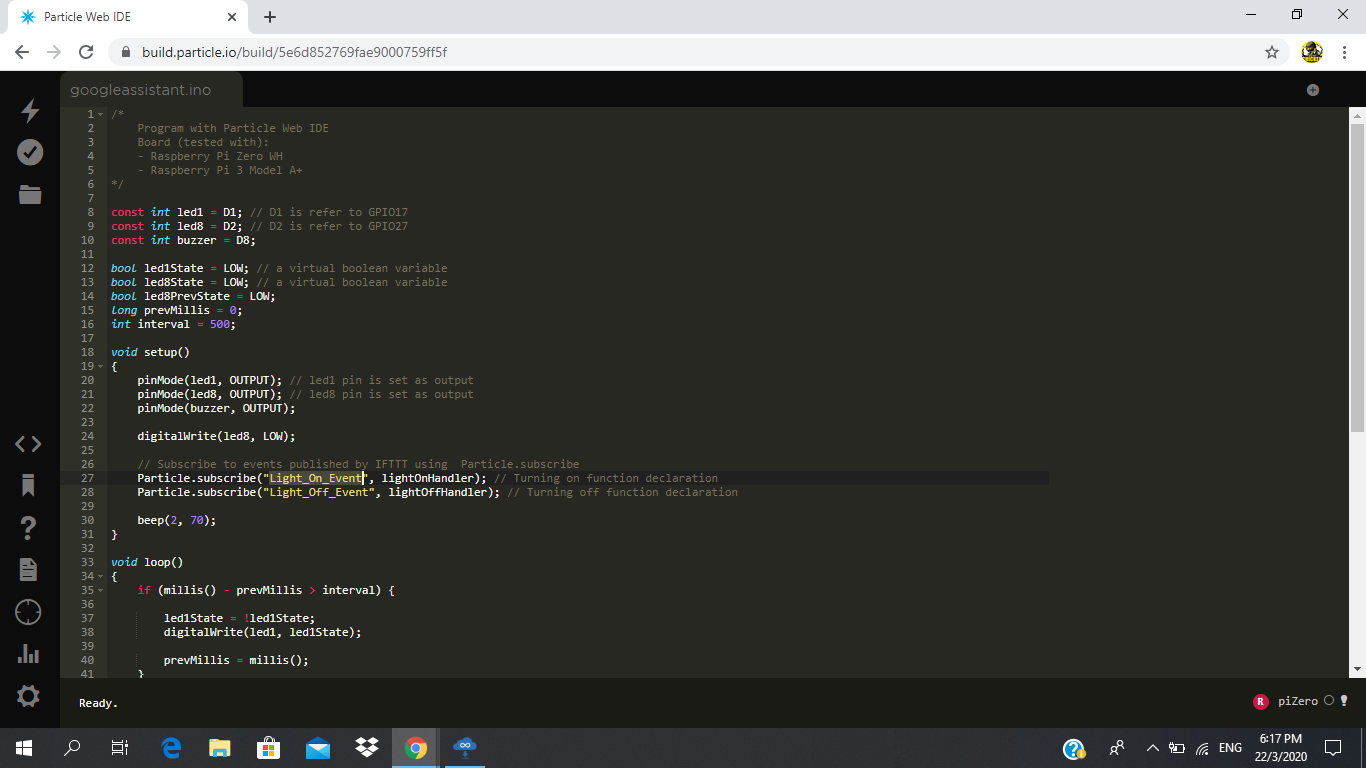
The Particle is an integrated development environment (IDE) that developing code for our Pi from an internet browser, and we'll be able to upload our code over the internet. For people that are familiar with Arduino this step must be quite easy for them as the code are likely to Arduino codes. But it's okay for hose who are not familiar I'll give the codes as well. But you can learn more about the codes next time. Here are the codes:
------------------------------------------------------------------------------------------------------------------------------------------------------
/*
Program with Particle Web IDE
Board (tested with):
- Raspberry Pi Zero W (it will be okay with other Raspberry Pi board)
*/
const int led8 = D2; // D2 is refer to GPIO27
bool led1State = LOW; // a virtual boolean variable
bool led8State = LOW; // a virtual boolean variable
bool led8PrevState = LOW;
long prevMillis = 0;int interval = 500;
void setup(){
pinMode(led1, OUTPUT); // led1 pin is set as output
pinMode(led8, OUTPUT); // led8 pin is set as output
pinMode(buzzer, OUTPUT);
digitalWrite(led8, LOW);
// Subscribe to events published by IFTTT using Particle.subscribe
Particle.subscribe("Light_On_Event", lightOnHandler); // Turning on function declaration Particle.subscribe("Light_Off_Event", lightOffHandler); // Turning off function declaration
beep(2, 70);
}
void loop(){
if (millis() - prevMillis > interval) {
led1State = !led1State;
digitalWrite(led1, led1State);
prevMillis = millis();
}
if (led8State != led8PrevState) {
led8PrevState = led8State;
digitalWrite(led8, led8State);
beep(1, 70);
}
}
// Our events are called when IFTTT applets are triggered
void lightOffHandler(const char *event, const char *data)
{
led8State = LOW;
}
void lightOnHandler(const char *event, const char *data)
{
led8State = HIGH;
}
void beep(int times, int delayMs)
{
do { digitalWrite(buzzer, HIGH);
delay(delayMs);
digitalWrite(buzzer, LOW);
delay(delayMs);
}
while (--times);
}
------------------------------------------------------------------------------------------------------------------------------------------------------
p/s : just ignore the buzzer and led one. Focus on led 8 only
After copy the codes, save the Particle App and Flash it in the Raspberry Pi that connected to the Particle Web IDE. Now the codes are ready.
Create IFTTT Applets
.png)
.png)
.png)
.png)
.png)
.png)
.png)
.png)
.png)
.png)
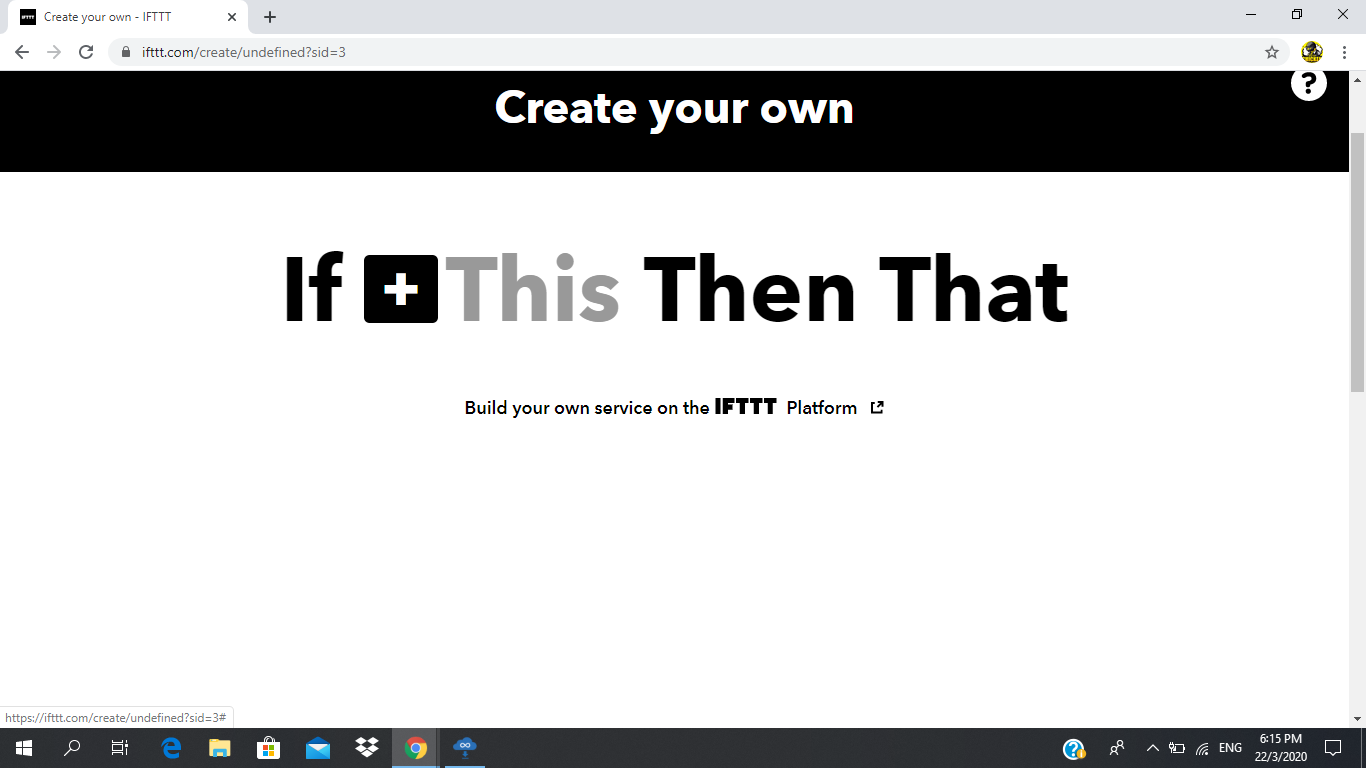
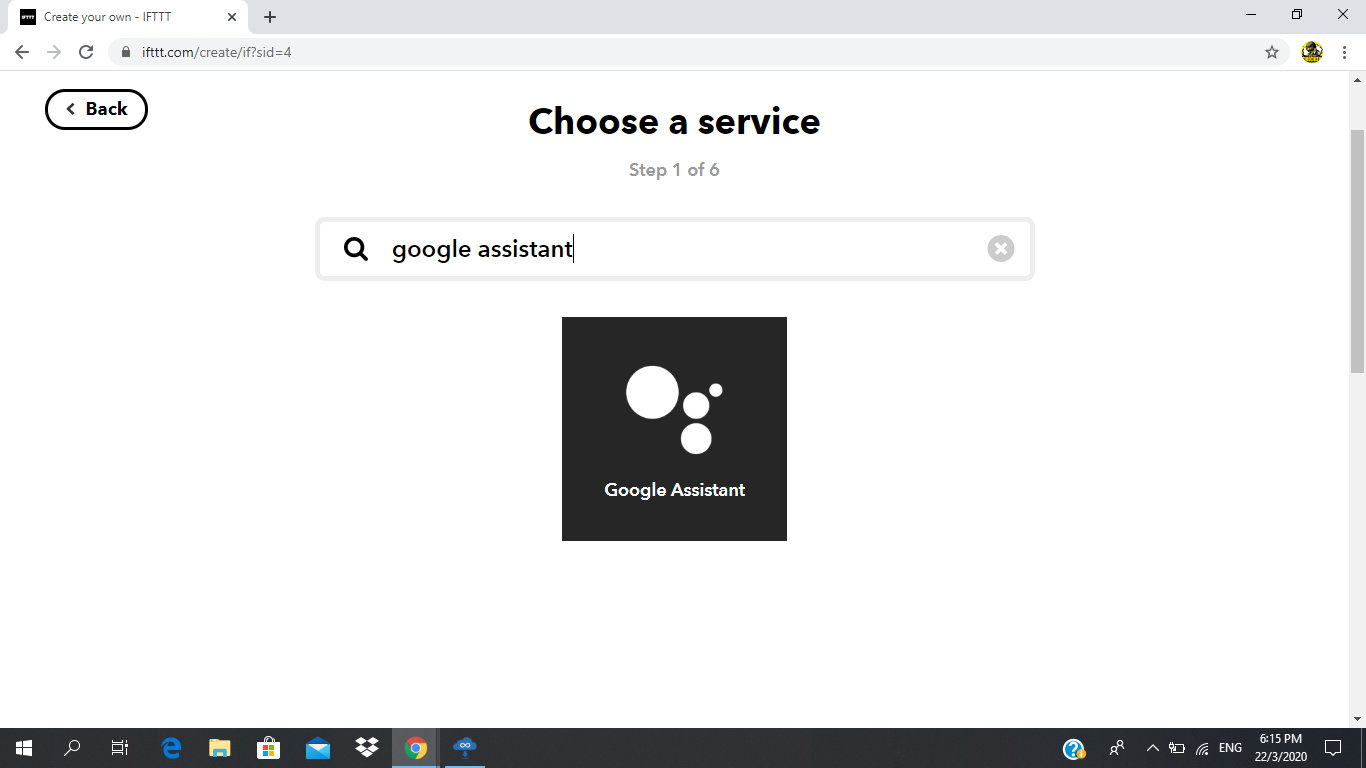
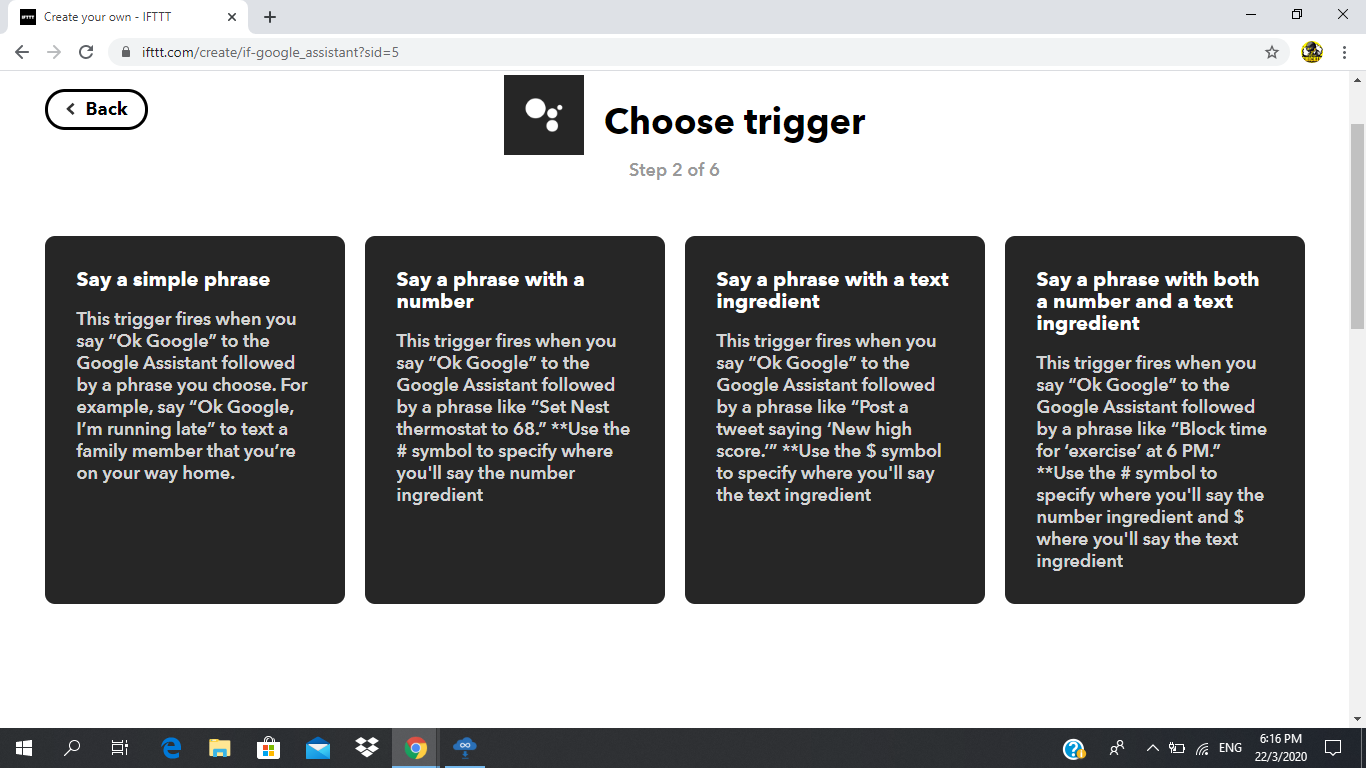
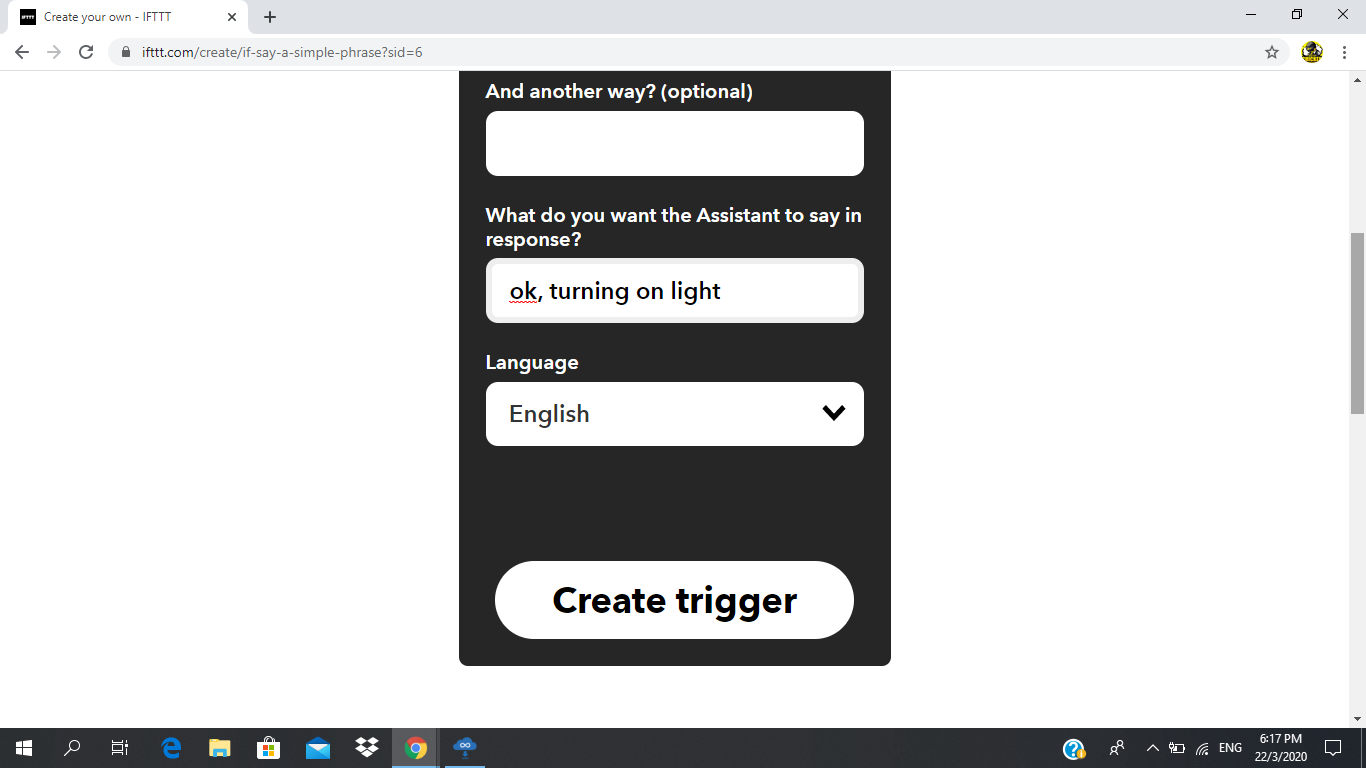
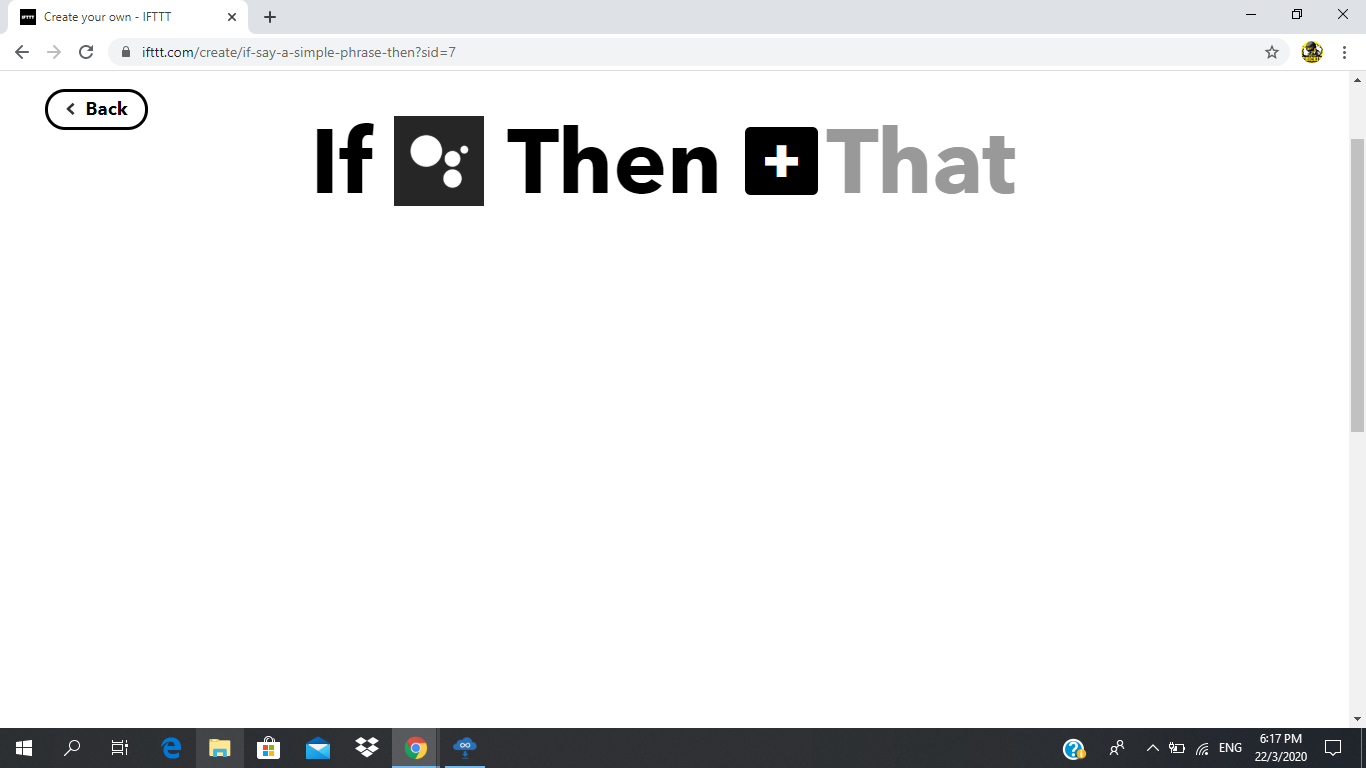
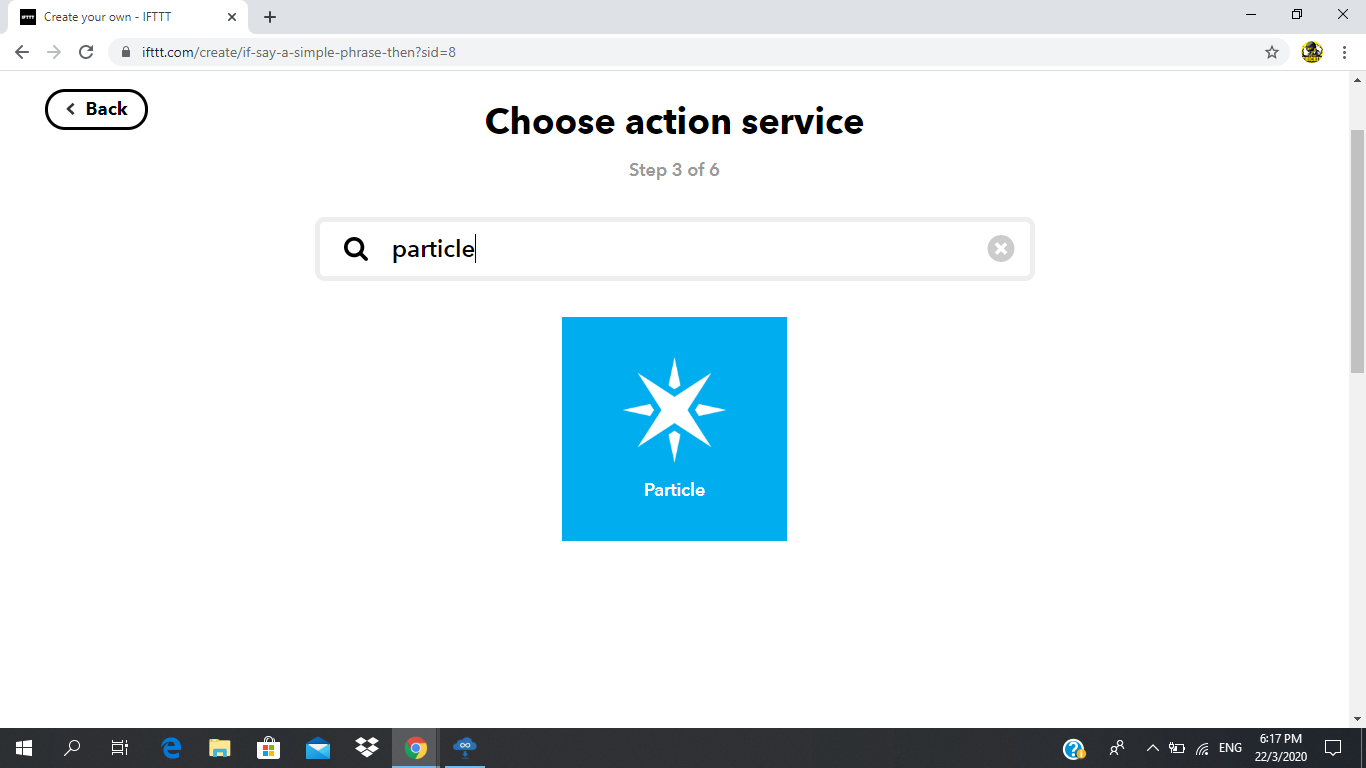
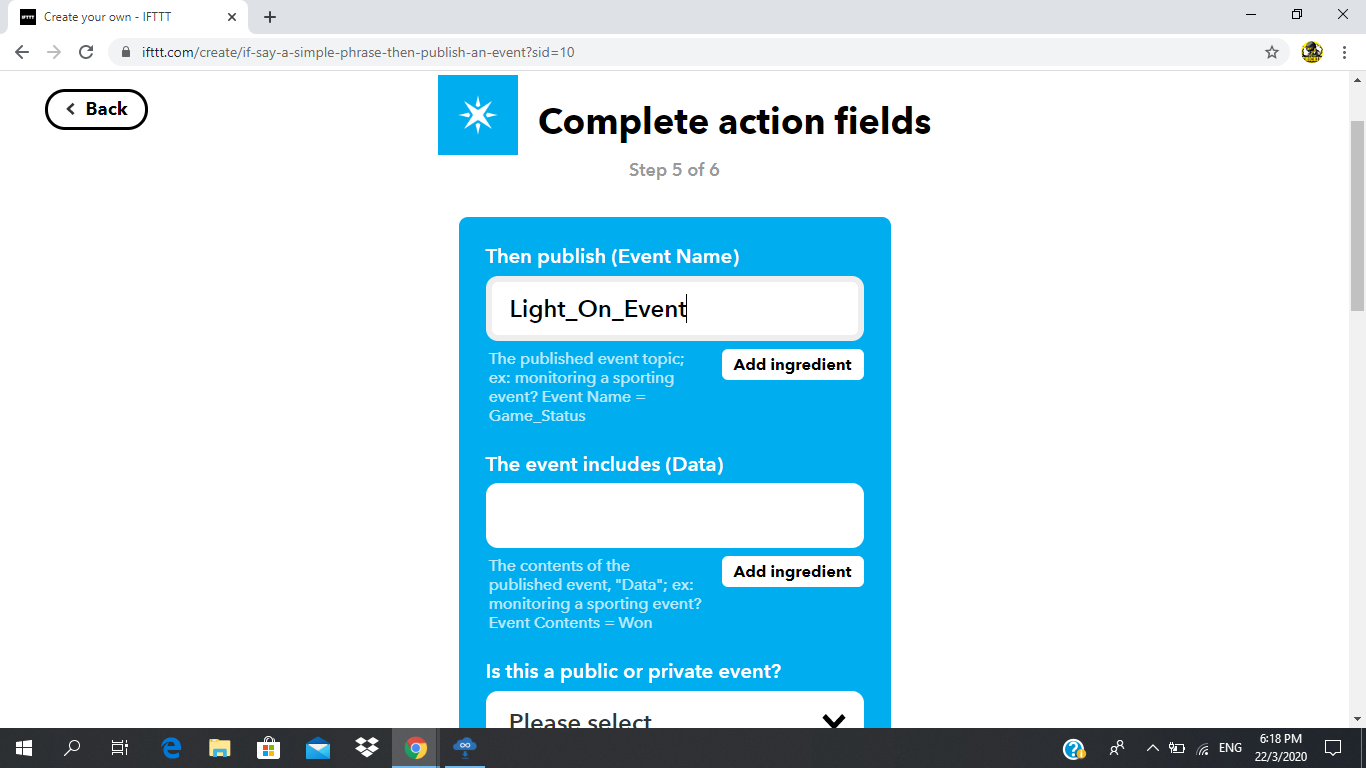
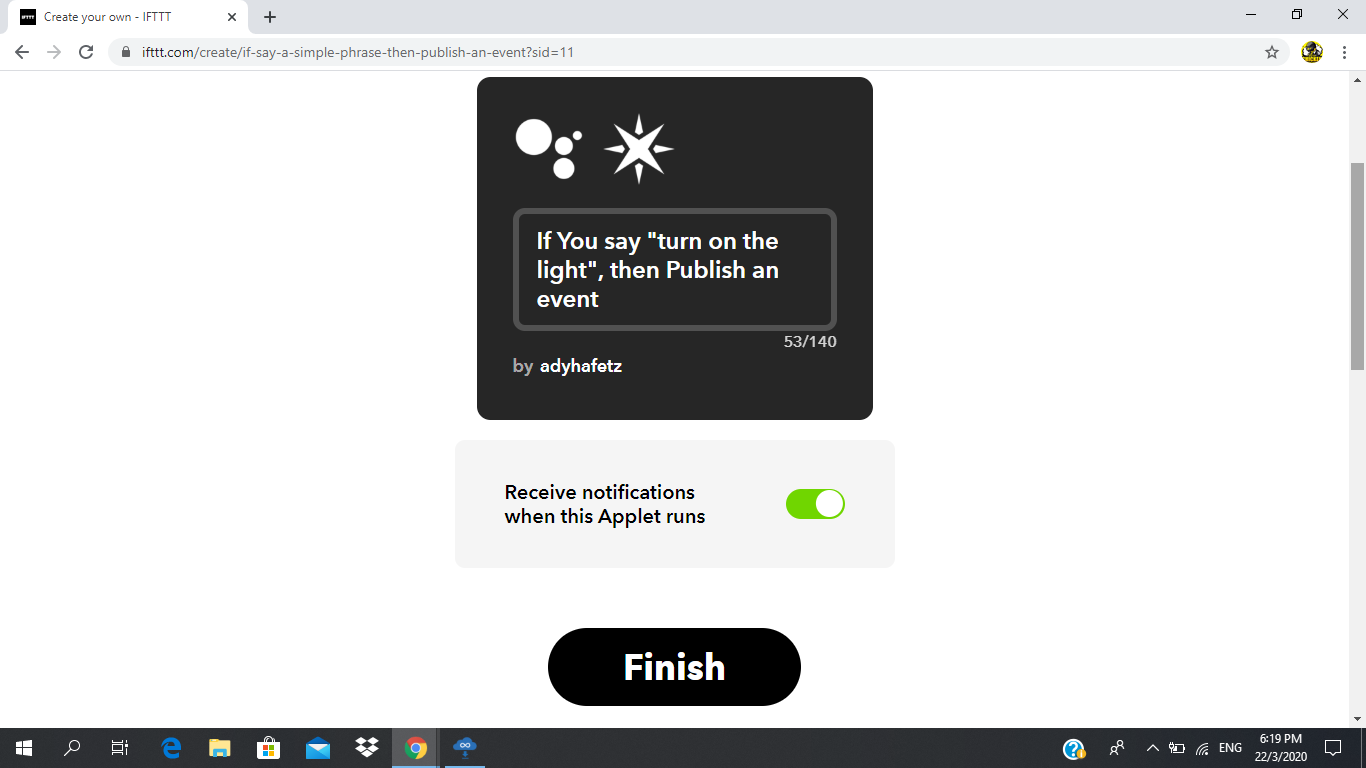
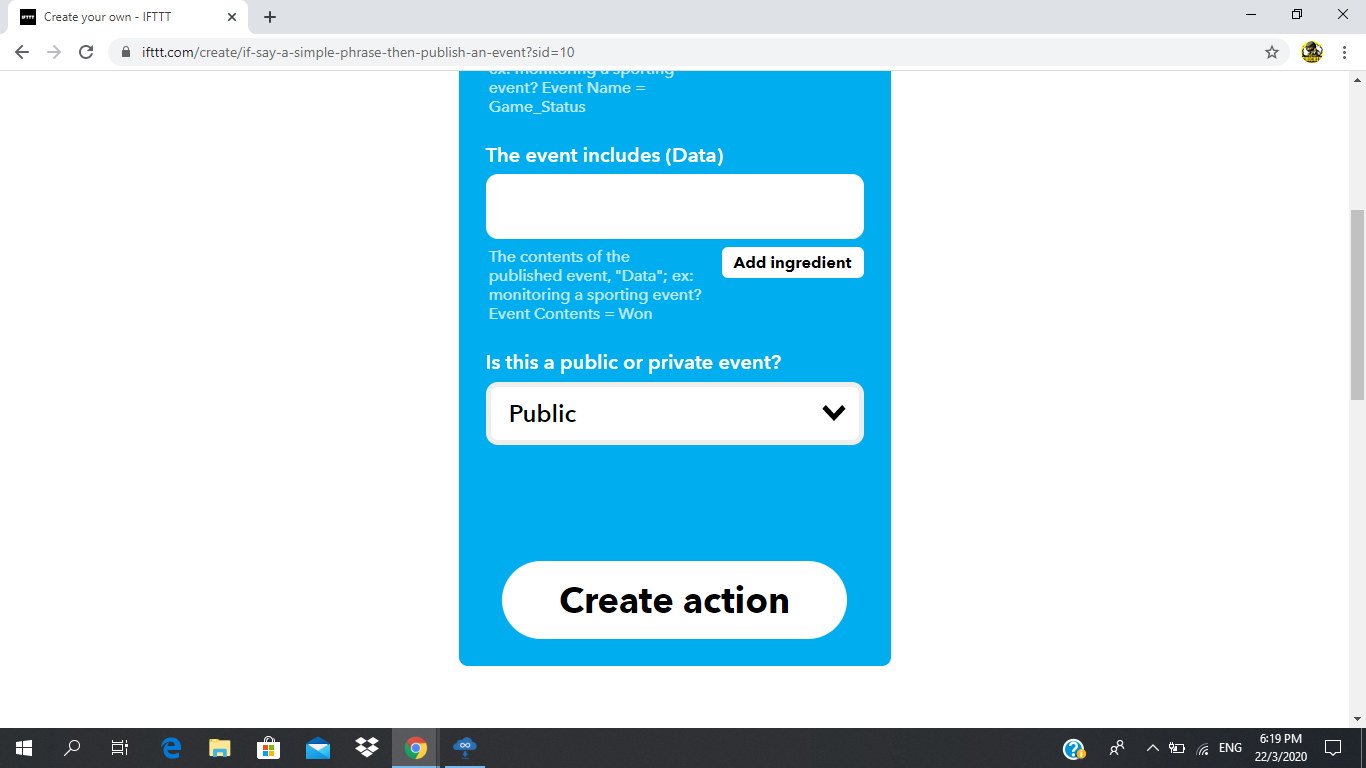
IFTTT is used to trigger your Google Assistant with your custom voice command. Just simply go to browser and go to IFTTT website. It is very simple to use. Just follow the picture step by step to make the applets.
p/s : follow the same step for "Light_Off_Event"
Wiring Up
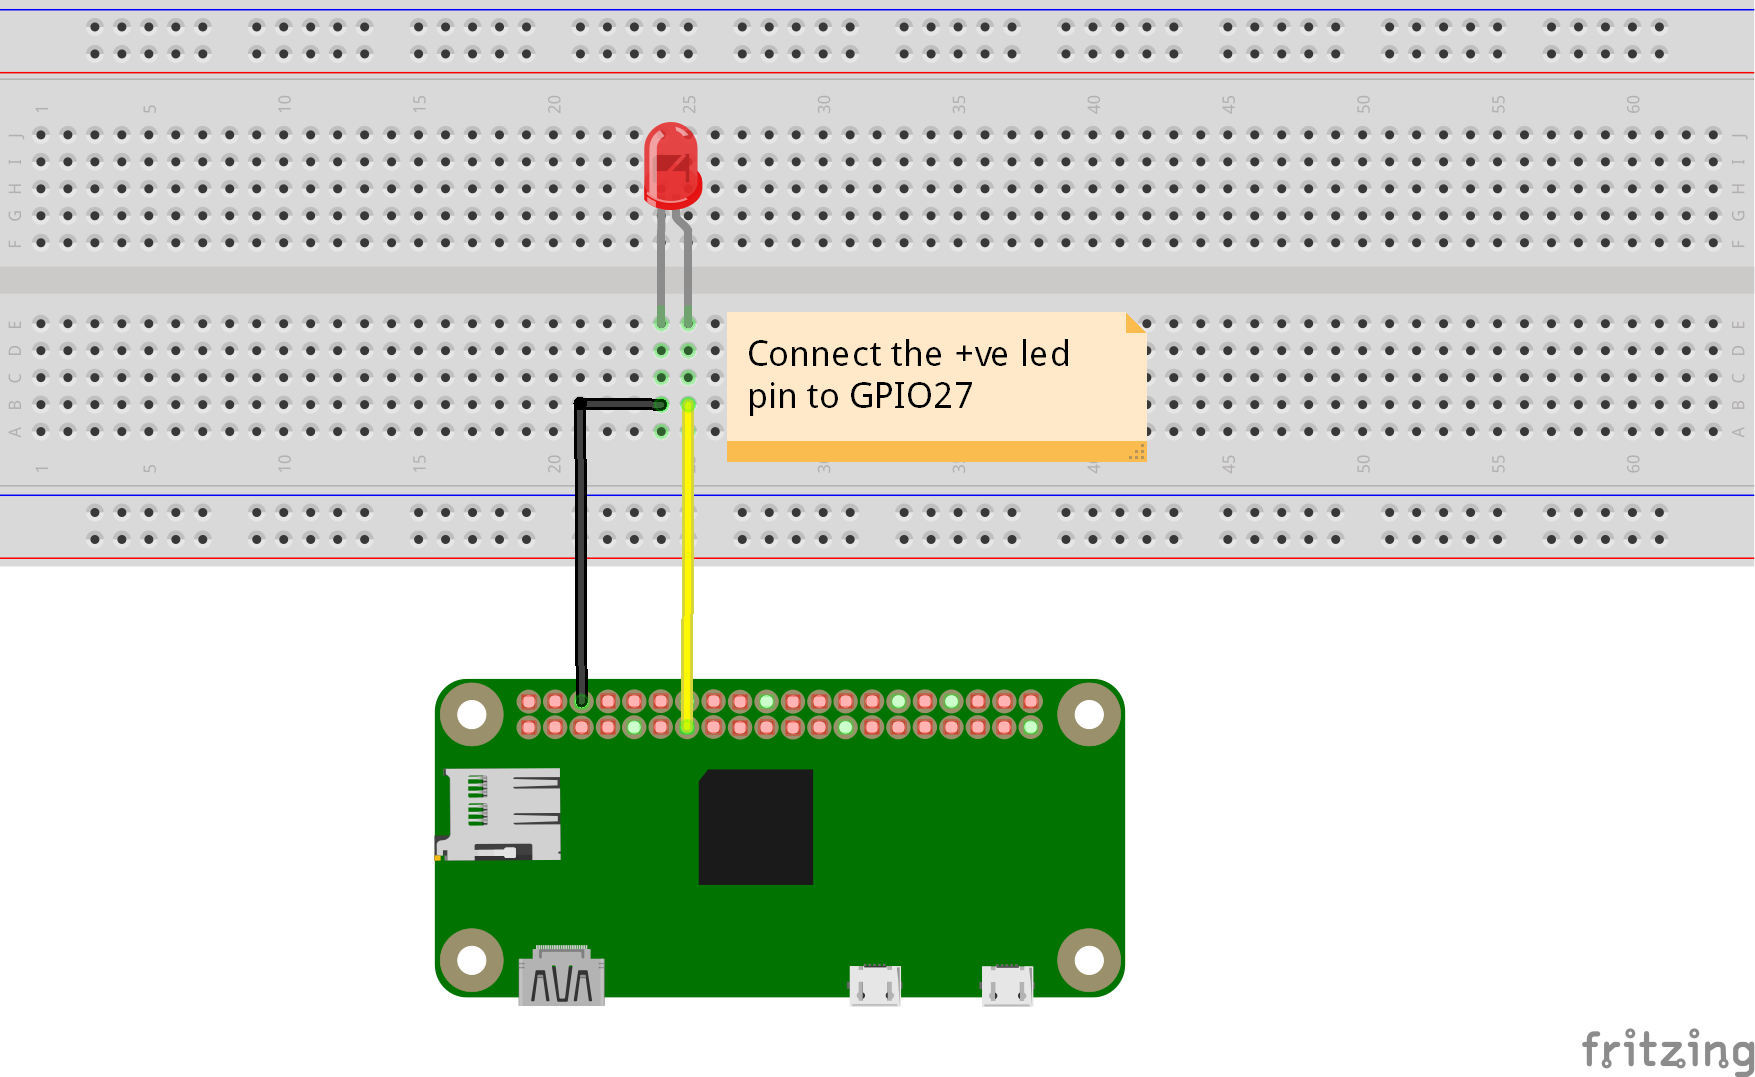
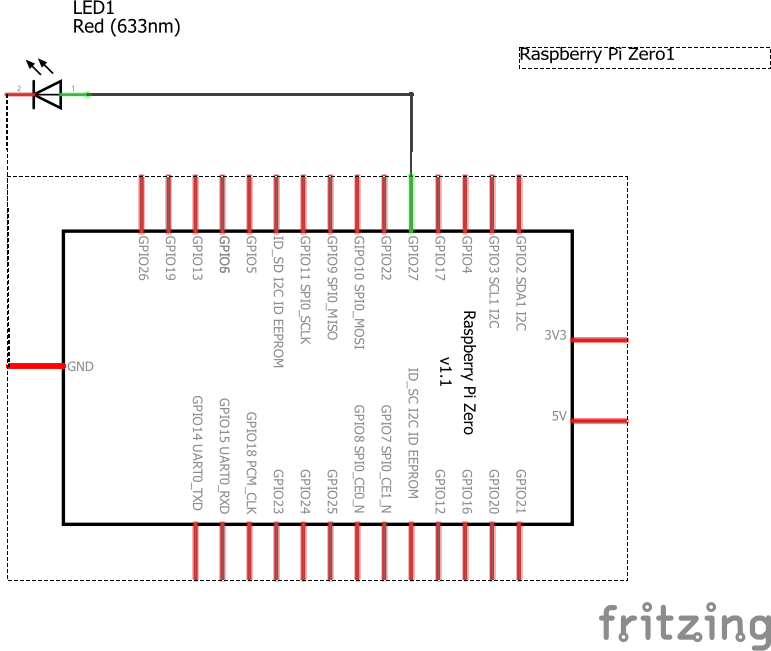
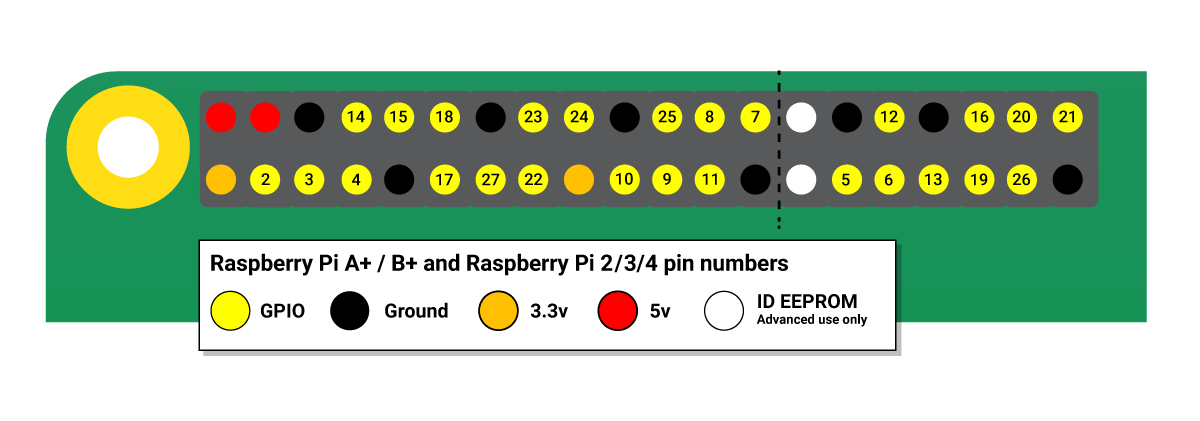
Follow the circuit diagram above and it will be fine (if you are using a Raspberry Pi Zero W). If you use other Raspberry Pi, just go for a quick Google search about the GPIO pinout of your Raspberry Pi.
Your Project Is Done
Any query, you can leave comment below and I'll try to help. Hope you enjoy this tutorial.