DIY Hipstamatic/Instagram Light Box
by swelldesigner in Design > Photography
9540 Views, 41 Favorites, 0 Comments
DIY Hipstamatic/Instagram Light Box
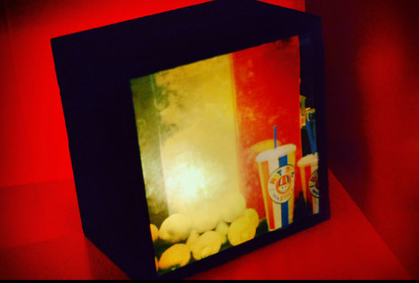
I love, love, love taking photos with my iPhone using my Hipstamatic and Instagram Apps. I have several different photography apps, but these are by far my favorite. You can make lots of cool old looking Holga/Instamatic-type prints!
I wanted to actually get one of my photos off the phone and onto the wall! I used an inexpensive wall box, vellum, my printer, and a candle to make this take shape. It turned out really cool and makes a perfect personalized gift to give!! Here's how you can make your own!
Supplies
– Wall shadow box (mine was 6x6 and purchased in a set at Target on clearance! Only $3!)
– Hipstamatic photo with black frame edge (you can use another square photo if you don't have a Hipstamatic photo)
– Vellum paper
– The Perfect Printing Pouch (seriously recommended)
– Double sided tape or tape runner for vellum
– Ruler
– Xacto knife
– Cutting Mat
– Photo processing program like Photoshop (you could also use iPhoto)
– Inkjet printer
– tealight (for safety reasons, you could use a battery operated one)
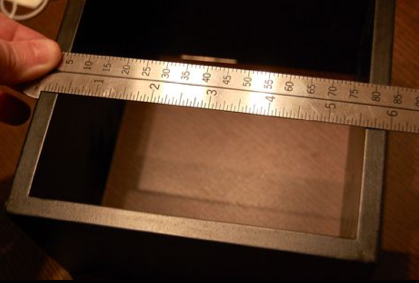
Measure Your Shadow Box
Open Your Image in Photoshop
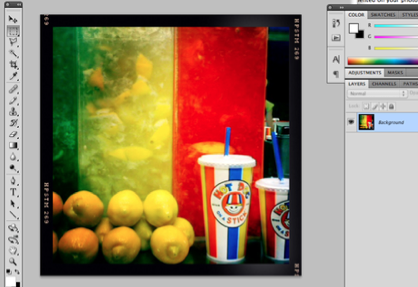
Open up your Hipstamatic image in Photoshop or other photo processing program you can use to adjust sizes. Fit photo to the size of your box (my document size was 6"x6".)
Use Perfect Printing Pouch on Vellum
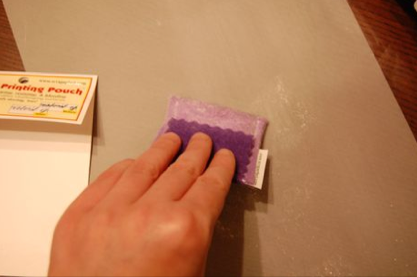
Since you're going to be printing on vellum, it is helpful to use the Perfect Printing Pouch to prepare the paper. Basically, it gives the vellum a powder-like coating that makes the ink on the inkjet printer stick to the vellum. A lot of people have trouble with ink rubbing off or not drying completely and this does the trick! Of course, you can print on vellum without coating it first, but I didn't want to risk it (and I bought this pouch like 4 years ago and have never used it, so I thought I would give it a go!)
Print your image out with your inkjet printer.
Print your image out with your inkjet printer.
Add Vellum Tape
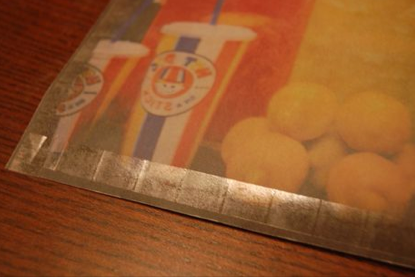
Use ruler and Xacto knife to cut out image. Use the vellum tape to go around edge on back of image.
Press Into Place
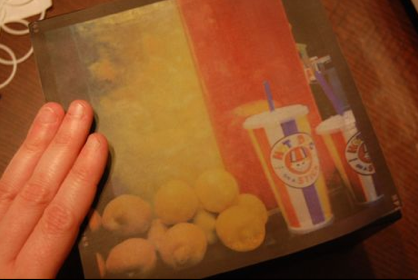
Apply image to surface and press into place.
Light With Battery-operated Tealight
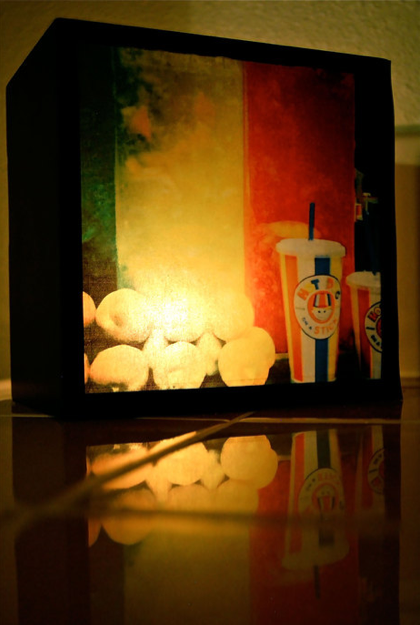
I then added a tea light and it was complete! The finish without the light behind it is a little dull as you can see in the photo above (this is the nature of vellum), but it would still make a cool accent piece.