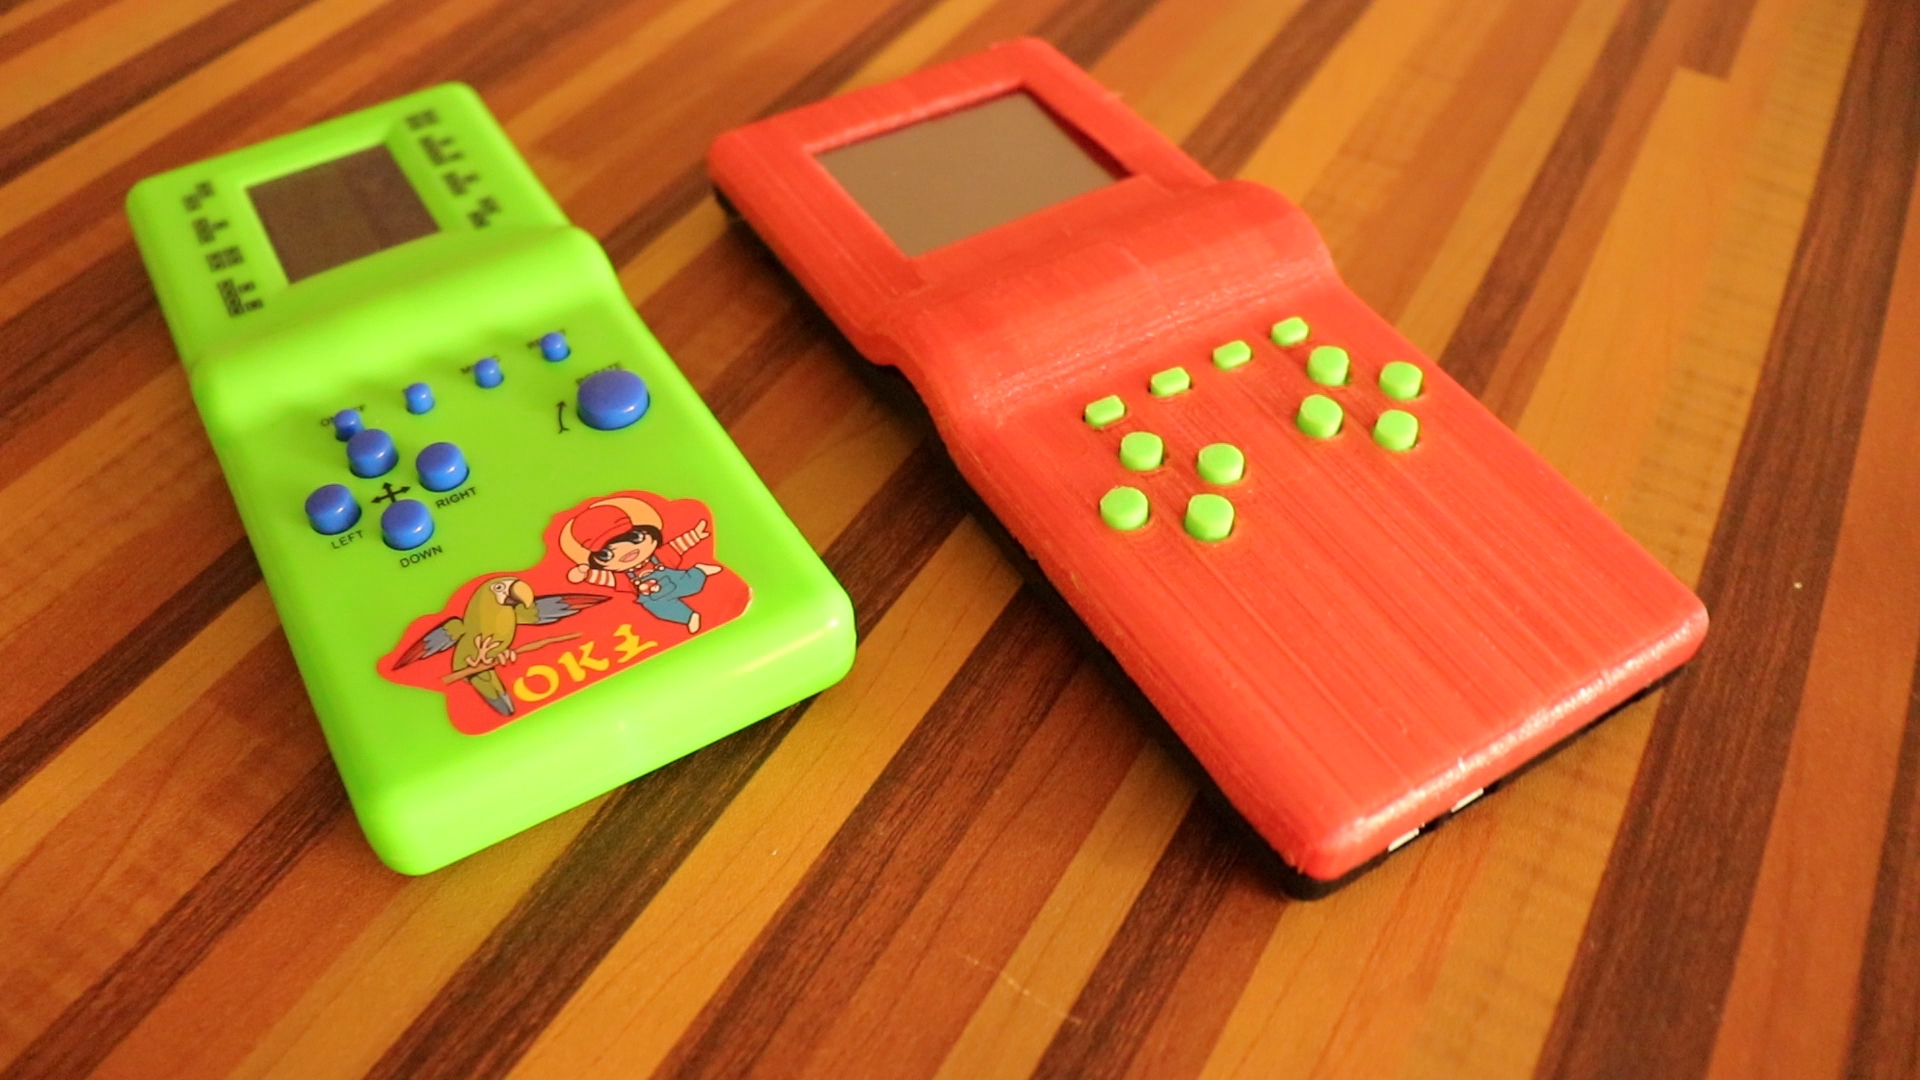
DIY Handheld Game Console Using RetroPie
by sathyanc in Circuits > Raspberry Pi
3543 Views, 7 Favorites, 0 Comments
DIY Handheld Game Console Using RetroPie

Watch the above video to understand this project better.
Fine. It’s time to get you started!
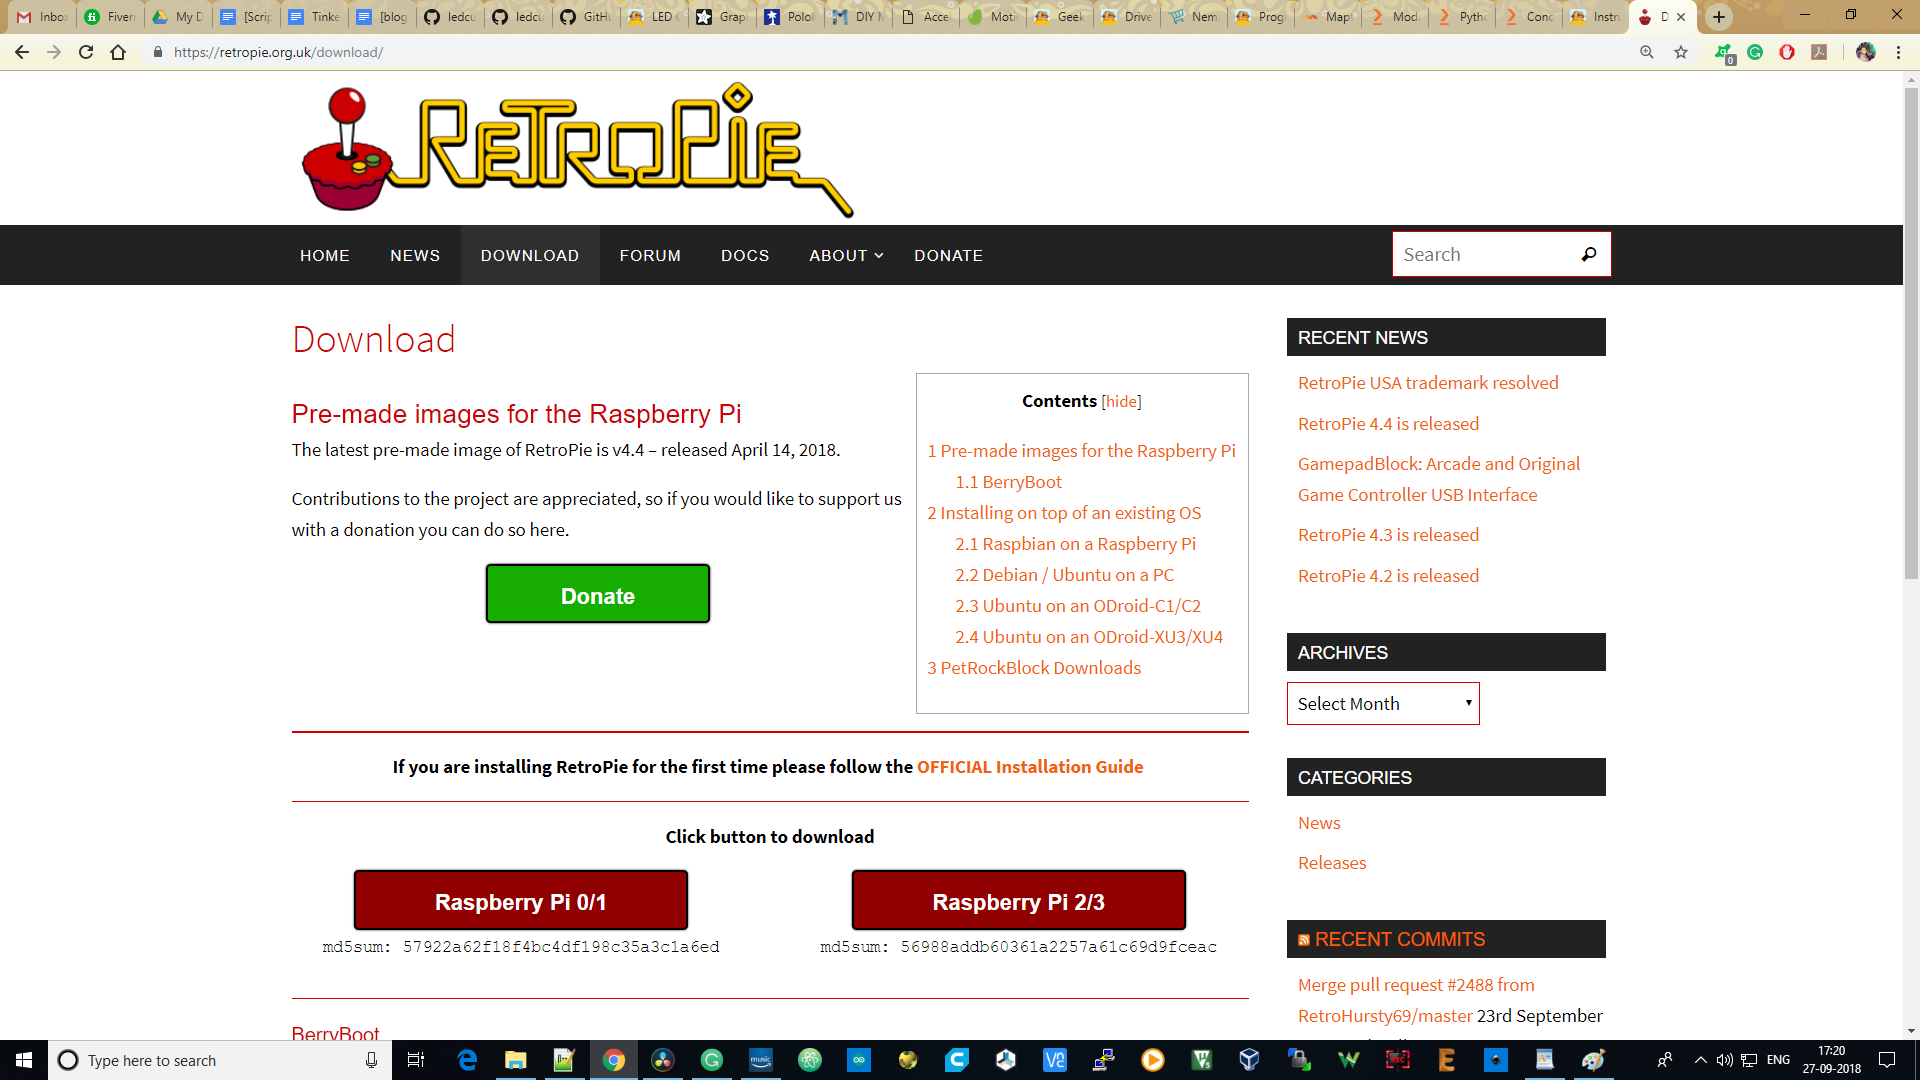
First of all, we are going to use RetroPie. This leaves us with two options. If we have already installed Raspbian on our SD card, then we can install RetroPie emulator on top of it. Otherwise, we can download the Prebuilt RetroPie Image and configure the hardware, download, install and play the games.
I download the prebuilt RetroPie image. You have to go to this link: https://retropie.org.uk/download/ and download the Raspberry Pi 0/1 image if you are using Raspberry Pi Zero board or you can download the Raspberry Pi 2/3 Image if you are using the 2,3,3B version boards.
Things Required

Here are the things we need:
- Raspberry Pi Zero W
- Keyboard or Joystick (For Initial Setup)
- Micro SD Card (Min 4 GB)
- TV / Monitor PC (For Initial Setup)
- Tactile Buttons - 12 pc
- Sliding Switch - 1pc
- TFT Display (I used a 2.2" ILI9341 Display)
- 0.5W 8 Ohm Metal Speaker
- Step up DC-DC Converter Module (I used MT3608)
- Resistors and Capacitors for Filter (See schematic)
- Stereo Amp Module PAM1608 (I used the one with Knob)
- Glue Gun
- Soldering Machine
- Lithium Polymer Battery (I used 1500mAH)
- LiPo Charger Module
You may need access to a 3D printer if you want to build a full blown console.
In such a case, you can download the 3D models from my Thingiverse profile:
Download Etcher

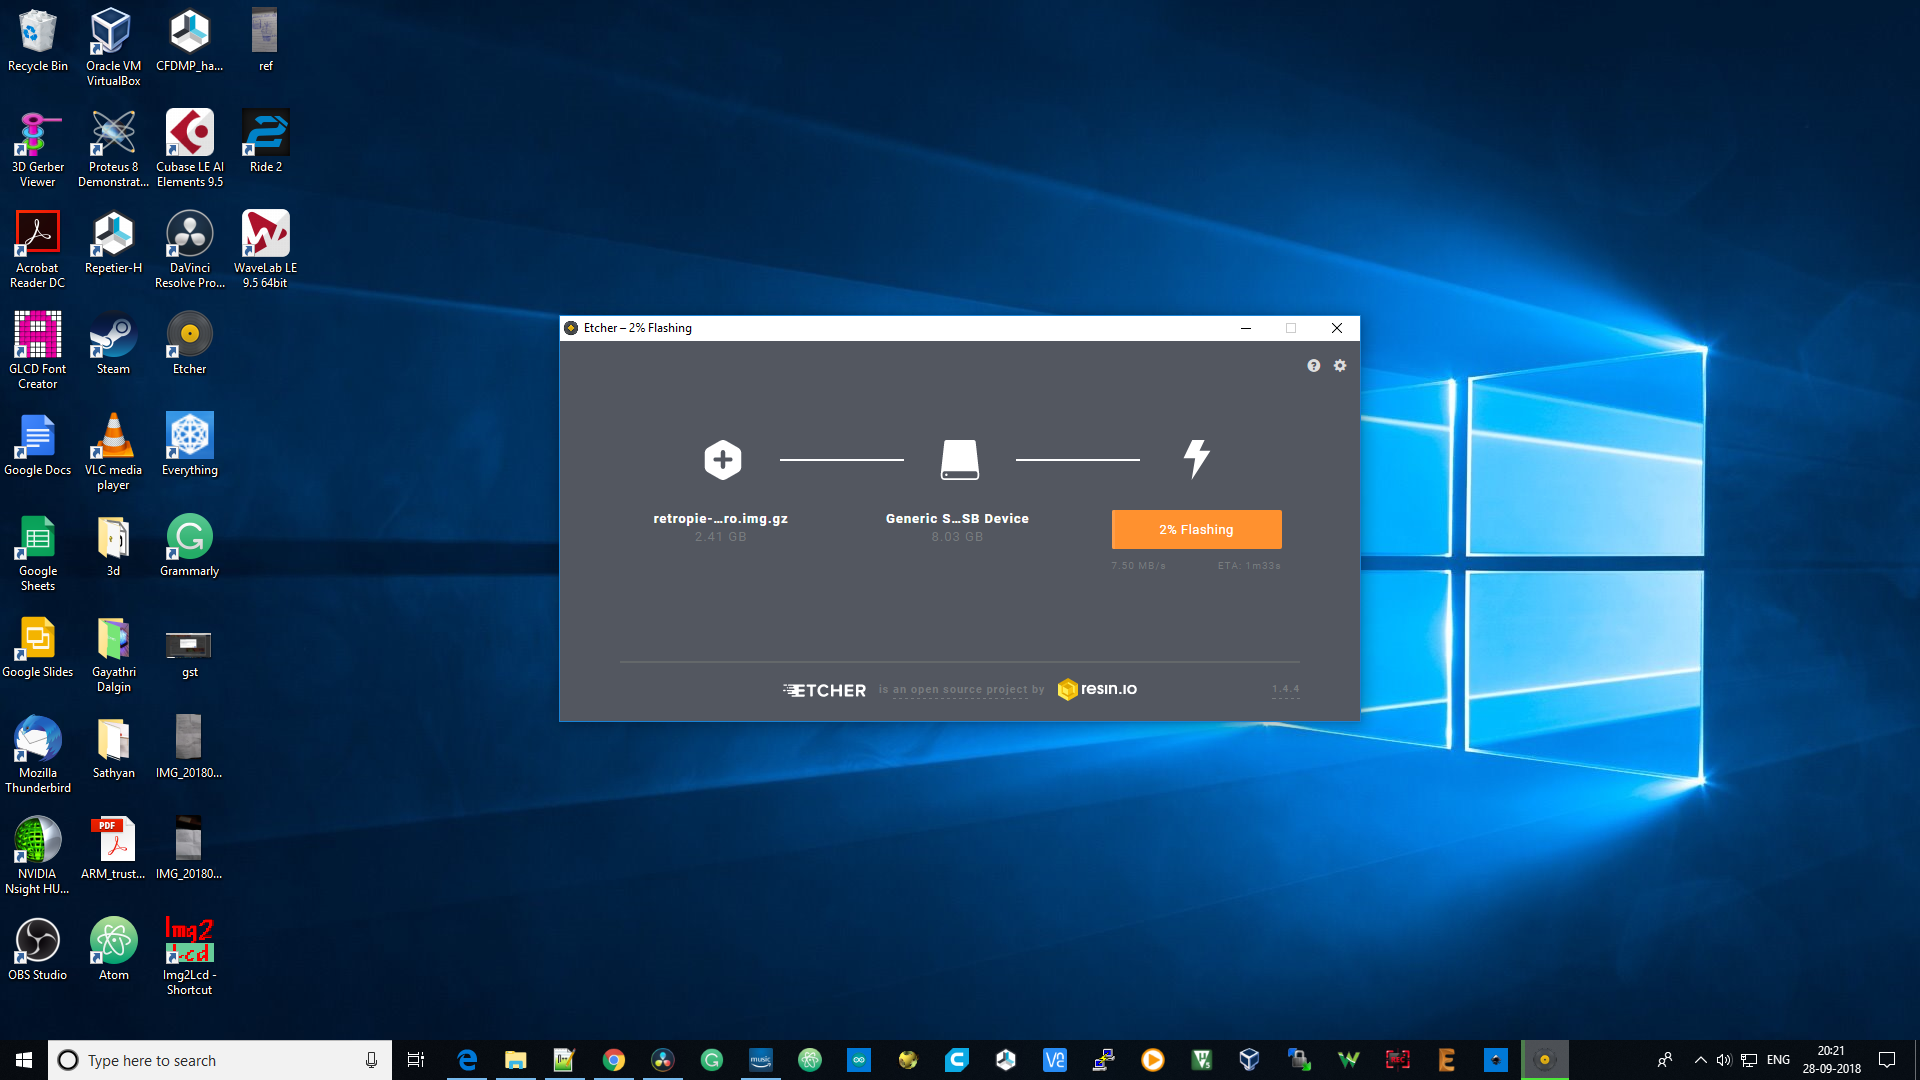
Once the disk image is downloaded, you can flash it to your SD card using the software called Etcher.
You can download Etcher here: https://etcher.io/.
After downloading the software, select the downloaded disk image and choose the SD Card and click flash. It may take a minute or two to prepare your SD card.
Now plug this into the raspberry pi and connect it to your monitor.
First Time Configuration

Connect the power through the micro USB Cable.
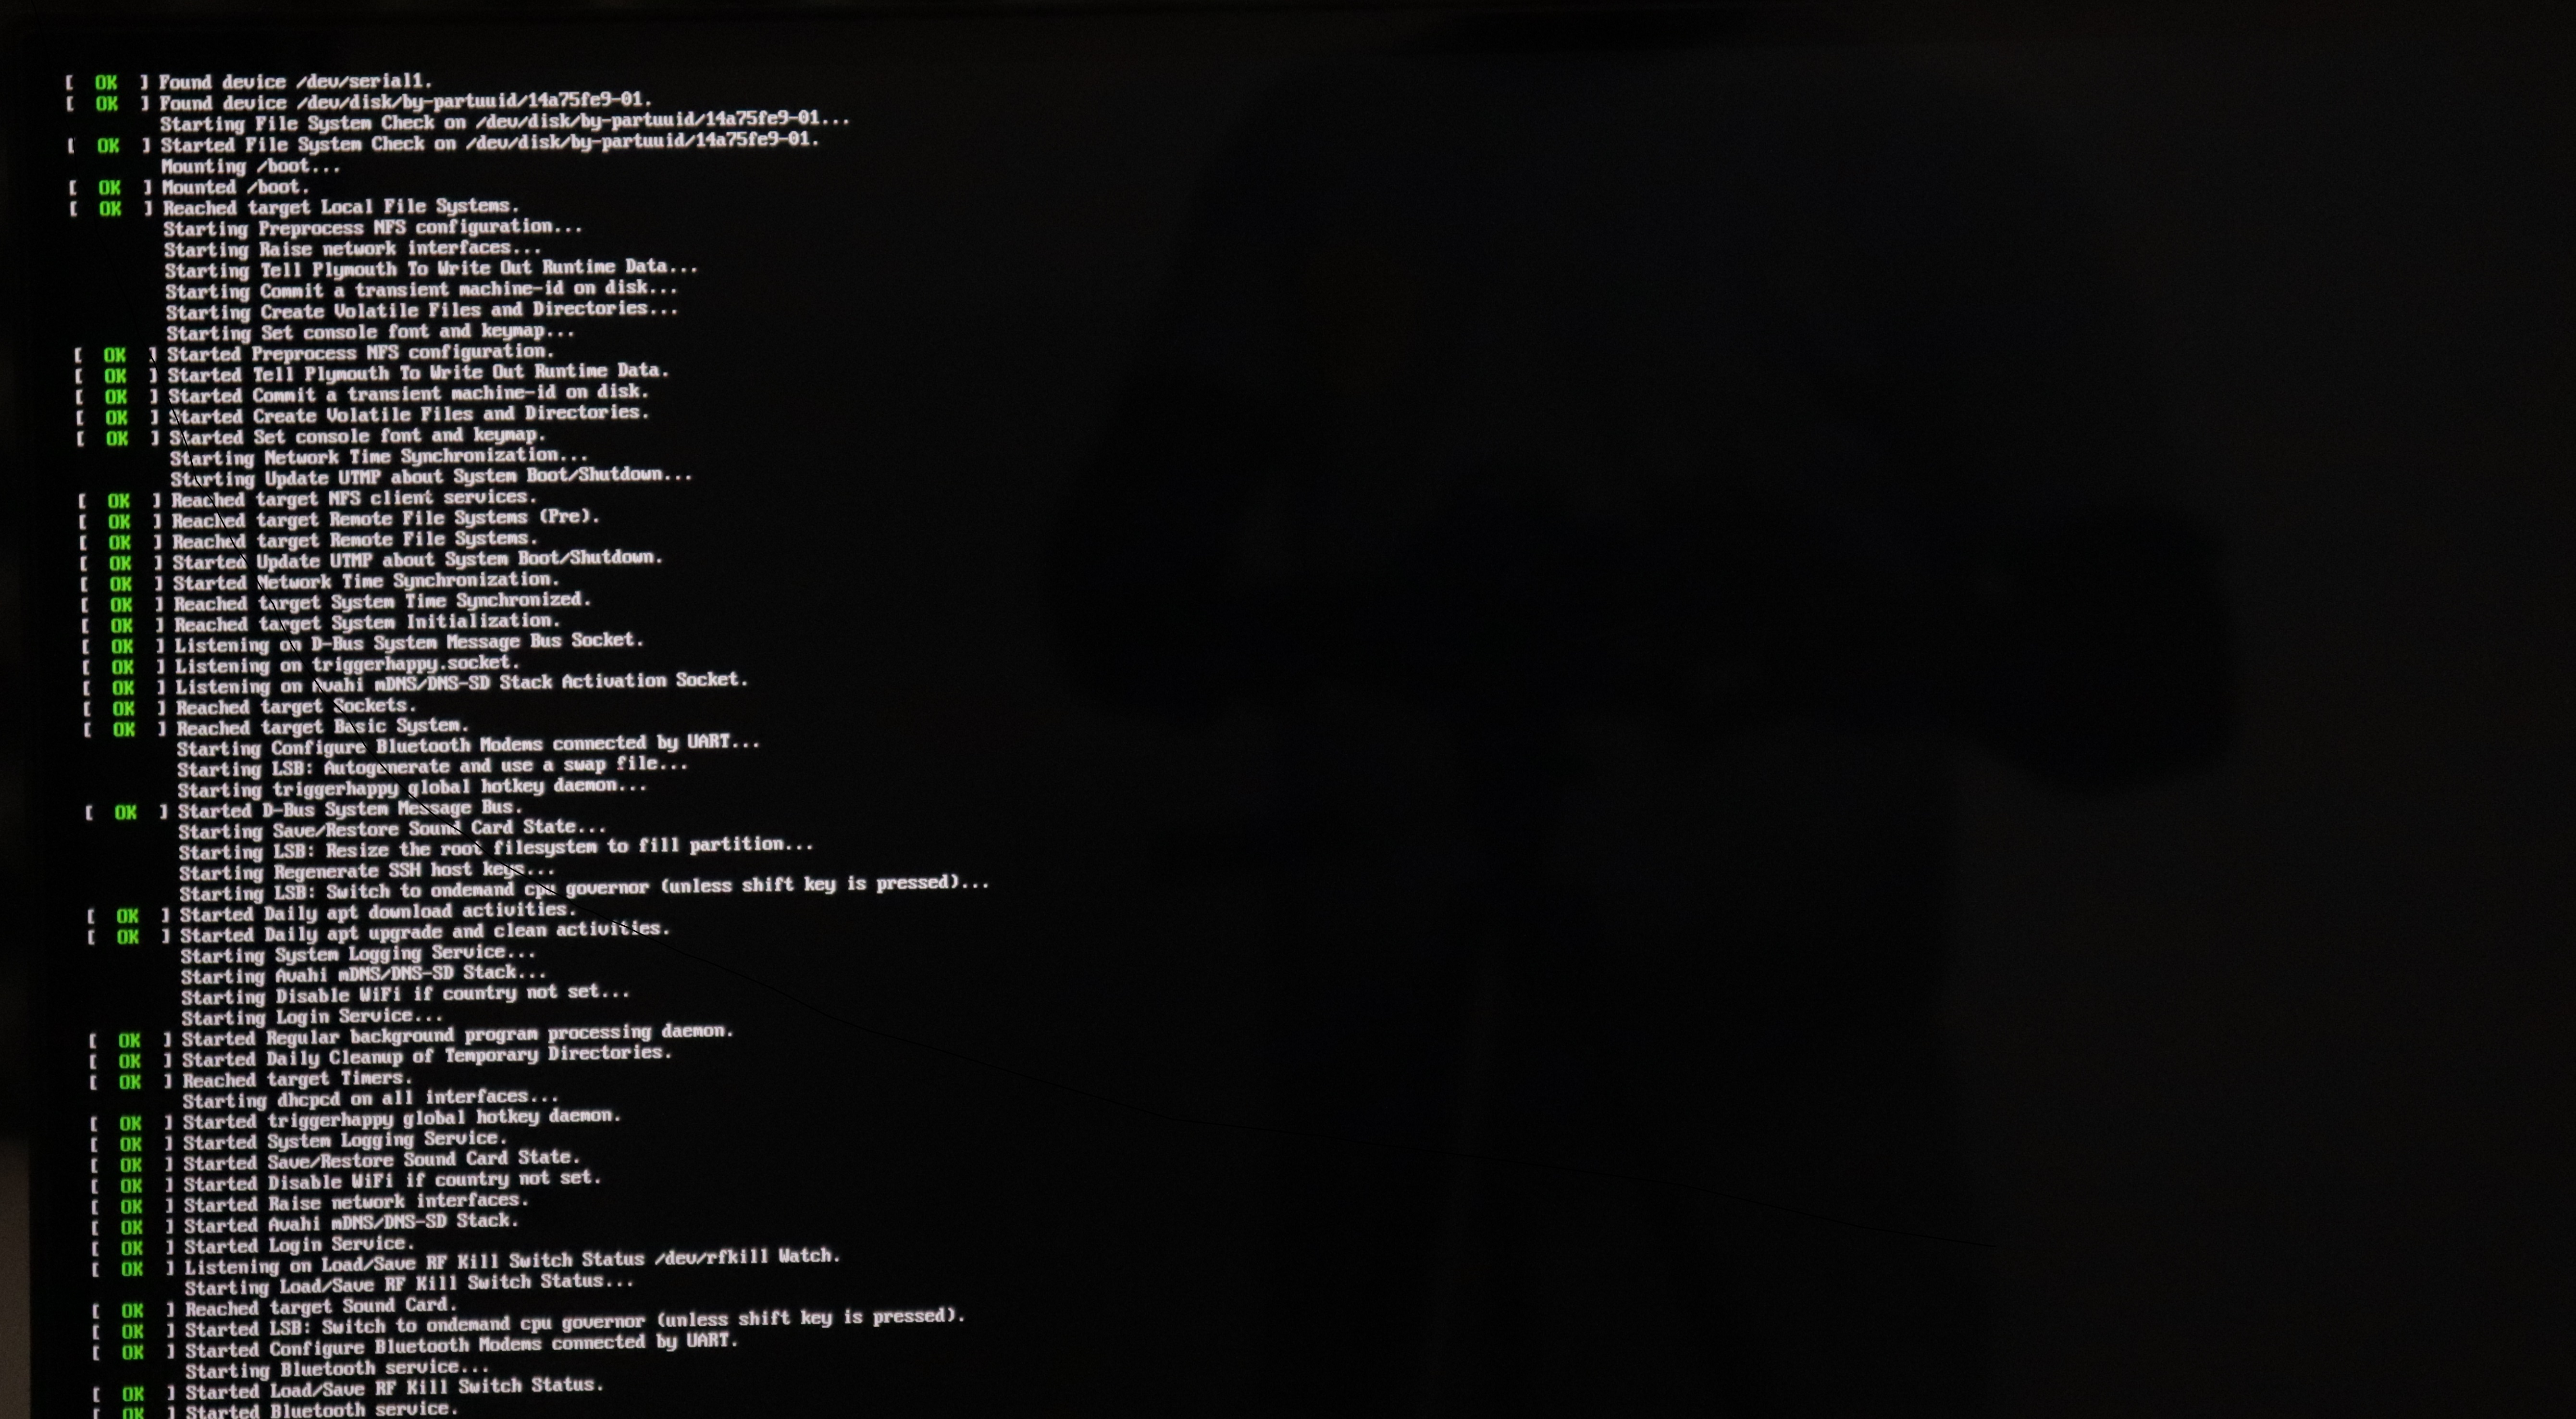
Bingo.
We got the startup console message followed by the RetroPie Splash Screen and then the Emulationstation Splash Screen which the RetroPie uses as the frontend game launcher.
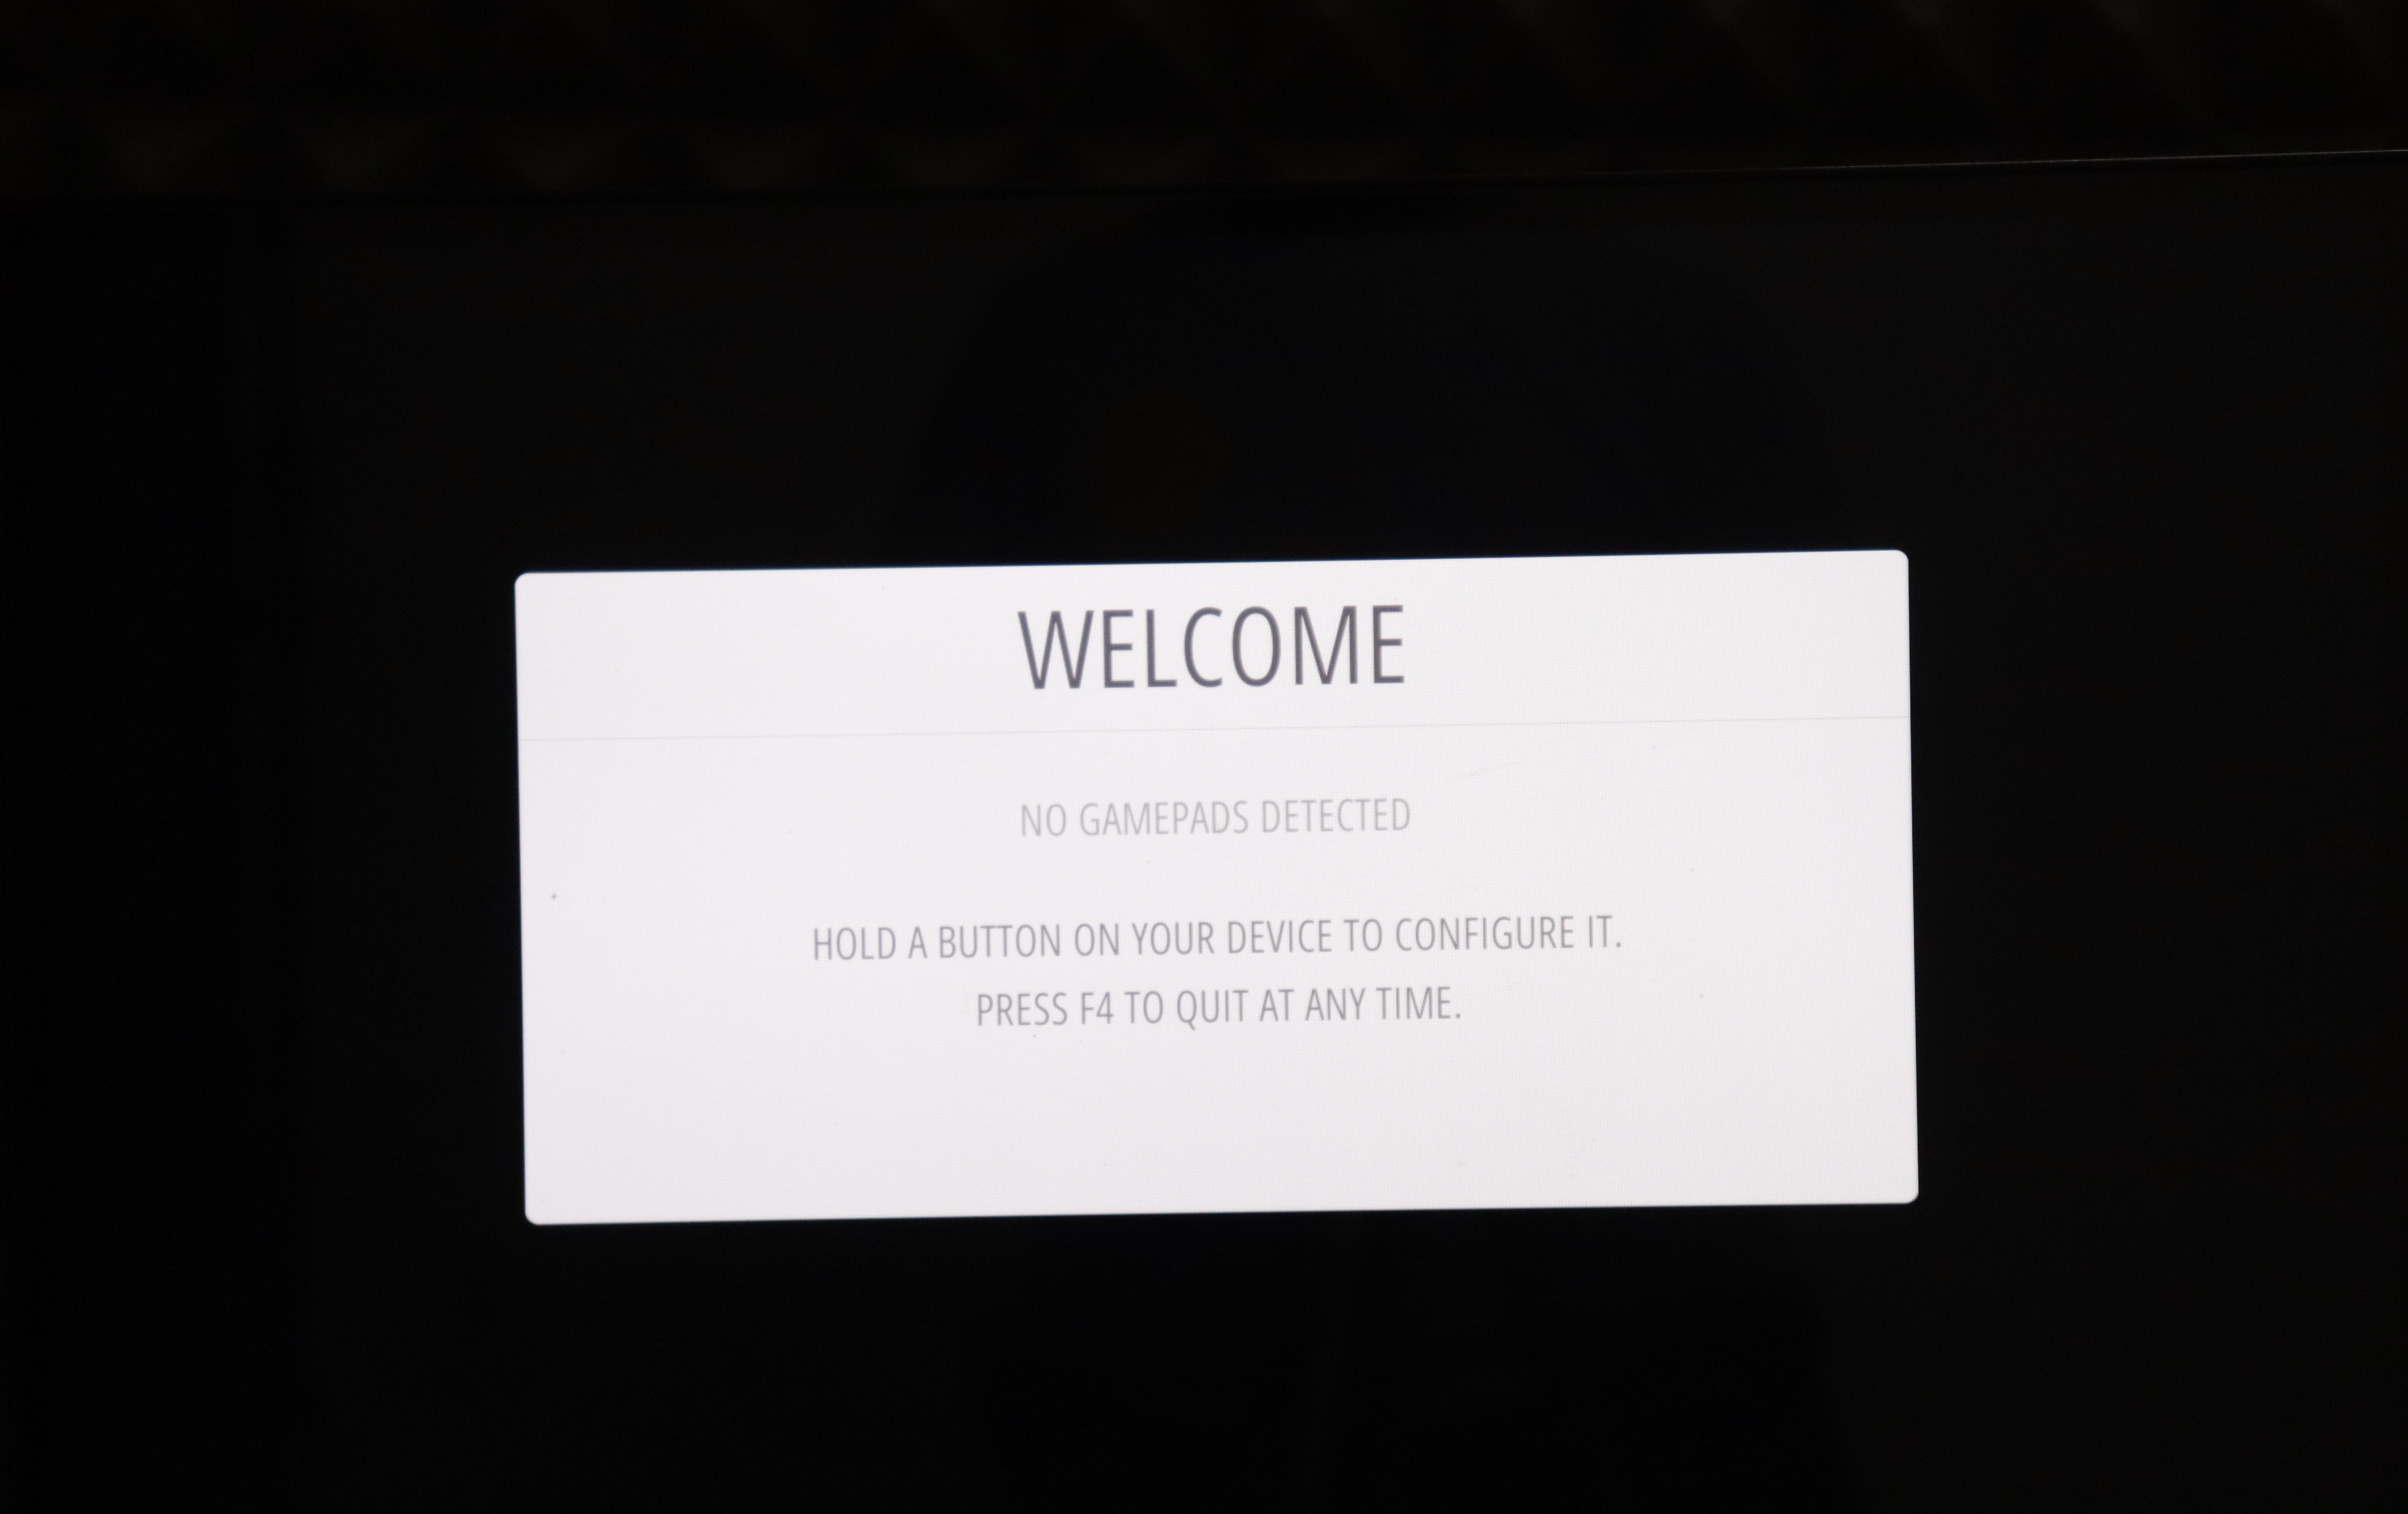
If you have a keyboard, connect it and press F4 to get into the Linux command prompt. You can configure the inputs later.
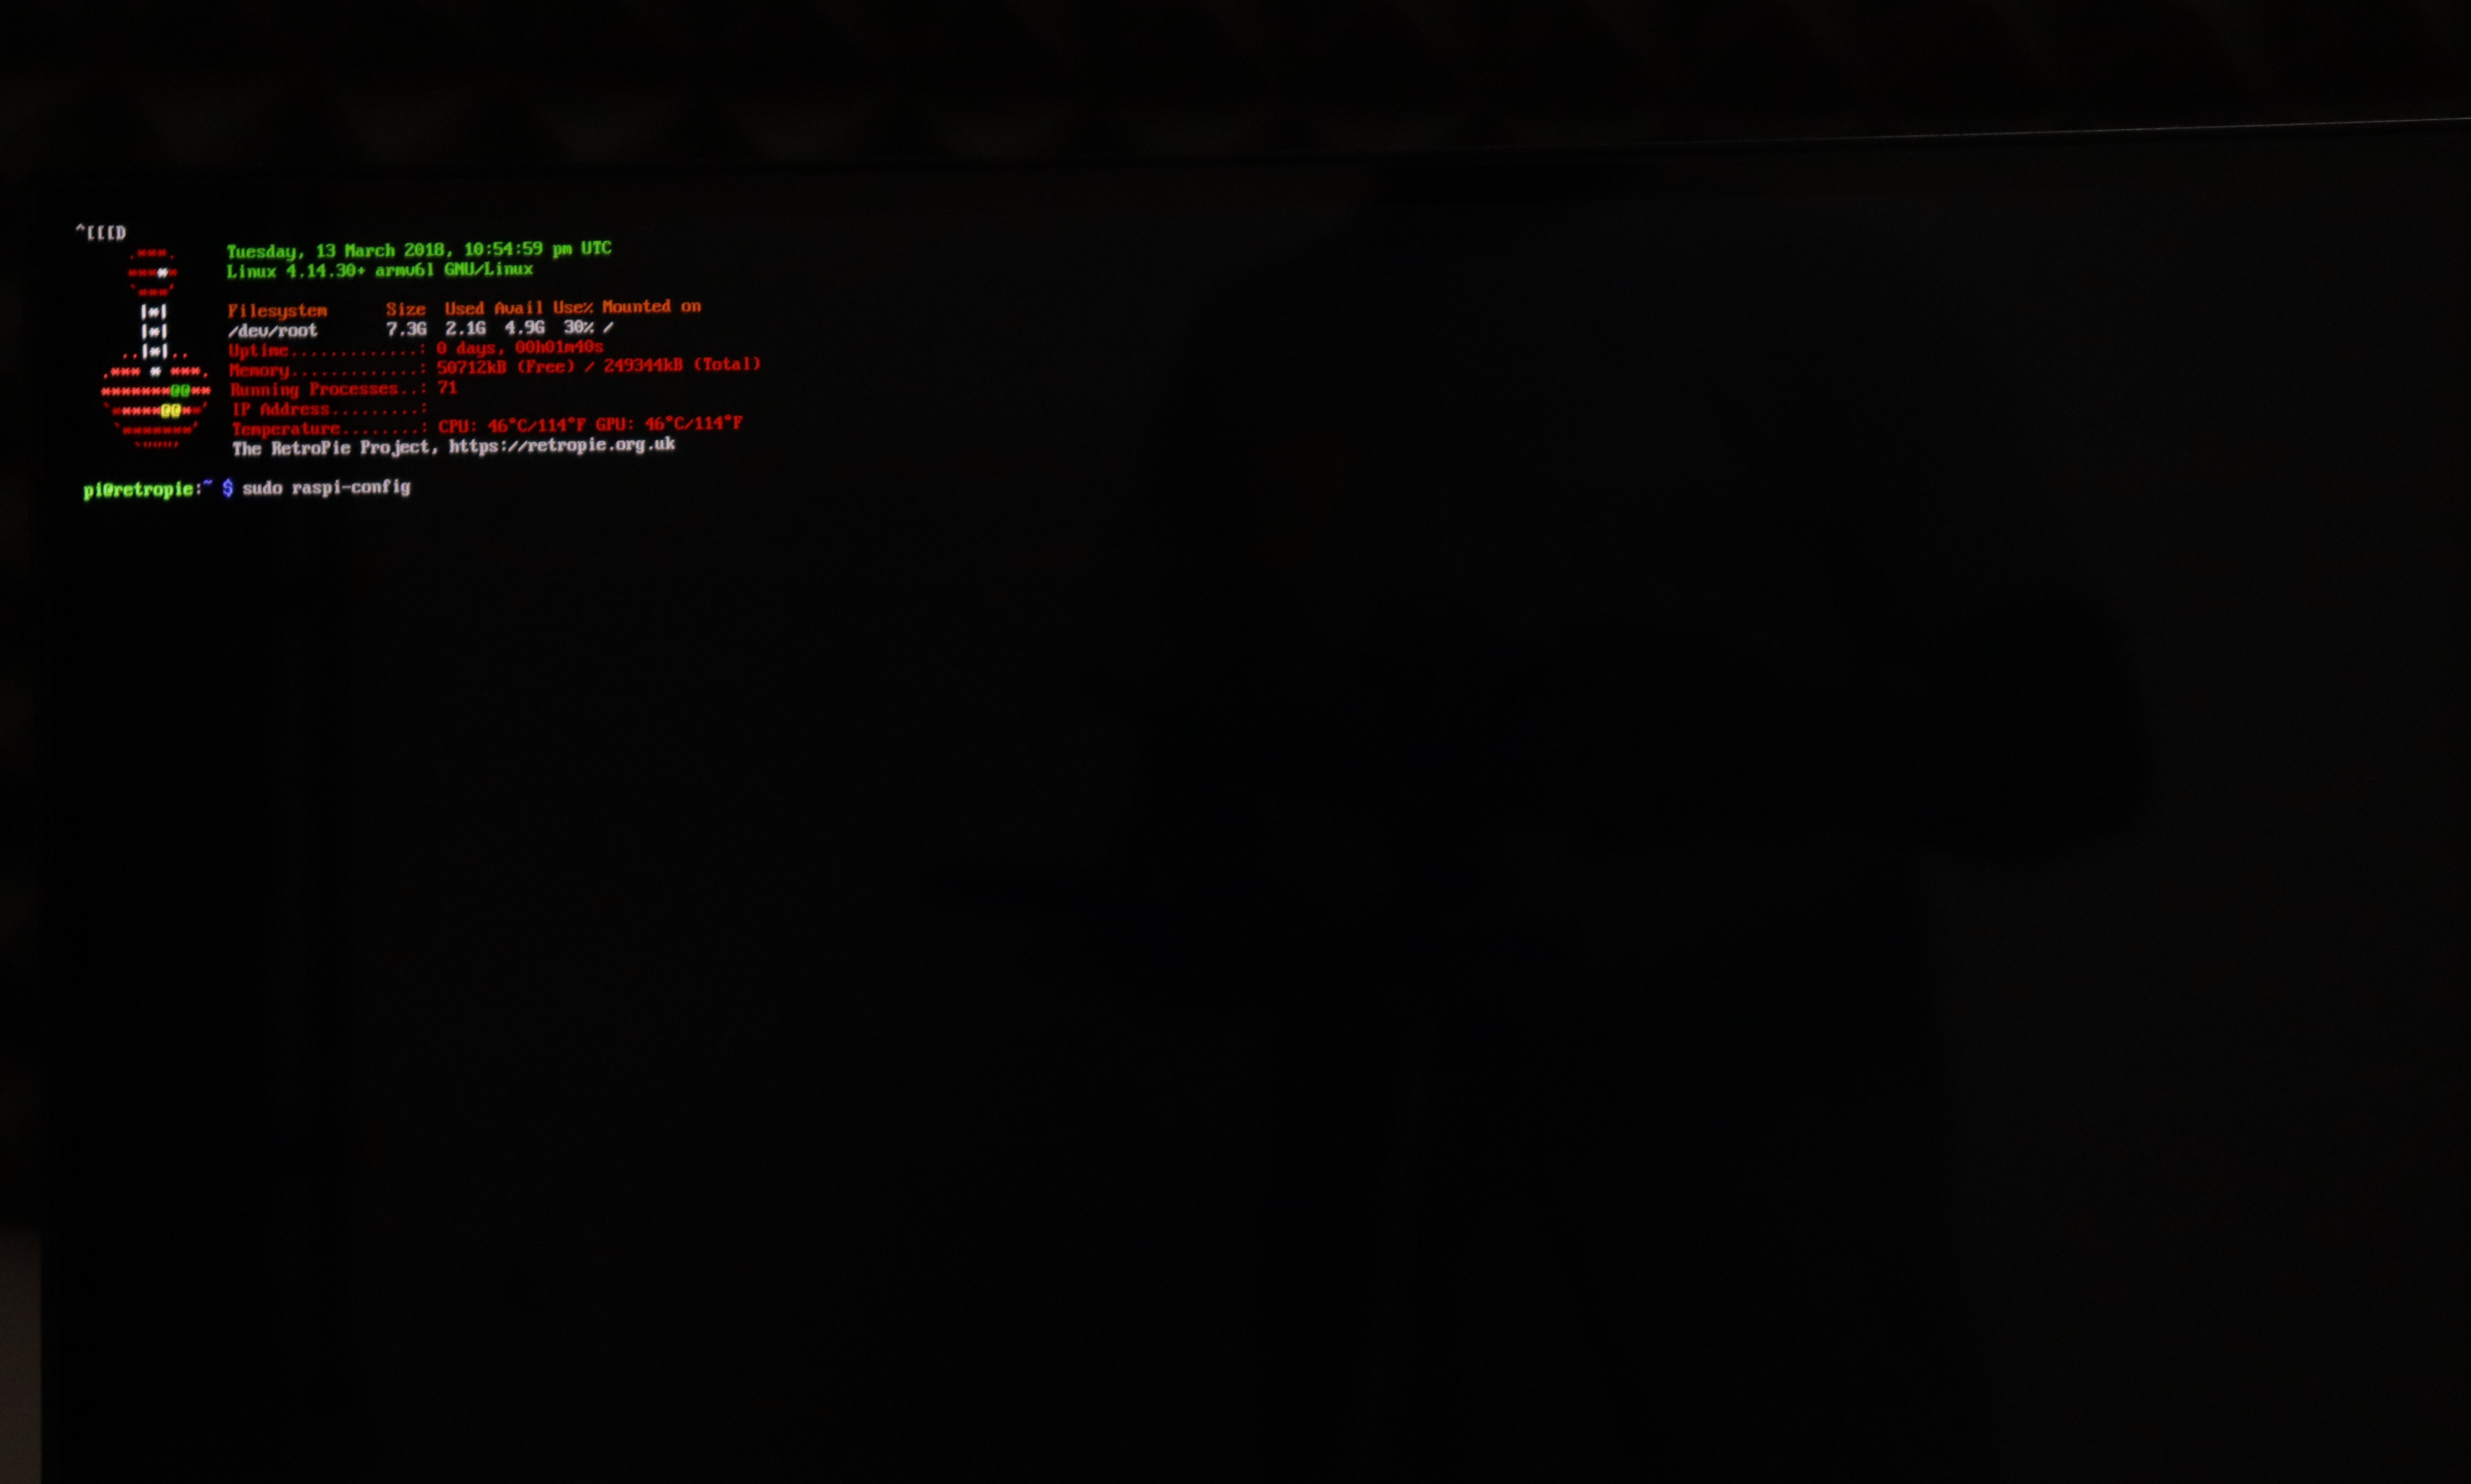
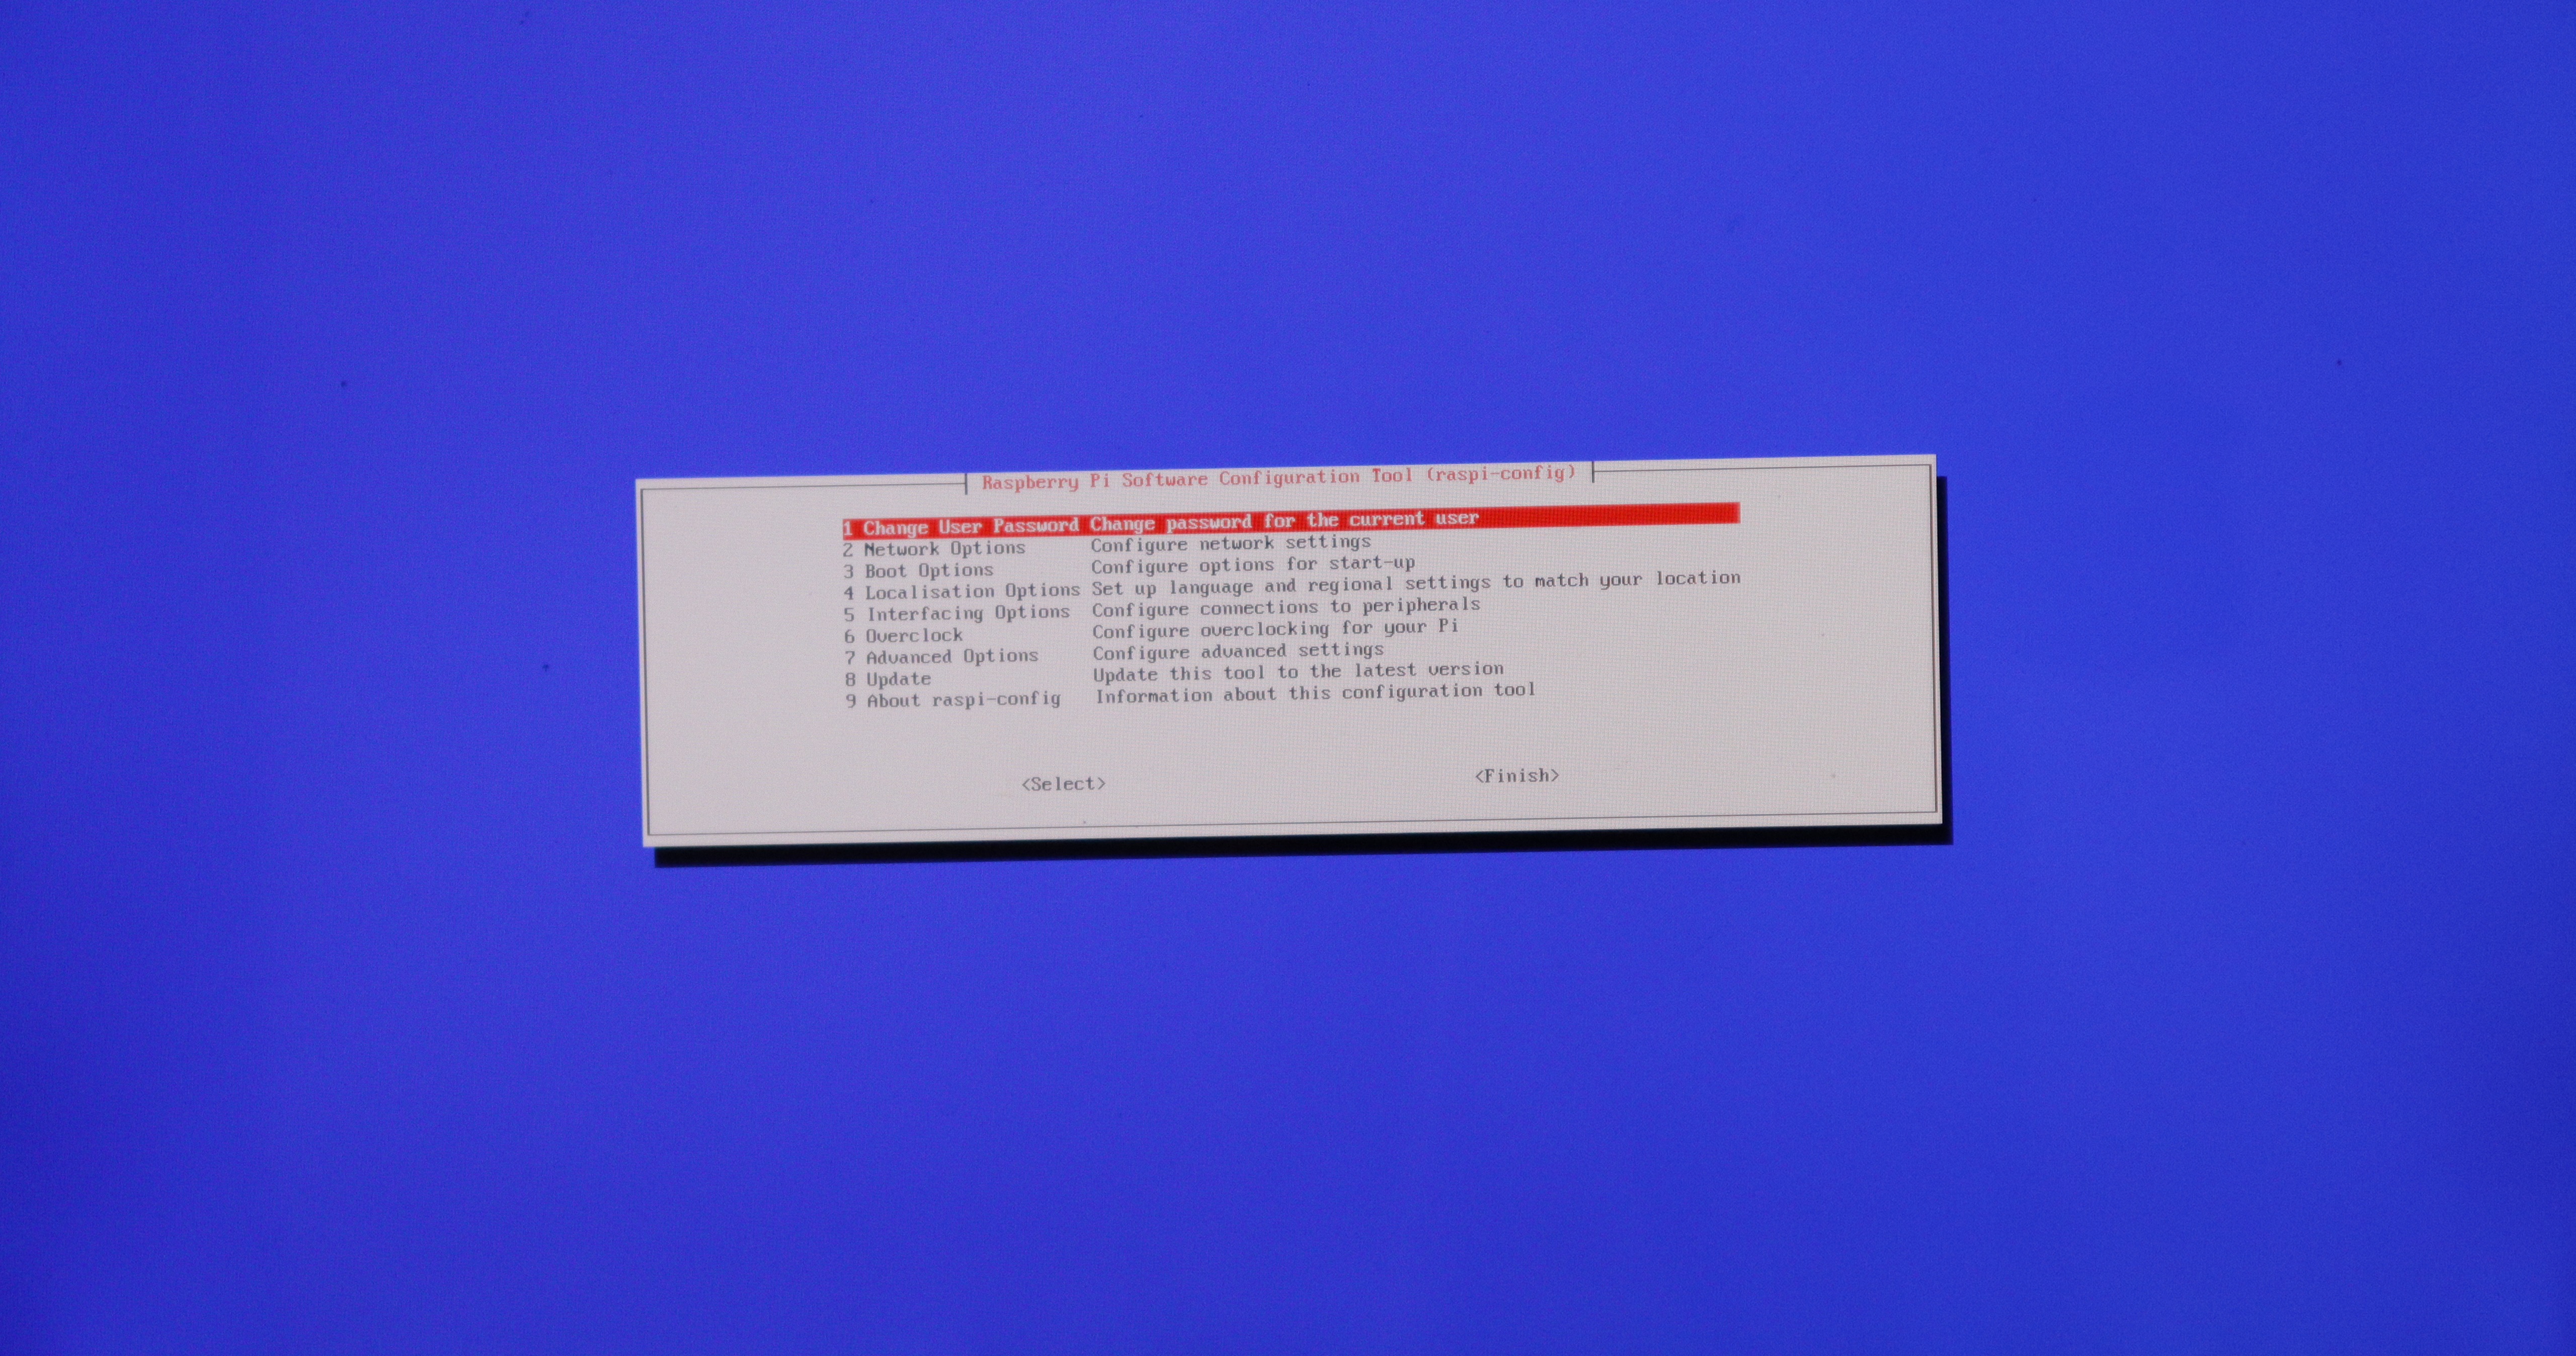
Enter the following command to get into the configuration page
sudo raspi-config
You have to change the default password. So go ahead and change that.
Then select your region in the localization options.
Since we will connect a TFT display through SPI Interface, we have to enable SPI communication in the Interfacing options.
It is advisable to enable SSH as well as this will help us to load and configure our console easily. So go ahead and enable it.
We will be using the audio from the Pi's PWM output, so we have to force the audio through the 3.5mm jack. So go ahead to the advanced options and force the audio to 3.5mm jack.
You can exit the configuration page now.
Reboot the Pi.
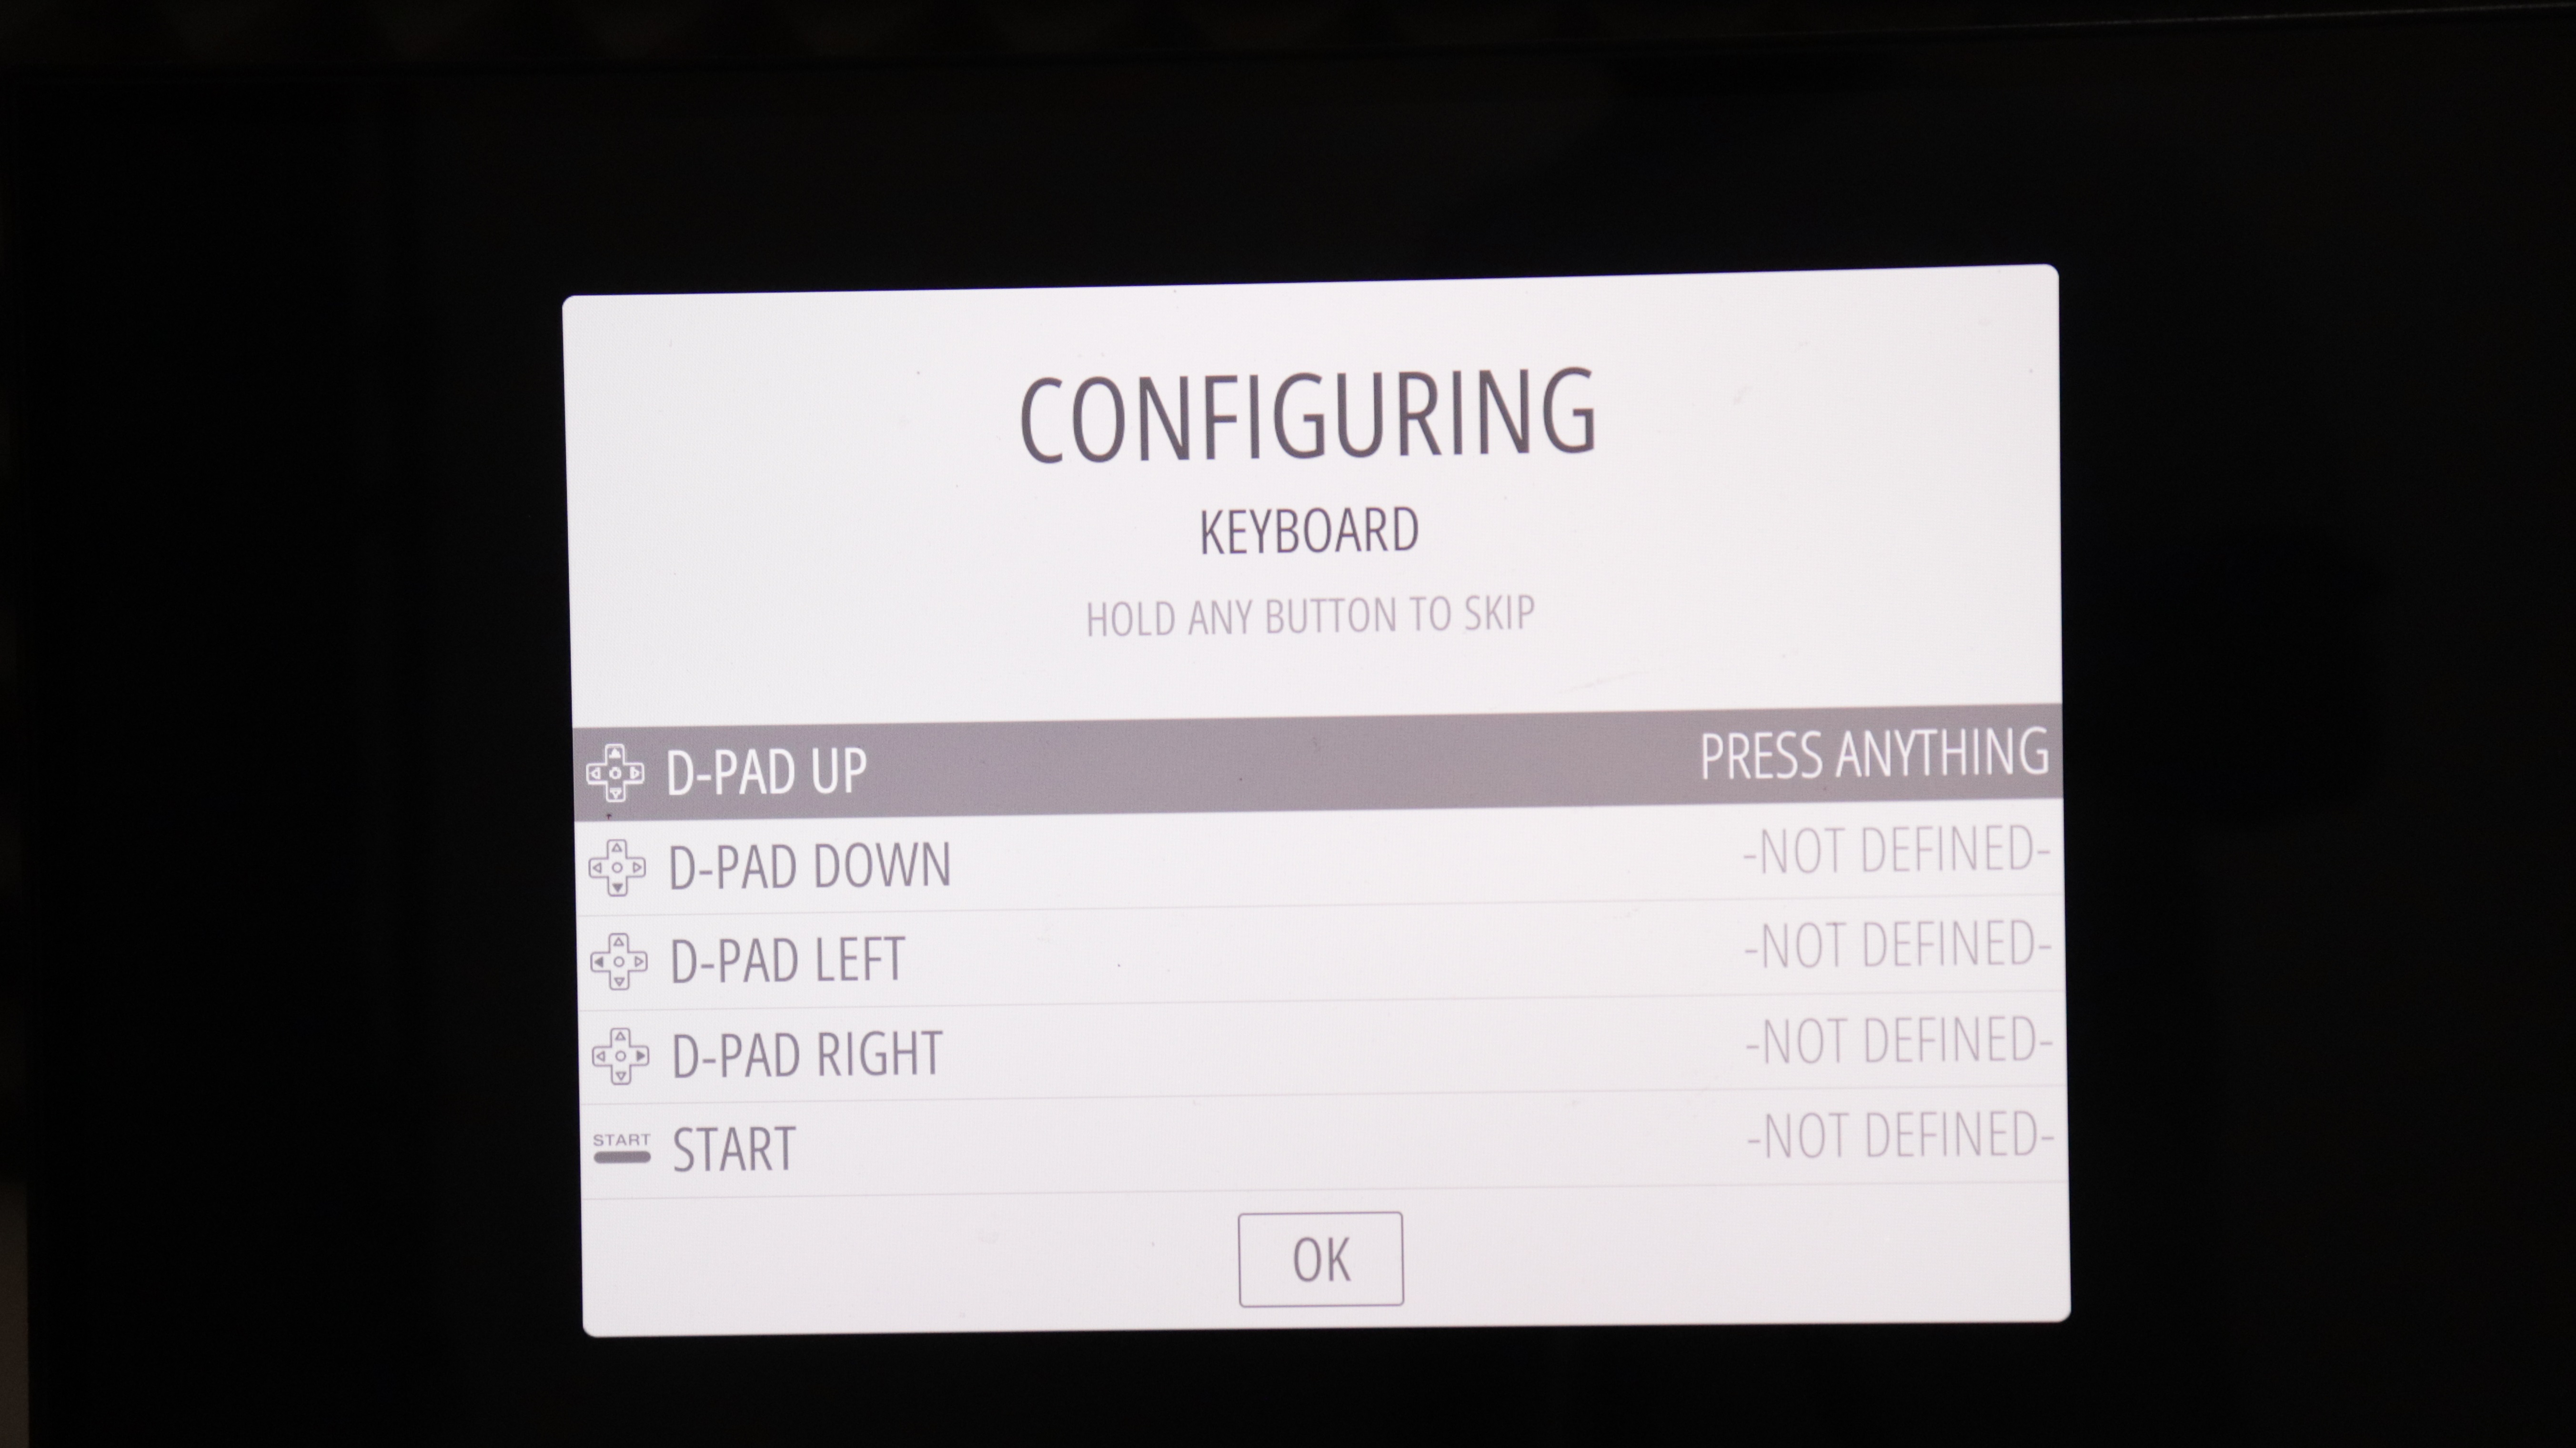
We can use a keyboard or a joystick temporarily to configure the inputs(optional), hold down any button until the configure keypad window appears. Then for joystick button configure a key on the keyboard. Skip the unwanted action buttons by holding a button for a while.
After selecting the keys click confirm using the configured buttons.
We can re-configure the buttons later if needed.
Installing the Games
As of now, there won’t be any games present in the system. You have to download the games from the internet and load it in the sd card.
There are two ways to do it.
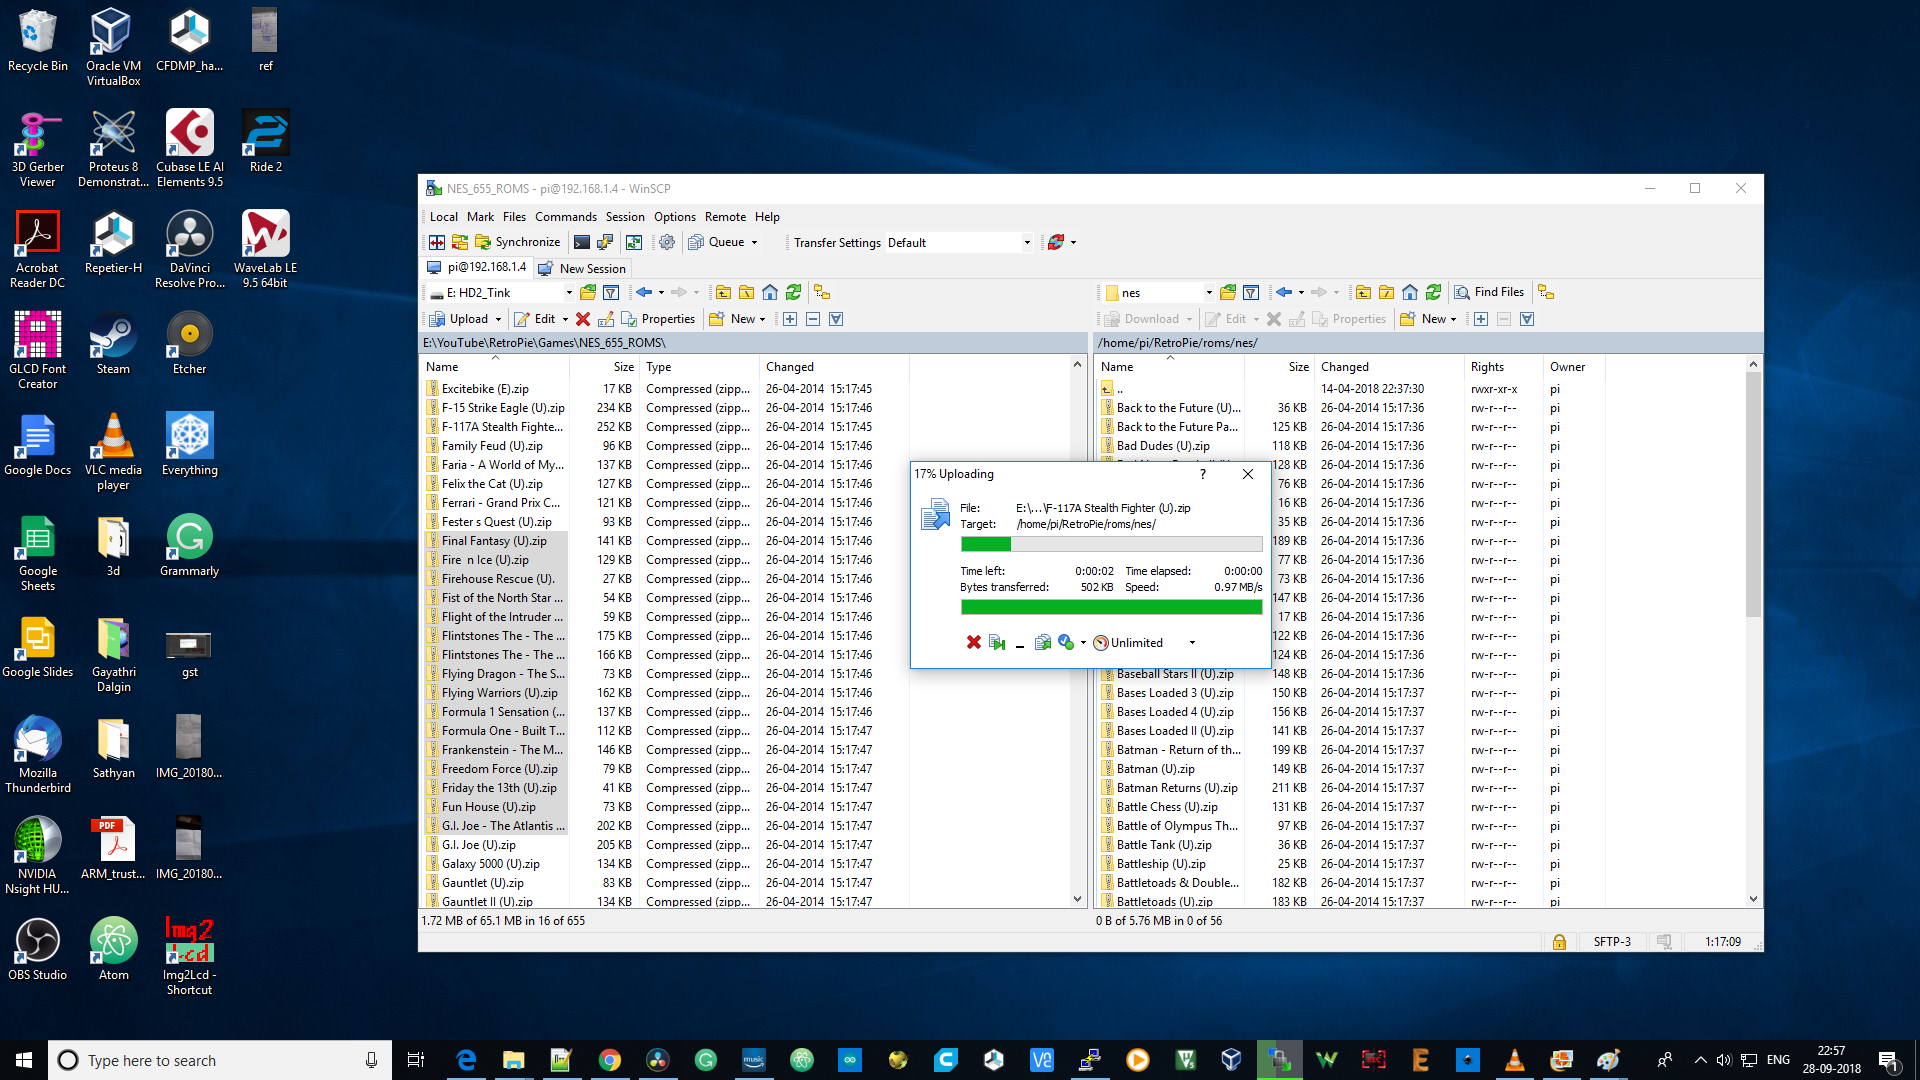
You can use your thumb drive to copy games from your PC to the Pi, or you could use programs like WinSCP to drag and drop games to your Pi if you have enabled WiFi.
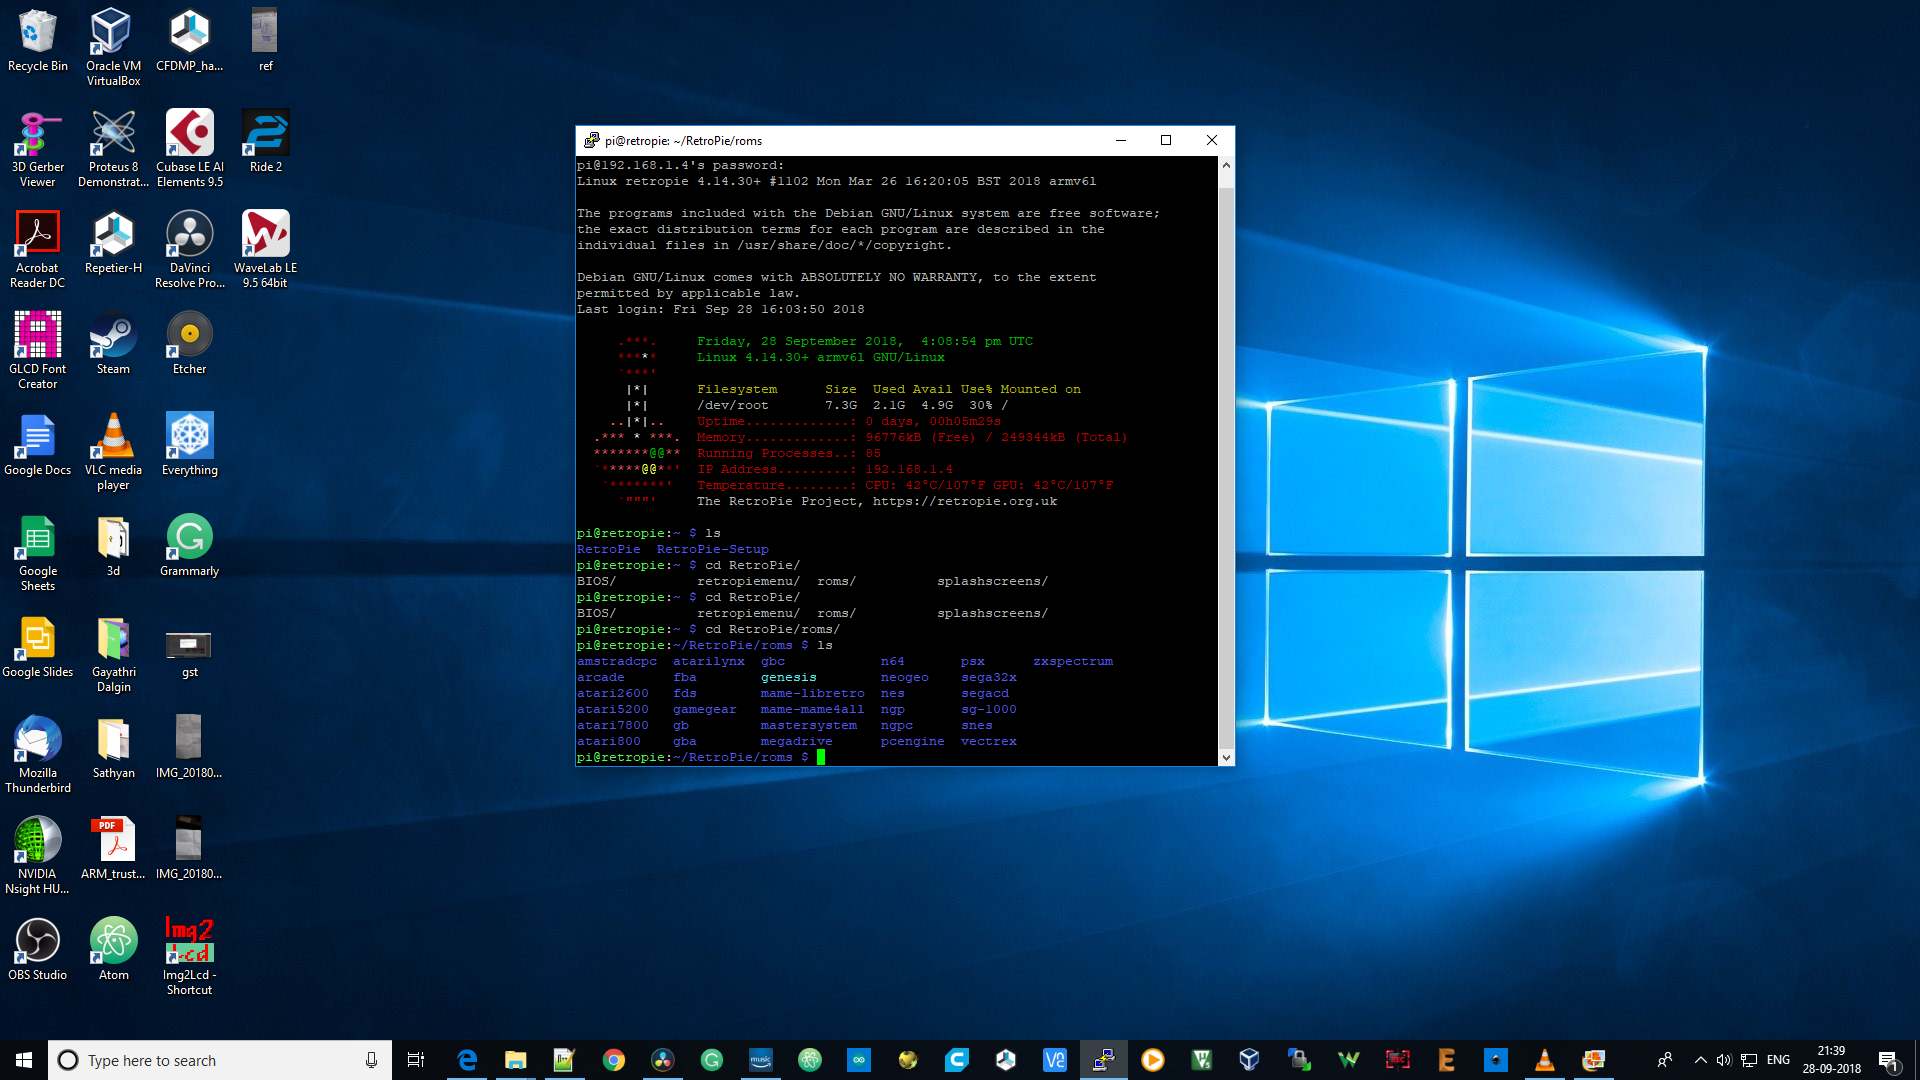
You can download games ROM files from the internet and copy them to the corresponding directories under the folder /home/pi/RetroPie/roms/.
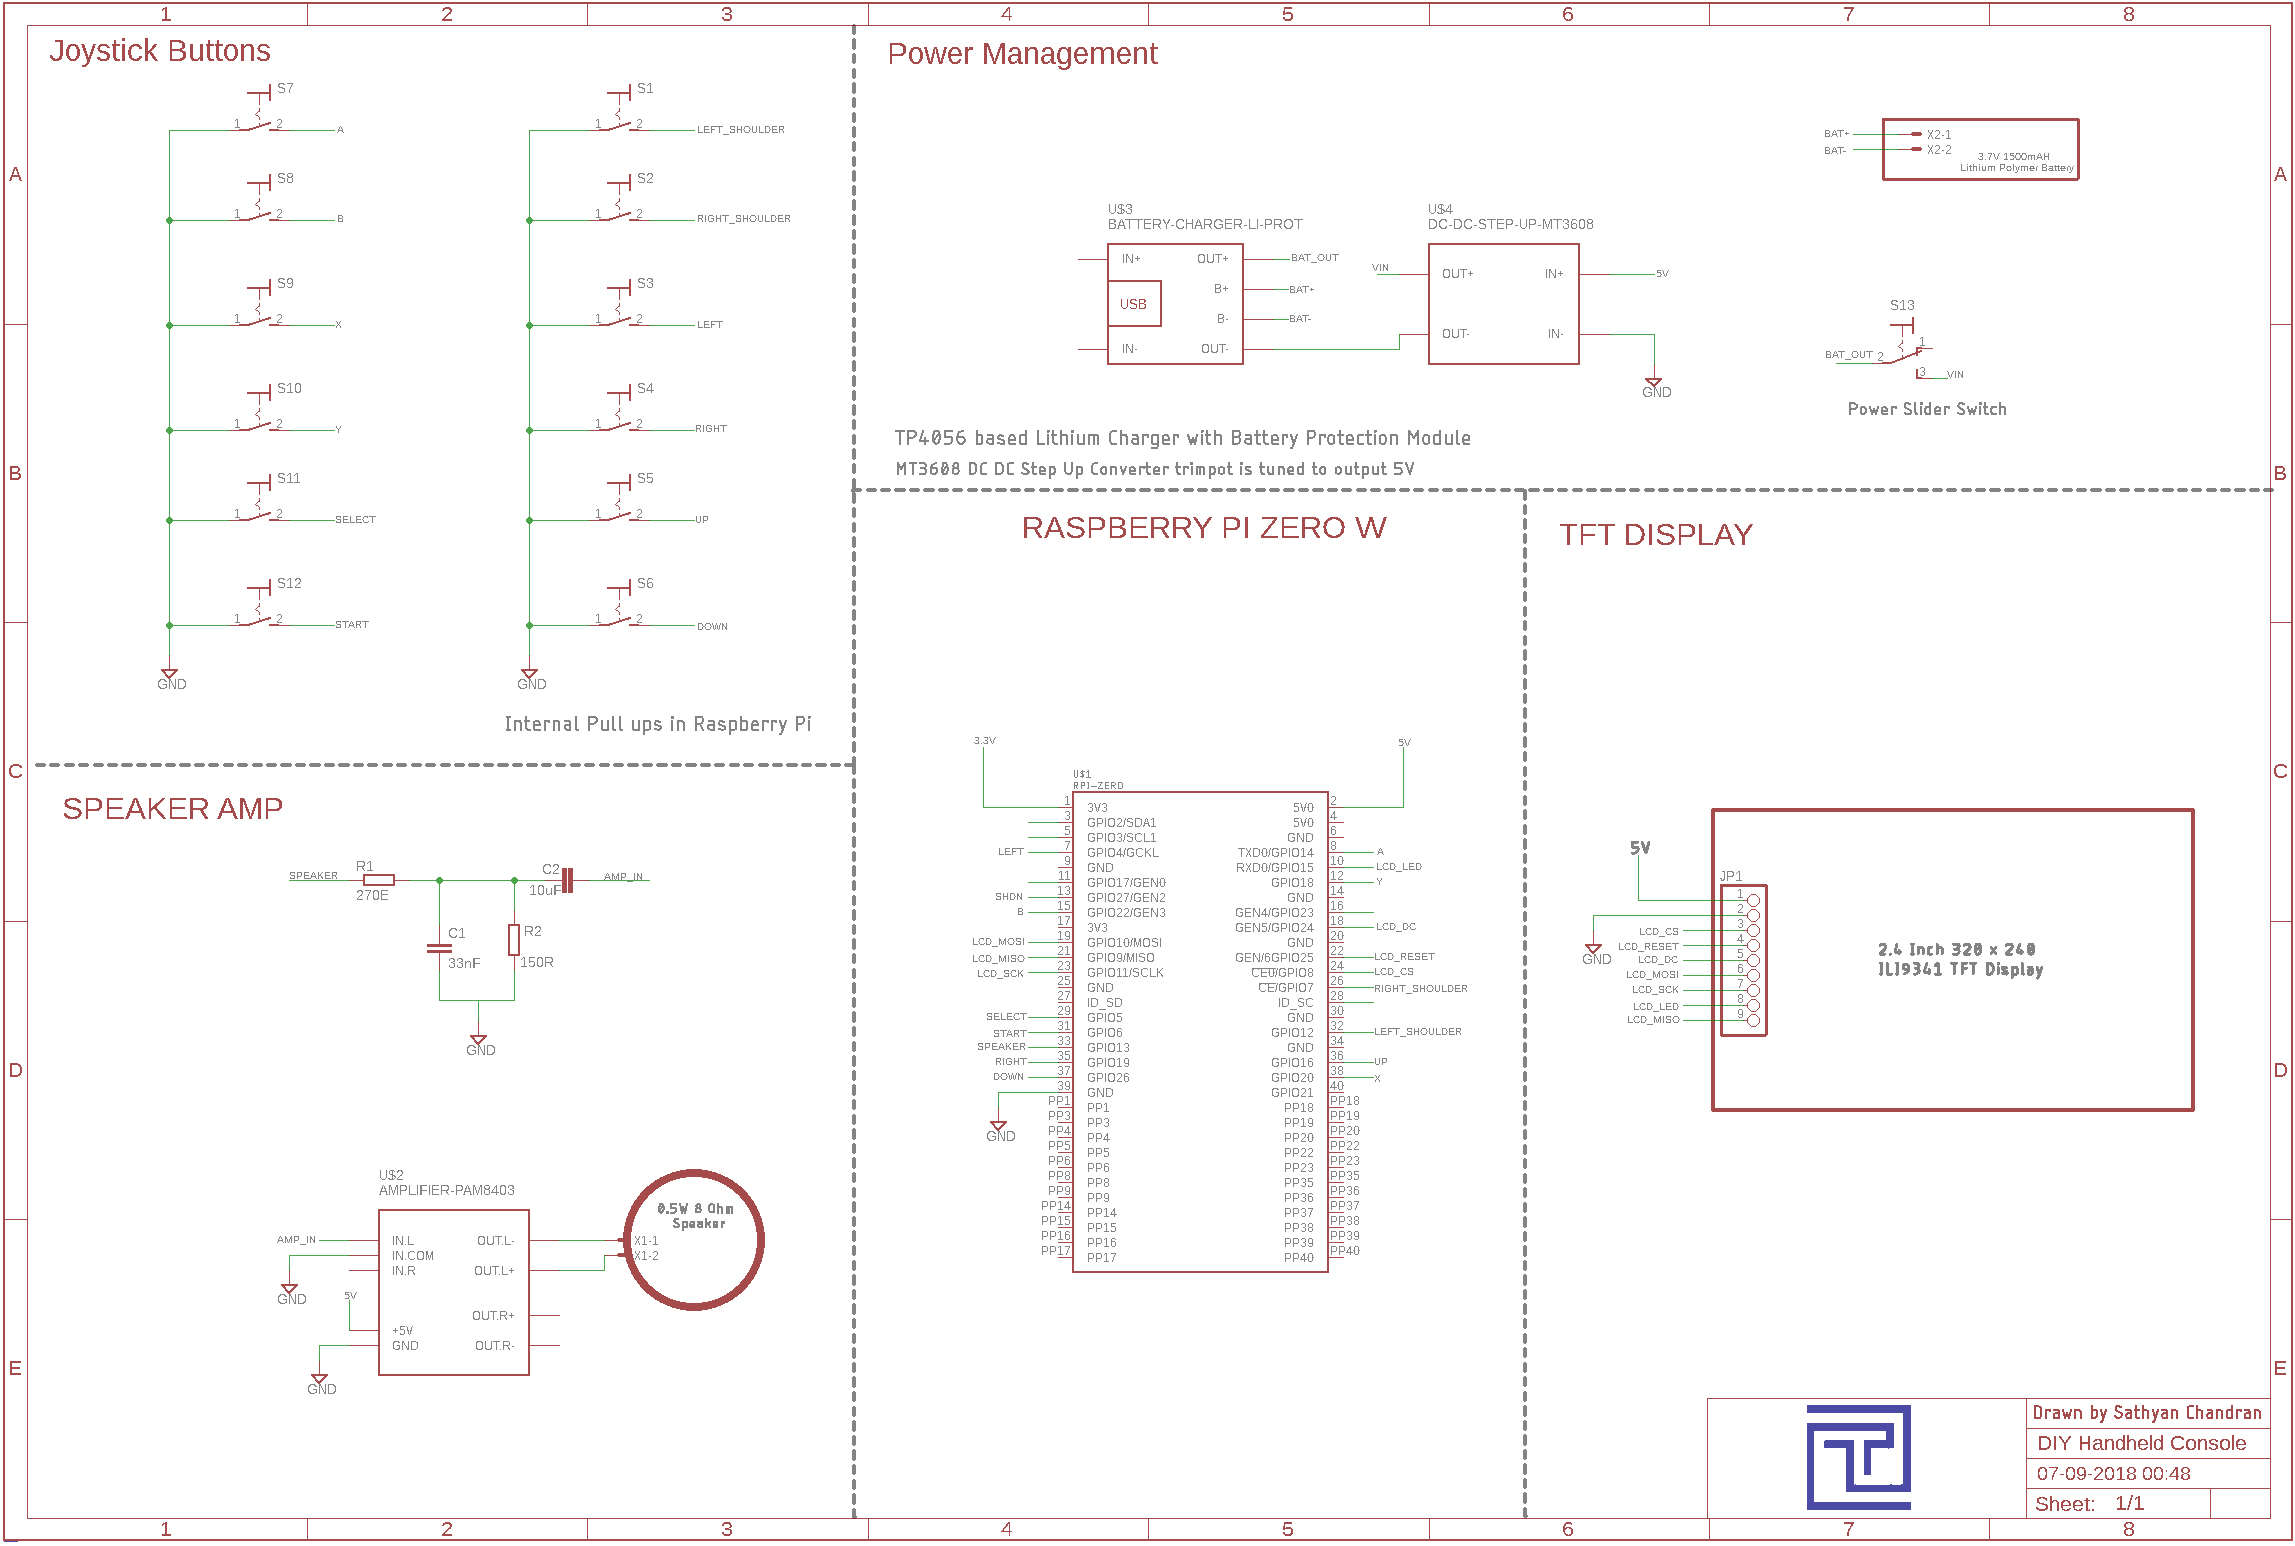
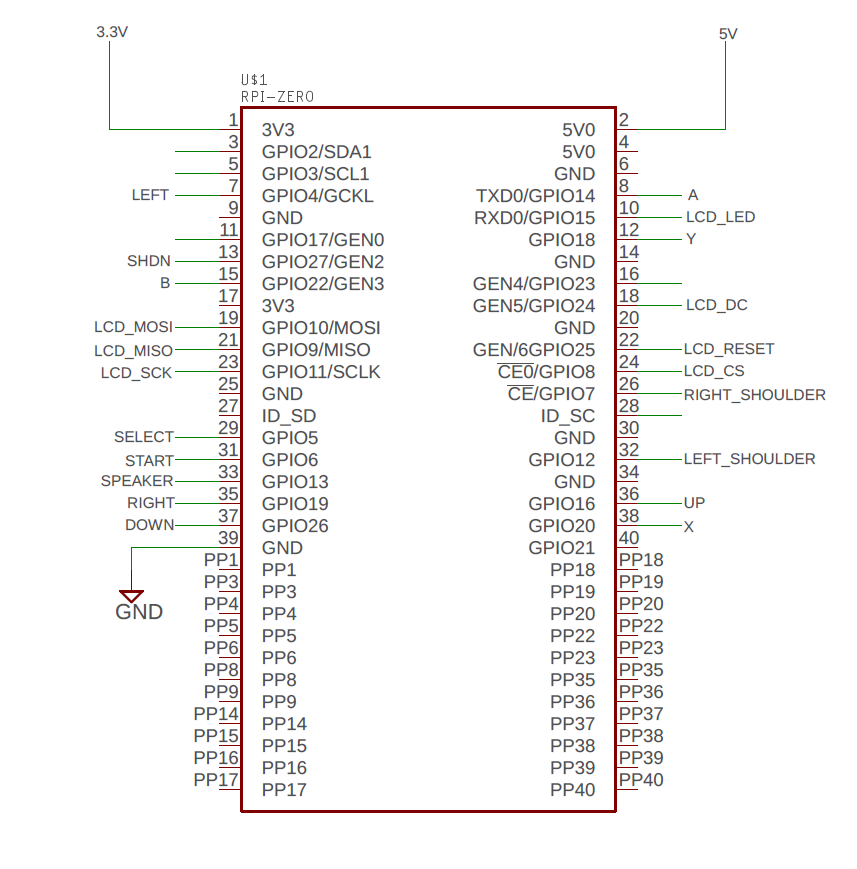
Configuring the TFT Display
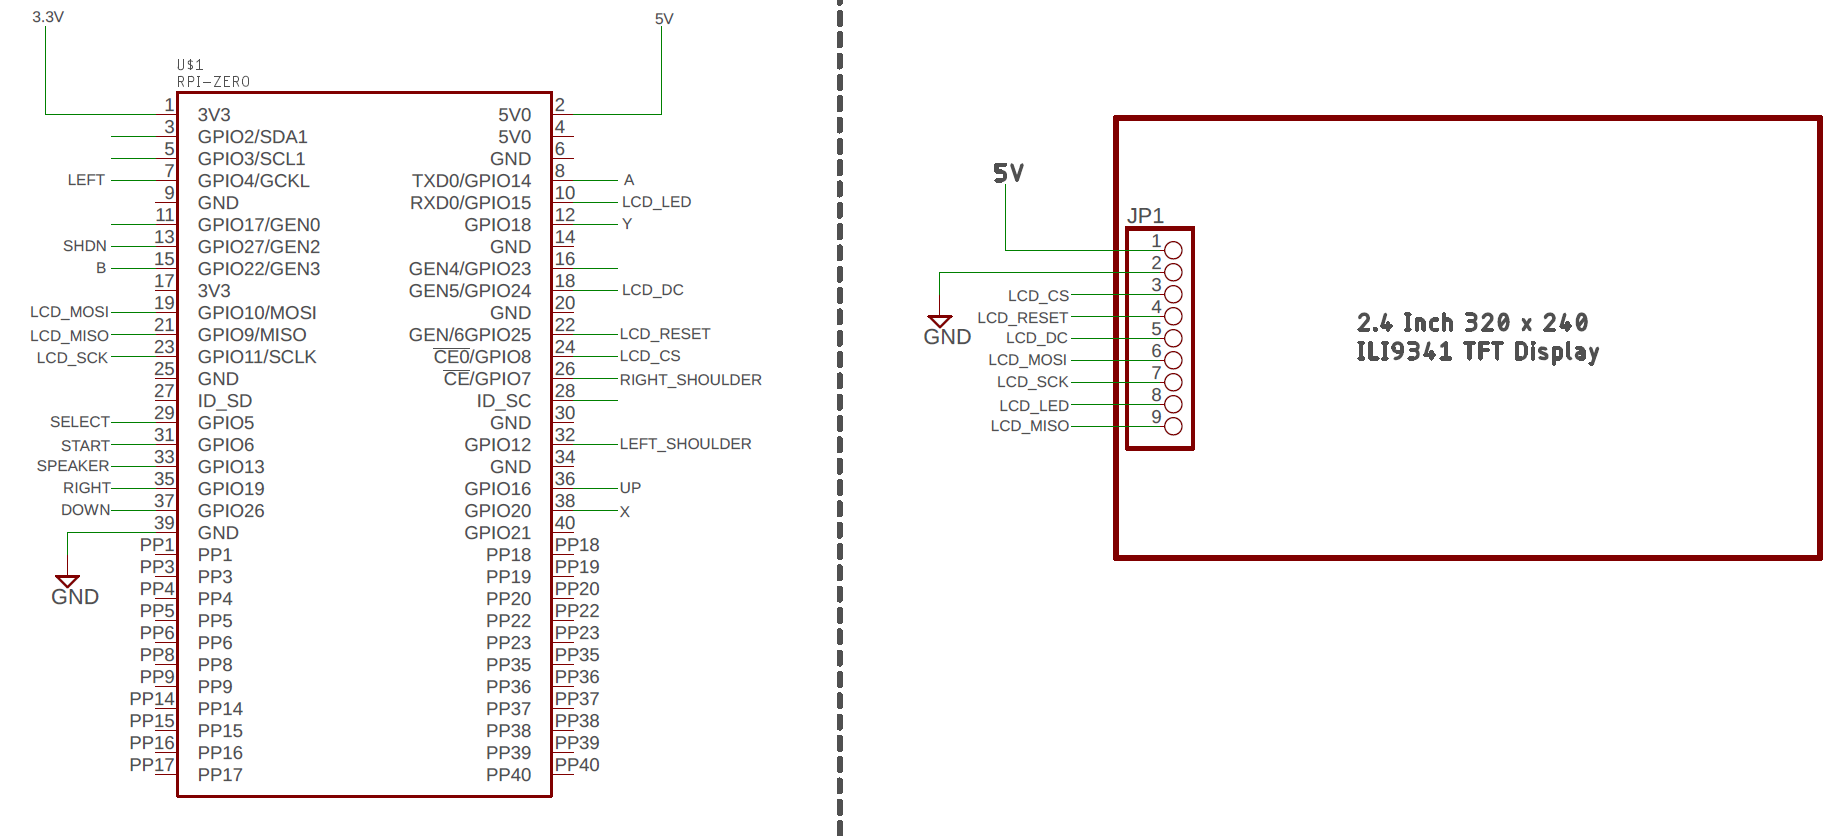
Check the Schematic for pin connections.
Add the following lines to the /boot/config.txt
=======================================================================
hdmi_group=2
#my display resolution is 320 x 240. Adjust according to yours
hdmi_mode=87
hdmi_cvt=320 240 60 1 0 0 0
hdmi_force_hotplug=1
speed = 48000000
fps=60
display_rotate=2 180 degrees
#If you want stereo use this
#dtoverlay=pwm-2chan,pin=18,func=2,pin2=13,func2=4
#If you want mono use this
dtoverlay=pwm,pin=13,func=4
=======================================================================
Make sure you have connected the wires as mentioned in the schematic.
Enter the following command in the terminal and see if the LCD Backlight appears magically!
sudo modprobe fbtft_device custom name=fb_ili9341 gpios=reset:25,dc:24,led:15 speed=16000000 bgr=1
Add the following lines to /etc/modules
spi-bcm2835
fbtft_device
The Pi will use the fbtft library to write to the LCD.
The fbtft_device need the pin configurations to be told explicitly in the file /etc/modprobe.d/fbtft.conf
So open the file using:
sudo nano /etc/modprobe.d/fbtft.conf
Add the following to the file:
options fbtft_device name=fb_ili9341 gpios=reset:25,dc:24,led:15 speed=16000000 bgr=1 rotate=90 custom=1
We have to copy the Pi framebuffer to the fbtft device. So go ahead, build and install fbcp project.
Clone the raspberry pi fbcp project from github:
git clone https://github.com/tasanakorn/rpi-fbcp
cd rpi-fbcp/
mkdir build
cd build/
cmake ..
make
sudo install fbcp /usr/local/bin/fbcp
After this installation, if you type fbcp, you will see the contents of the framebuffer gets copied to the TFT screen.
But if you reboot, you may have to enter this command again to get the contents on the TFT. So to do this everytime automatically, you have to tell Pi to start this upon boot explicitly.
So, add the following line to /etc/rc.local
sudo nano /etc/rc.local
Add fbcp& just above exit 0
Now restart and see your console booting up!
Adding Button Controls
I am going to use Adafruit RetroGame project to add controls to our console.
Here is the project homepage:
https://github.com/adafruit/Adafruit-Retrogame/blo...
Download Install the script using the following commands:
curl https://raw.githubusercontent.com/adafruit/Raspbe... >retrogame.sh
sudo bash retrogame.sh
Now you will be asked to enter the device type to install the configuration script. We have to select PiGRRL 2 (1st one). We can change the controls later.
Reboot the Pi.
Now it's time to change the control configurations.
We have to add our controls to the retrogame.cfg file in /boot/retrogame.cfg
Replace the existing configuration with our following configuration:
LEFT 4
UP 16
RIGHT 19
DOWN 26
SPACE 5
ENTER 6
A 14
B 22
X 20
Y 18
L 12
R 7
SPACE is Select and ENTER is Start!