DIY Glue Stick Container
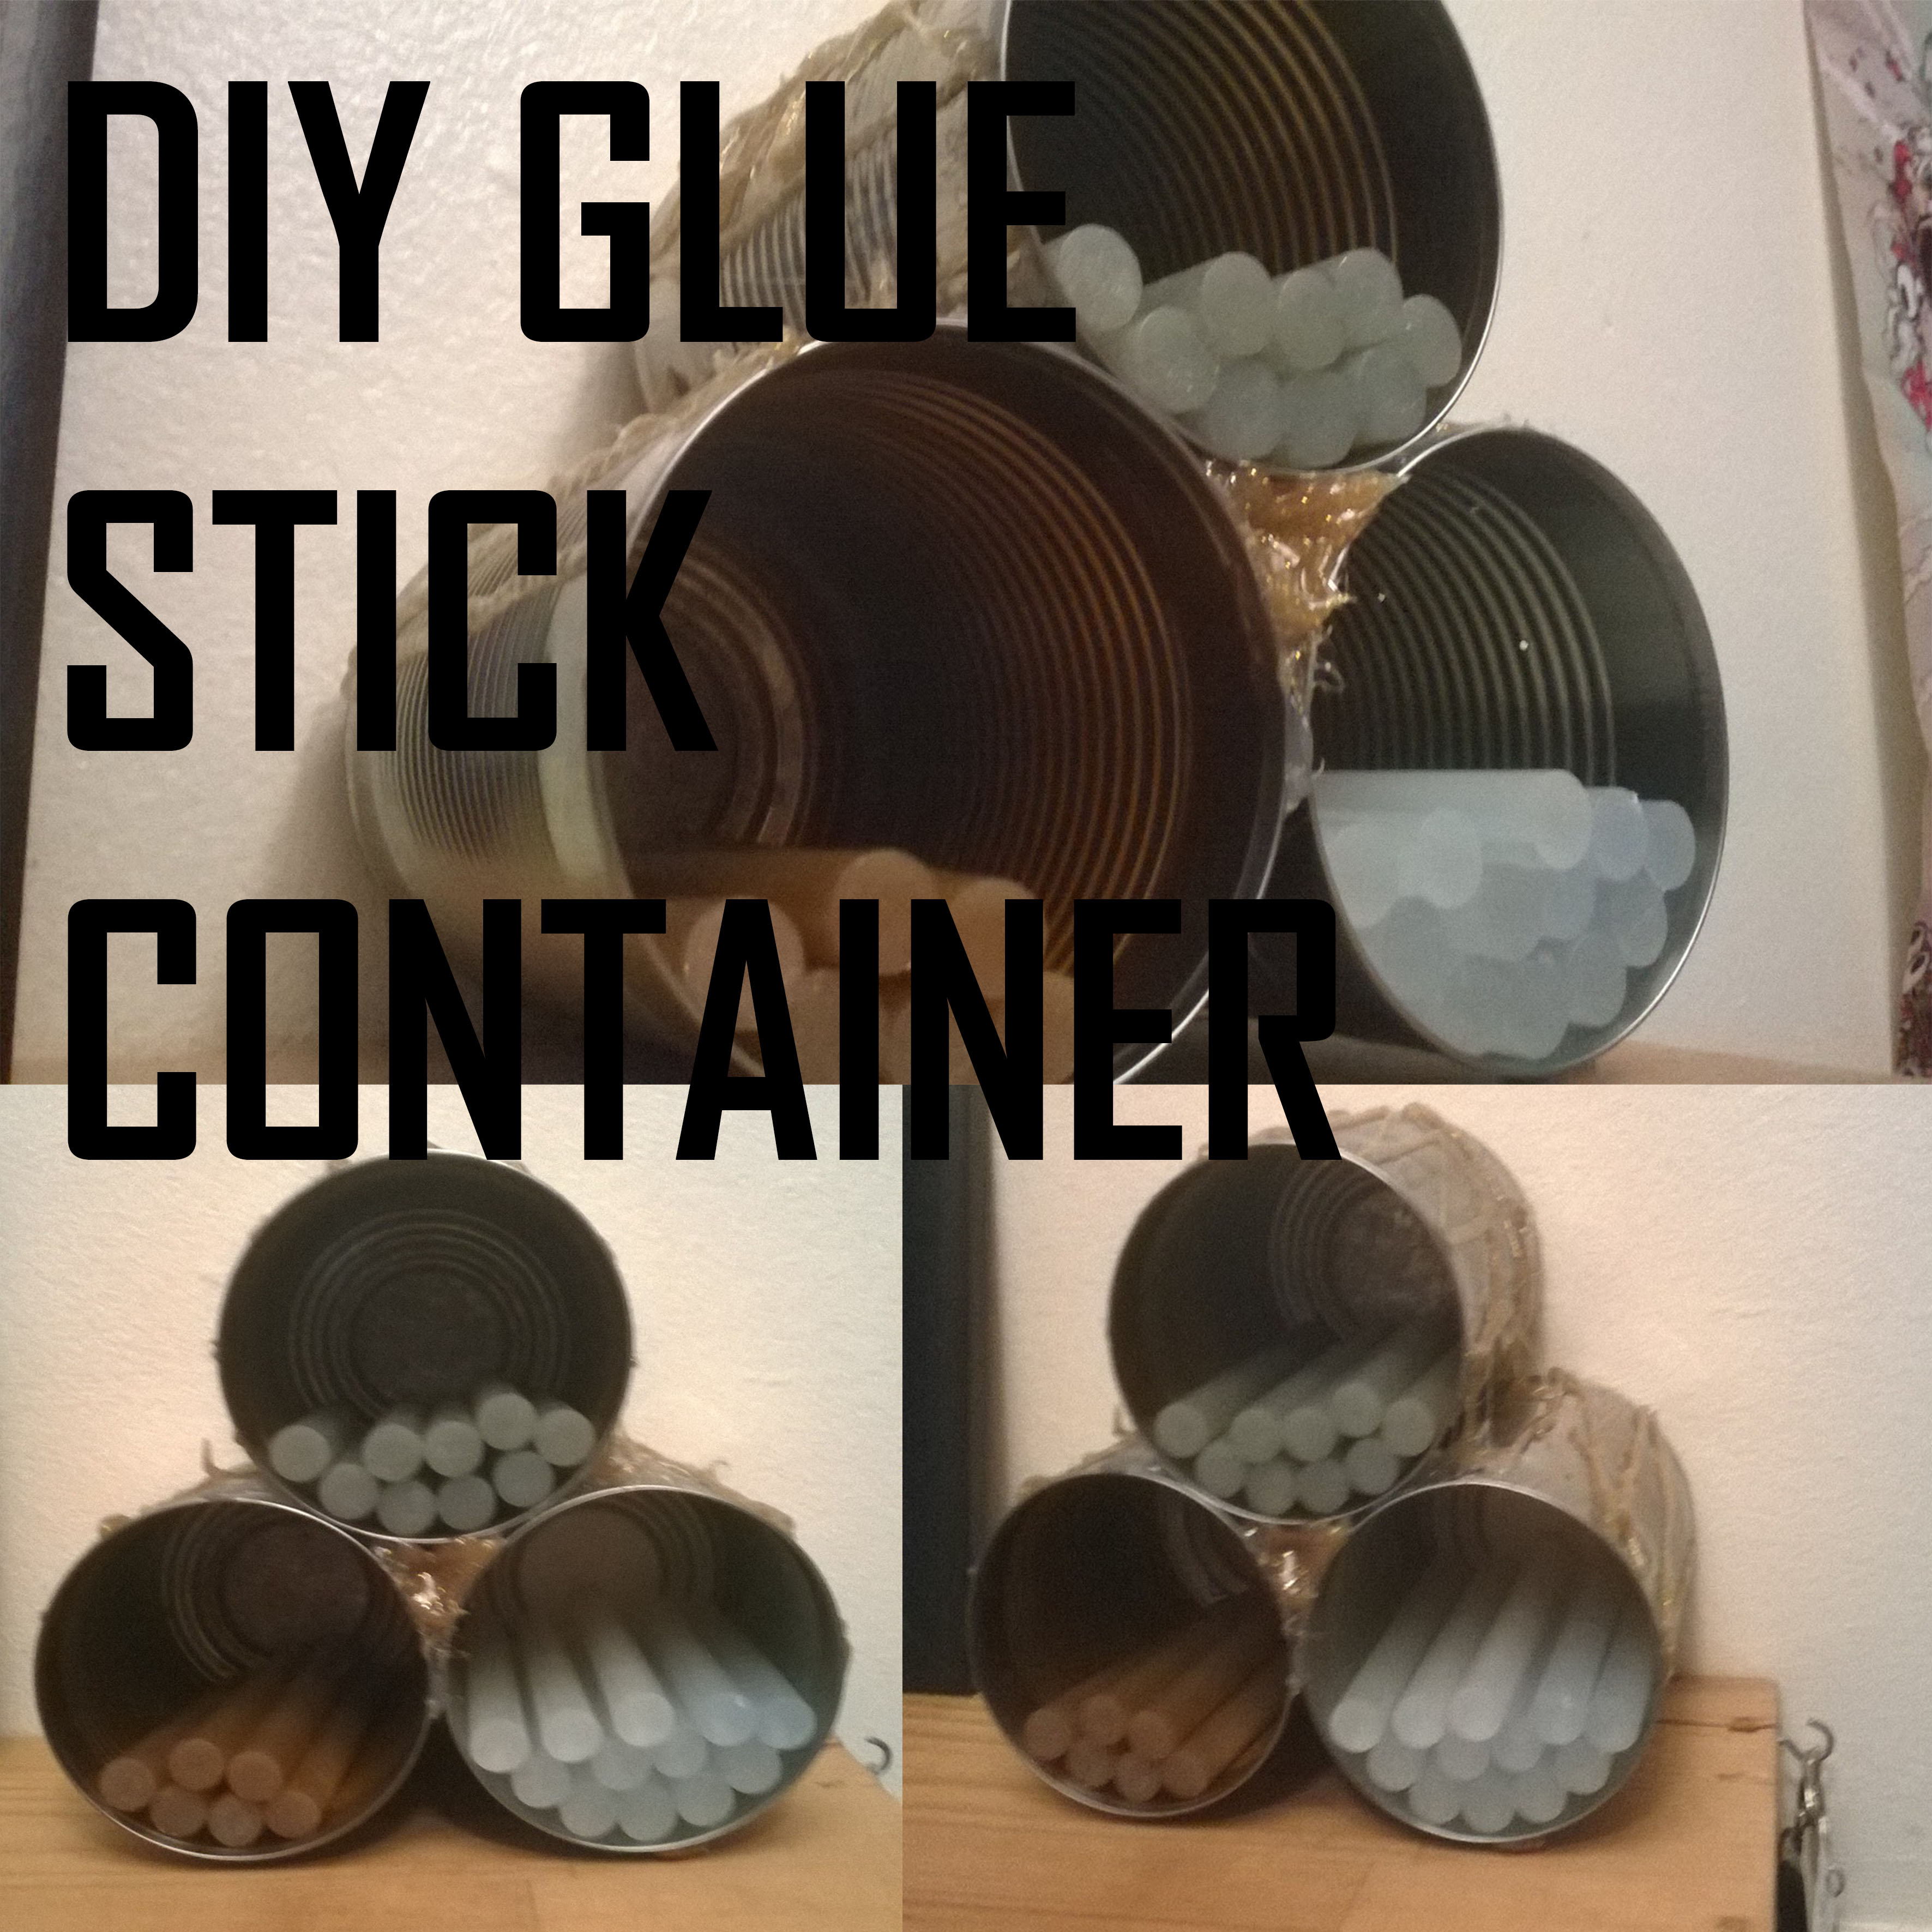
What I inspired me?
Okay, so as I do most week ends, I went to the local craft store to pick up some more supplies. I bought the normal stuff like glue sticks, rope, tape and nails. But, once I got home, I realised I hadn't any room for my new sticks. I decided to keep them in a tin I had lying around from another project. Once I had thought of an idea, I decided to make it.
What will you need?
- Glue stick (glitter or none glitter)
- Three or more Tins
- Glue sticks and a hot glue gun
Gluing the Tins Together
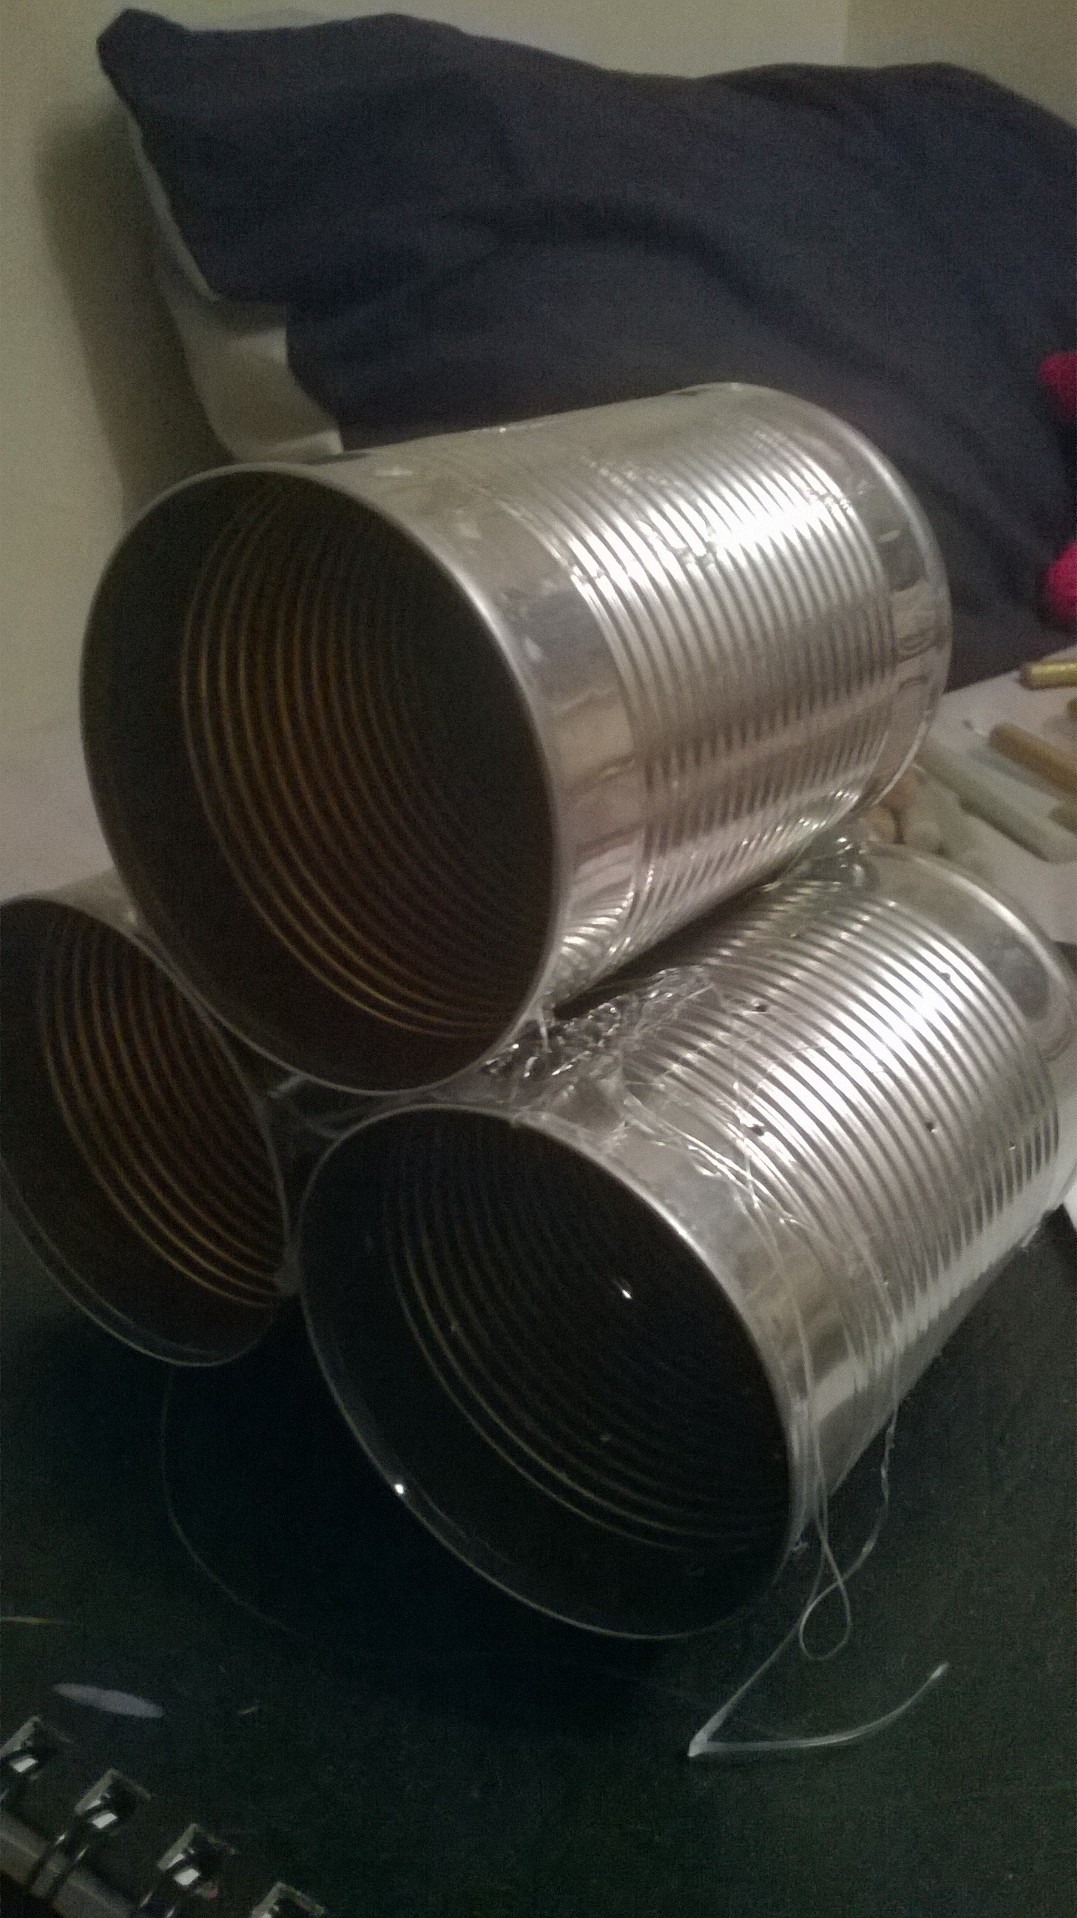
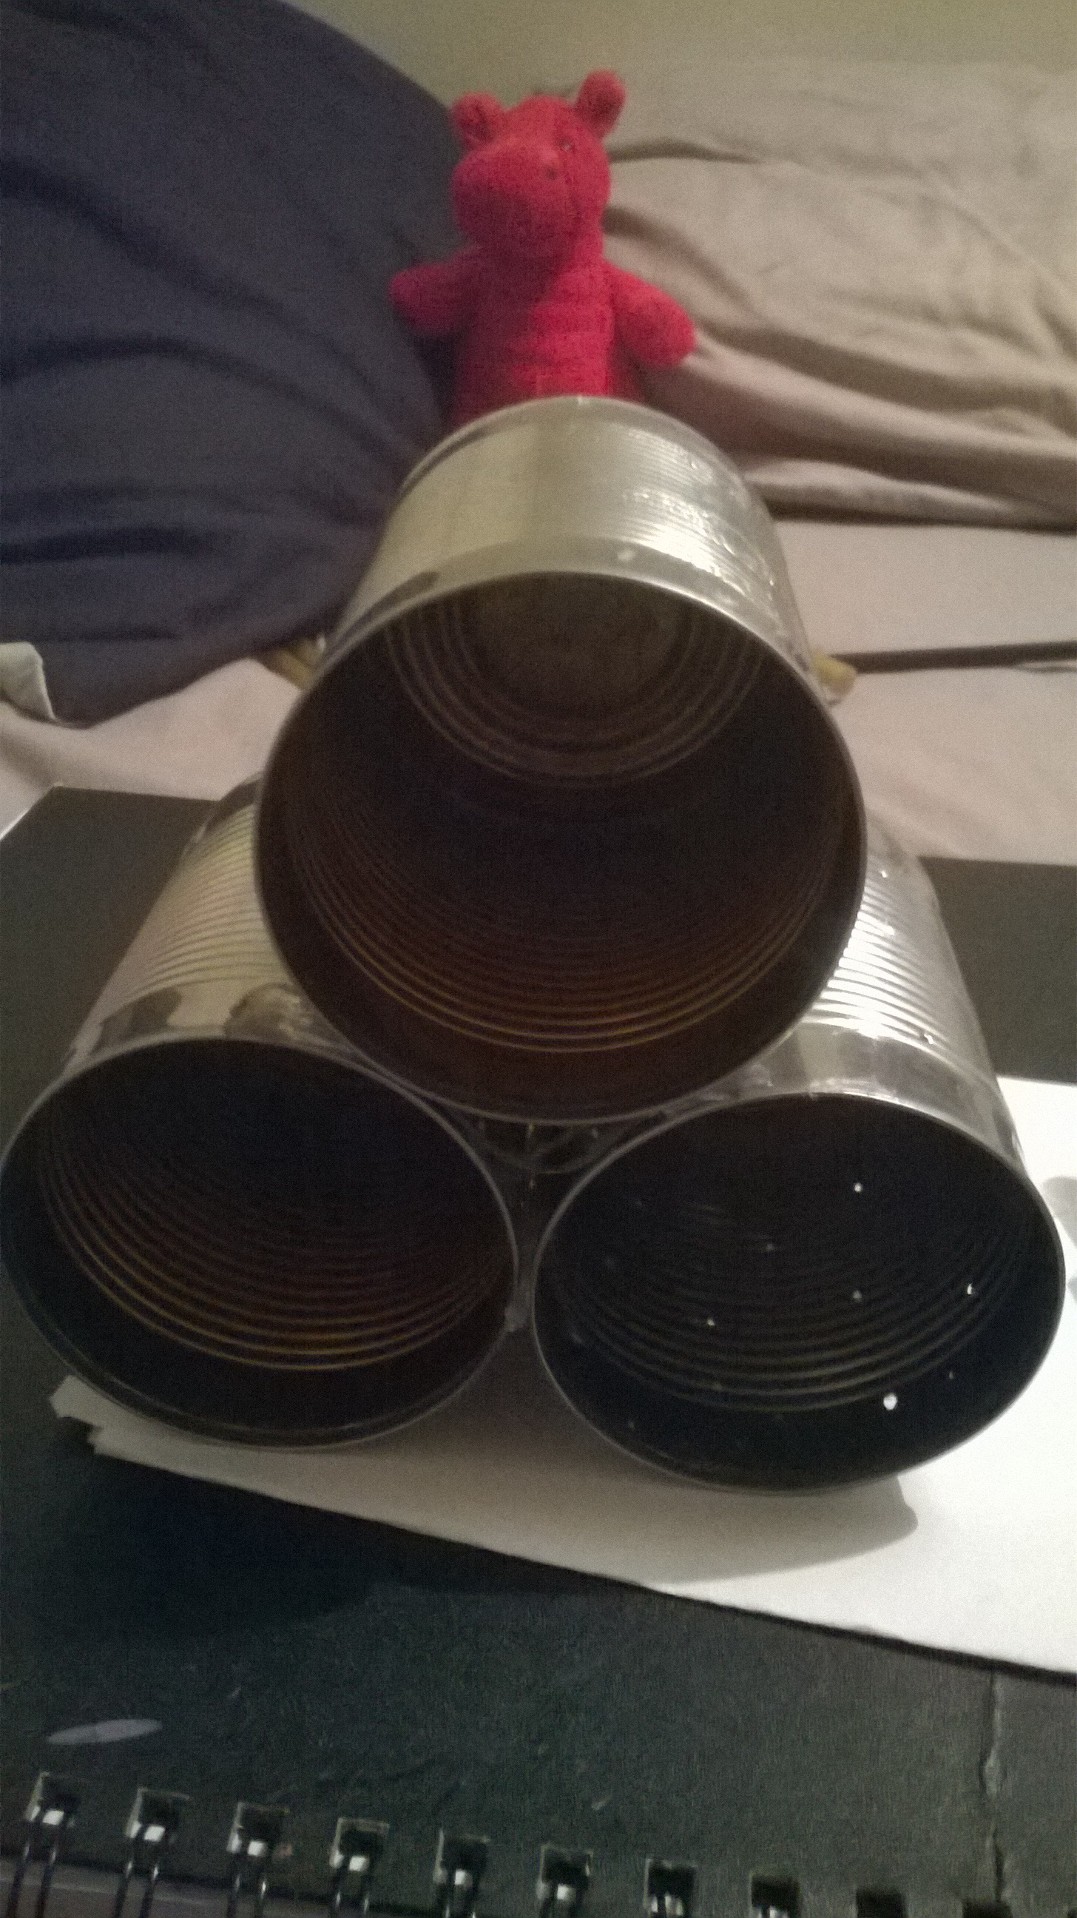
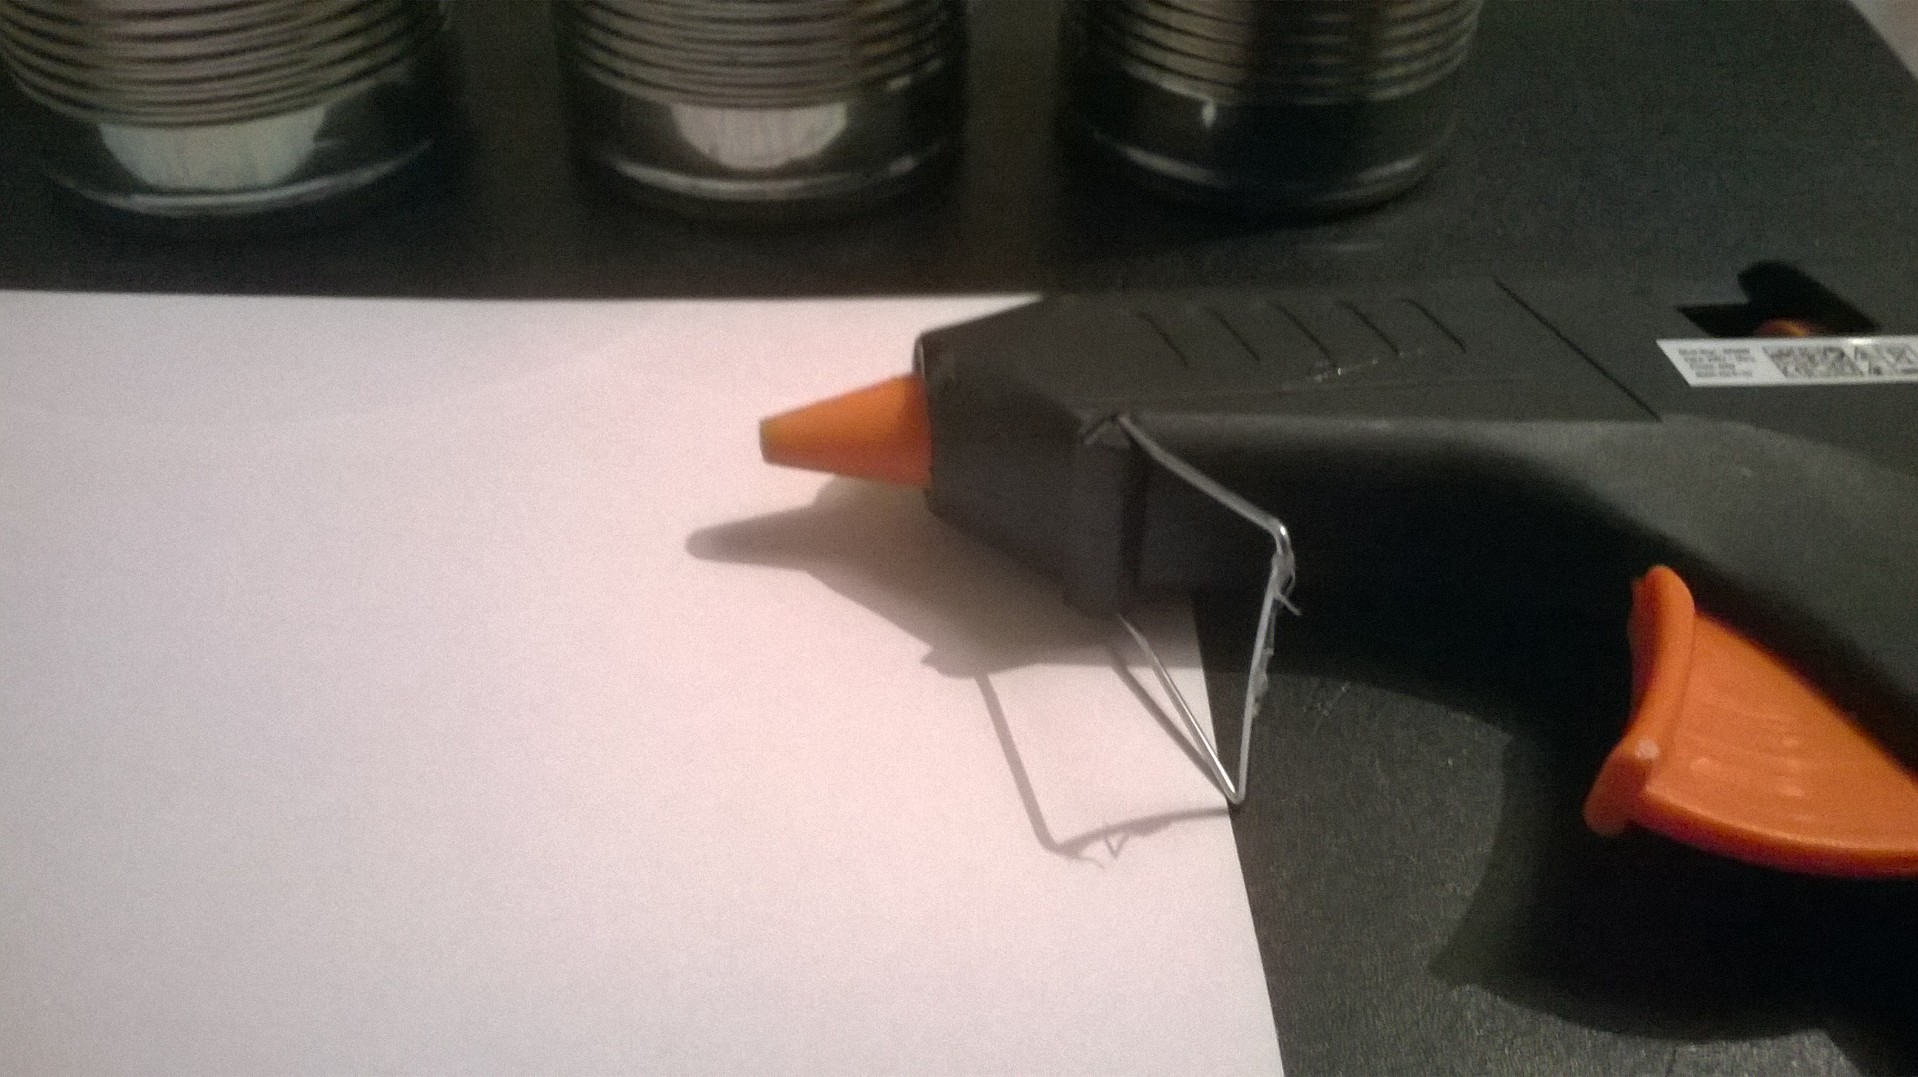
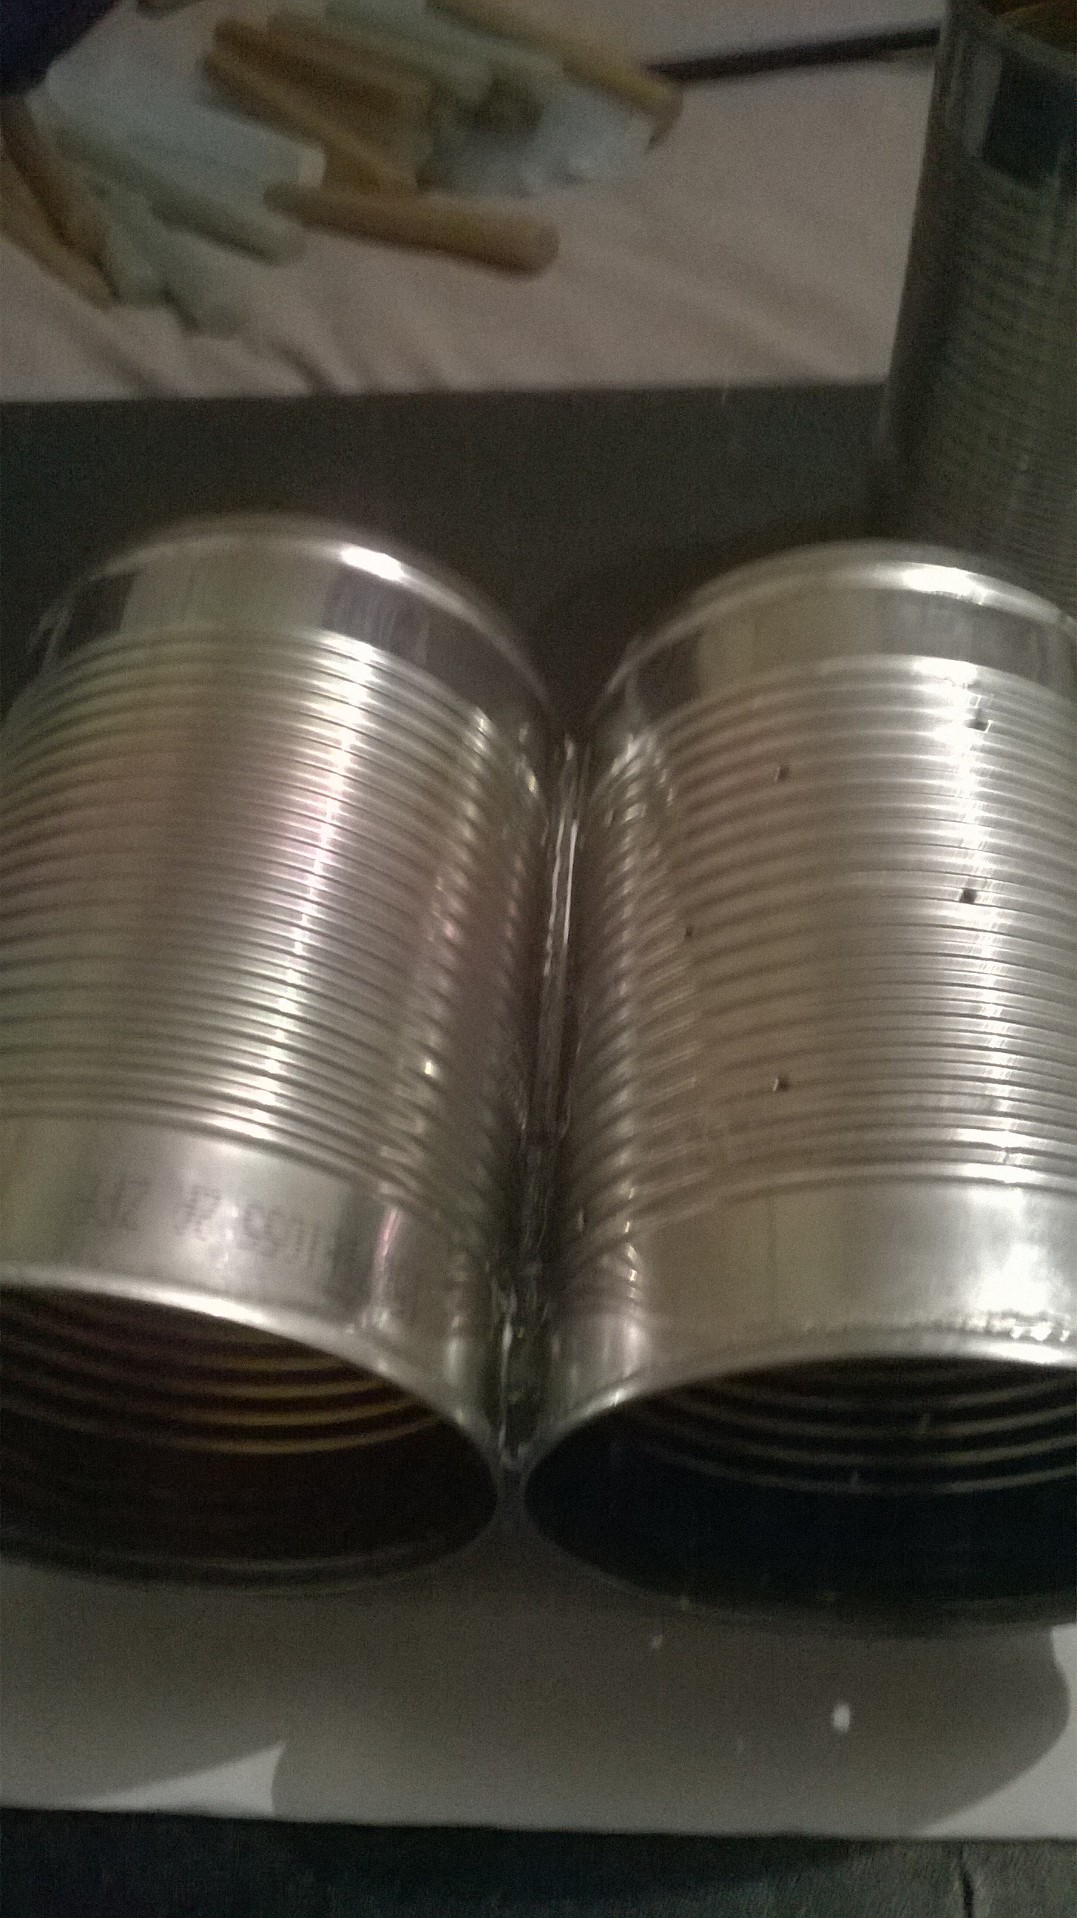
Step One - Gluing the Tins together
Now this isn't exactly a difficult project, but i guess its fun. Anyway, depending on how many tins you have begin to create a pattern. I have three tins so I made a basic triangle. This is just because I was limited to what type of format i could go with.
Anyway, I then added spots of glue to the top tin and stuck this onto another. I added dots of glue around to ensure it wouldn't move when this dried, i added dots of glue on the two bottom tins. I had to make sure the glue was in the right place as if it was in the centre of the tin, the gaps too big so the tins wouldn't attach to each other. Once this was done, I cleaned of any bits or glue I didnt need.
Adding the Feet and Pattern
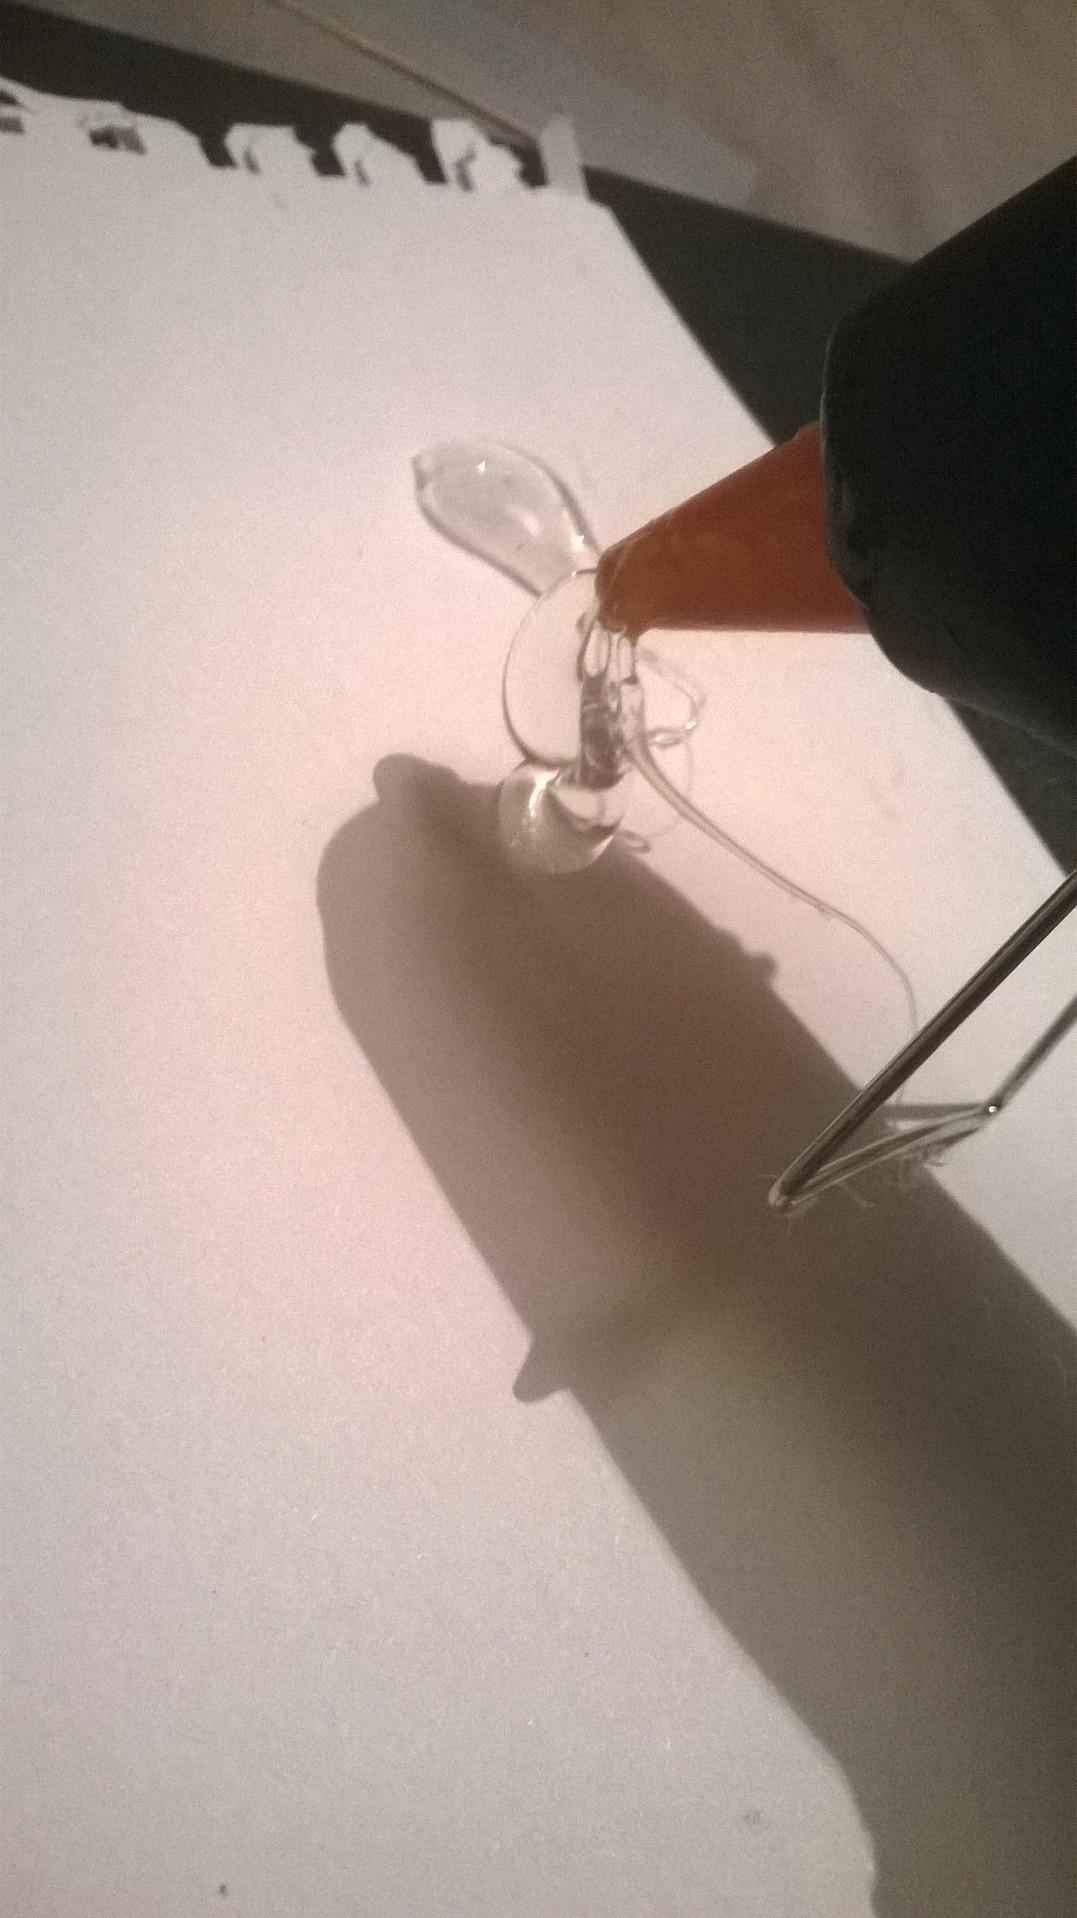
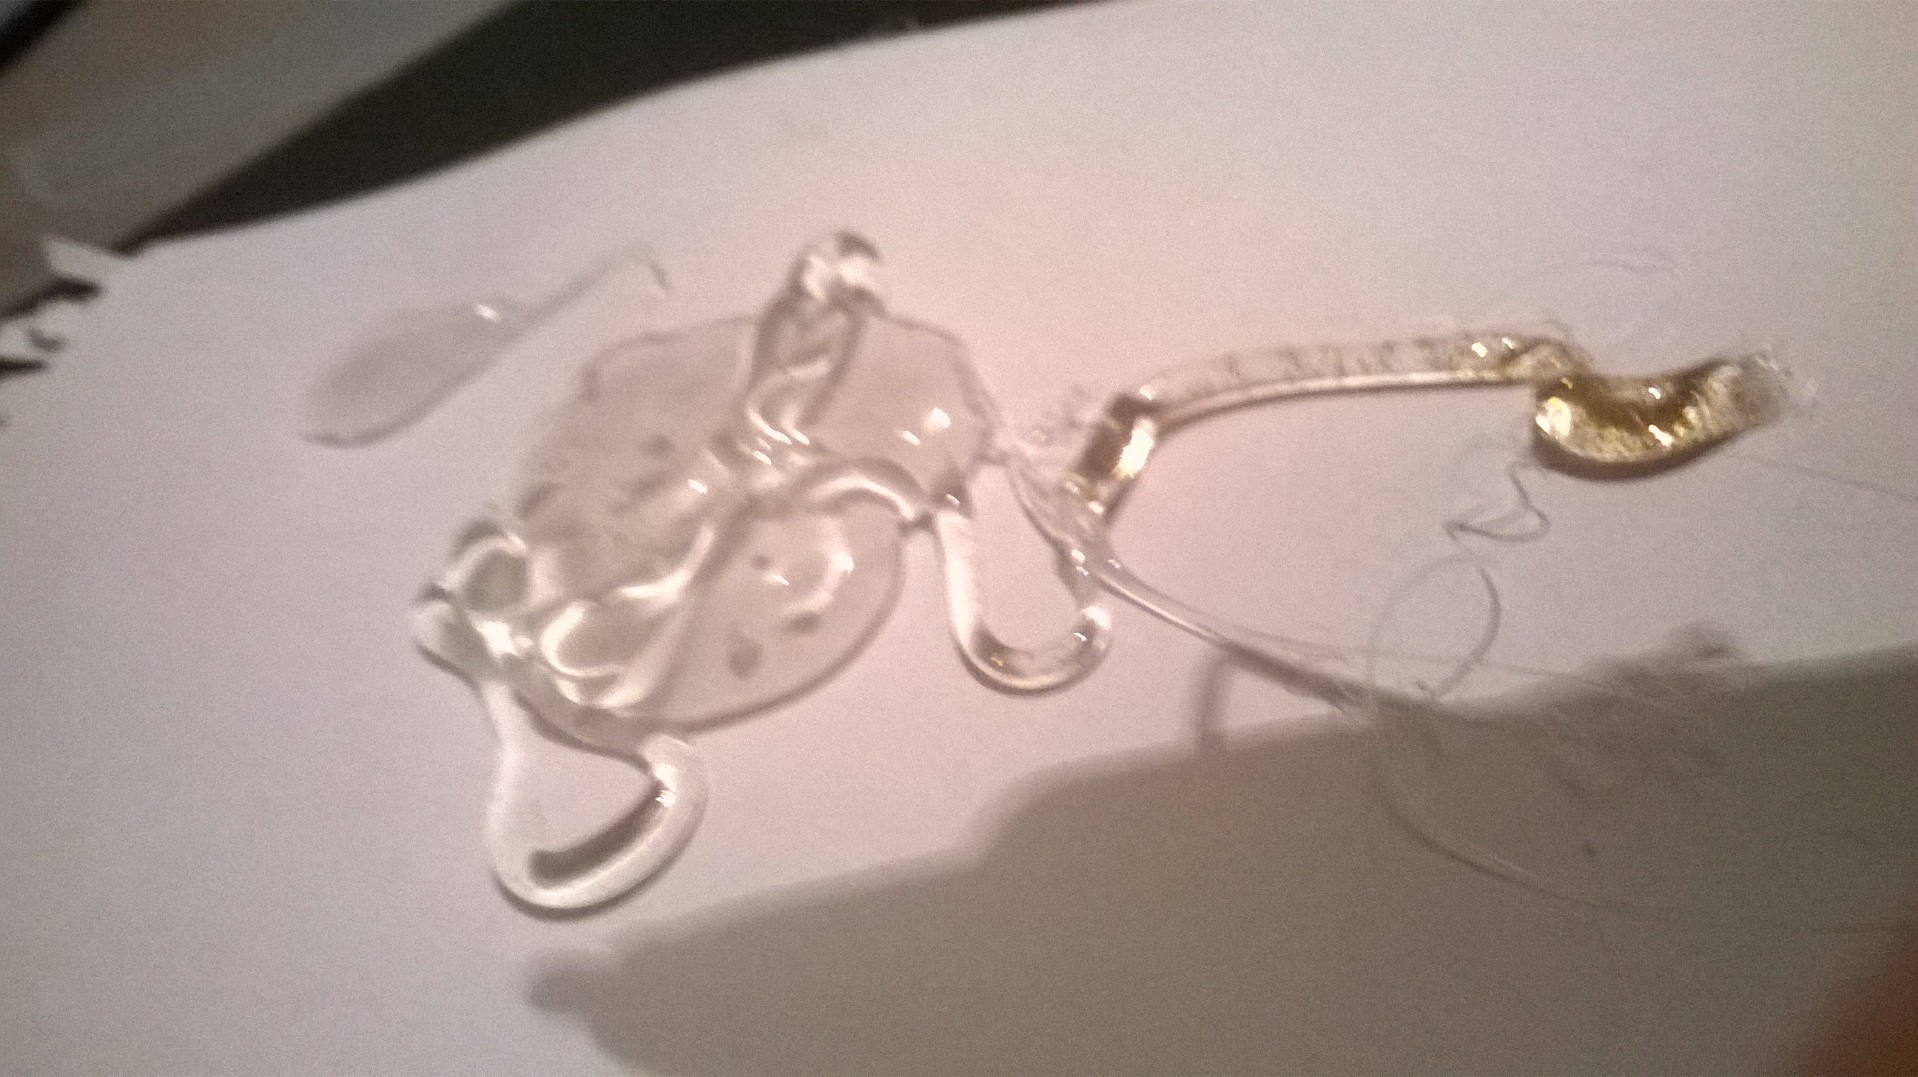
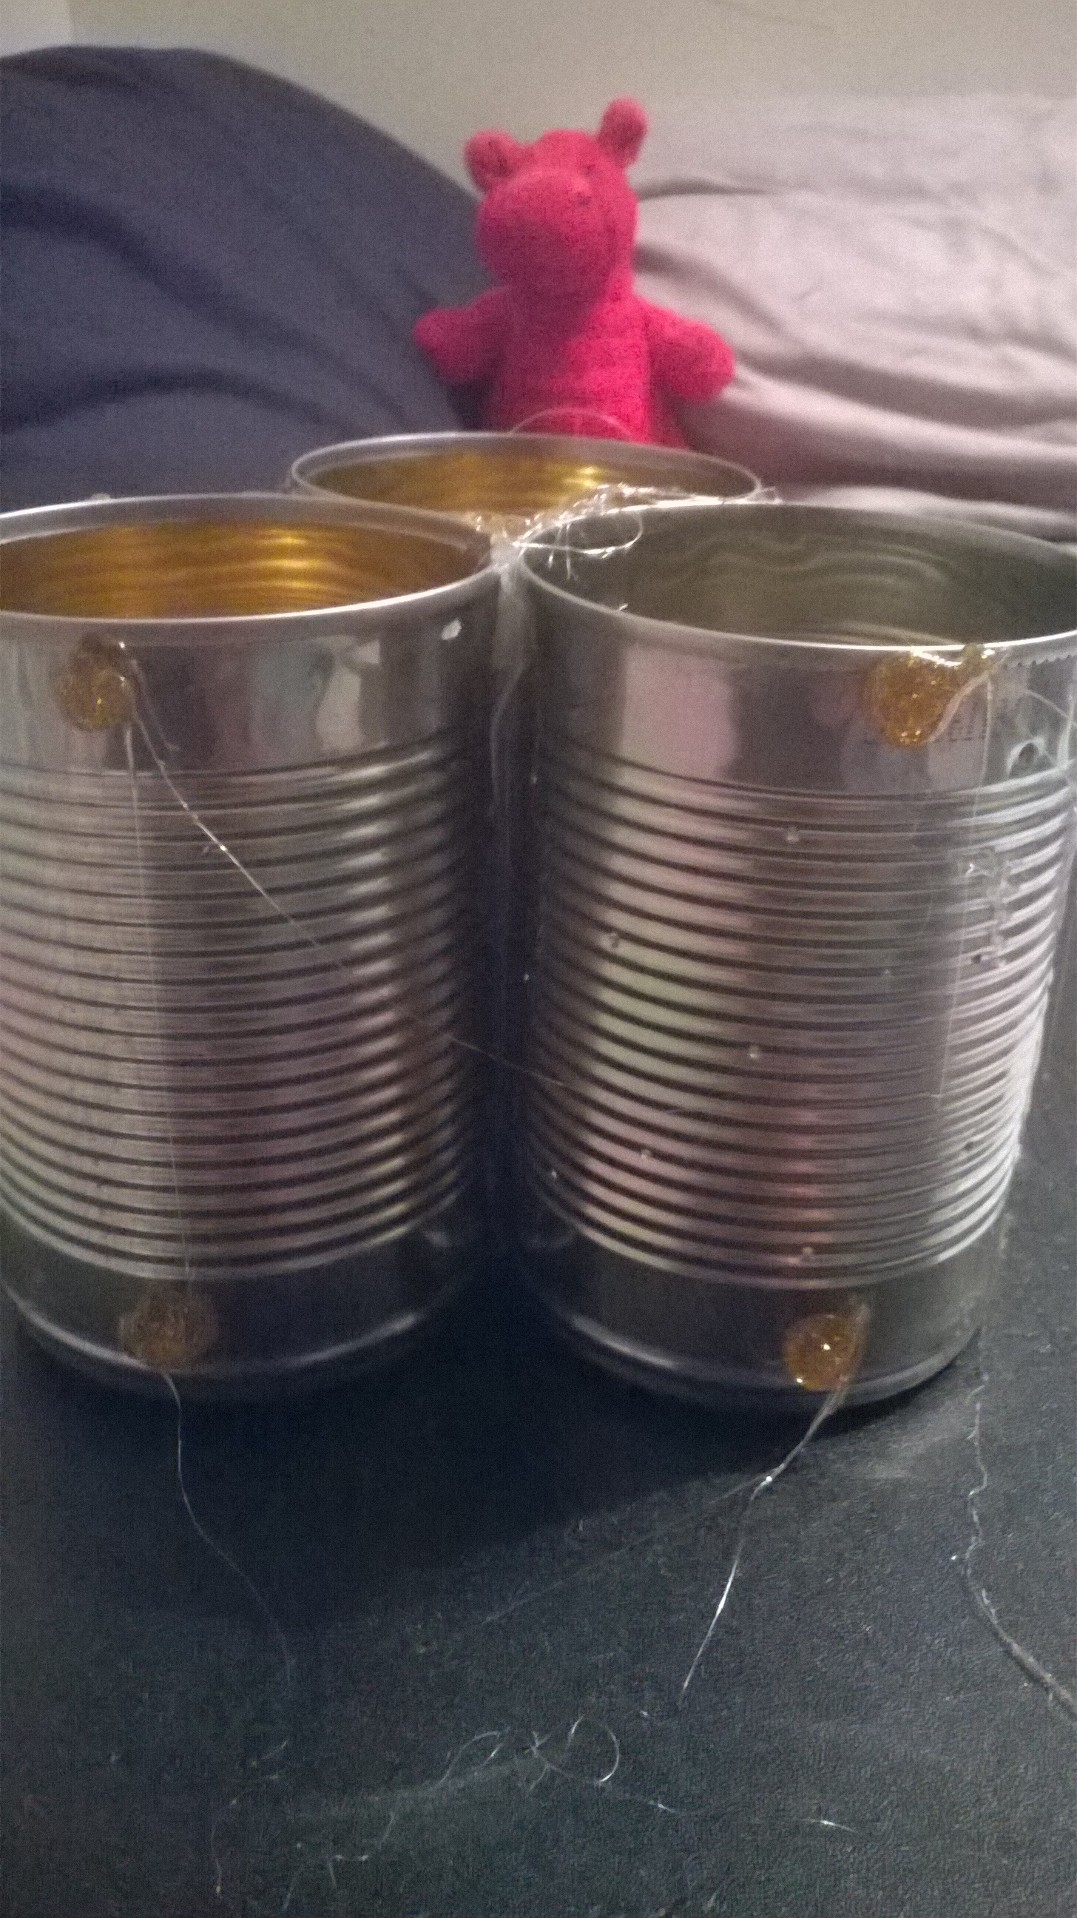
Step two - Adding the Feet and pattern
I turned the tins so that the they were standing up. On the bottom two, I added four sports of glue. Two one each. One spot at the bottom and another one at the top. I did this so the tins wouldn't slip and glide, it ensured a firm, easy alternative to sticky pads used on tables or the on glass or wooden surfaces. Also, it ensured the Tins didnt scratch the surfaces it was used on.
I added a multitude of different shapes and patterns to the tins. I covered the entire top part of the product just to give it abit of character. This is the part you can really go wild with. Wrote names, words, draw logos of pictures. Make it yours.
Finished!!
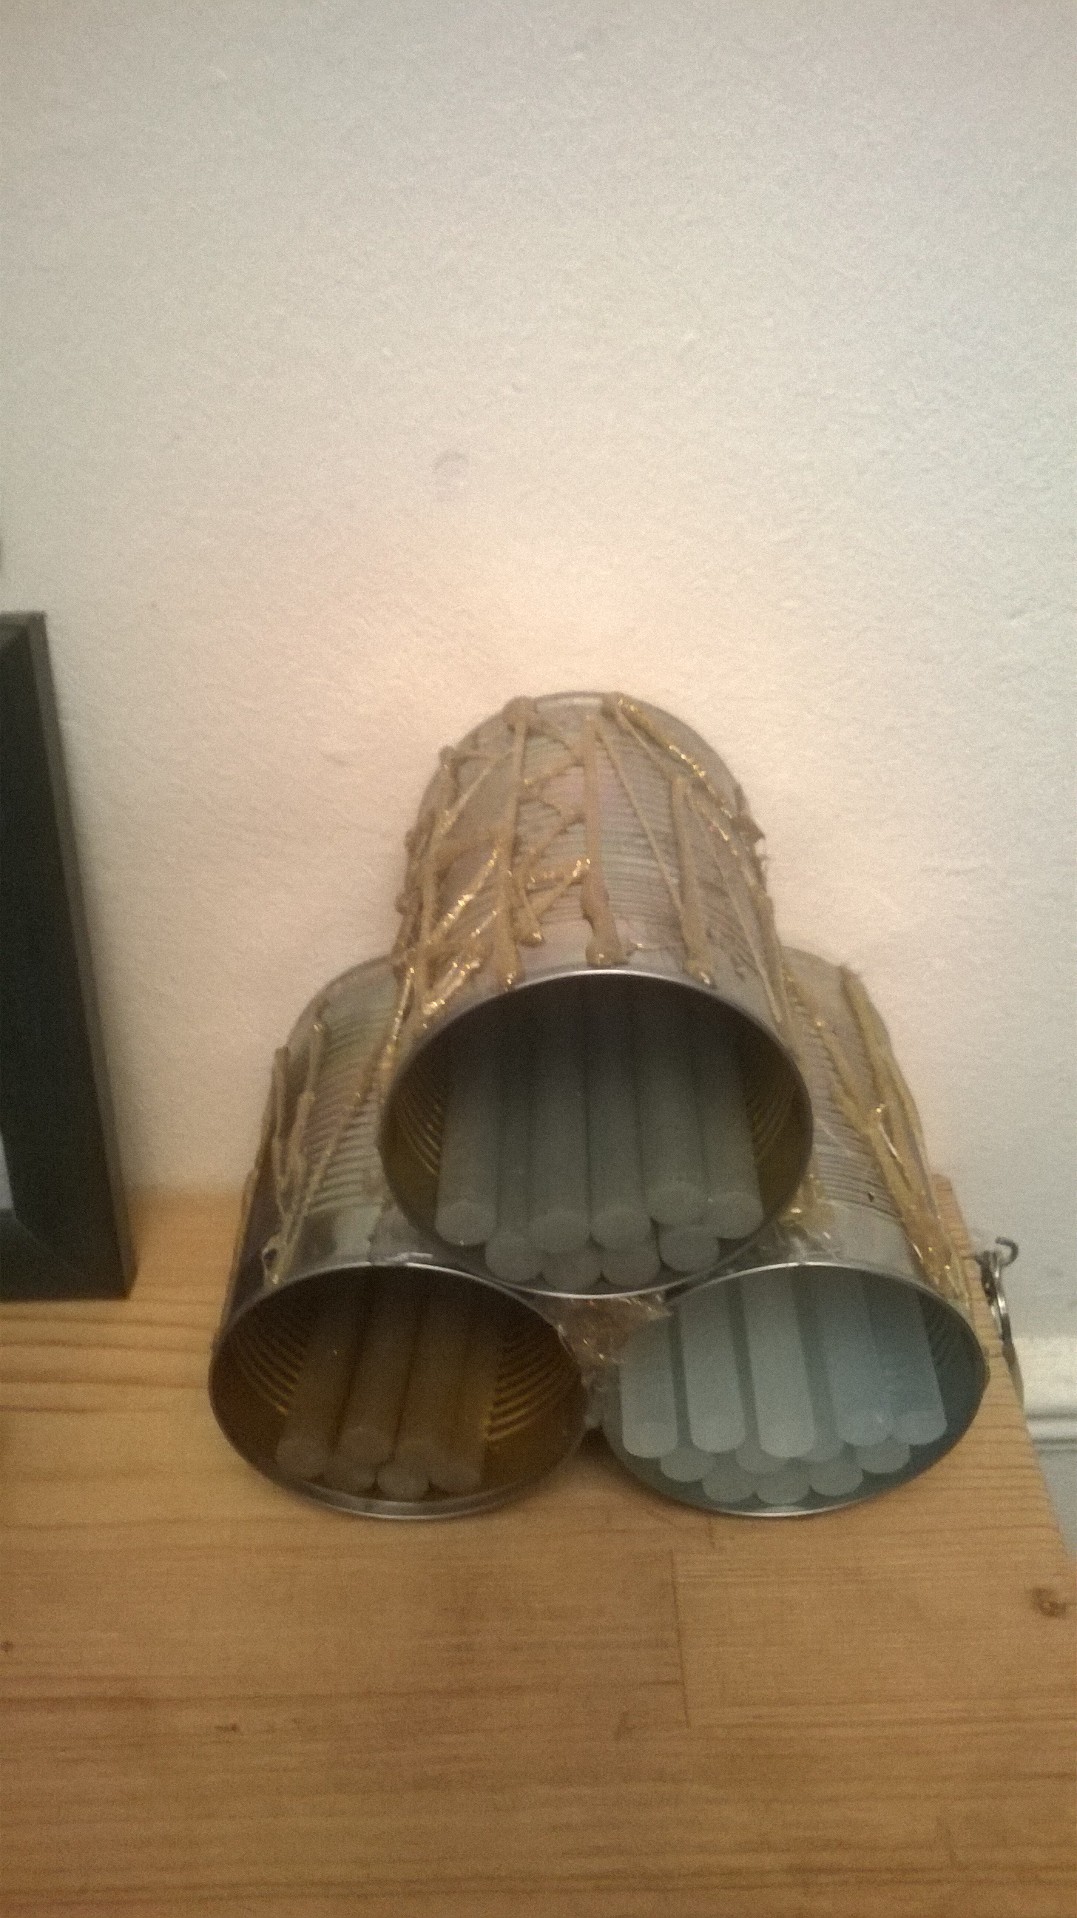
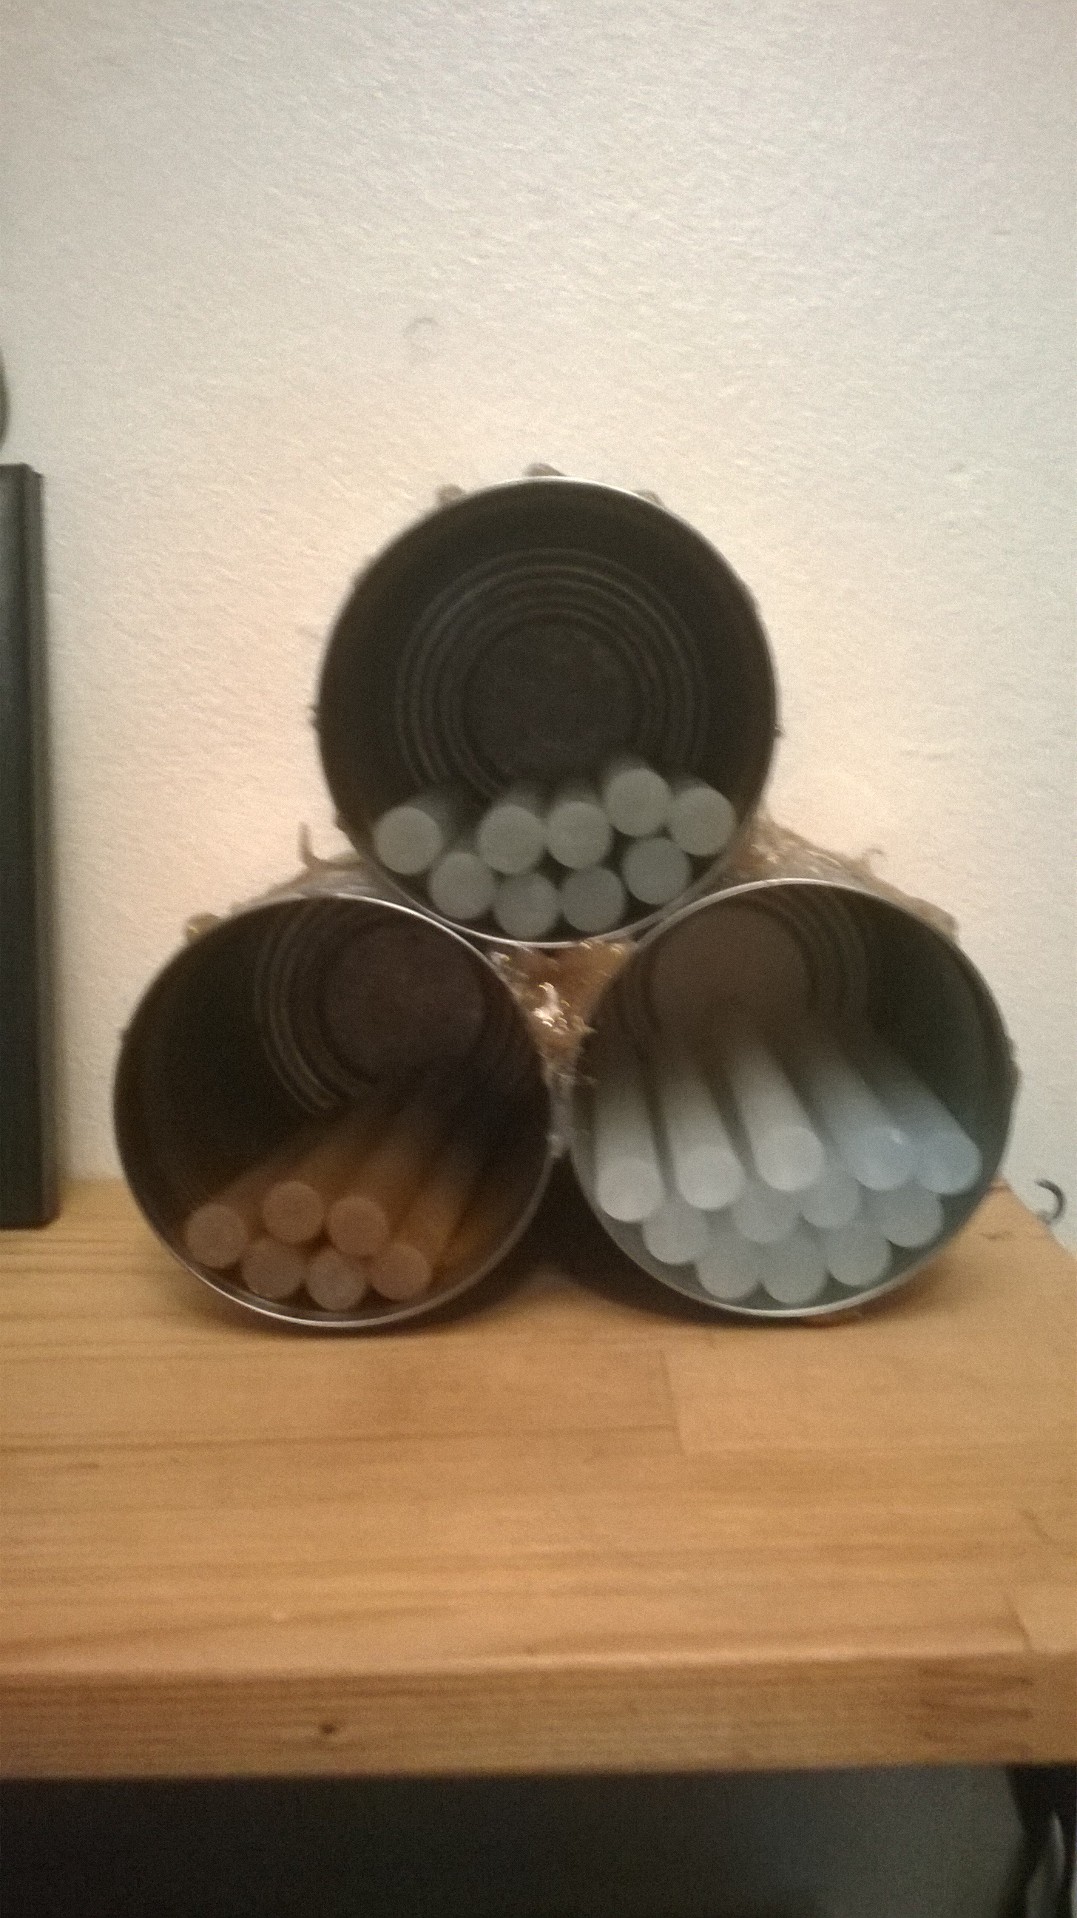
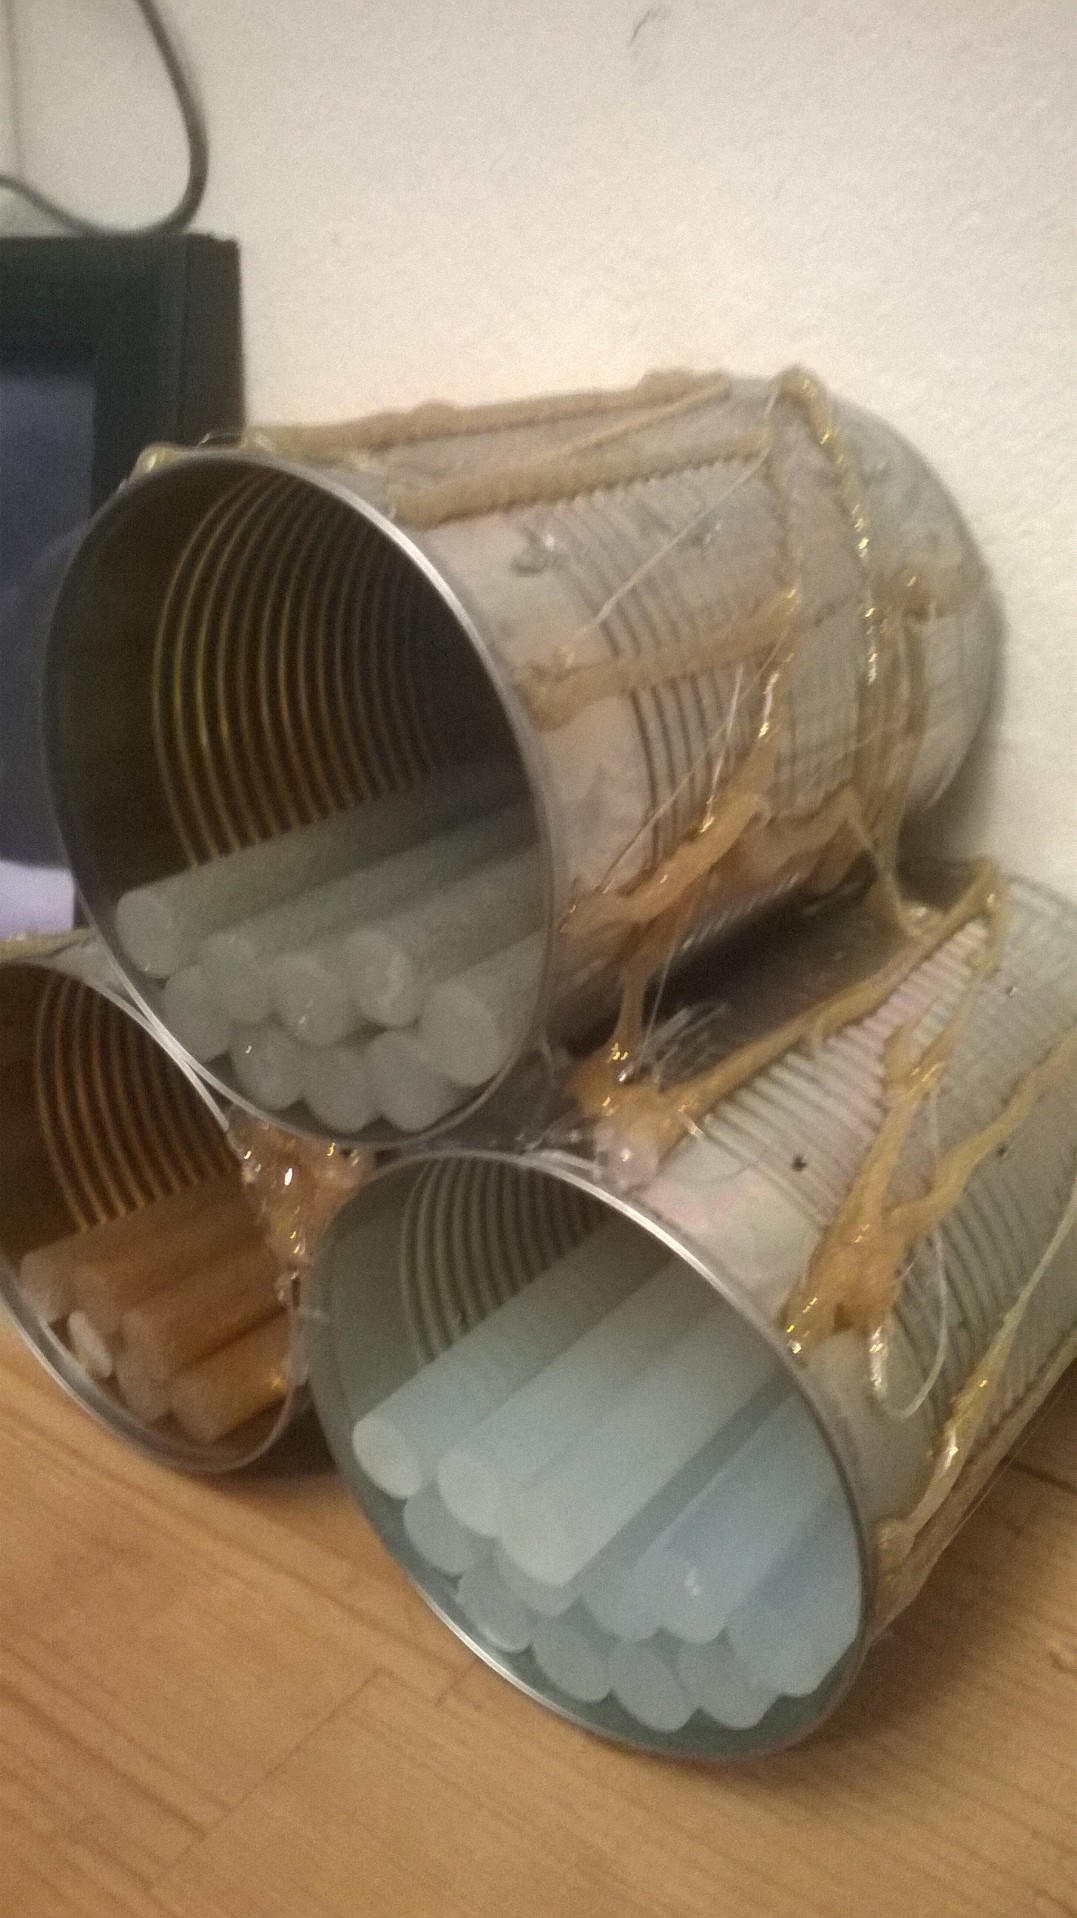
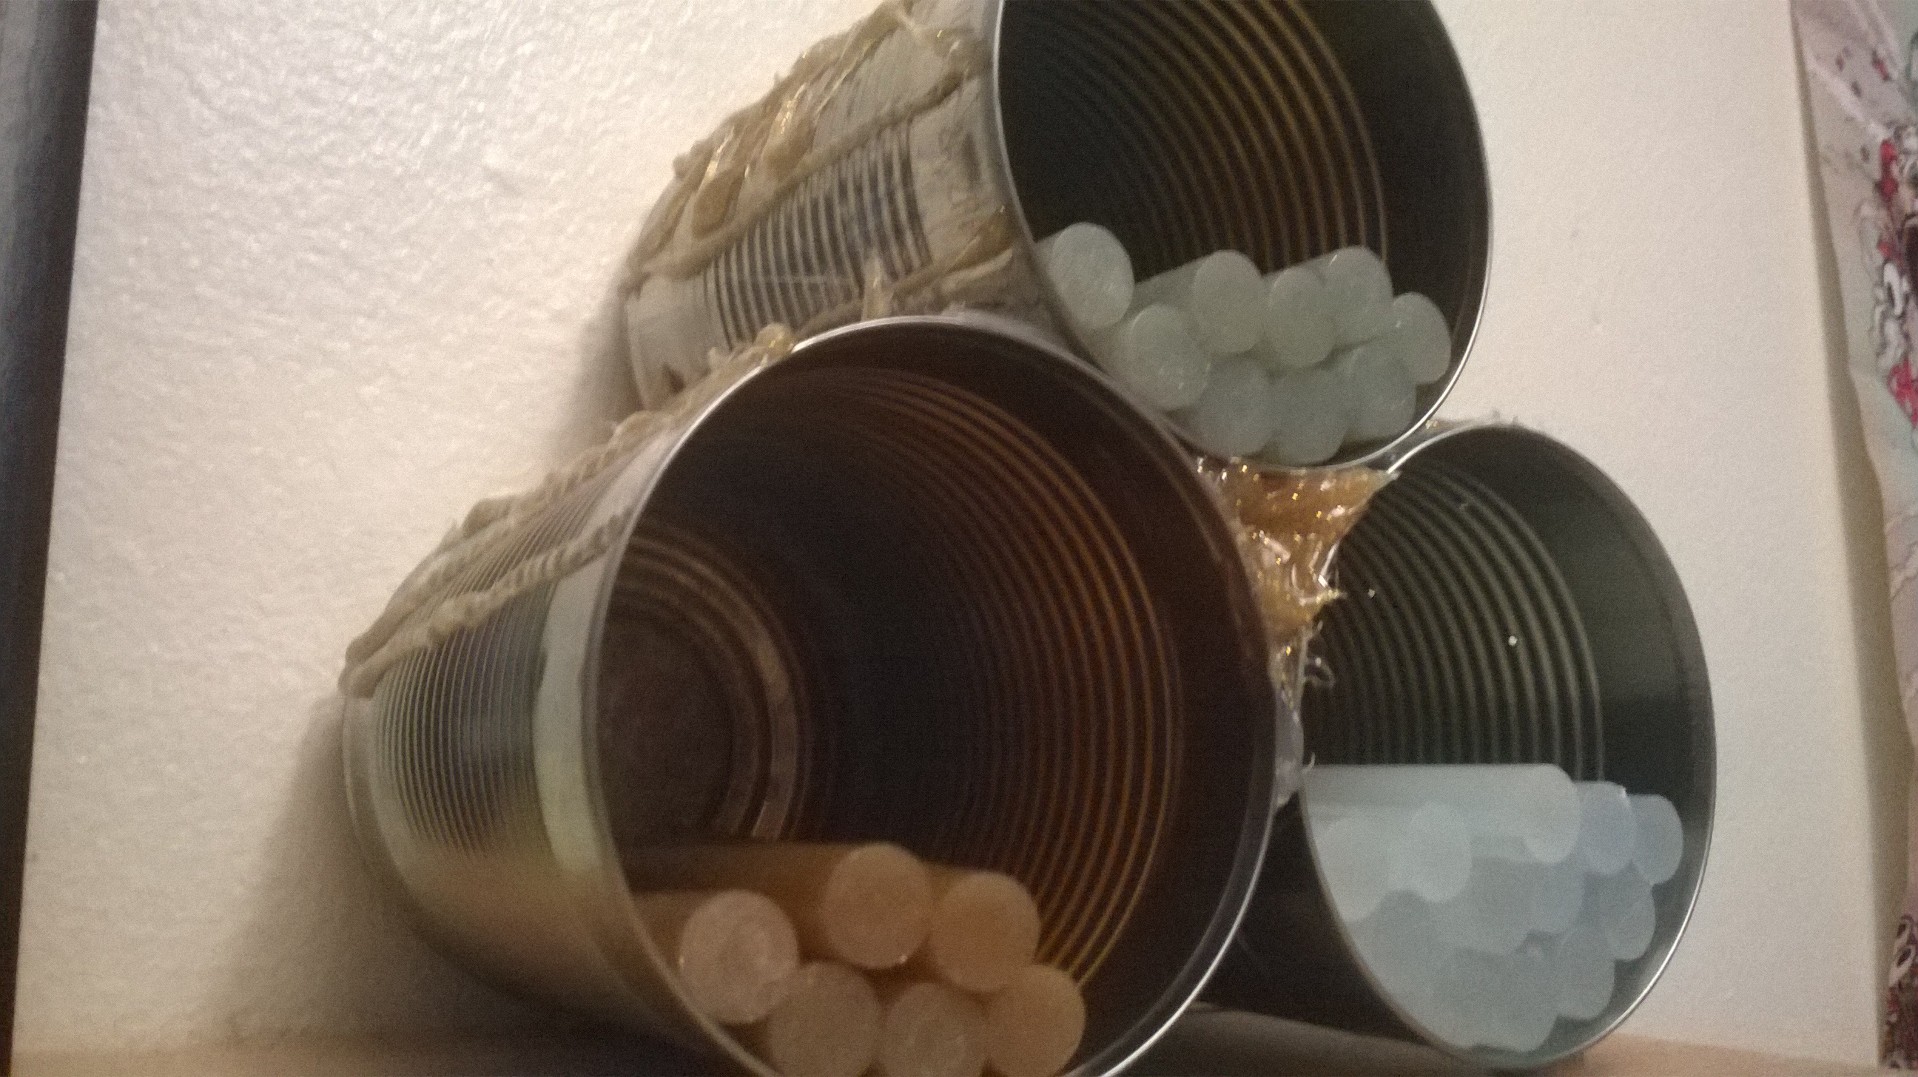
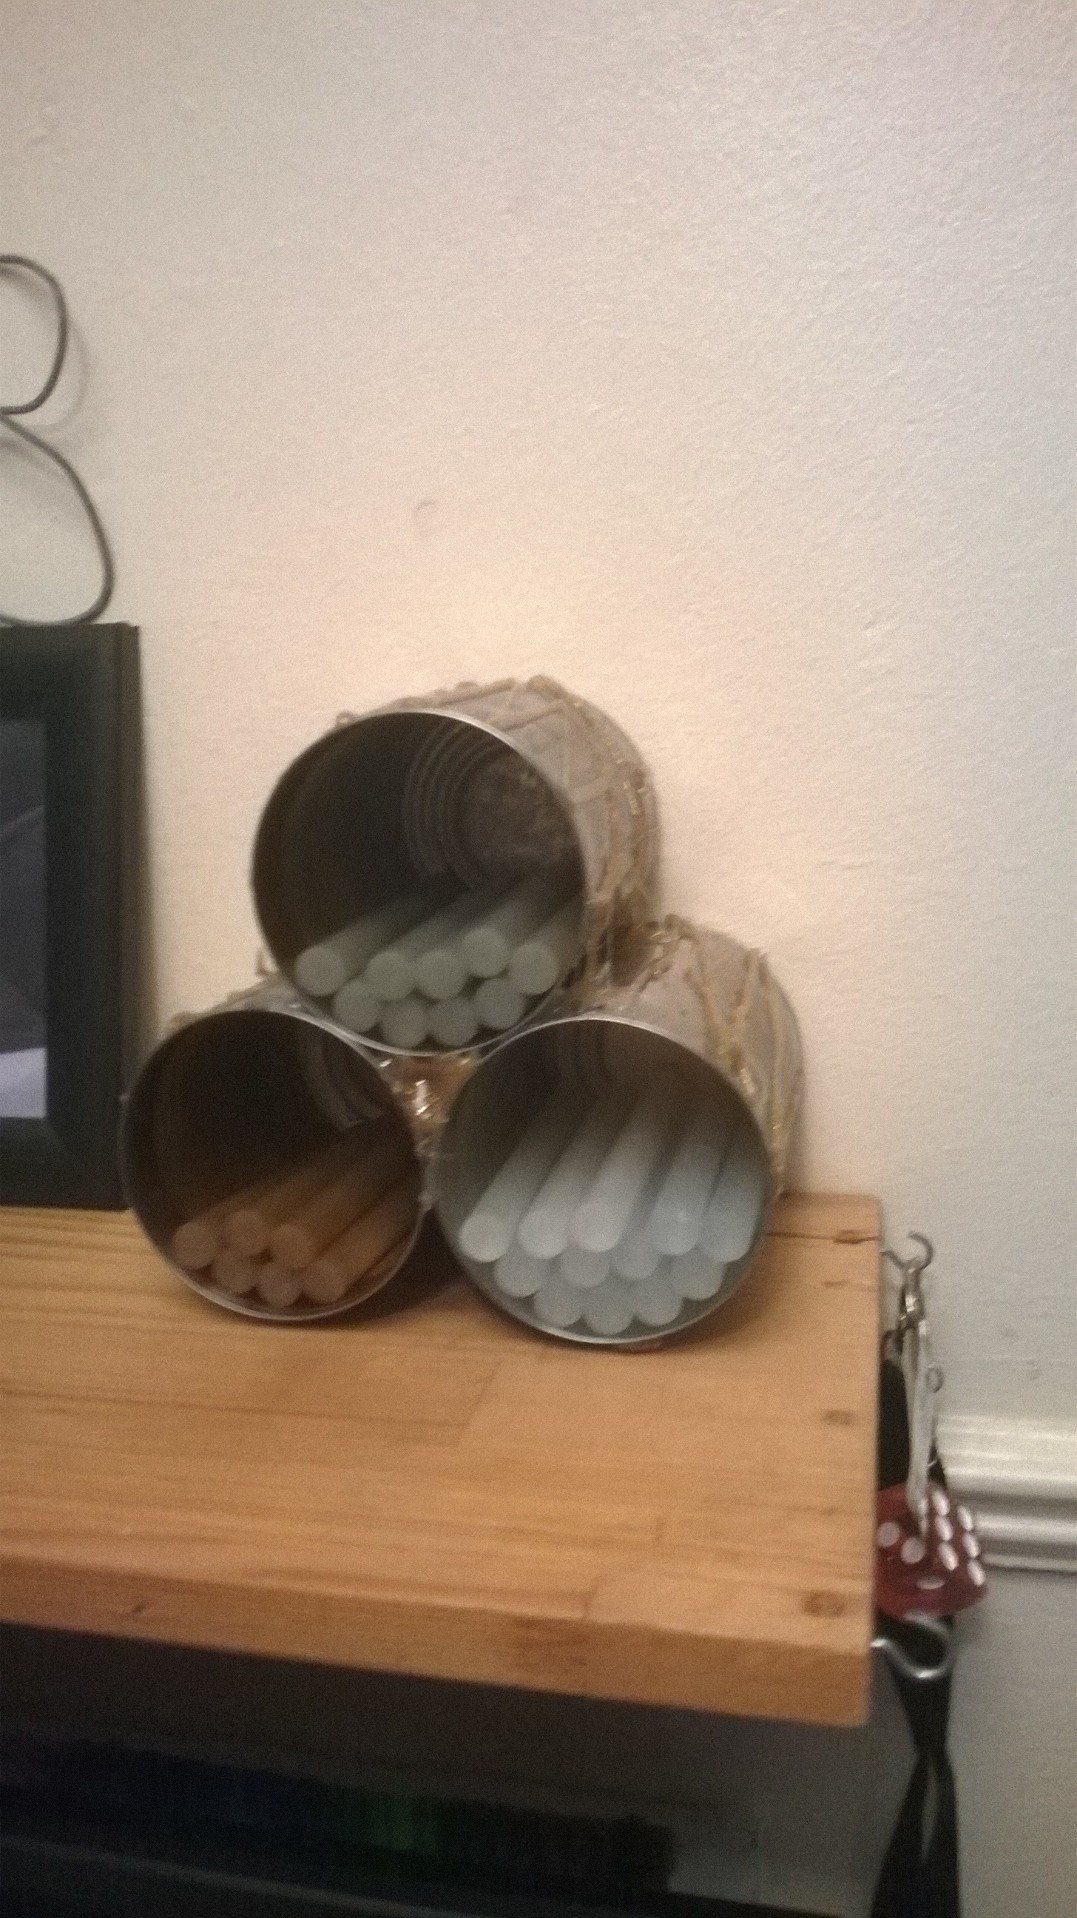
Finished!!
Thank you so much for reading this Instructable, even if you clicked onto the by accident thank you. Every view counts. I love these mini projects as it gives you people, my viewers a quick and simple project to try at home, please feel free to comment, follow and favourite for more amazing Summer DIY projects like this one.