DIY Father's Birthday Box Gift
by LFrausto2021 in Craft > Gift Wrapping
633 Views, 0 Favorites, 0 Comments
DIY Father's Birthday Box Gift
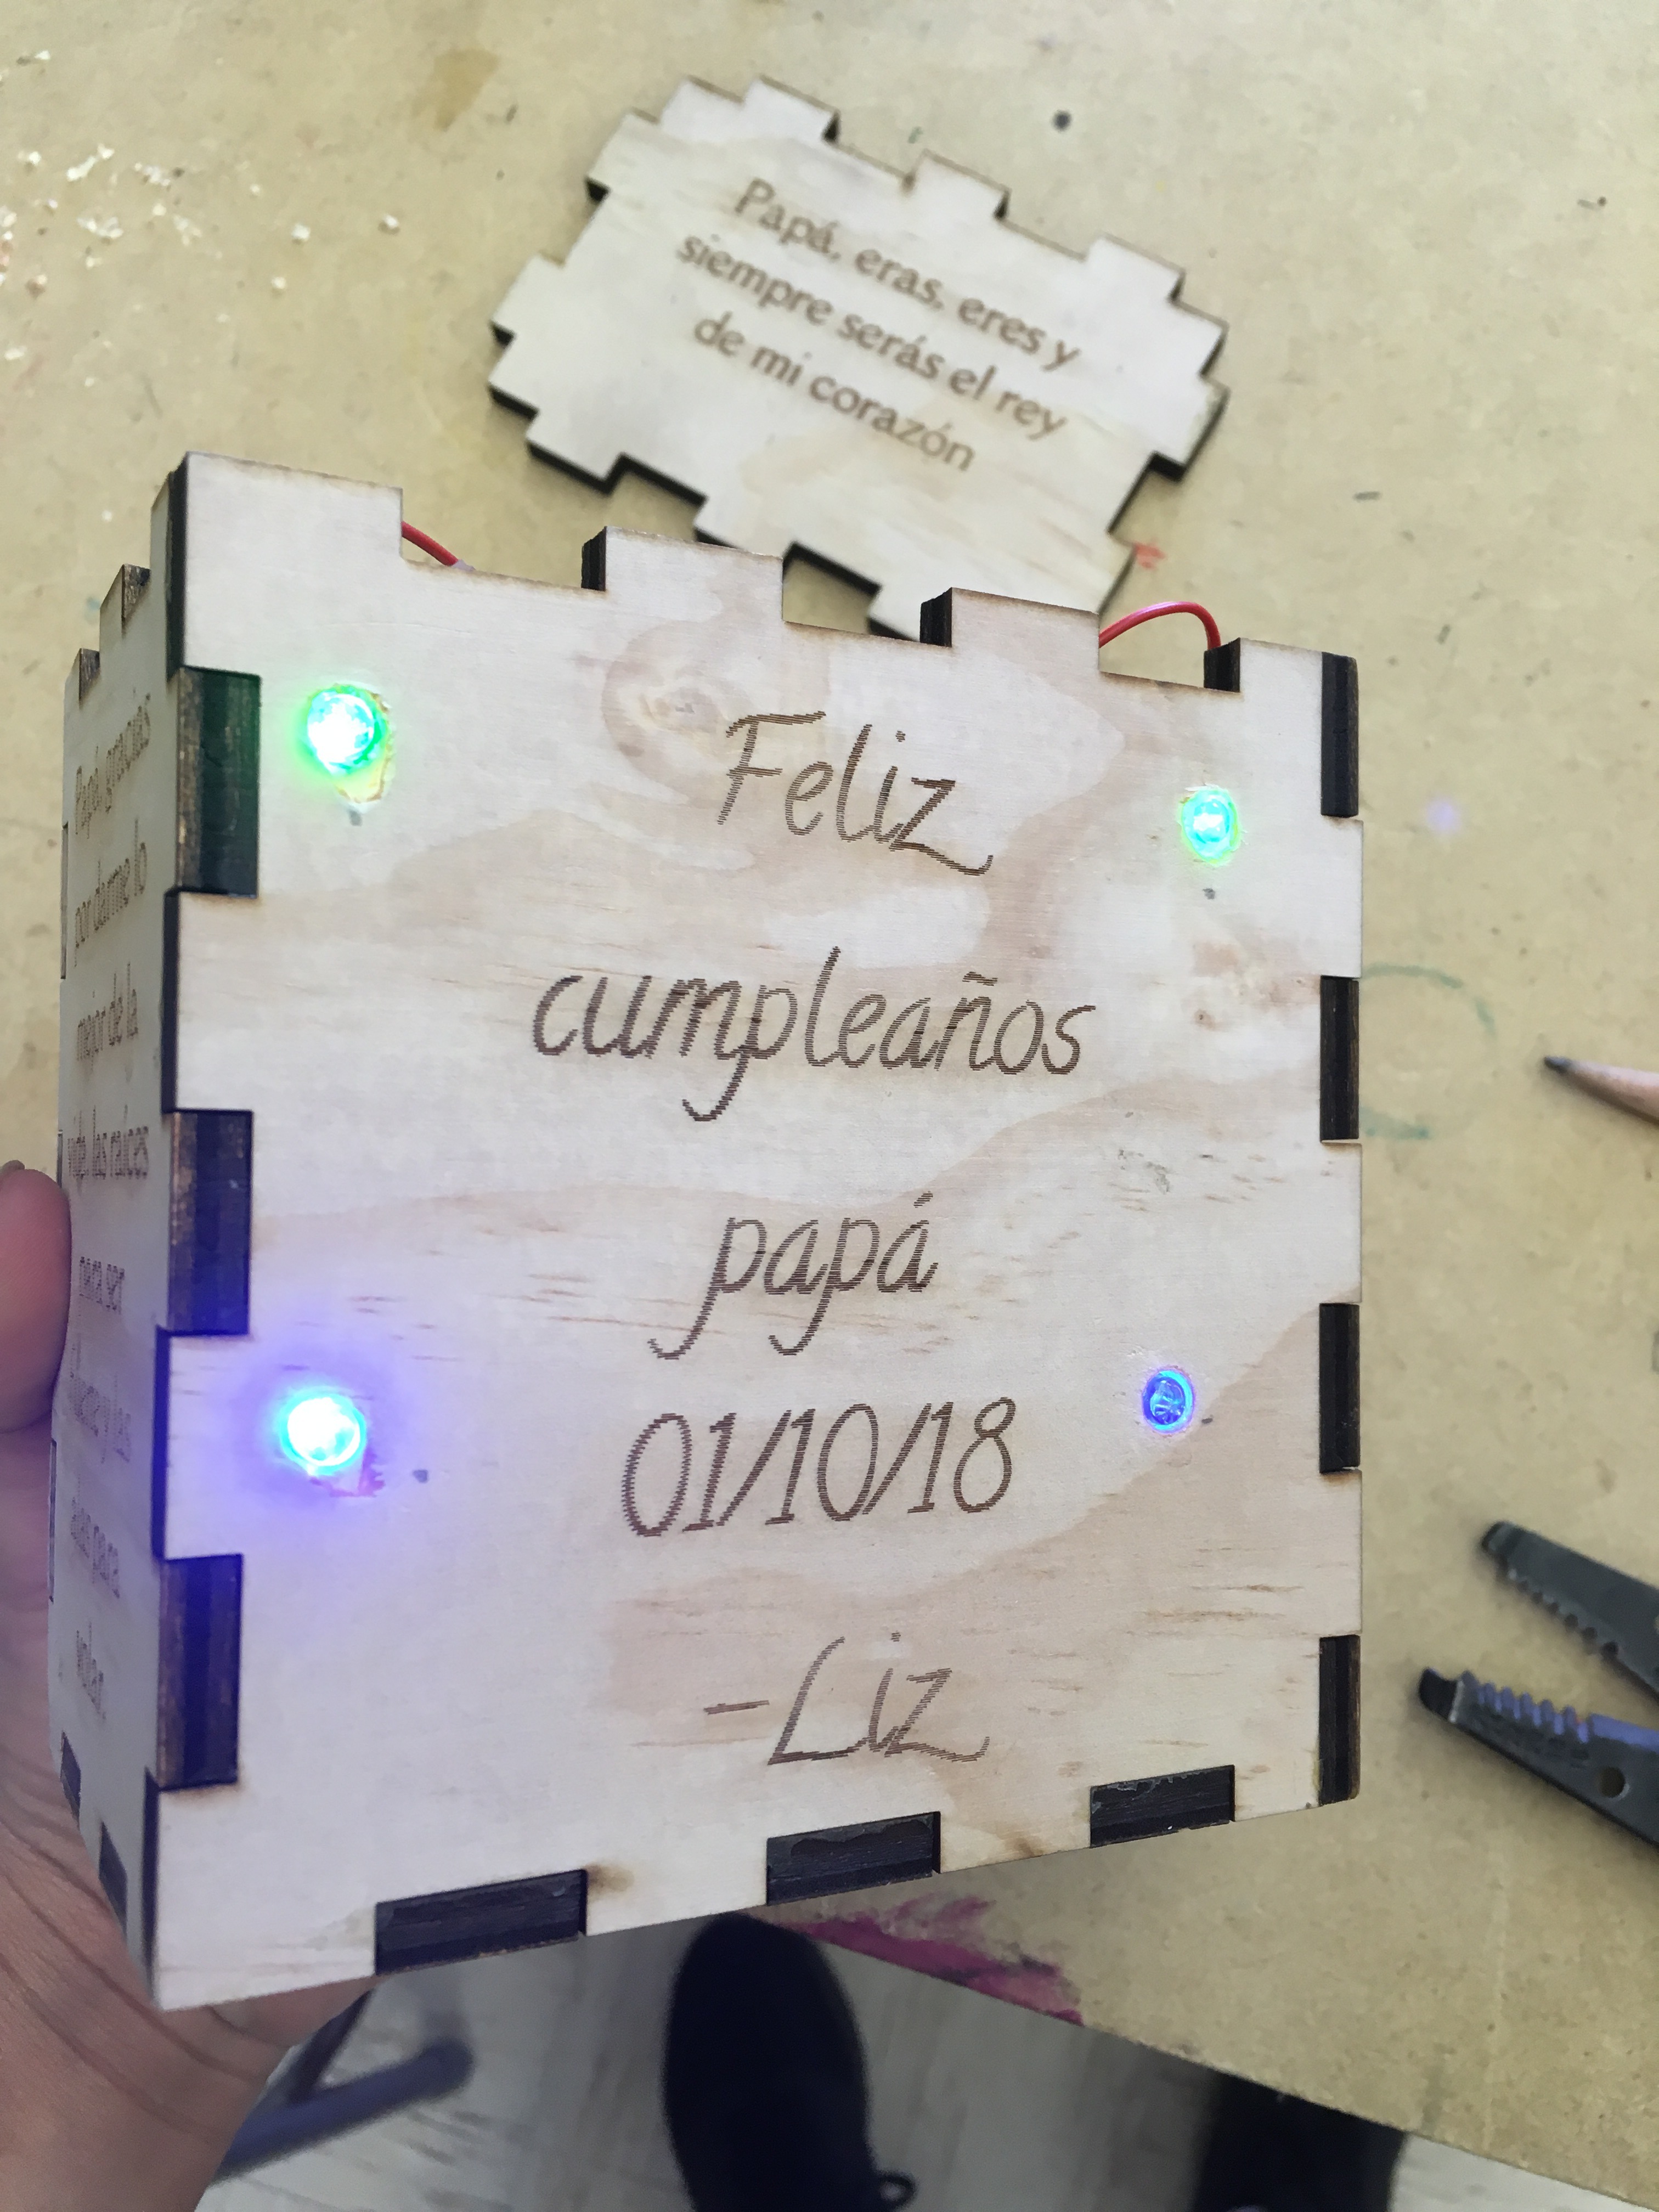
Materials
- Laser Cutter
- Wood Glue
- Wood
- Drill
- 4 LEDs
- Soldering Iron
- Wires
- Computer with Adobe Illustrator
- Pencils
- Tape
Drawing the Initial Dimension of Your Box
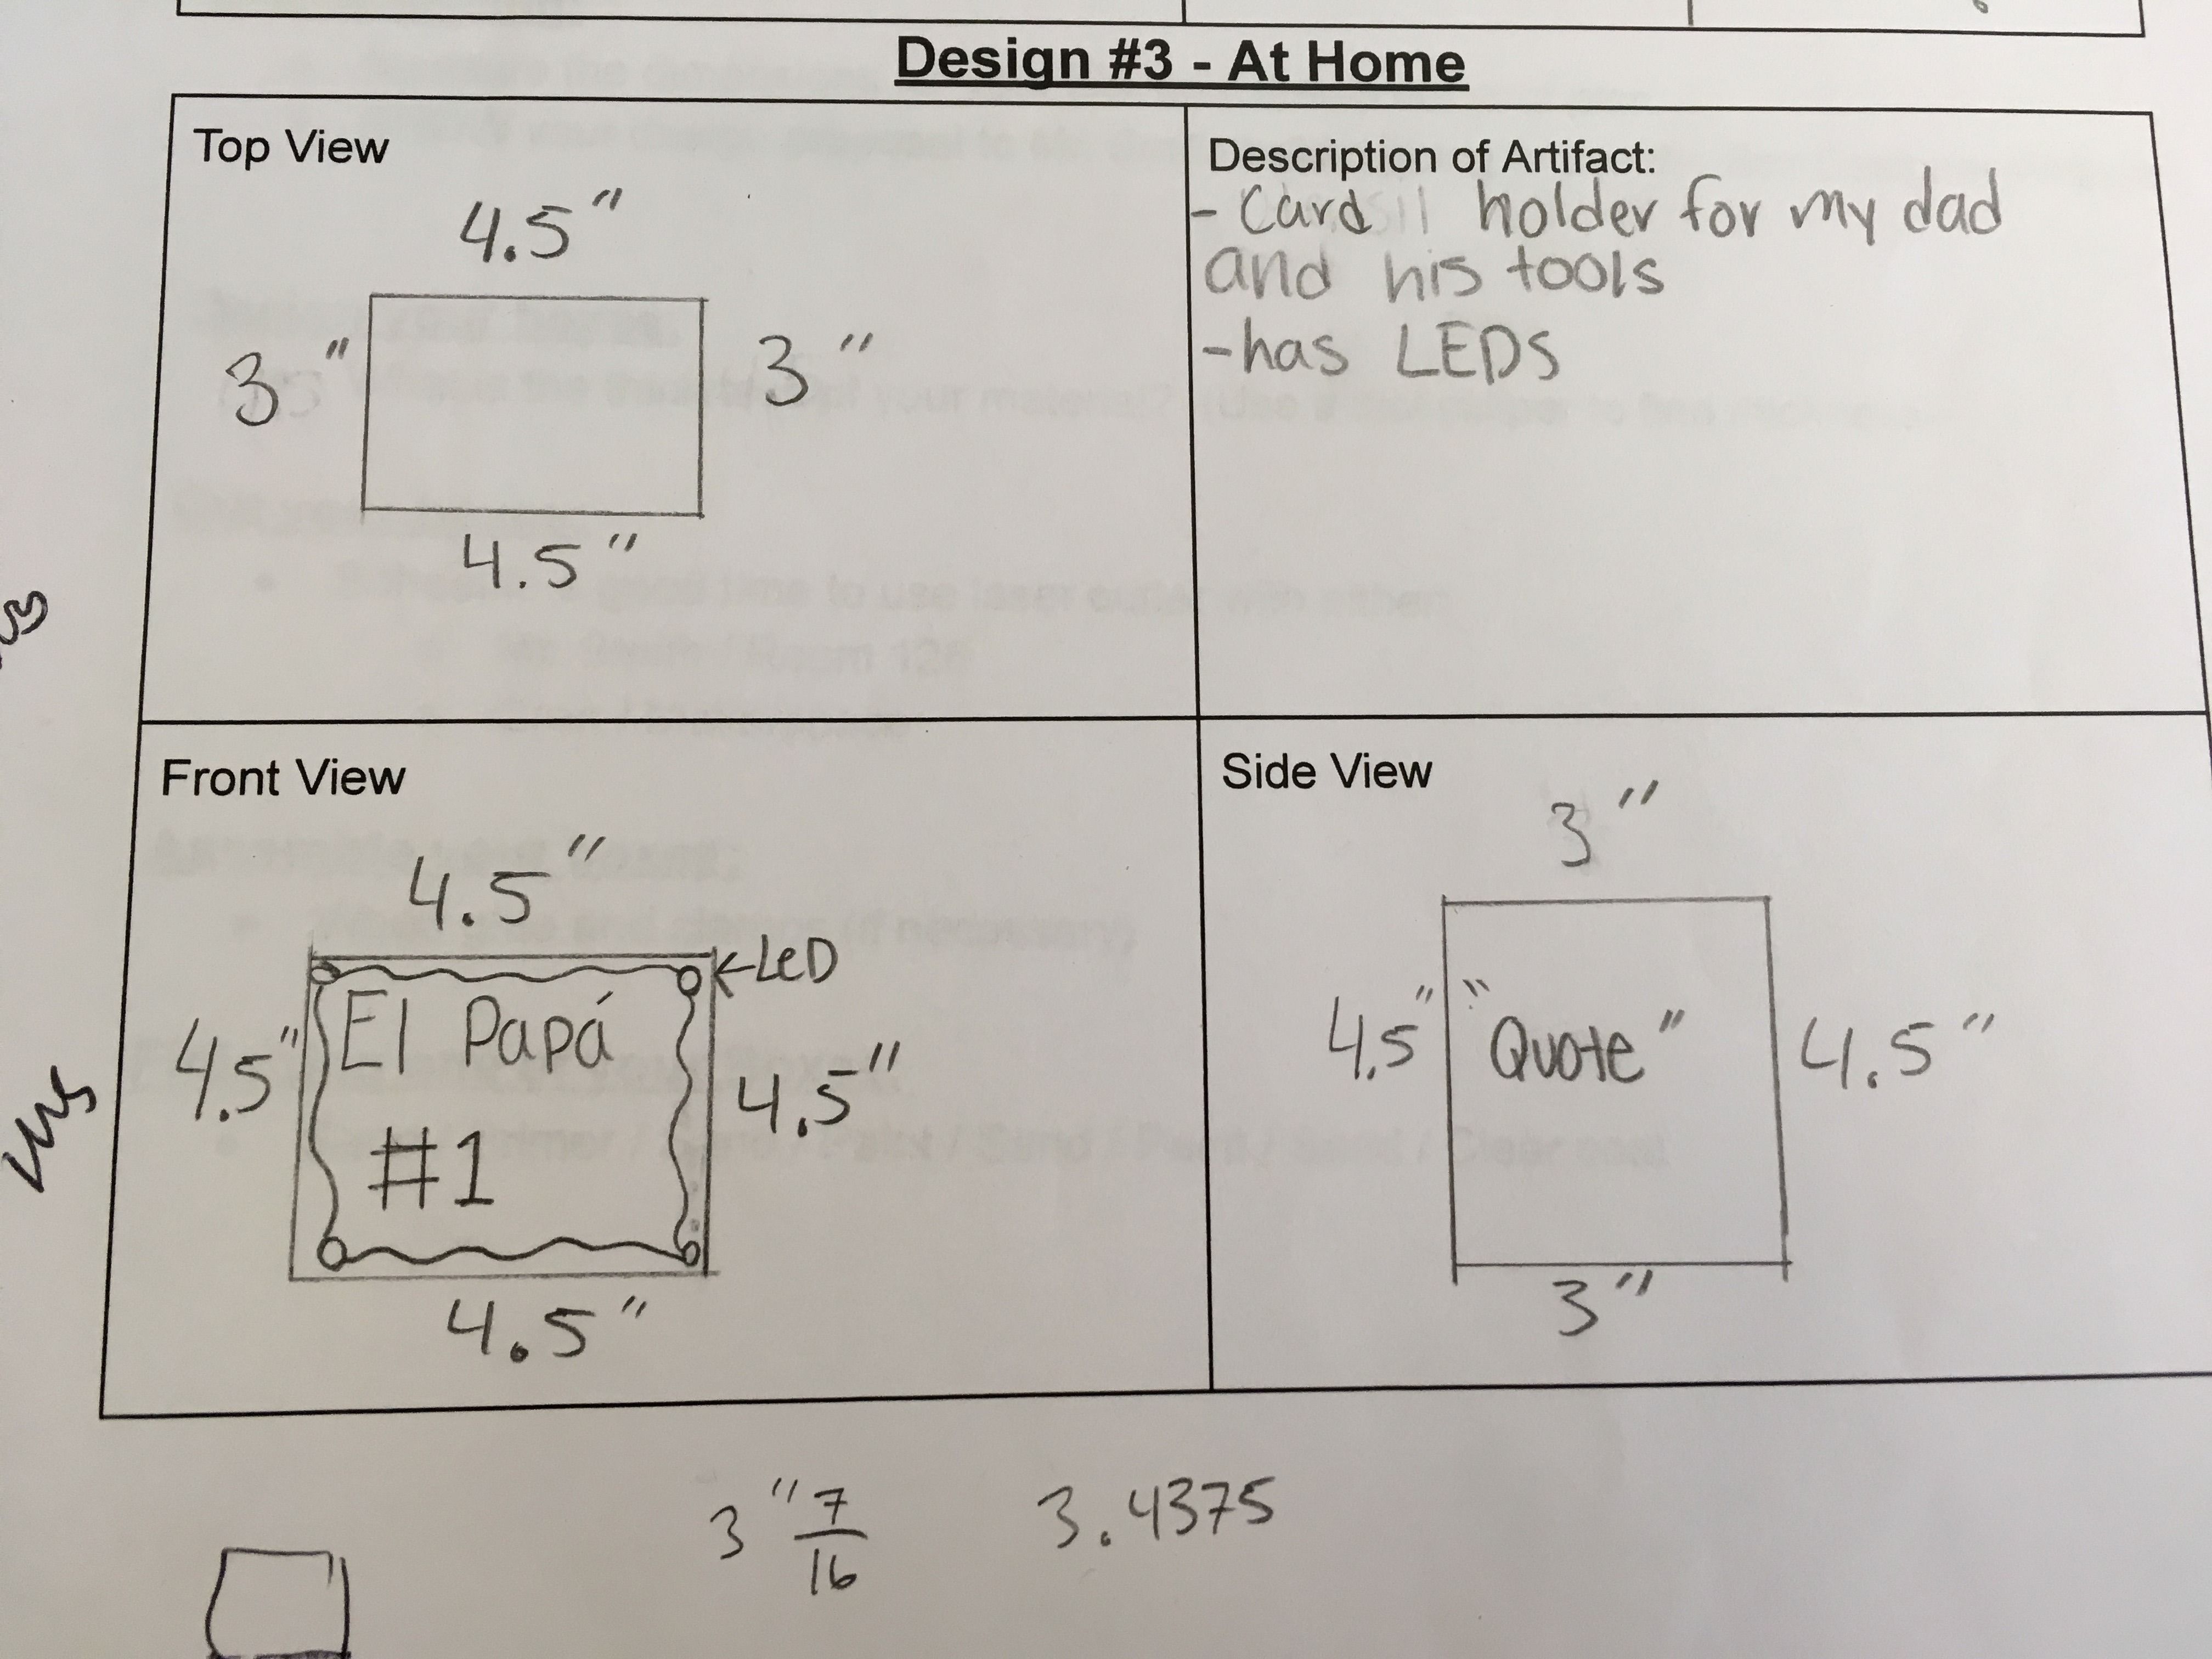
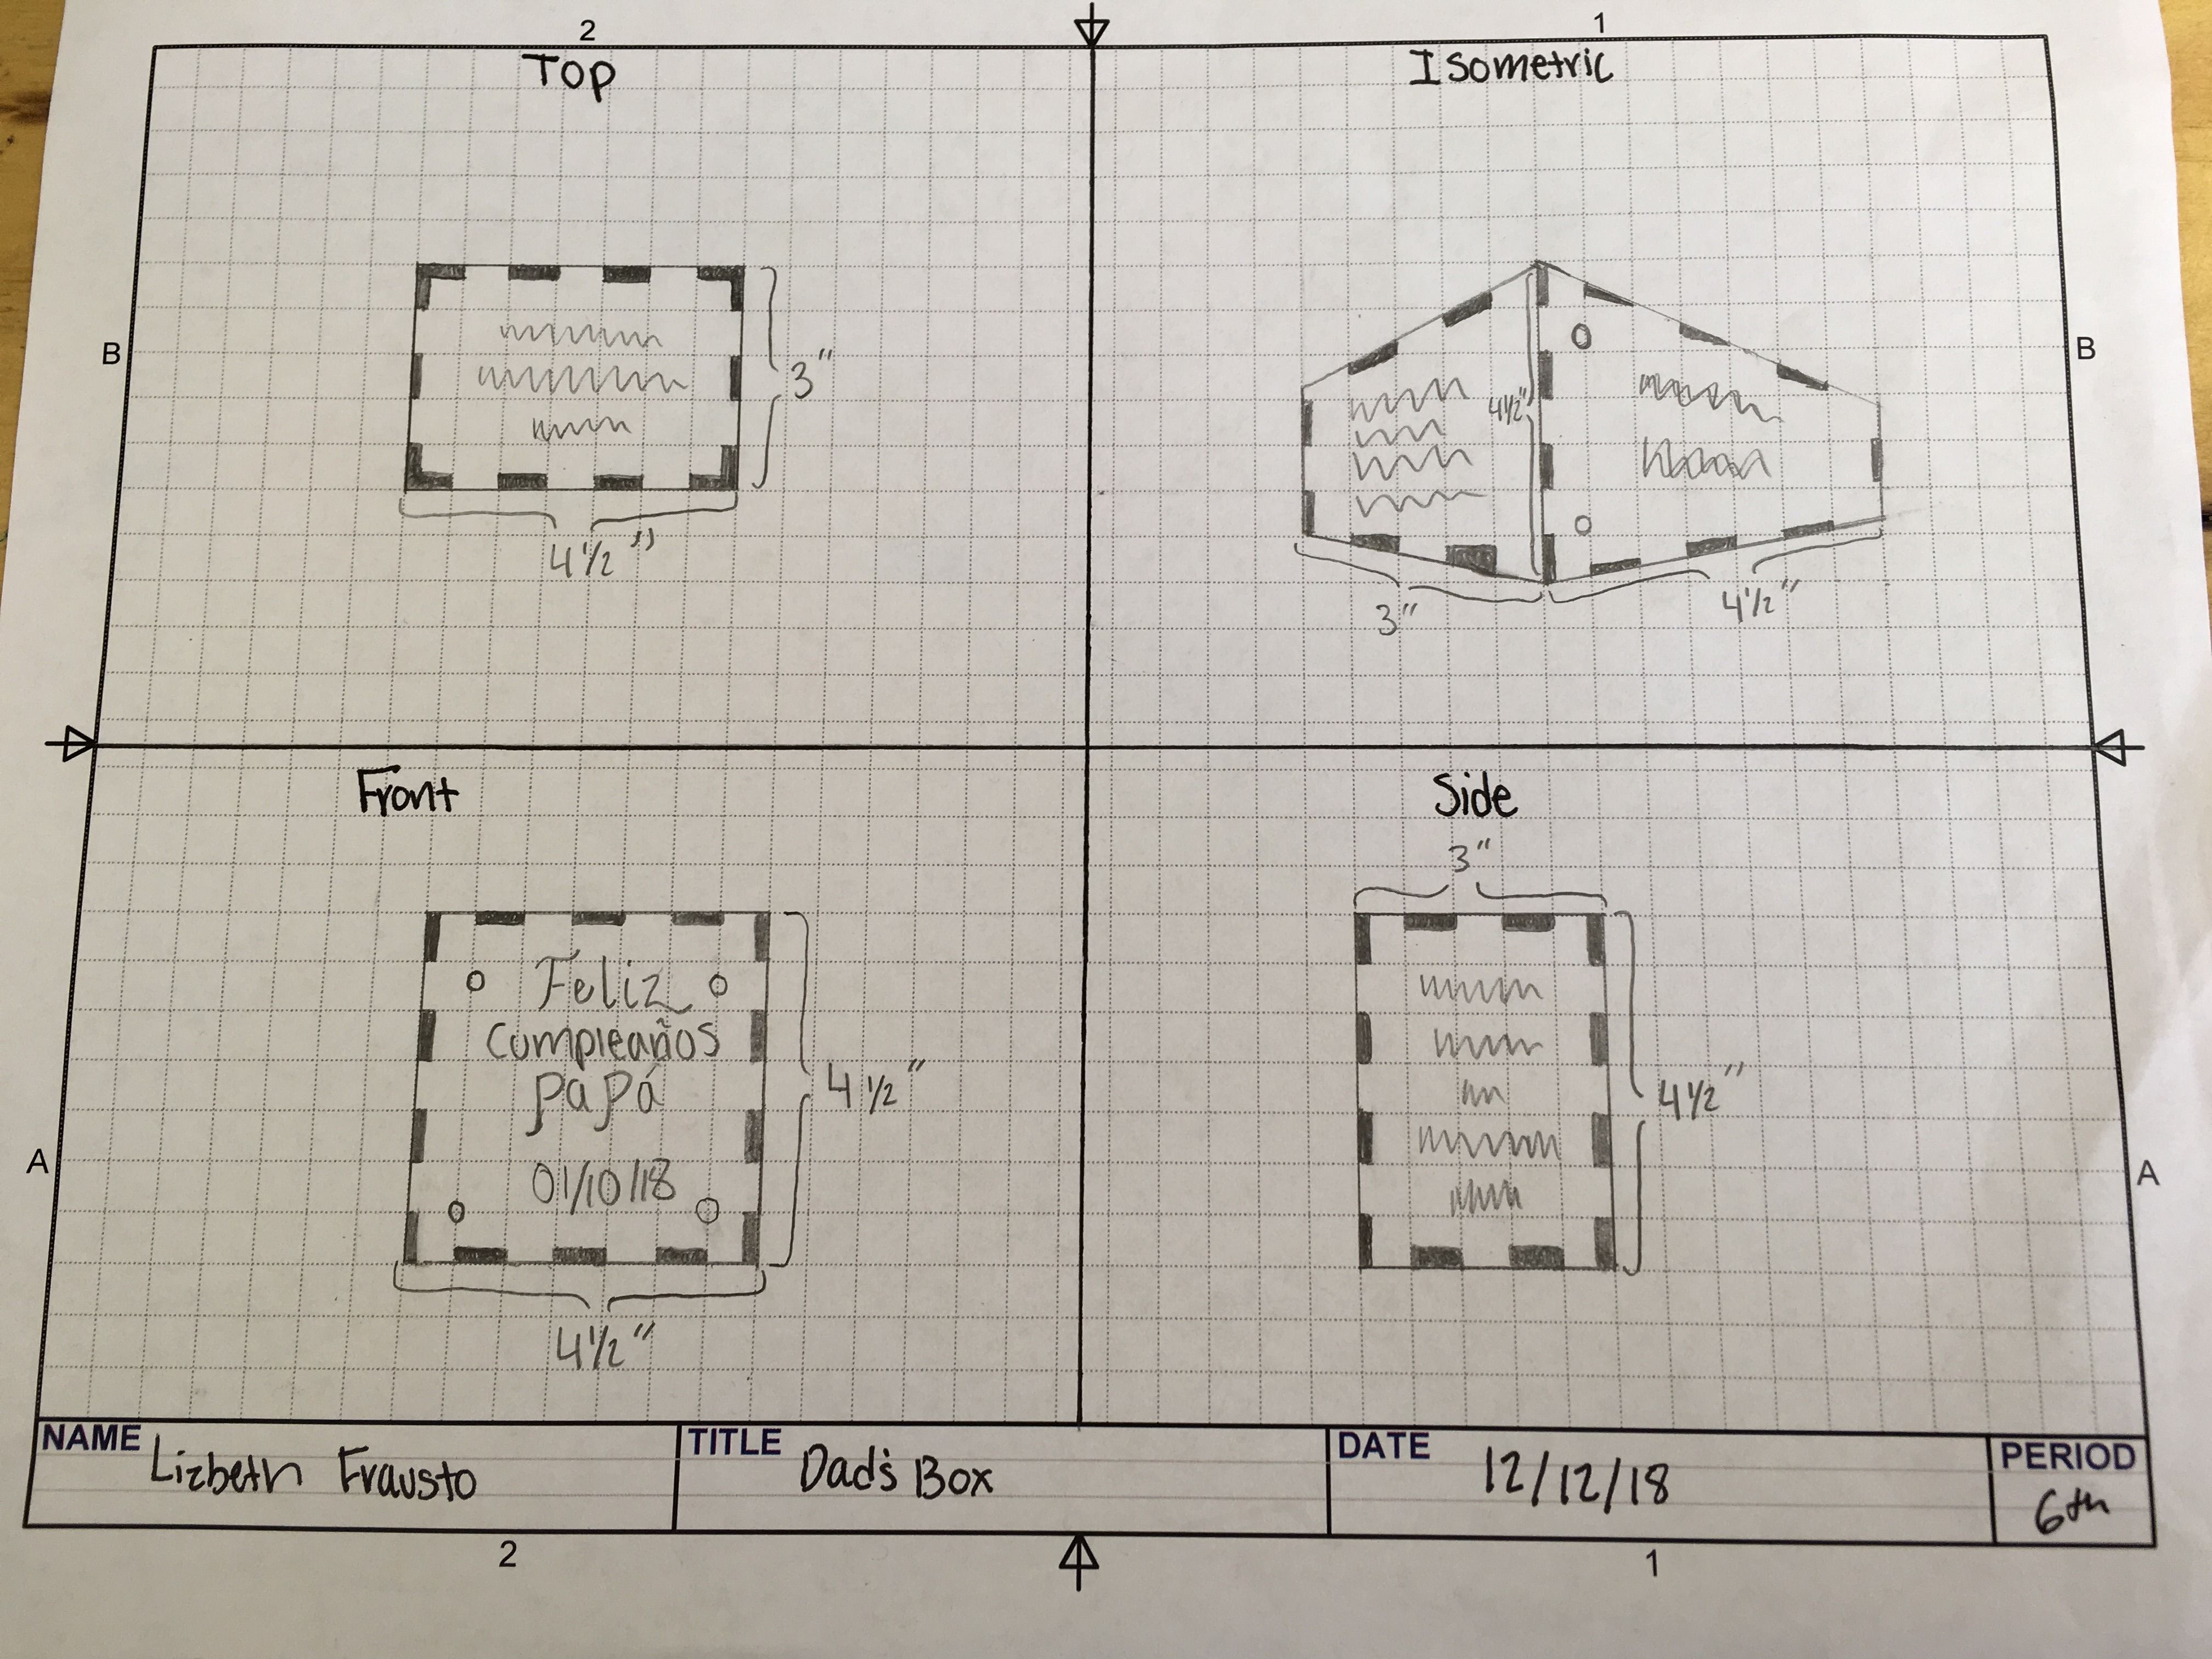
The first step of starting your design is to draw out your box including specific dimensions, the specific quotes or writing if you choose to engrave words on your box, and the purpose of your box. For example, I created a box that was 4.5"x3"x4.5". I then chose all the quotes that I wanted to be displayed on my box including "Papa, eras, eres, y siempre seras el rey de mi corazon". Then I thought of the purpose of the box and what would be inside of it, I decided I wanted the box to be empty and contain the wiring for the LEDs and the switch. Before you move onto the next step, make sure to show your plans and dimensions to a teacher or trusted peer and explain your box in detail. Answer any questions because chances are you might have forgotten a small detail.
Getting a Digital Layout of My Box
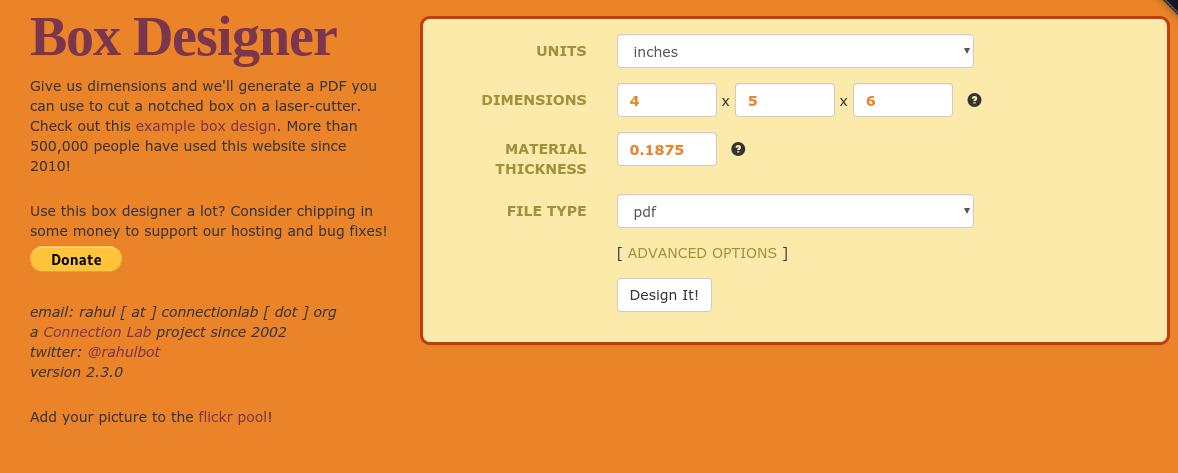
After drawing the dimensions of my box I plugged in the measurements into the BoxDesigner program. The program asked me for the height, width, length, and how thick the material was. Once I plugged in the dimensions the BoxDesigner gave me a file with the sketch of my box laid out. Then, I downloaded the file to my Chromebook and renamed my file "dad'sbox" so I could access it quickly when opening it in Gravit.
Opening Your File on Gravit
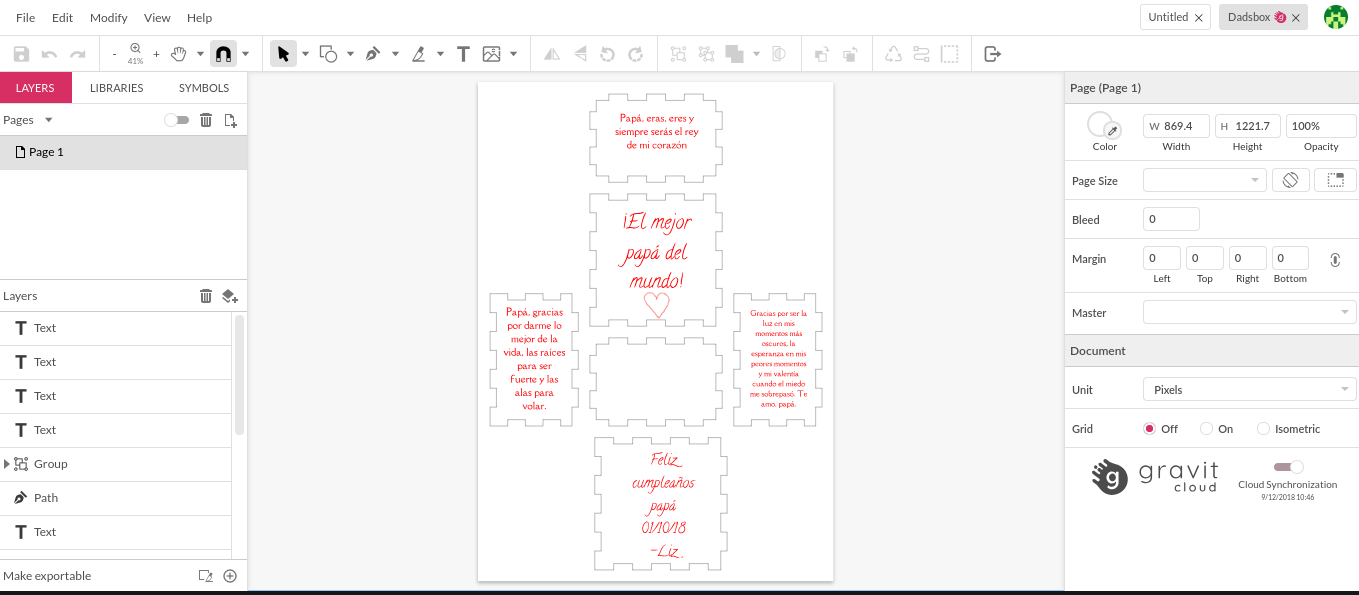
For this project, I used the program named Gravit (https://designer.gravit.io). When I first opened a file in the program named Gravit I made sure to change the standard setting in pixels to inches. After I opened the file I added the text in red and the lines in black to be able to give the Laser cutter instructions on what color lines to cut (black) and the lines I wanted to engrave (red). I then made all the text into shapes. I then downloaded the file as a Scalable Vector Graphics (SVG) onto my flash drive.
Uploading Your File to Adobe Illustrator
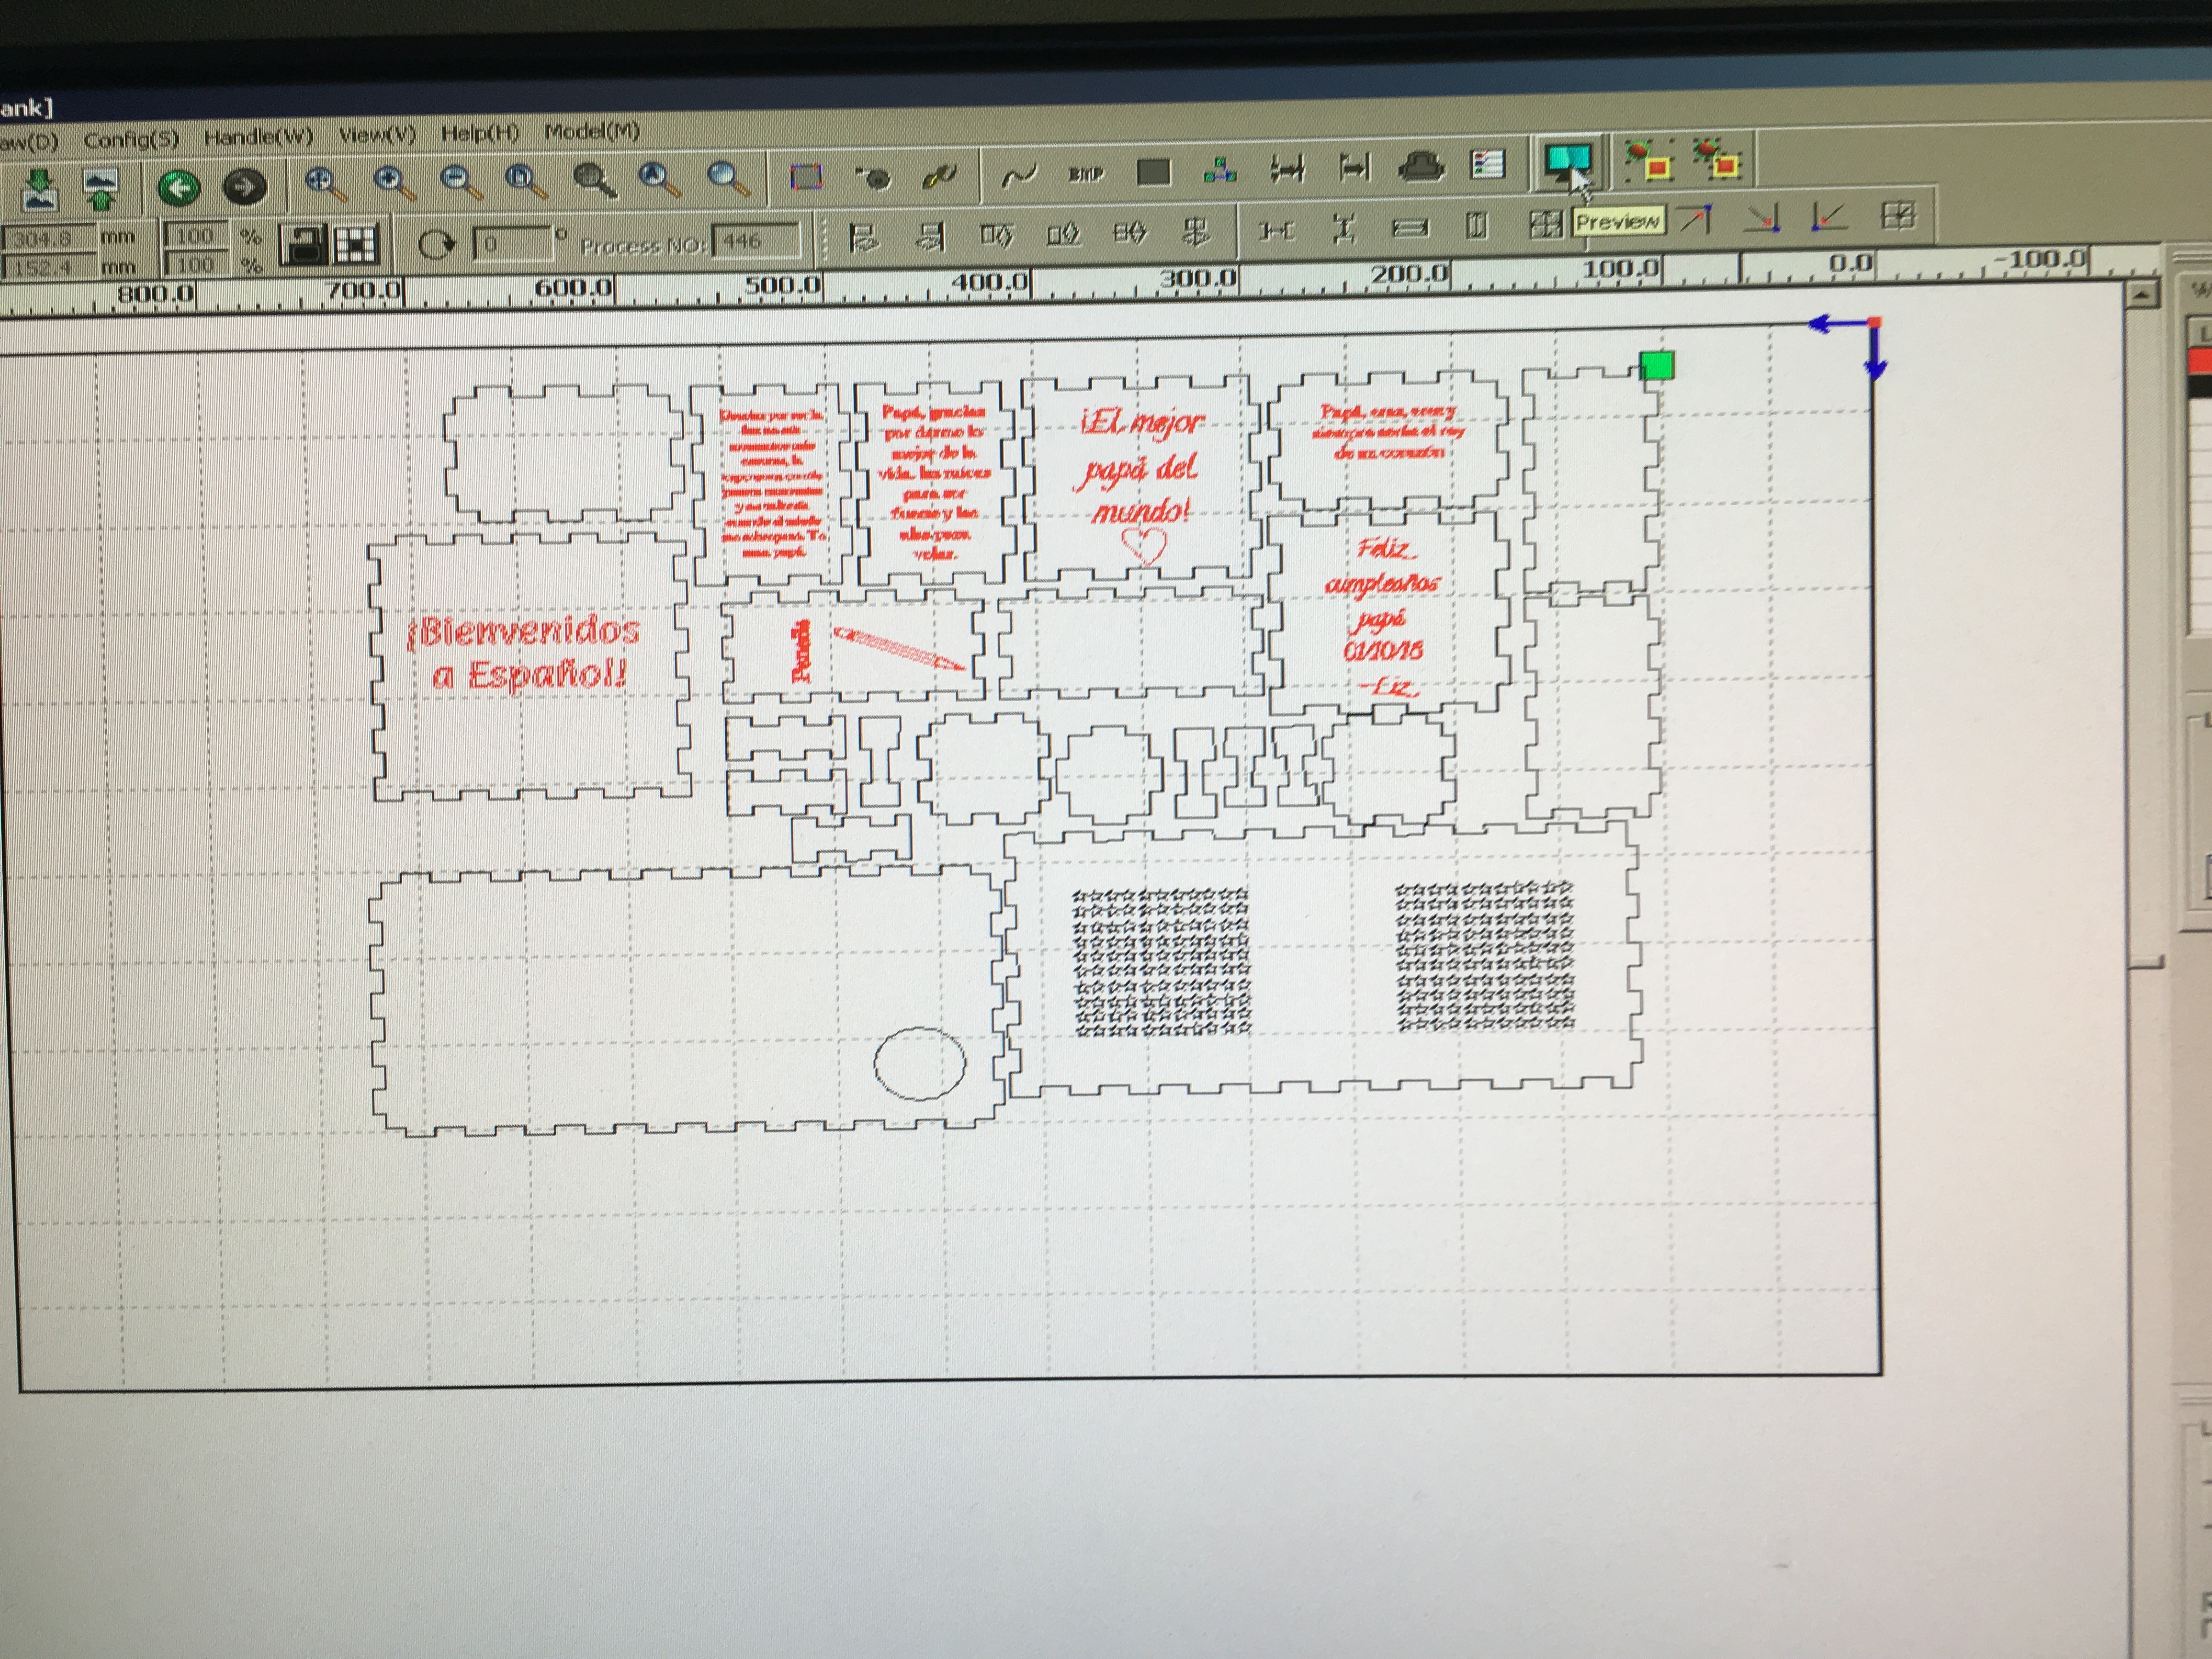
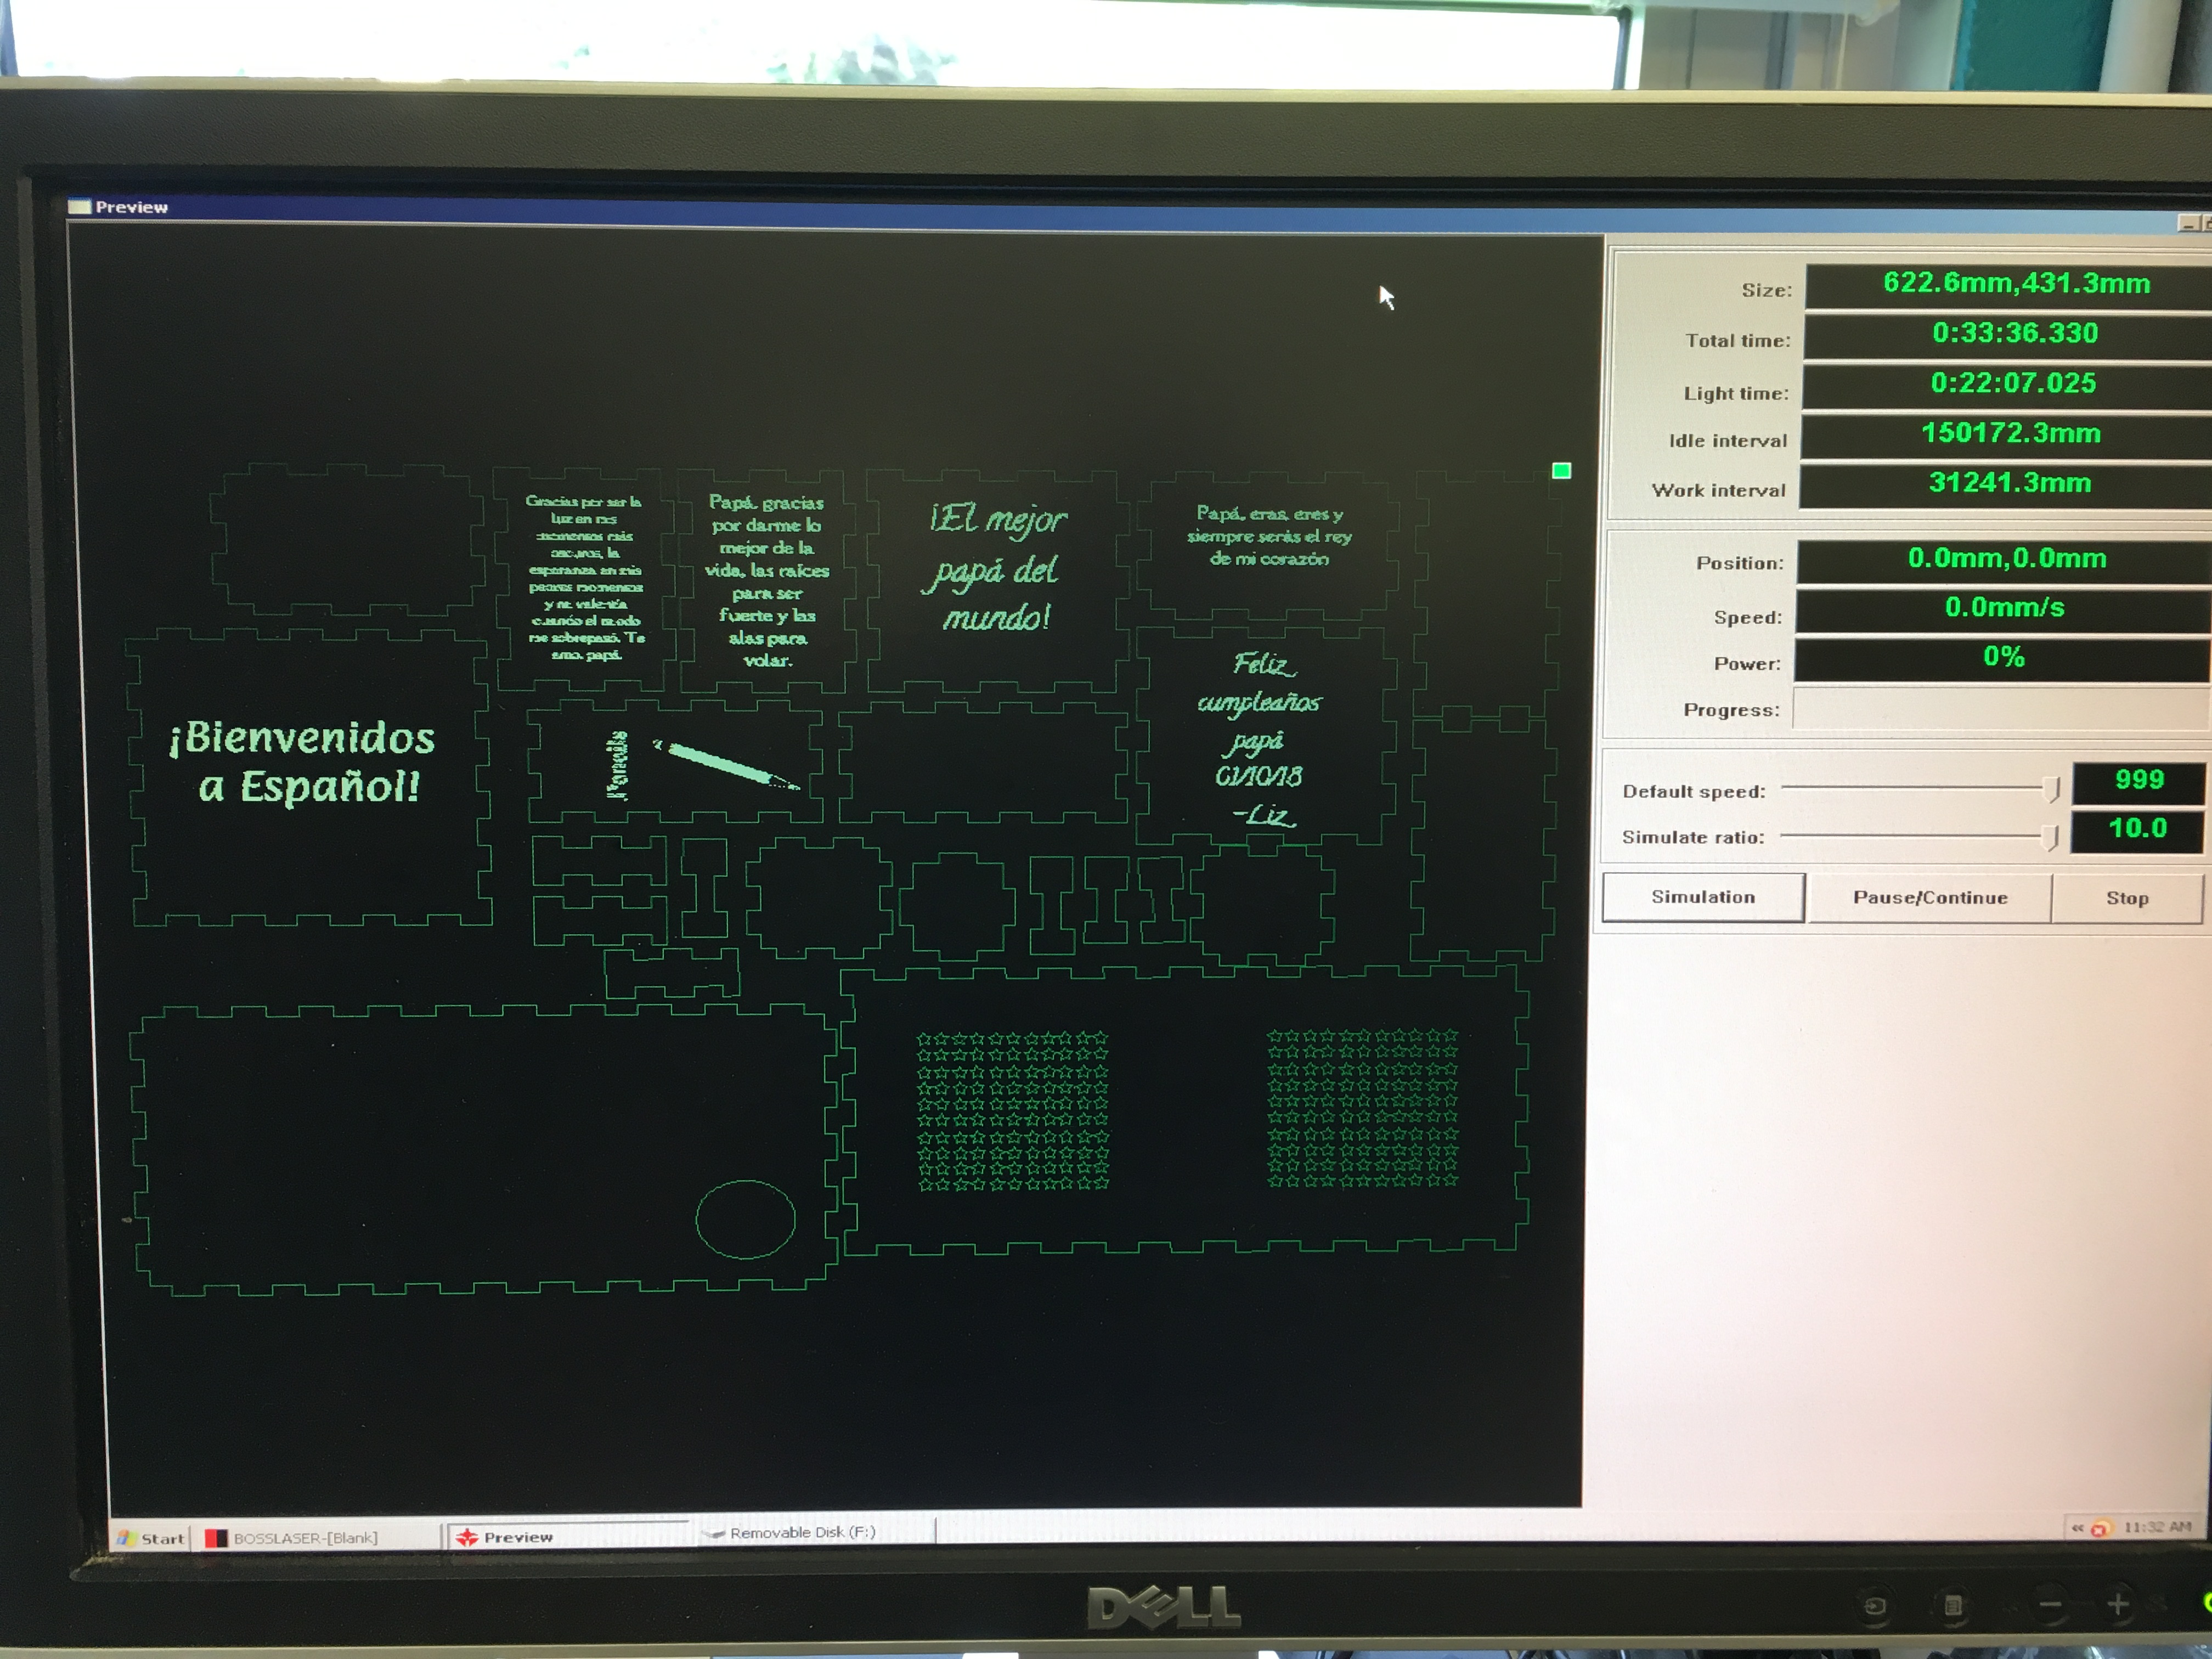
First I inserted my drive onto the computer connected to the laser cutter. I opened the program named Adobe Illustrator (Ai) and opened my file there. I right clicked and "released the clipping mask", clicked on a line and ungrouped the drawing. Then, I downloaded my file as an Ai vector file. I did this because the laser cutter I used only read Ai files, but depending on the type of laser cutter you have, you can download your file as needed. I merged all my boxes in one file so that I could use the piece of would efficiently. Make sure to use the same color for each object, do not use different shades of your chosen color because it can lead to errors in your cuts. Then, I clicked on a little tv shaped button on the top right to get a preview of my box. I did this to ensure that the laser cutter would engrave and cut the correct shapes.
Cutting Your Box!!
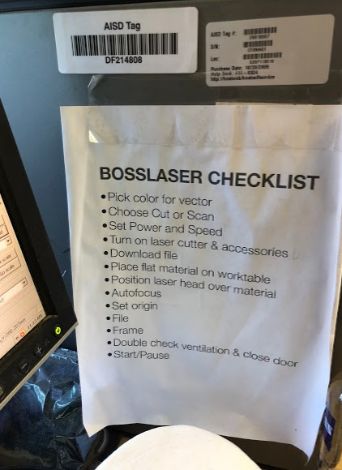
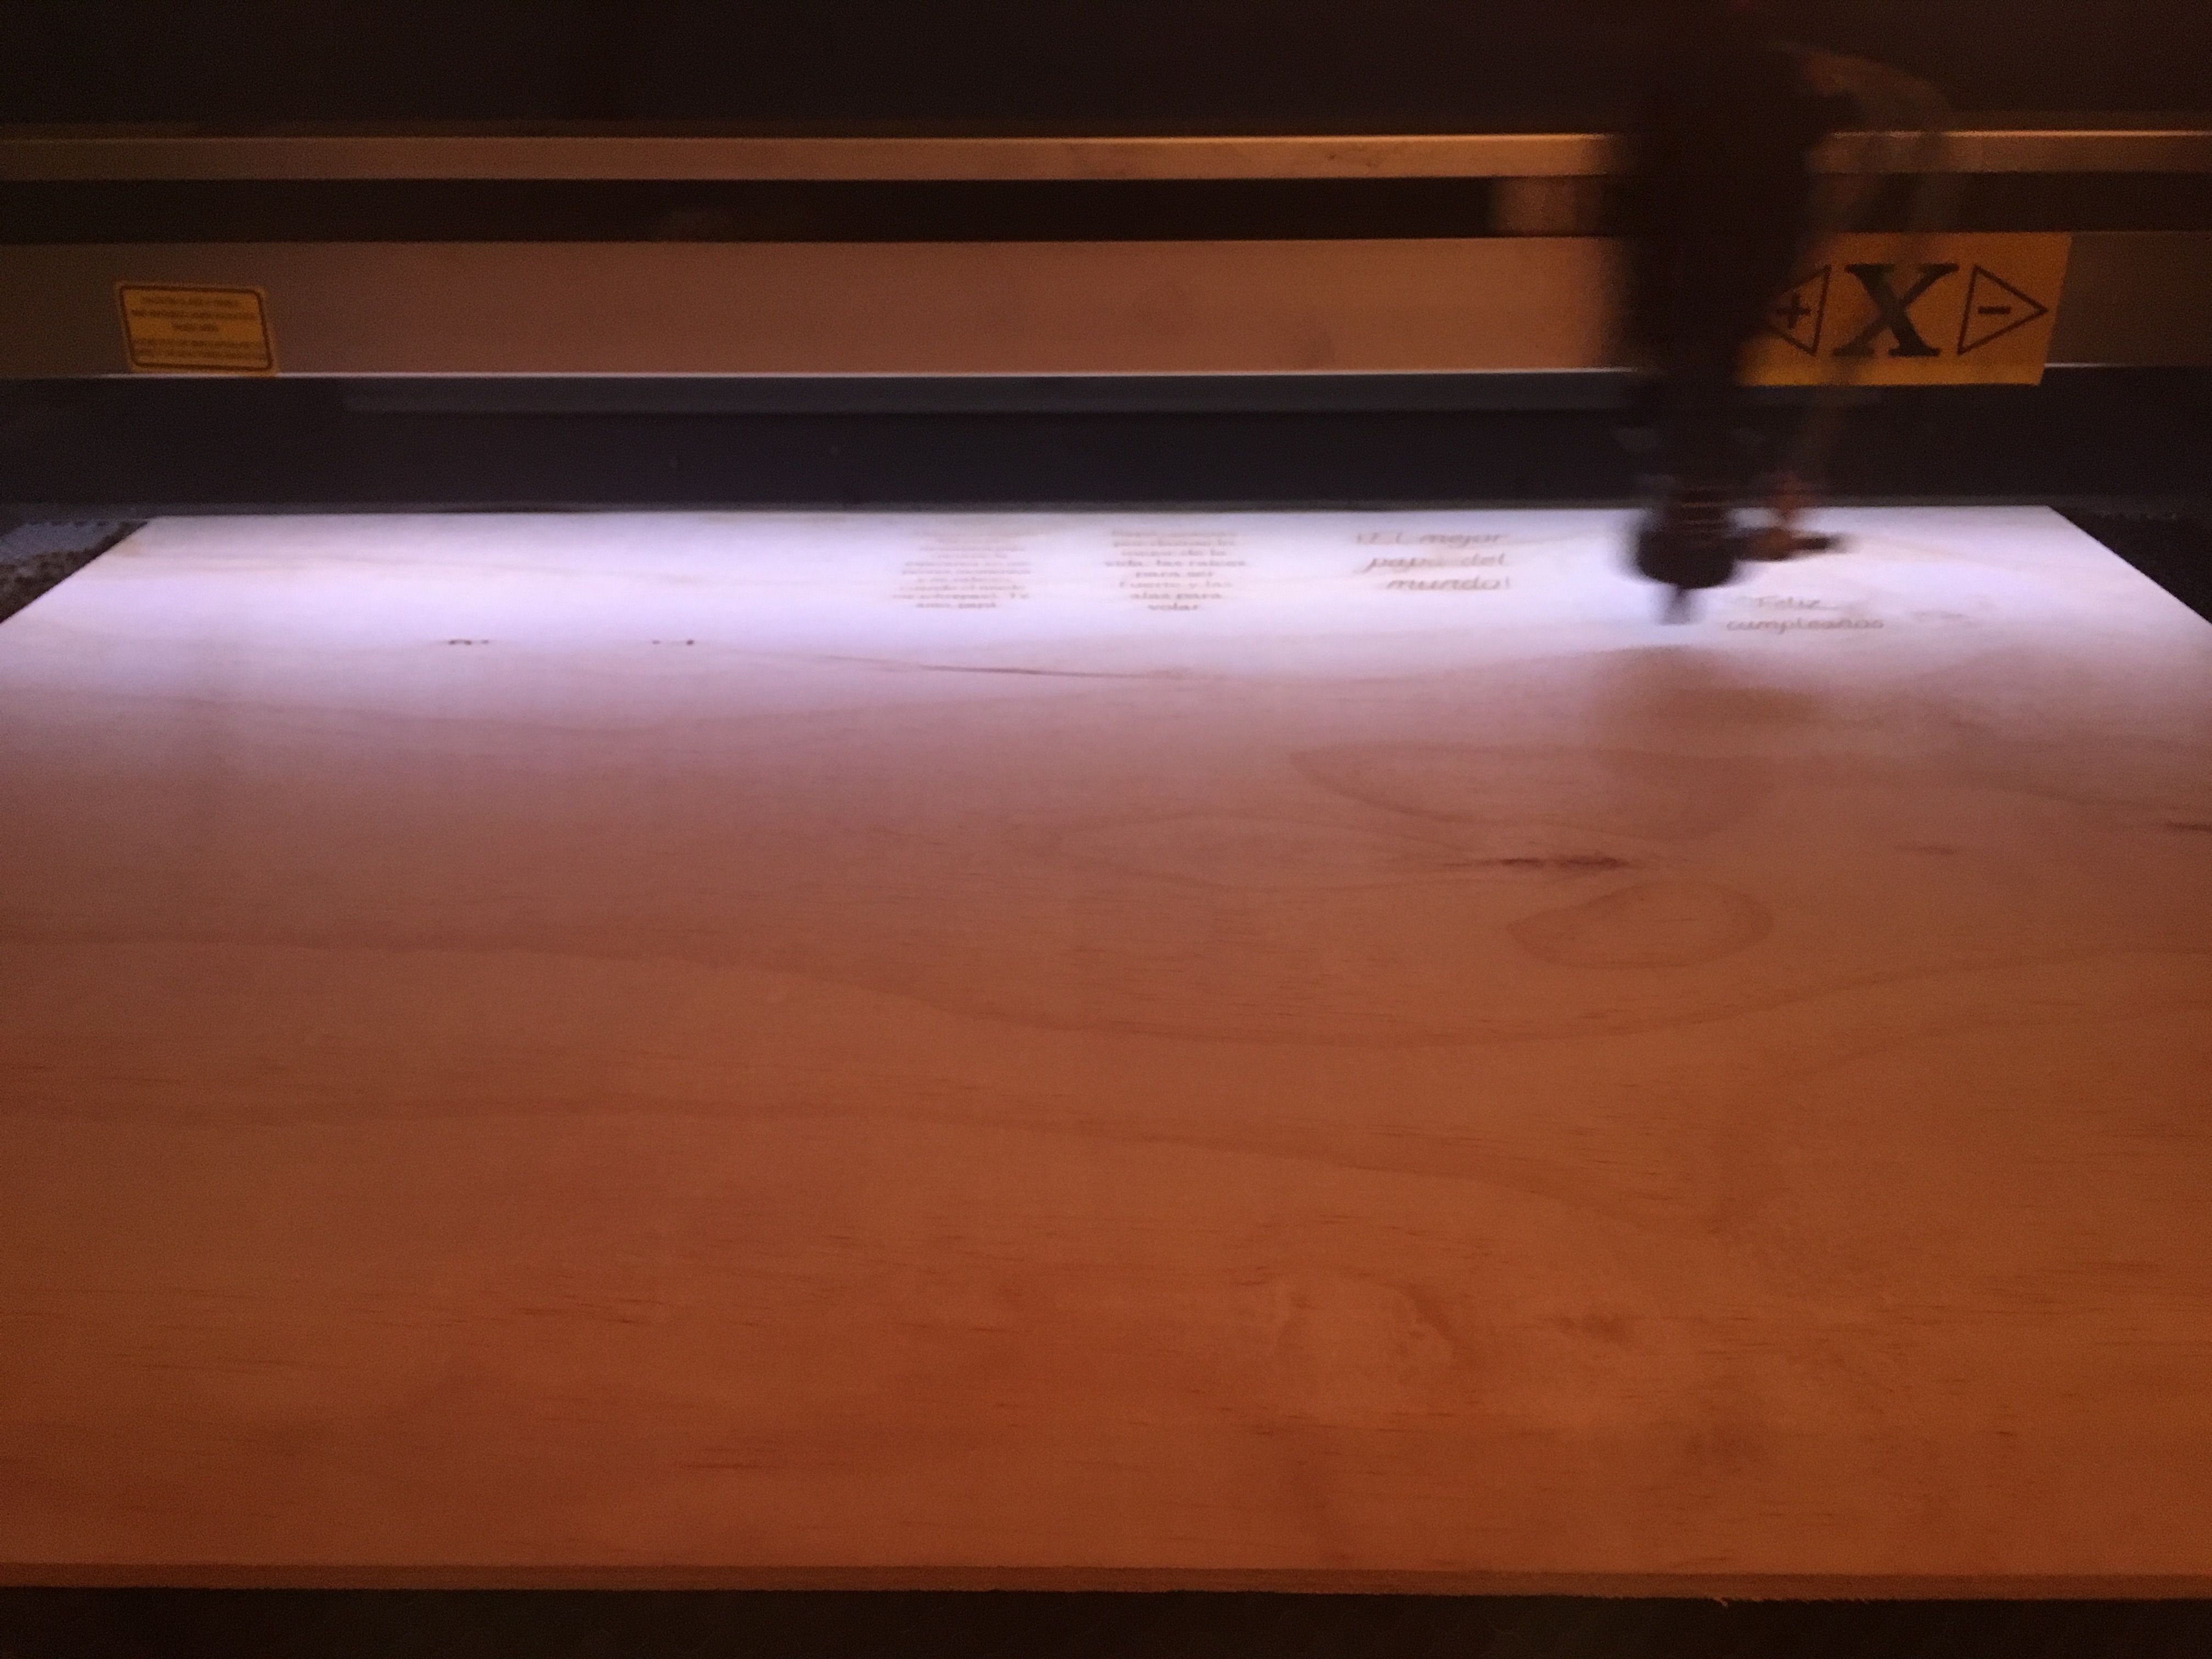
After following the laser cutter checklist I clicked start and the laser cutter began cutting my box.
1) Pay very close attention as your job begins. Ensure that things are proceeding as you expected.
2)NEVER LEAVE THE LASER CUTTER UNATTENDED! NEVER LOOK DIRECTLY AT THE LASER AS IT CUTS!
3) When your job is finished the Laser Cutter will beep and the gantry will return to its home position. It is now safe to open the lid and remove your material.
4) Turn off the Laser Cutter/Engraver, fume extractor, and air compressor.
Gluing Your Box
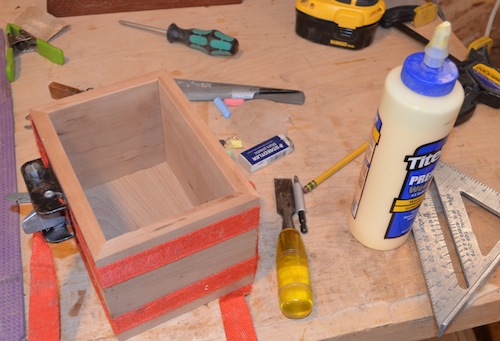
The next step is to glue your box using wood glue. Before you start gluing you should try putting it together and making sure you're not missing any parts. Also, before you glue you want to drill small holes in the front four corners of your box depending on the size of your LEDs and a small hole in the back left corner for the switch. After you glue around the edges and put it together try to be as clean as possible. You can do this by having a moist towel ready to clean the extra glue. To ensure the box doesn't fall apart as the glue is drying, cover the box with a few lines of tape. Leave it to dry for a few hours.
Making Your Circuit
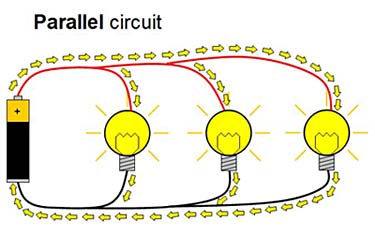
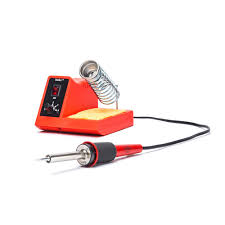
Before you solder your circuit make sure to draw a parallel circuit and understand where each wire is being connected. I used a parallel circuit and had a switch at the end to be able to turn on and off my LEDs. Make sure to be very cautious when using the soldering iron and making sure to keep the tip clean in order to make the process much quicker.
Putting Your LEDs Inside Your Box
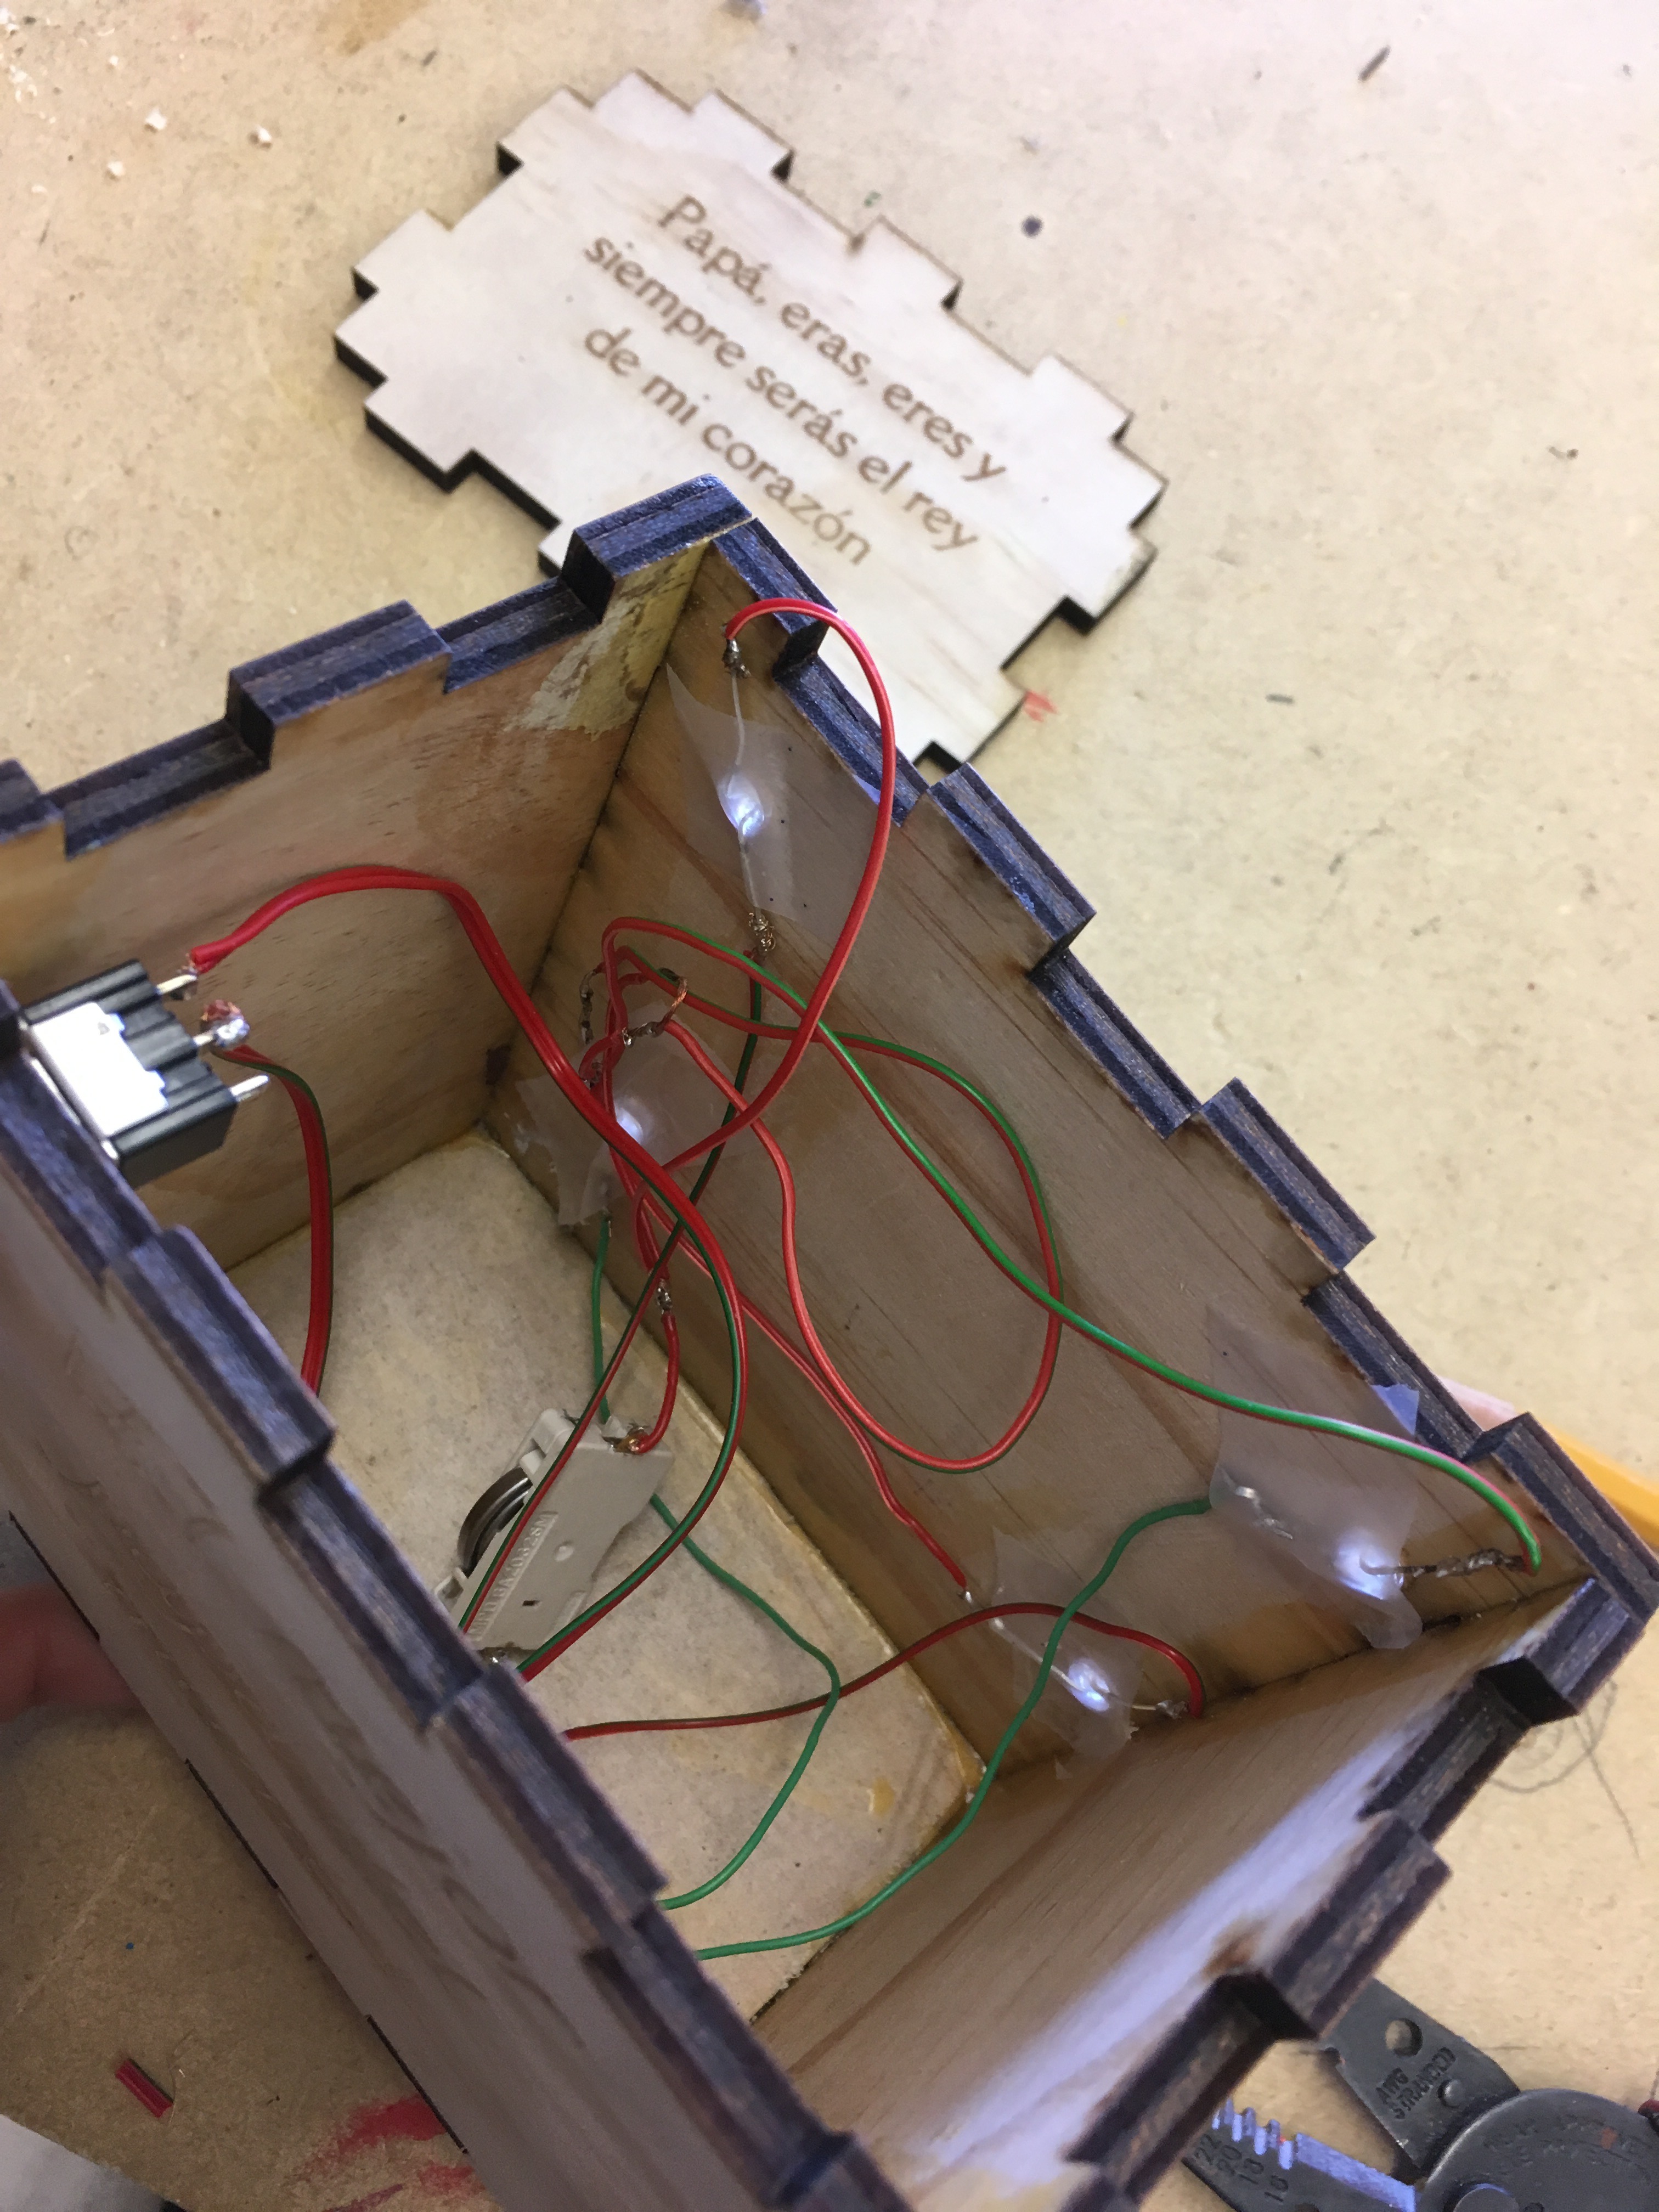
After you finish soldering, put the LEDs inside the holes in your box, tape them, and turn the lights of your LEDs on and off to make sure they work correctly. Next, hot glue your LEDs in place to make sure they stay there permanently.
Enjoy Your Box!
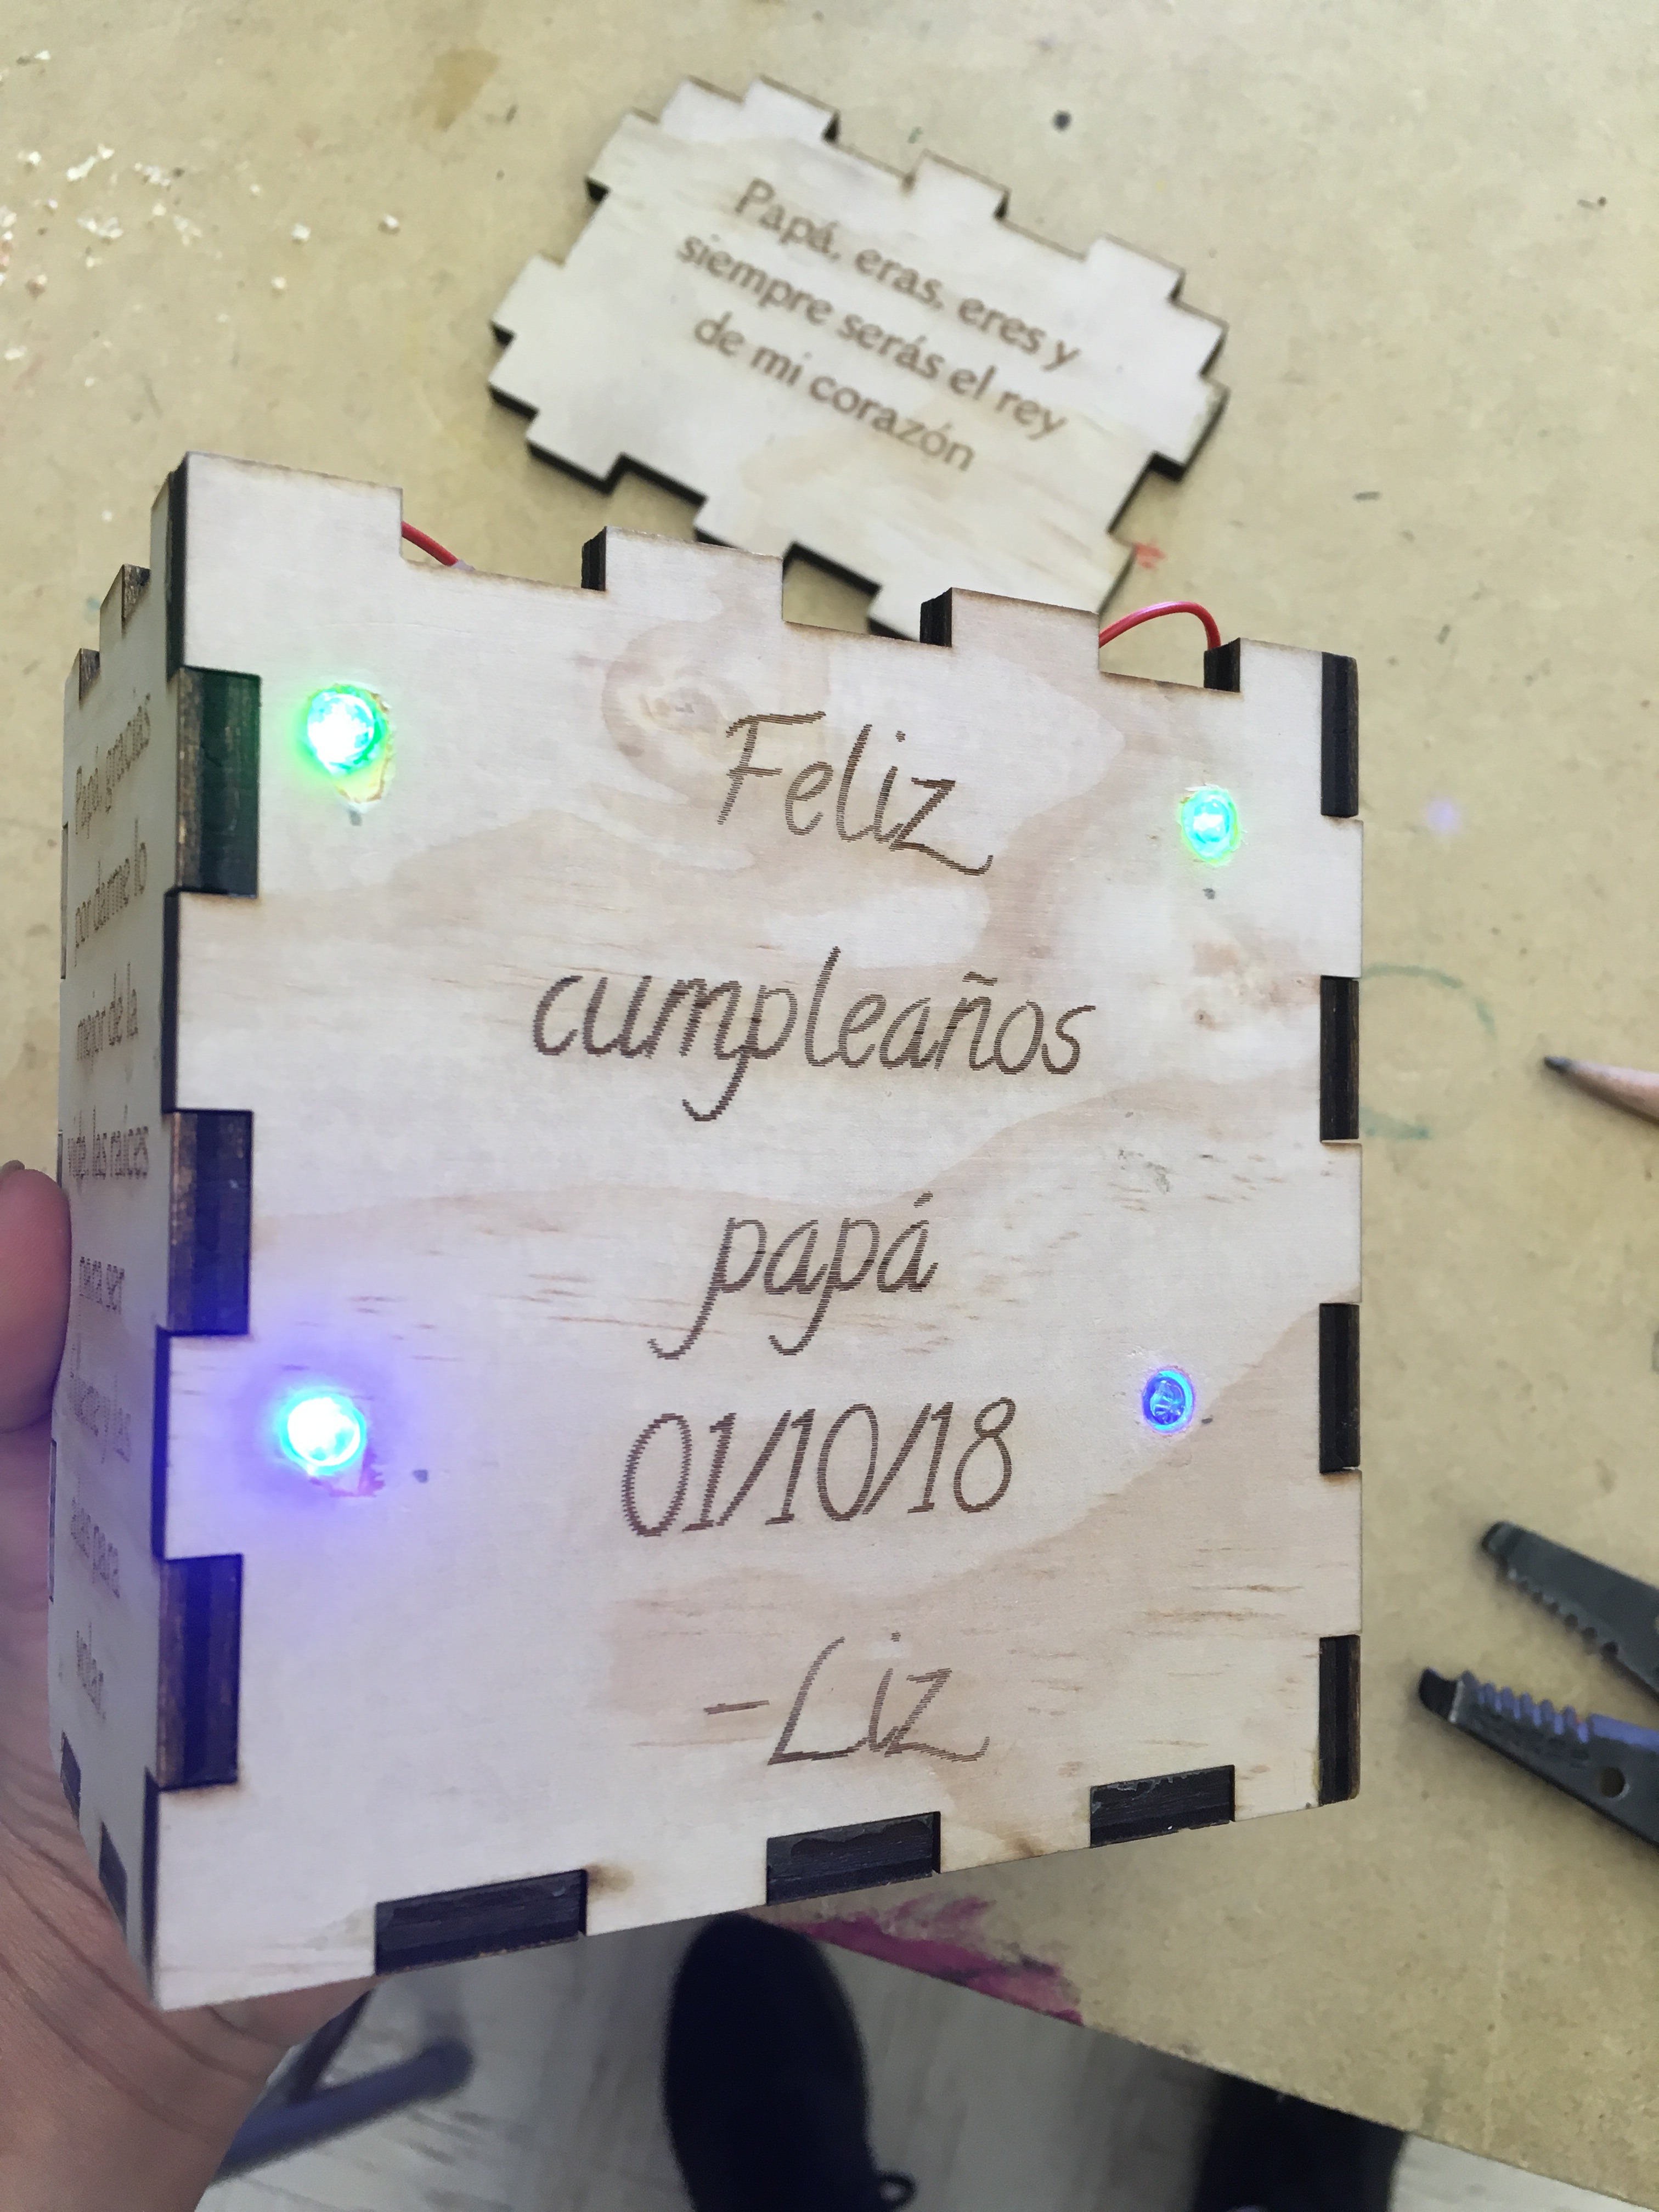
The next step is to close and glue the lid of the box and give it to your father. If you wanted to put something inside the box, you could glue some cloth over the wiring and put some nice notes for your dad. I hope your father enjoys it!