DIY Easy Rainbow Scenery Drawing!
by nigirizushi in Design > Art
1494 Views, 2 Favorites, 0 Comments
DIY Easy Rainbow Scenery Drawing!
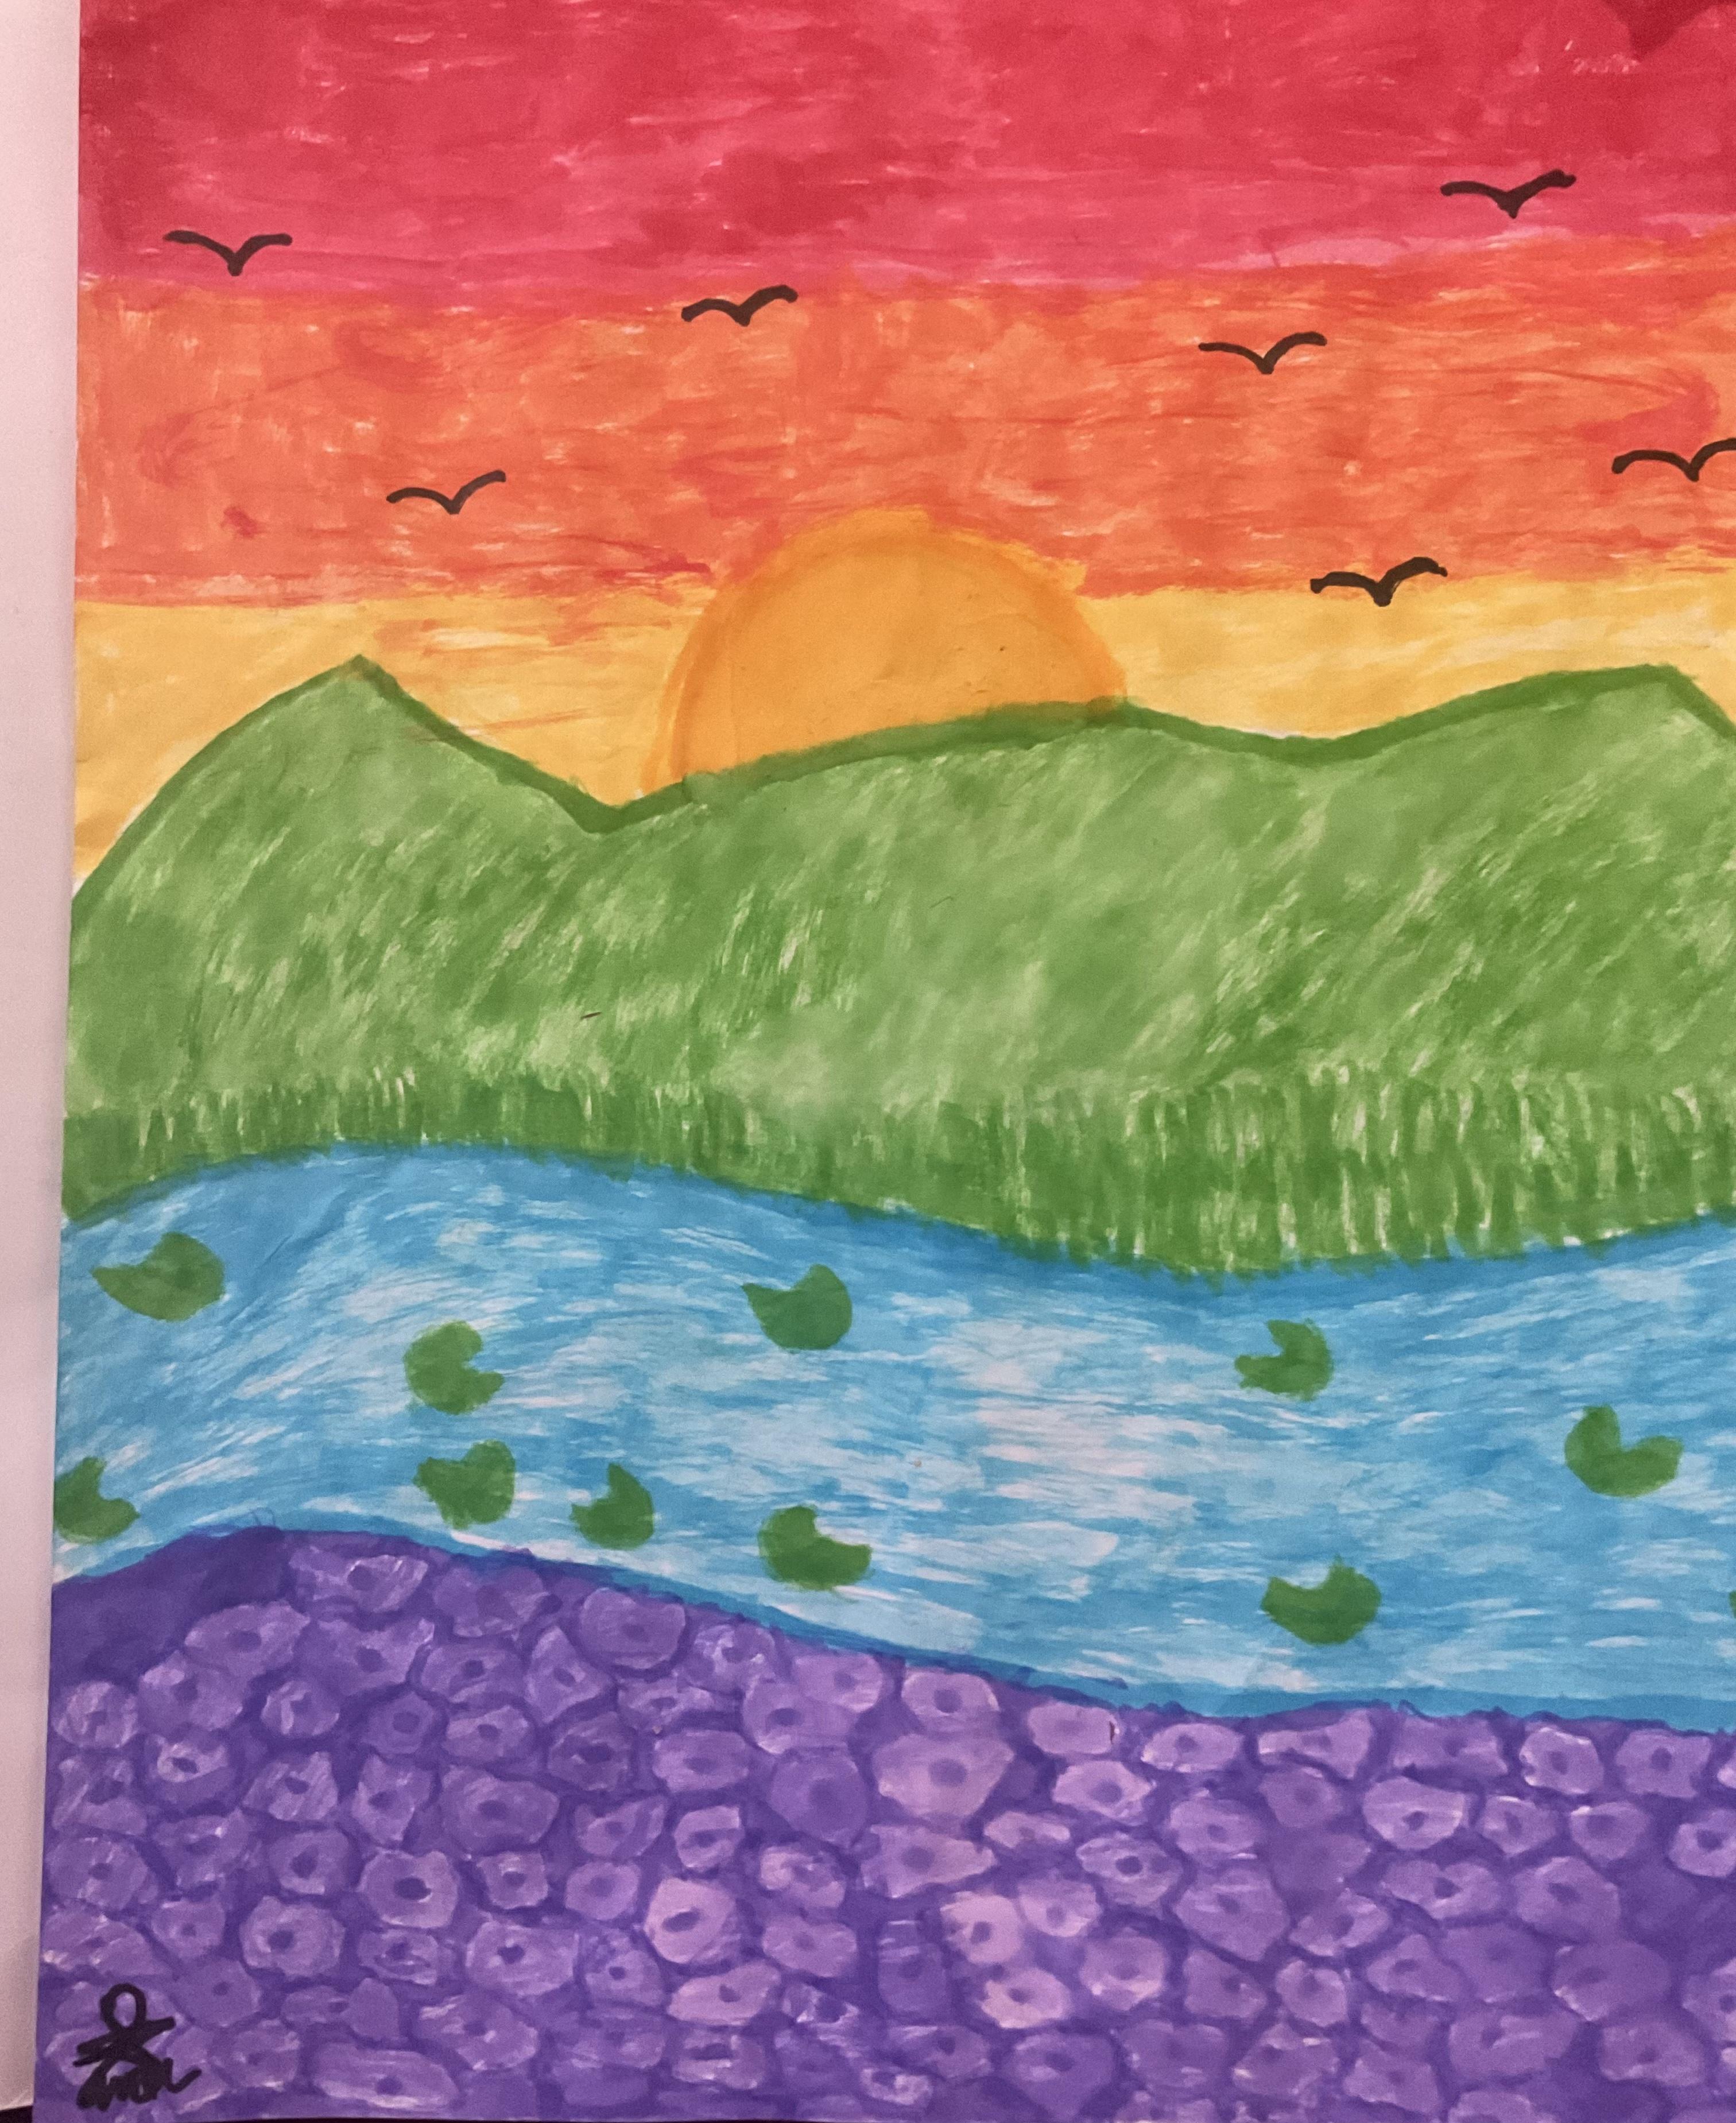
Hello! In this project I will show you how to create a simple rainbow scenery drawing! This drawing allows you to be creative and see how the colors of the rainbow descend in nature to capture a wonderful scenery.
When drawing, I tend to focus on specific colors, and this doesn’t give much of a chance for the beautiful colors in the rainbow to shine. When I came up with this drawing, I discovered that a broader subject will allow me to incorporate a variety of wonderful colors and be creative with them! Let’s draw this together and learn and have fun along the way!
Supplies
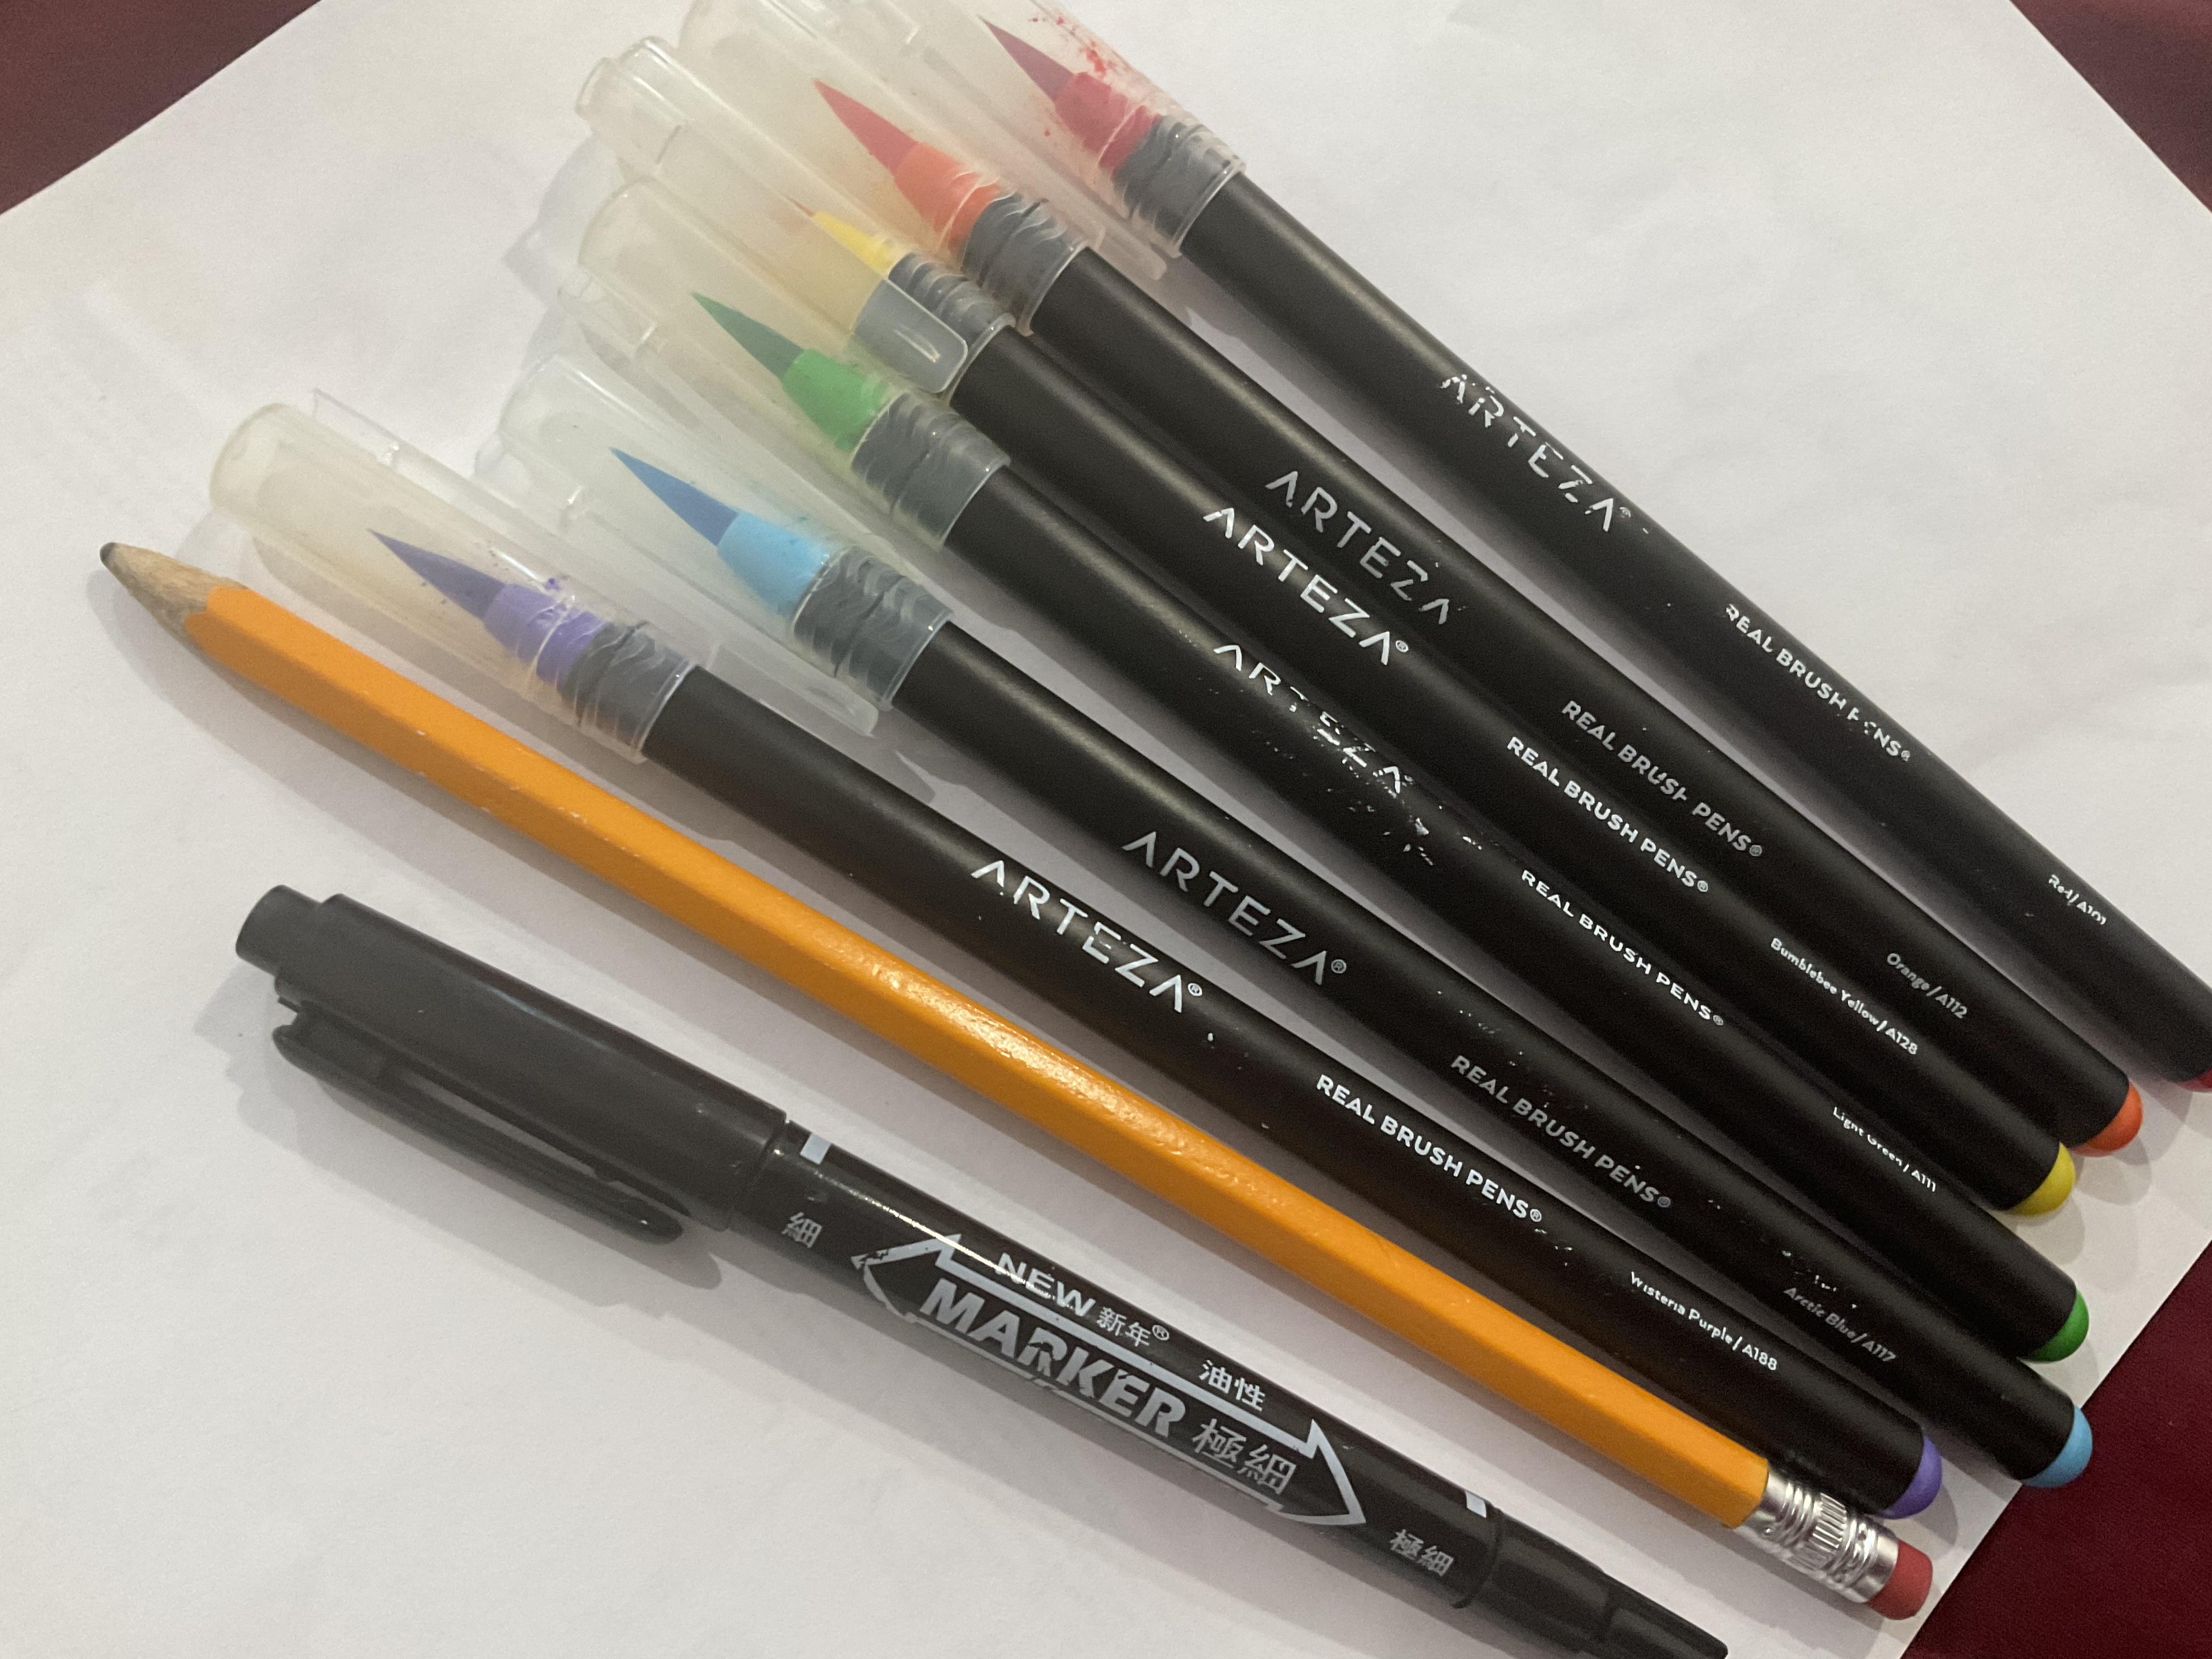
- Pencil
- (Optional) Black Marker
- Red, Orange, Yellow, Green, Blue, Purple coloring supplies
- In this project I will be using Arteza Brush Pens, but feel free to use anything else, like color pencils or markers.
Sketch
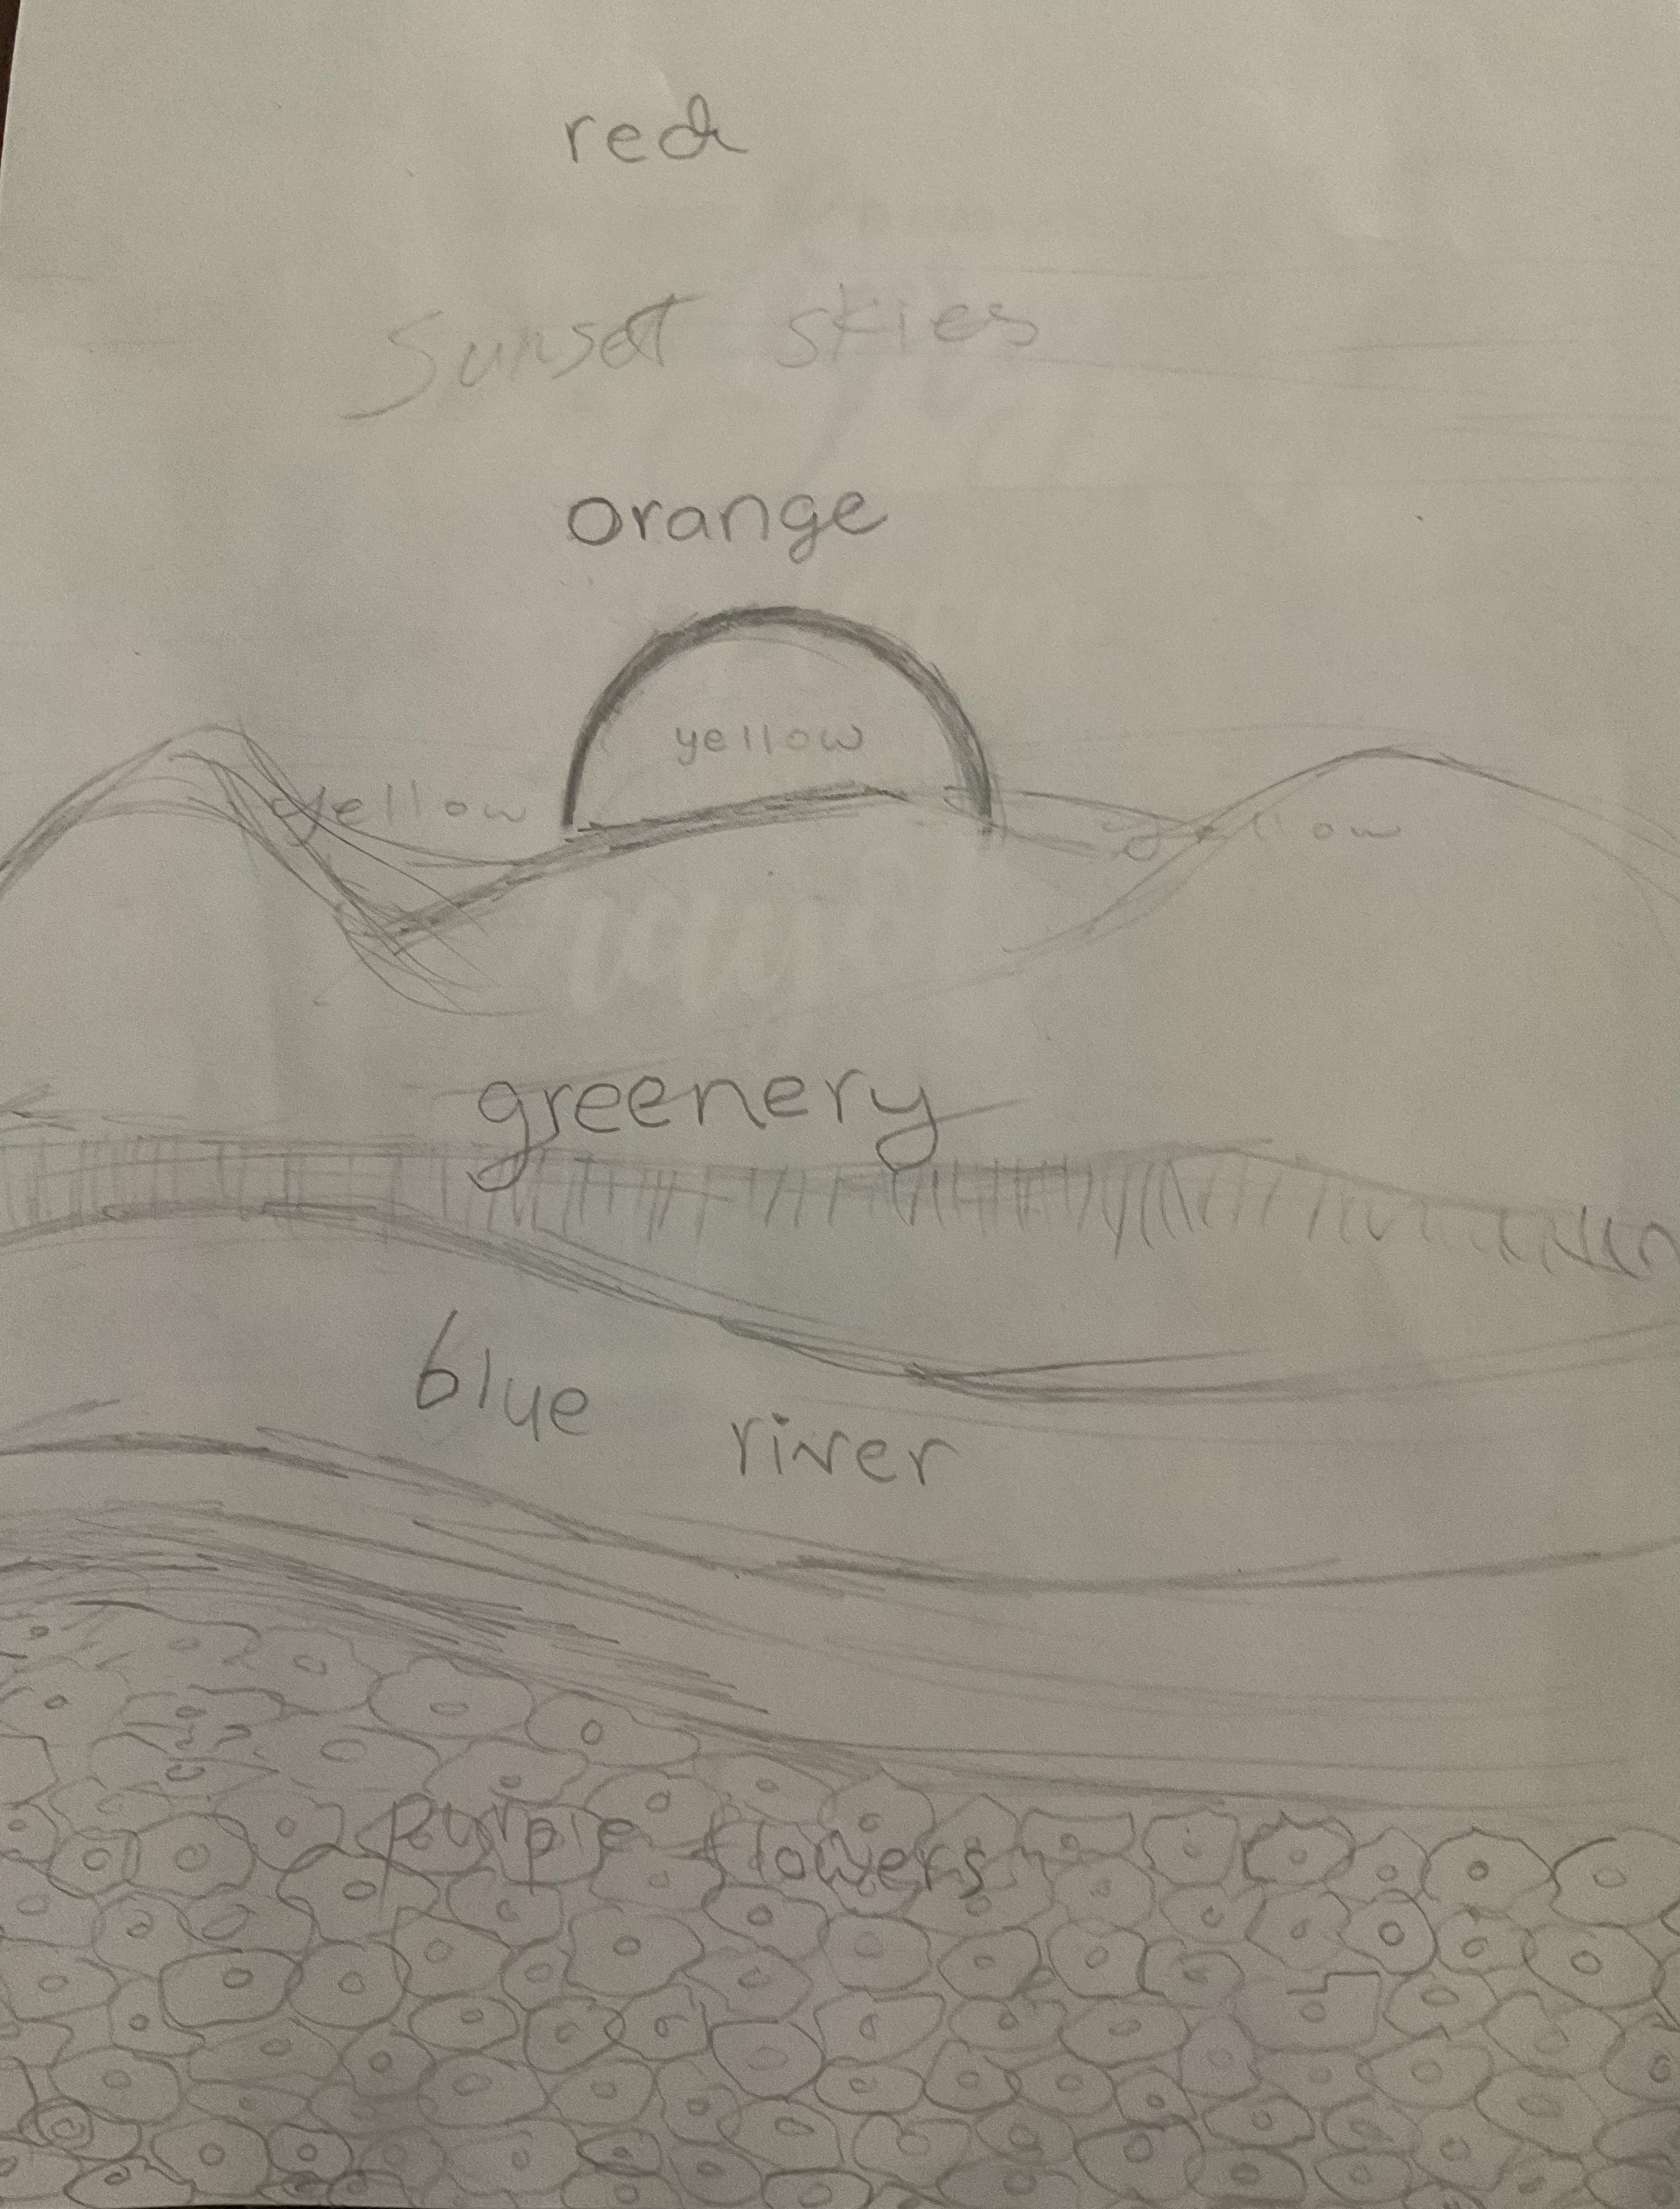
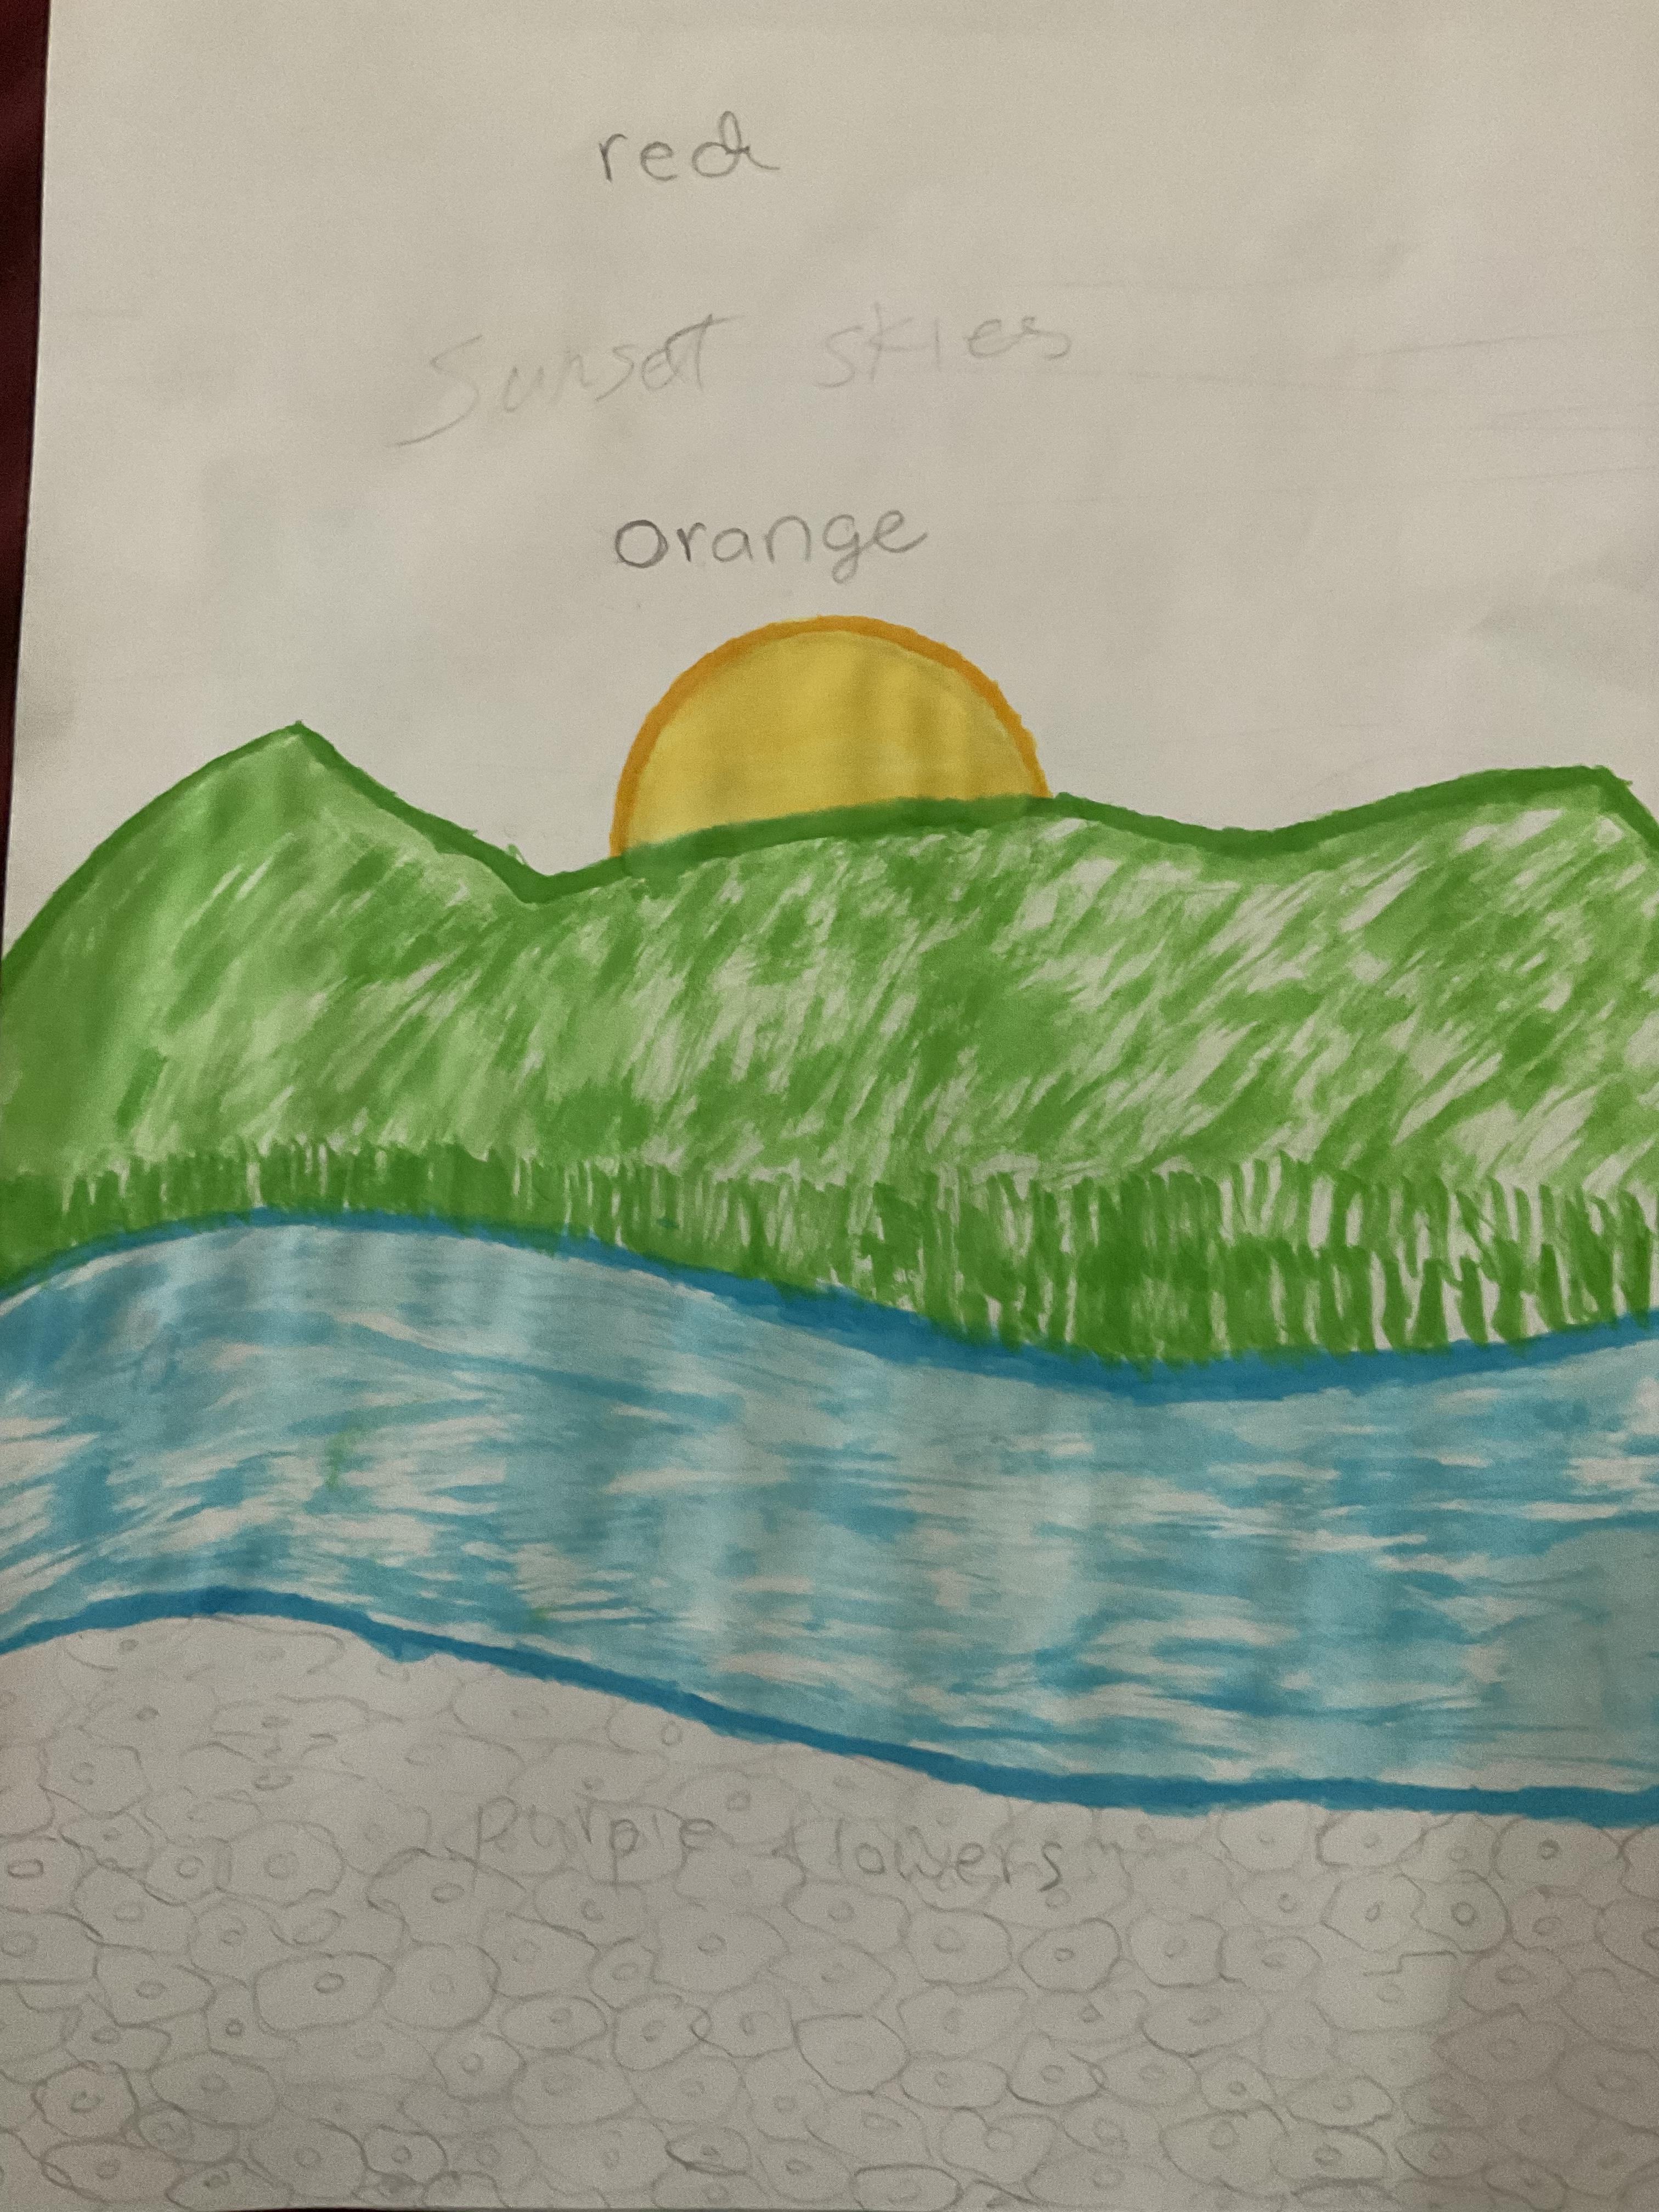
This is your sketch, and it will be a base of your entire drawing. Some parts of this sketch may completely change when you start coloring the drawing, so it's important to only do this sketch in pencil.
The scenery at the end is meant to descend from the colors of the rainbow found in nature, so you can be creative with this part! In my sketch, I have a sunset with skies of red, orange, and yellow with a yellow sun setting behind greenery of hills and grass, and finally a river separating this greenery from a field of purple flowers.
While making this sketch, I had a difficulty with thinking of something purple in nature. I found inspiration when taking a break for a walk, and I walked past some pretty purple flowers. It’s important to take breaks when working on projects, as it is good for your health and it can fuel your creativity as well.
Your sketch doesn't need to be perfect, like a rough draft, all you need is an outline of the main parts of the scenery drawing you want to create.
Color Outlines

The next step is to determine the sole lines you want to include and use your colors to outline them. In your sketch, you may have had multiple lines for each part of the drawing. In this step, you want to be able to erase as many lines as possible and show only the ones that make a shape that will be completely filled with color.
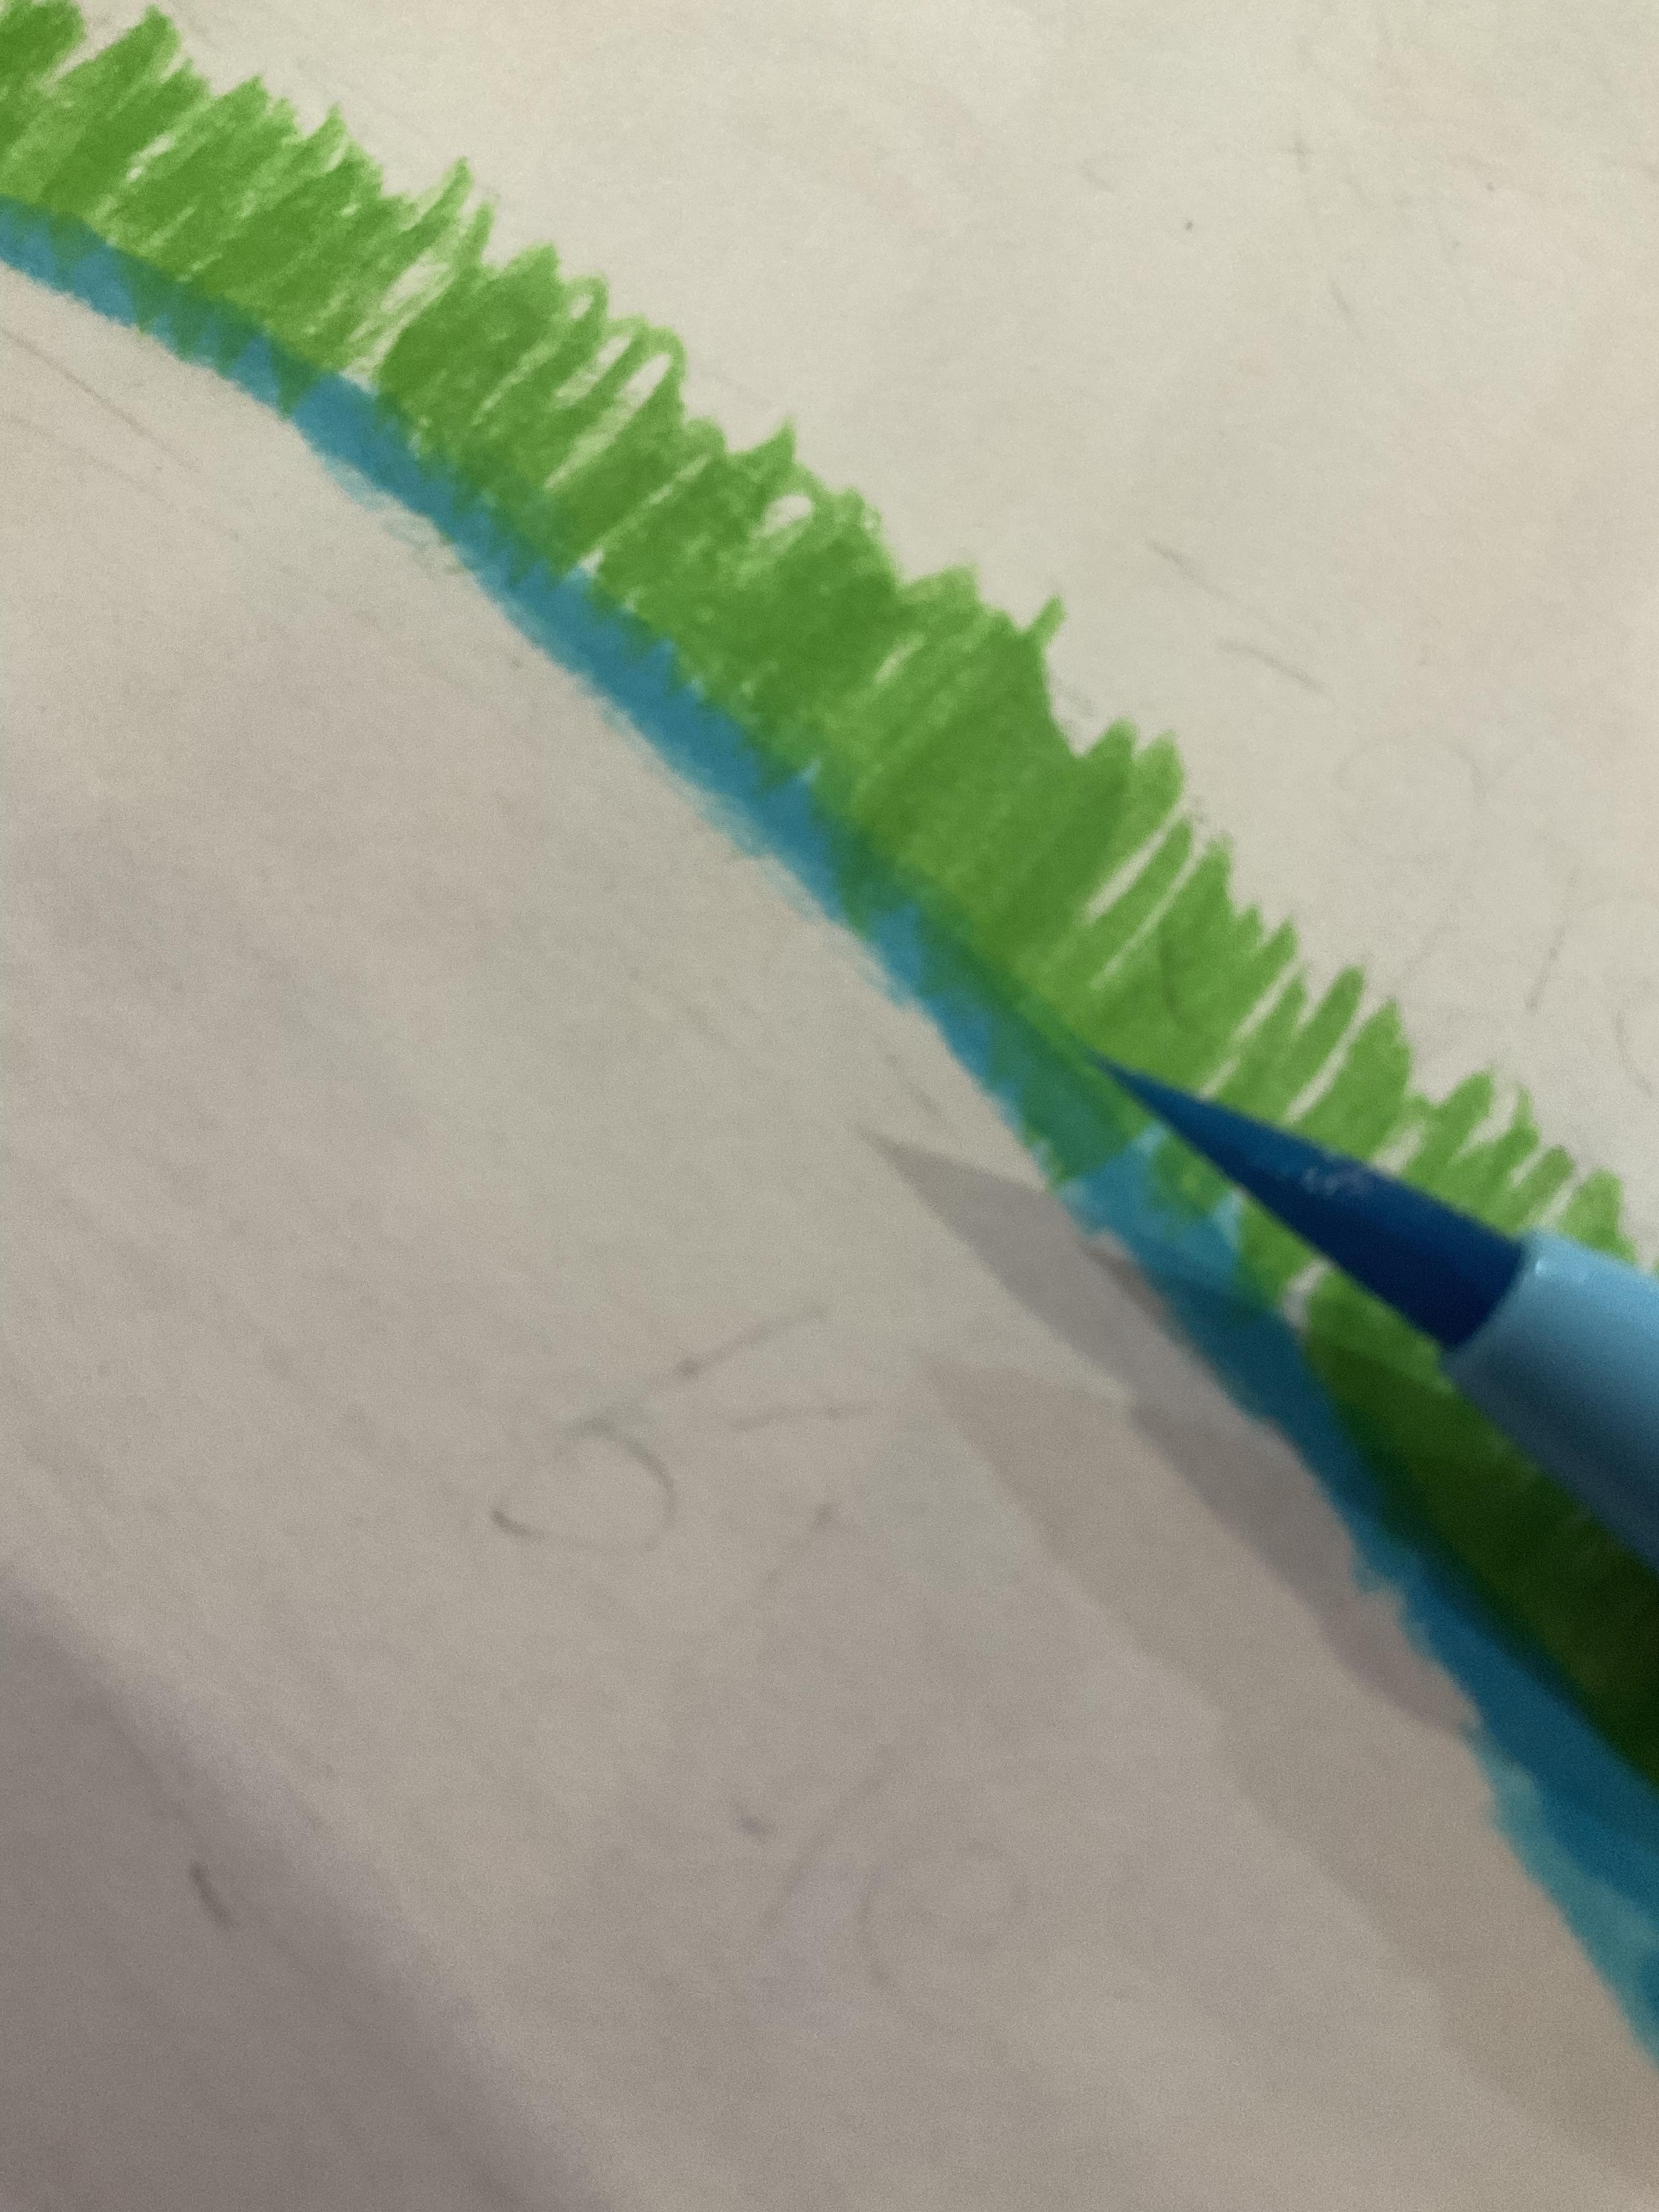
If using brush pens, use the broader sides to make thick, straight lines. You can just use it as it is, there is no need to wash the ink yet. The lighter coloring inside a dark outline will look well and very clearly show the color intended.
Sun, Greenery, River

Now it's time to color our drawings. I highly recommend starting from the middle in general, because it increases efficiency when coloring the rest of the drawing, especially around the top and bottom edges.
With brush pens, wet the ink for about a second and shake the pen a little, then start coloring these parts.
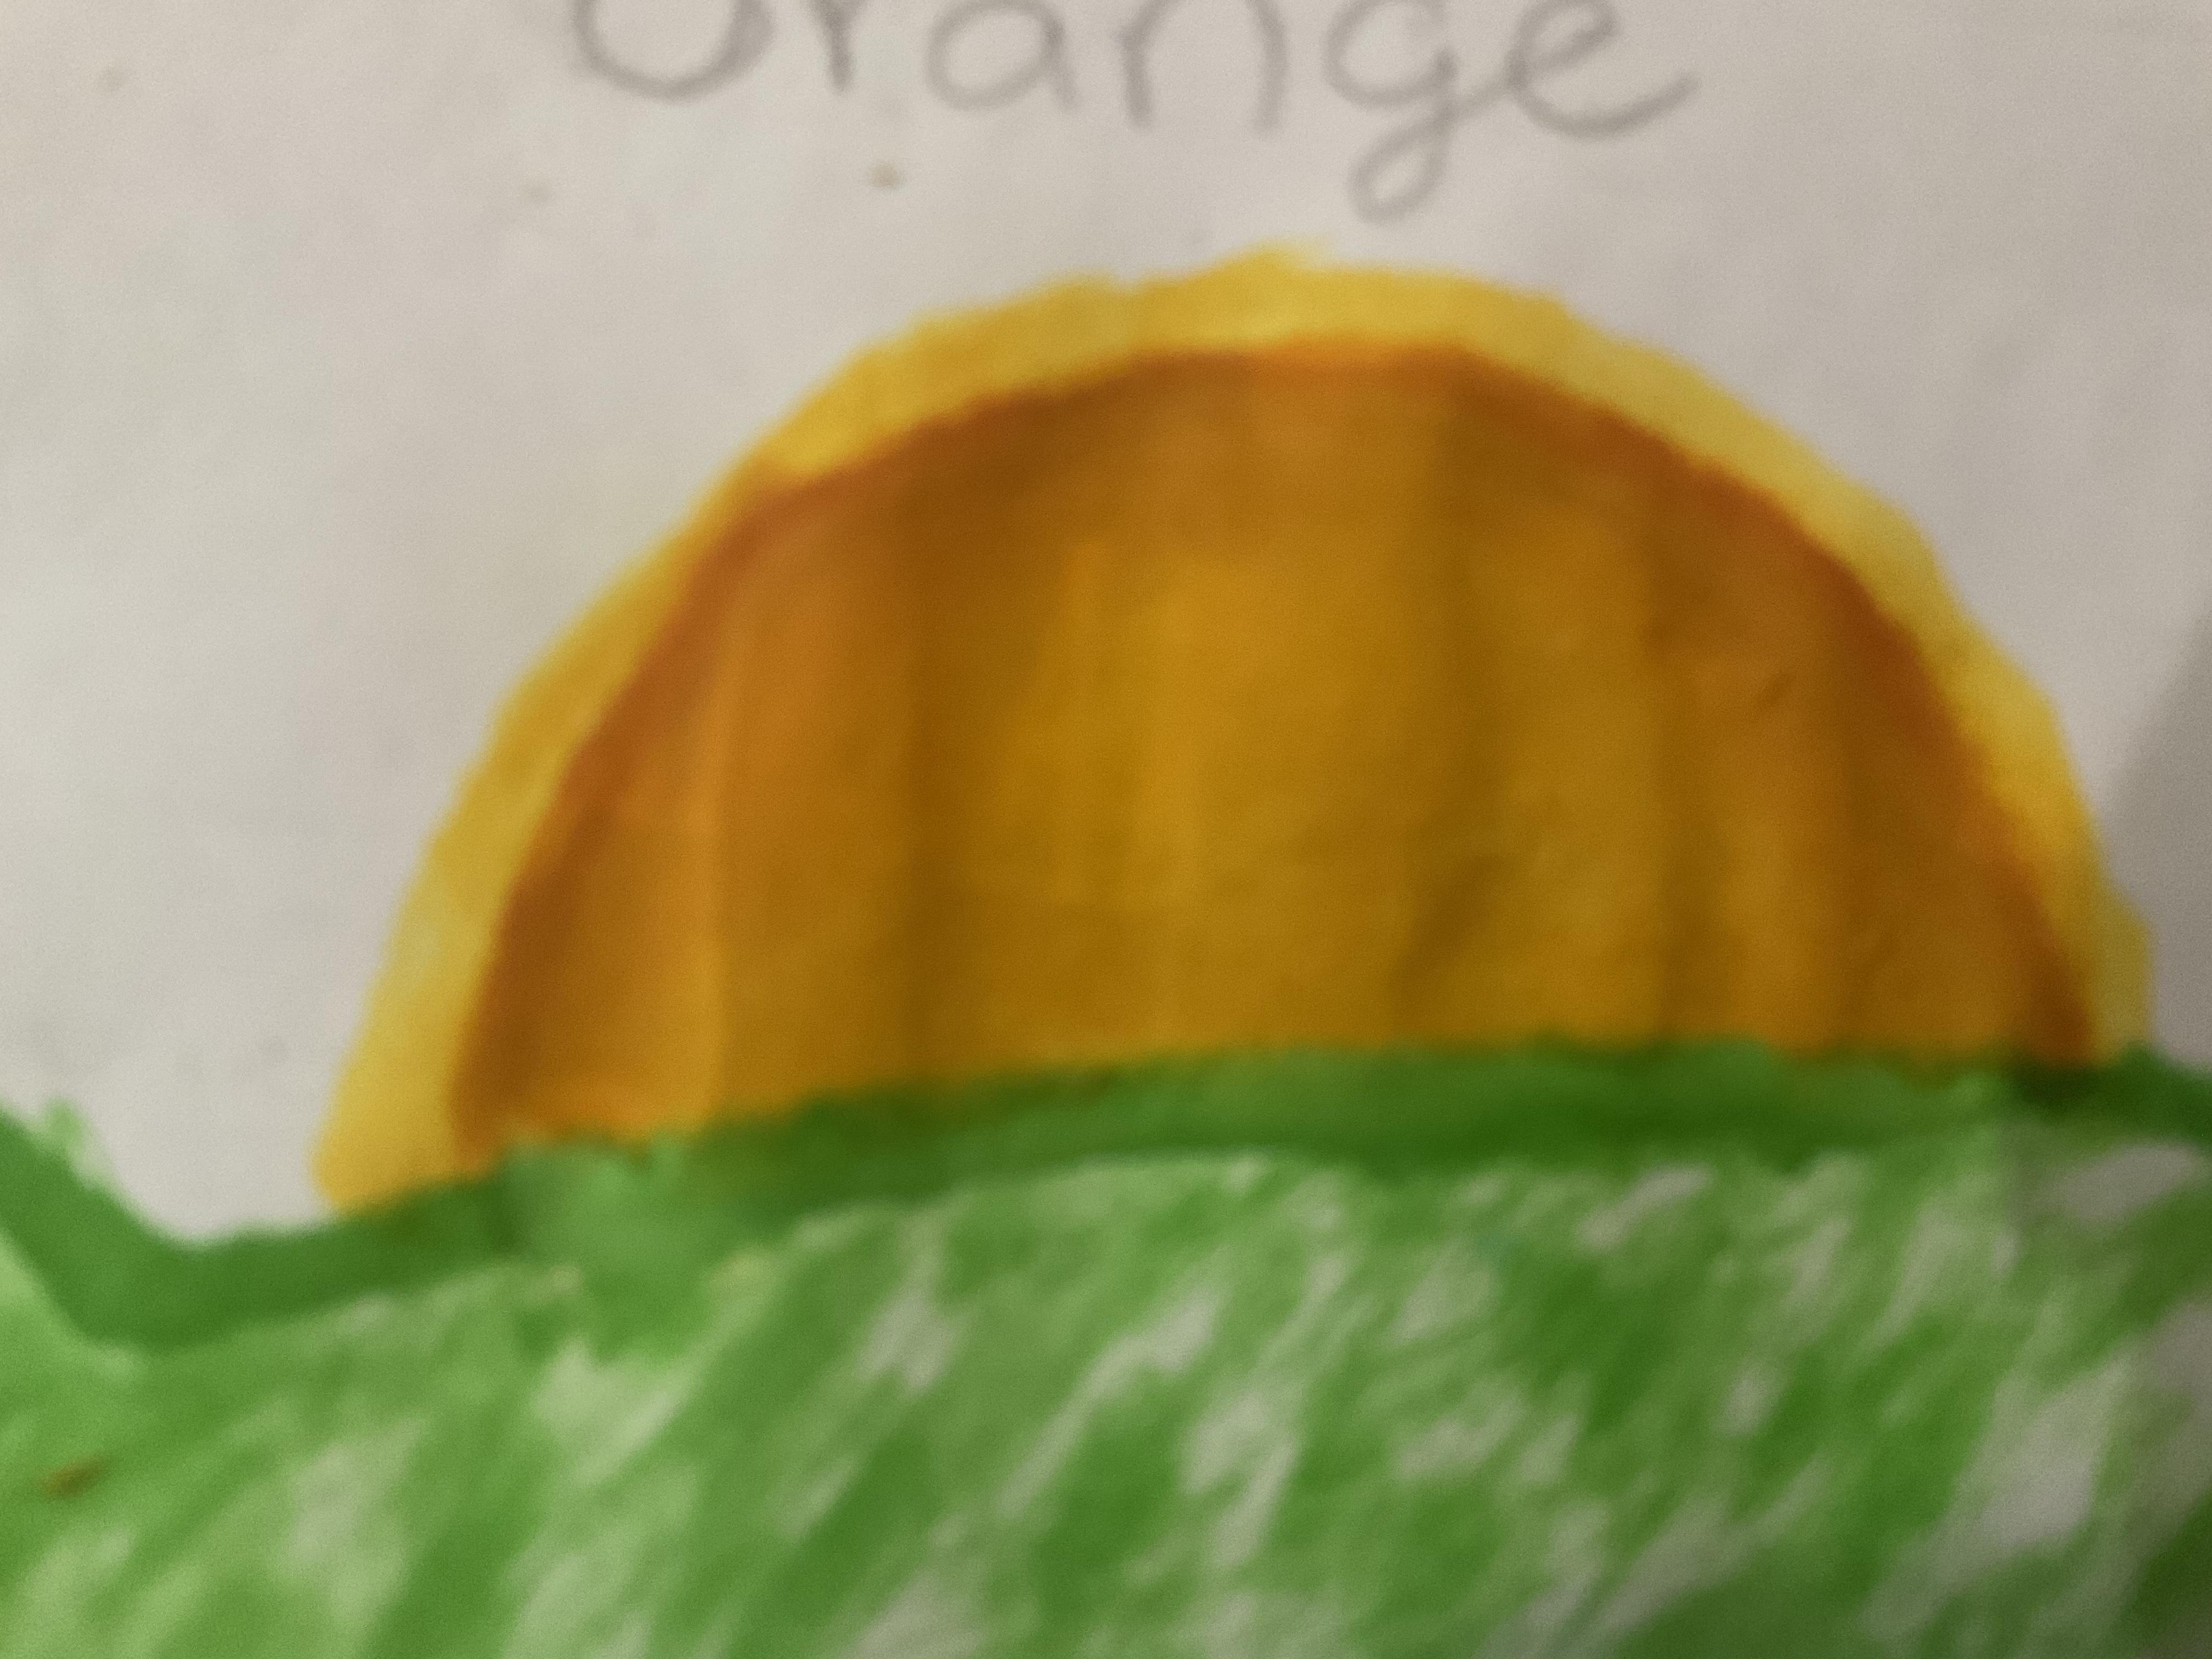
Dampen and darken the sun in curves, as a semi-circle hidden just behind the hills. In my drawing, the sun is almost transparent due to how much I've darkened it, though as it dries up I can add more layers.
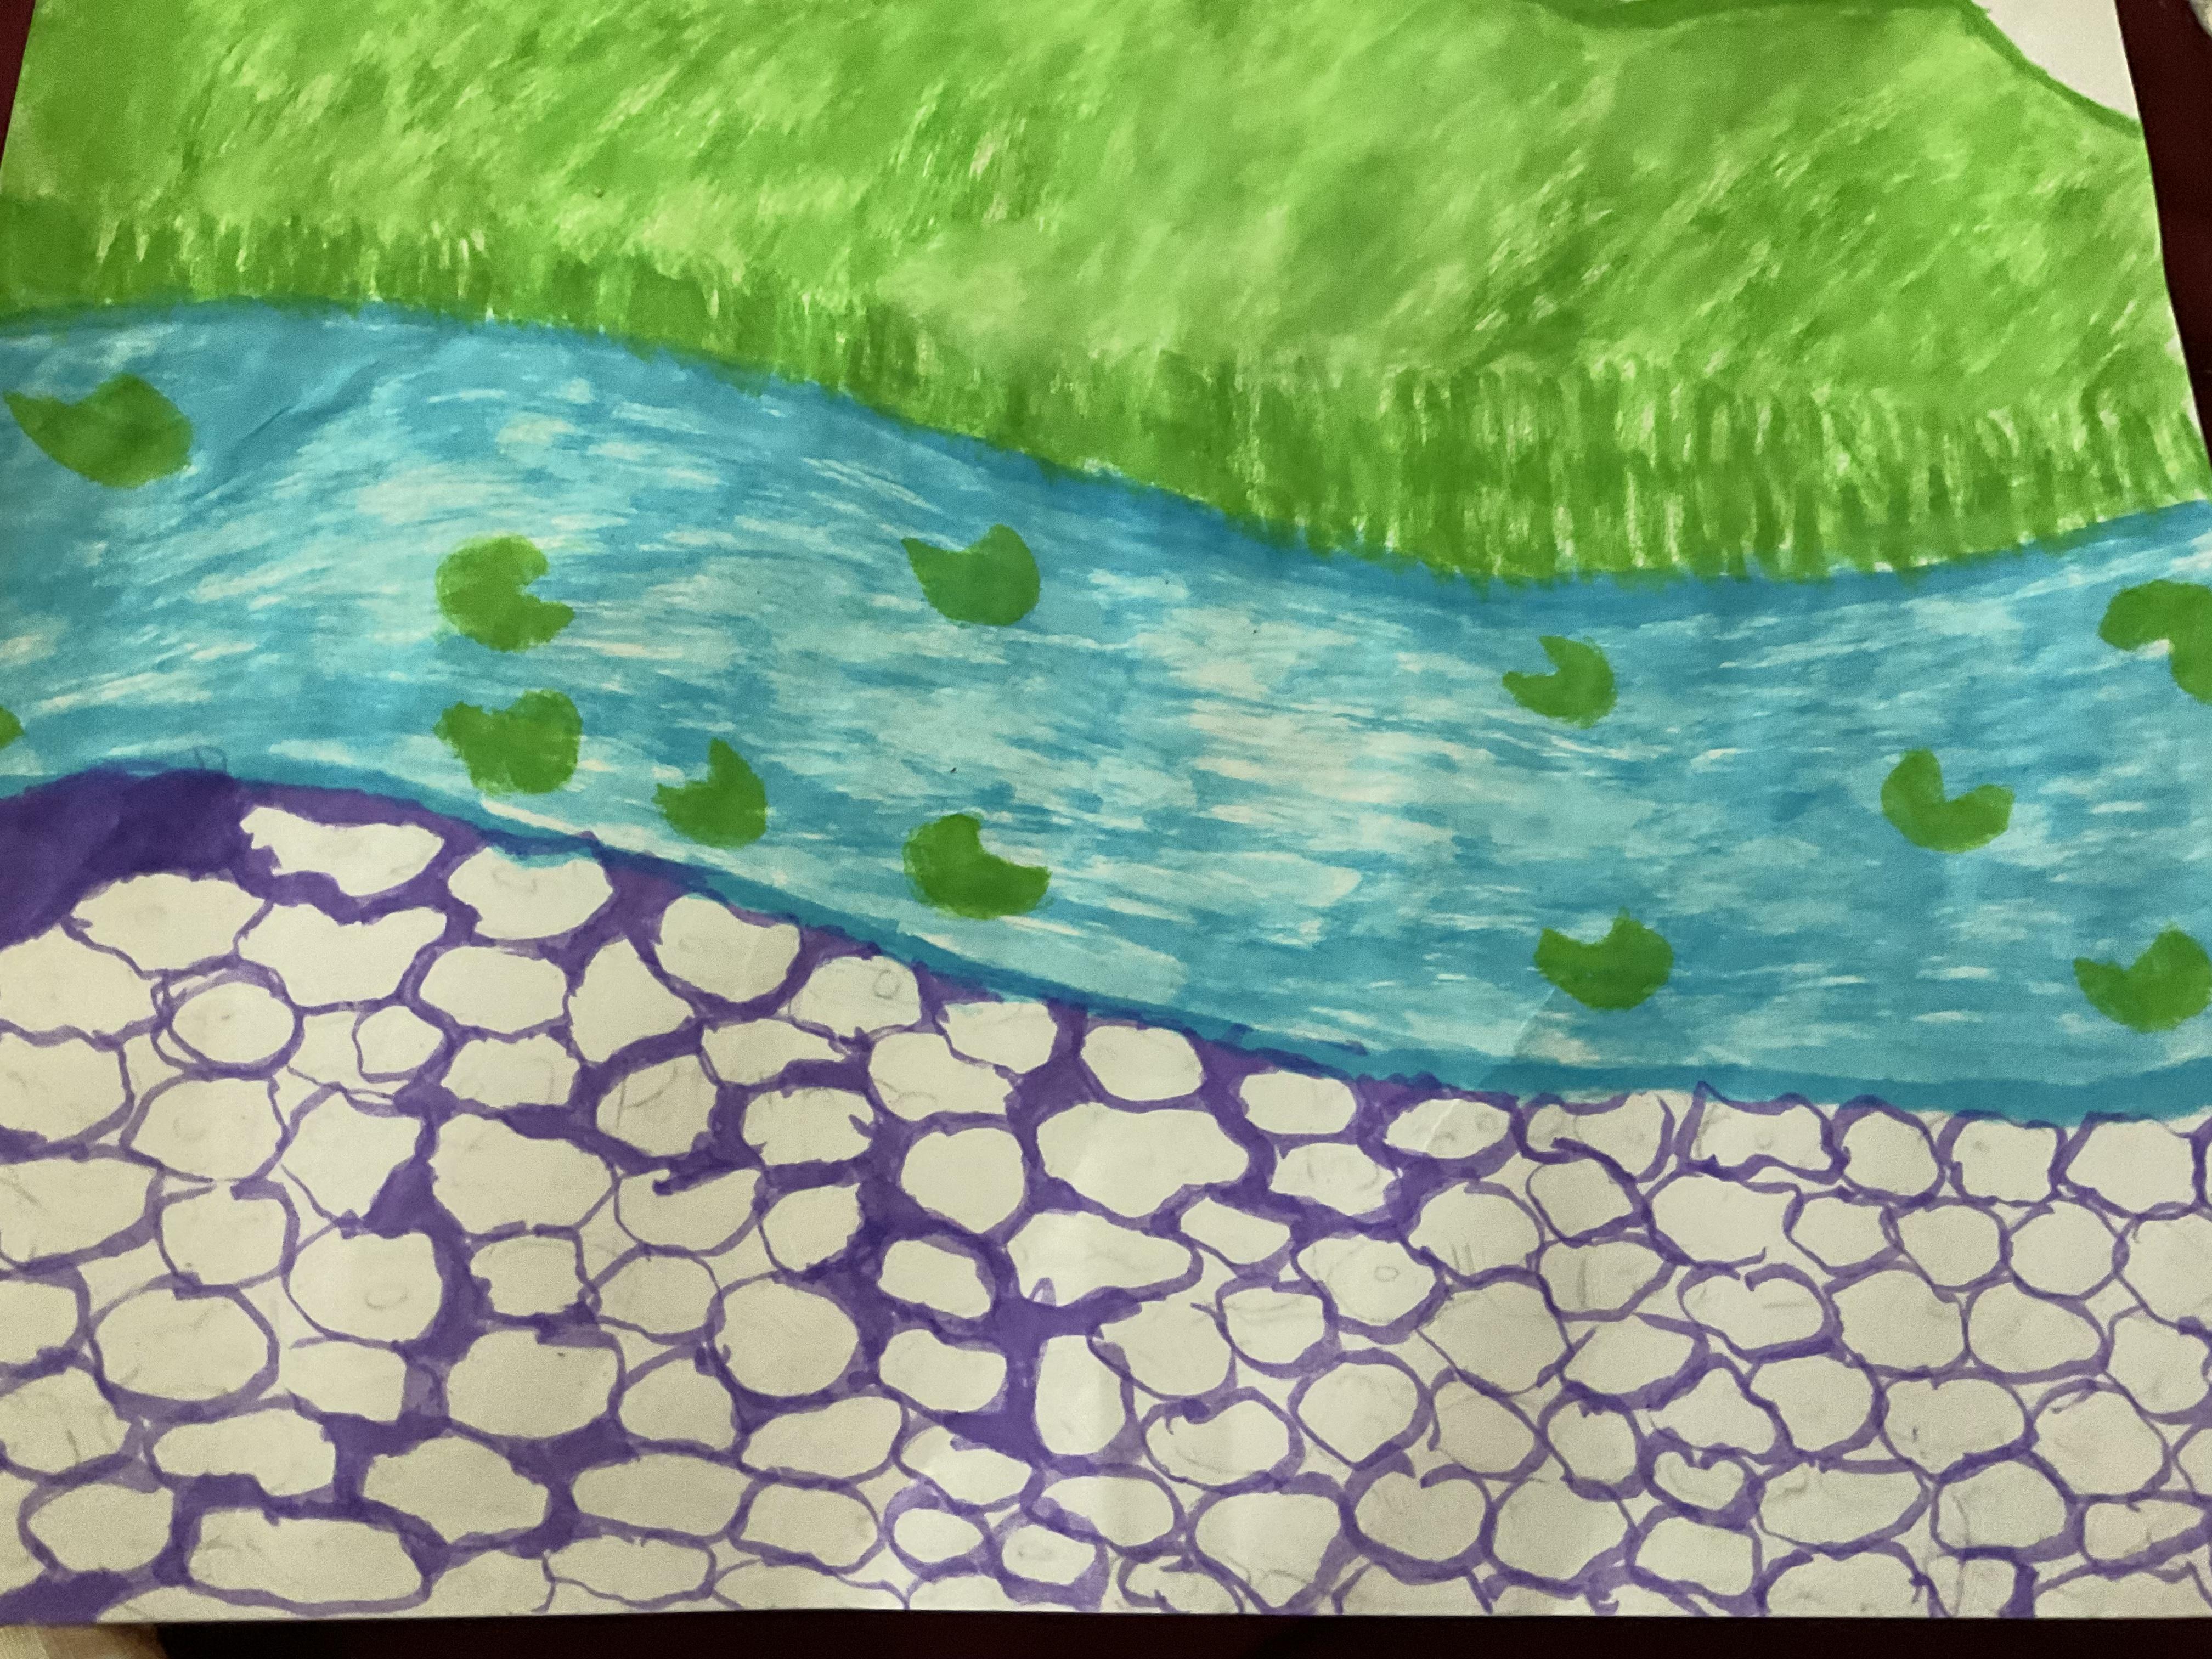
For the hills, you can color them quickly, and darken a few areas to build upon it. For brush pens, as the color dampens and darkens, I color farther towards the edges and corners. The key is to layer upon layer and darken the edges, but leave room for the light increasingly towards the middle.
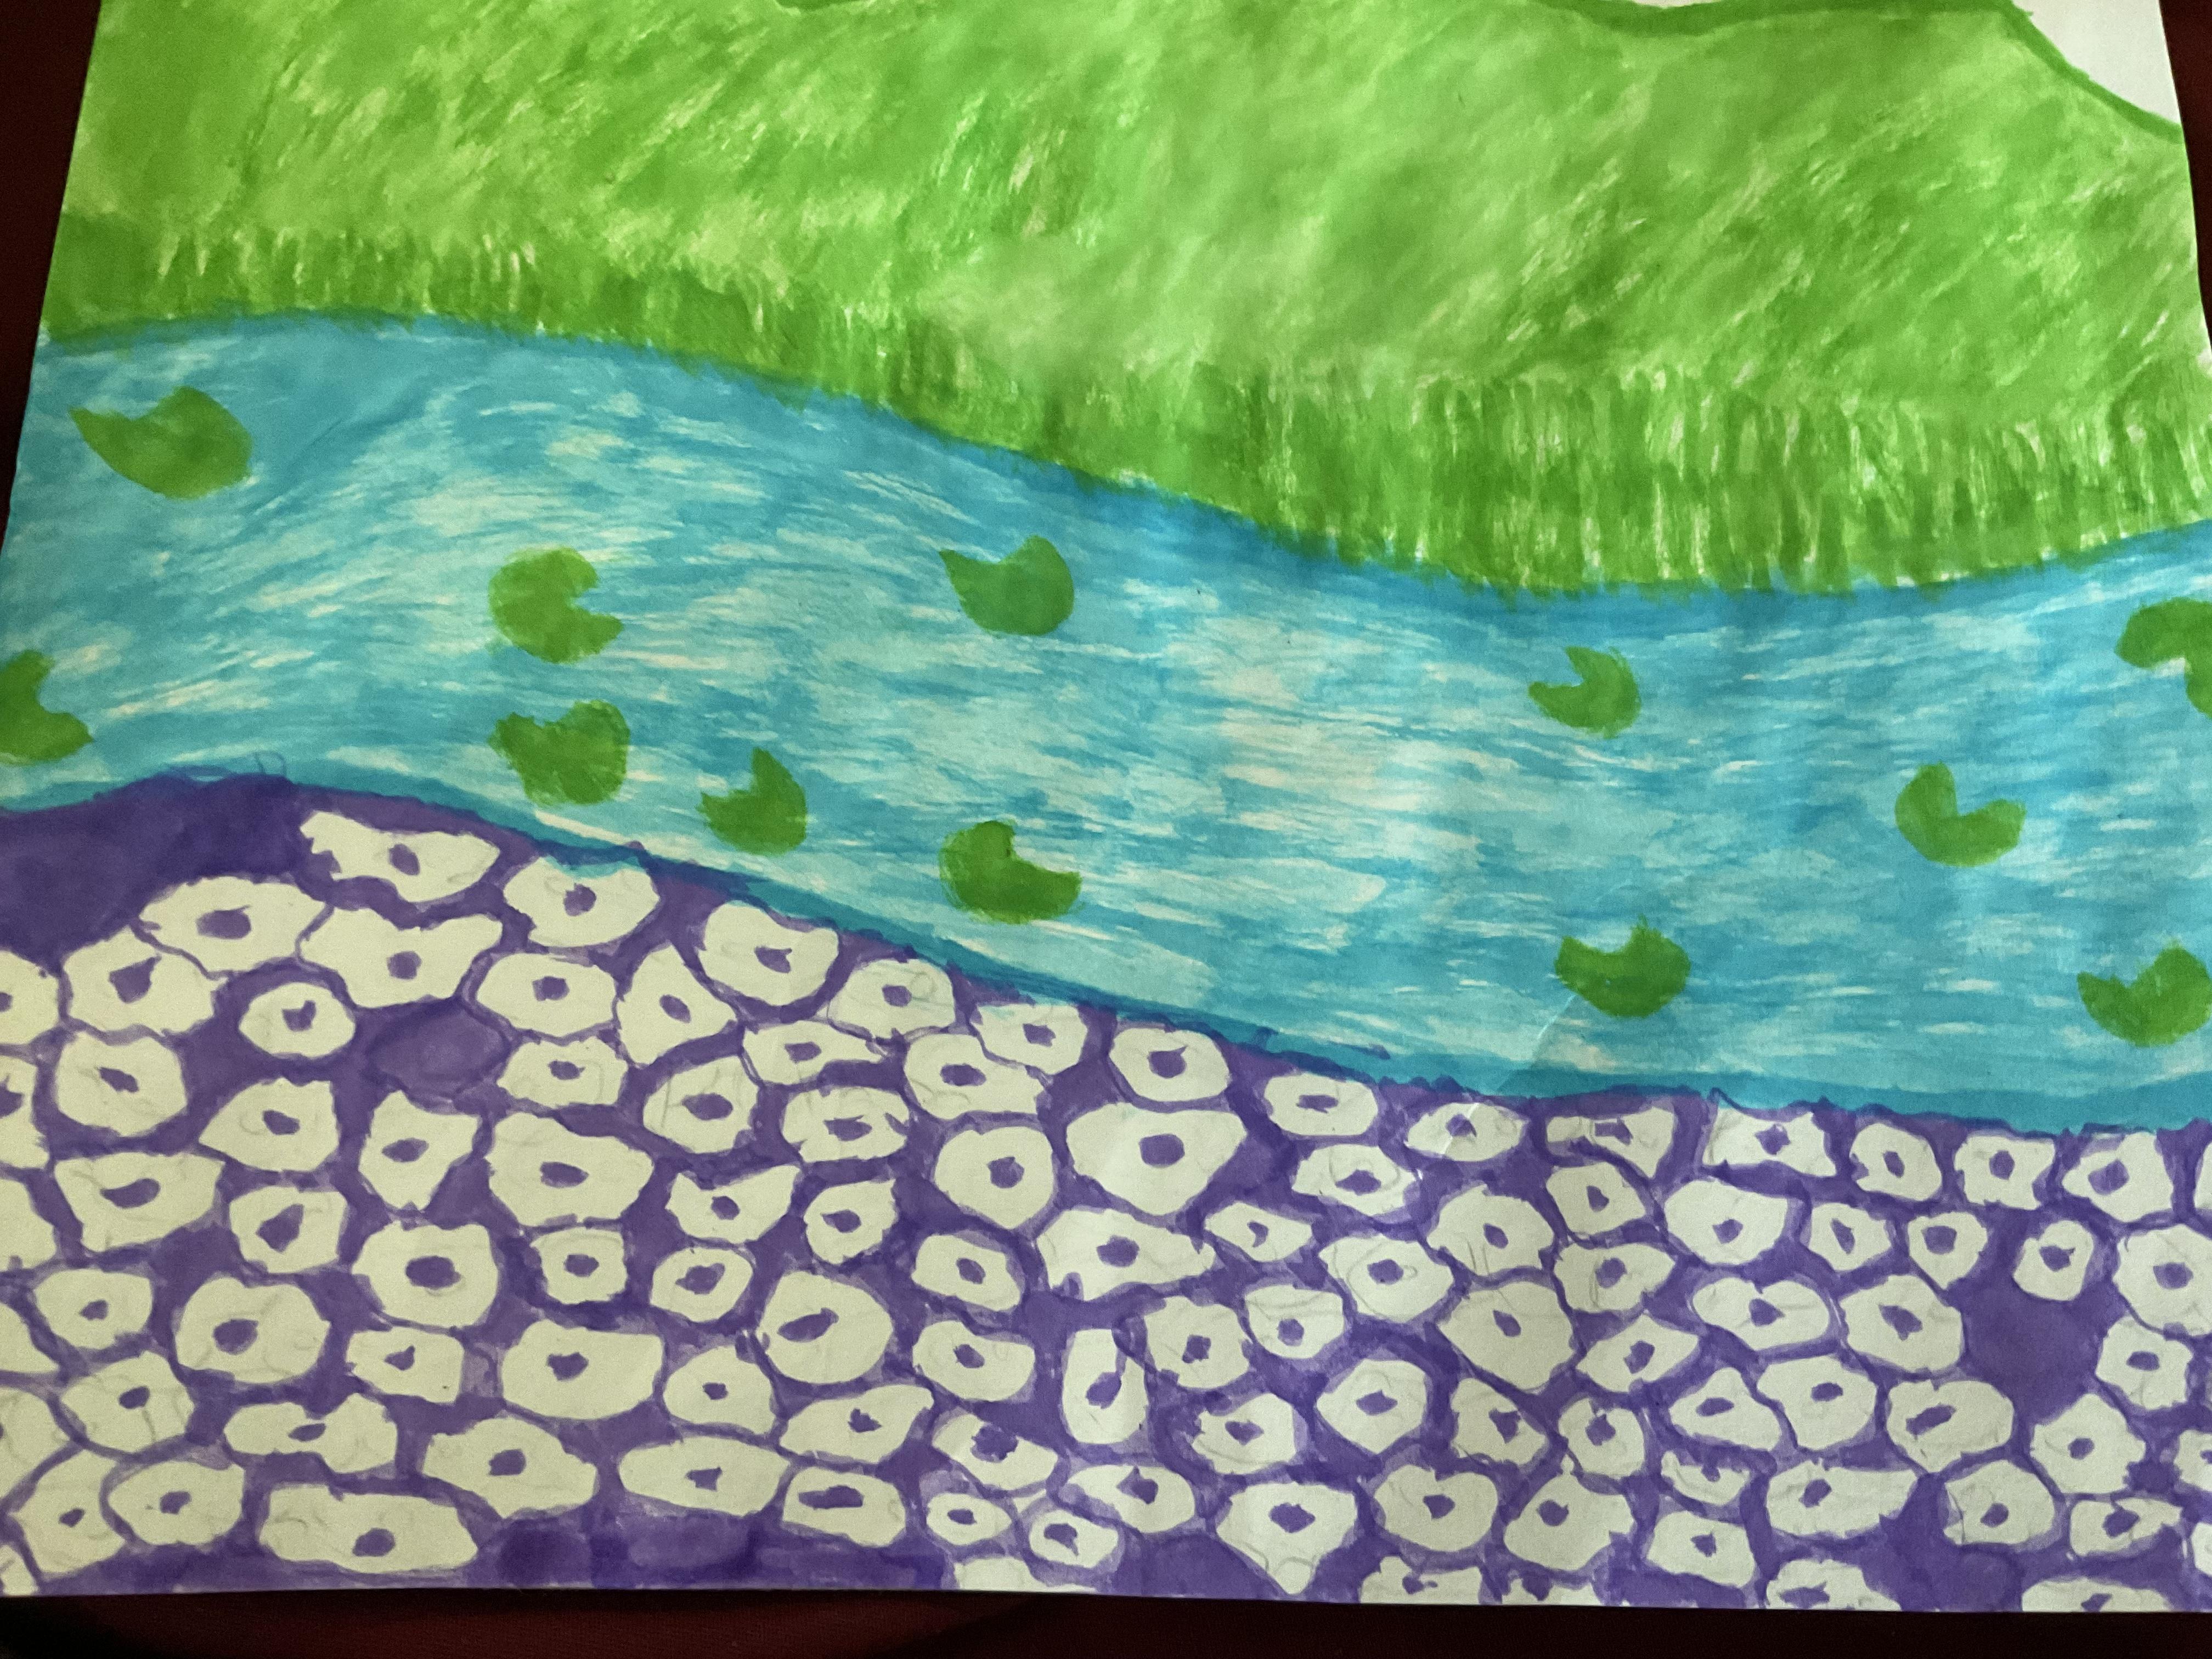
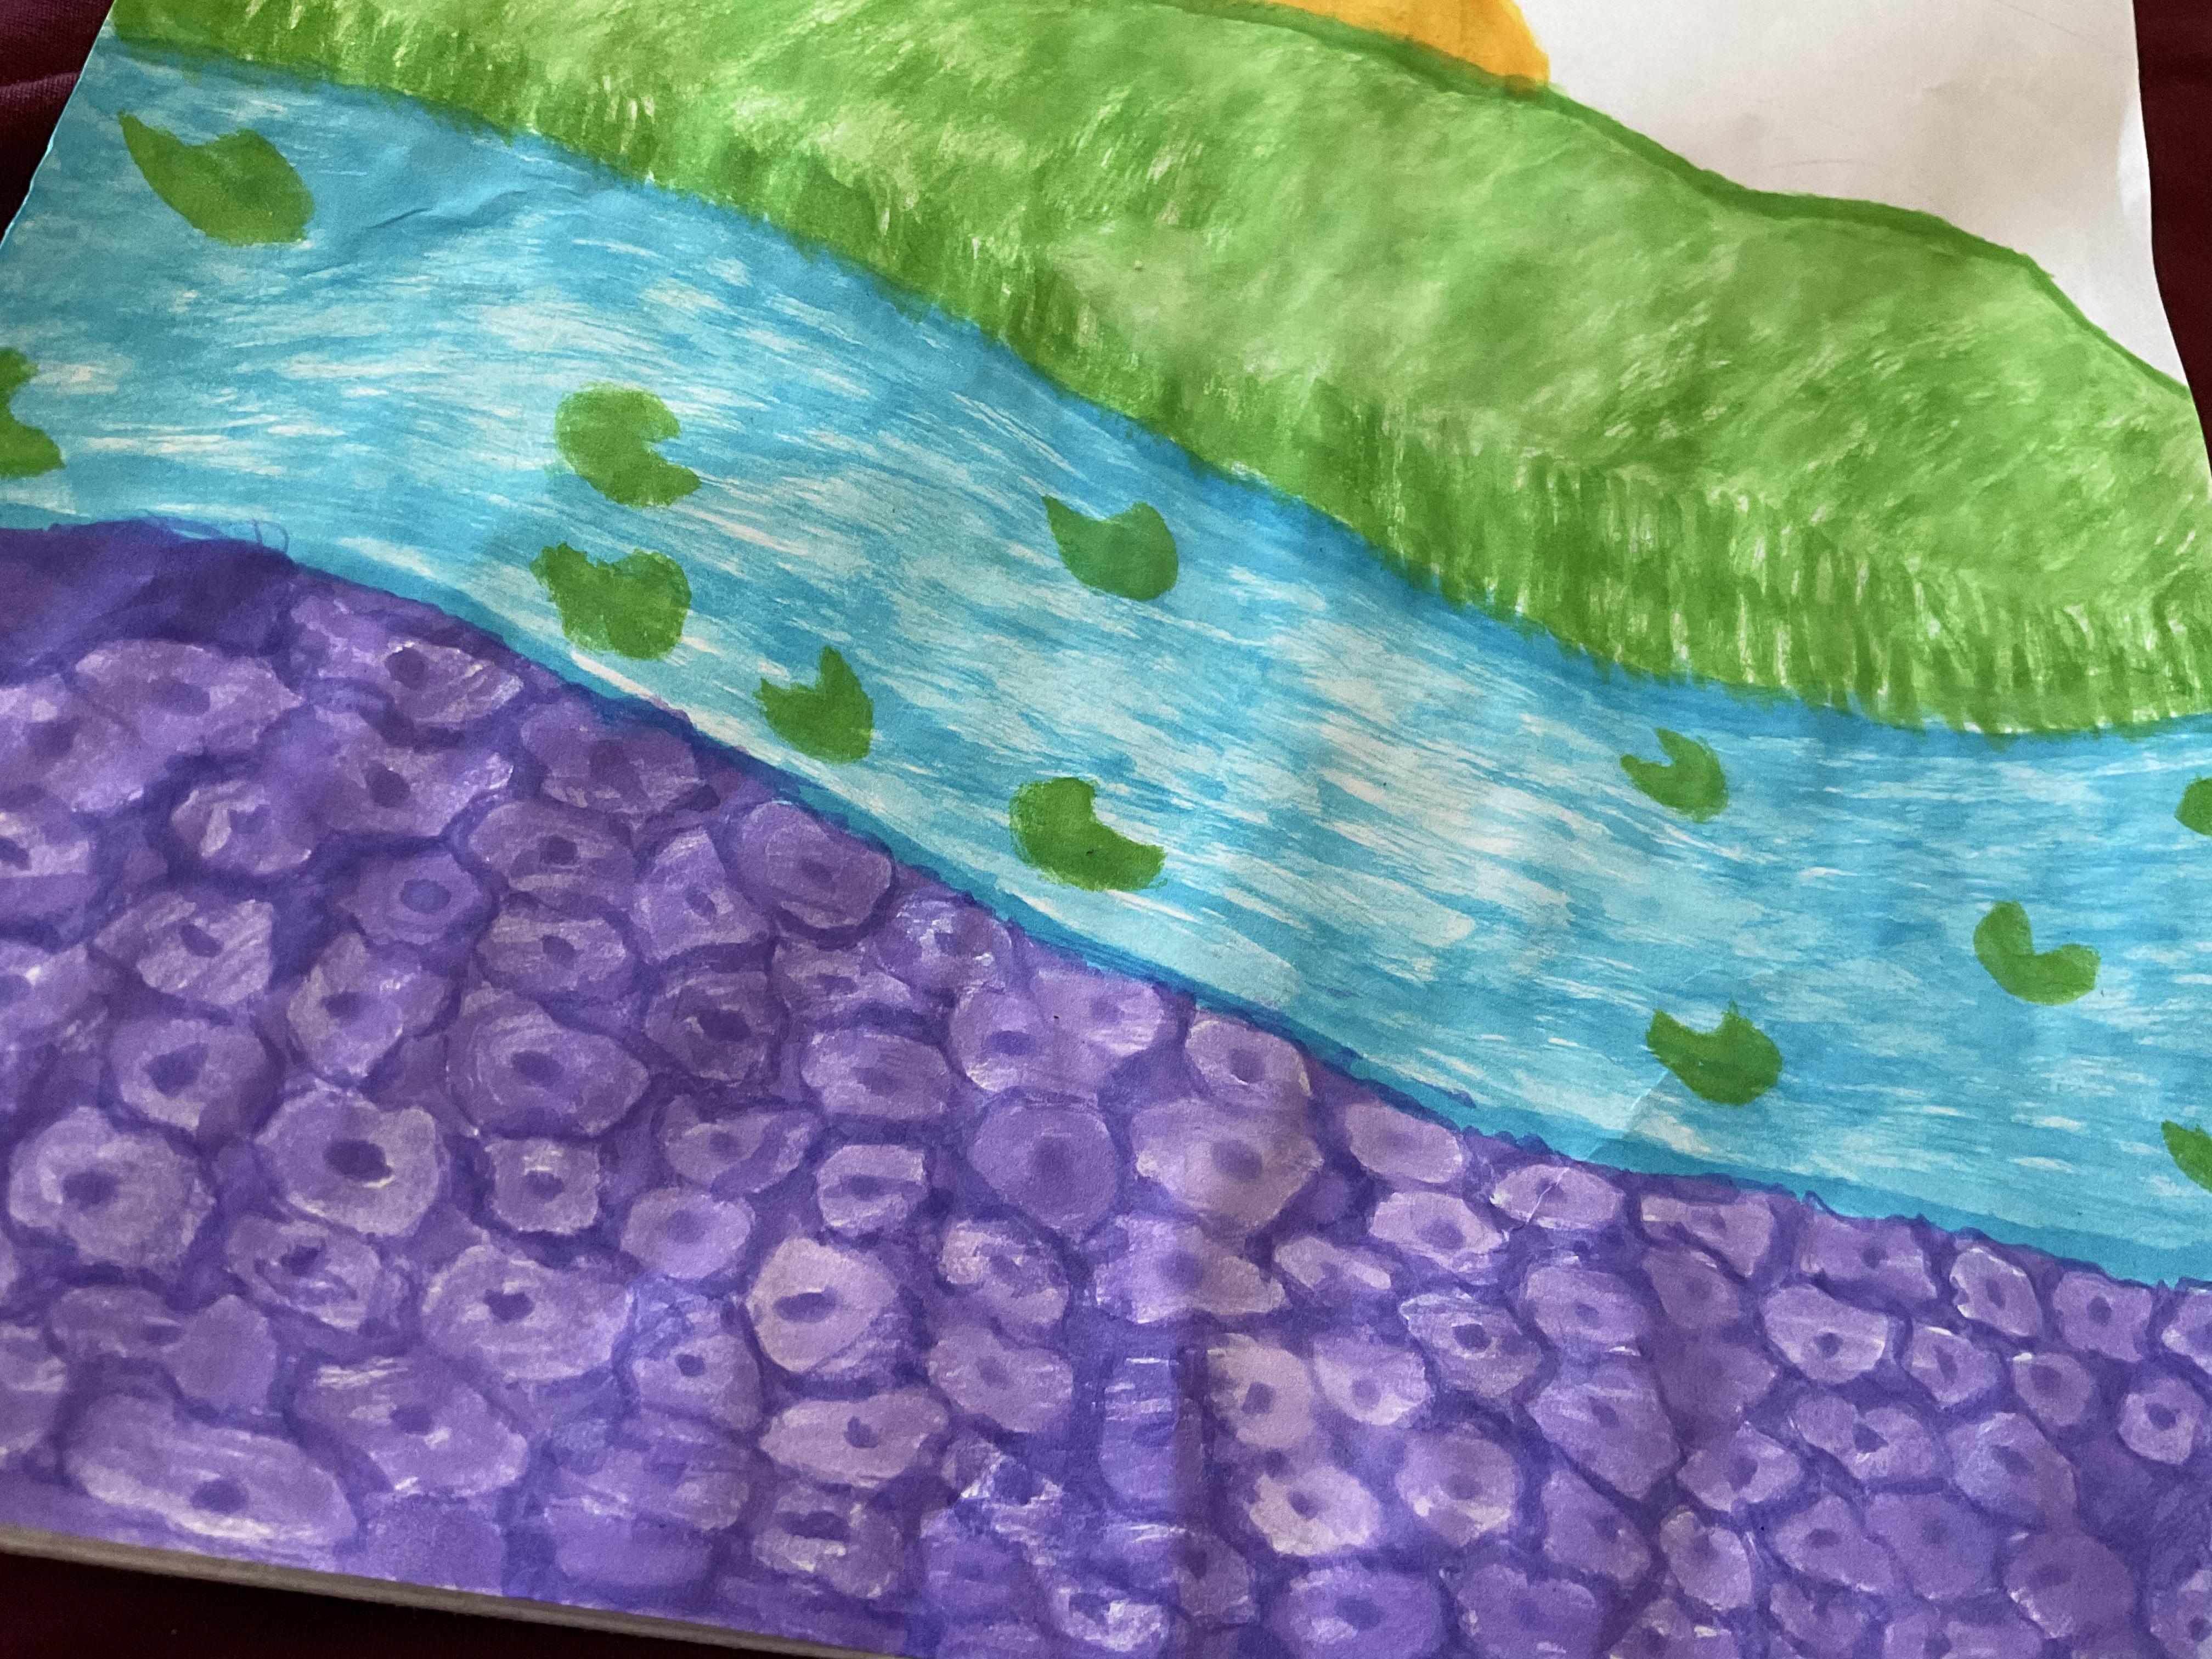
Again for the river, I go from left to right, but darken the blue color towards the edges of the paper, to make it look like a steady and enlightened stream. I've also chosen to add a few lily pads which weren't included in my sketch, which adds more to my drawing.
Purple Flowers
Since there are a lot of purple flowers, it takes a bit longer to color them intricately.
First outline the flowers, and color gaps between them. Also add a dot in each flower. Try to make these lines and dots as dark as possible, so you can avoid coloring the flowers that dark. If using a purple brush pen, do not water the ink.
Next, lightly color all the flowers, but don't make them so dark that they blend in with the previous outlines. Now you can wet the purple brush pen if you are using it.
Skies and Highlights
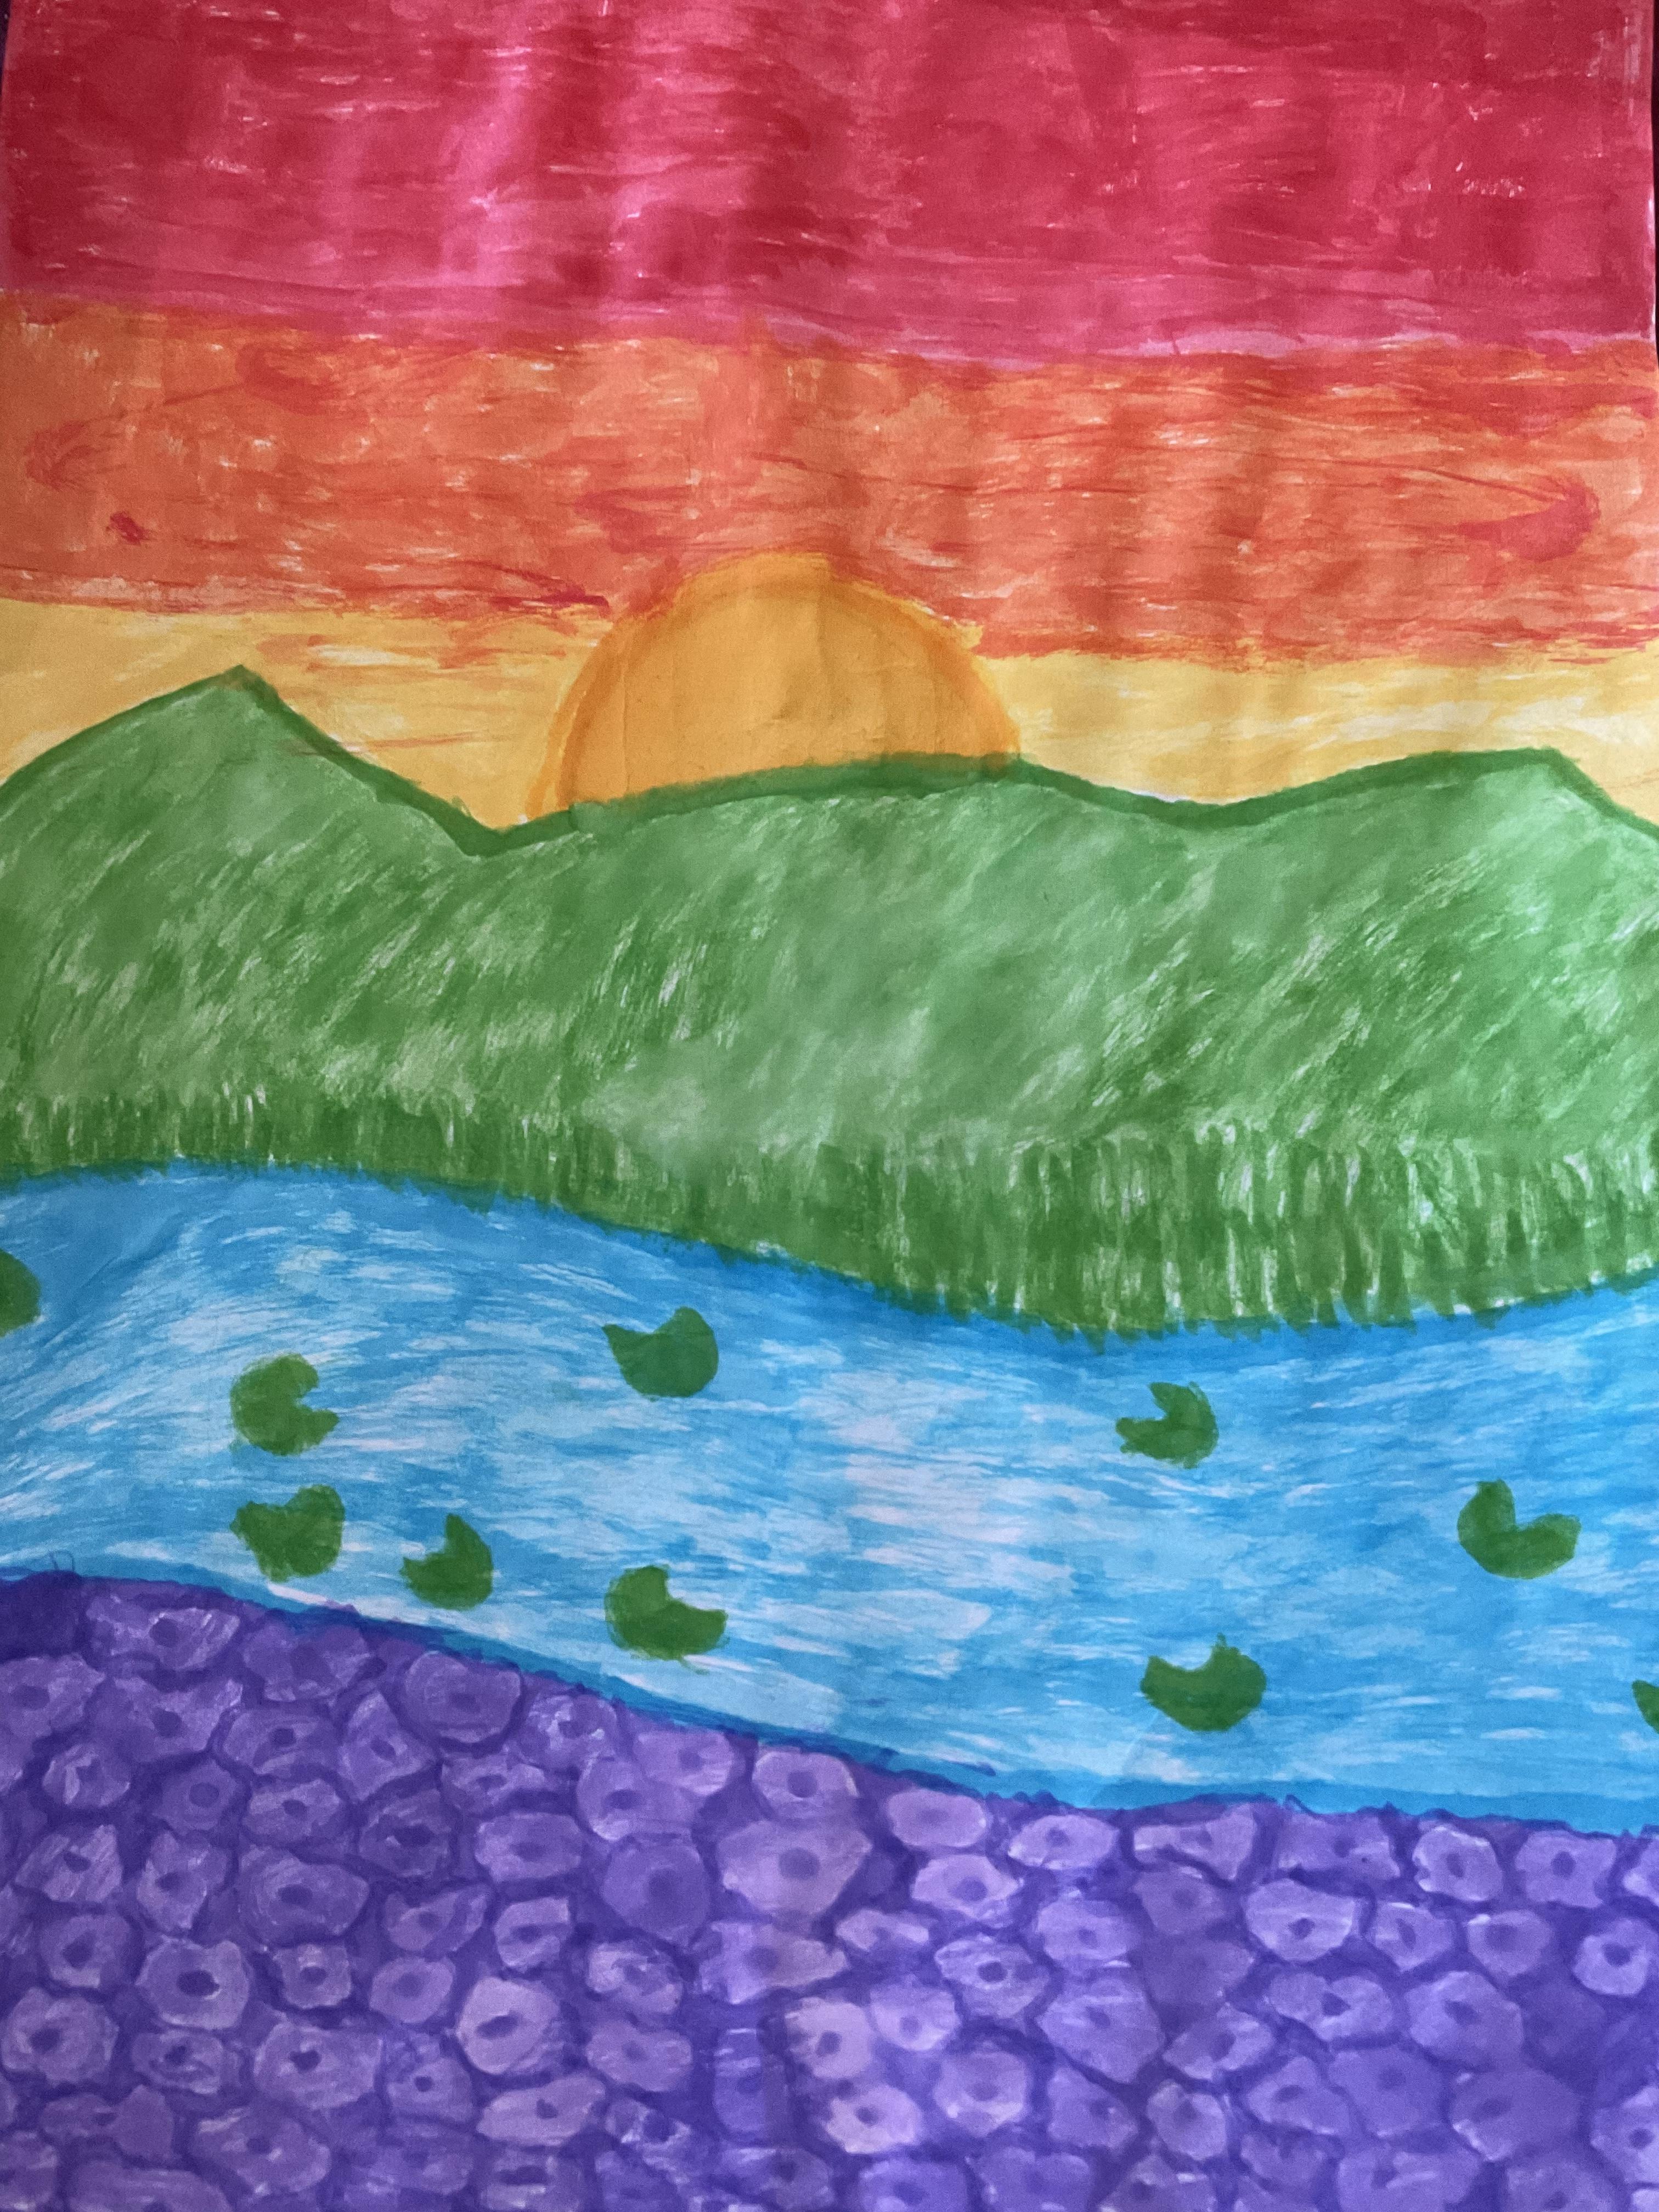

Color the skies, going from red (top of page), to orange (just under red), to yellow (around middle, before hills).
Around where the colors are supposed to blend, wet them just a tad bit and try to make a lot of use of all colors.
Finally, use your marker to add small details like 'v's for crows in the sky, and your signature. If you want, you could also add a date for the day you completed this drawing. It’s great to look back at your past art and see how much you’ve improved since then.
The drawing is finished! I hope you had fun making it!