DIY Dry Erase Labels

Hey everyone! I've been super busy lately but I found enough time to upload this tutorial for dry erase labels. These are really quick and easy and you can use them pretty much everywhere in your home. Let's get started!
Here are the materials you'll need:
-Colored card stock or scraps of scrapbook paper
-Contact Paper
-Paper cutter (if you don't have that, you can use a ruler, pencil, and scissors to make these)
-Scissors
-Clear tape
-Art supplies of your choosing
-Something to put your label on
-Dry erase marker
Cut the Labels

Grab your card stock or your cute paper and cut a rectangle with your paper. You can make these any size you like.
Decorate

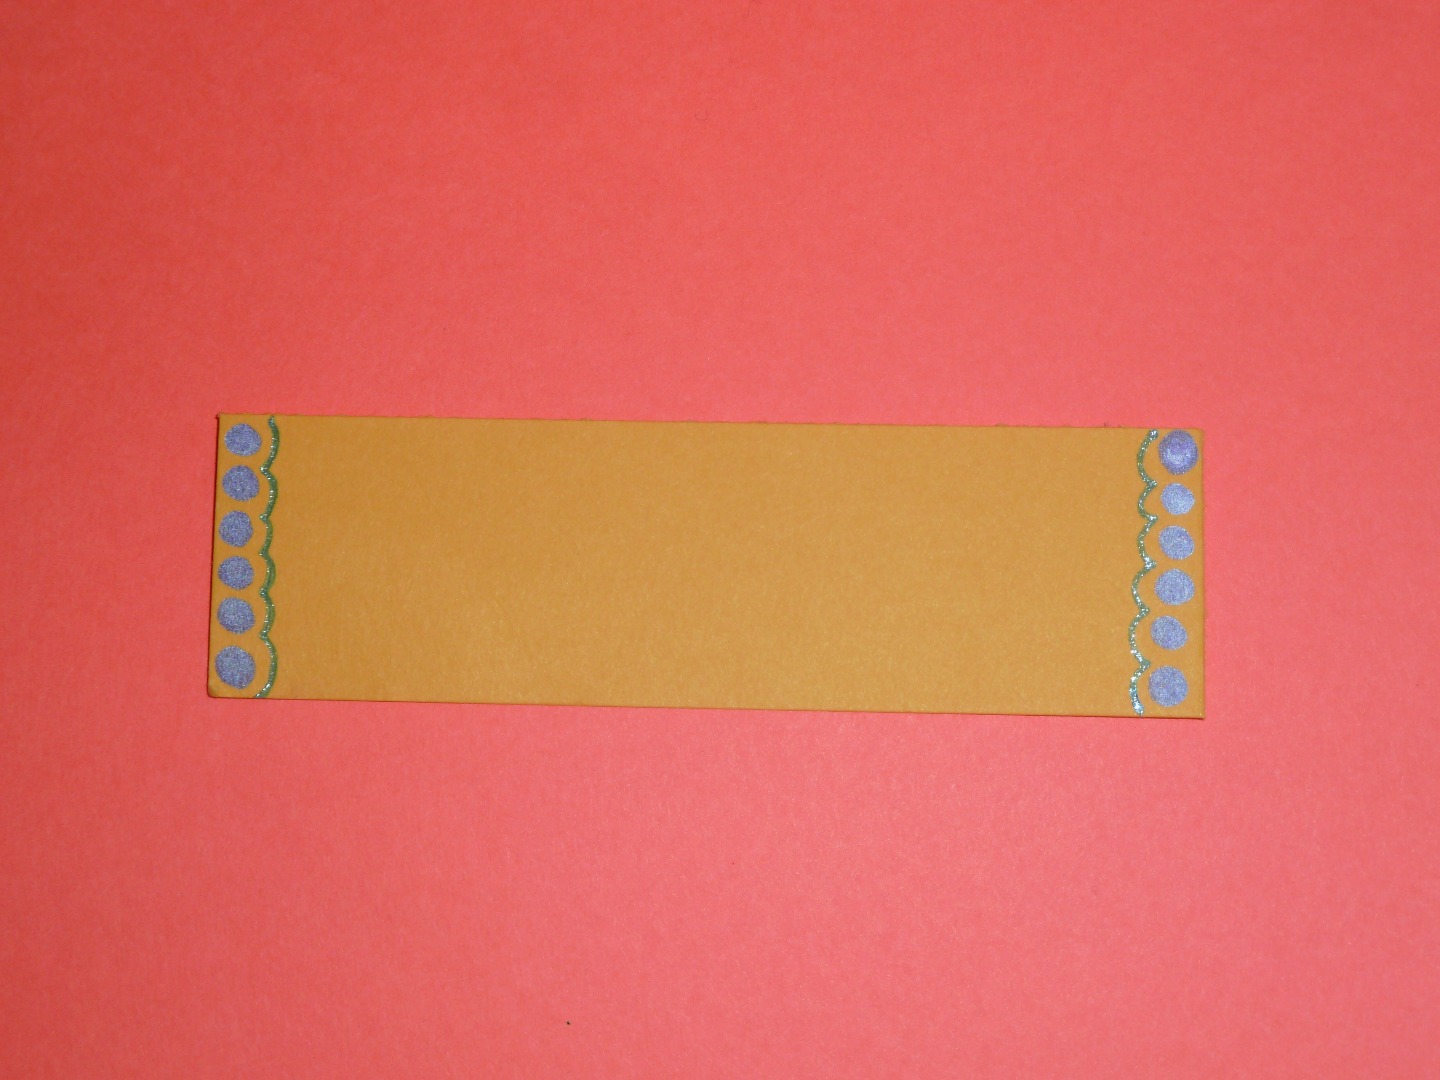
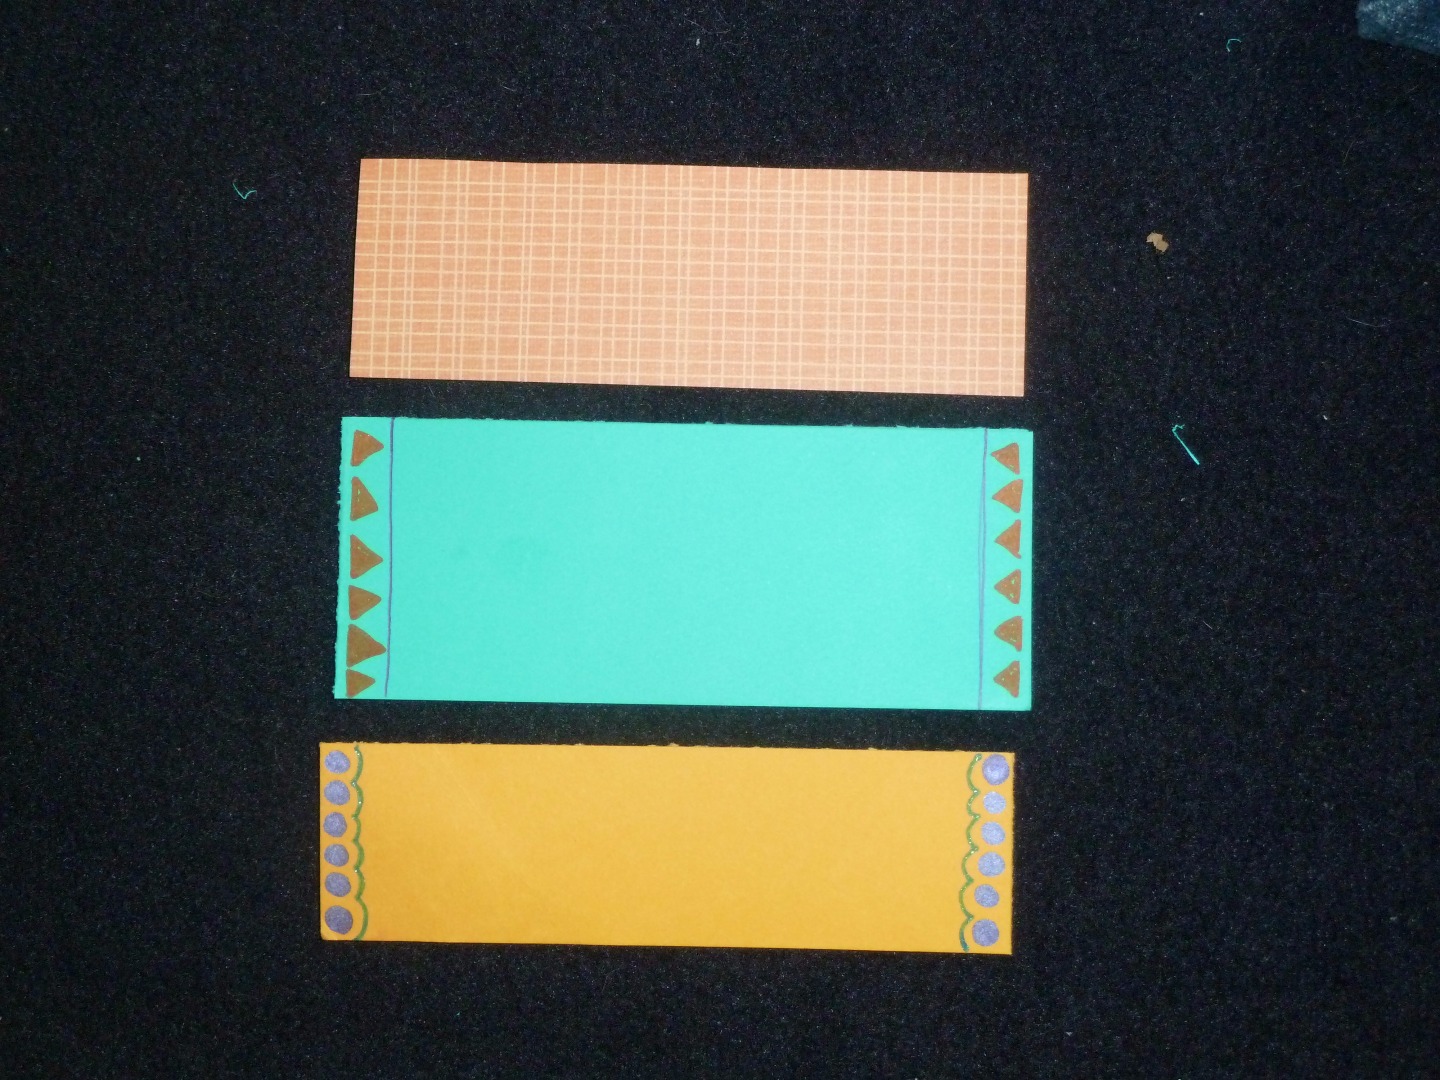
Draw something on the edges of your labels. I did circles and triangles with a decorative line but you can do anything you like. :)
Laminate

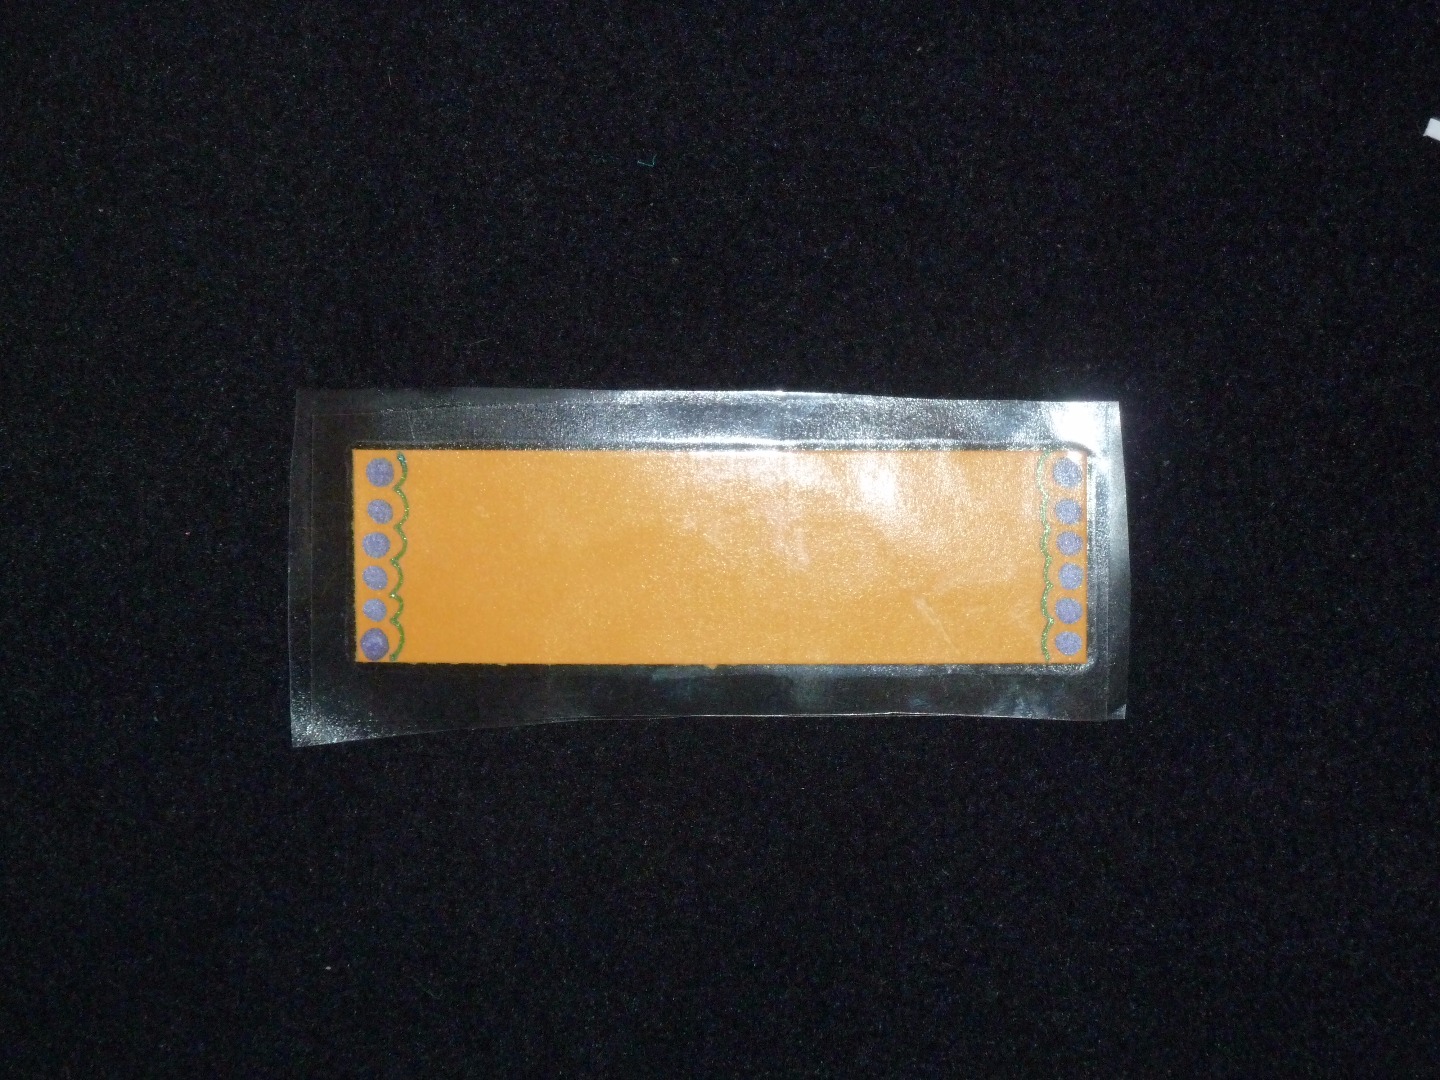

Grab your contact paper and cut it a little bigger than your label. Peel off the backing and carefully apply it to your label. Trim the excess plastic off your labels.
Enjoy
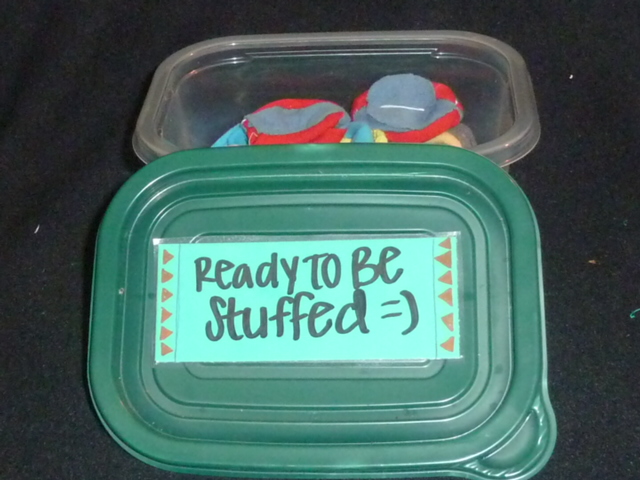
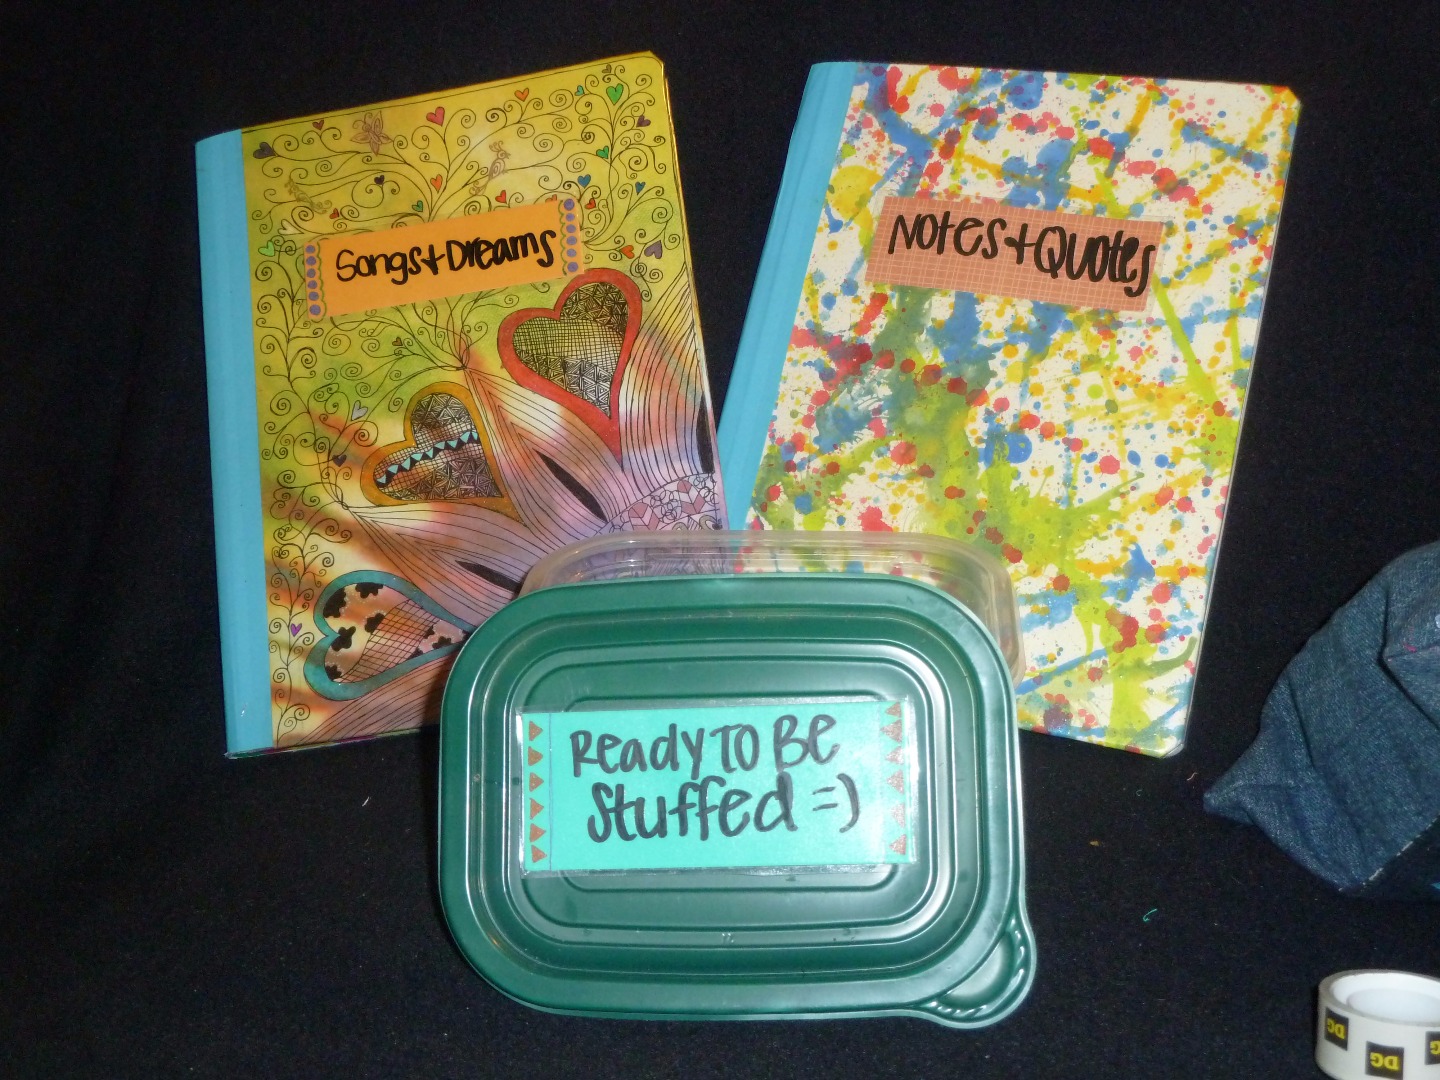

Slap your labels on something and enjoy! :D These wipe clean and you can clean any marker residue off with some rubbing alcohol and a cloth. They come in handy. :)