DIY Digital Caliper Micrometer Comparator
by iectyx3c in Workshop > Science
29399 Views, 38 Favorites, 0 Comments
DIY Digital Caliper Micrometer Comparator
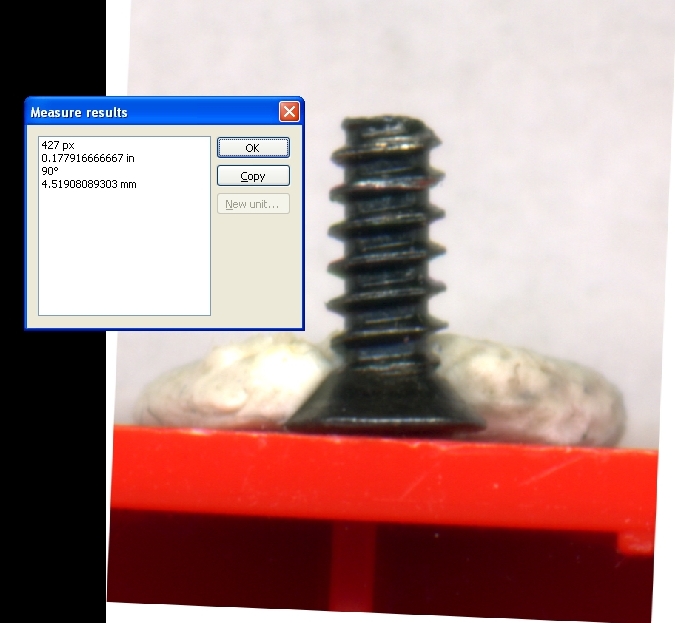
Get precise measurements with a cheap desktop scanner.
Using free software, you can measure part sizes with a resolution of less than a mil ( 1/1000 inch or about 25 microns ).
Great for identifying mystery micro-screws, electronics, camera parts, or even measuring plants or insects.
Tips and tricks for mounting parts, scanning, aligning the image, and taking measurements.
I'll give you links to other resources where people are using scanners for measurements and would like to hear from you about any ideas or feedback on how to get better results.
Free Software for Measurement

You can use nearly any graphics software for taking measurements.
The Notes and Resources step of this instructable gives links to notable image measuring software. Three free choices are IrfanView, The GIMP, and ImageJ. All are easy to use for basic measurements.
For simple measuring of lengths, I prefer IrfanView graphics software.
Keep in mind that The GIMP is excellent and is my main image editor. It is worth your time to learn it as a free alternative to Photoshop.
ImageJ is a scientific and math miracle. Easy to use, but loaded with incredible features. Thanks to i'bler aman0311 for suggesting this.
IrfanView
IrfanView is Windows-only freeware. It is easy to load and use. It is kept up-to-date by its author Irfan Skiljan.
Be sure to download it from the official site IrfanView or from a trusted site like C|Net or tucows.
It installs quickly and easily. It's very light on resources, and is easy to learn.
The GIMP
The GIMP is another favorite Open Source Freeware graphics program useful for measuring.
It runs on Windows, Mac, or Linux.
It's very powerful, and for basic measuring is easy to use, though not as simple as IrfanView.
You can download the GNU Image Manipulation Program from the official GIMP site or from C|Net and other trusted sources.
You can also use Photoshop, Picasa and many other programs to directly measure scanned parts.
Testing Your Scanner
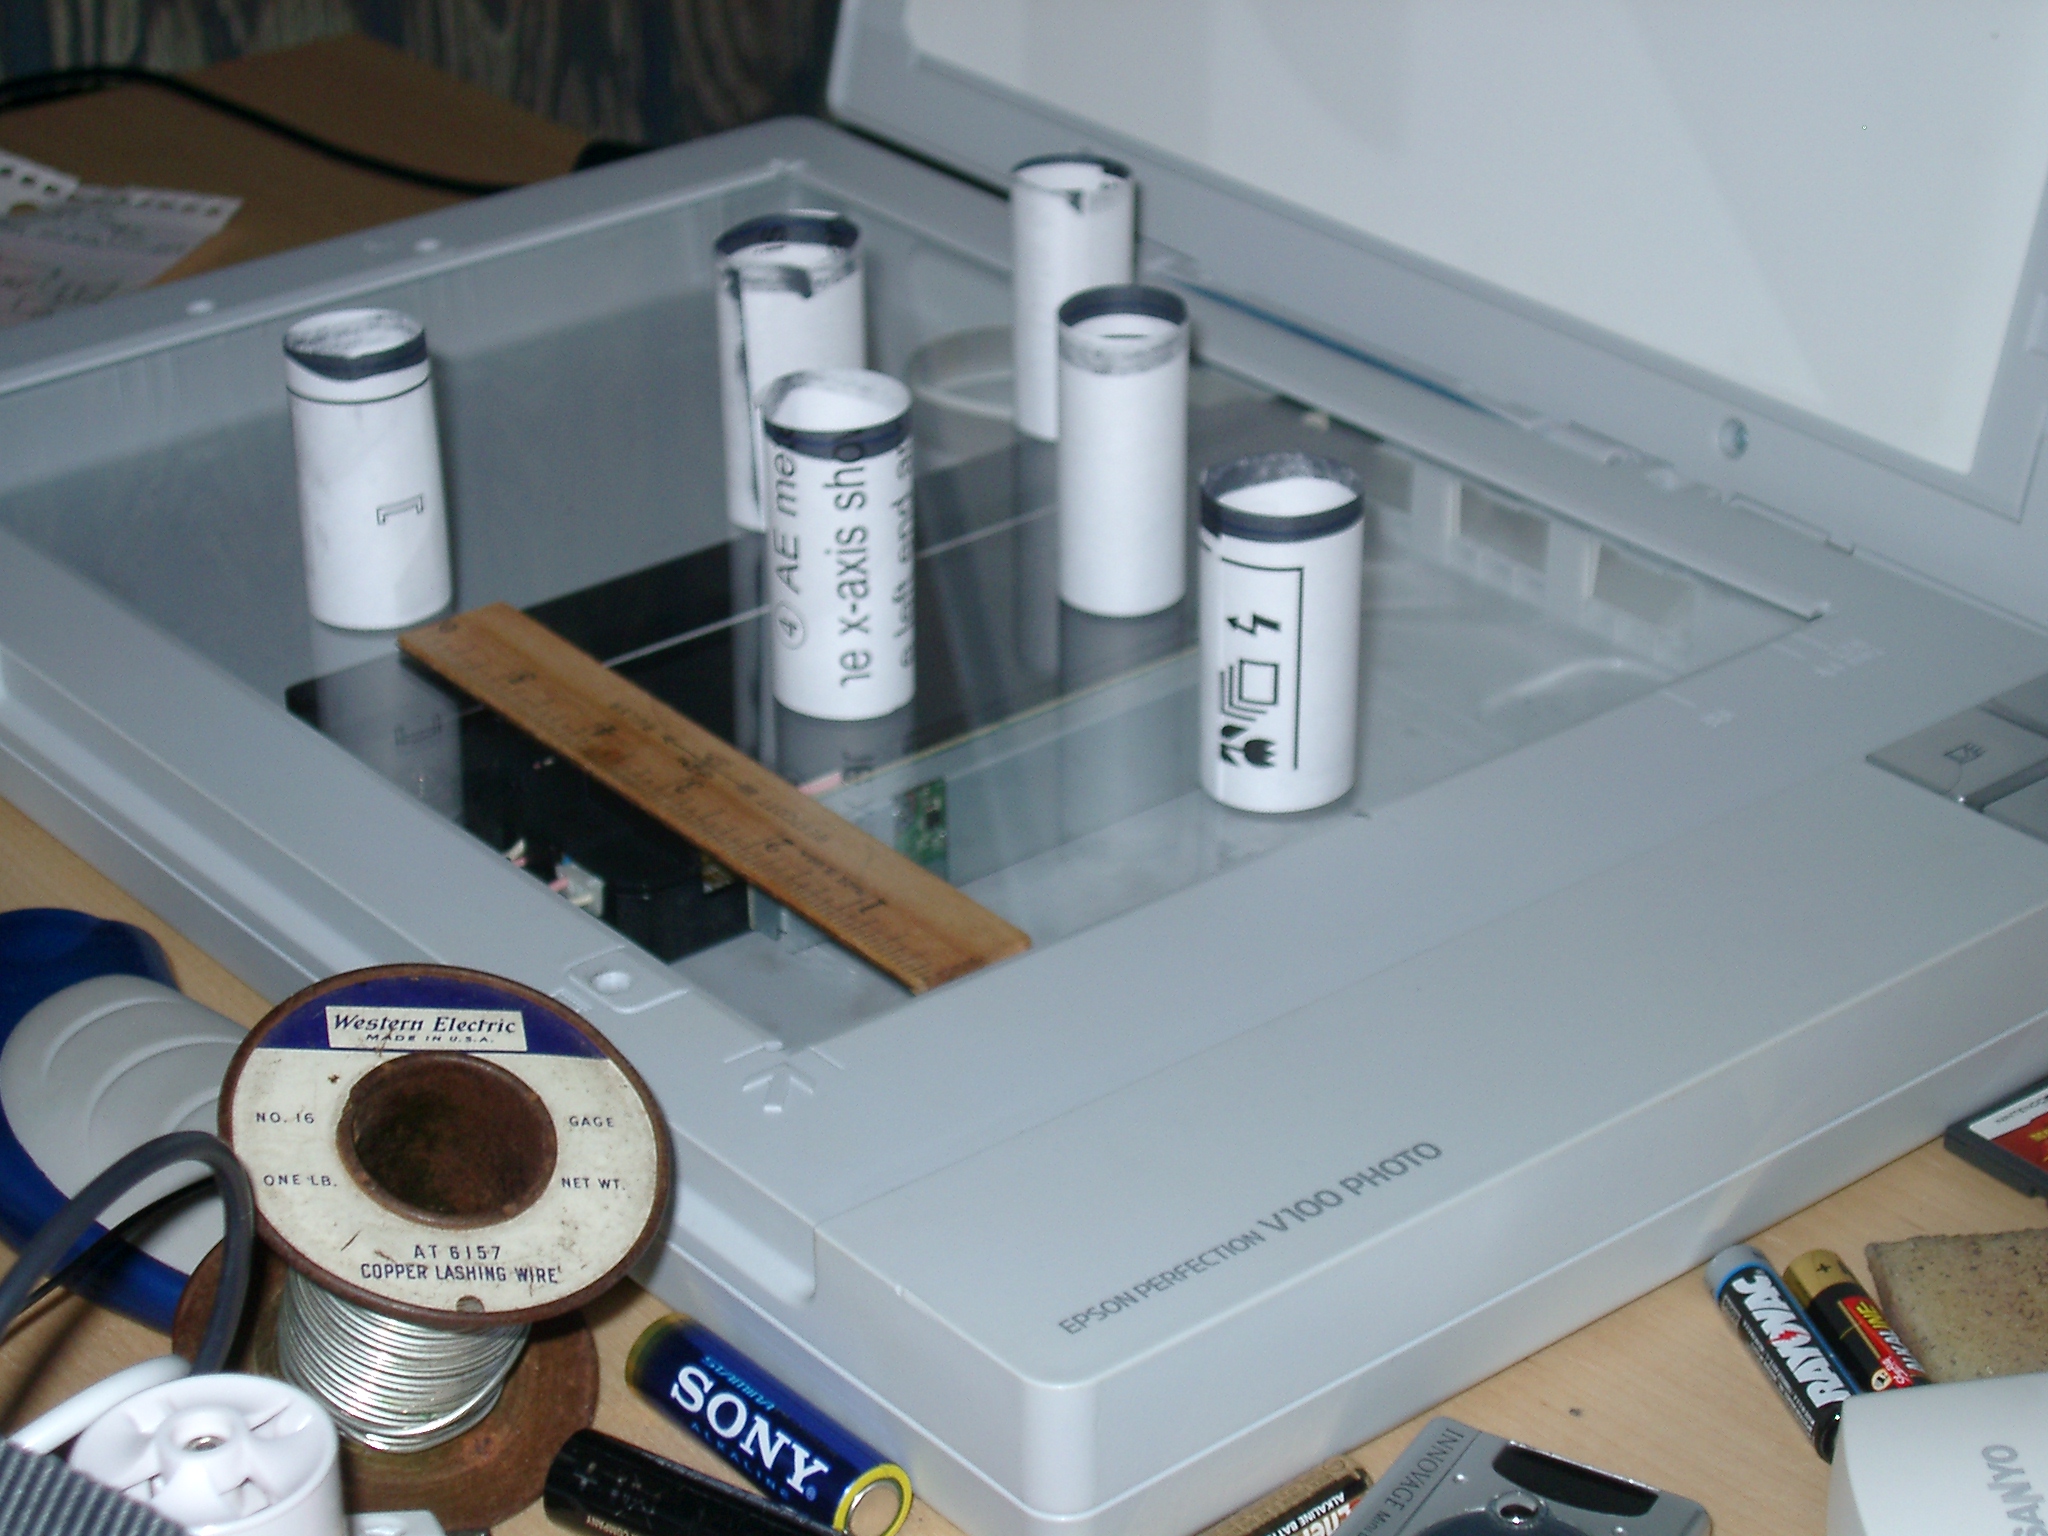
Every scanner is different, so it's important to do some basic checks to see how yours works.
One simple check finds the center of the scanner sensor array.
Usually this is a path about an inch or more wide running down the center line of the glass.
Use paper tubes as shown, or LEGO bricks.
Place them on the glass with the scanner lid up.
Run a preview scan.
Now see the next step.
One simple check finds the center of the scanner sensor array.
Usually this is a path about an inch or more wide running down the center line of the glass.
Use paper tubes as shown, or LEGO bricks.
Place them on the glass with the scanner lid up.
Run a preview scan.
Now see the next step.
Calibration and Tilt
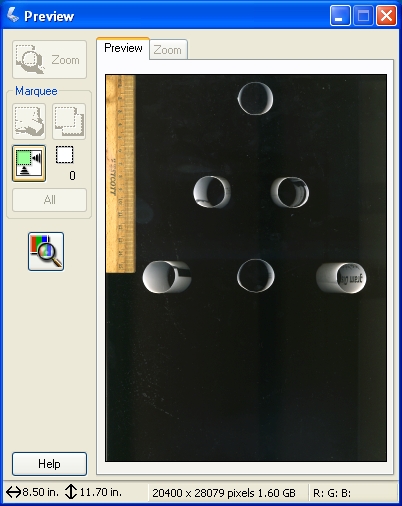
Look at the preview scan below.
The paper tubes on or near the center line show the best place to scan lumpy (3D) small objects.
The tubes further away all seem to lean in towards the center line. This is because the scanner sensor is mounted on the center line and uses mirrors and a lens to capture the entire width of the glass.
Note that there is no tilt up or down. Only sideways. Sort of like walking down the middle of a road and seeing the trees and buildings leaning in over you.
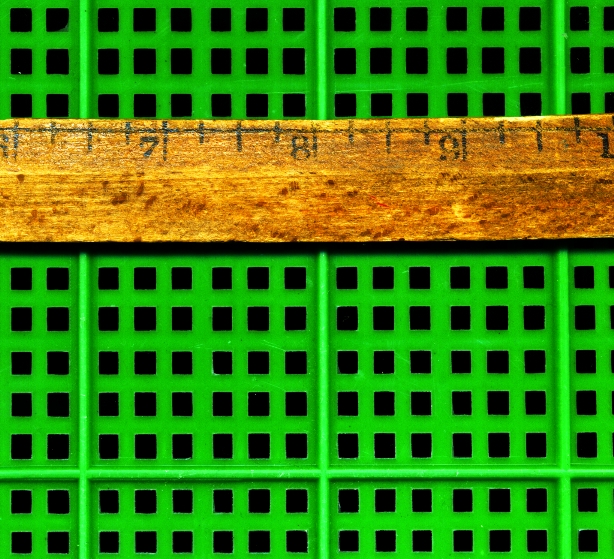
It also helps to place an accurate drafting ruler in different positions to check for accuracy.
How to Mount Lumpy Objects
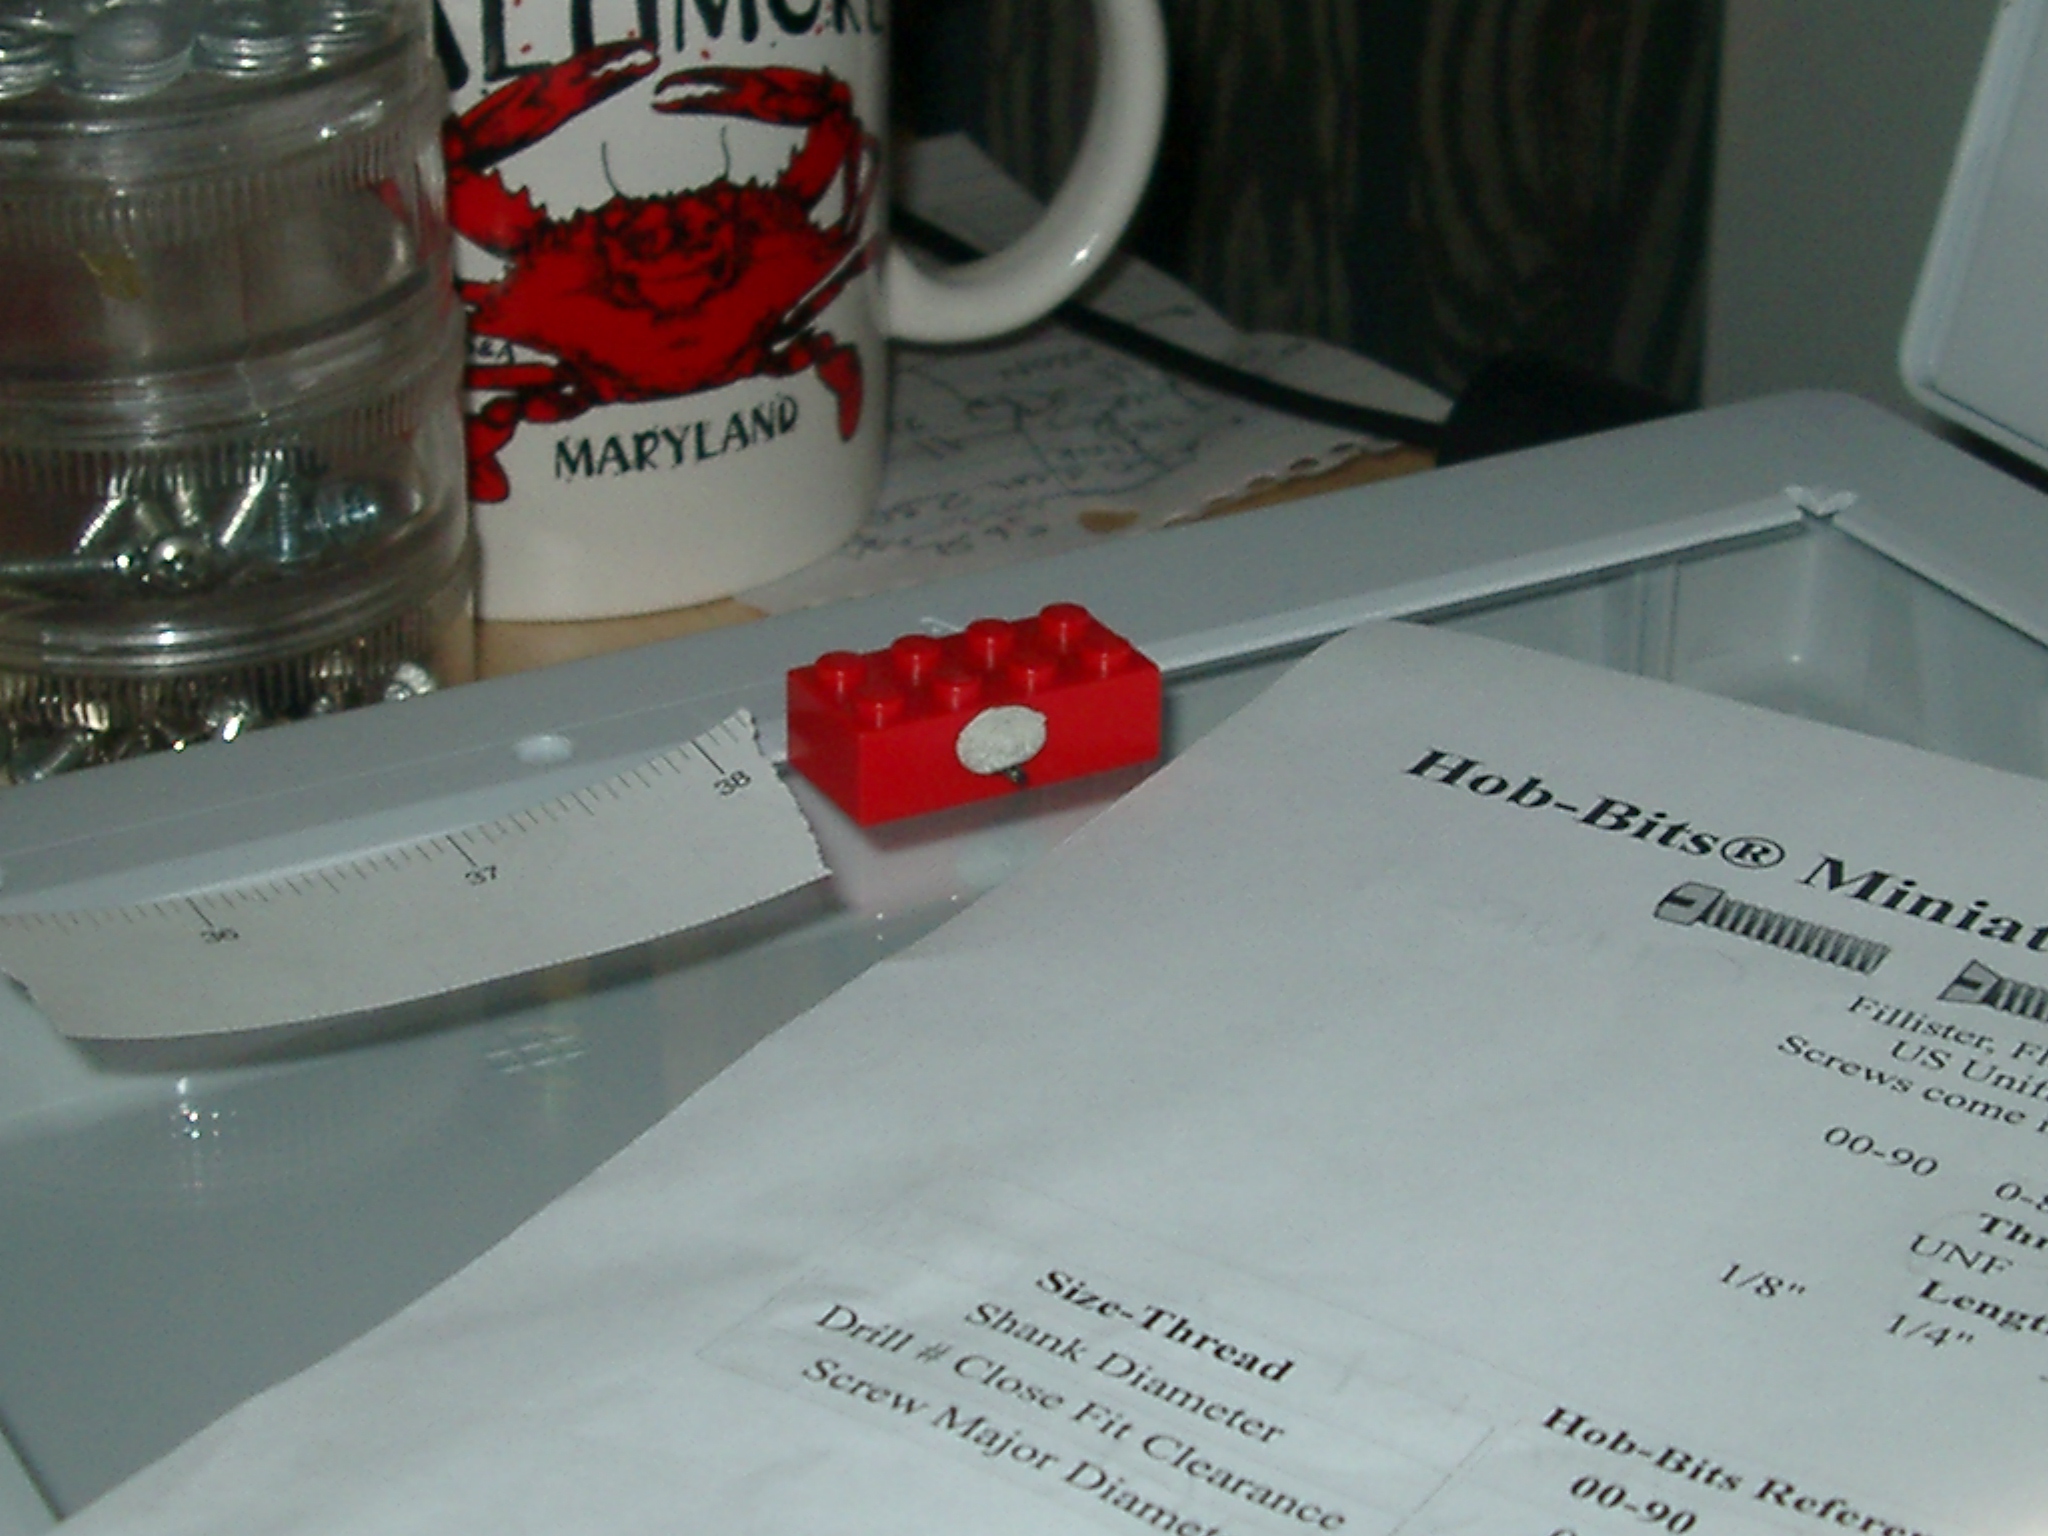
Flat objects can just be placed on the scanner glass.
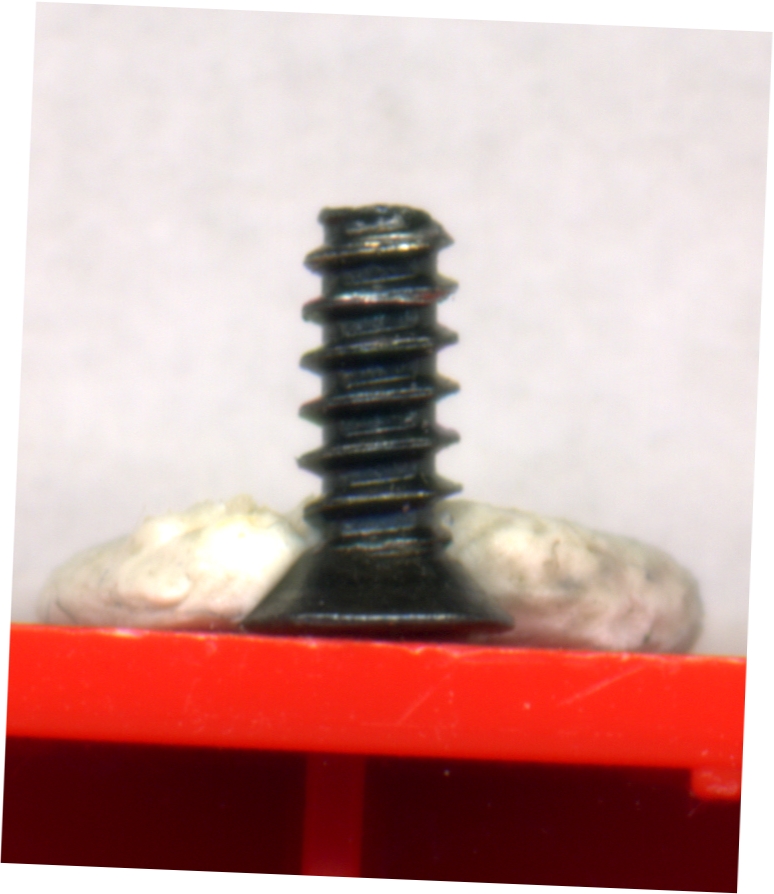
But a round or lumpy object like a small bolt or screw should be fixed in place.
I use a LEGO brick and some Blu-Tack poster mounting putty.
I place the LEGO brick on the center line of the glass at the bottom of the scanner glass.
This gives the best lighting angle with the fewest shadows.
You'll have to experiment because all scanners are different.
Cover With Paper and Scan
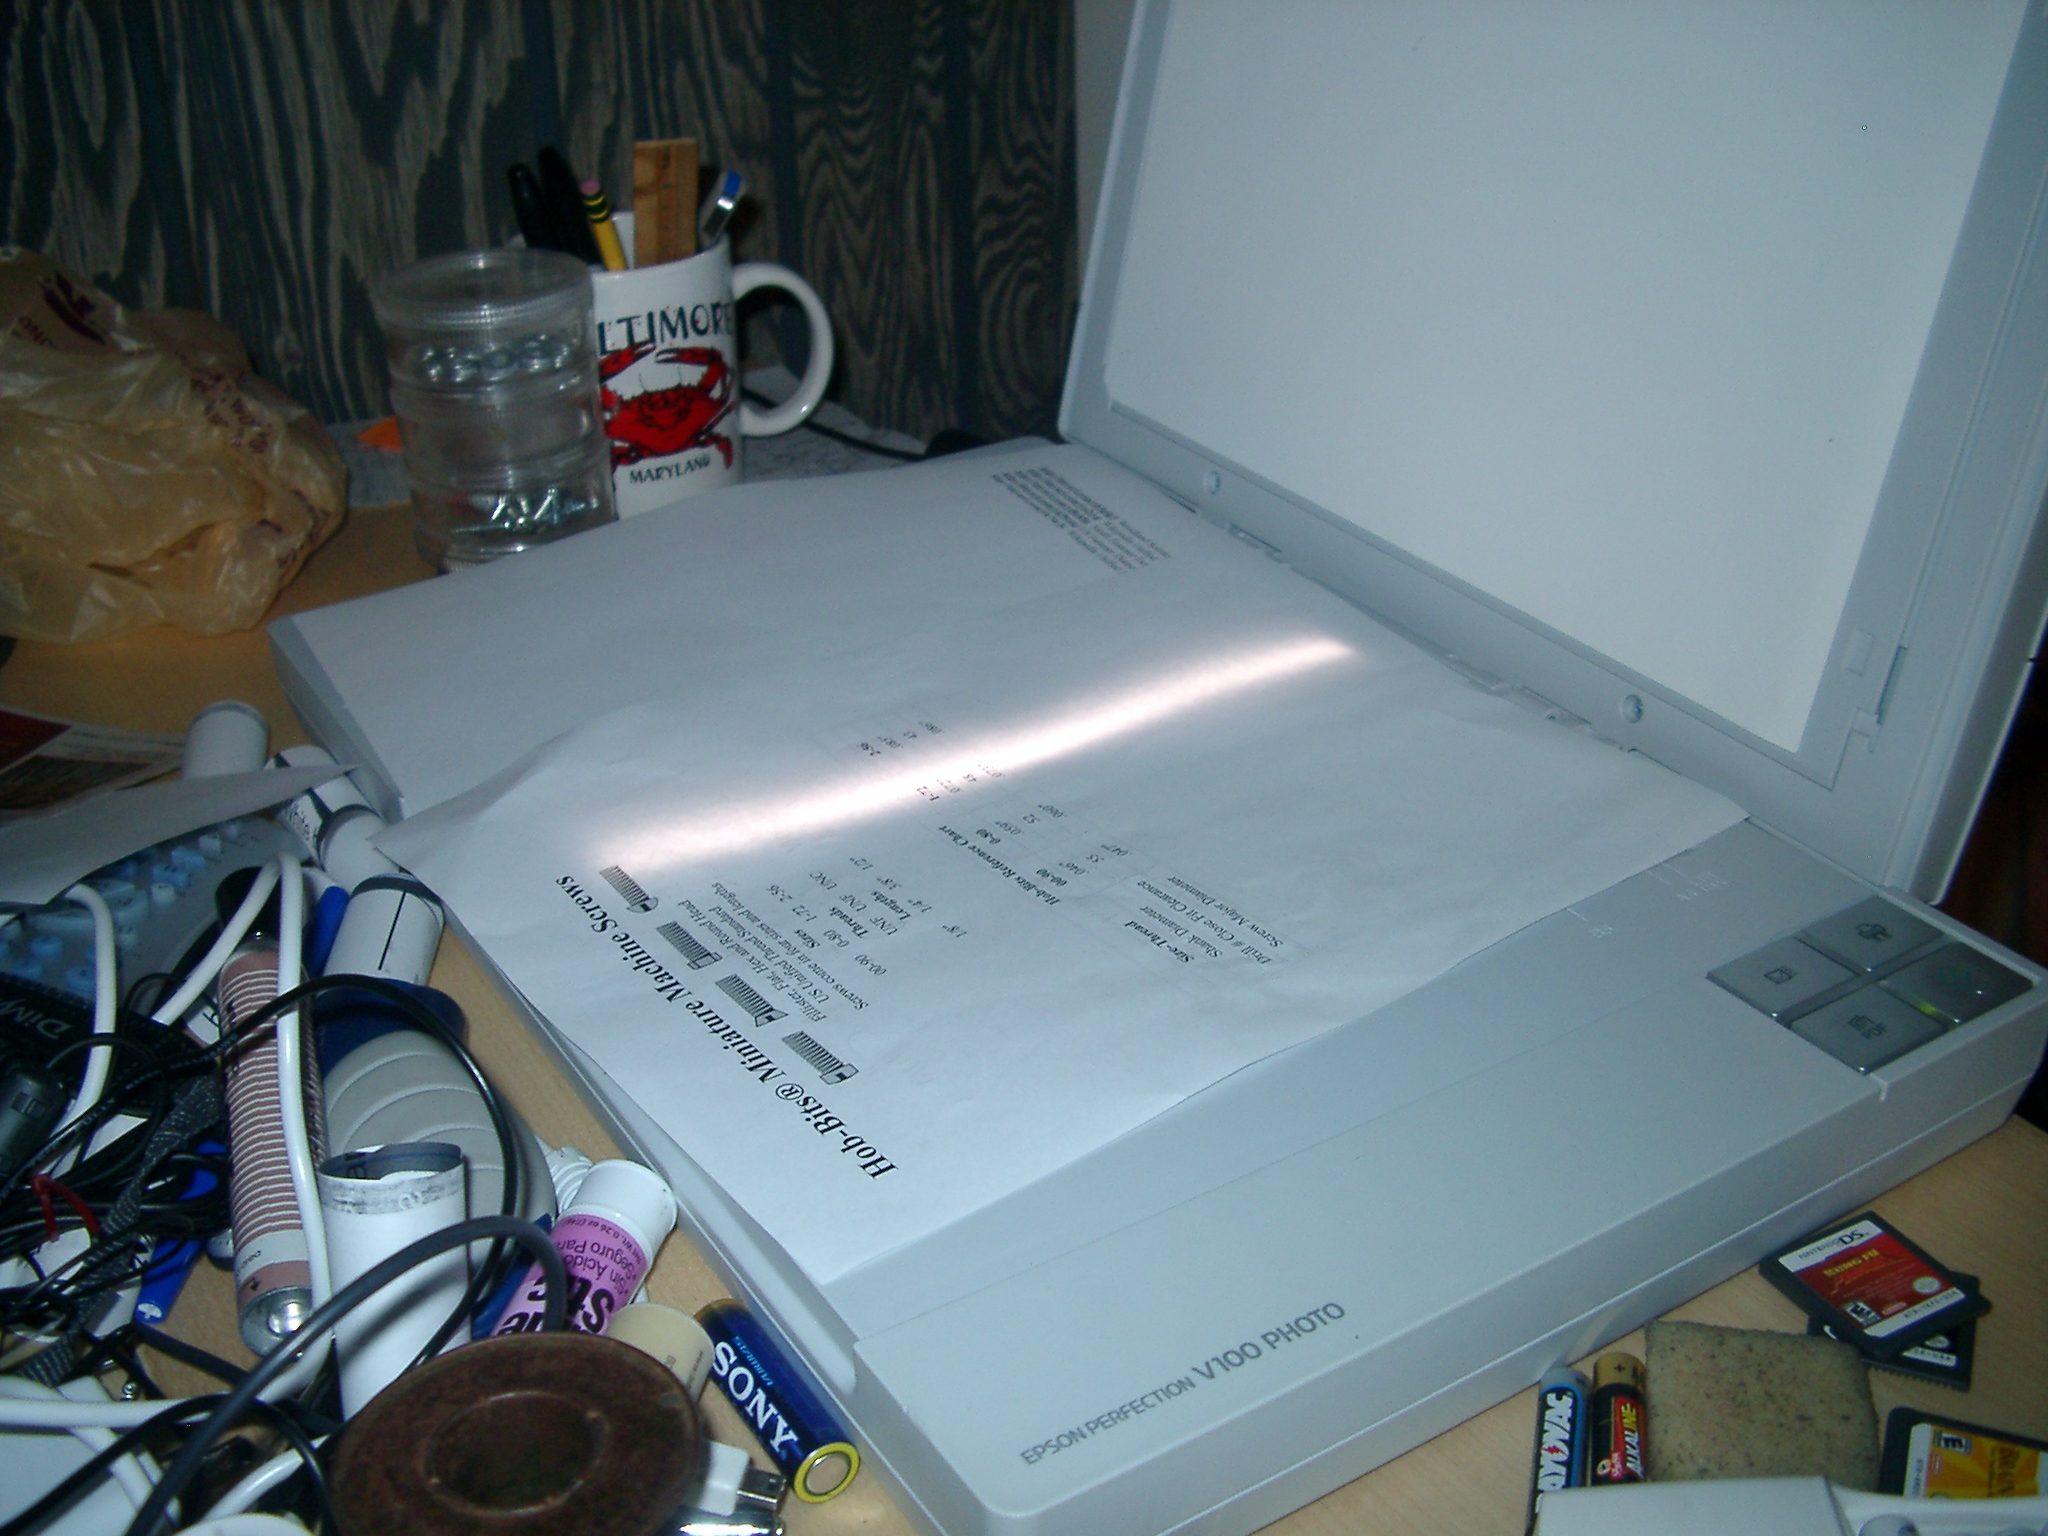
Use plain white paper over the glass as a backdrop.
You can try different colors depending on what you are scanning.
If you leave the lid open without any paper, you will get a deep black background which can be good for shiny parts.
You can try different colors depending on what you are scanning.
If you leave the lid open without any paper, you will get a deep black background which can be good for shiny parts.
Preview Scan
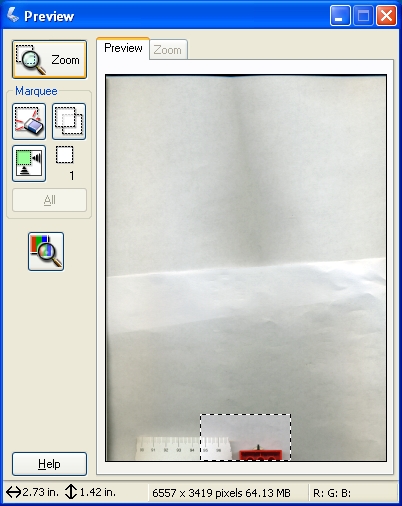
Set the scanner for photographs, color and 2,400 dots per inch.
After running a preview scan (see picture), choose a small region for the final scan.
After running a preview scan (see picture), choose a small region for the final scan.
Straighten the Image
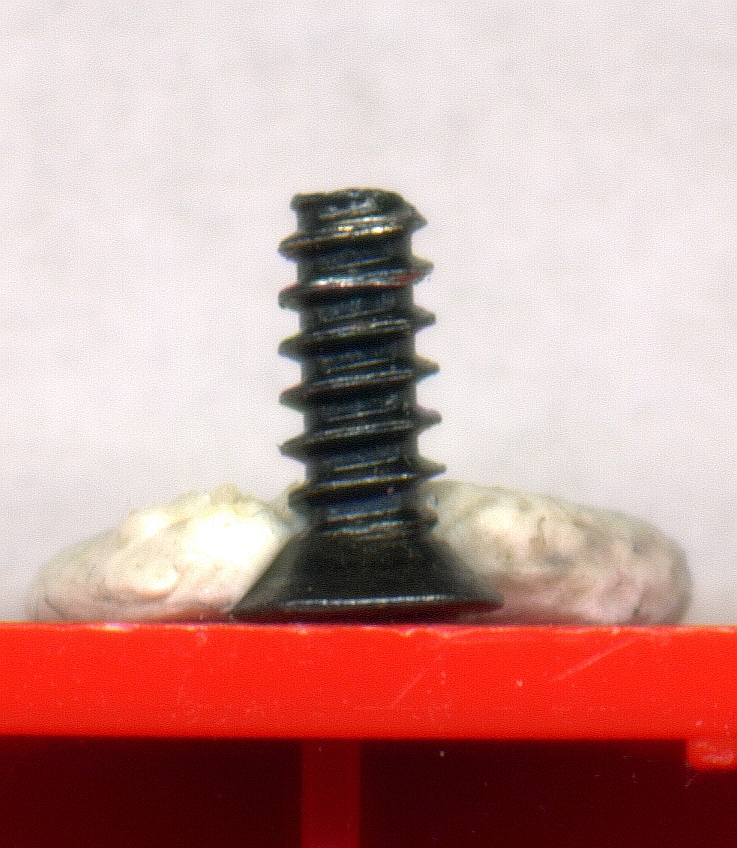
Use the rotation tool in your graphics program to straighten out the image.
Most of the time you will find you need to rotate the image 2 or 3 degrees to make the part look straight.
For IrfanView, press F12 to bring up the paint tools window. Choose the straighten tool, trace a line on the part which should be vertical. This rotates the image.
In the GIMP, drag a guideline or turn on the grid. Now use the Rotation tool to free rotate the image.
Measure the Part

Once the image is straight, you can begin measuring.
In IrfanView's paint menu, choose the measurement tool.
Hold down the Ctrl key to snap the measuring line to horizontal, vertical, or 45 degrees.
You can now write down the measurement results or paste them into a spreadsheet or text file.
In IrfanView's paint menu, choose the measurement tool.
Hold down the Ctrl key to snap the measuring line to horizontal, vertical, or 45 degrees.
You can now write down the measurement results or paste them into a spreadsheet or text file.
Notes and Resources
Notes
* HowStuffWorks How Scanners Work
* Wikipedia Desktop Scanner
Software
* IrfanView View Convert Measure
* The GIMP GNU Image Manipulation Program
* USA National Institutes of Health ImageJ Java Image Processing
* VistaMetrix Image Measurement Software
* Planimeter Measure Image Areas
* Screen Calipers On-screen Measurement Tool
* Ruler for Windows Pixel Ruler