DIY Corner Bookmarks
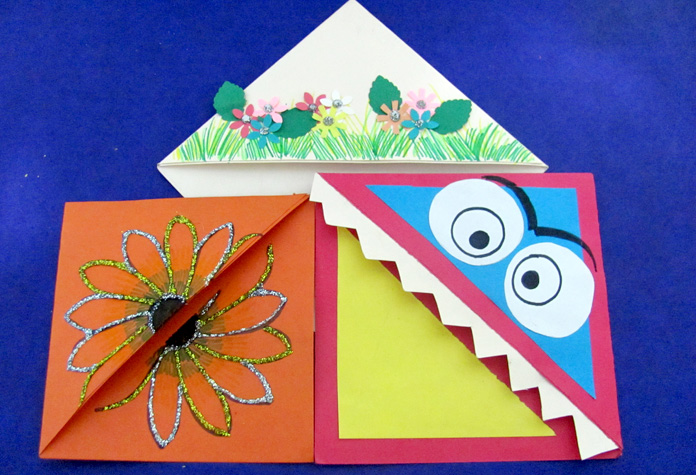
A bookmark isn't a plane page marker, it's an accessory. Hence, I decided to make my own bookmarks for the new book that I'm reading. The steps for making these cornered bookmarks are very easy. These bookmarks add a fun element to your book's persona.
Here are the essentials you'll need:
1. Colored paper
2. Scissors
3. Glue
4. Sketch pens
You can look for more bookmark tutorials on the online toys shopping store - Yellow Giraffe.
Here are the essentials you'll need:
1. Colored paper
2. Scissors
3. Glue
4. Sketch pens
You can look for more bookmark tutorials on the online toys shopping store - Yellow Giraffe.
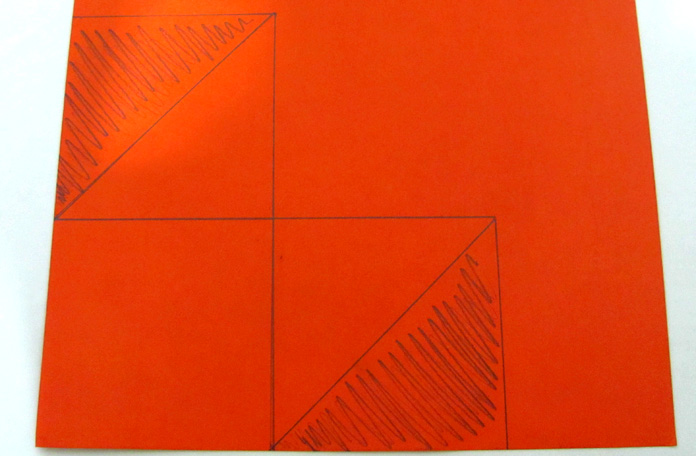
Select a colored sheet, you wish to make the bookmark from. Draw a template like this. Each square is 10cm long.
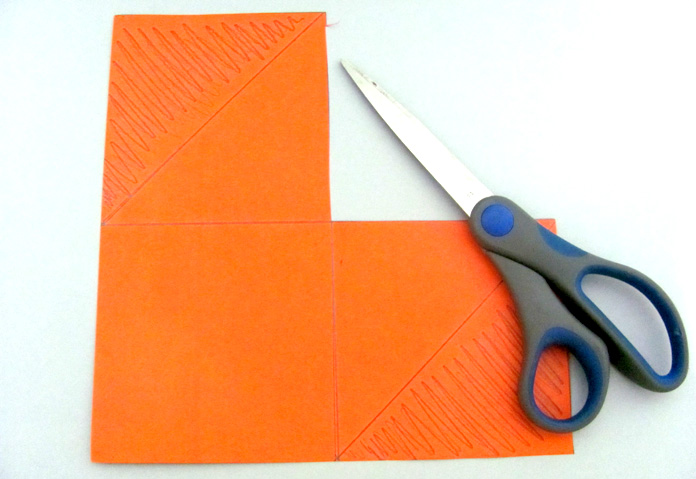
After drawing the template, cut out the shaded triangles. This will give you a paper cut-out, like the one below.
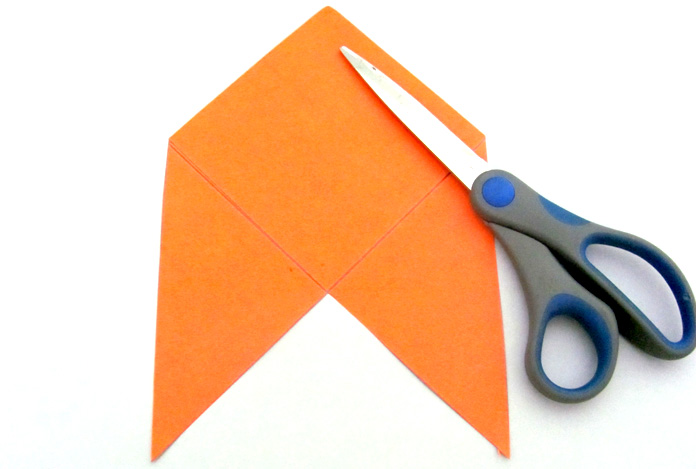
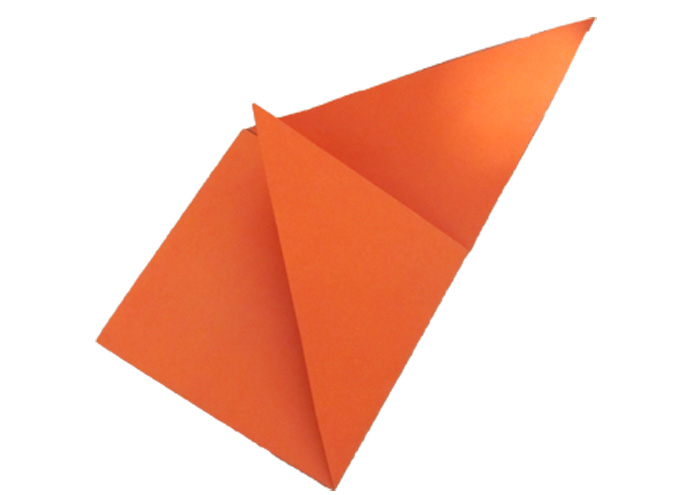
Fold the 2 small triangles with the guide of the lines. Paste them one over the other to make a pocket. You are done! A corner bookmark is ready.
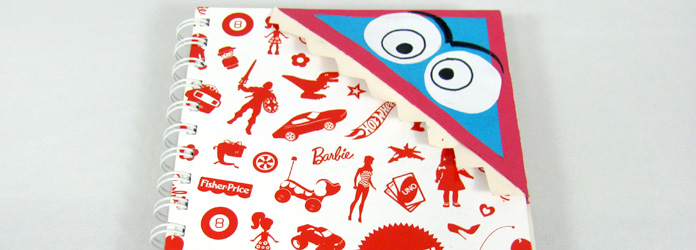
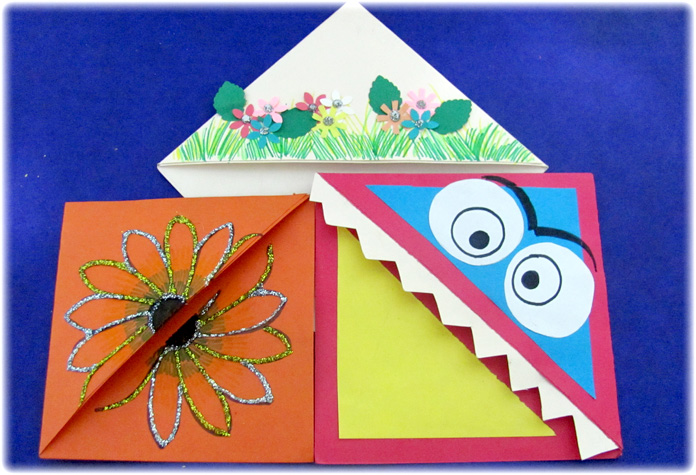
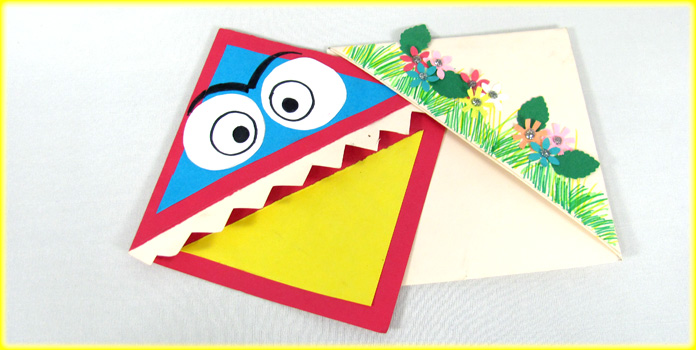
Now that we figured out how to go by making the basics of bookmarks, you can add a punch of colors by using different colors to make the bookmarks or even make graphical eyes and sketches on them.