DIY Composition Book Cover
by quinnsullivan in Craft > Books & Journals
7467 Views, 23 Favorites, 0 Comments
DIY Composition Book Cover
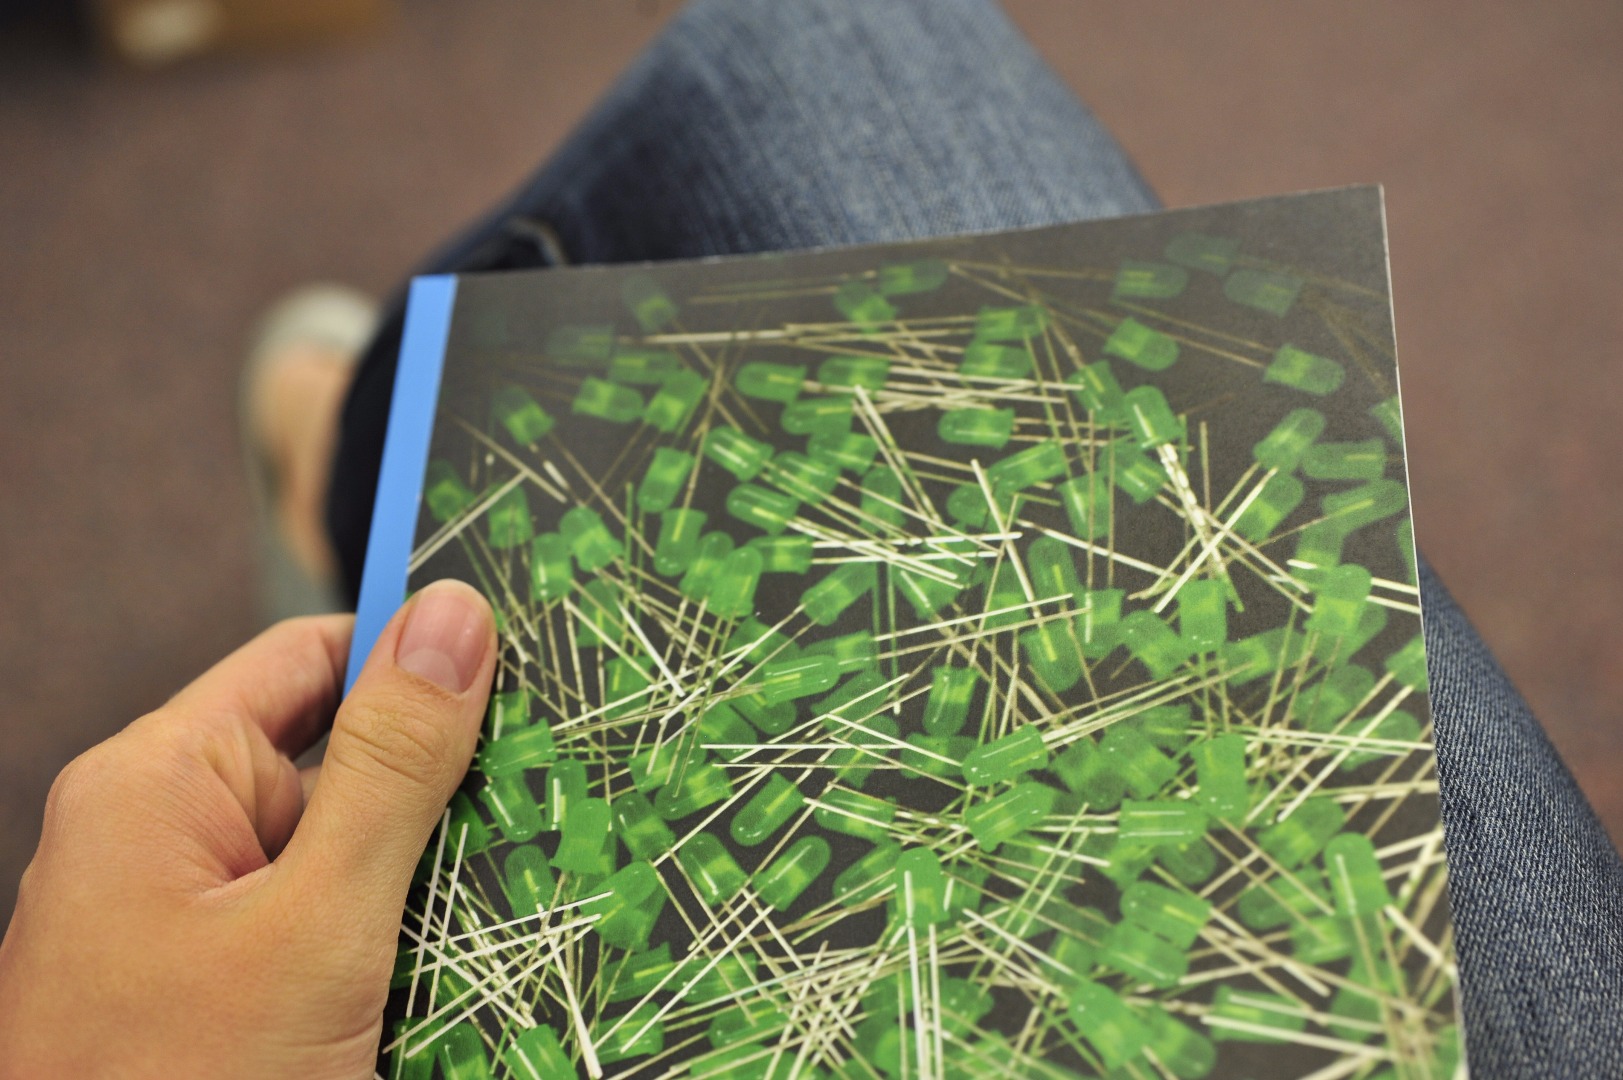
Have you ever shopped for new school supplies and left empty handed because nothing quite fits your personal style? This school year we aim to help inspire those of you seeking creative outlets and end your feelings of helplessness amidst the unoriginal realm of everyday school supplies. So go ahead and put down that sad kitten notebook and grab that forgotten one collecting dust on your bookshelf. Using our DIY composition notebook cover instructable we will help inspire your creativity while you create your very own composition notebook, envied by friends and foes alike.
Obtain a New Composition Book
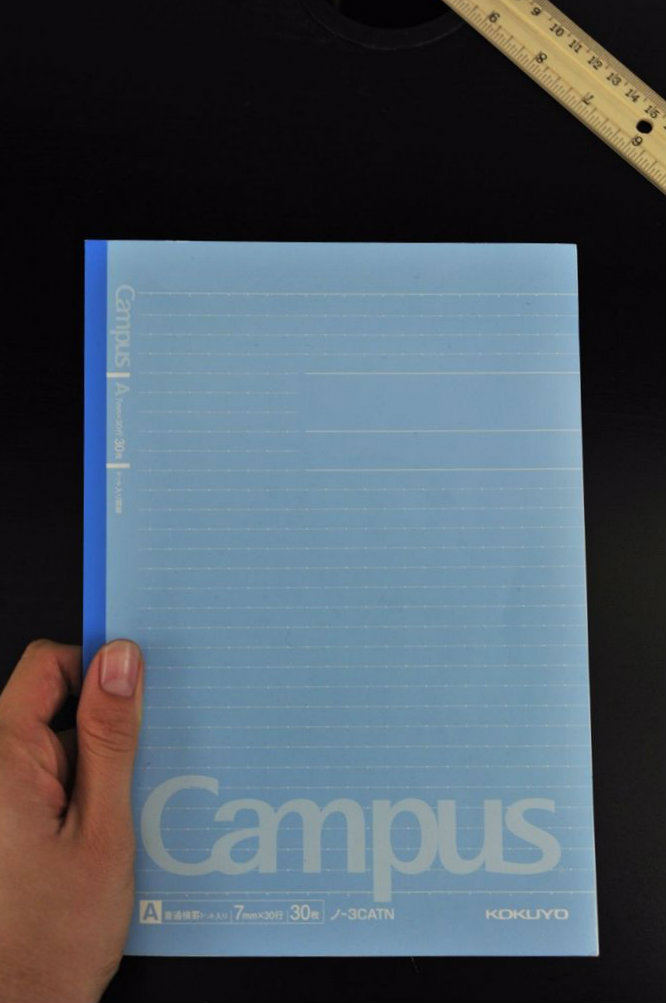
The first and most important step of creating a personalized composition book is finding one you can customize. This may require a trip to the store, but not to worry my fellow makers, any style of composition book will suffice.
If you have any old books that were never used, say for instance an old book passed down by a sibling or cousin, this will work great! Remember now, we are remodeling and revamping so that unwanted book might just be the perfect fit while following this instructable.
Measure Your Book's Dimensions
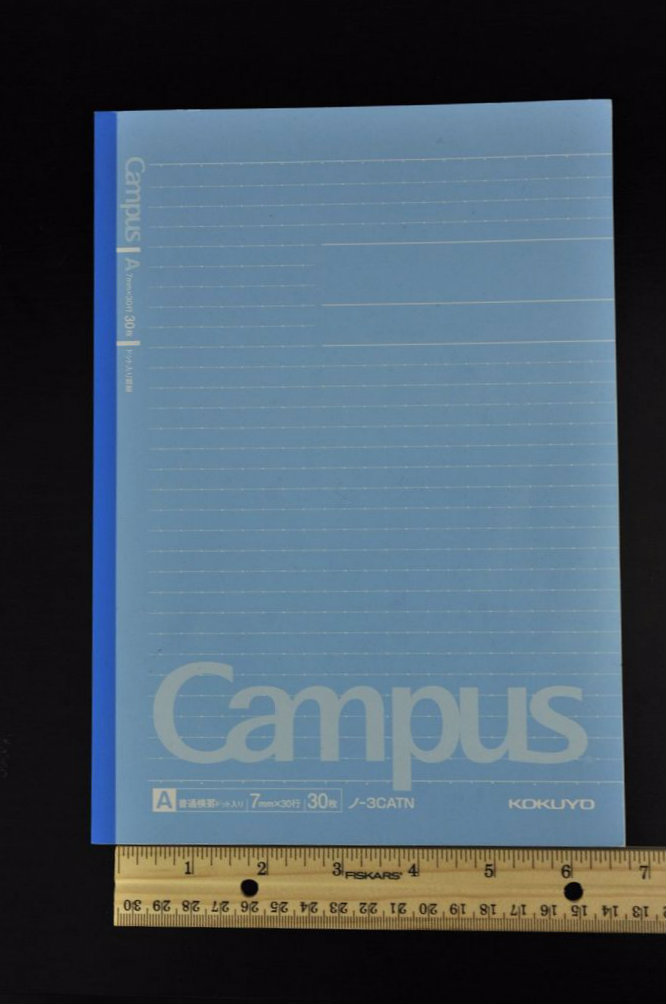
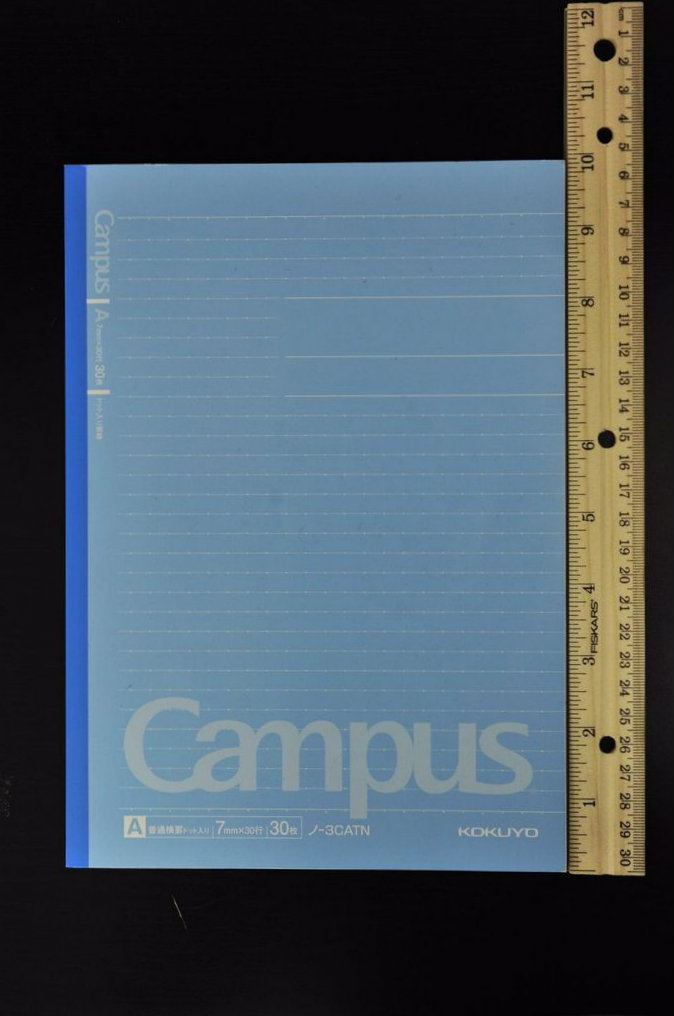
While many books may have the size dimensions printed on the cover, others (like the book we found) may be unreadable or hard to understand. Taking a ruler and starting at the binding, you will want to line up your ruler perfectly horizontal to your composition book. Measuring out from your binding will produce a better quality finished product and your cover will resist bending during use.
After carefully measuring your composition book's width, you will need to turn your ruler 90 degrees and measure vertically along the current cover. In this stage you will measure from top to bottom, making sure again that your ruler is straight to ensure the most accurate measurements possible.
One trick we suggest for gathering the most accurate measurements is lining your ruler up with the bottom and right side of your book. Your pages should be very straight and will help guide your measurements for accuracy.
Choose a Cover Image
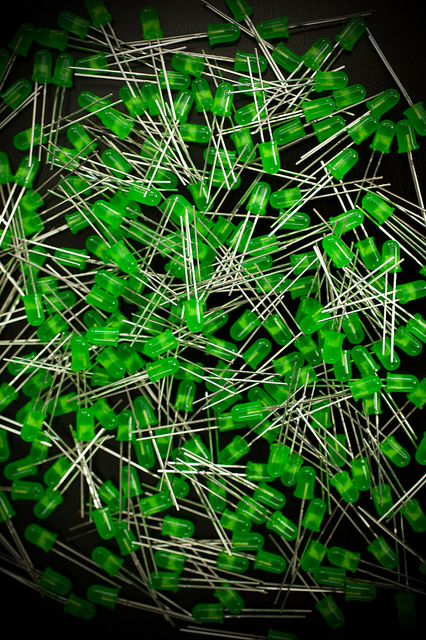
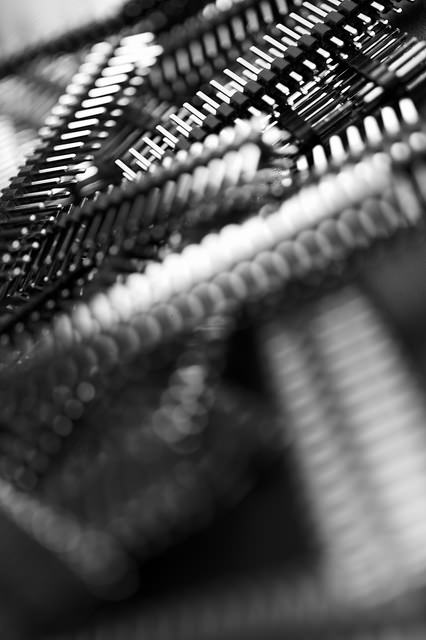

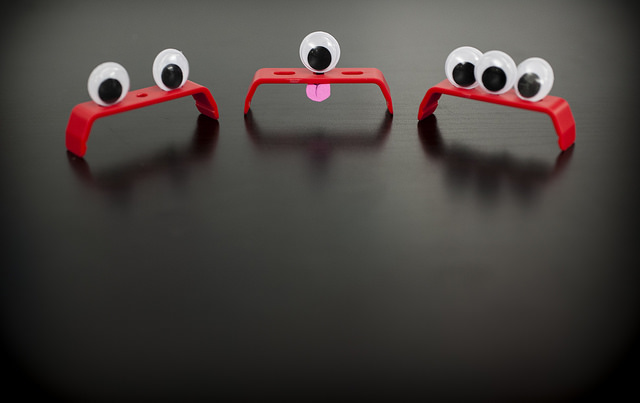
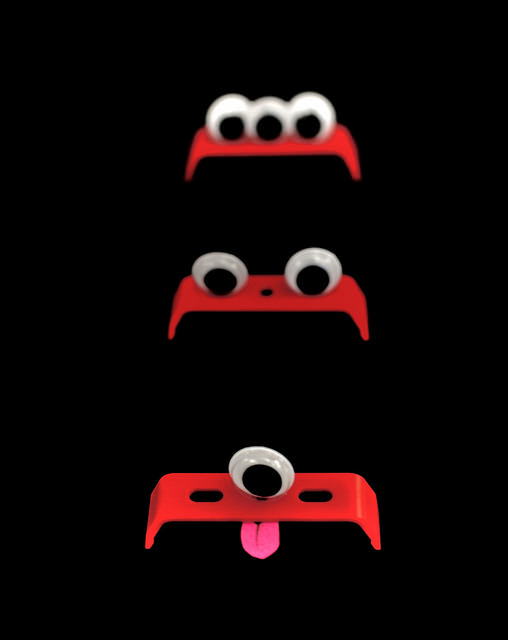
With this tutorial we are providing some example images you may want to use in the creation of your personalized composition book. You are welcome to choose one of the provided photos OR you can take your own. If you are having trouble downloading the provided photos, you can also find them here: https://flic.kr/s/aHskiBVBn7.
If taking your own photos, you may want to pay attention to composition and contrast. As a general rule, abstract images or content that is humorous will more closely imitate the composition books sold in stores. However, this instructable was written to help you express your personality and interests, so take/choose photos that you find interesting and appealing. Whichever style or subject you choose, you are the overall judge and you will be the most important person to please.
Print Your Cover Photo
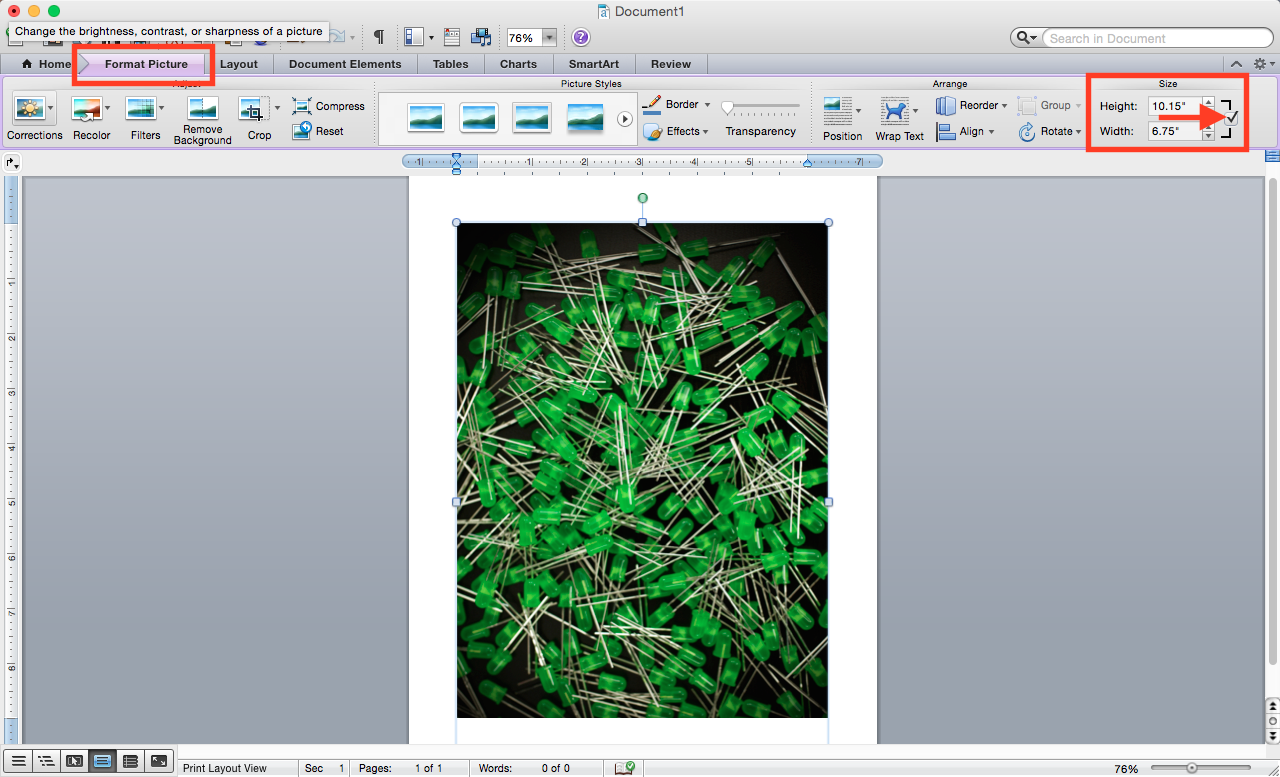
After choosing or taking your own photo, you will need to size and print your image to fit the measurements you gathered in Step 2.
When sizing your image, you can copy and paste the file into whatever application you feel most comfortable using. To simplify our process, I inserted my chosen image into a vertically oriented Word document. This option can be found by clicking File -> Page Setup, and then clicking on the standing human picture.
Before dragging your image into Word, check that it is saved as a JPEG or similar image file type. This will make your file easier to drag and drop into your Word document.
By double clicking on your inserted image, you can find the Format Picture tab at the top (highlighted in red in our picture) to edit dimensions. Remember to click the box underneath the size tab, as this will constrain proportions or keep your image dimensions from changing. Keeping the same image dimensions is extremely important! Without checking this box you may end up with a warped image, which is not desirable.
To print a resized image, edit the width's numerical value to match the size (in inches) of your composition book. This is the most important measurement to adjust when looking at a vertical picture because the smallest side should match your composition book cover. Matching or exceeding your previously gathered measurements (Step 2) when printing will ensure that your image will fill the entire cover and prevent you from reprinting multiple times.
Once you have double checked your image dimensions on Word, and confirmed that they match or exceed your book measurements from Step 2, you can print the desired image.
Attach Photo to Book Cover
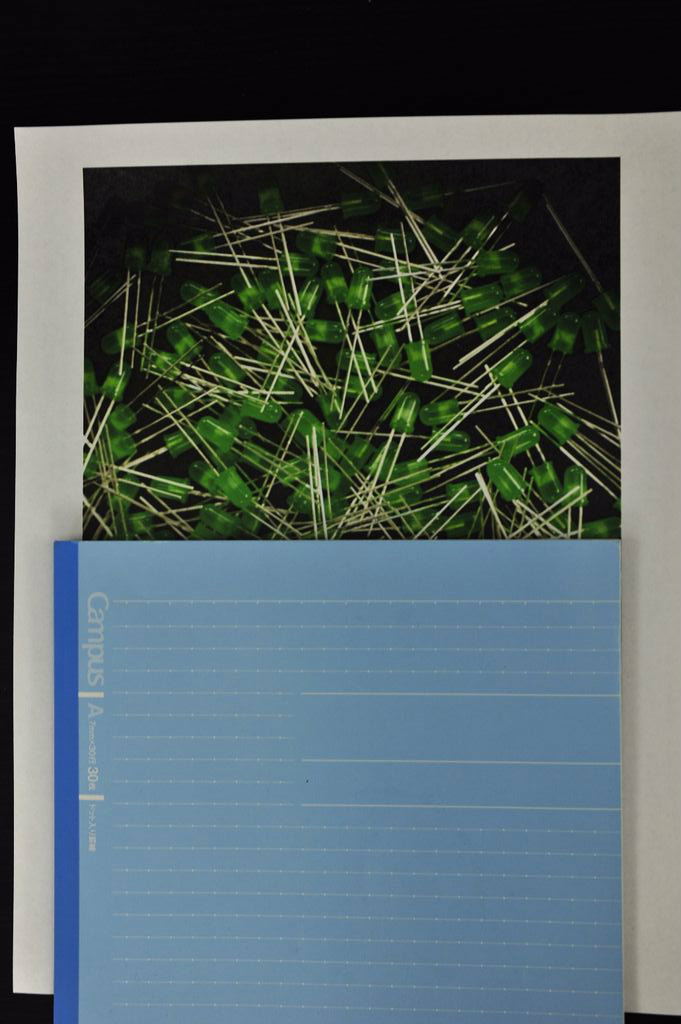
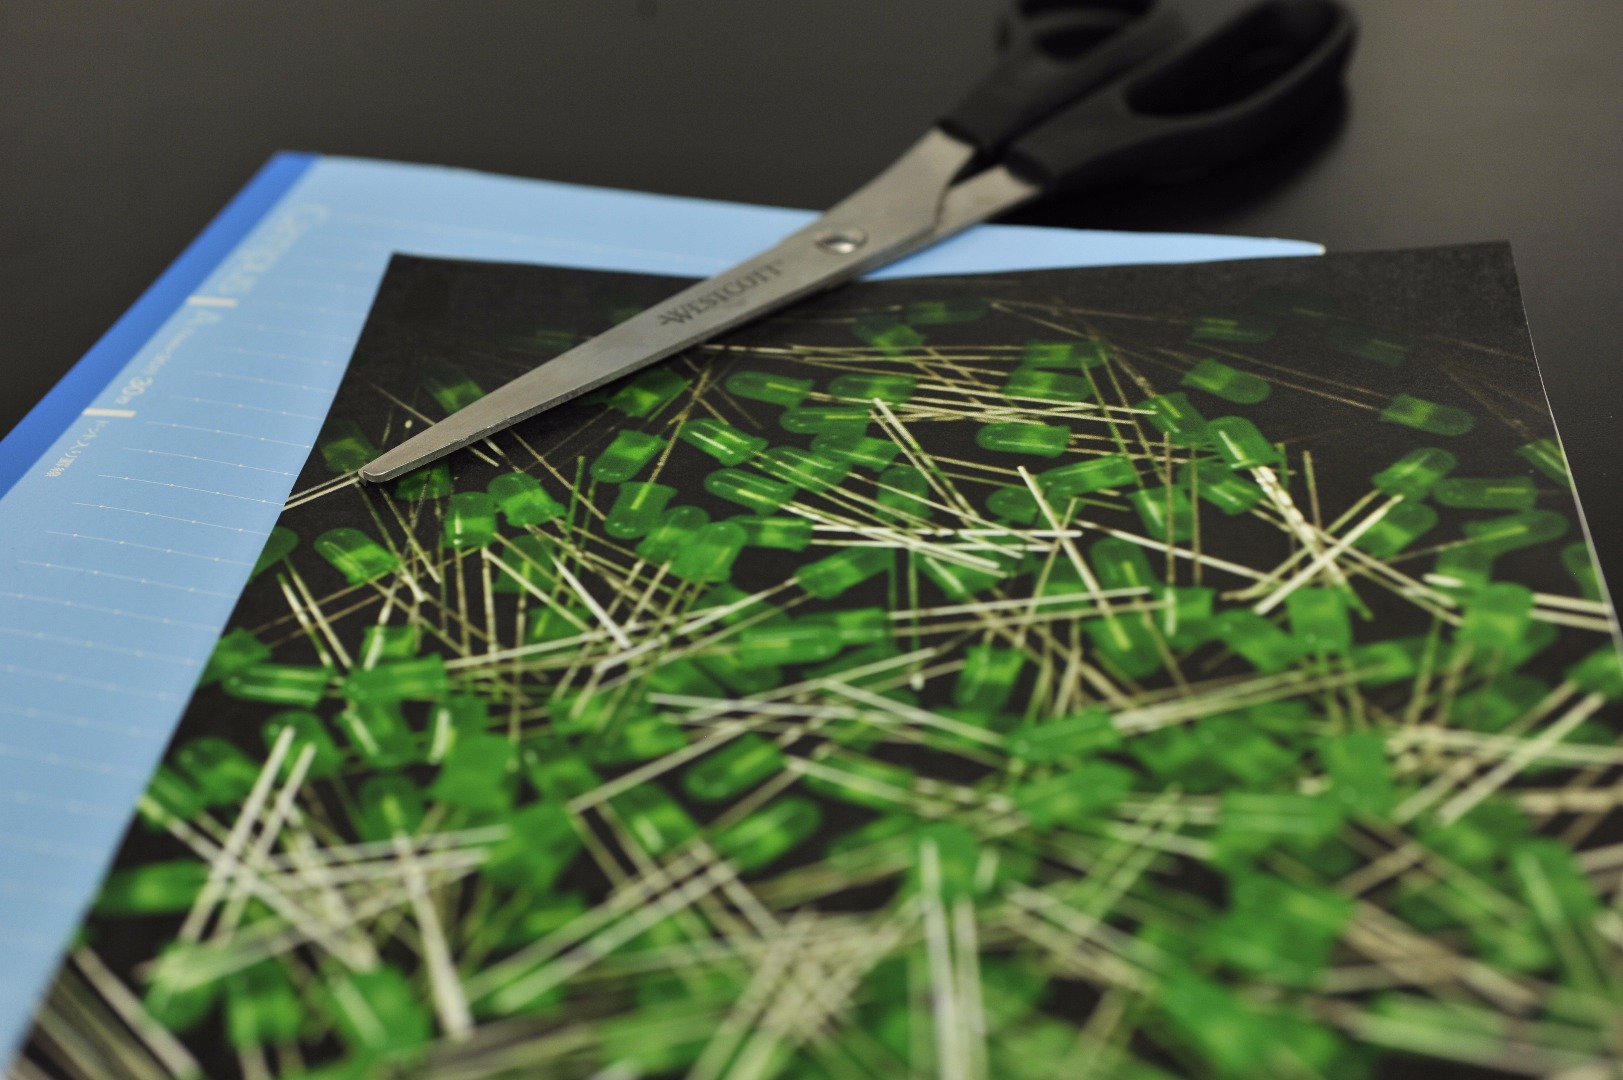
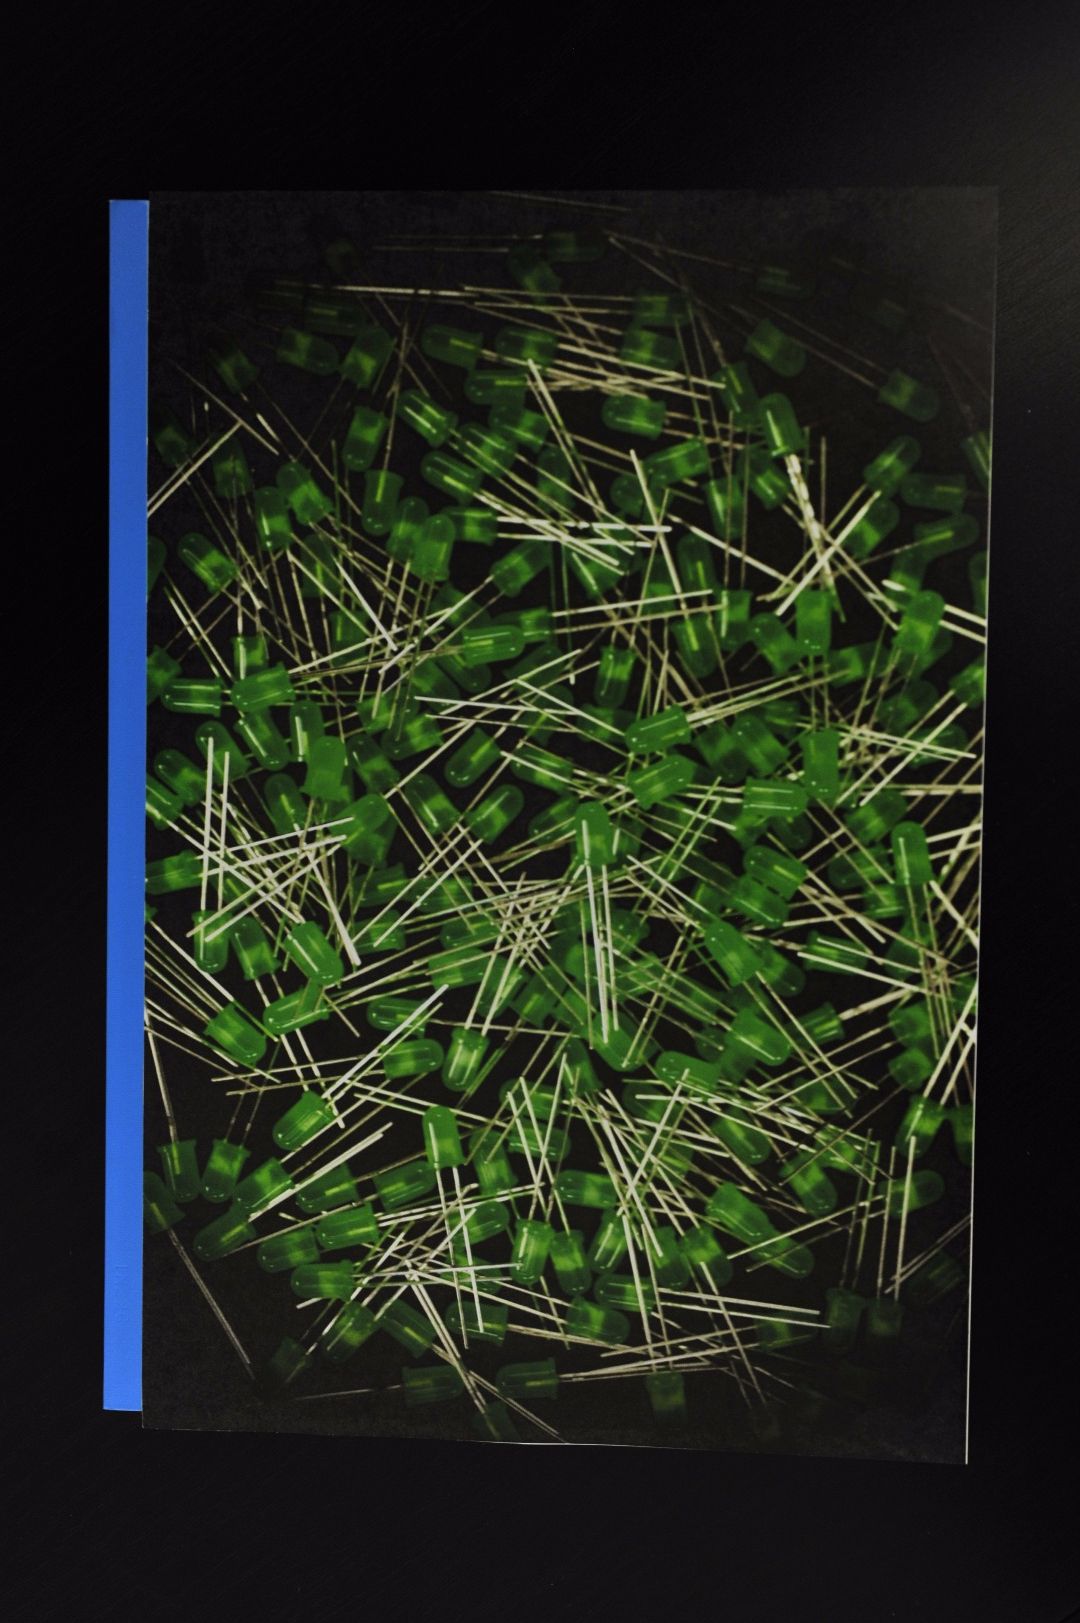
Now comes the easiest and most rewarding part of this process: attaching your freshly printed cover image to your composition book. After printing your image you will want to trim off the excess, unprinted border to avoid mistakes further on down the road.
Placing your printed image on a flat surface, apply glue to the entire back of your image and carefully align your composition book. While setting your book on top of the glued image you should press down firmly to make sure the image sticks securely. Choosing a strong glue that works well with paper will help reduce wear and tear around the edges. If you have spray adhesive accessible, this tends to work quite well and will expedite the process.
Tidy Edges and Repeat!
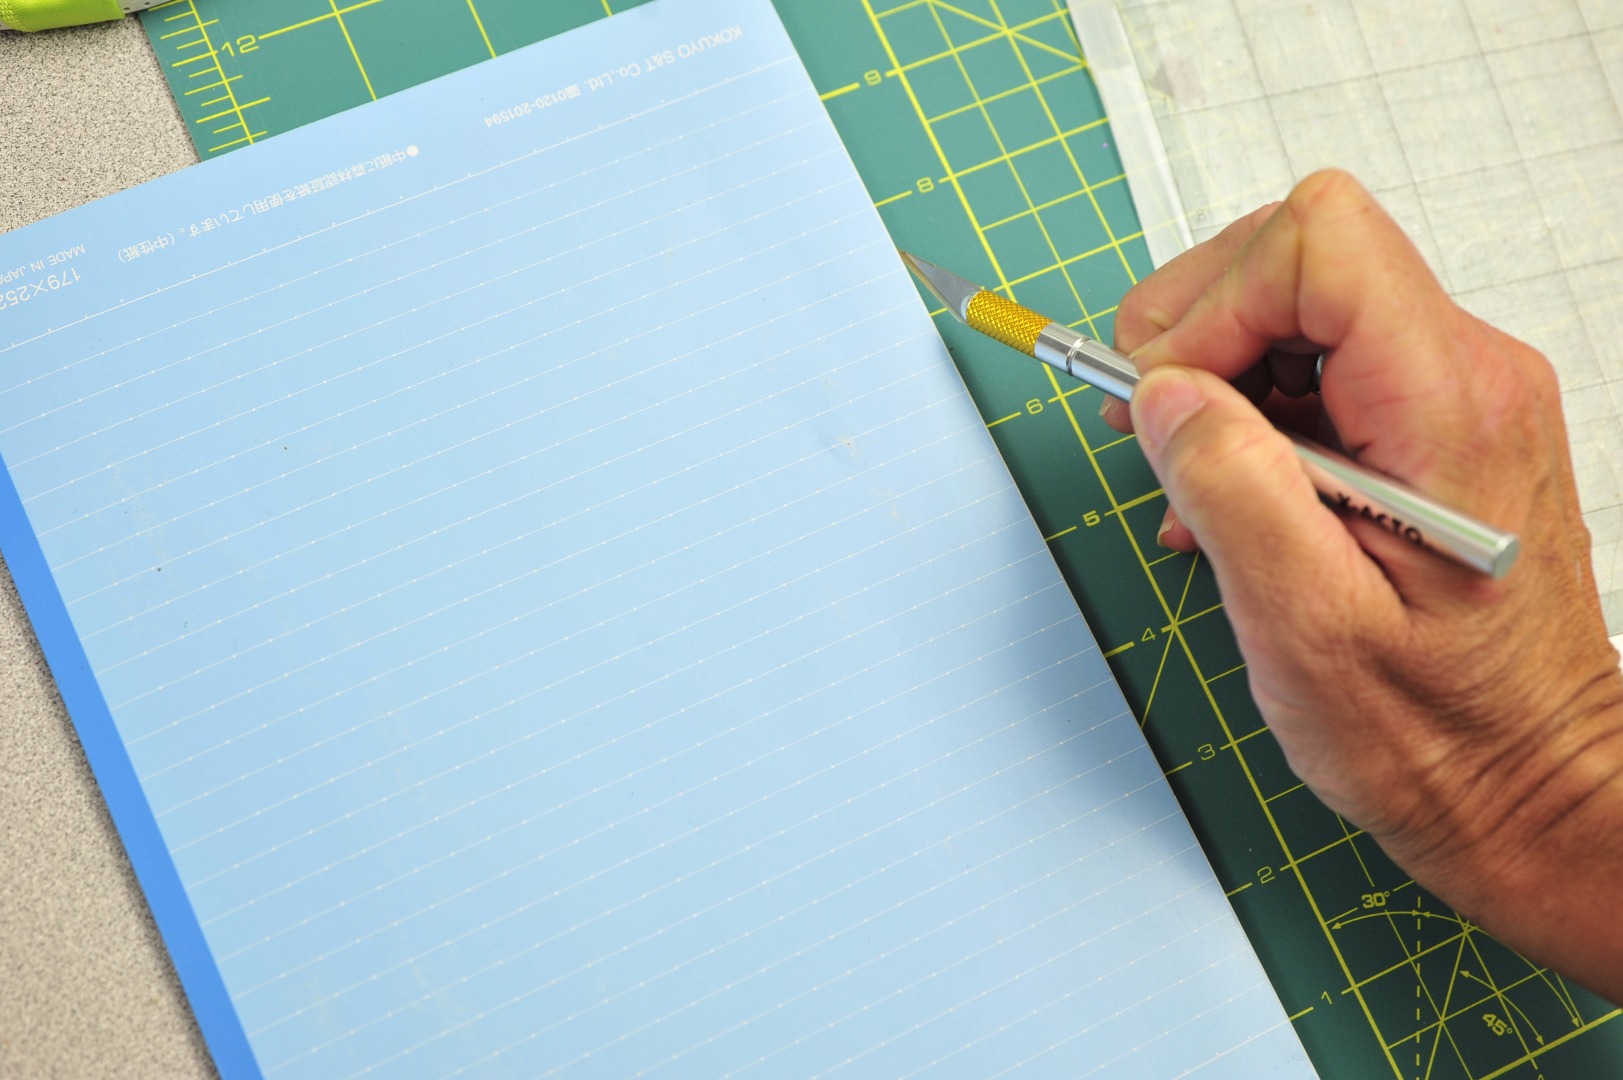
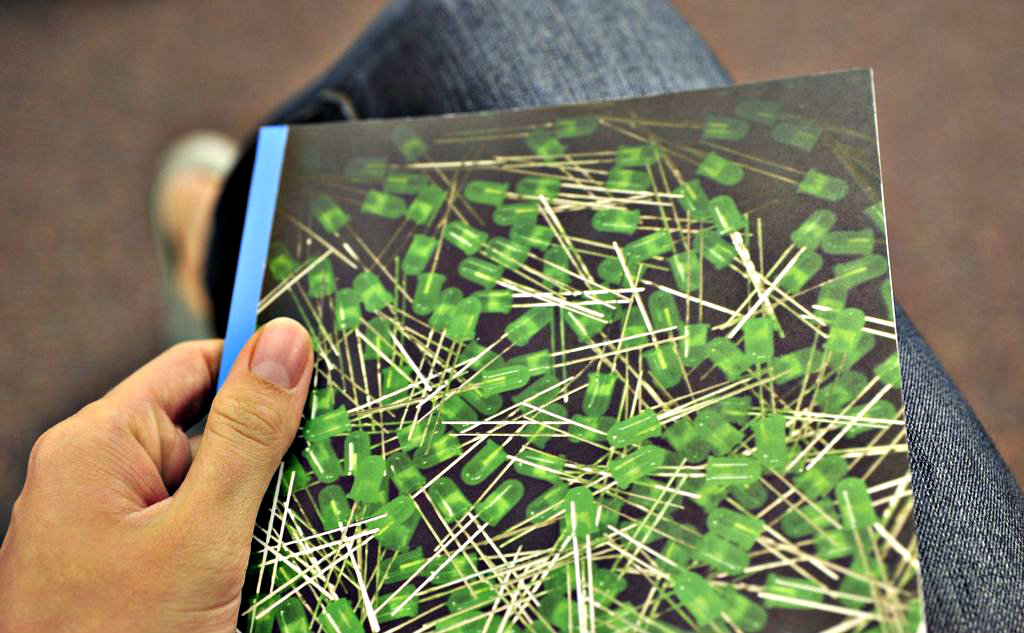
When your image is fully attached to the cover of your composition book you can use an exacto knife to tidy up the edges. With your book facing down on a table you can cut around the pages to get a neat and tidy edge. At this point you can repeat steps 4 through 6 or start new with a different image to cover the back of your composition book.
While sad kitten school supplies have their audience, we hope this instructable helped inspire creativity and prevent further unoriginal school supplies overload. In the meantime, stay tuned and follow our link (Step 3) for more book covers coming soon!