DIY Clay Mask: a Step-by-Step Guide to Creating a Unique, Handcrafted Mask
330 Views, 0 Favorites, 0 Comments
DIY Clay Mask: a Step-by-Step Guide to Creating a Unique, Handcrafted Mask
.jpg)
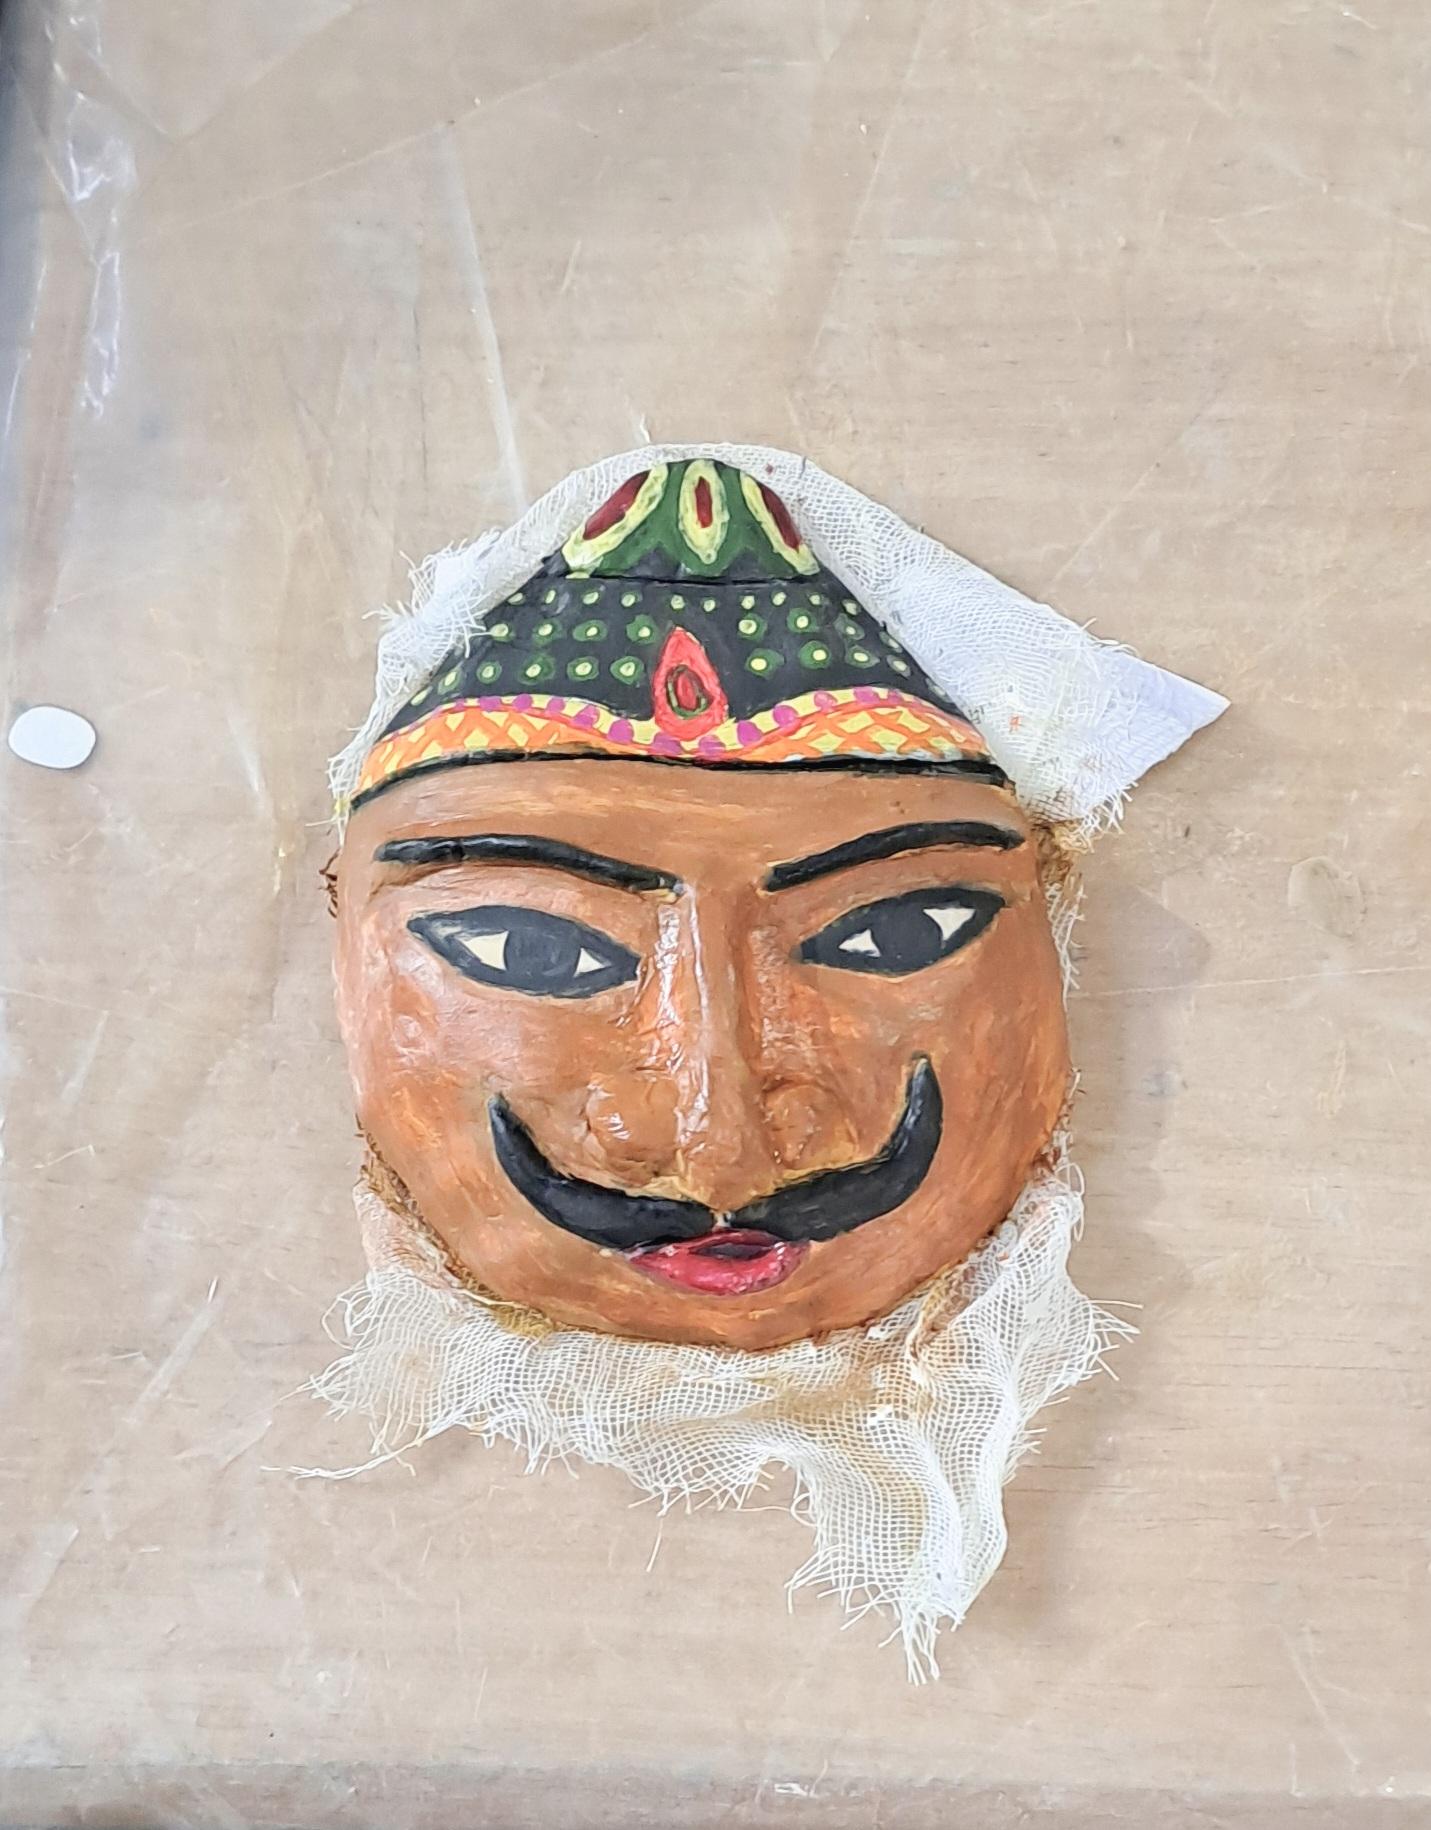
This tutorial will guide you through the process of creating a custom mask using clay! Inspired by the art of mask-making, I wanted to create something both expressive and wearable. This project allowed me to practice my sculpting and painting skills, and I’m excited to share the process with you.
Whether you’re a beginner or experienced with clay, this guide will walk you through each step, from shaping the base to adding intricate details. Let’s dive in!
Supplies
Clay: Air-dry or oven-bake clay, depending on your preference
Sculpting Tools: Clay modeling tools for shaping and detailing
Sandpaper: Fine-grit for smoothing surfaces
Paints: Acrylic or other paints suitable for clay
Brushes: Assorted sizes for painting and detailing
Sealant: Matte or glossy varnish to protect the paint
Water container and cloth (for cleaning and moistening clay)
Planning the Design
Before starting, sketch out your mask design on paper. Consider the facial features you’d like to emphasize, such as exaggerated eyes or unique textures. This will help guide your sculpting and ensure your vision comes to life.
Making a Paper Roll
.jpg)
.jpg)
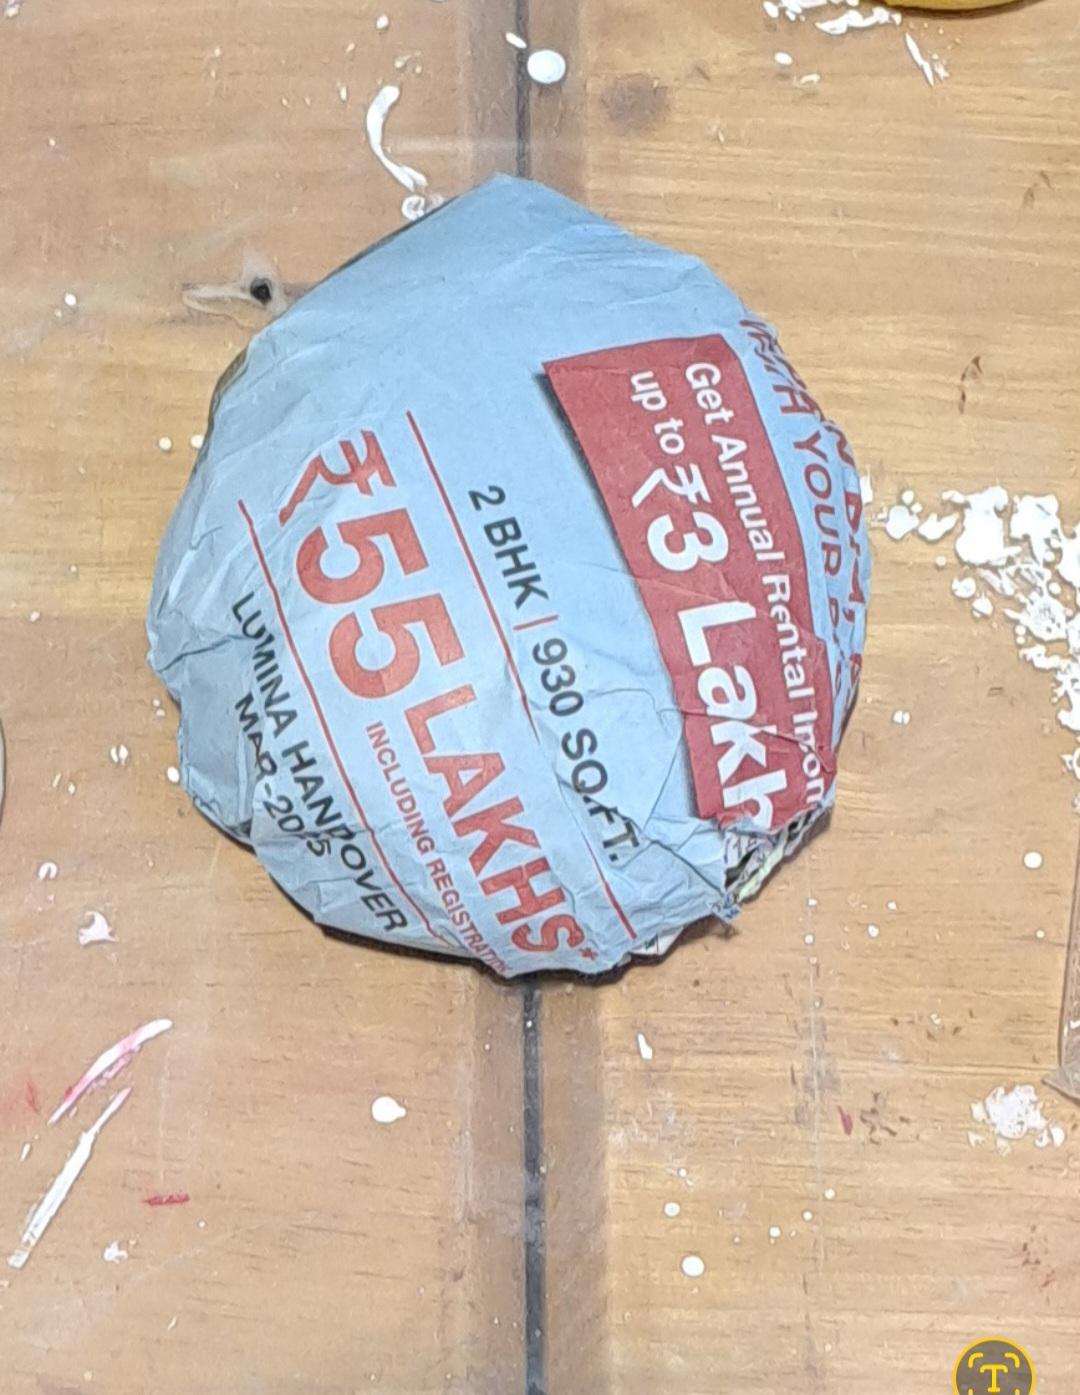
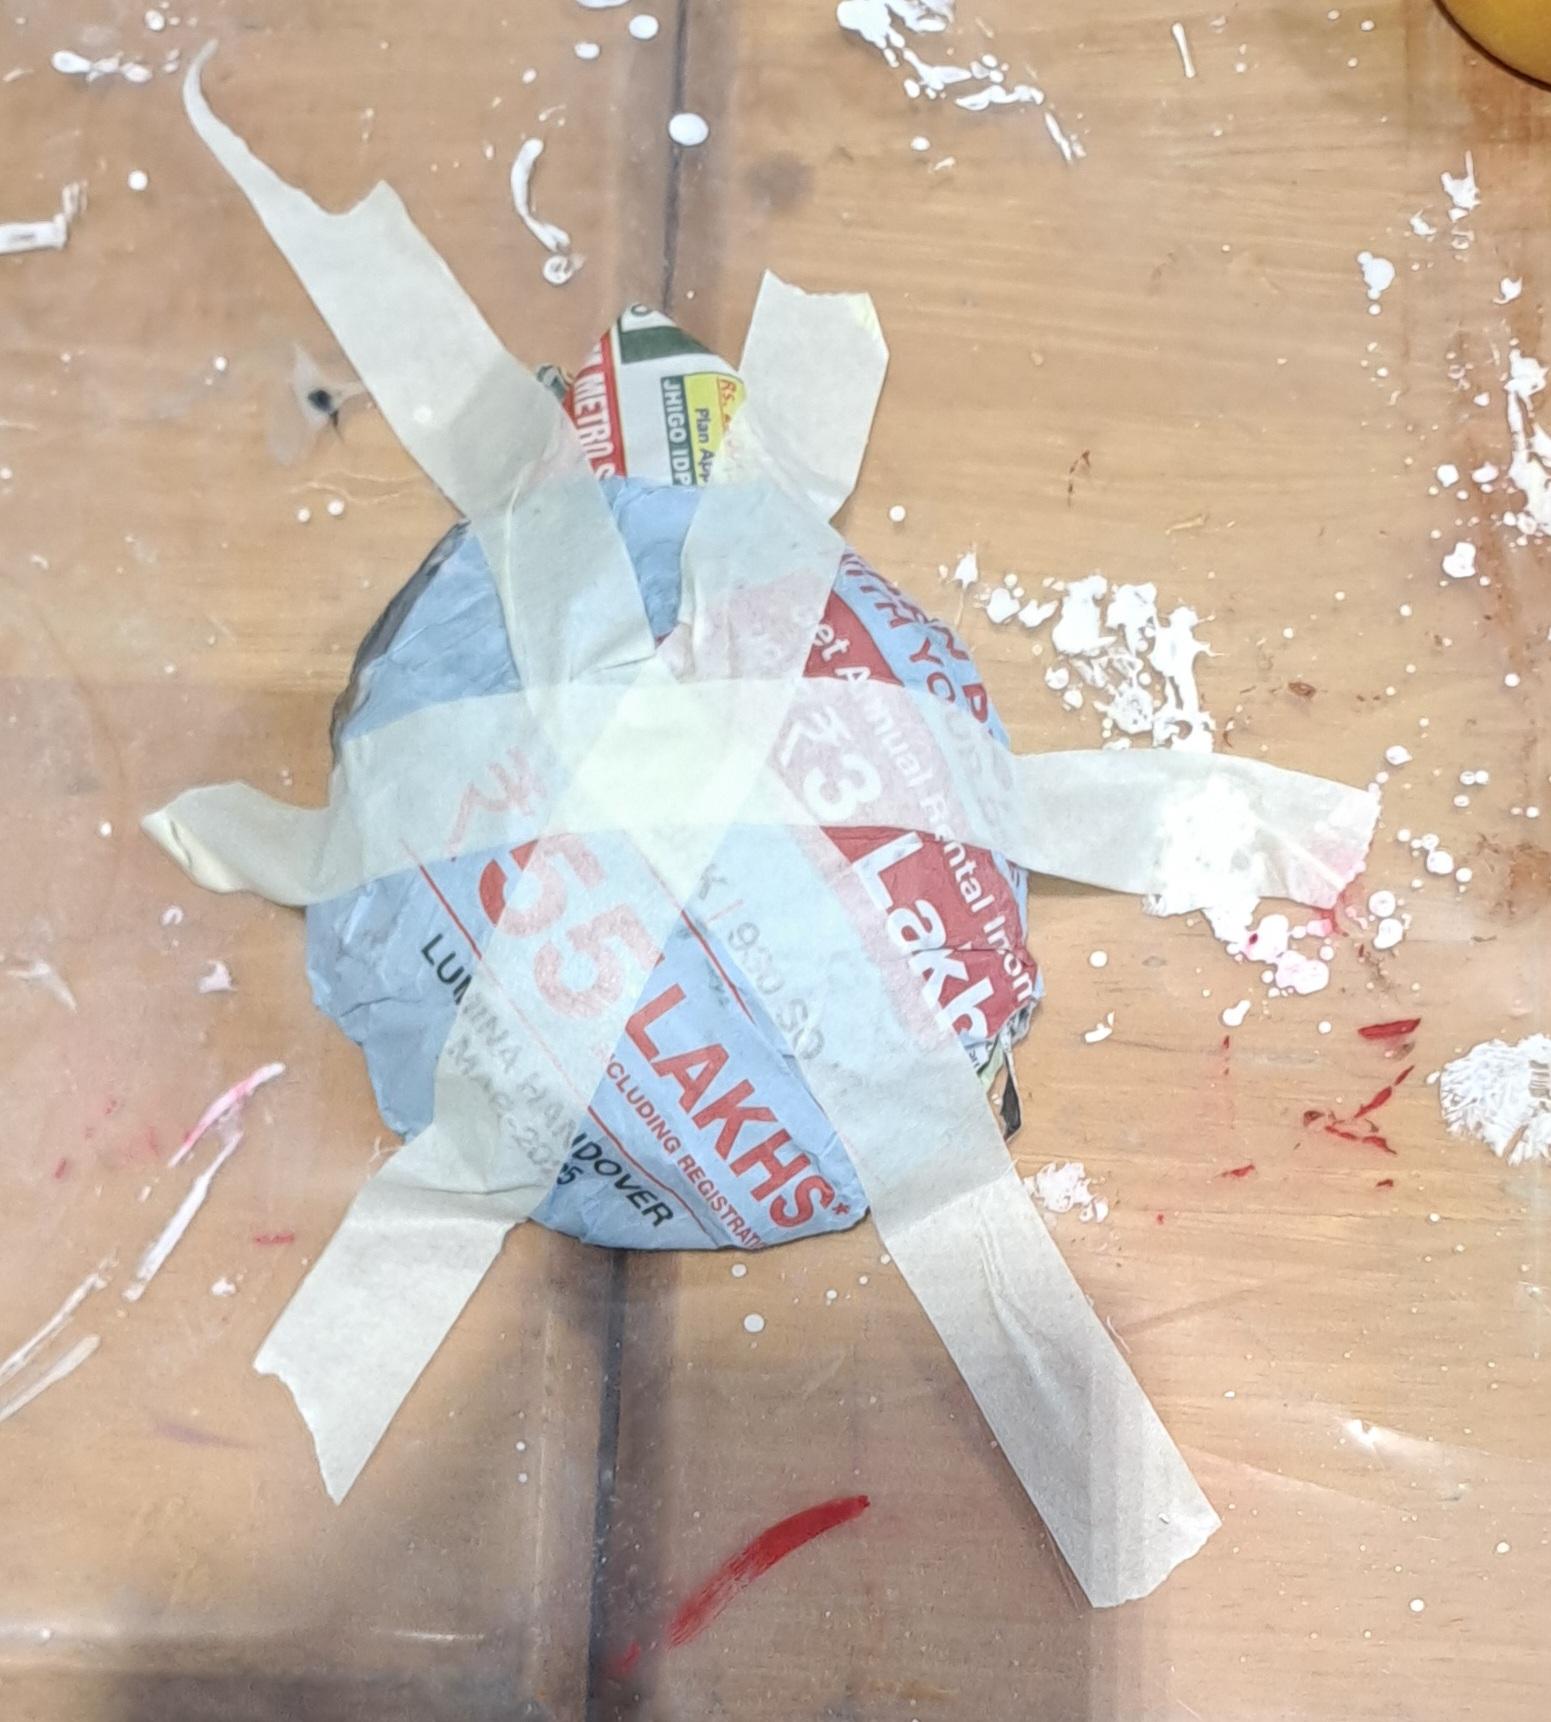
After sketching is done, Make a paper roll in the shape of the mask you are making by crushing it using hands. This will help you in having the same shape of mask in the photo and secure it to the table using a plaster
Shaping the Base
.jpg)
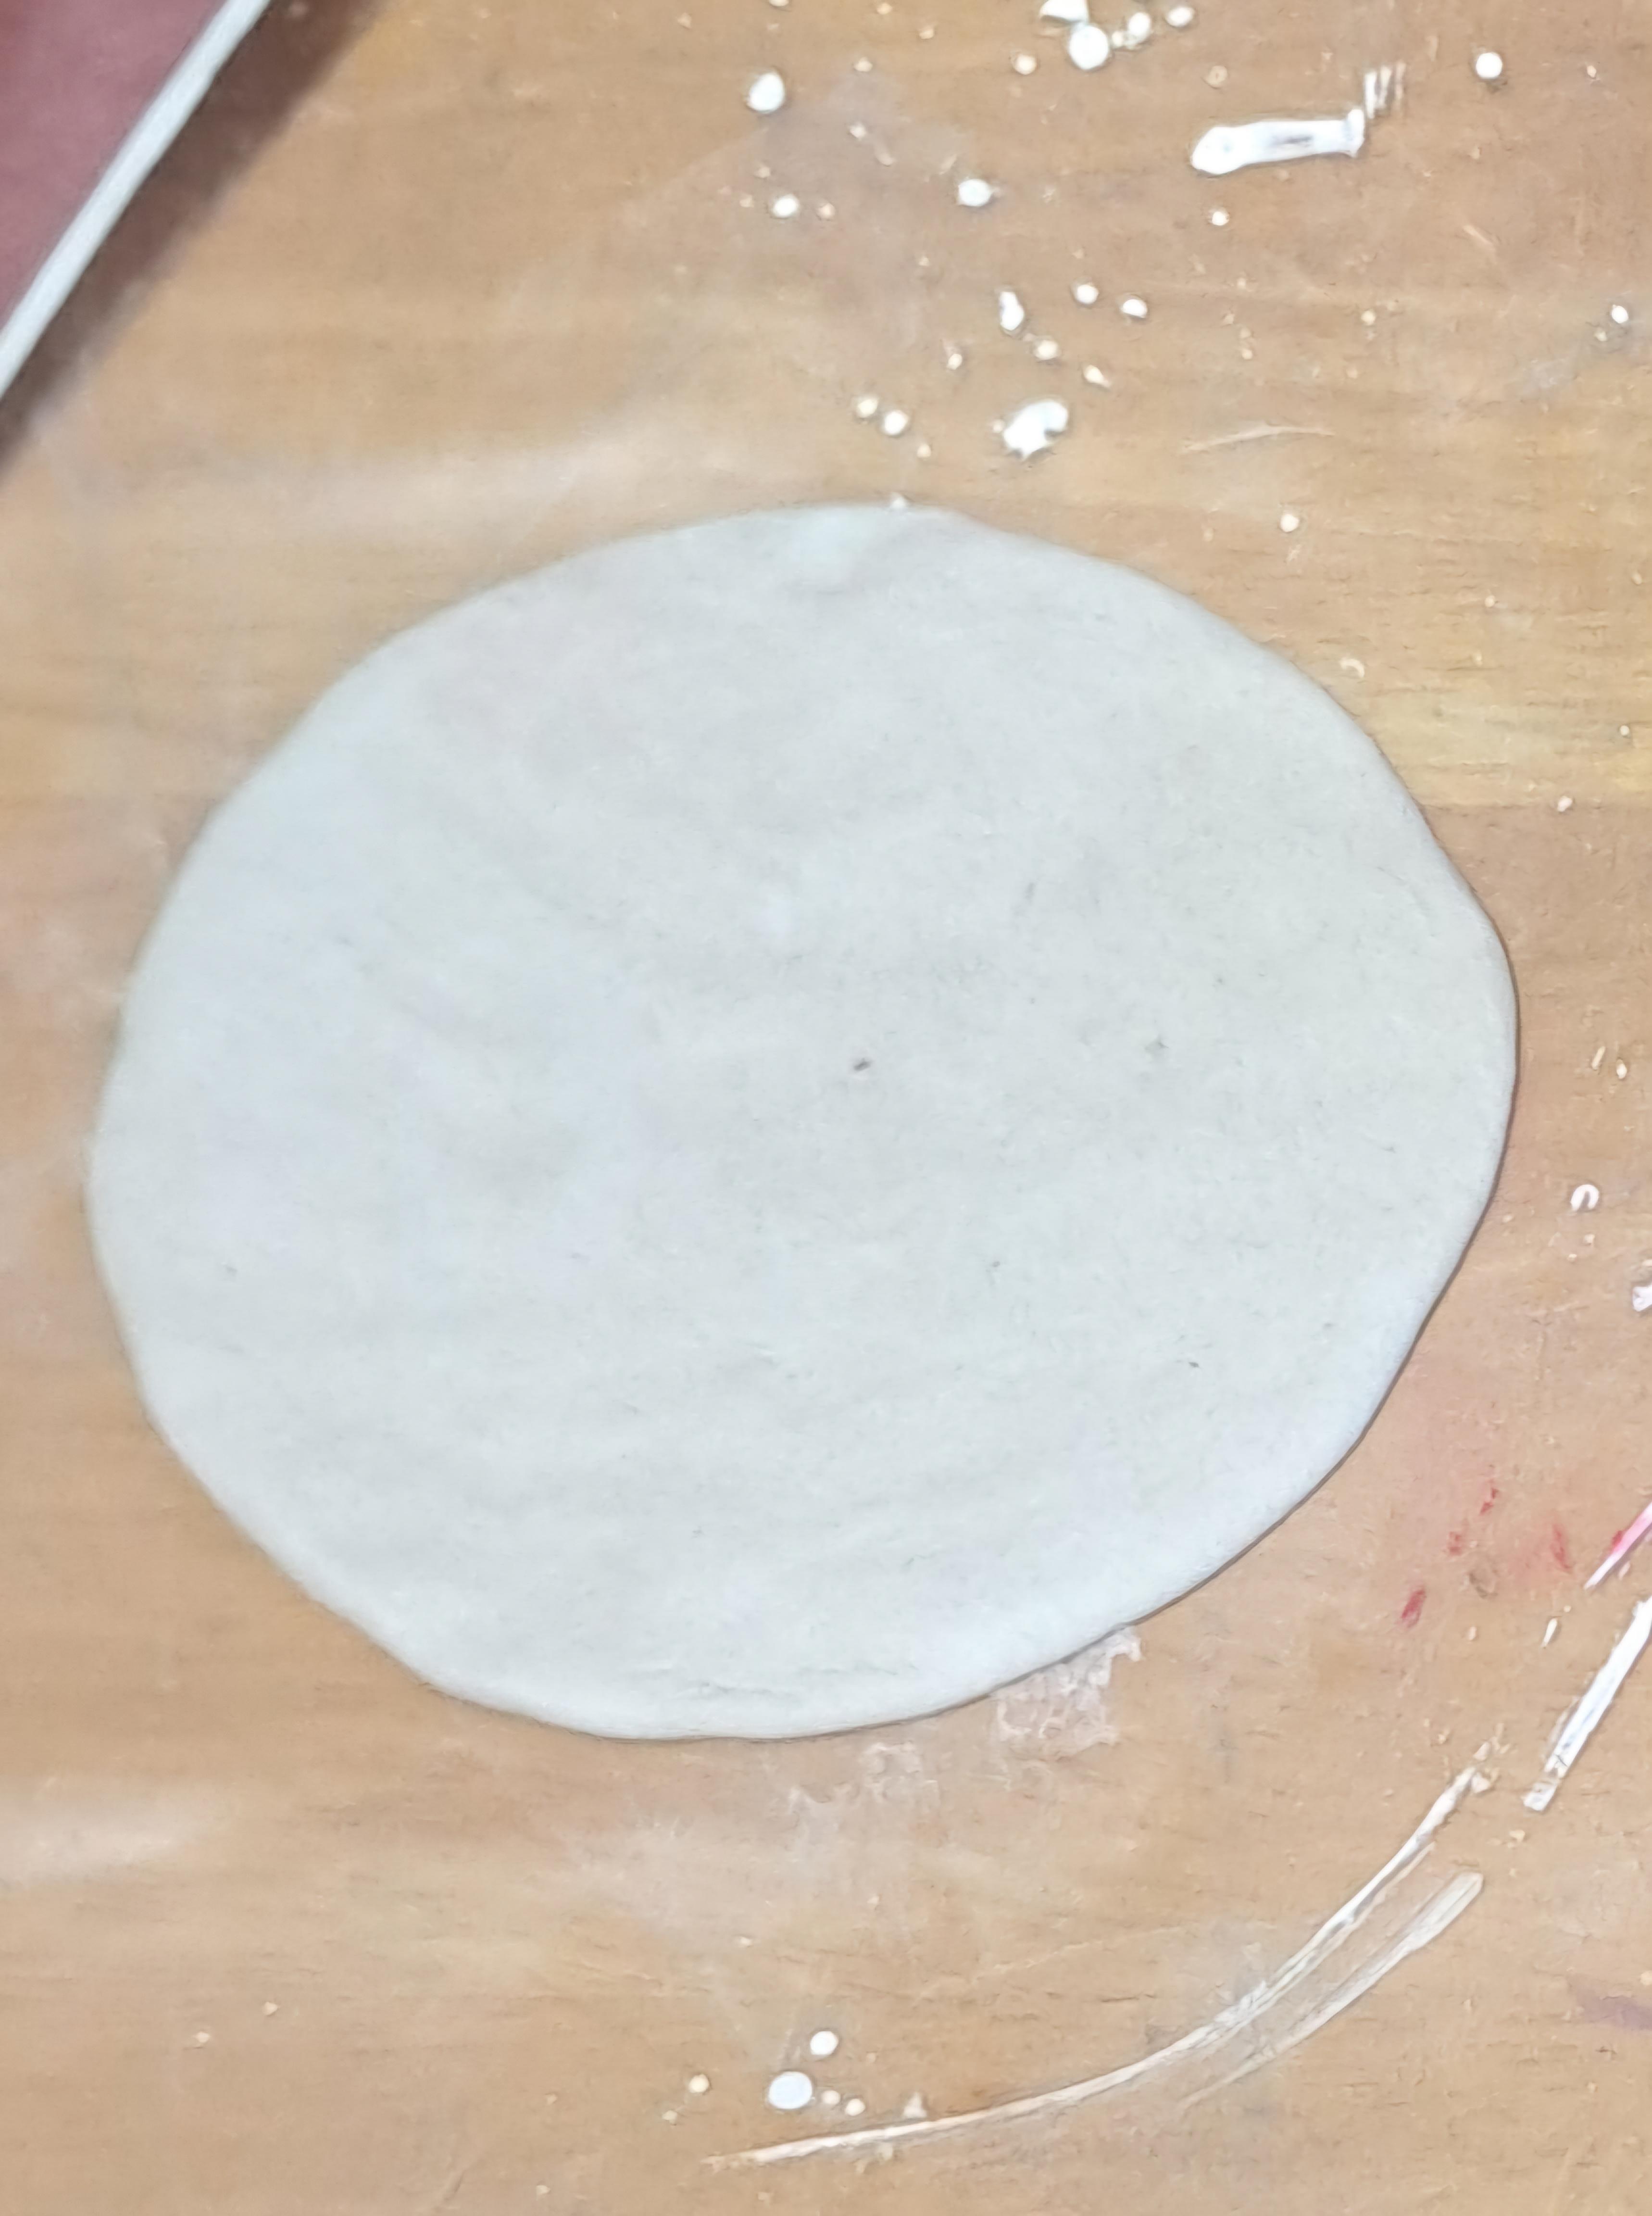
Begin by rolling out a slab of clay that’s thick enough to hold its shape but not too heavy. Shape it into a basic face form, working on a flat surface. Mold it slightly around a rounded object to fit the curvature of a face.
Tip: Use water sparingly to keep the clay workable and smooth out any cracks that form.
Placing the Base
.jpg)
.jpg)
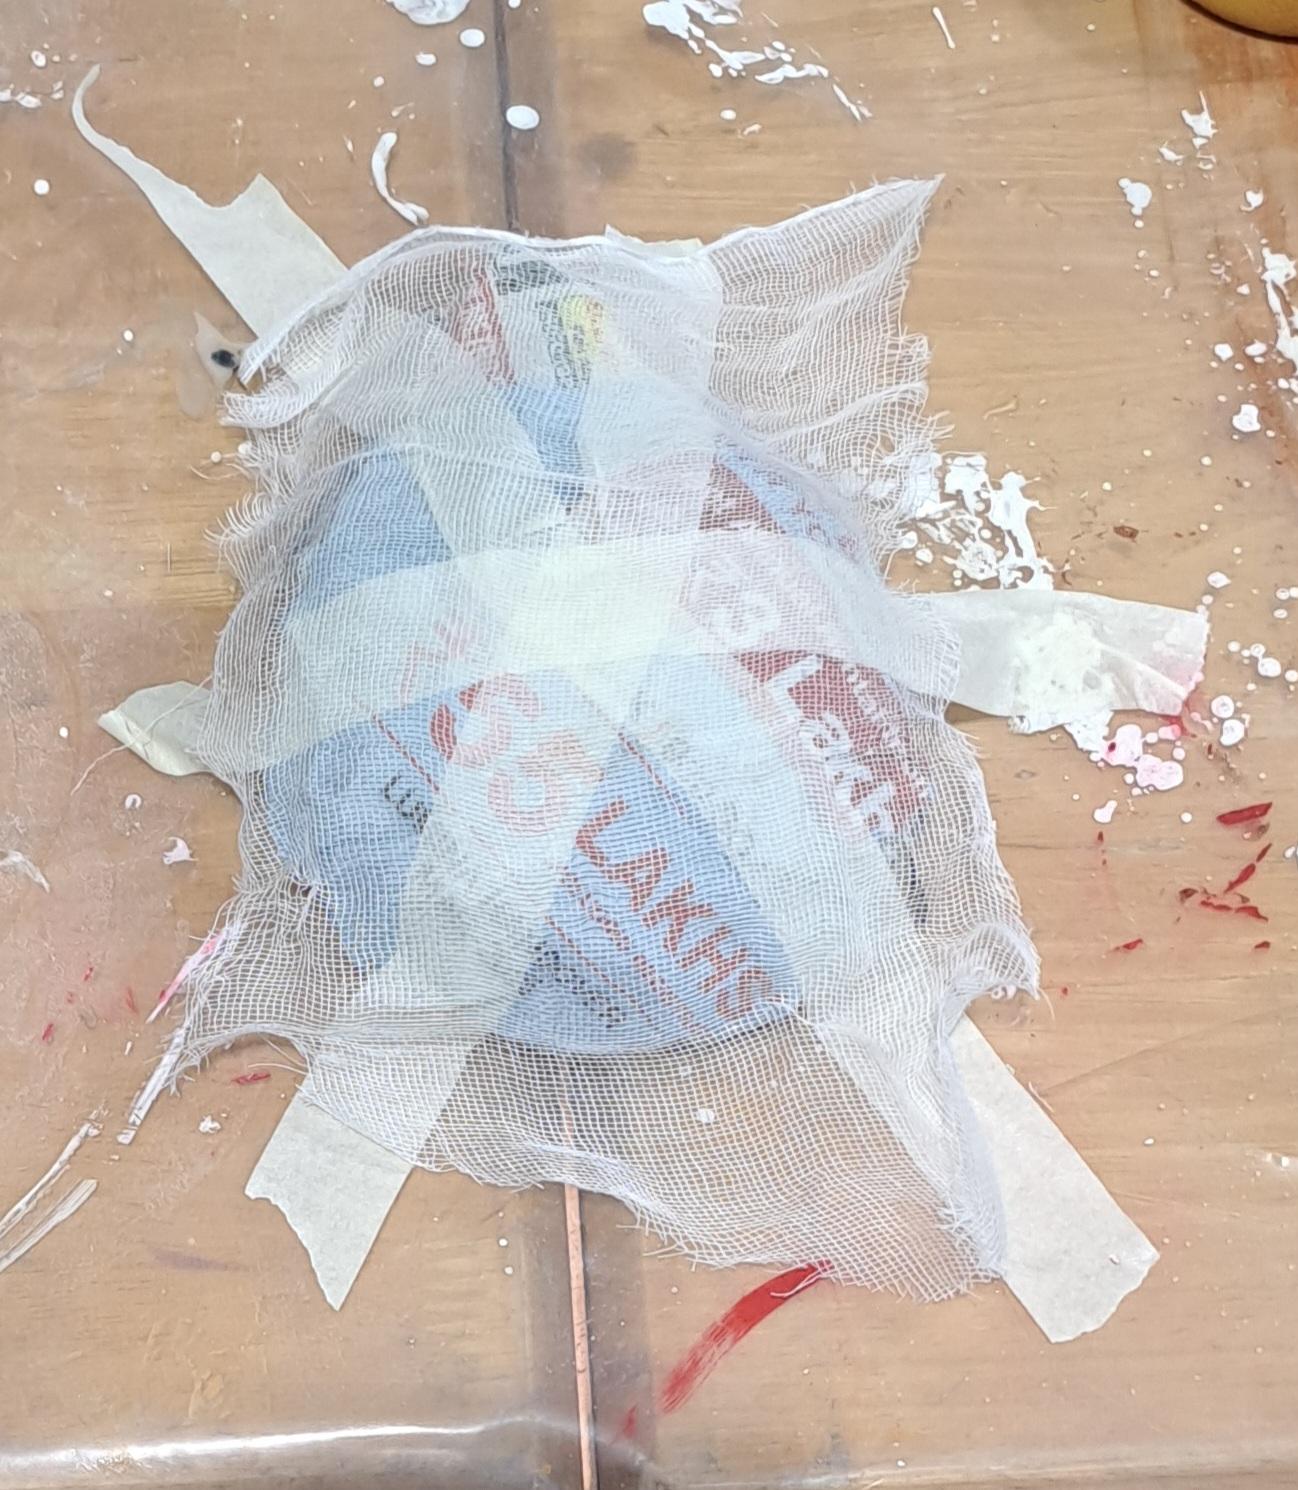
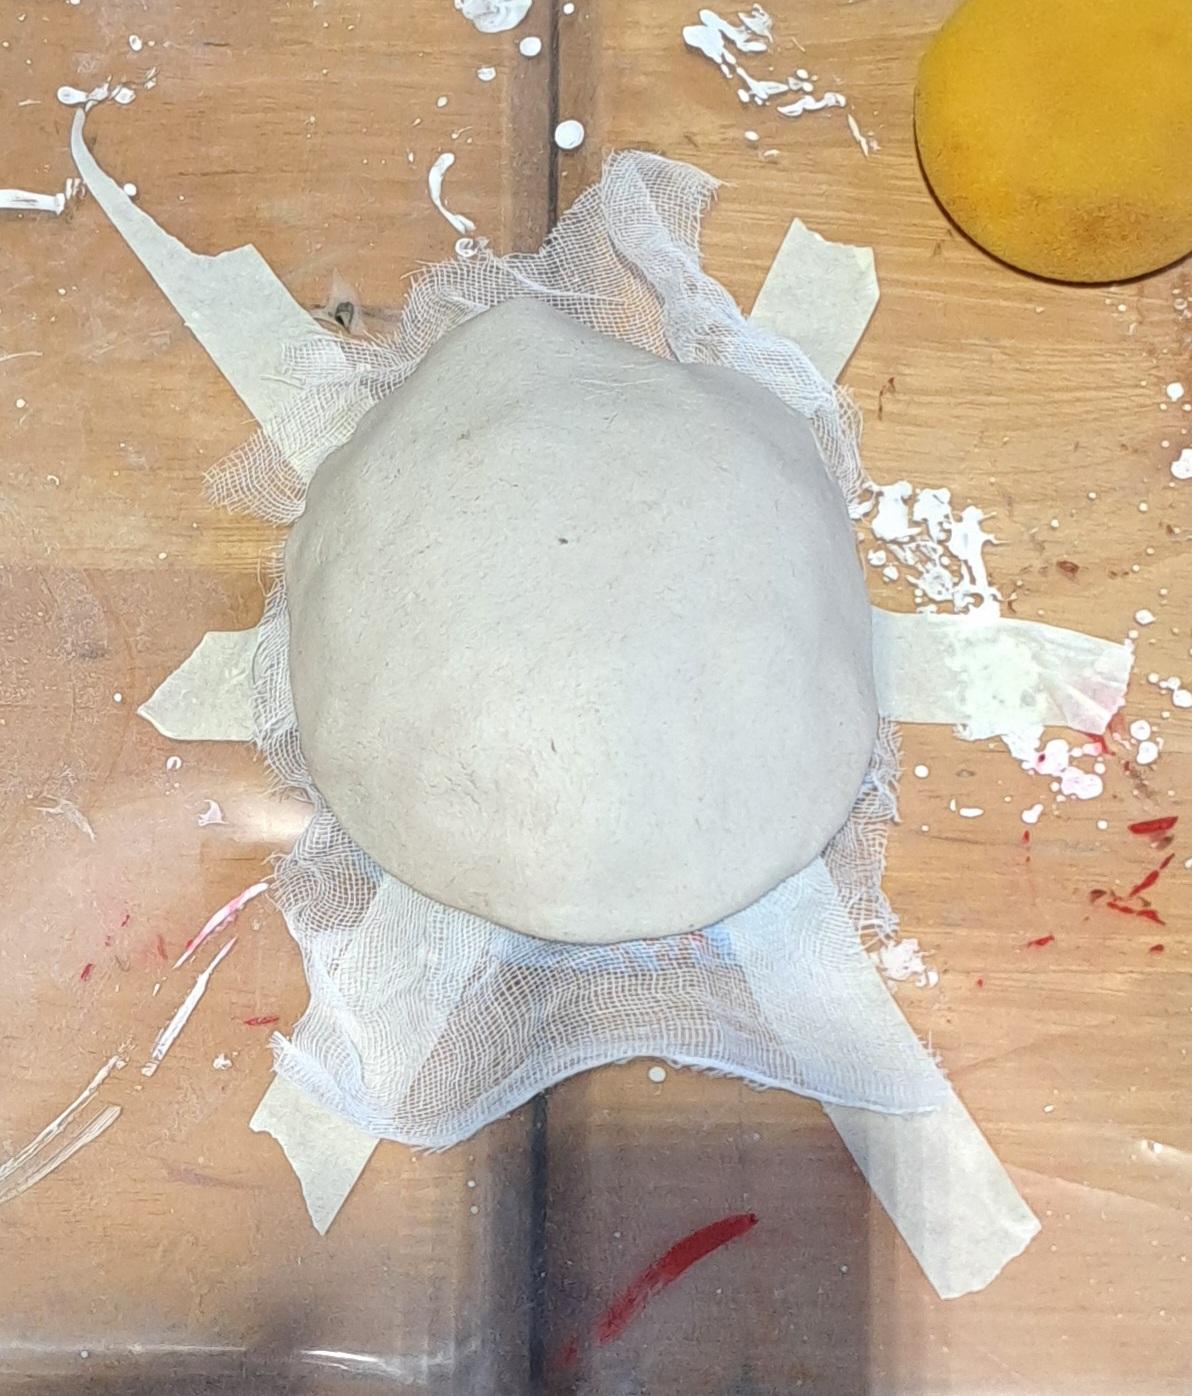
Before placing the base use a mesh cloth on the roll so that while drying or painting the mask even if breaks this mess holds the peices and you can attach with glue.
Adding Details
.jpg)
.jpg)
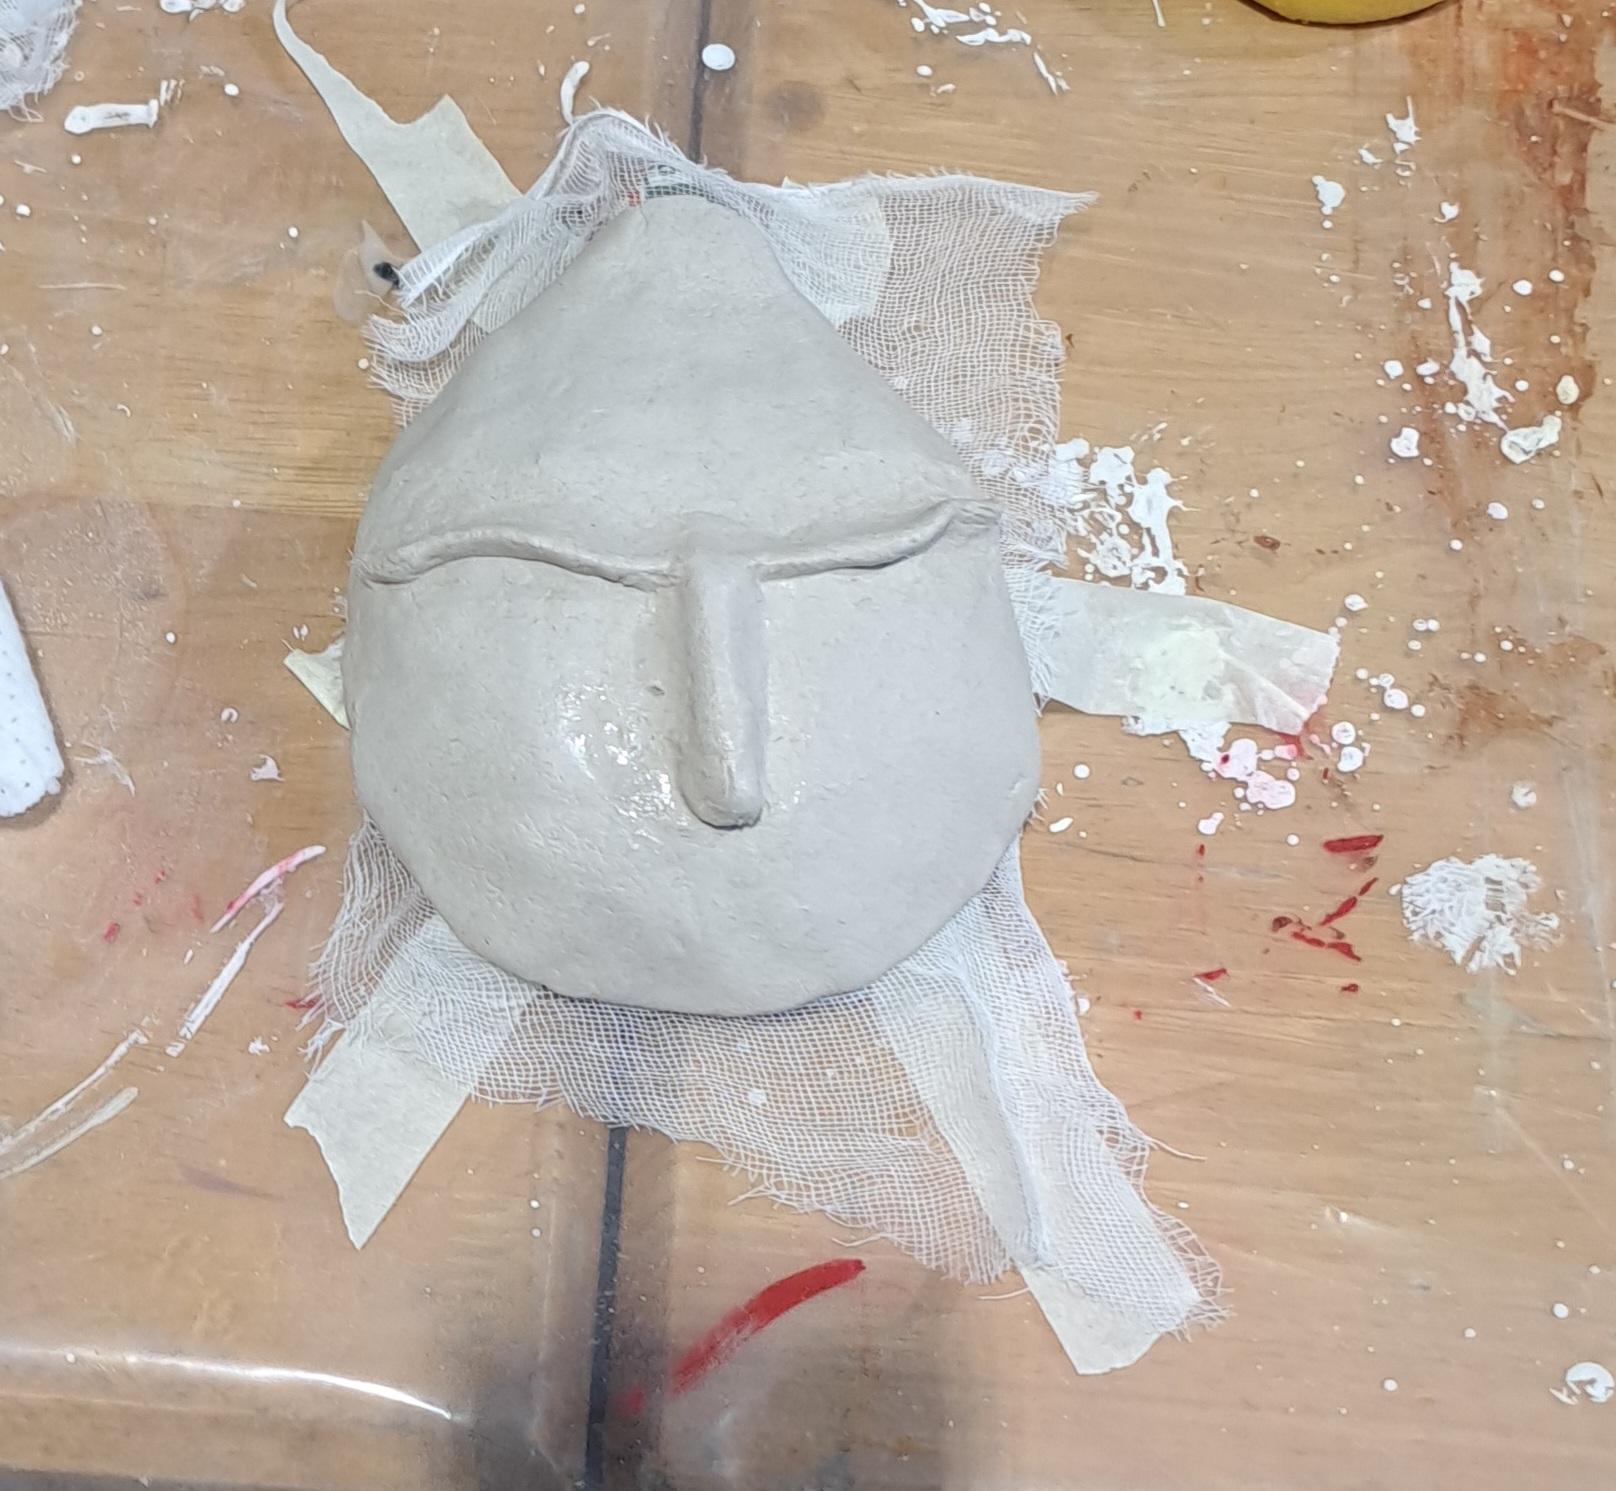
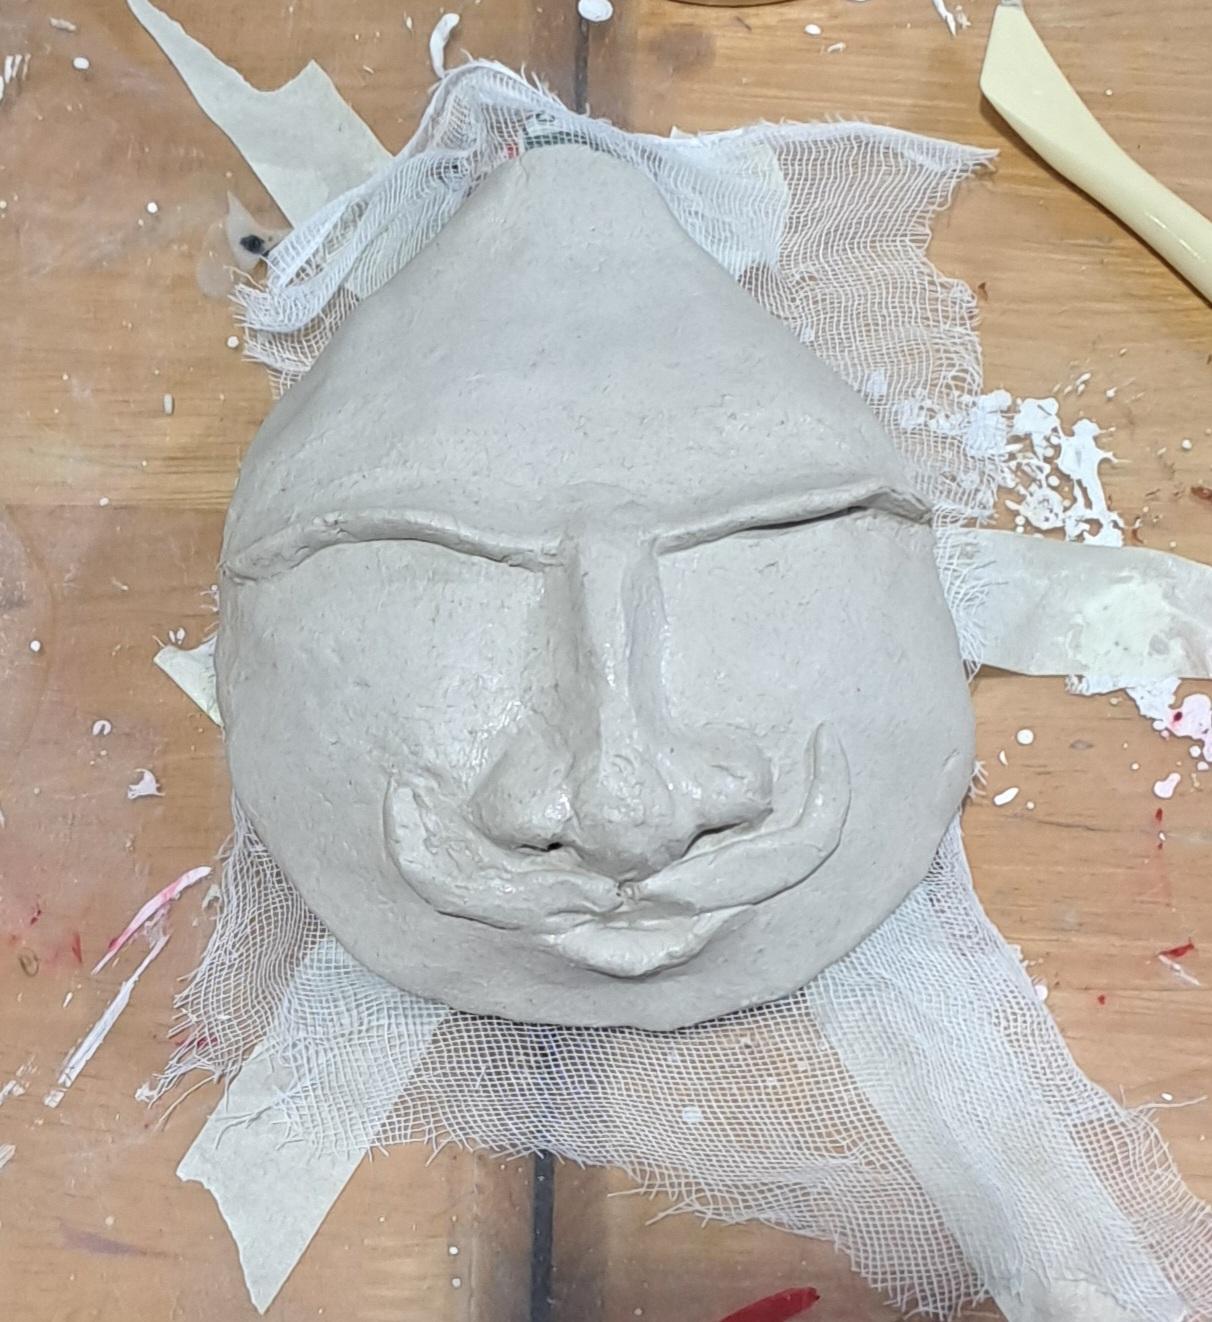
Once the base is ready, start adding features like the nose, eyes, and any other defining details. Use modeling tools to carve or add texture, giving the mask character. Play with adding raised areas or cutting out sections to make it visually dynamic.
Drying and Smoothing
Let the mask air dry or bake it according to the clay manufacturer’s instructions. After it’s fully dry, sand down any rough spots to achieve a polished surface. A fine-grit sandpaper works well here. Before coloring use a white primer on top of the mask.
Tip: Be gentle with sanding to avoid cracking any delicate features.
Painting and Finishing
.jpg)
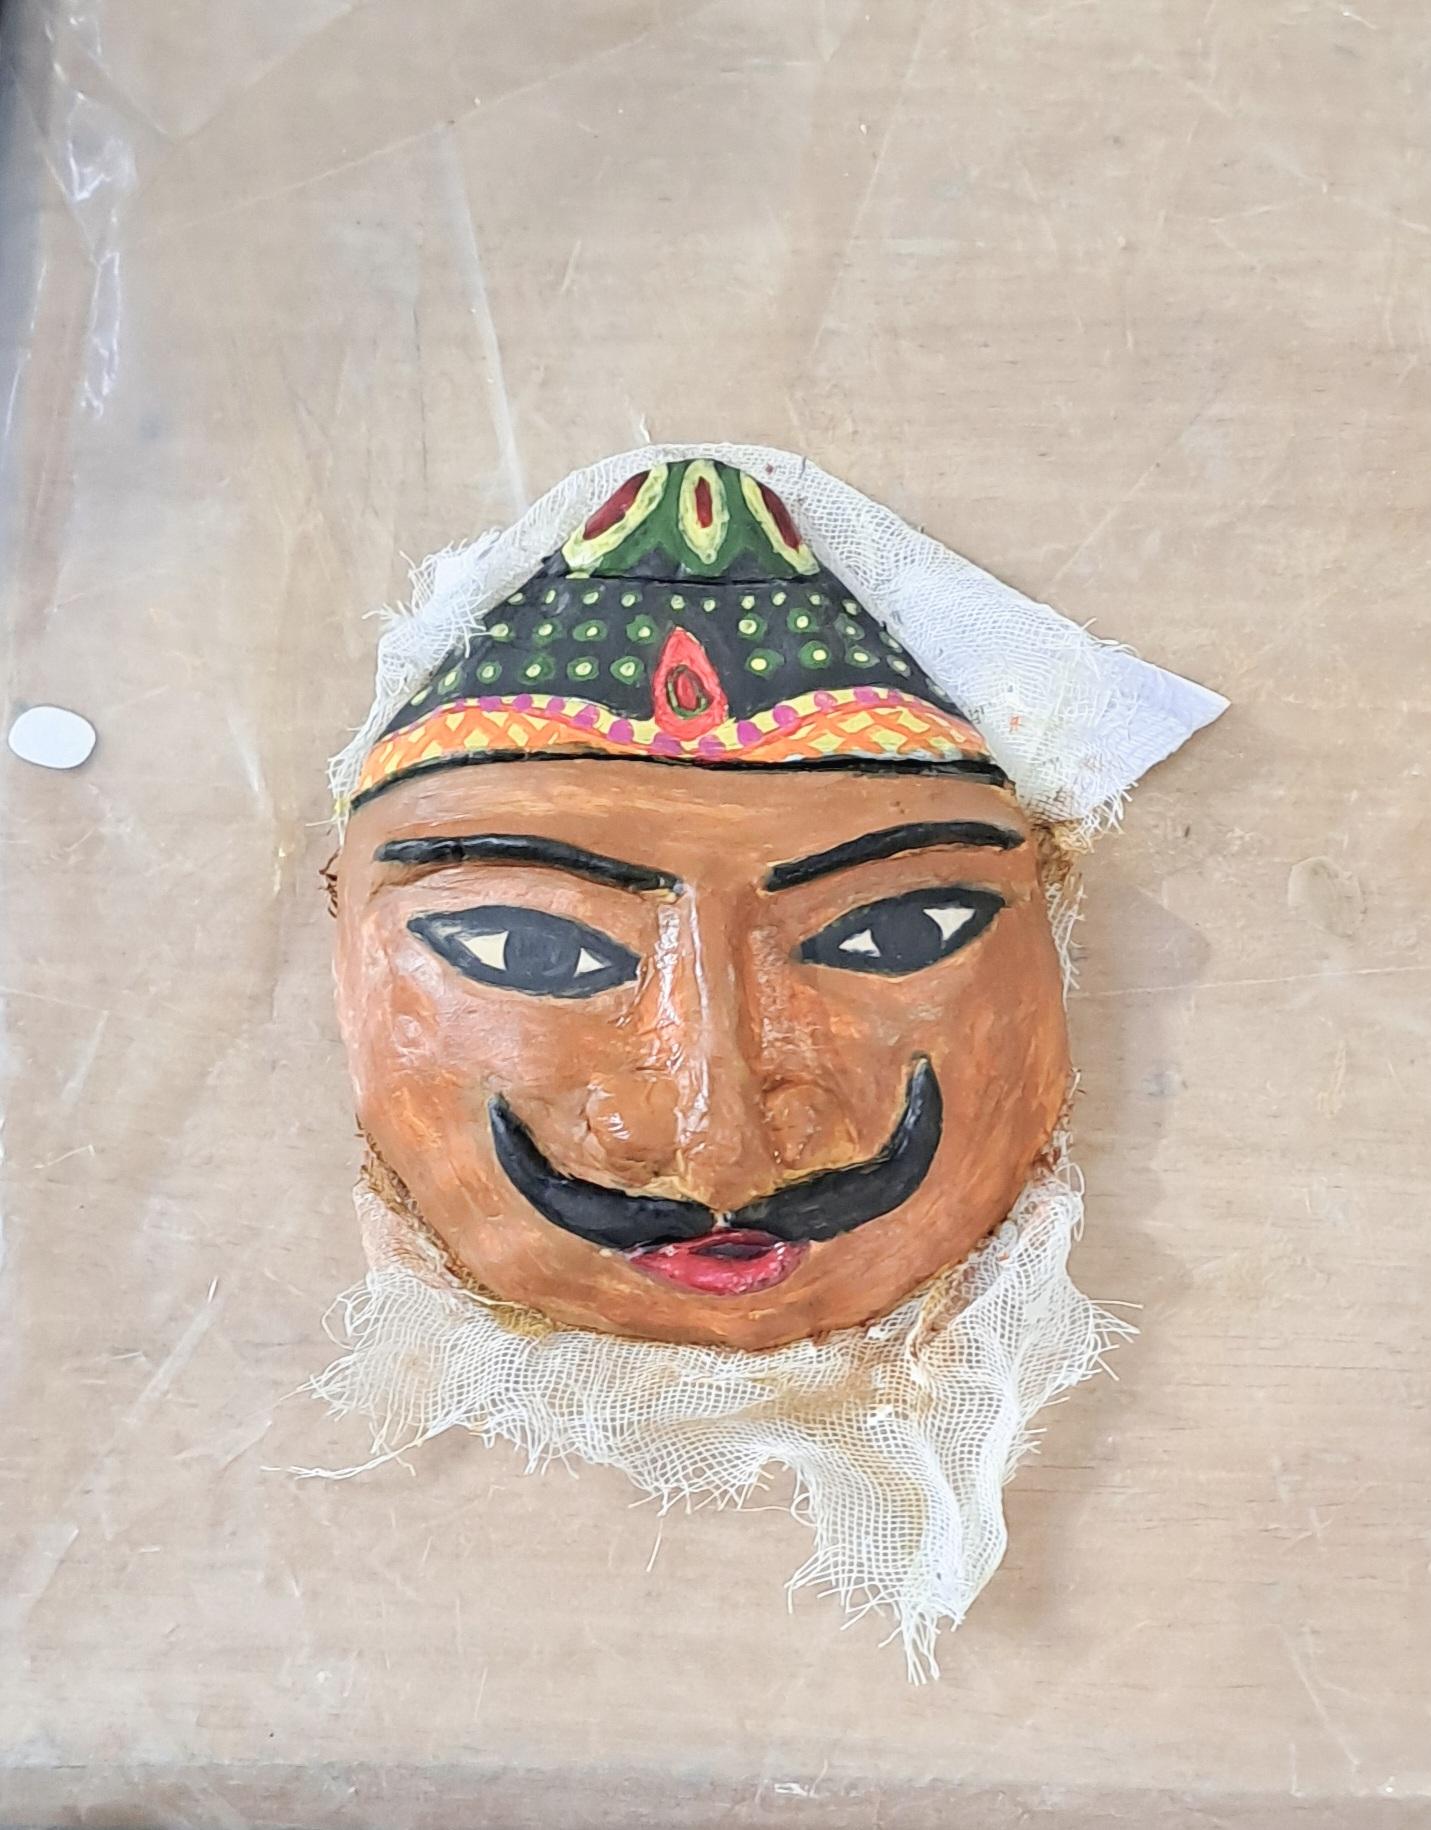
Once the surface is smooth, you’re ready to paint! Start with a base layer, then add colors to bring out the details. Experiment with shading for depth or use metallic paints for a dramatic effect.
After painting, apply a sealant to protect the paint and give it a professional finish. A matte finish provides a rustic look, while gloss adds a striking shine.