DIY Car Windscreen Water Tank Cap
by DIY GUY Chris in Workshop > Cars
1560 Views, 3 Favorites, 0 Comments
DIY Car Windscreen Water Tank Cap
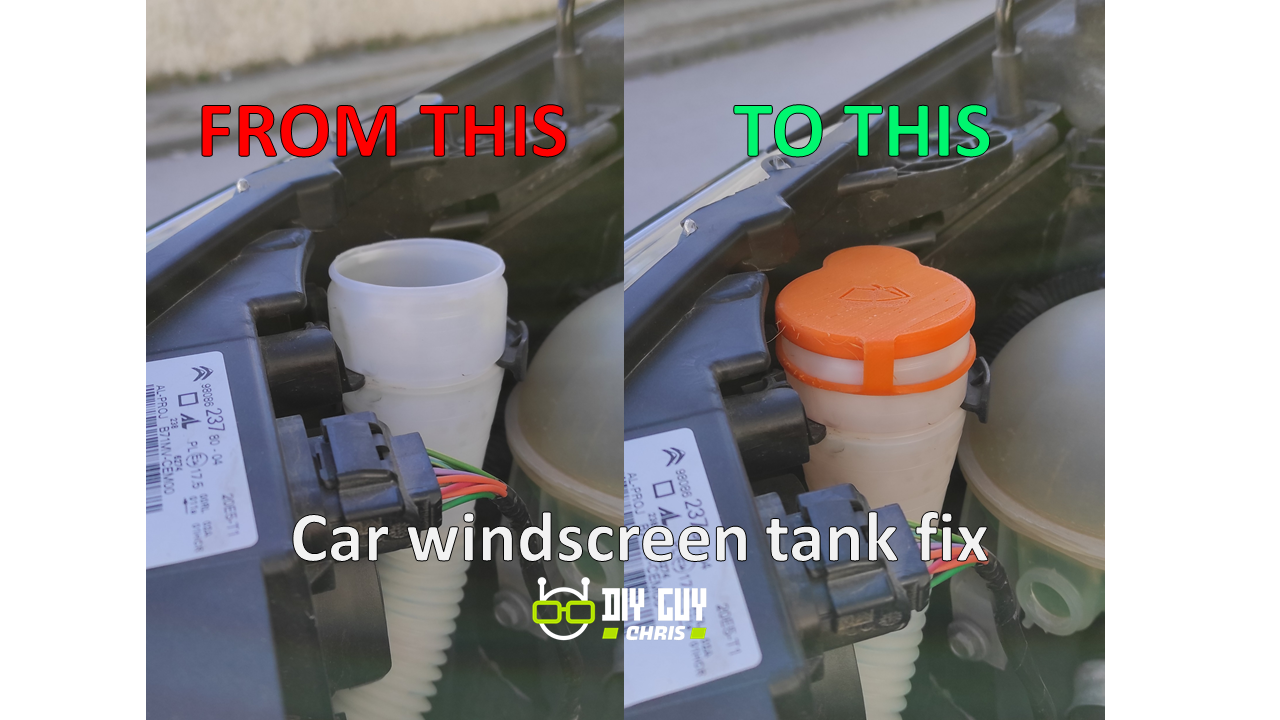
Today's instructables is a bit kinda special one since we are exploring the potential of 3D printer in solving daily life problems.
Through this instructables I will show you the steps to Fix the water tank cap of your car windscreen, I included the necessary files in this post so you can re-produce the same solution as mine.
From where it comes the idea!
Me and my friend are facing the same issue since we own the same car brand, the water tank gets to break and loss easily so we decided to re-create the same size cap and 3D printed.
Supplies
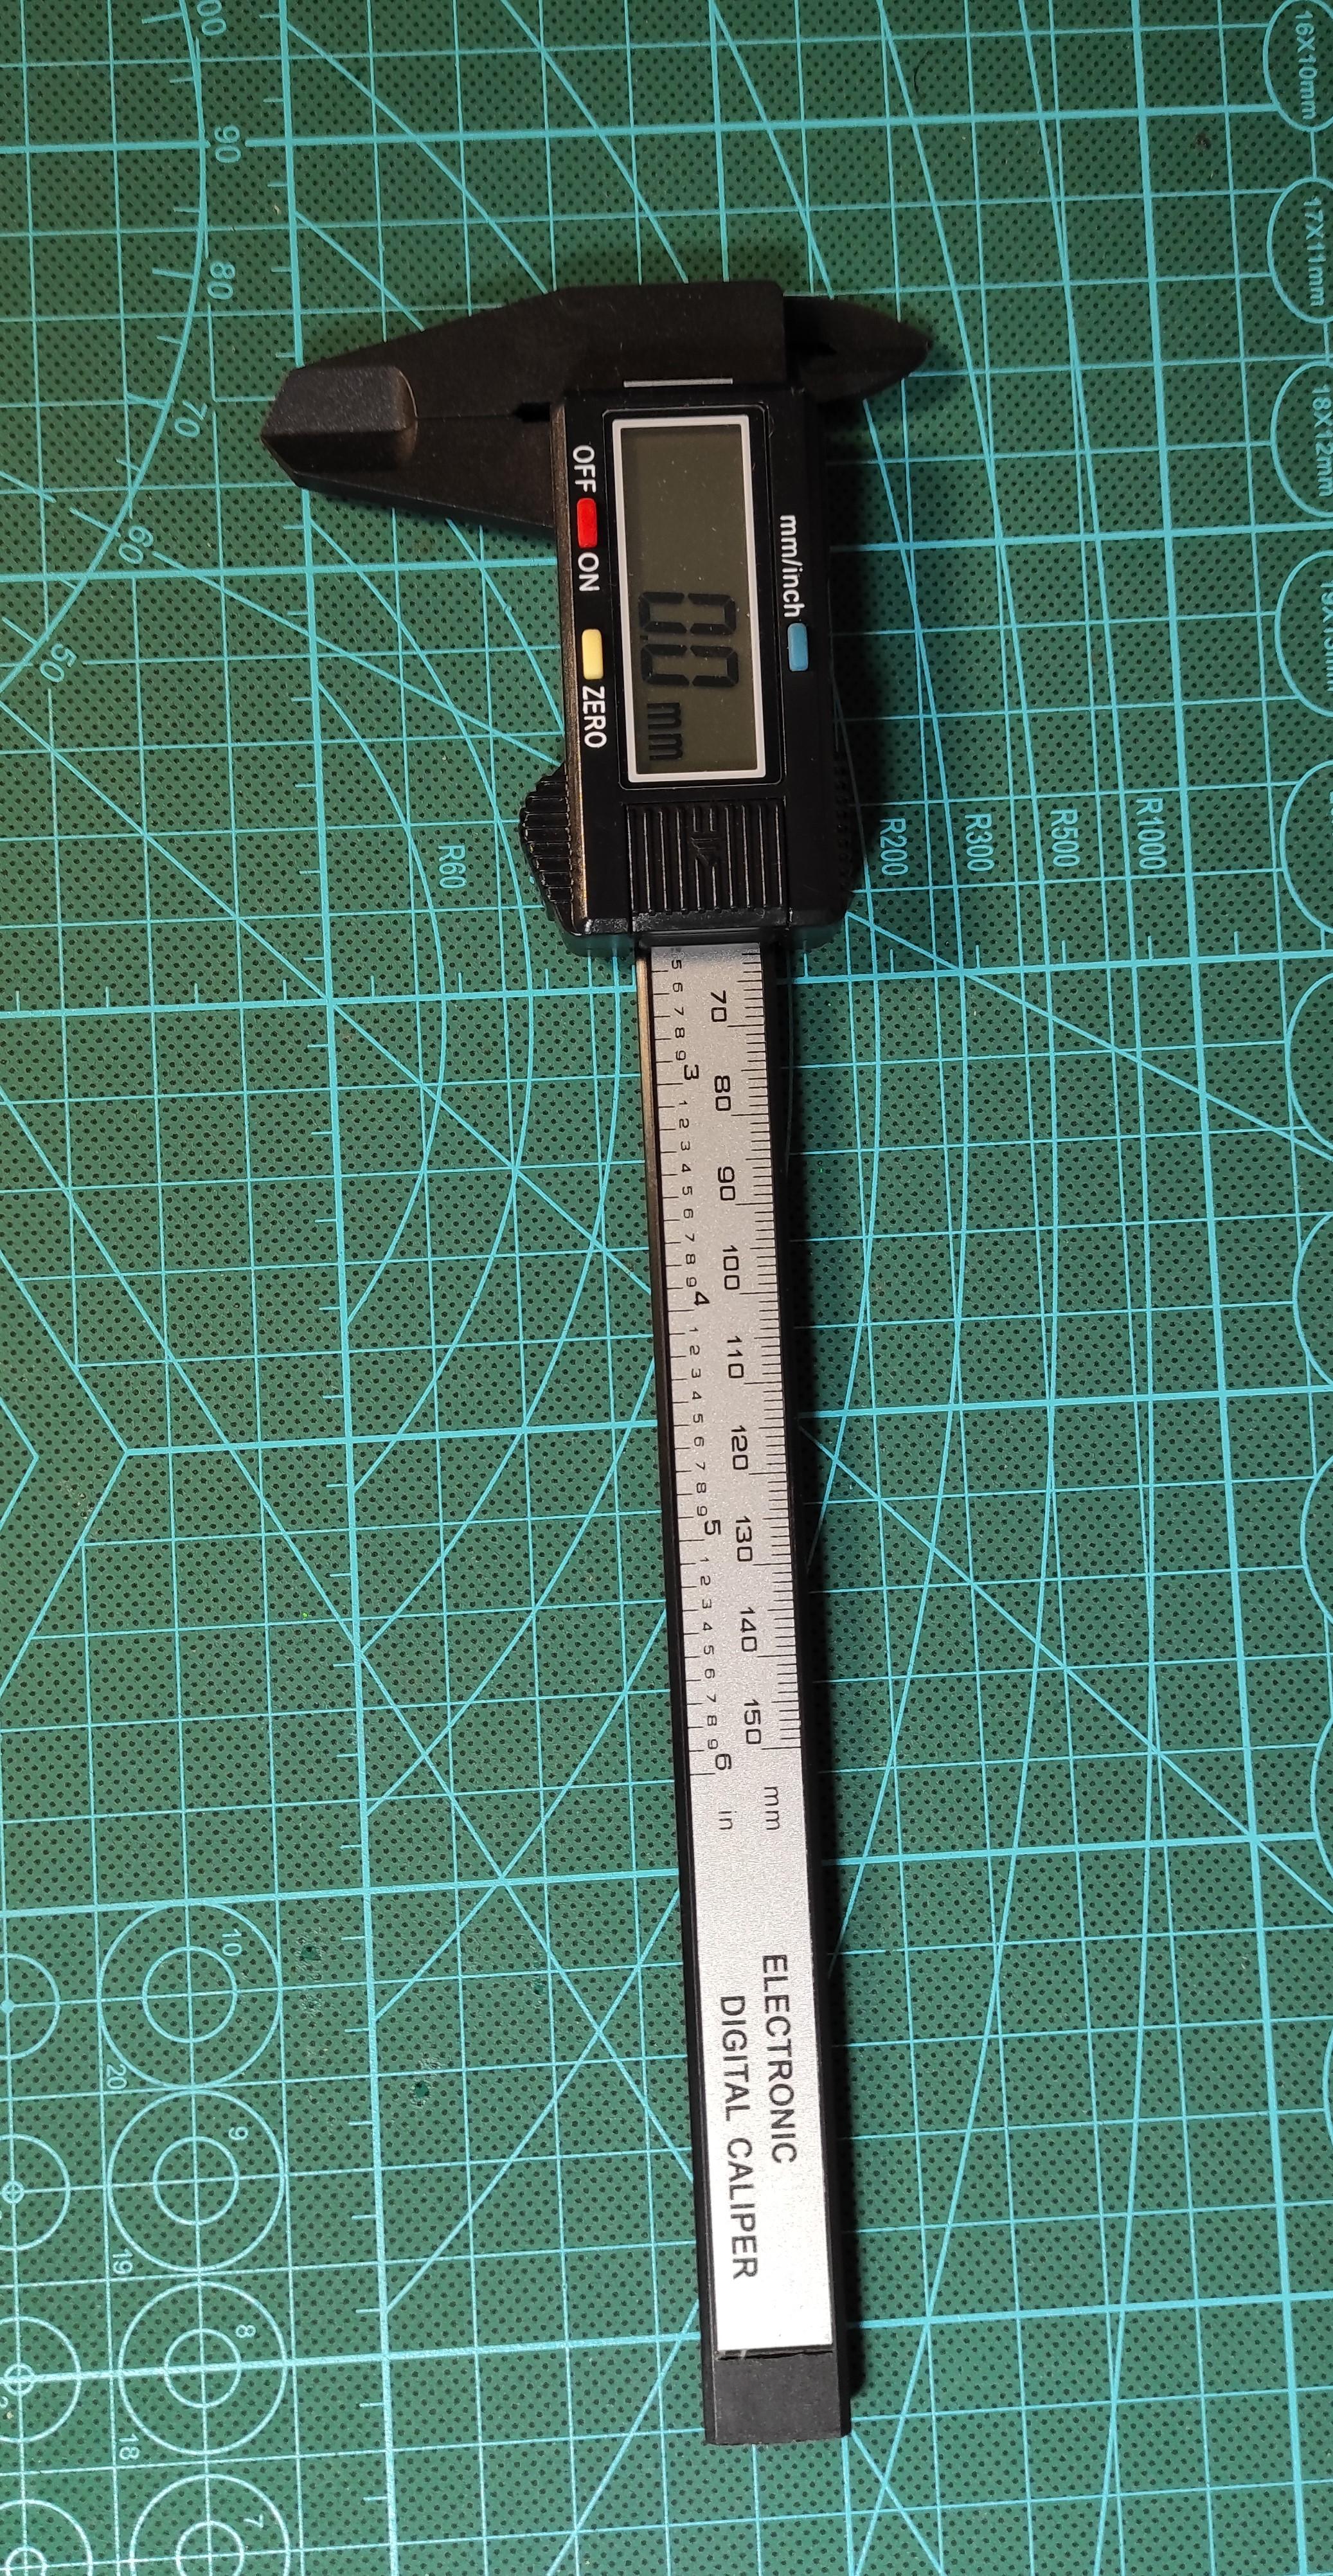
A Vernier caliperas it is showed in the supplies image is the only tool that you will need for this project, if you consider the 3D printer as a tool then you will need also a 3D printer
Take the Appropriate Measures
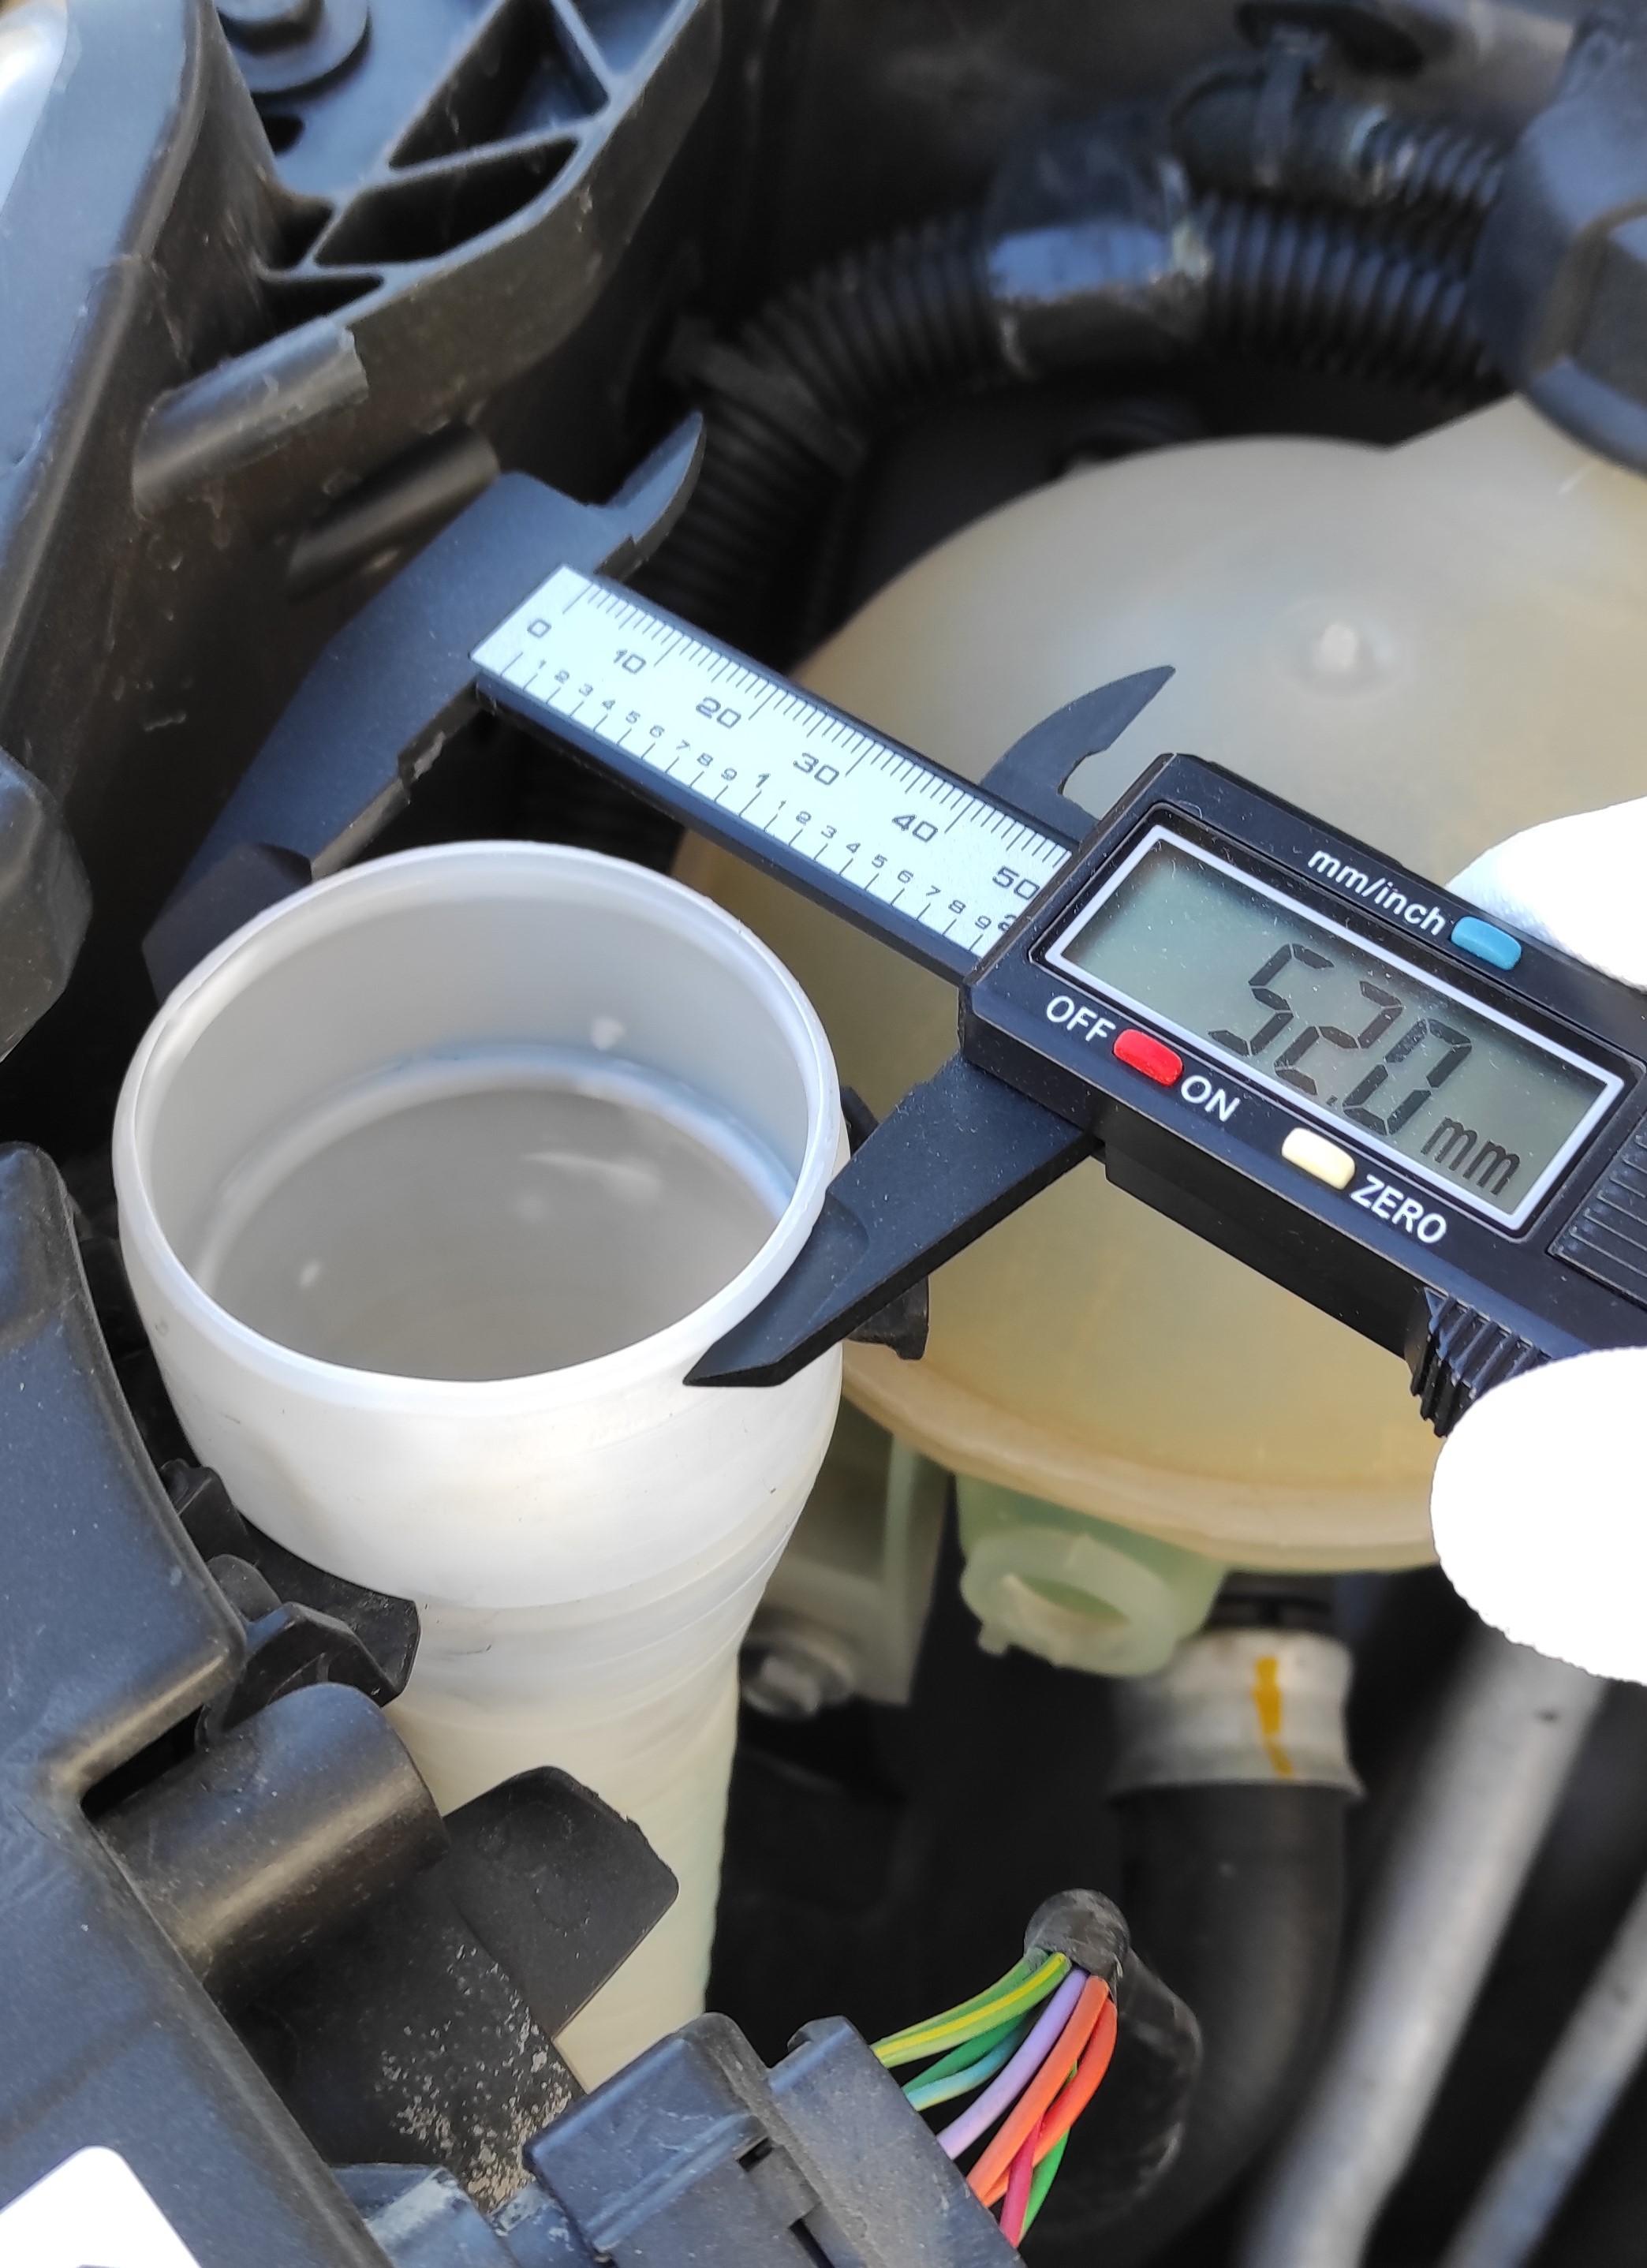
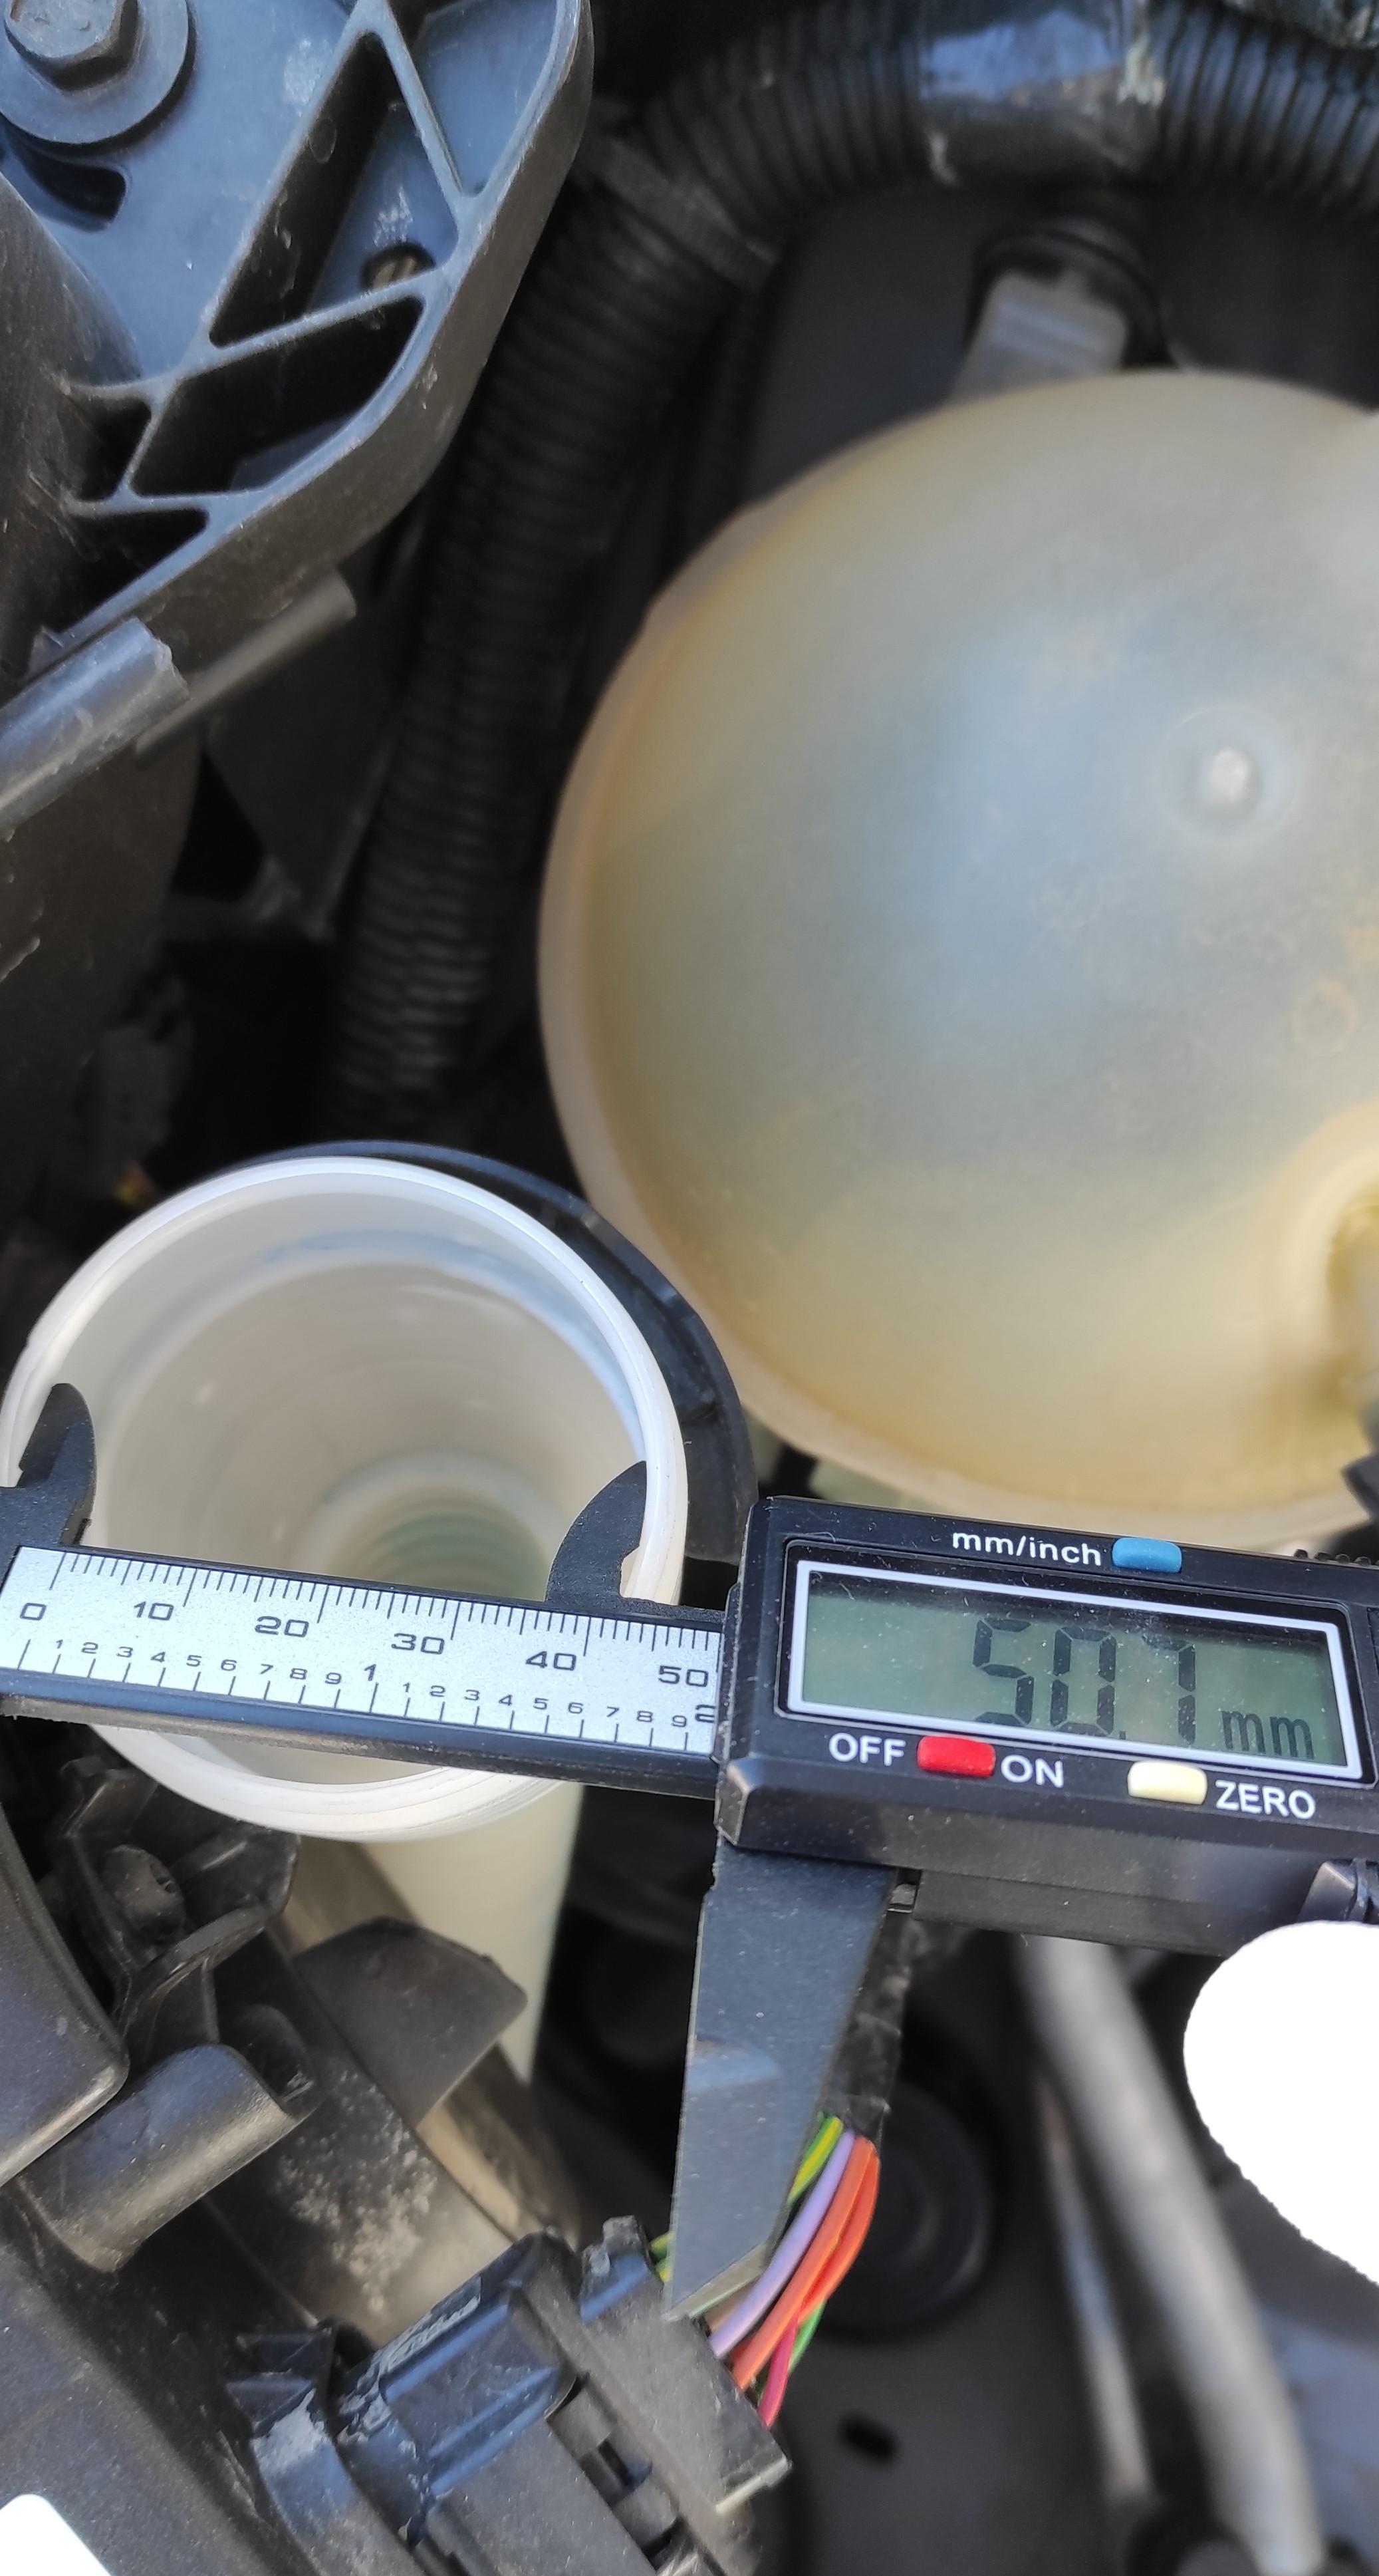
First and most important step is taking the necessary measures of the water tank cap placement to make the appropriate design.
As I explained in the supplies section, a Vernier caliper is needed to measure the tank opening, we are dealing with a Citroen C4 in this model but the design is the same fro all PSA Group Cars that have the same 6431F3 part no. window washer reservoir and 643232 part no. window washer reservoir cap.
Write down all the necessary measures because we will need them in the next step.
Make the Cap Design
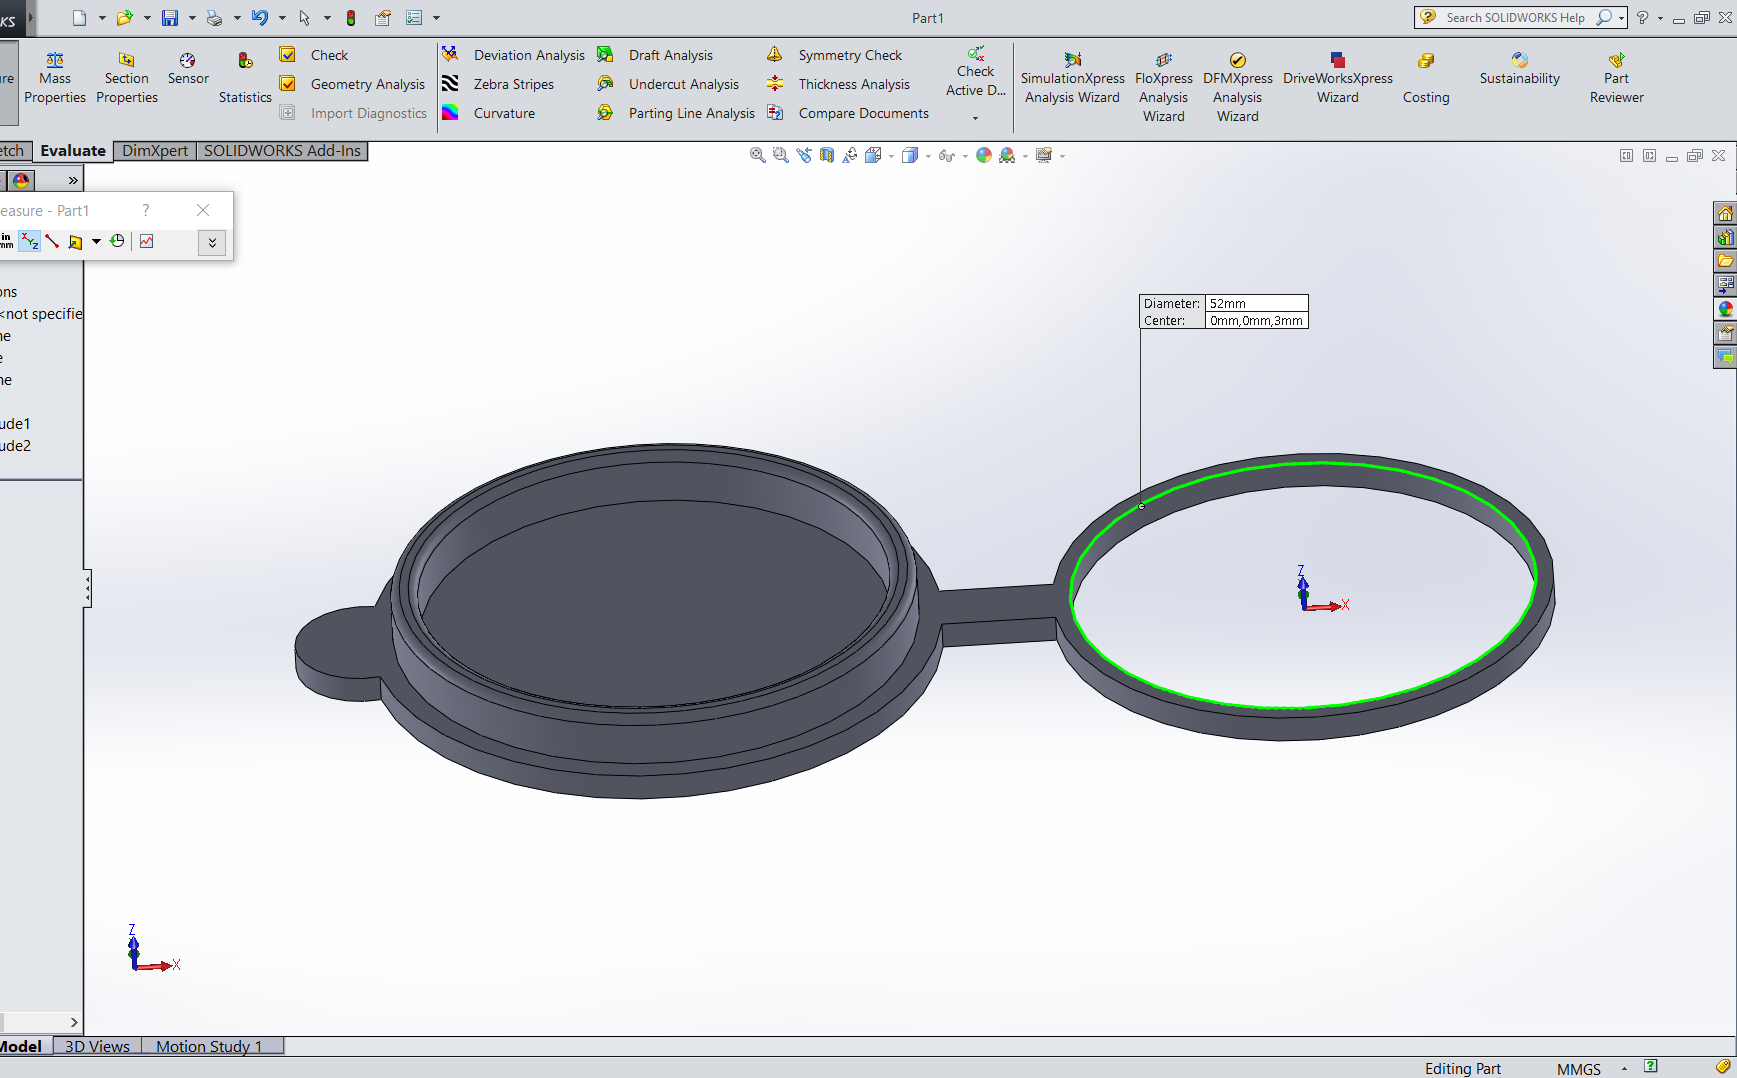
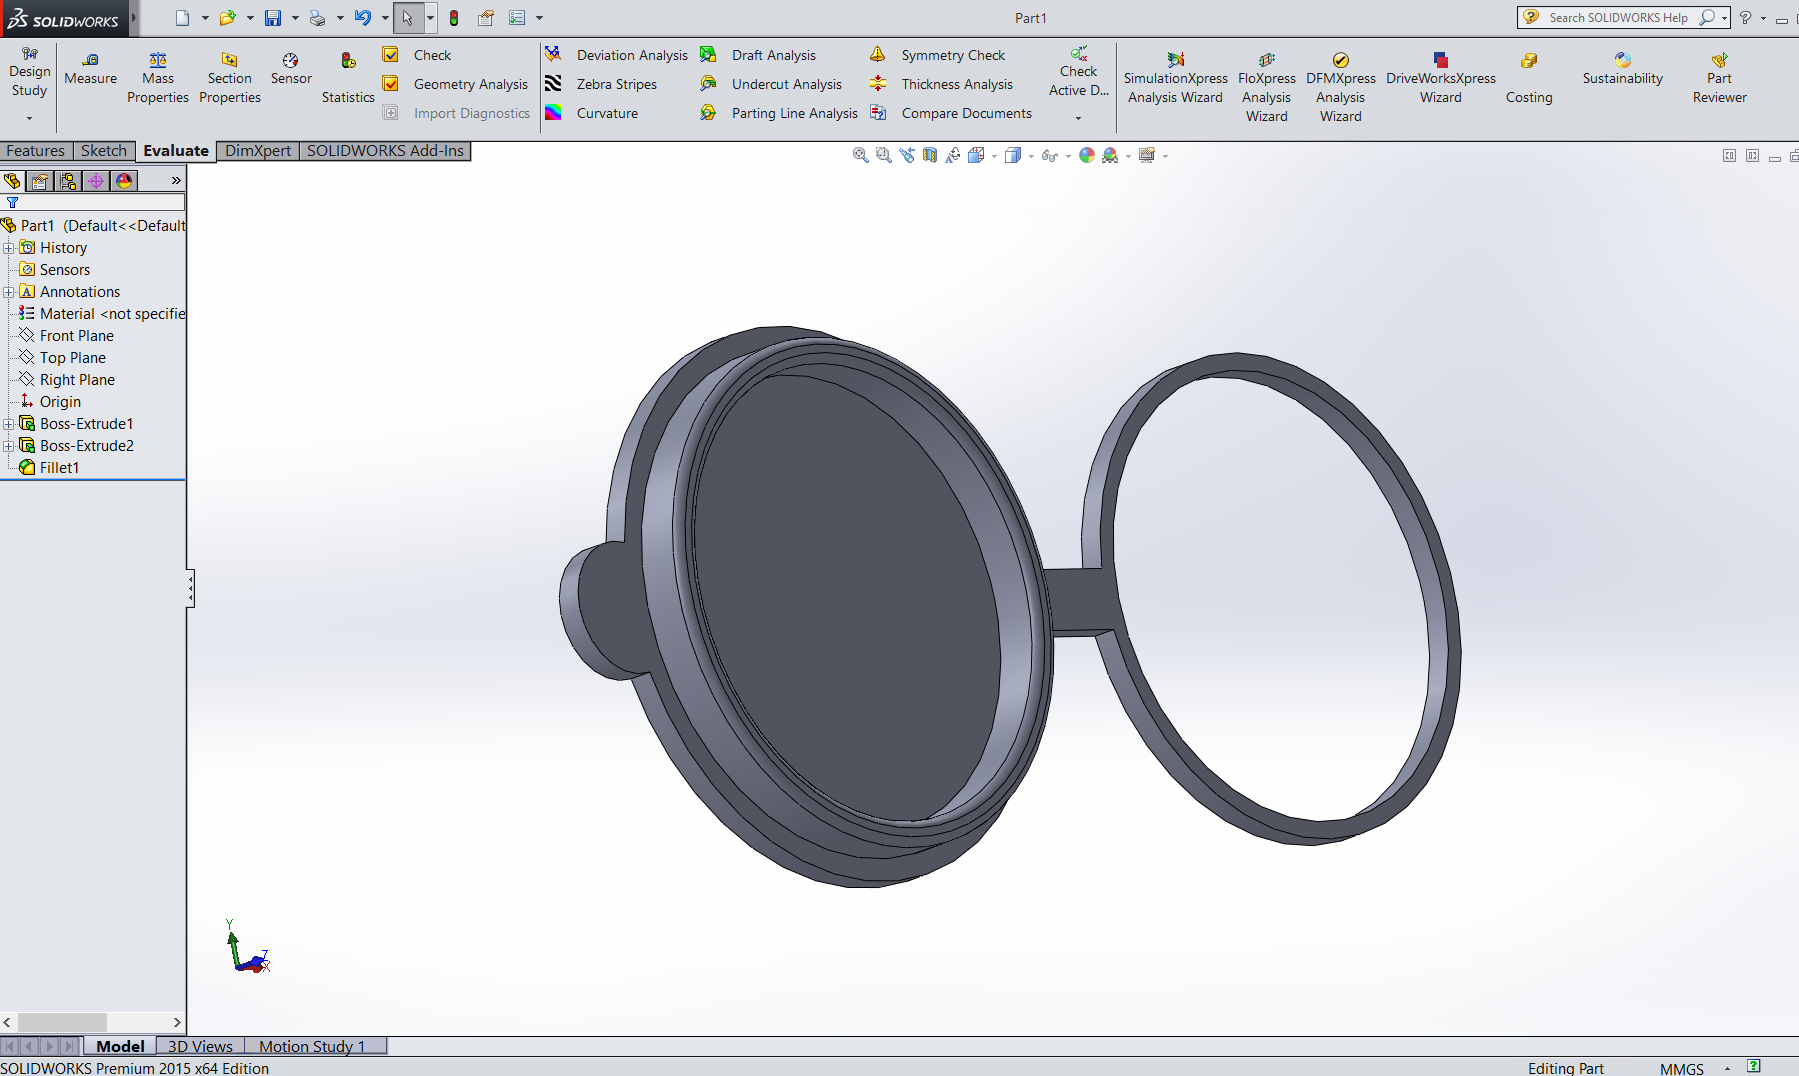
You can use whatever CAD software to create your cap design, here in the attached screen-shots I used Solidworks to prepare the design.
If you don't know how to use a CAD software then maybe you want to just download the STL file of the design that I prepared.
If you already made your own cap design then make sure to save it as (.stl) file or as (.obj) file format to open it from the 3D printer slicer.
Downloads
3D Print the Design
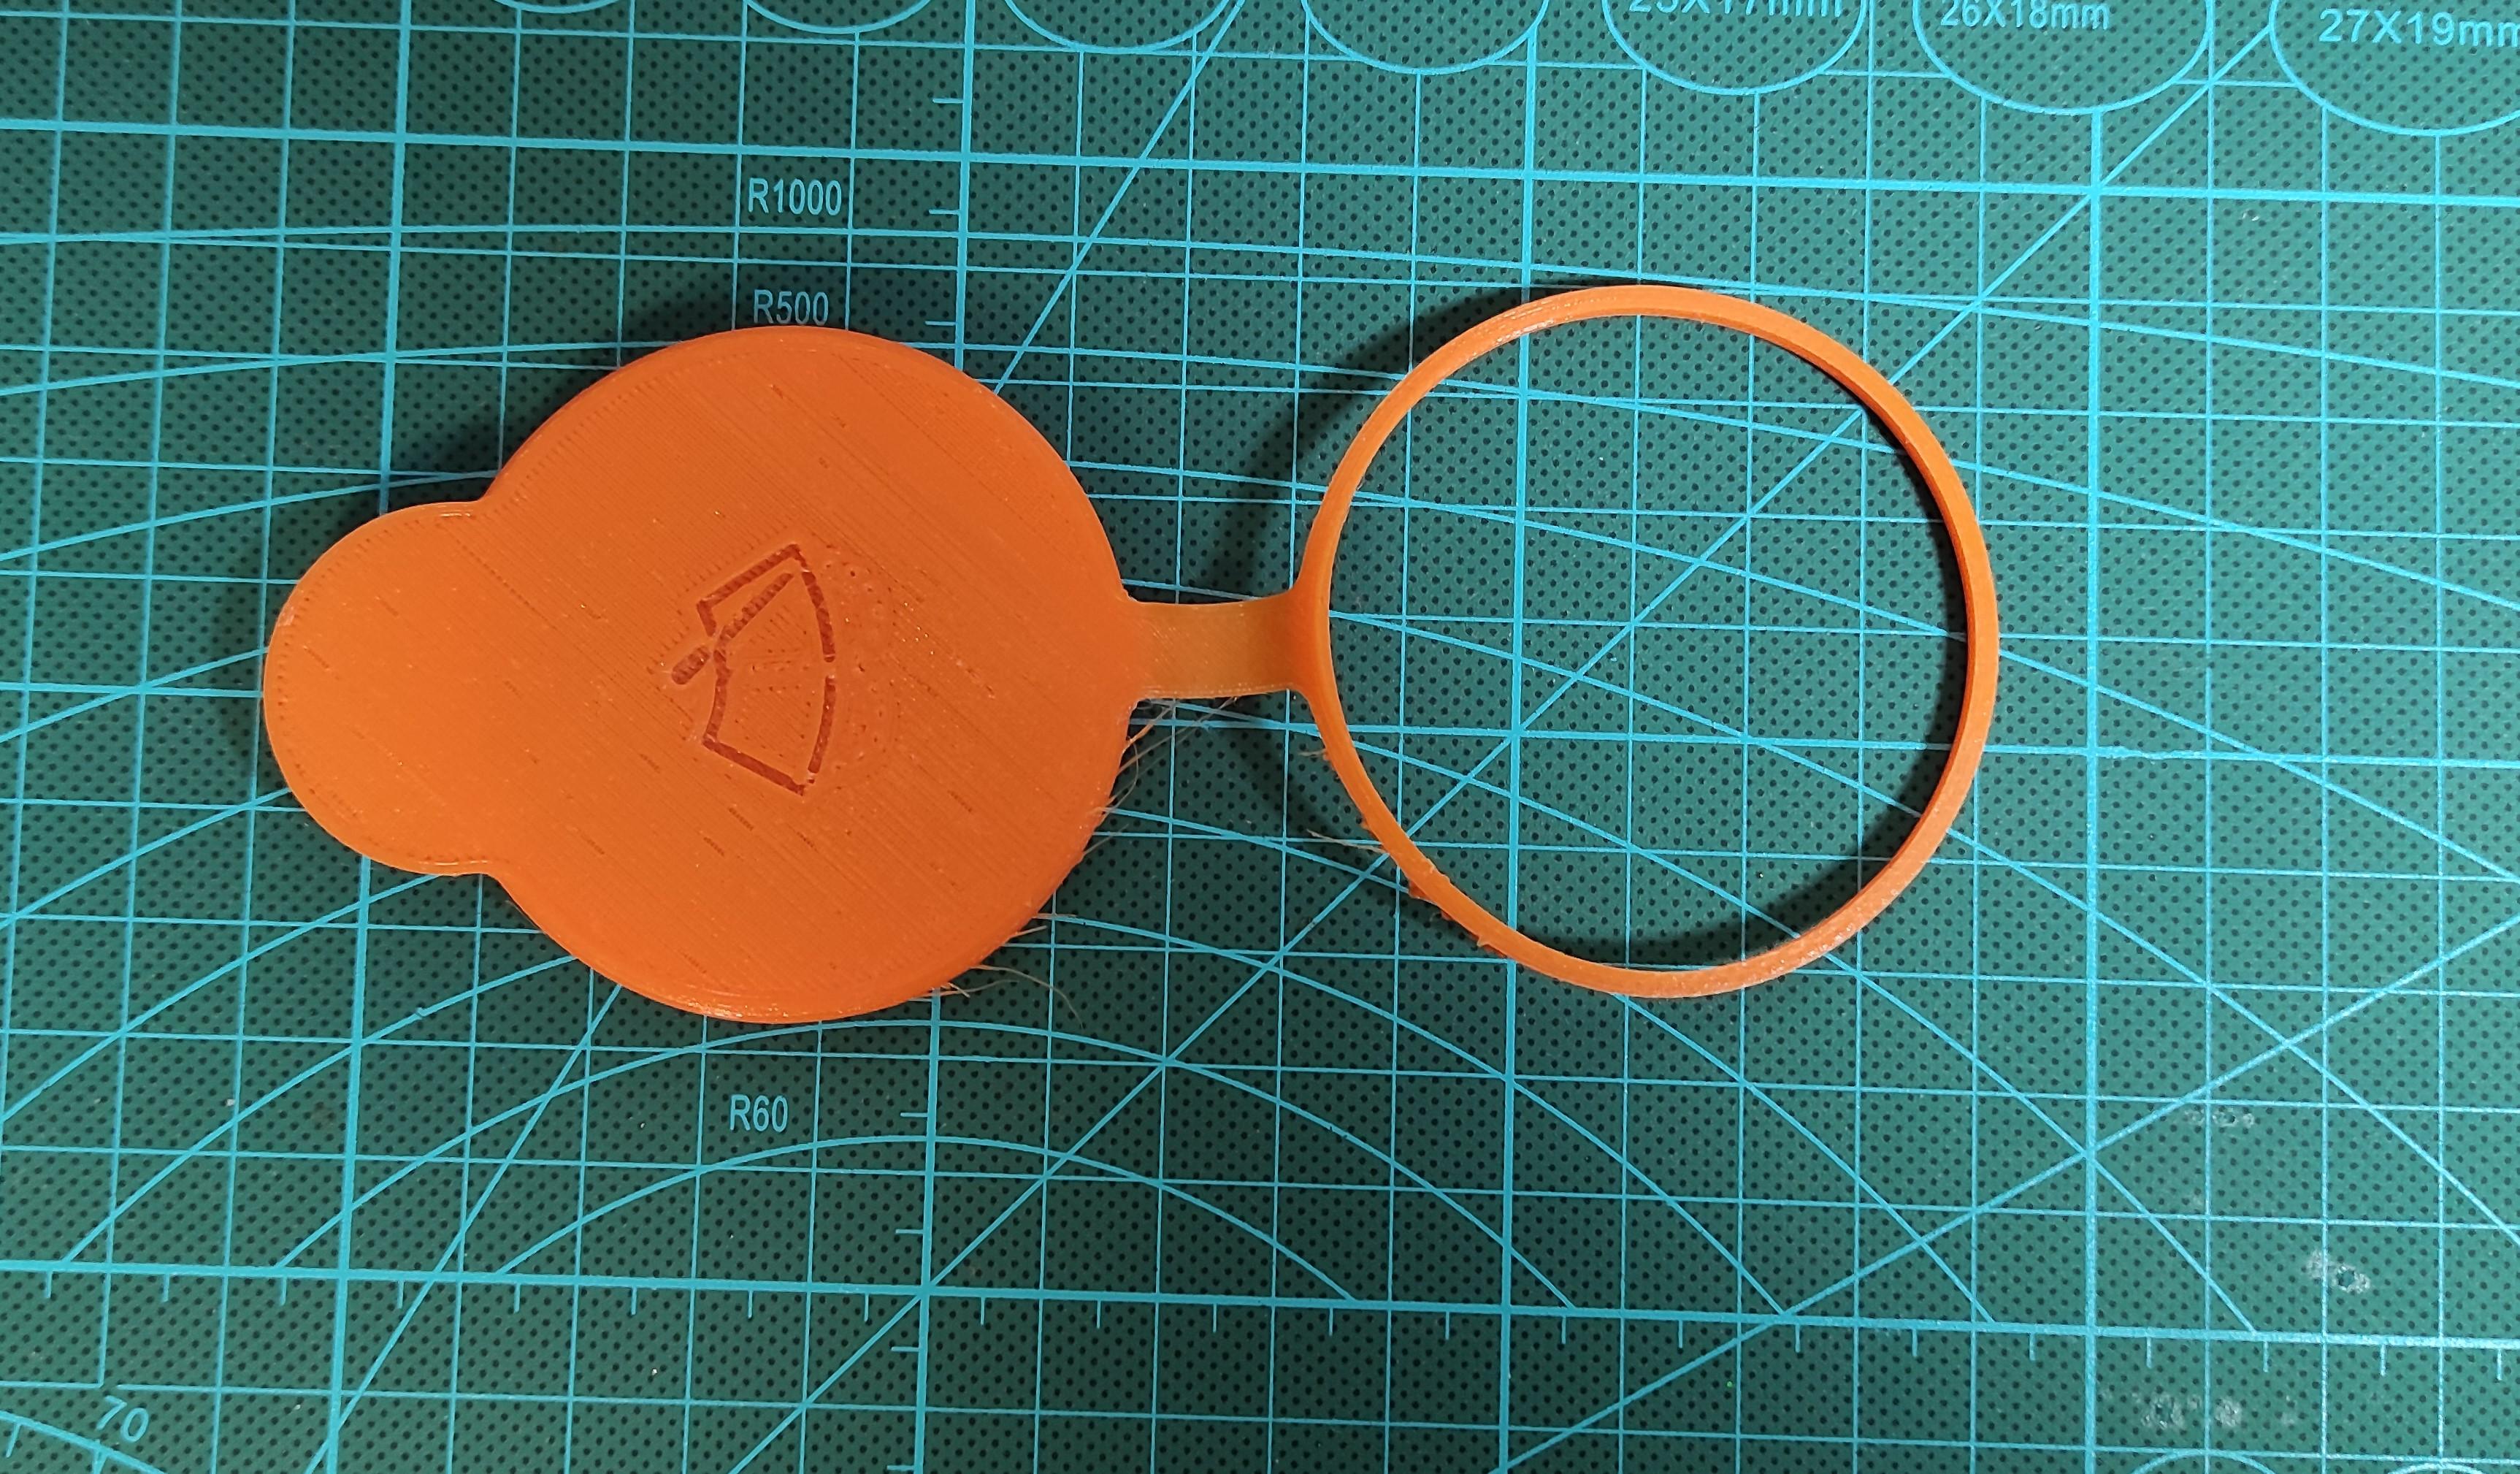
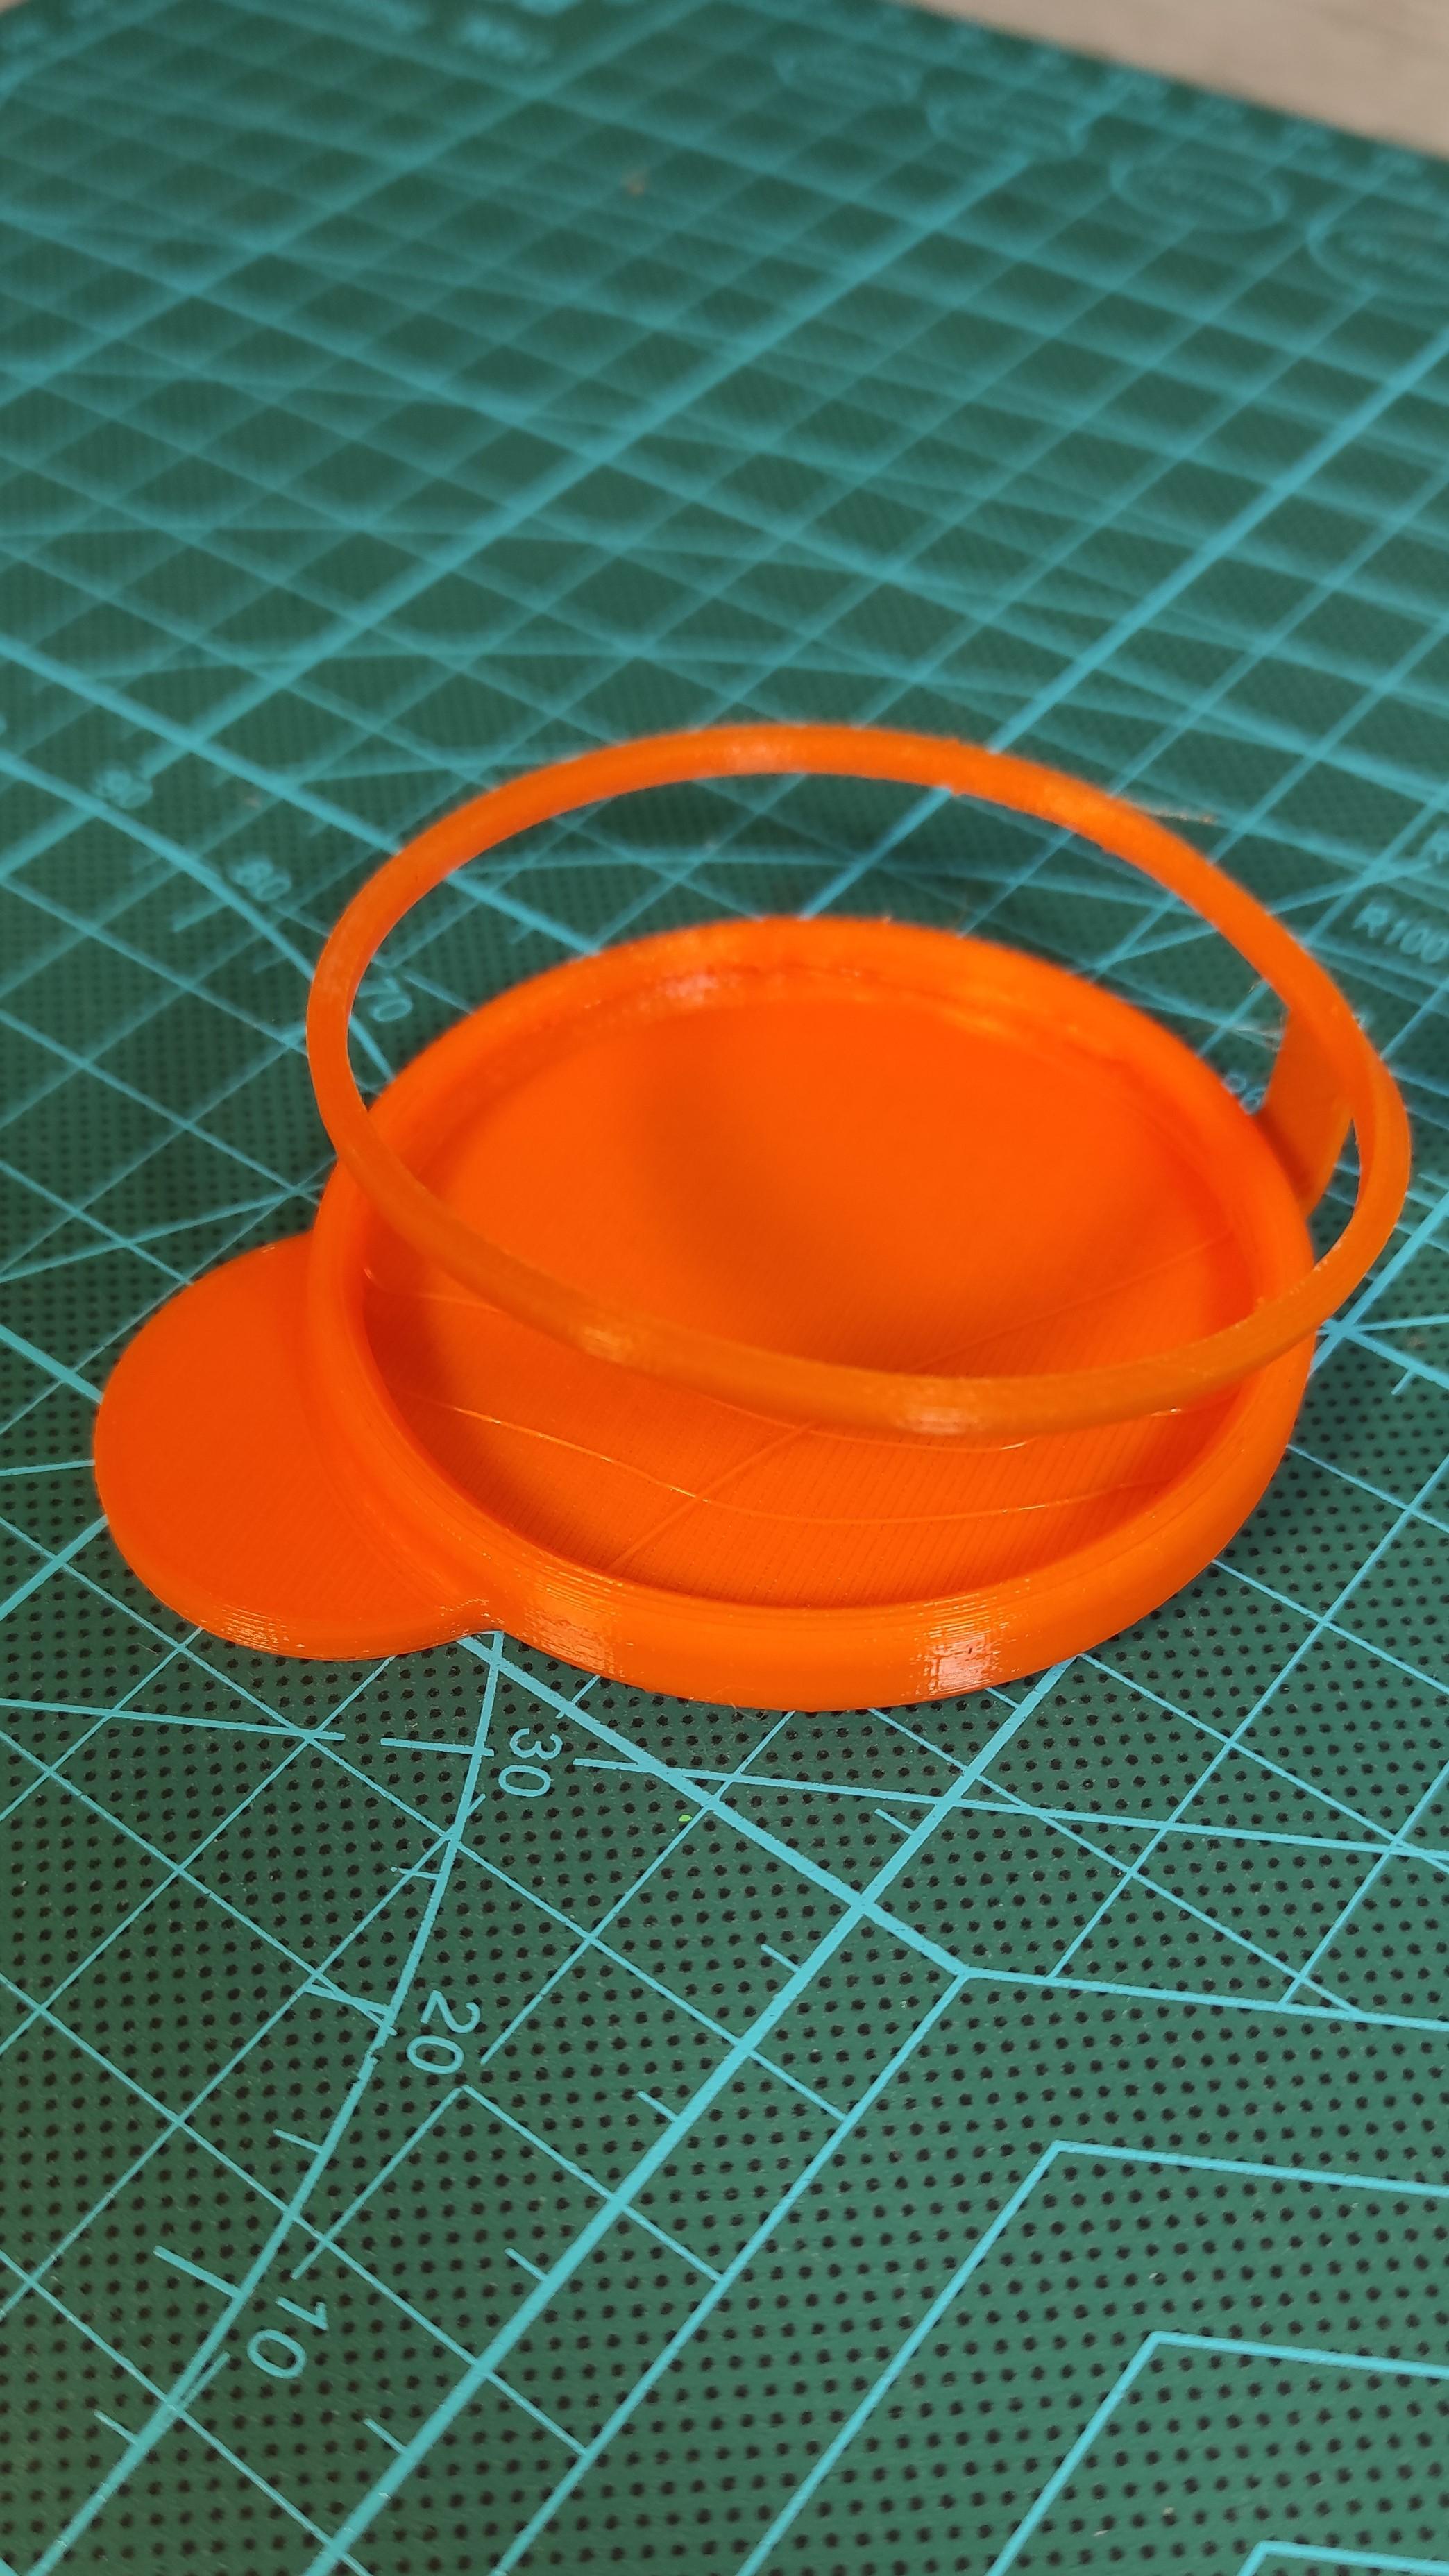
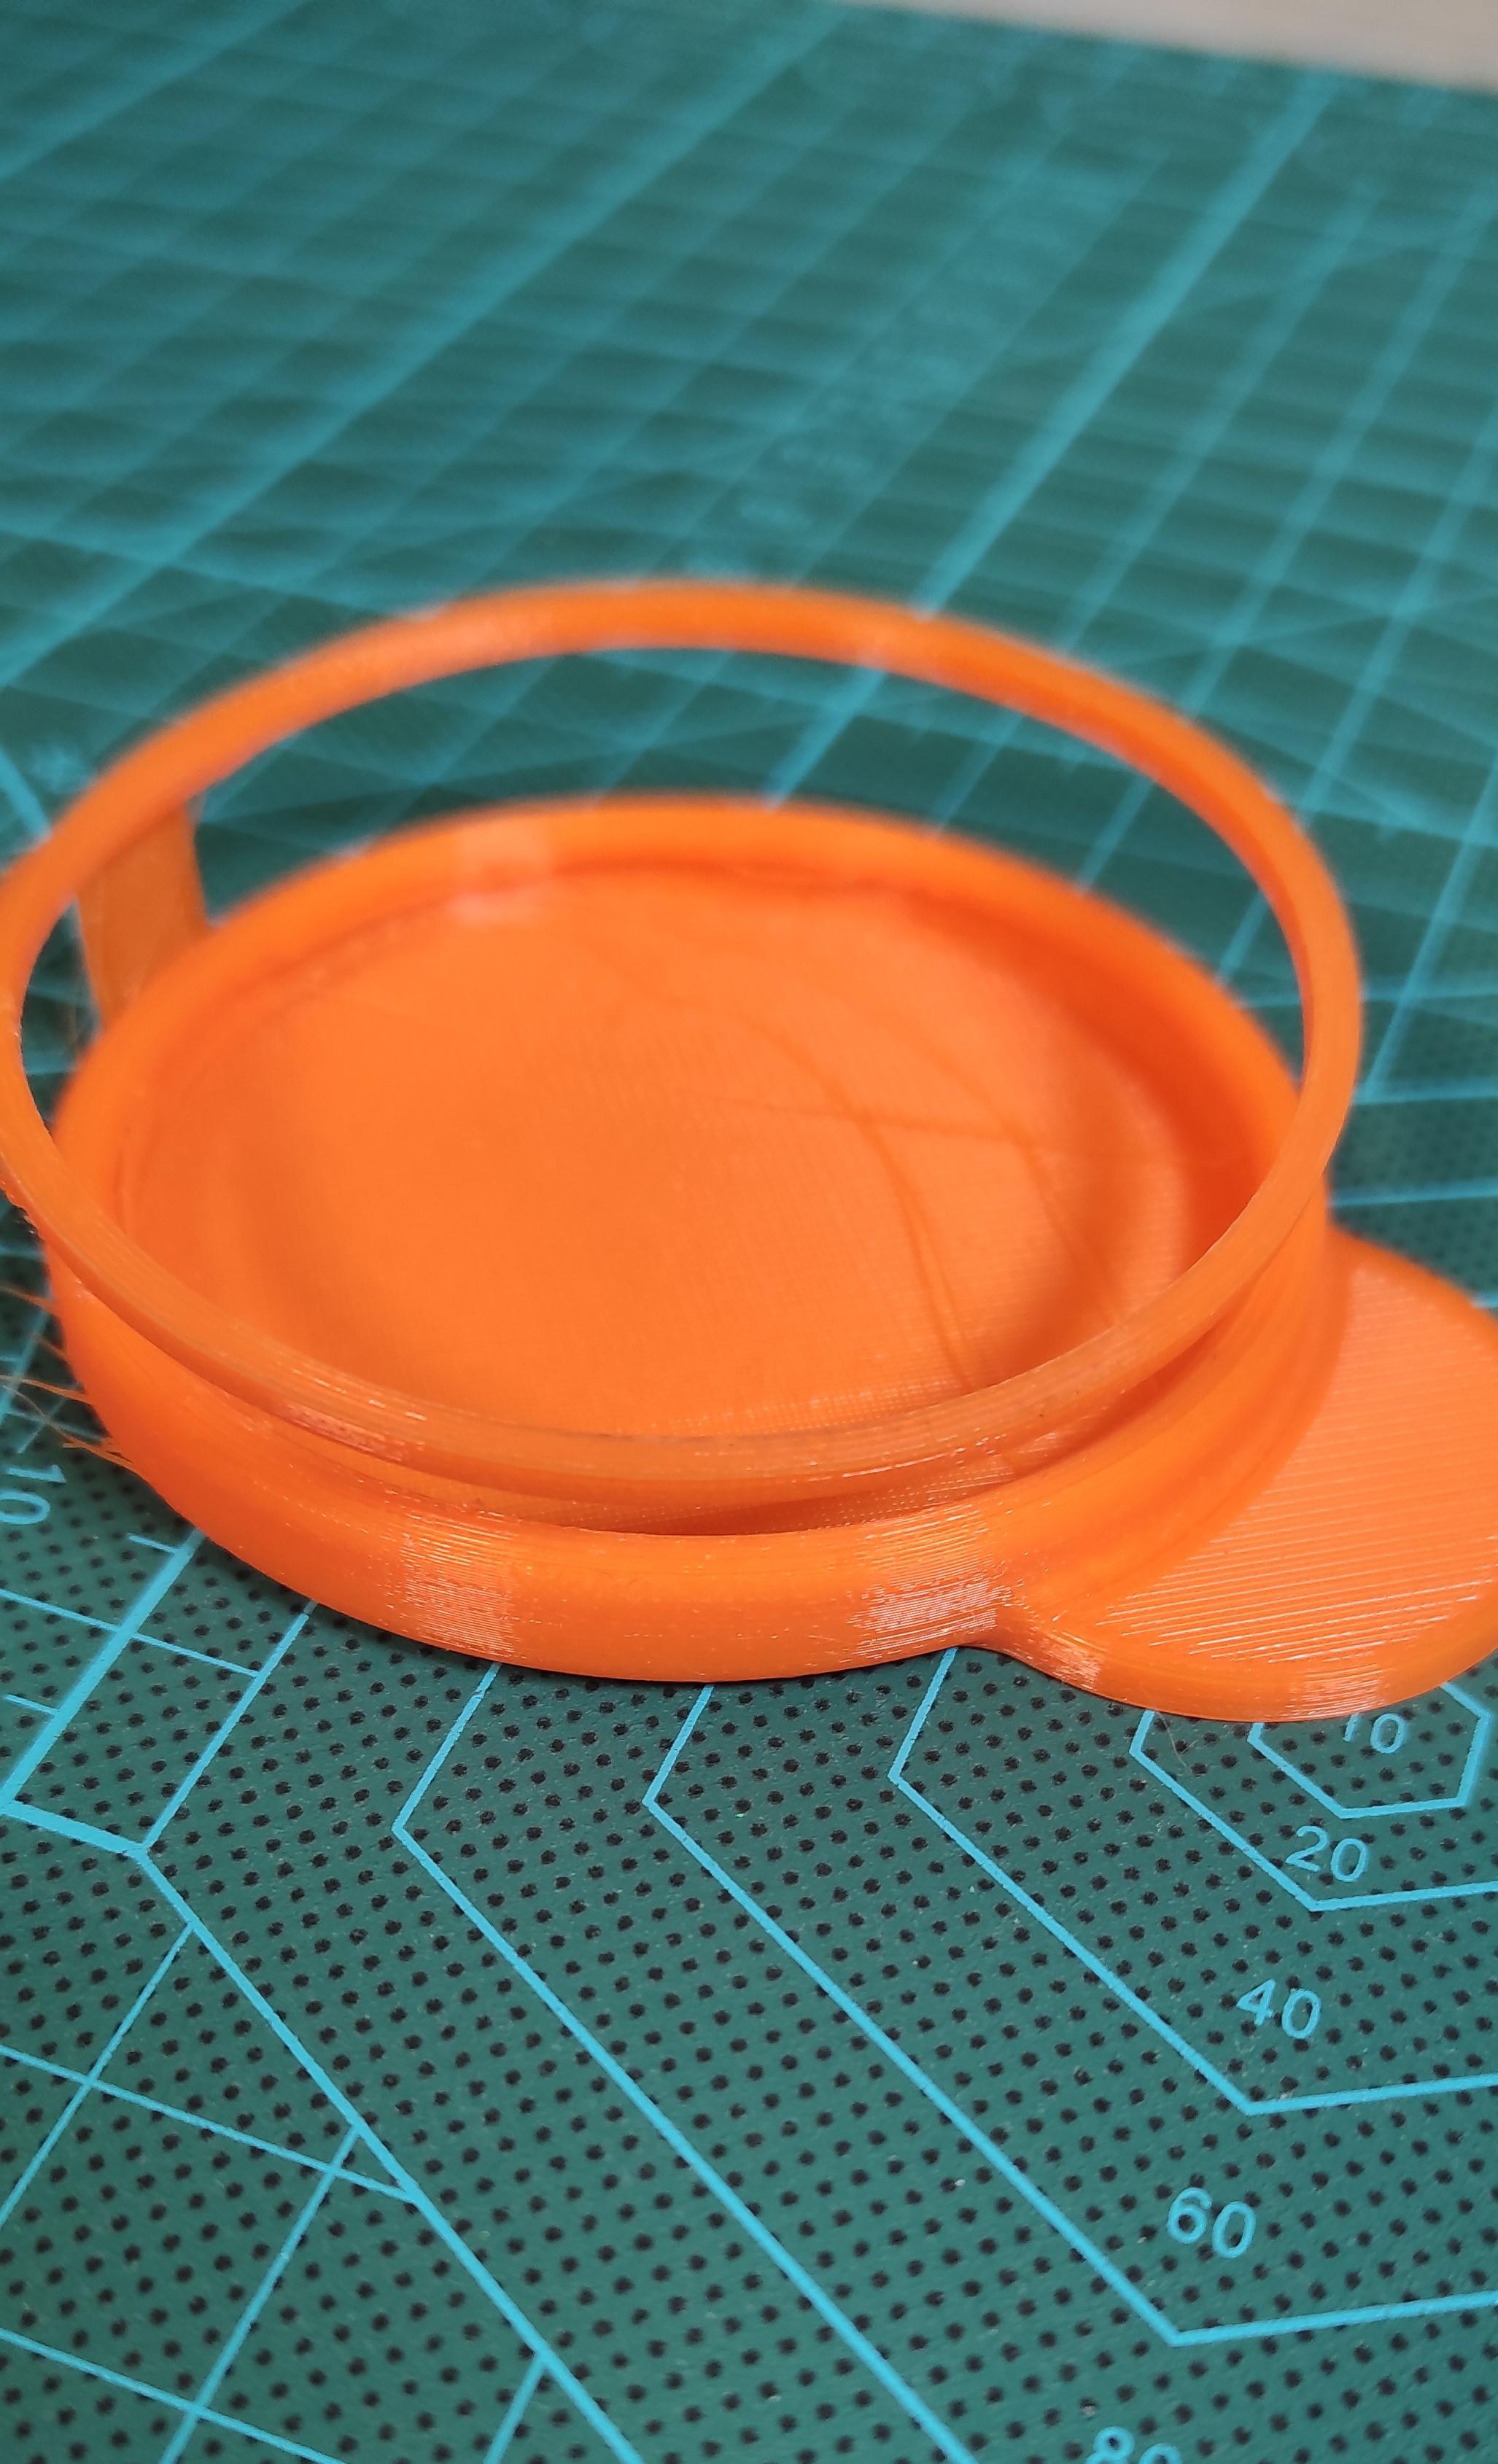
Now the practicing step is here! maybe I didn't noted this from the beginning but this project is not receivables if you don't use a 3D printer.
Make sure that you are using a flex filament for this job with a 0.15 layer height and 100% infill density.
If you want to produce the part using a PLA or ABS the I recommend to increase the design size to 104% scale to compensate for shrinkage.
Put It in Place
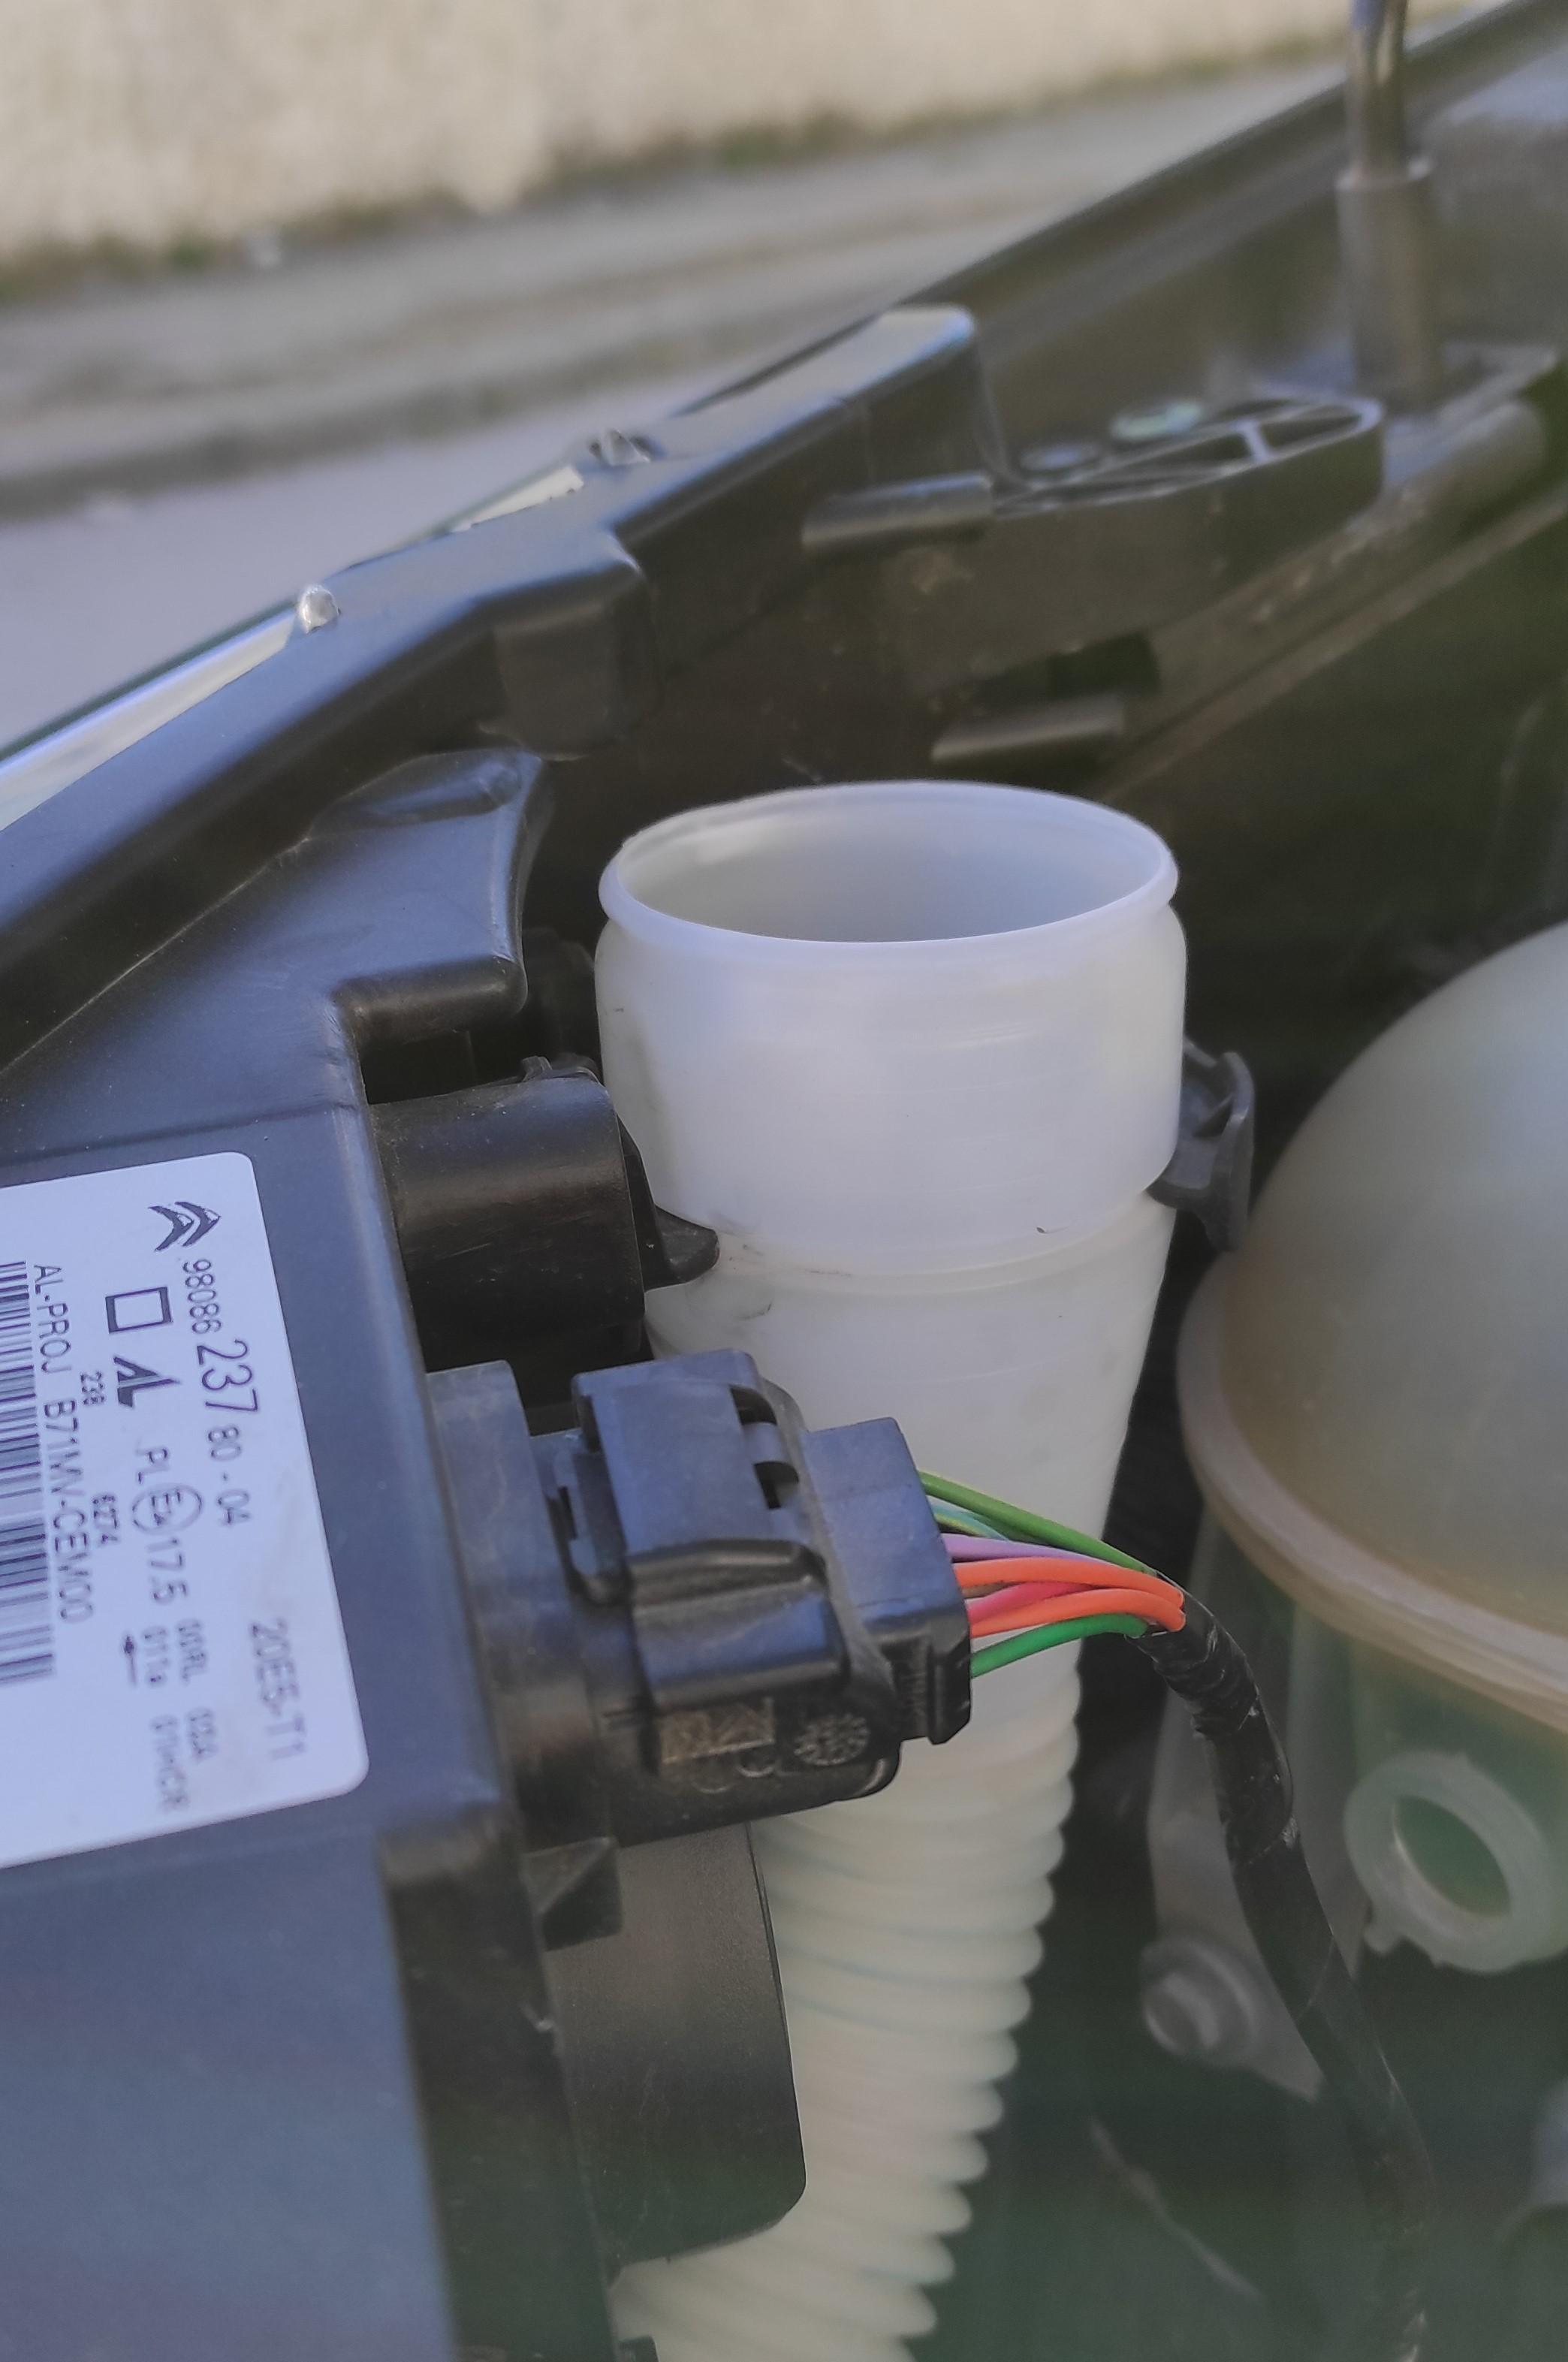
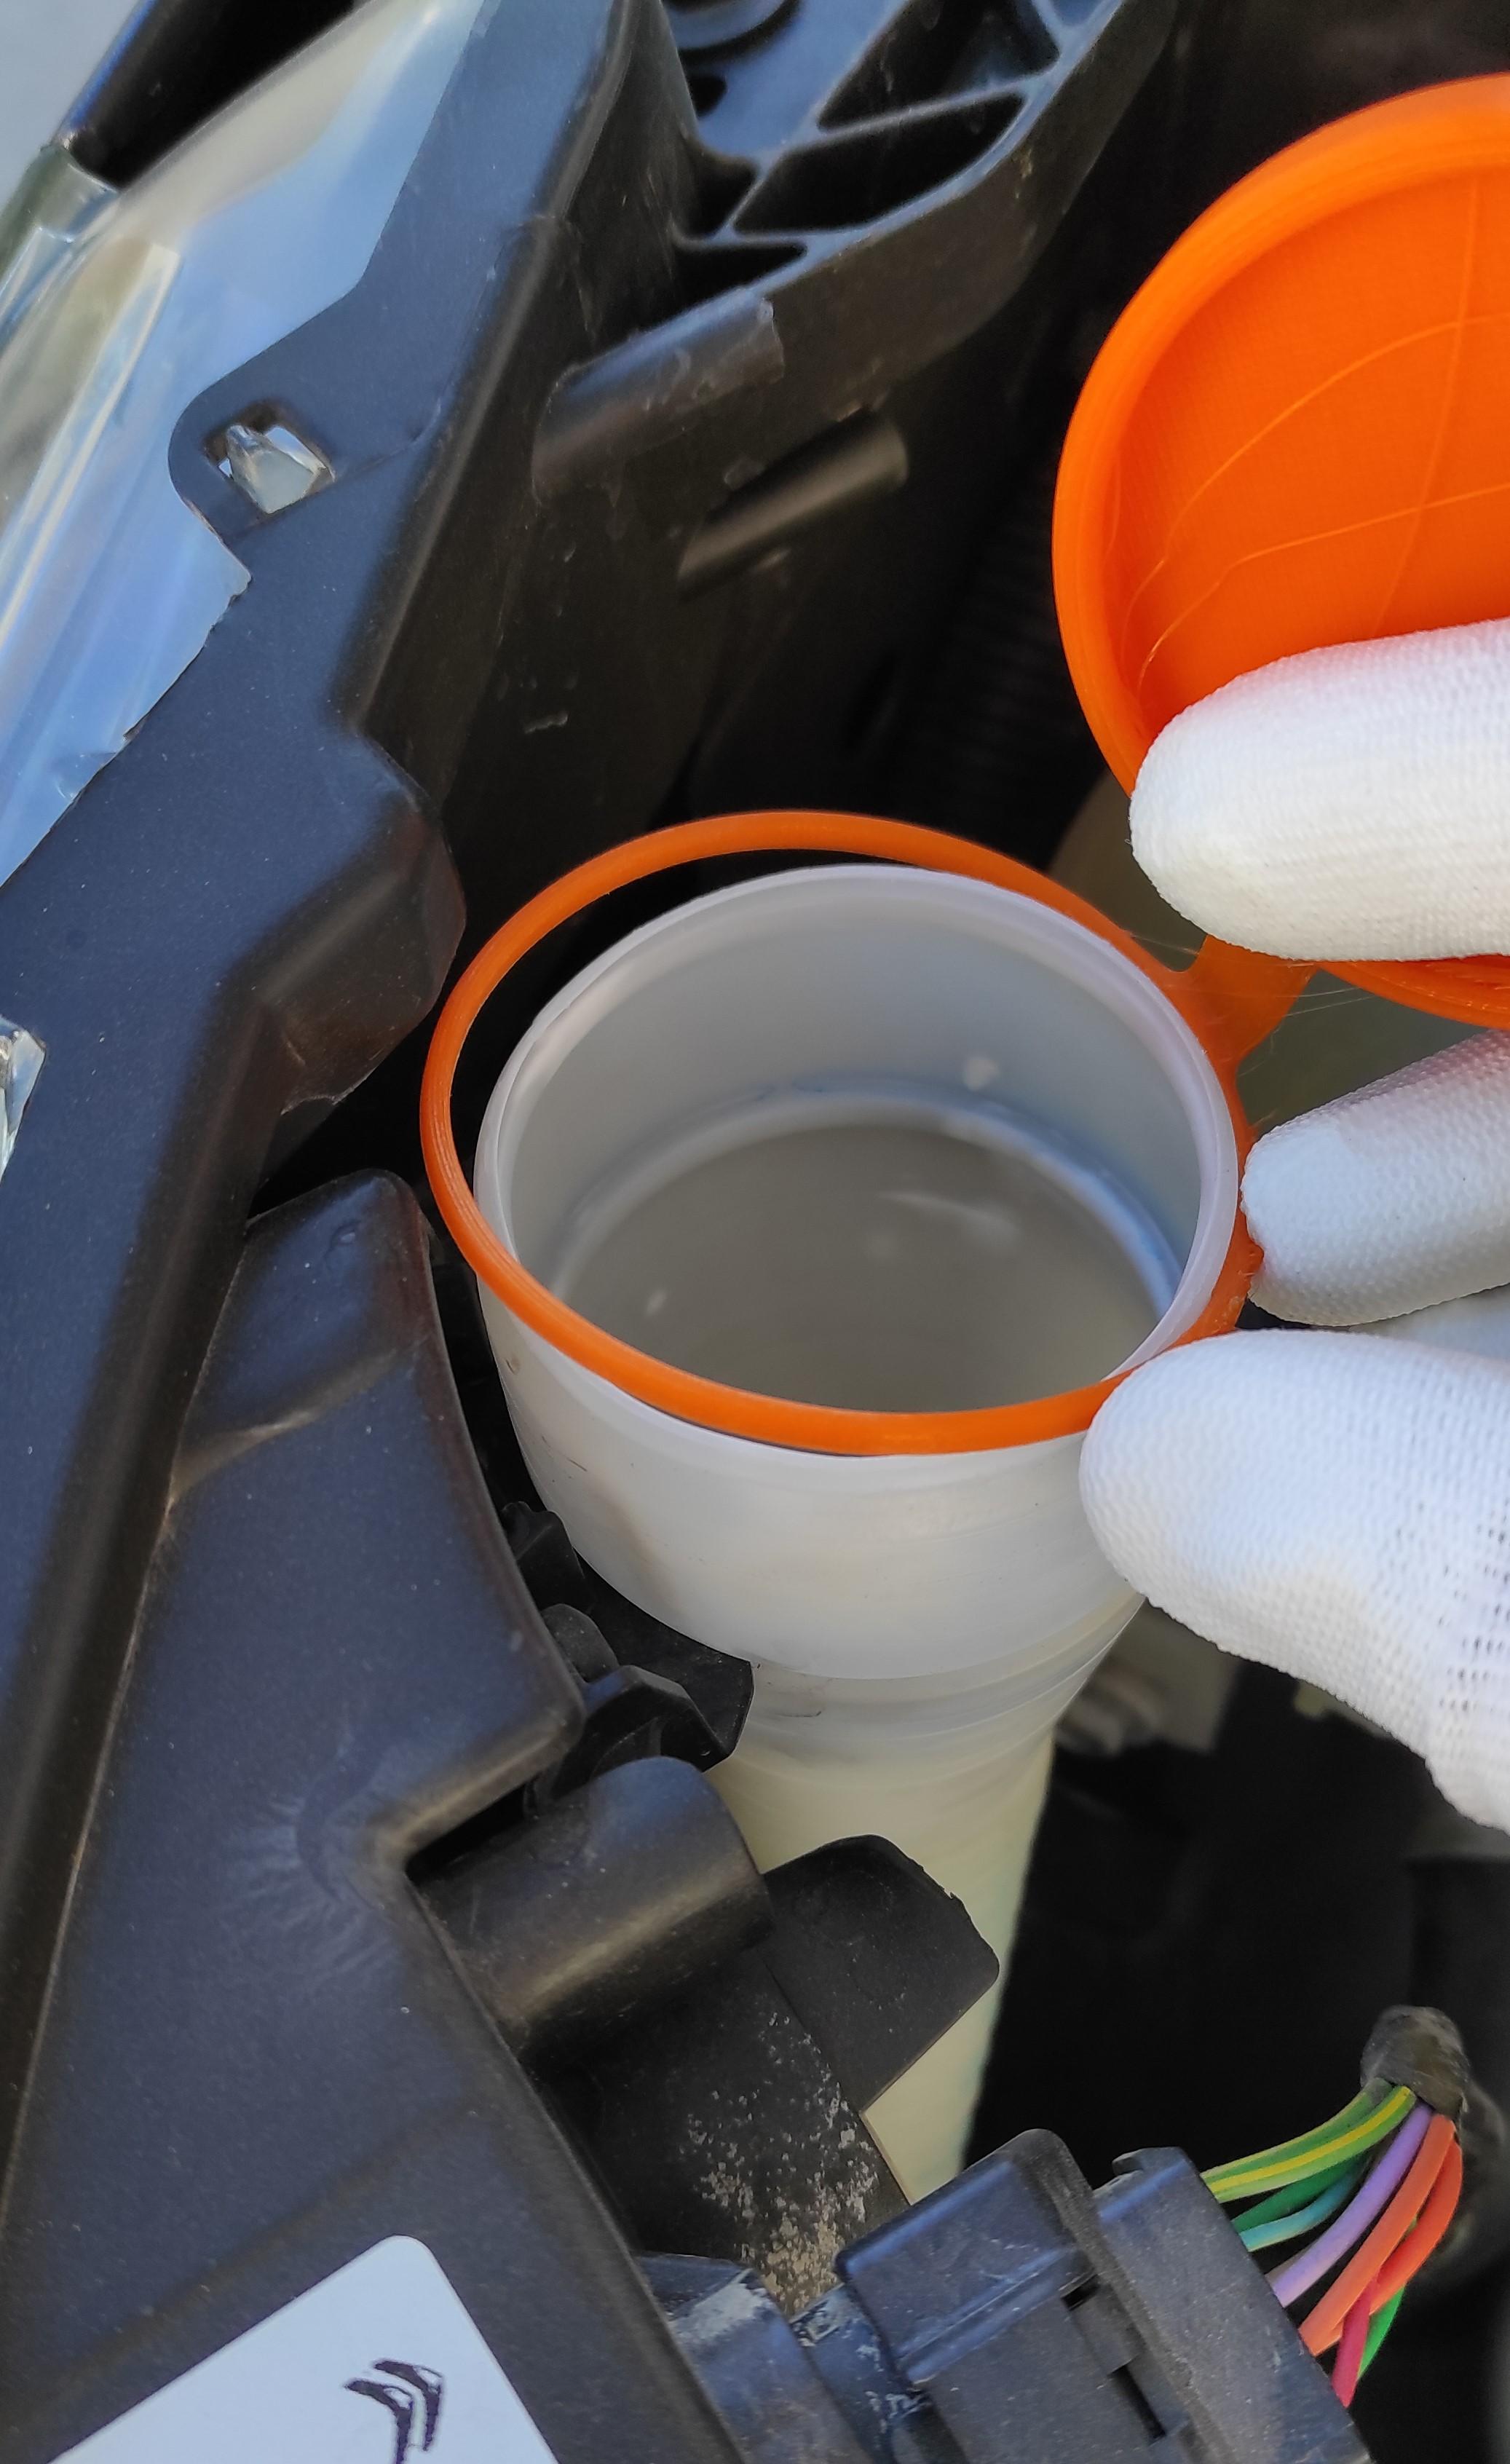
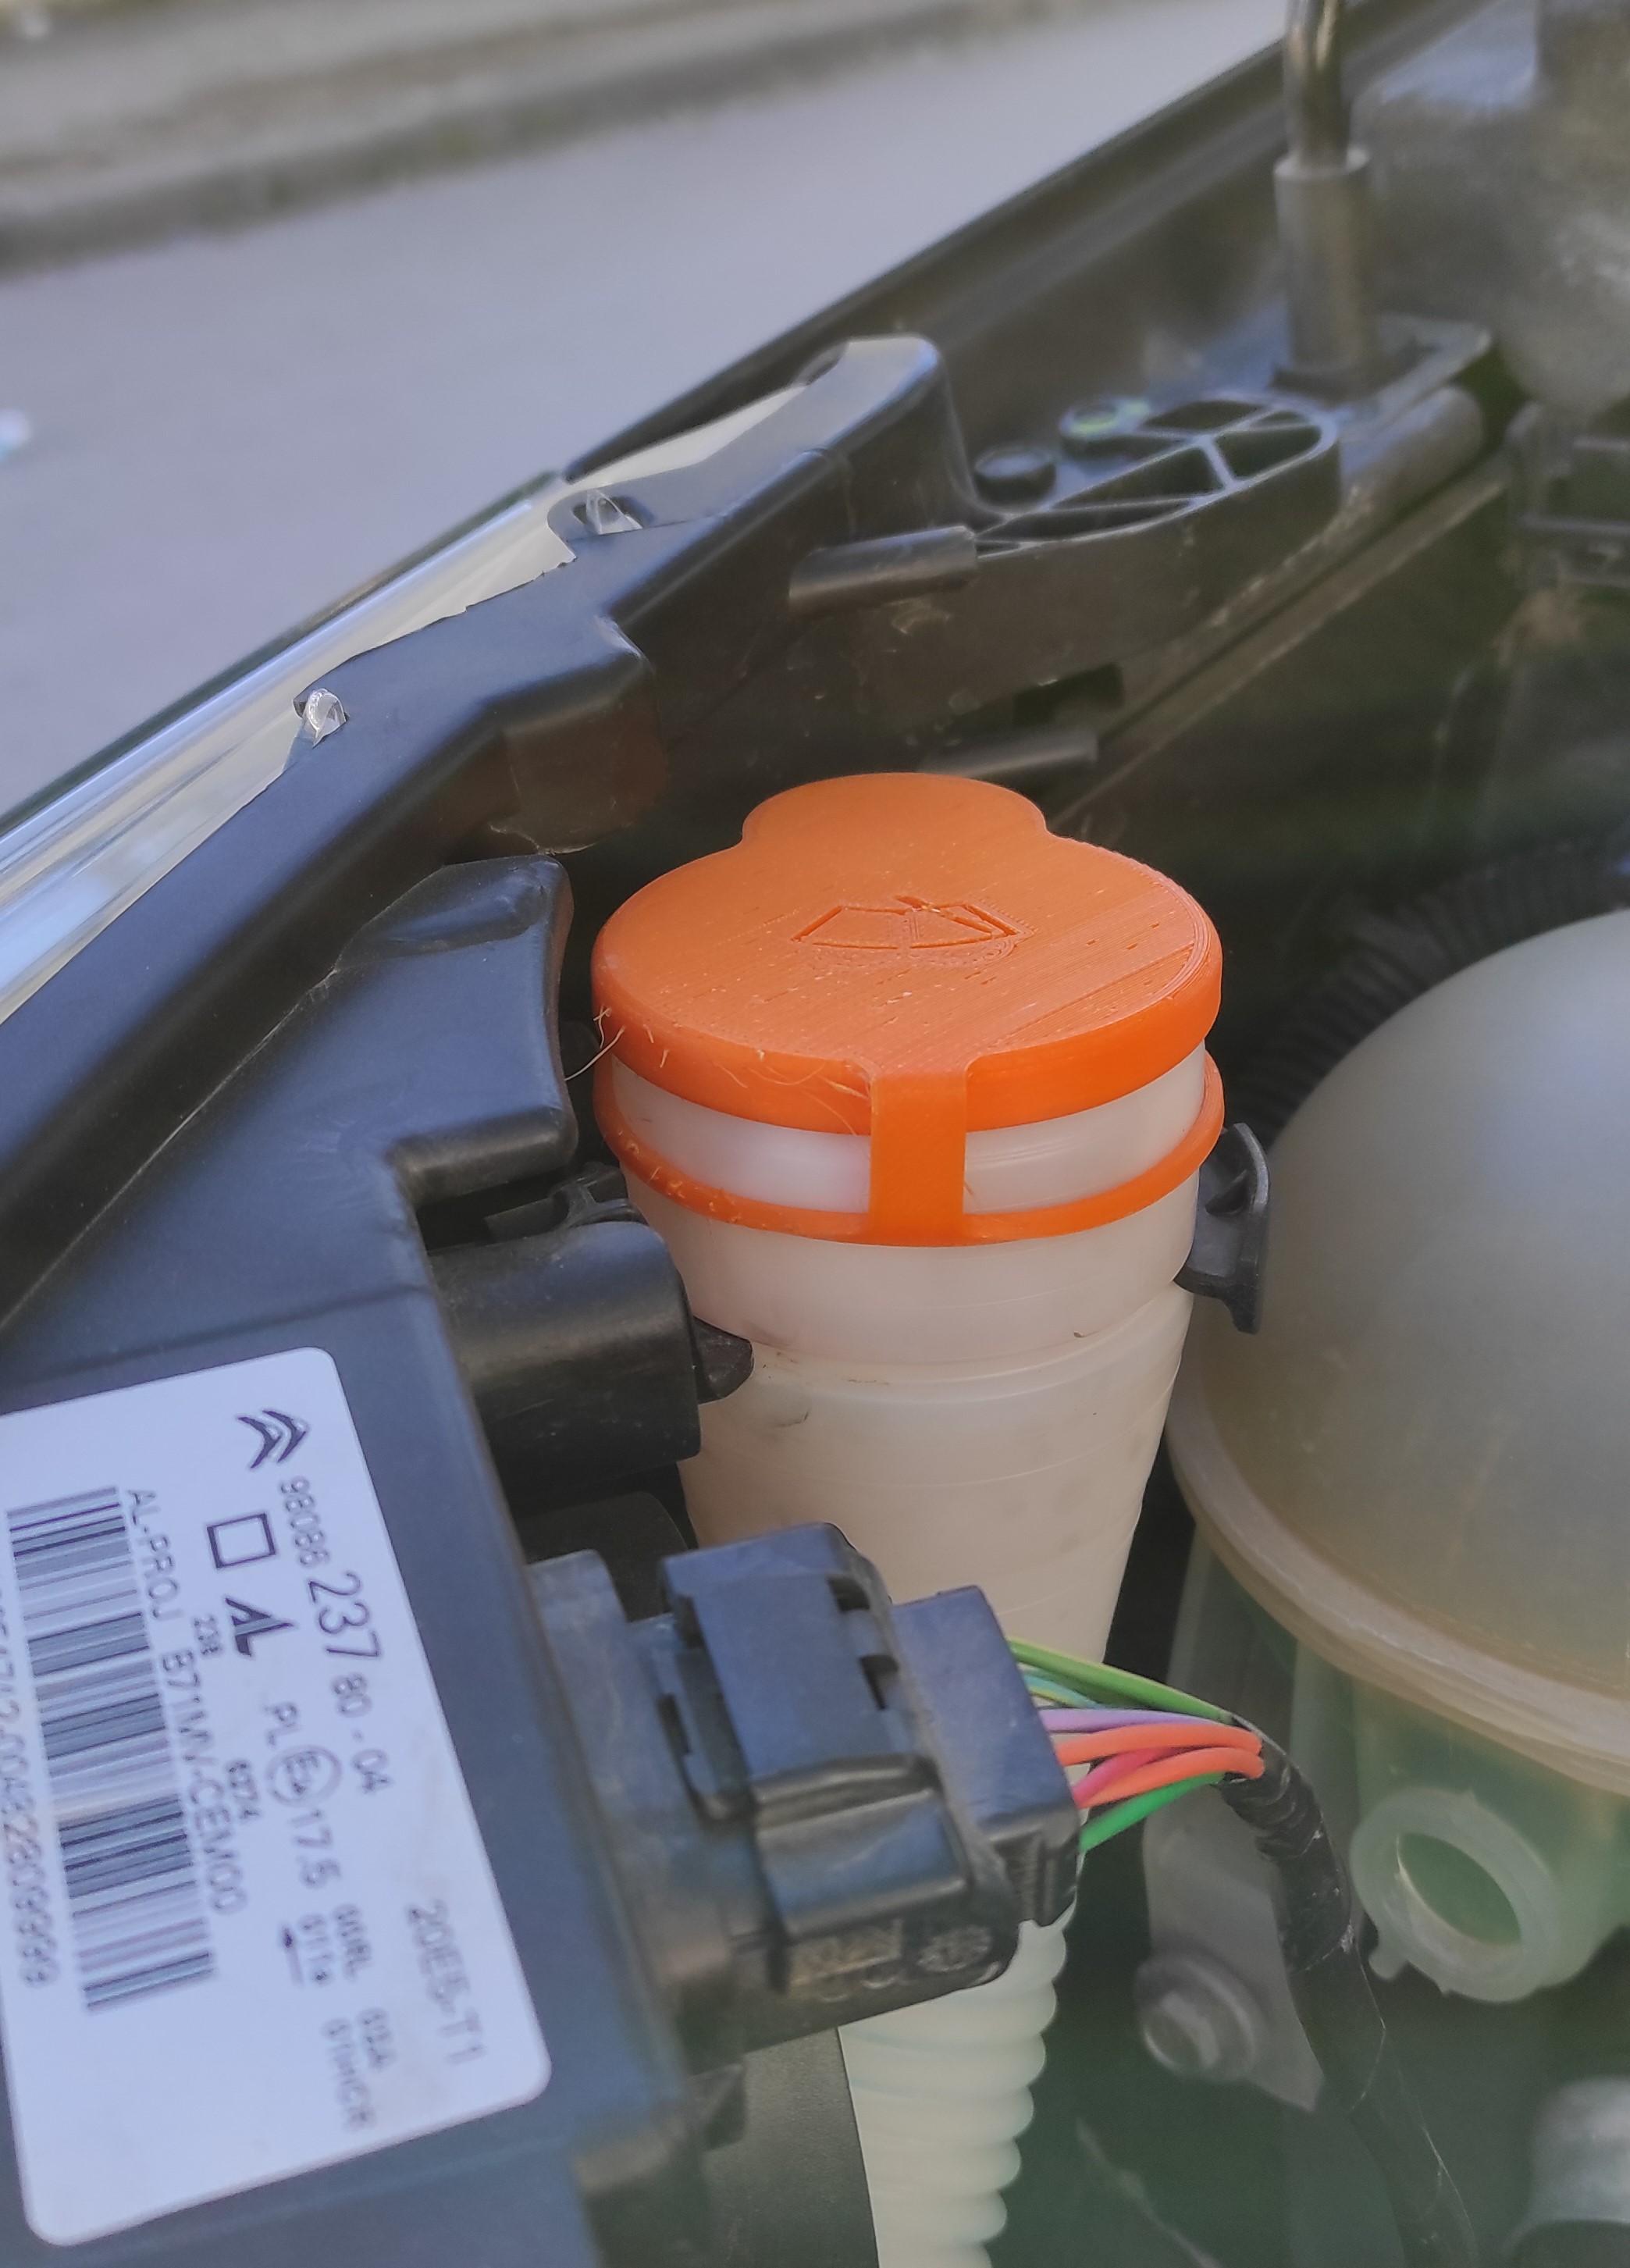
This is the final step, it is obvious what it is about!
Just take the 3D printed cap and put it in place, check the cap from time to time to make sure the cap fits properly.
Keep up your creative mind.