DIY Bluetooth Controlled Lights: Home Automation Using Arduino Uno
by piyushsuteri in Circuits > Arduino
6976 Views, 12 Favorites, 0 Comments
DIY Bluetooth Controlled Lights: Home Automation Using Arduino Uno
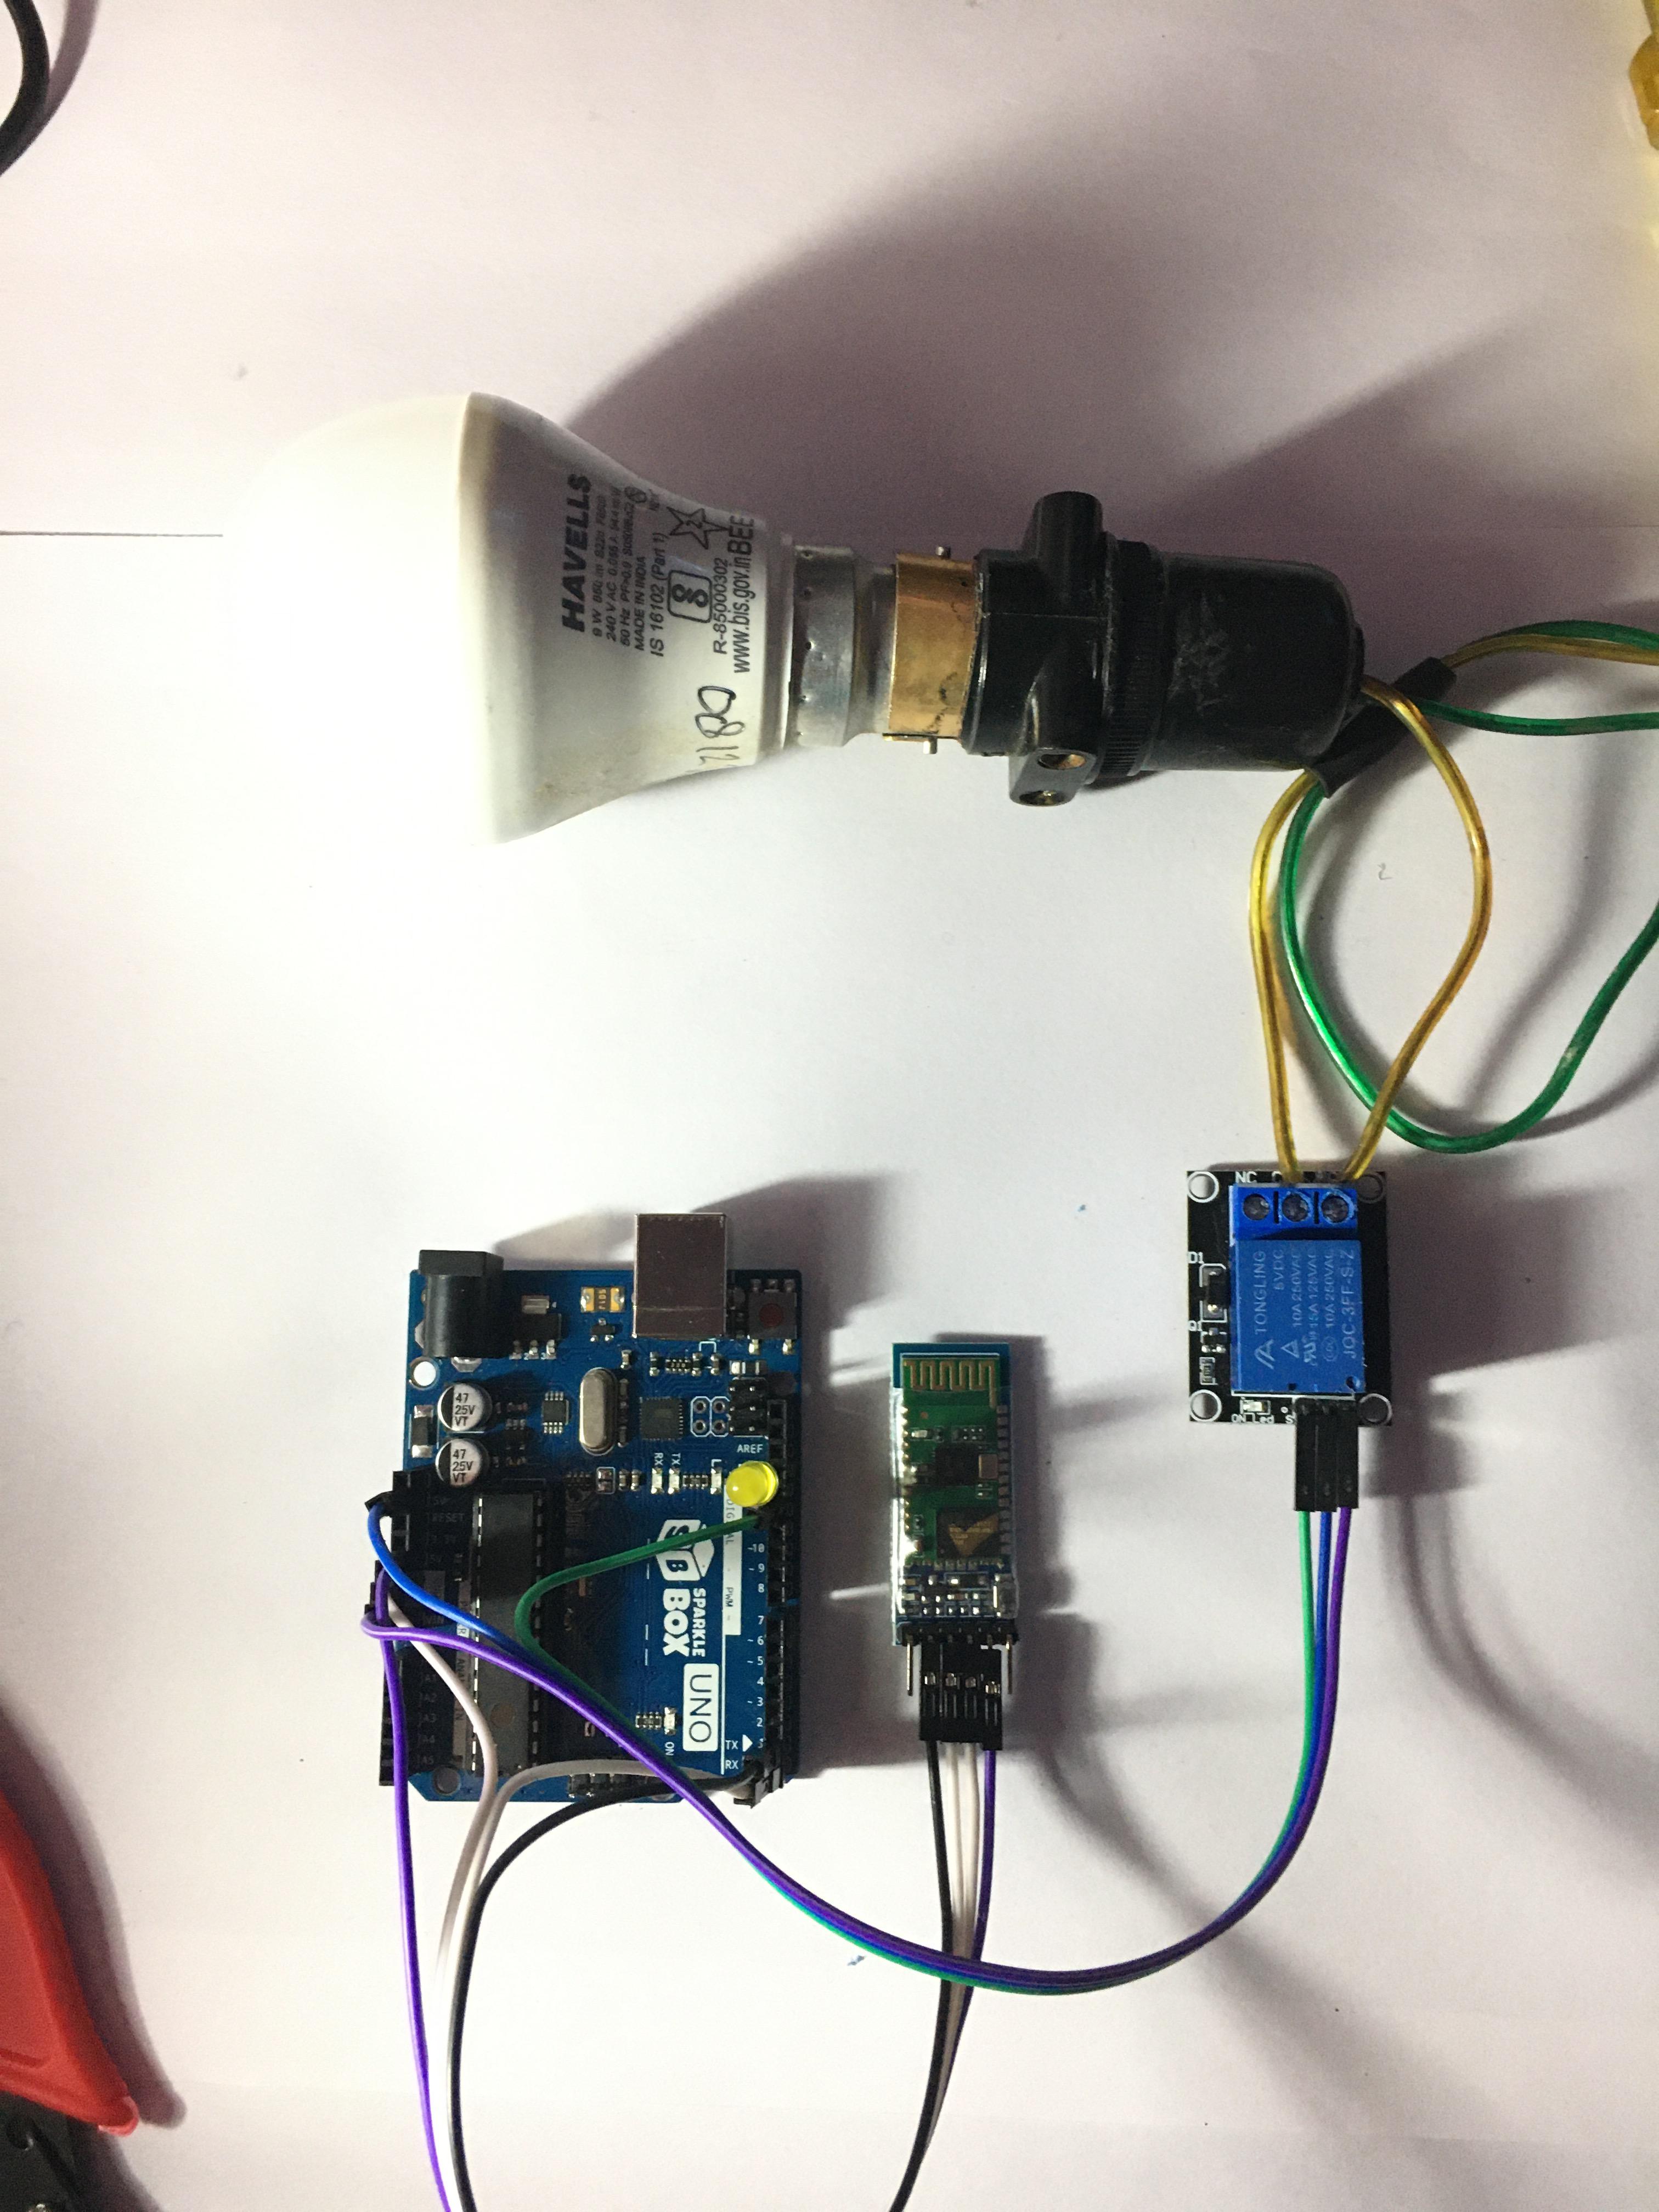
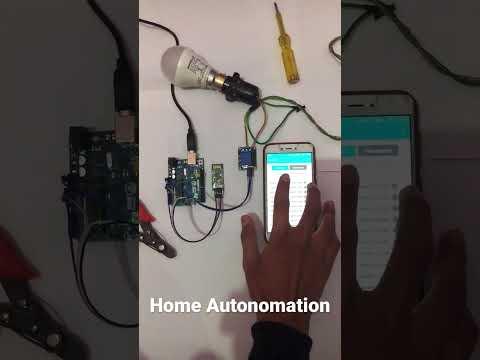
In this tutorial, we will be exploring how to make a DIY Bluetooth-controlled light using an Arduino Uno and HC-05 Bluetooth module. This project is an excellent introduction to IoT and a great way to learn about electronics and programming. With just a few components and some basic coding skills, you can build your Bluetooth-controlled light that can be operated from your smartphone or tablet. Firstly let me give a brief introduction to the project.
Why to use Bluetooth?
Bluetooth is a wireless communication technology that allows electronic devices to connect and exchange data over short distances. It operates on the 2.4 GHz frequency band and uses radio waves to transmit and receive data between devices. Also, there is one more famous wireless technology which is Wi-Fi. We can also use wi-fi for home autonomation projects. Commonly available modules for wifi are NodeMcu ESP8266 and ESP32 but they are not too easy to use and code, on the other hand, the Bluetooth module is very easy to use and even faster to communicate over short distances. That is why we are going to use a very common Bluetooth Module HC-05 for this project.
Bluetooth controlled Smart lights -
A Bluetooth-controlled smart light using Arduino Uno is an innovative project that combines the power of Bluetooth technology and the flexibility of Arduino microcontrollers to create a smart lighting system that can be controlled wirelessly using a smartphone or tablet. With this project, you can turn on/off your lights with just a few taps on your mobile device. For this project, you will need the following components.
Supplies
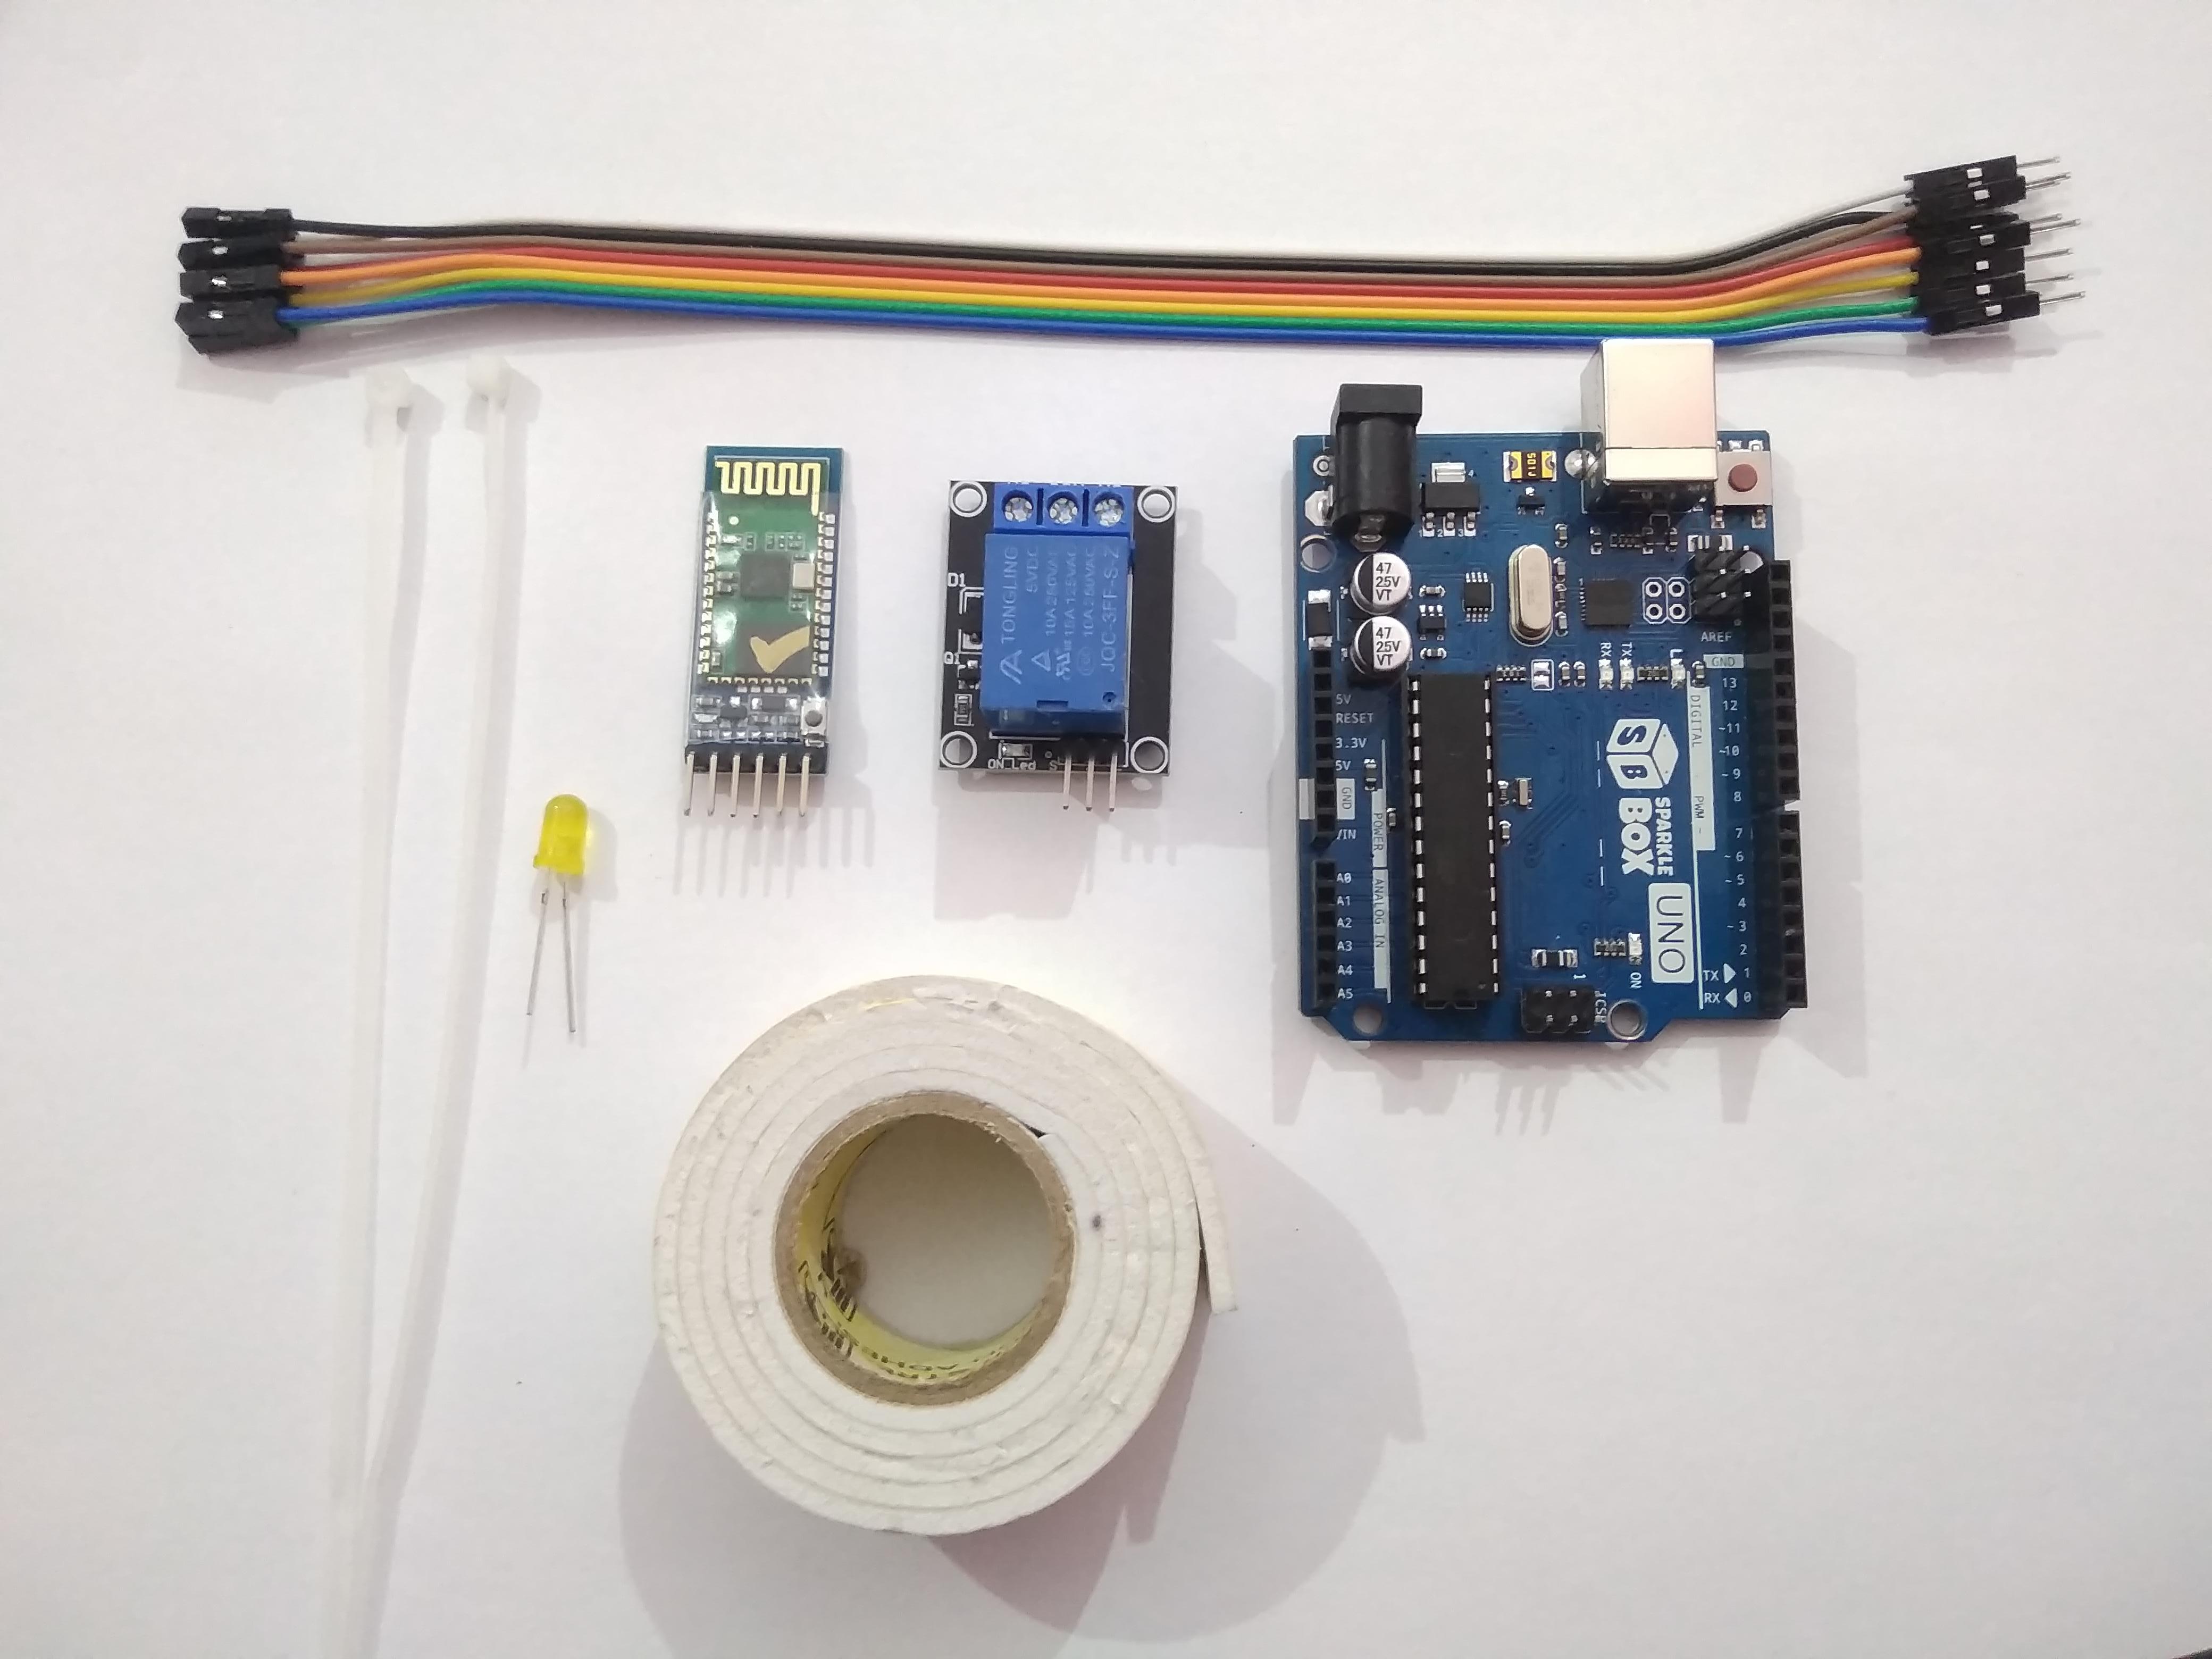
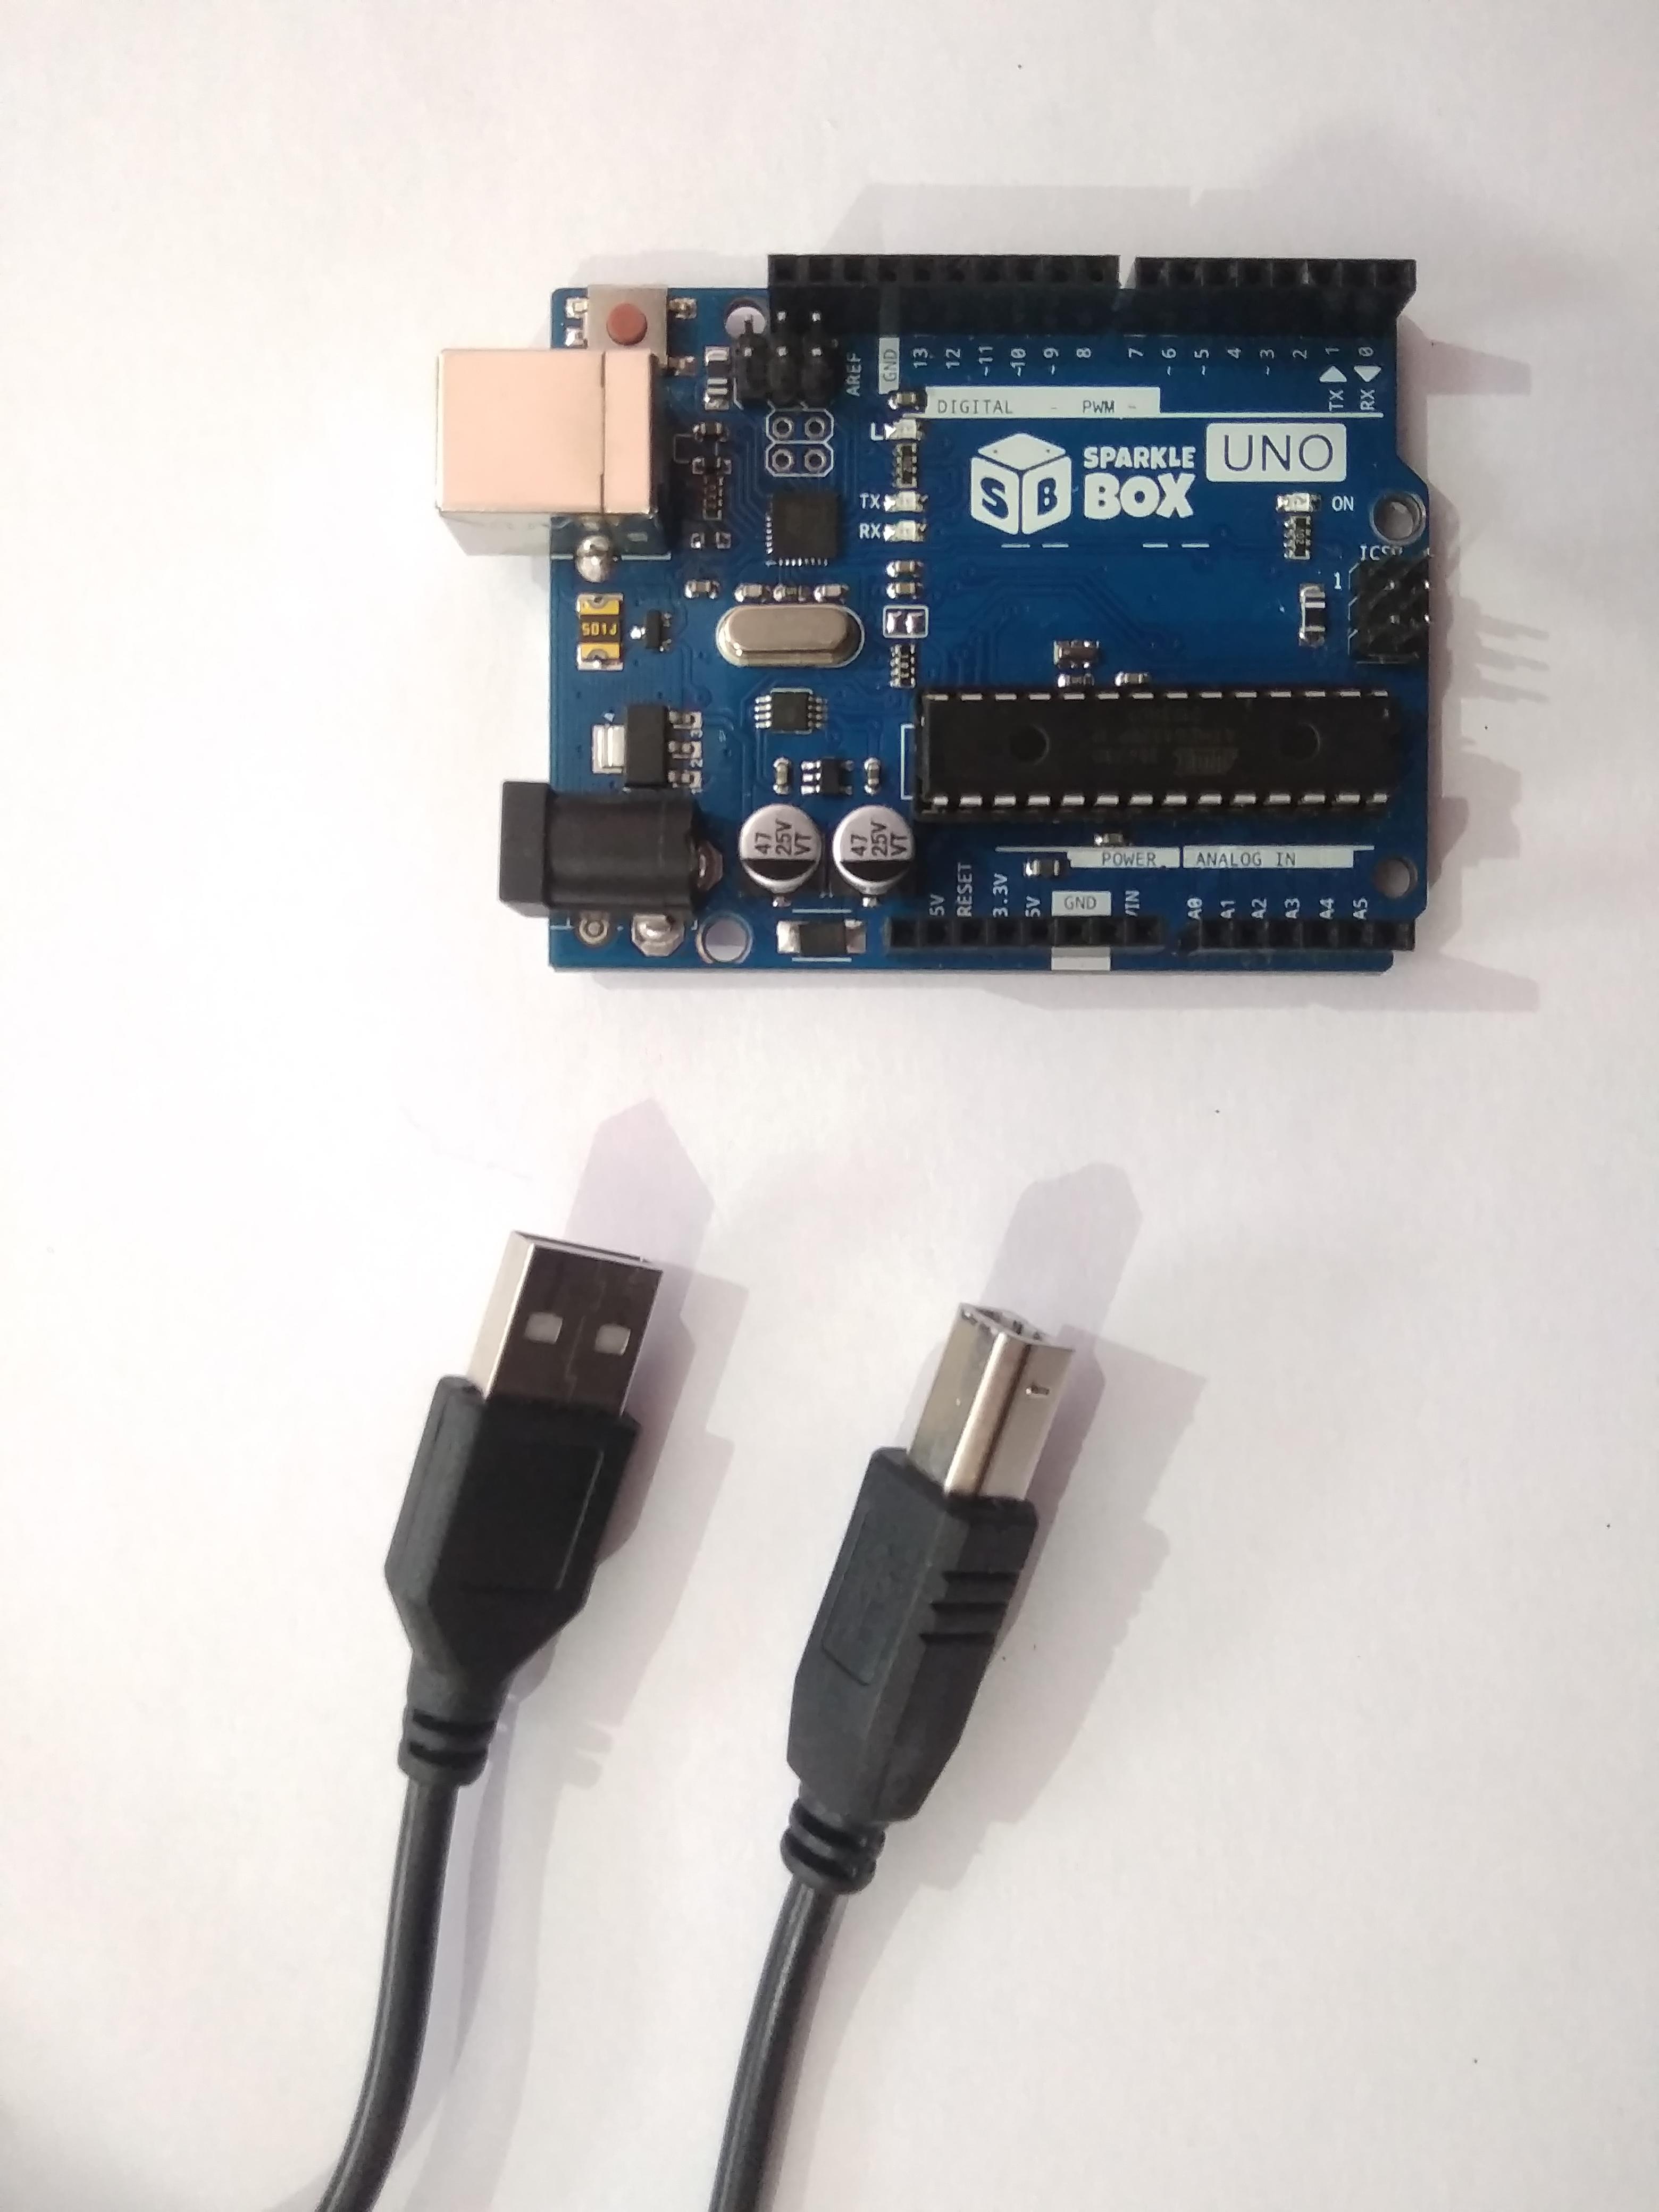
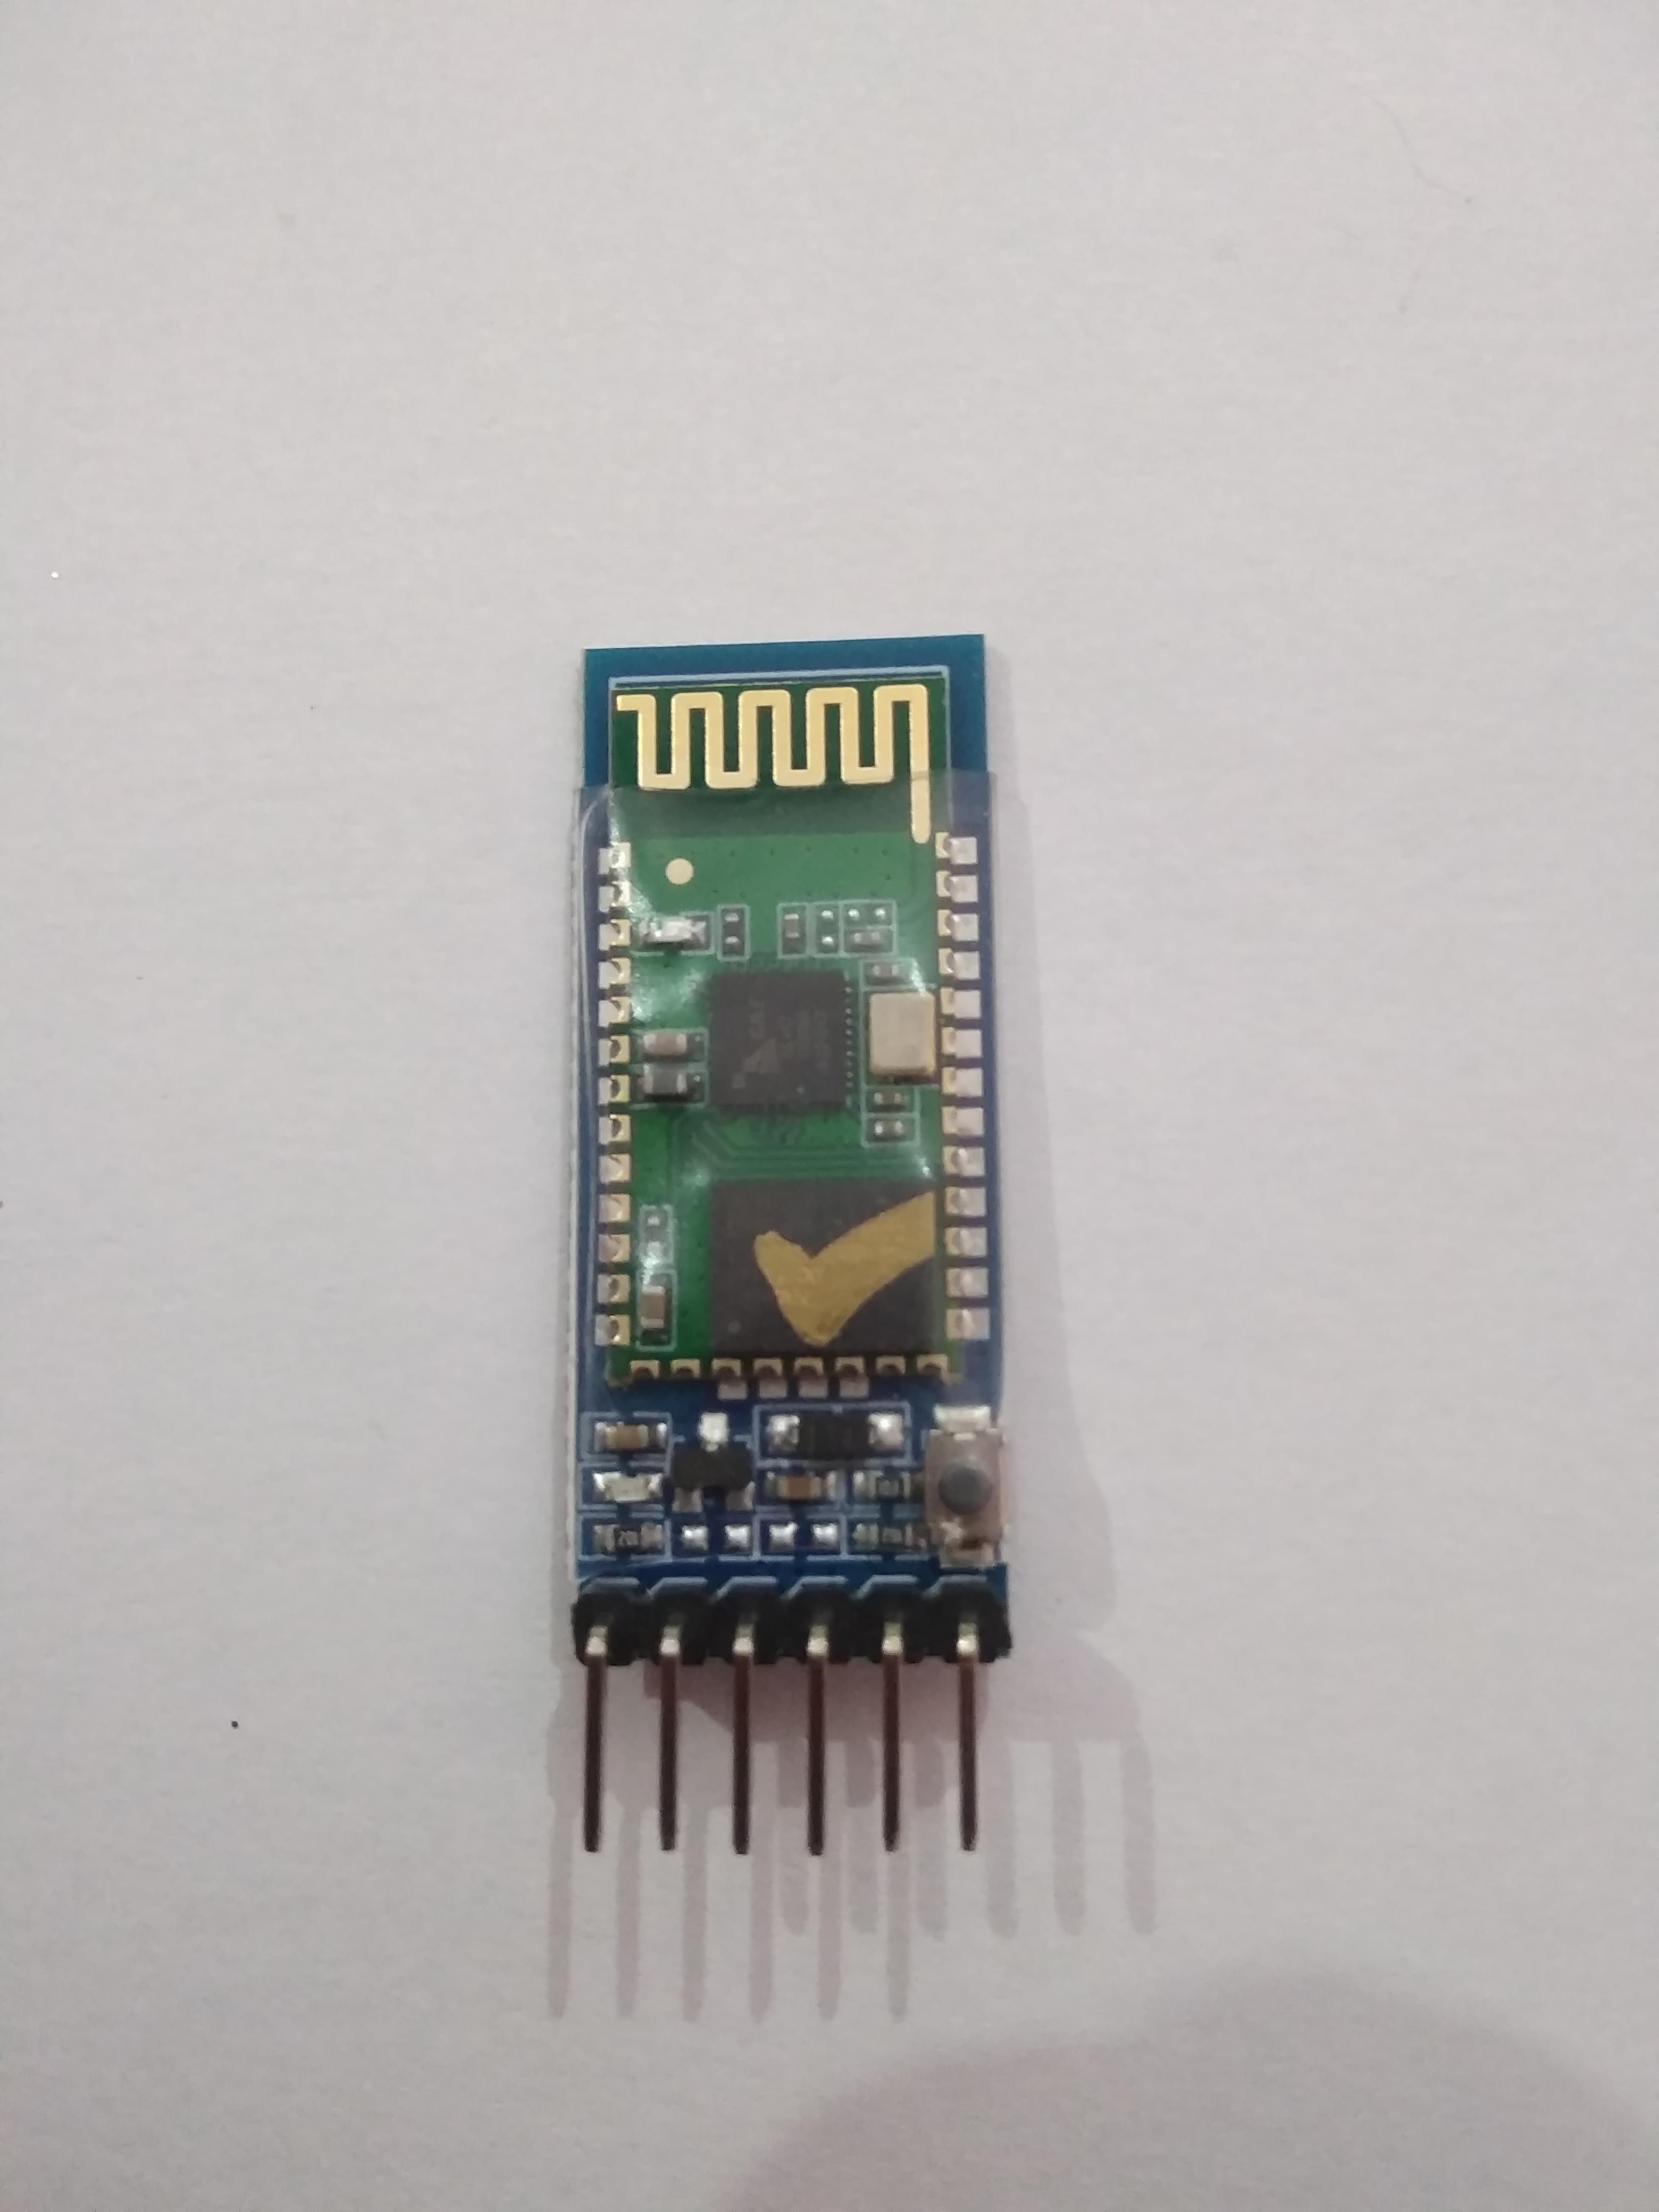
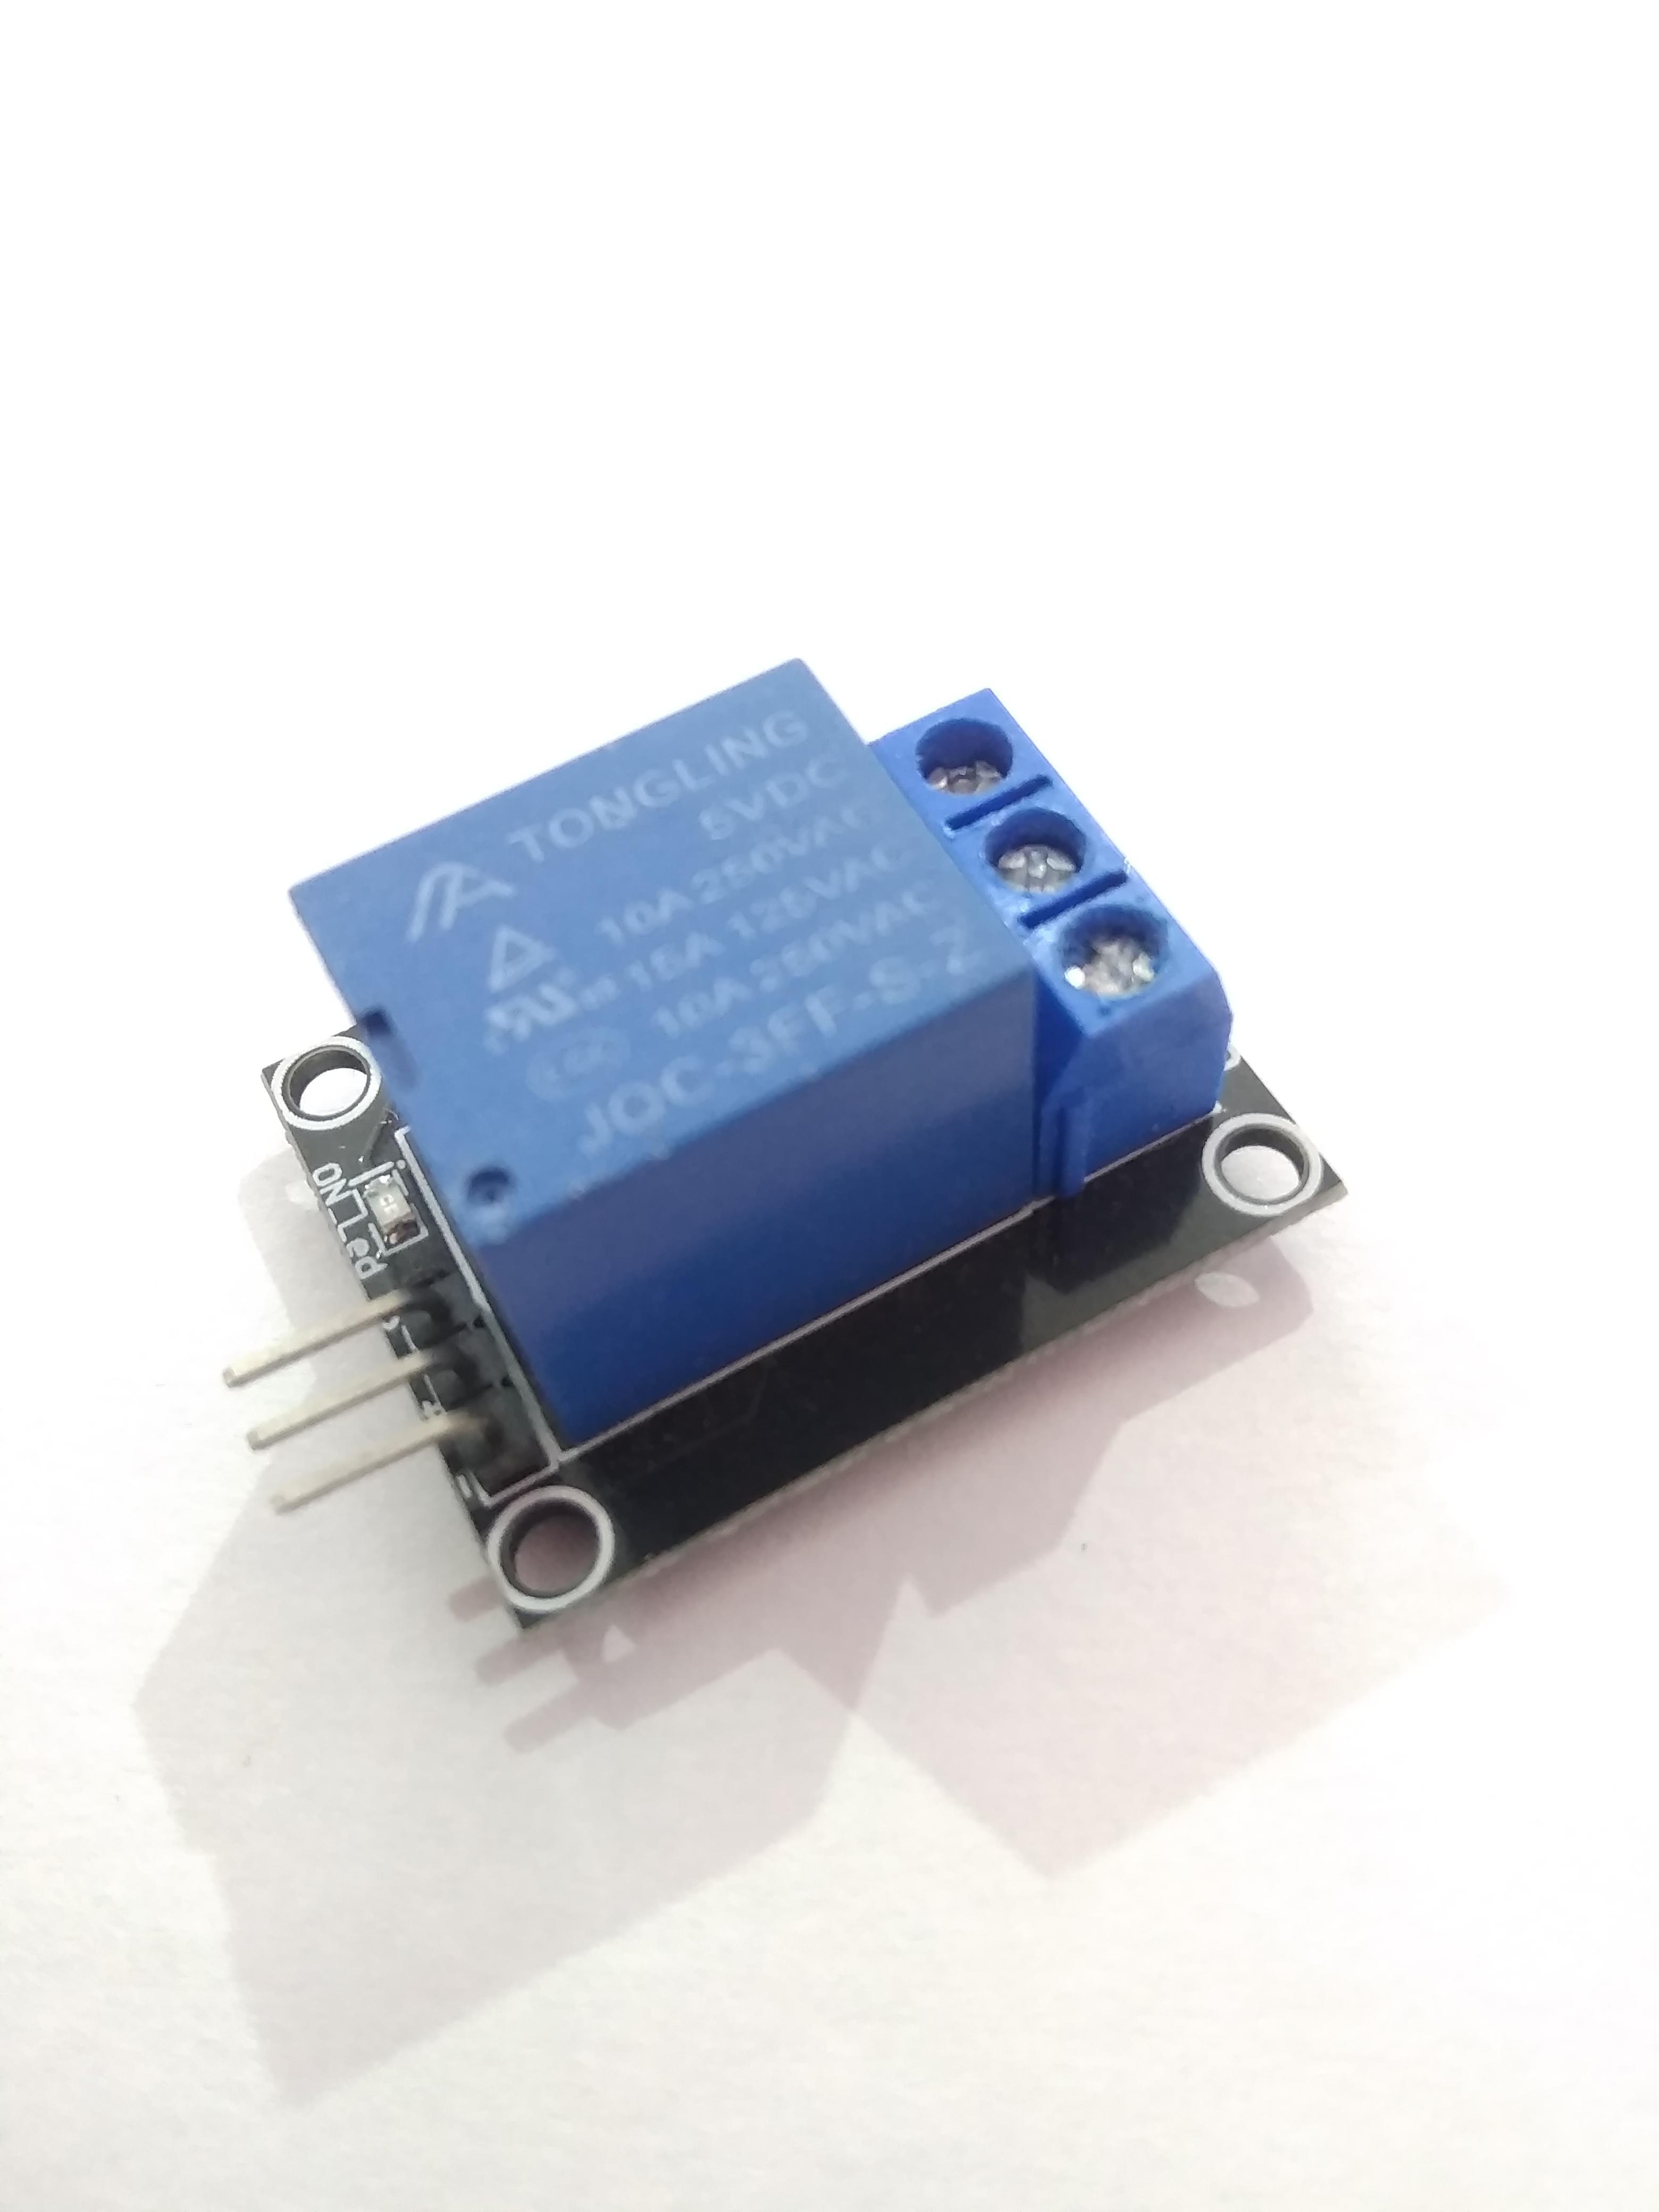
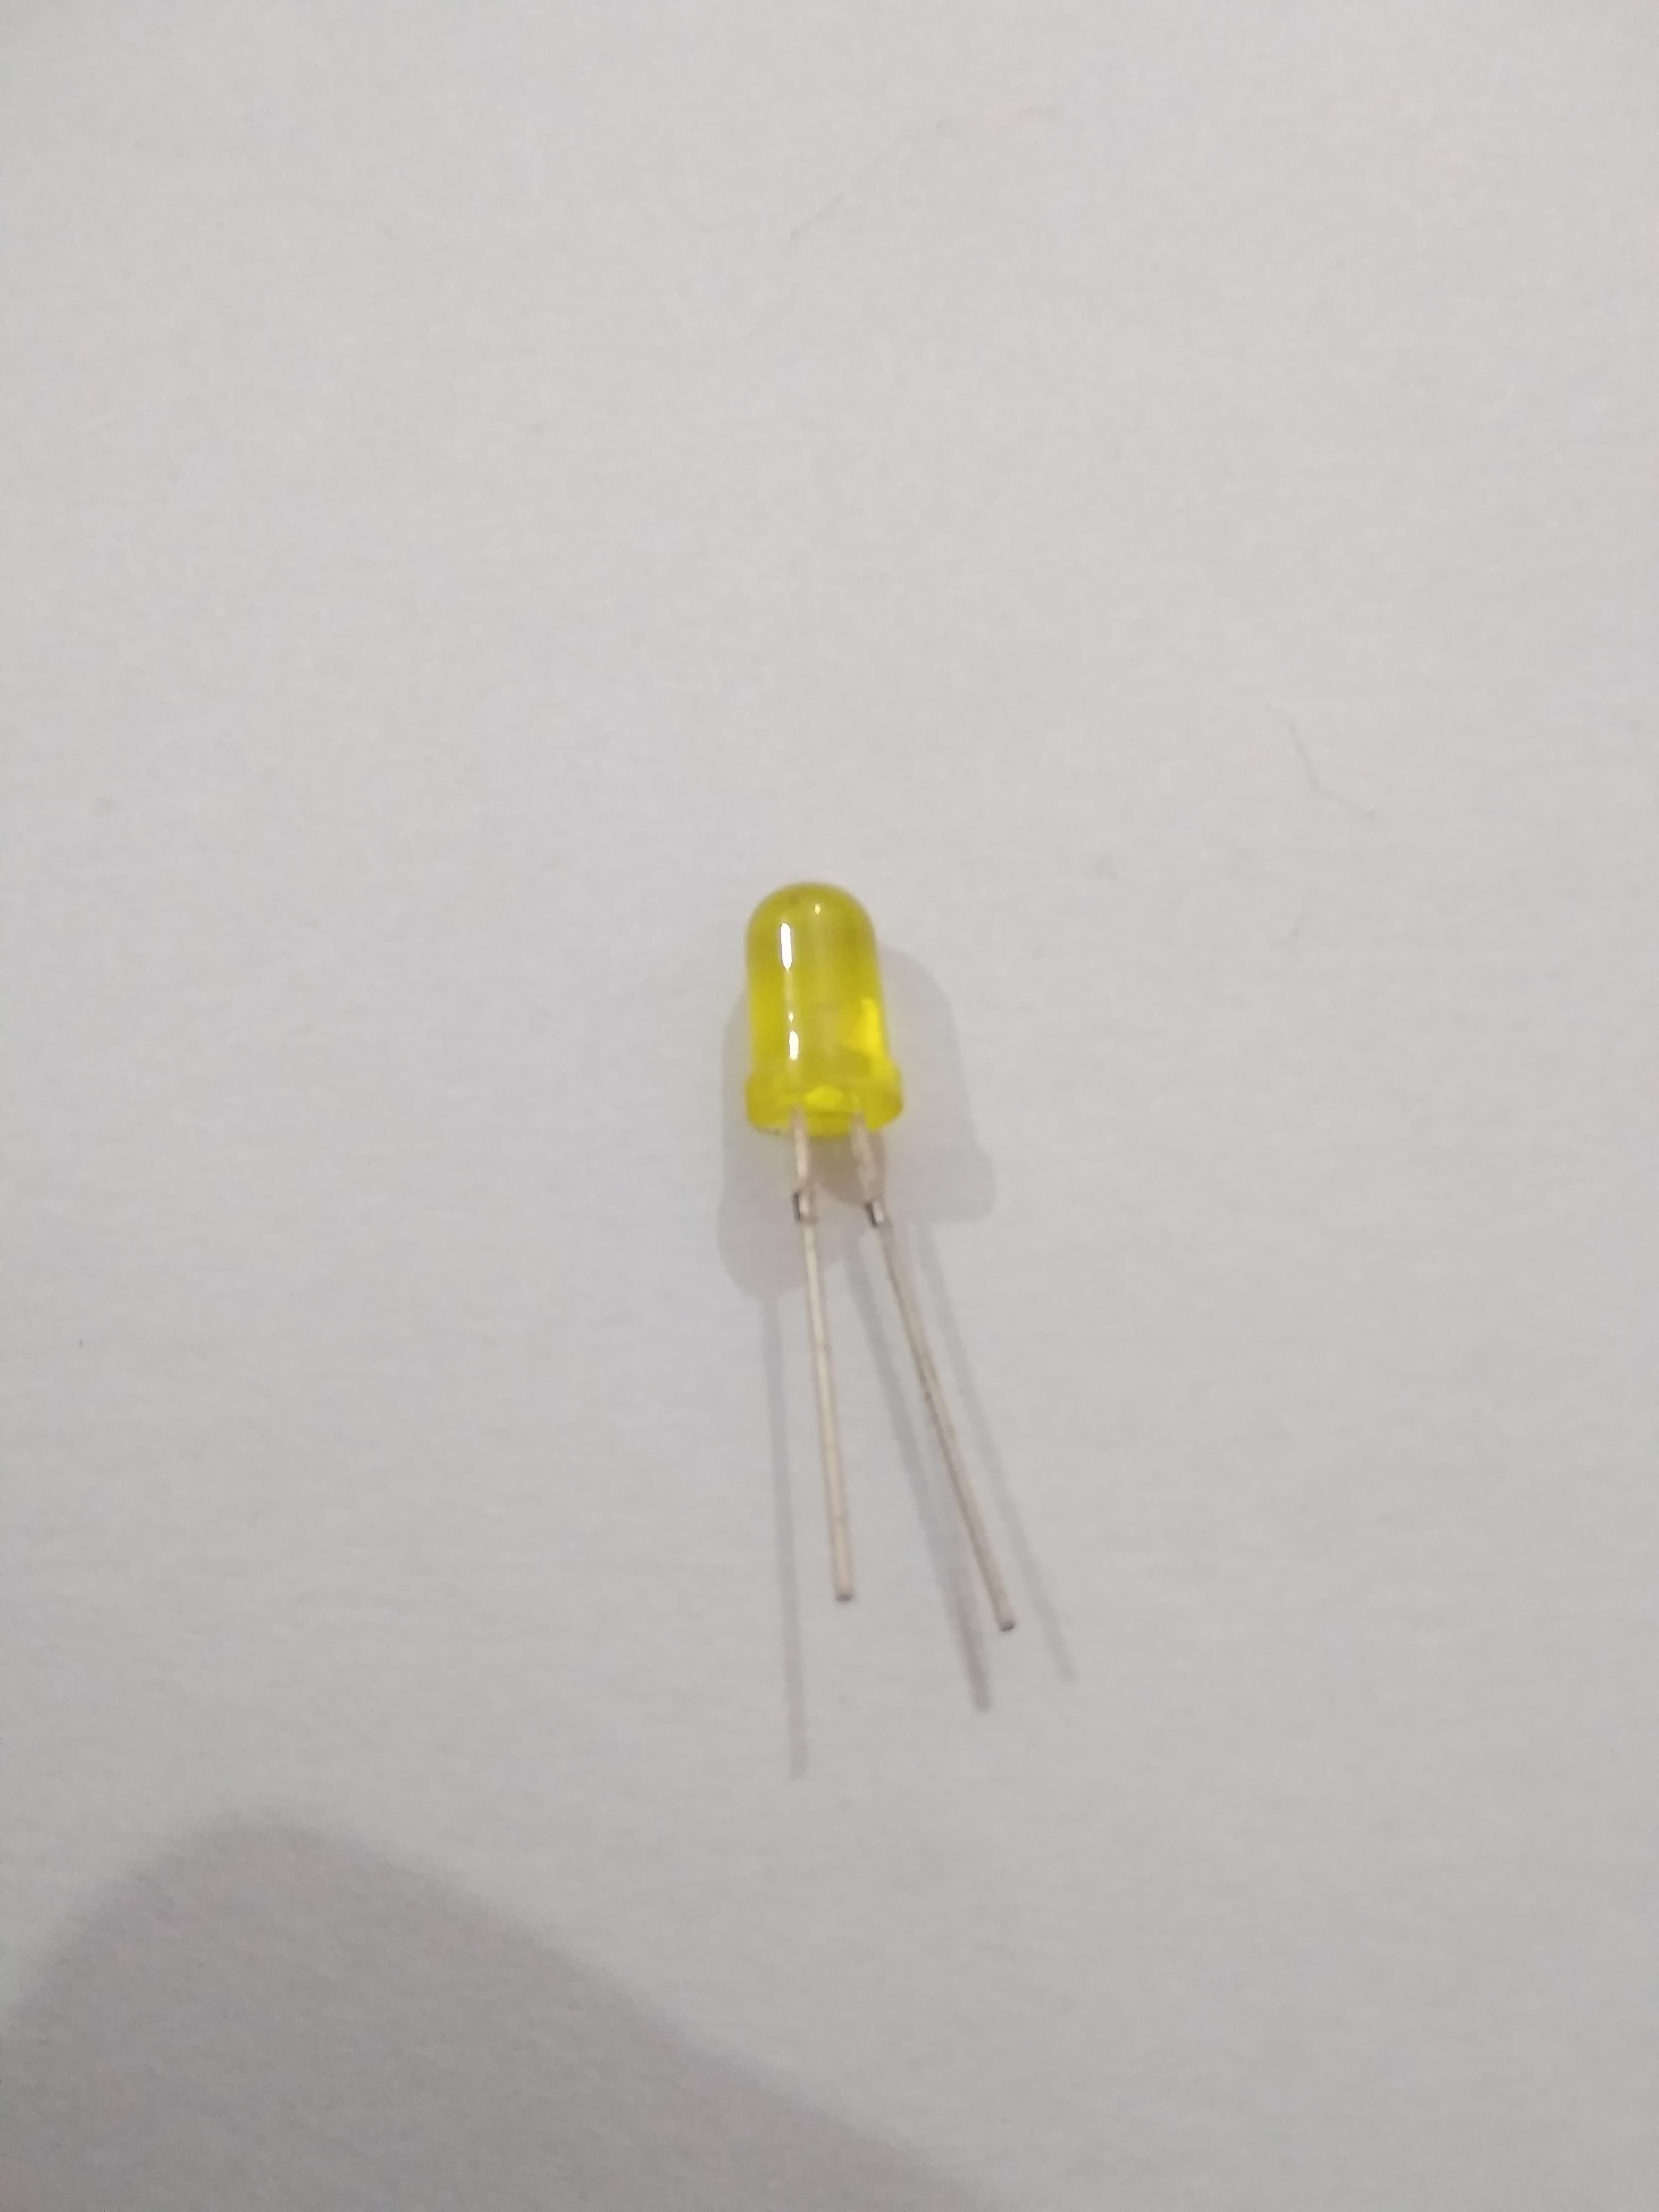
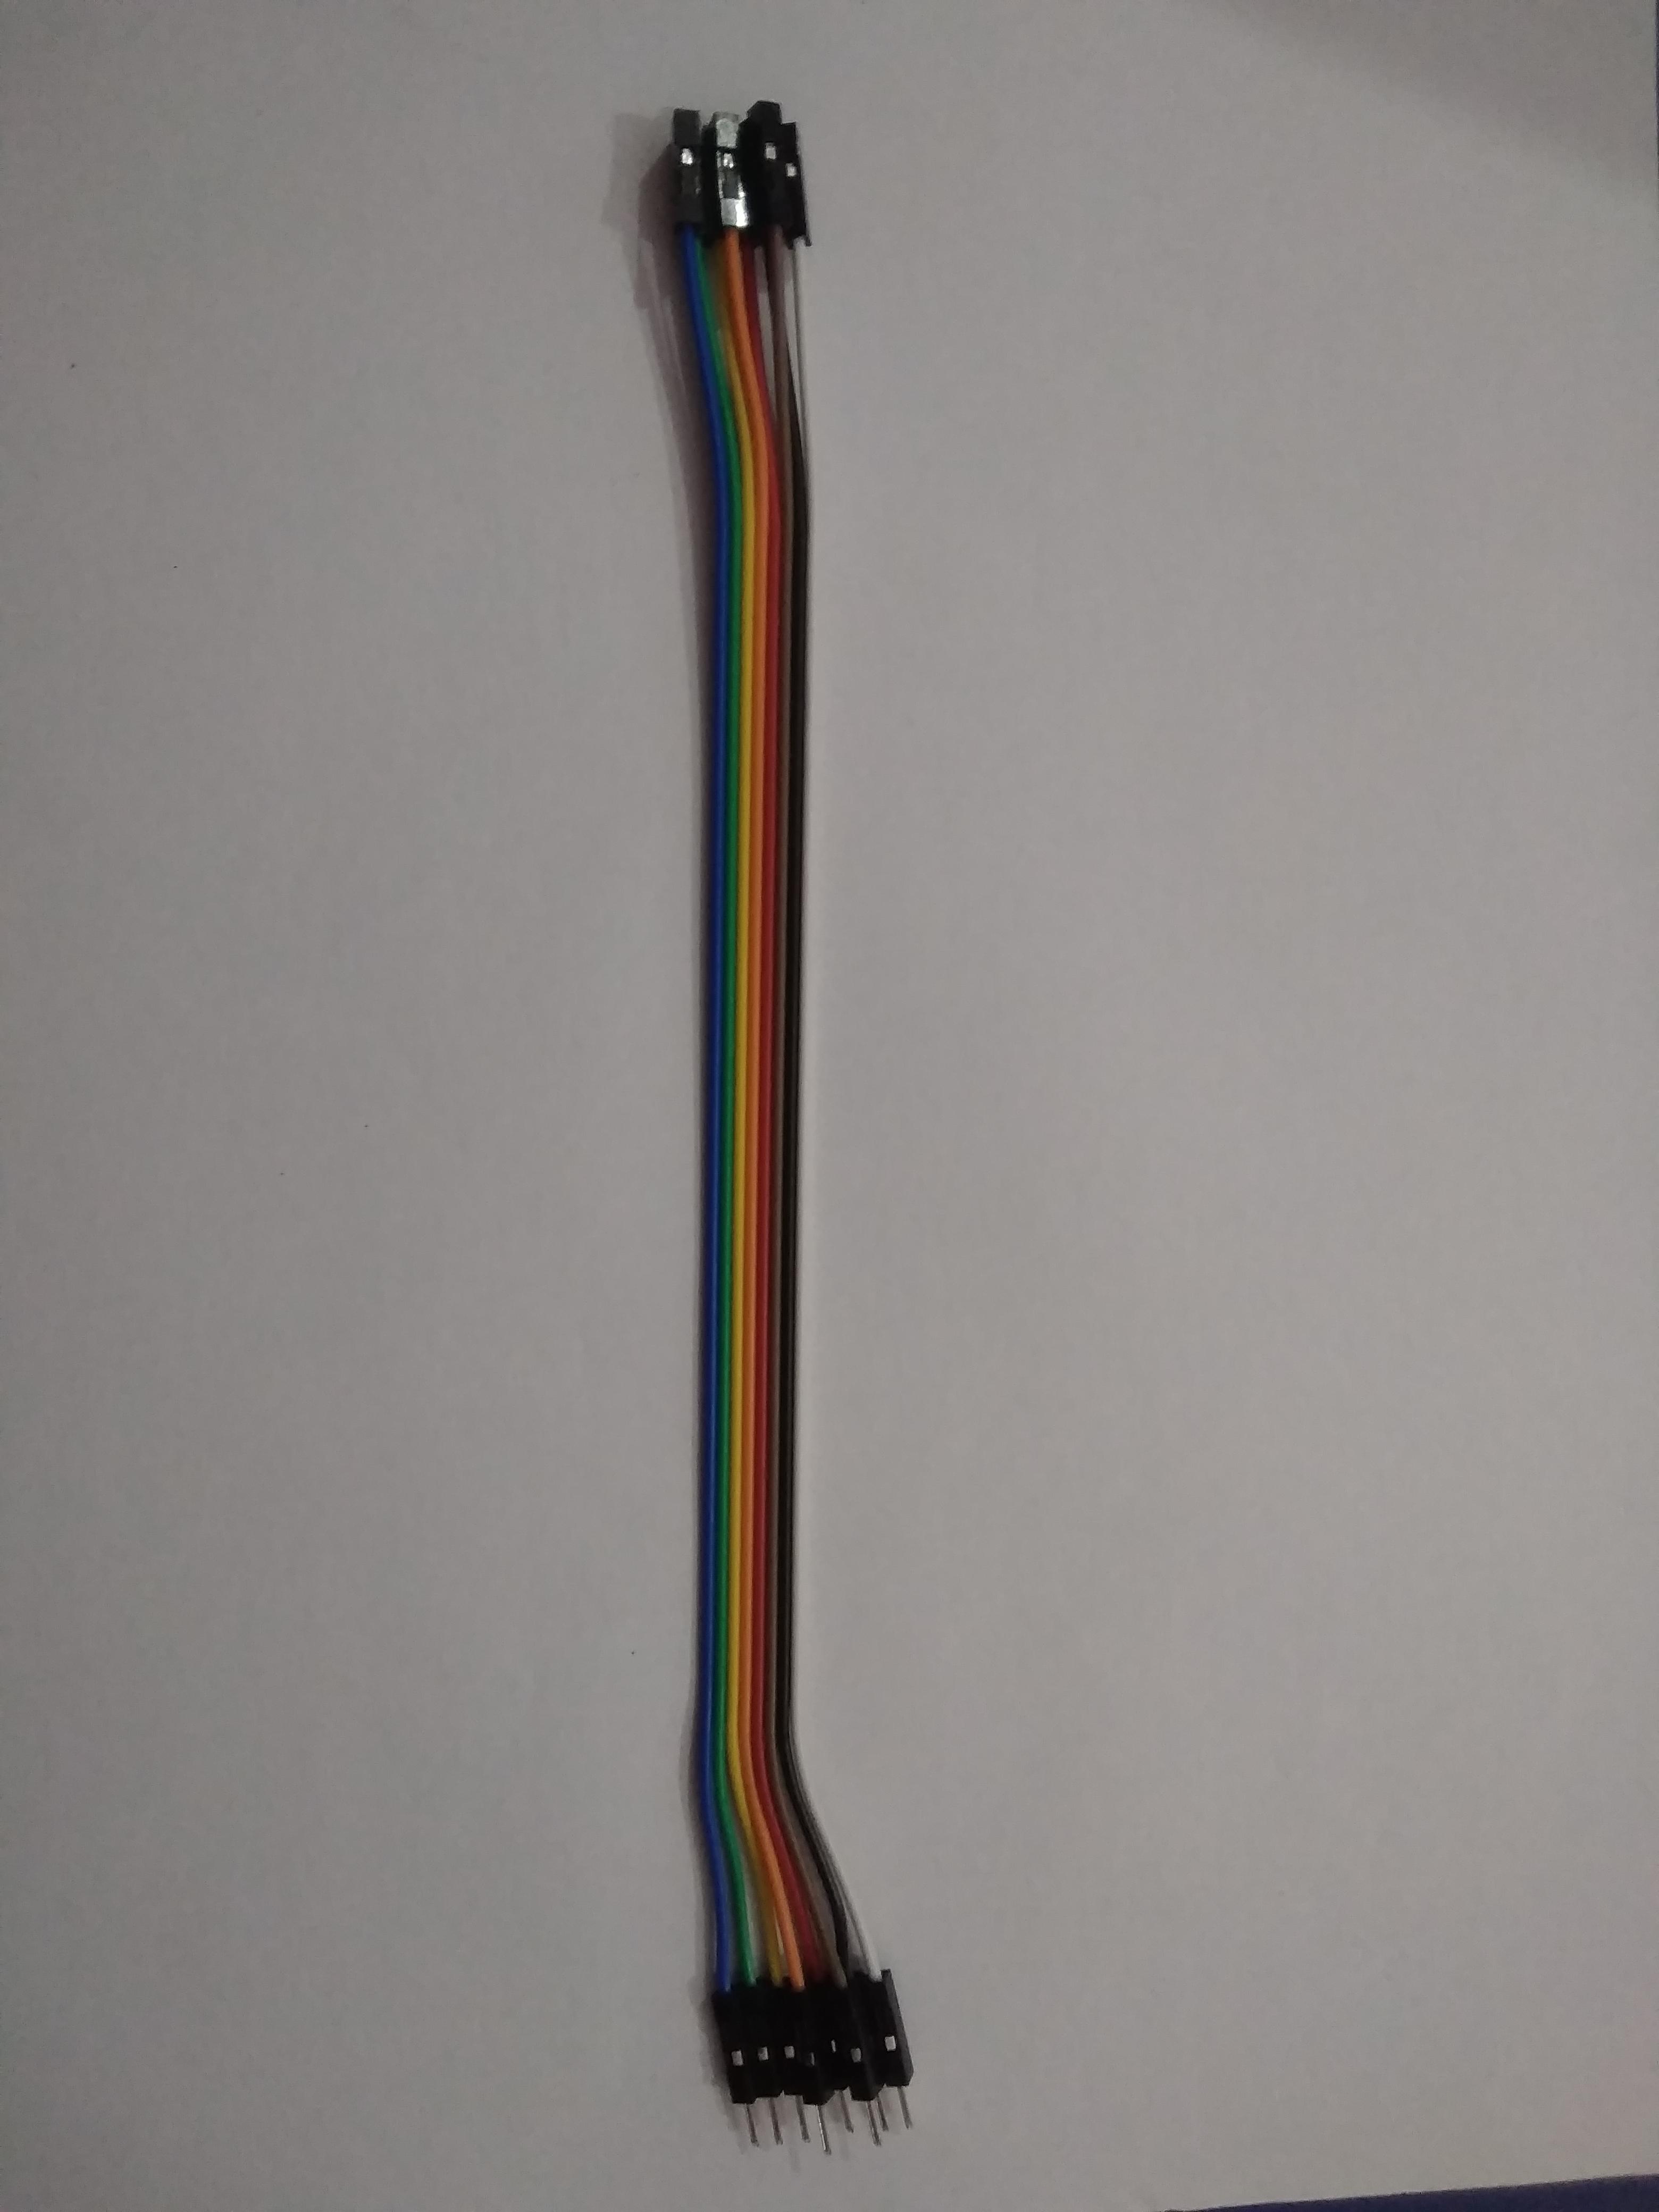
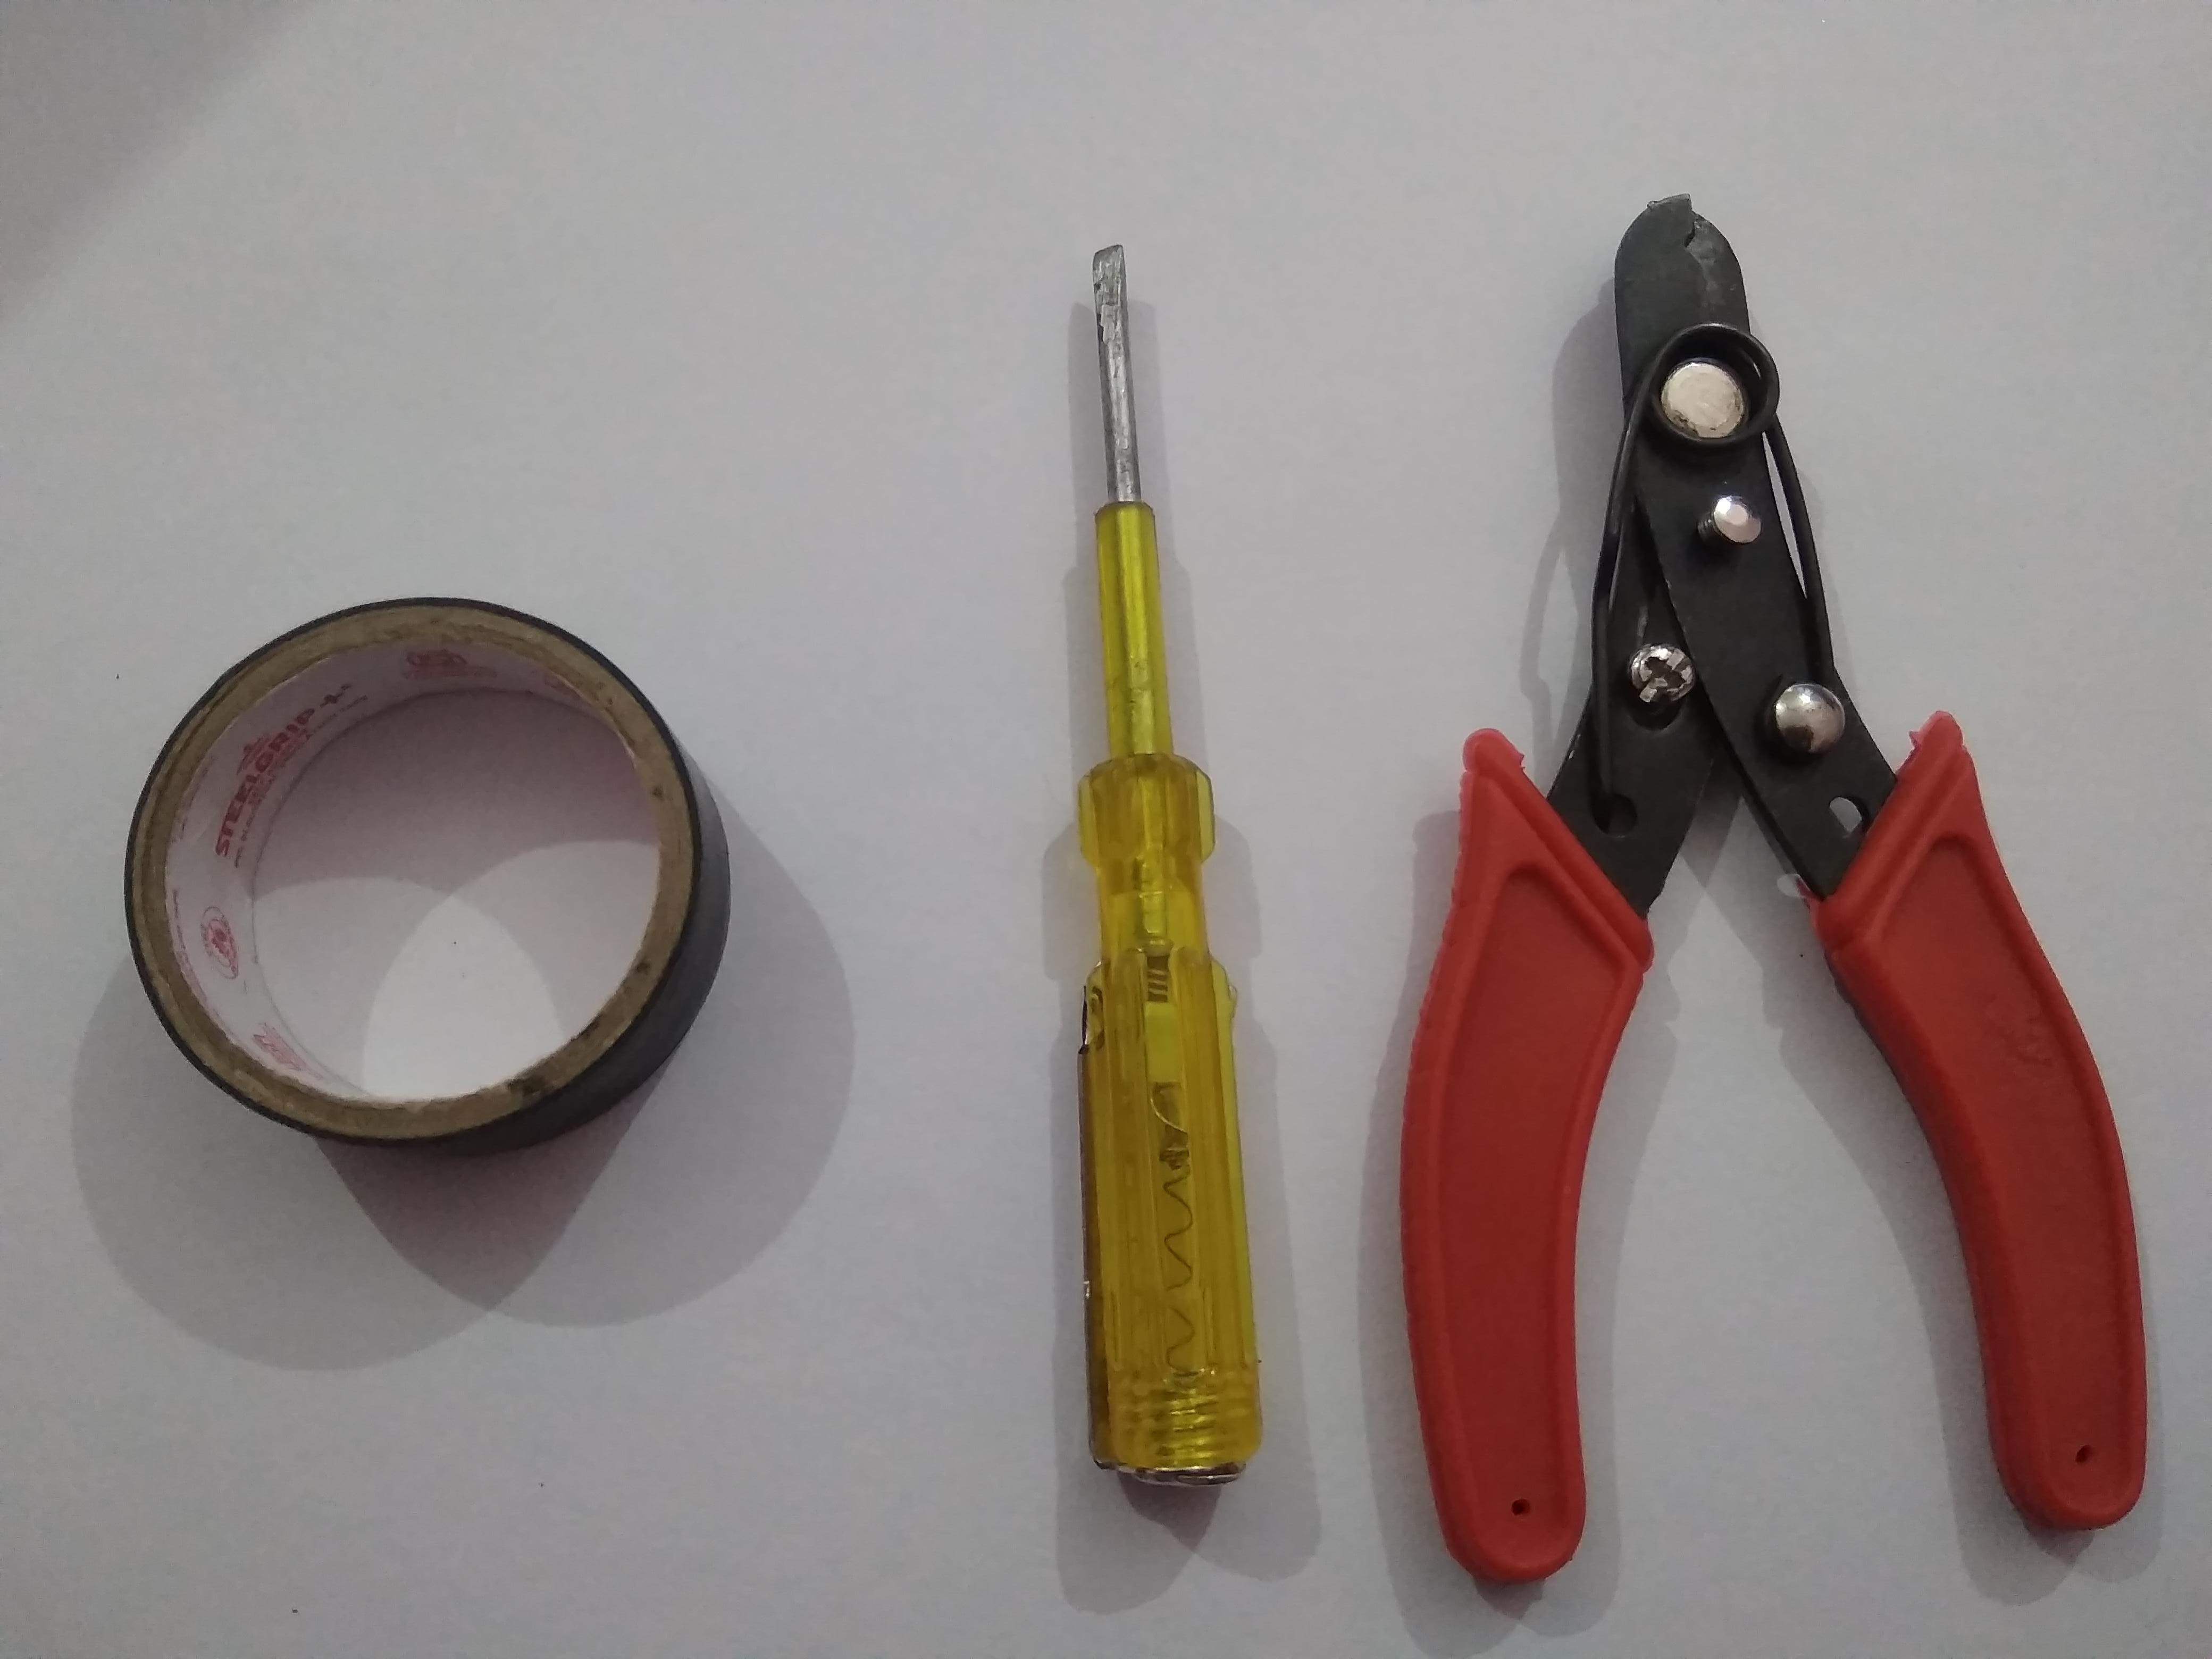
Electronic and other materials
2) Arduino Uno (main microcontroller board for this project)
3) Bluetooth module HC-05 (for transferring data using Bluetooth on your phone to Arduino)
4) Relay module (for switching the LED on and off using Arduino)
5) Some LEDs (to indicate whether lights are on or off)
6) Wires and Jumper wires (to connect everything)
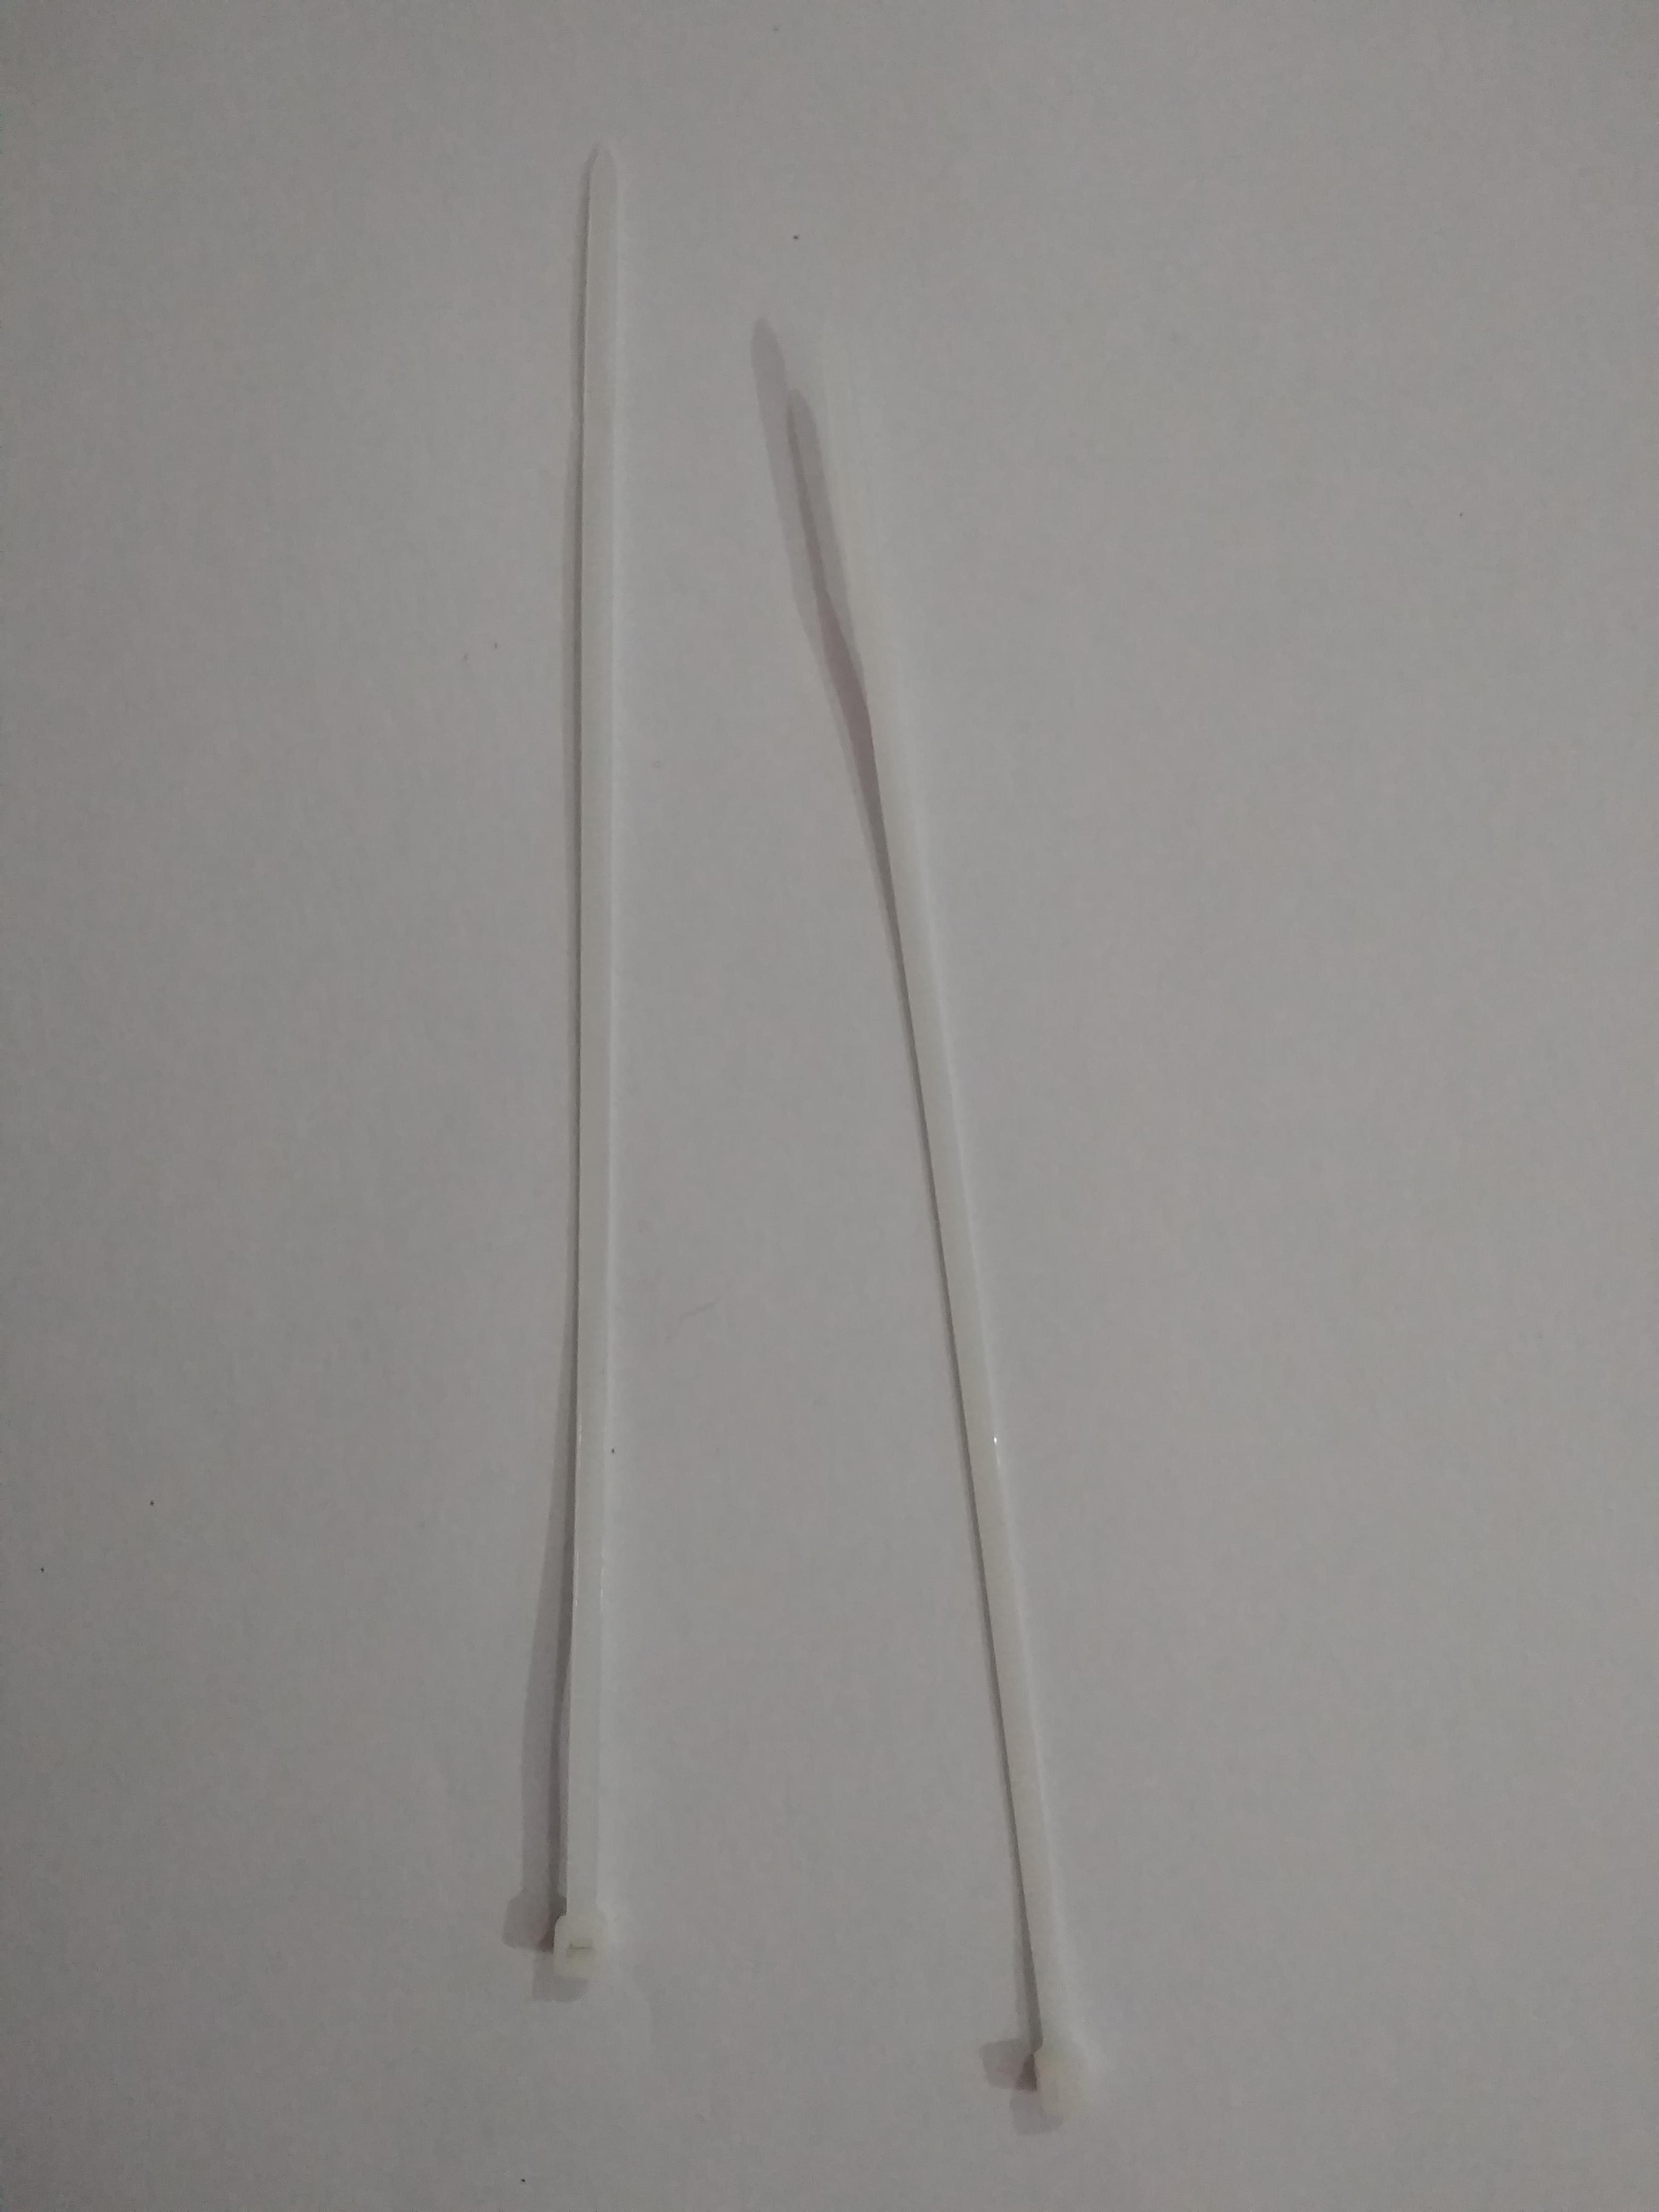
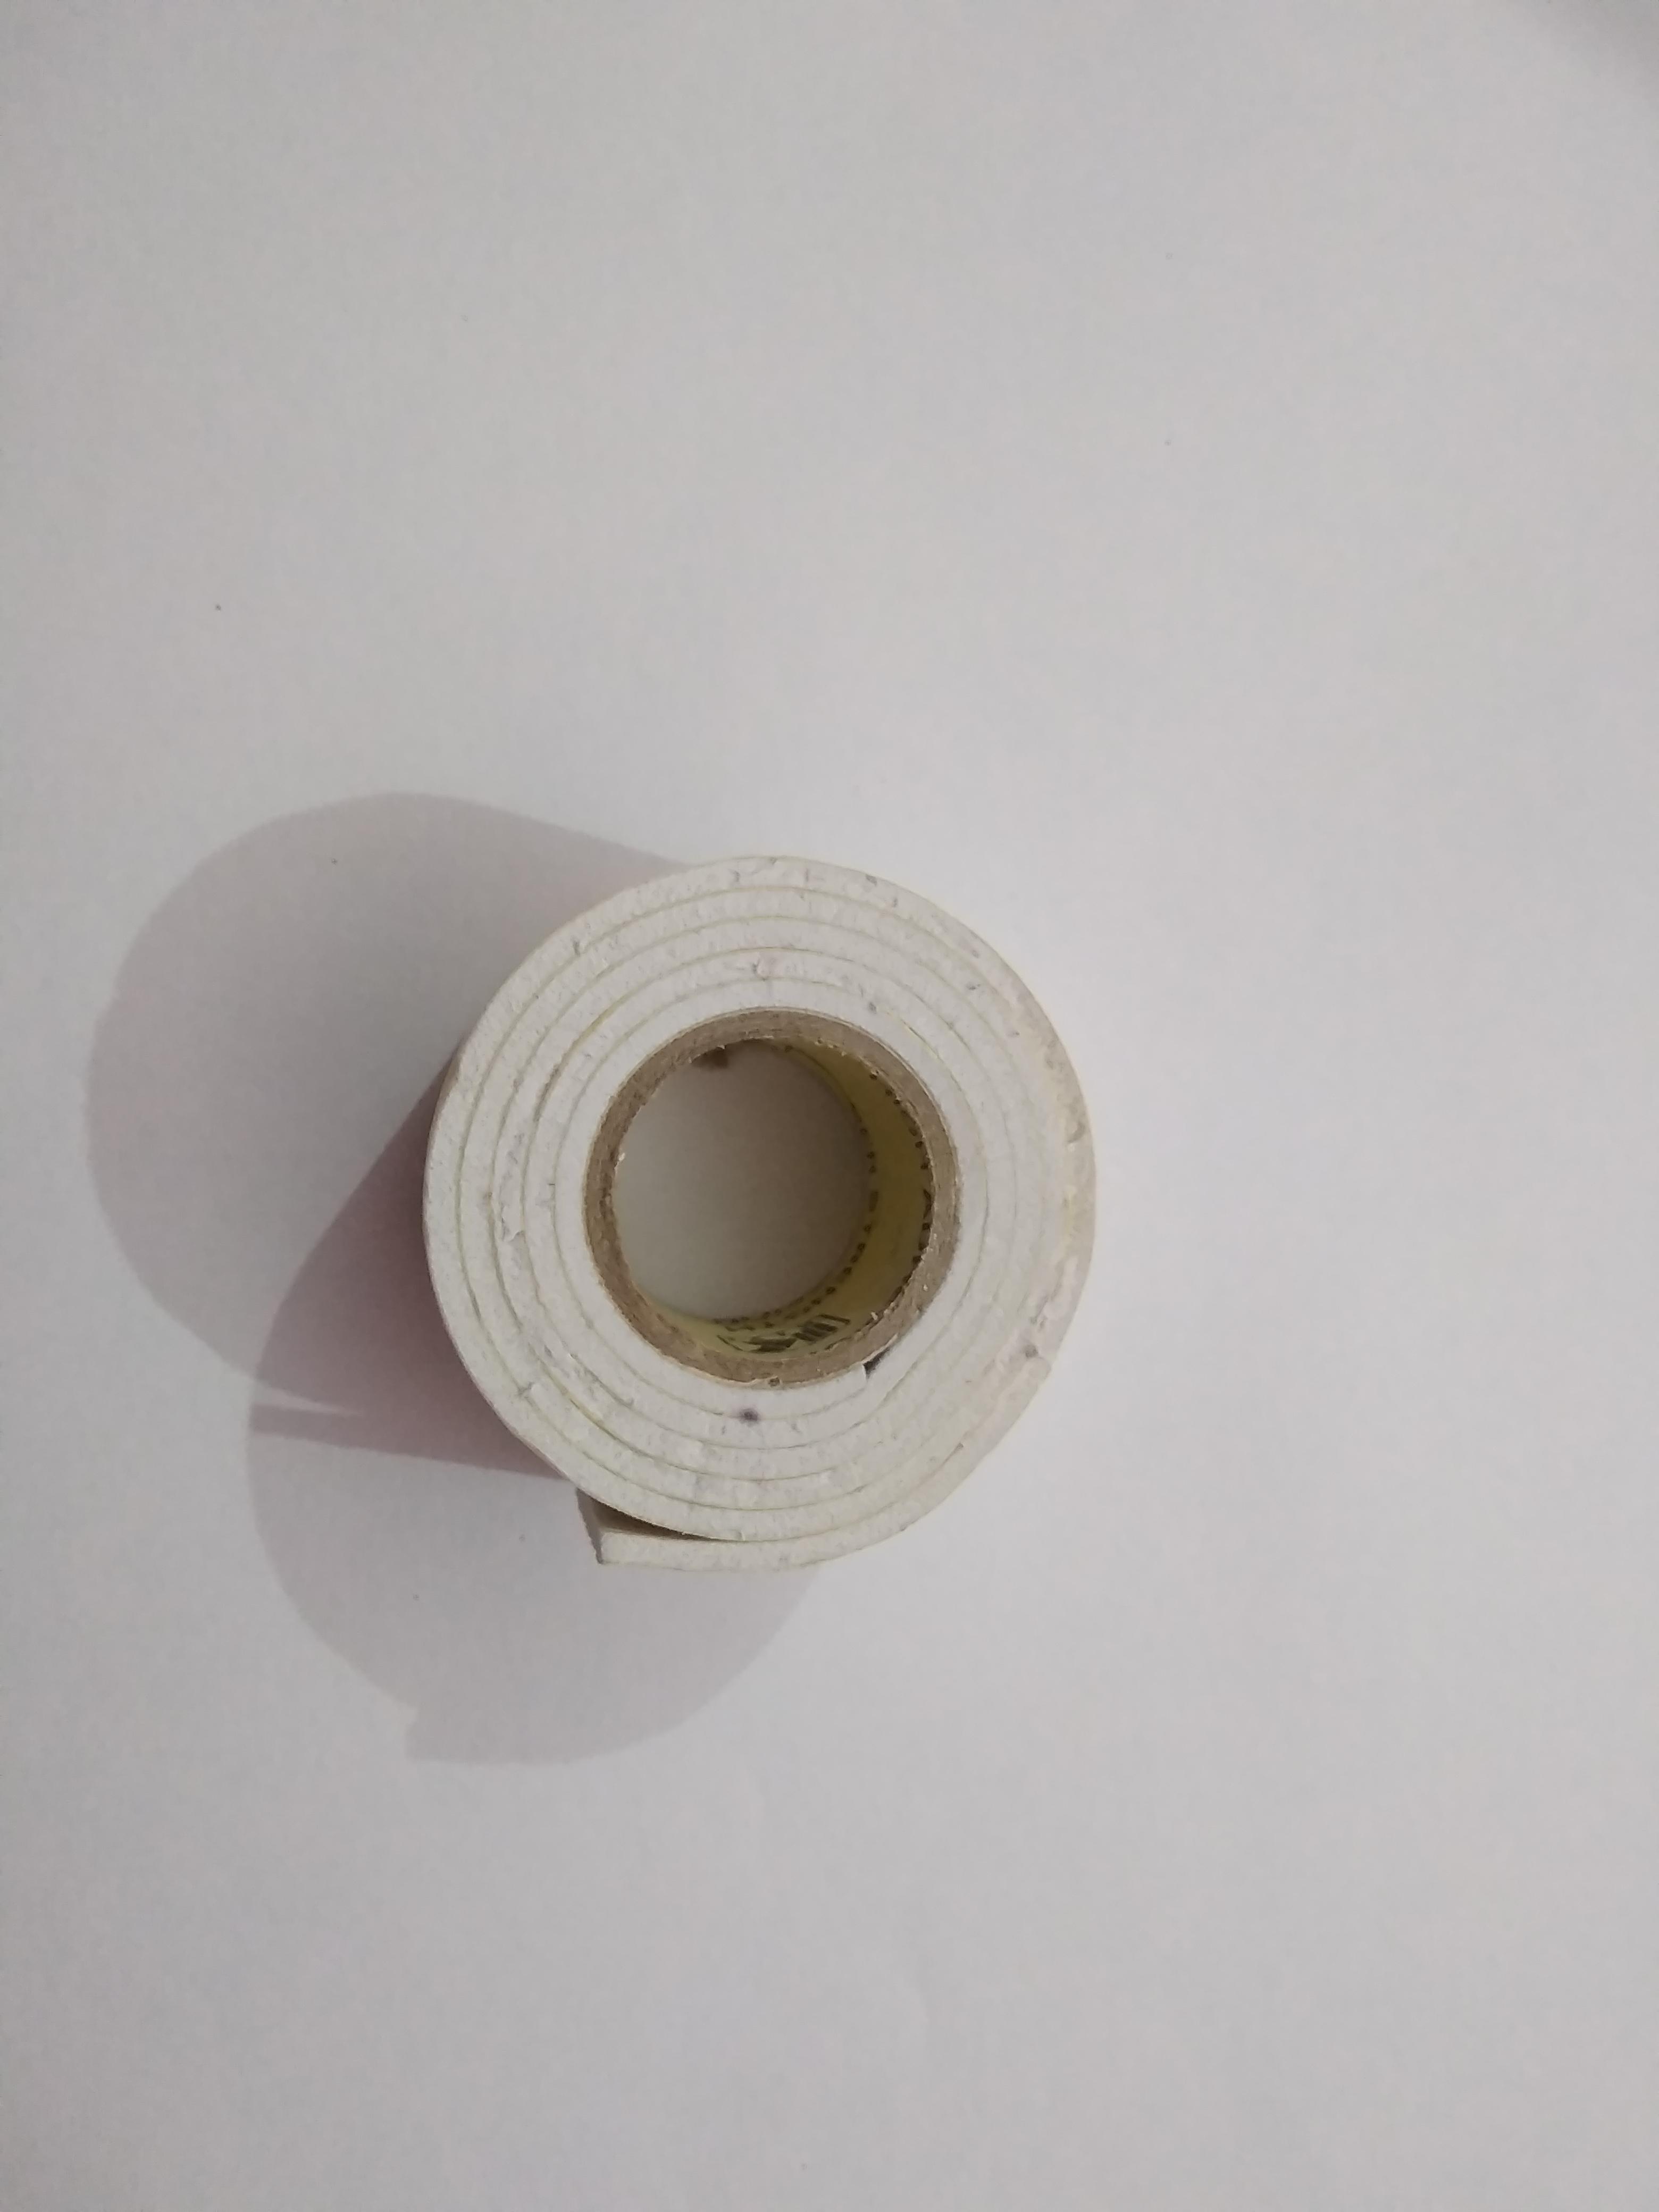
7) Cable ties, Double-sided tape/Glue gun, and Cardboard (to make everything look clean and good)
8) Any electrical device you want to control
Softwares
1) Bluetooth control app(click here to download) (app for Android to send commands to Arduino Uno, it contains various buttons, and if it is pressed smart Light turns on)
2) Arduino IDE (to upload a program in Arduino, it can be either on a laptop or your phone)
Download Code and Controll App
Bluetooth control app- There are many apps available in the Play Store to send data to the Bluetooth module. But I am going to use one of many such apps, named E&E: Home Autonomation app. To download this app click here.
Code- Click here to download the code to be uploaded in Arduino. The code is also attached in this step.
Downloads
Make the Circuit
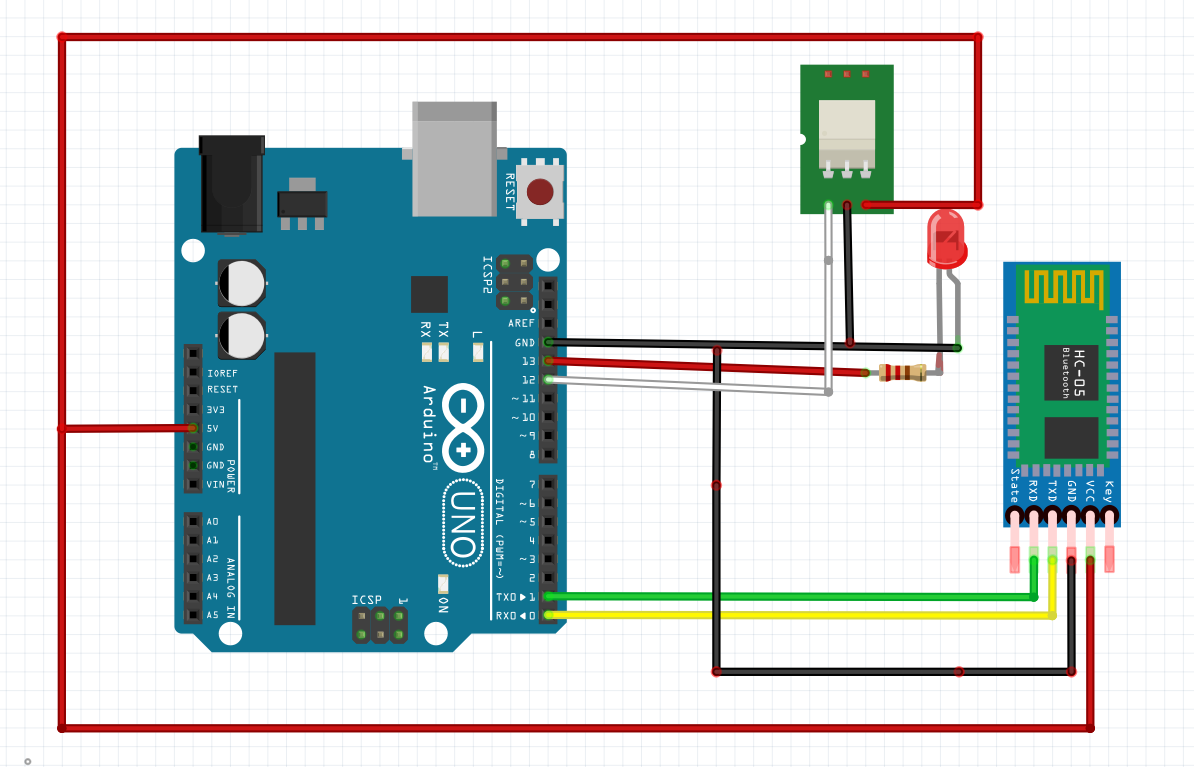
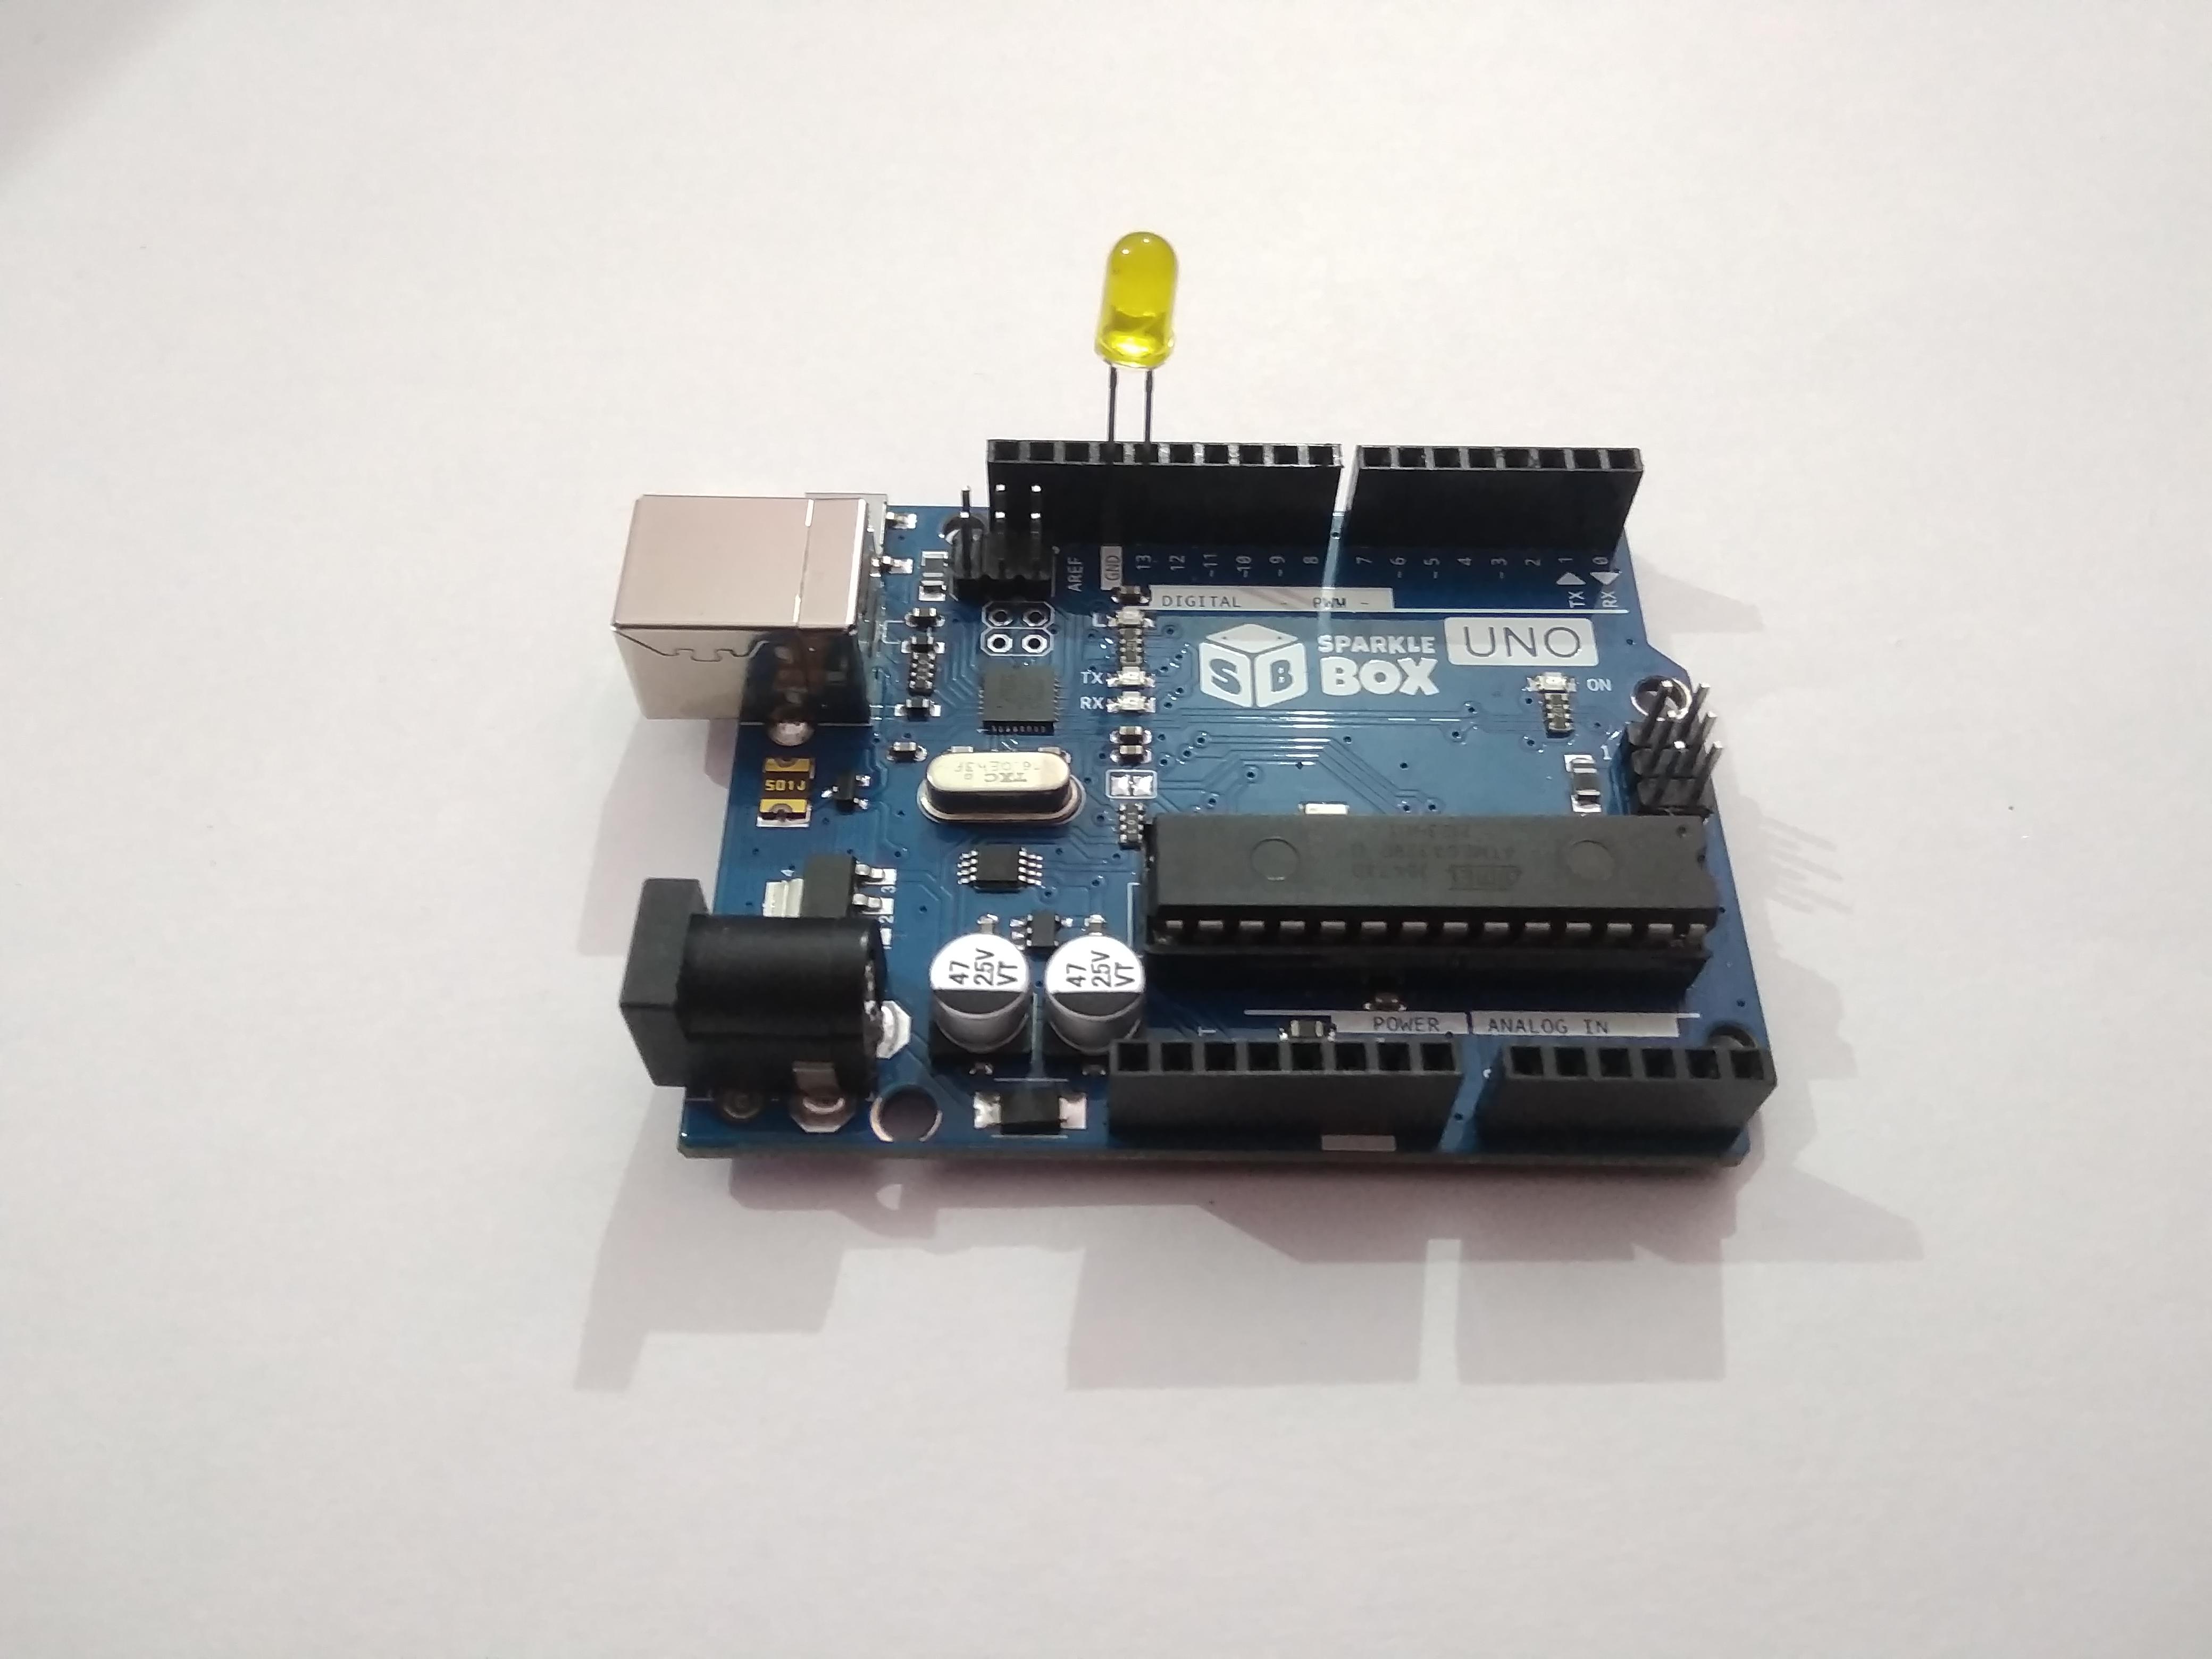
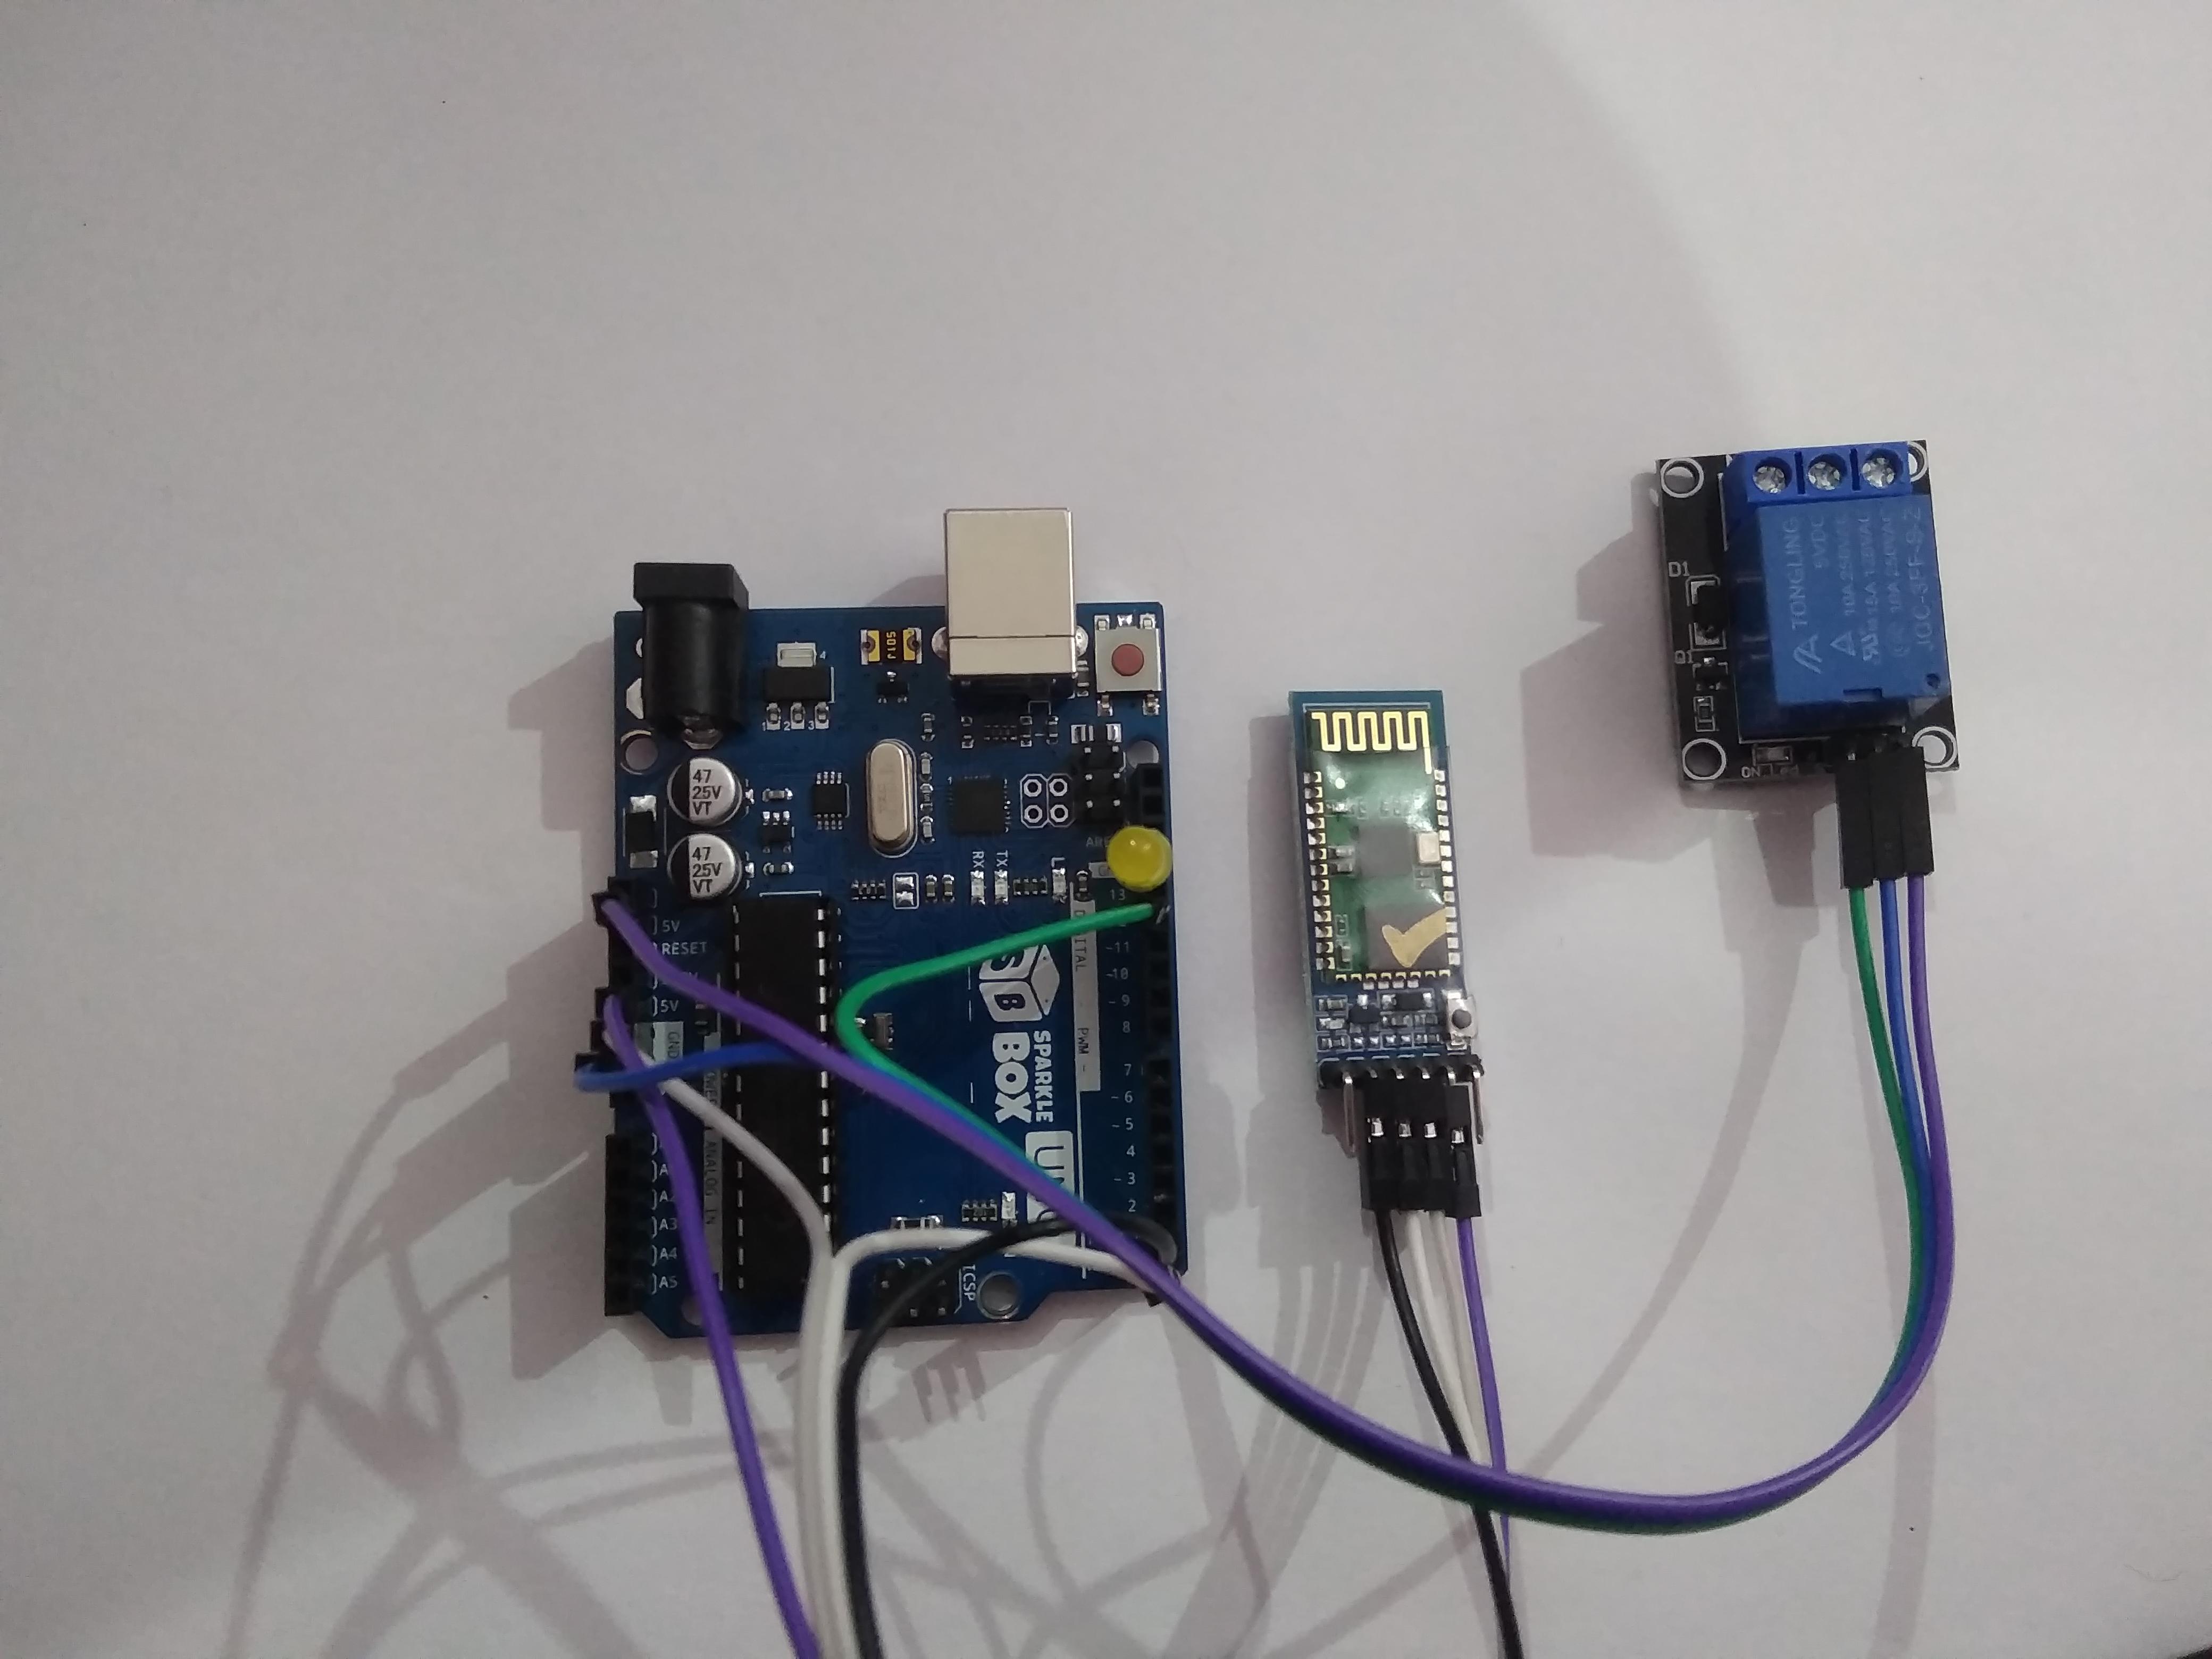
Circuit connections are shown in the images above.
1) Start by connecting the LED's anode to Arduino's 13th pin and cathode to Arduino's ground.
2) Connect the Bluetooth module as shown in the image.
3) Connect the relay module's signal pin to pin 12 of Arduino, Vcc to +5v of Arduino, and ground to Arduino's ground
4) Connect External device to relay modules connection terminal. According to my code, your device's one of the two wires (of the power supply) must be connected to no (normally open) terminal of the Relay module, and the other wire from the power supply (extension board) can be connected to the common terminal of your relay. It is as simple as connecting any device to a switch, relay is also a switch but an electrically controllable switch. I would recommend you make these circuit connections only after disconnecting your appliance from the power source completely. You can connect any device to the relay module to wirelessly turn on or off.
5) Make everything clean by using cable ties to arrange wires and double-sided tape to paste all electronics like Arduino uno, Bluetooth module, and relay module on cardboard.
6) Give a complete finish to your project, paint the cardboard, and enclose your circuit in a box.
7) You are ready to go but recheck your circuit connections before powering all things up.
I have used light as my appliance to control wirelessly from my phone, you can use any appliance.
Code It
Download the file attached to this step or copy the code below:
Above is the code for this project, it is well commented to explain how it works, so we are not going to talk about how will it work. It is time to upload the code in Arduino Uno. Go to Arduino ide and paste this code into a new sketch, save it, and go! Upload this code to the Arduino Uno board. Remember to choose the right com port and board.
Important- In order to upload code you have to disconnect rxd and txd pins of bluetooth module. Arduino is programmed using its rx and tx pins connected to serial convertor ic built in in arduino uno board, so in order to upload code these need to not to be busy.
Downloads
Working
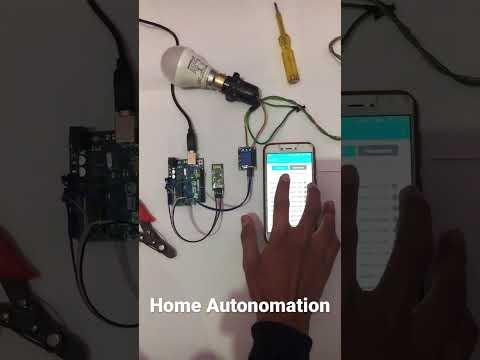
Now once code is uploaded, connect the serial pins of the Bluetooth module to the serial pins of Arduino Uno. Now you will see two LEDs blinking fast in the HC-05 Bluetooth module this is because the Bluetooth module is not connected to your phone via Bluetooth. Go to Bluetooth settings in your phone and search for devices. You will get an hc-05 device, pair it, and then you will be asked for a passcode, you can enter either 0000 or 1234 there and it should pair. Go to the Android app downloaded before and go to the on/off section. Here you will get many buttons, if you have followed this instructable only button 1 will work for controlling your device (light). This is because in code we have only used 'A' and 'a', this is the character sent by phone when you press switch 1. You can edit these character values in code according to the data sent by your Bluetooth control app, The Next step is to click on the connect button find your device and connect to it. After you have paired the Bluetooth module, you will see two LED blink rates slowed down in the Bluetooth module. In the same manner, you can add many devices to control, increasing the number of relays and you will need to edit code only. Any data which is received is printed on a serial monitor. Our smart light is ready to work now. I have made videos and taken photos of my light, they are attached to the steps, and you can see how this works.
Thank you very much for reading my first instructable.
Author: Piyush Suteri