DIY Beach Amp! (From Old Pocket Radio)
by simon.w.nordberg in Circuits > Audio
6016 Views, 50 Favorites, 0 Comments
DIY Beach Amp! (From Old Pocket Radio)

An easy to build beach amplifier!
Materials
Okay, so there's not really much you need for this build since we use a kit. I bought a new speaker with a smaller depth because it didn't fit in the enclosure once the amp was in there.
- Pocket radio
- Amplifier kit (just make sure the finished amp fits inside your radio enclosure)
- Speaker
- 9v battery
Tools
I used the drill and the rotary tool for construction and the rest of the tools for deconstruction.
We need to cut some plastic tabs inside the enclosure to make some space for the amp, so we'll use the rotary tool for that. The drill to make some holes for the volume knob etc.
- Wire cutters
- Soldering iron (for desoldering, not much at all)
- Screwdriver
- Drill
- Rotary tool aka Dremel
- Razor pen/scalpel/exacto knife
Find Your Materials!


I found this old broken pocket radio in a second hand store and decided to reuse it! The antenna screwed right off so I could take the radio out.
The Amp!

I used this Velleman PMK190'1 amplifier kit I had laying around. It cost me around 14USD (120 SEK) so it's quite cheap.
Cut PCB

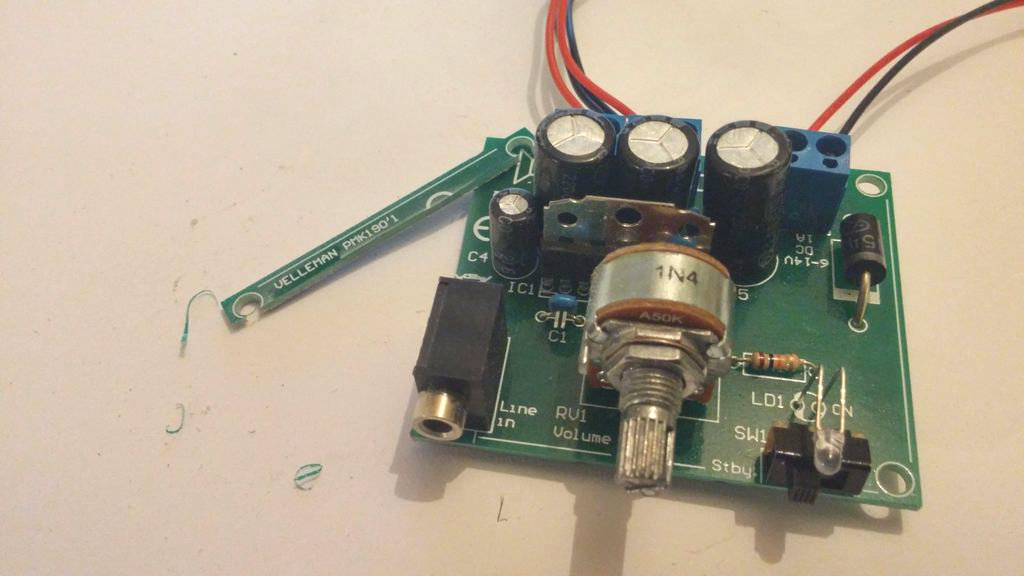
I had to trim one side of the amp to make it fit in the enclosure. Make sure you DO NOT cut the copper tracing!
Read the notes on the pictures for more info
Gut the Radio

Pretty straight forward. You see a screw? Unscrew it. The only thing I had to desolder was the antenna.
The big metal thing in the middle there is the old speaker. Make sure you salvage some parts for other projects, the speaker, jack and battery clip still works just fine.
Make Some Space

This is where the old rotary tool comes in handy! I had to make some space for the caps and the pot.
Fit the Amp

Drill the holes for line in, volume and on/off + indicator led.
Make Sure It Stays There!

I used double sided foam tape to hold my amp in place. It's not going anywhere!
Making Holes

Cut the holes.
Add Speaker and Battery
No picture of this step, sorry about that. I had a really small speaker that I was able to glue in place, solder to the amps output and fit the two halves back together. The 9V battery wires comes in through a hole in the side of the amp case and the battery is attached in a battery holder on the back of the amp case.
Done!
That's it! Just a stylish little amp that you can bring to the beach!